
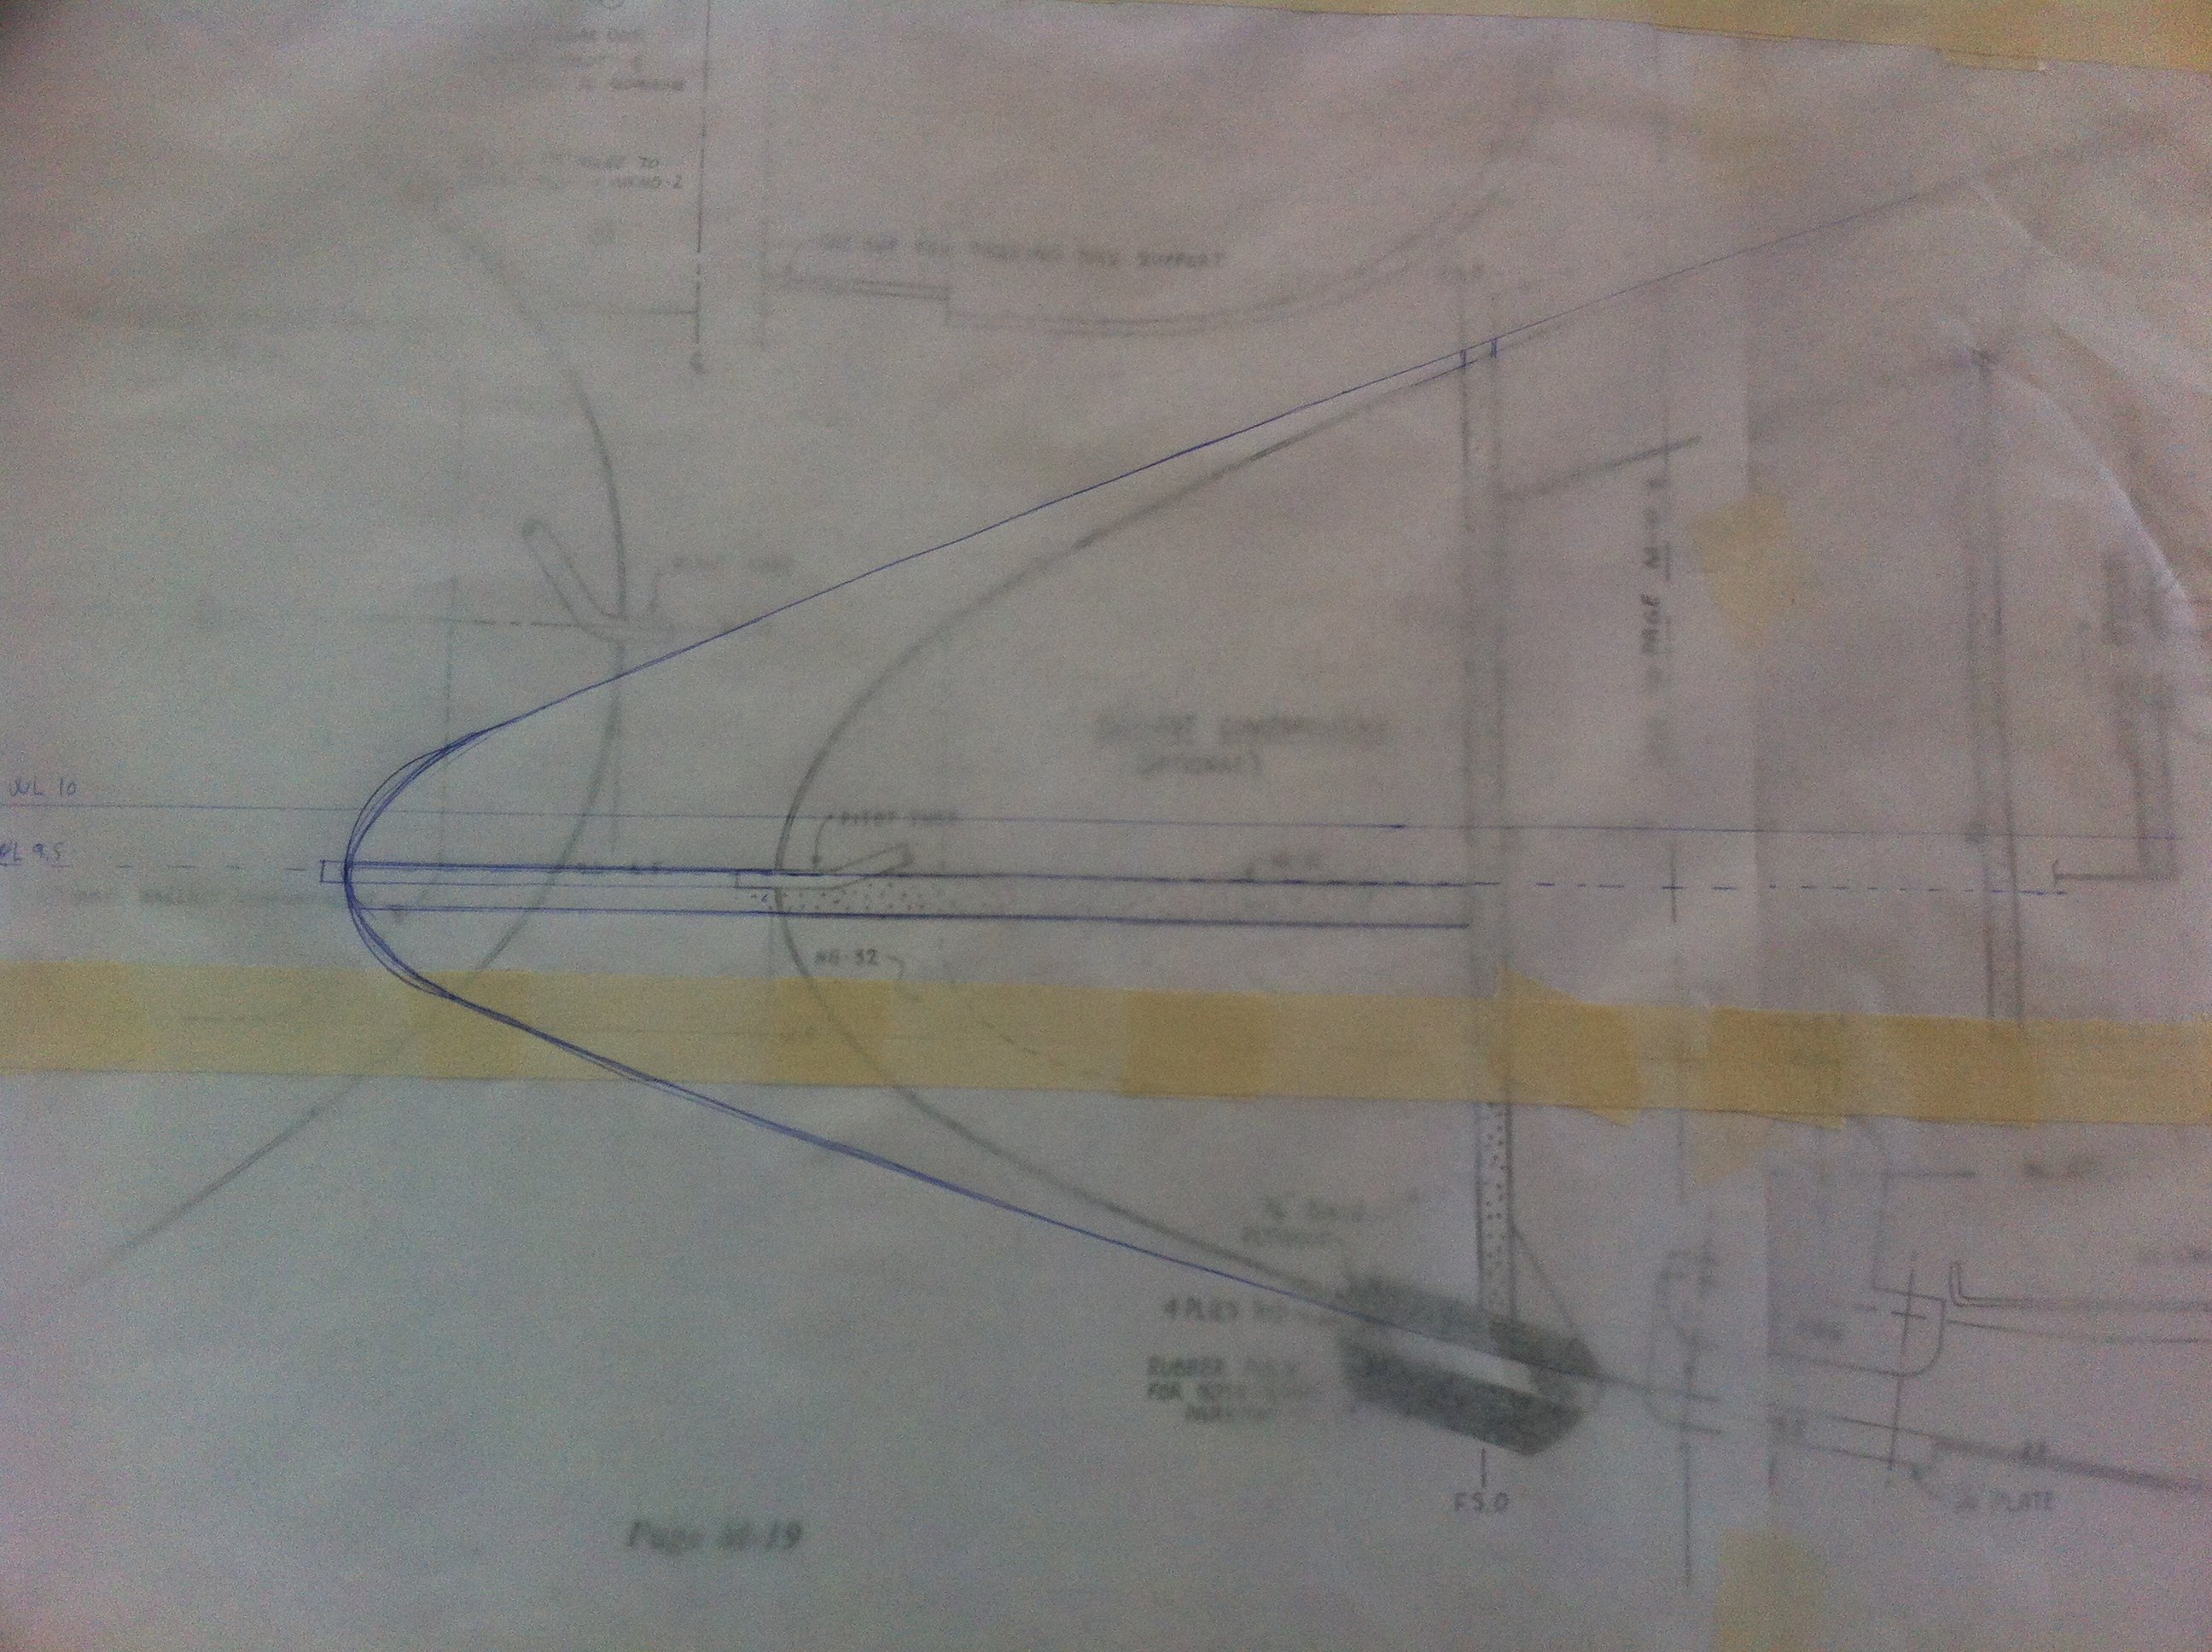
2014-01-13: I never liked the standard nose shape. I think the nose is too blunt. I decided to make the nose 4″ longer. Many builders have made their own nose shape, the longest I’ve heard of is over 8″ longer than the stock nose.
2014-01-13: I did not alter the shape of the nose compartment very much, the bottom is all stock, the top and the sides are changed a bit (wider) to achieve a nice line from the IP.
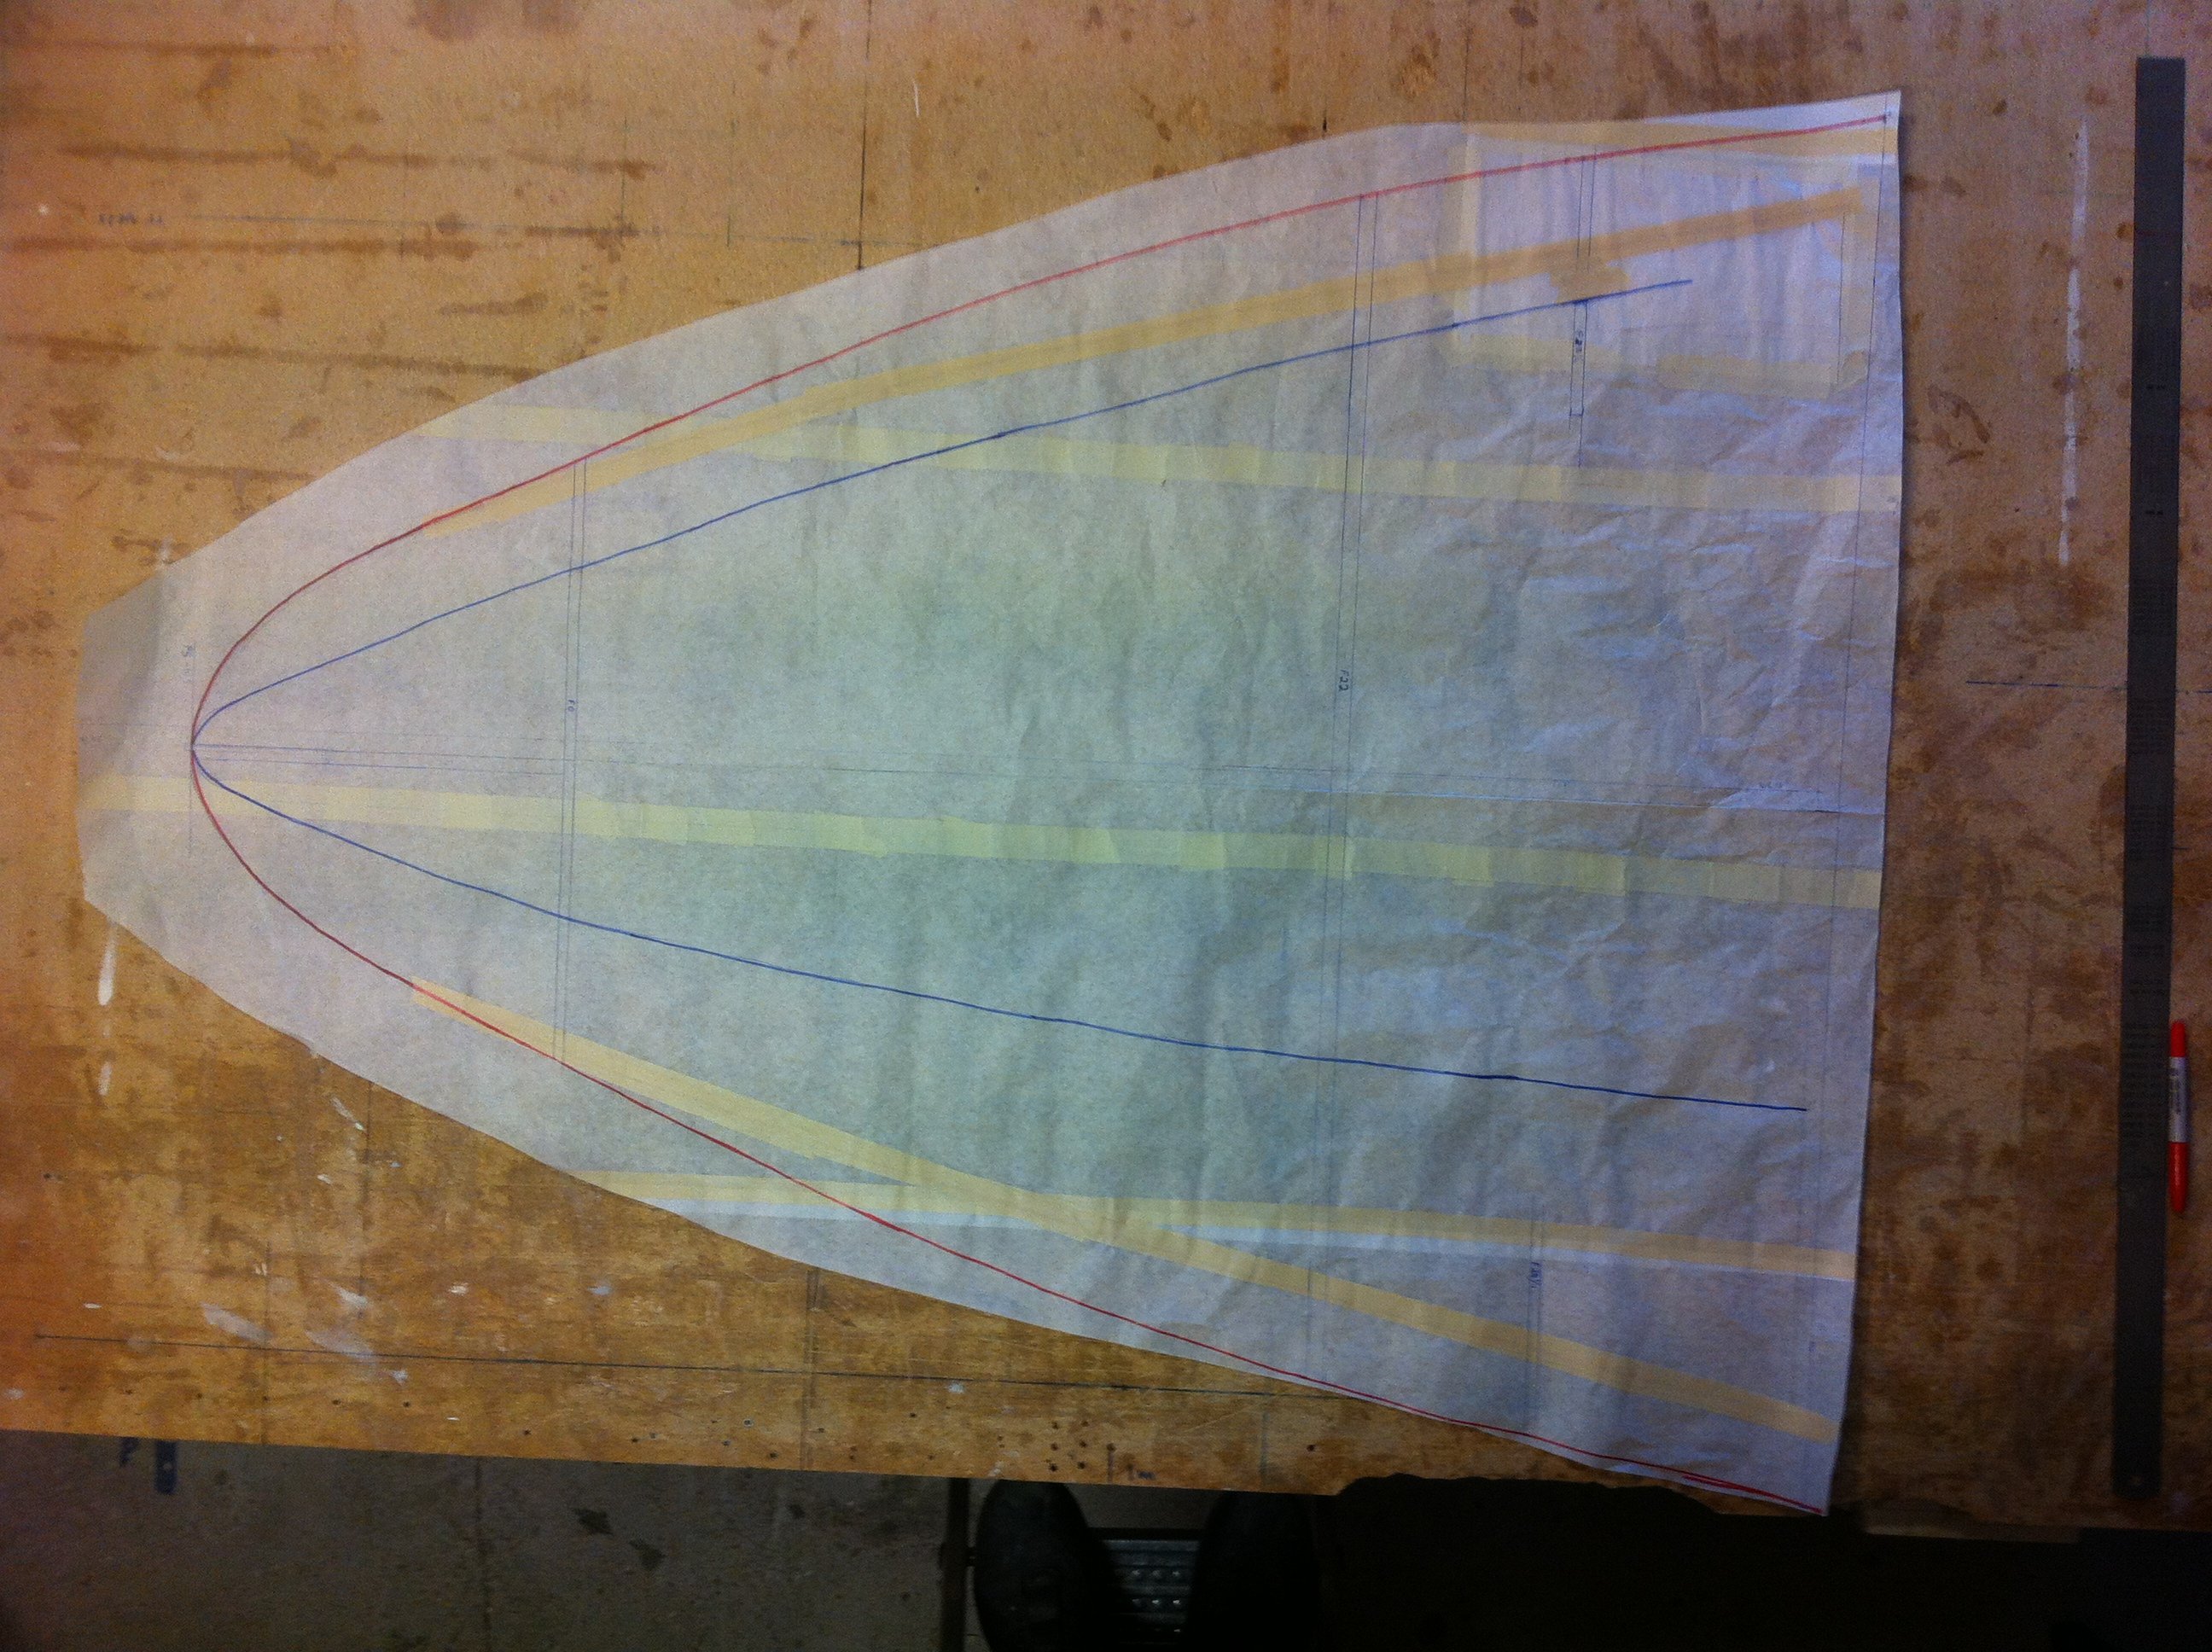
I traced the lines both sideways and from the top on paper, and made templates of plywood.
2014-01-13: I made the top and bottom of the nose according to the plans using urethane.
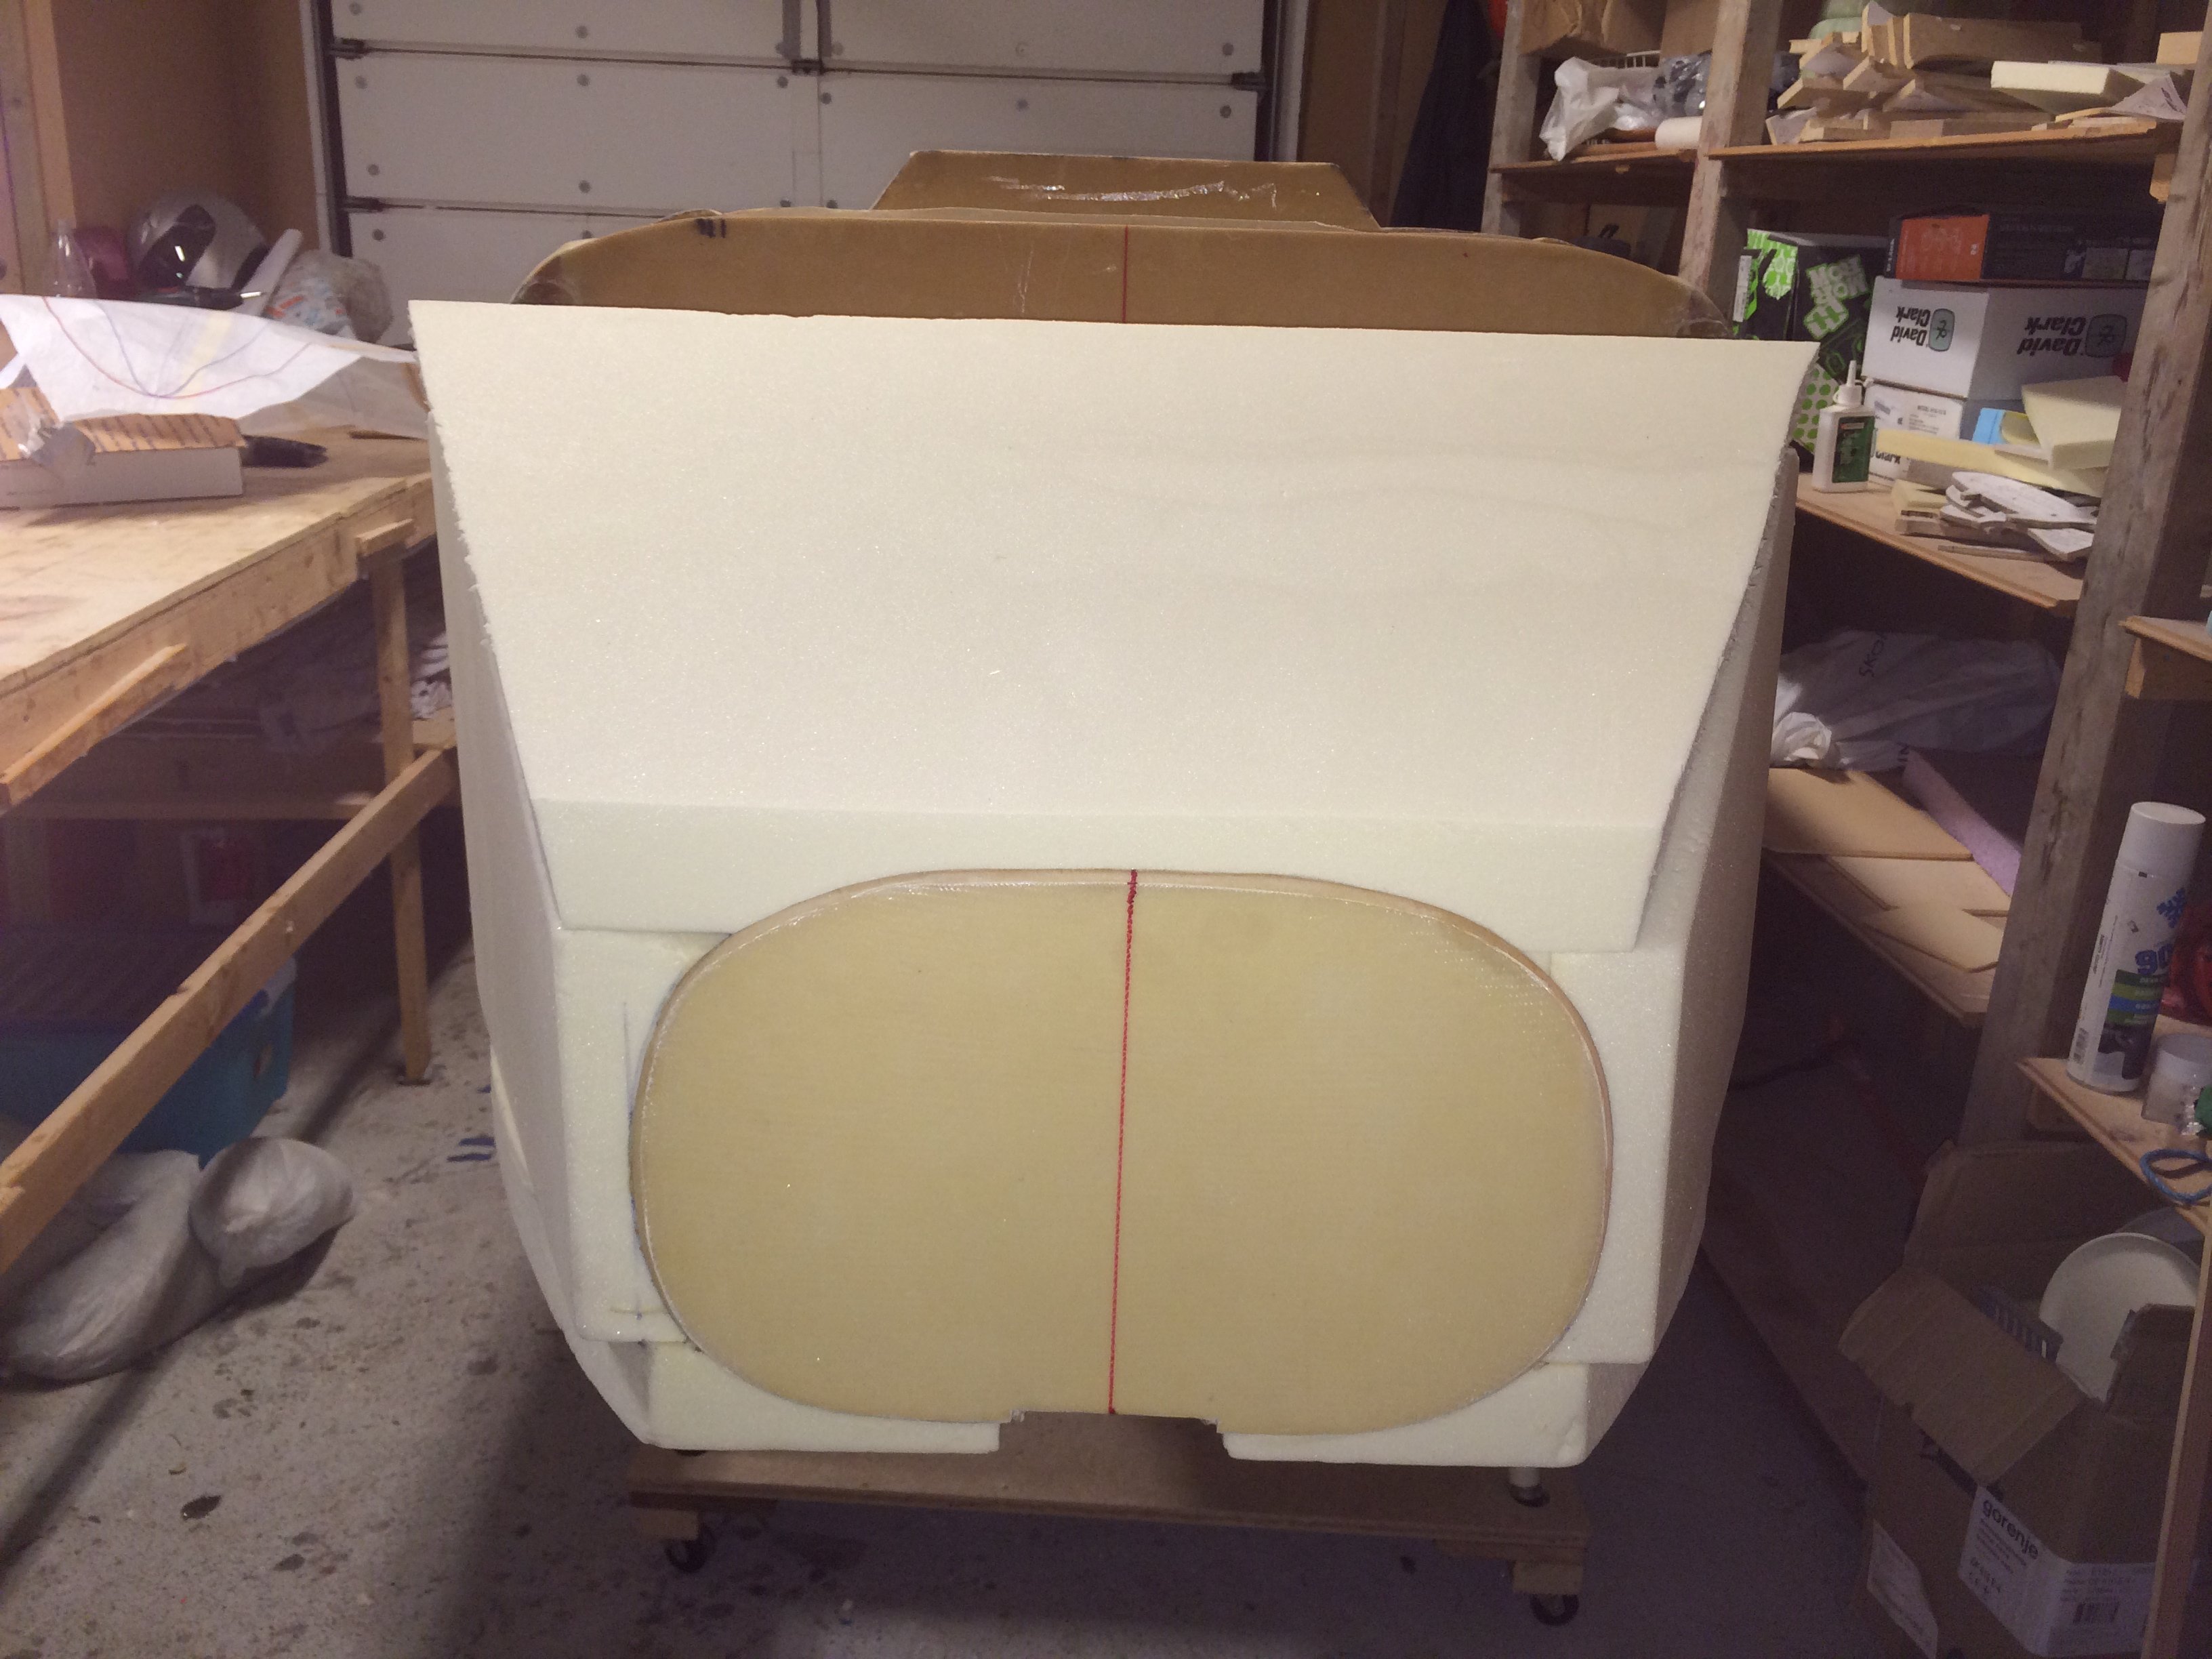
2014-01-13: F0 is a bit wider and higher to match the new nose-shape.
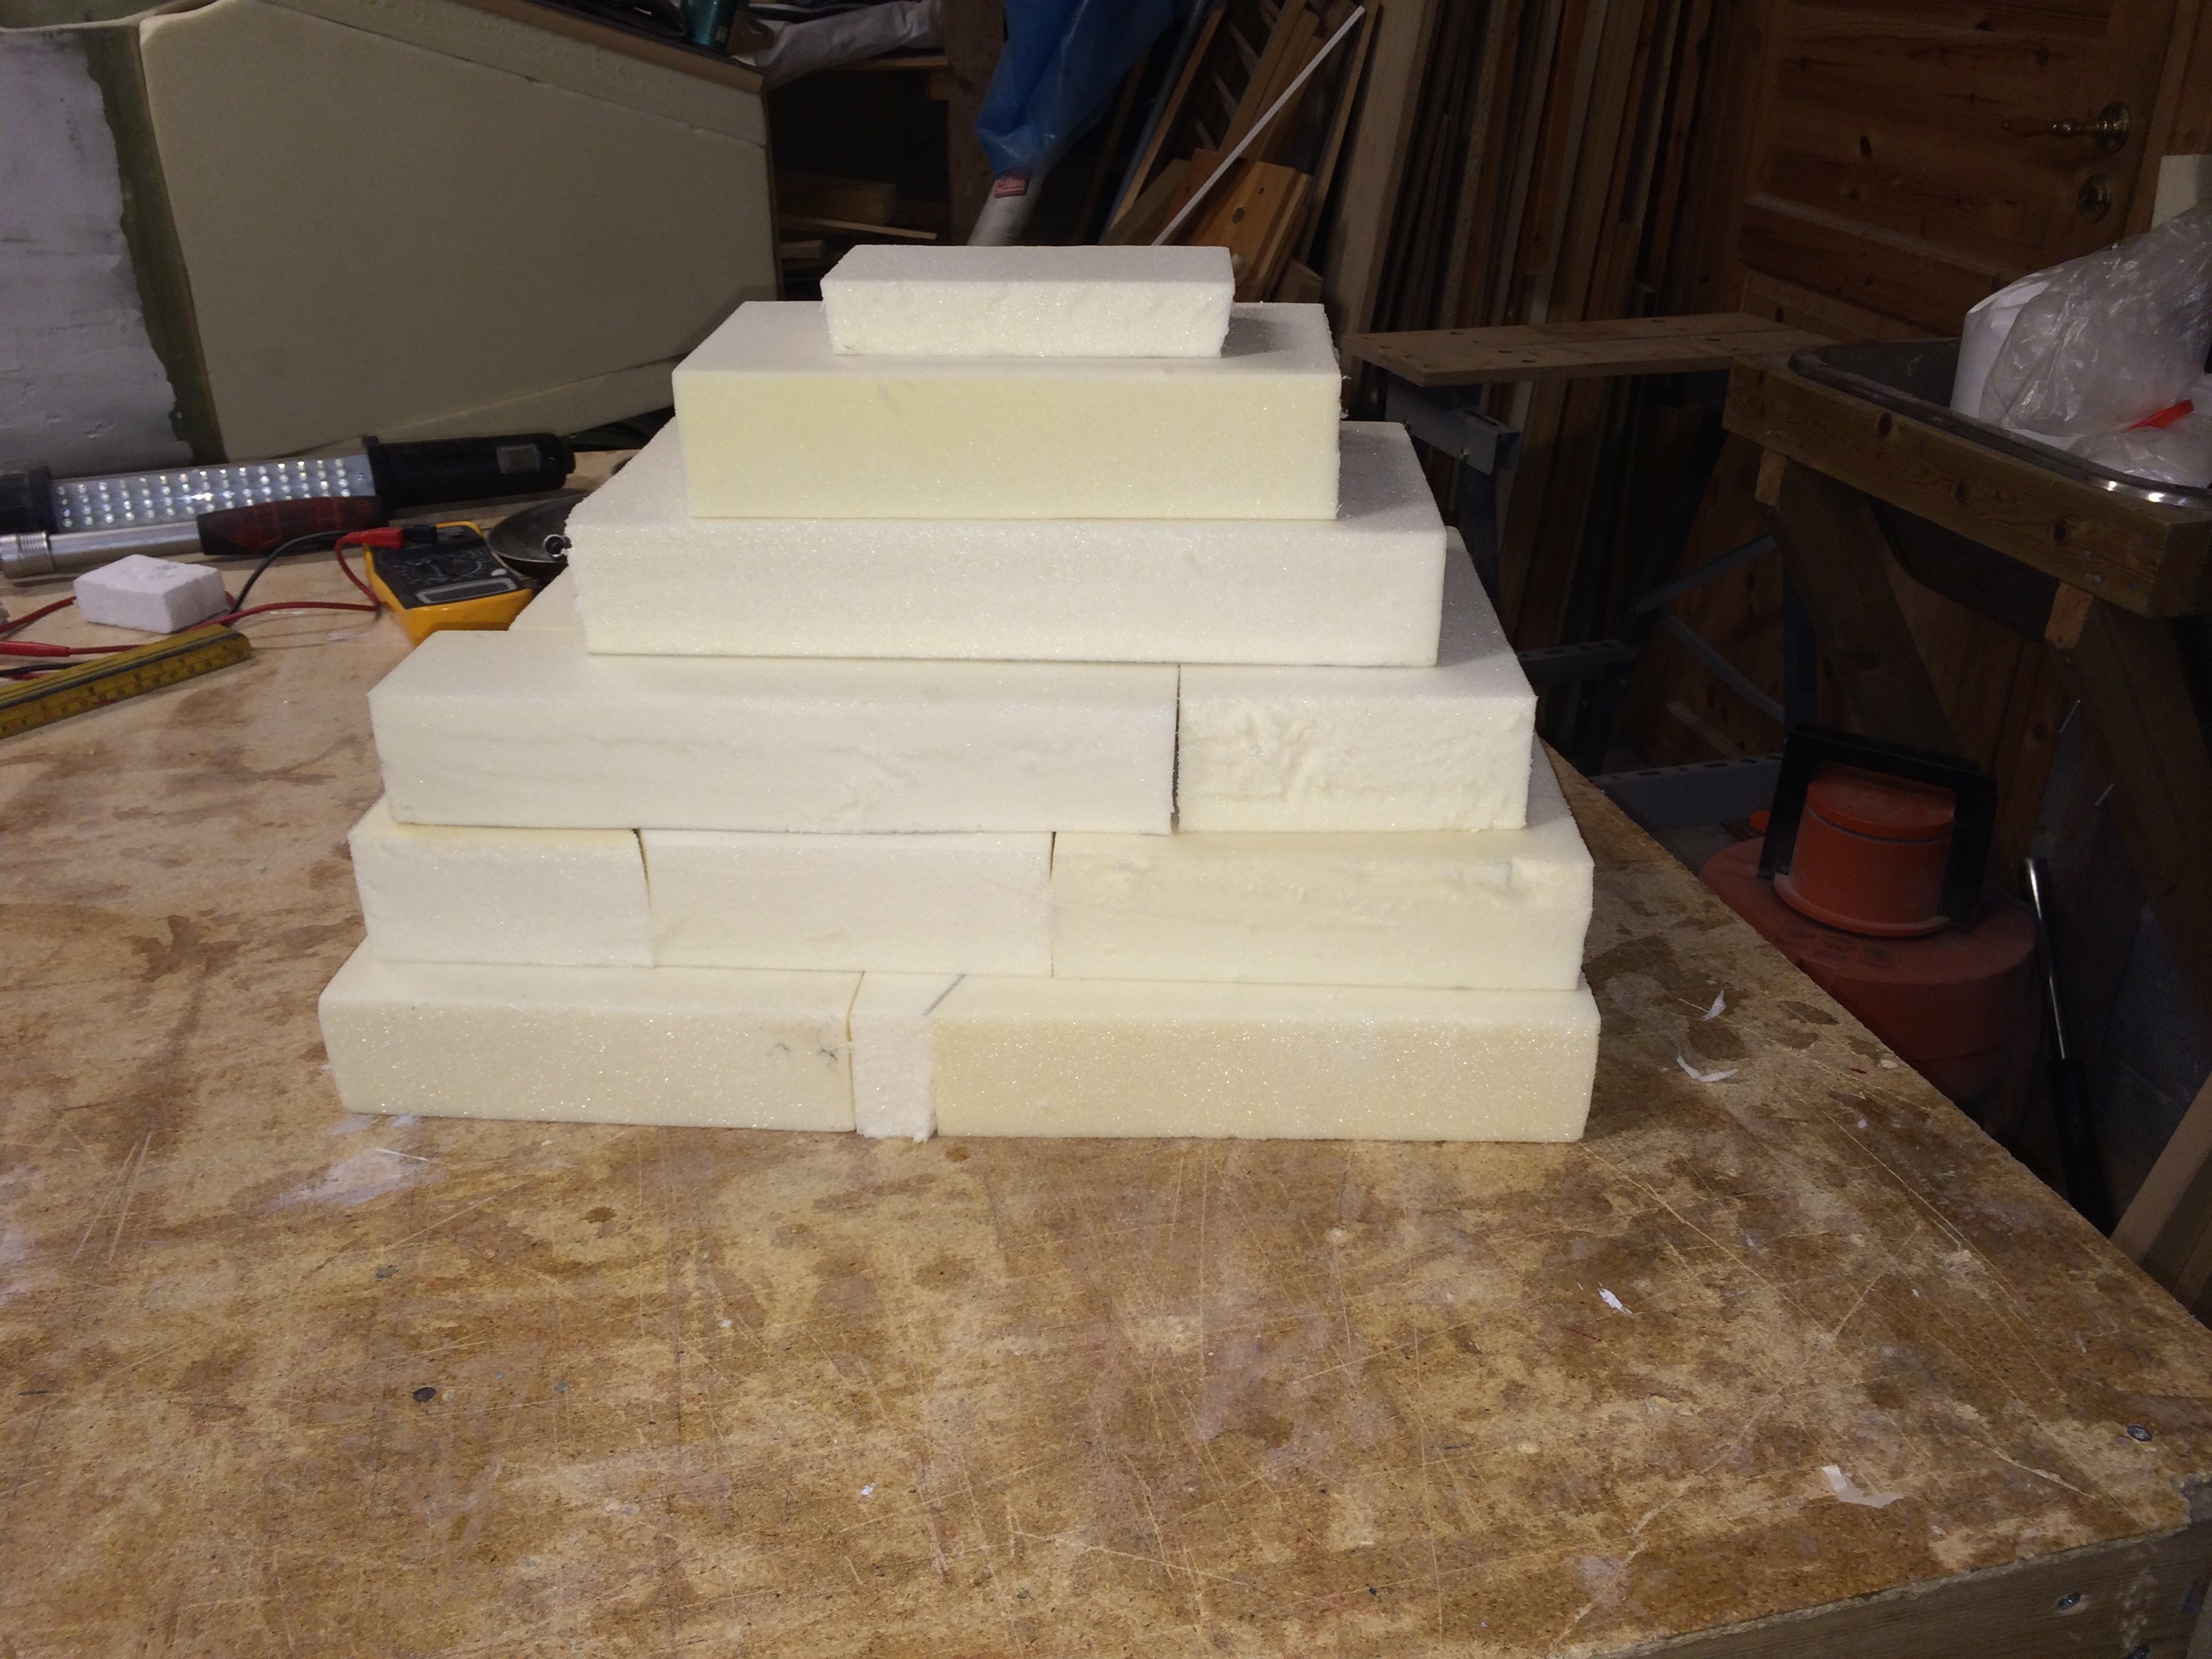
2014-01-13: I will make a hollow nose-cone, since I will mount the landing lights here. Glued some urethane-blocks together.
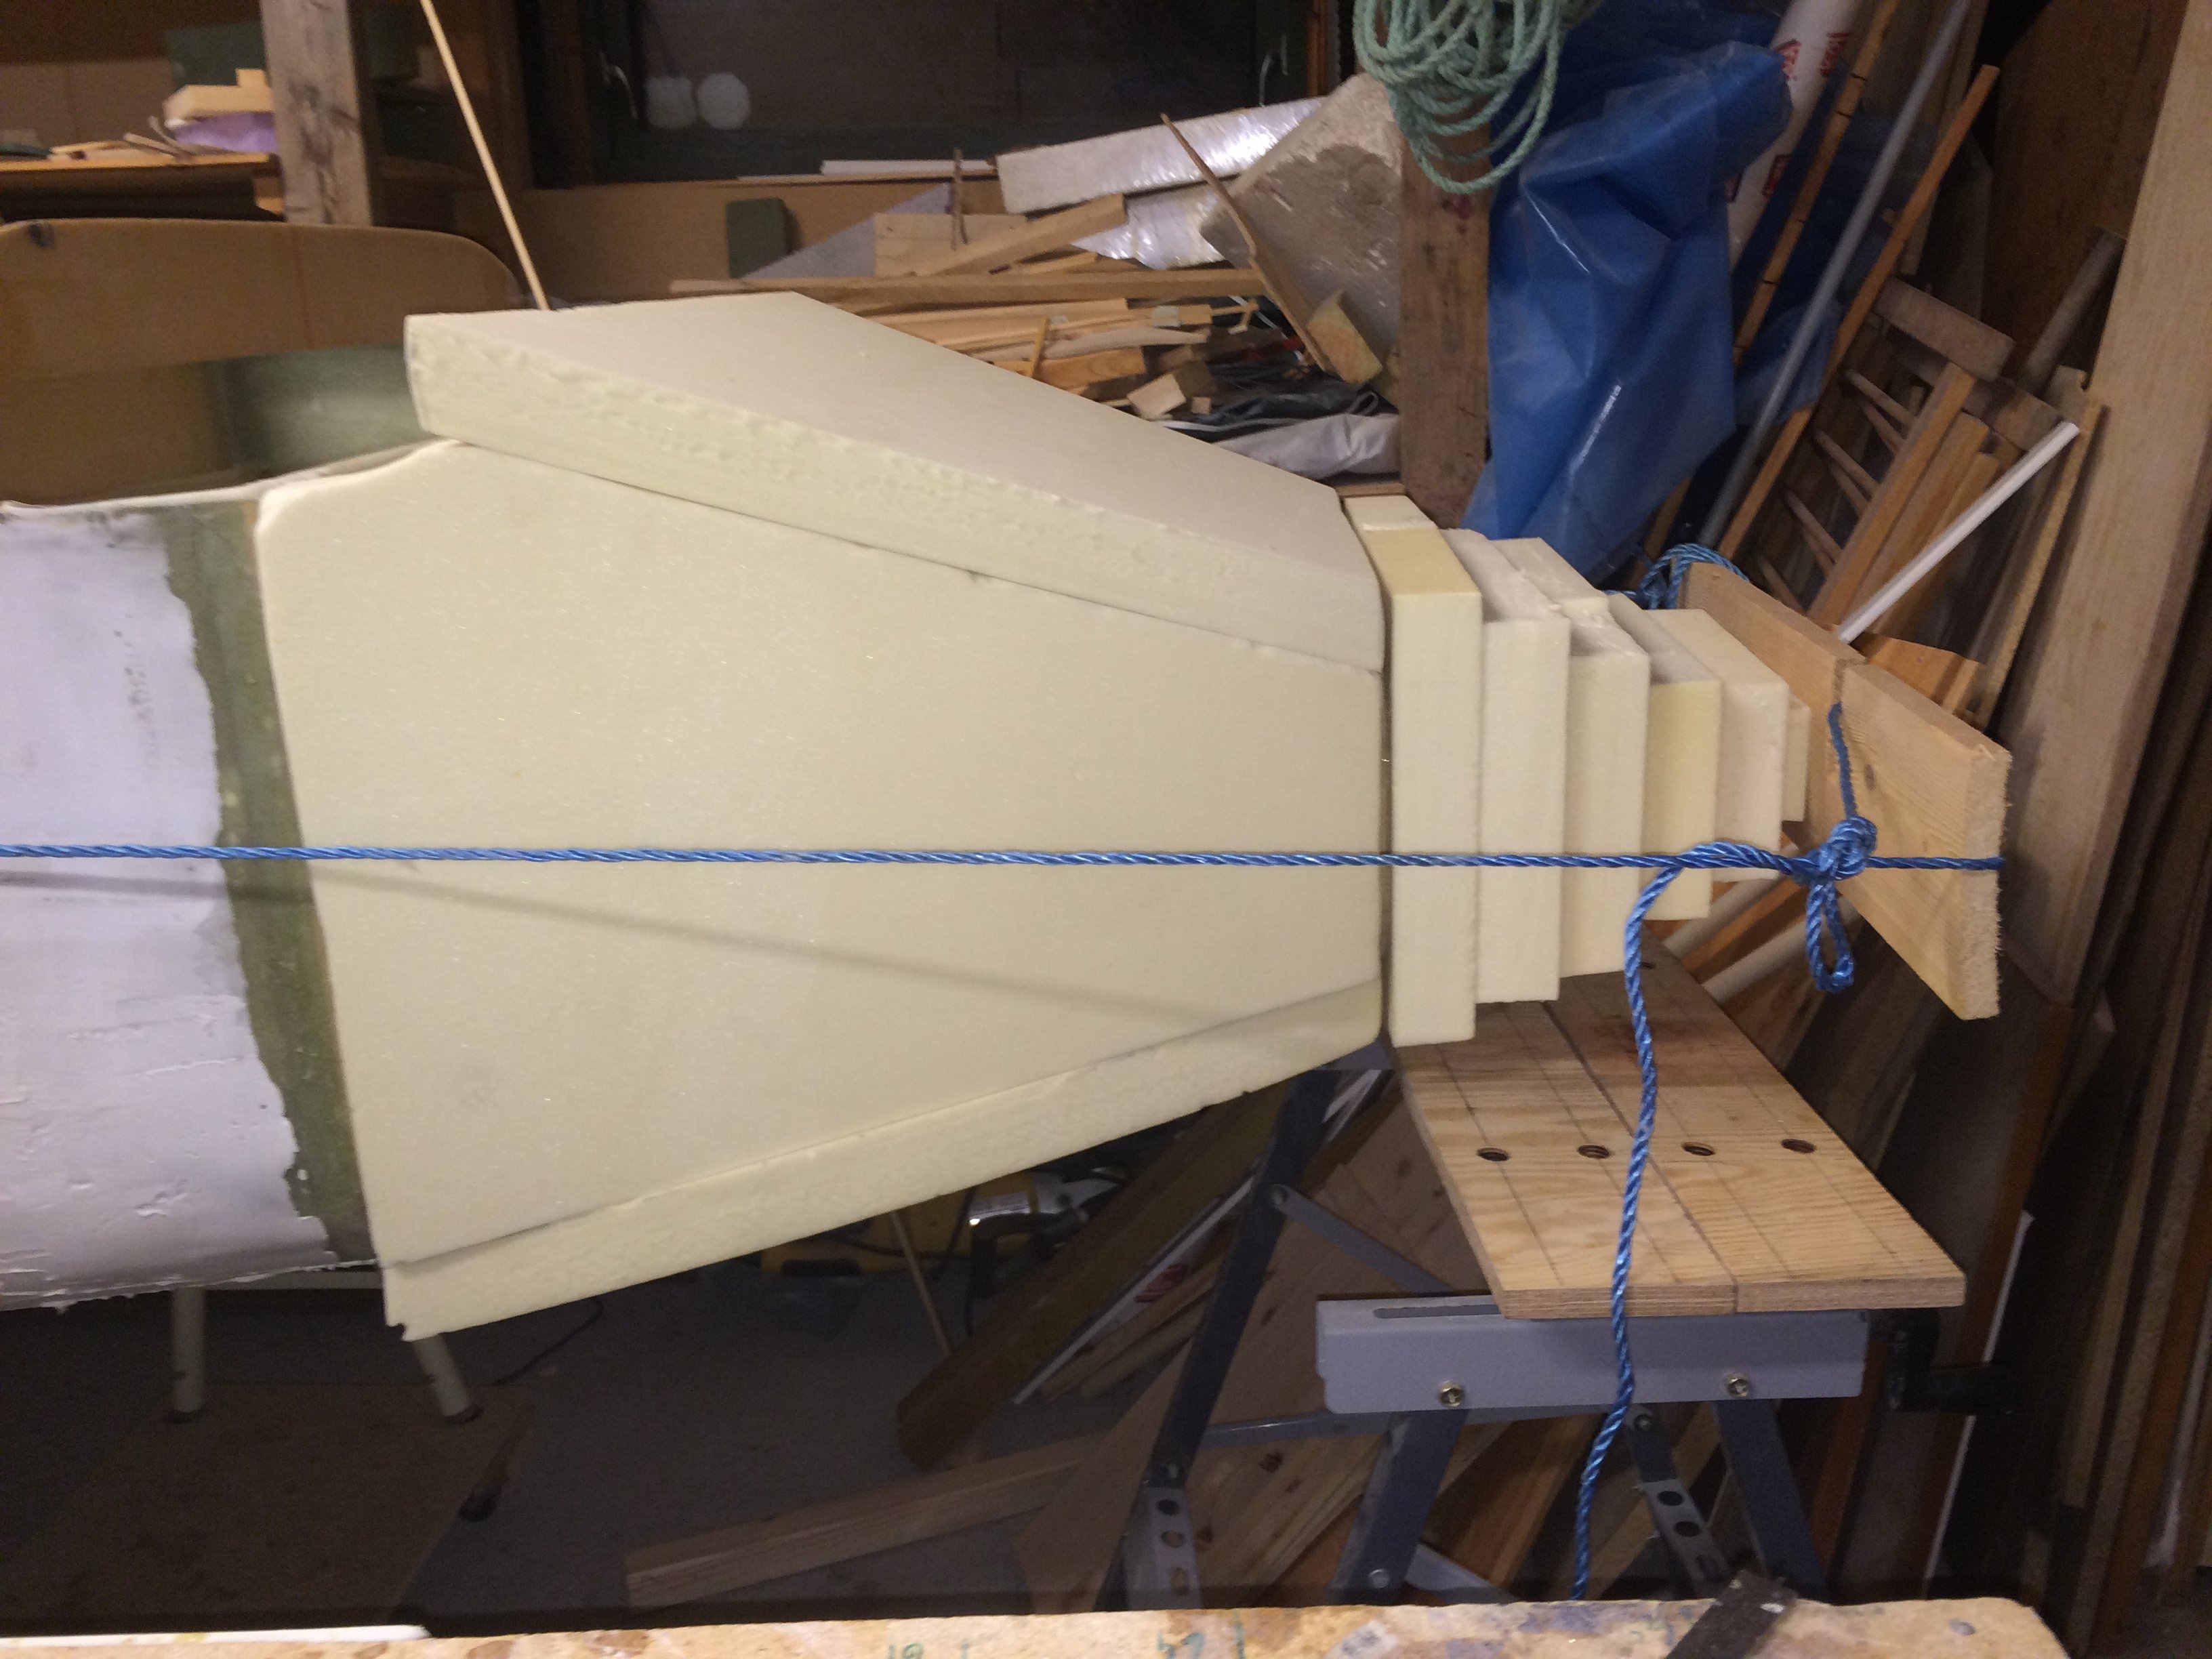
2014-01-13: The nose-block is the glued with 5-min epoxy to F0 and set to cure.

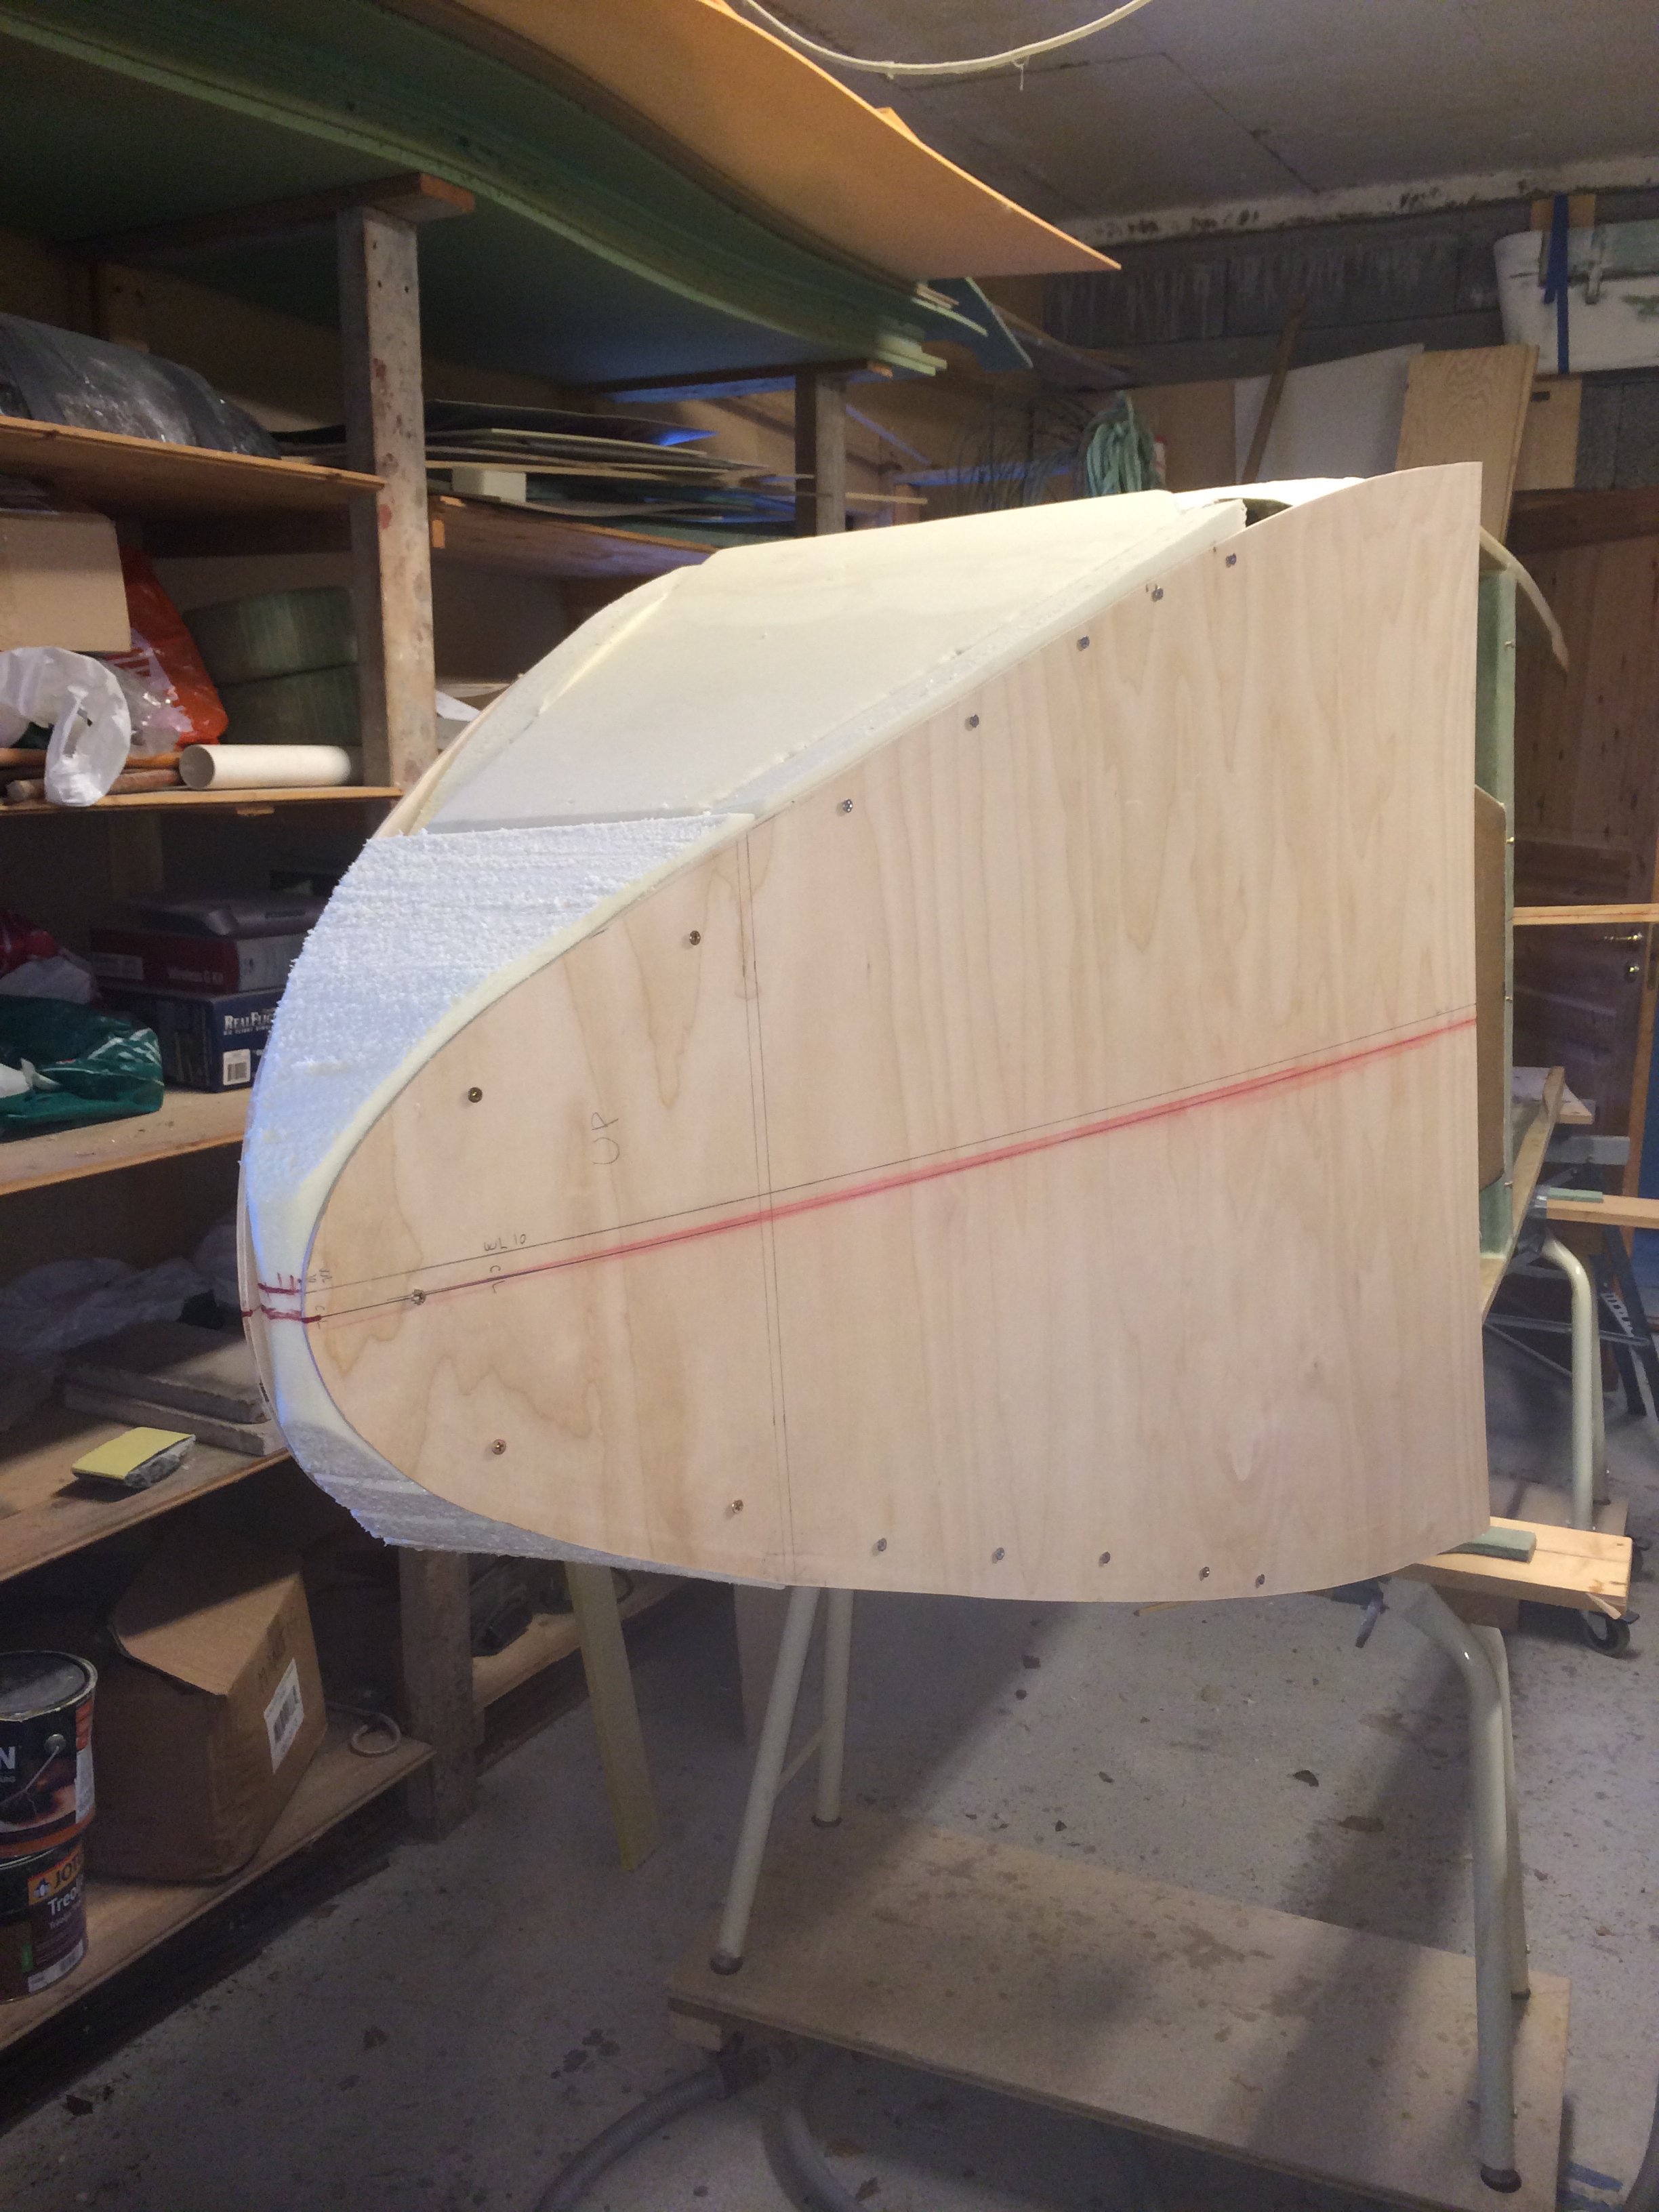
2014-02-15: I leveled the fuselage and measured WL10 using the laser.
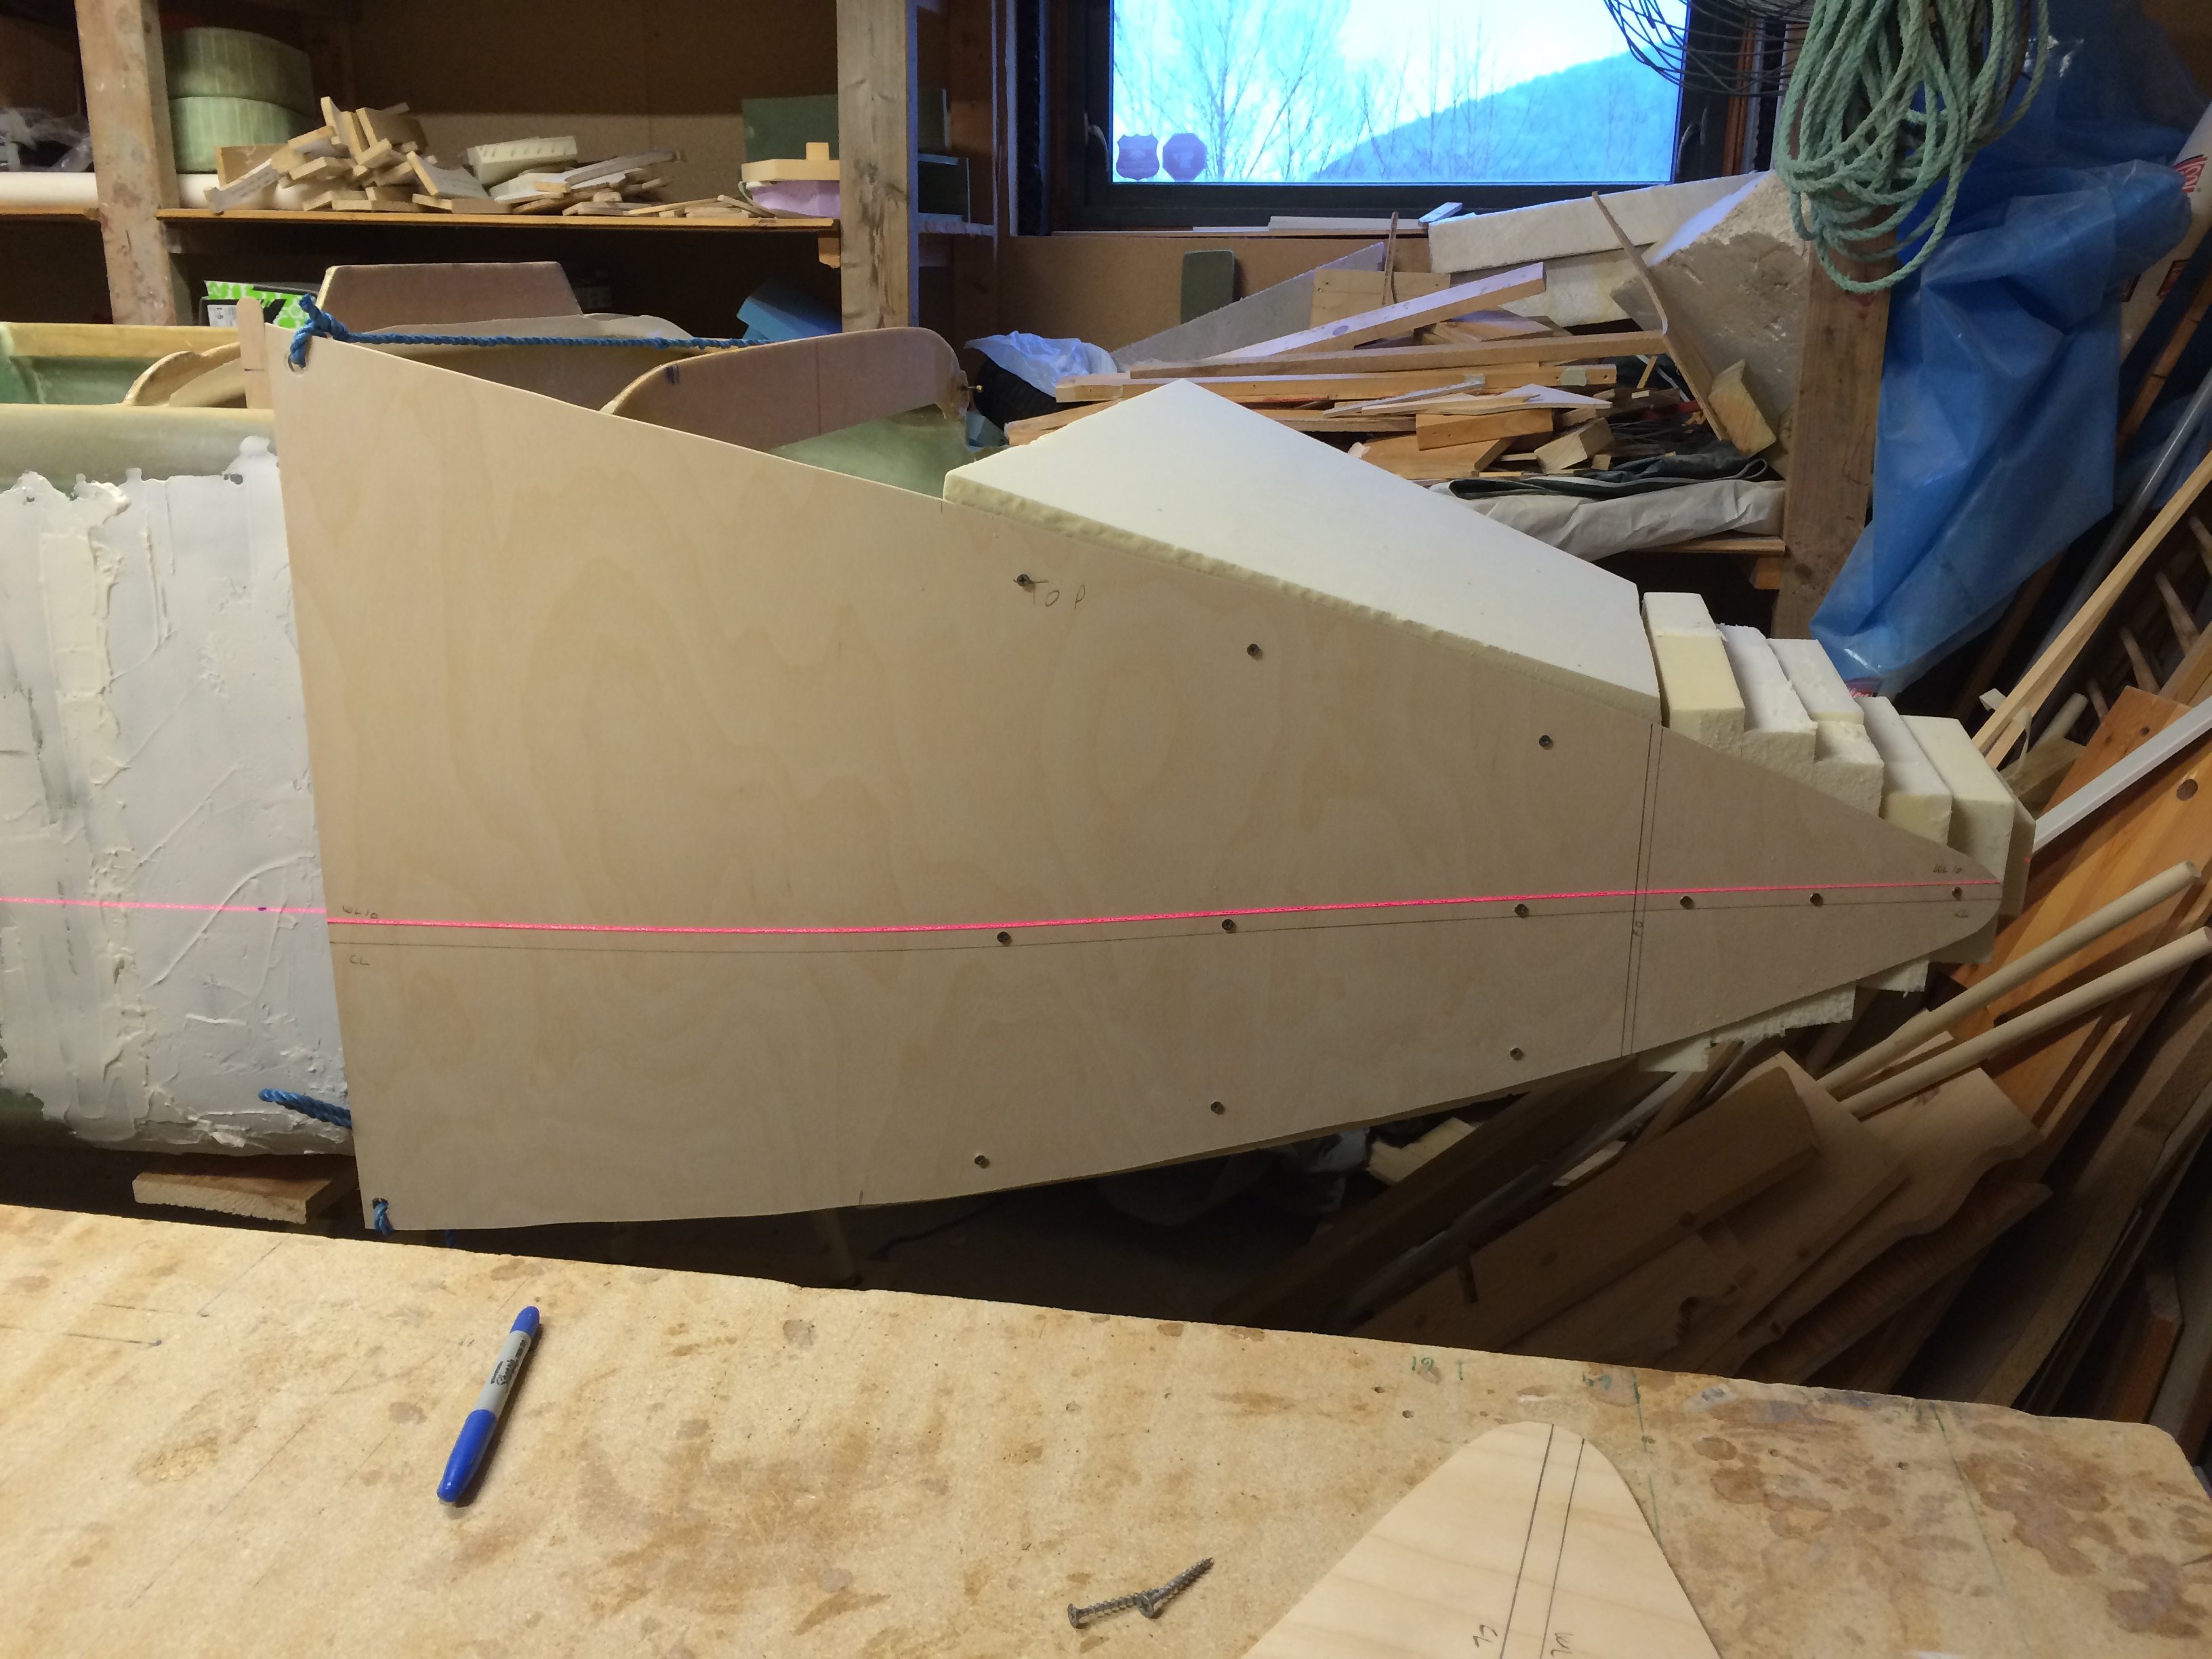
2014-02-15: WL10 this is also marked on the templates. The lower line is the center-line measured from the point of the nose. I fastened the plywood templates with drywall screws on both sides.
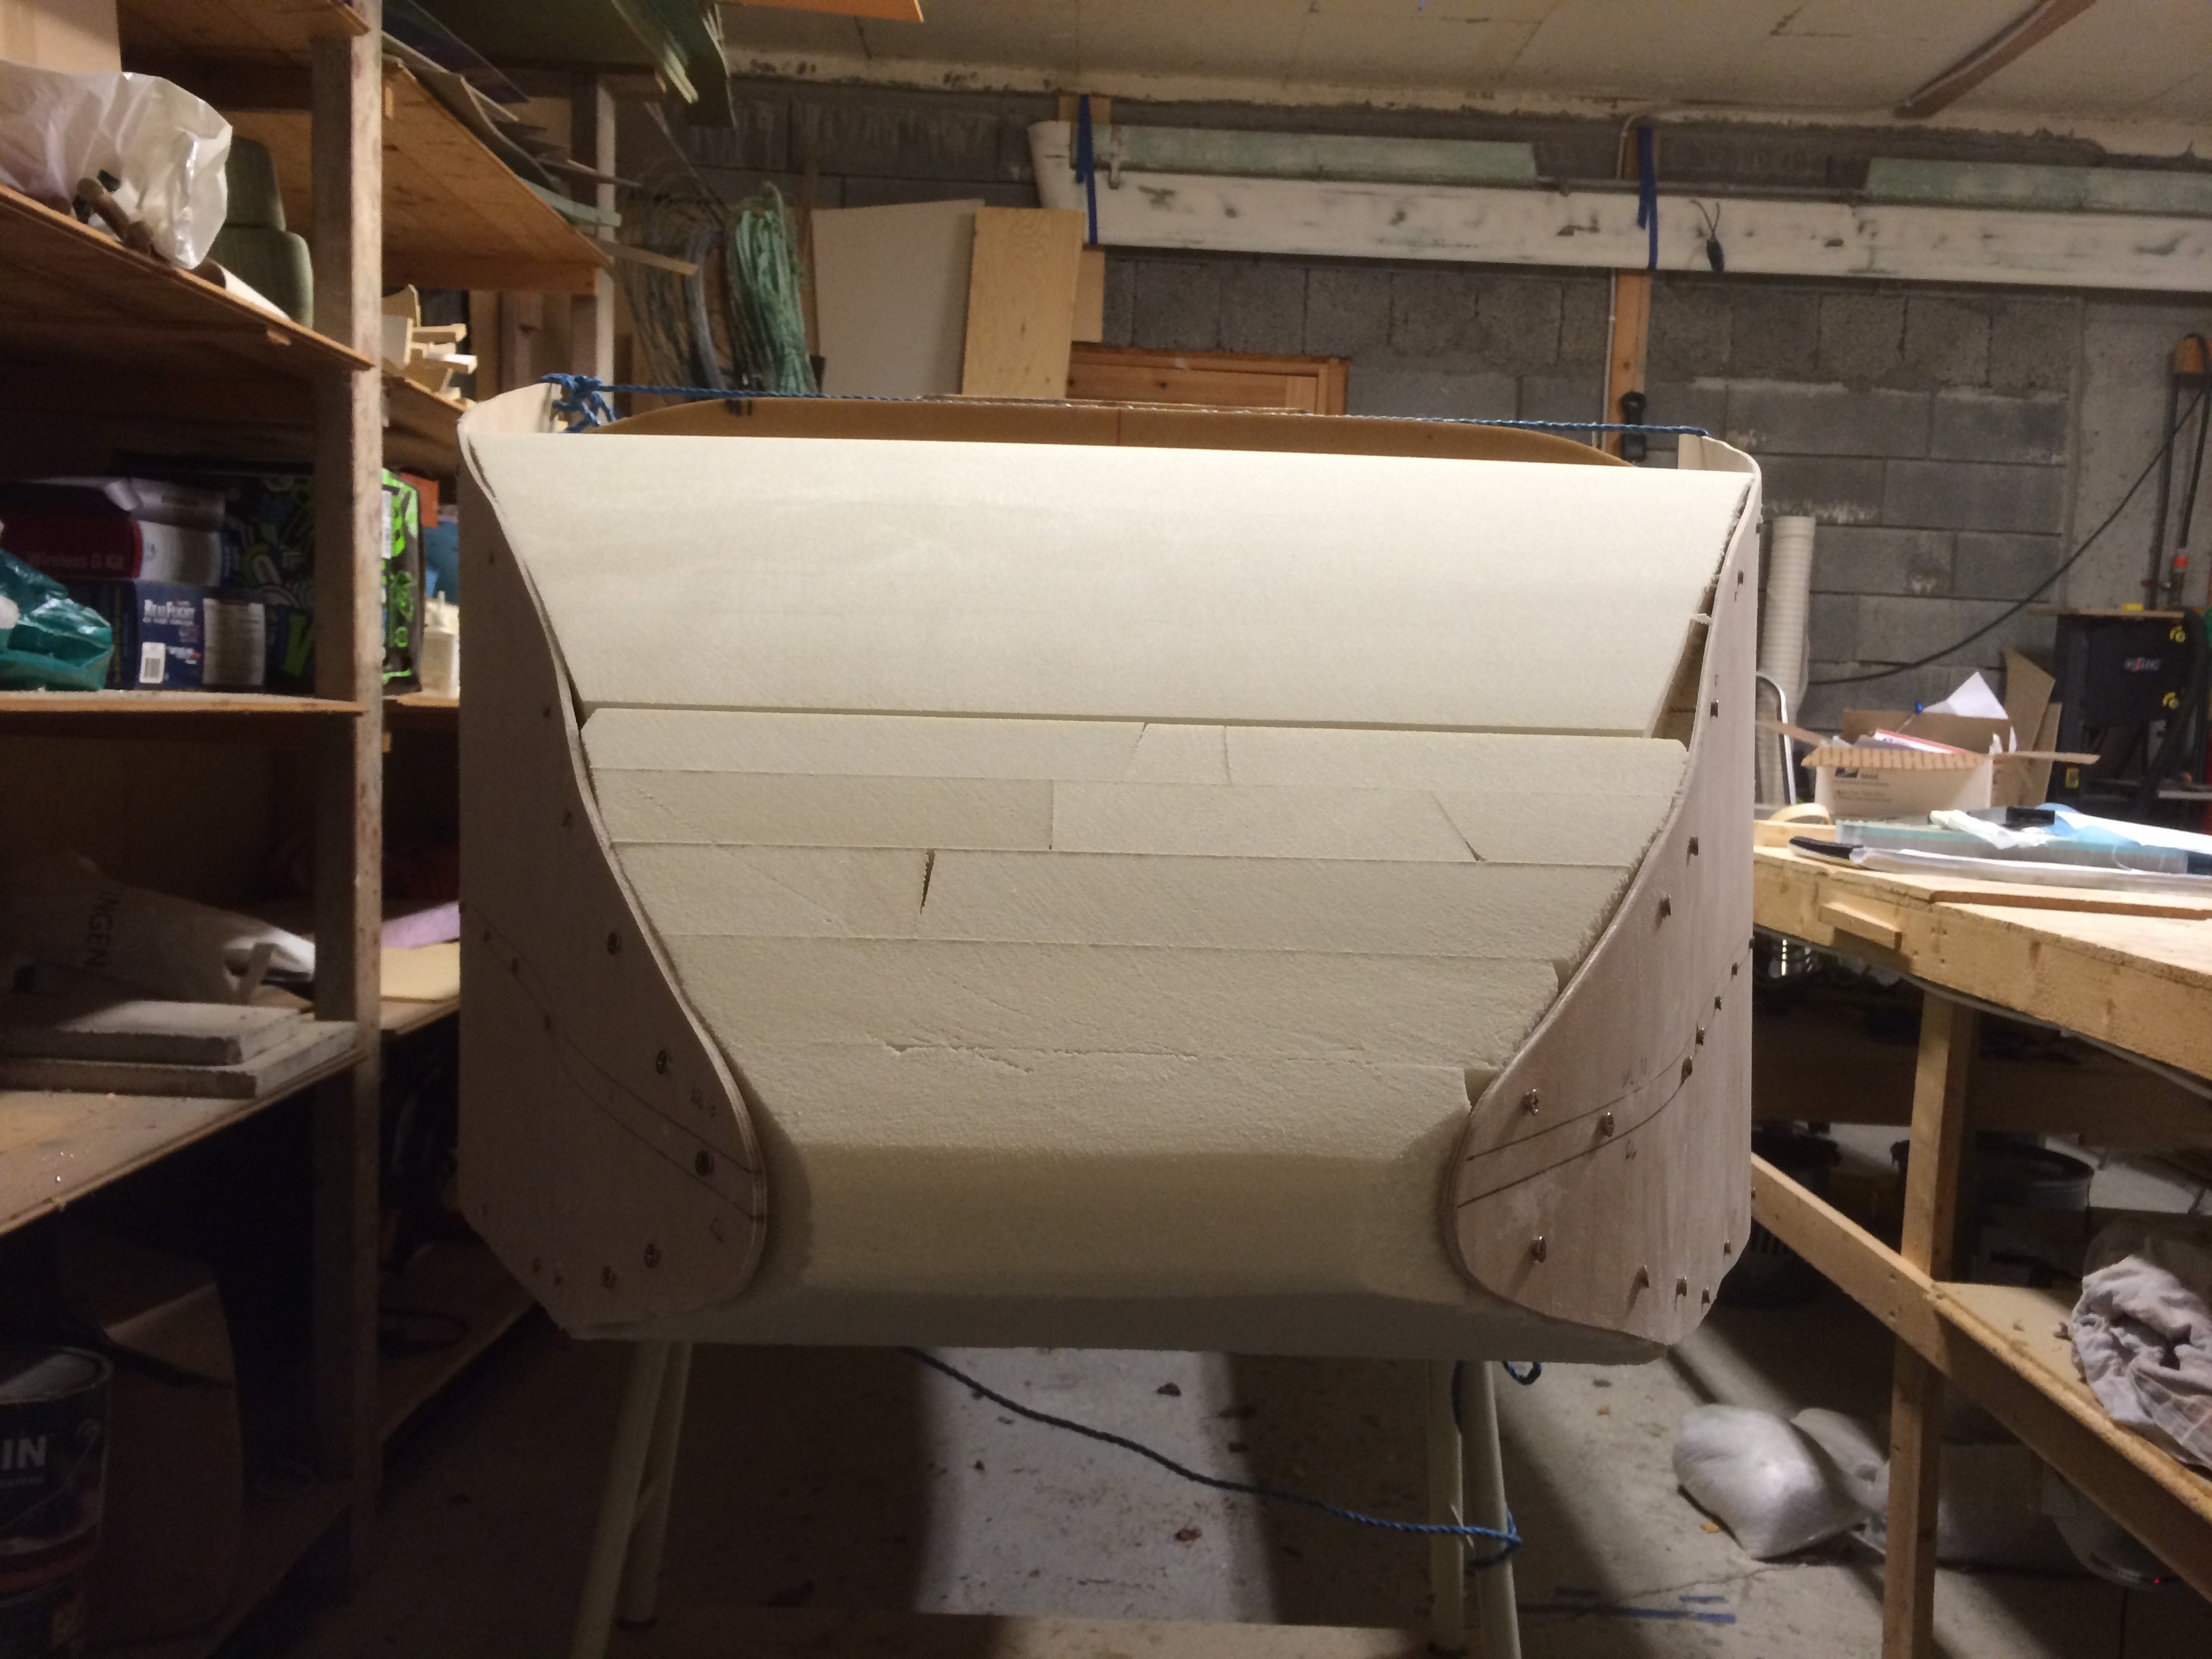
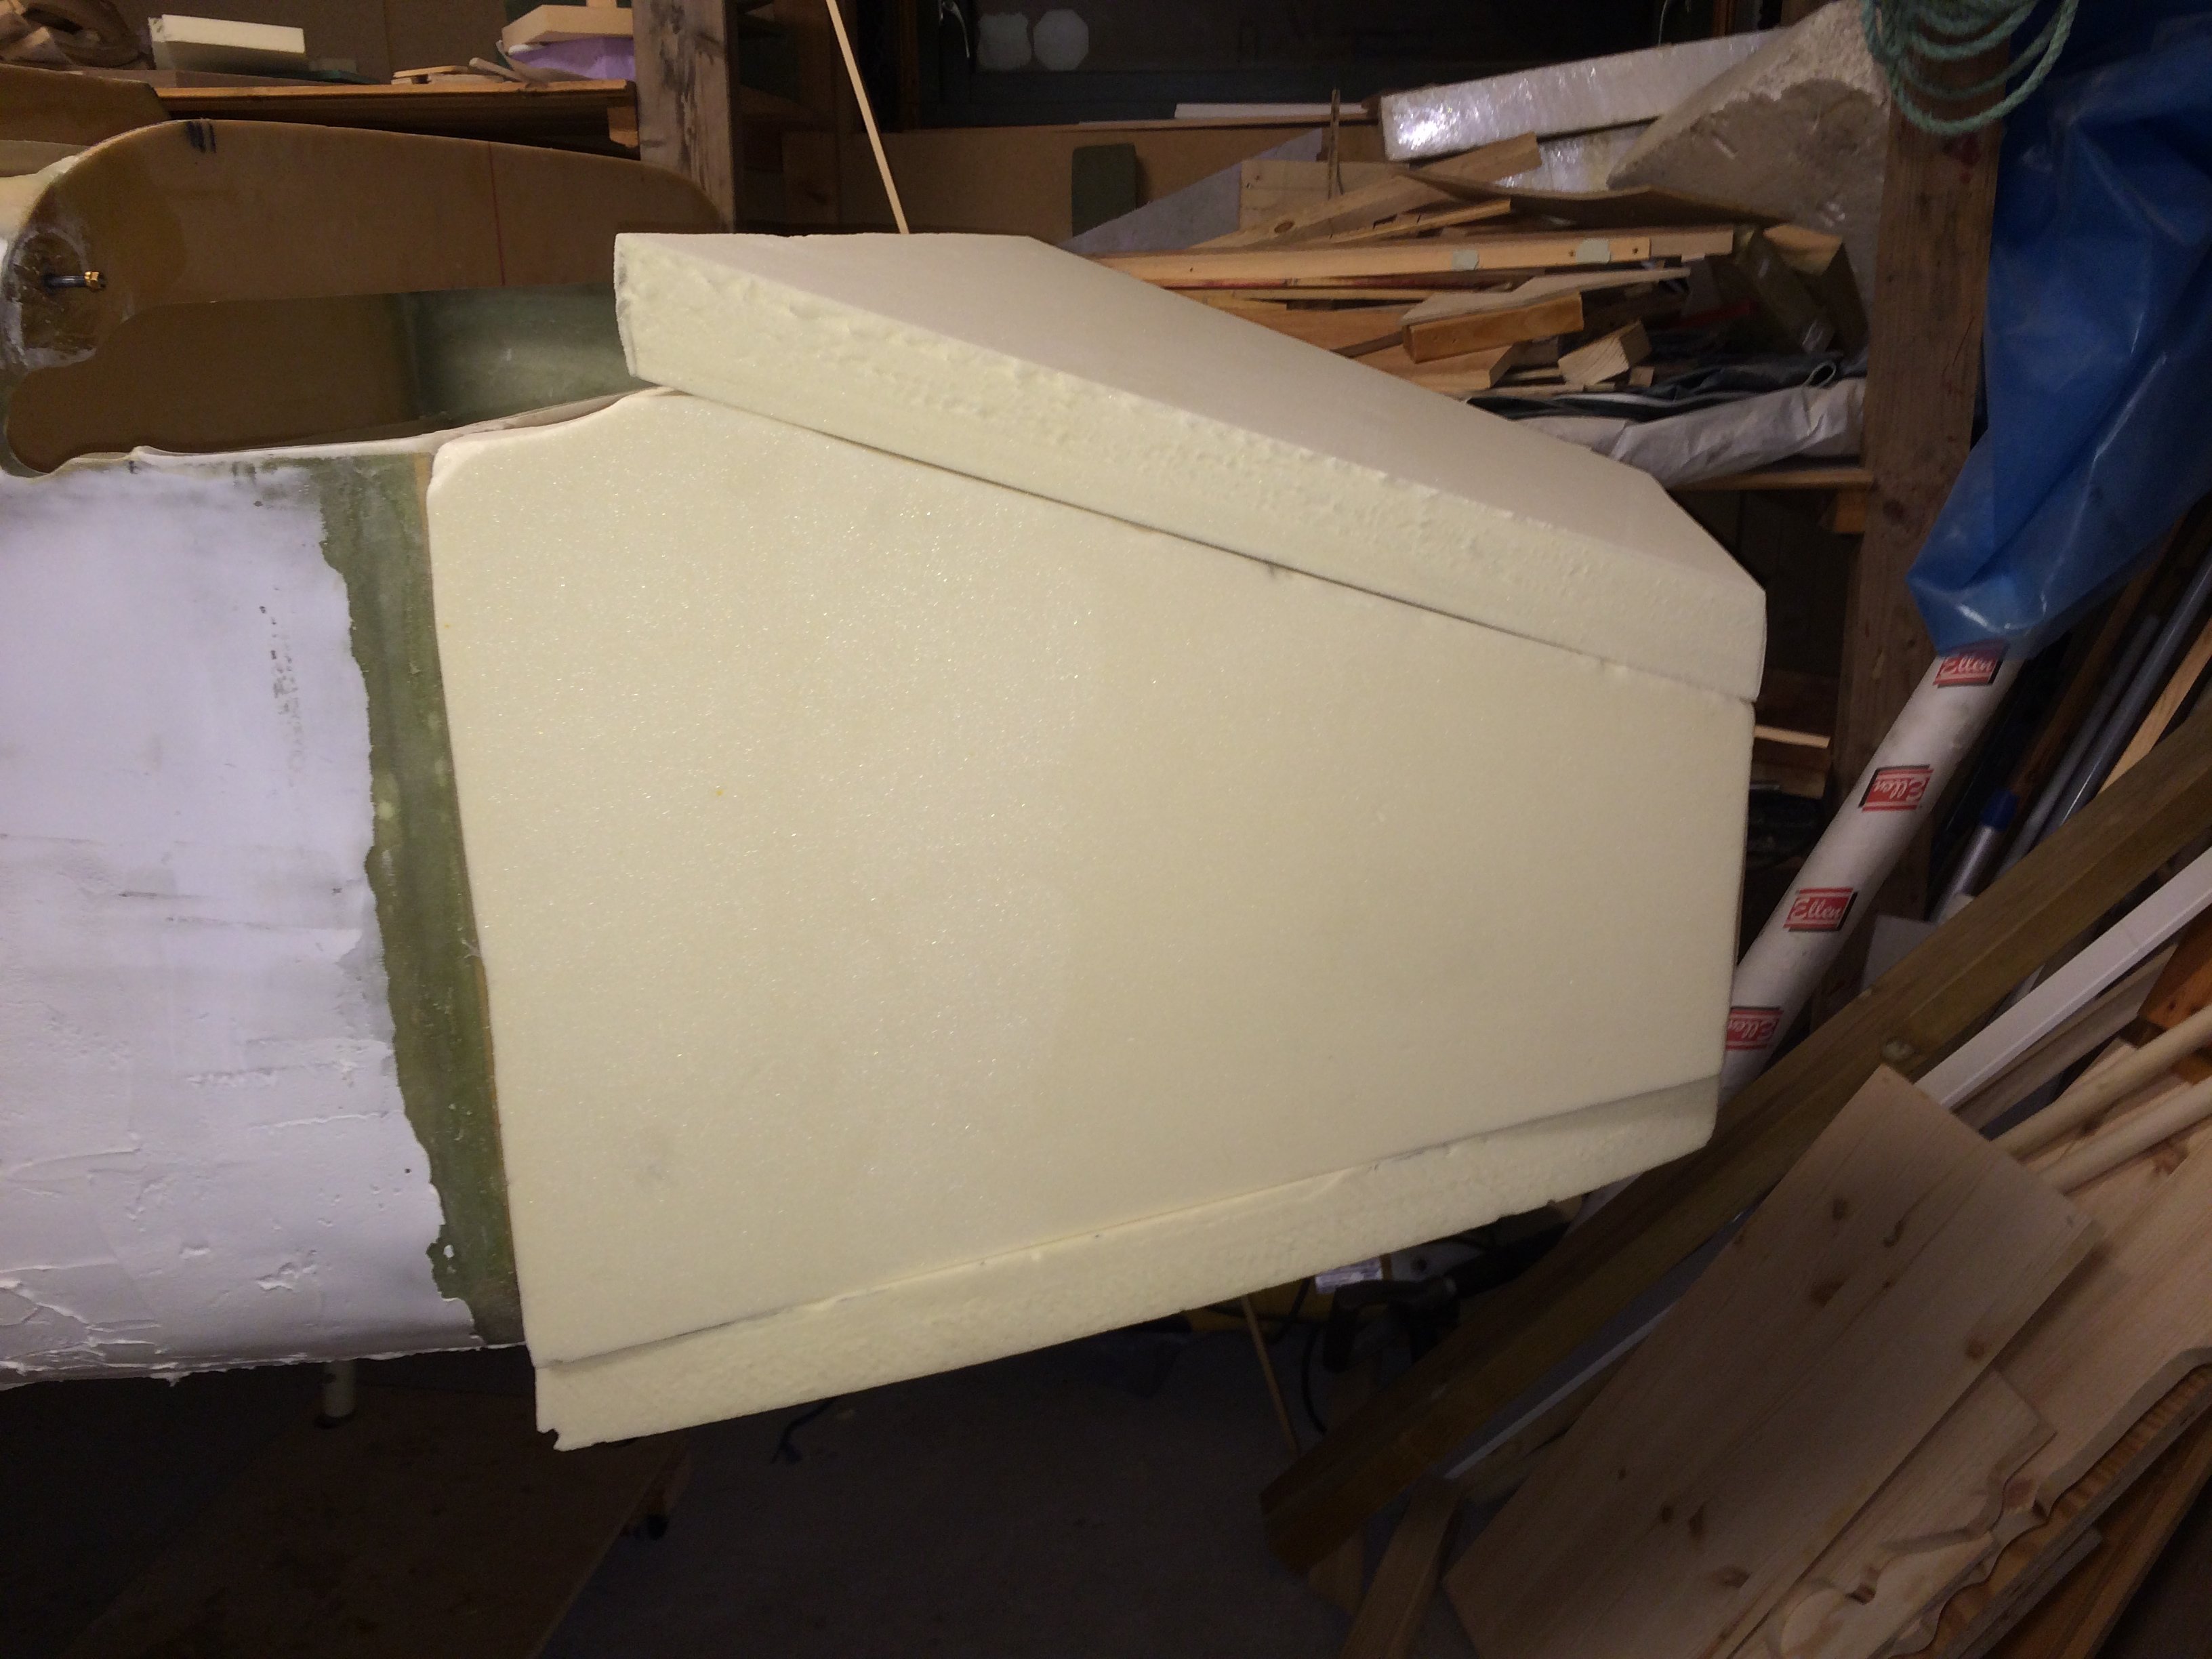
2014-02-15: Then I sanded the top urethane down to the side templates. Many builders hate the urethane foam, I love it. It’s so easy to shape and sand. But it’s easy to damage the foam, so one have to be careful handling the parts until they are glassed. One other nice thing is that the dust is heavy so it just falls down to the floor instead of flying into the air. I use the shop vacuum cleaner often to keep the foam and floor as clean as possible.
2014-02-15: After sanding the top and bottom, I sanded the sides using the same method.
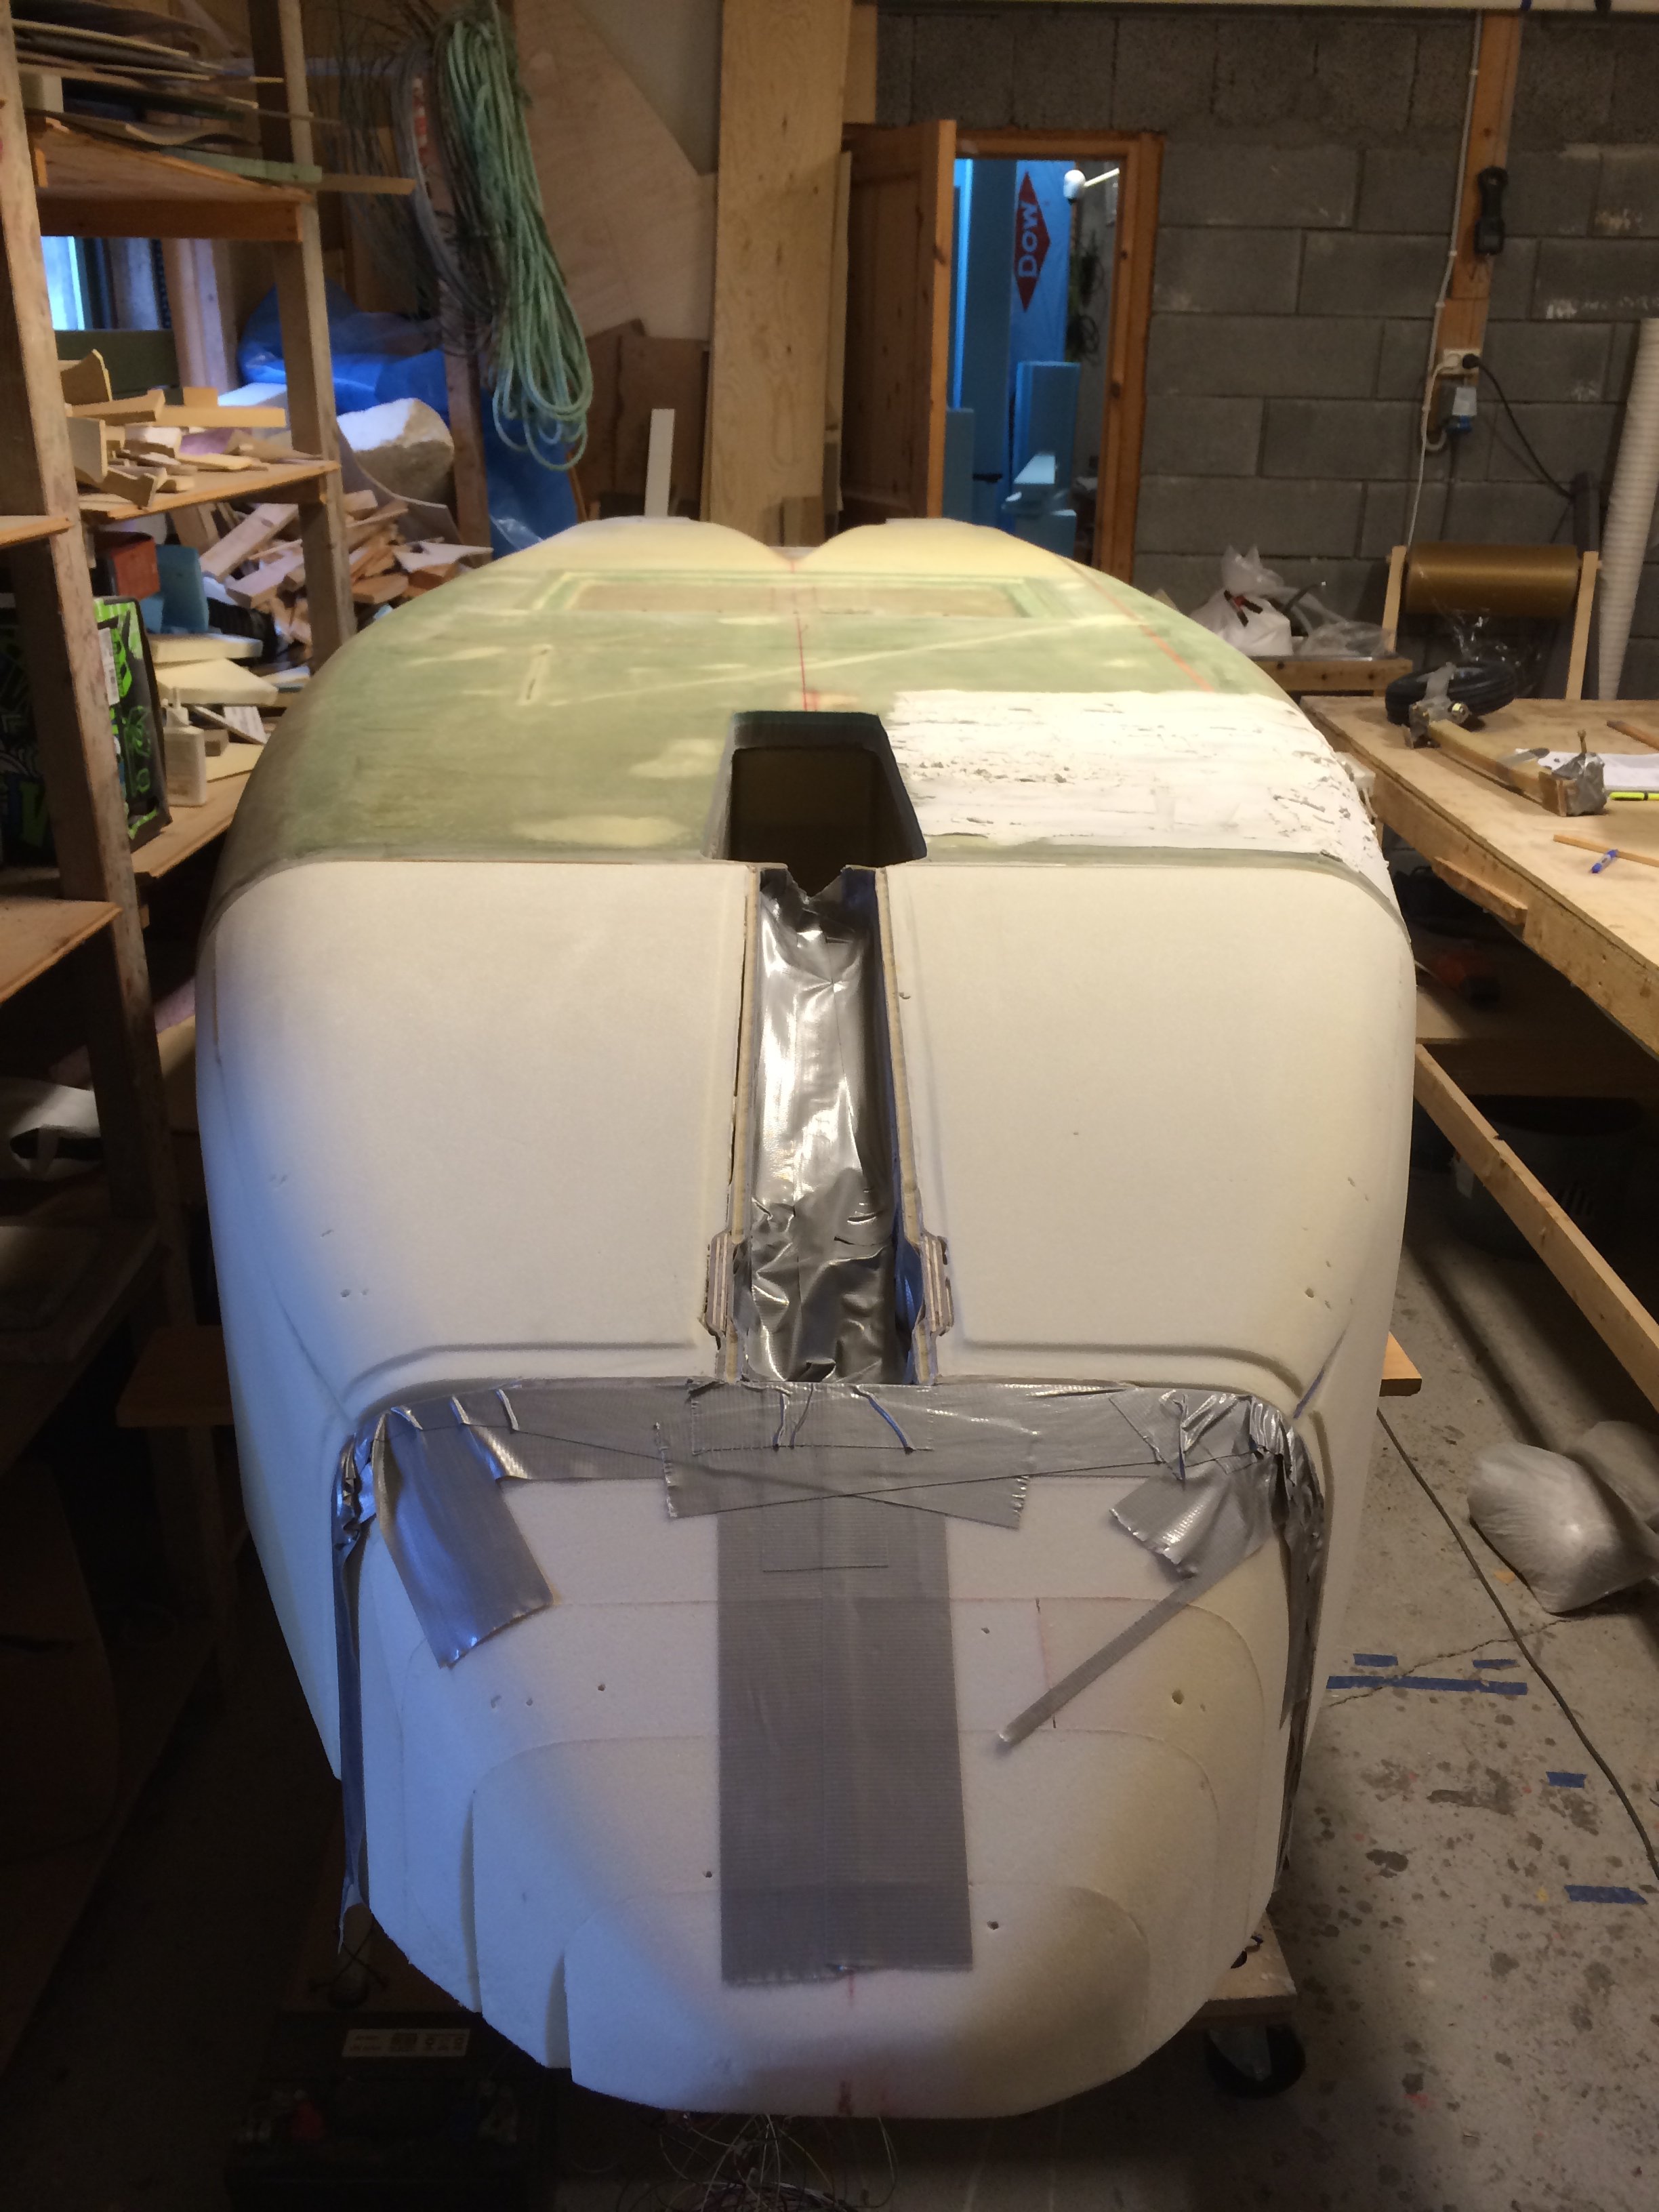
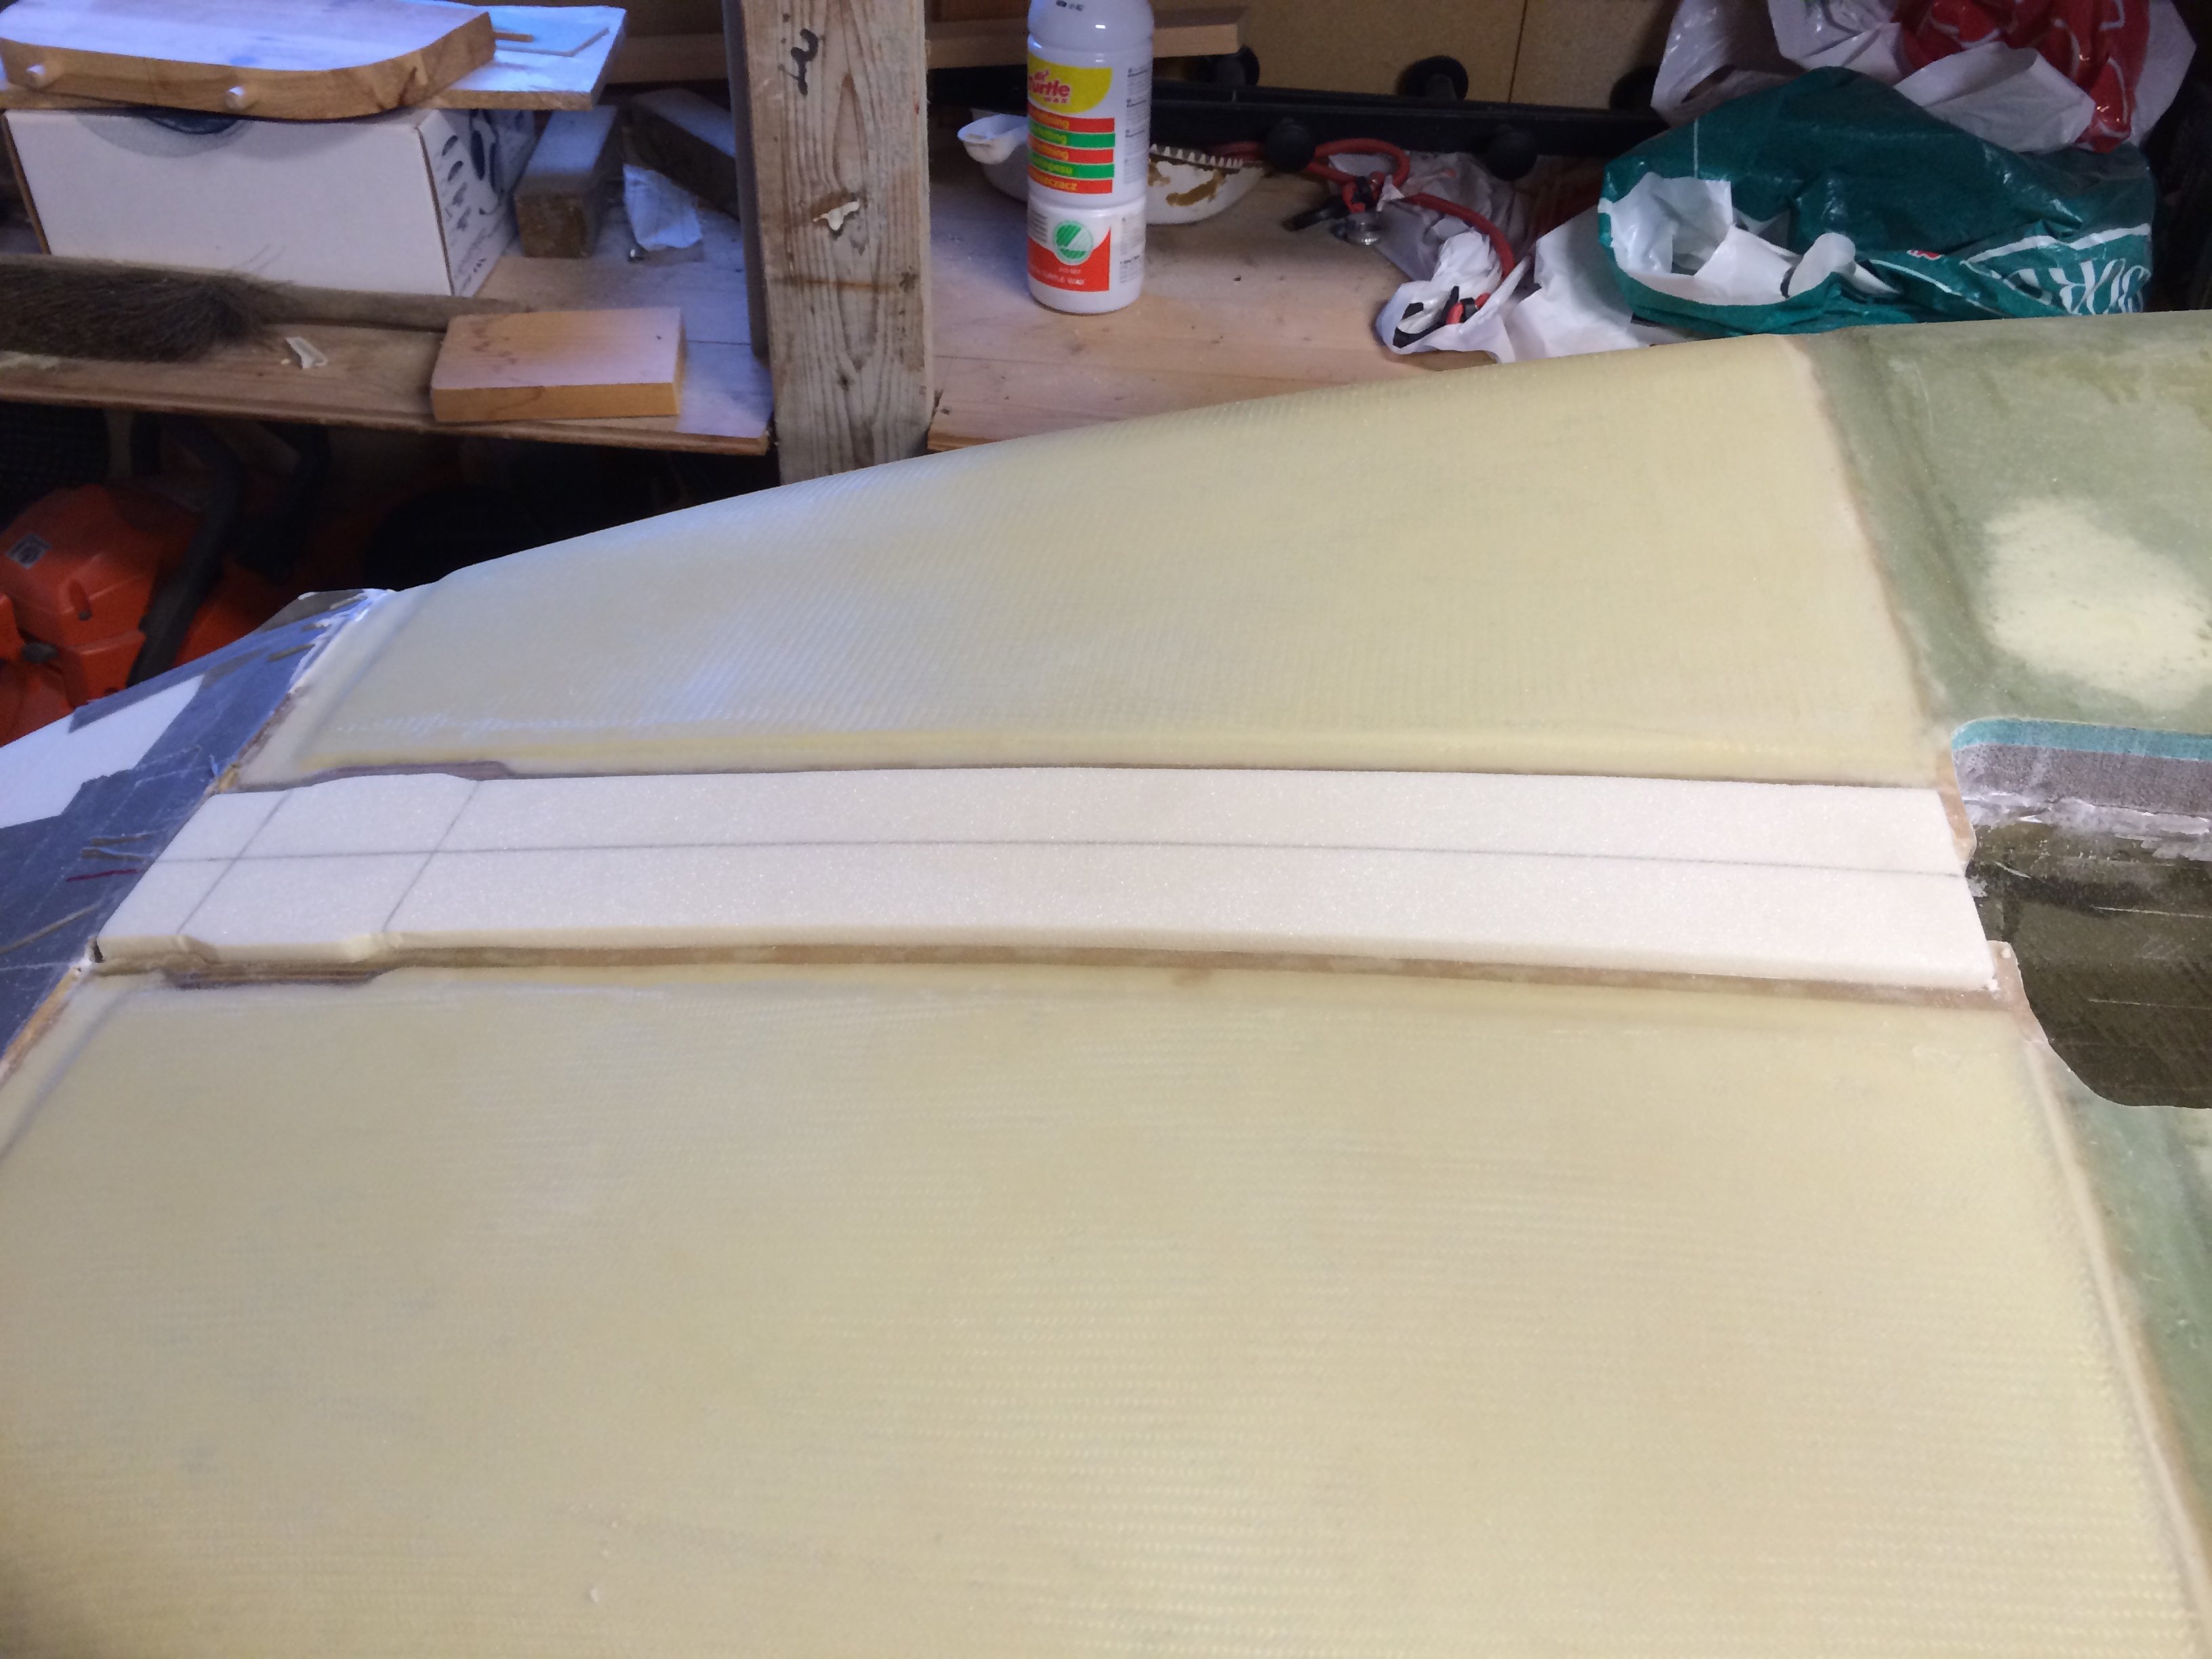
2014-02-23: Turned the fuselage upside down and sanded the bottom corners. Prepared the bottom for glassing. I will glass the nose cone after the rest of the nose is glassed. I made a recession behind the nose cone to make room for overlapping glass. I also made a recession around the opening for the nose wheel strut. I will later make the cover for the nose strut, the cover will then reside in this recession and be flush with the bottom.

2014-03-08: I decided to make the nose strut cover while the fuselage is upside down. I cut out a urethane block that would fit inside the nose wheel opening.
2014-03-08: Glued the block with 5-min epoxy inside the opening.
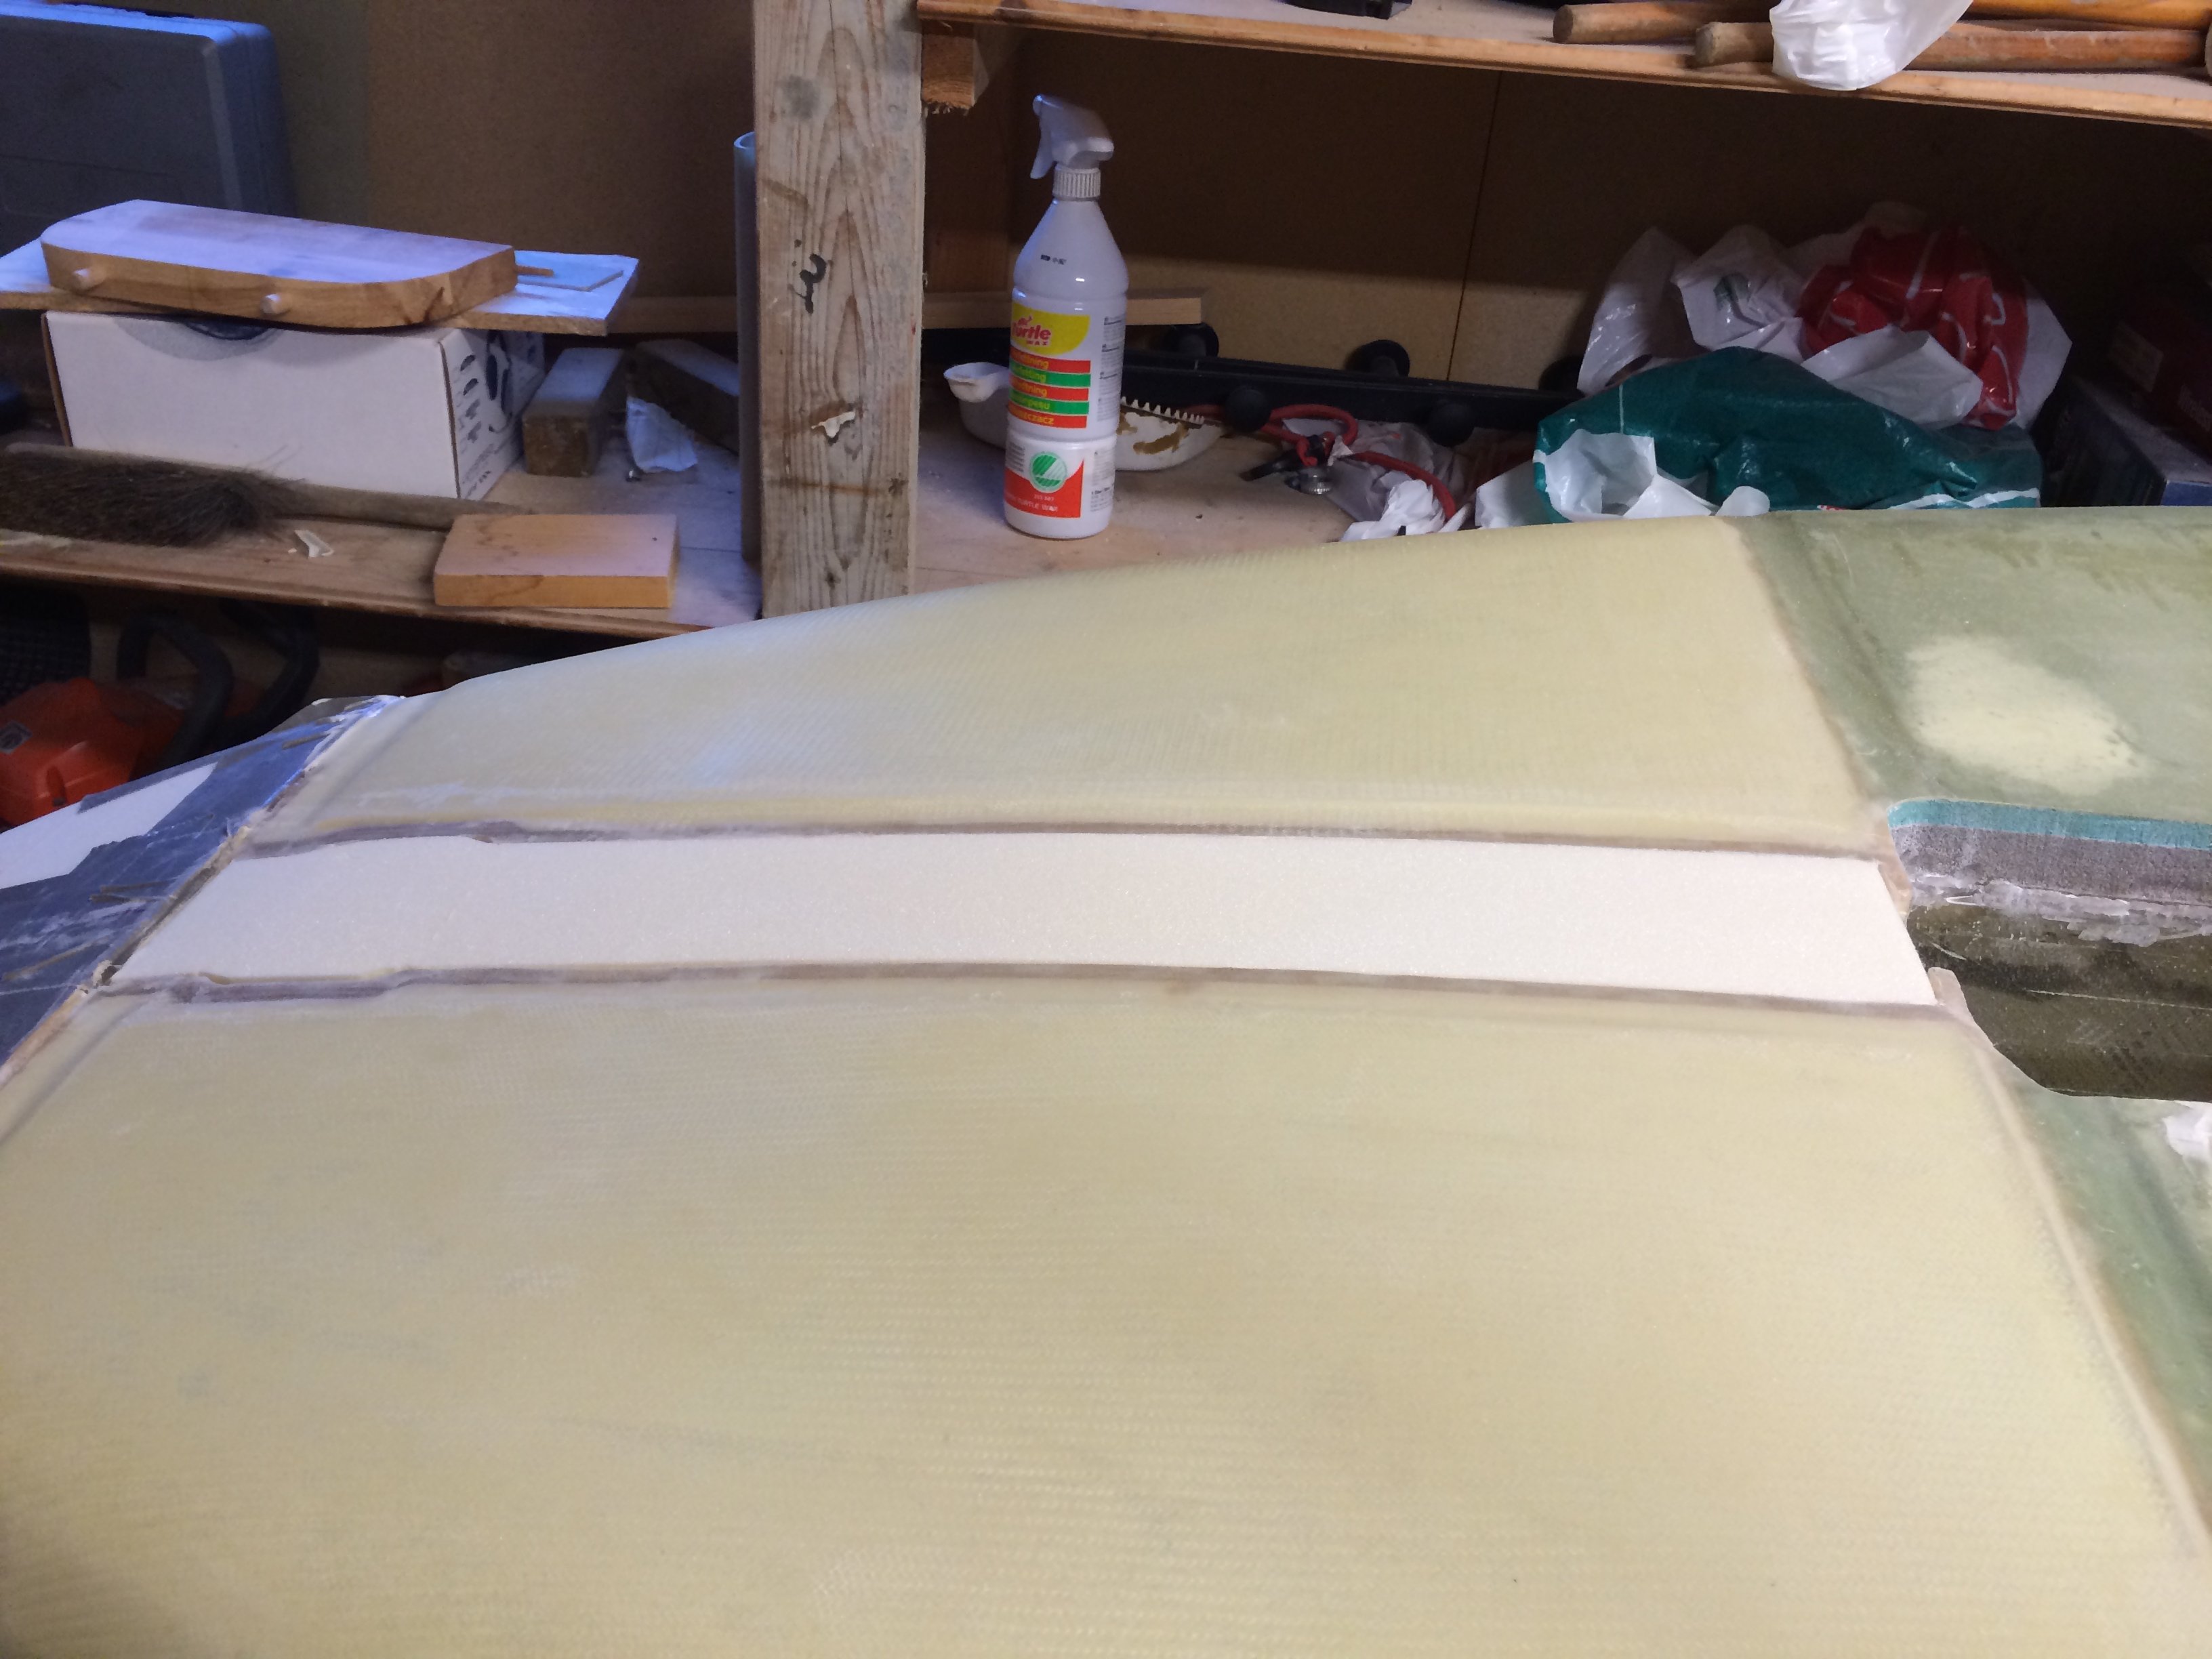
2014-03-08: Sanded flush with the fuselage bottom. Actually sanded flush with the recessions I made prior to glassing the bottom. In this way the strut cover will be flush with the glass bottom.
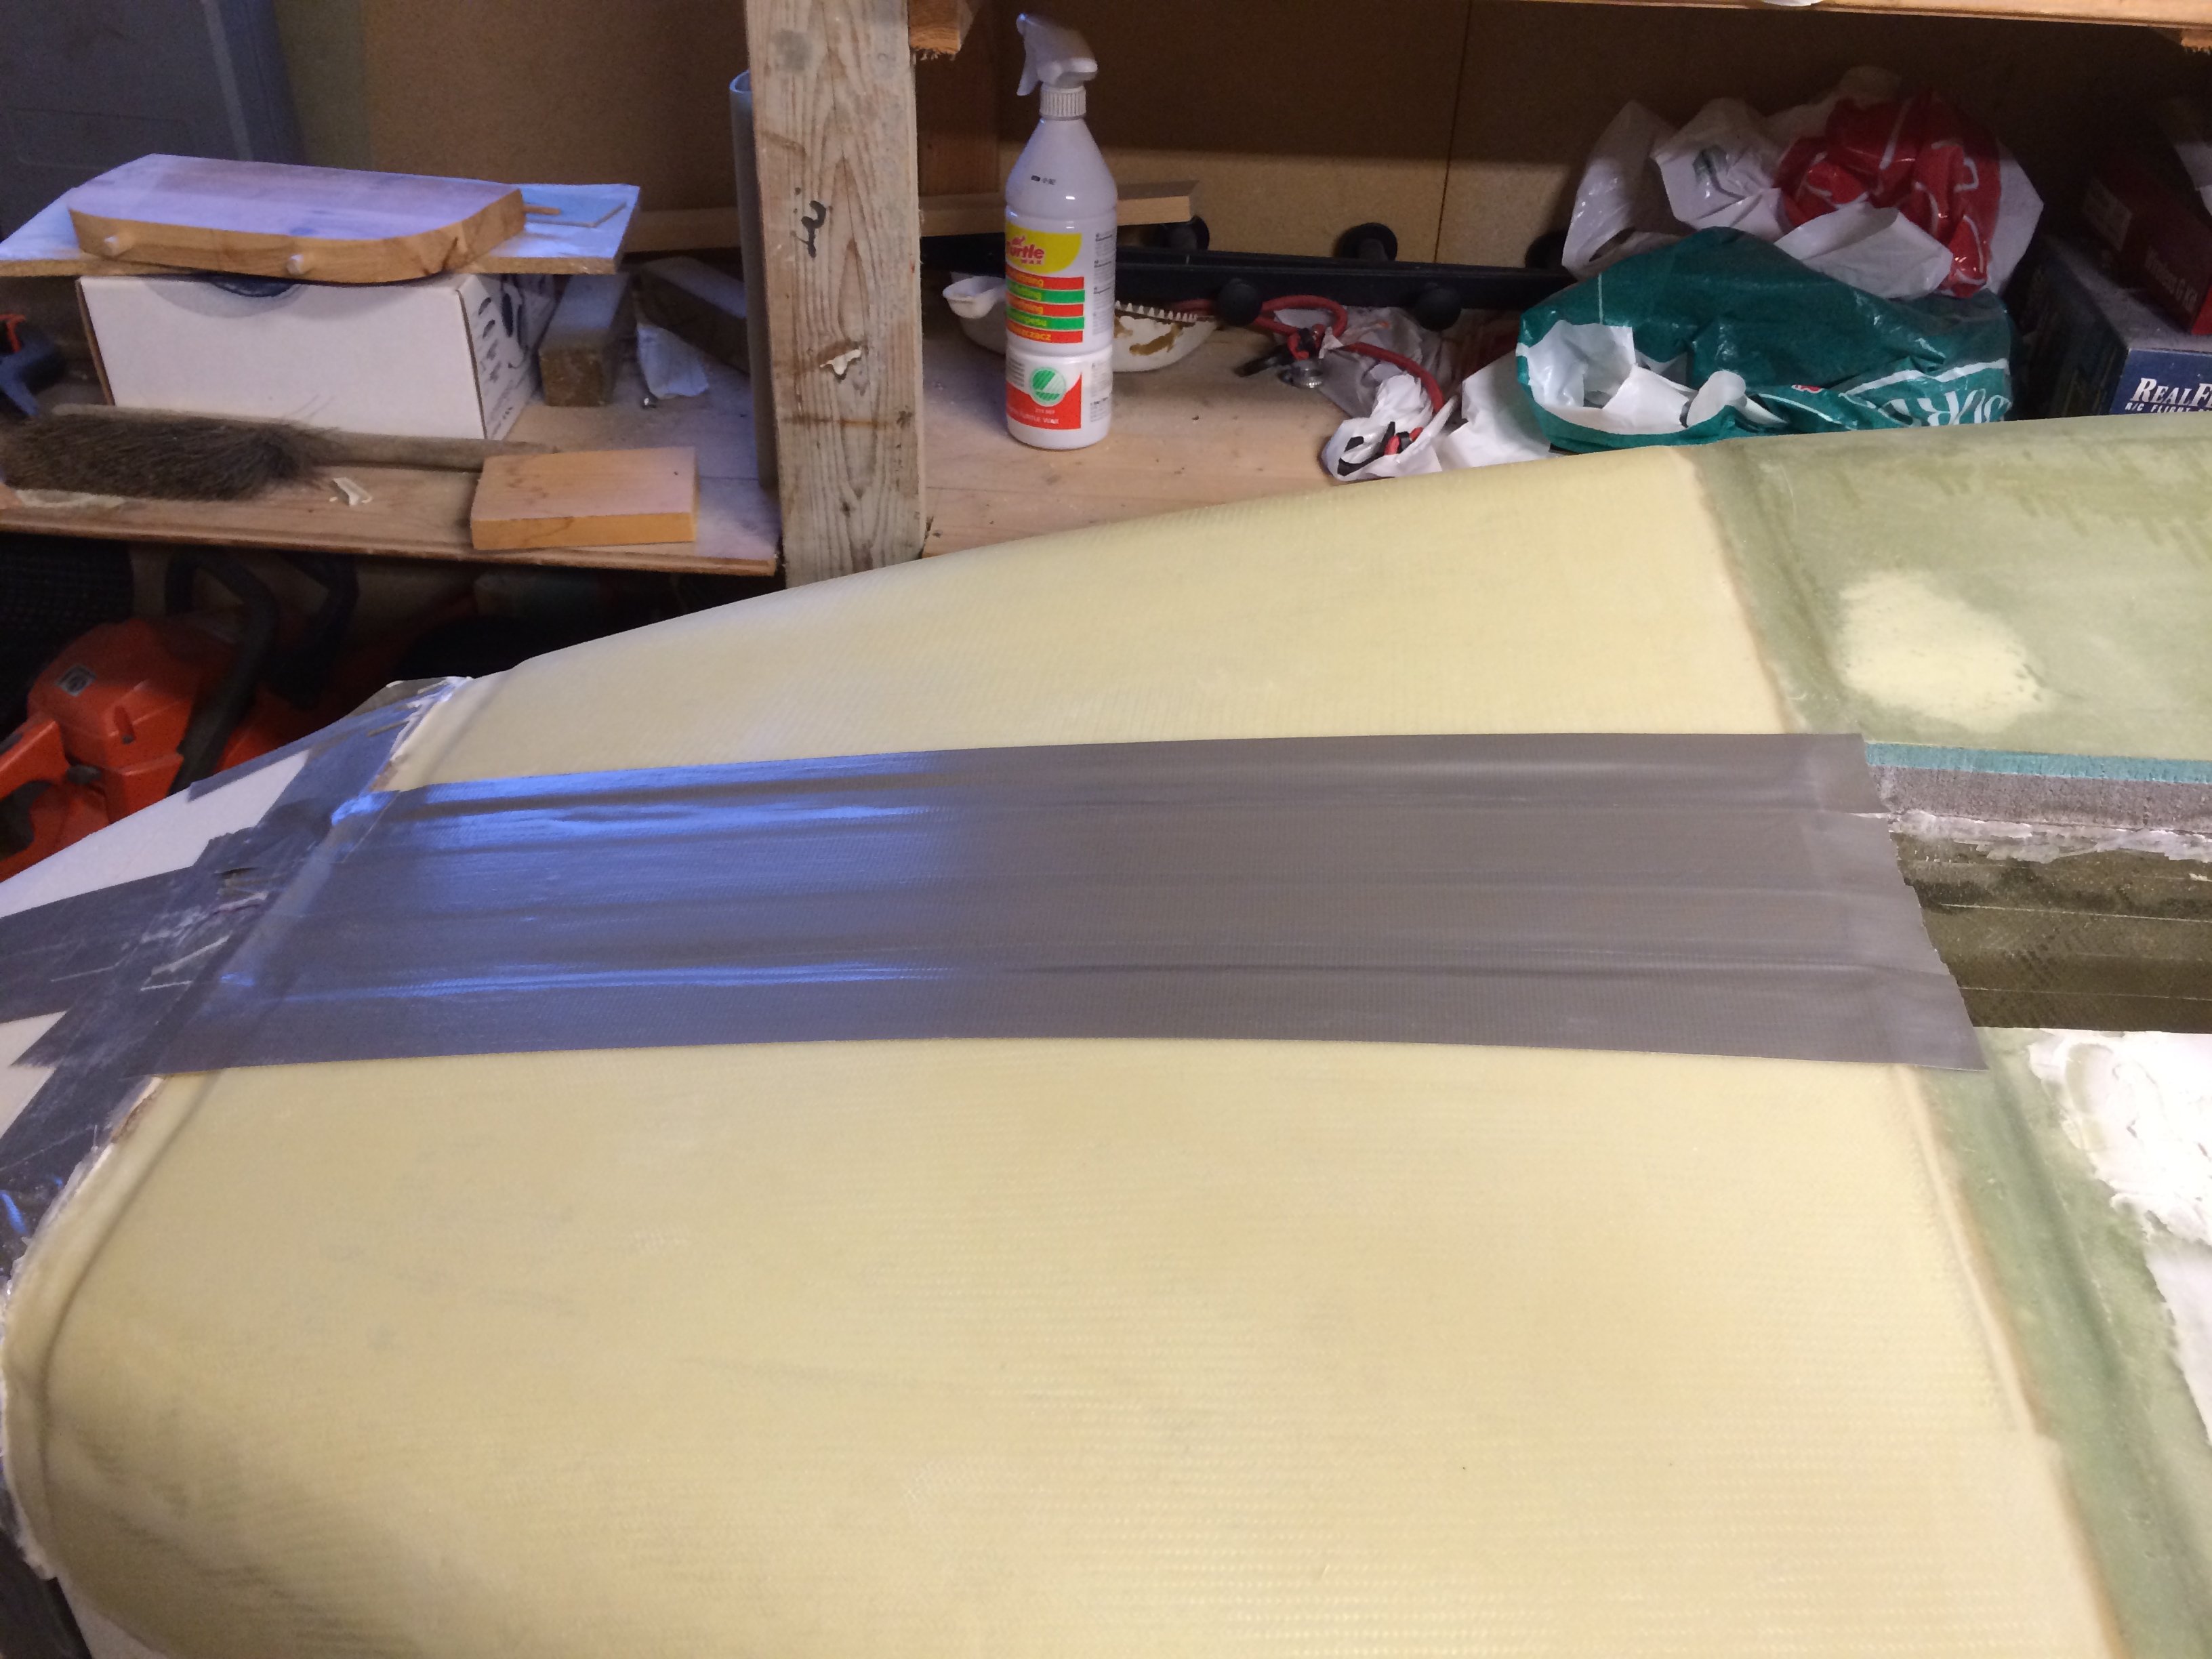
2014-03-08: Covered the bottom with tape prior to glassing 3 BID. Peel plied and Set to cure. Will continue with this in a later step, together with making the nose wheel doors.
Started: 2014-01-13
Ended: 2014-03-08