
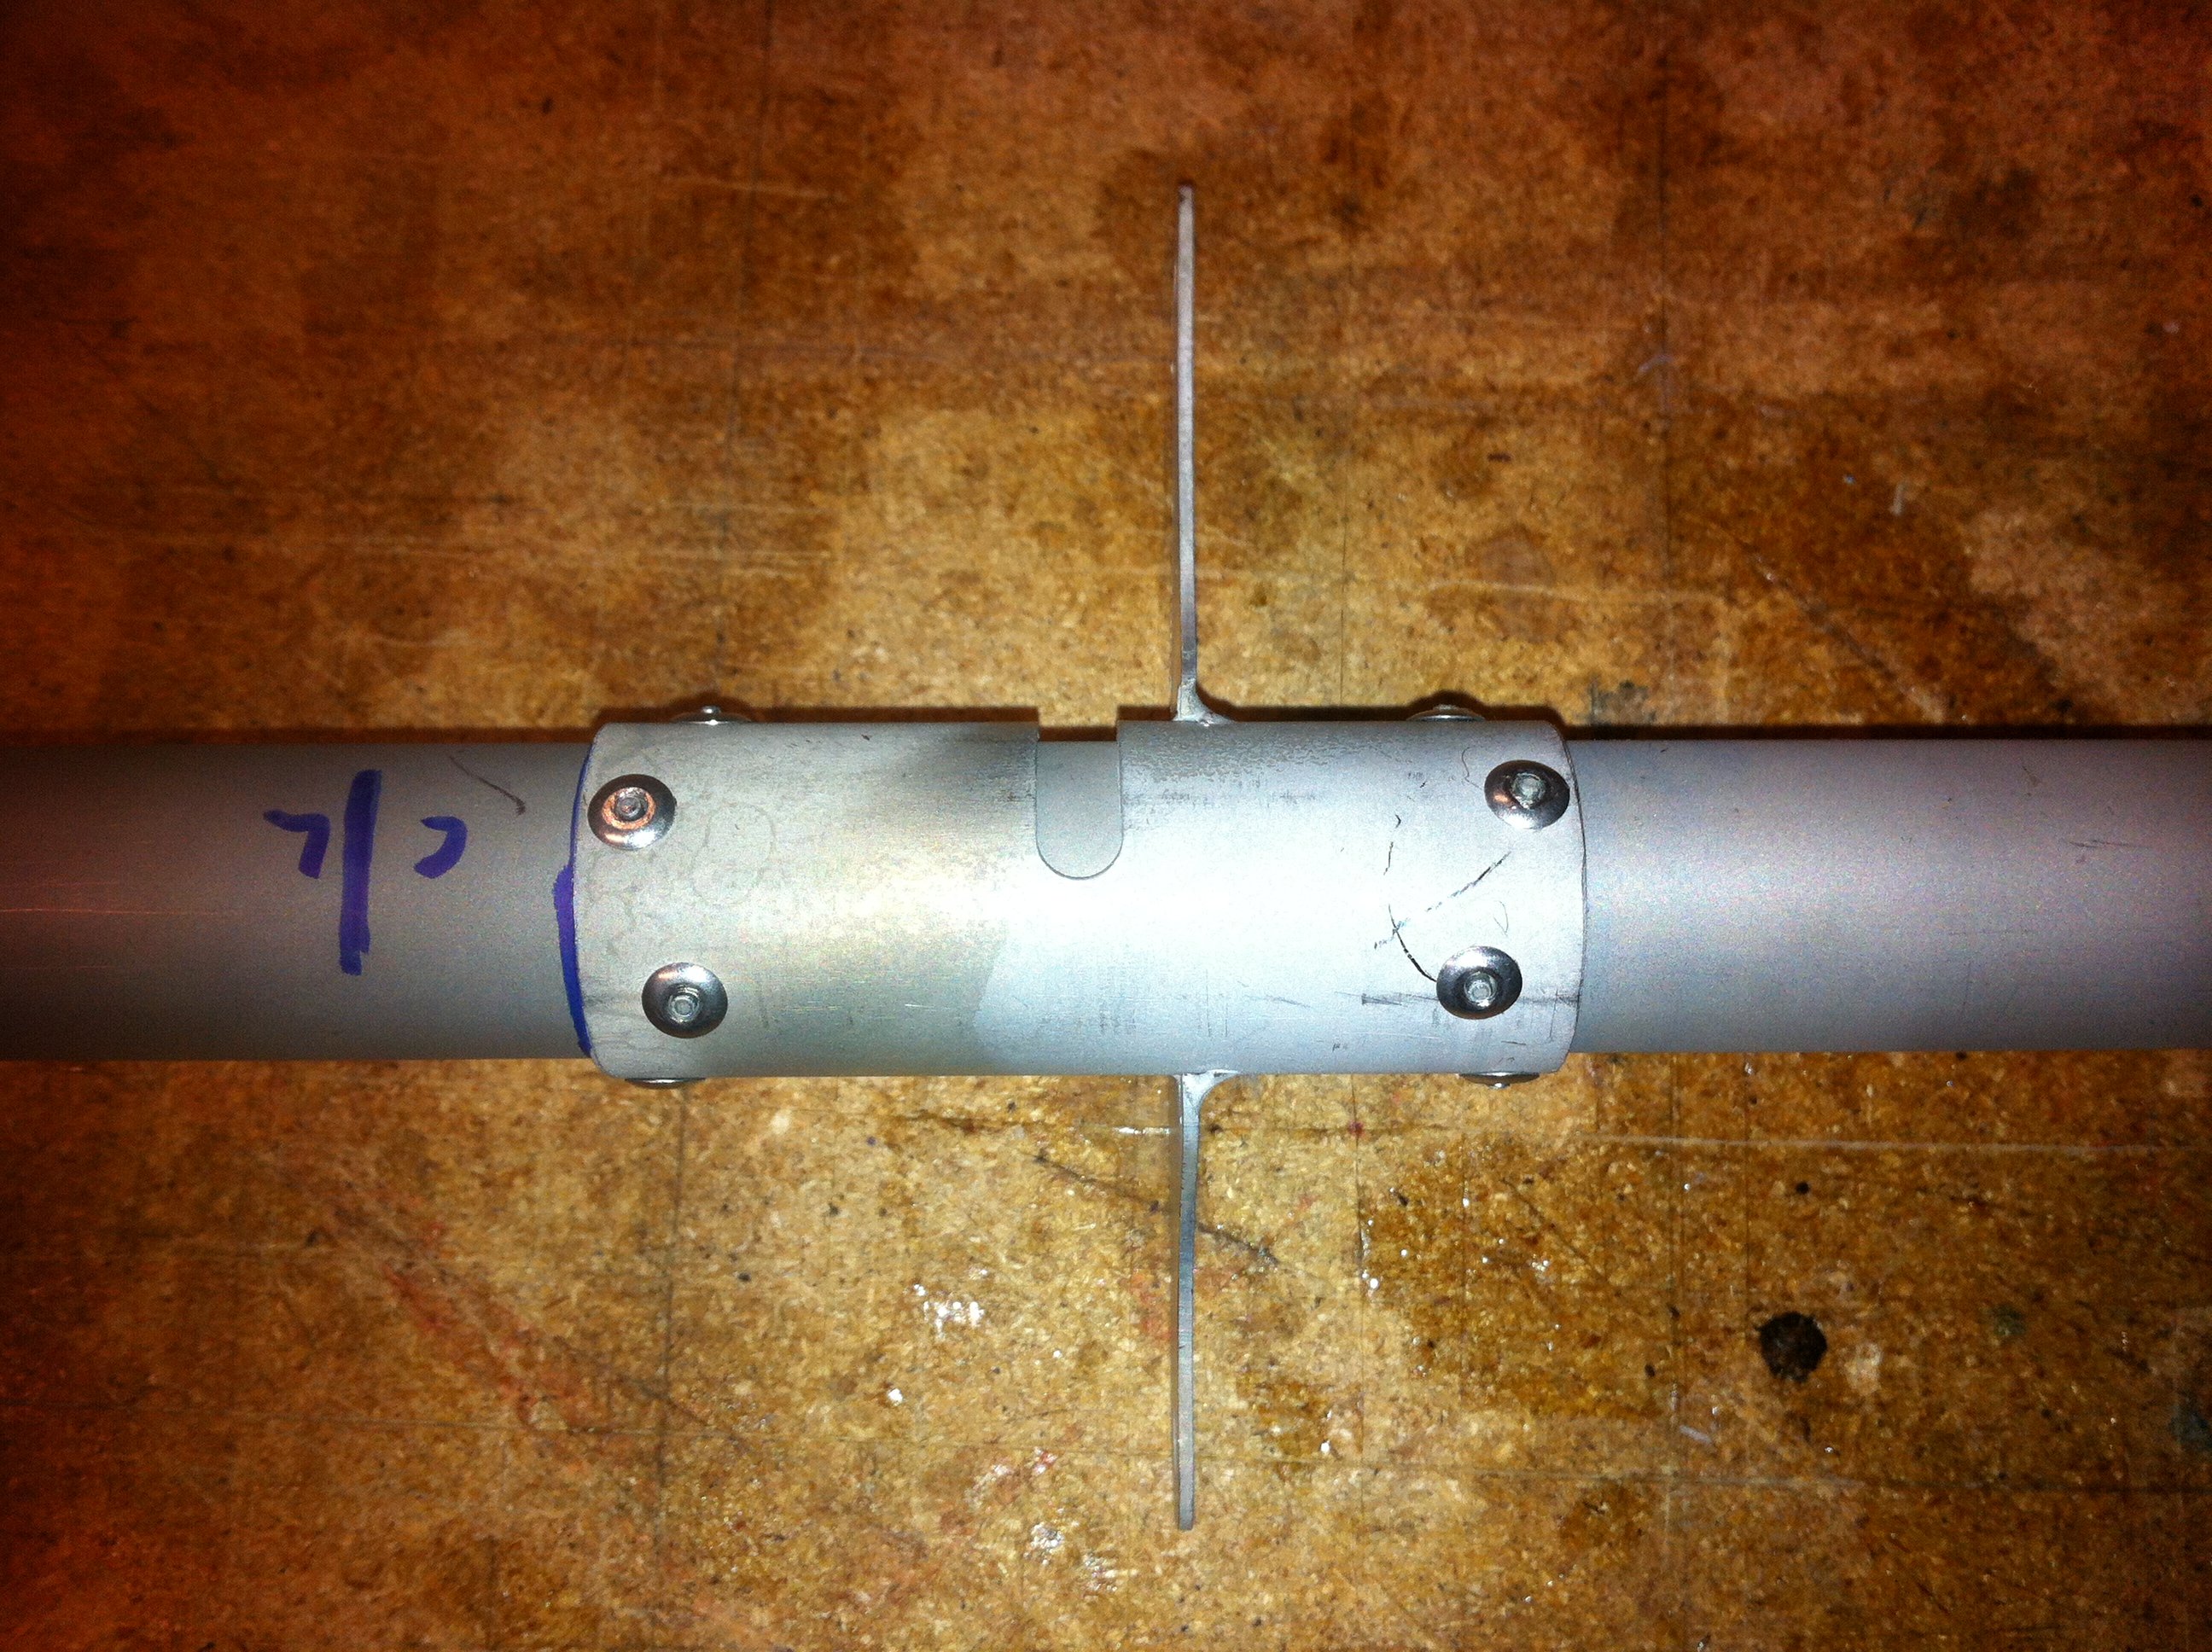
2012-11-25: The pitch trim belcrank is riveted to the spool-piece.

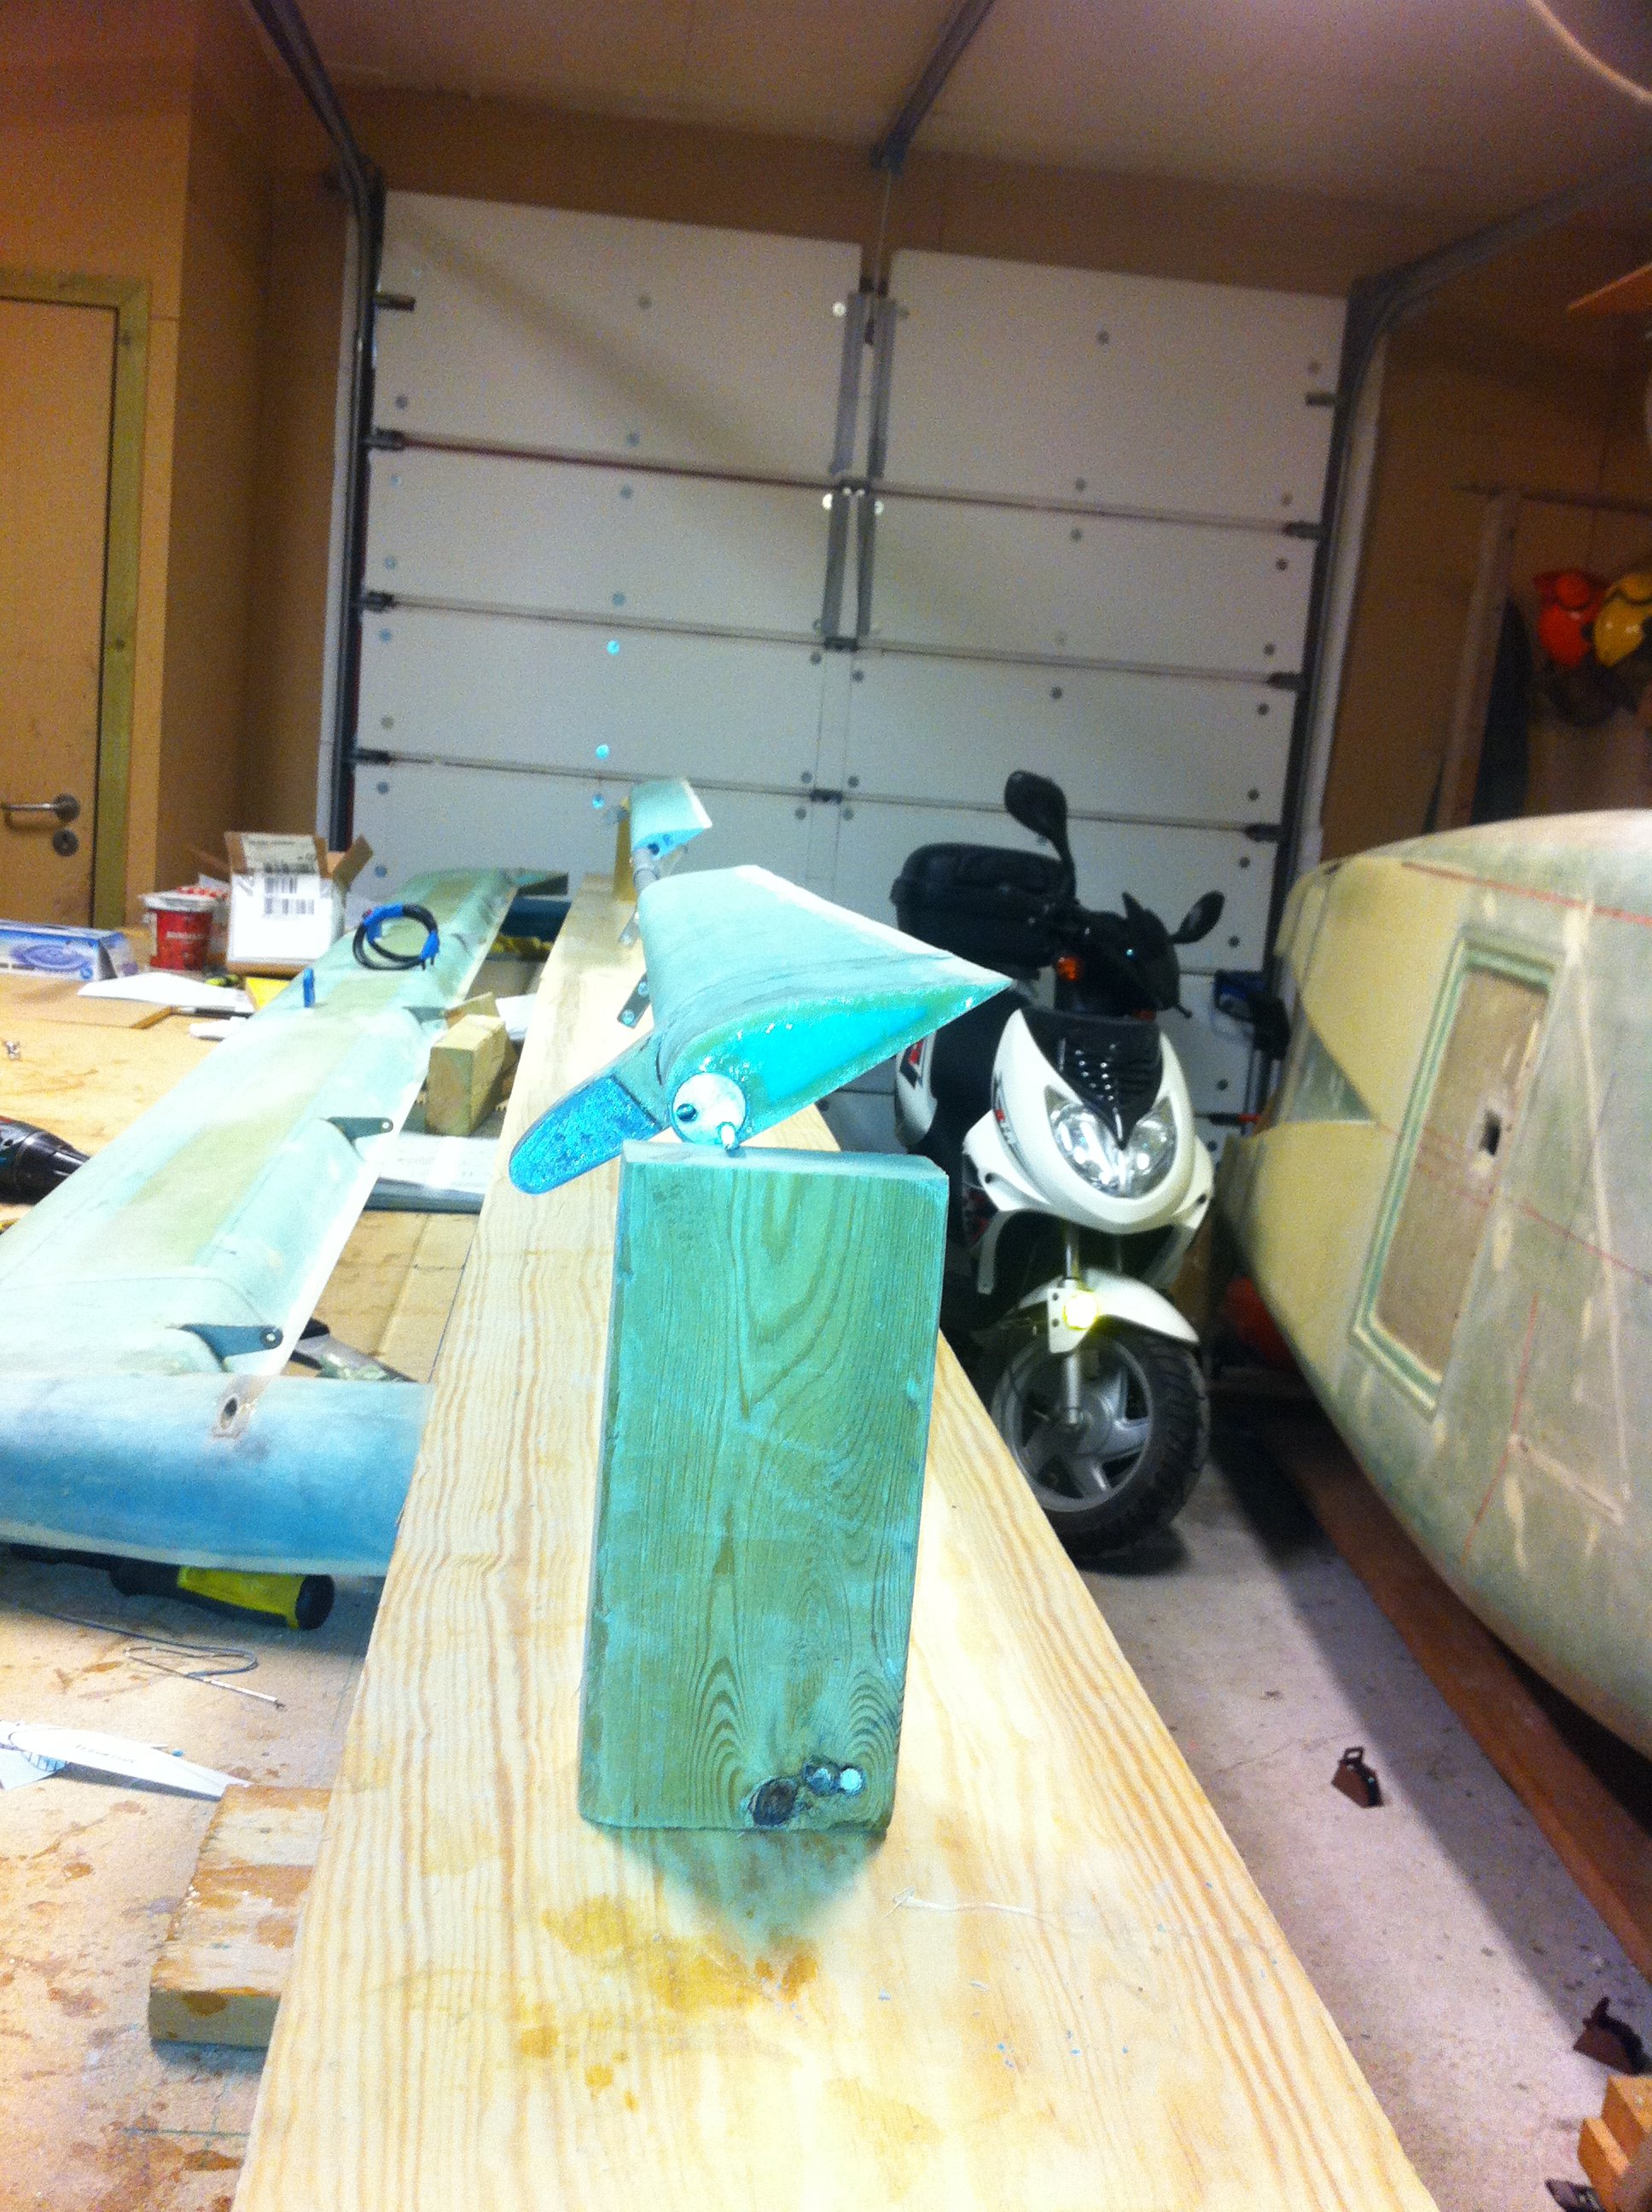
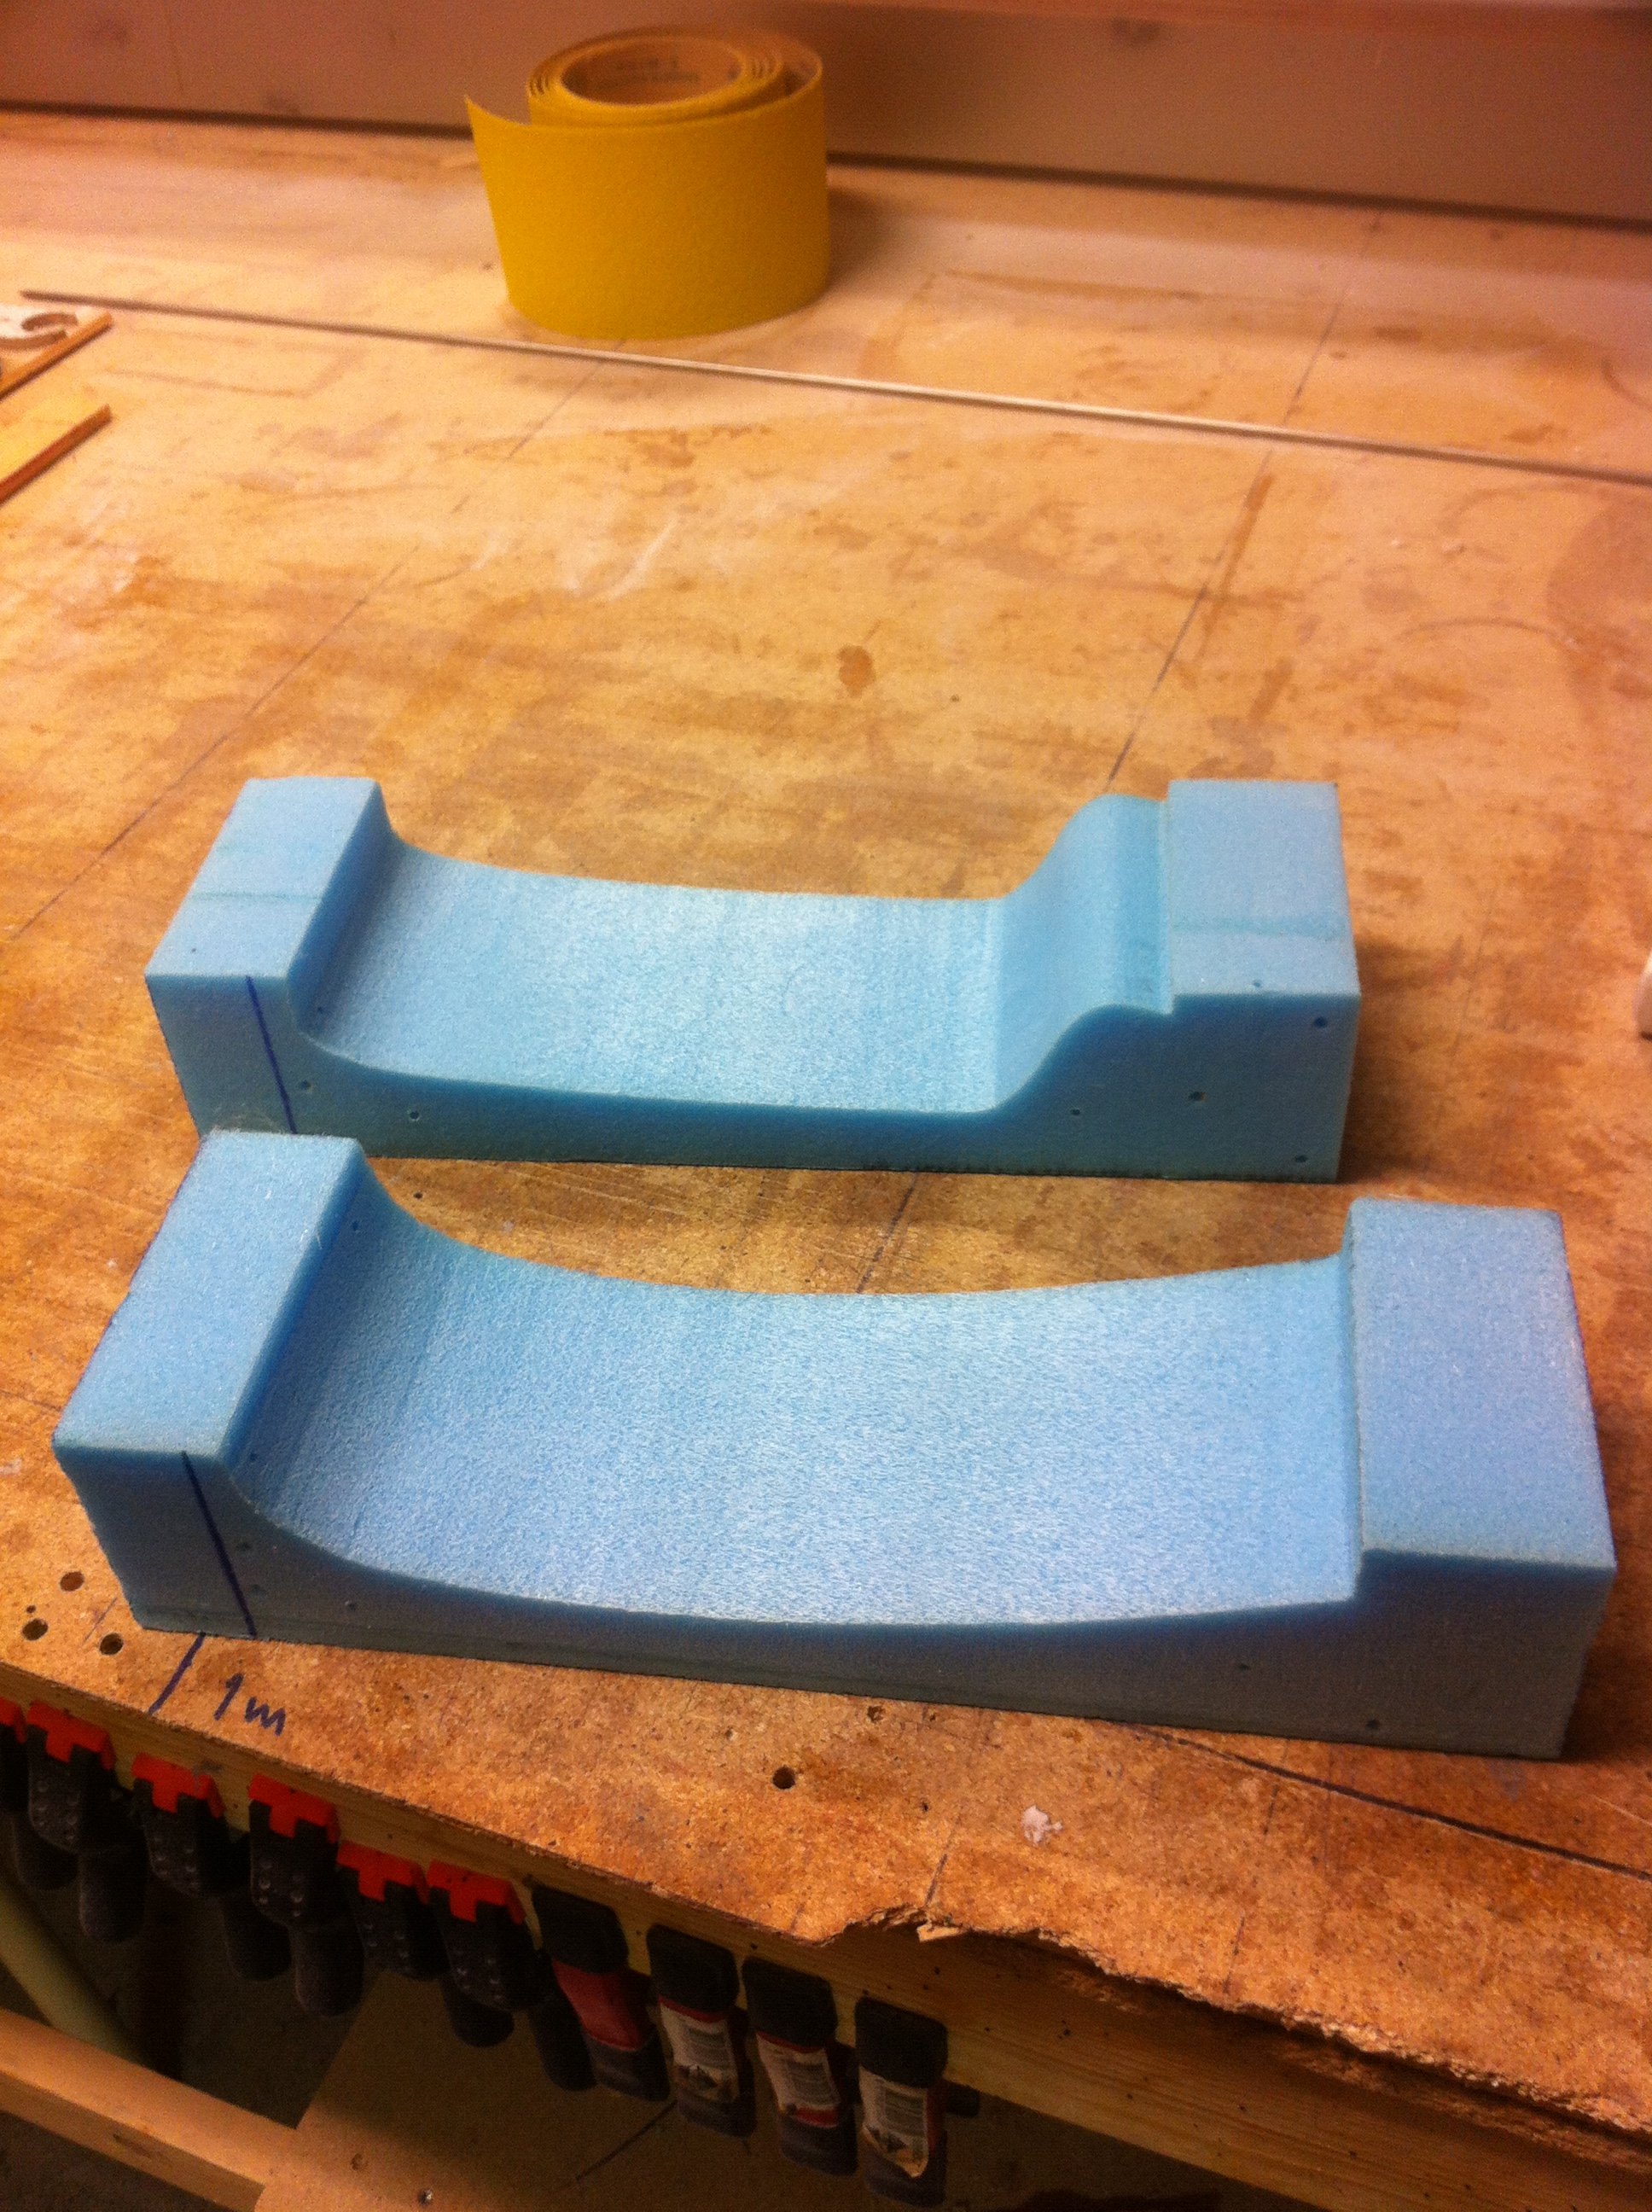
2012-12-02: Mounting the outboard counterweight requires using the J-jig. I carved to pieces of high-density foam according to the template. The foam is glued to the lead-weight with 5-min epoxy.
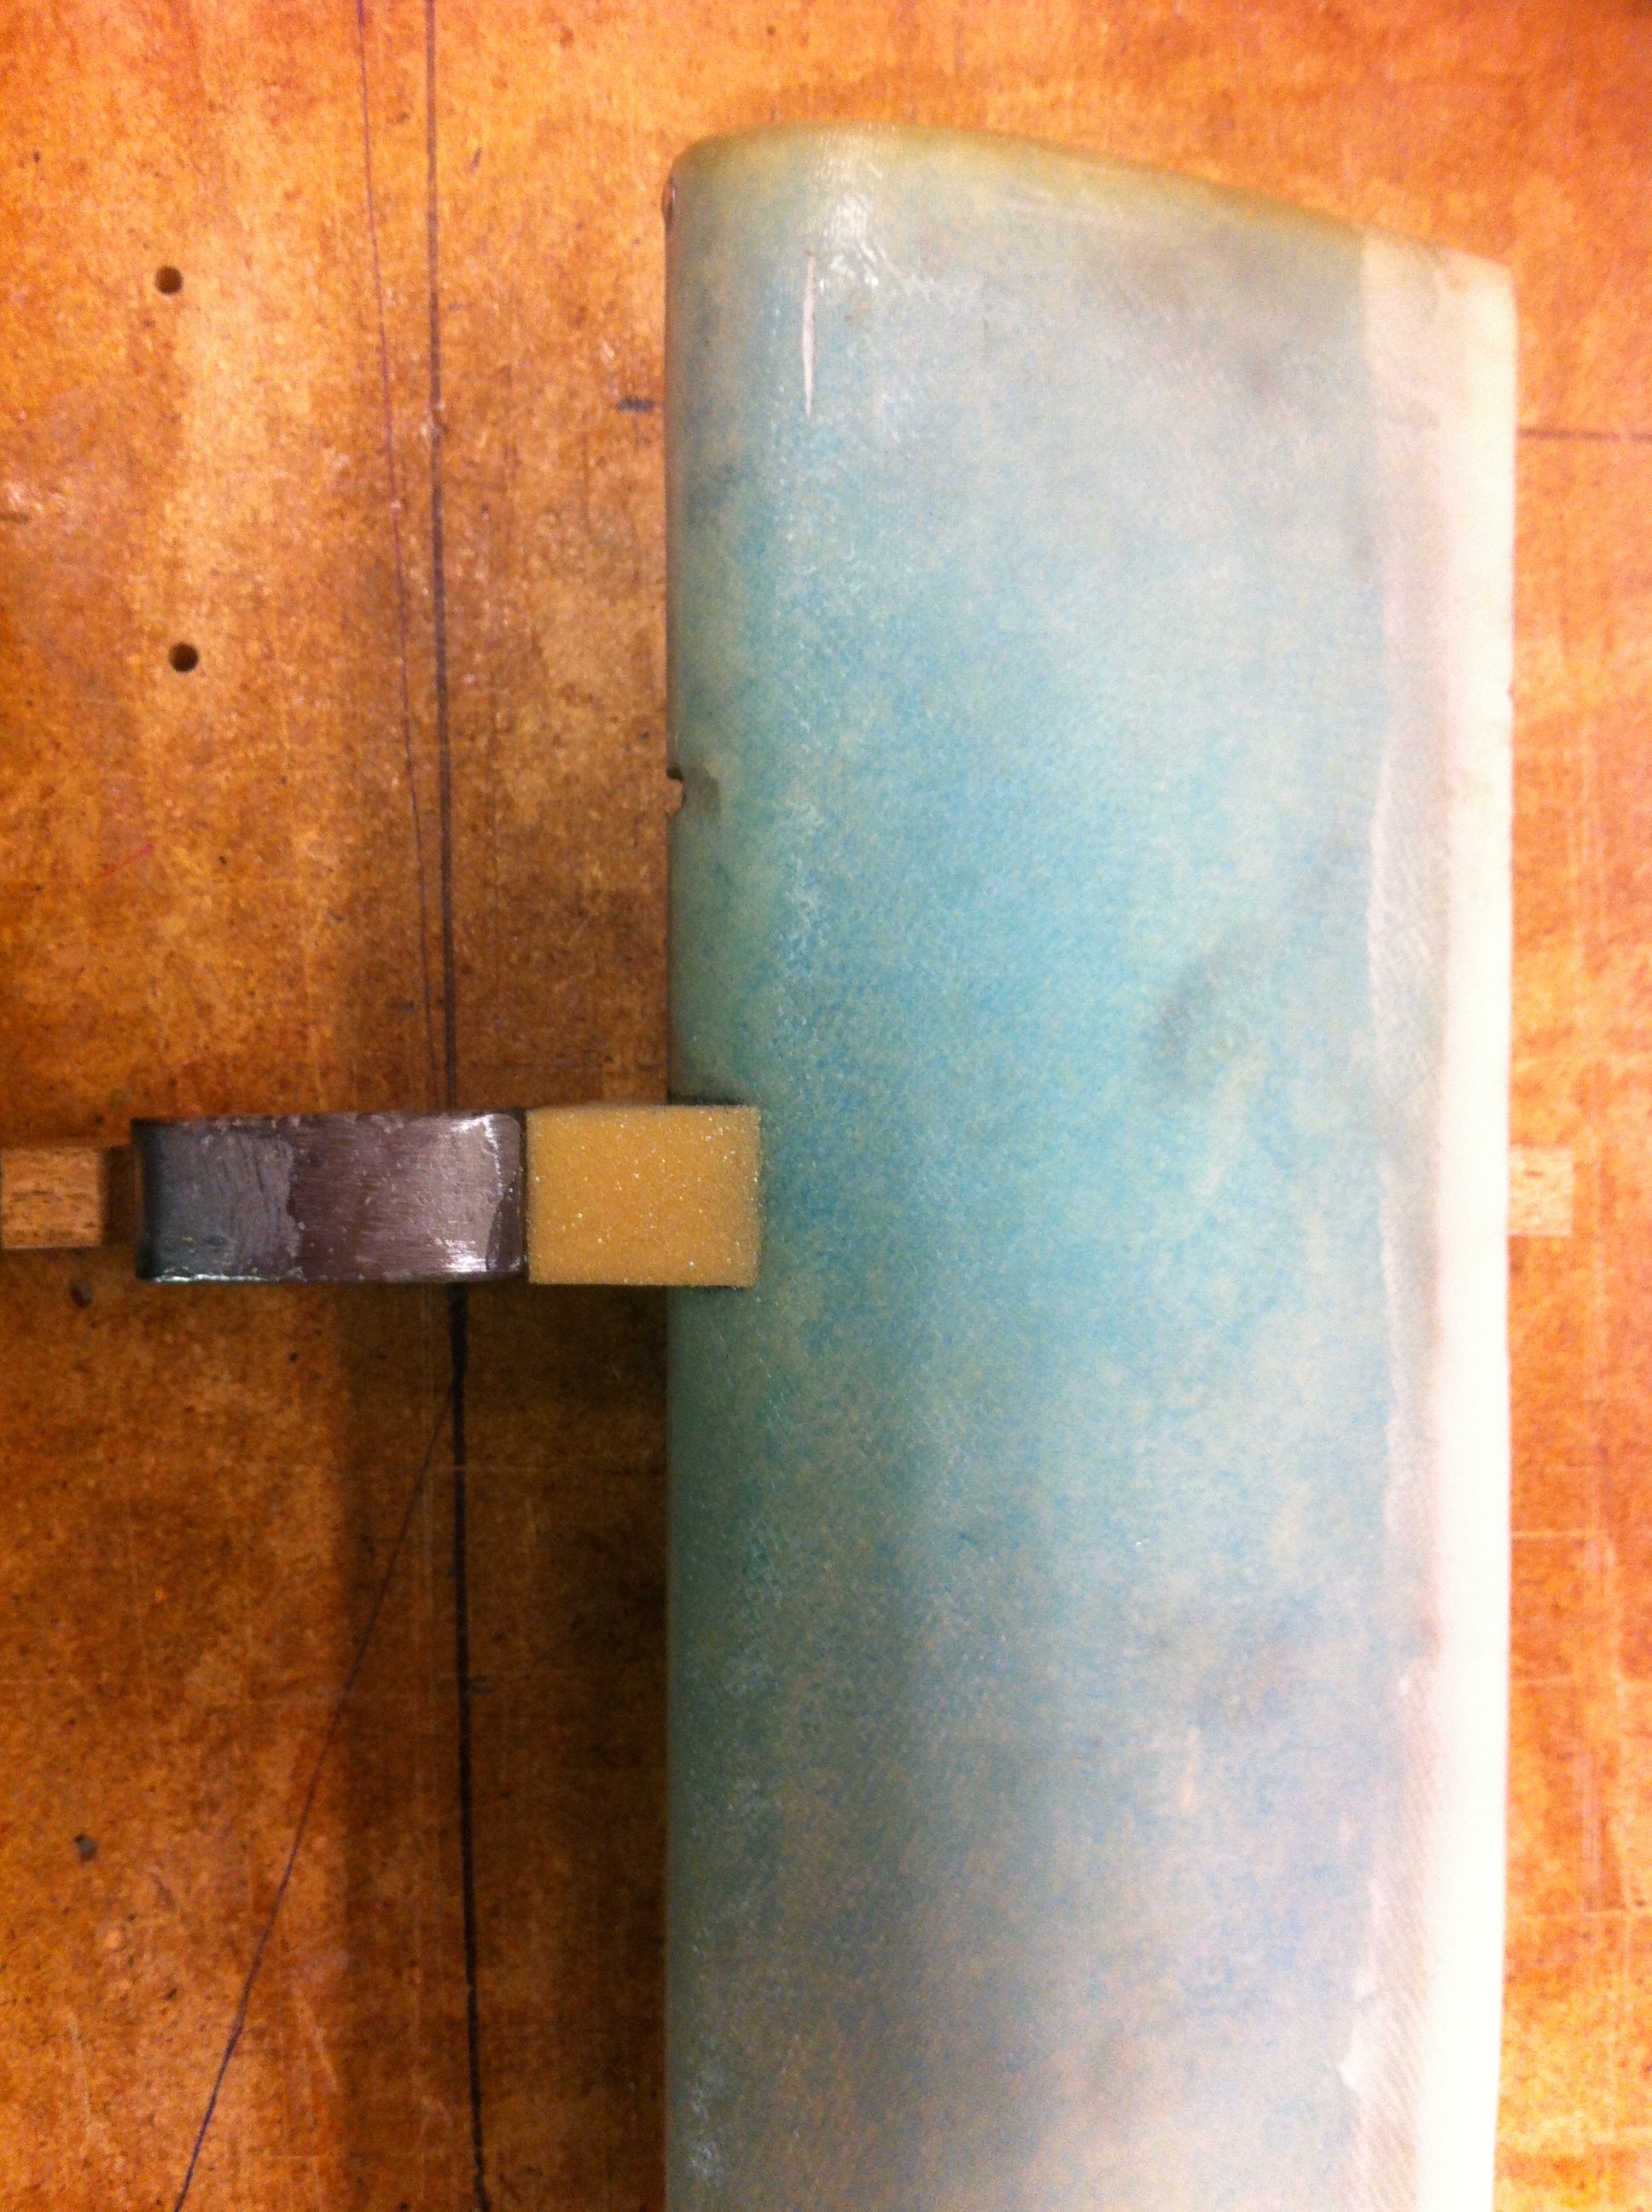
2012-12-02: The jig is fastened to the elevators, using carpet-tape instead of bondo. The counterweight and foam-piece is glued to the elevator with 5-min epoxy.
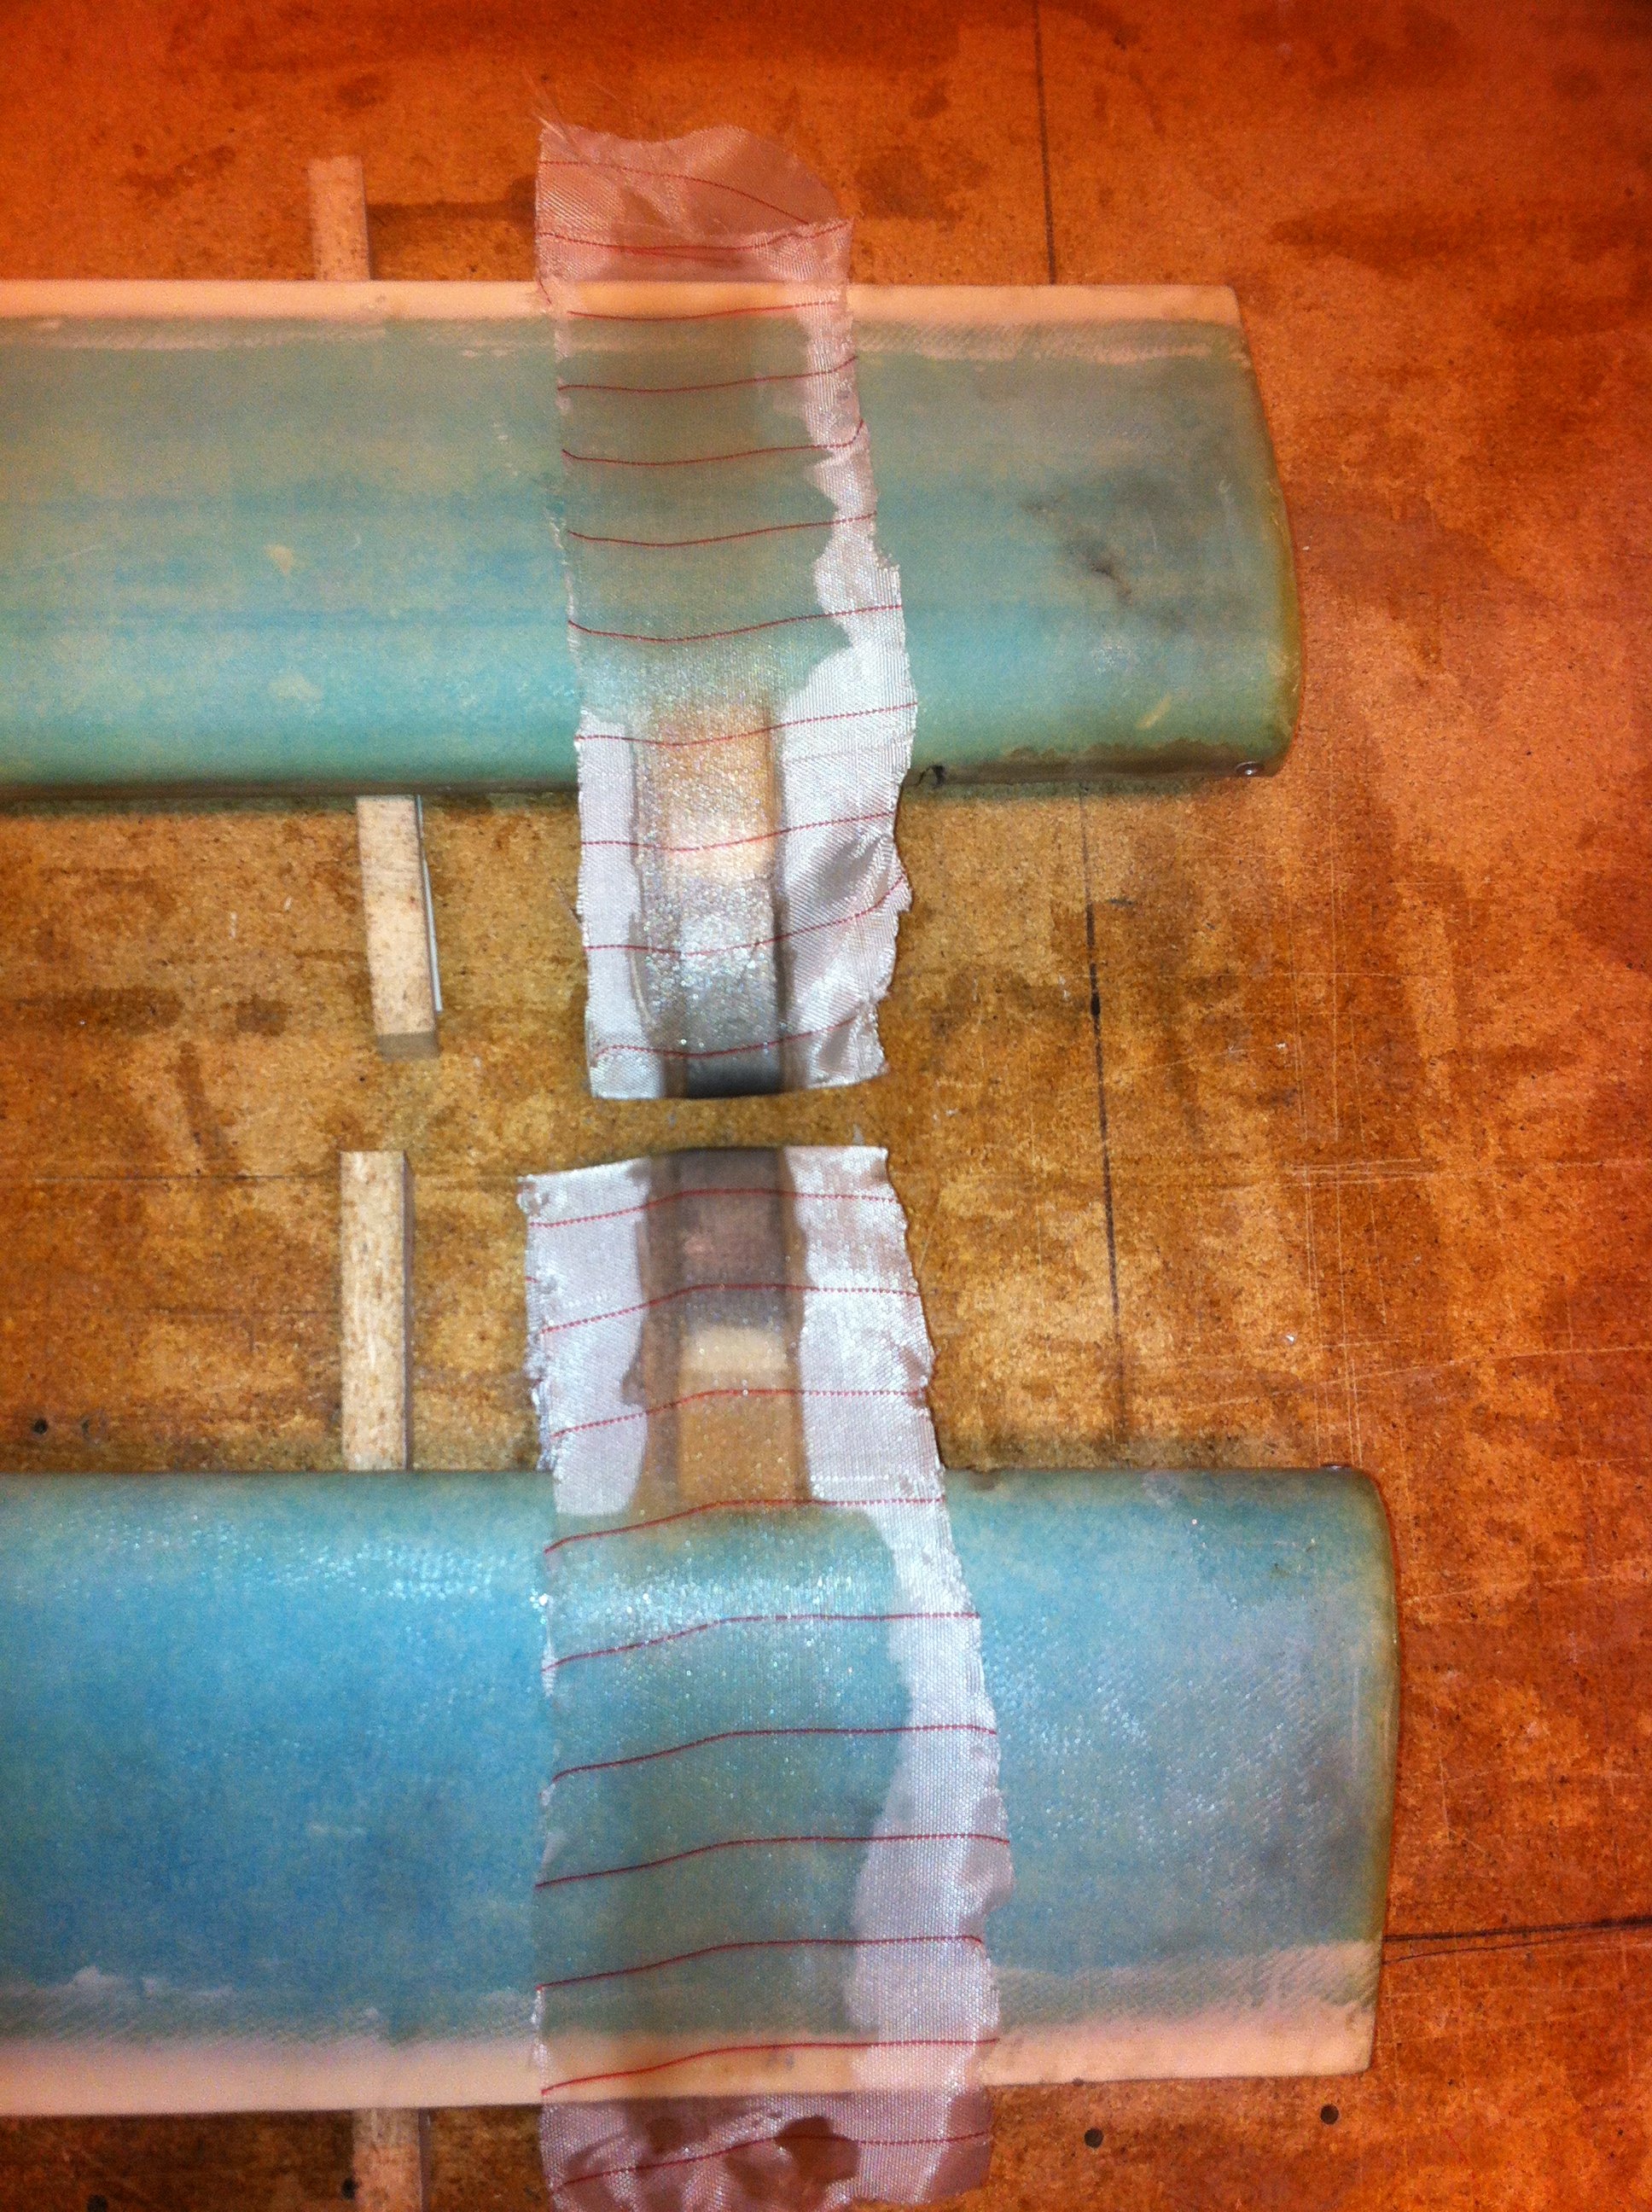
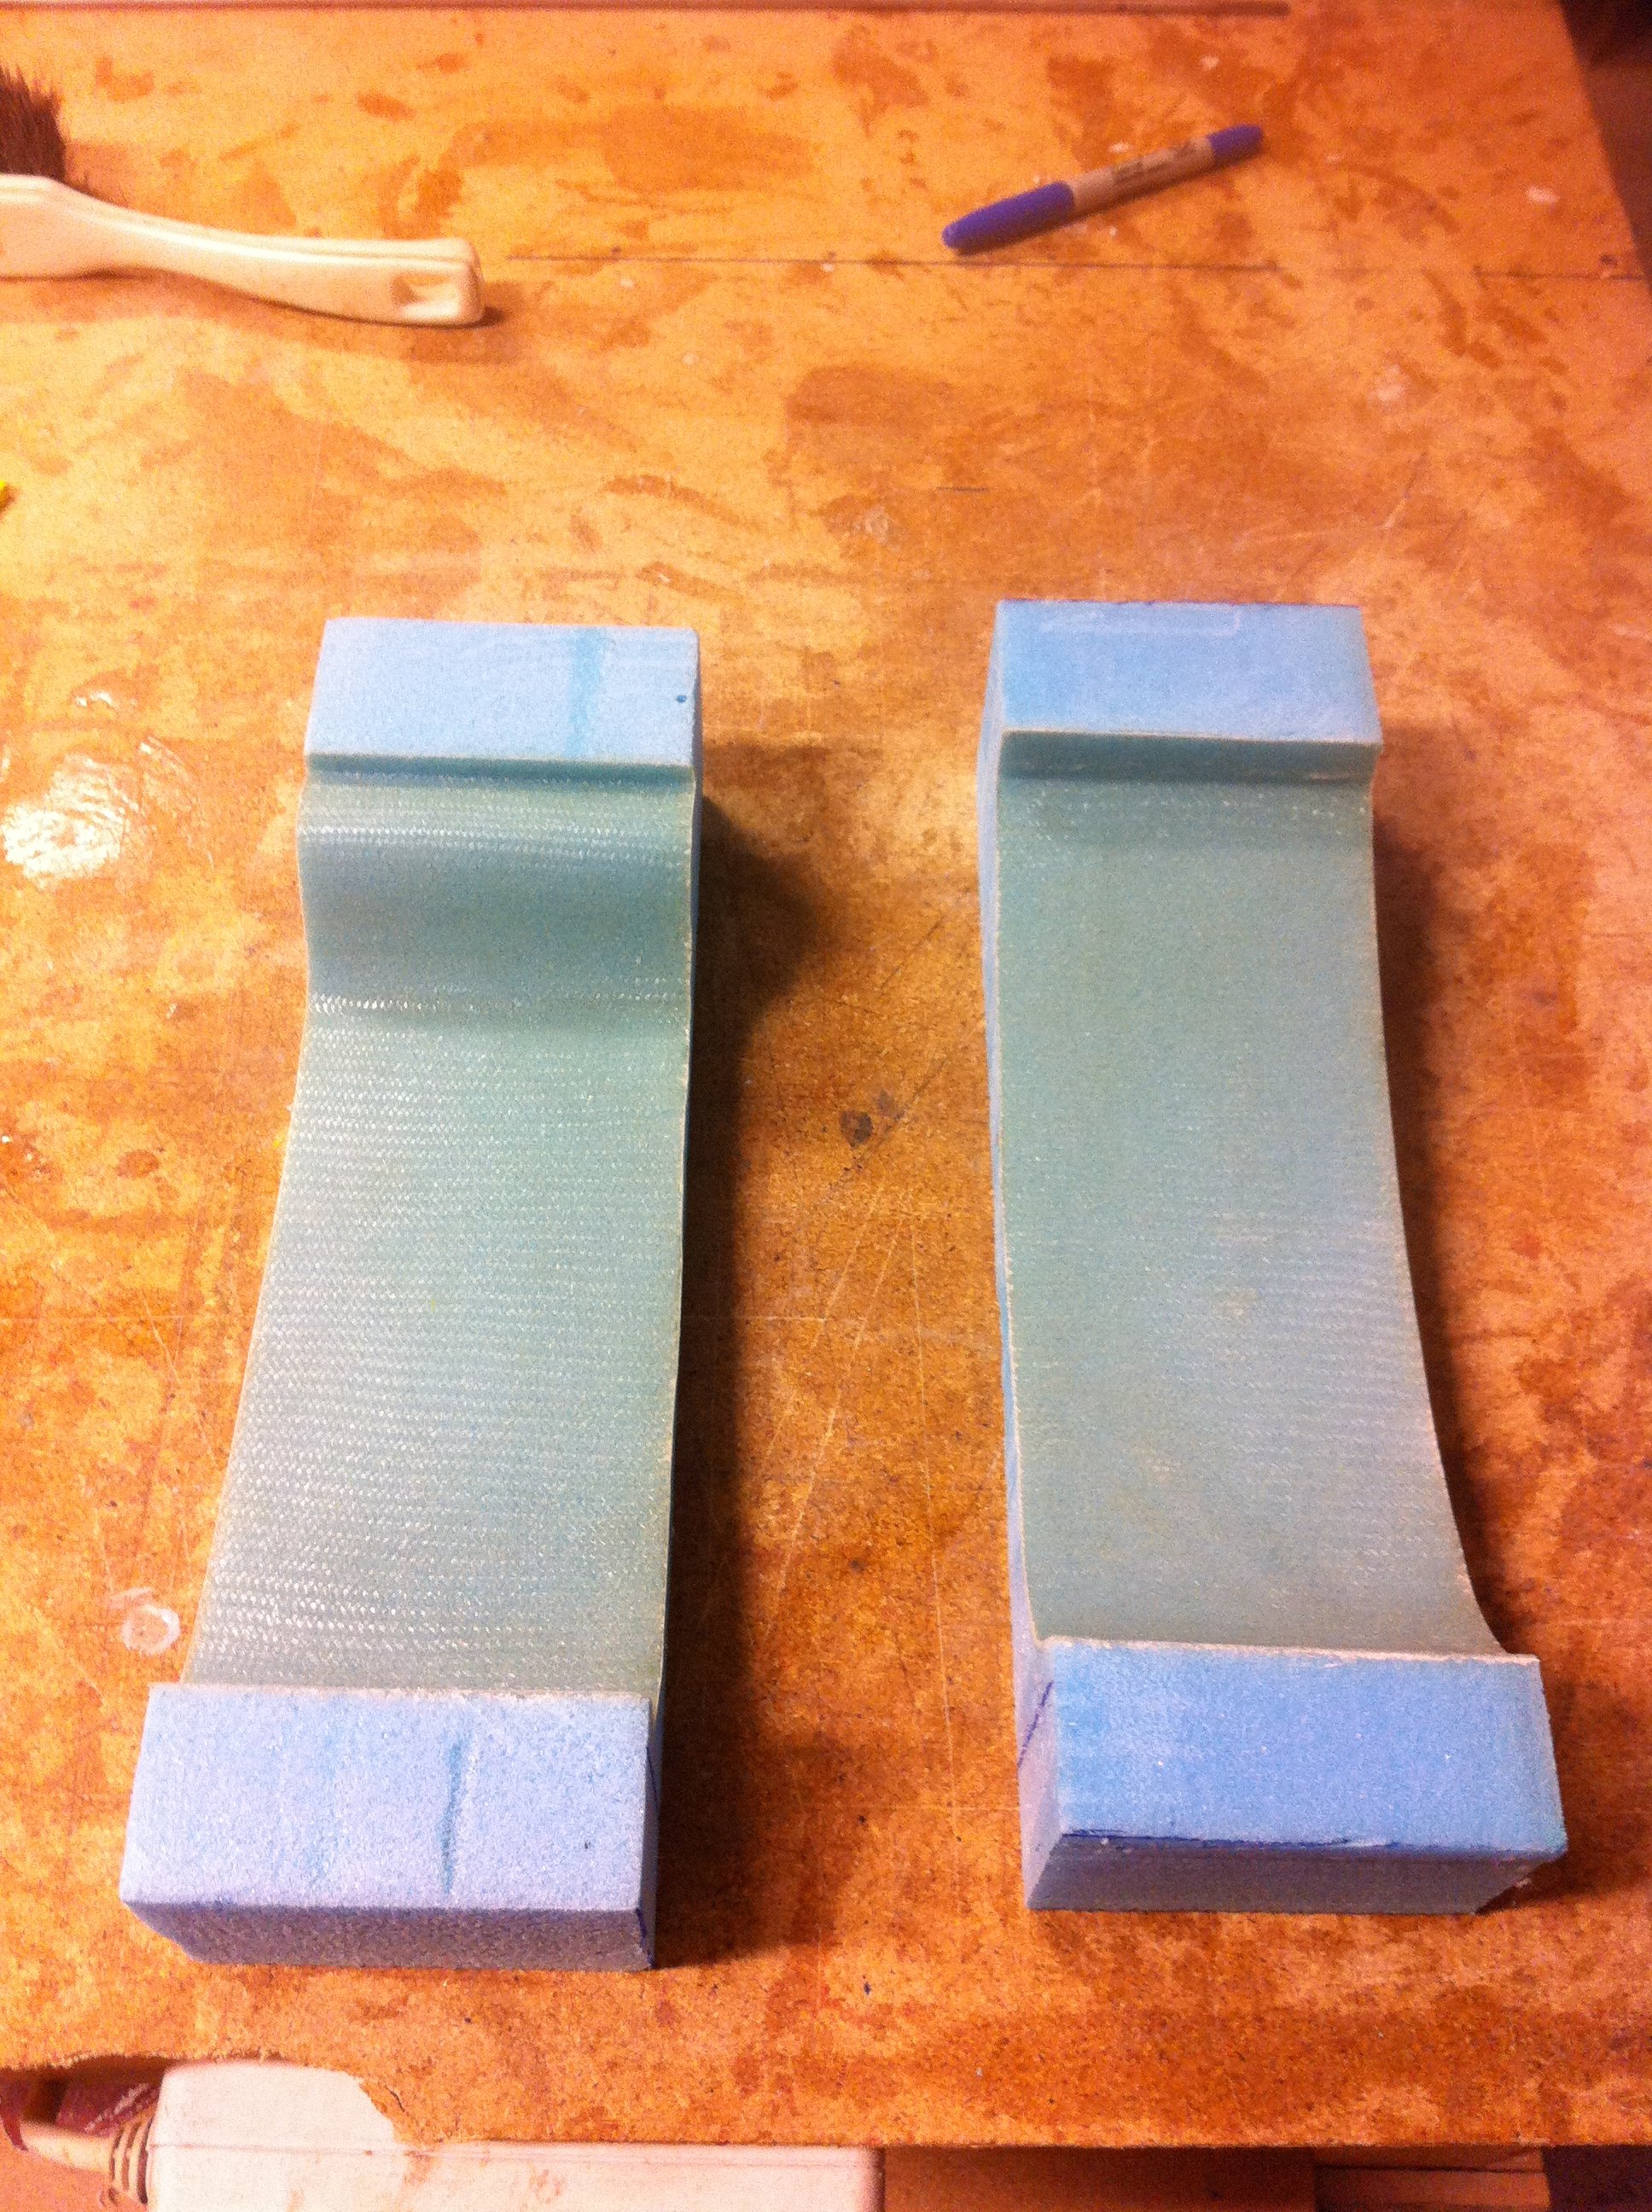
2012-12-02: After cure, two pieces of UNI is epoxied around the counterweight and elevator. I staggered the edges near the trailing edge to avoid bumps. I also painted the sides of the foam and counterweight with epoxy. Peel-plied everything and set to cure.
2012-12-02: The inboard counterweight is bolted to the spool-piece.
2012-12-02: Balancing the elevators reveals that they hang down with the leading-edge, just as they should do! Perfect!
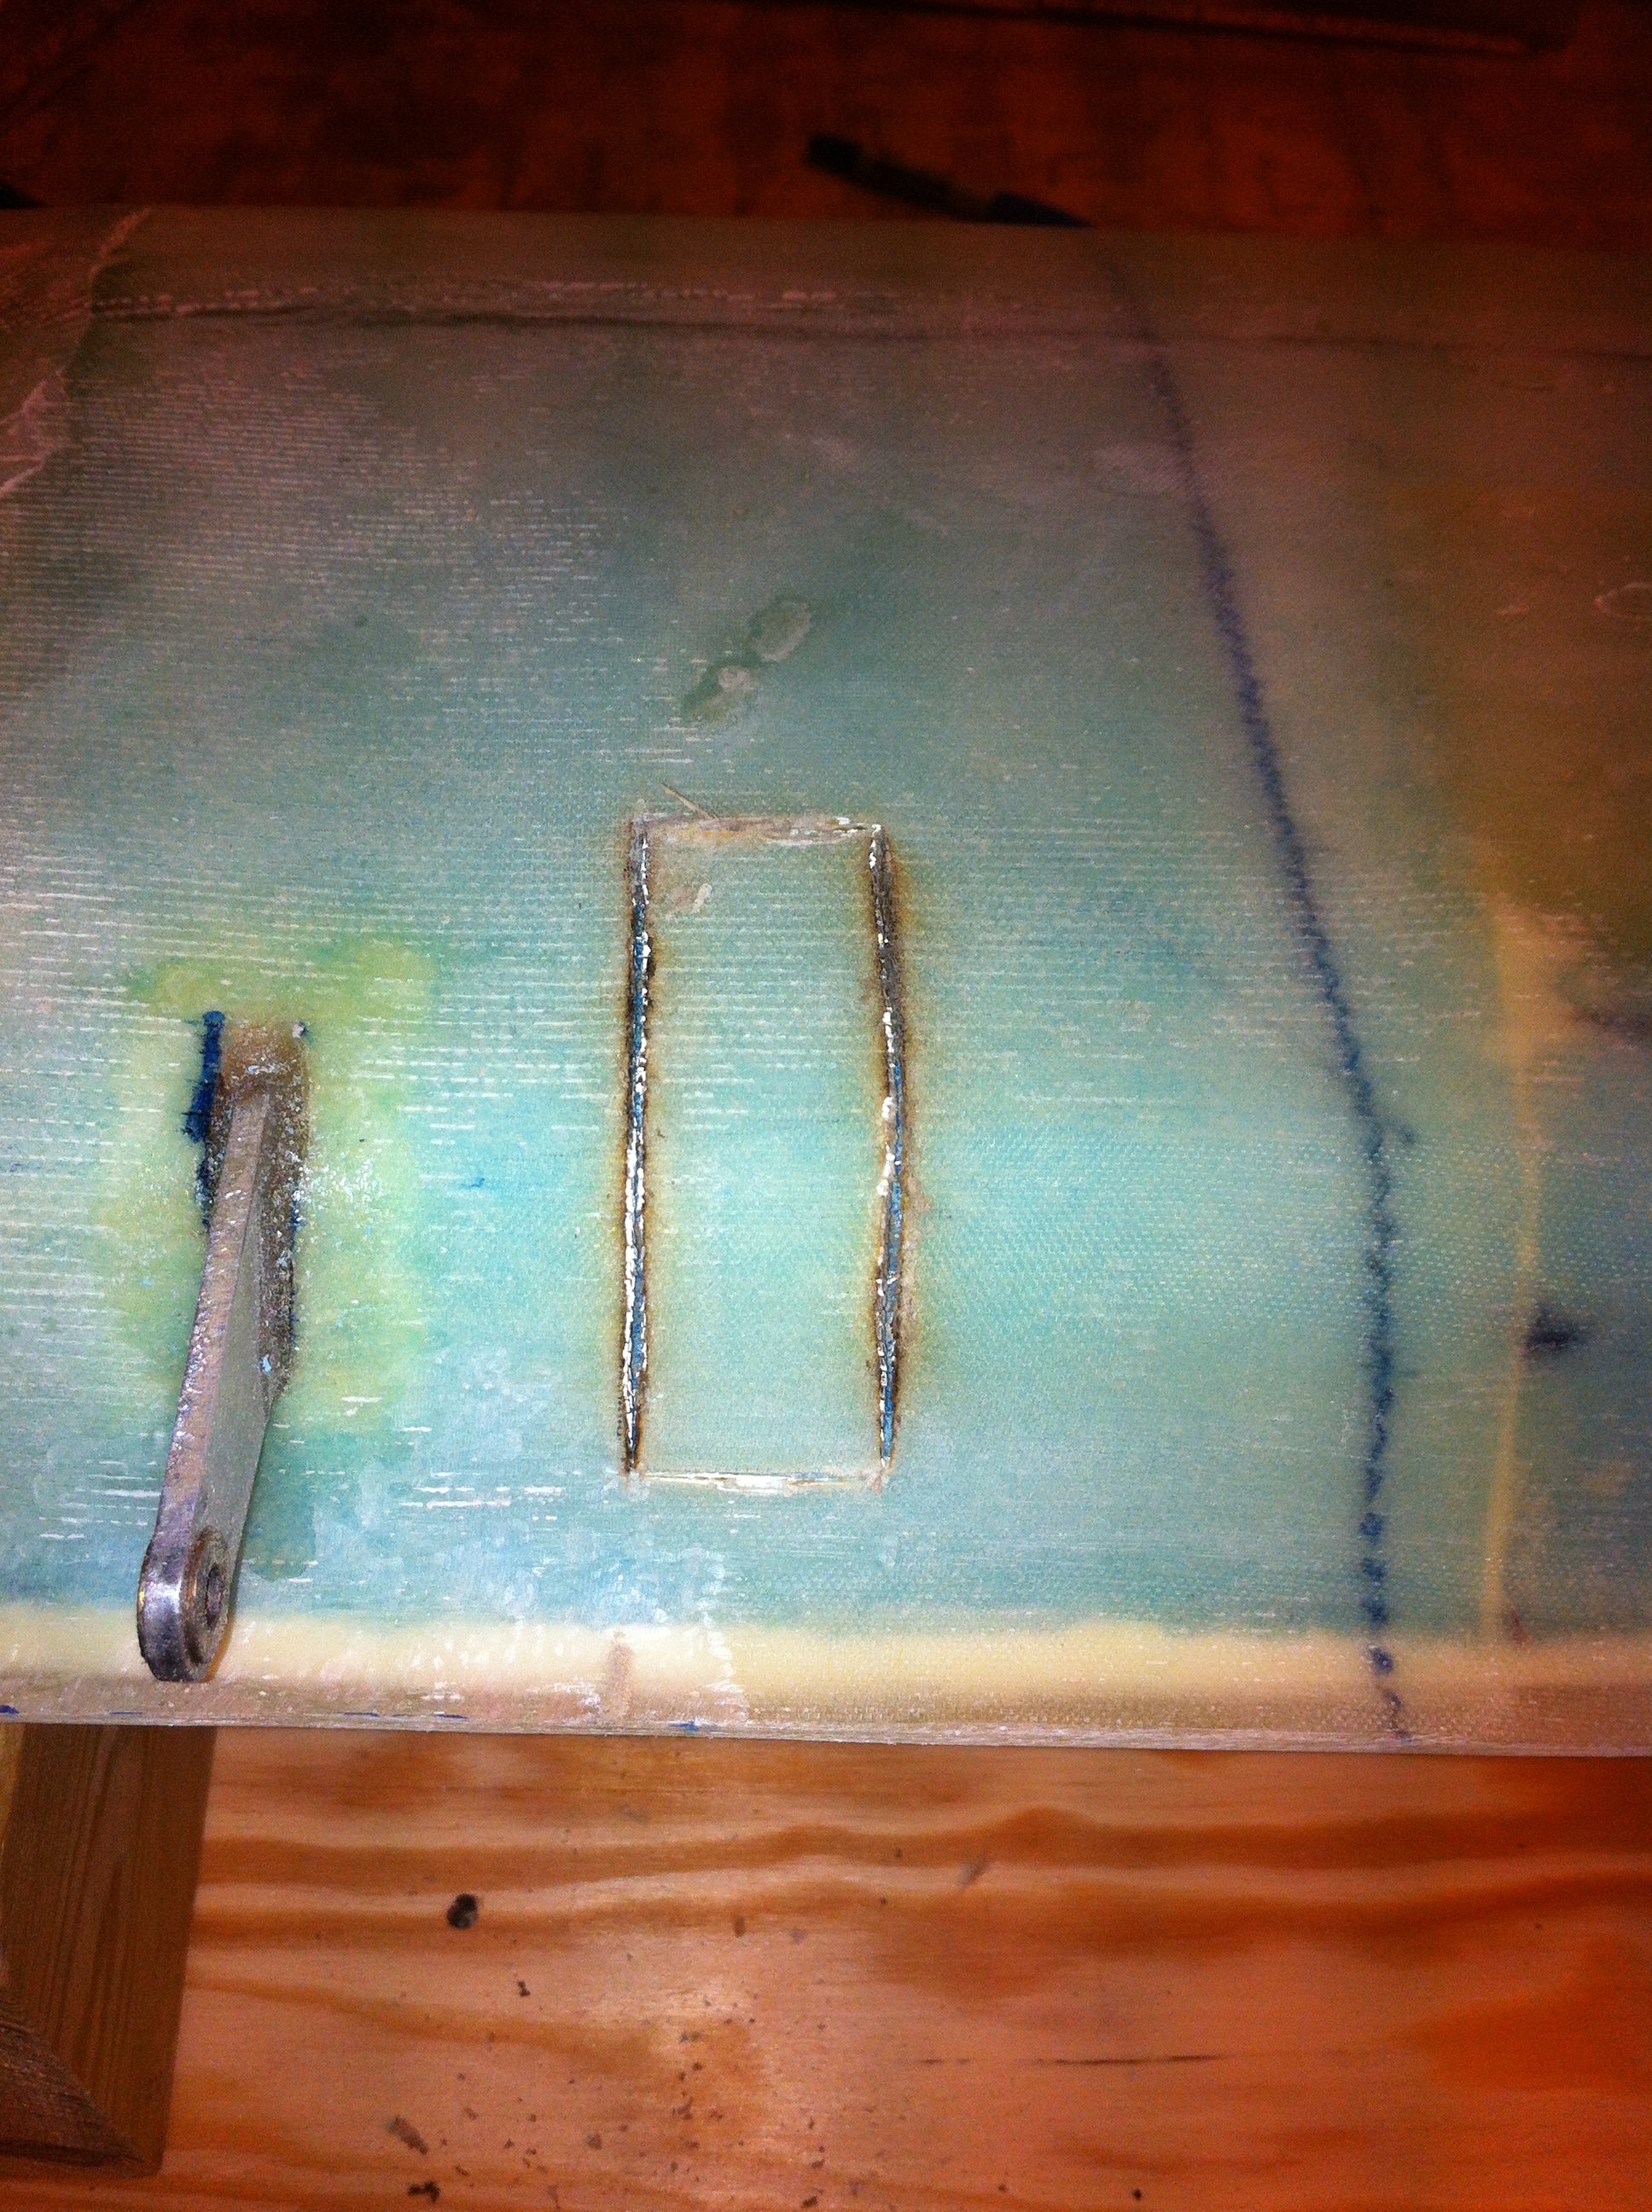
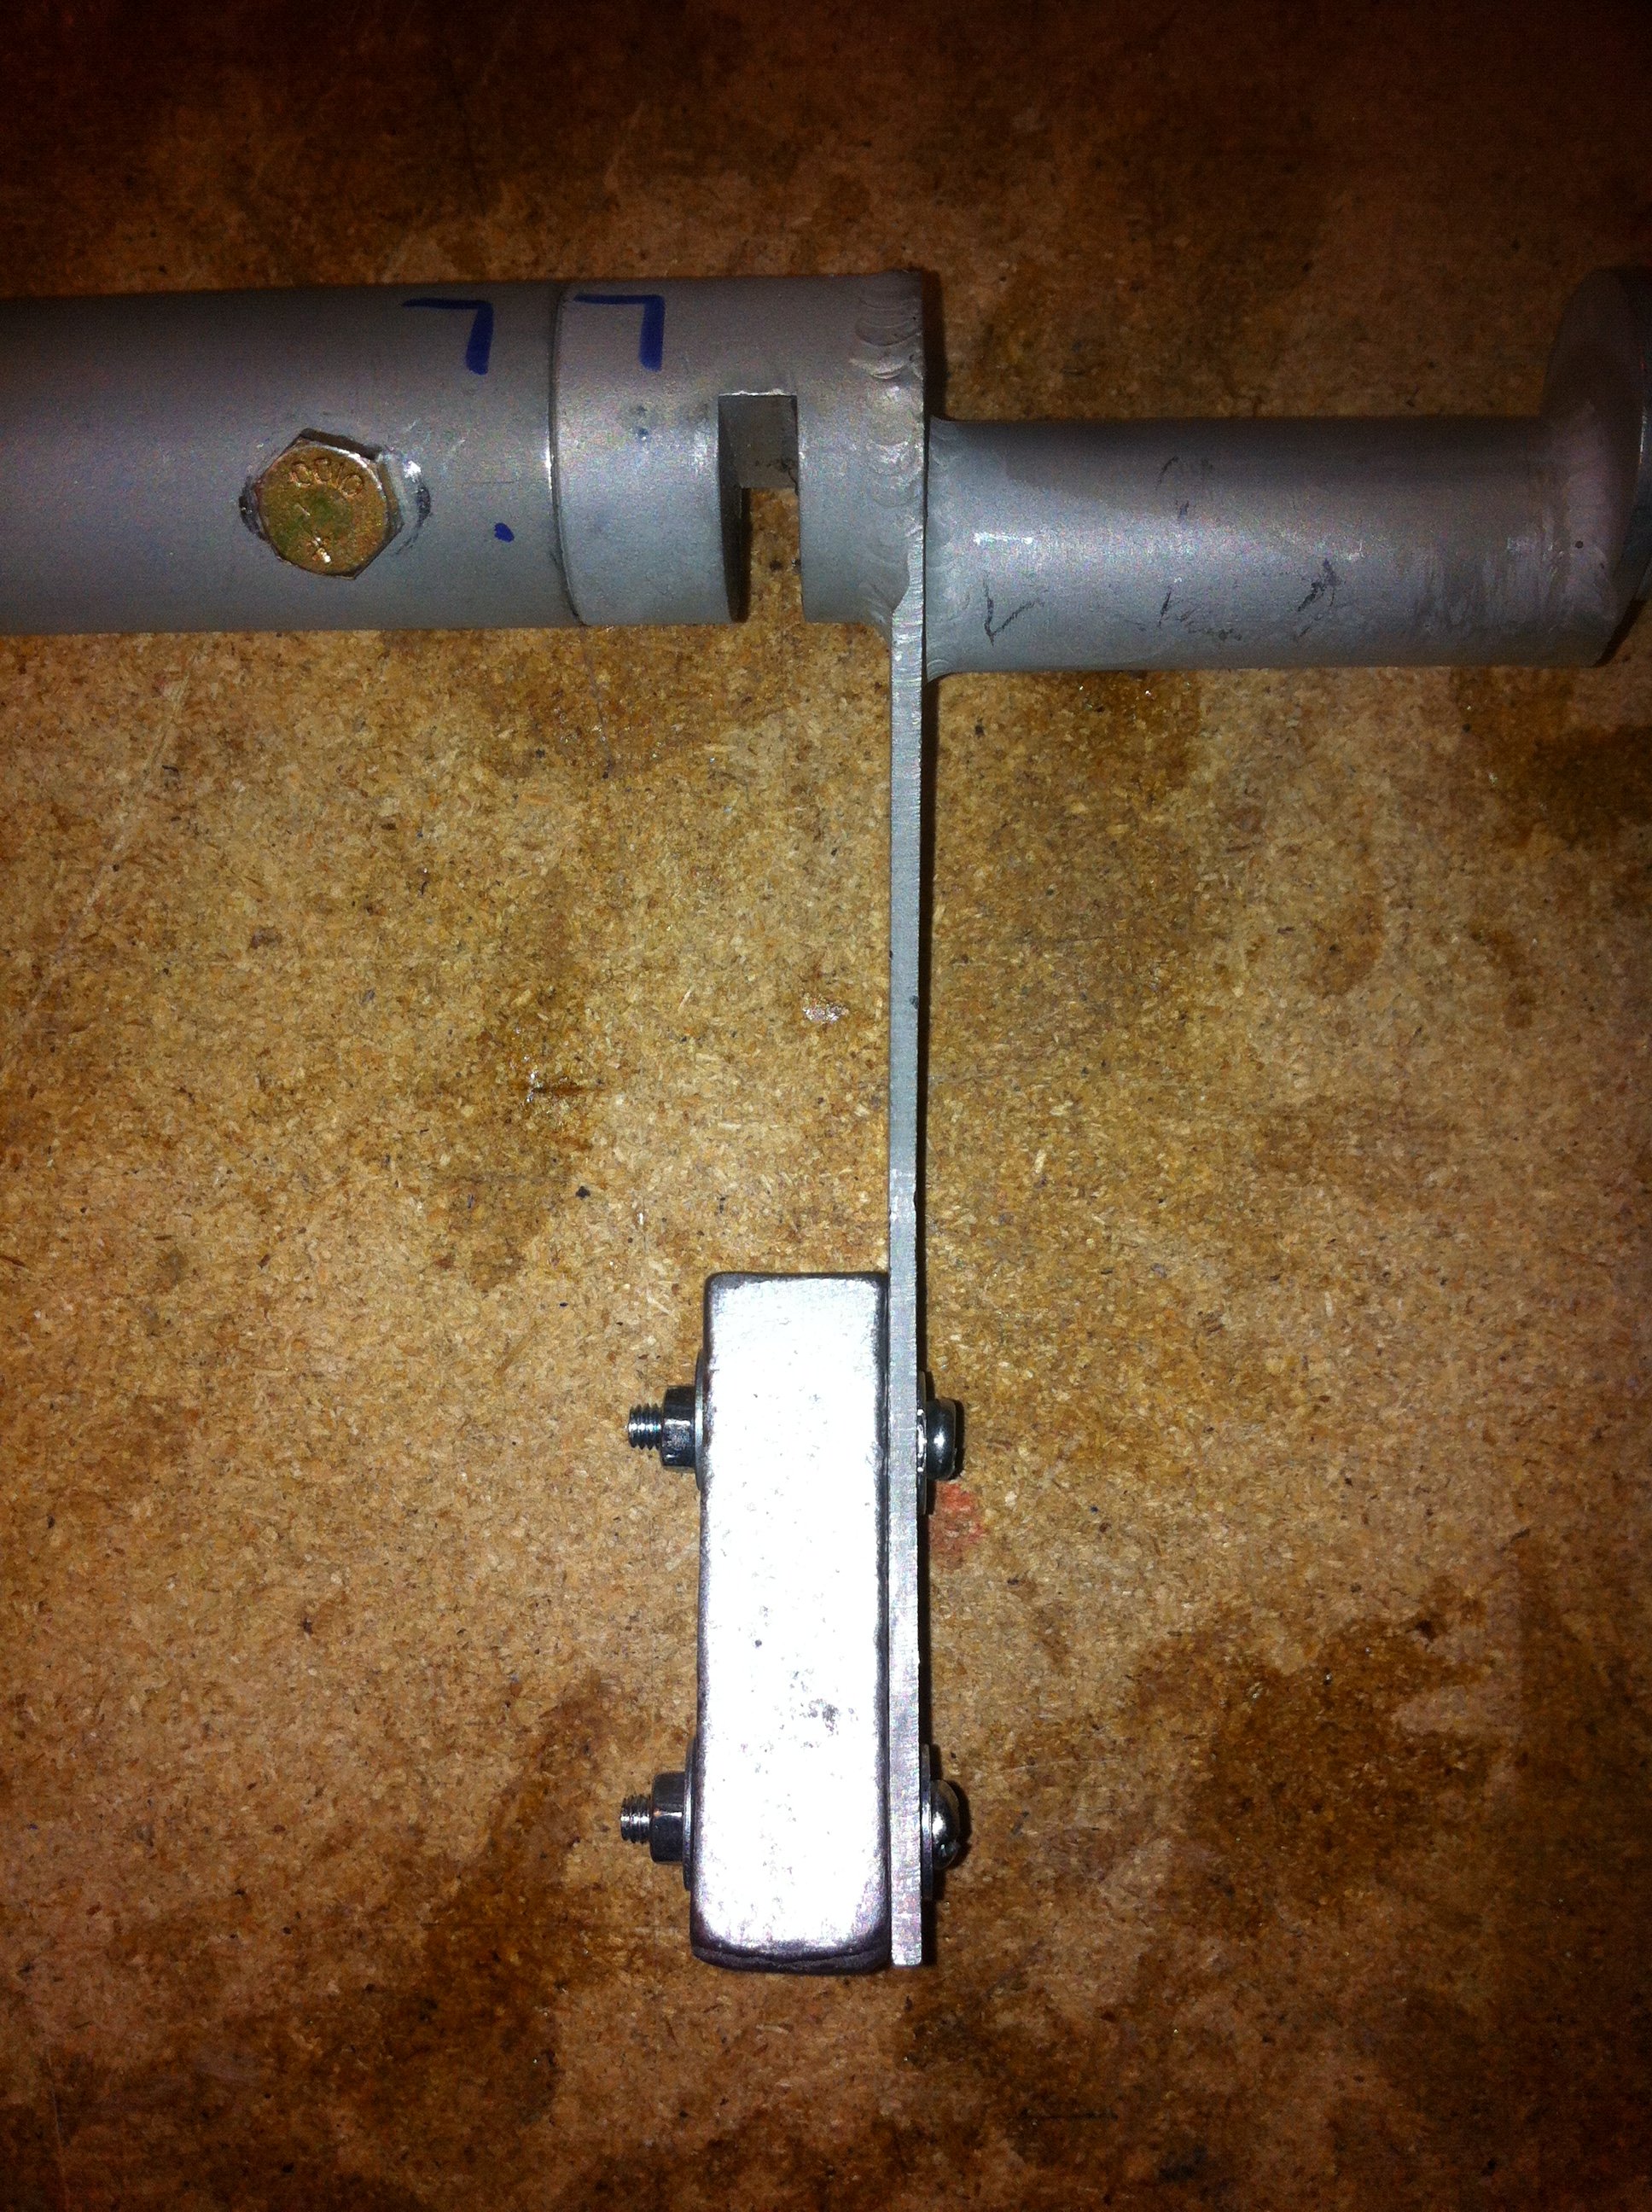
2012-12-02: The last thing to do is making pockets for the outboard counter-weight in the canard. I cut through the skin with my Dremel.
2012-12-02: Then I used a knife to carve out the foam and sanded the foam and glass smooth. I also made flox-corners, although the plans doesn’t mention this. Doesn’t harm I figure.

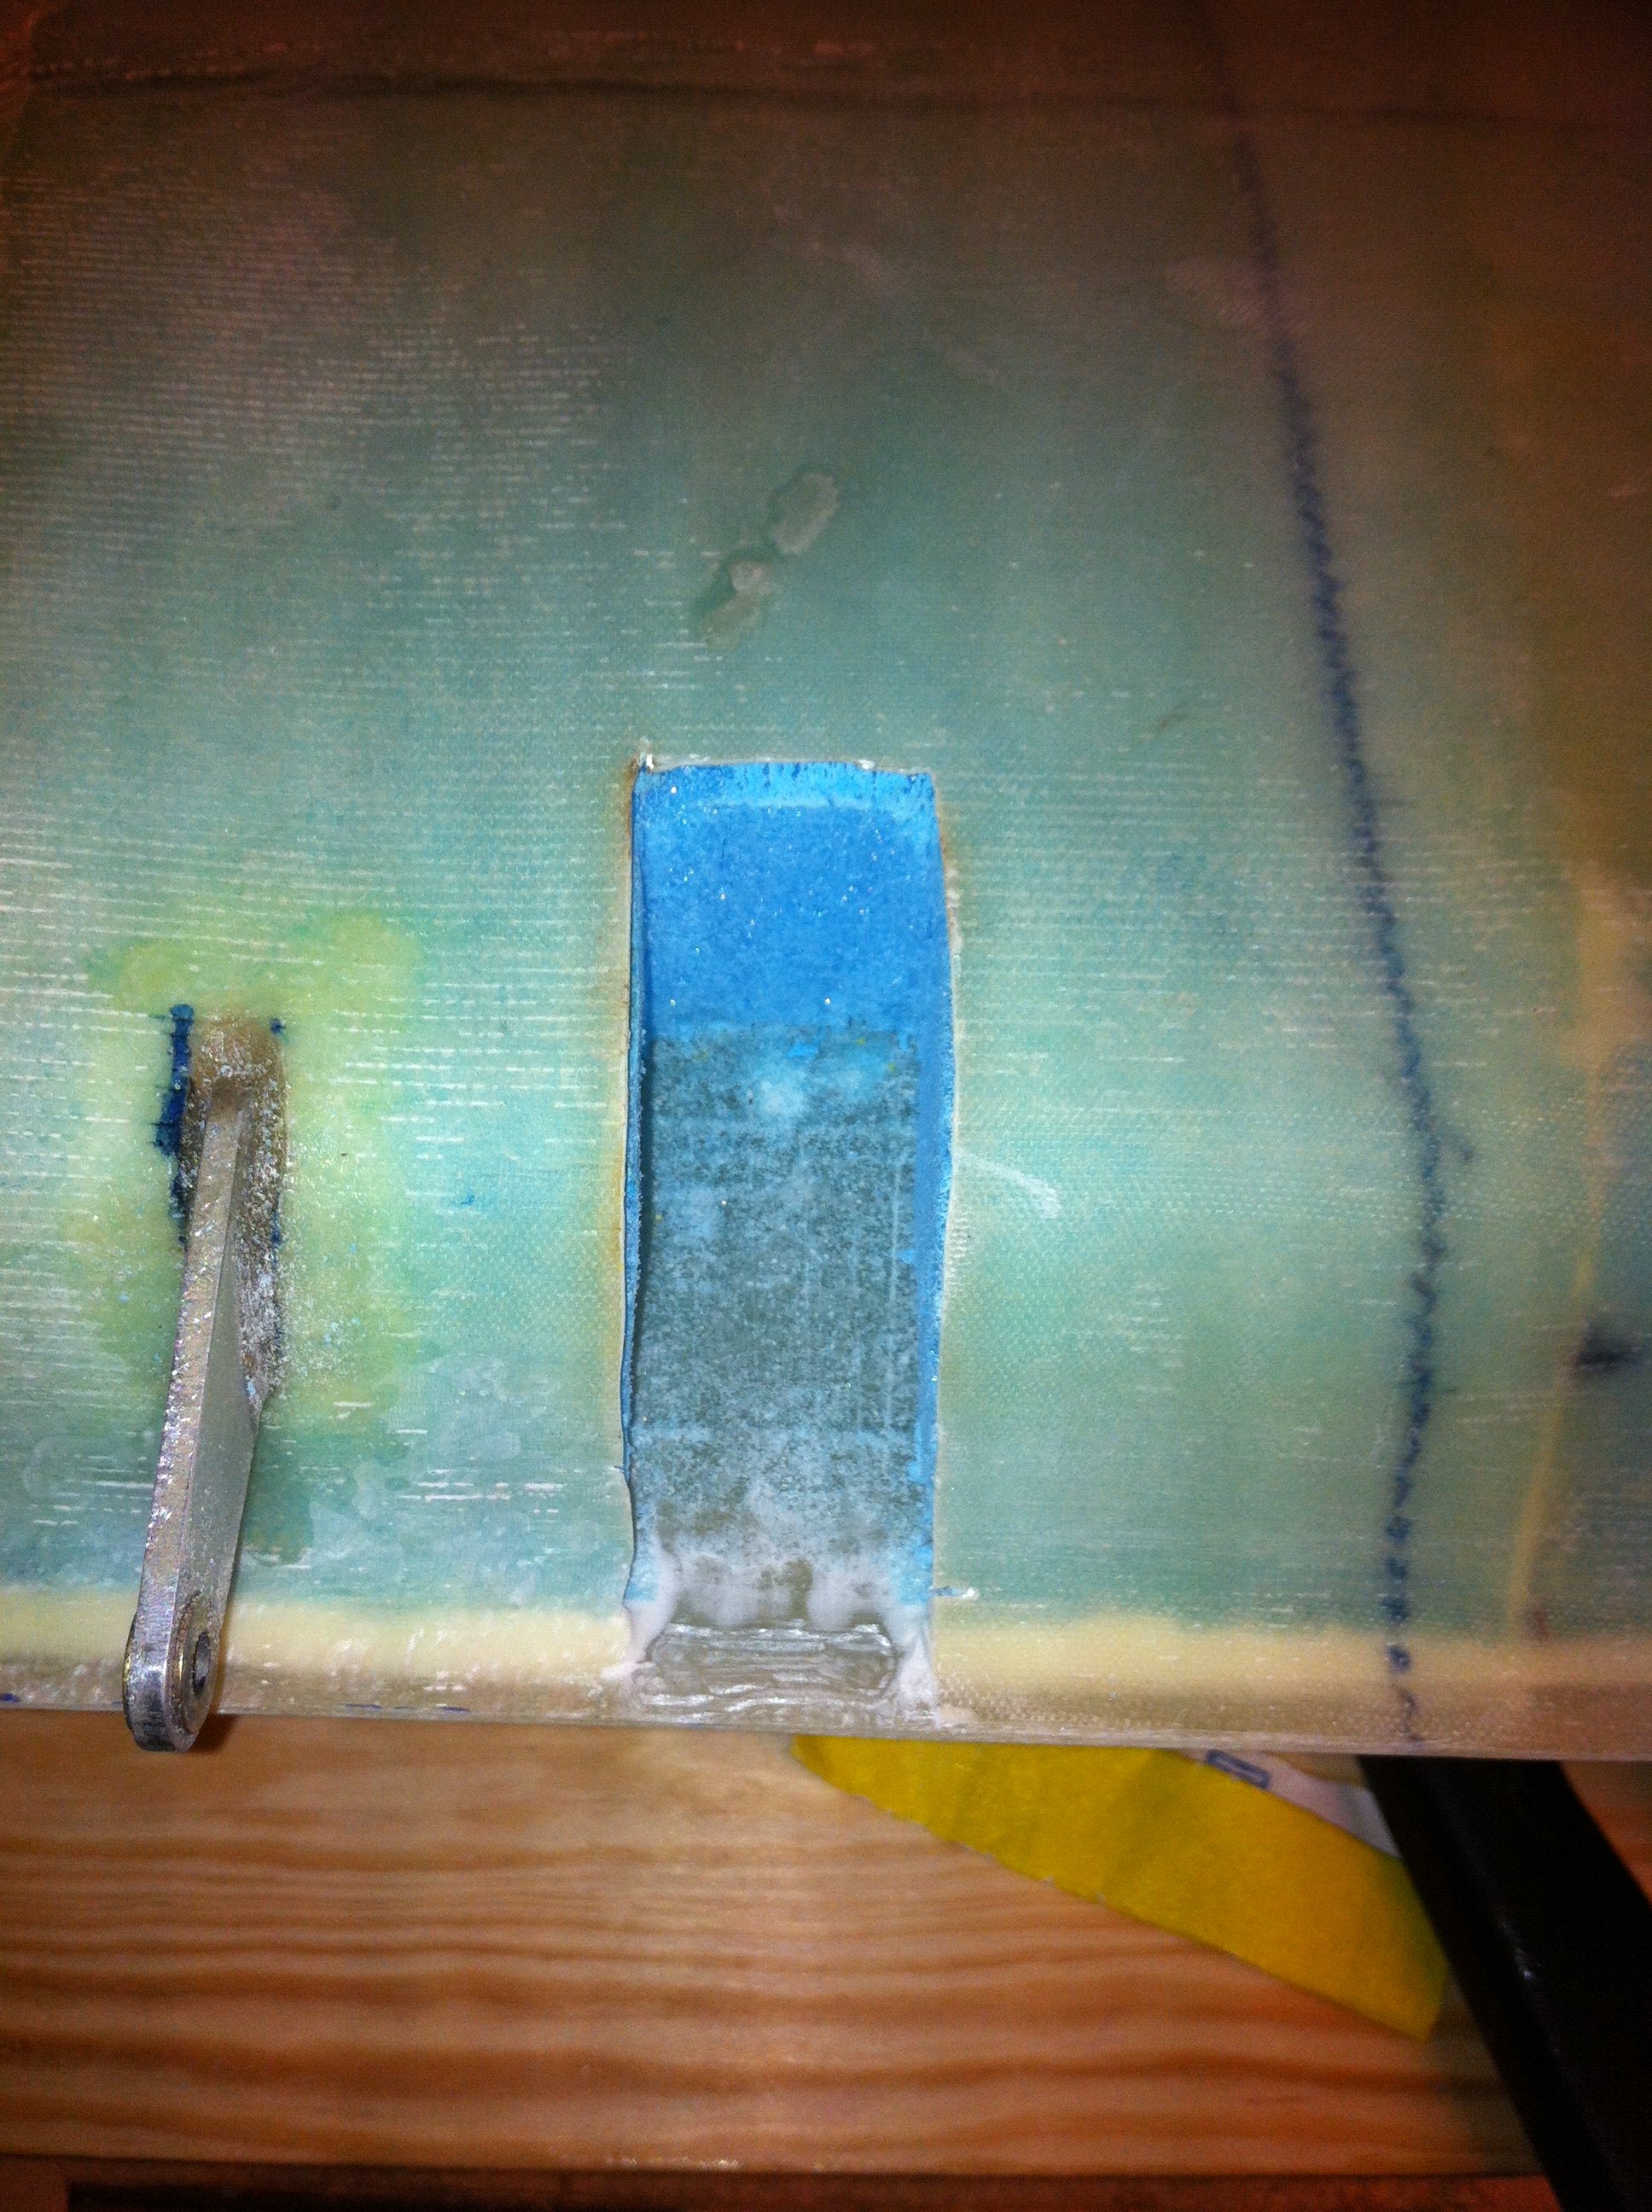
2012-12-02: The inside of the pocket is glassed with 1 BID.
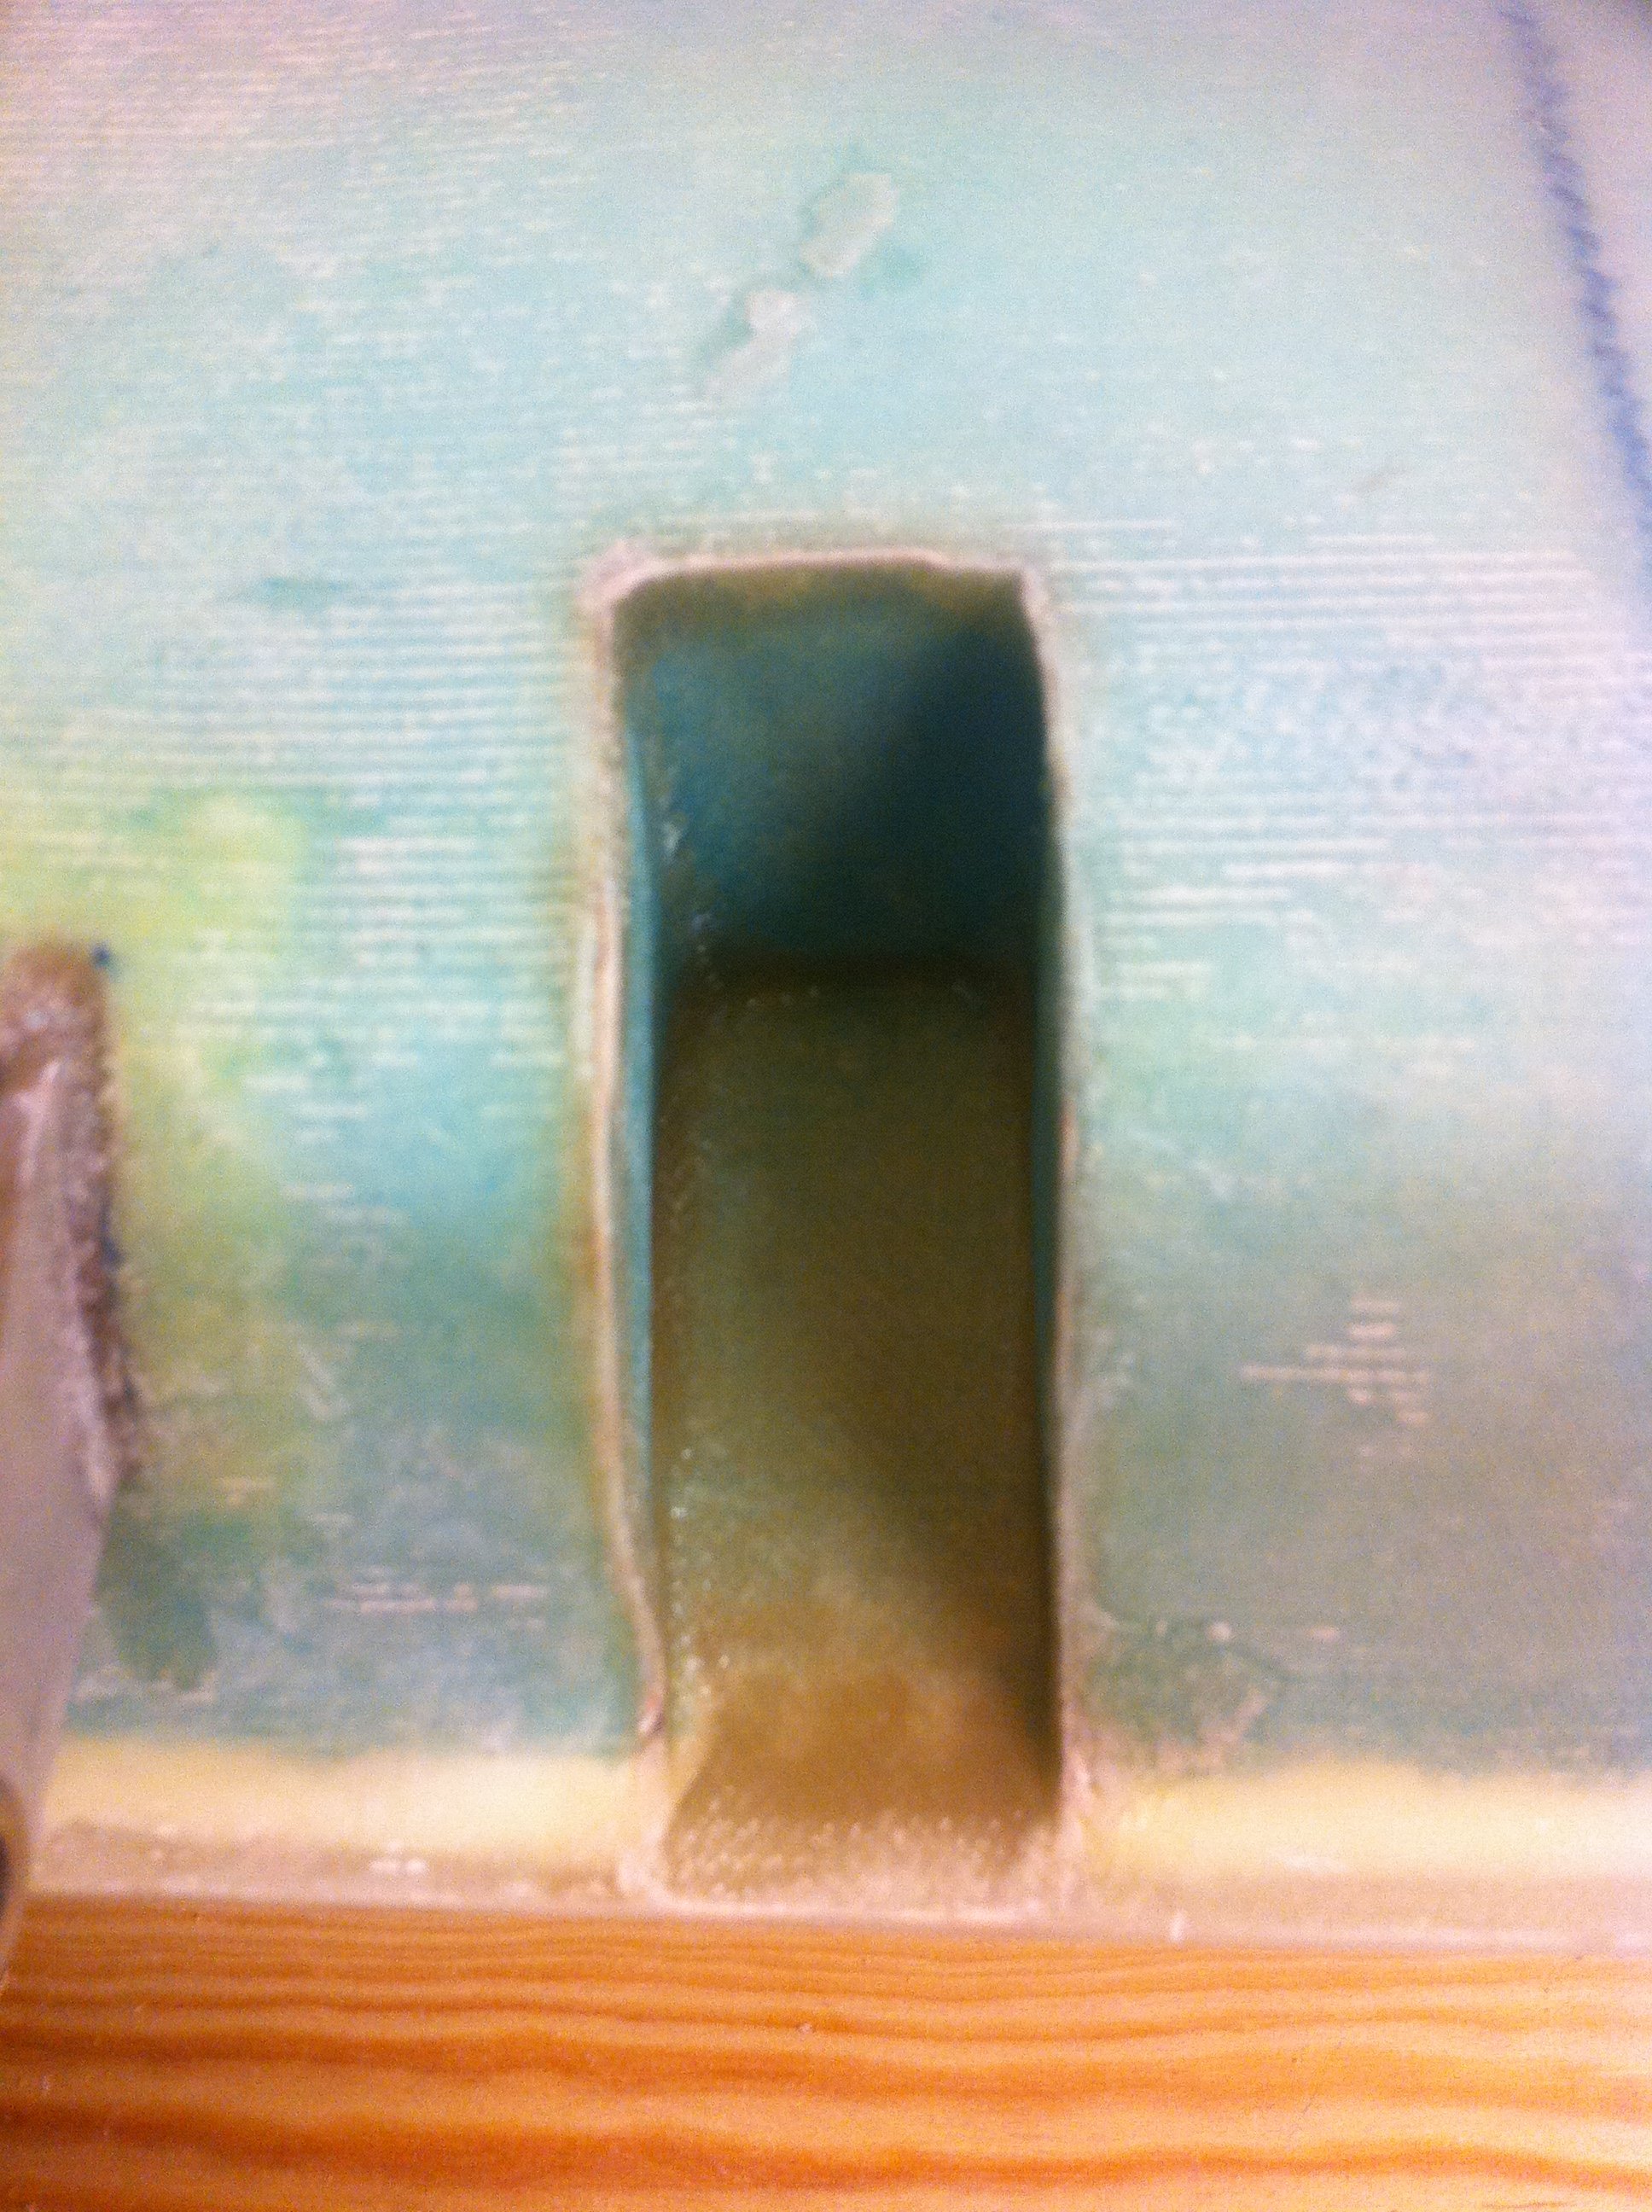
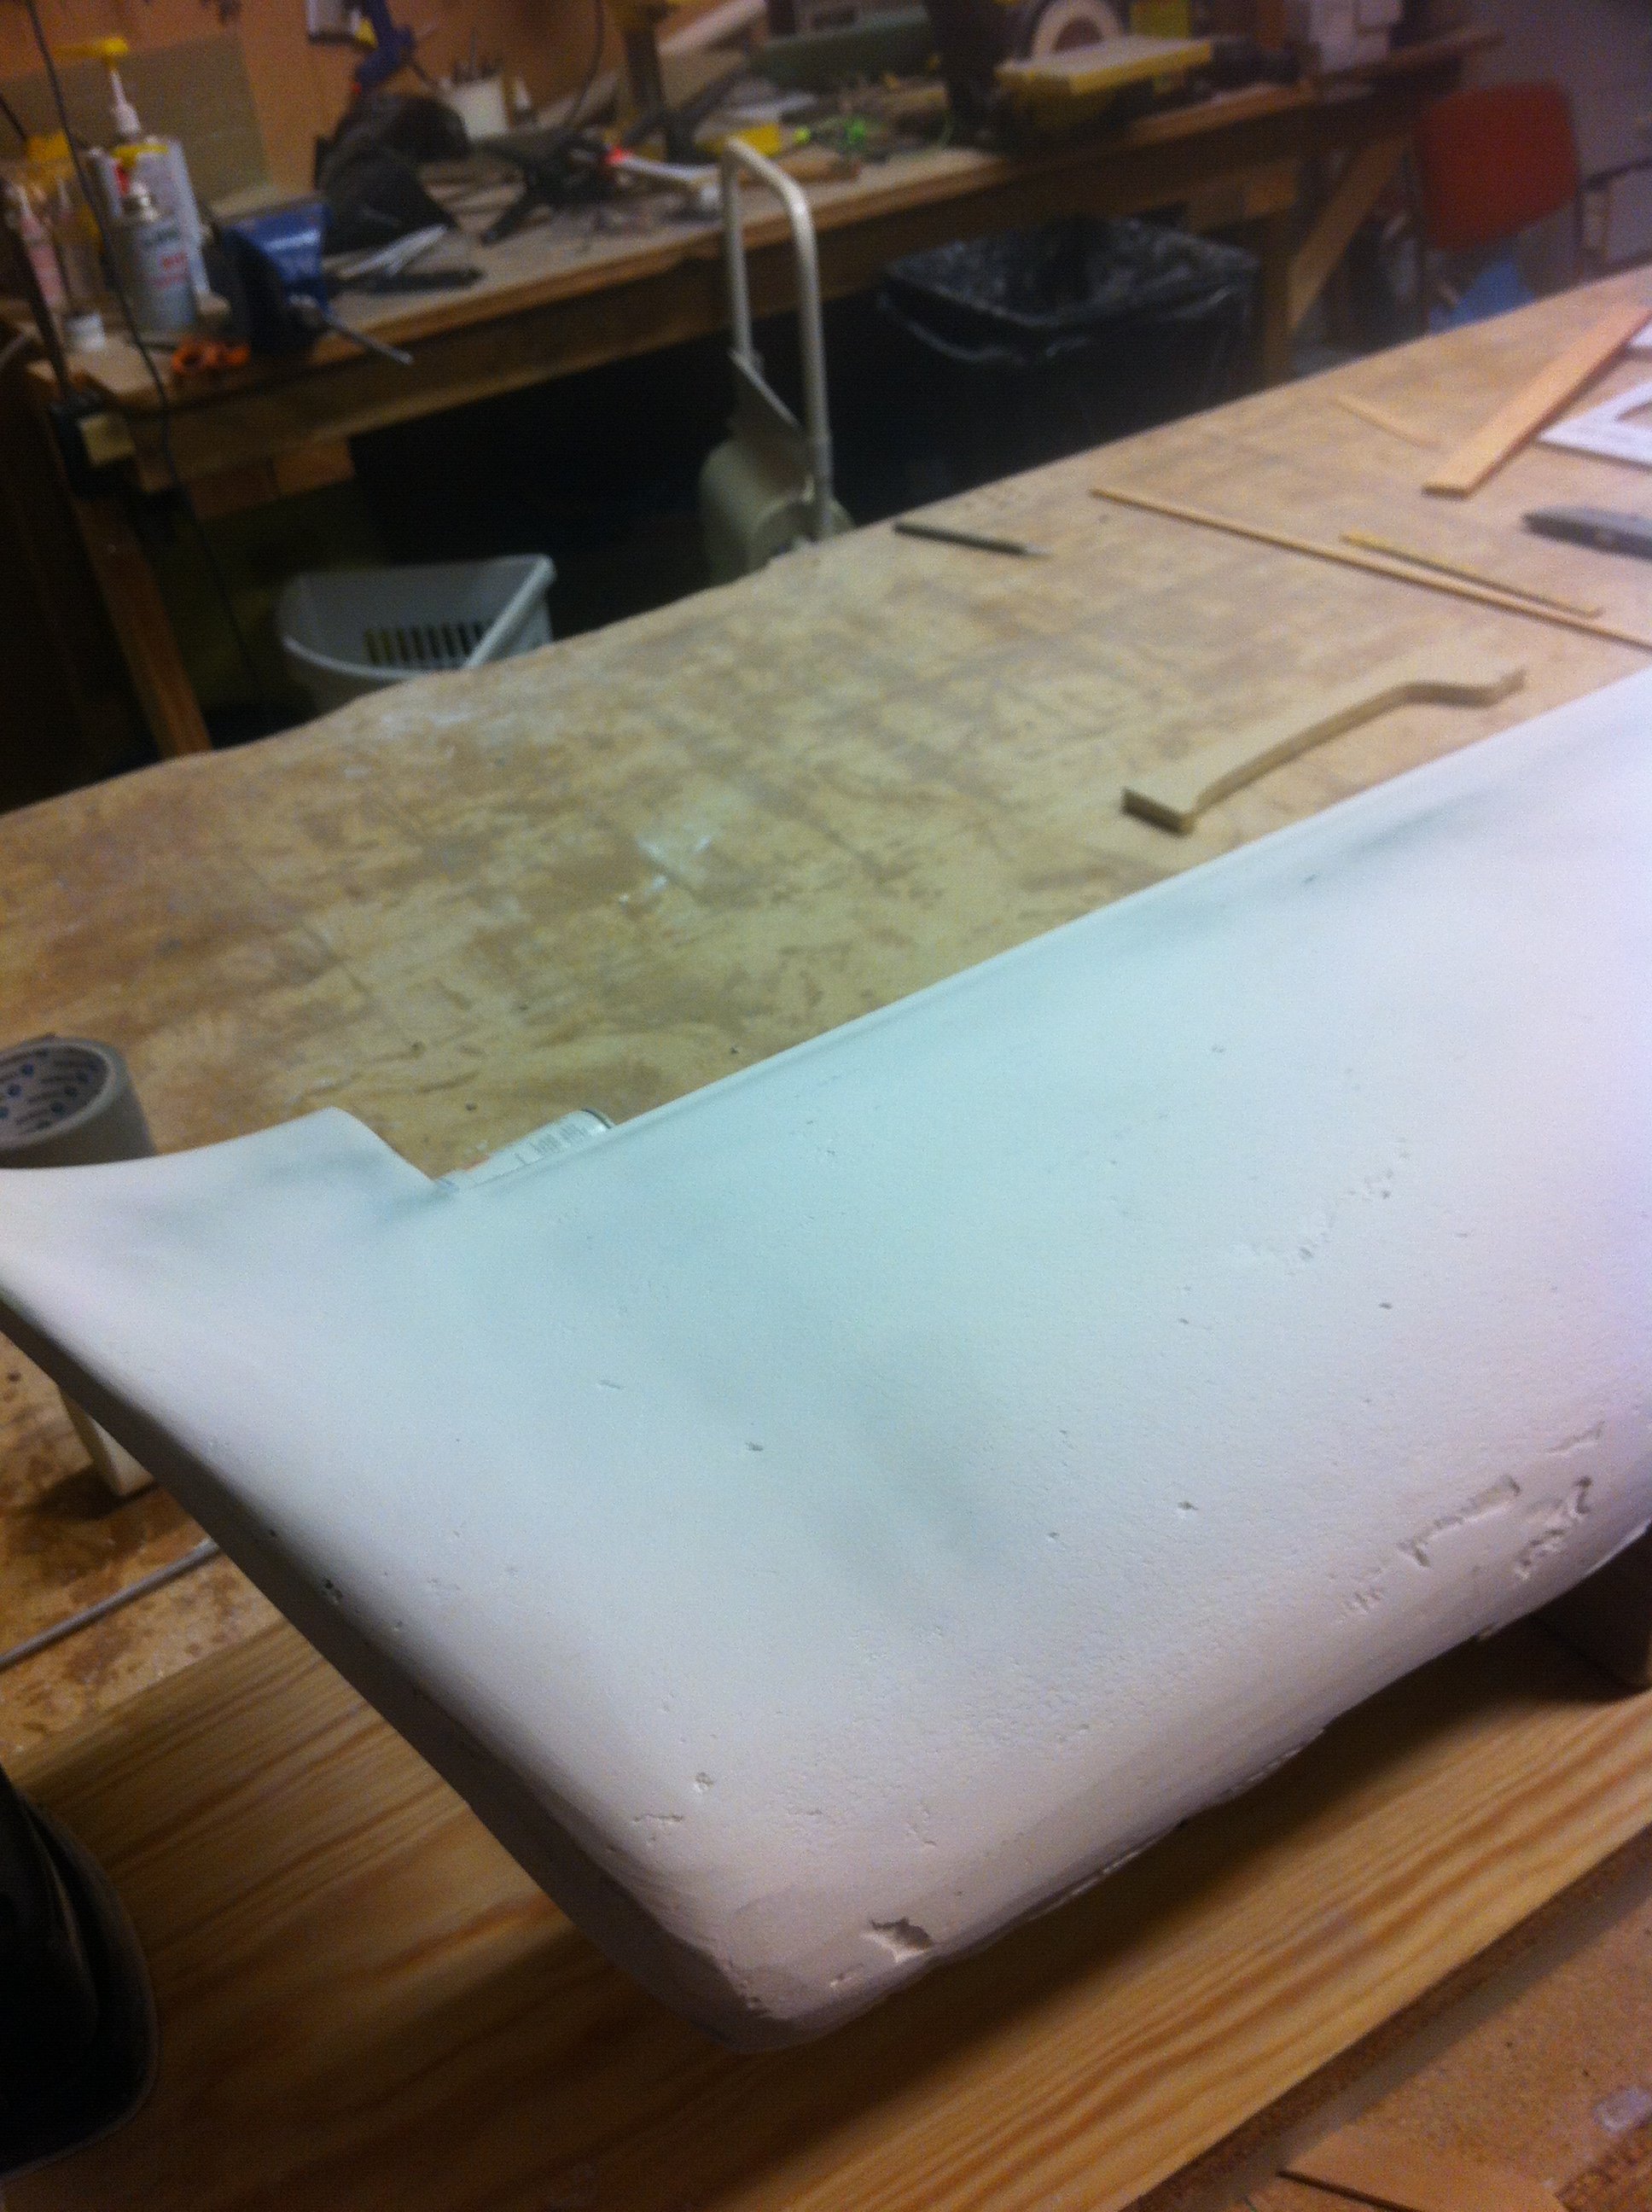
2012-12-09: The glass is trimmed and sanded flush with canard. When I mounted the elevator I discovered that I have to carve out some more foam on one side of the left pocket. The counterweight touched the sides just a tiny bit. This is a quick fix, I just remove the BID on the side, carve out some foam and glass some new BID over.
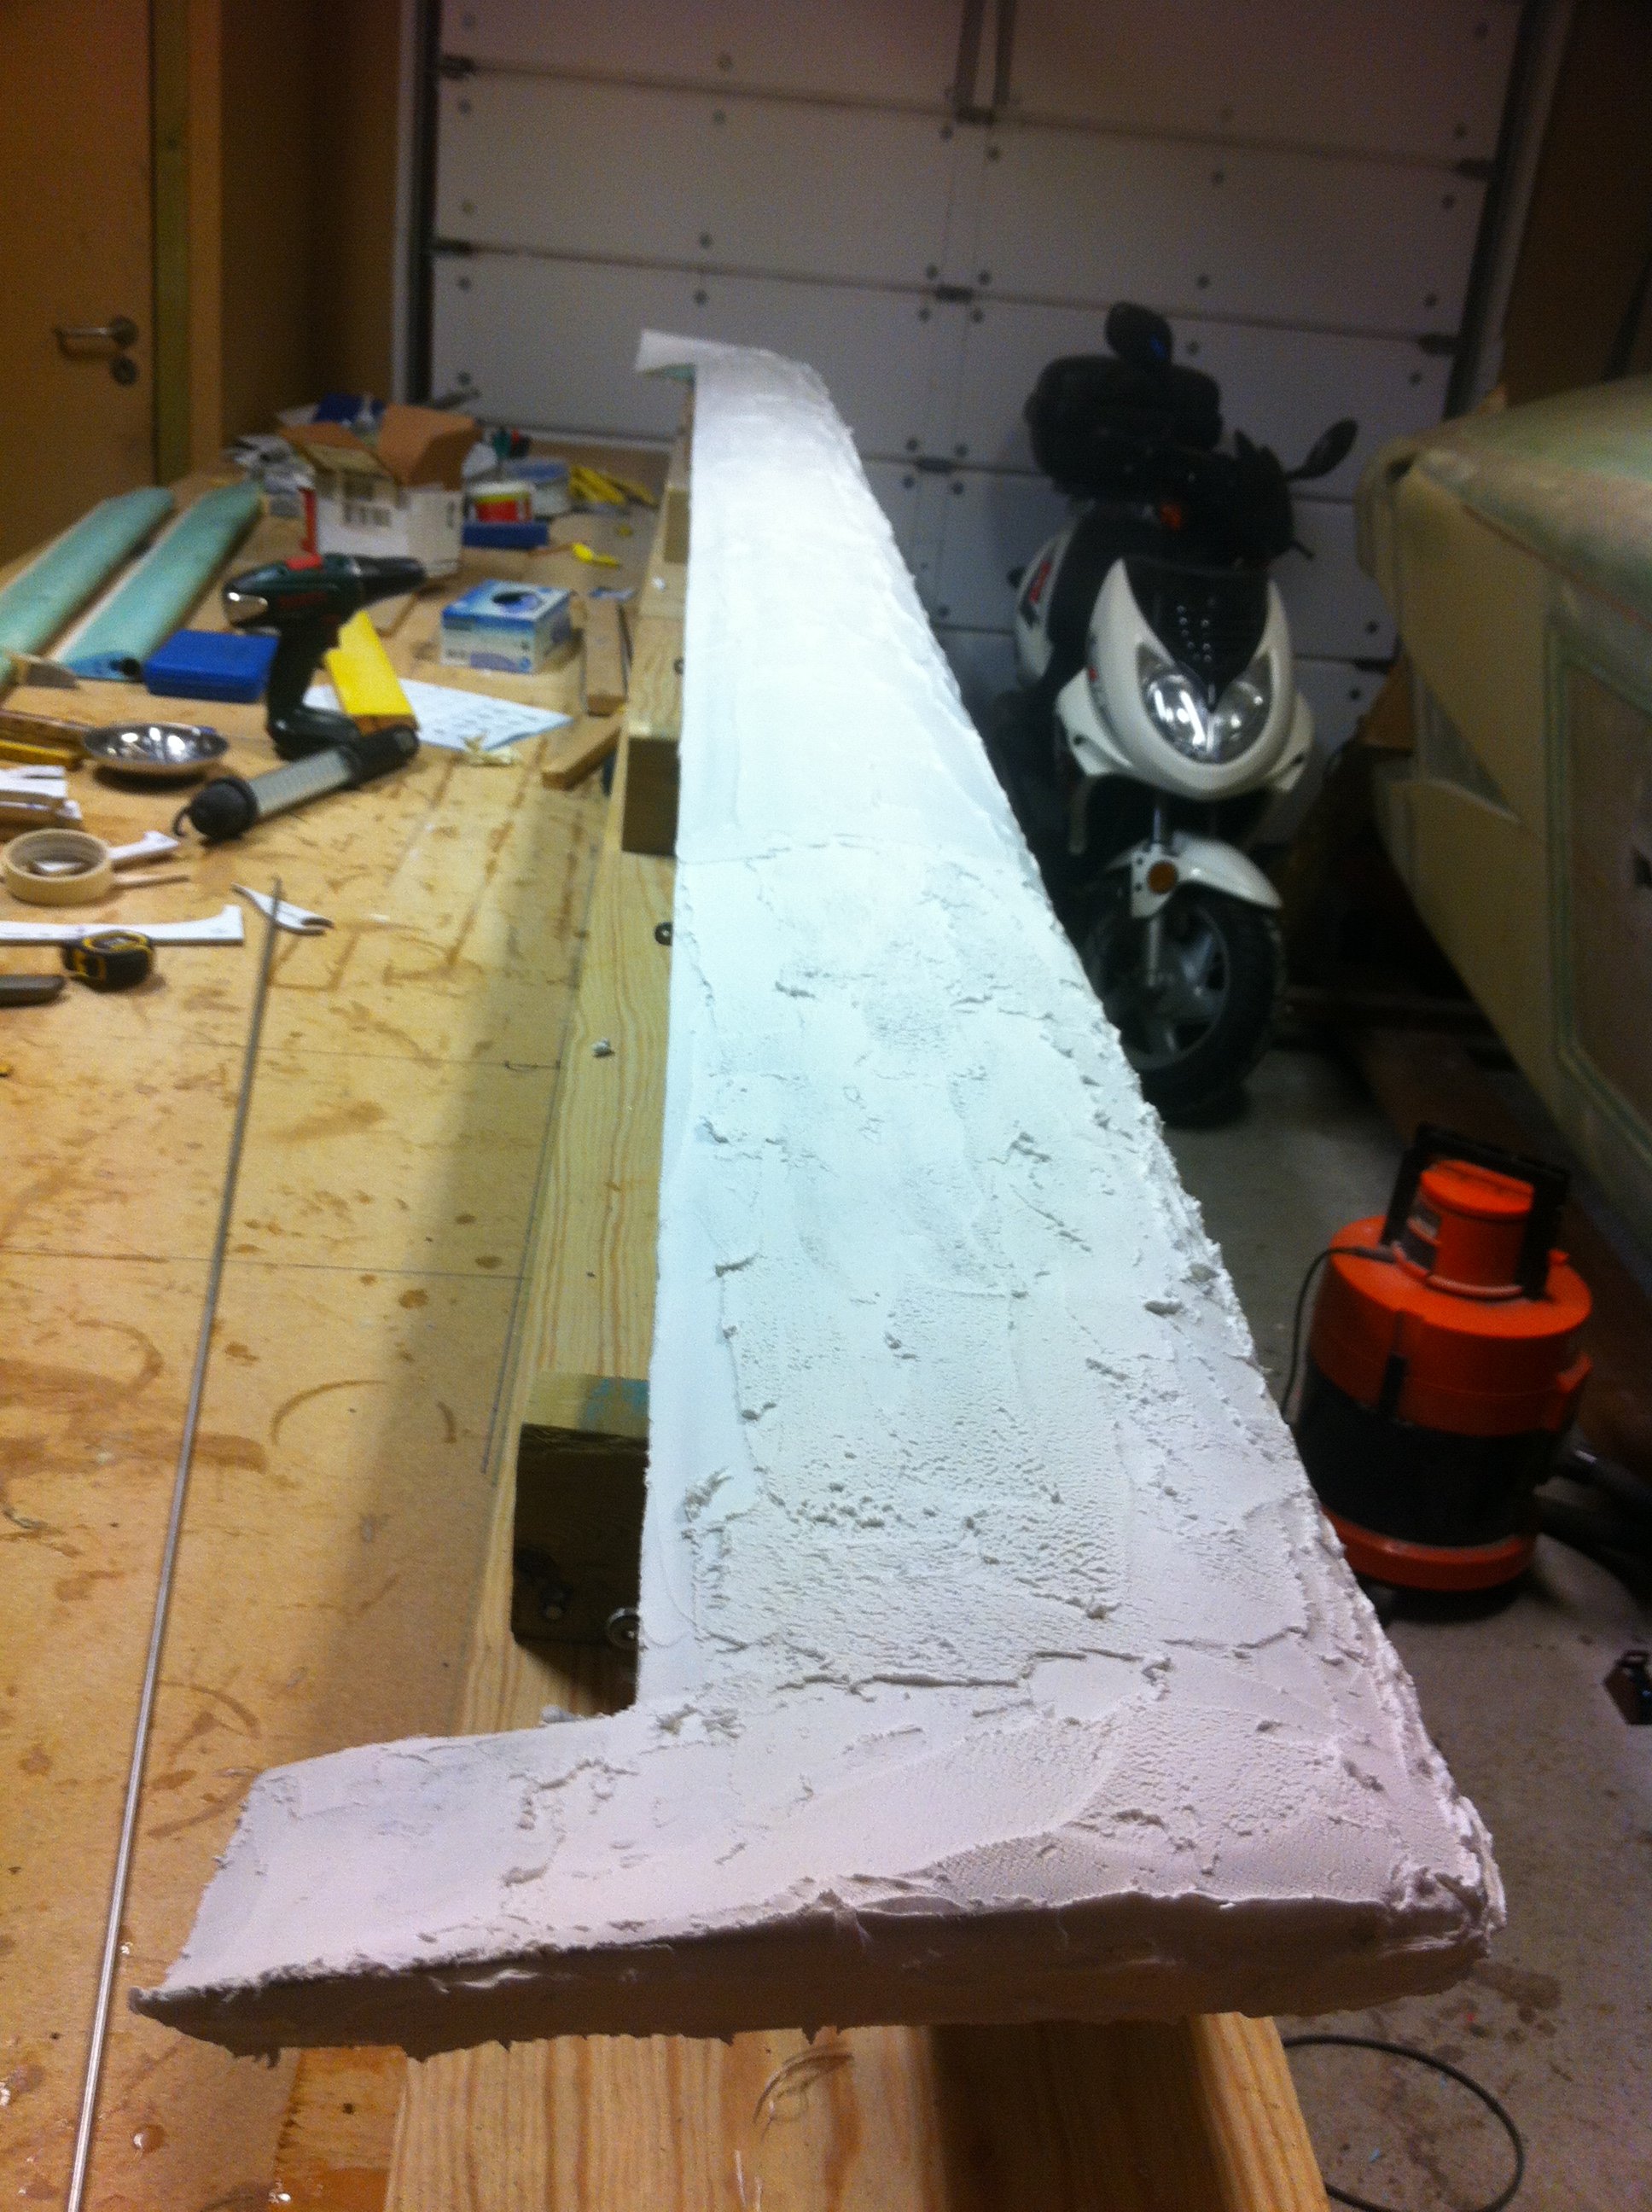
The last step in this chapter is to check the canard contour and prepare it. That means I have to cover with micro and sand to get the contour according to the templates. When I checked the contour as it is now, I discovered that the overall contour is rather good, but surpringsingly the leading edge is 3/8 inch to short! I have checked my templates and the A- and B-template is OK. I guess the error occured when hotwiring the cores. I can correct this by adding micro to the leading edge and sand it to the right contour. A bit annoying, but at least I don’t need to remake the canard.
2012-12-30: I will use West Epoxy 105/206 together with micro as pr recommendations from other builders that this epoxy is easier to sand. Another trick is add some denatured ethanol (alcohol) to the thick micro to soften it up before applying it to the surface. This will result in a smoother and easier mass to work with. The ethanol will quickly evaporate from the micro, resulting in a normal micro-filler. How thick should the mass be? I initially made the filler very thick, so thick that the filler started to form a ball when I mixed in in the bowl. Then I added a bit ethanol so the filler was as thick as peanut-butter. This is a trick several builders have used with great success.
I will follow the recommendation from this website when I work with the finishing. There are several ways to do this, but I feel like the method of adding a thick layer of micro overall and then sand down to the right contour is better than just filling the low spots. Time will show if I will continue to use this method.
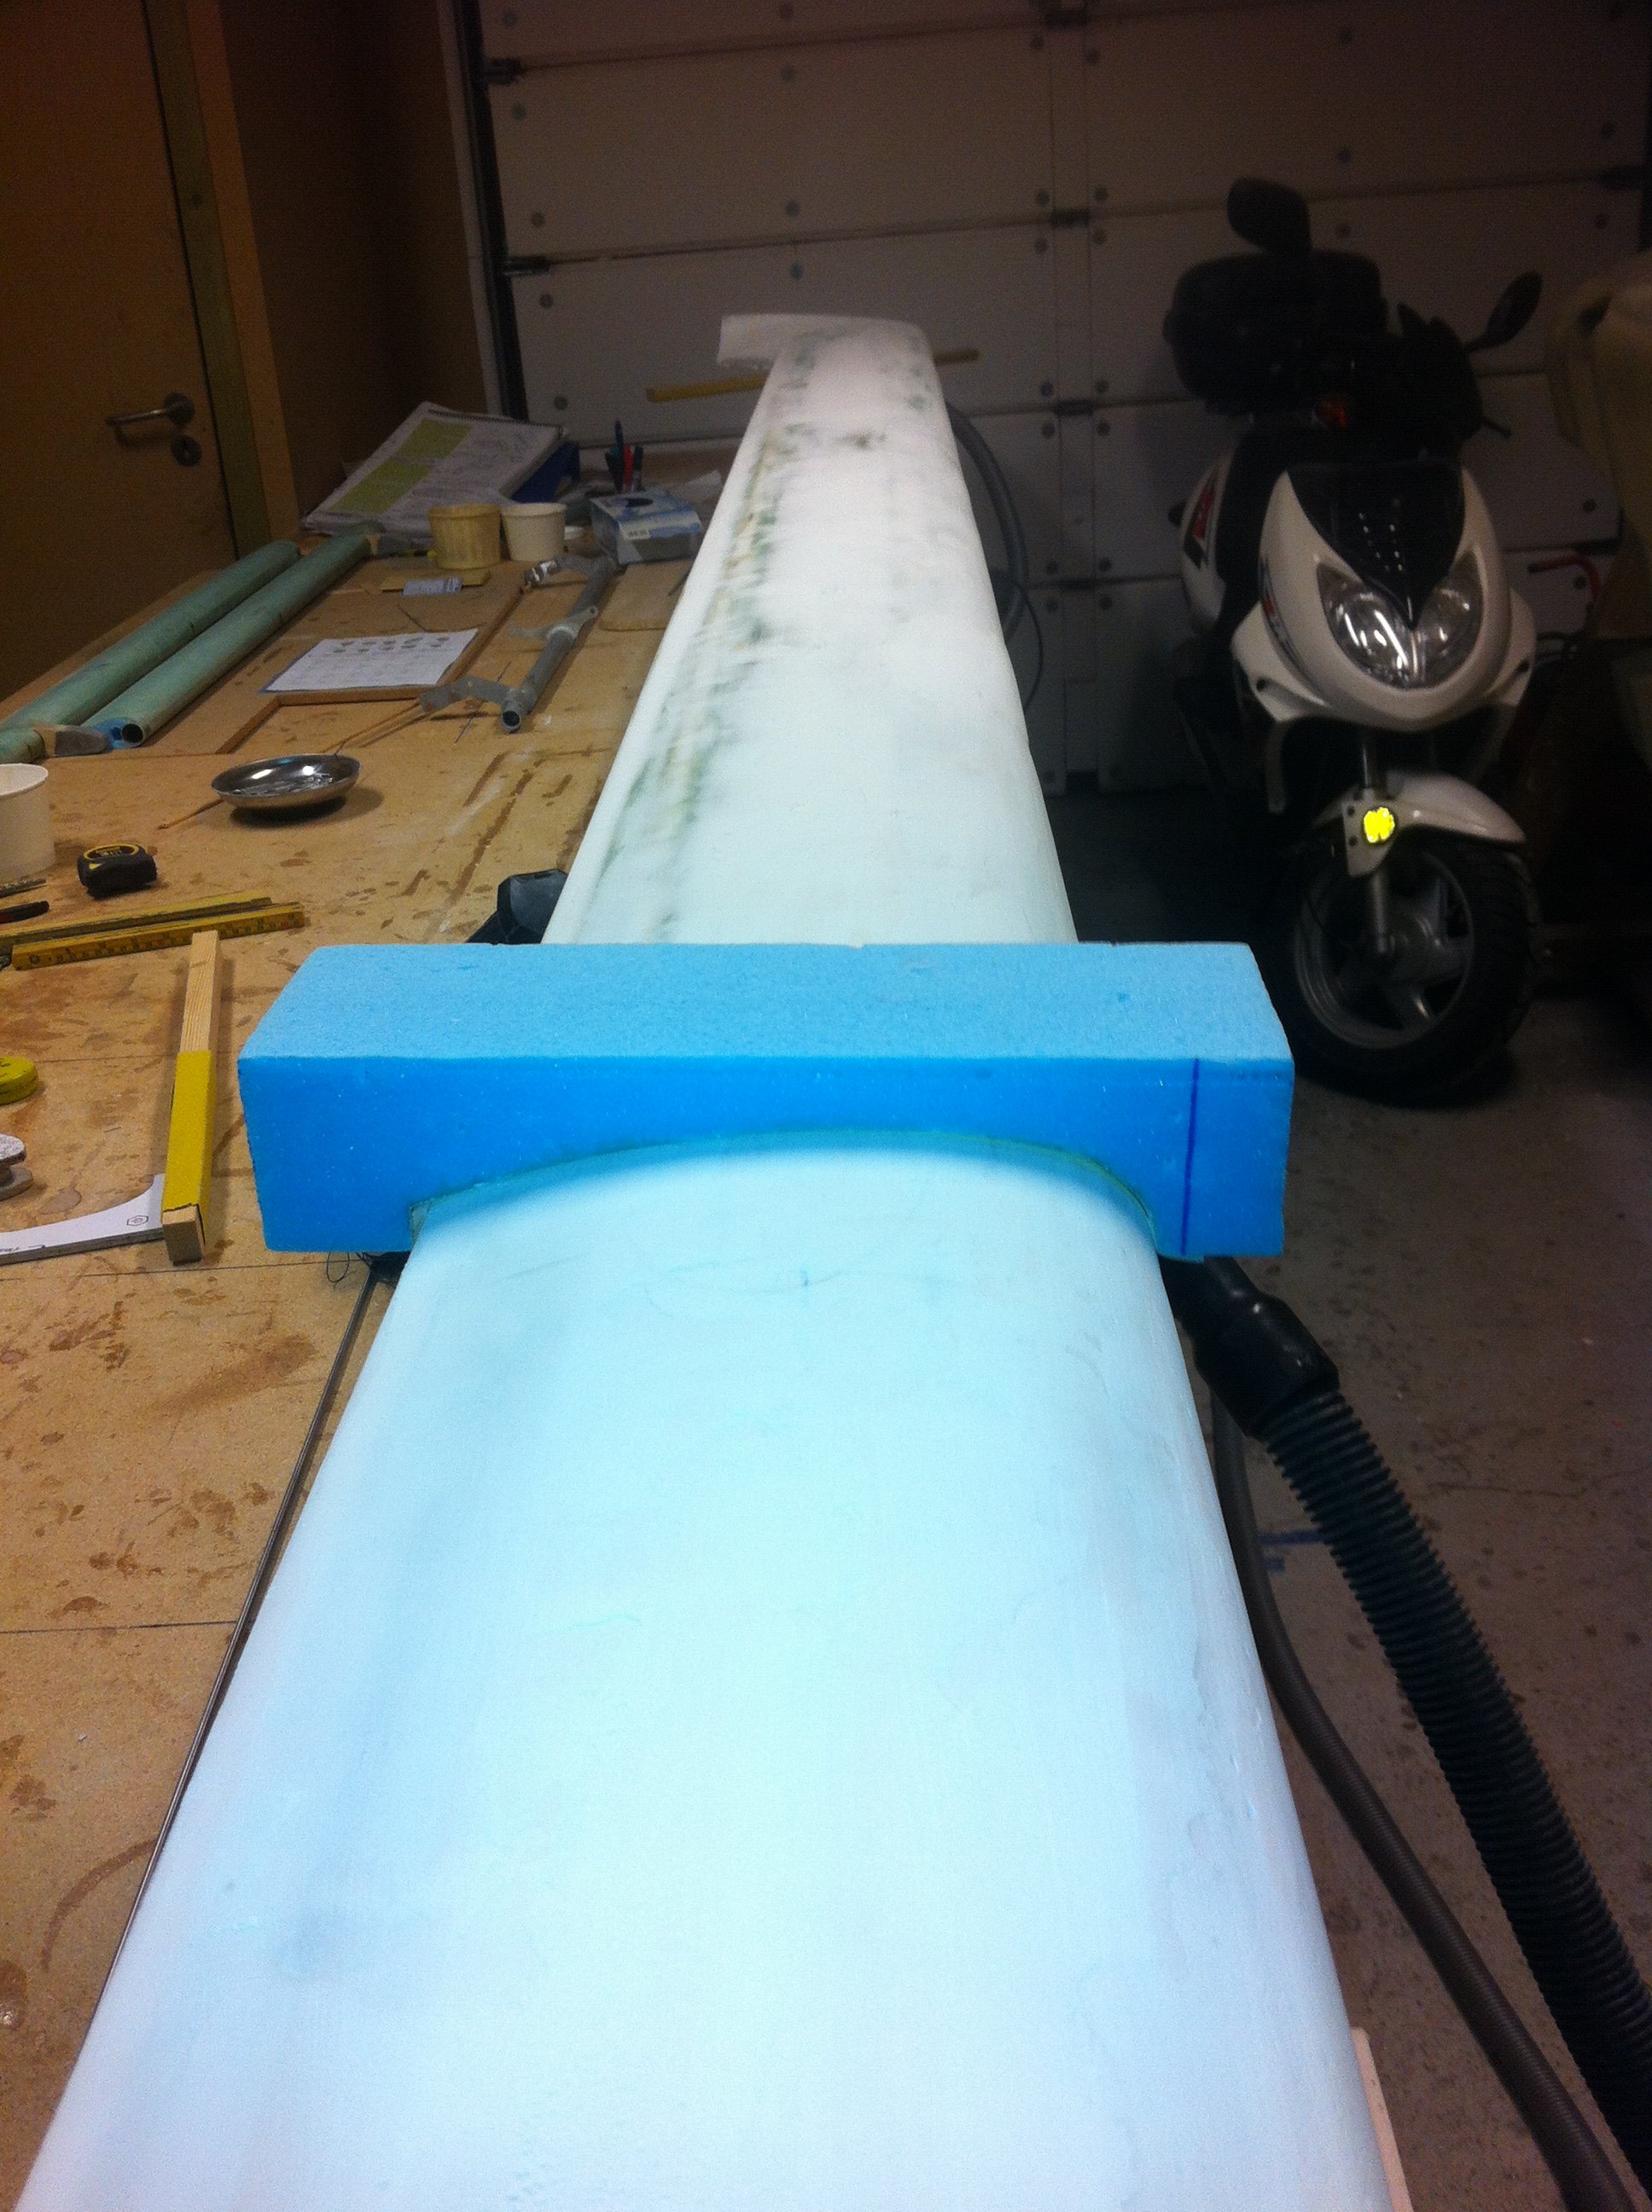
2013-1-2: I made two sanding-blocks matching the top and bottom-profile of the canard. Hot-wired using the contour- templates. These are 4 inches wide matching the sanding-paper-roll.
2013-1-2: Covered the inside of the foam with 1 BID.
2013-1-3: I used a rotary-disc sander to smoothen the micro, then switched to my favourite sanding-tool, the little “mouse”. I sanded with 40-grit to get the right contour. Had to sand away quite some micro.
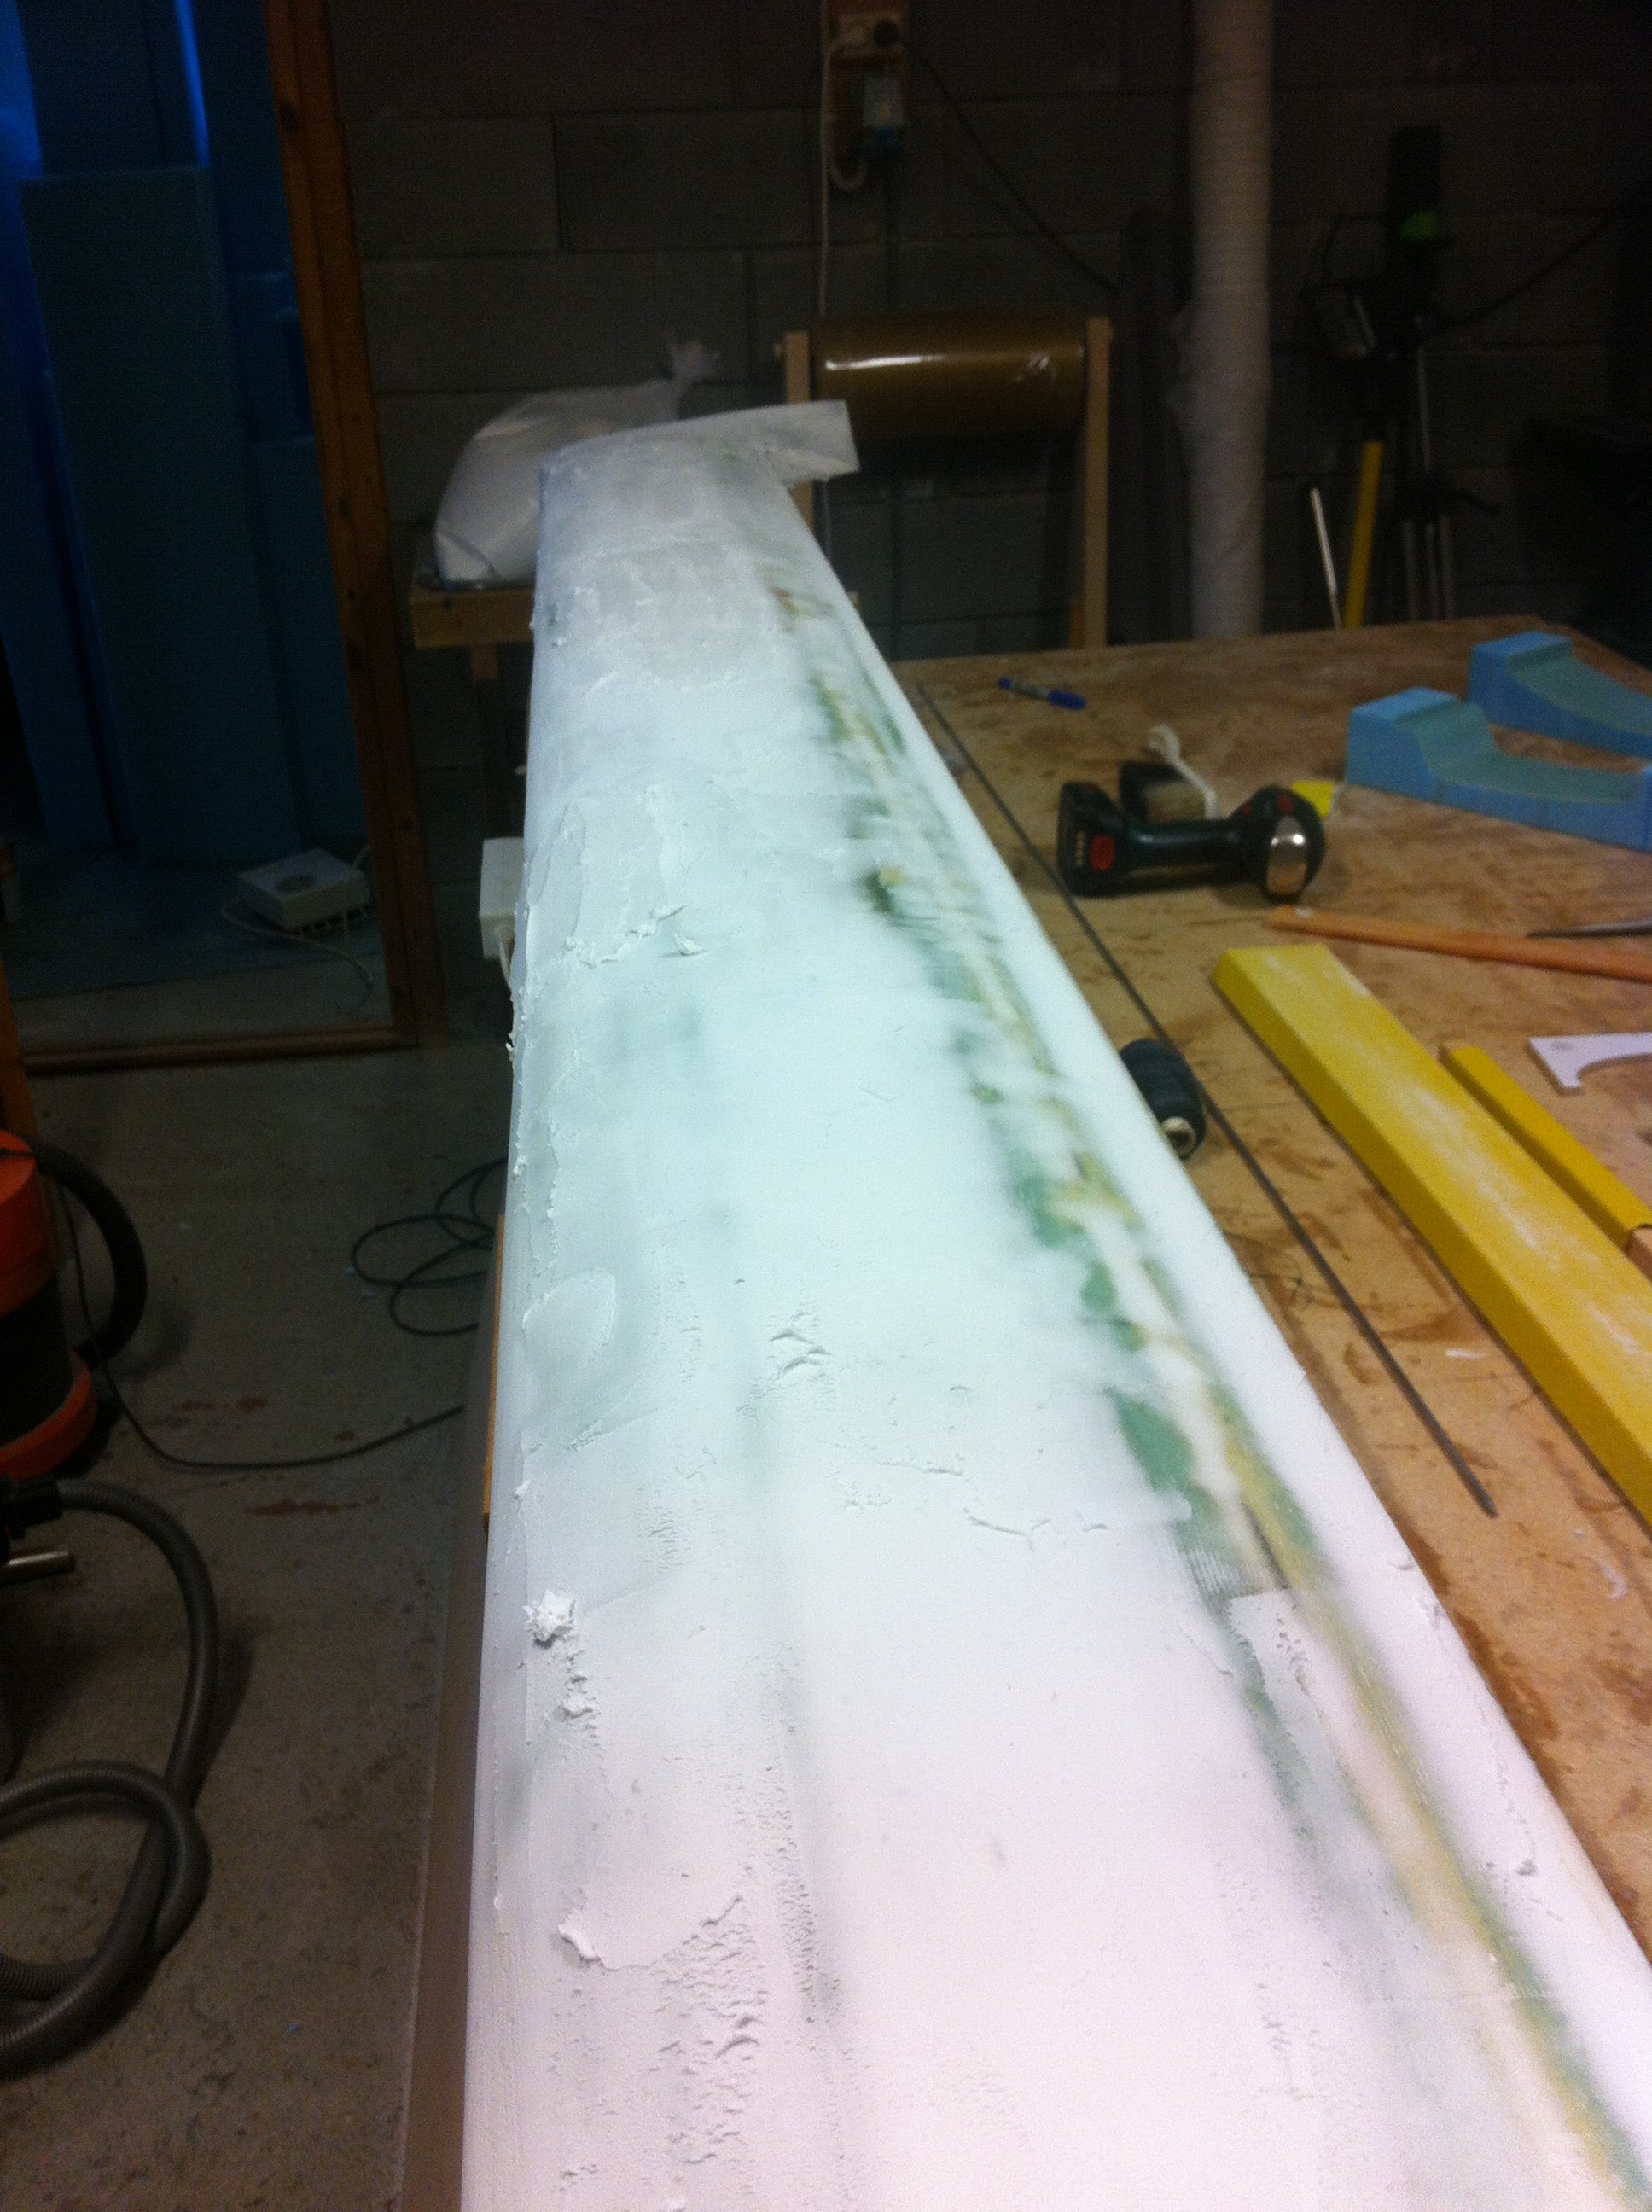
2013-1-5: After the first sanding I discovered three low spots that I had to fill with more micro. I also filled all the small holes that appeared when sanding, with new micro. I have still not used the sanding-blocks I made. Will try to use them in the next step.
2013-1-19: Using my sanding-block to check the contour. I find it best to use the sanding-mouse, a 2 feet long sanding-board and plain sanding-paper. I start with 40 grit, then 120 grit and finish off with 180 grit. Using the hand to check for imperfections is very good.

2013-1-19: I also use two other methods to check for high and low spots. First I use a long metal-ruler which I put on top of the canard, with a light behind that easily shows gaps caused by either low or high spots.
The next method is using a laser. watching the line “in profile” reveals high or low spots as a curve in the line.
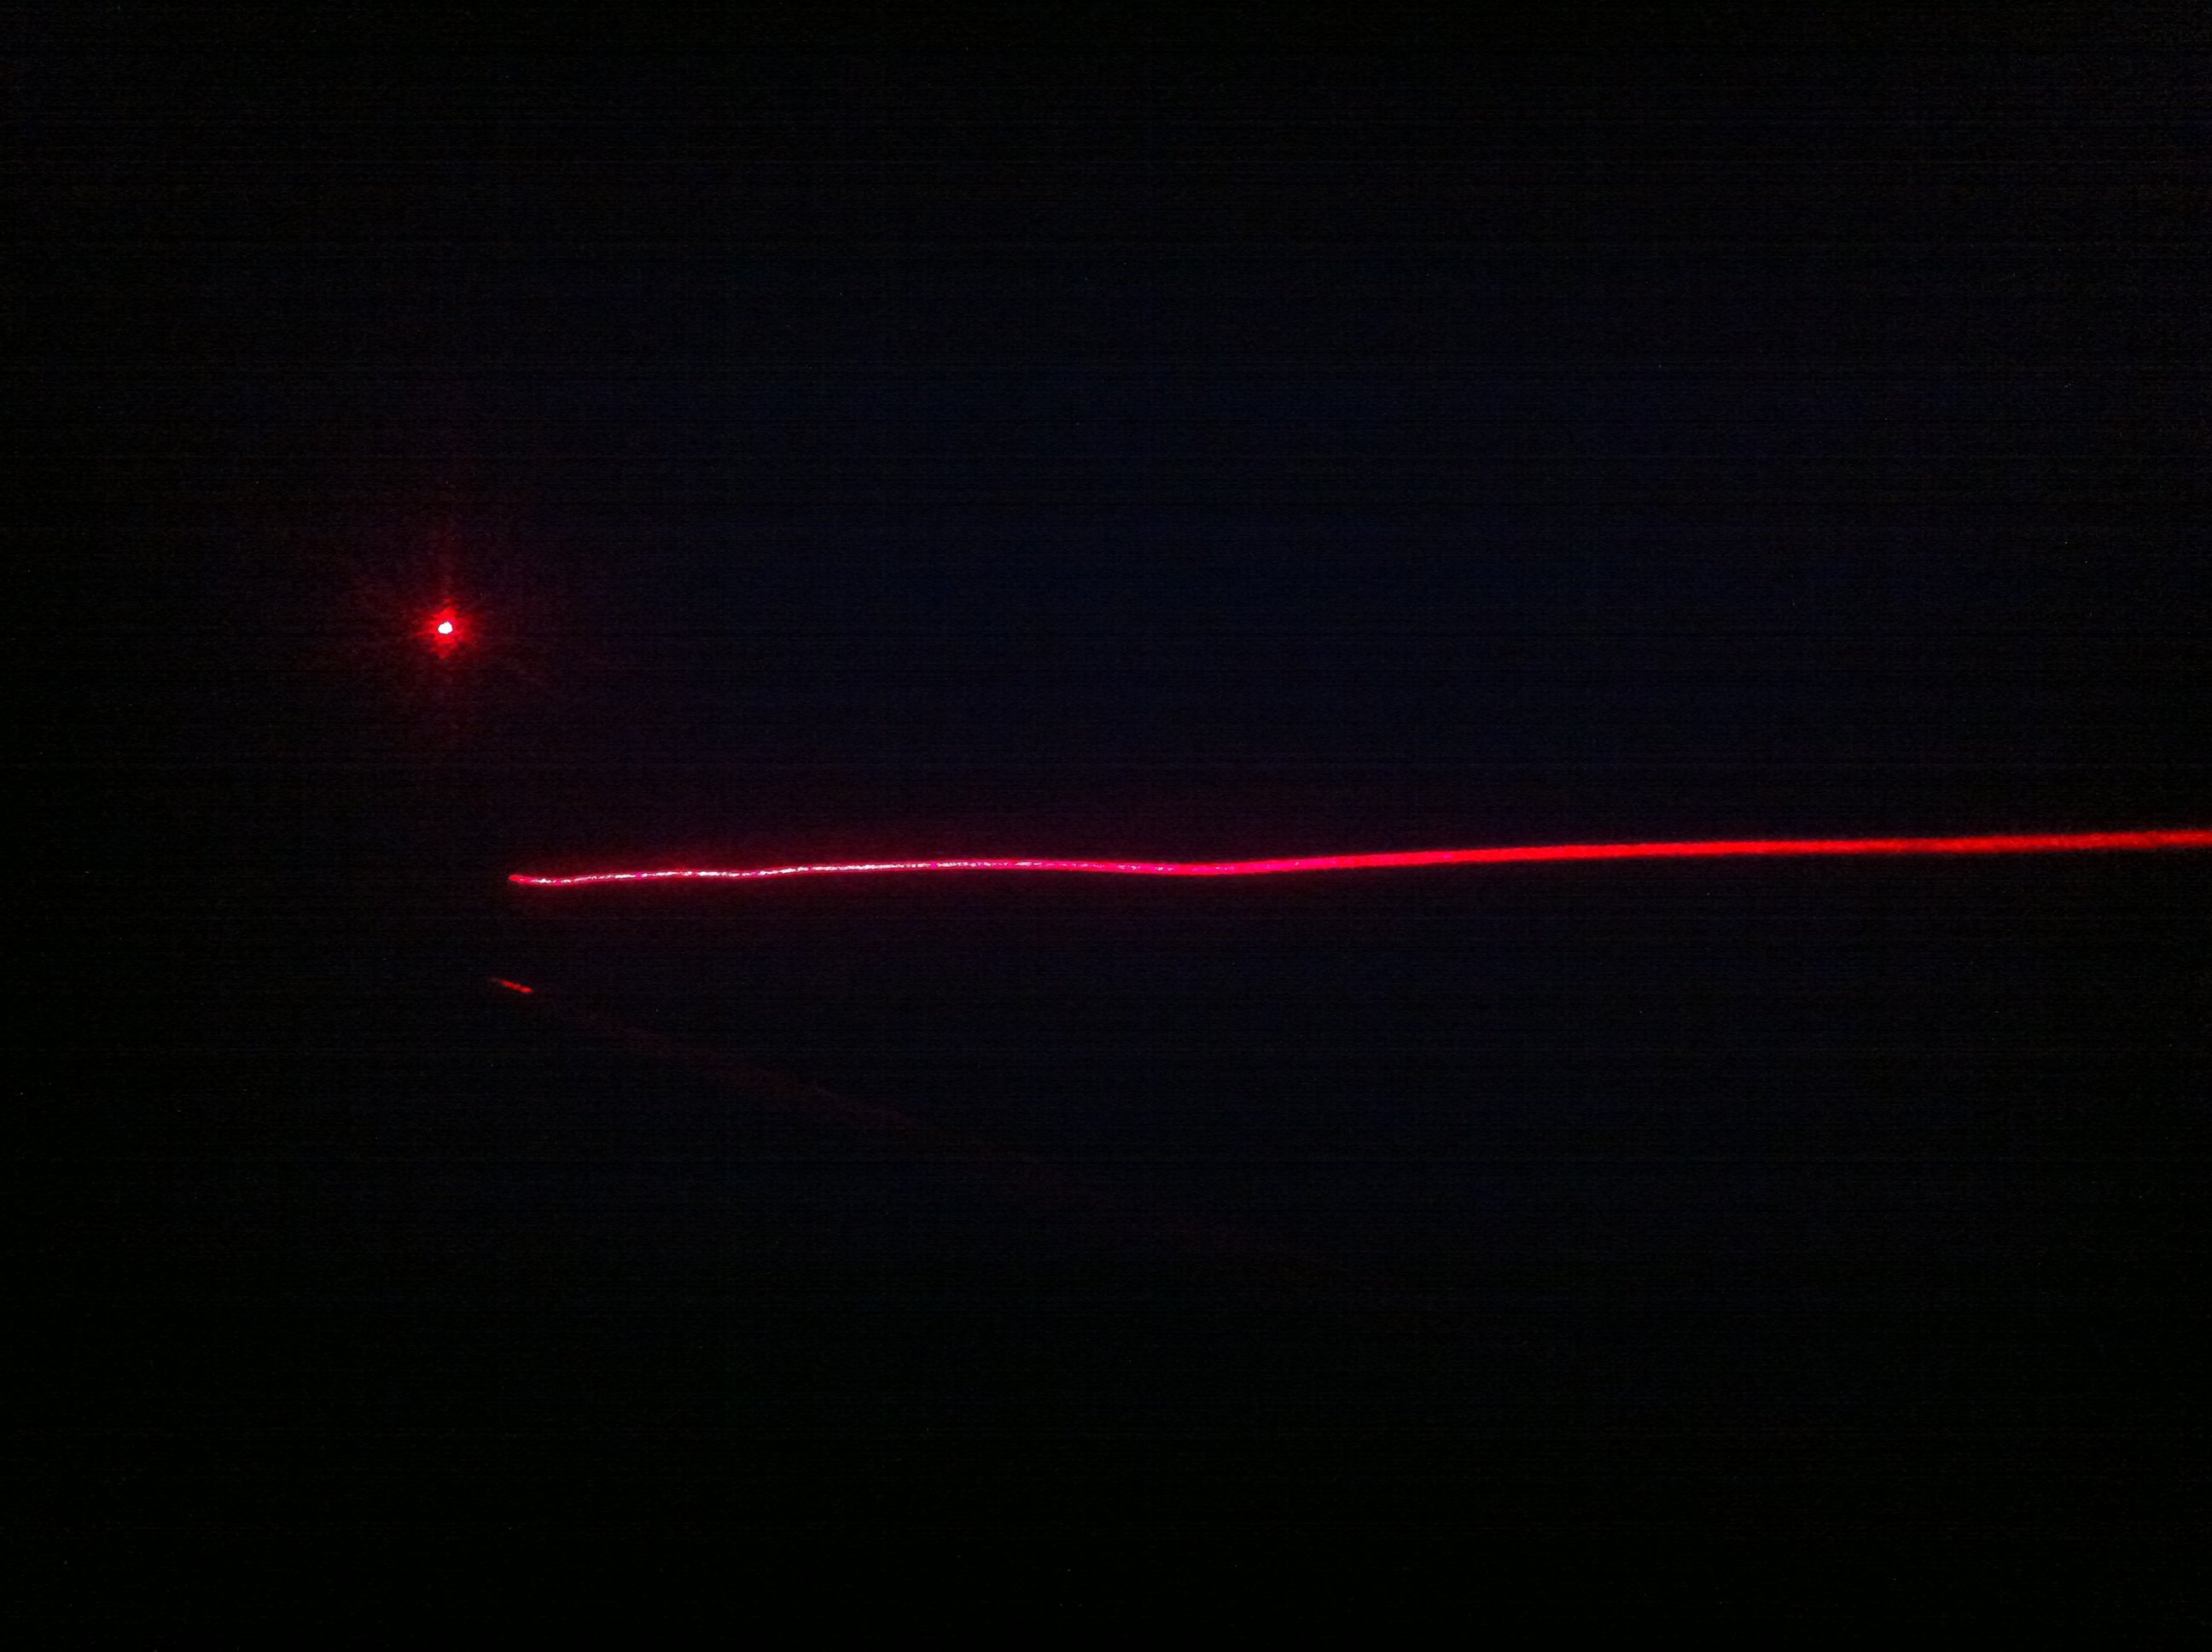
2013-1-19: Here it’s easy to see that the leading edge is far from perfect yet. You see the line curves up and down.

2013-2-22: 19 hours of filling and sanding later… starting to look good but still not perfect. The sanding was actually a pleasing task since it’s so nice to feel the smooth finish as it gradually appears.
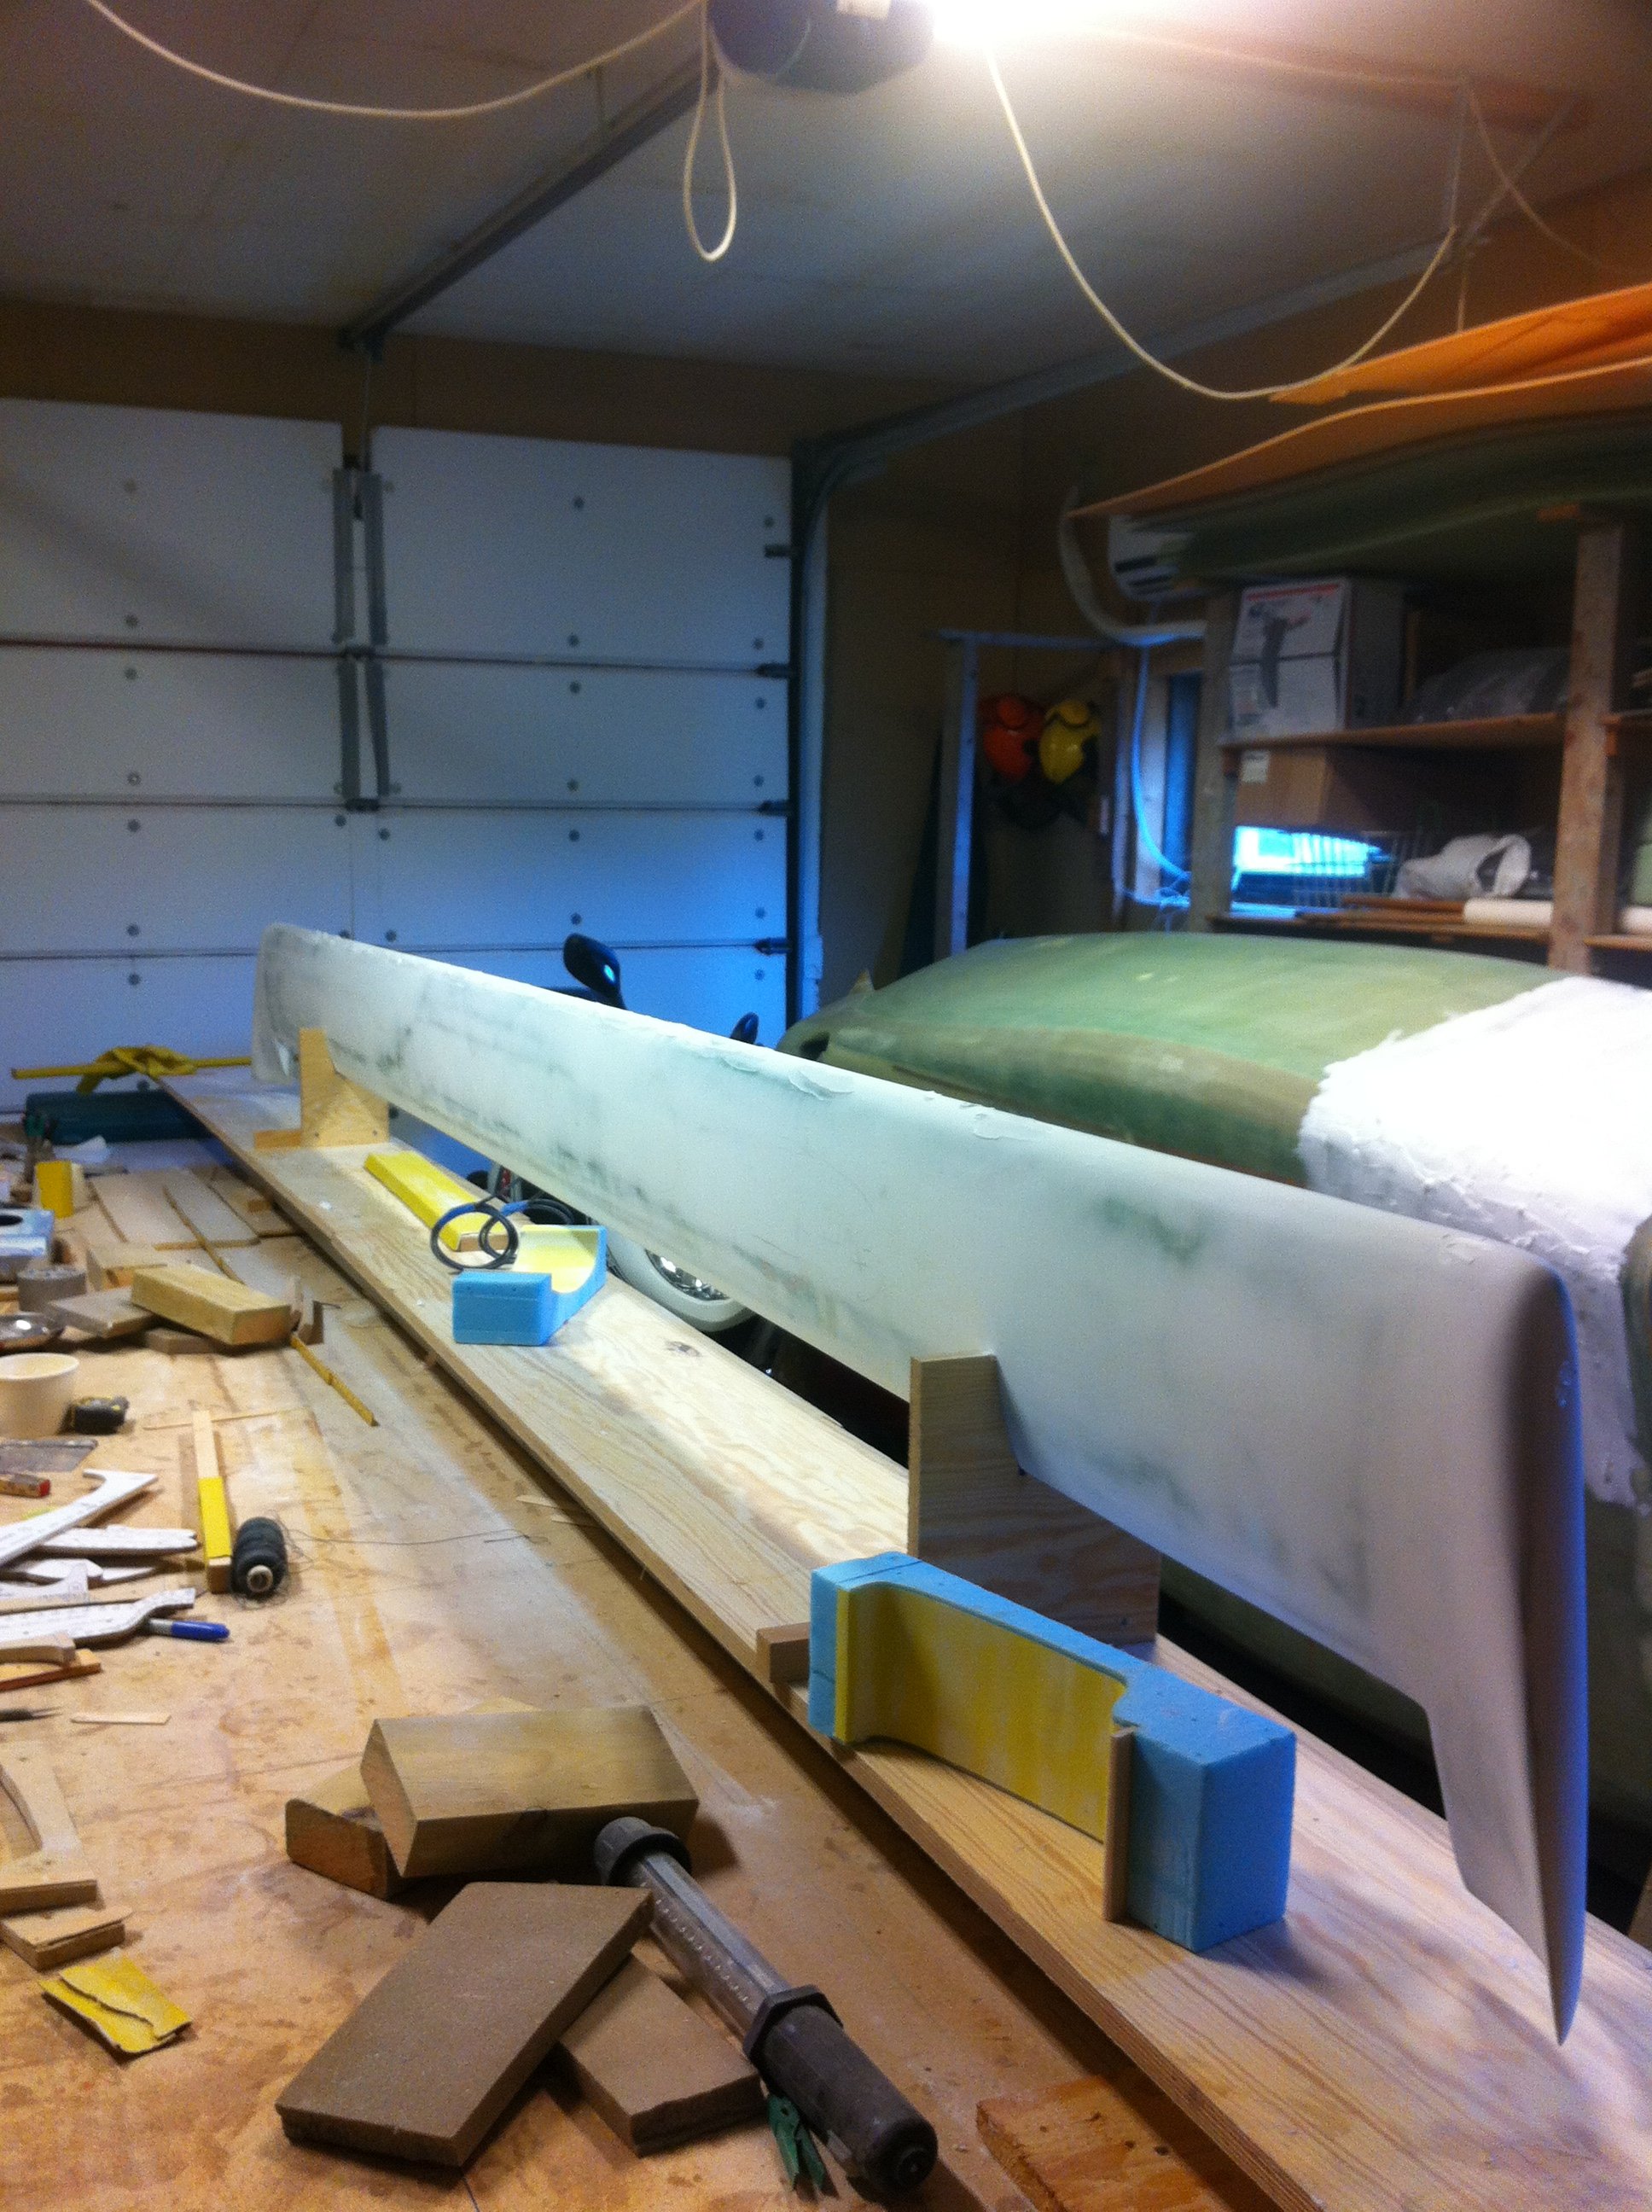
2013-3-10: I mounted the canard vertically in two jigs, then microed the leading edge and contoured the leading edge.

2013-3-10: The canard is finished so far. I still have some filling to do, but this will be the final fill using Microlight, then epoxy-wipe. I will do this later. I have made space for the canard hanging leading edge down on the wall, out of reach for damage and scratches I hope.