
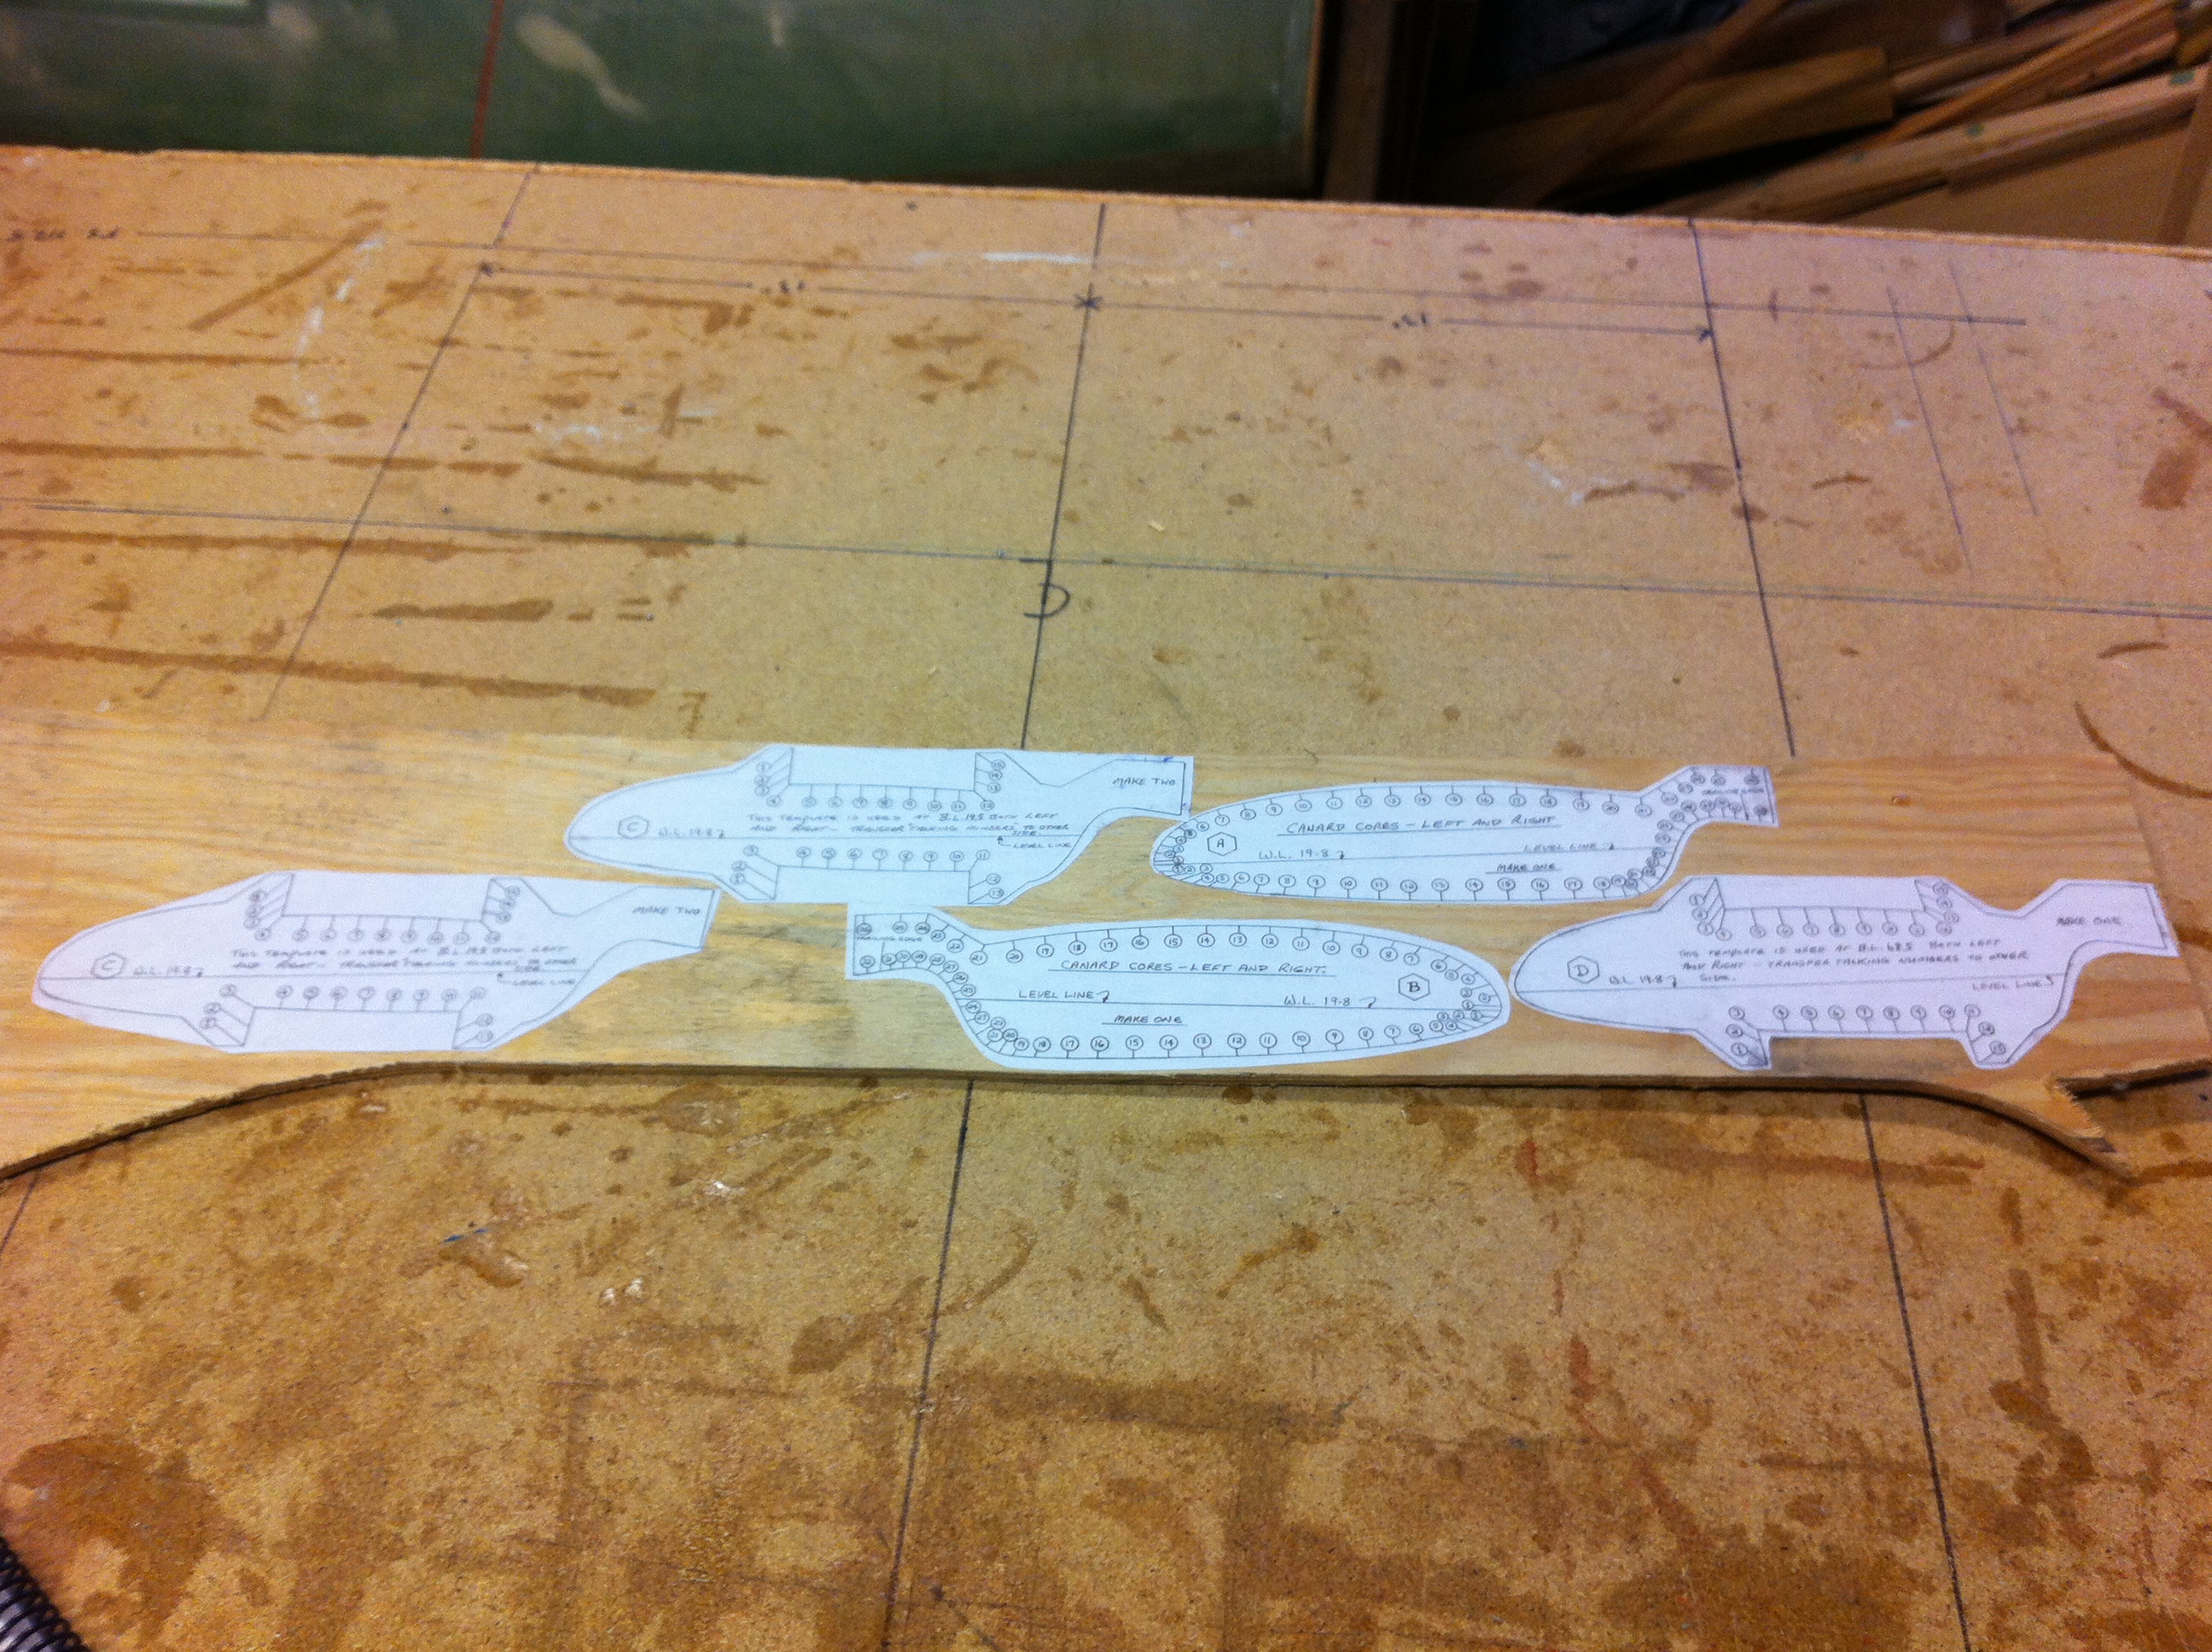
2012-03-10: I copied the templates, verified that the copies was identical to the original and glued them onto some plywood.
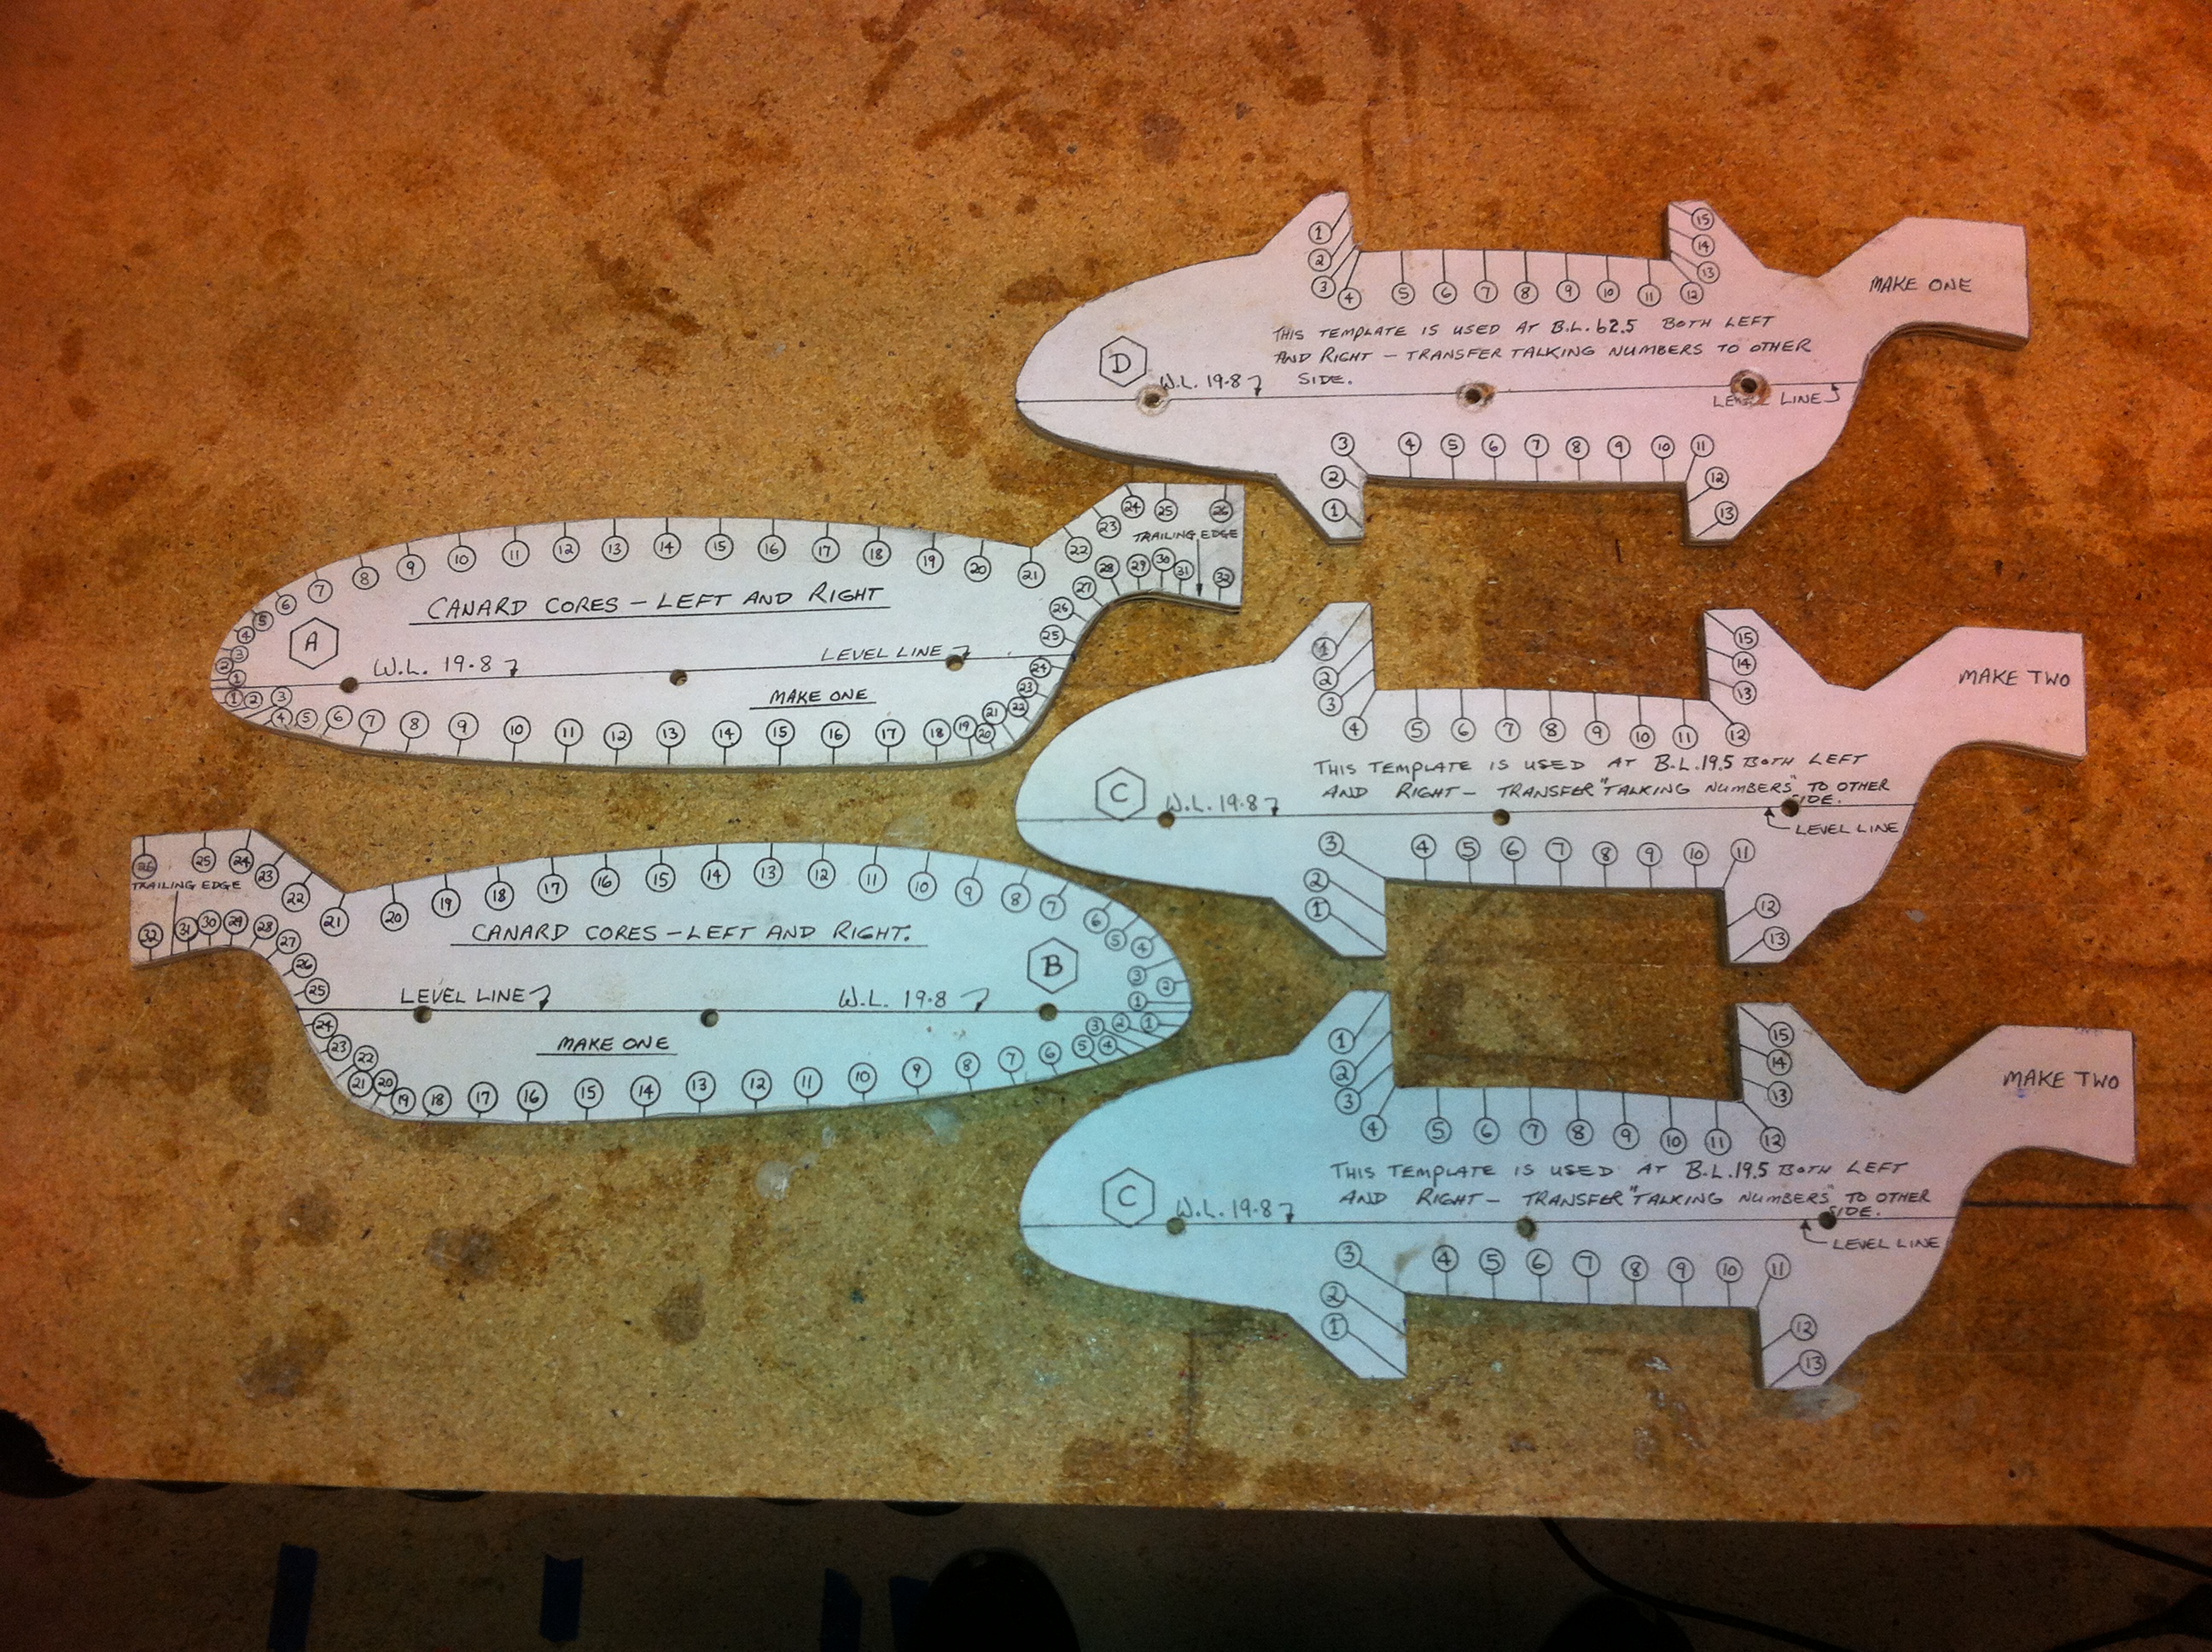
2012-03-10: Then I carefully cut them out using the plans method. I cut them oversized and thereafter sanded them smooth and accurate using various sanding-tools from a belt-sander to a Dremel. Then I stacked them ontop of eachother using the WL as a common reference and drilled three holes in them. I will use drywall-screws to fasten the templates to the foam instead of nails. Drywall-screws fasten the templates tighter than nails. It’s very important to get the templates as smooth as possible to avoid the hotwire-thread to snag.
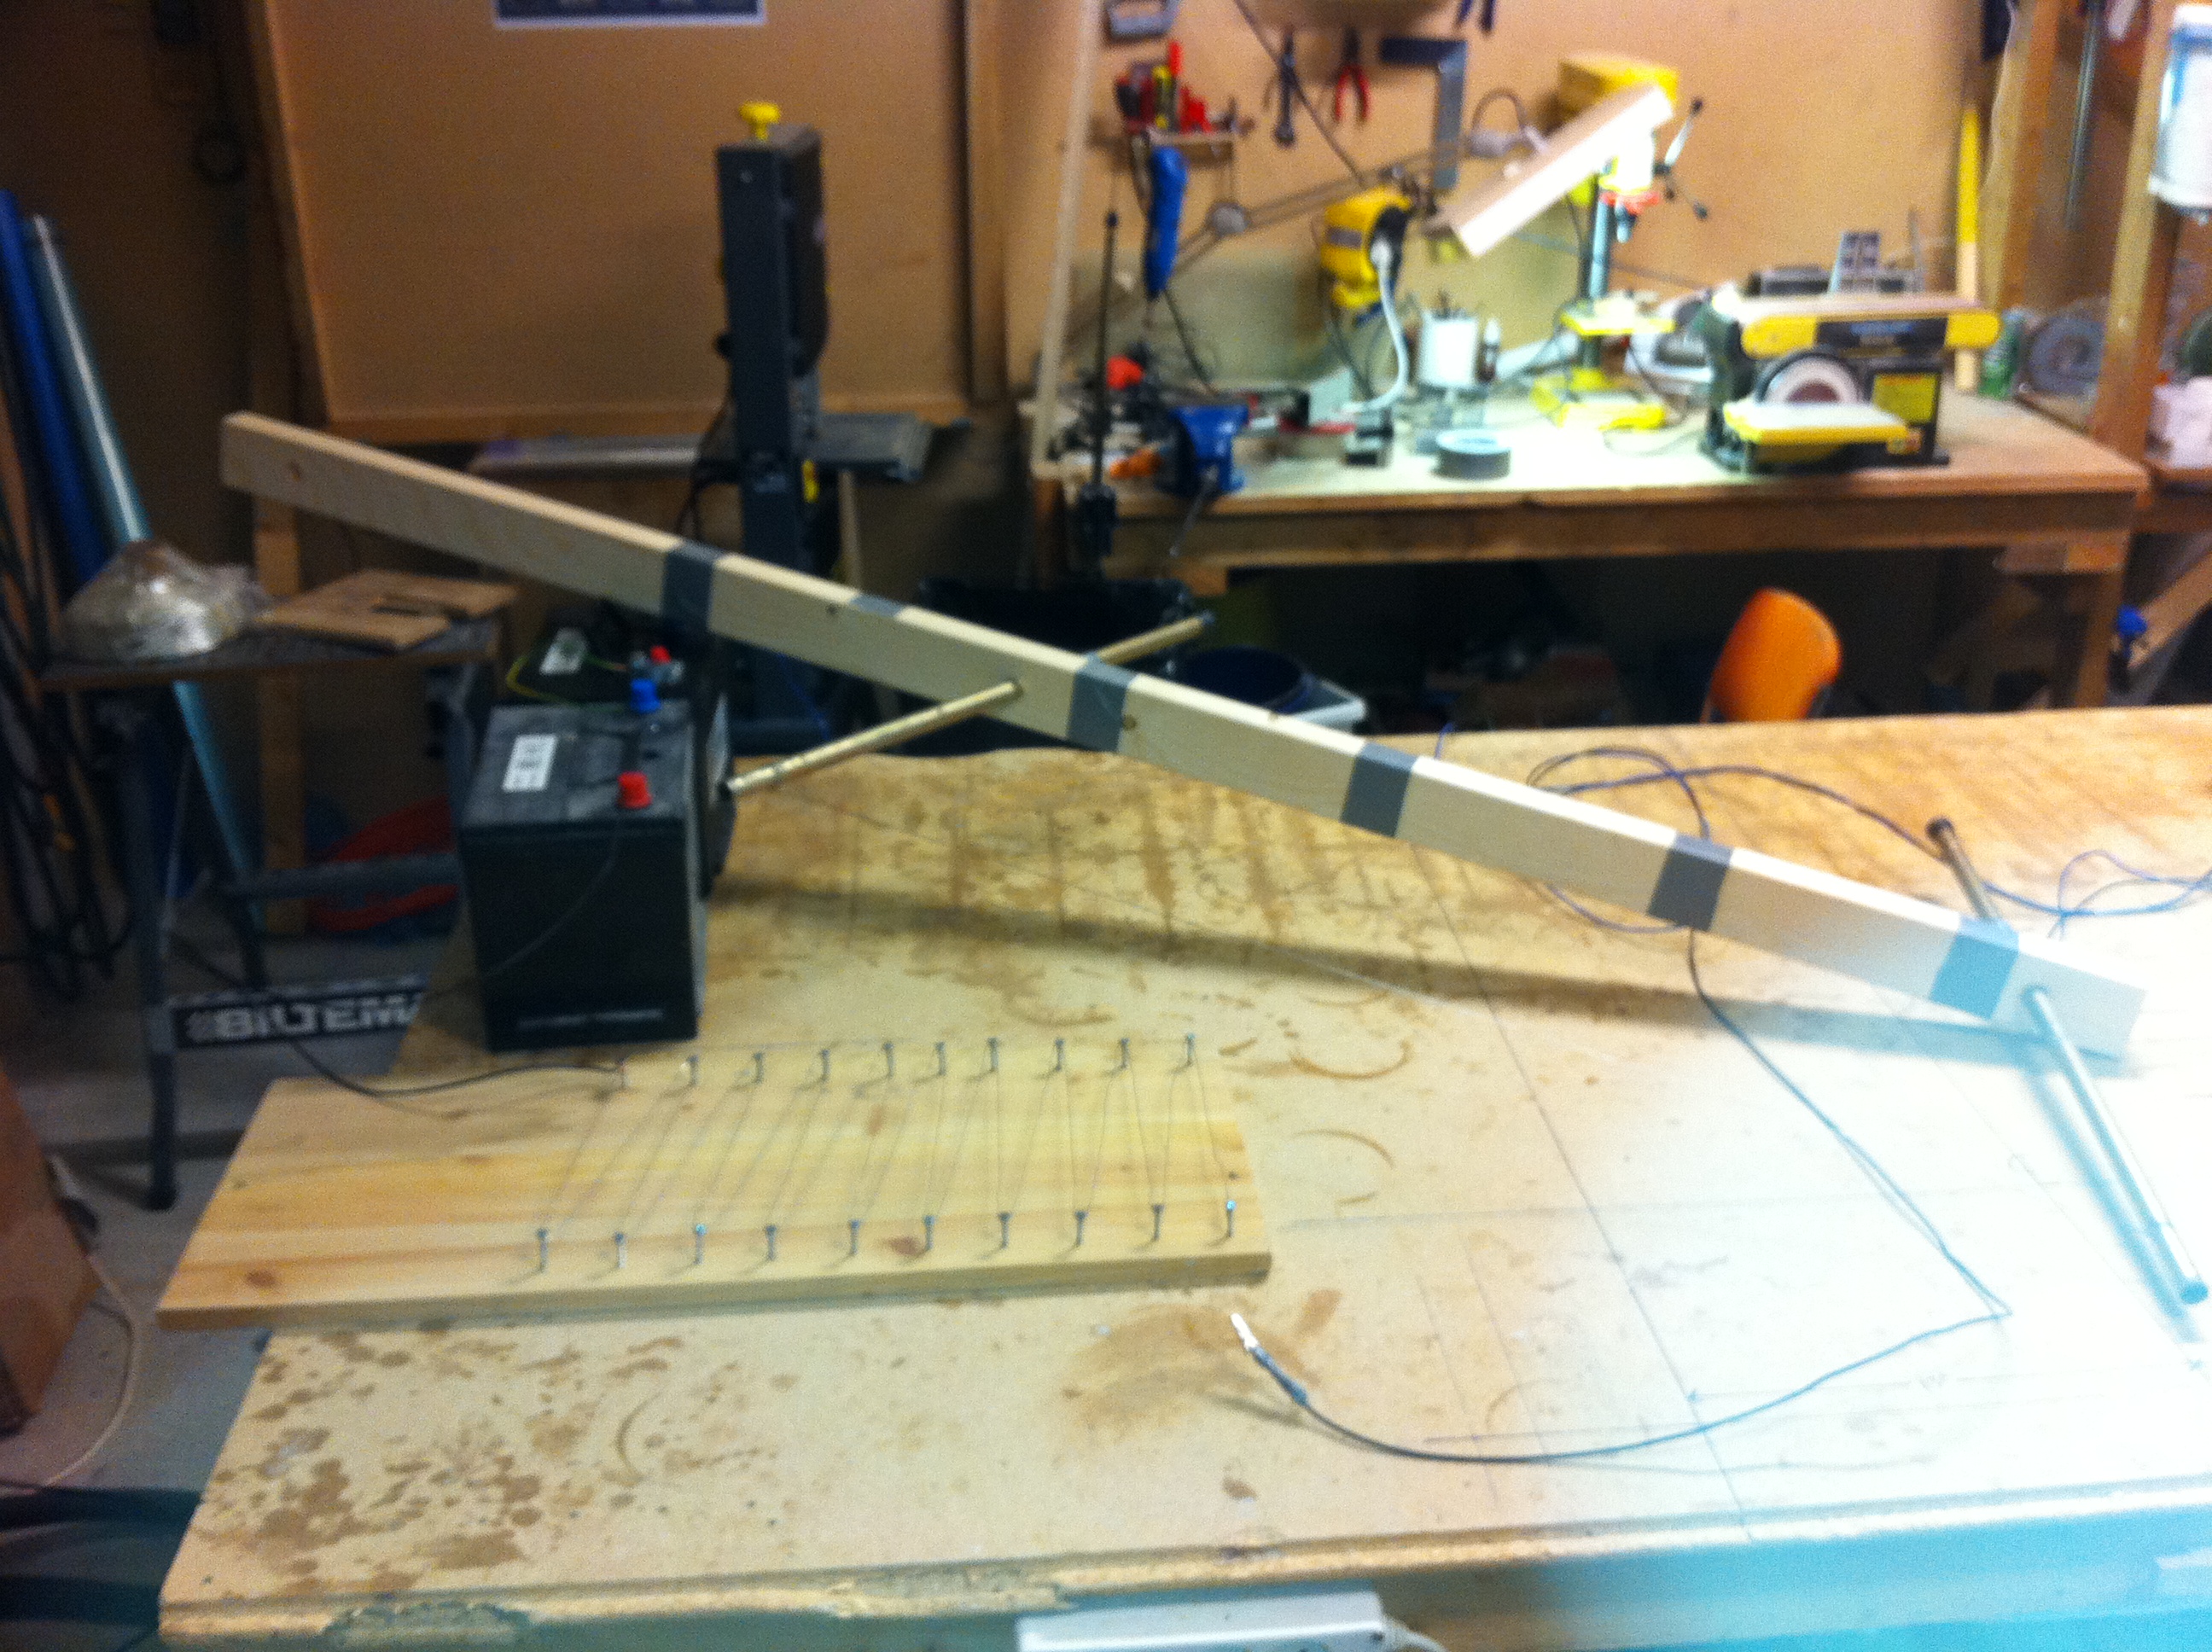
2012-03-10: My hotwire-setup is identical to the plans setup. I use 2 12V car-batteries connected in series and a zig-zag resistor-plate to adjust the current and heat. The saw is made of a 1.5″ x 3″ piece of wood, 180cm long. It has two positions, full length and a shorter length (90 cm). Makes it easier to cut smaller parts with a not so long wire.
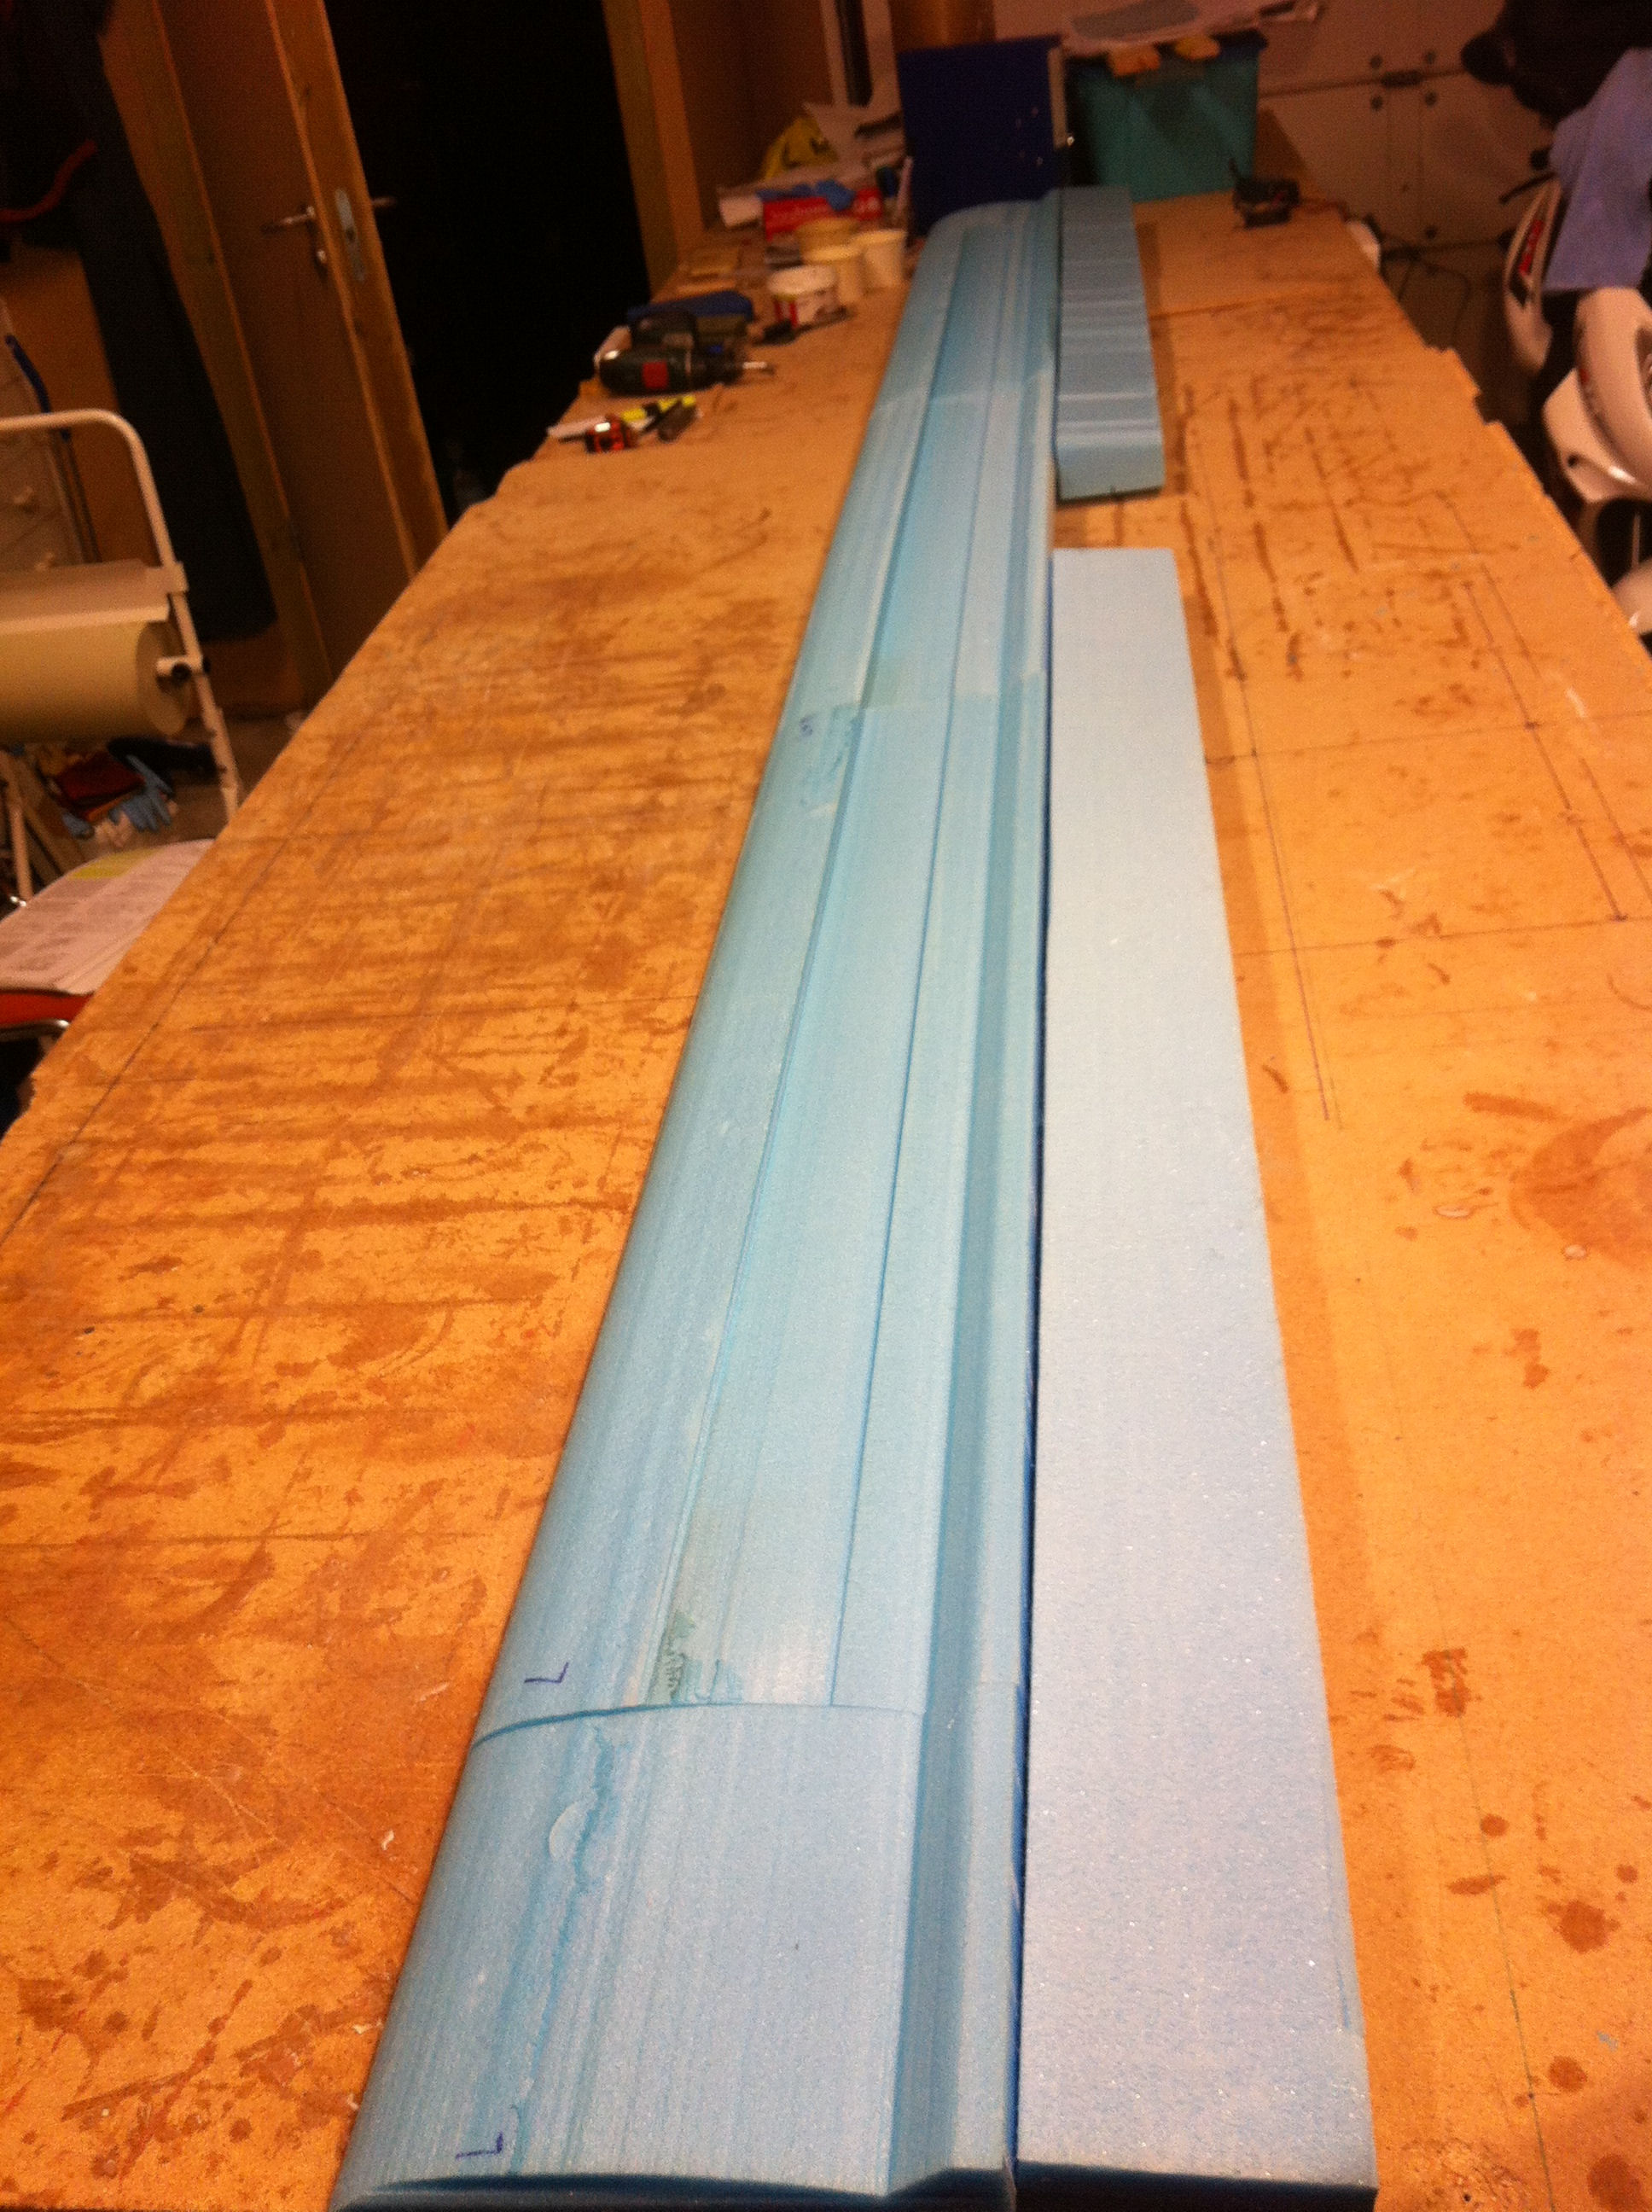
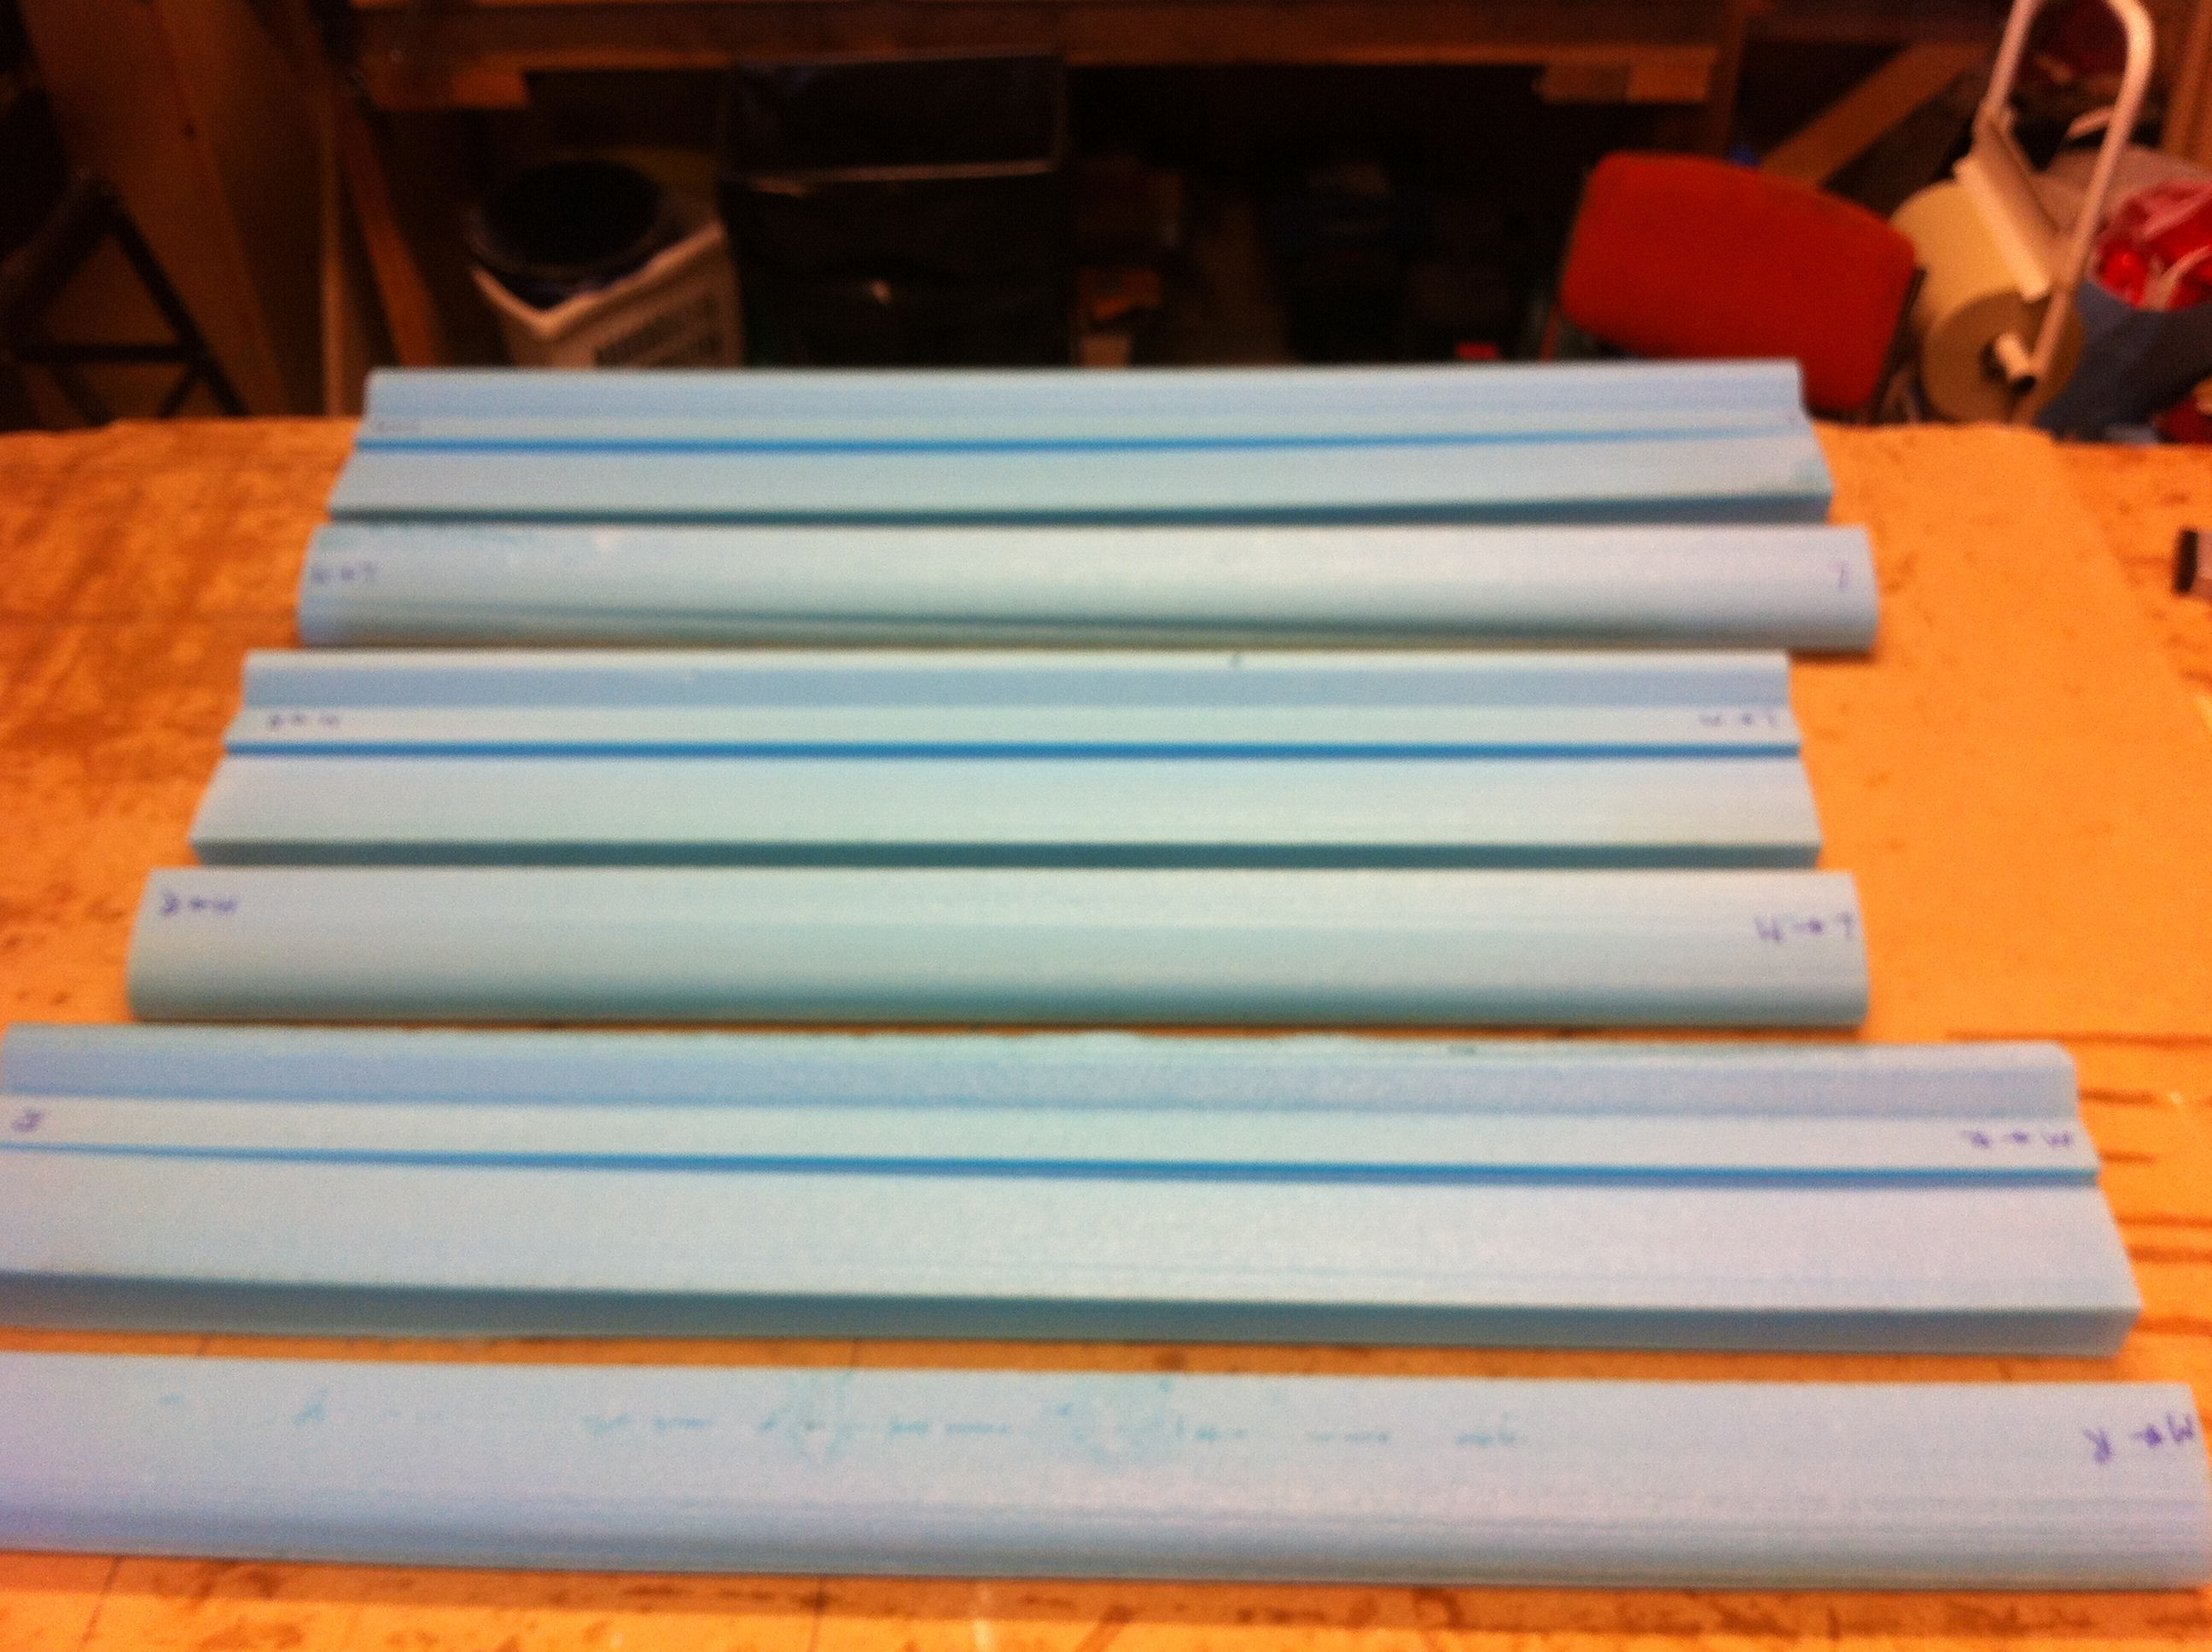
2012-03-17: My wife helped me with the hot-wiring of the canard-cores. It was kinda fun and turned out pretty ok. Not perfect, but good enough to work with. On the picture all the elements of the canard and the foam for the elevators are laid out on the work-bench. Total length is 358 cm.
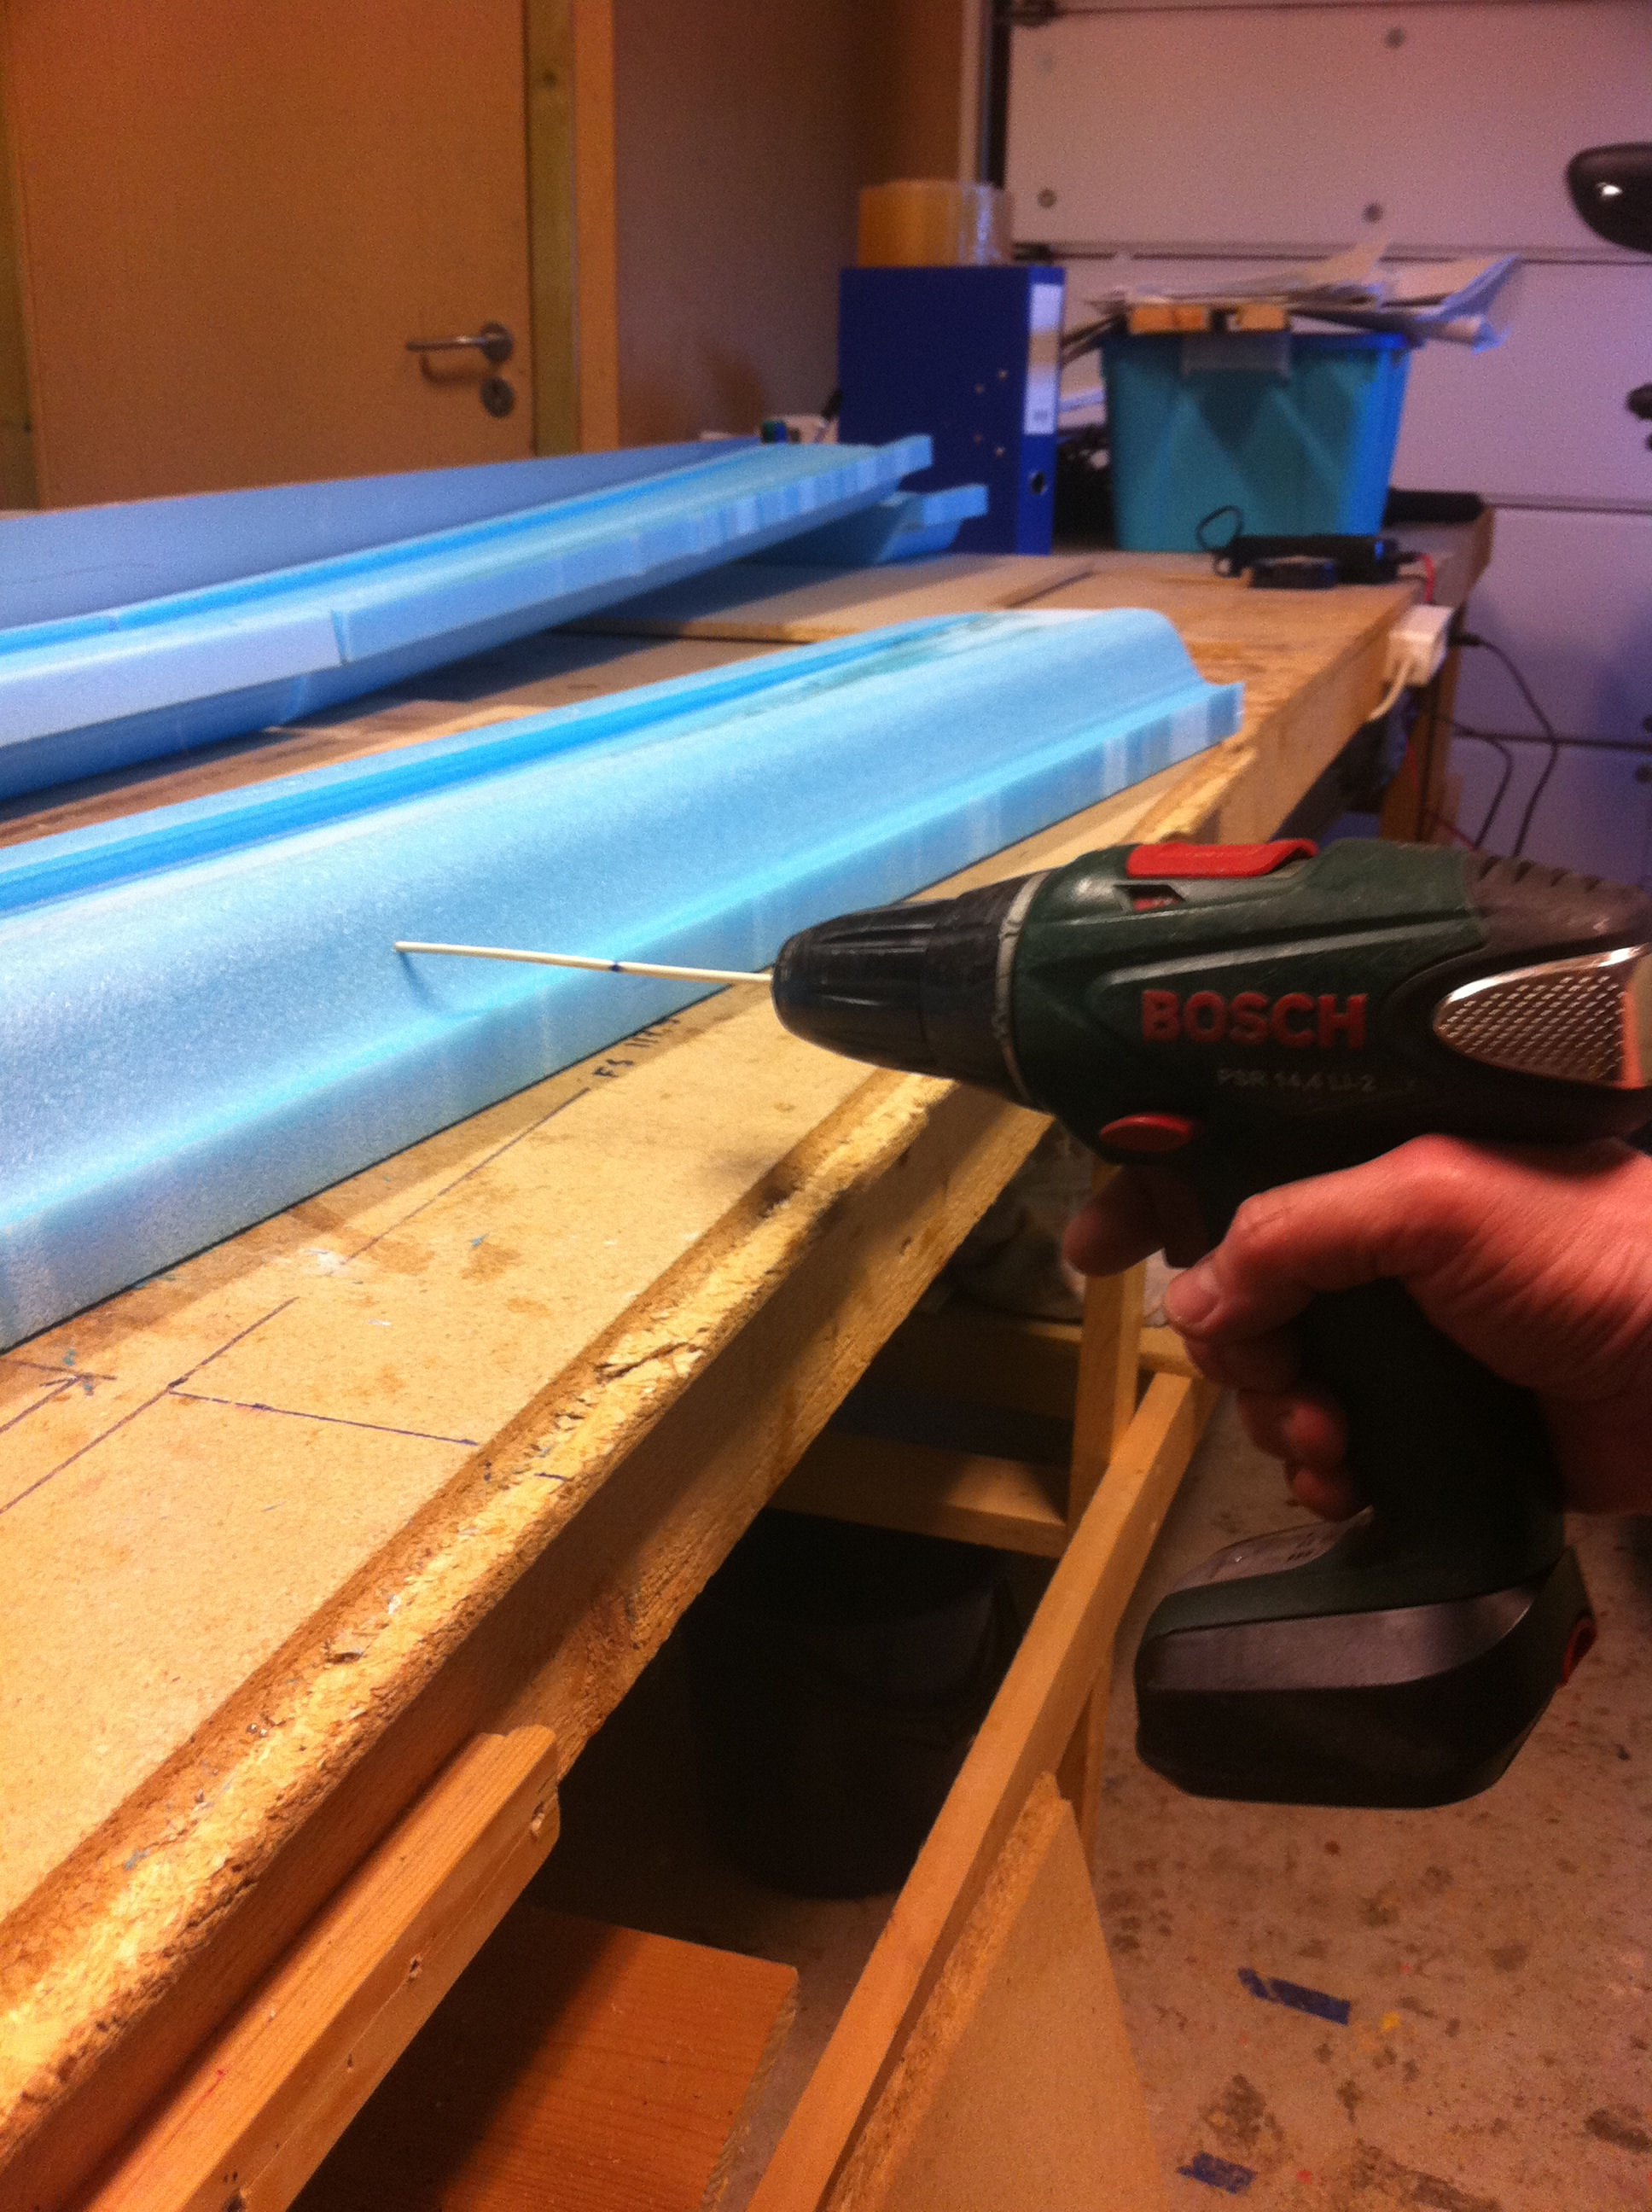
2012-04-02: Before cutting off the leading edge of the cores, I need to drill some holes in the foam-cores and place wooden dowels through the aft and the front part of the core. This is done to ensure that when I glue the leading edge back on, the dowels will act as a guide to get the cores aligned properly. The plan calls out for 1/4″ dowels. I happened to have some thinner wooden sticks we use to make BBQ-skewers of. These was perfect for the job. I put one stick in the drill and made perfect holes for the other sticks.
2012-04-02: The last step in Step 1 is to cut off the leading edge of the center-core and the two inner-cores. Important note is to mark the cores properly so it’s easy to attach them correctly back on.