
2020-04-19: Time to cut the rudder.
Although I had measured the dimensions long time ago I rechecked them to be absolutely sure that they are correct (measure twice – cut once!). I adjusted the cut line at the bottom of the rudder according to the instructions for perpendicular hidden bellhorns.
First cut on the outside:

Next cut on the inside.
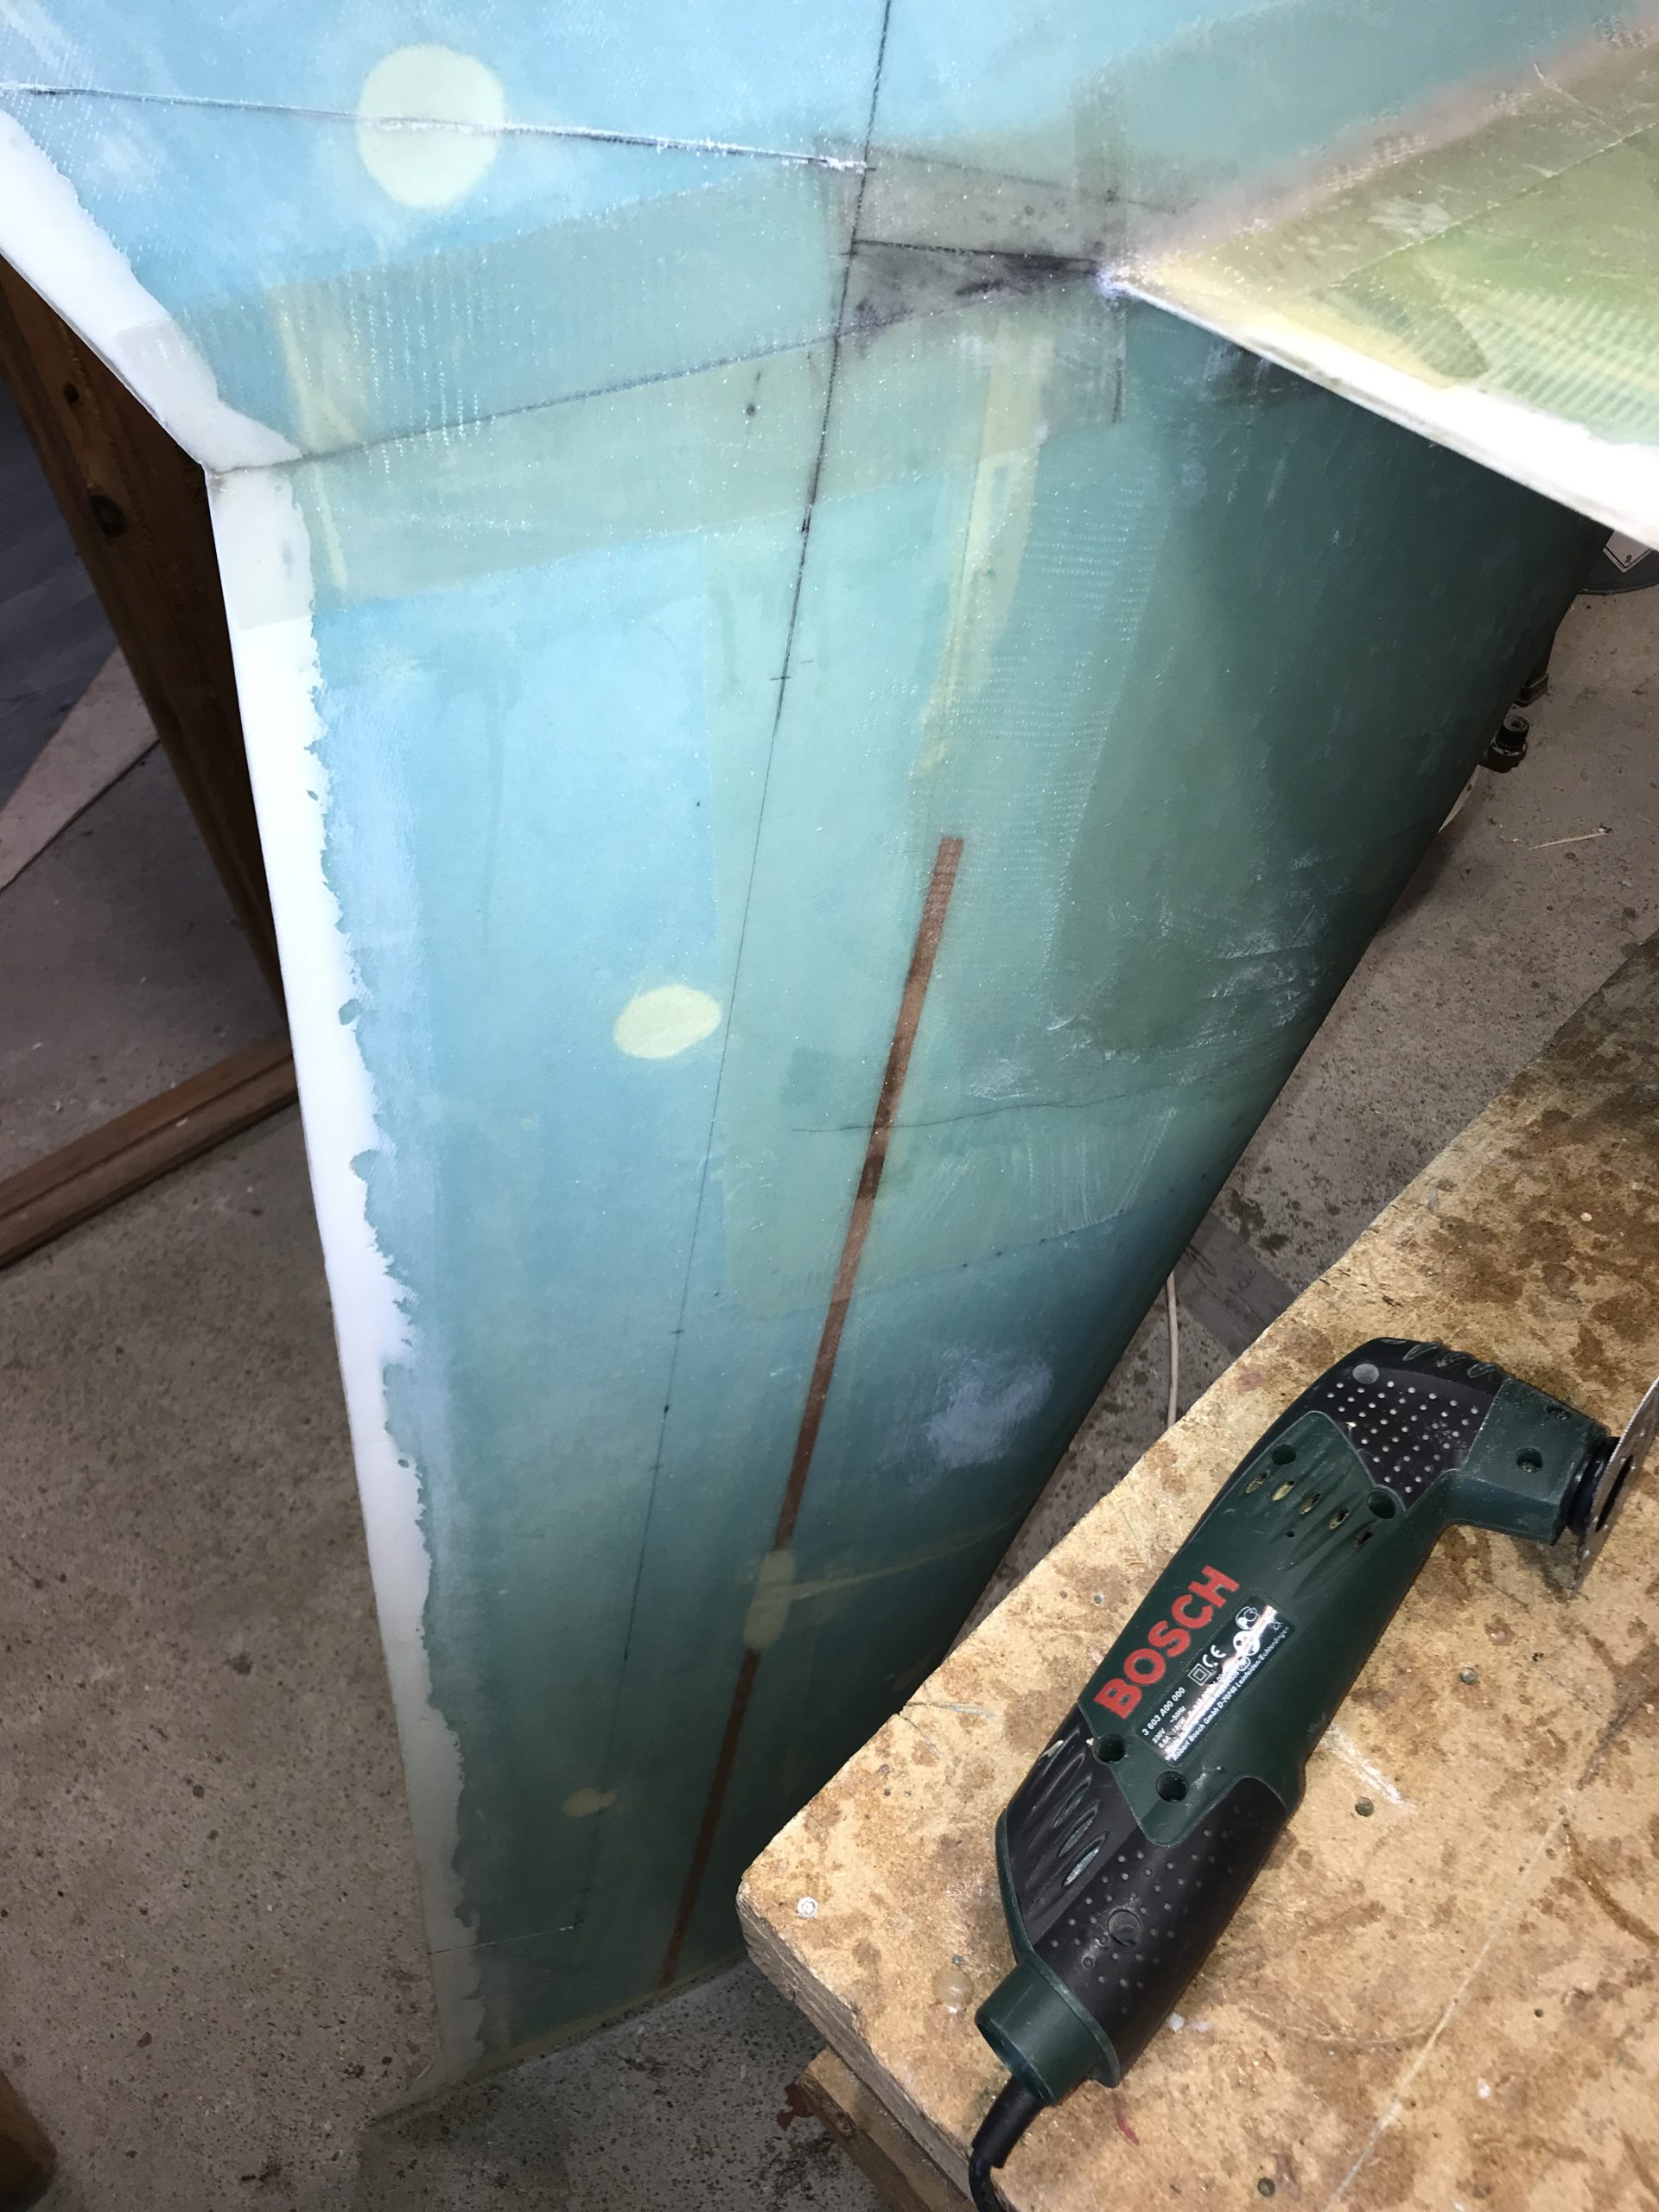
Used the multitool to cut the skin, then a hacksaw to do the final cut through the foam.

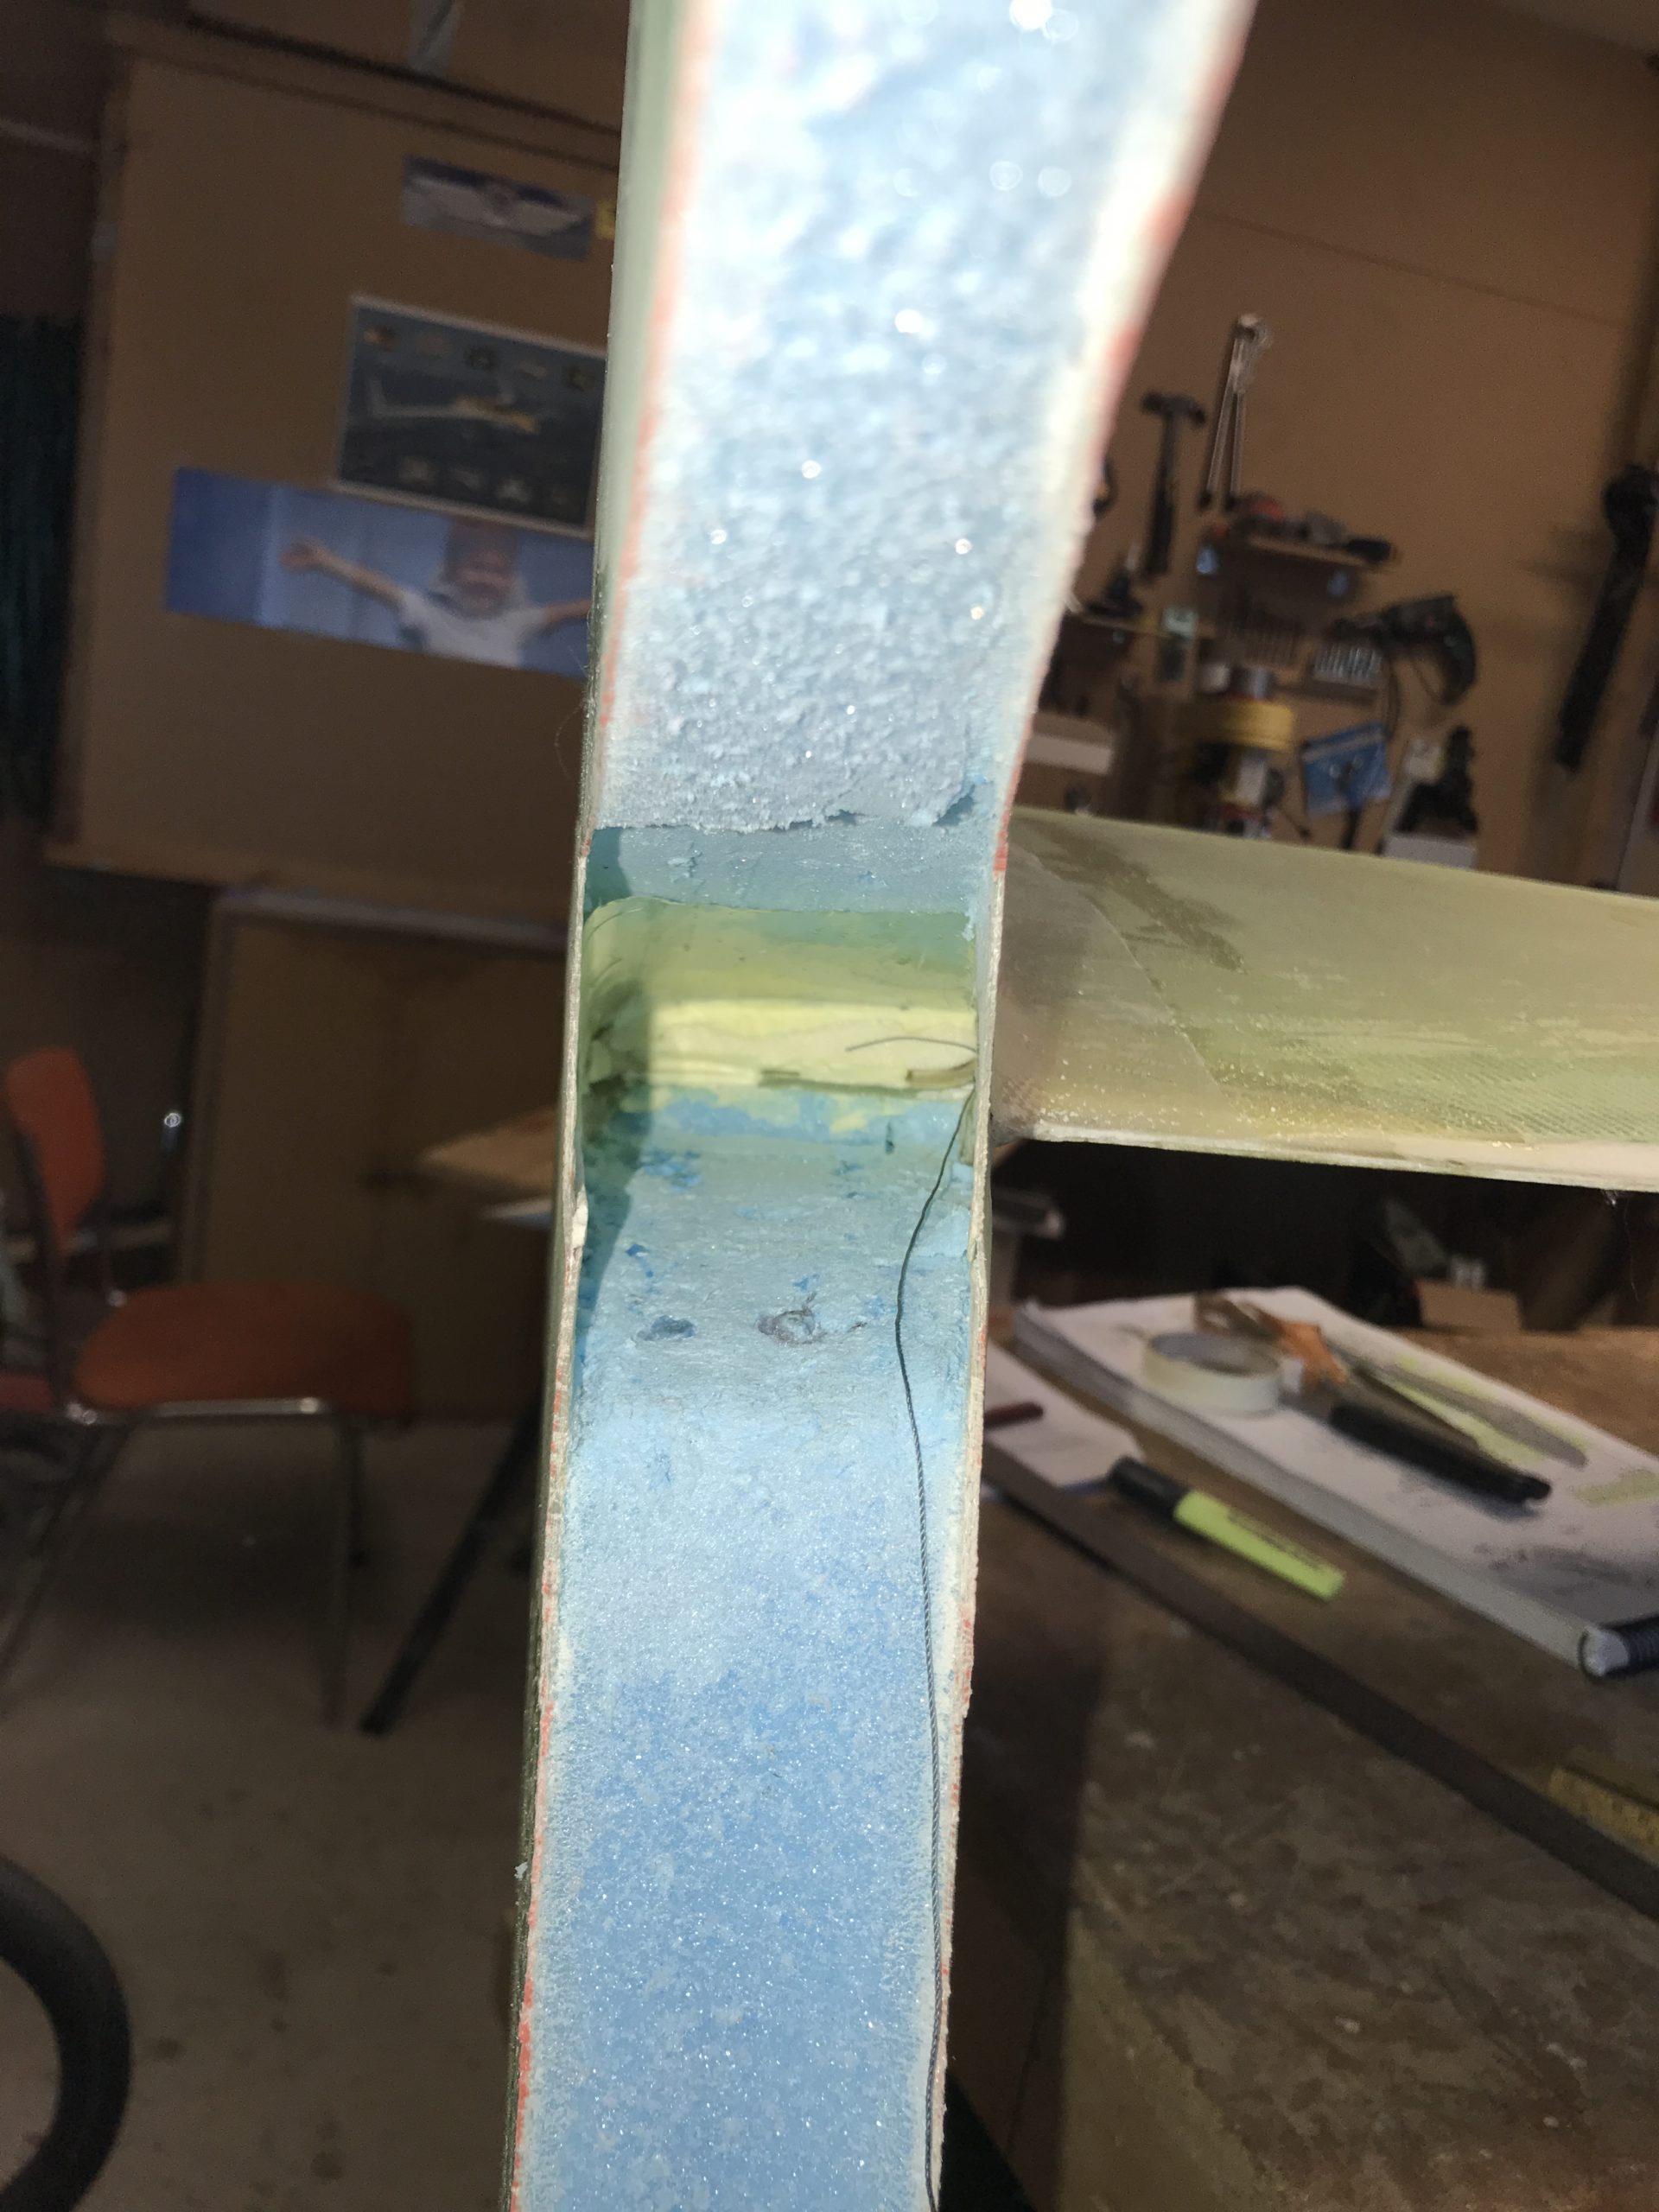
Then I removed the plug. It was a tricky process to get it out, but the end result was good:
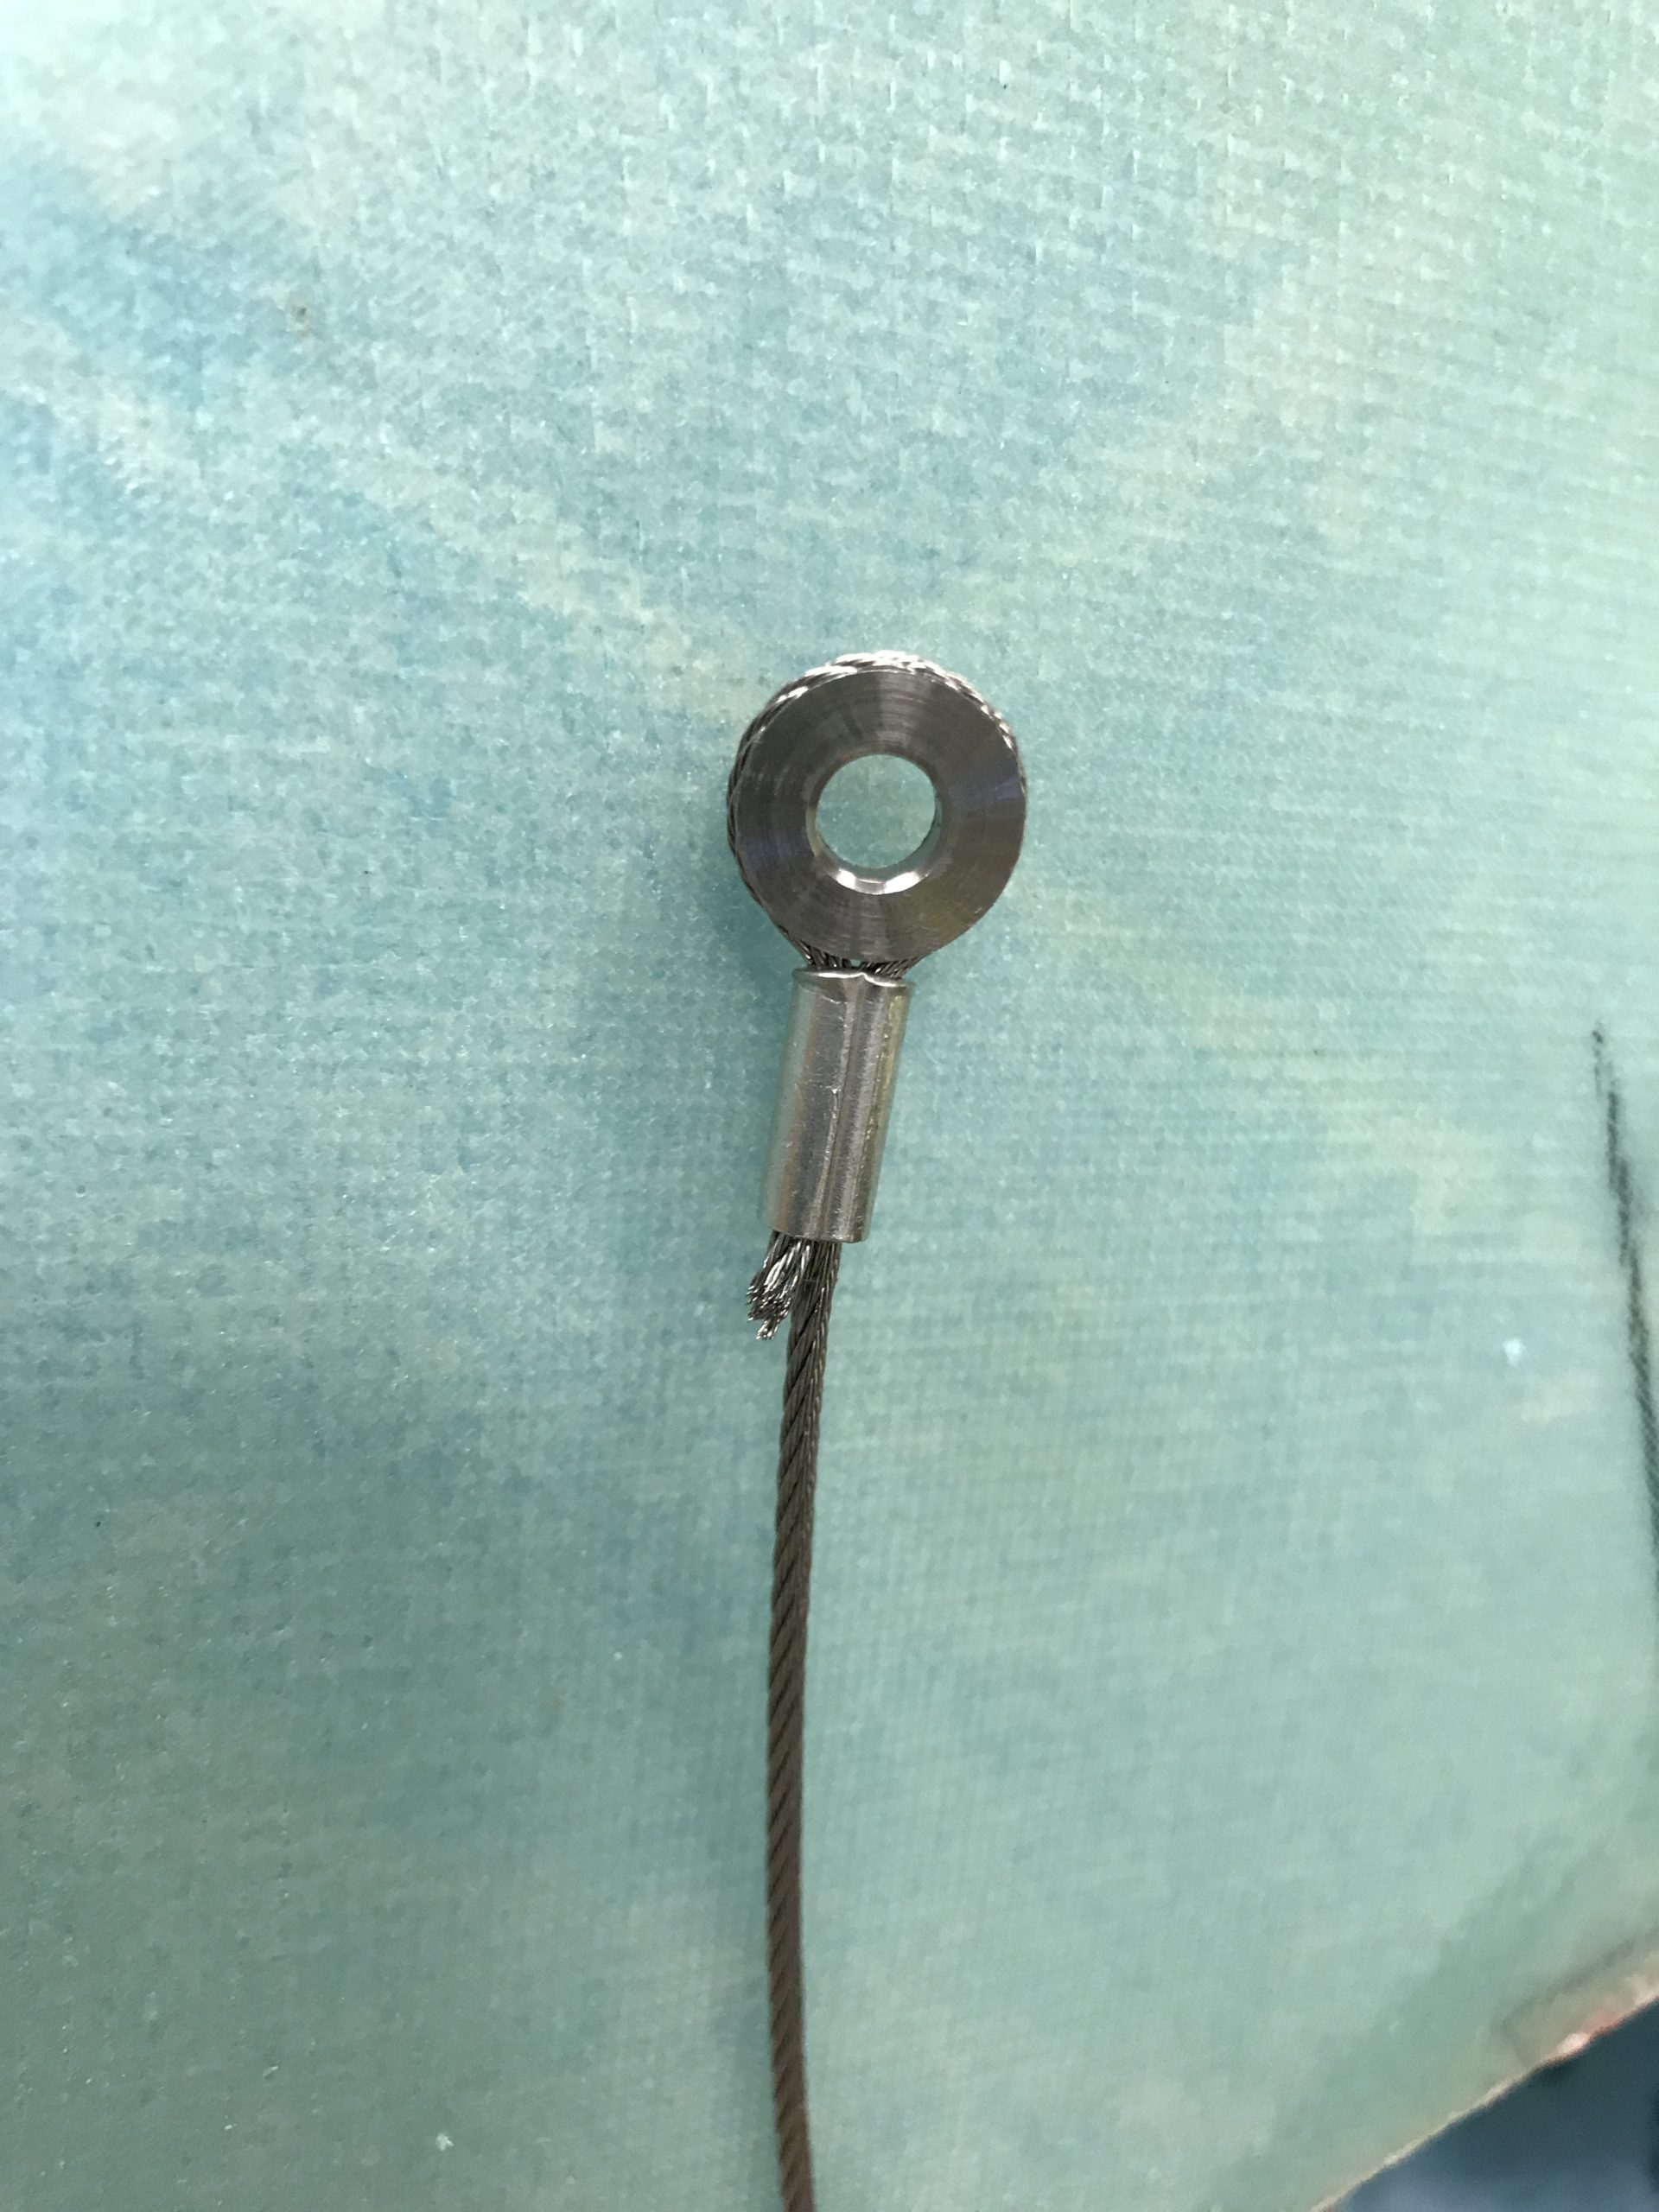
Finally I inserted the rudder cable and mounted the AN111 Cable Bushing as several other builders have used – this is a much neater install.
2020-06-21: Time flies… I have several other projects going on that unfortunately steals time from my Cozy project. This time it’s a greenhouse project for my wife that has had priority:
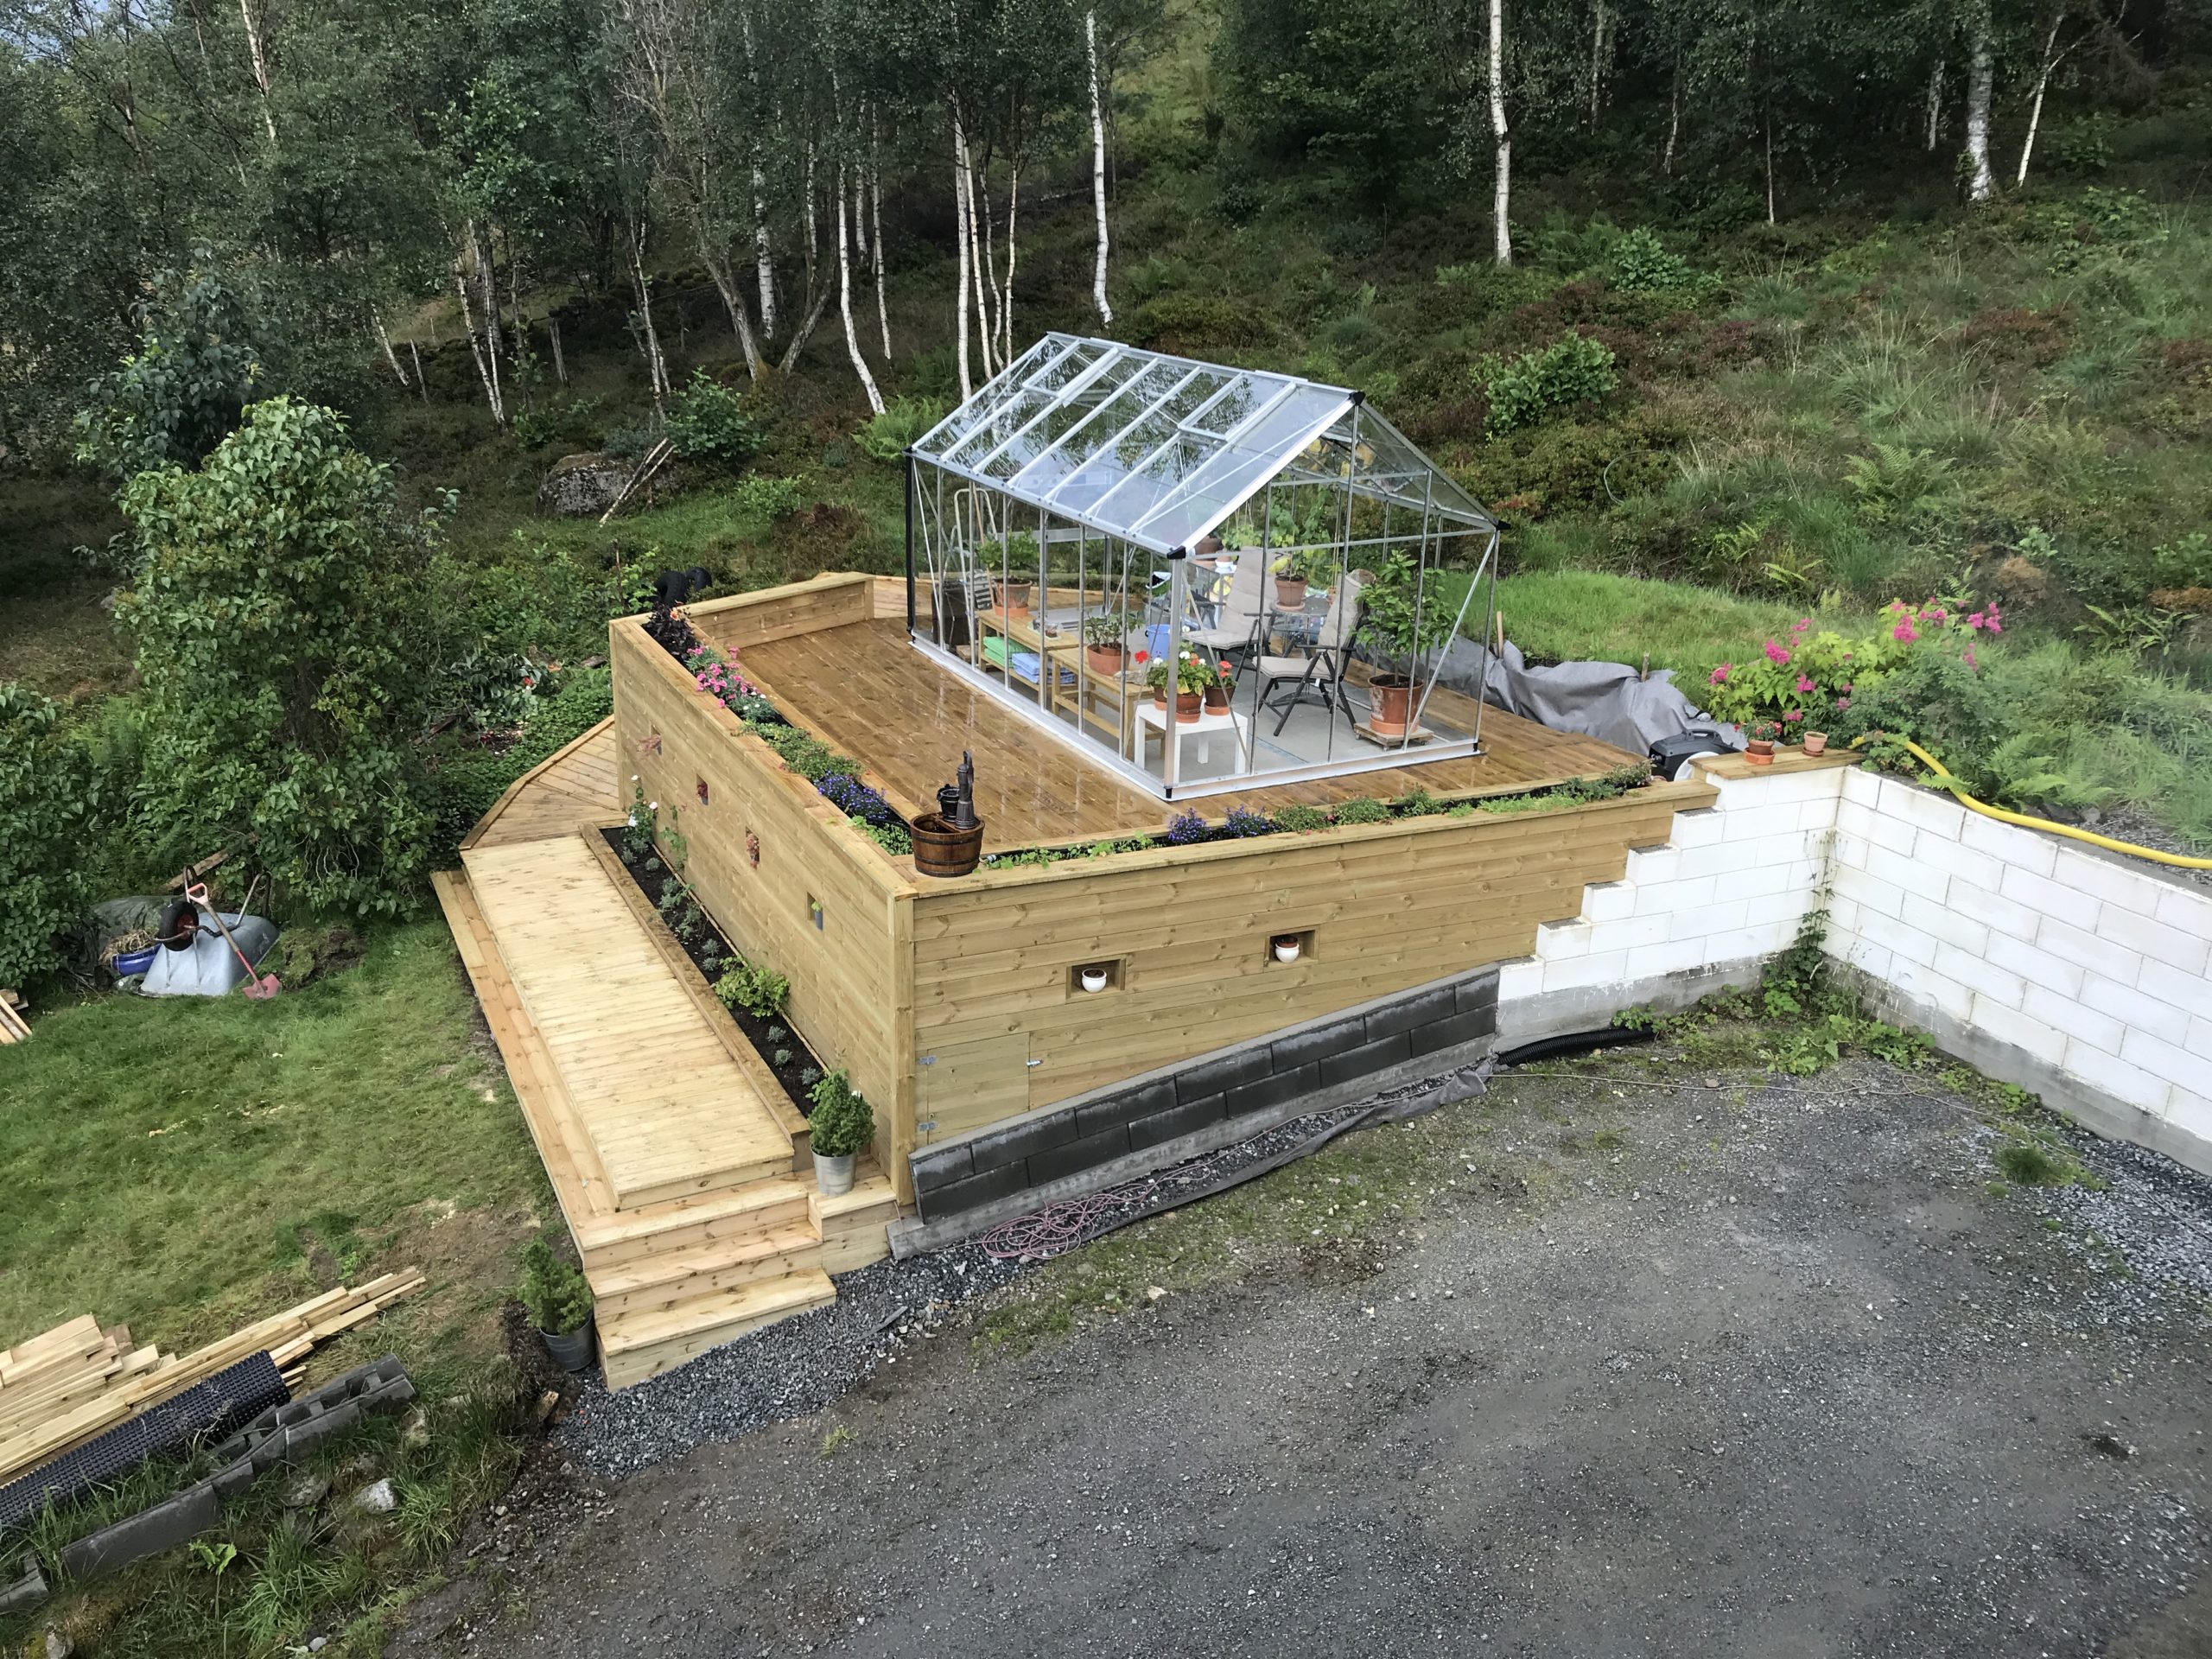
Still not finished, but the last day it was some rain so I had an excuse to do some airplane building again 🙂
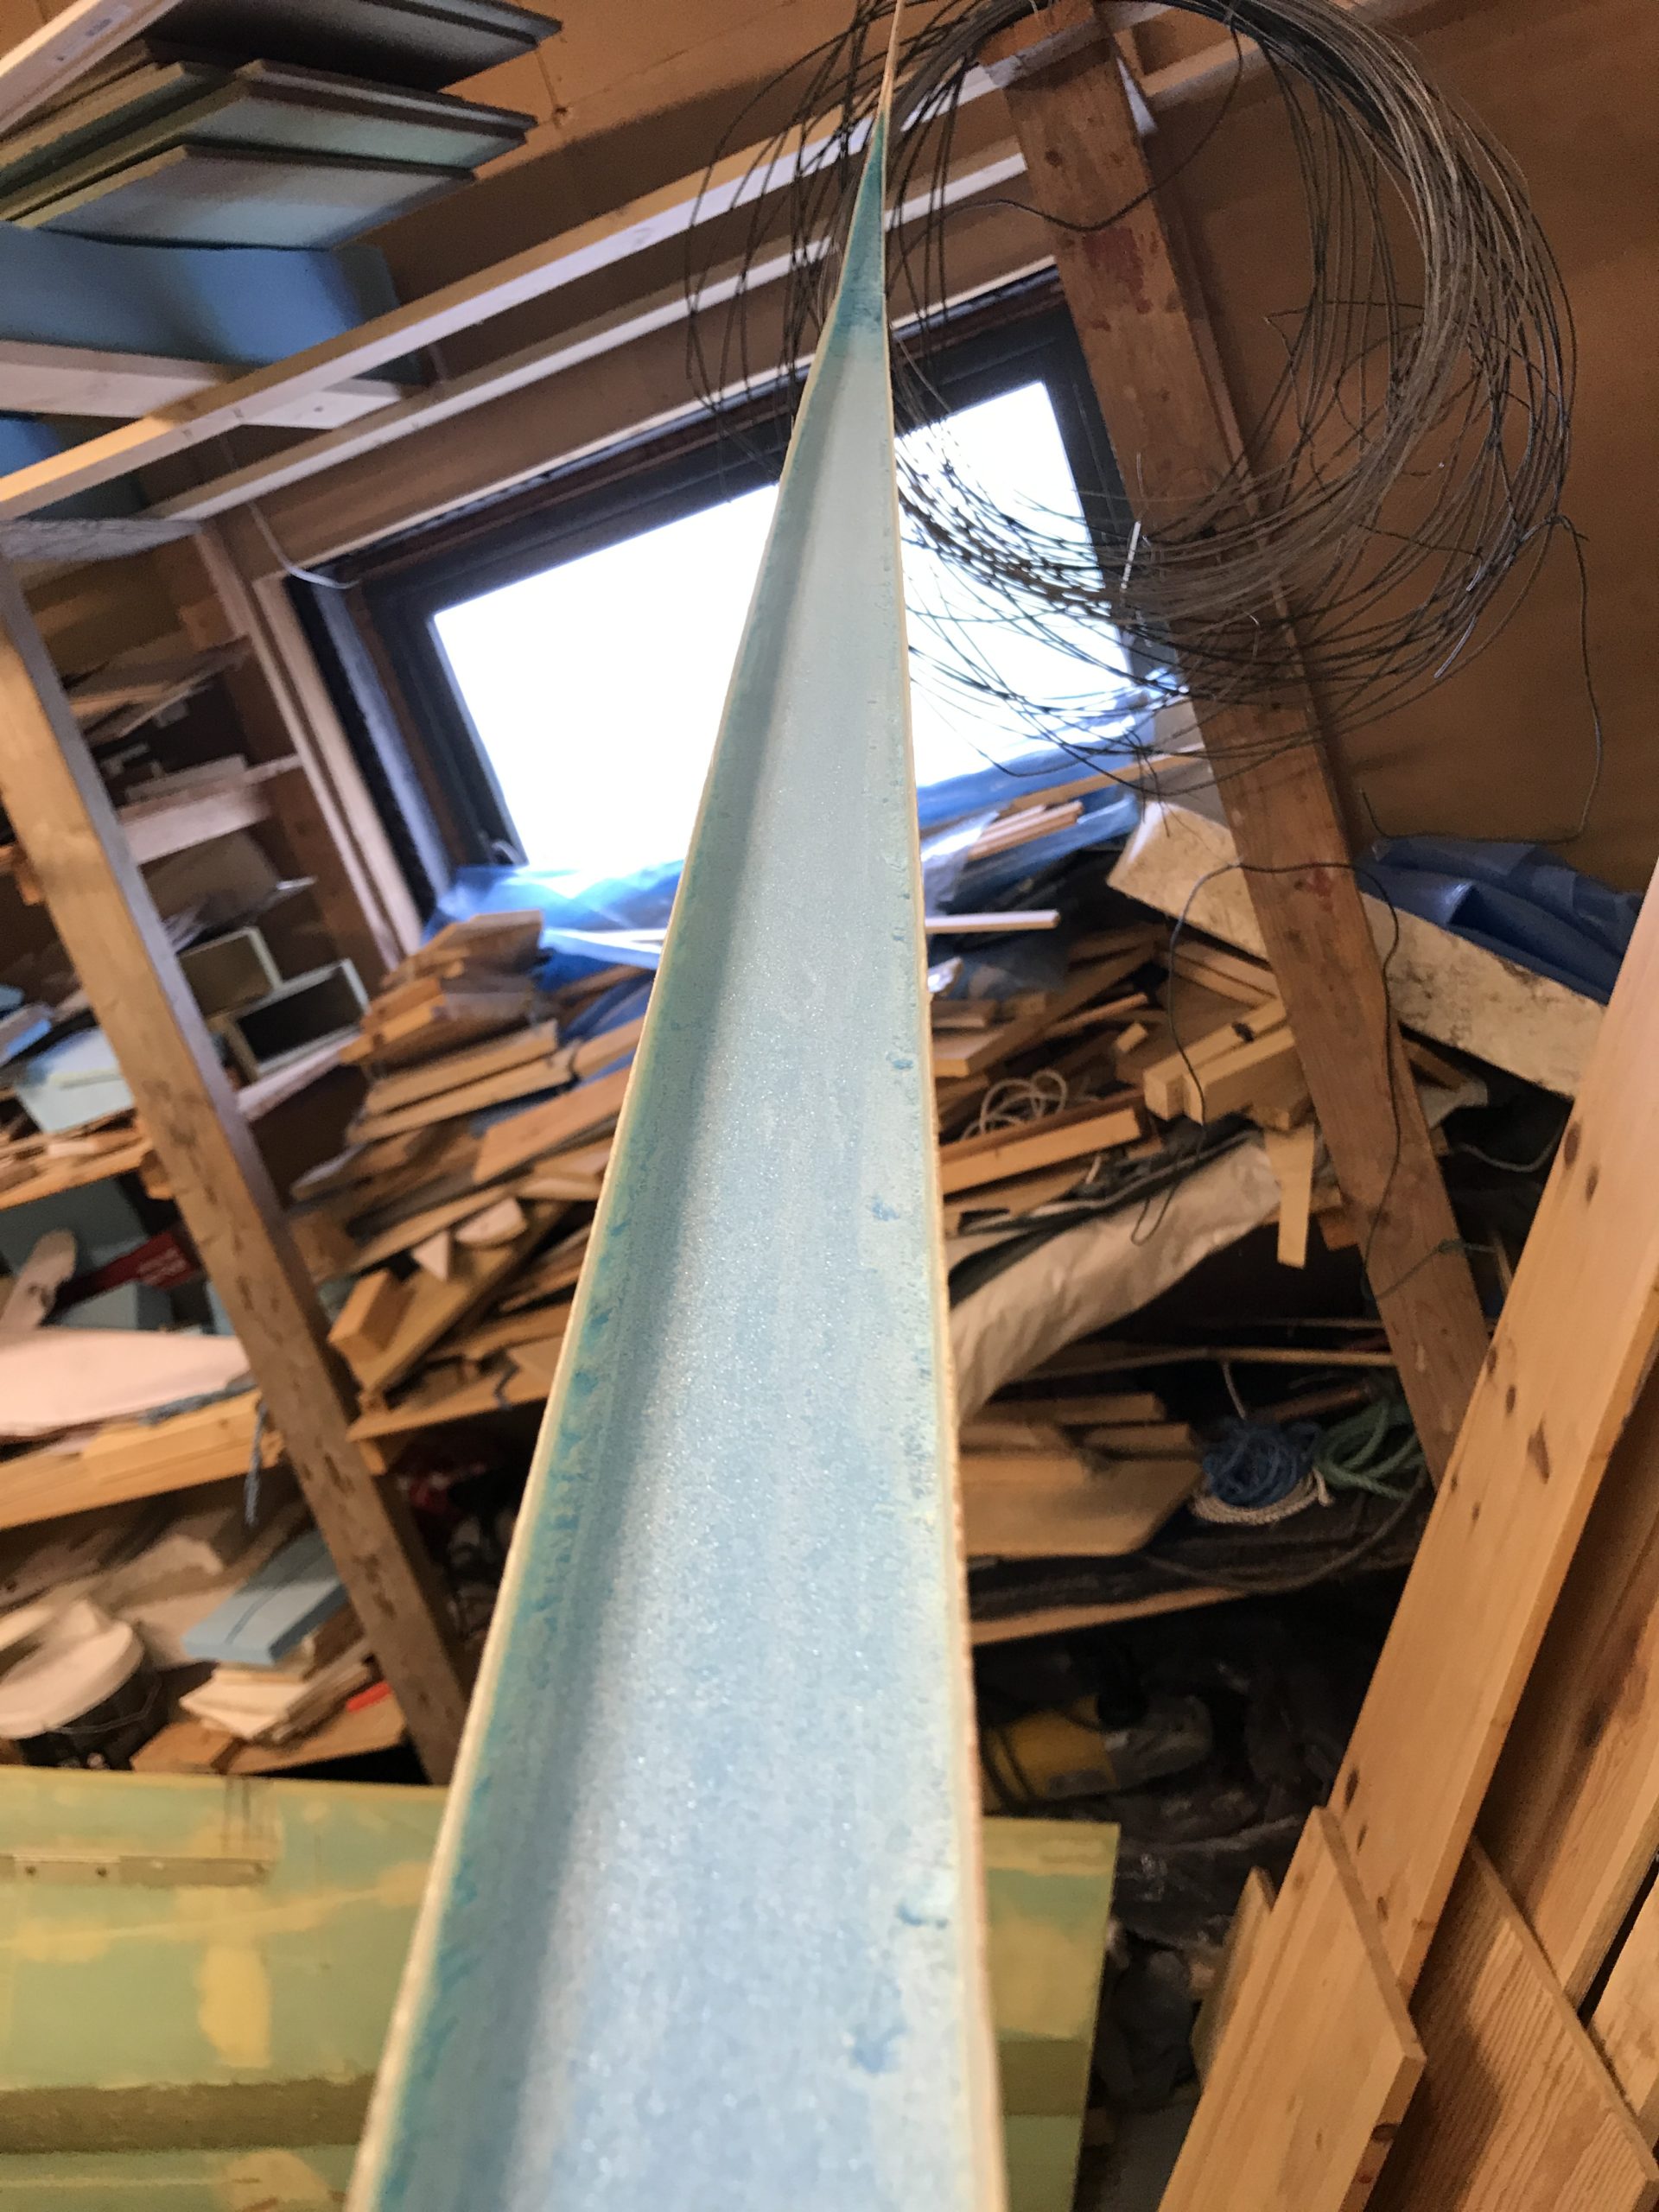
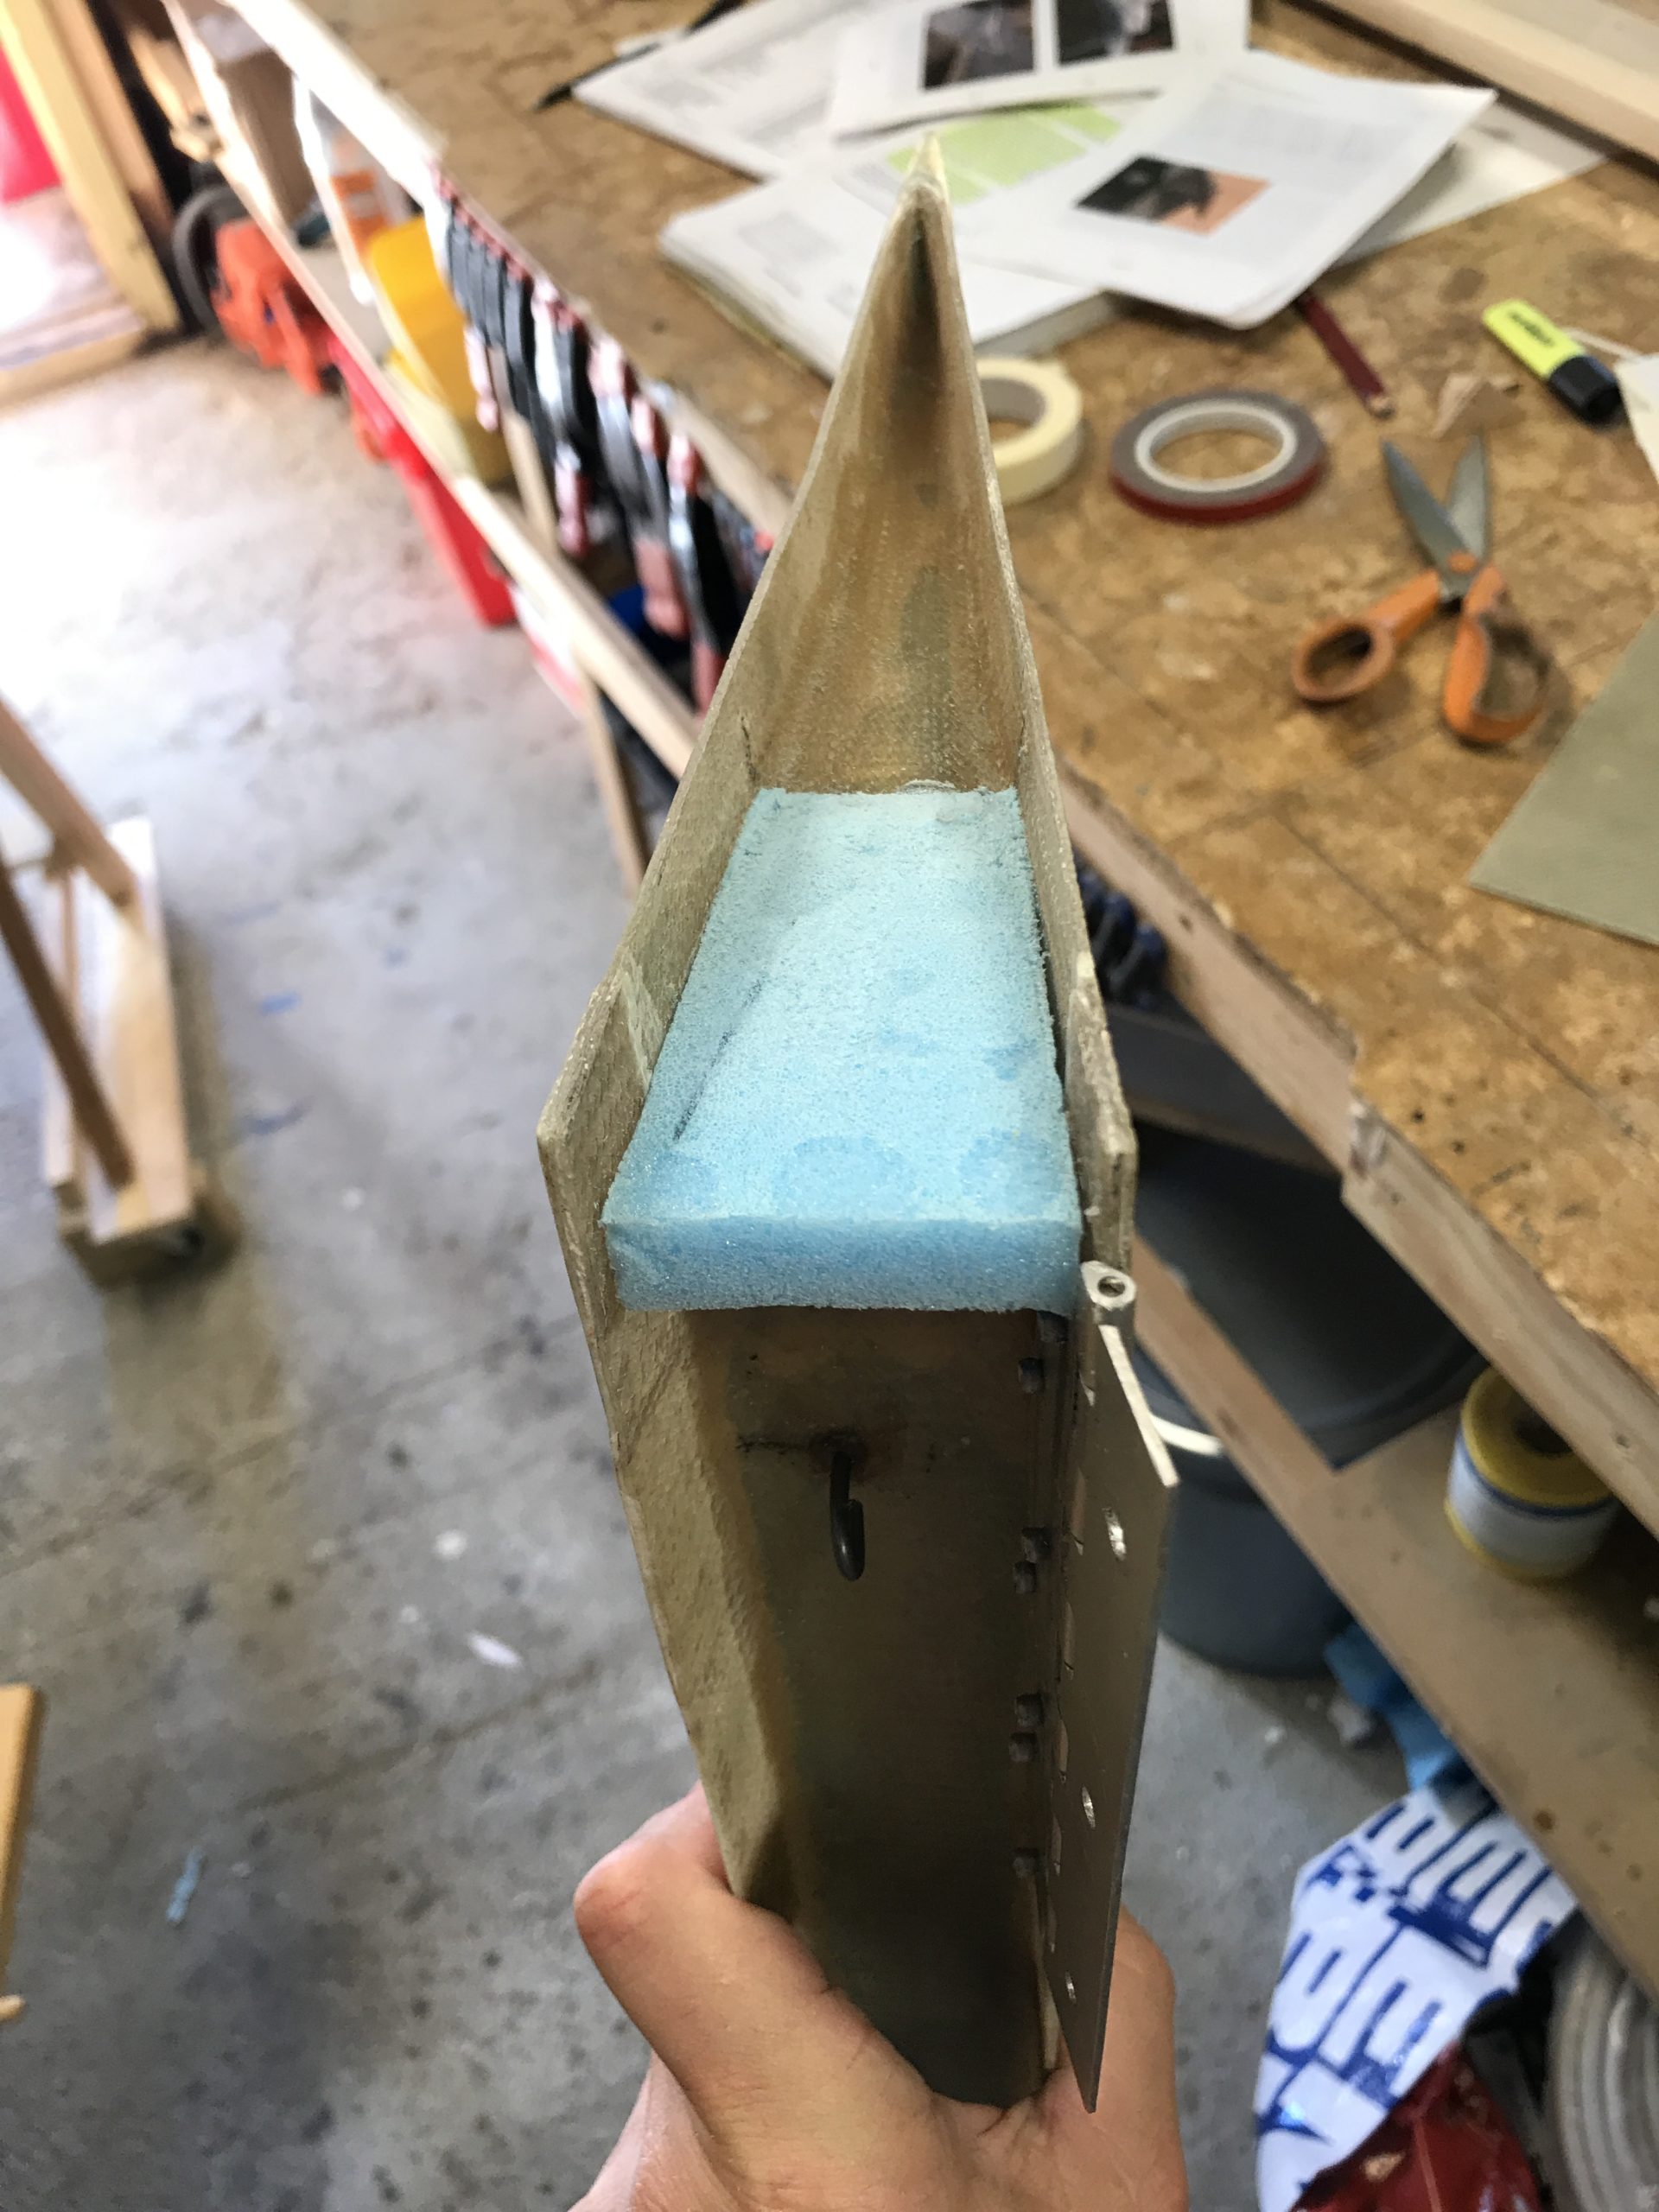
I continued with preparing for layup #6. I removed foam in the rudder cutout in the winglet.
To remove the foam I mainly used my router with a straight bit. Three passes carefully to not touch the glass worked like a dream. I ended this by using my Dremel and a sanding drum to remove the micro on the inside of the glass.
2020-07-06: Glassed inside of the winglet with 3 BID and reinforced the hinge locations with additional 2 BID.
2020-07-07: Glassed the pocket for the bellhorn- not much to see. Did this to avoid having exposed foam here.
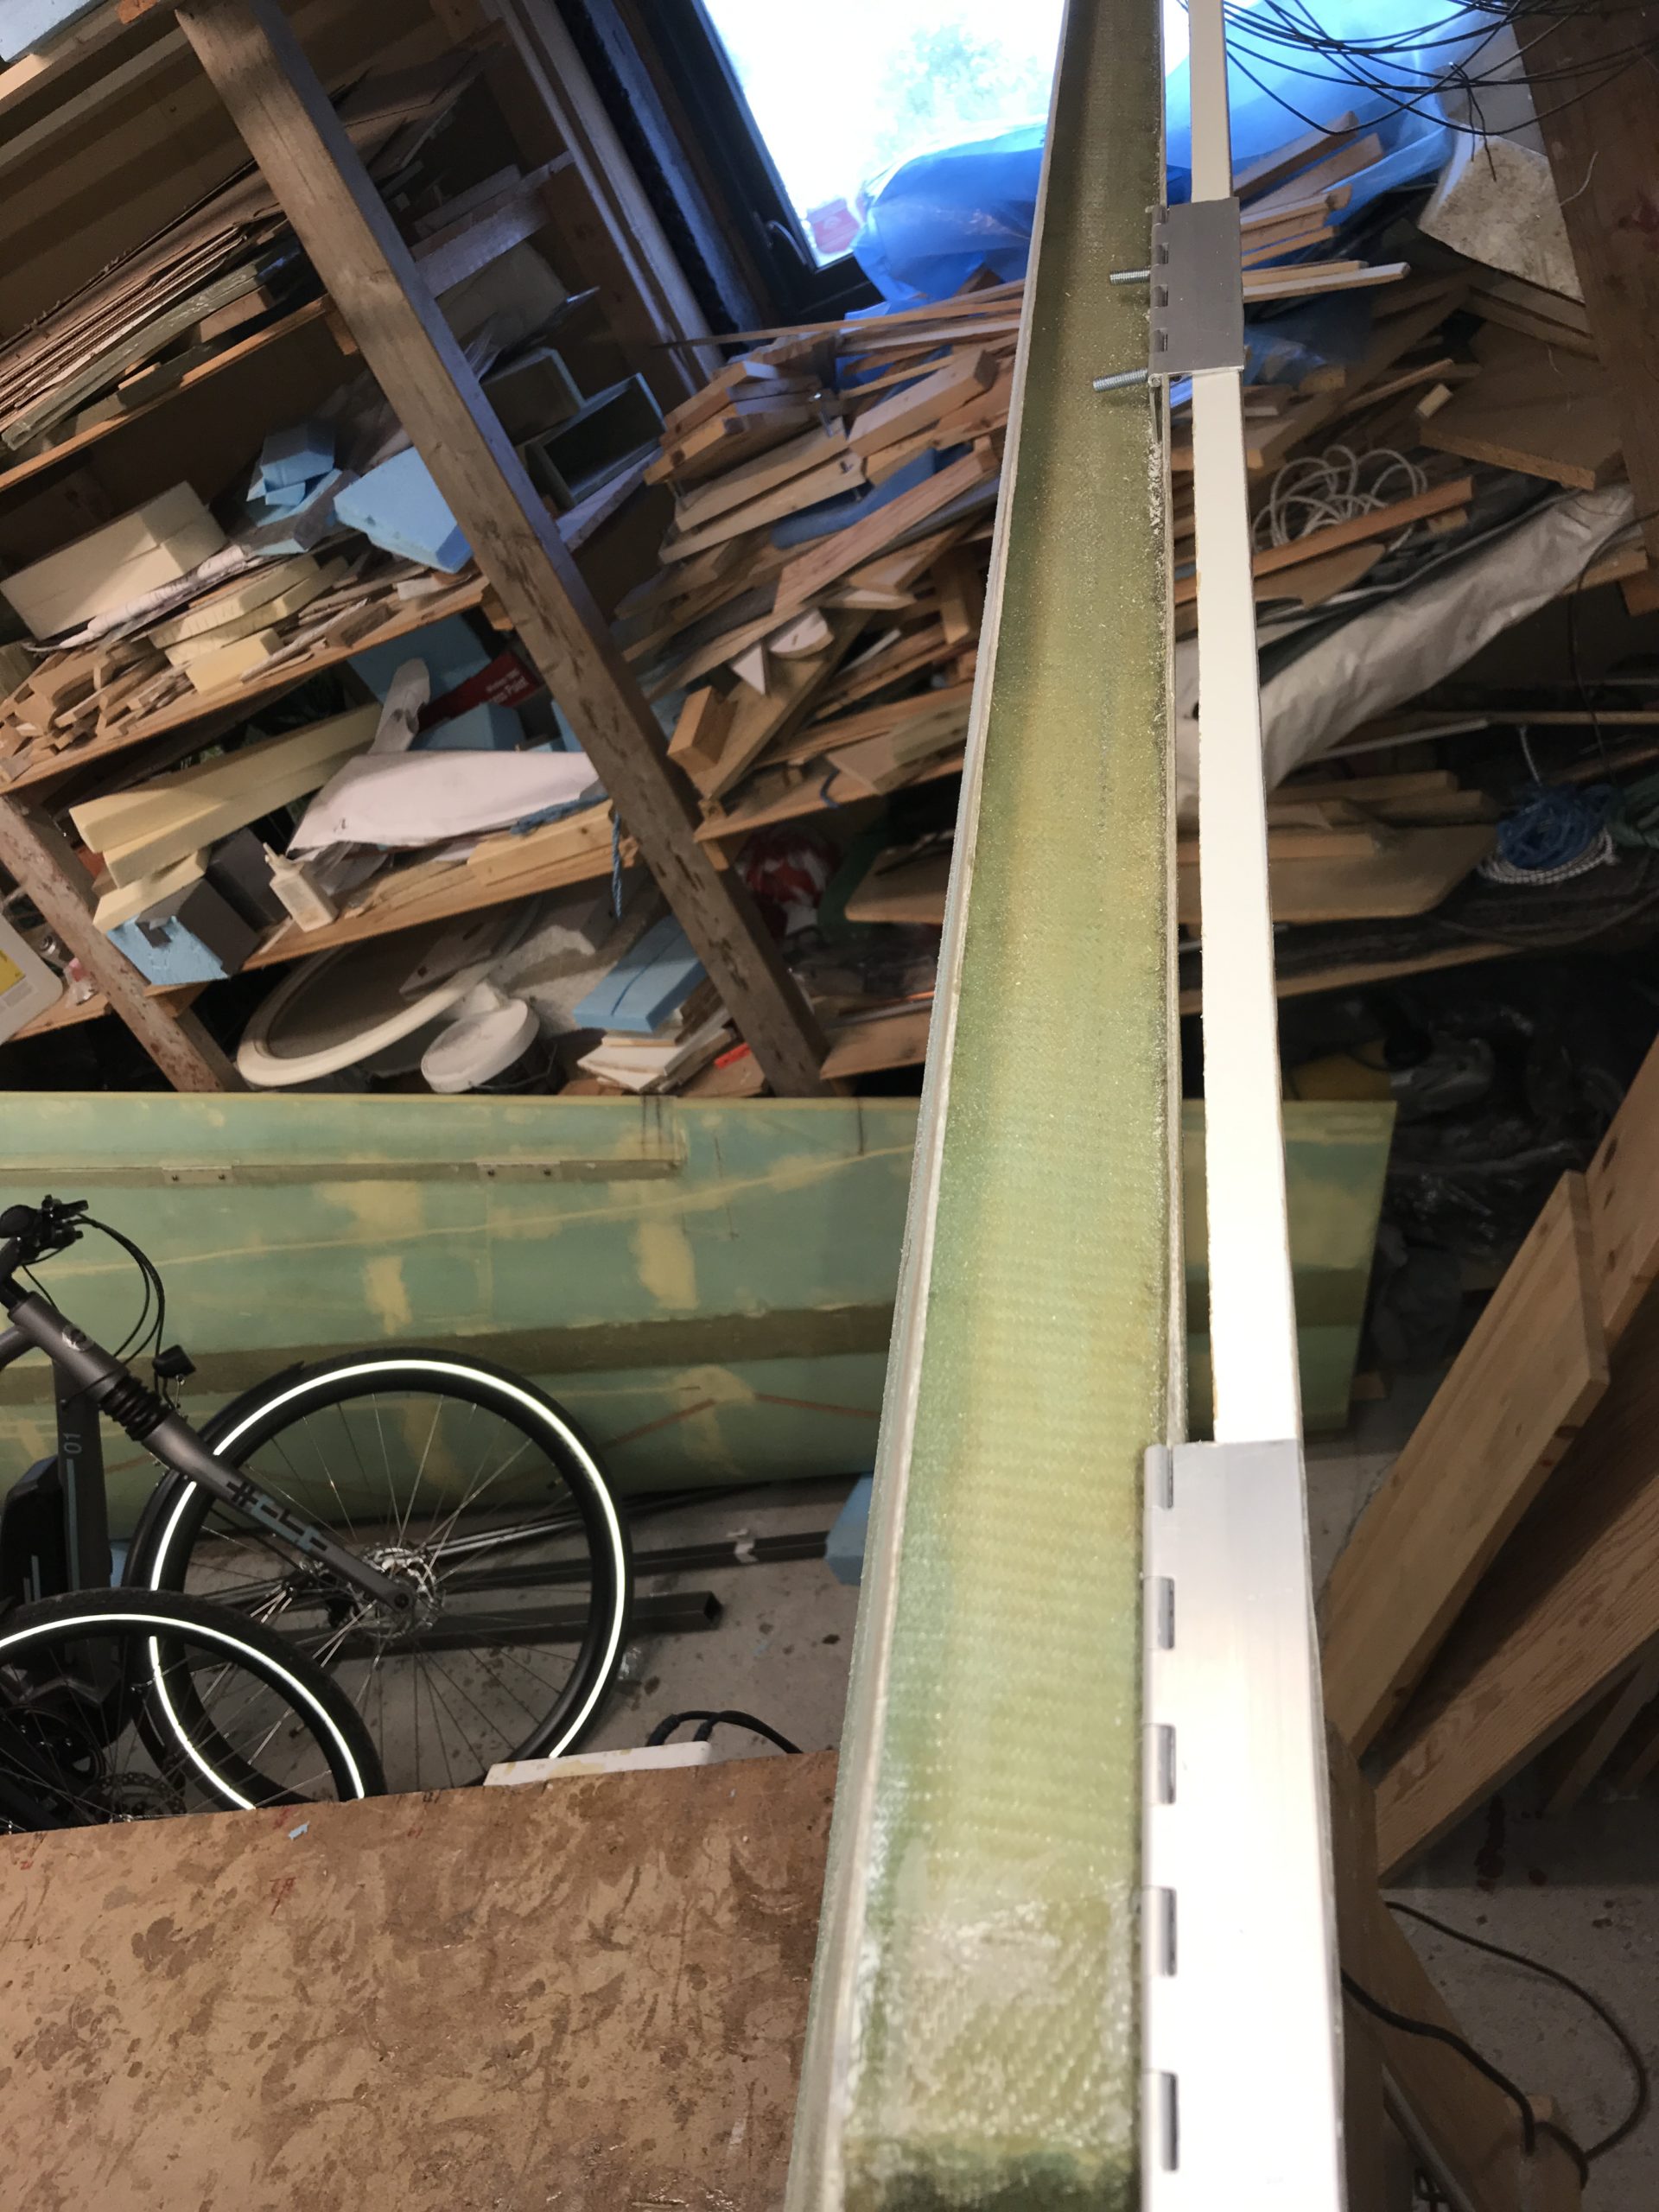
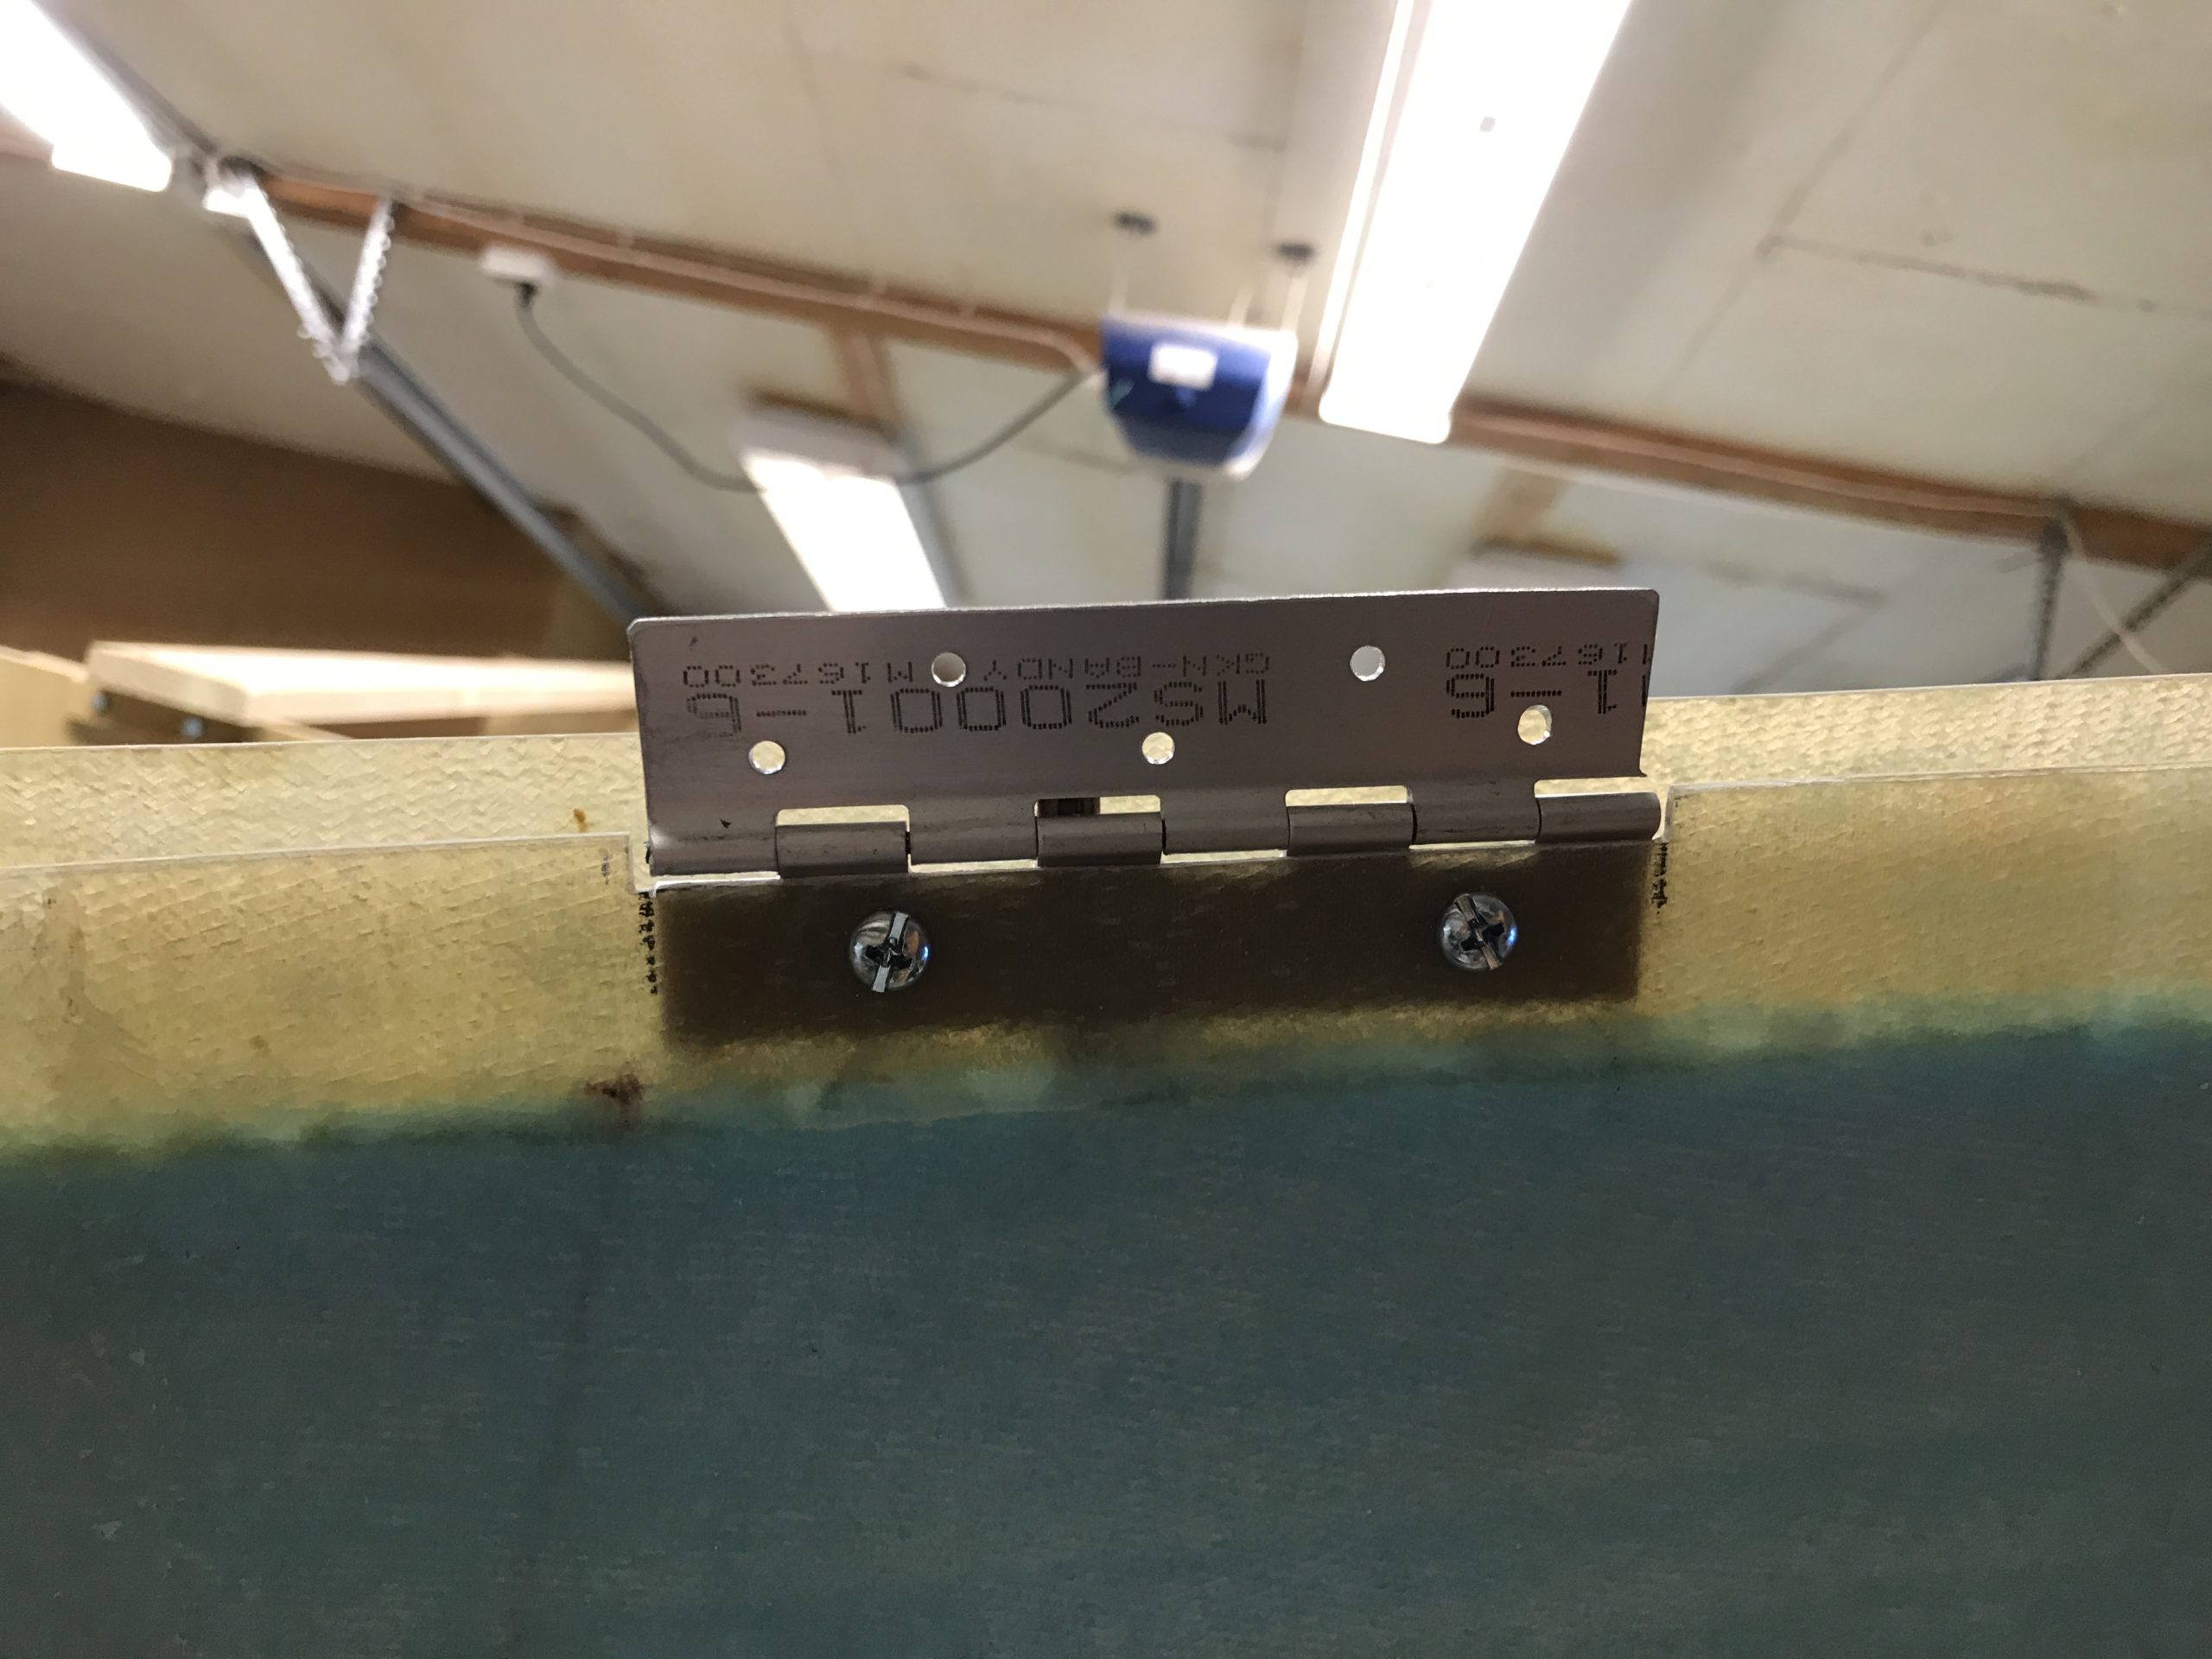
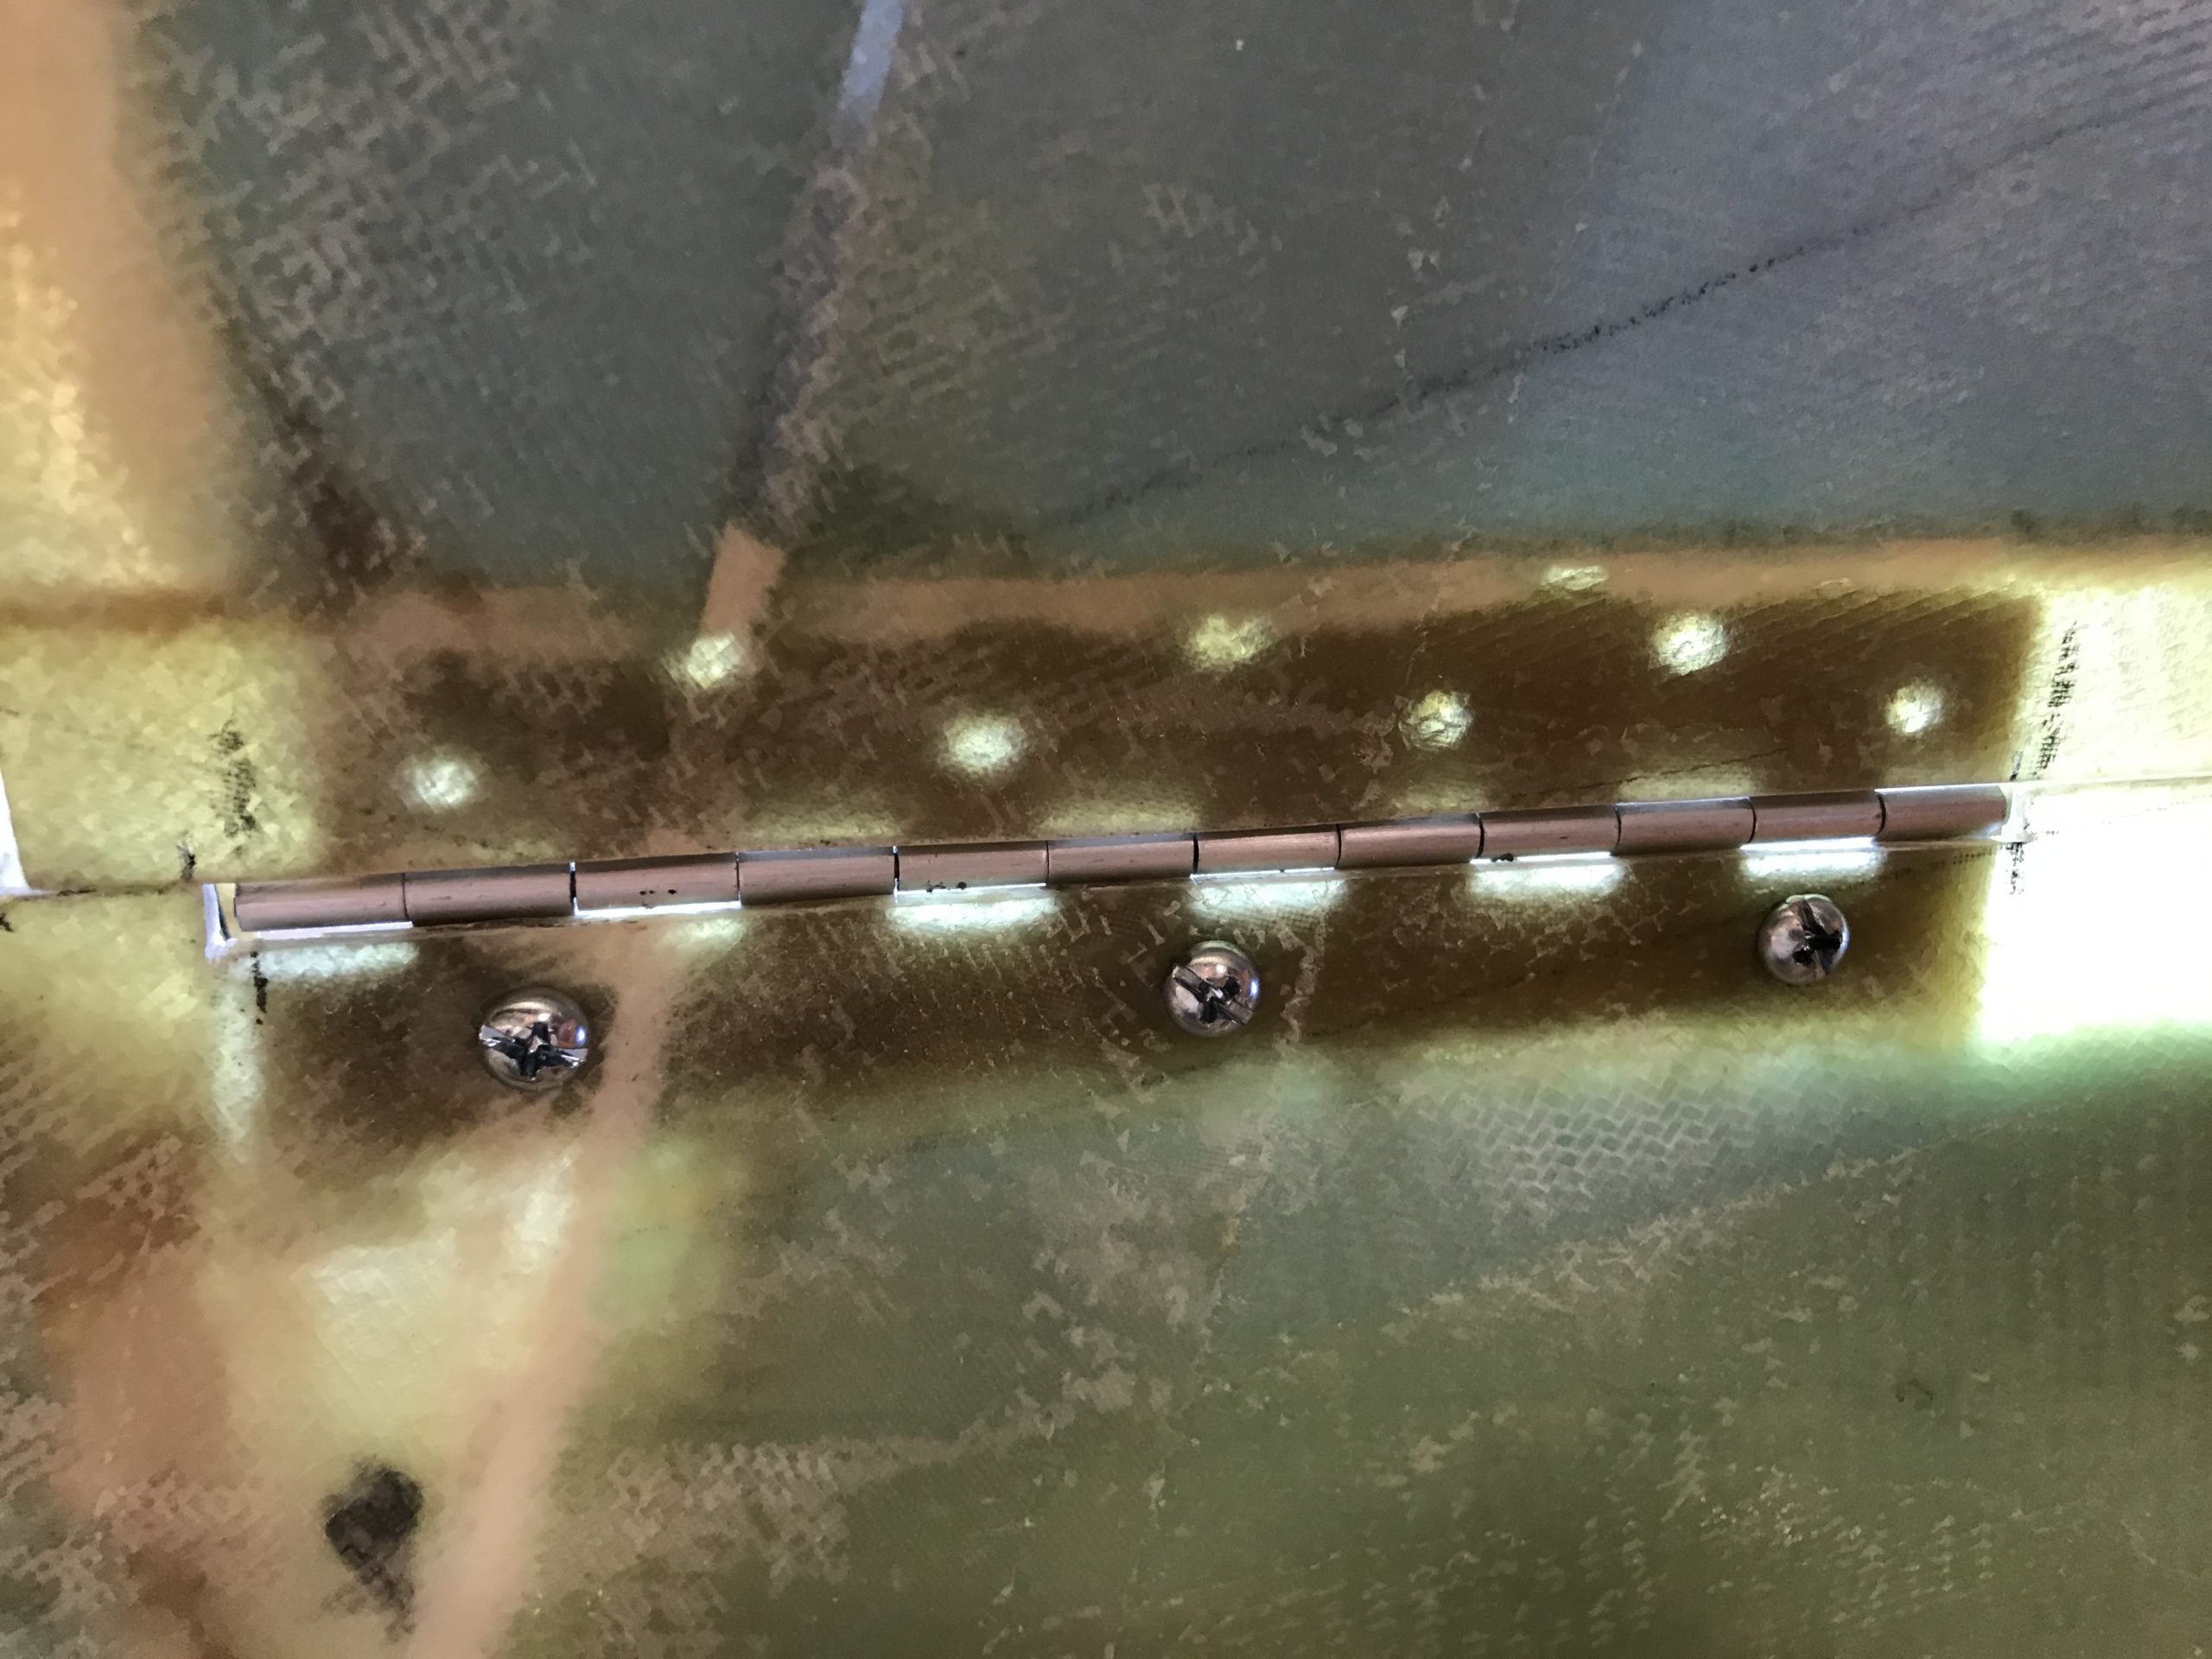
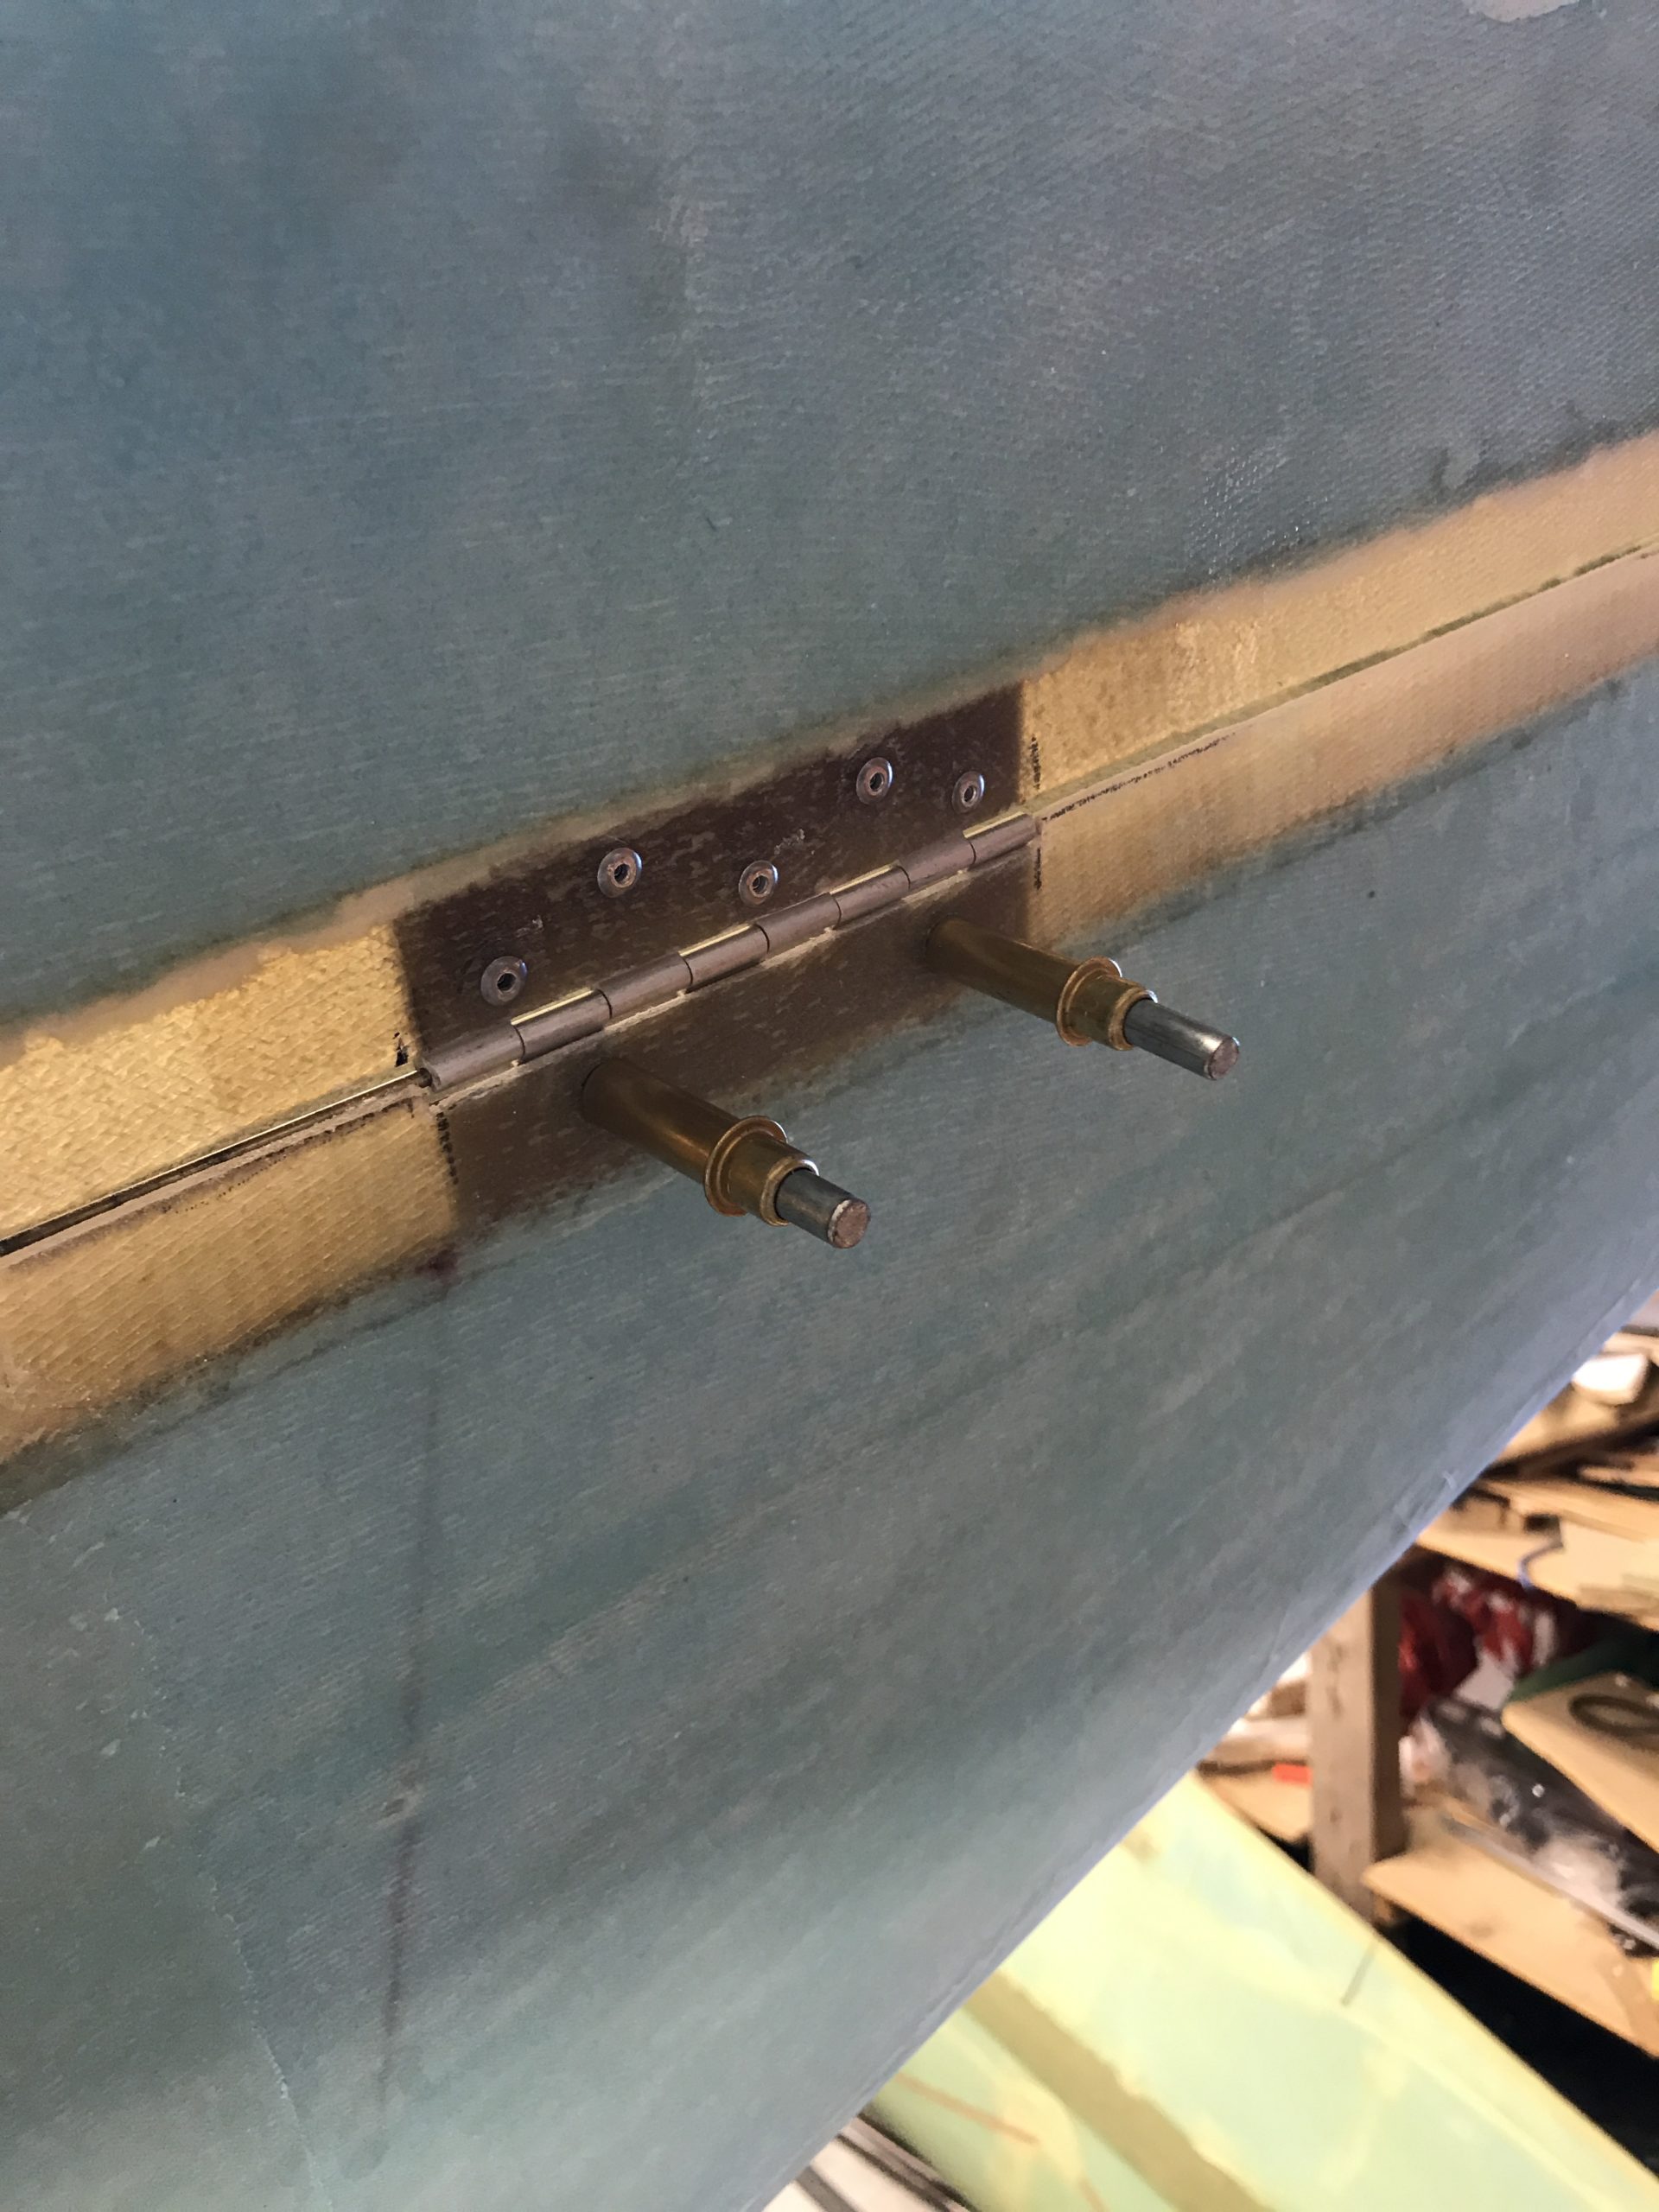
Made the cutouts for the hinges and drilled holes for the hinges. I used a wood stick to align the three hinges before I drilled the holes. I am using temporary screws now, will later use click bonds.
I’ve read that there are some mounting issues with the nuts on the inside of the rudder when using click bonds. Some have solved this by making a special tool to loosen and tighten the nut(s). We’ll see when we come there. I have an idea that with the new bellhorn installation method this will be easier than before.
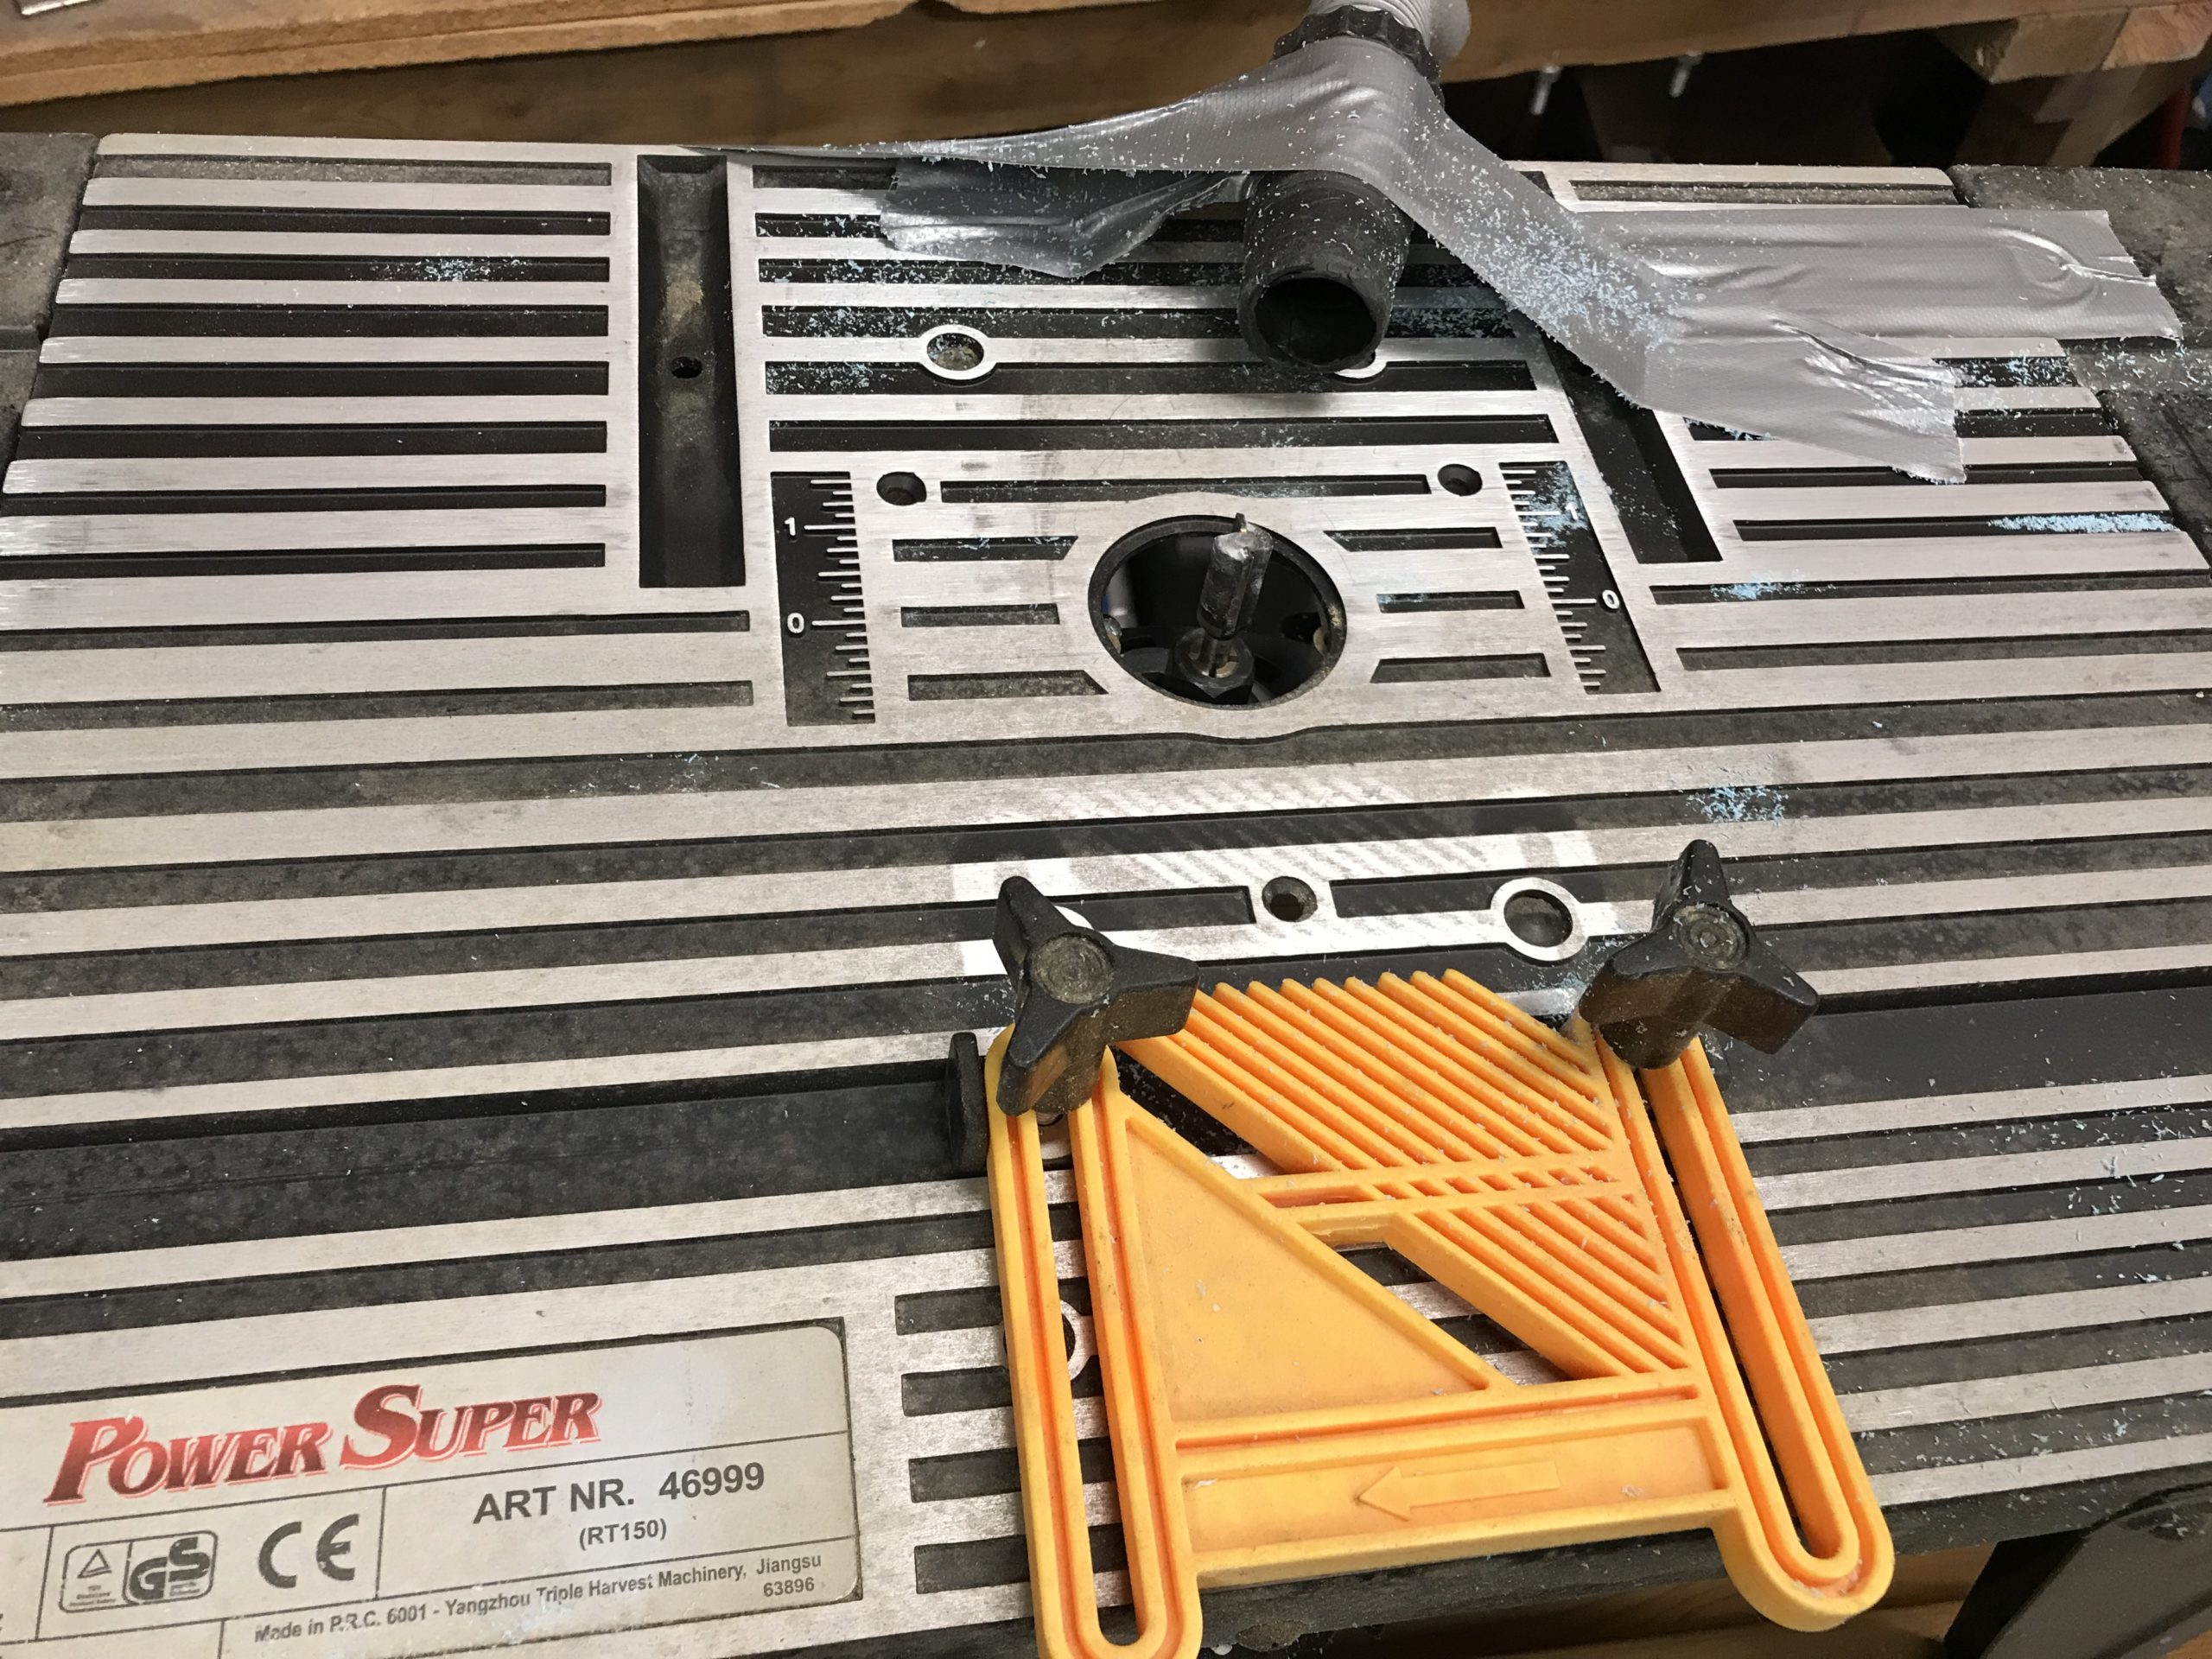
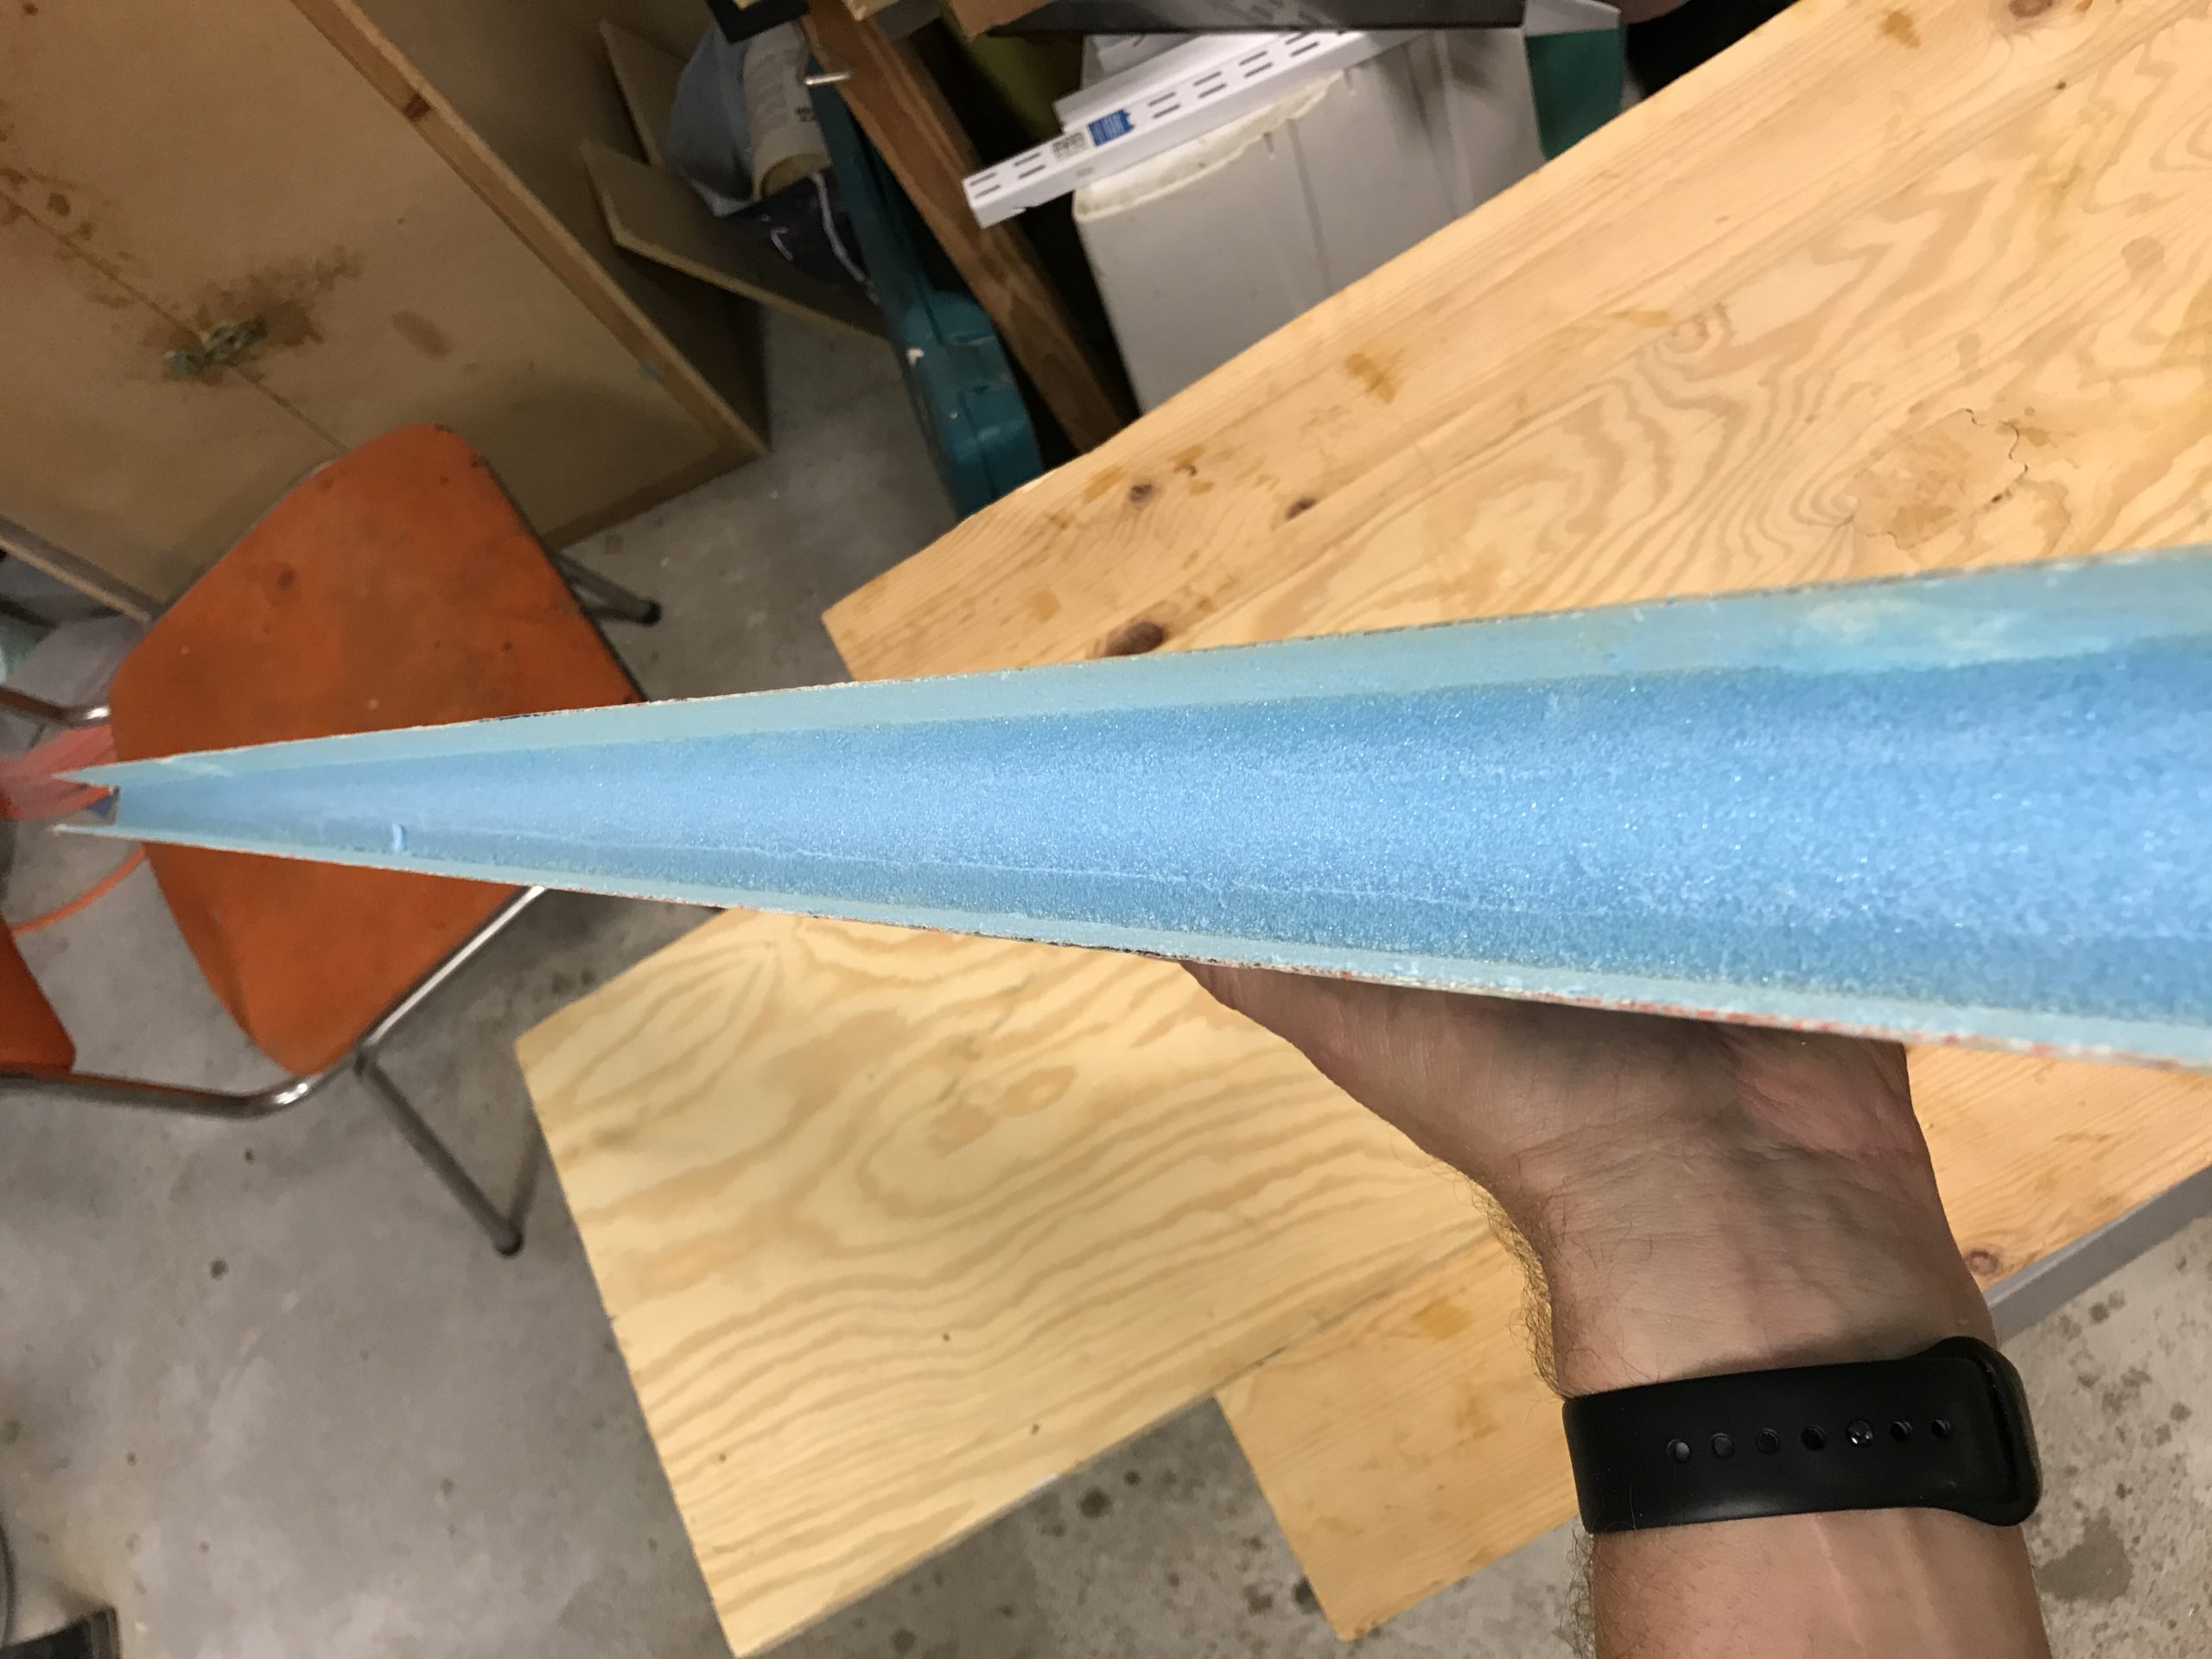
2020-07-21: Removed foam in the rudder. Again I used a combination of a x-acto knife and my router. This time I mounted my router in a router table and very carefully moved the rudder over the router bit to remove the foam.
The result was very good.
I used my Dremel and a sanding drum to remove the micro layer between the foam and the glass to ensure a proper G2G bonding.
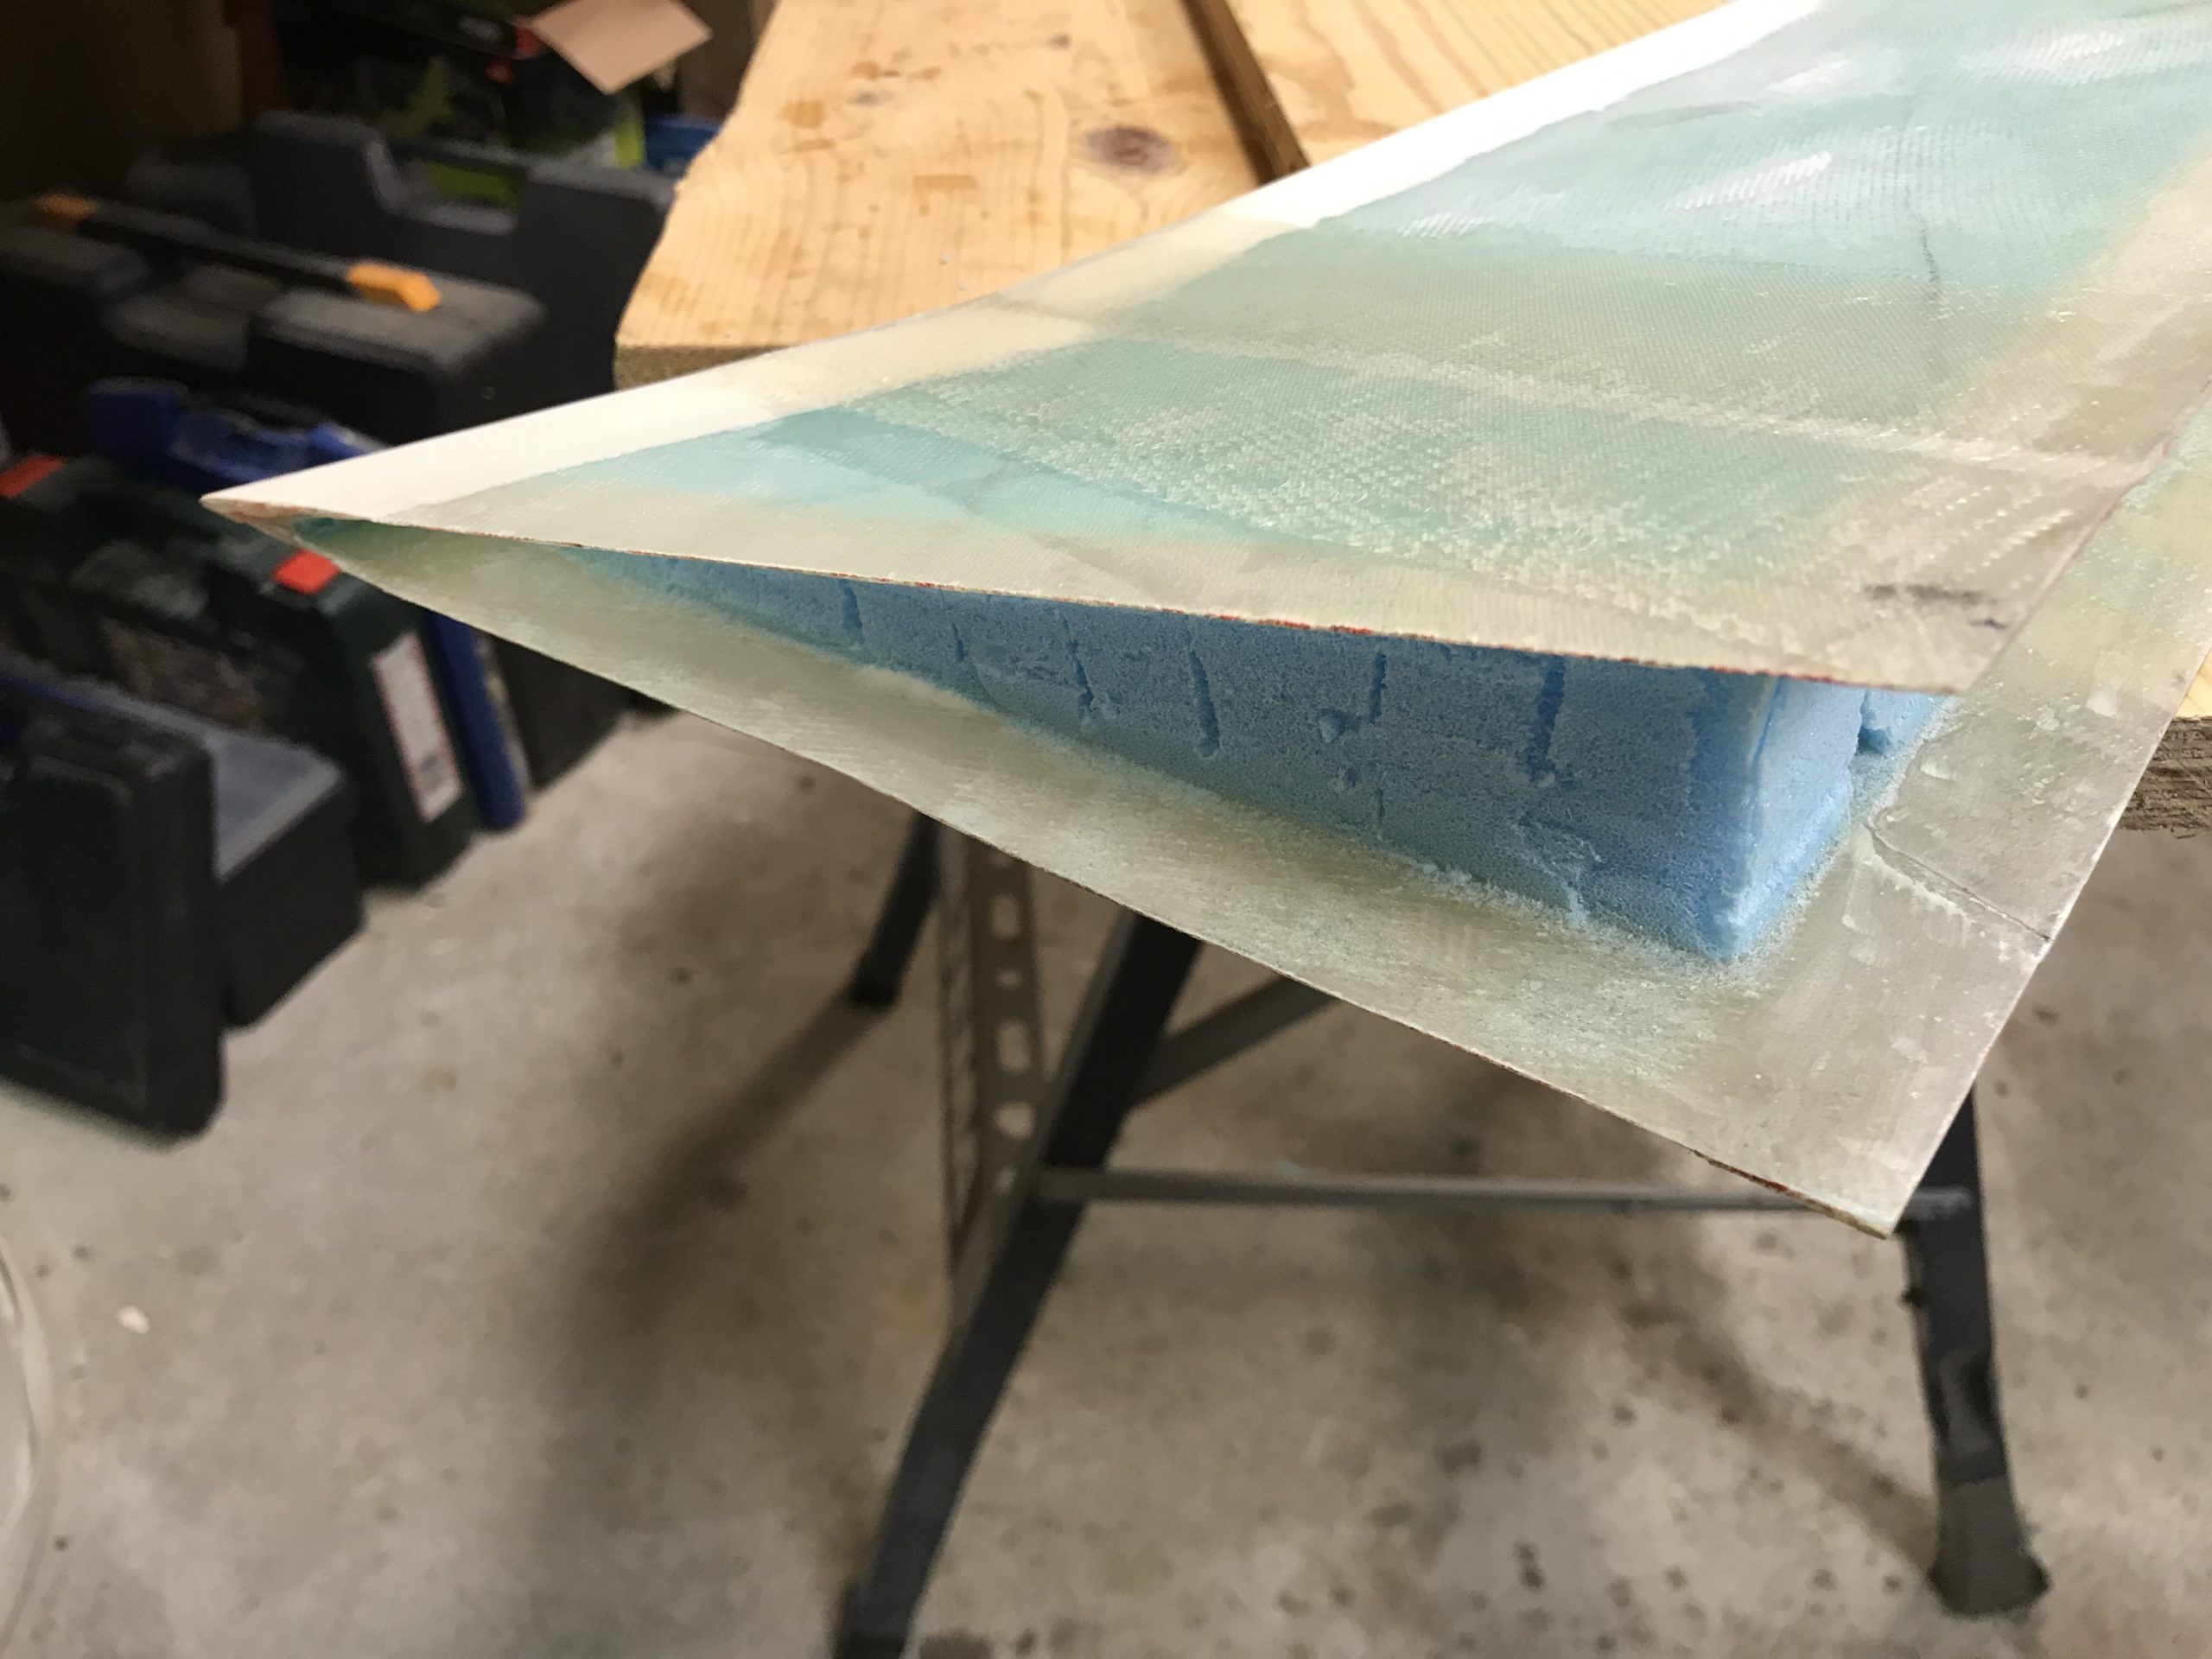
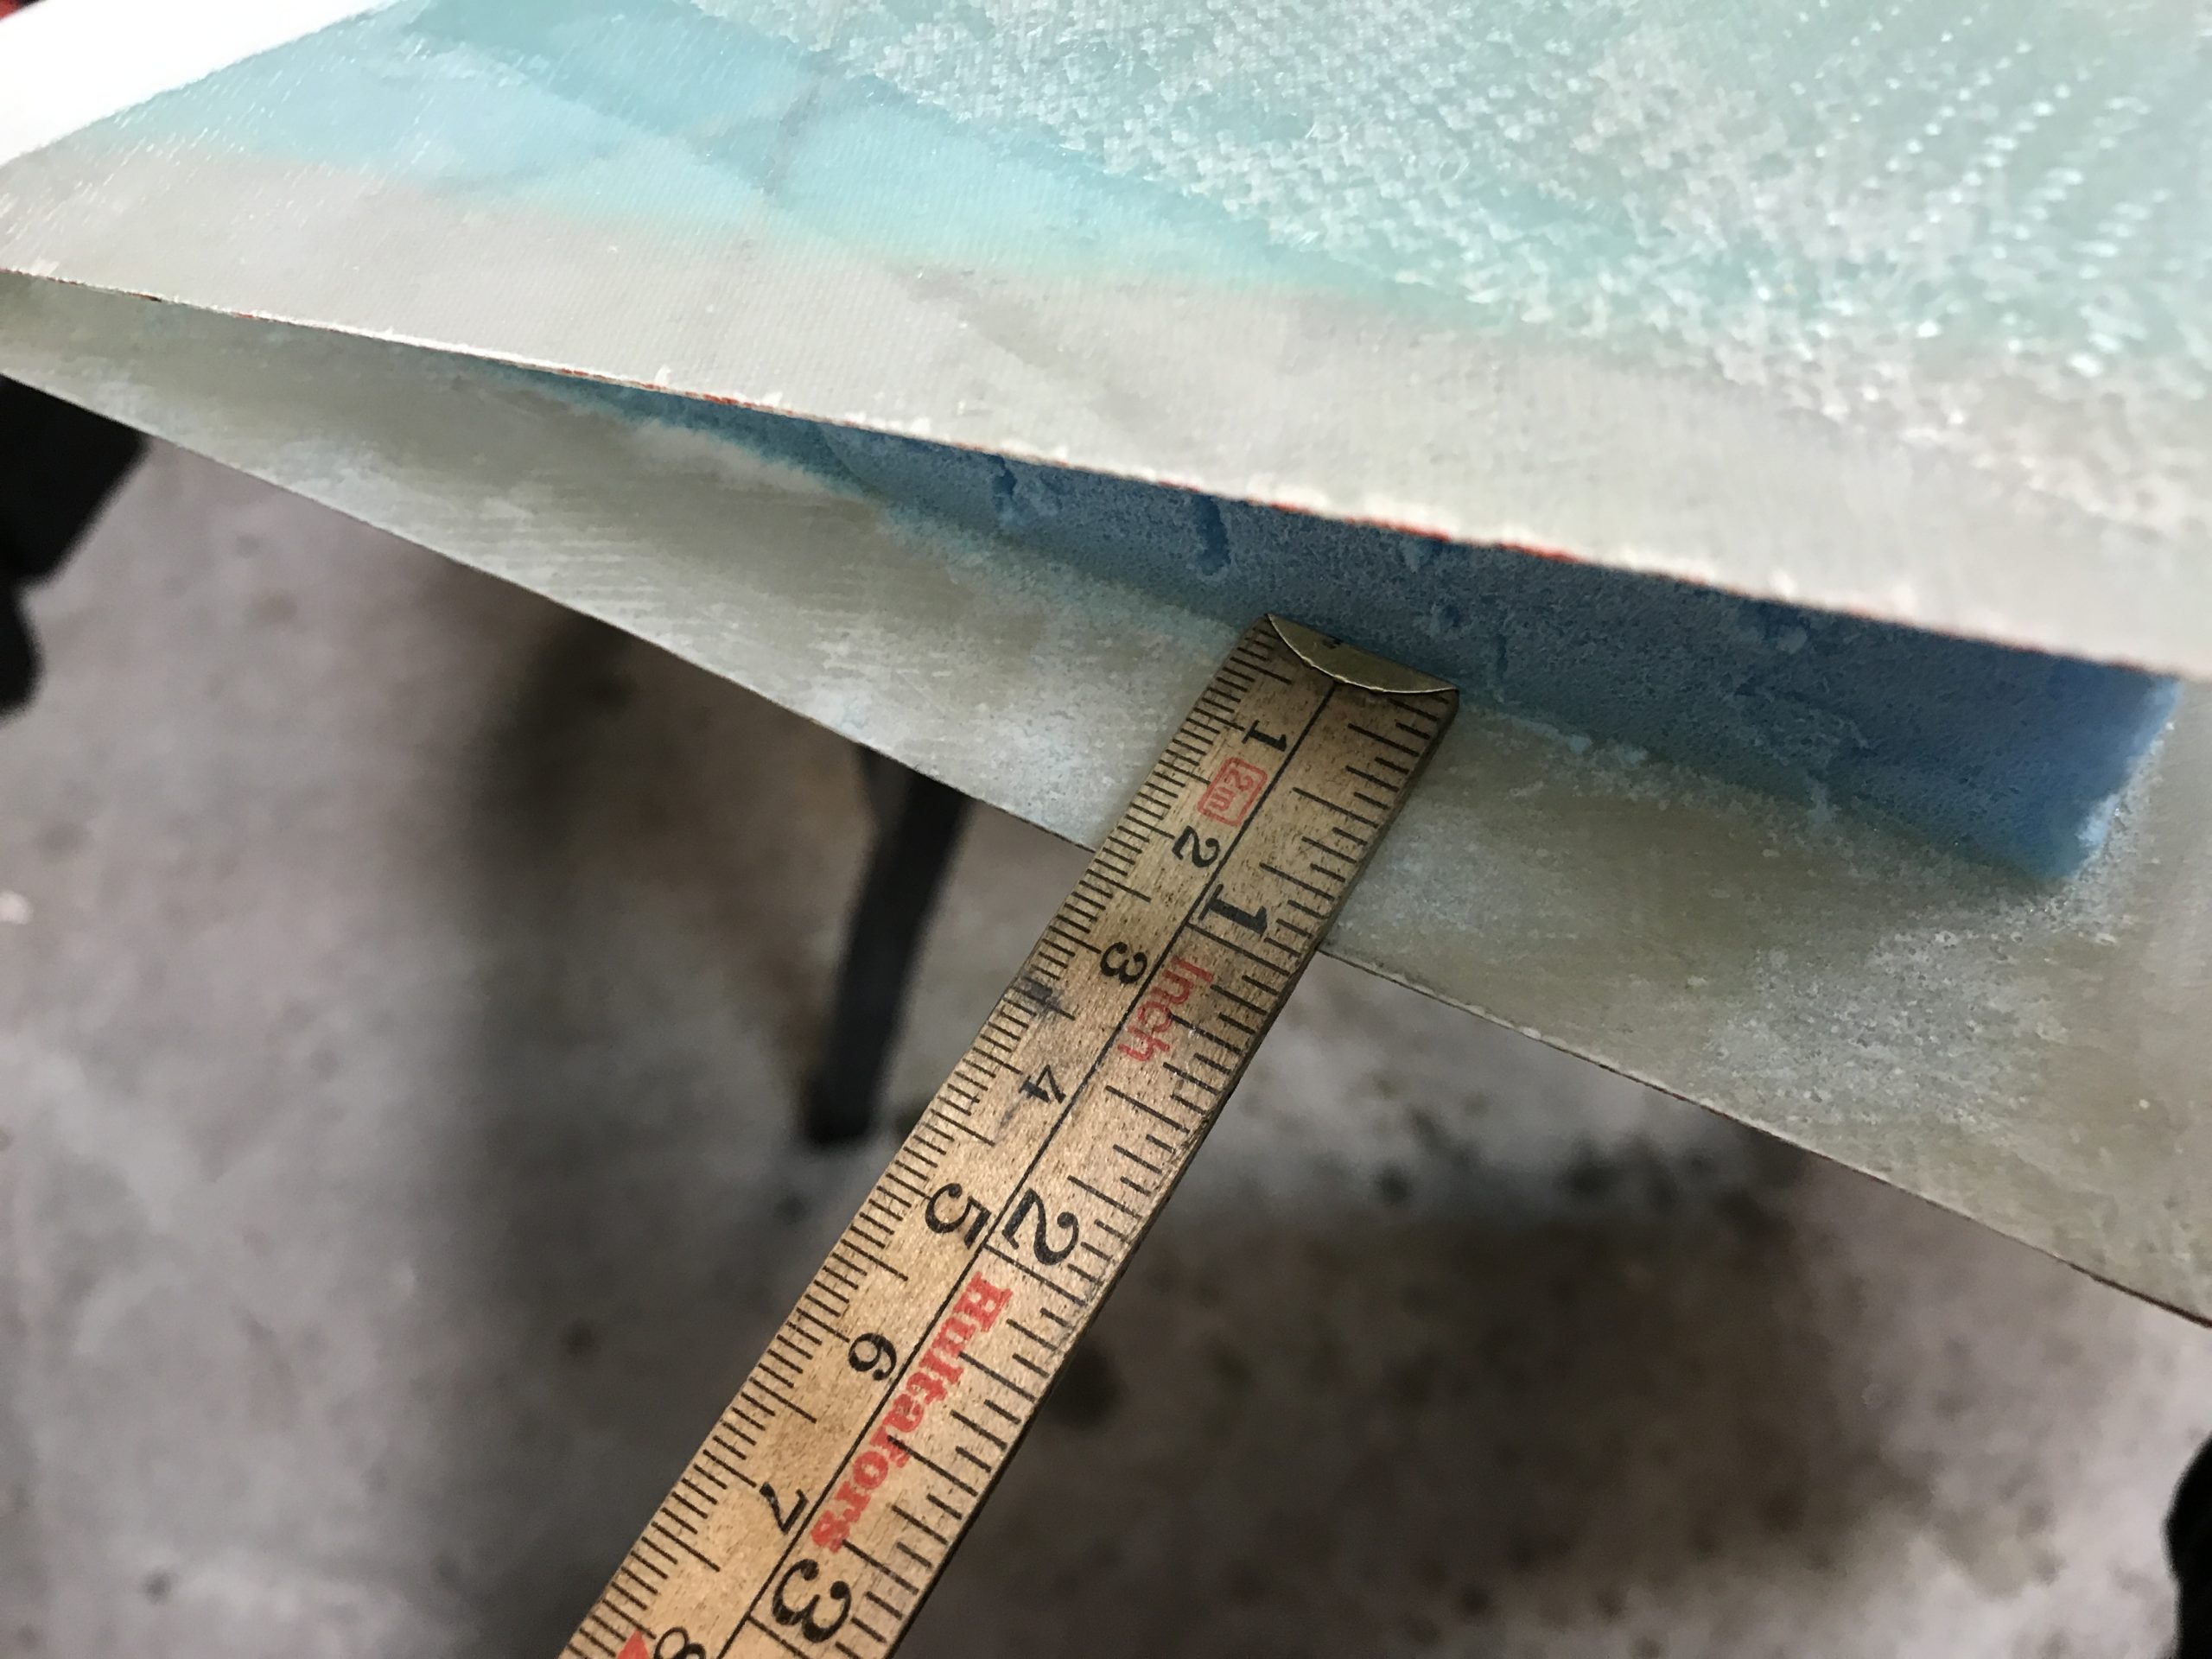
On the bottom of the rudder I removed a bit over 3/4″ according to the plans for the hidden bellhorns.
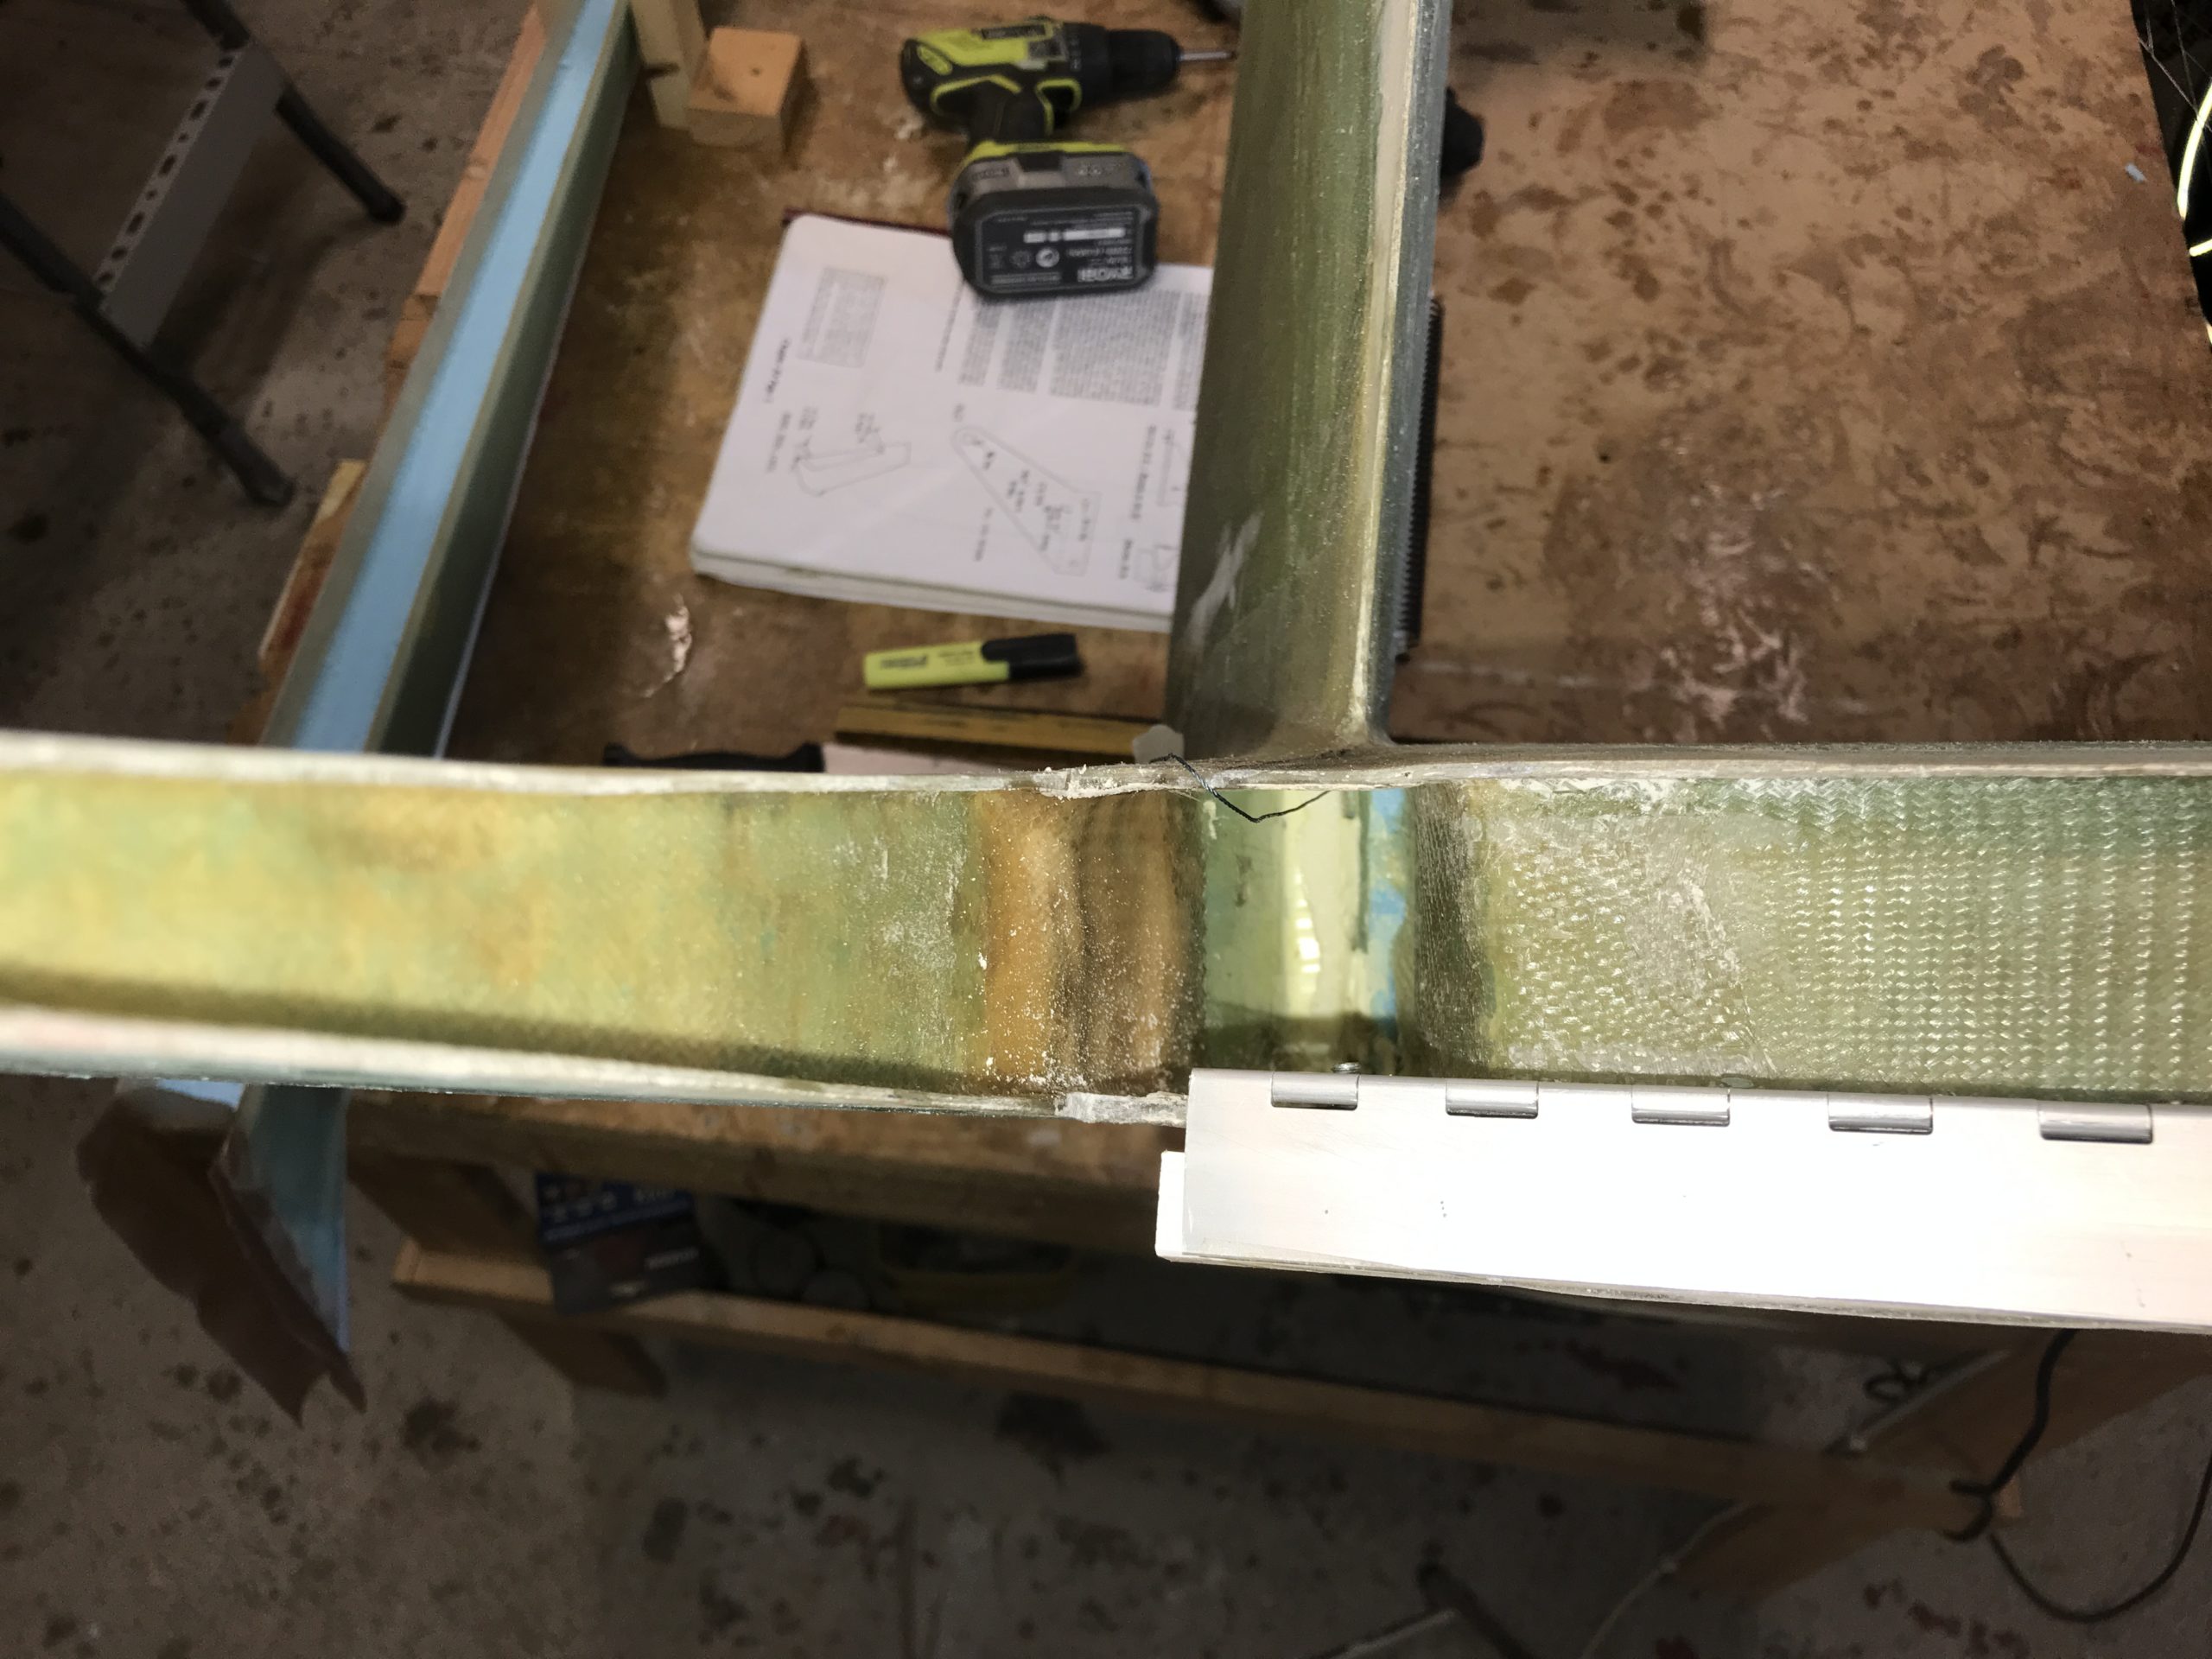
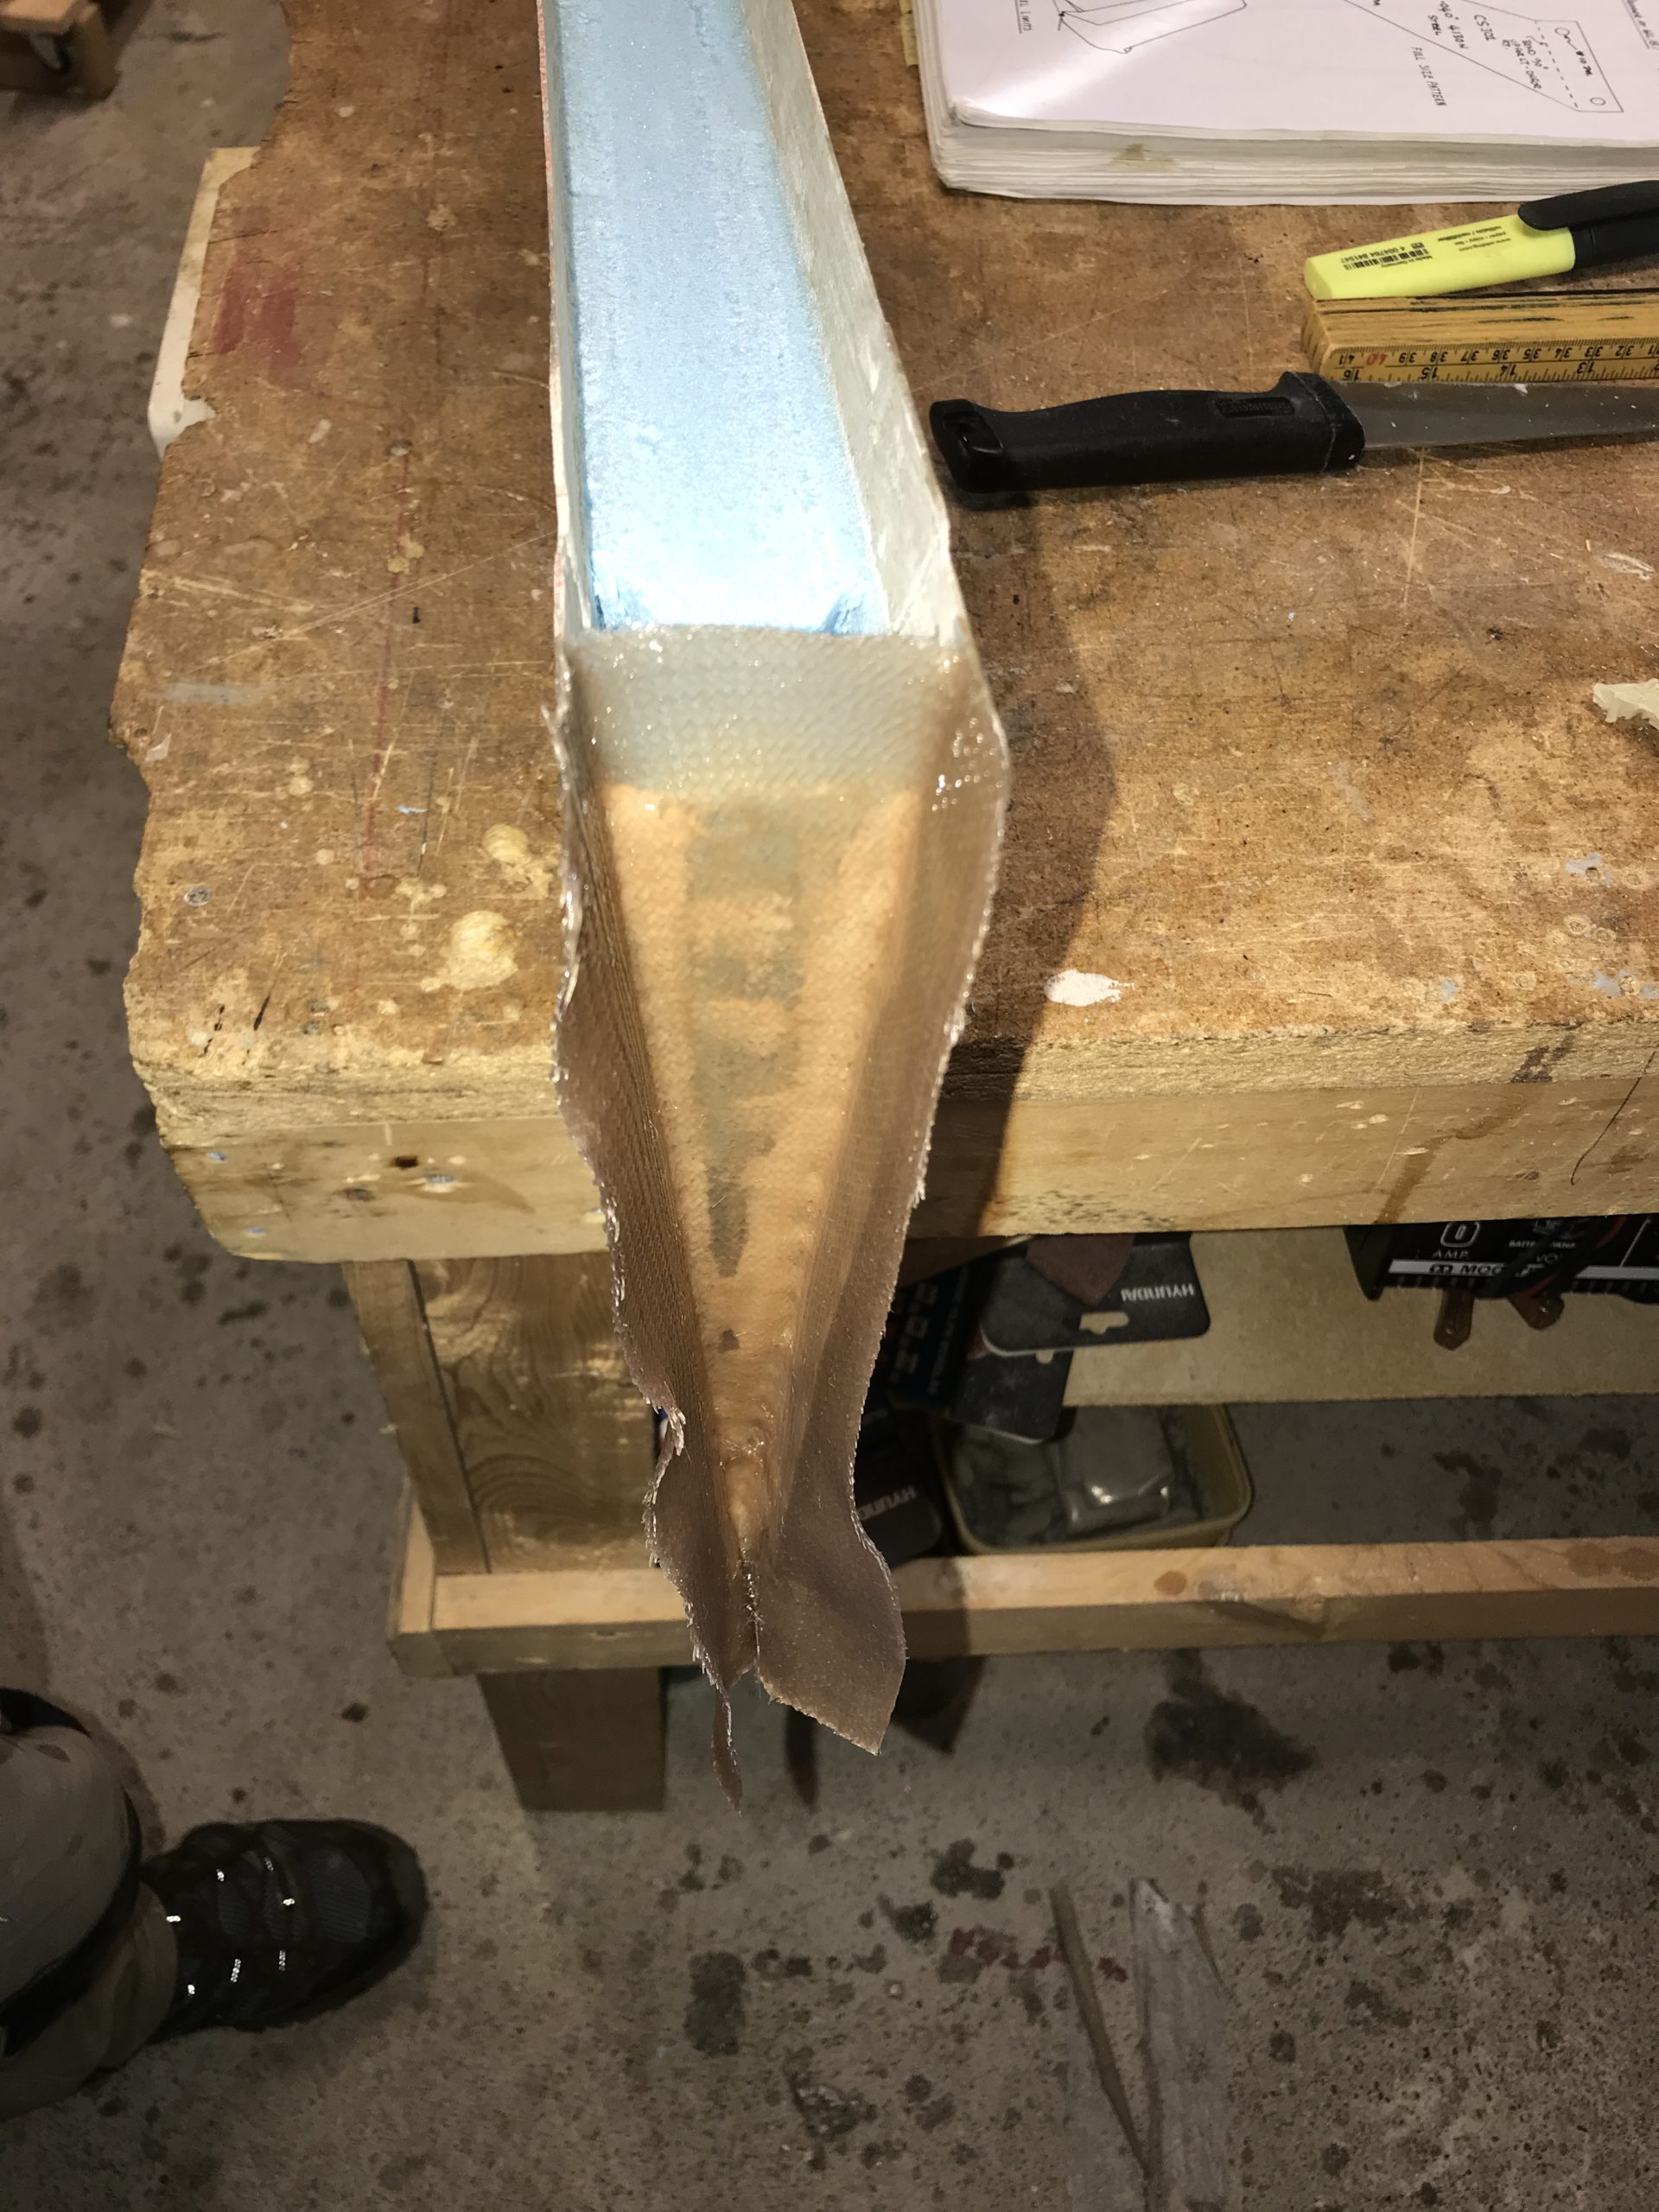
2020-07-22: Glassed the top and bottom of the rudder with 3BID:
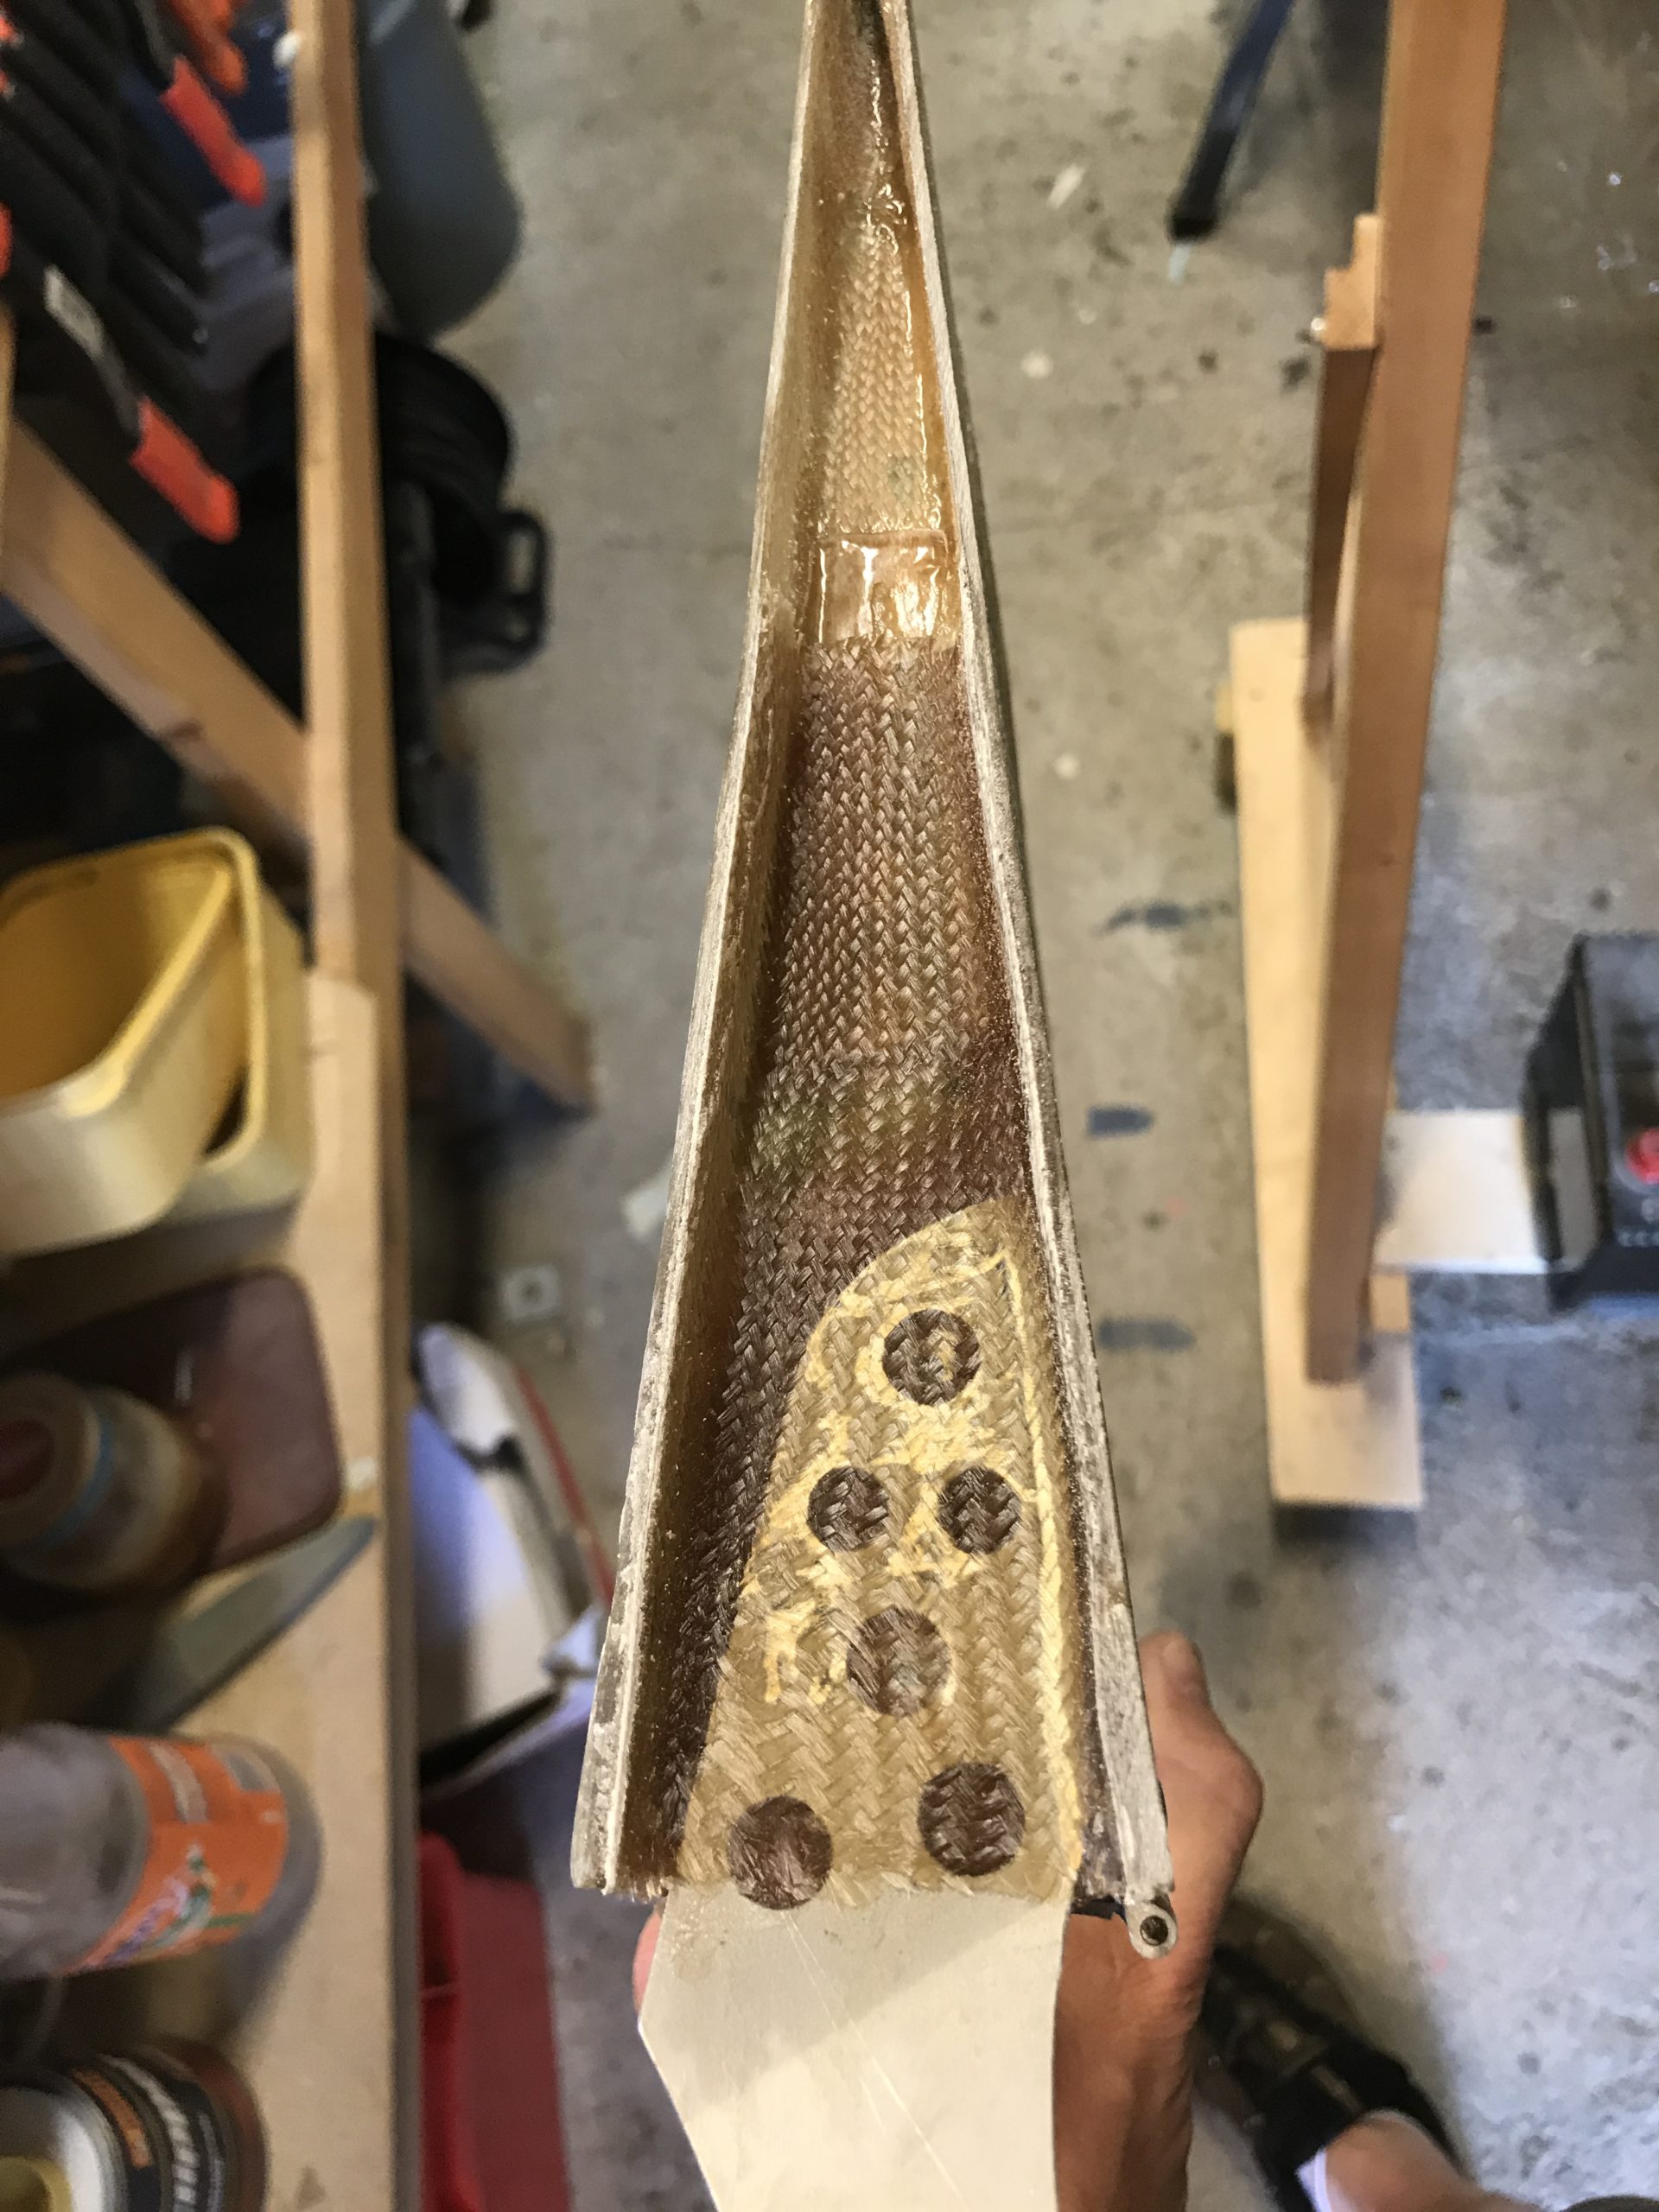
2020-08-02: Drilled holes in the rudder part of the hinges. The plans says just “7 holes in the lower hinge, 5 holes in the two others”. I found a pattern I believe is ok.
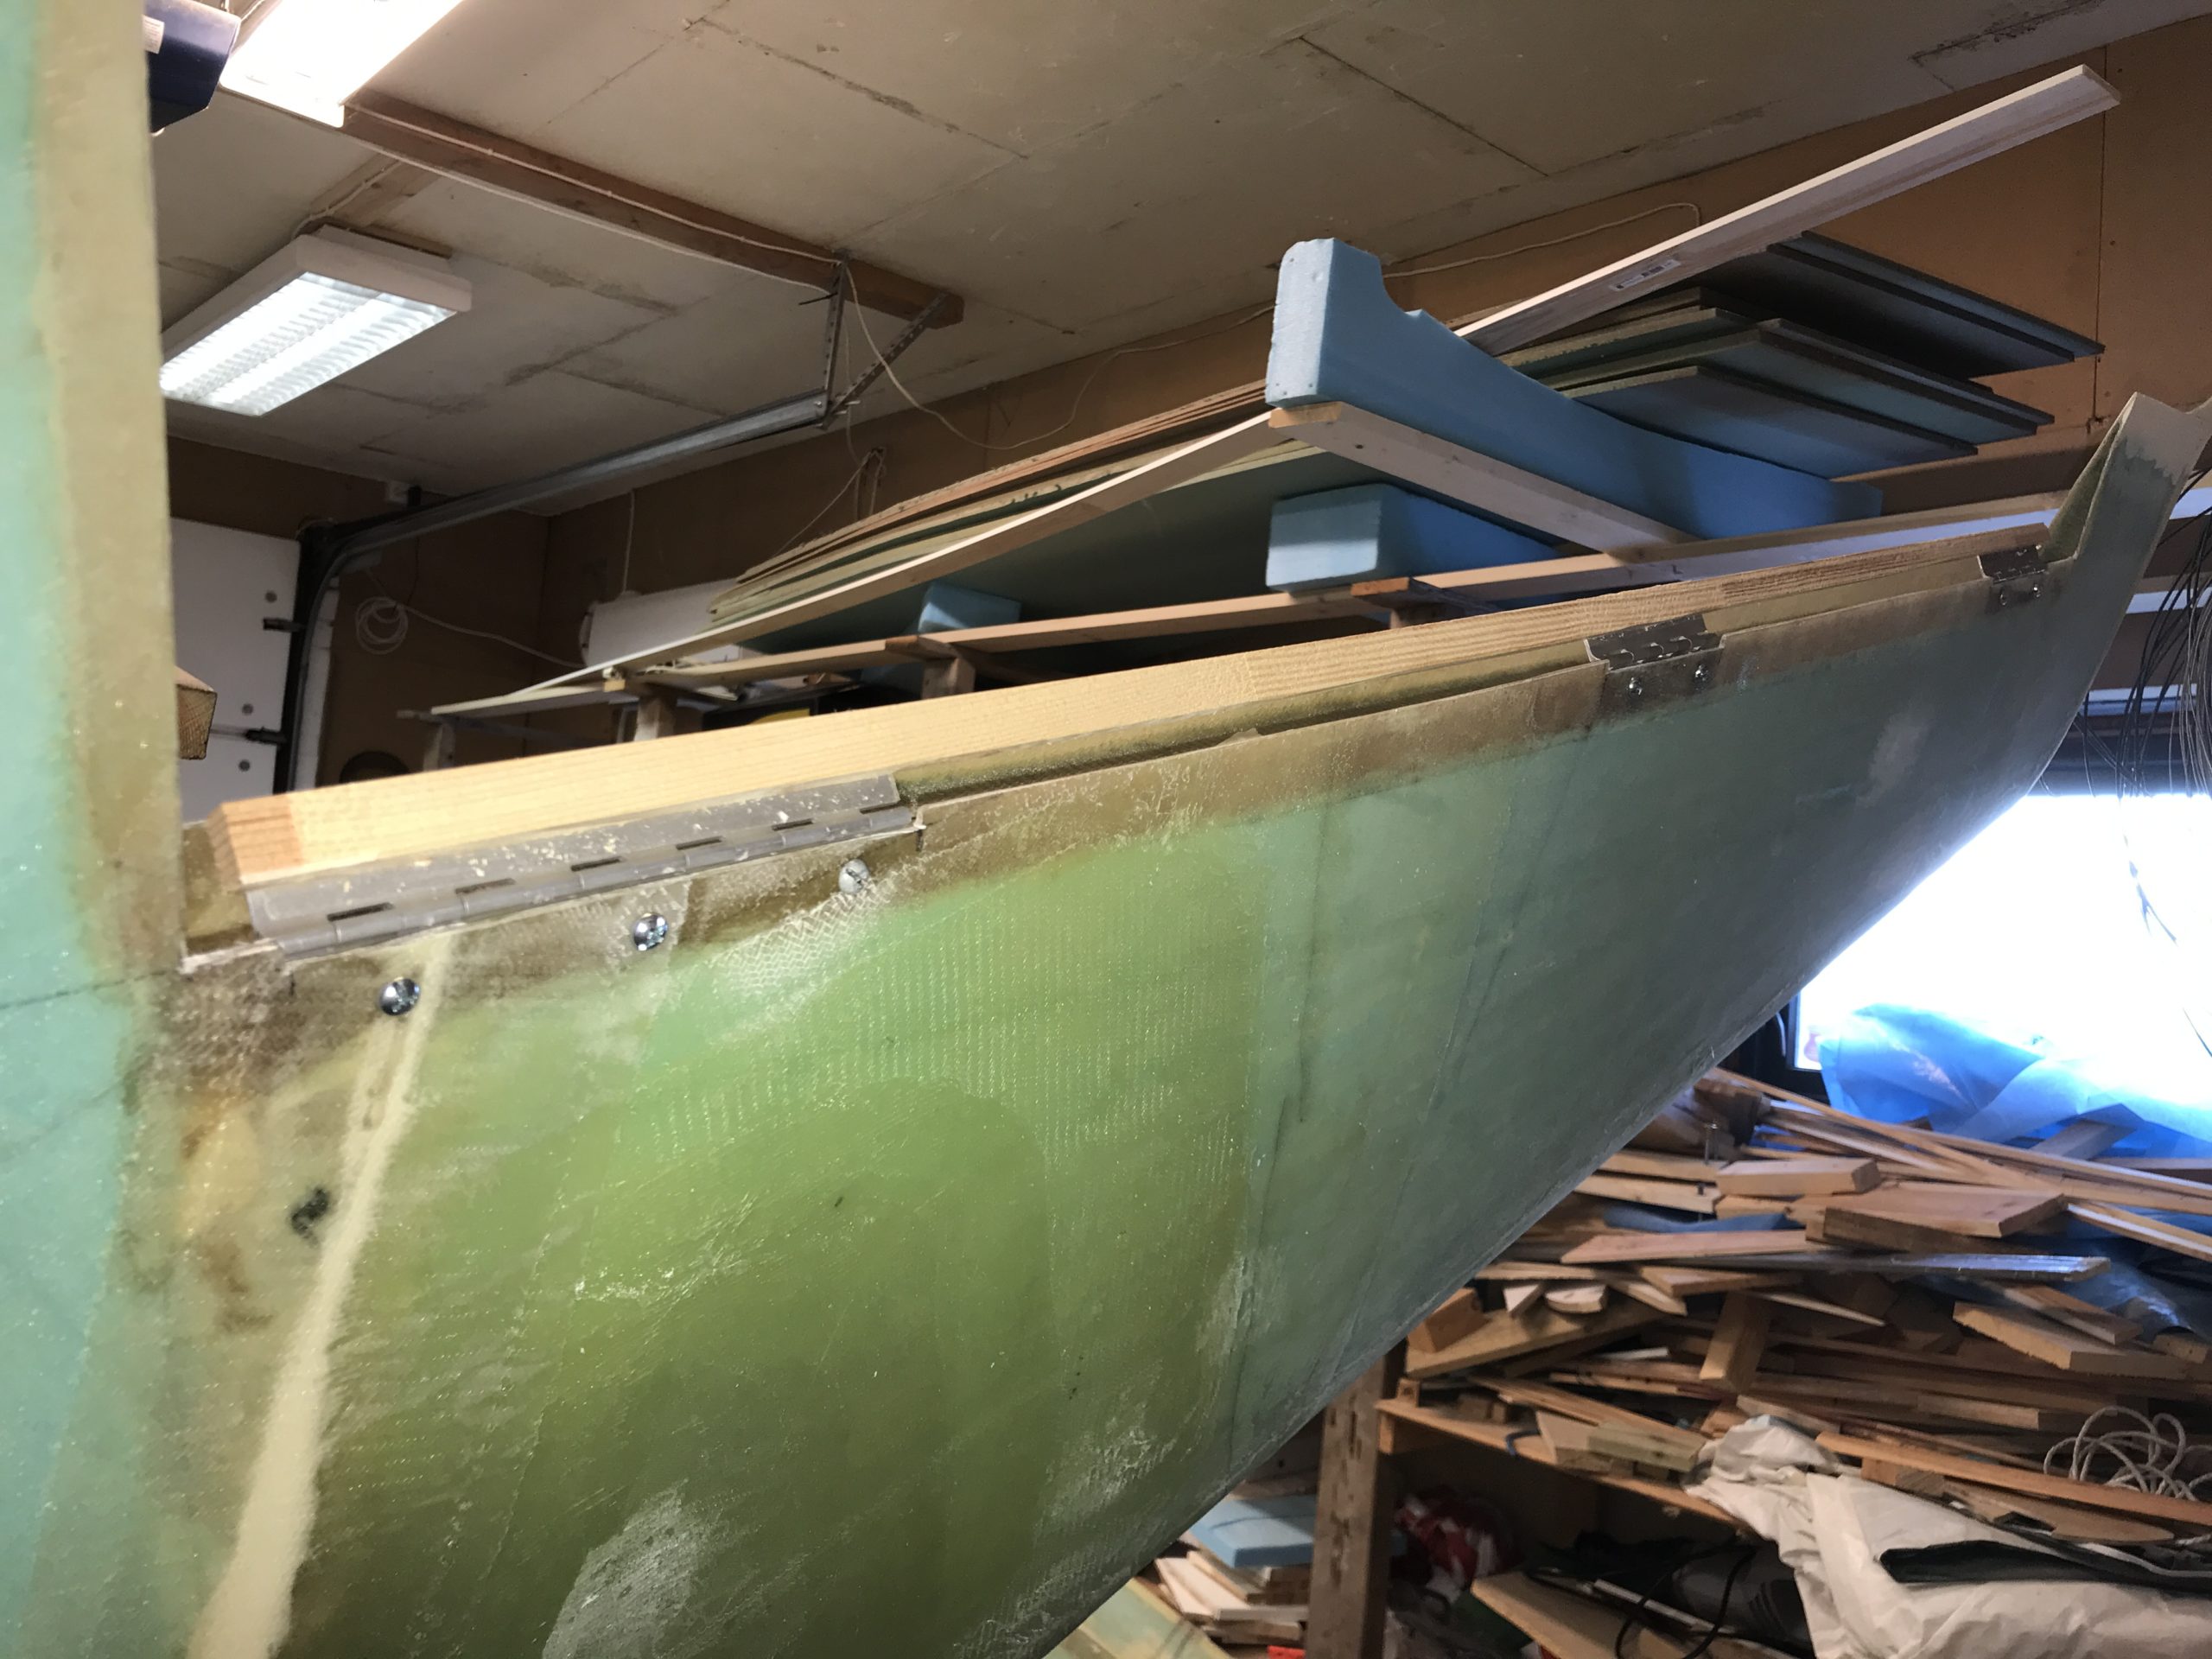
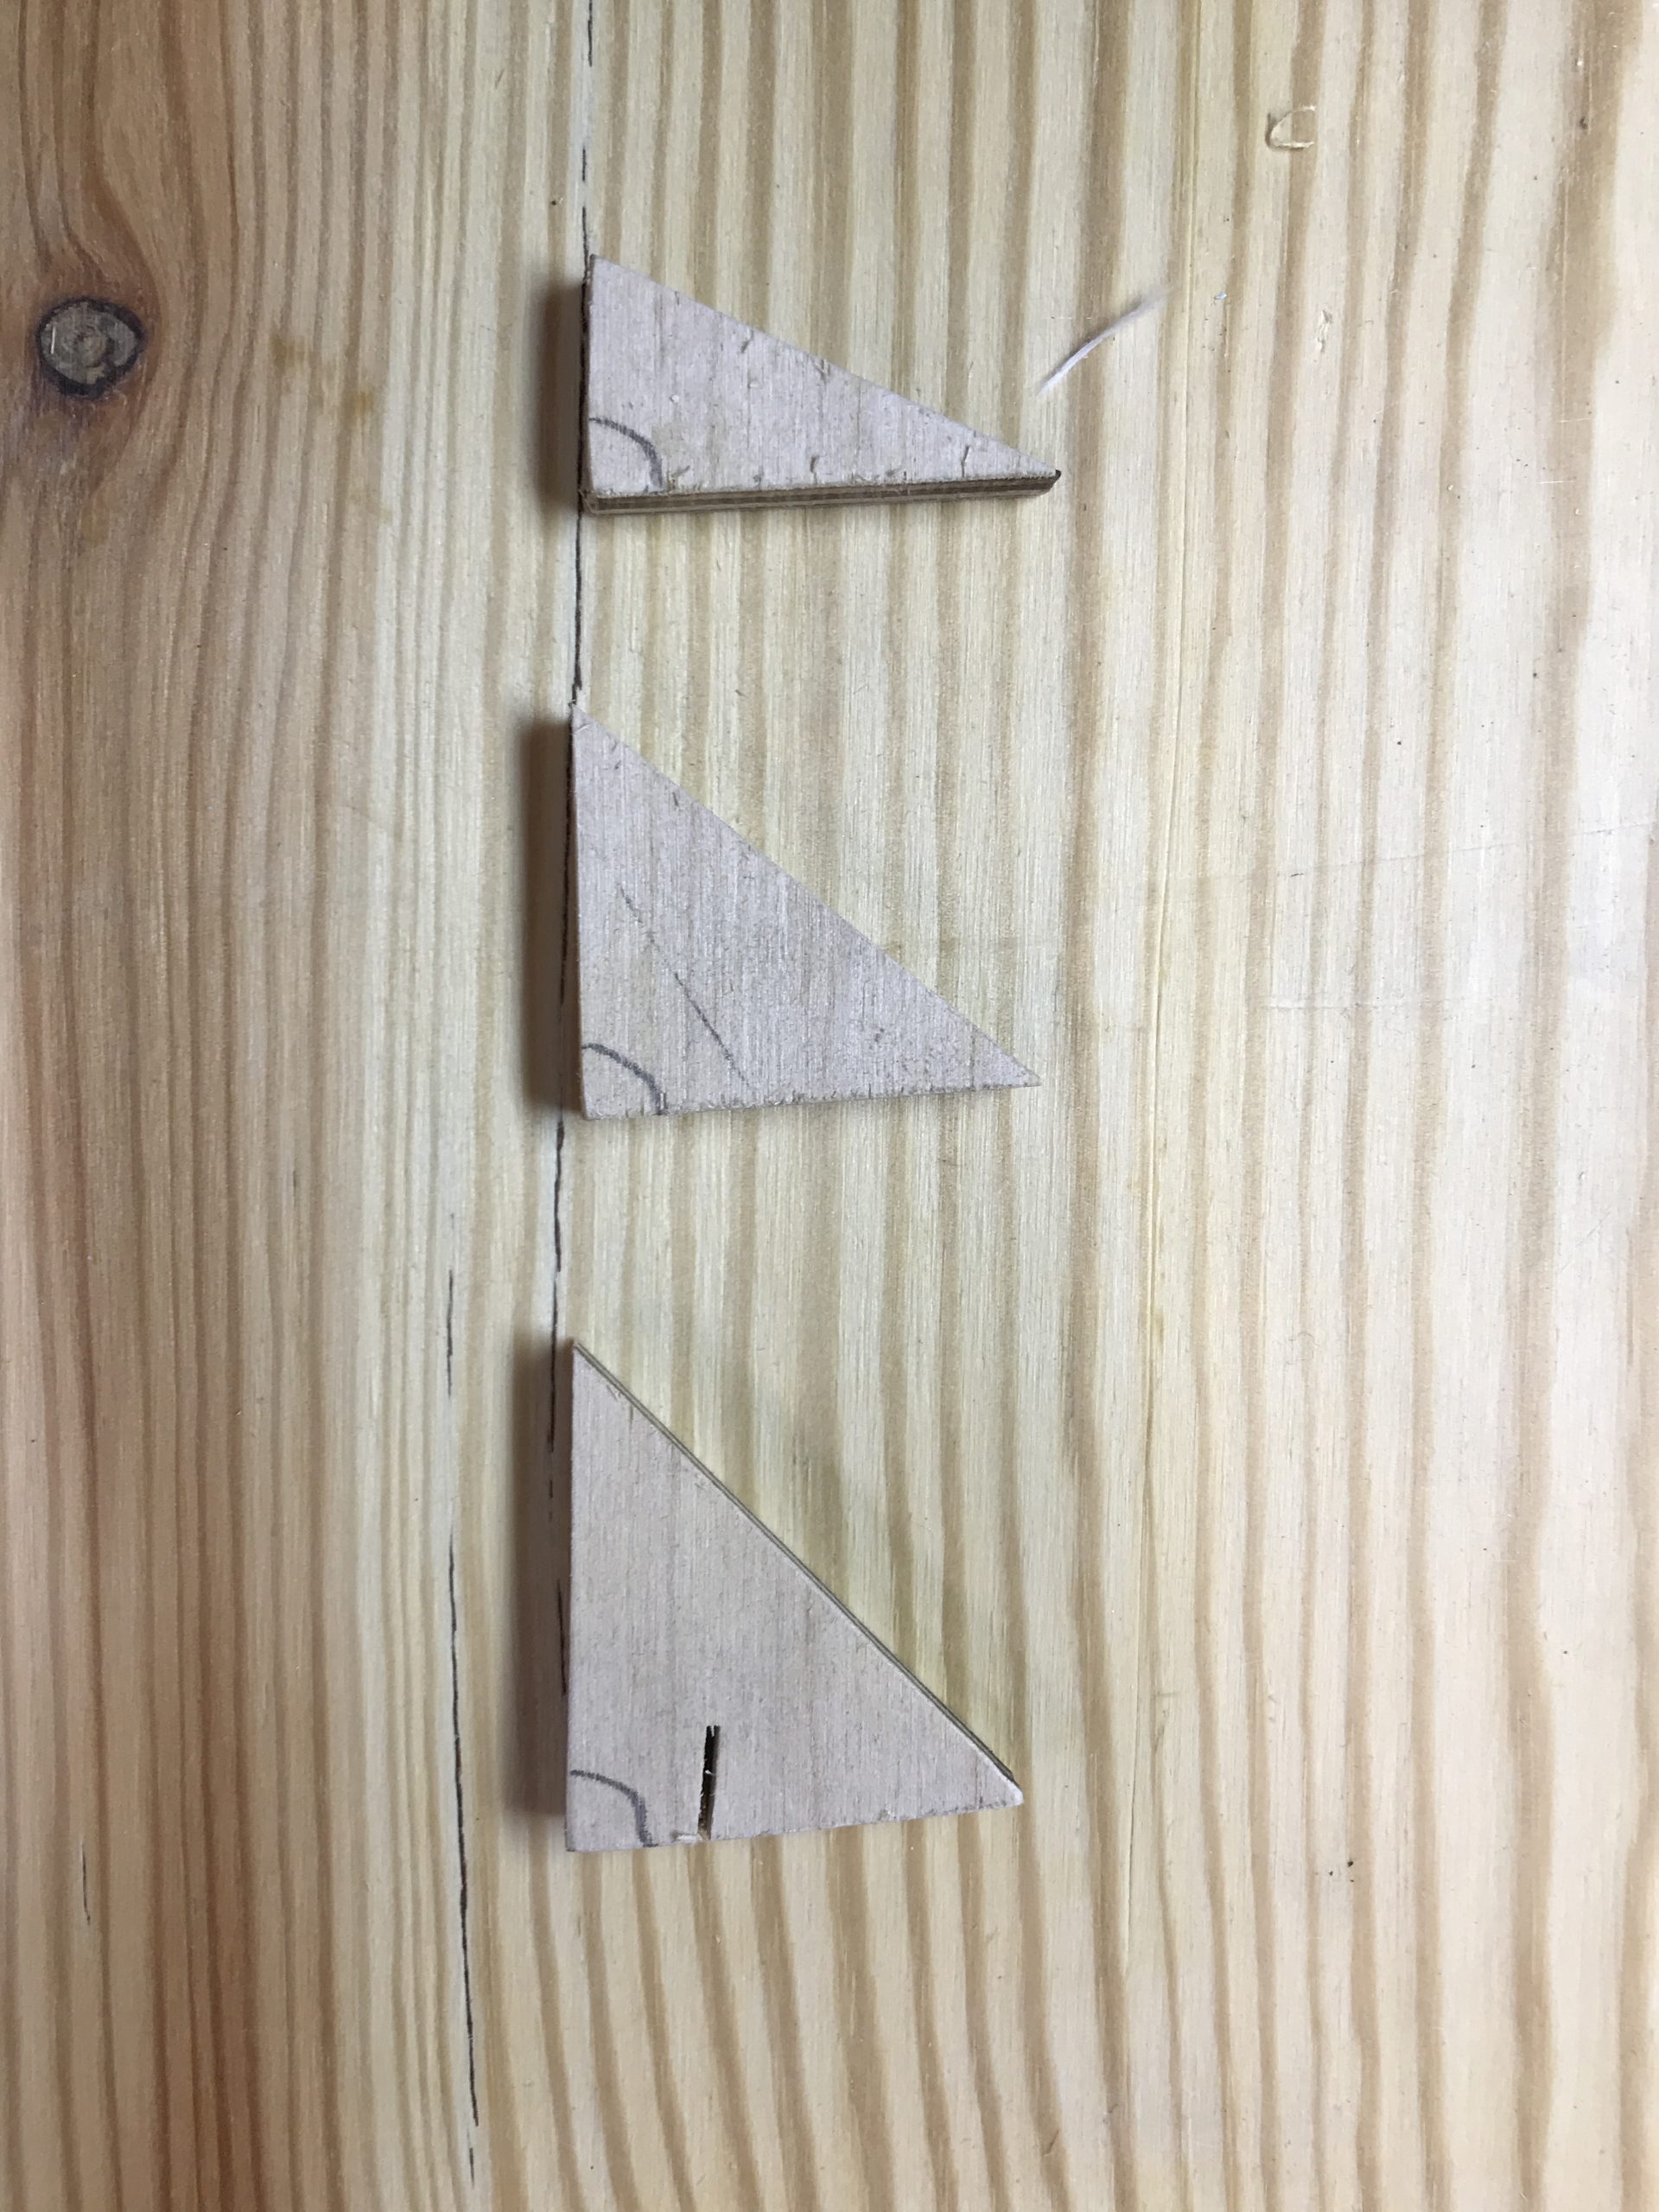
Aligning the hinges and the rudder without any persons helping can be quite a challenge. I found a great method in one other builder blog. I made three plywood triangles with an angle which was approx 85 degrees.
Then I glued them to the winglet and the hinges with hot glue:
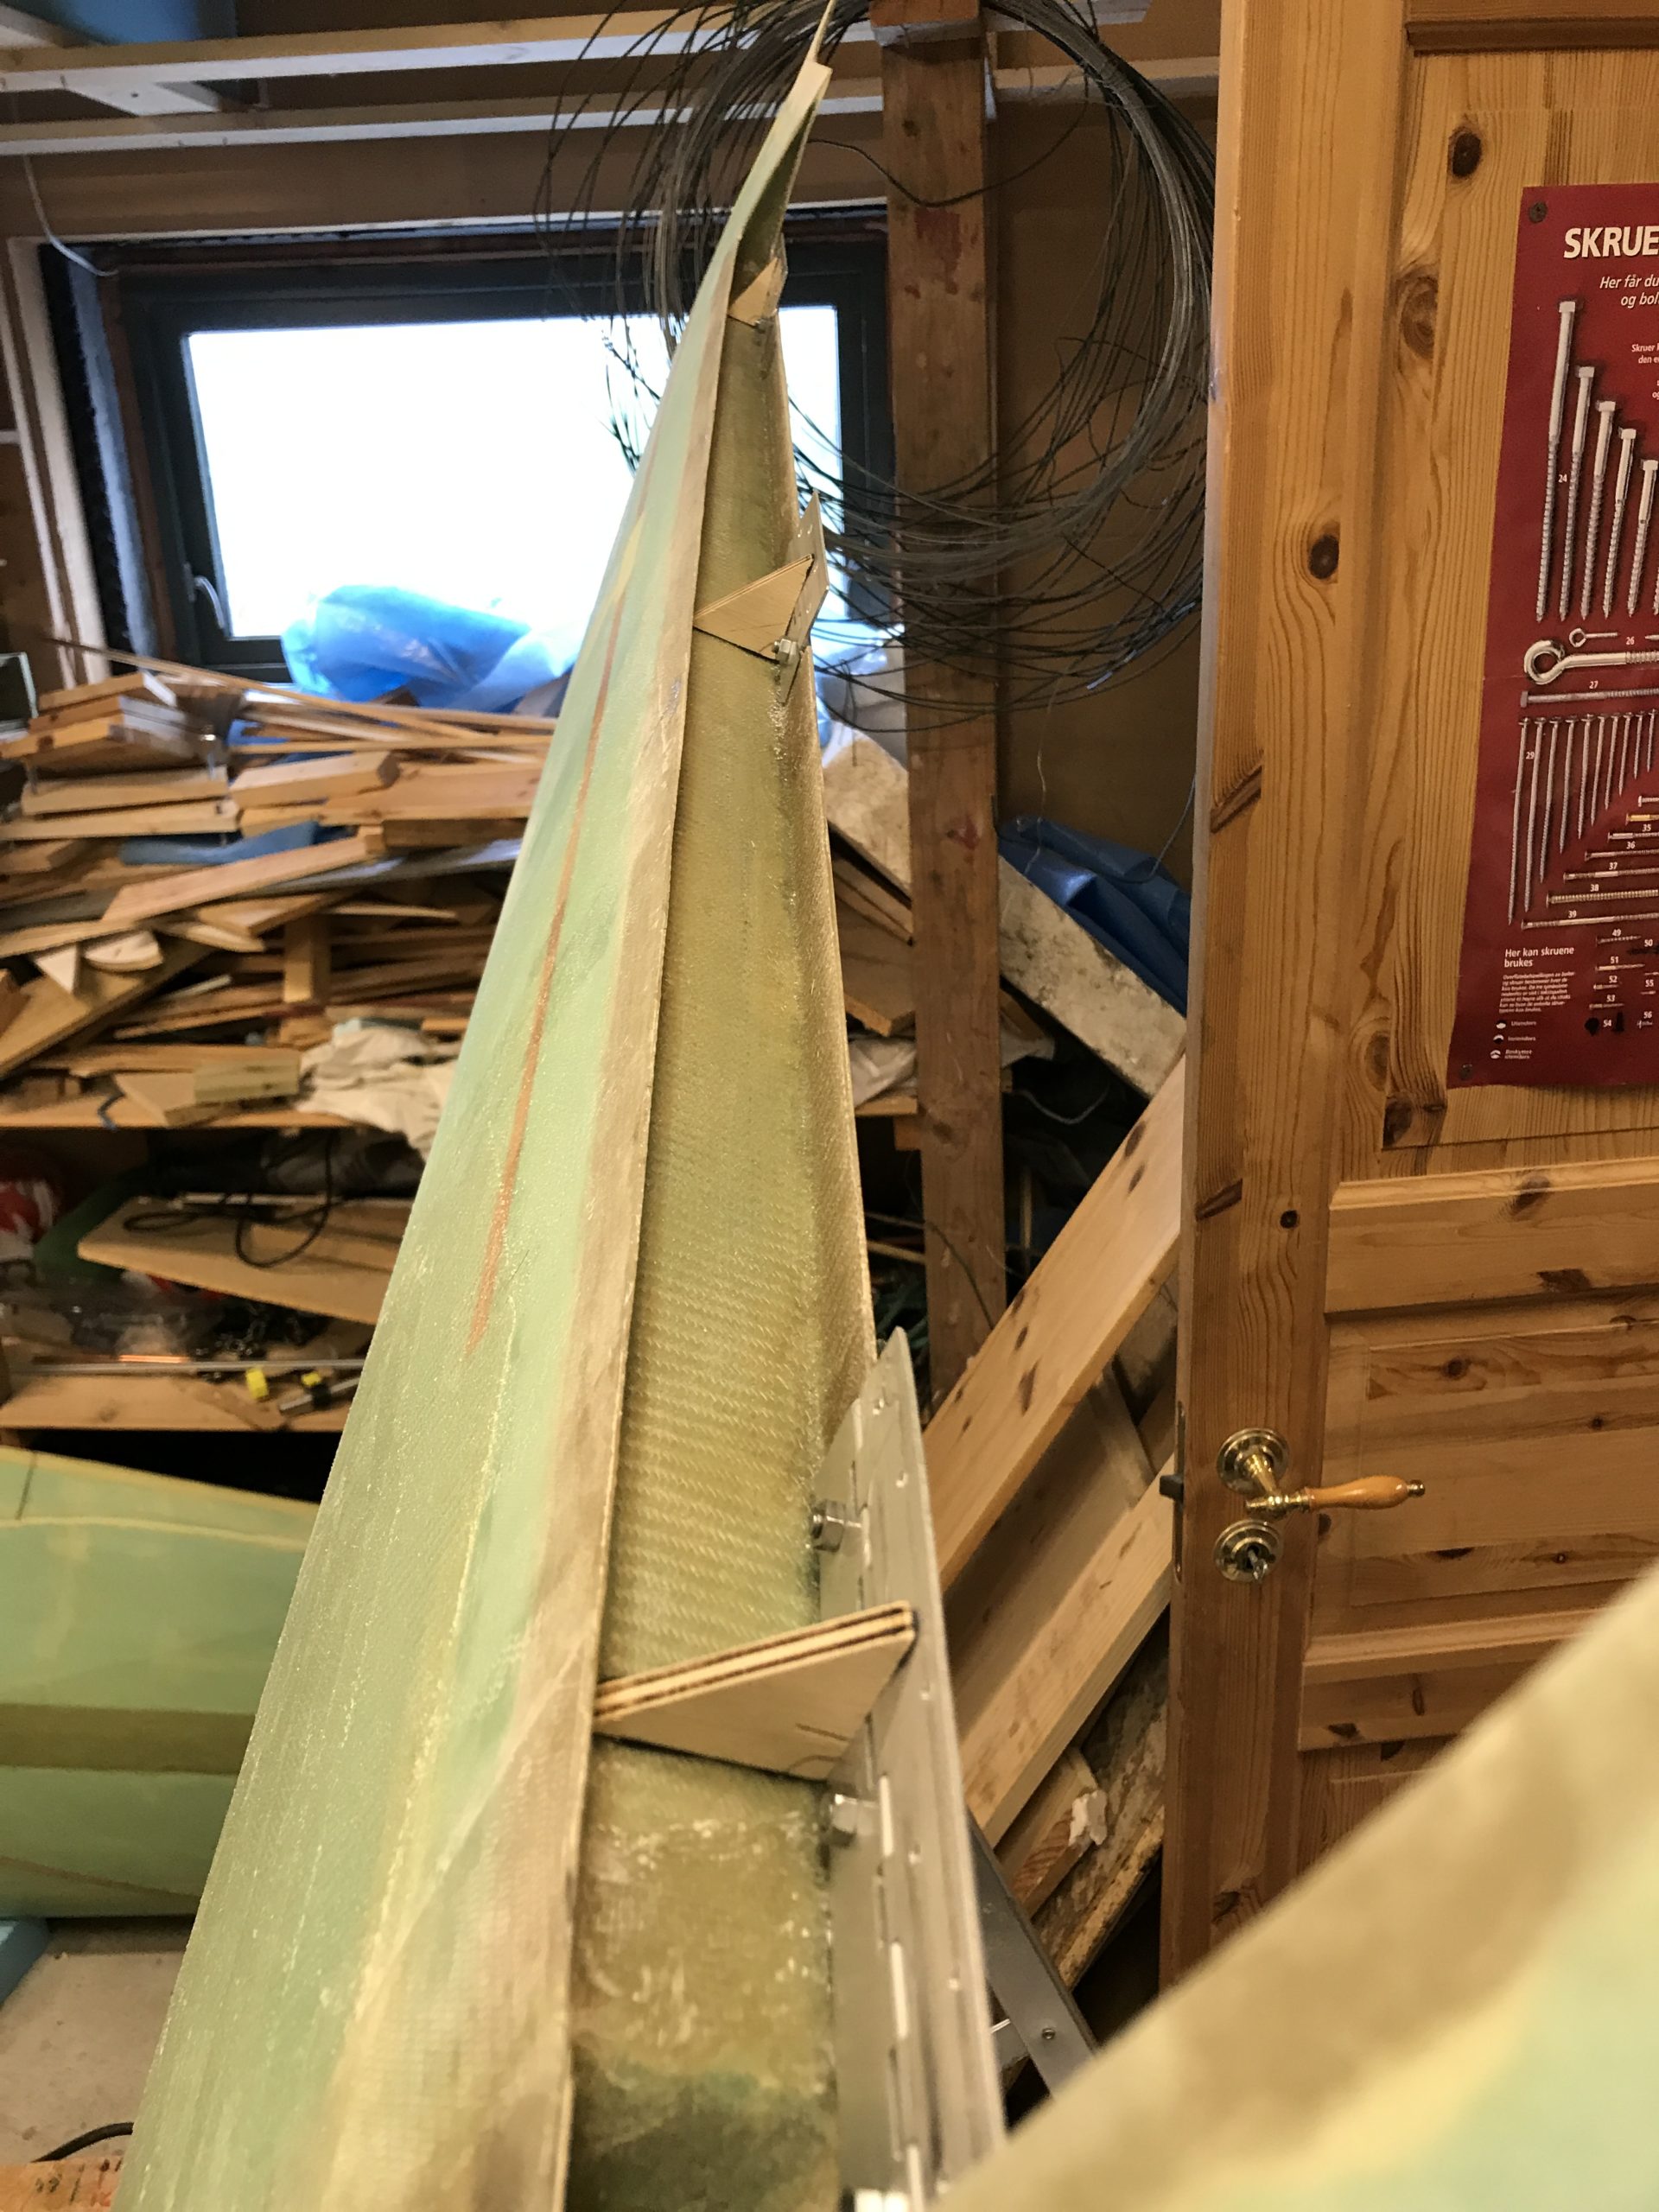
The glue does not bind to the hinges very well, so it is necessary to be careful in the next steps to avoid the hinge to loosen from the triangle. It is now easier to place the rudder in place. I used some clamps in both ends of the rudder to hold the rudder while adjusting and preparing to drill the holes.
I put a light source behind the winglet to make it easier to see the holes in the hinges.
I started to drill one hole at the edge, then using a 1/8 cleco to secure the hinge before I drilled the opposite hole and secured that with another cleco.

I continued like this until all holes where drilled and all three hinges secured in place. Unfortunately I had only ten 1/8 clecos but it was enough for this step.

2020-08-08: I then removed the rudder, split the hinges and made ready for riveting the hinge to the rudder. Here I found a mismatch between the item list for this chapter and the actual description. The item list says I need 24 pcs of MS20426AD3-3 solid rivets while the plans text says to use pop rivets. The solid rivets will not work here, so I used Cherry pop rivets – BSPQ-43 – the same rivets used to mount the hinges to the ailerons. The correct number required should be 34 as well. I recessed the holes in the glass a bit, the rest of the rivet heads will be hidden by micro later. I also put wet flox between the rudder and the hinge before I mounted the rivets.

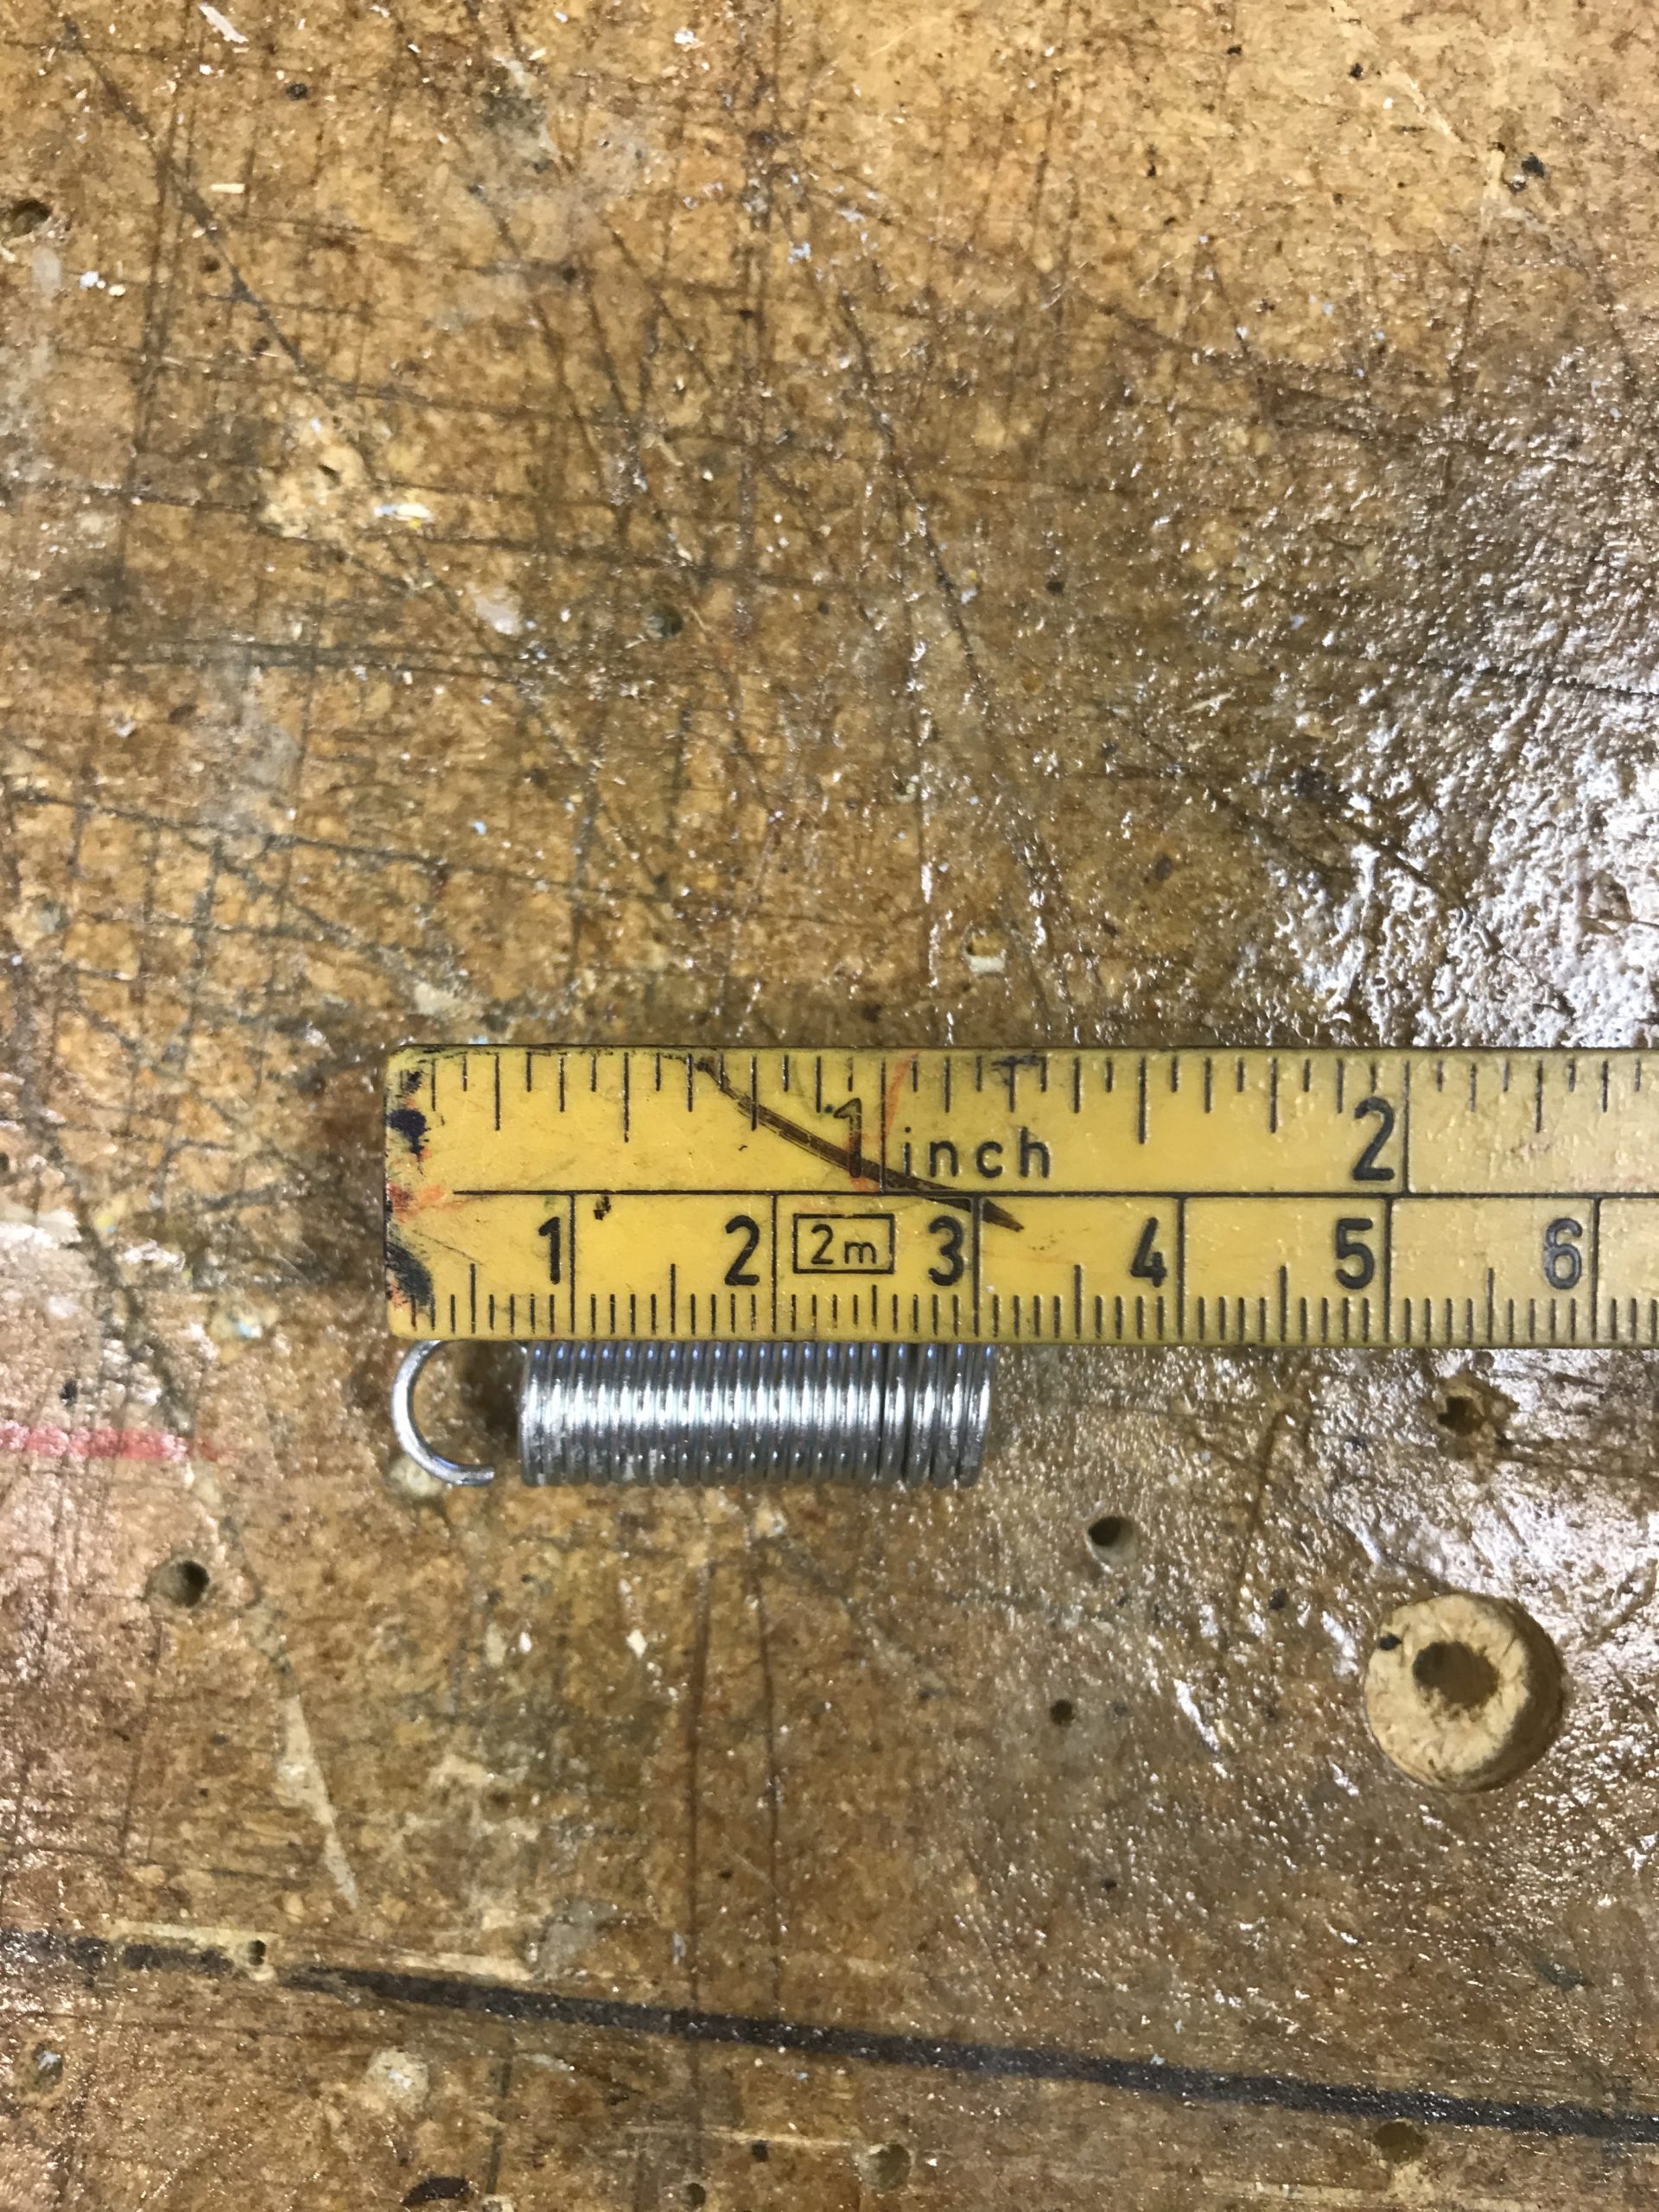
The next step is to mount the rudder return spring. I followed the plans here.
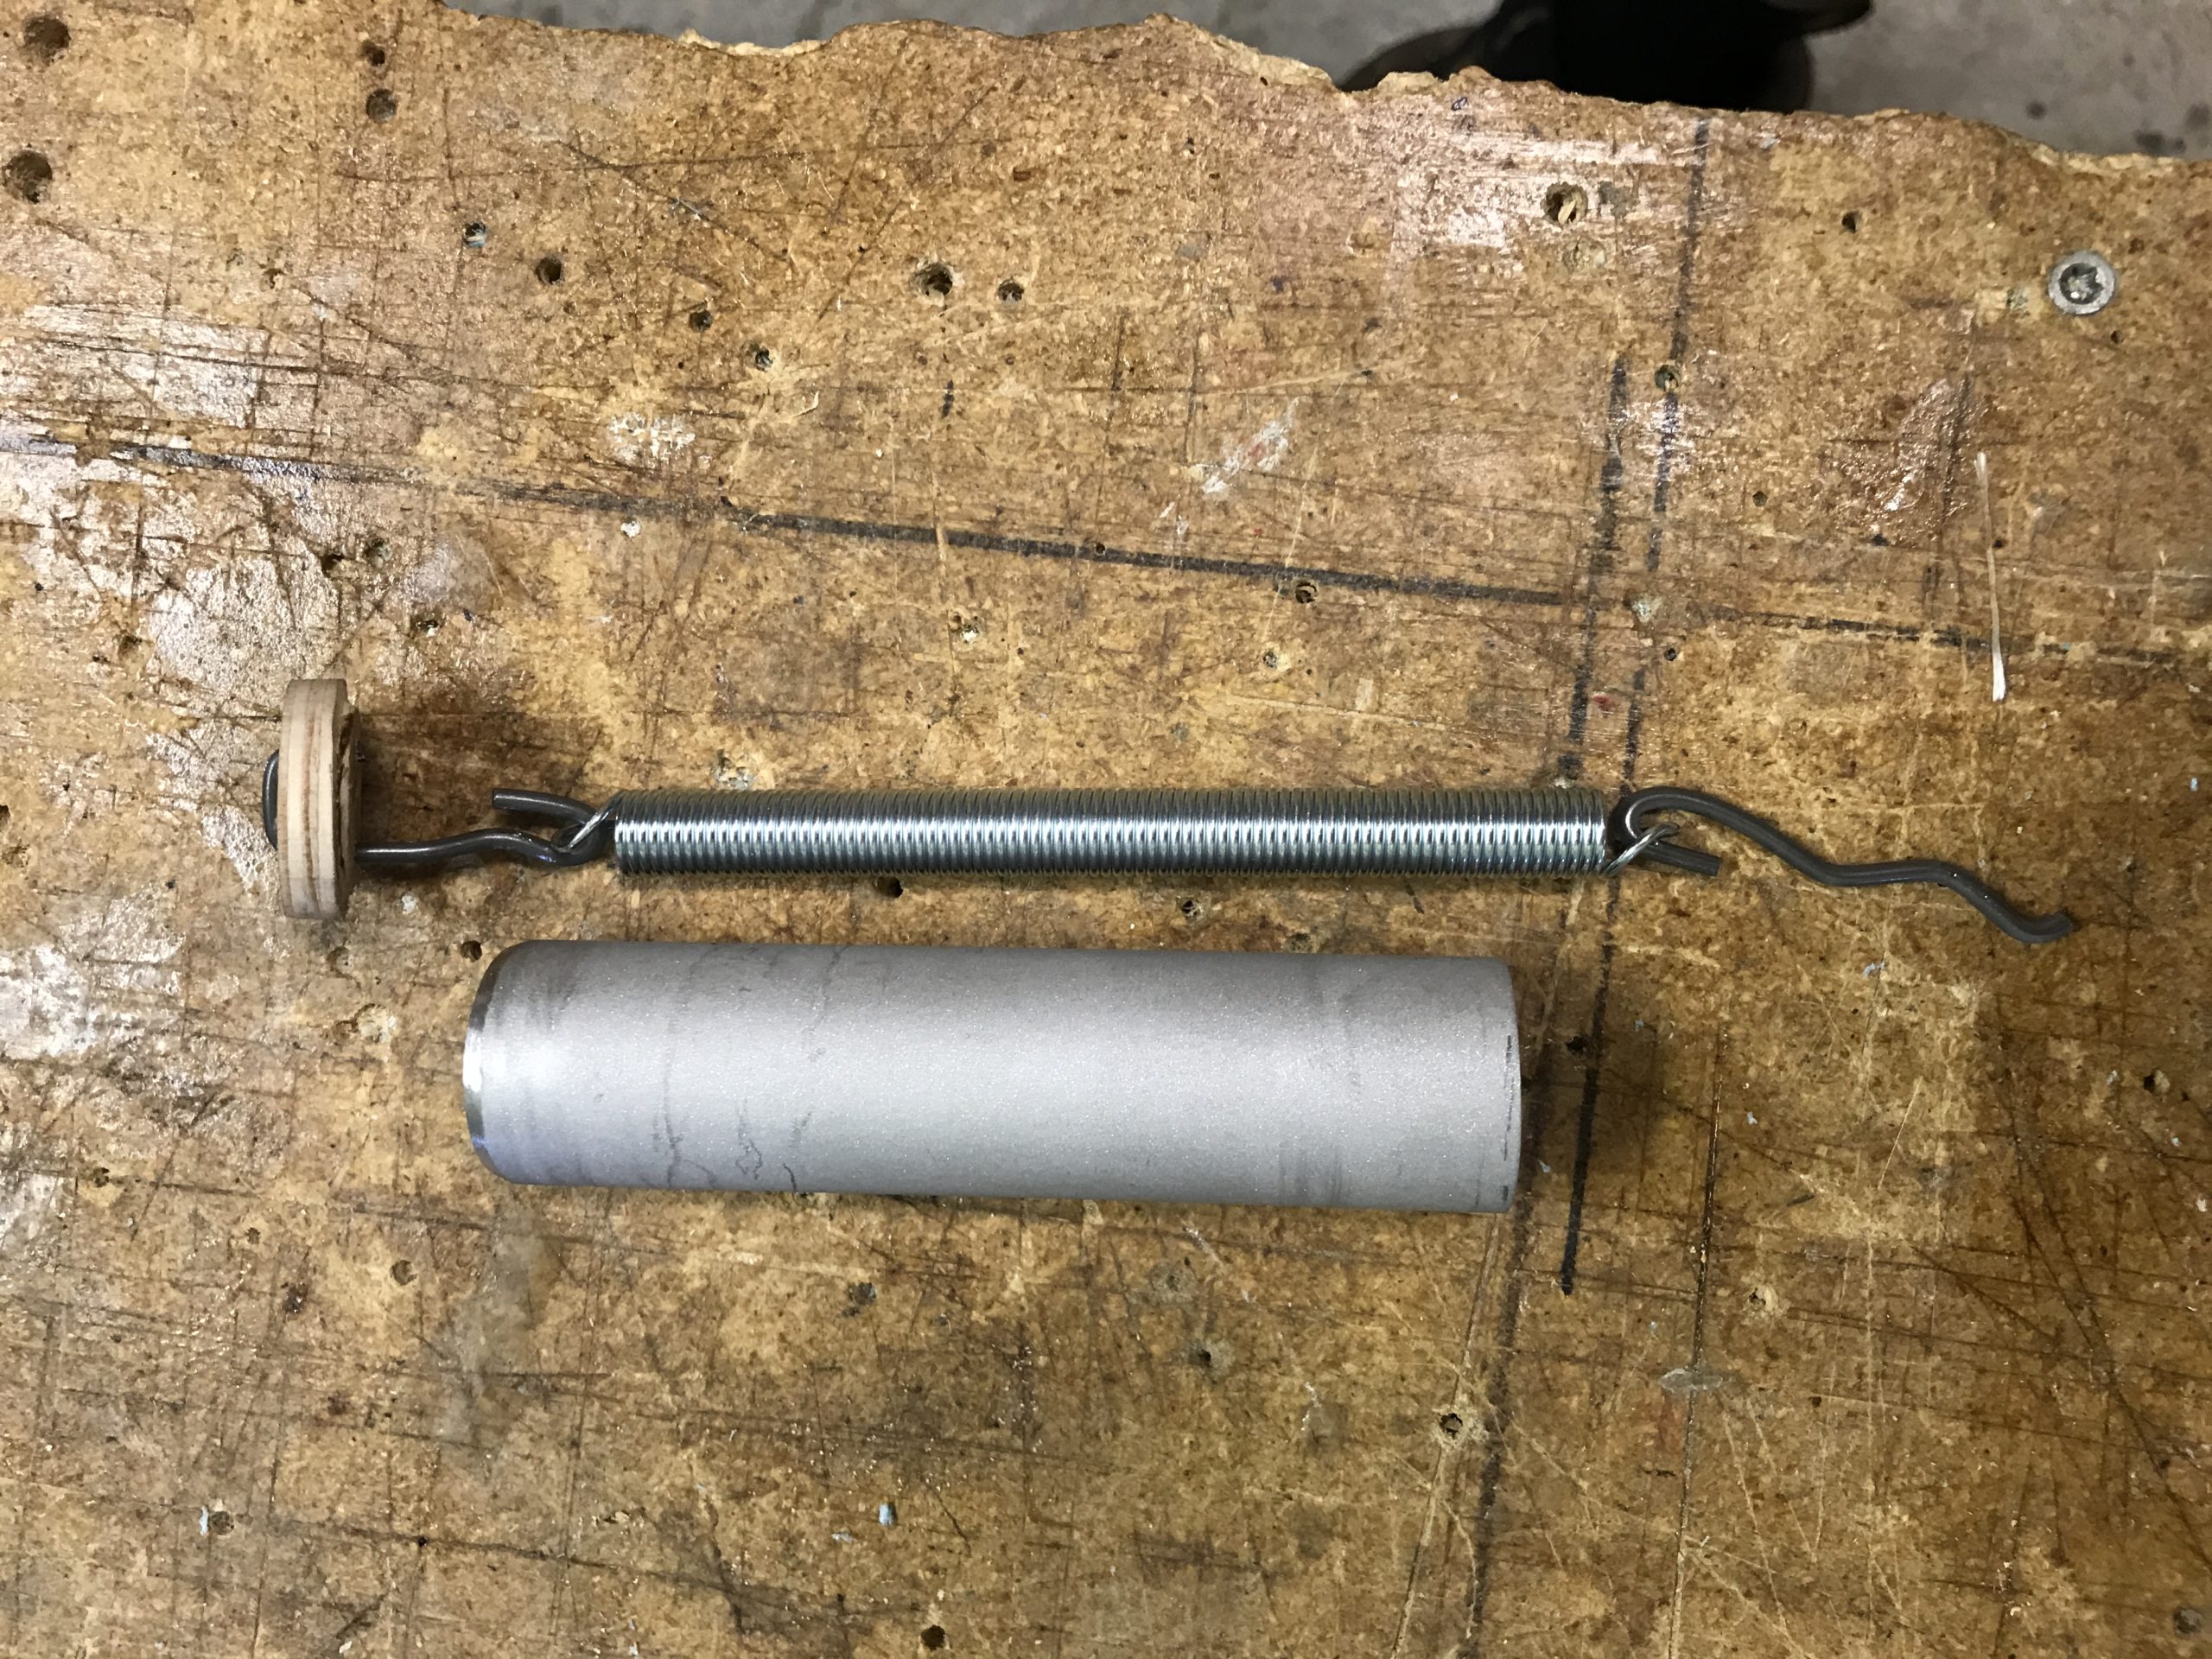
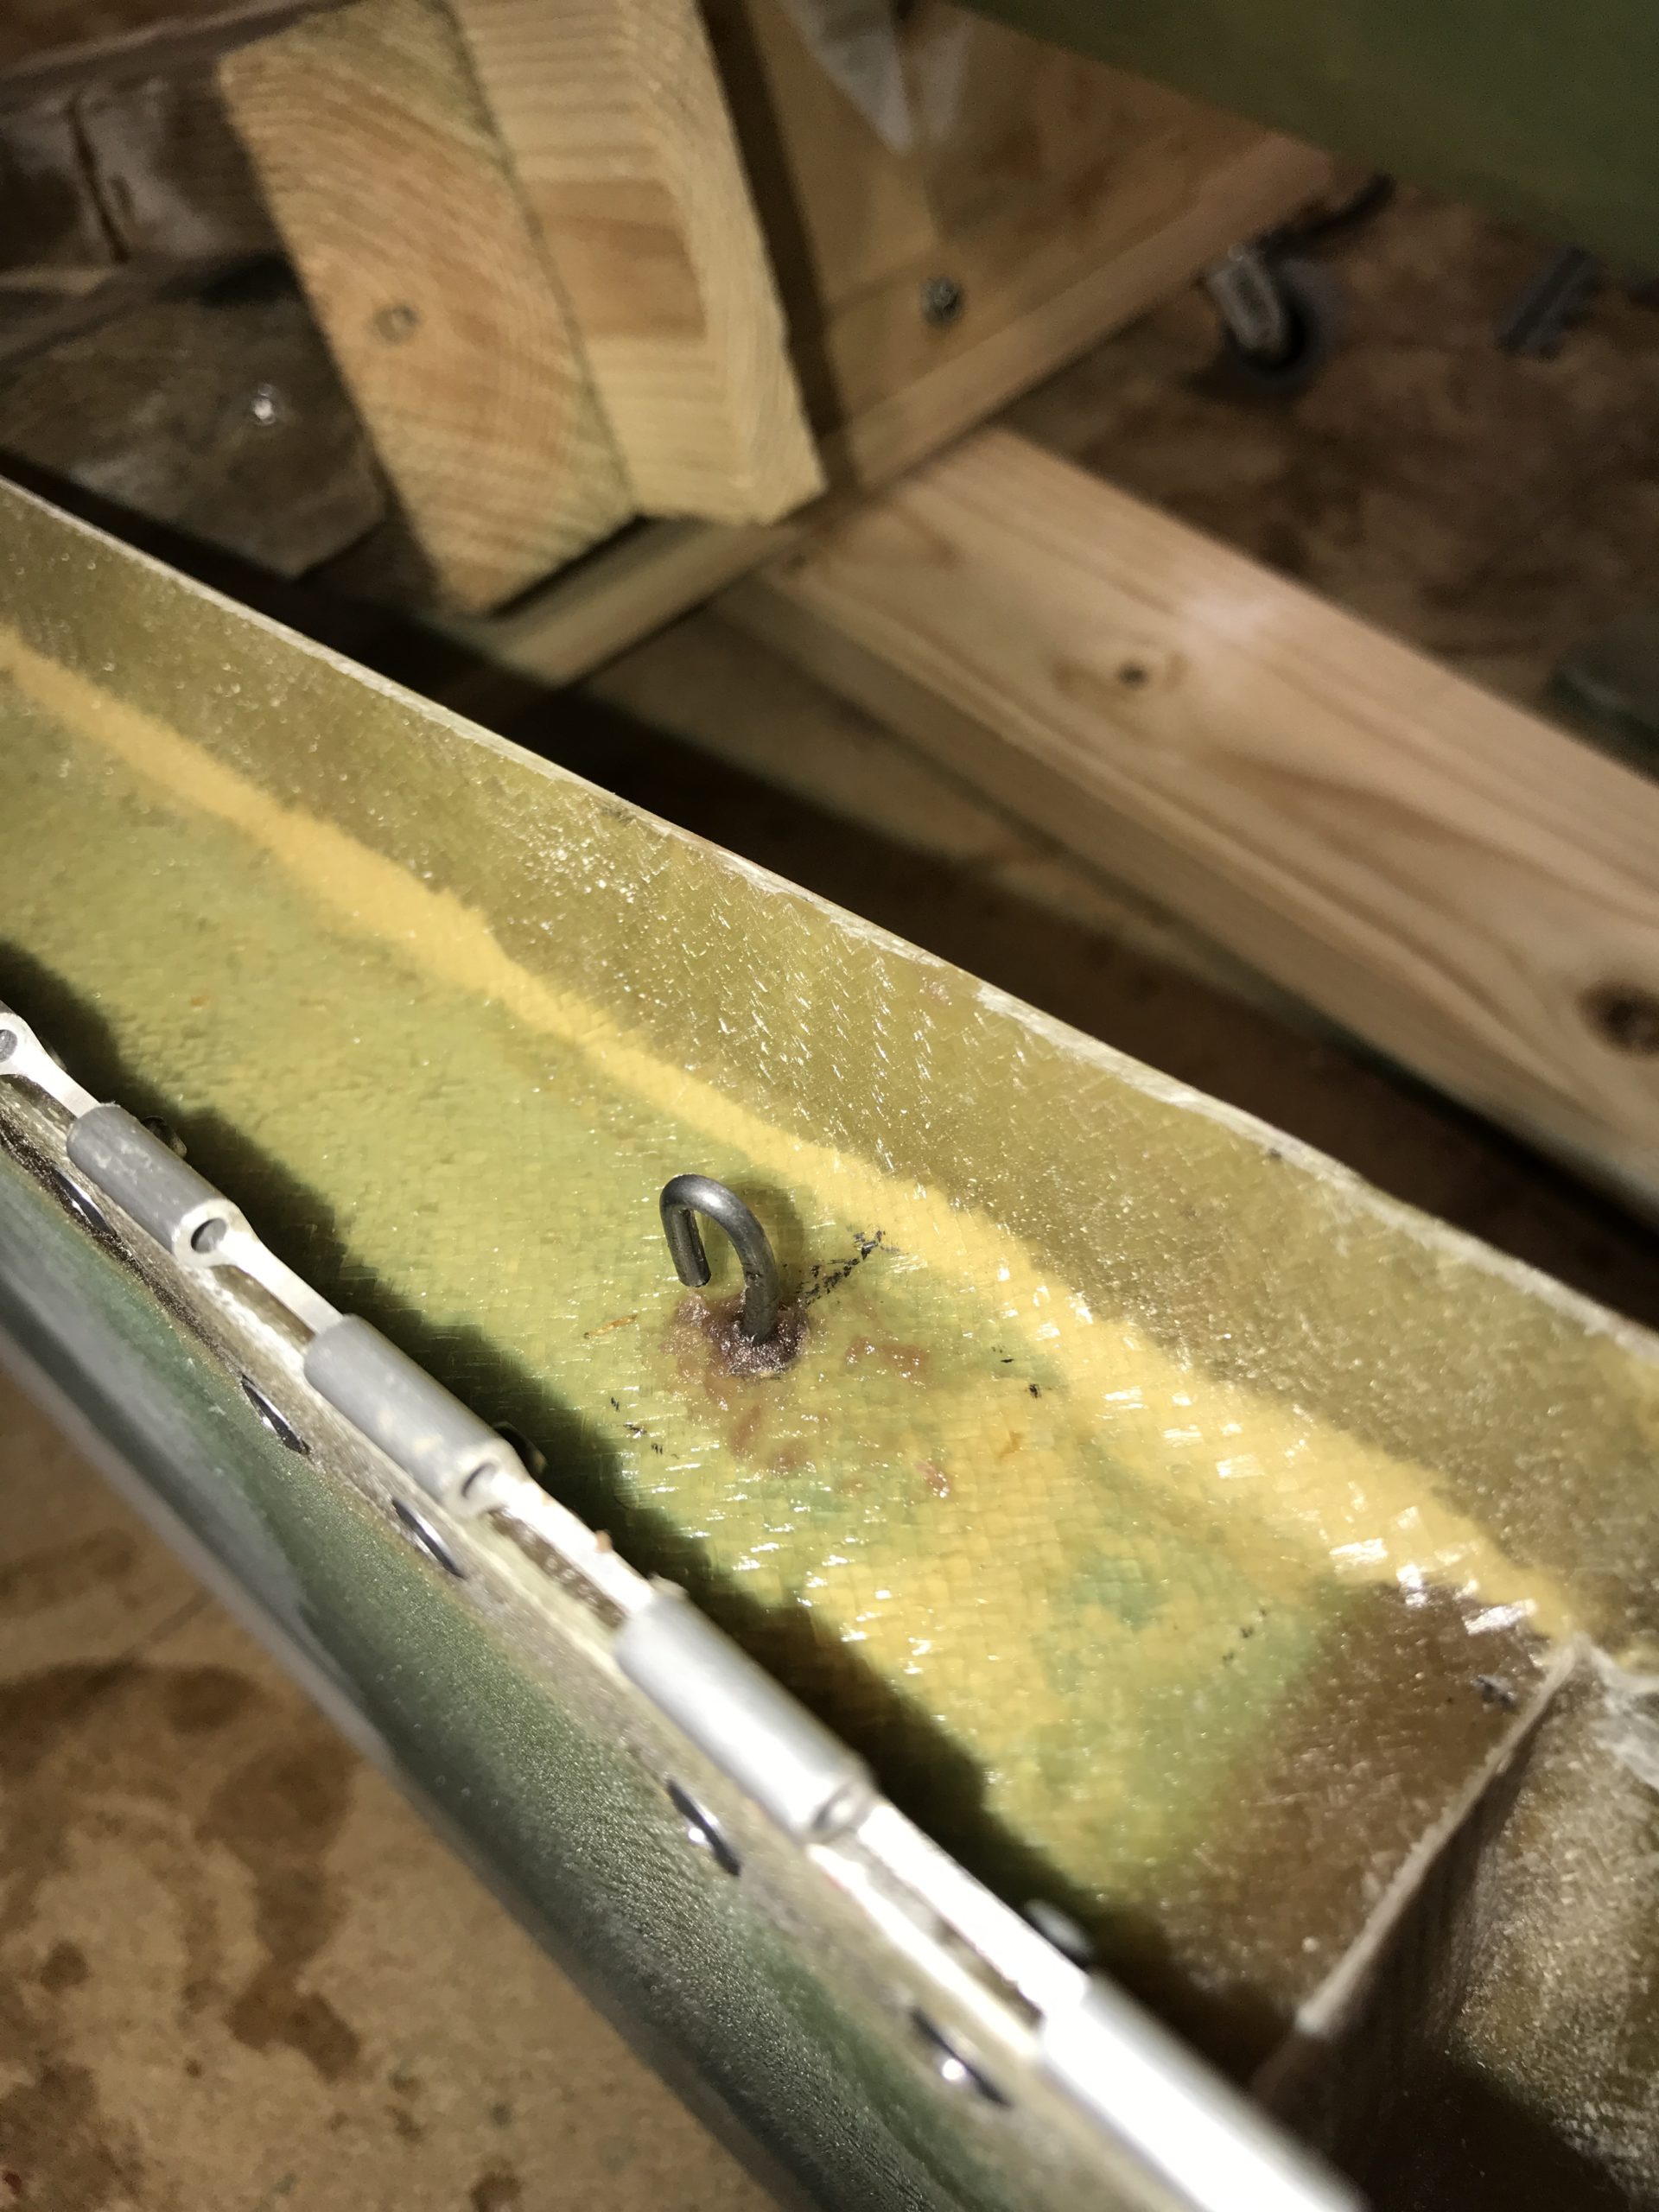
It is not very easy to bend the piano wire as it is rather stiff. I have seen other solutions here by other builders, but I decided to stick to the plans here. I made several bends on the hook that goes into the rudder to ensure that it will stay in place. I drilled a 6mm hole in the rudder and filled it with wet flox, before I placed the hook inside.
In the winglet I used a 1″ hole saw to drill the hole for the aluminum tube. Then I put some flox in the bottom to fasten the plywood to the tube, and wet micro on on the tube itself to glue it to the foam. Remember to mount the spring in the hook inside the tube before gluing it in place. It is possible to mount the spring after, but it is much easier to do it in this step.
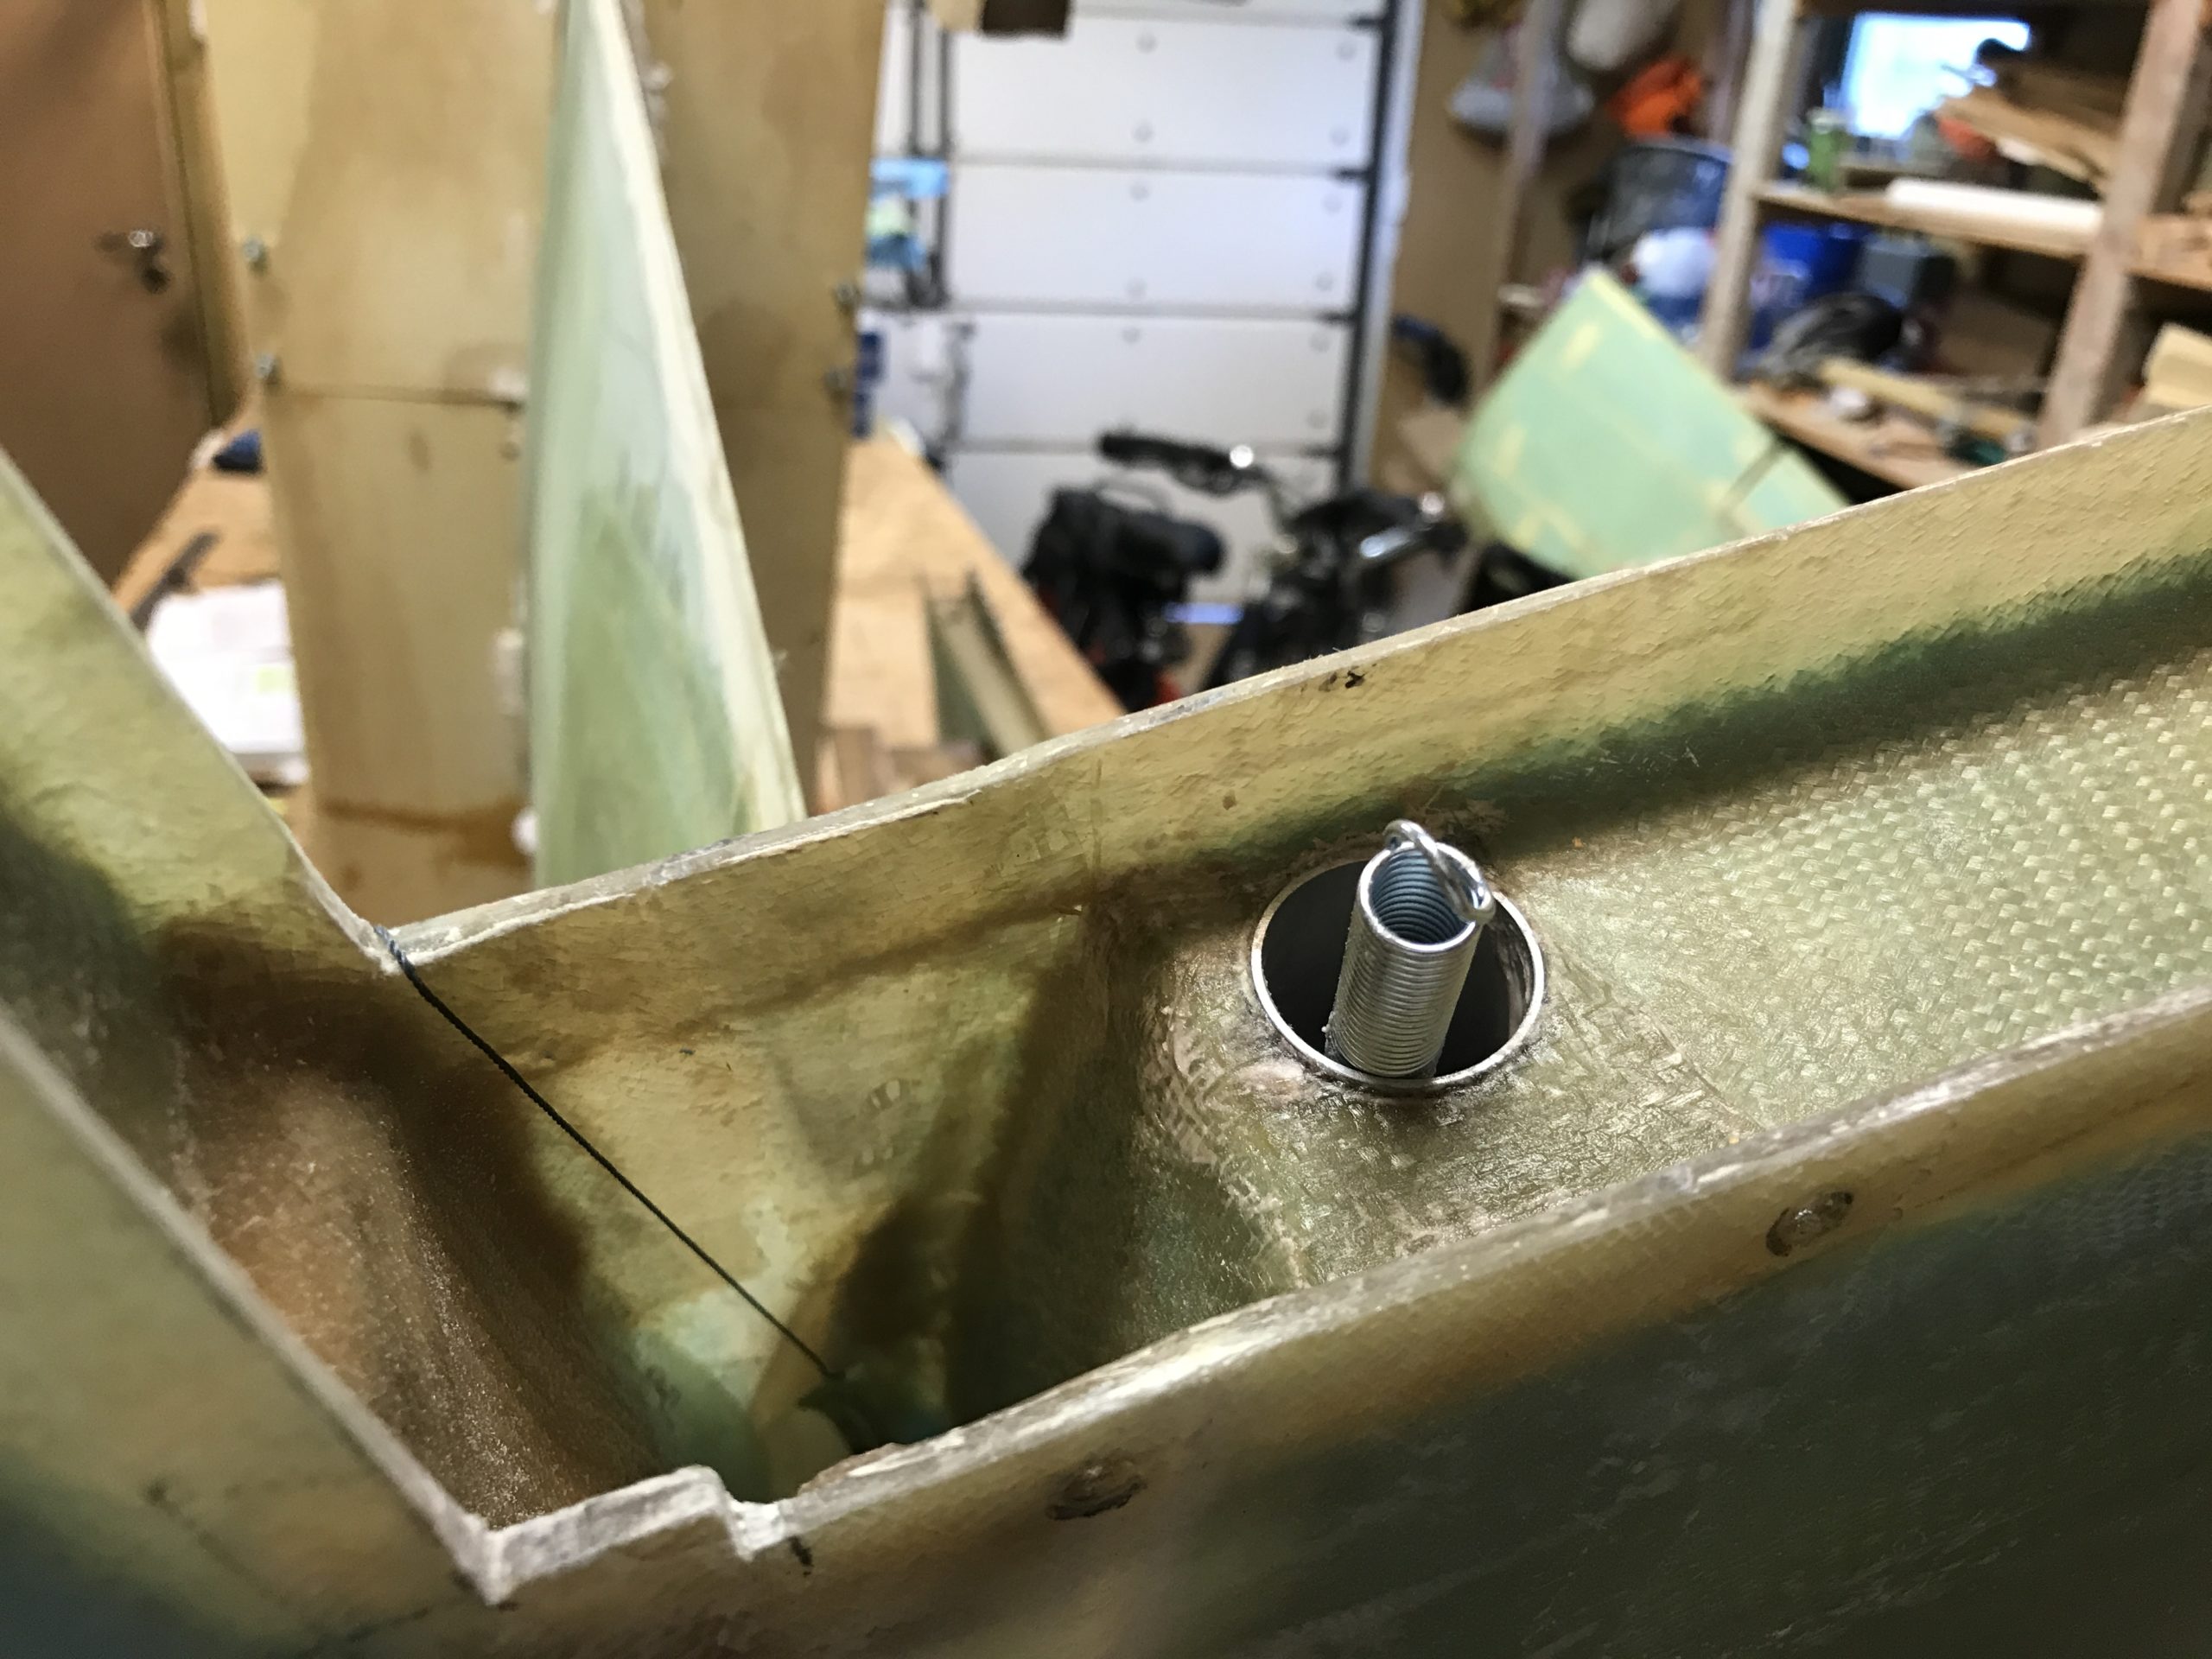
Later in the process I discovered that the spring was way to long. It was not in tension at all when the rudder was closed. I needed to cut over 3 cm to make it work as intended. This resulted in that the hook of the spring was just above the 1″ aluminum tube.
To attach the spring to the hook in the rudder was easy using a needle nose plier after the rudder was attached.
2020-08-09: The last step is to adjust and mount the hidden bellhorn to the rudder. In this process the rudder need to be taken on and off many times. I read a great tip in Joe Polenek’s writeup to use clecos instead of screws and nuts. I used 3/16 cleco which was just perfect for this use.
NB: Remember to be sure that the cleco are actually gripping the material before you loosen the grip of the cleco plier, or else the cleco can loosen and fire backwards and hit you. Ask me how I know…
I temporarily fastened the bellhorn to the rudder with some very strong double sided tape. The first test showed that everything worked as planned regarding to the movement of the bellhorn. However – I have to angle the end of the bellhorn a bit more down so that it hits the pocket where the rudder cable is. To achieve this I made a foam wedge approx 1 cm high at the most, which I will glass to the rudder with 2 BID.
2020-08-10: Did the test-fitting of the bellhorn, using drywall screws before I floxed it in place.
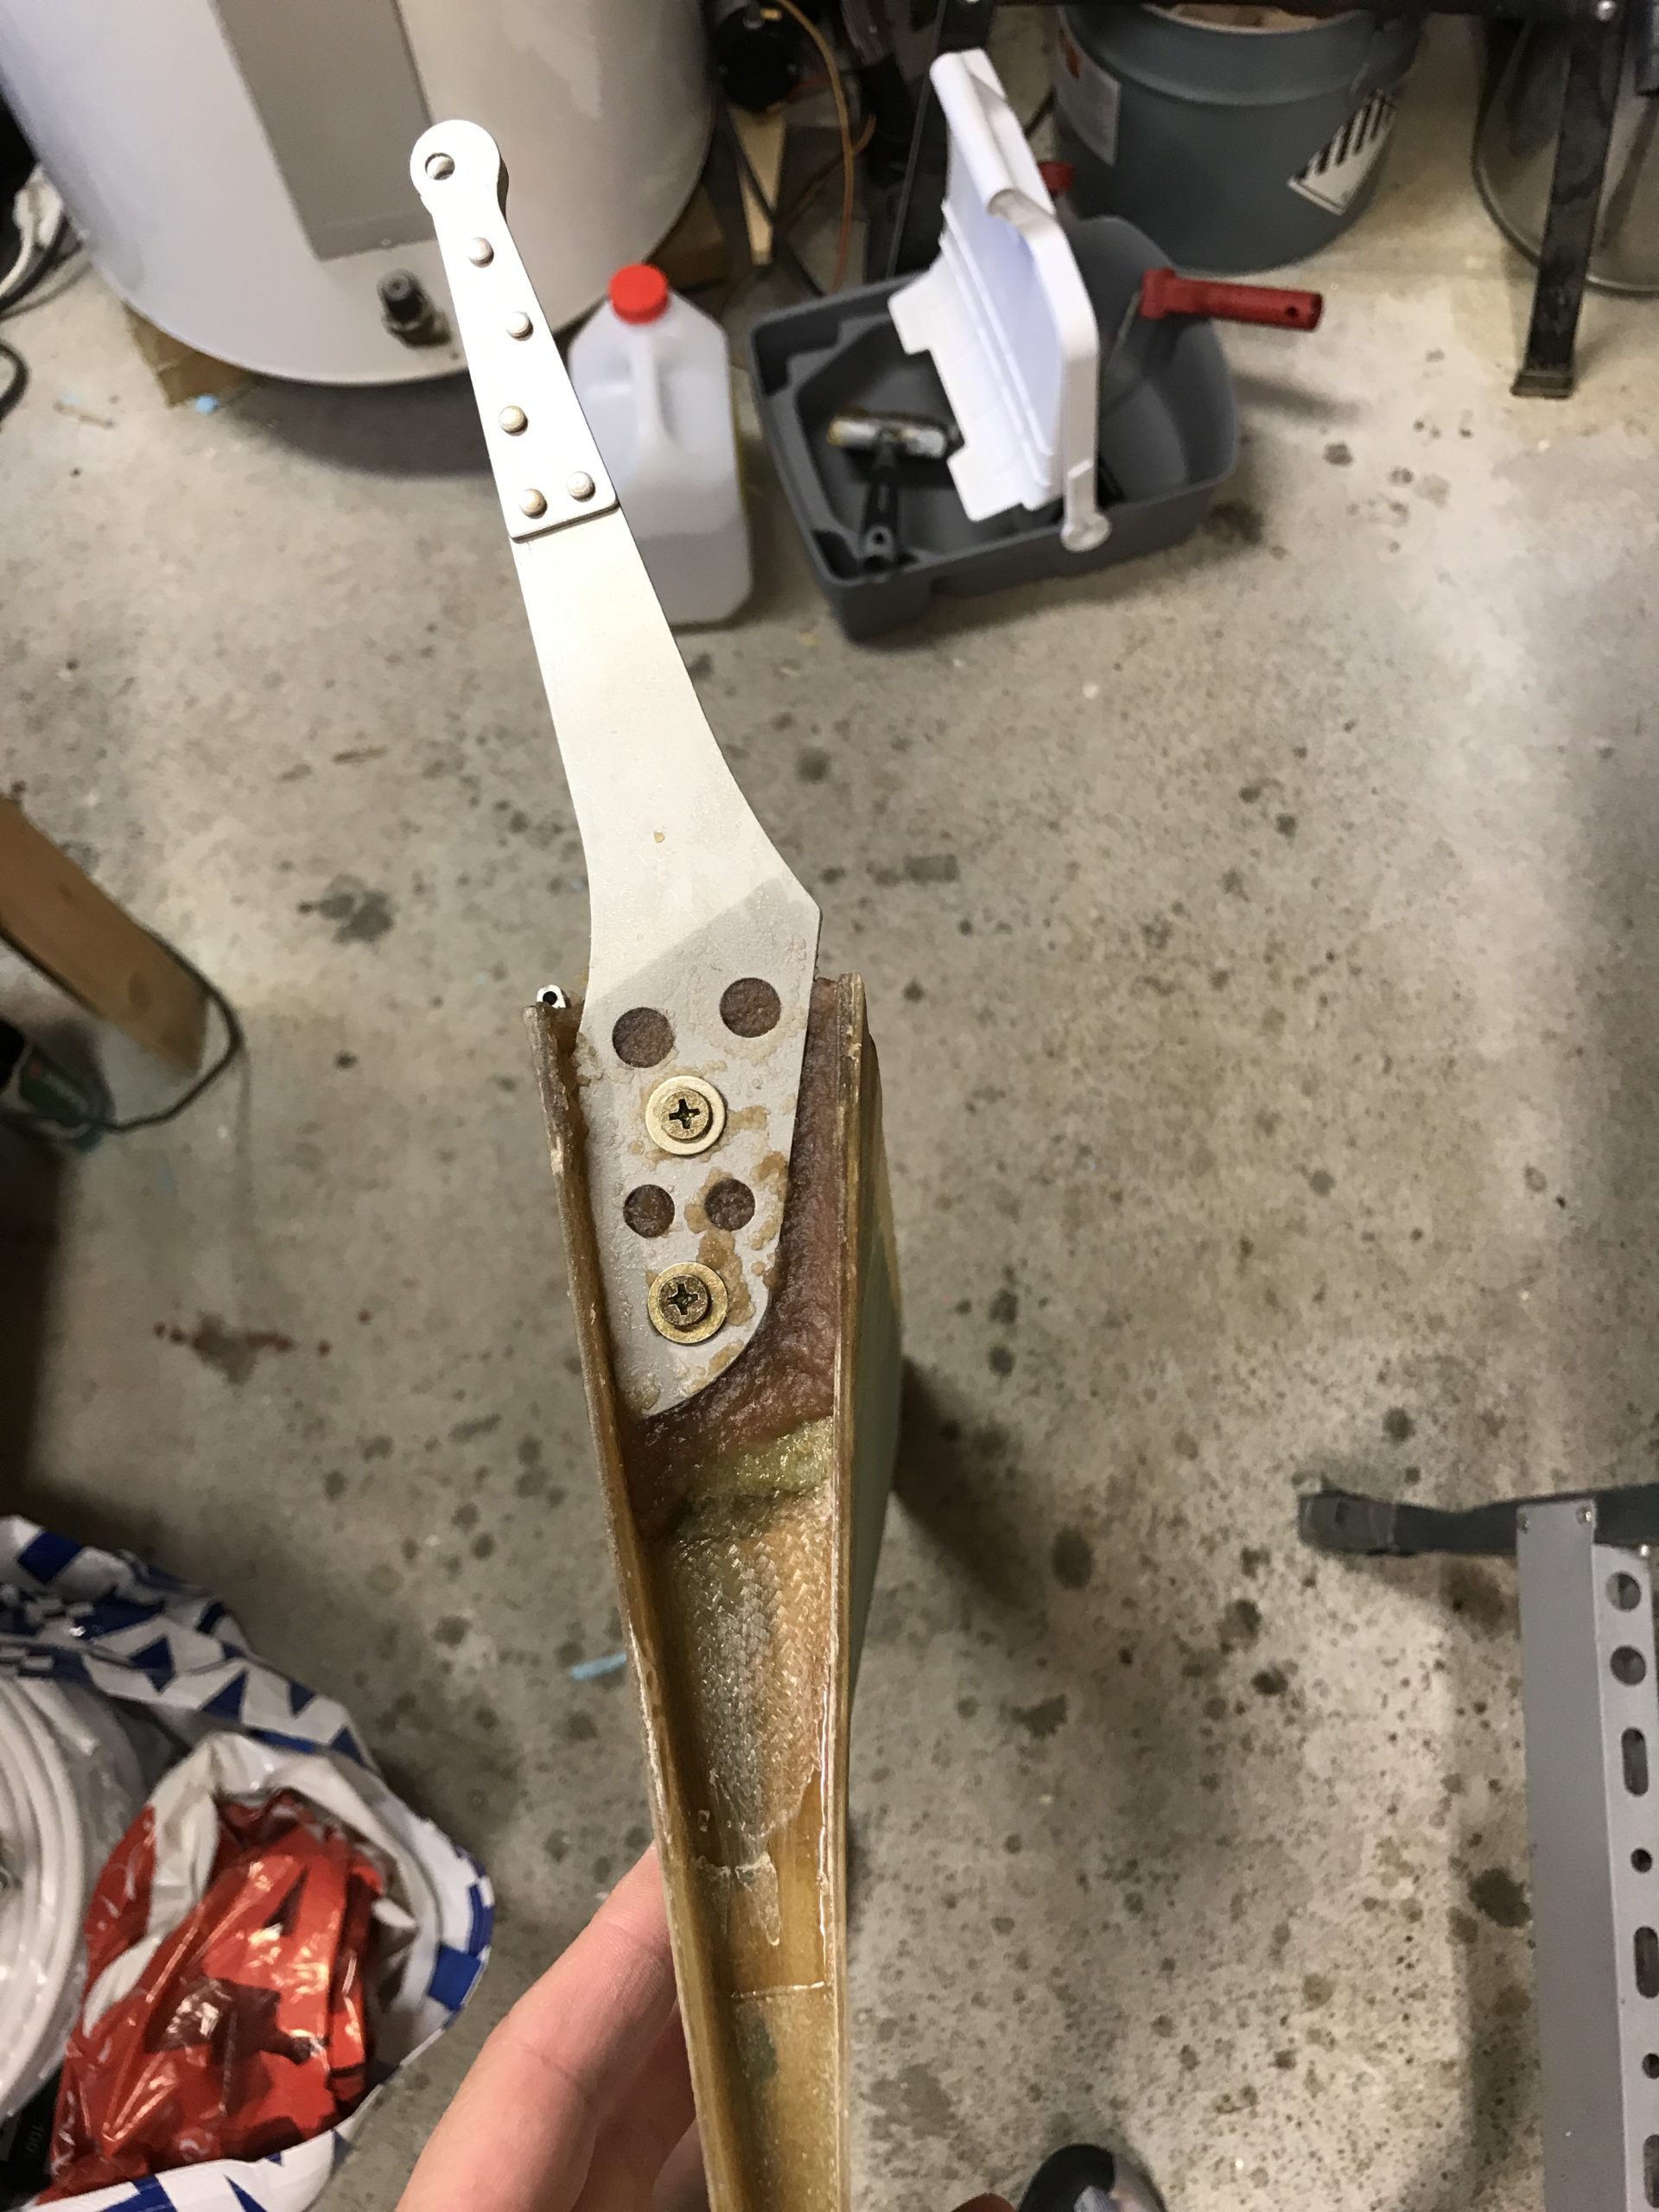
I will of course sand the flox smooth before I add BID on top.
The other side looks like this. The foam wedge I added is glassed on both sides and the exposed foam between was removed and replaced with flox.

2020-08-13: The last step was to add two layers of BID on top of the bellhorn.
At last I have another moving part!
2020-08-15: Time to prepare the right wing for storage. I have limited space in my garage so I had to find a storage for the wing so I can start on the left rudder. Luckily my son had space in his garage, so the trailer was loaded with the wing for it’s first flight!

Then it’s time to return to step 3 and redo everything once again!
I will document any new discoveries – if any. Stay tuned for the next chapter (Chapter 16) when the right wing is finished.