
2020-09-22: I made a paper template to measure the cutting lines for the rudder. I had to adjust the bottom cut a bit more down than the plans to accommodate the hidden bellhorn method.

Cut the rudder with my multitool on both sides, and finished through the foam with a hack saw.
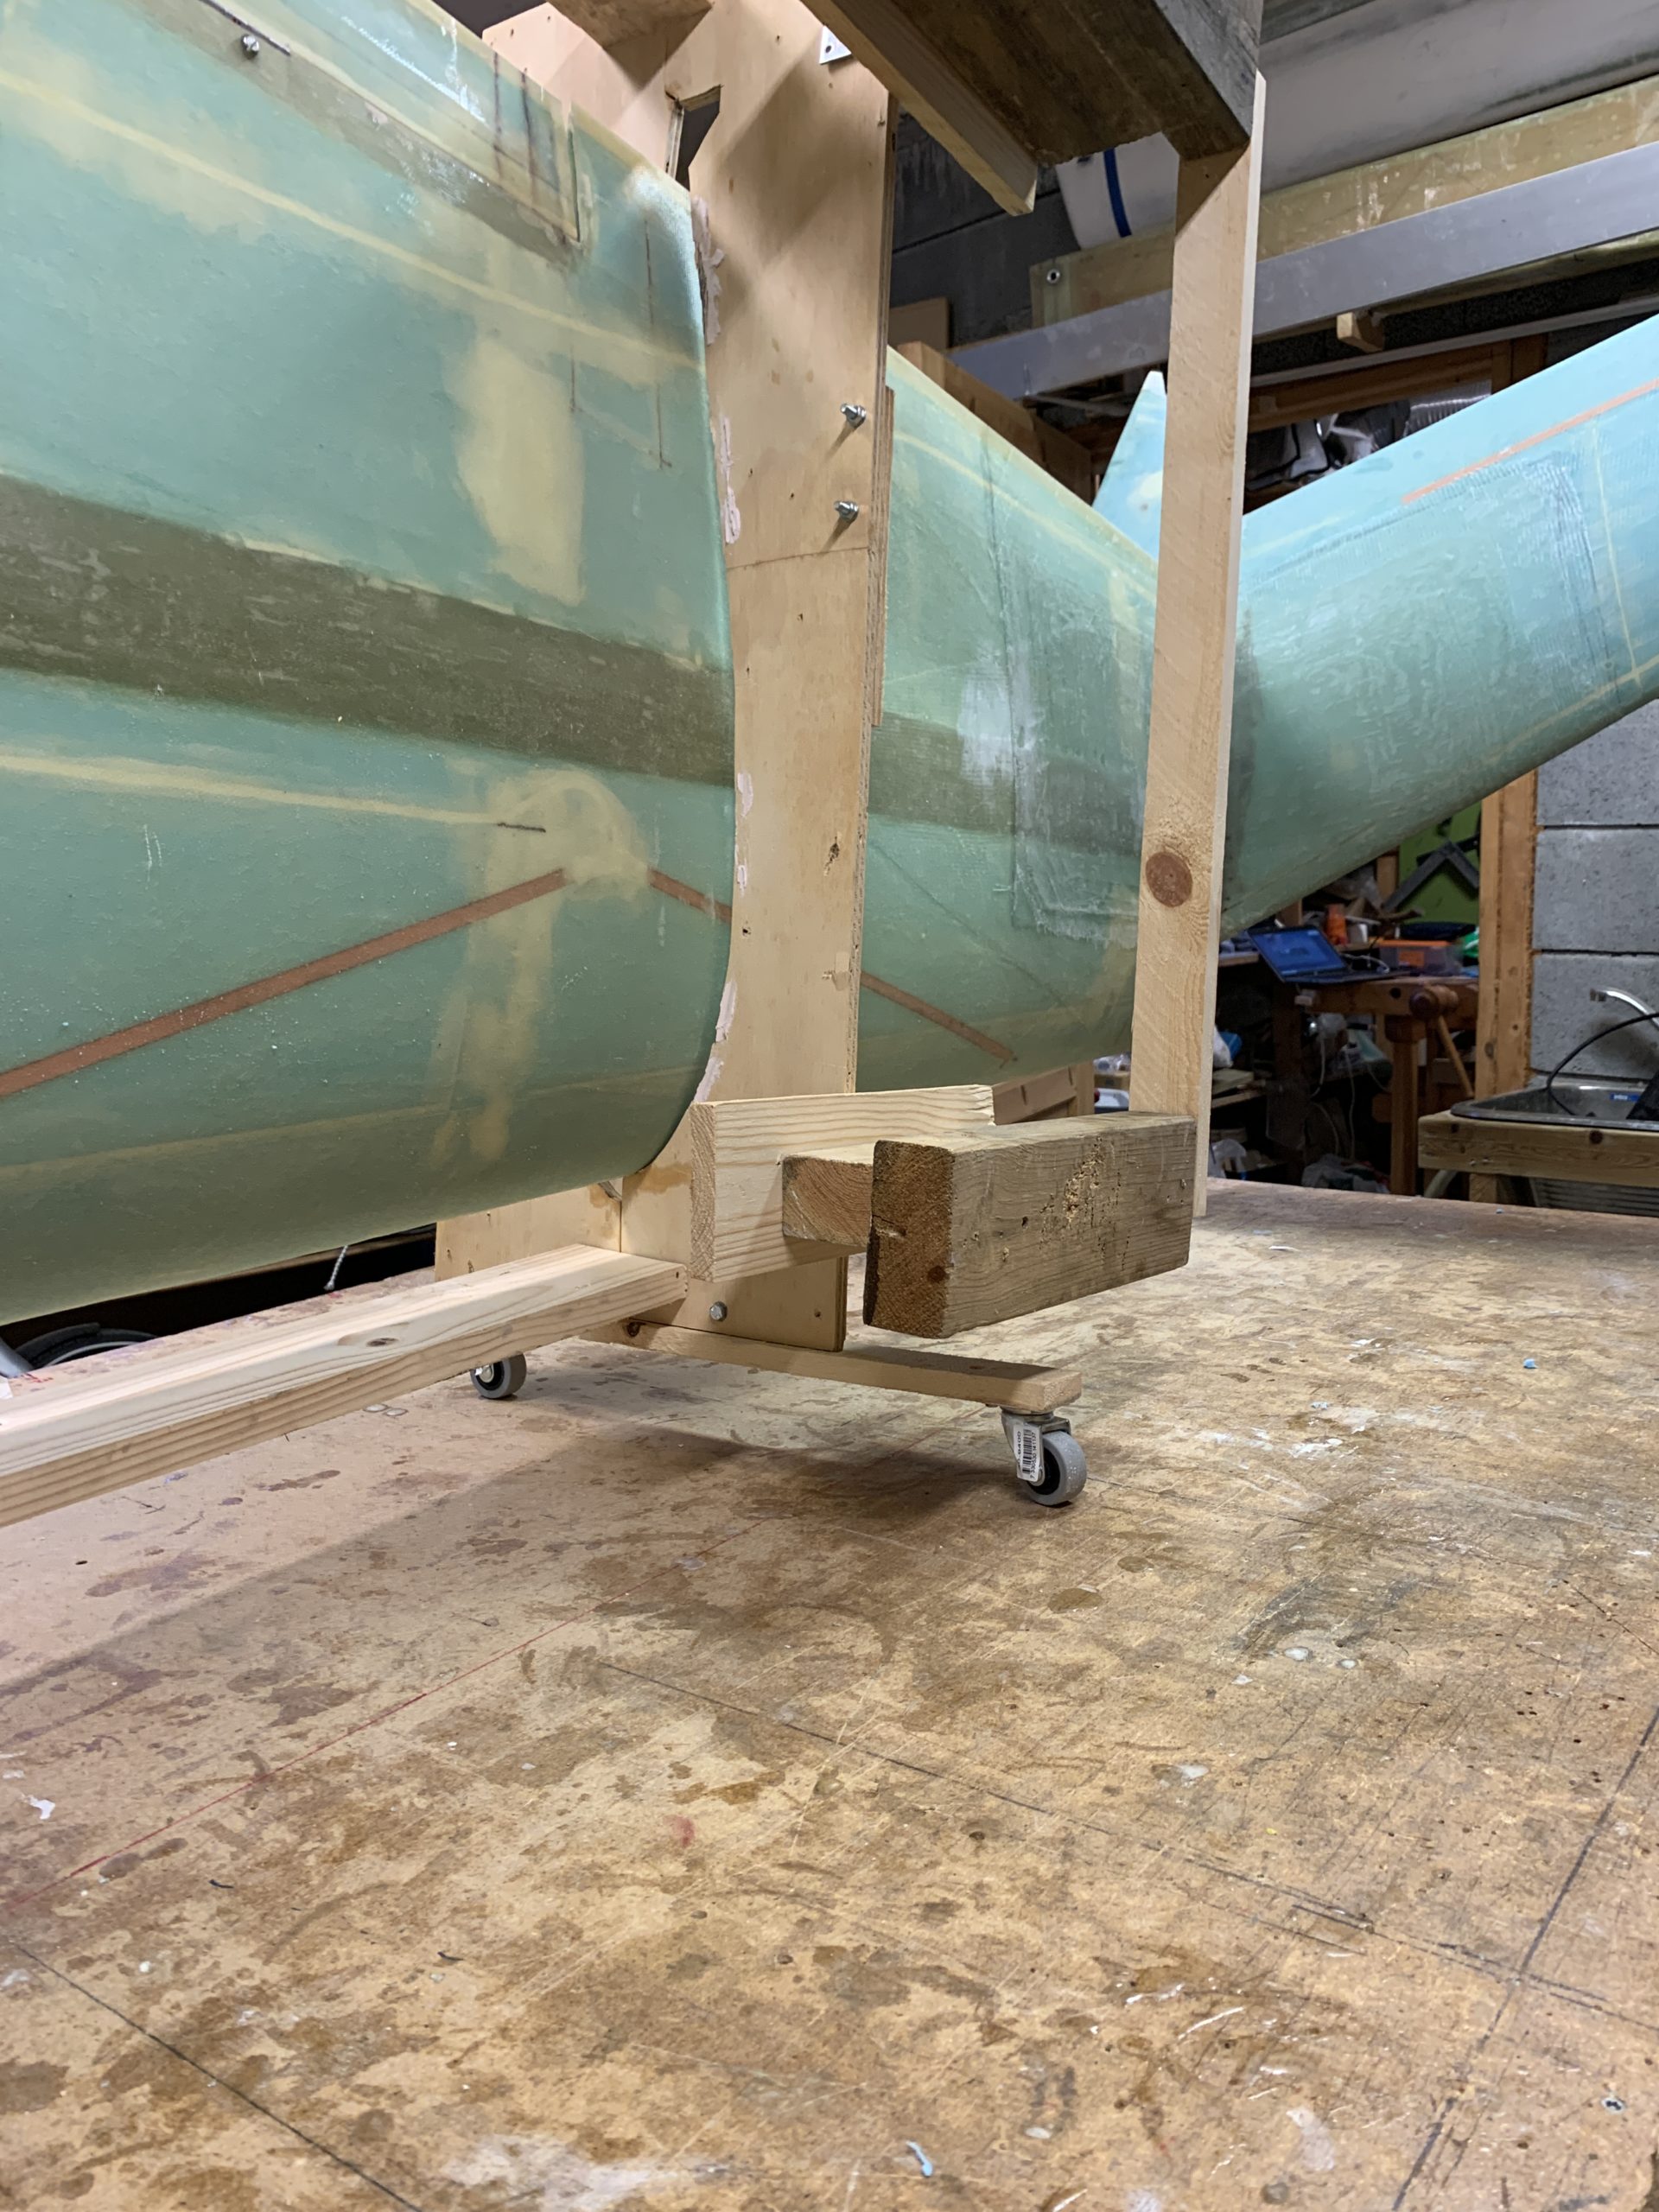
Next step is to turn the wing with LE down. Since I work on my own I modified the wing jigs a bit and mounted some castoring wheels on them. This way it is easy for one person to flip the wing over.
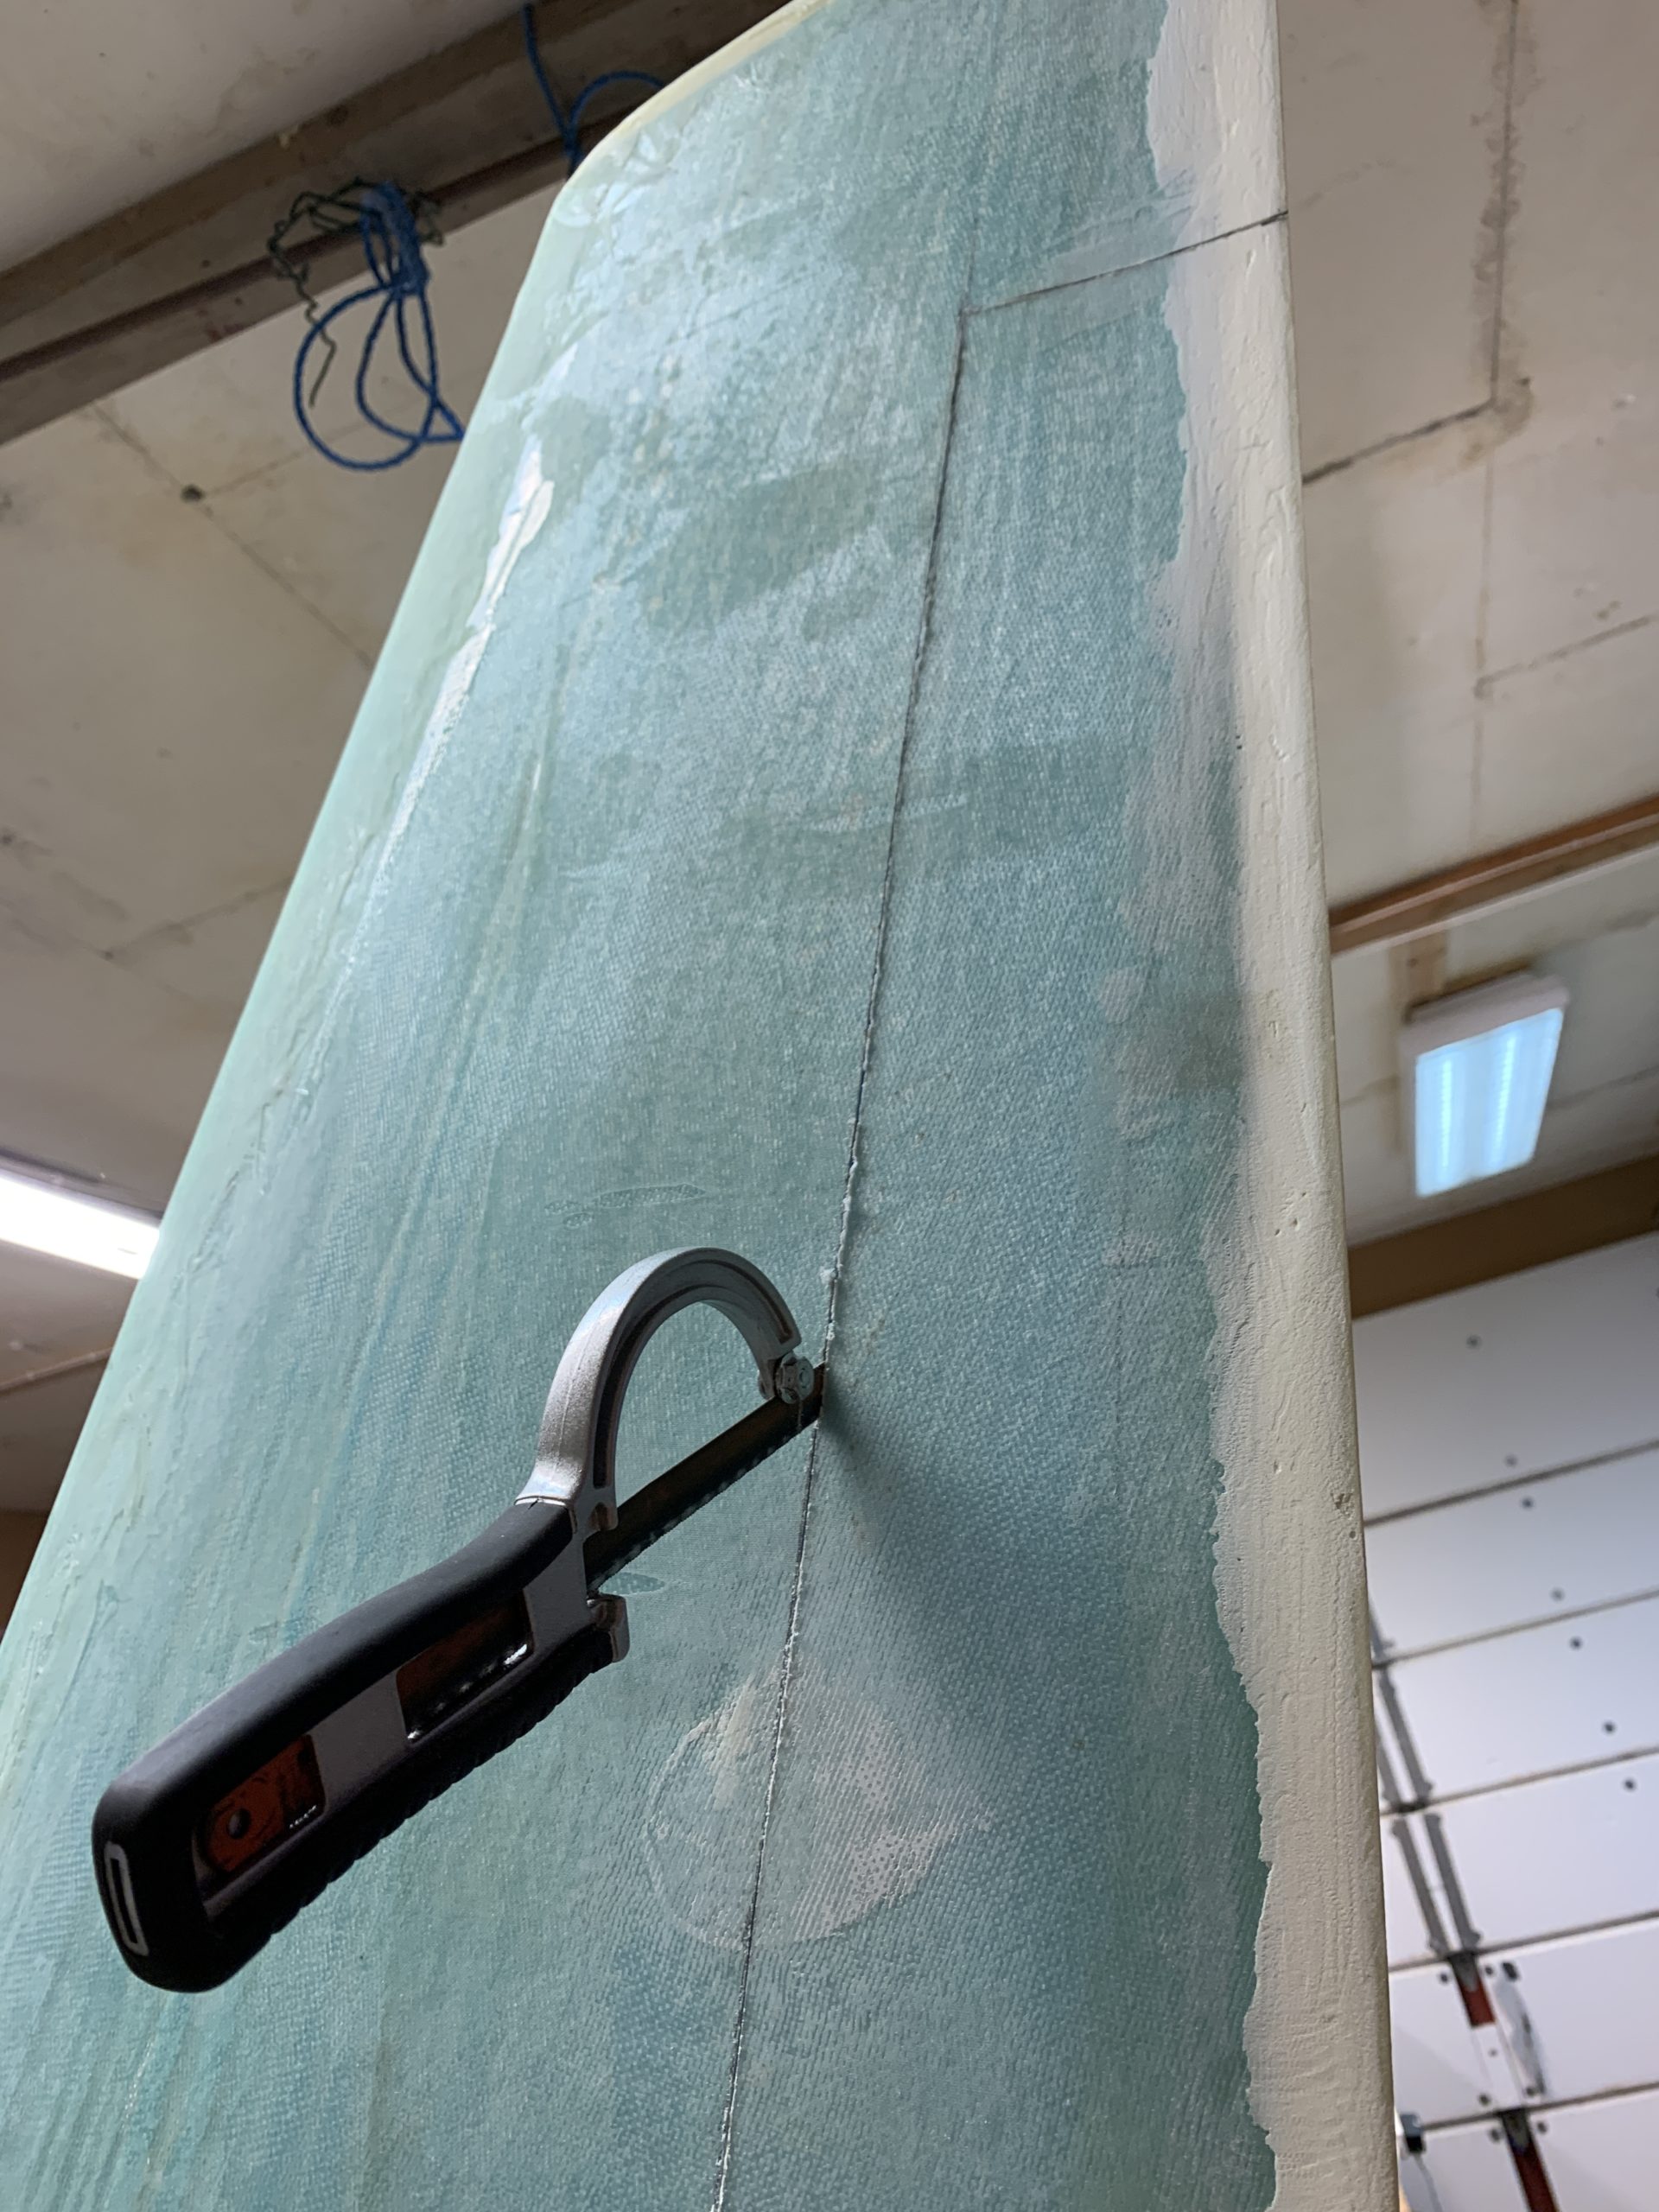
2020-09-23: Used my router to remove the foam in the winglet, and a Dremel to remove the last part towards the skin to make a good glass to glass bond.
I decided to glass the pocket for the bellhorn at this stage.

2020-09-24: Glassed layup #6 according to plans.
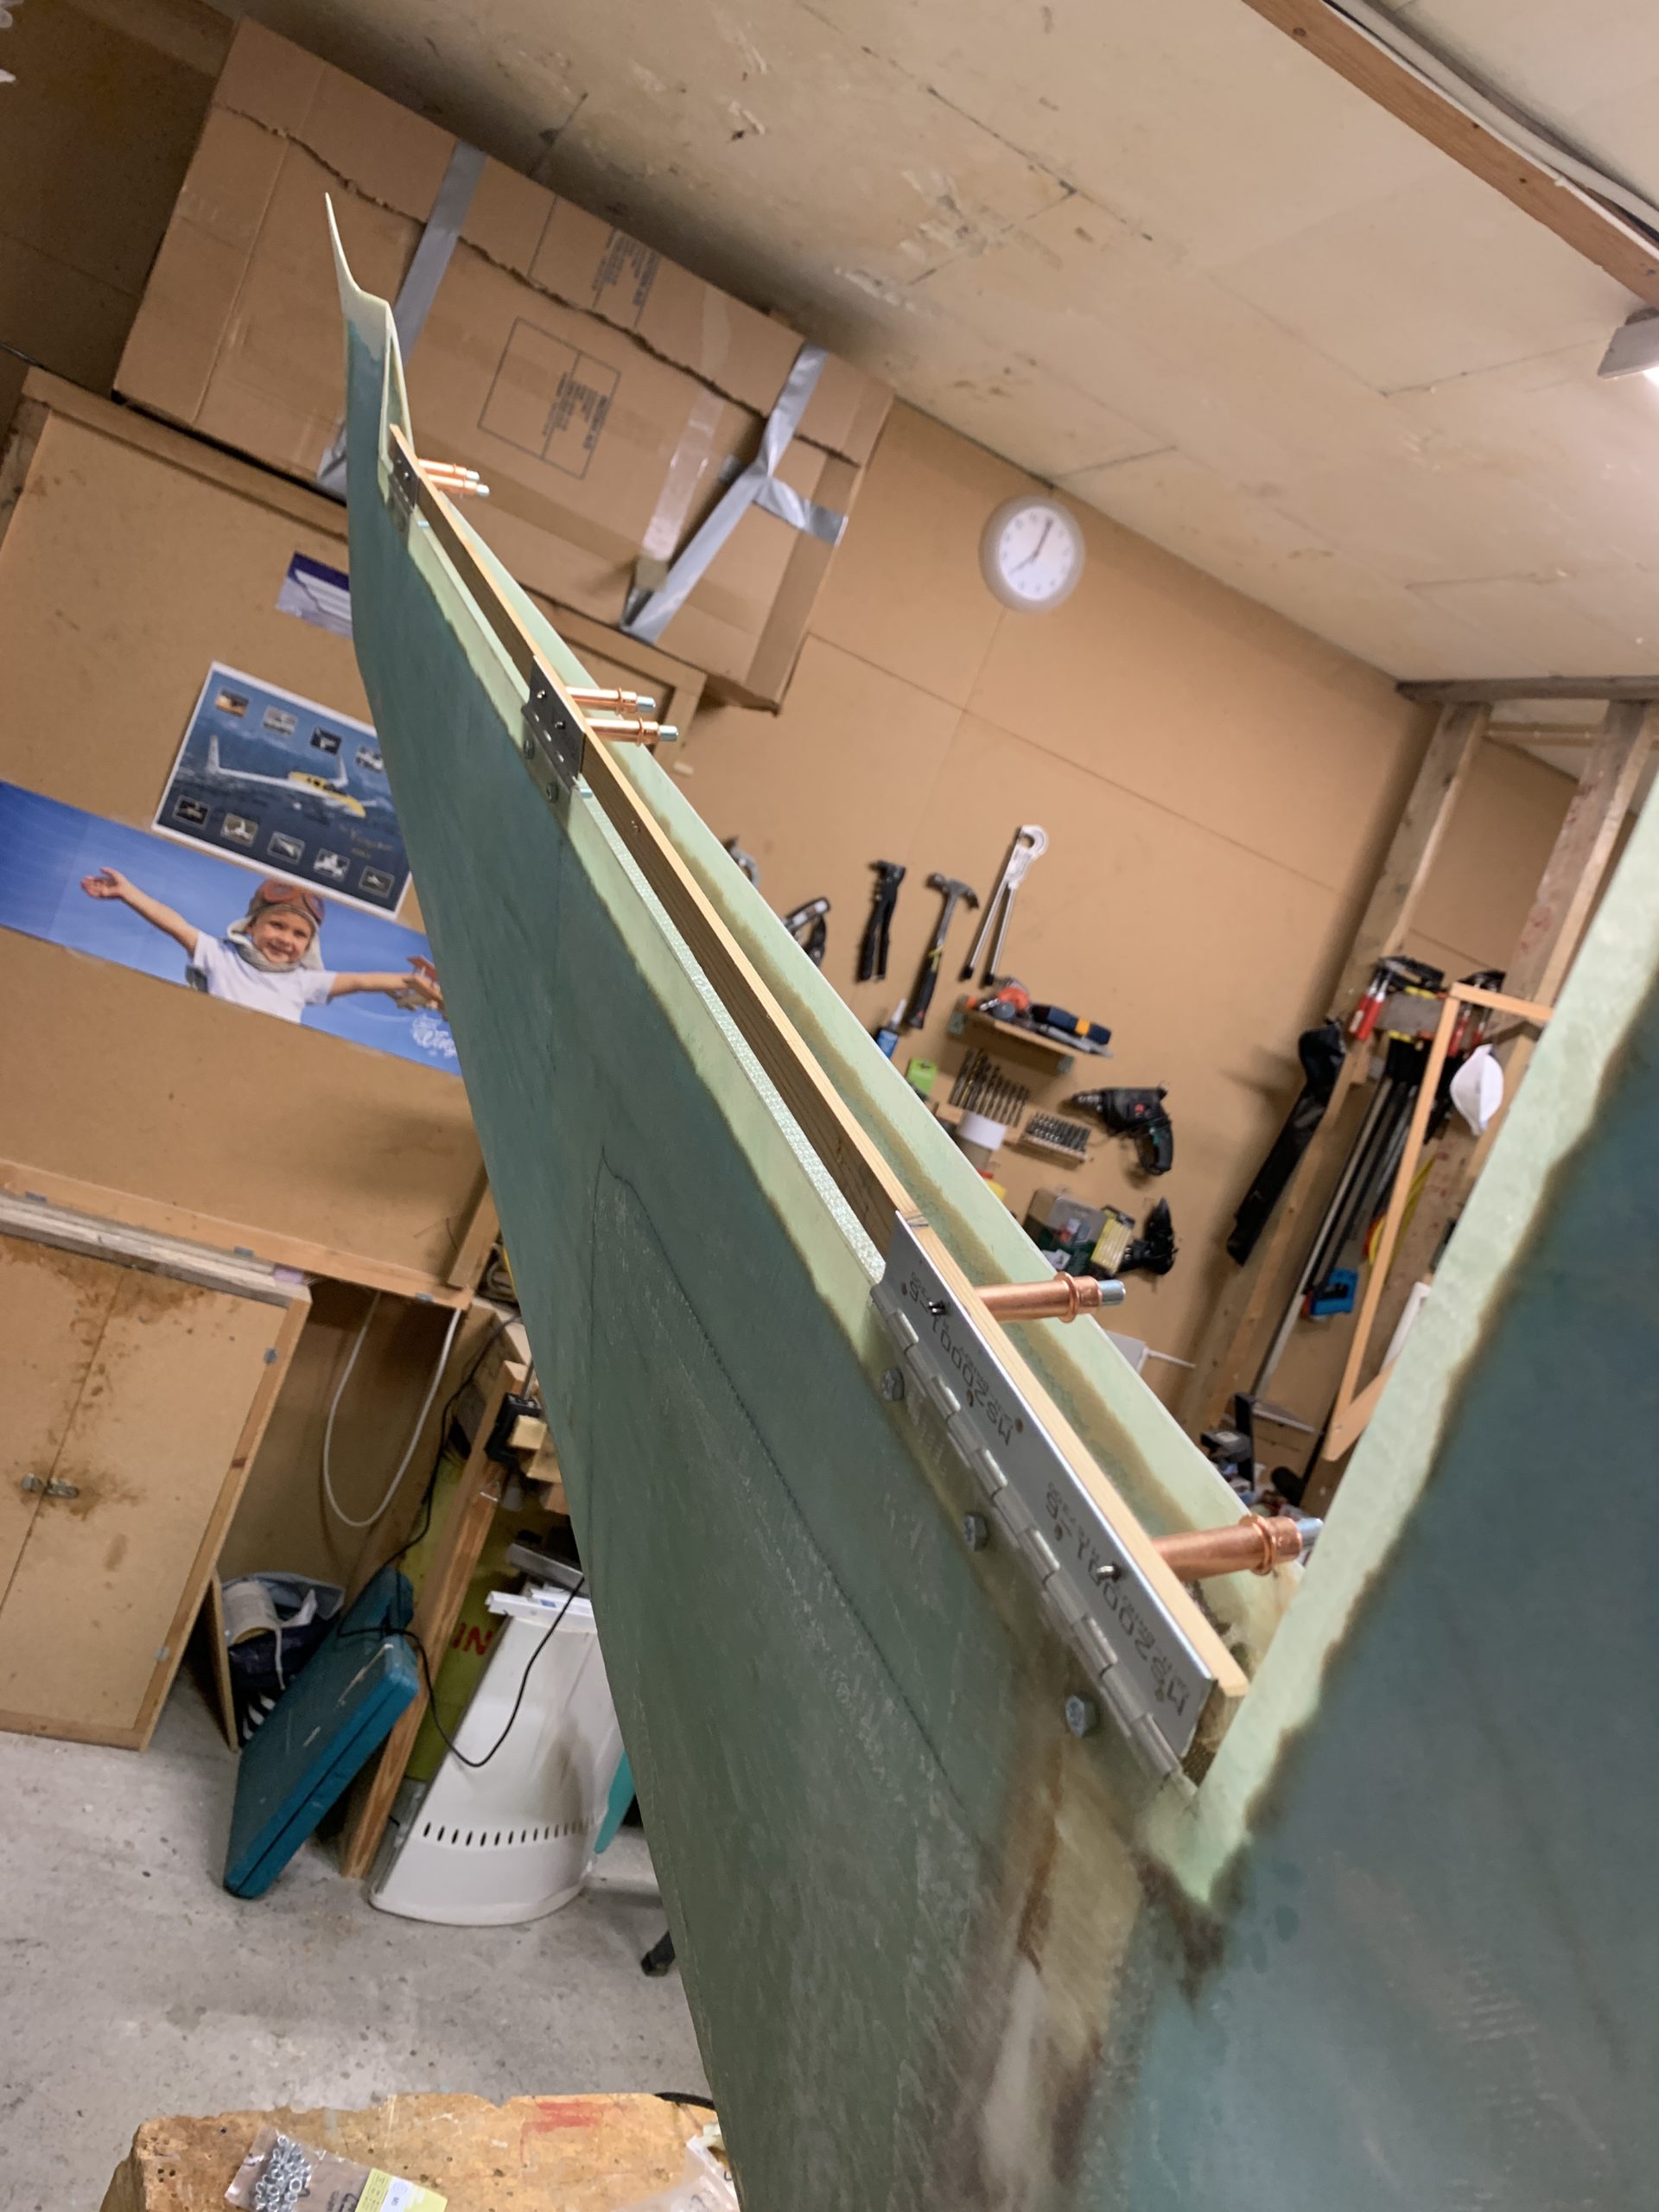
2020-09-28: Prepared the hinges for the winglet. This time I drilled both the holes for the winglet part and the holes in the rudder part of the hinge. Using some 1/8″ clecos through the rudder part of the hinge I aligned the hinges in parallel using a wooden stick. Then I clamped the hinges to the winglet and drilled open the holes in the winglet and used some harware screws to temporary mount the hinges.
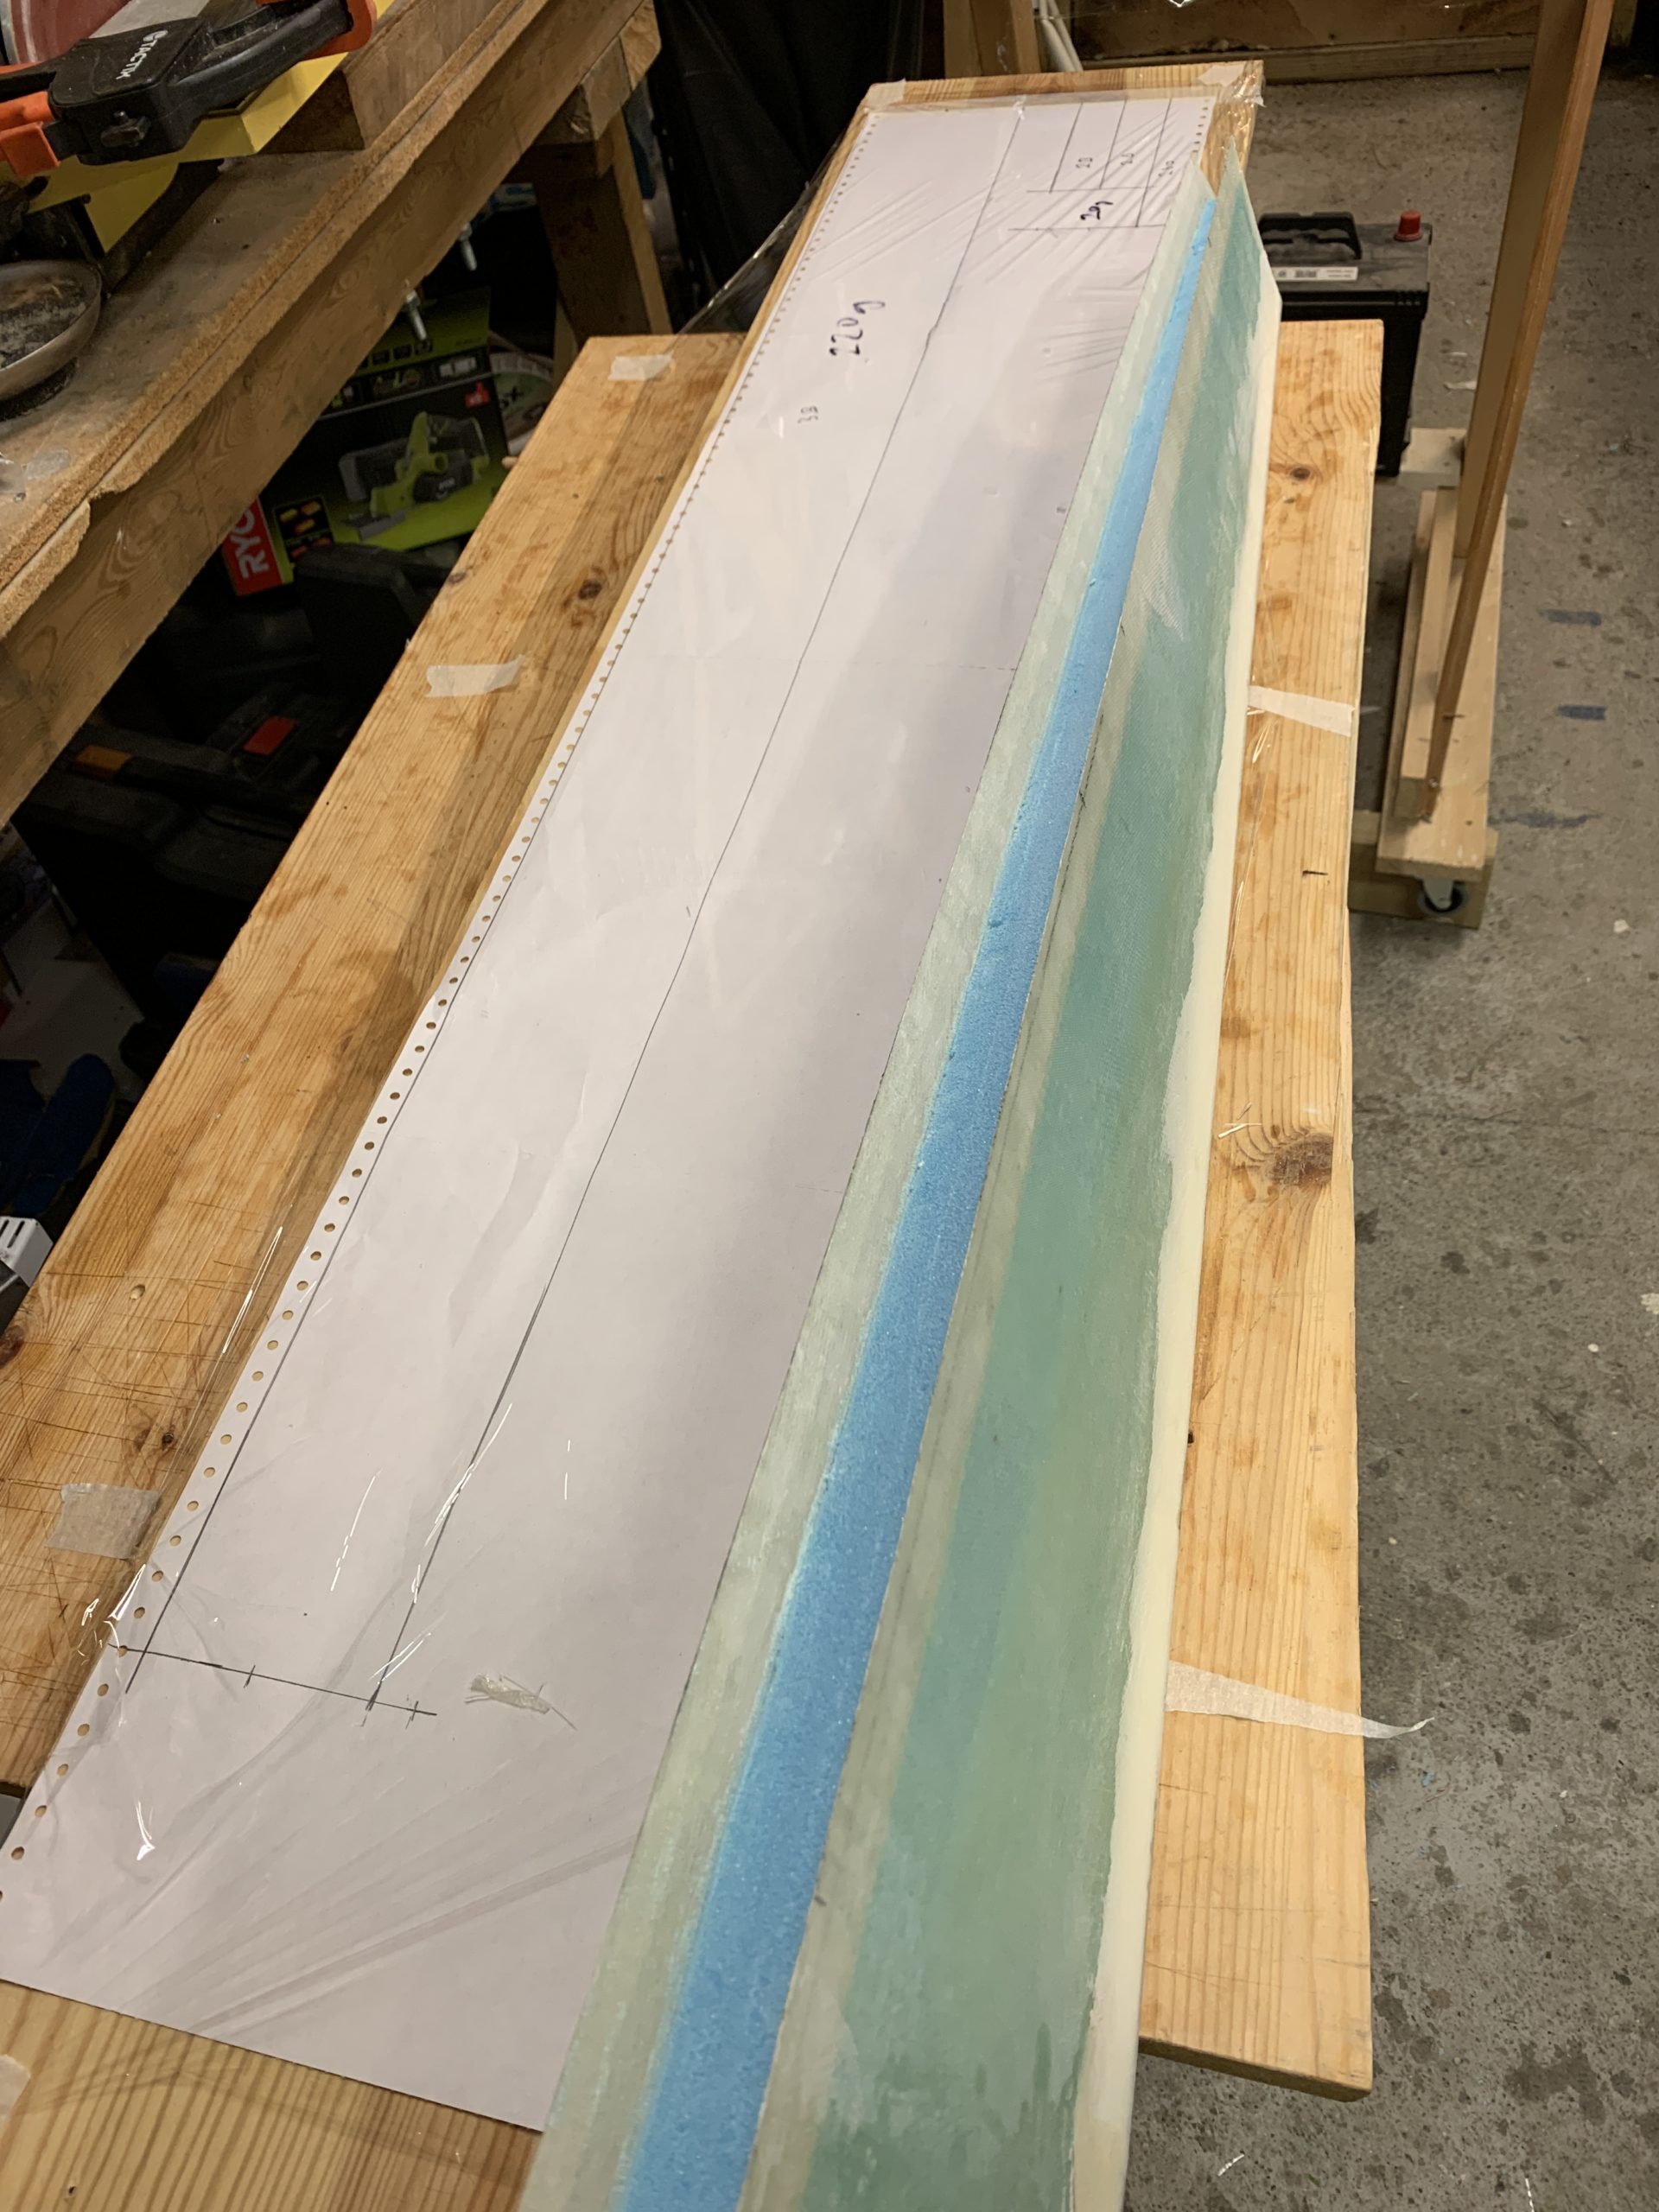
Finished off the day by preparing the rudder. I removed foam using my router and my Dremel. Then I made a paper template for the glass in layup #7 and cut all the glass.
2020-09-30: Glassed the fwd face of the rudder (layup #7a).
2020-10-01: Glassed top and bottom of the rudder (layup #7b).
2020-10-05: Hot glues three wooden triangles to support the rudder hinges before drilling the holes through the rudder.

Floxed and pop riveted the rudder hinges.

Drilled a 6mm hole for the hook for the rudder return spring. Filled the hole with flox and put the hook into the hole with a support from a cuple of mixing sticks to prevent it from sinking down.
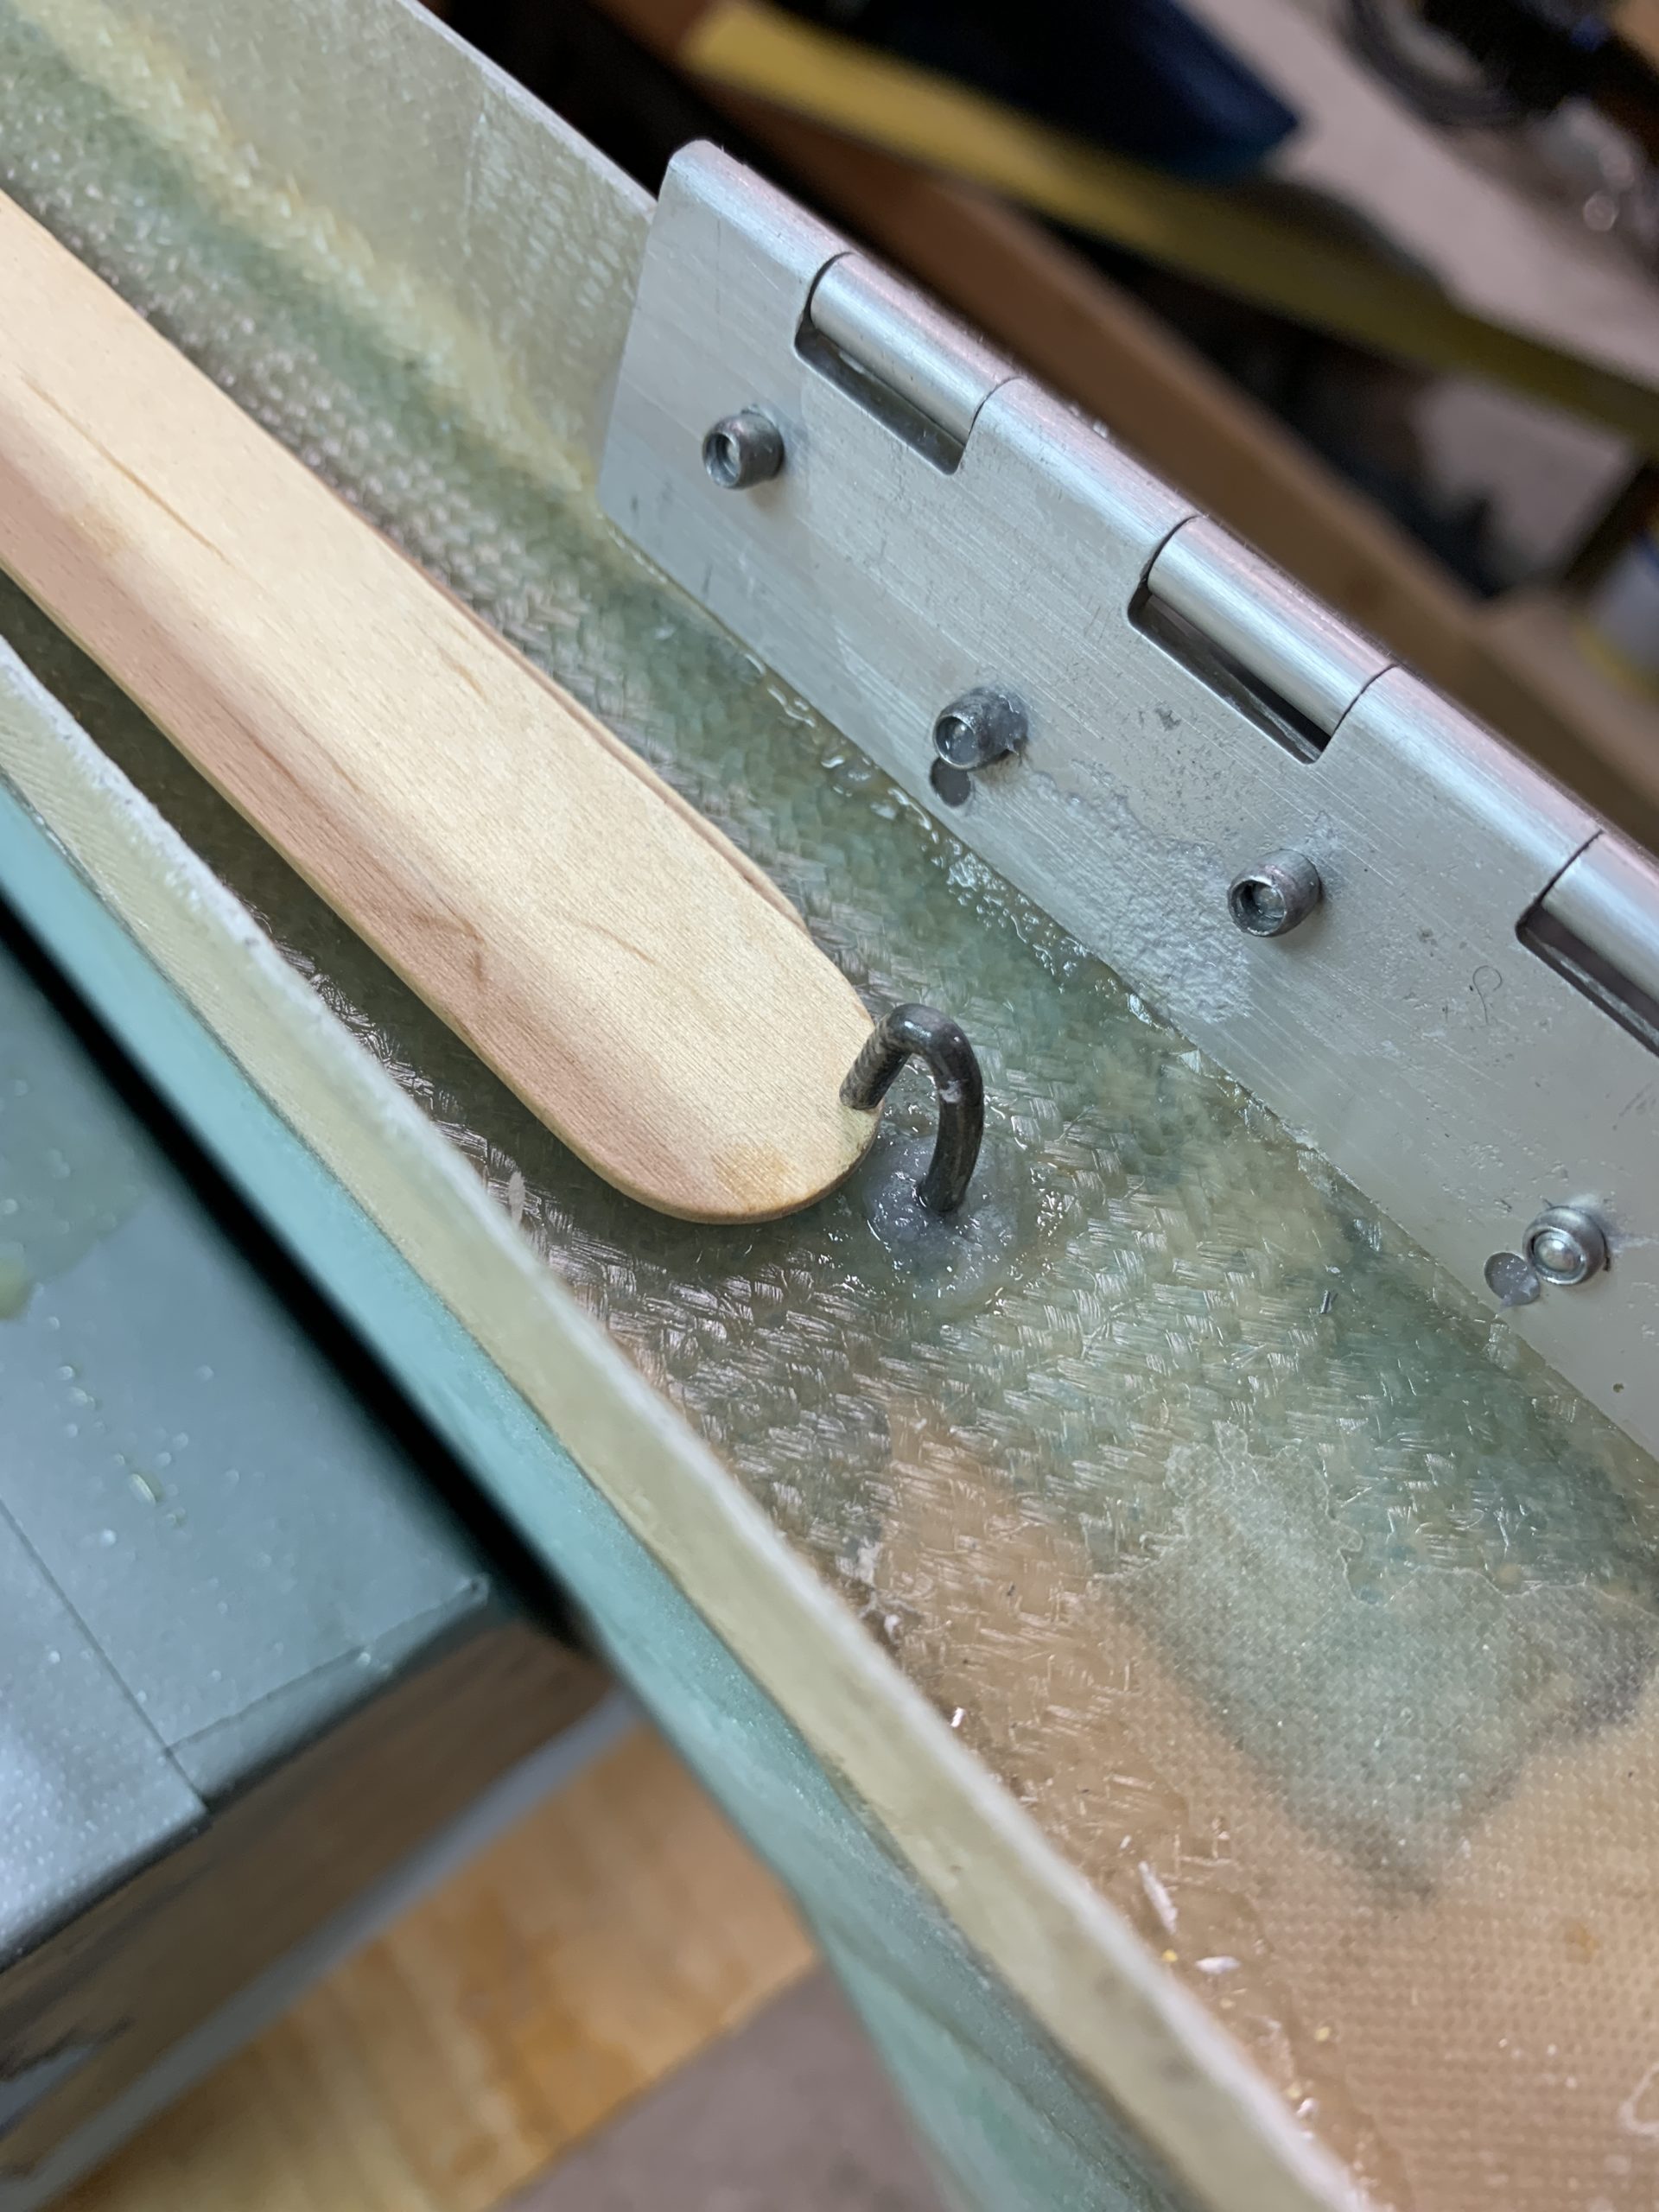
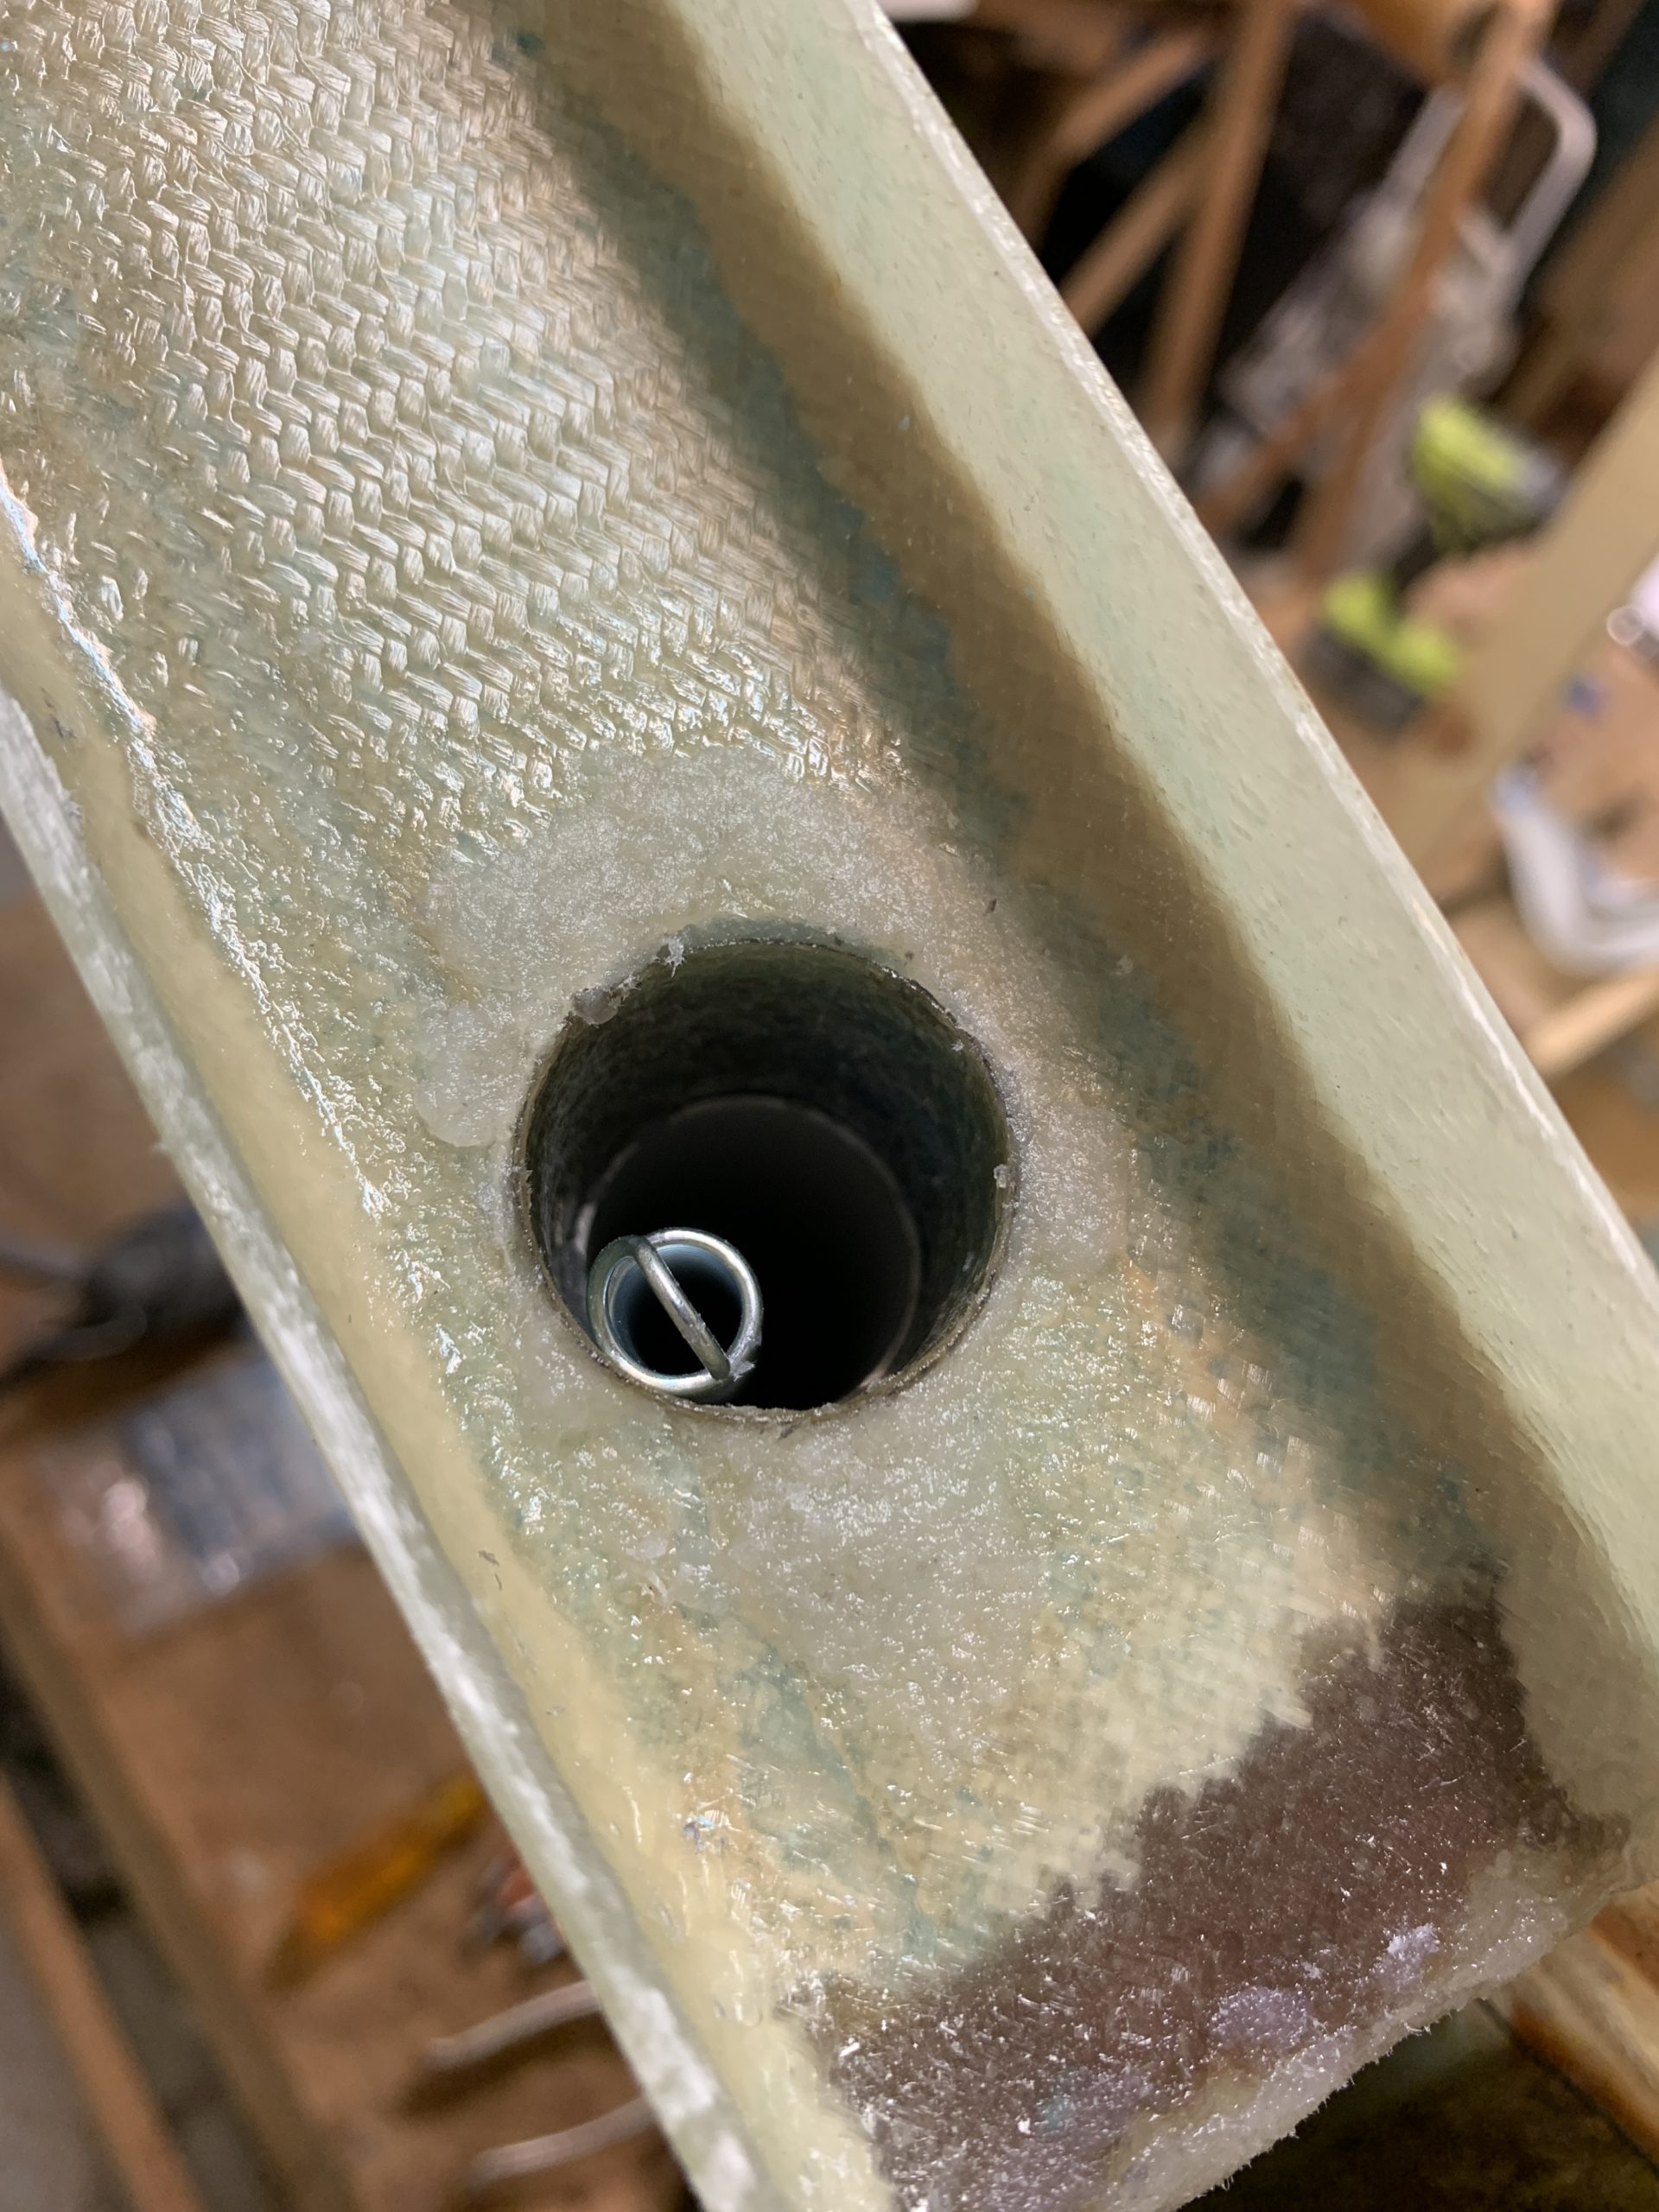
Drilled a 25 mm hole in the winglet. Floxed the tube for the rudder return spring in the hole. I decided to take another approach than in the right winglet where I shortened the spring. Instead I made a glass tube that enlonged the aluminum tube by approx 40mm.
2020-10-06: When I test fitted the bellhorn I once again experienced that I had to adjust the angle a bit to avoid it touching the sides of the pocket. I measured that I had to tilt the bellhorn 3 mm more upwards from the aft position of the bellhorn.
I placed a 3mm drilbit – covered in saran wrap just letting the edge of the bellhorn rest upon it. Then I covered the bellhorn itself with more plastic before I put some wet flox under it and on the sides to make a good foundation for the step where I actually glass the bellhorn to the rudder.

I used some drywall screws to temporarily hold the bellhorn tight to the rudder while the flox cured.
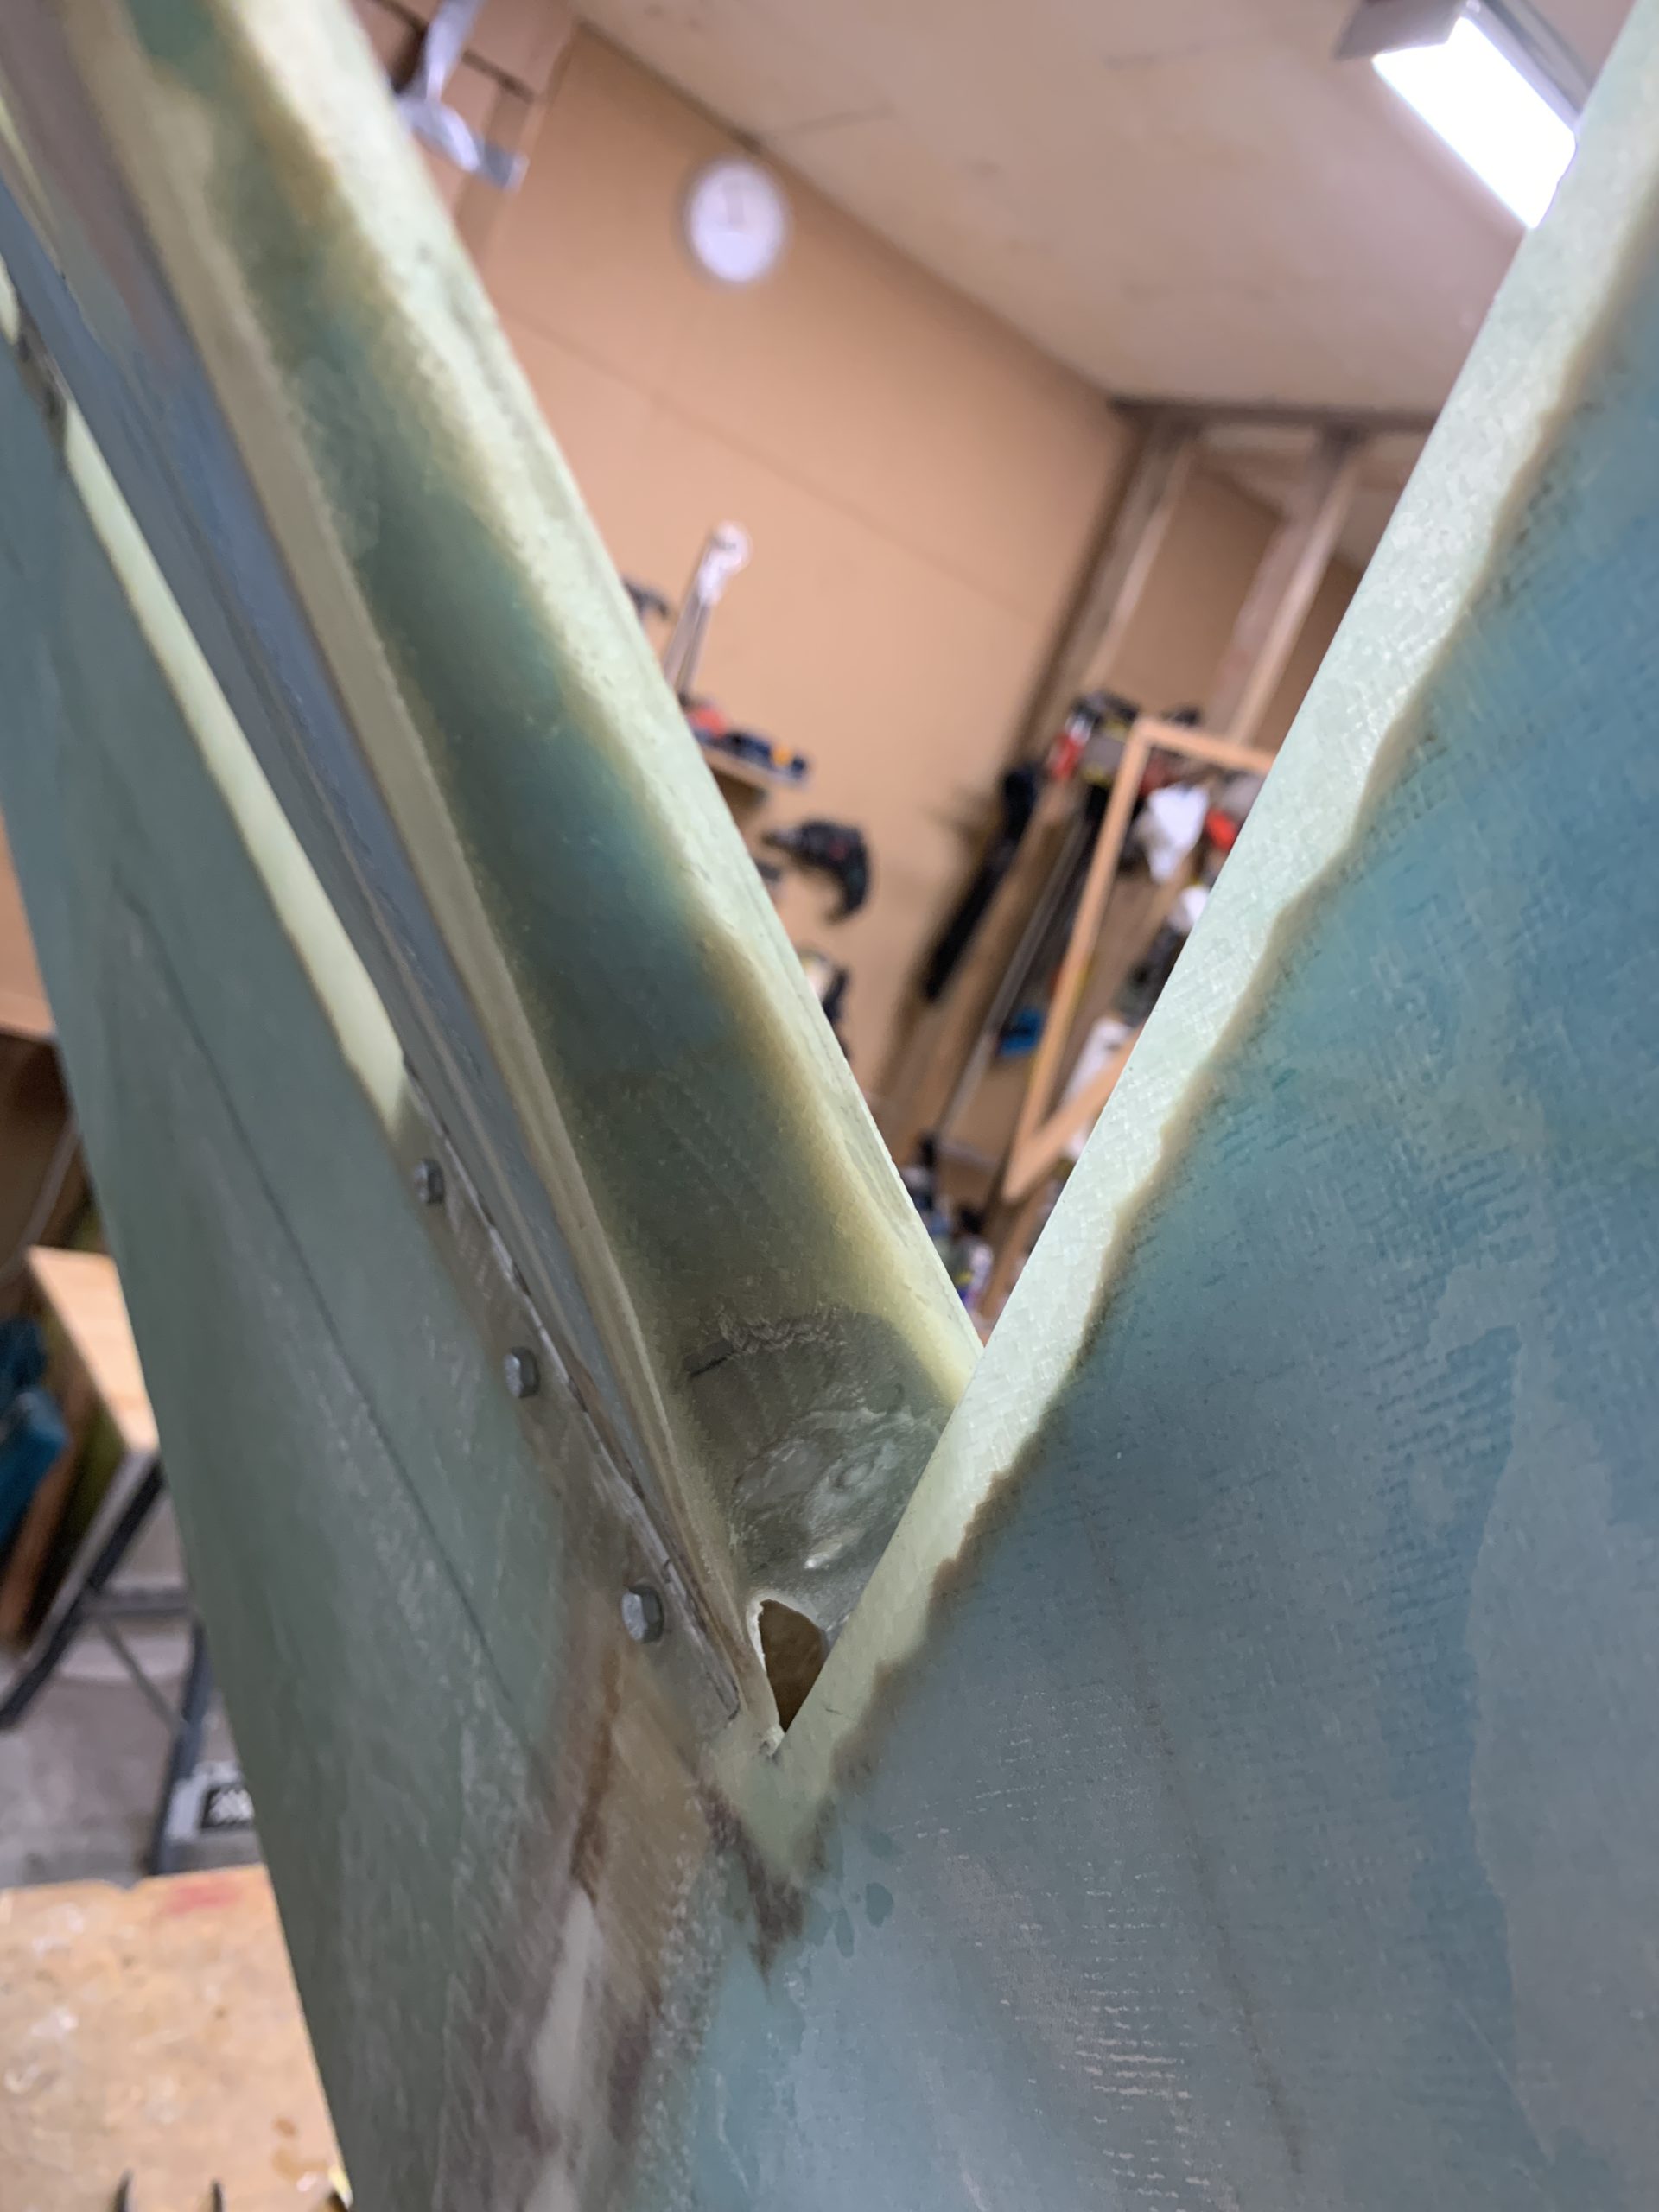
2020-10-07: Removed the plastic covered bellhorn and the drillbit – screwed the bellhorn to the now cured flox base again to test the position. I then discovered that the bellhorn had moved a tiny bit to the side in the floxing process resulting in the bellhorn touching the outside skin before the rudder closes properly. Easy fix – just use the Dremel to adjust the flox base a bit and test again. Voíla – everything goes smooth and the opening is 5.25″ – way more than I need according to the plans.
I will of course plug the holes after the screw with some flox.
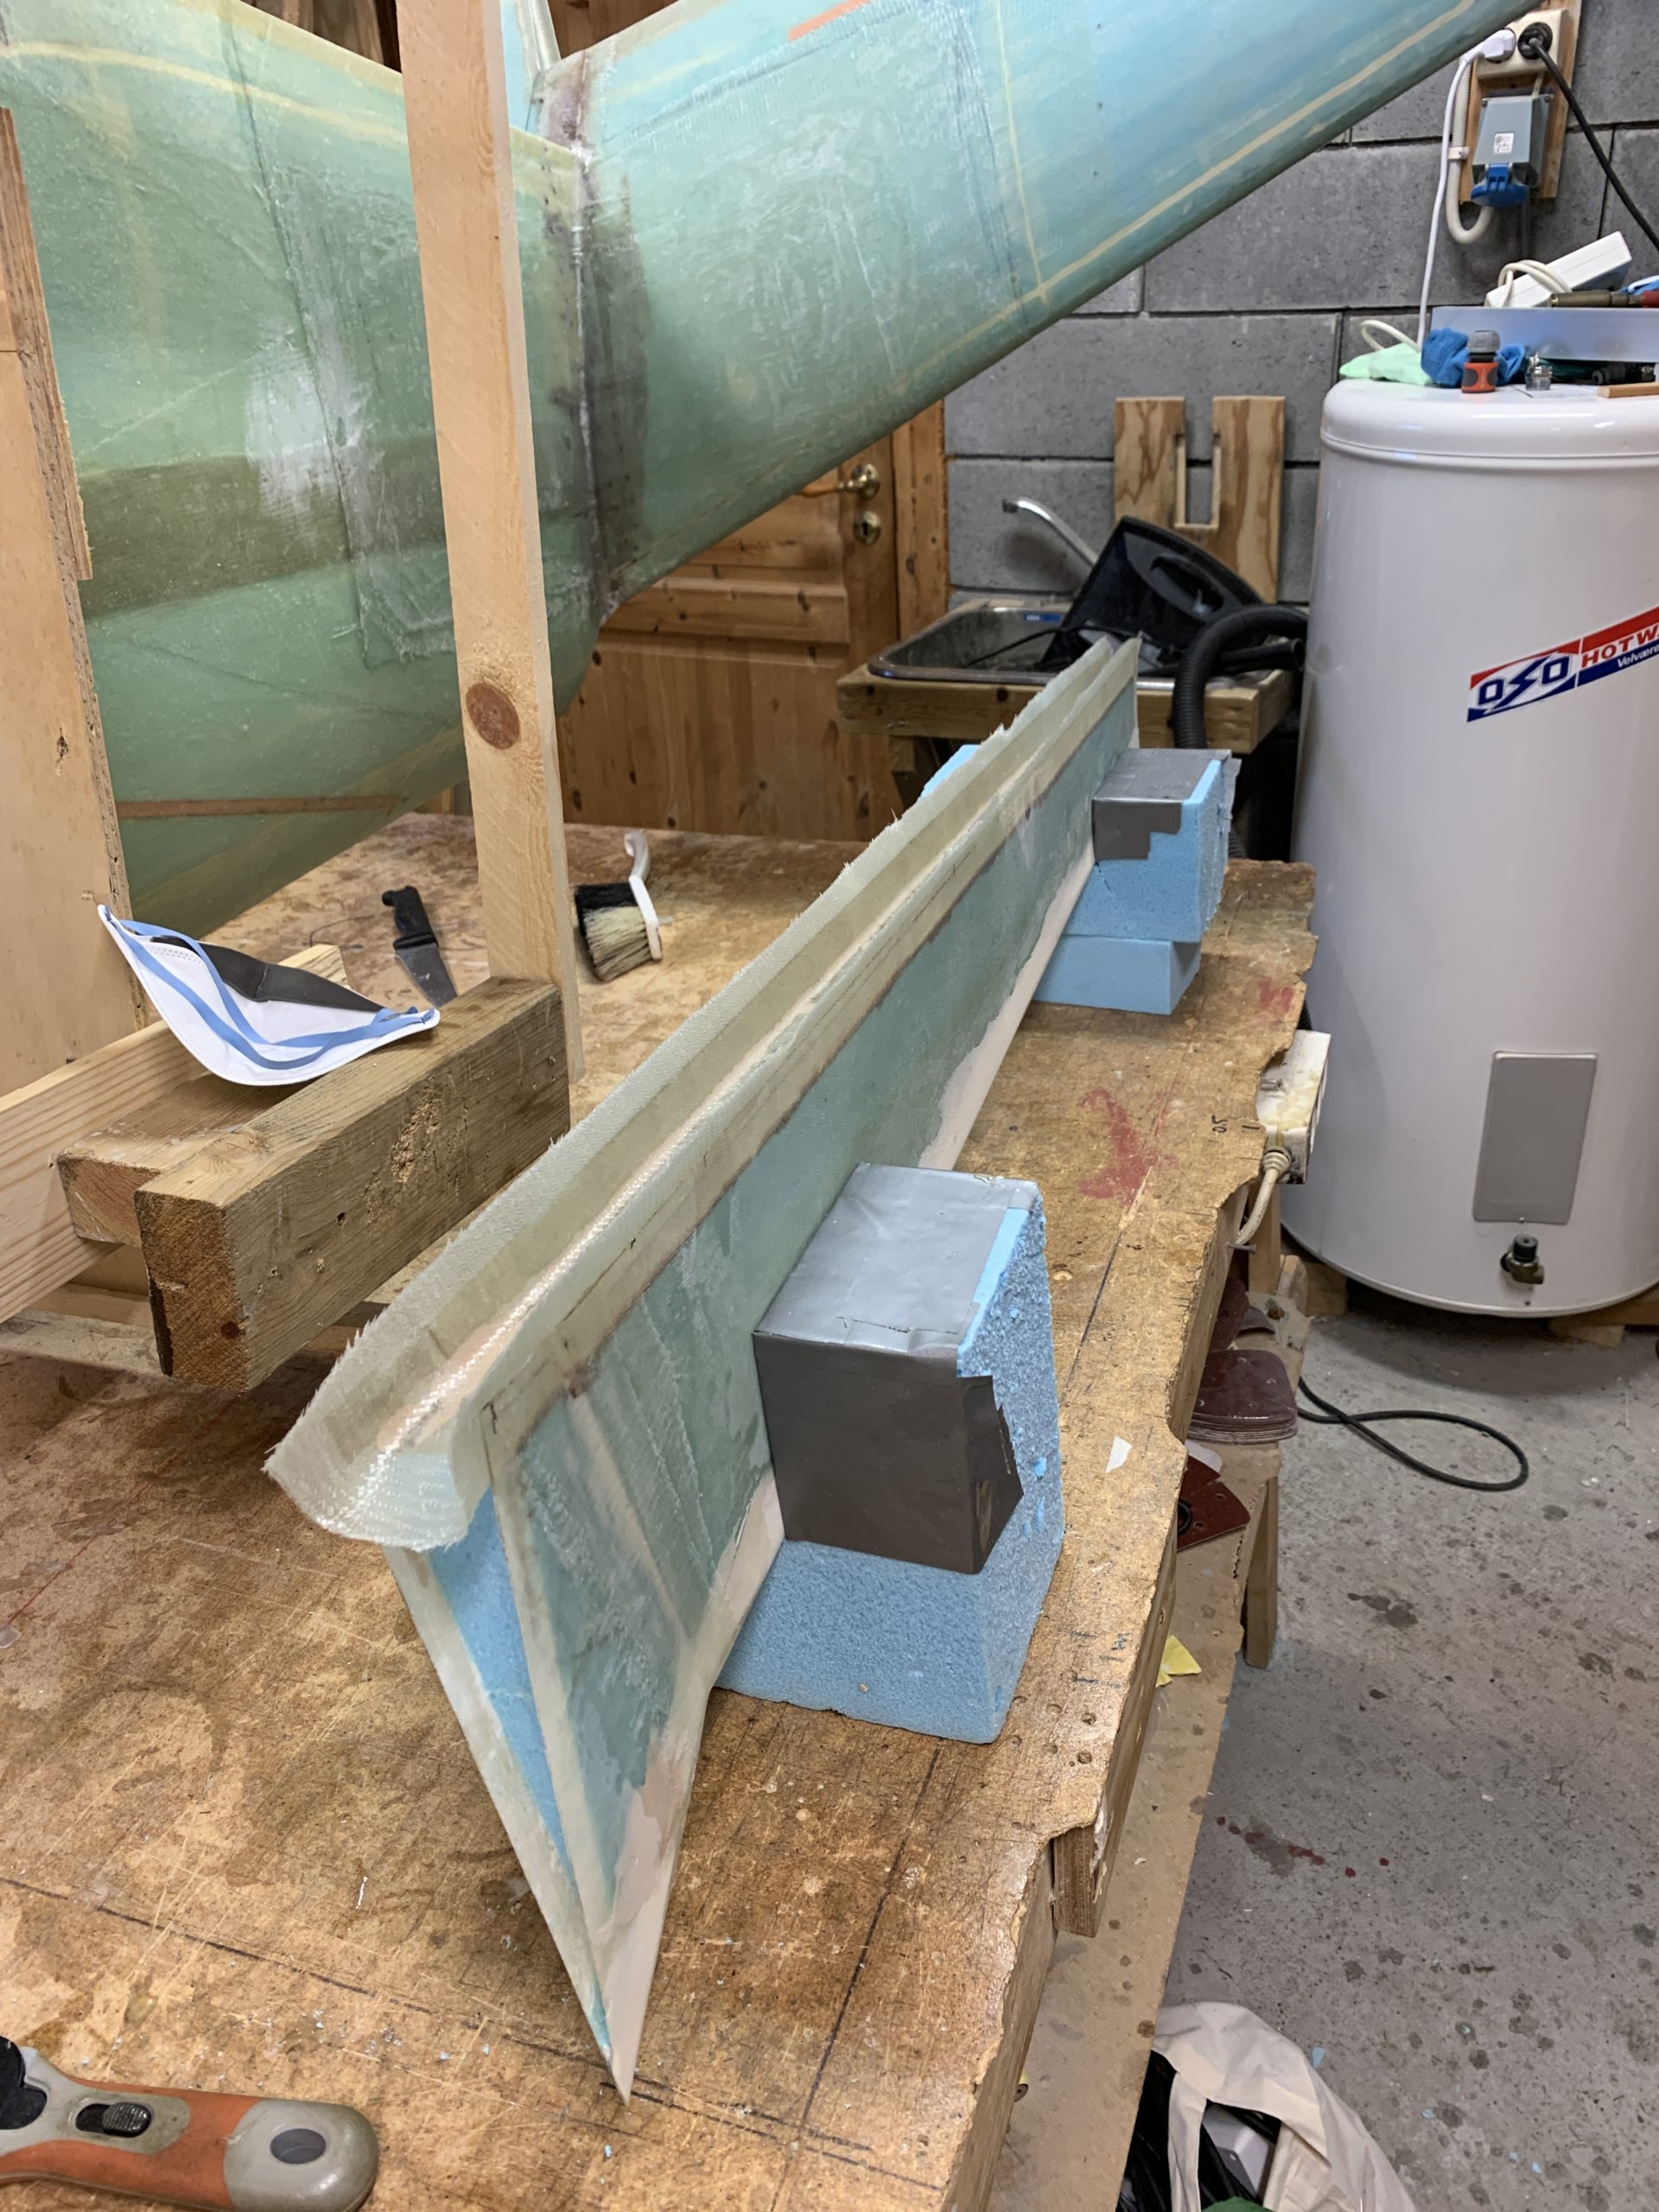
2020-10-08: I forgot to take pictures after I glassed the bellhorn – while it still was on the workbench. This is the best I have of the end result:
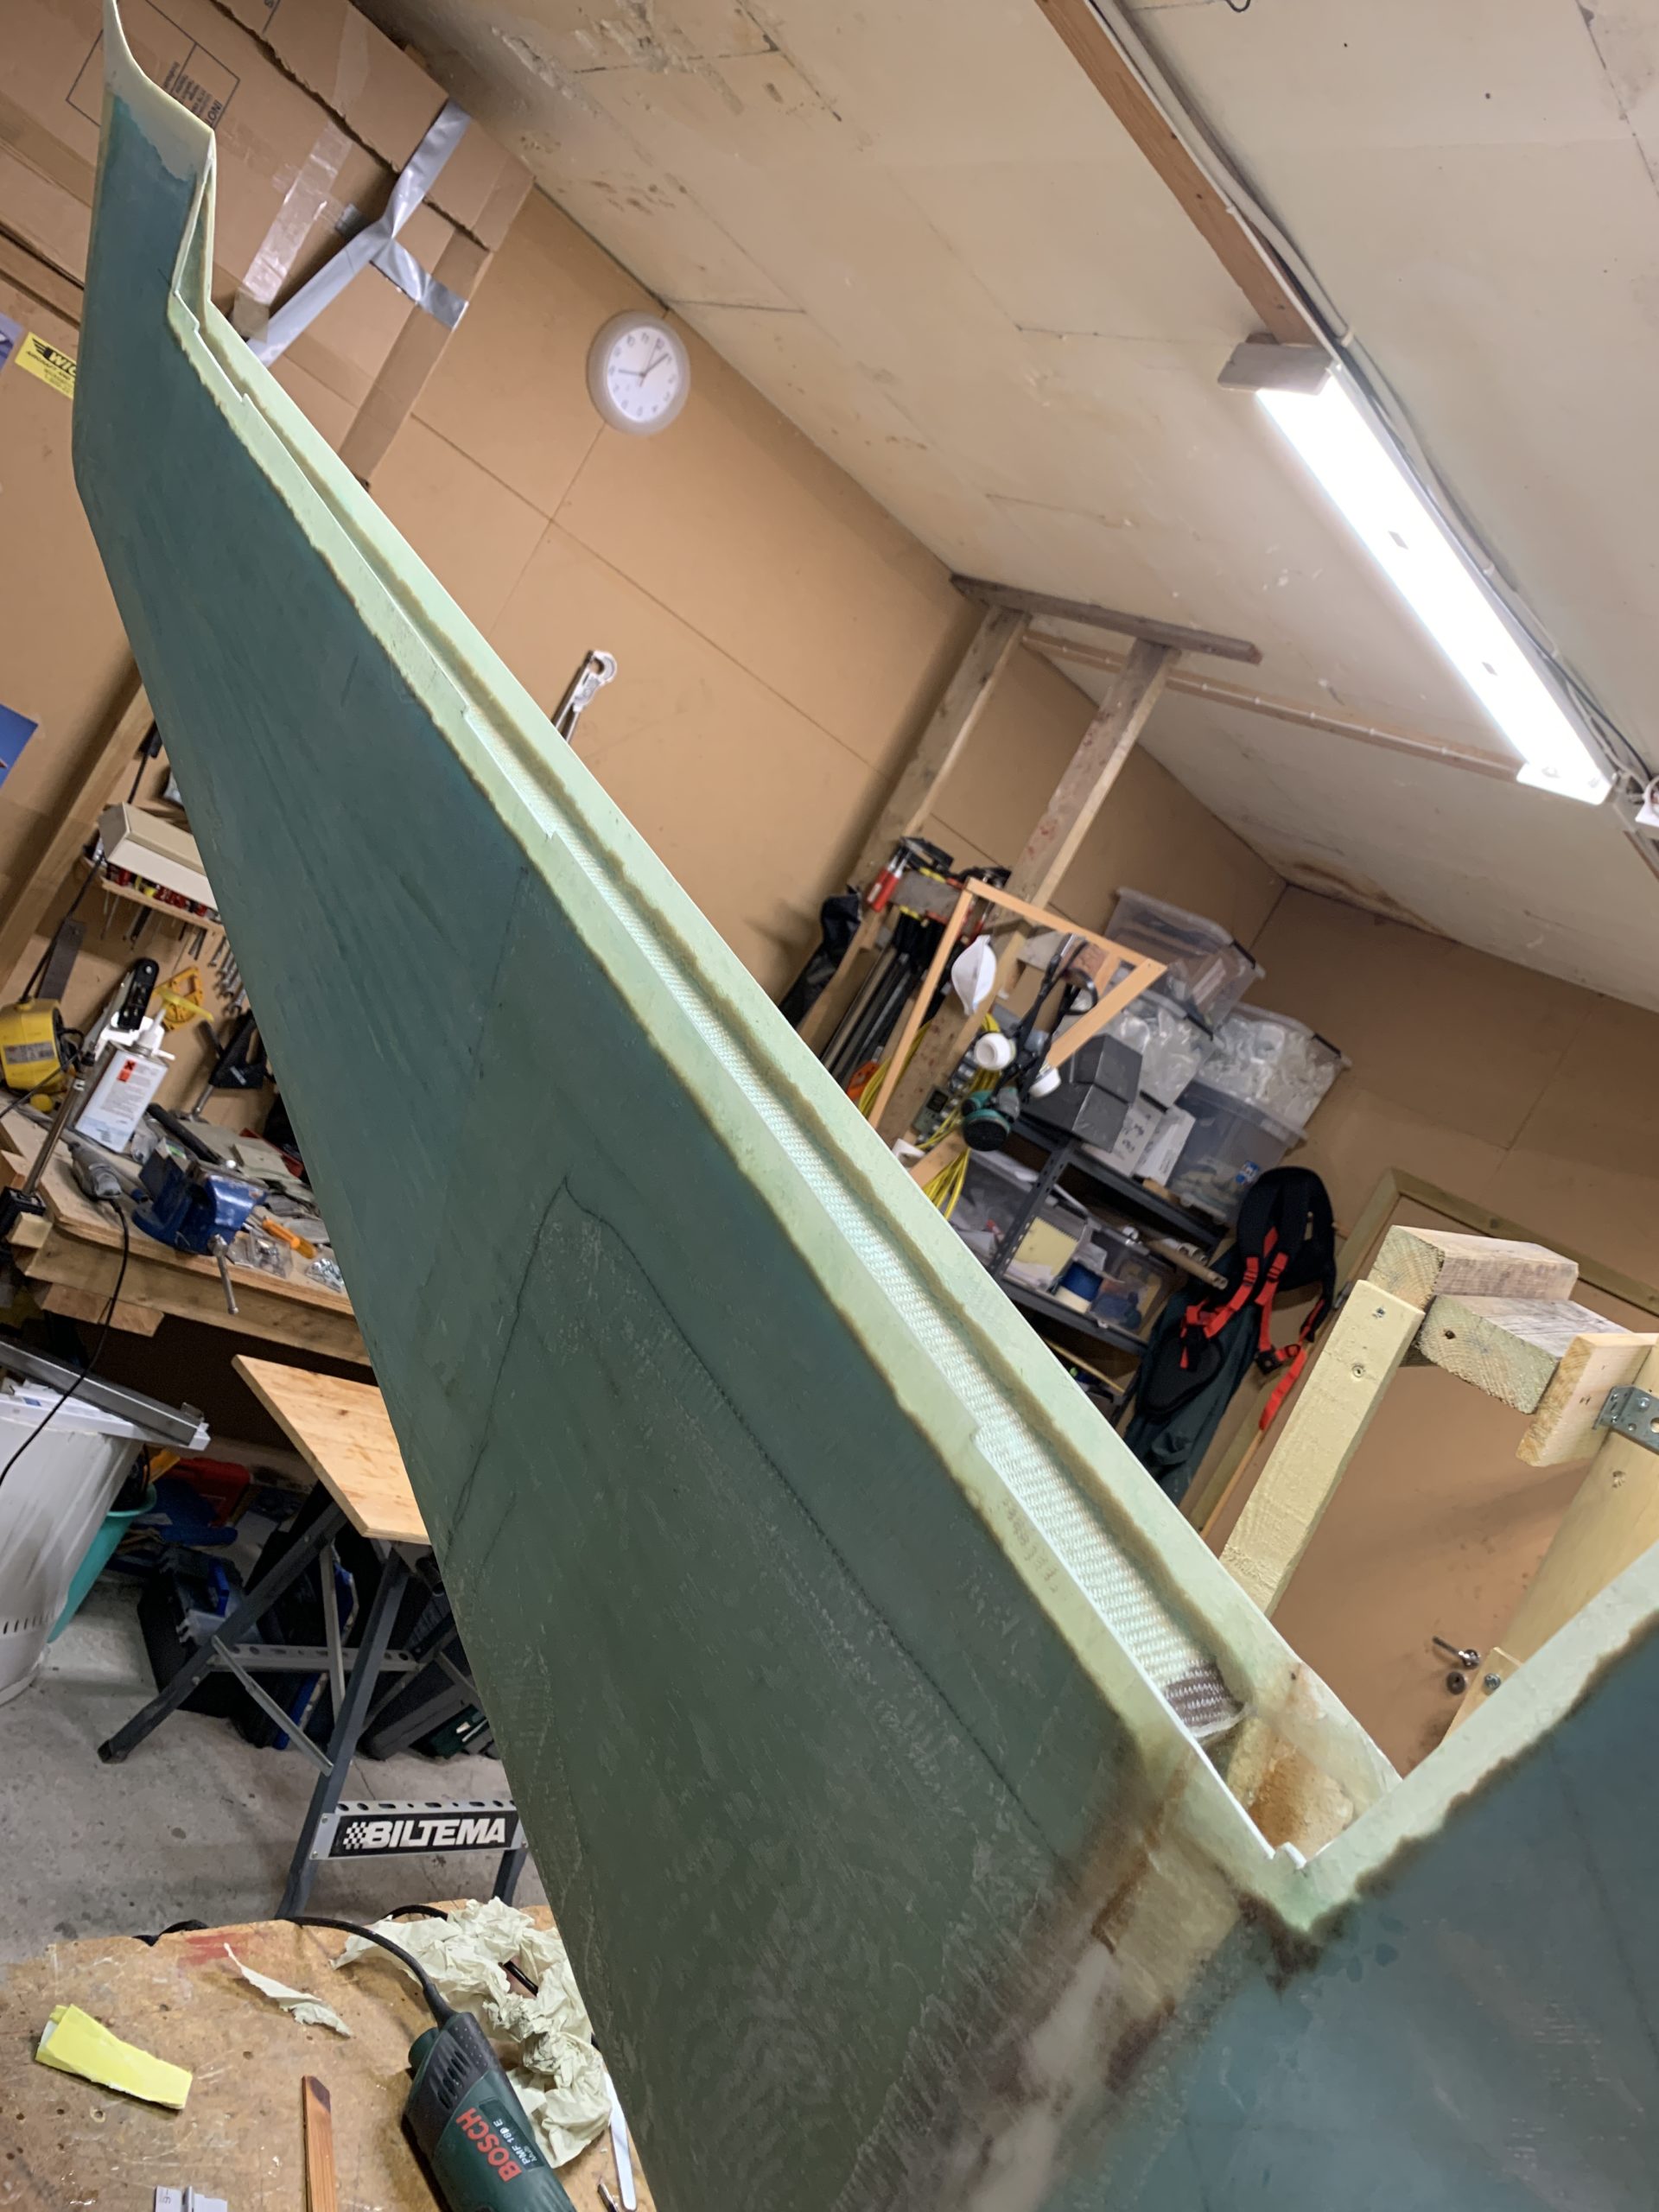
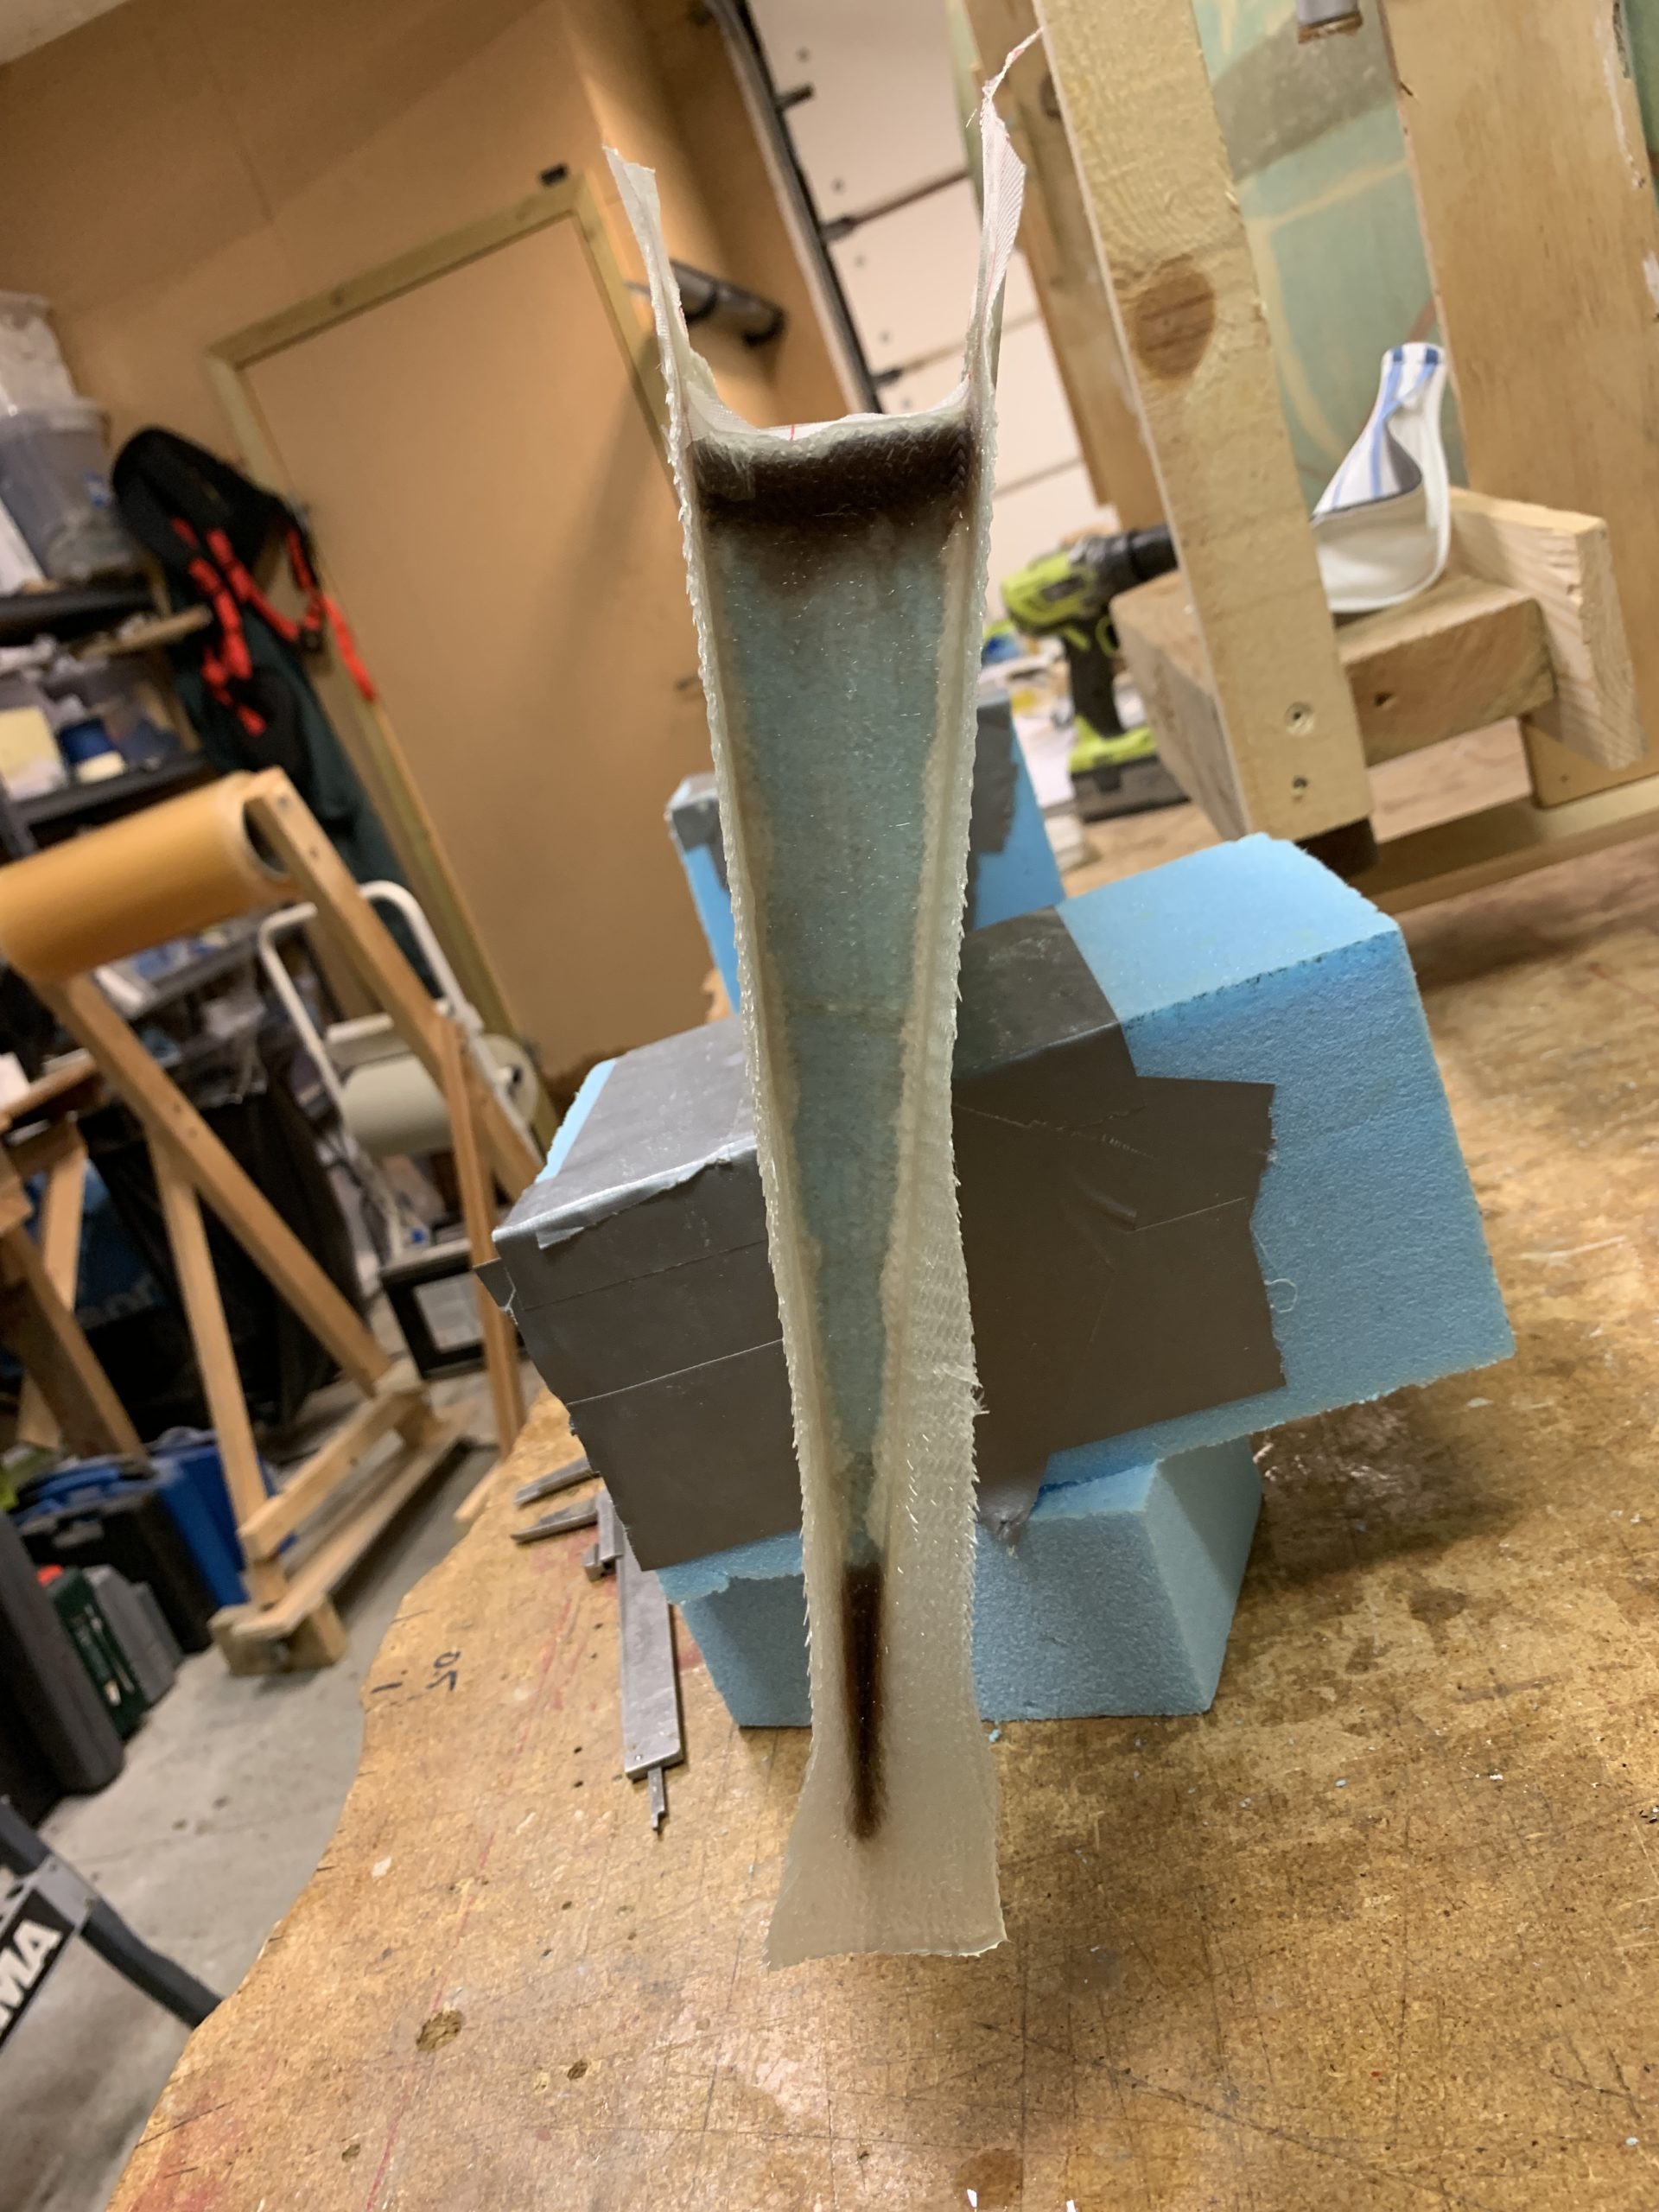
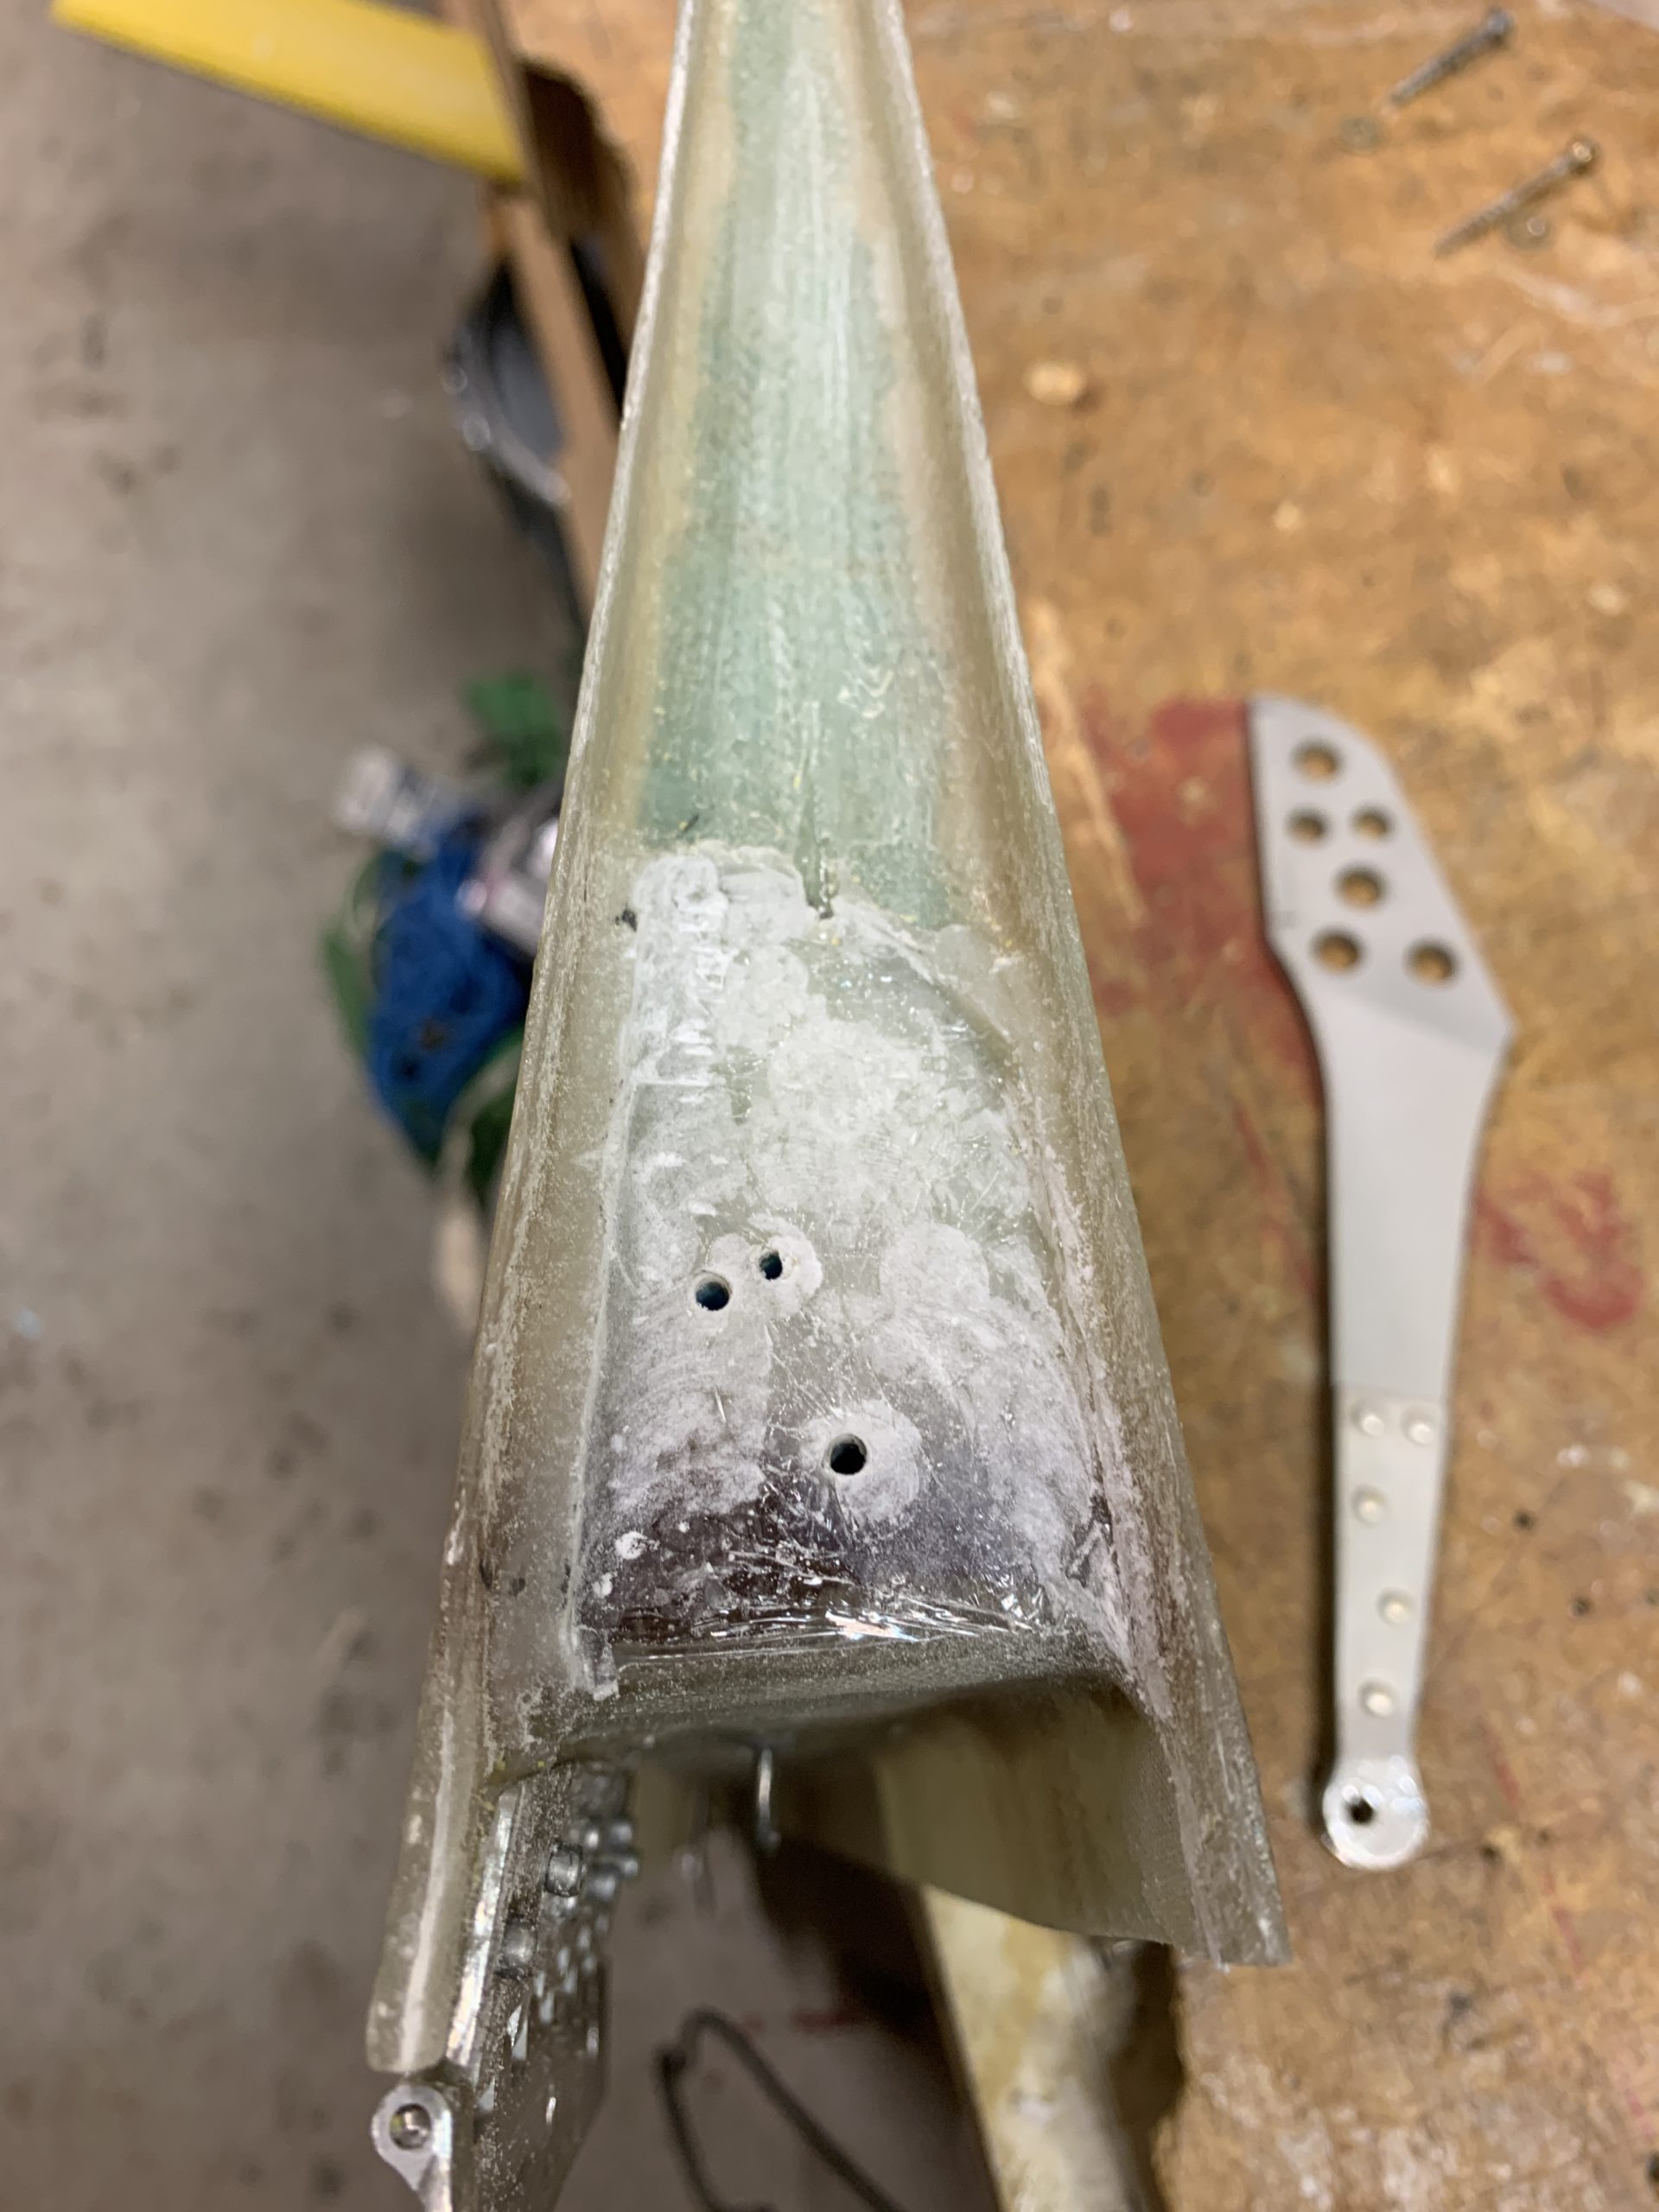
The following two pictures show how much room there is for the bellhorn.
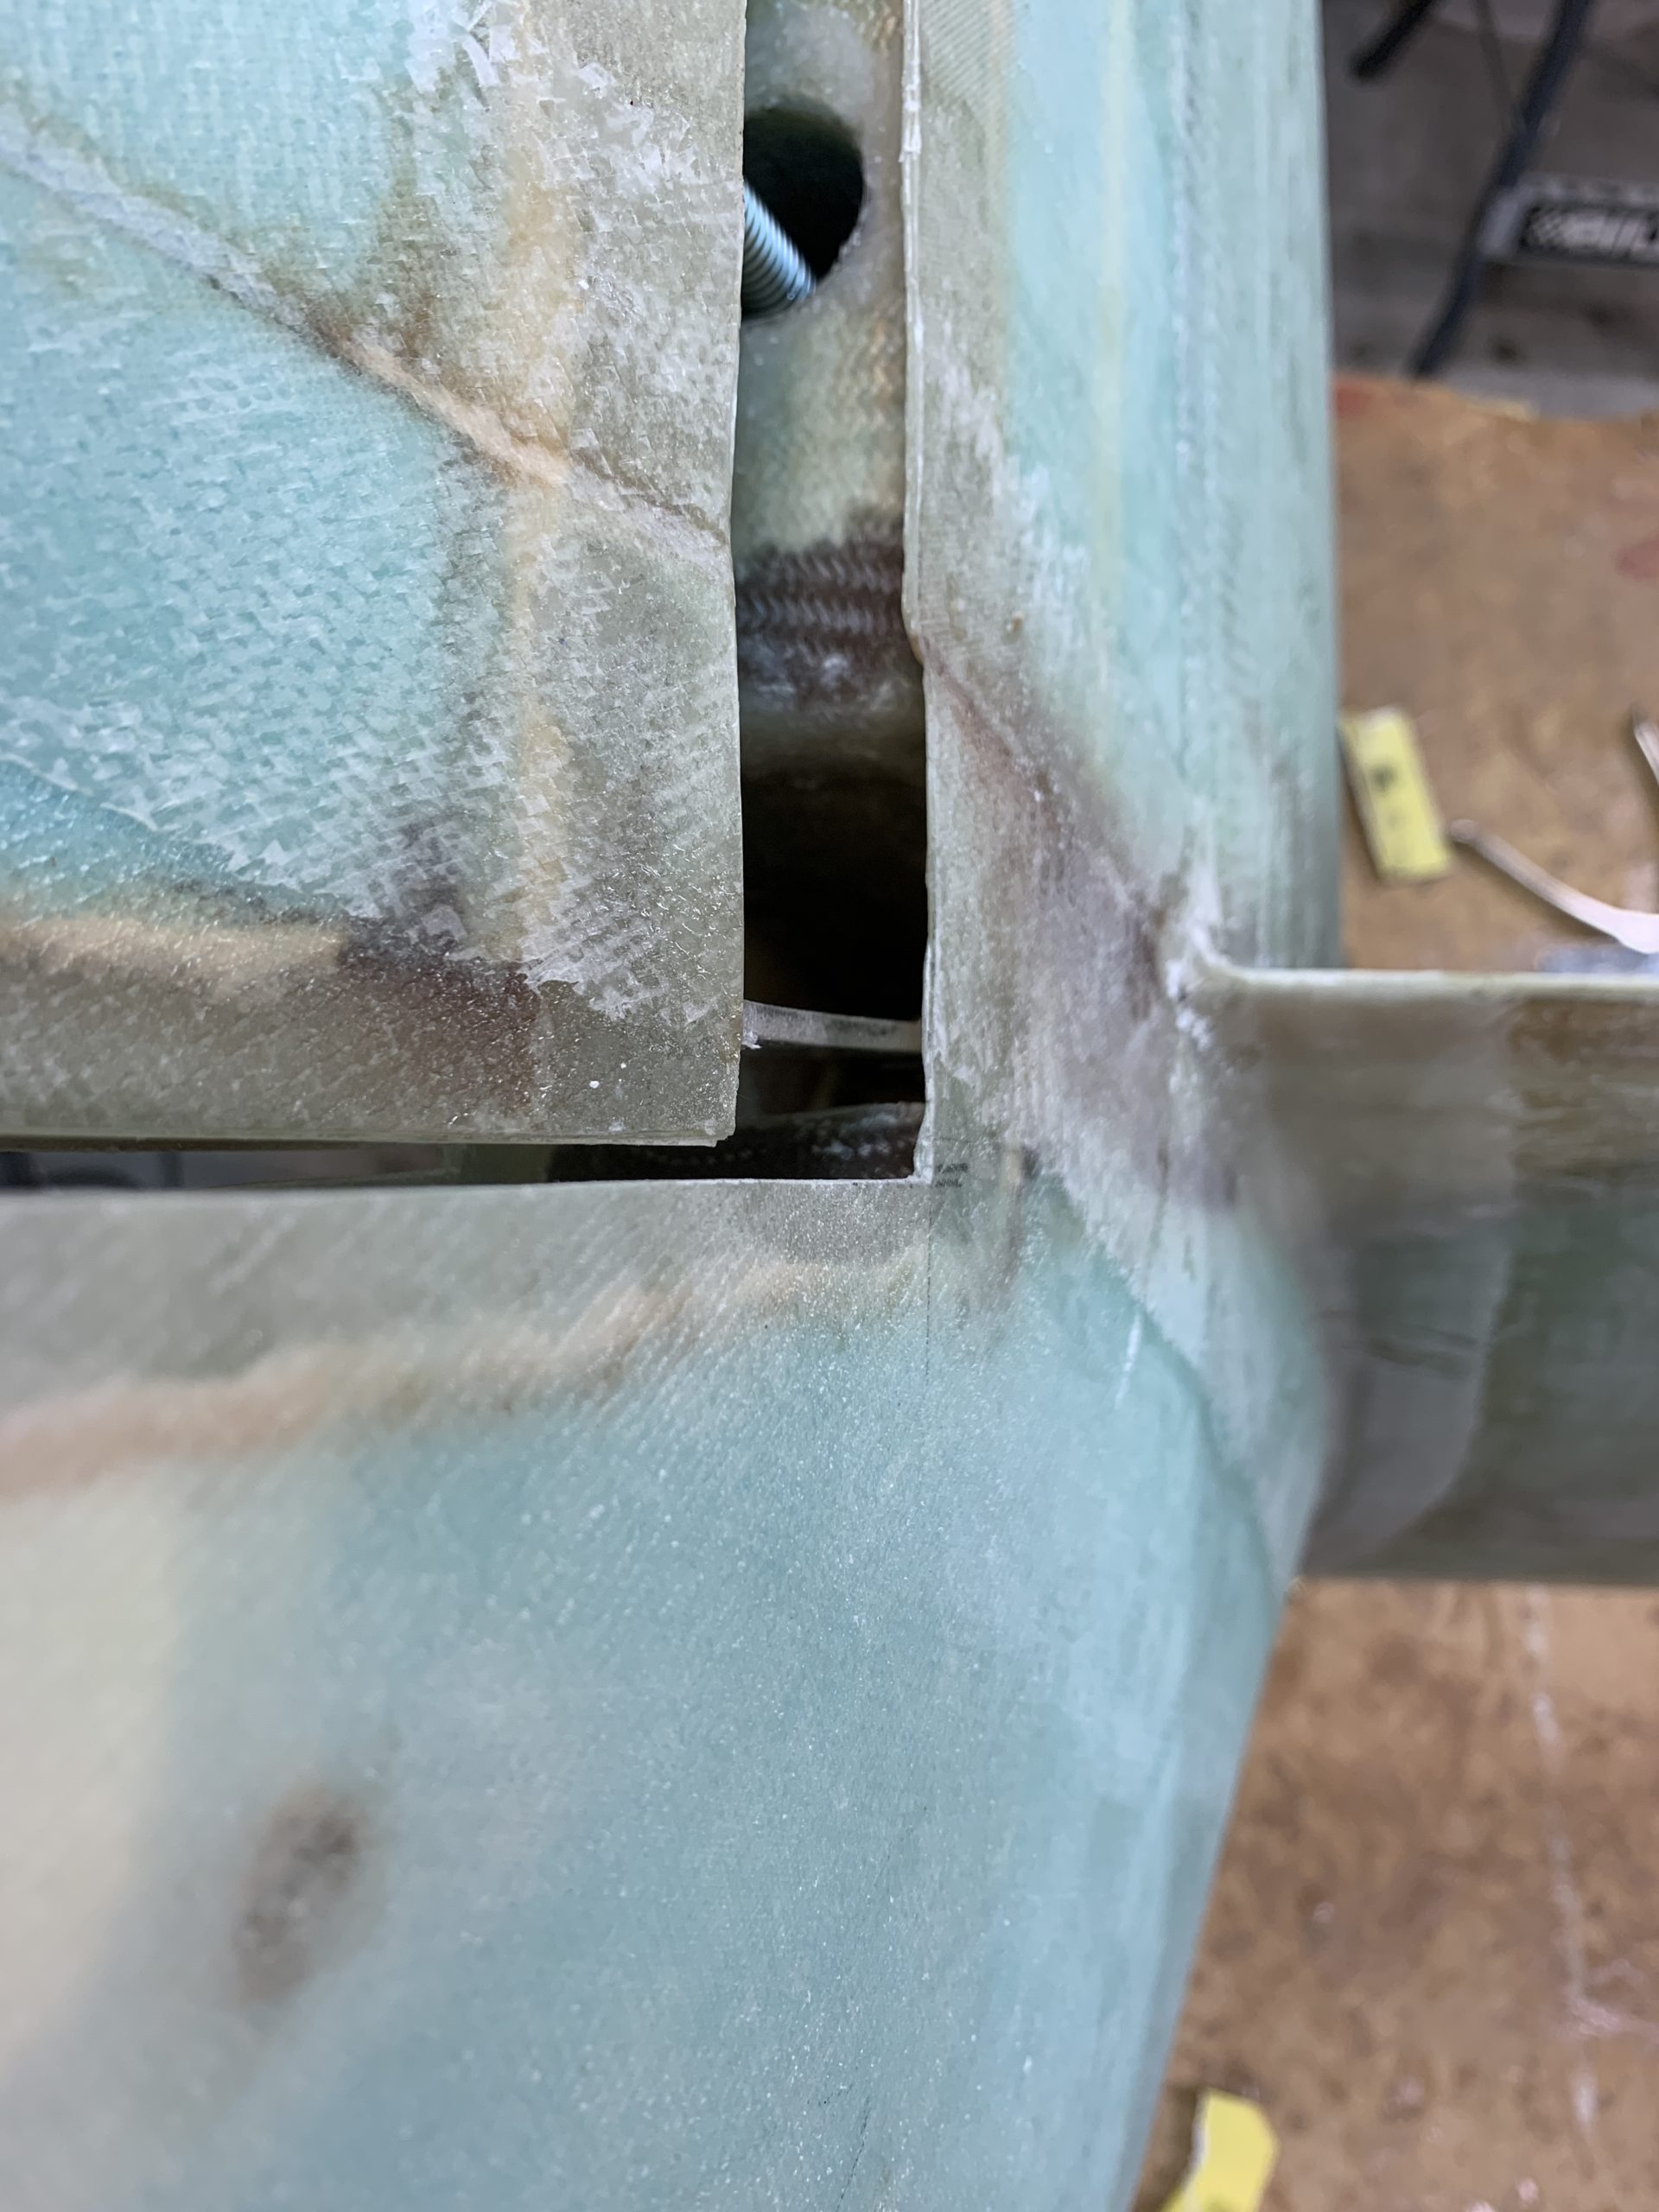
Since I lifted the aft end of the bellhorn (the one glassed in place in the rudder) by 3mm I managed to get this clearing. This angle was necessary to have so the end of the bellhorn met the pocket inside the wing.
If I had removed a bit more foam from the bottom of the rudder I might have avoided this and got the bellhorn flush without doing what I had to do. For the left rudder I had to do a similar trick to avoid the bellhorn to touch the side of the pocket. But then I had problems with the clearing in the upper part of the pocket. I had probably removed a bit too much foam that time.
On this picture it is possible to see the bellhorn is angled a bit upward (the wing is still standing with leading edge down).

It’s not easy to measure or calculate the exact amount of foam to remove, but it was not very much extra work here to make it fit.
All in all I am pleased with the result. A big thank you to Joe Polenek for publishing his method!