
The aft heat-duct is made the same way as the front heat-duct in chapter 6.
This is the “transition-piece” – the transition from the aft heat-duct to a tube that goes further back and to the firewall. It is made from a piece of 1.5″ urethane. It is square in one end and circular in the other – hence “transition”. The urethane is covered with some electrical tape as a release-agent, then covered with 2 BID and wrapped in saran-wrap to hold the BID tight. After cure the urethane is carved out together with the tape and I end up with a tube.

The foam is carved out of the transition-piece and the square edge is cut 45° to fit the heat-duct later.
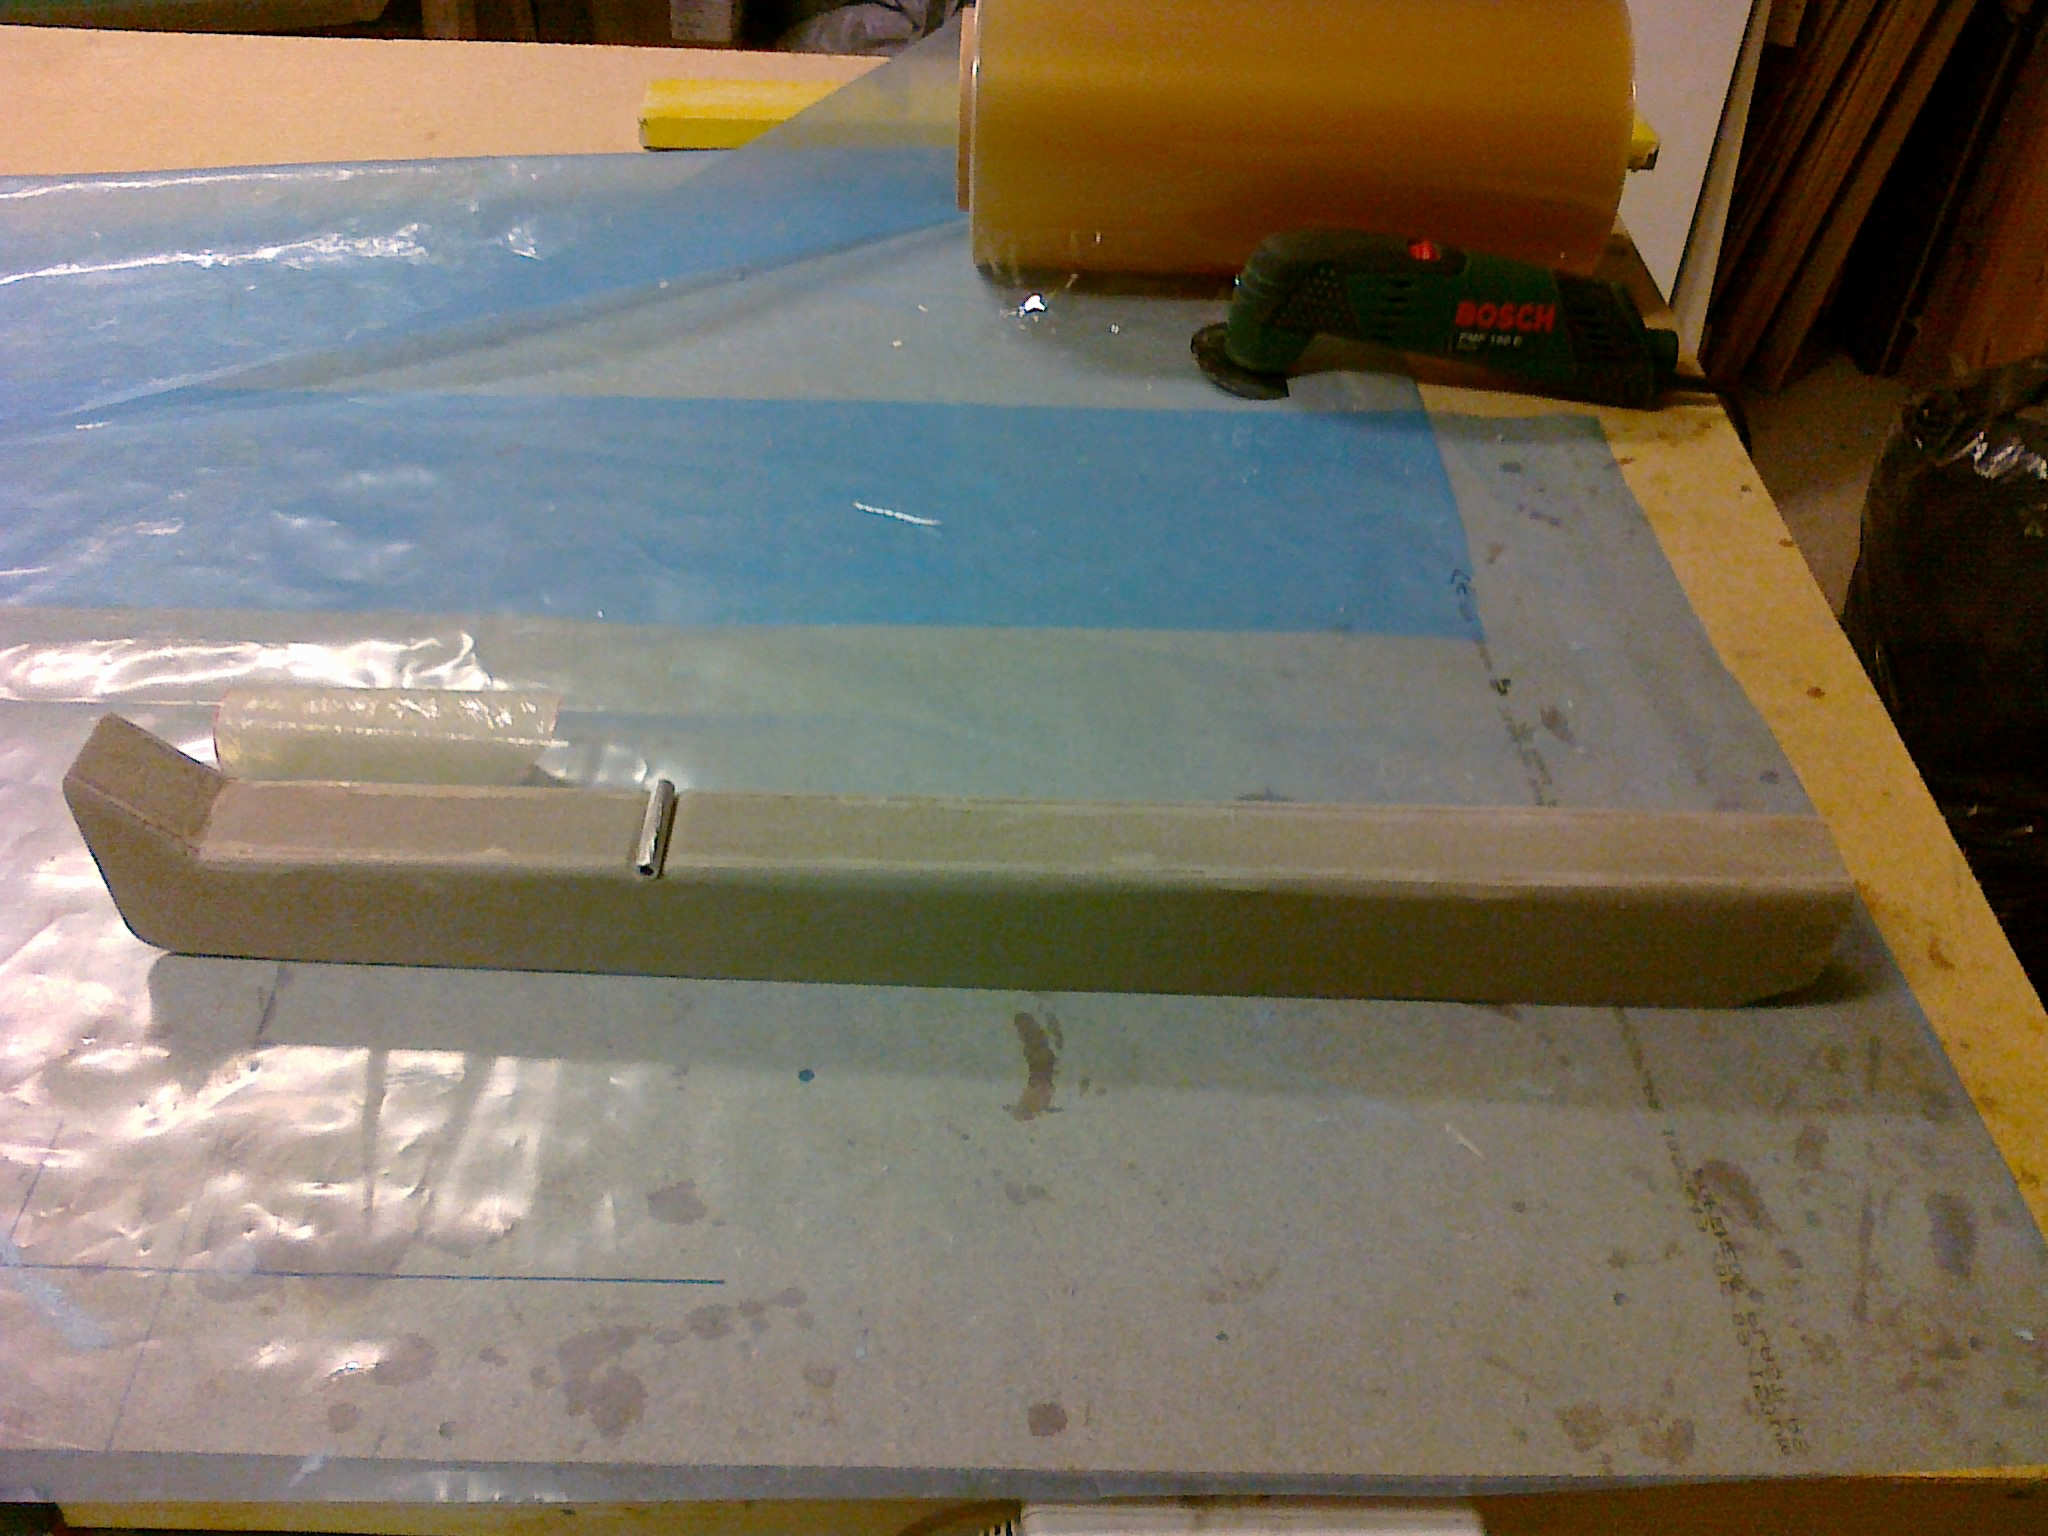
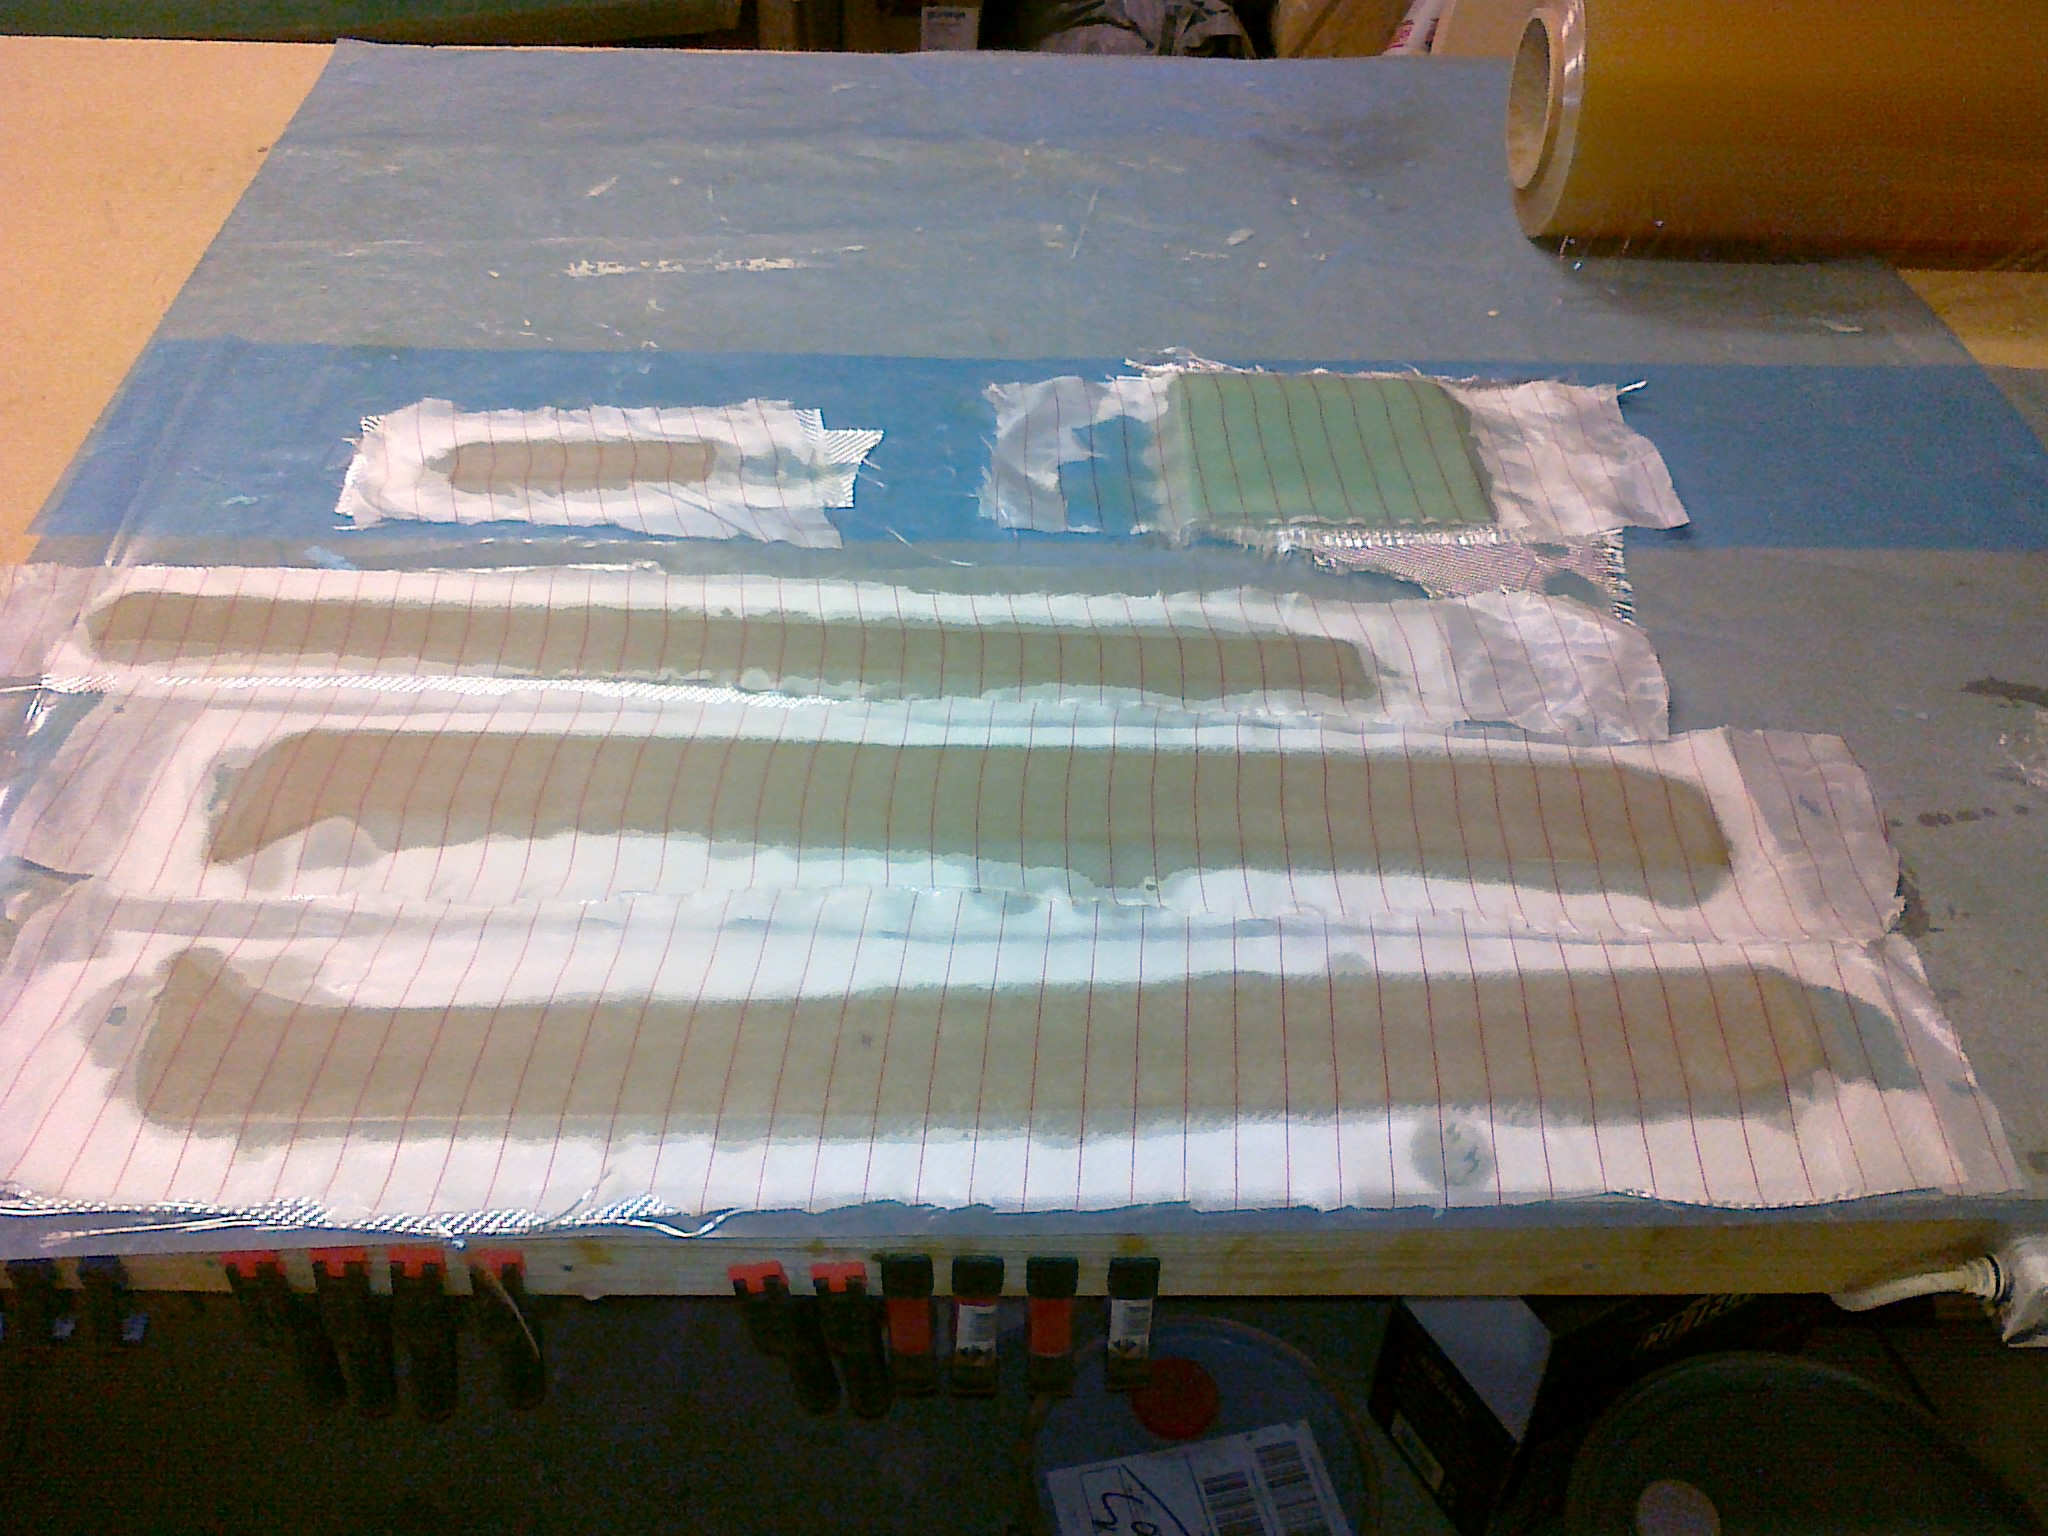
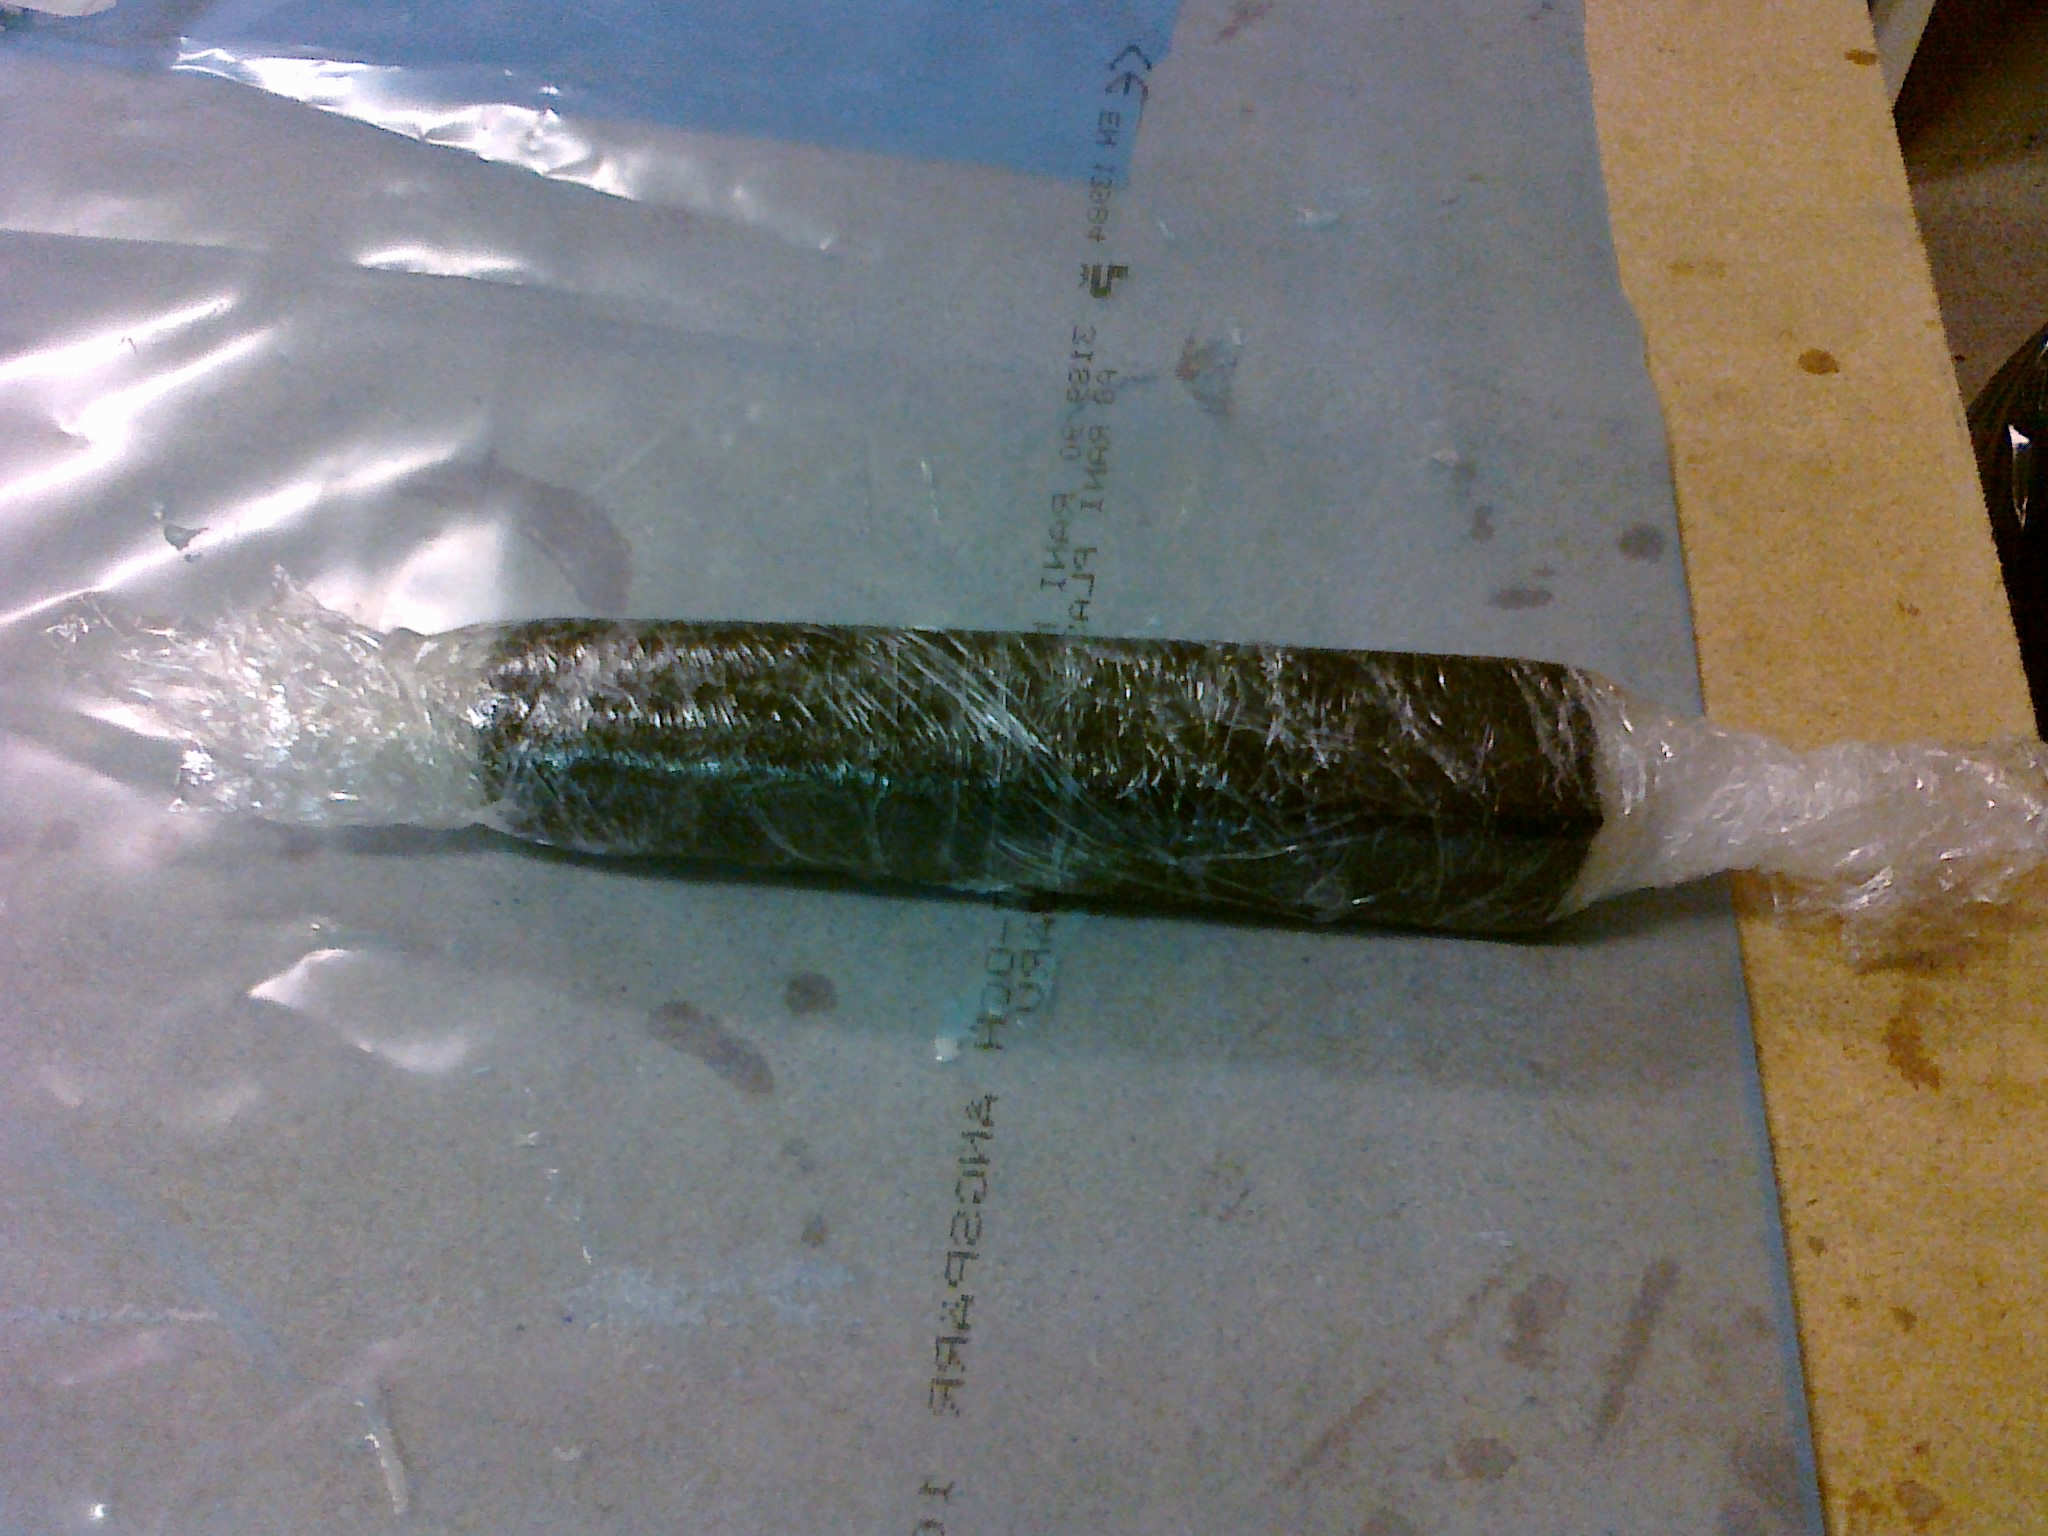
The pieces for the heat-duct is glued together, trial-fitted in the fuselage, sanded and made ready for glassing. The alu-tube for seat-belt attachment is also cut and prepared for glassing.
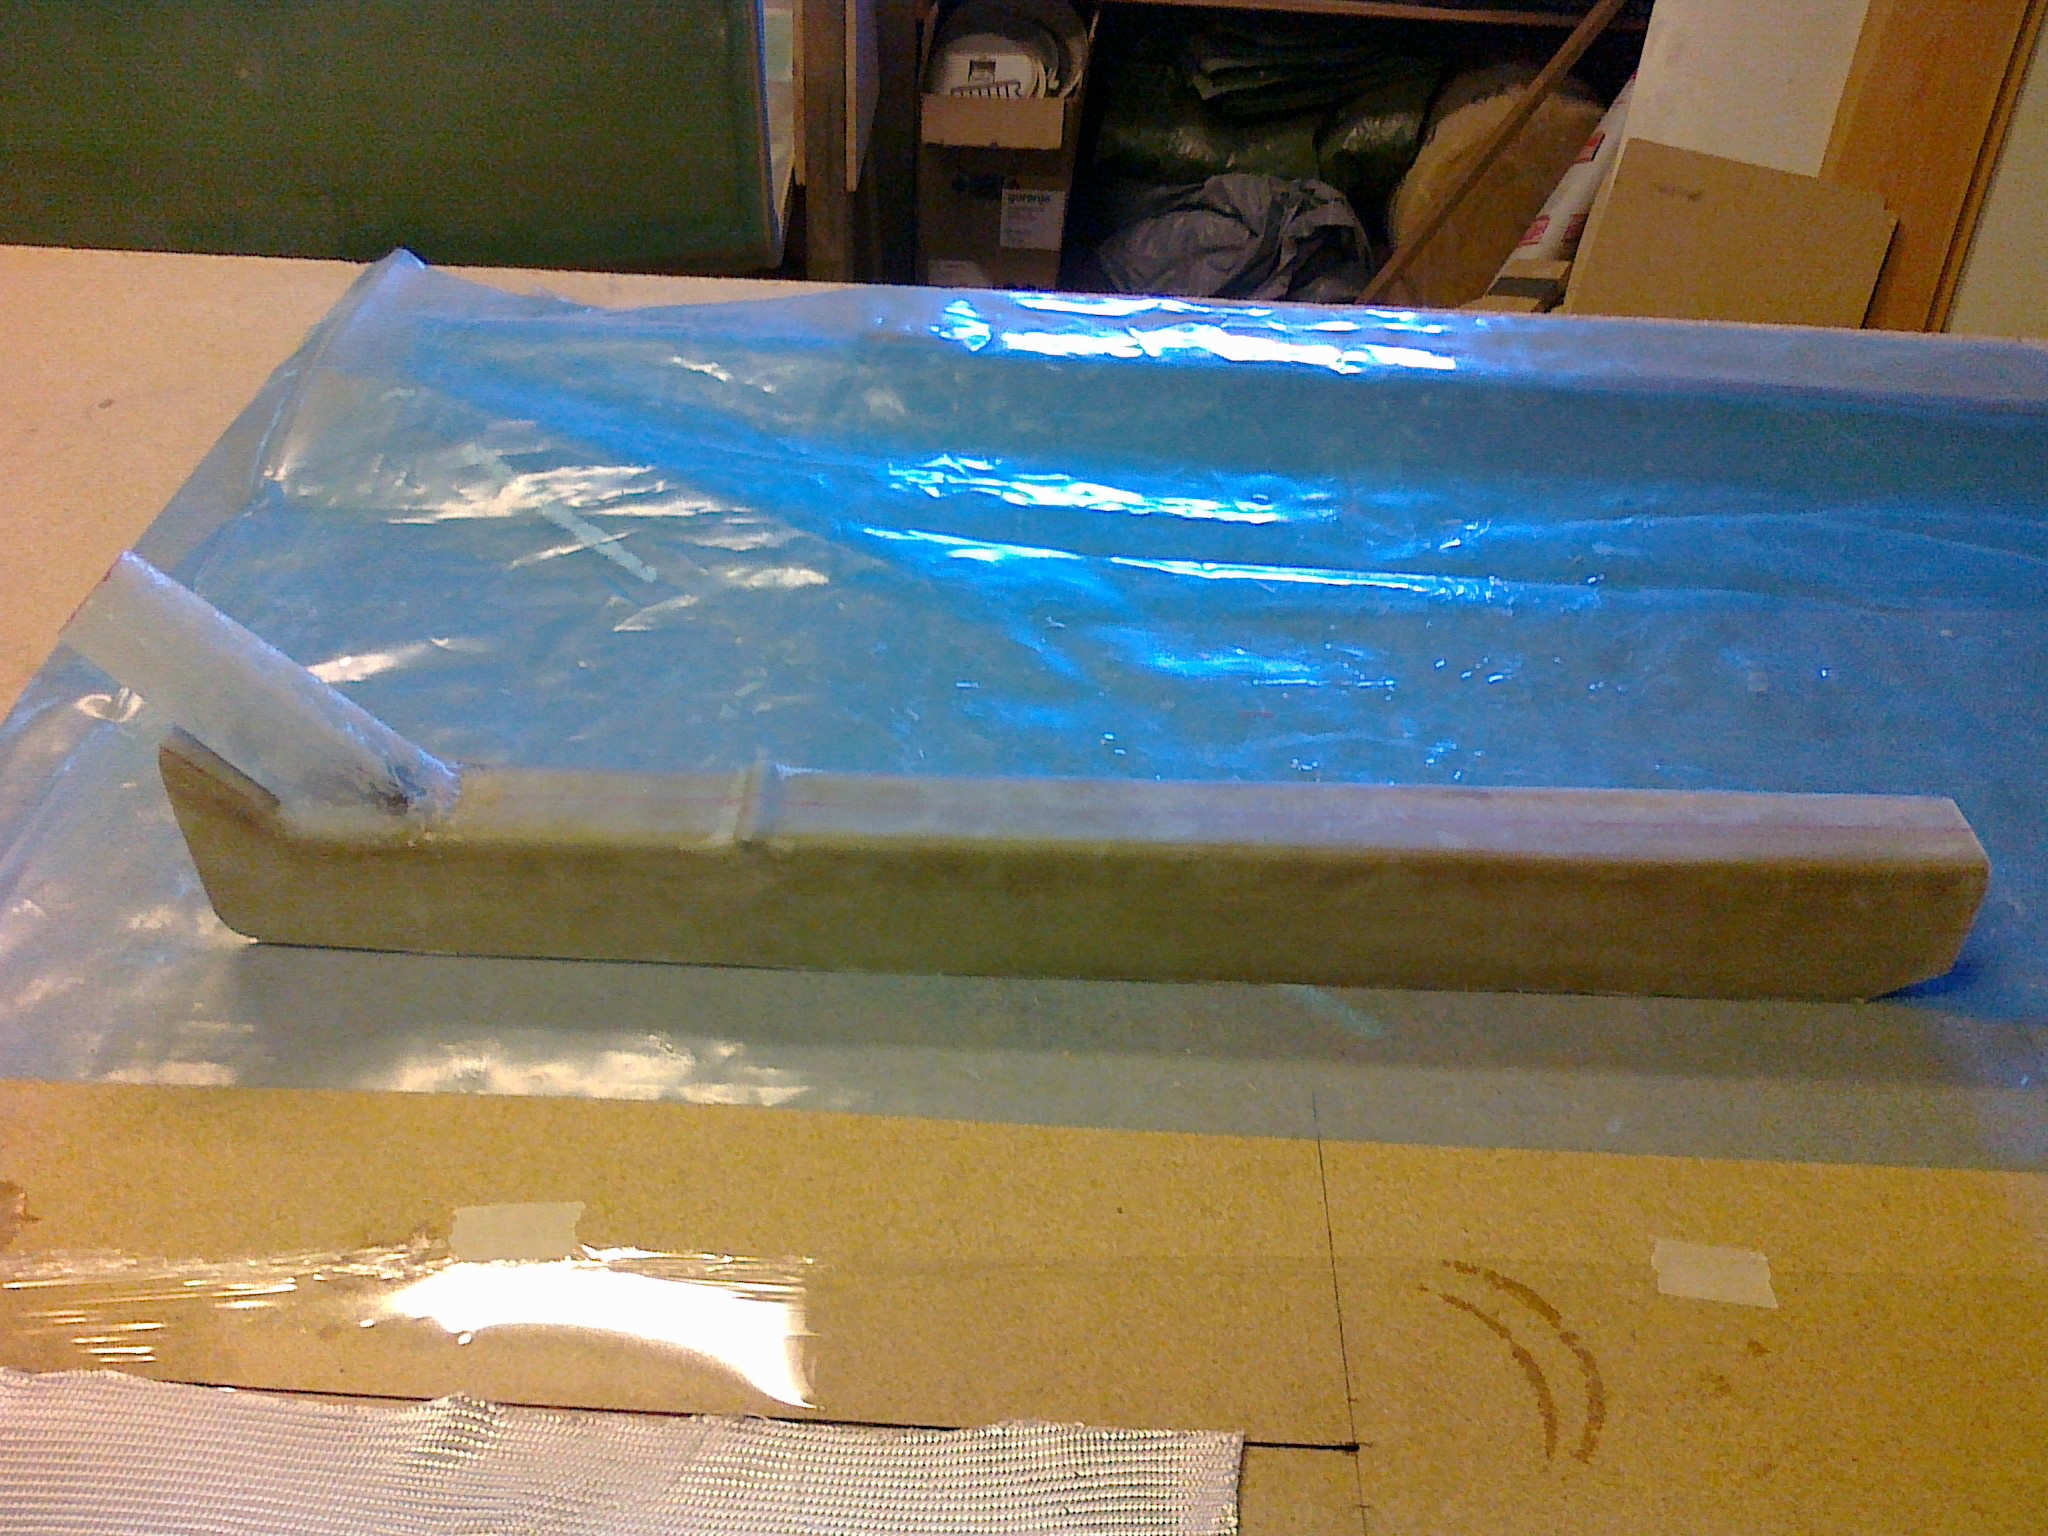
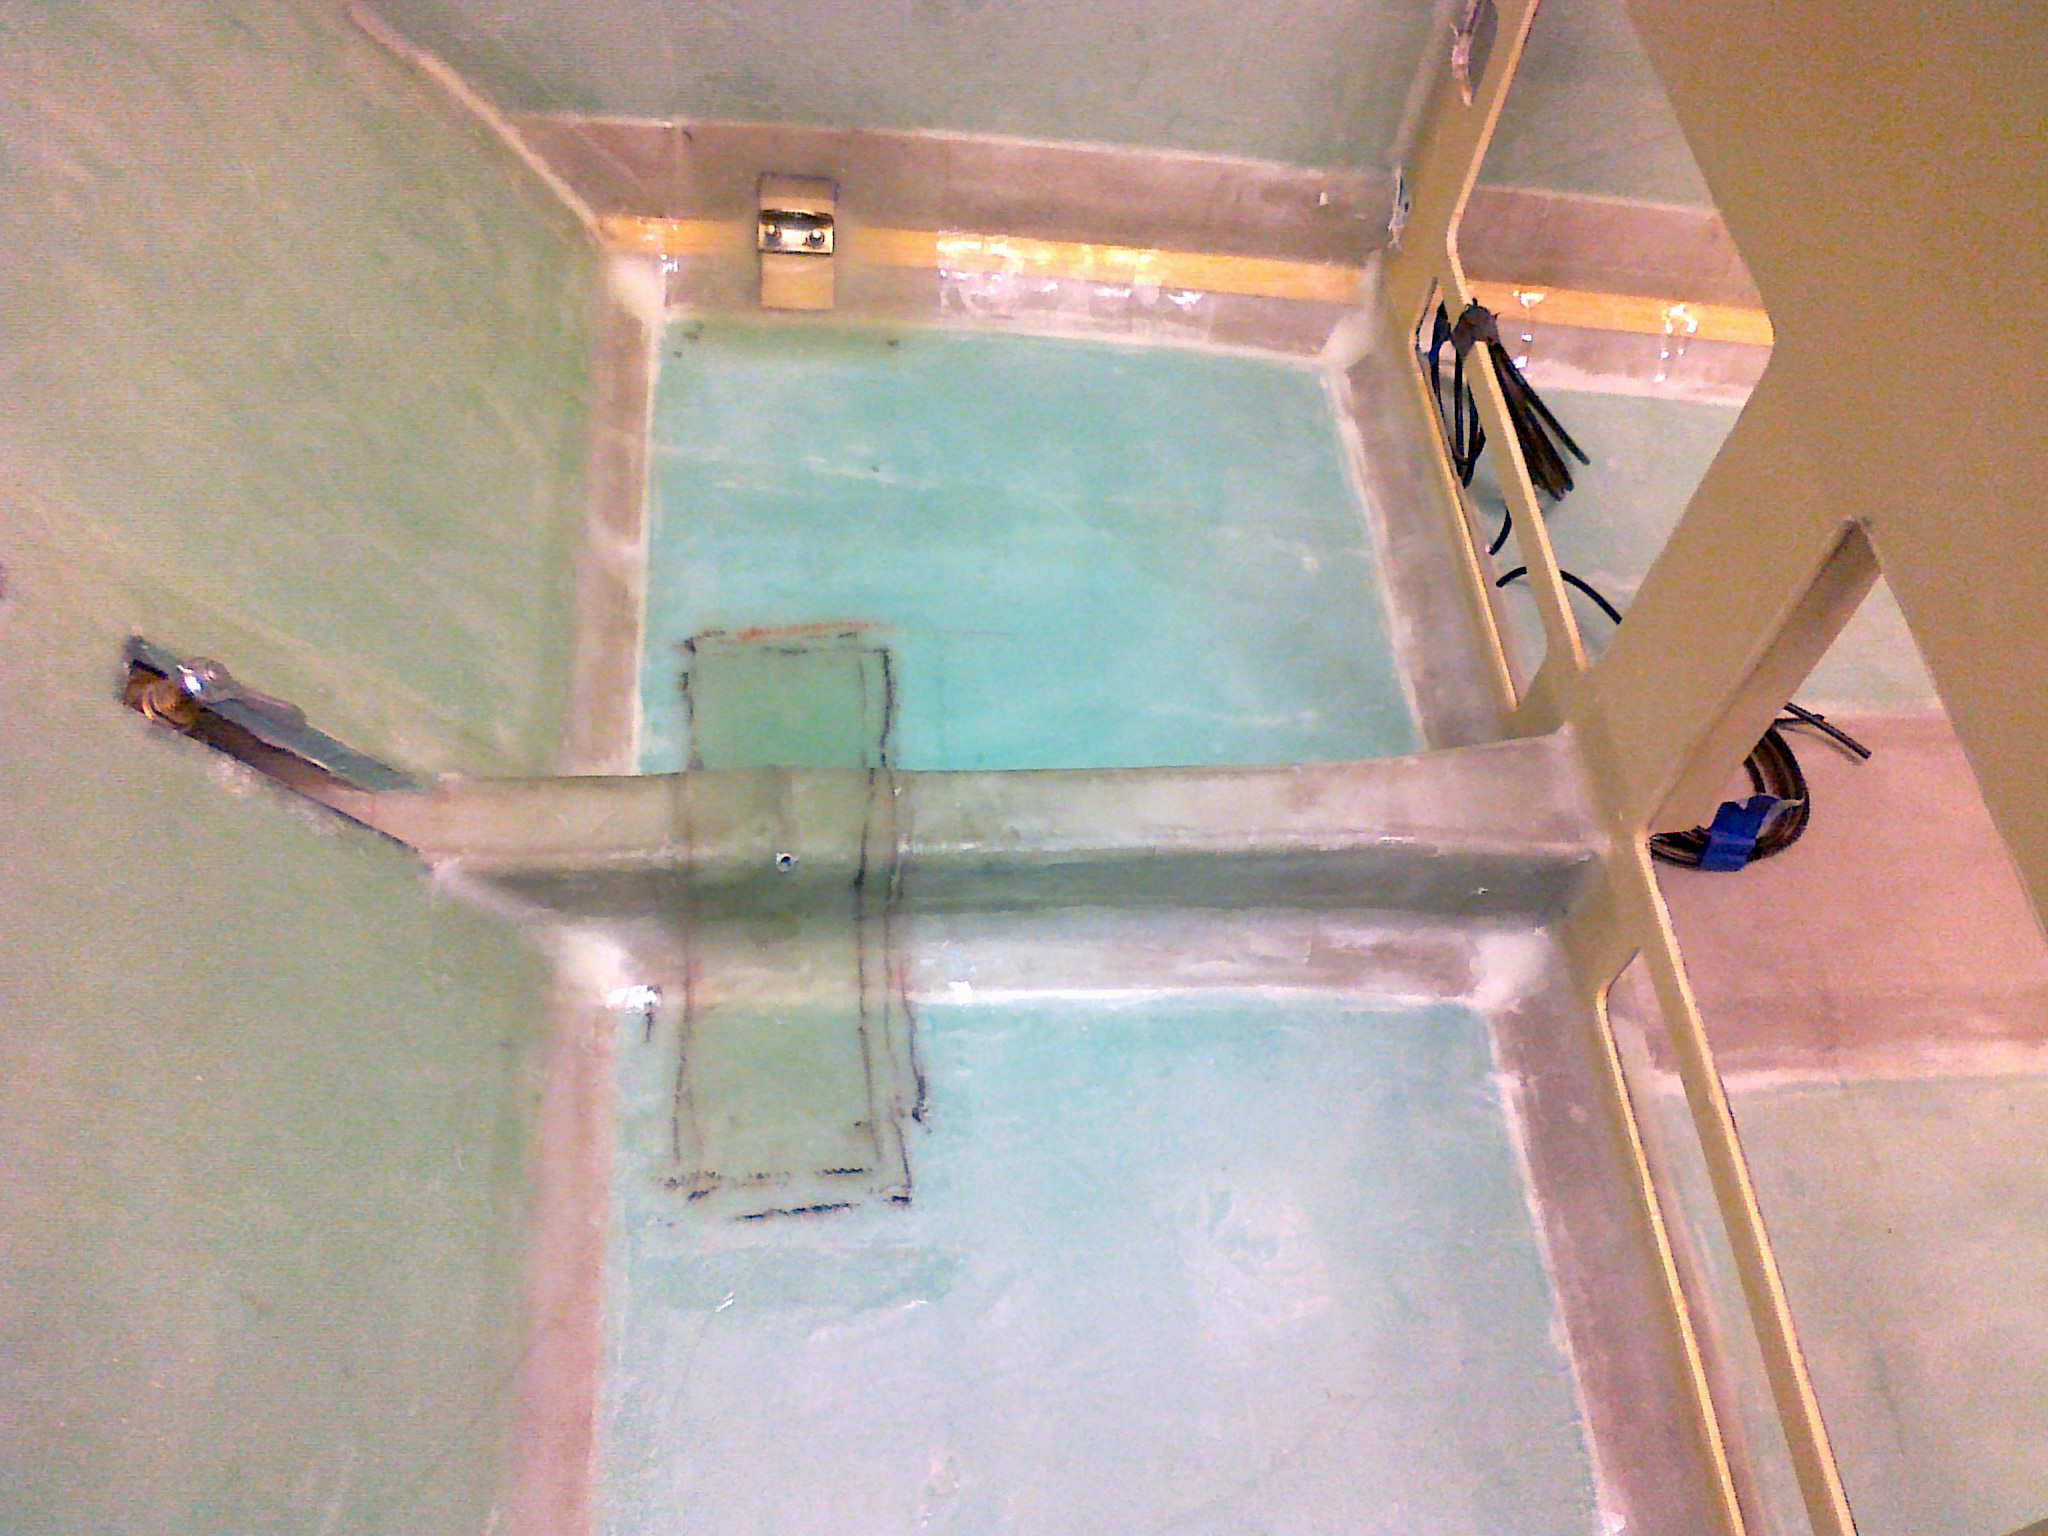
The heat-duct is glassed and the transition-piece is floxed in place. Next step is to flox it in place in the fuselage.
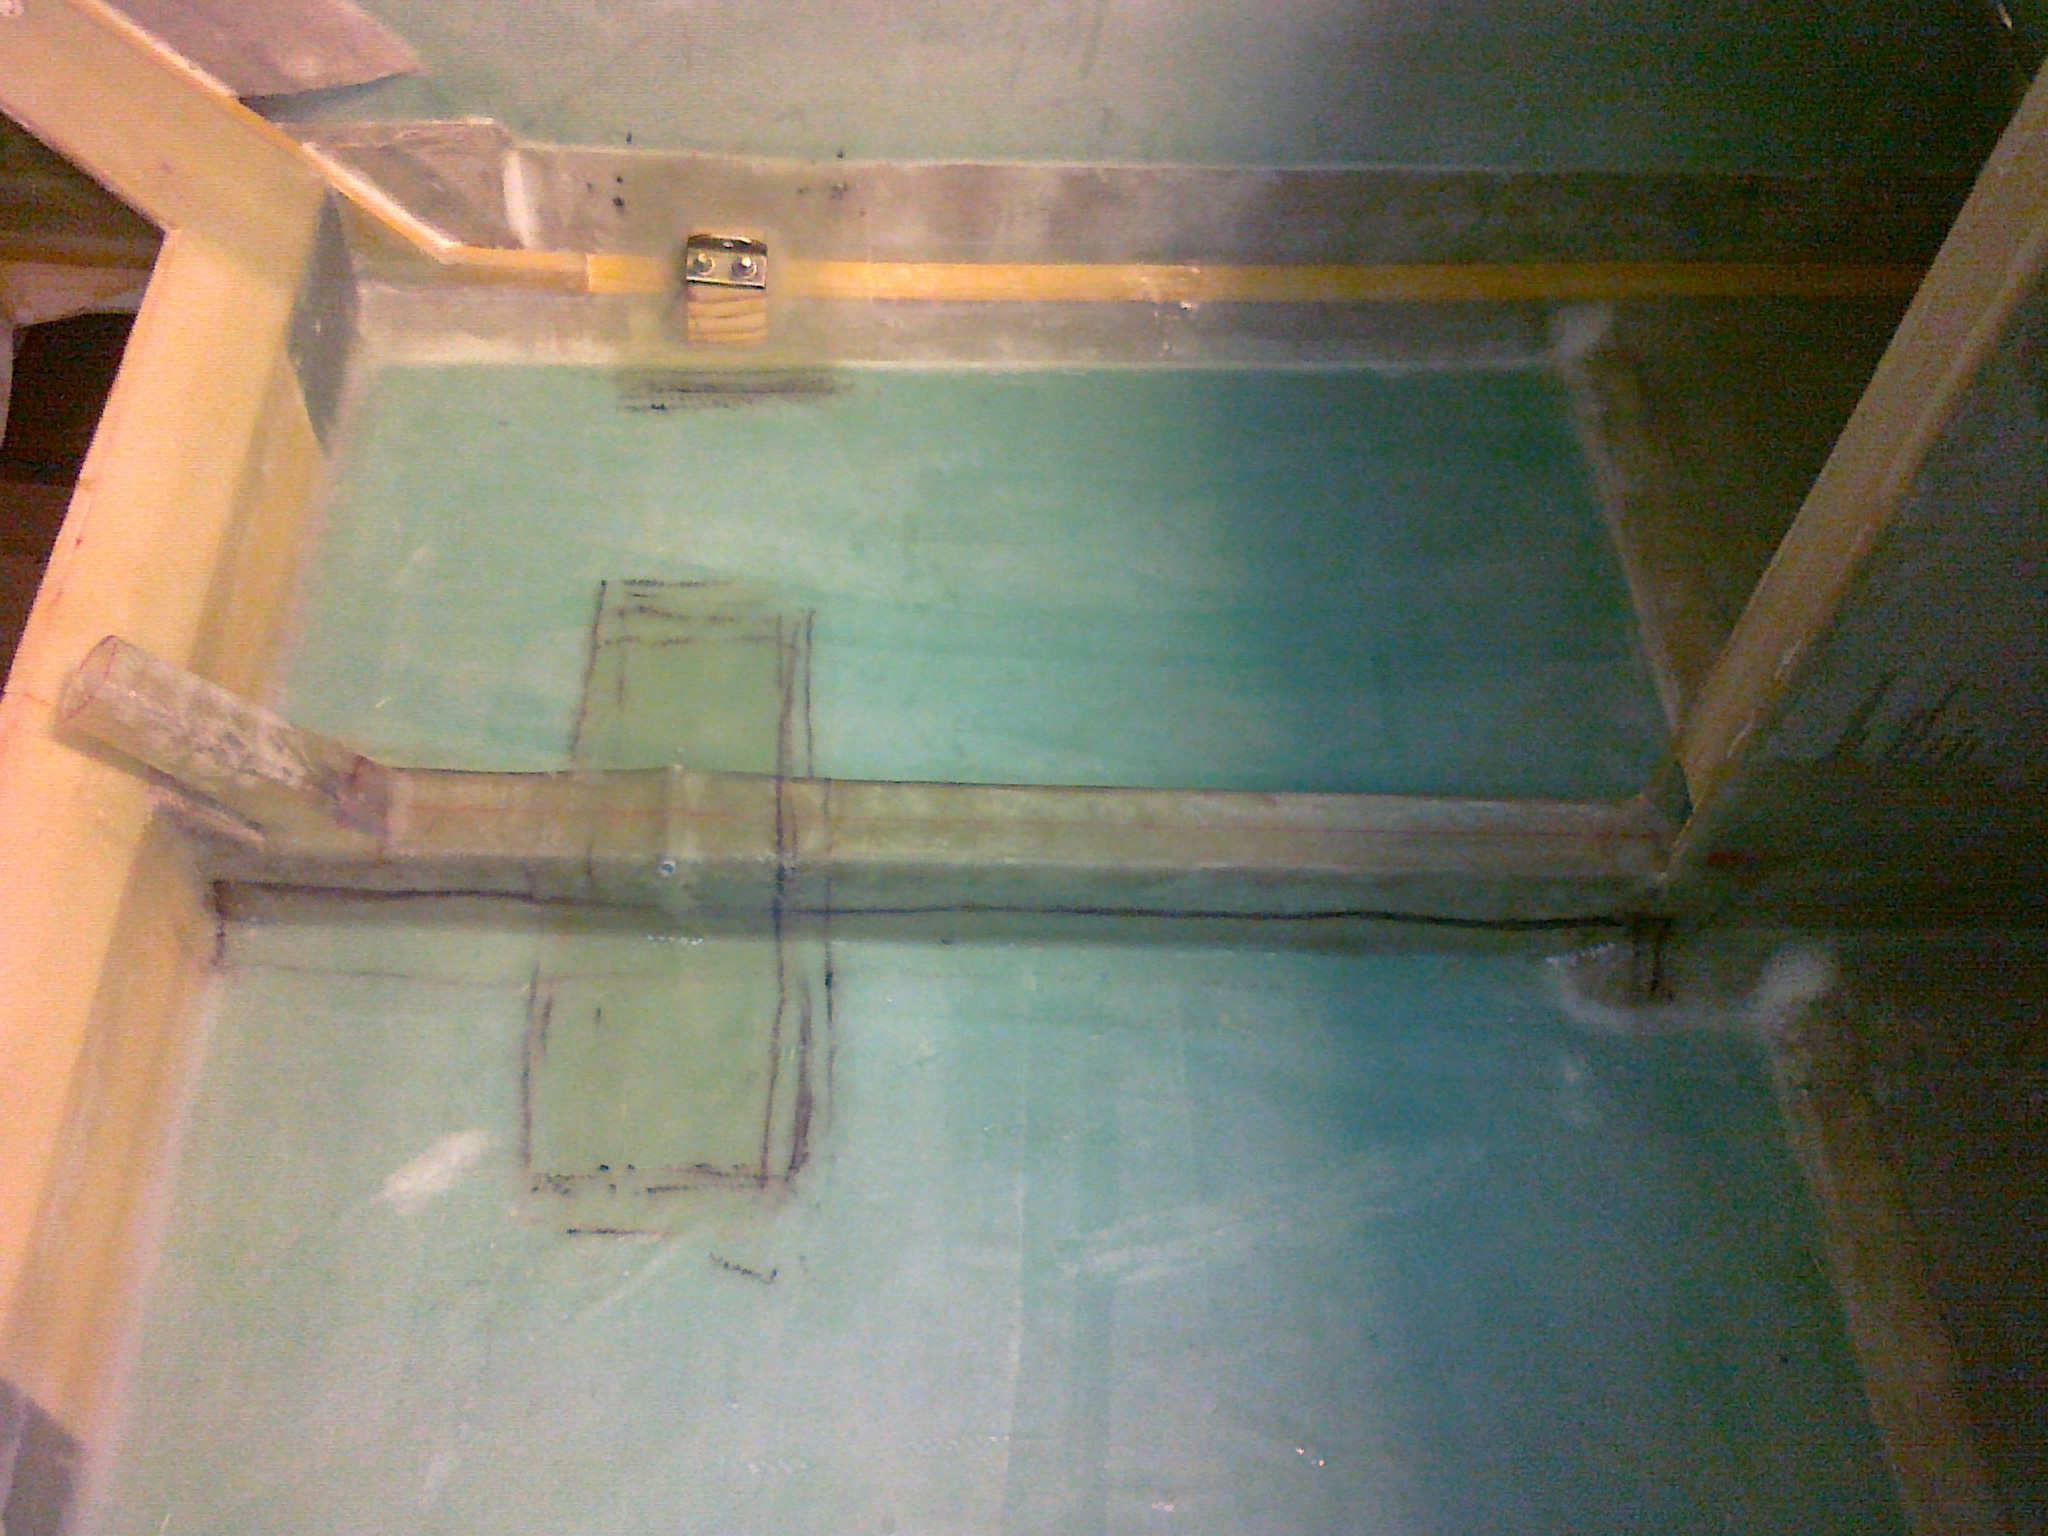
The heat-duct is floxed in place and taped to the fuselage. The 7 ply reinforcement over the seat-belt attachement-tube is also in place. The layers are staggered to avoid big bumps.
There are also a 7 ply reinforcement over the front seat-belt attachement-tube.
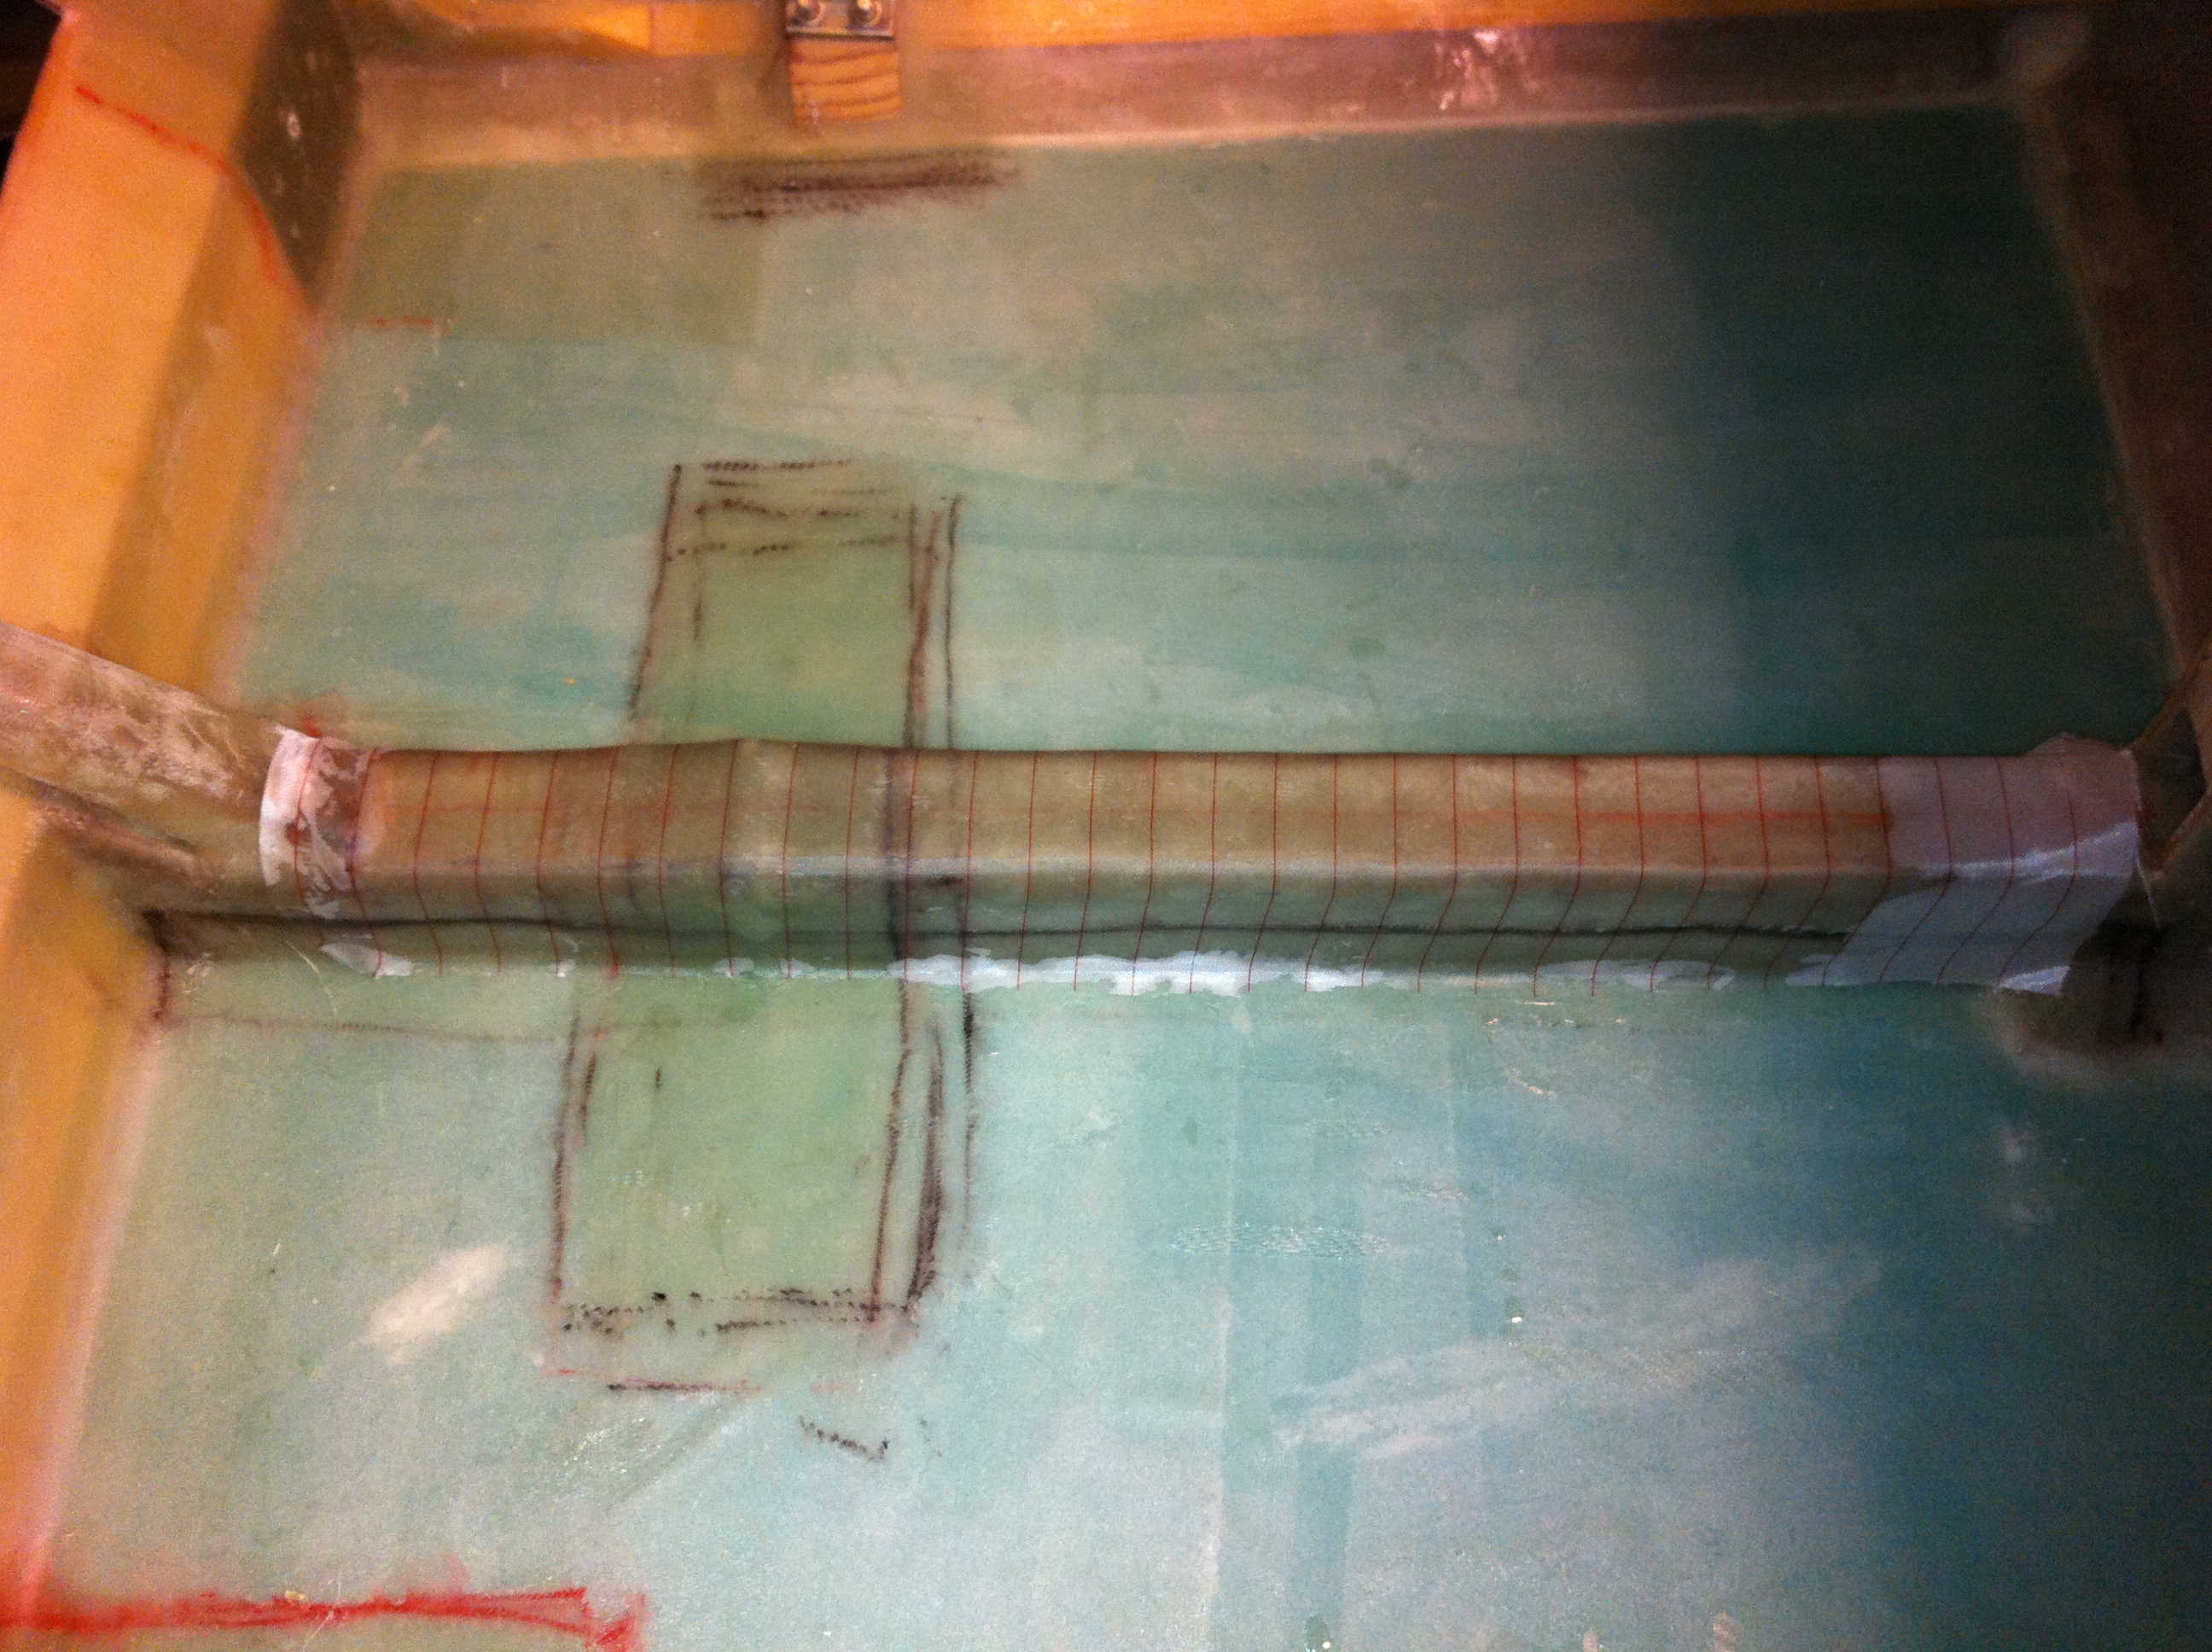
I forgot to add the 7-plies of BID ontop of the aluminium-tube. I have added the layup ontop of the existing layups, and added 1 ply with BID ontop of this again. That should do the trick.