The first thing to do is to test-fit all the bulkheads made in chapter 4. I cut them a bit oversize, deliberately, so I had to trim the parts a bit to get a good fit. Using the multitool this is a quick job.
Longerons
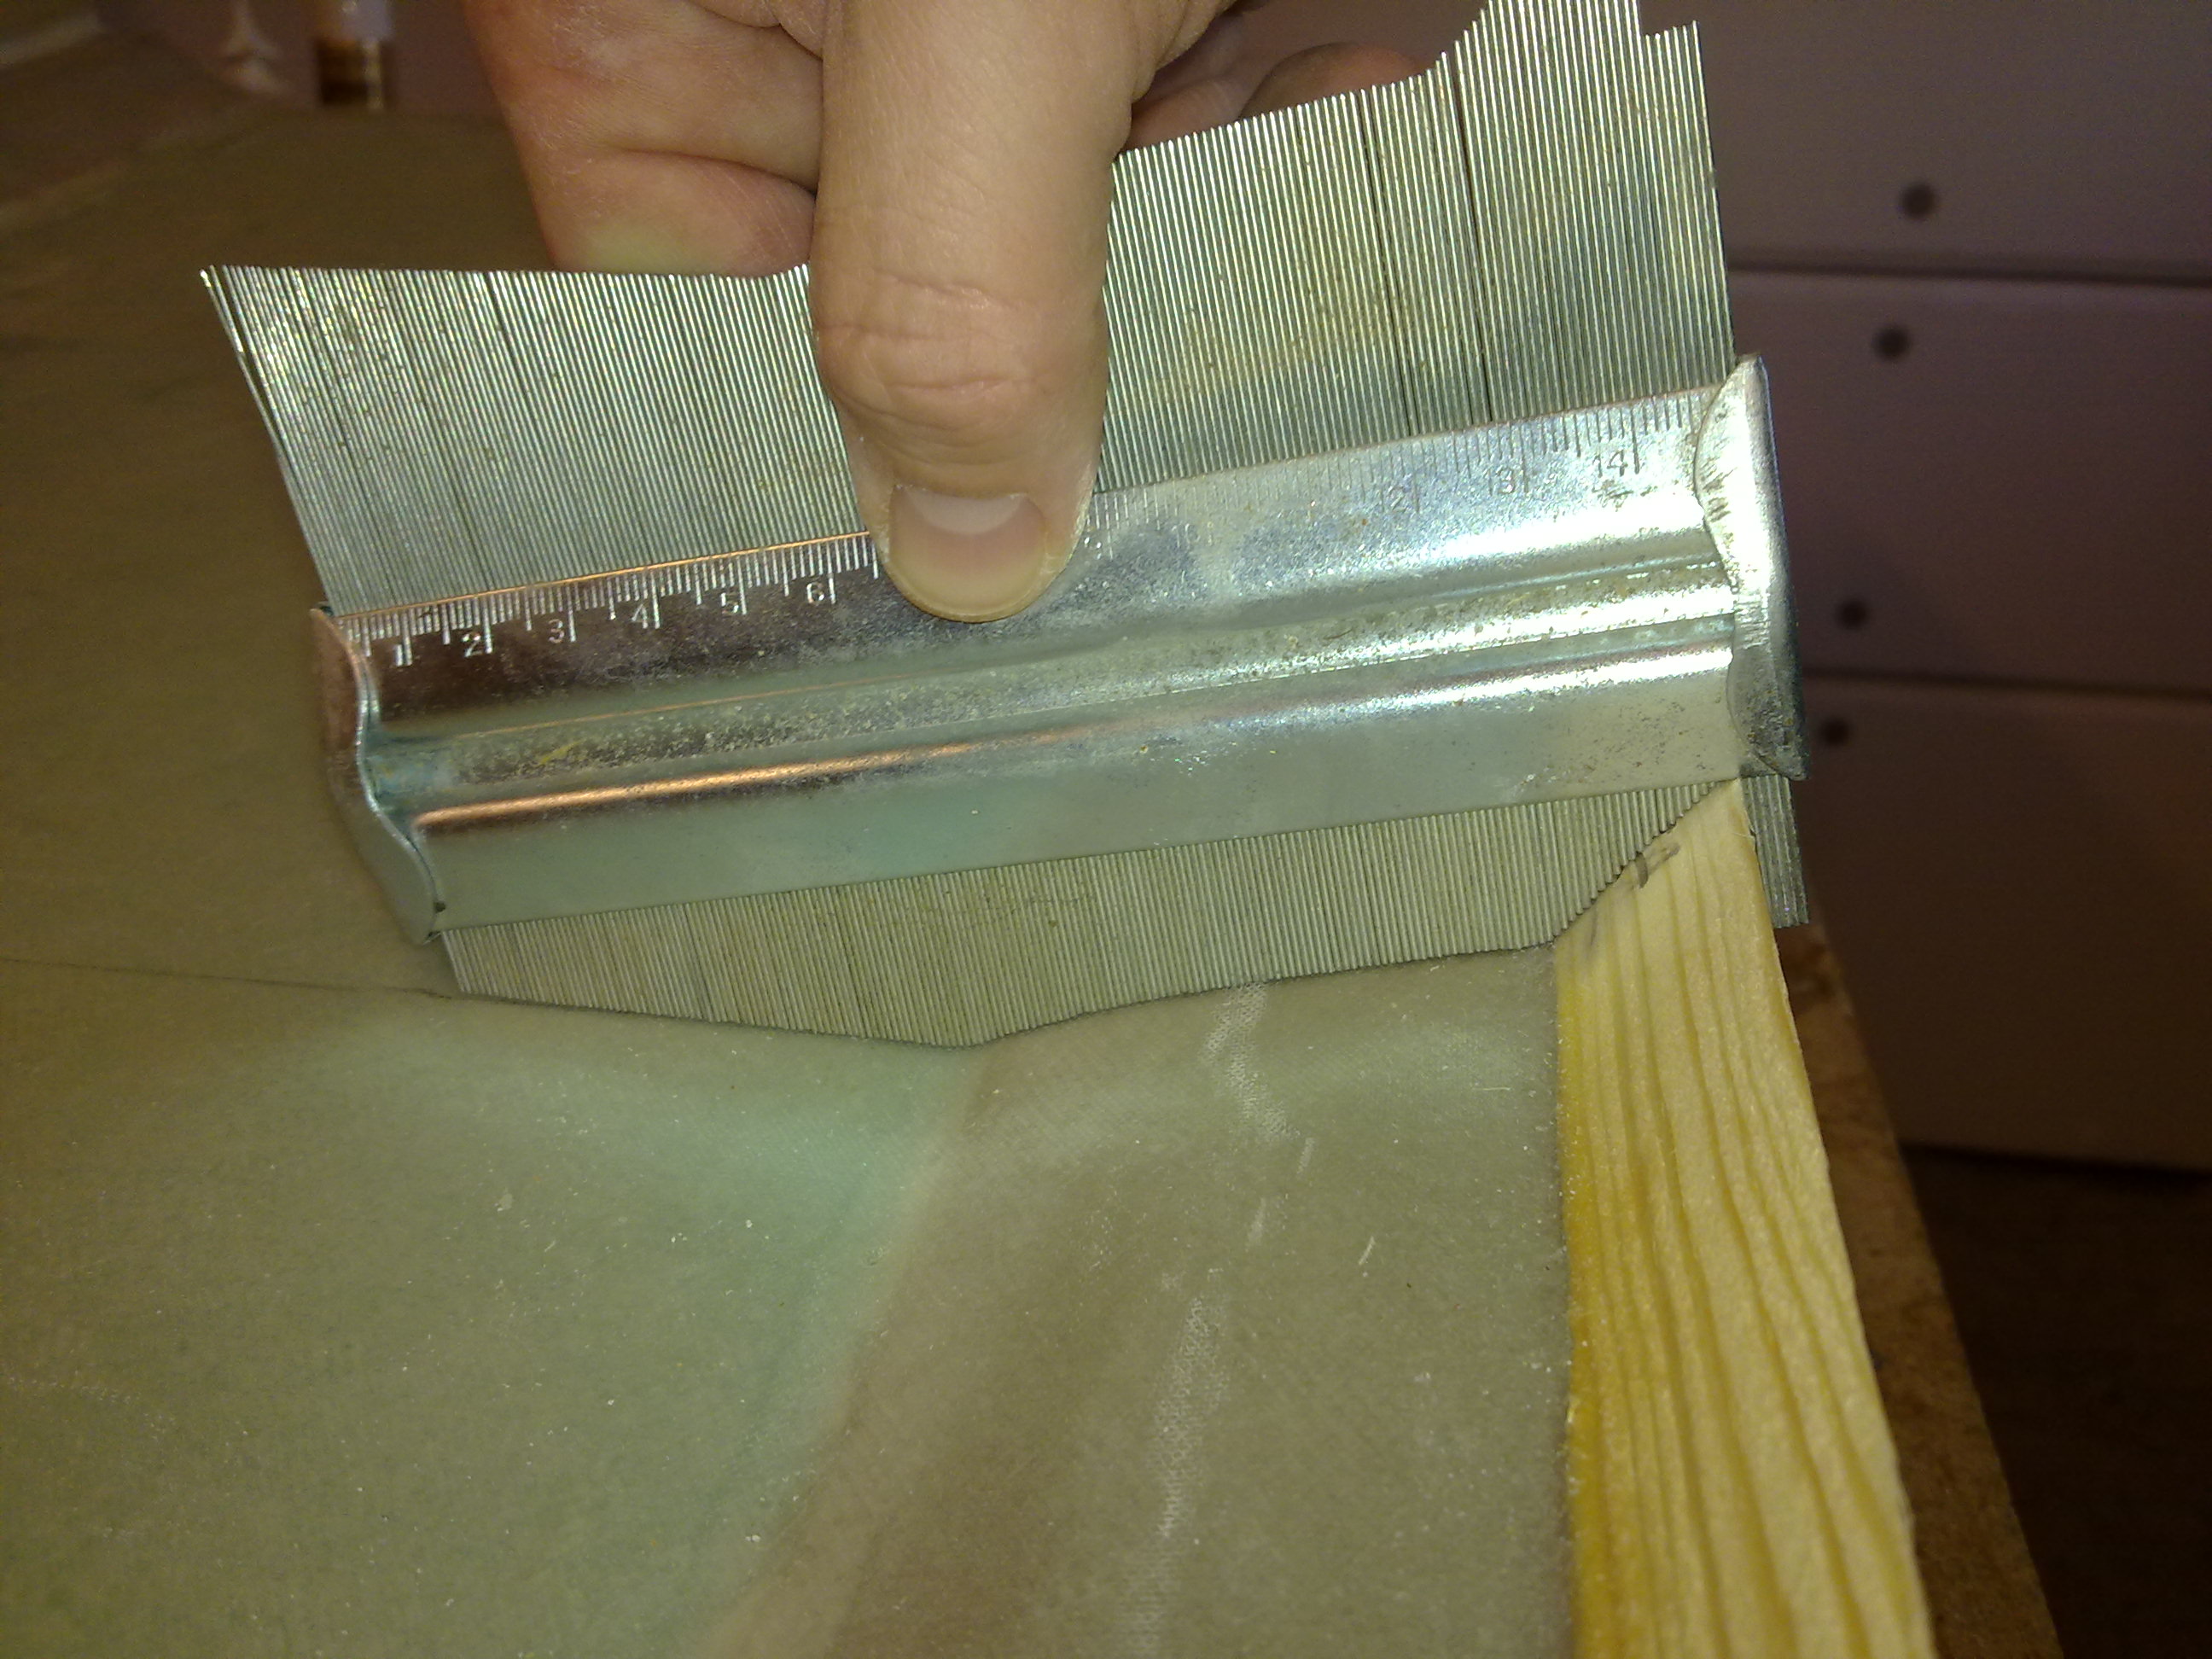
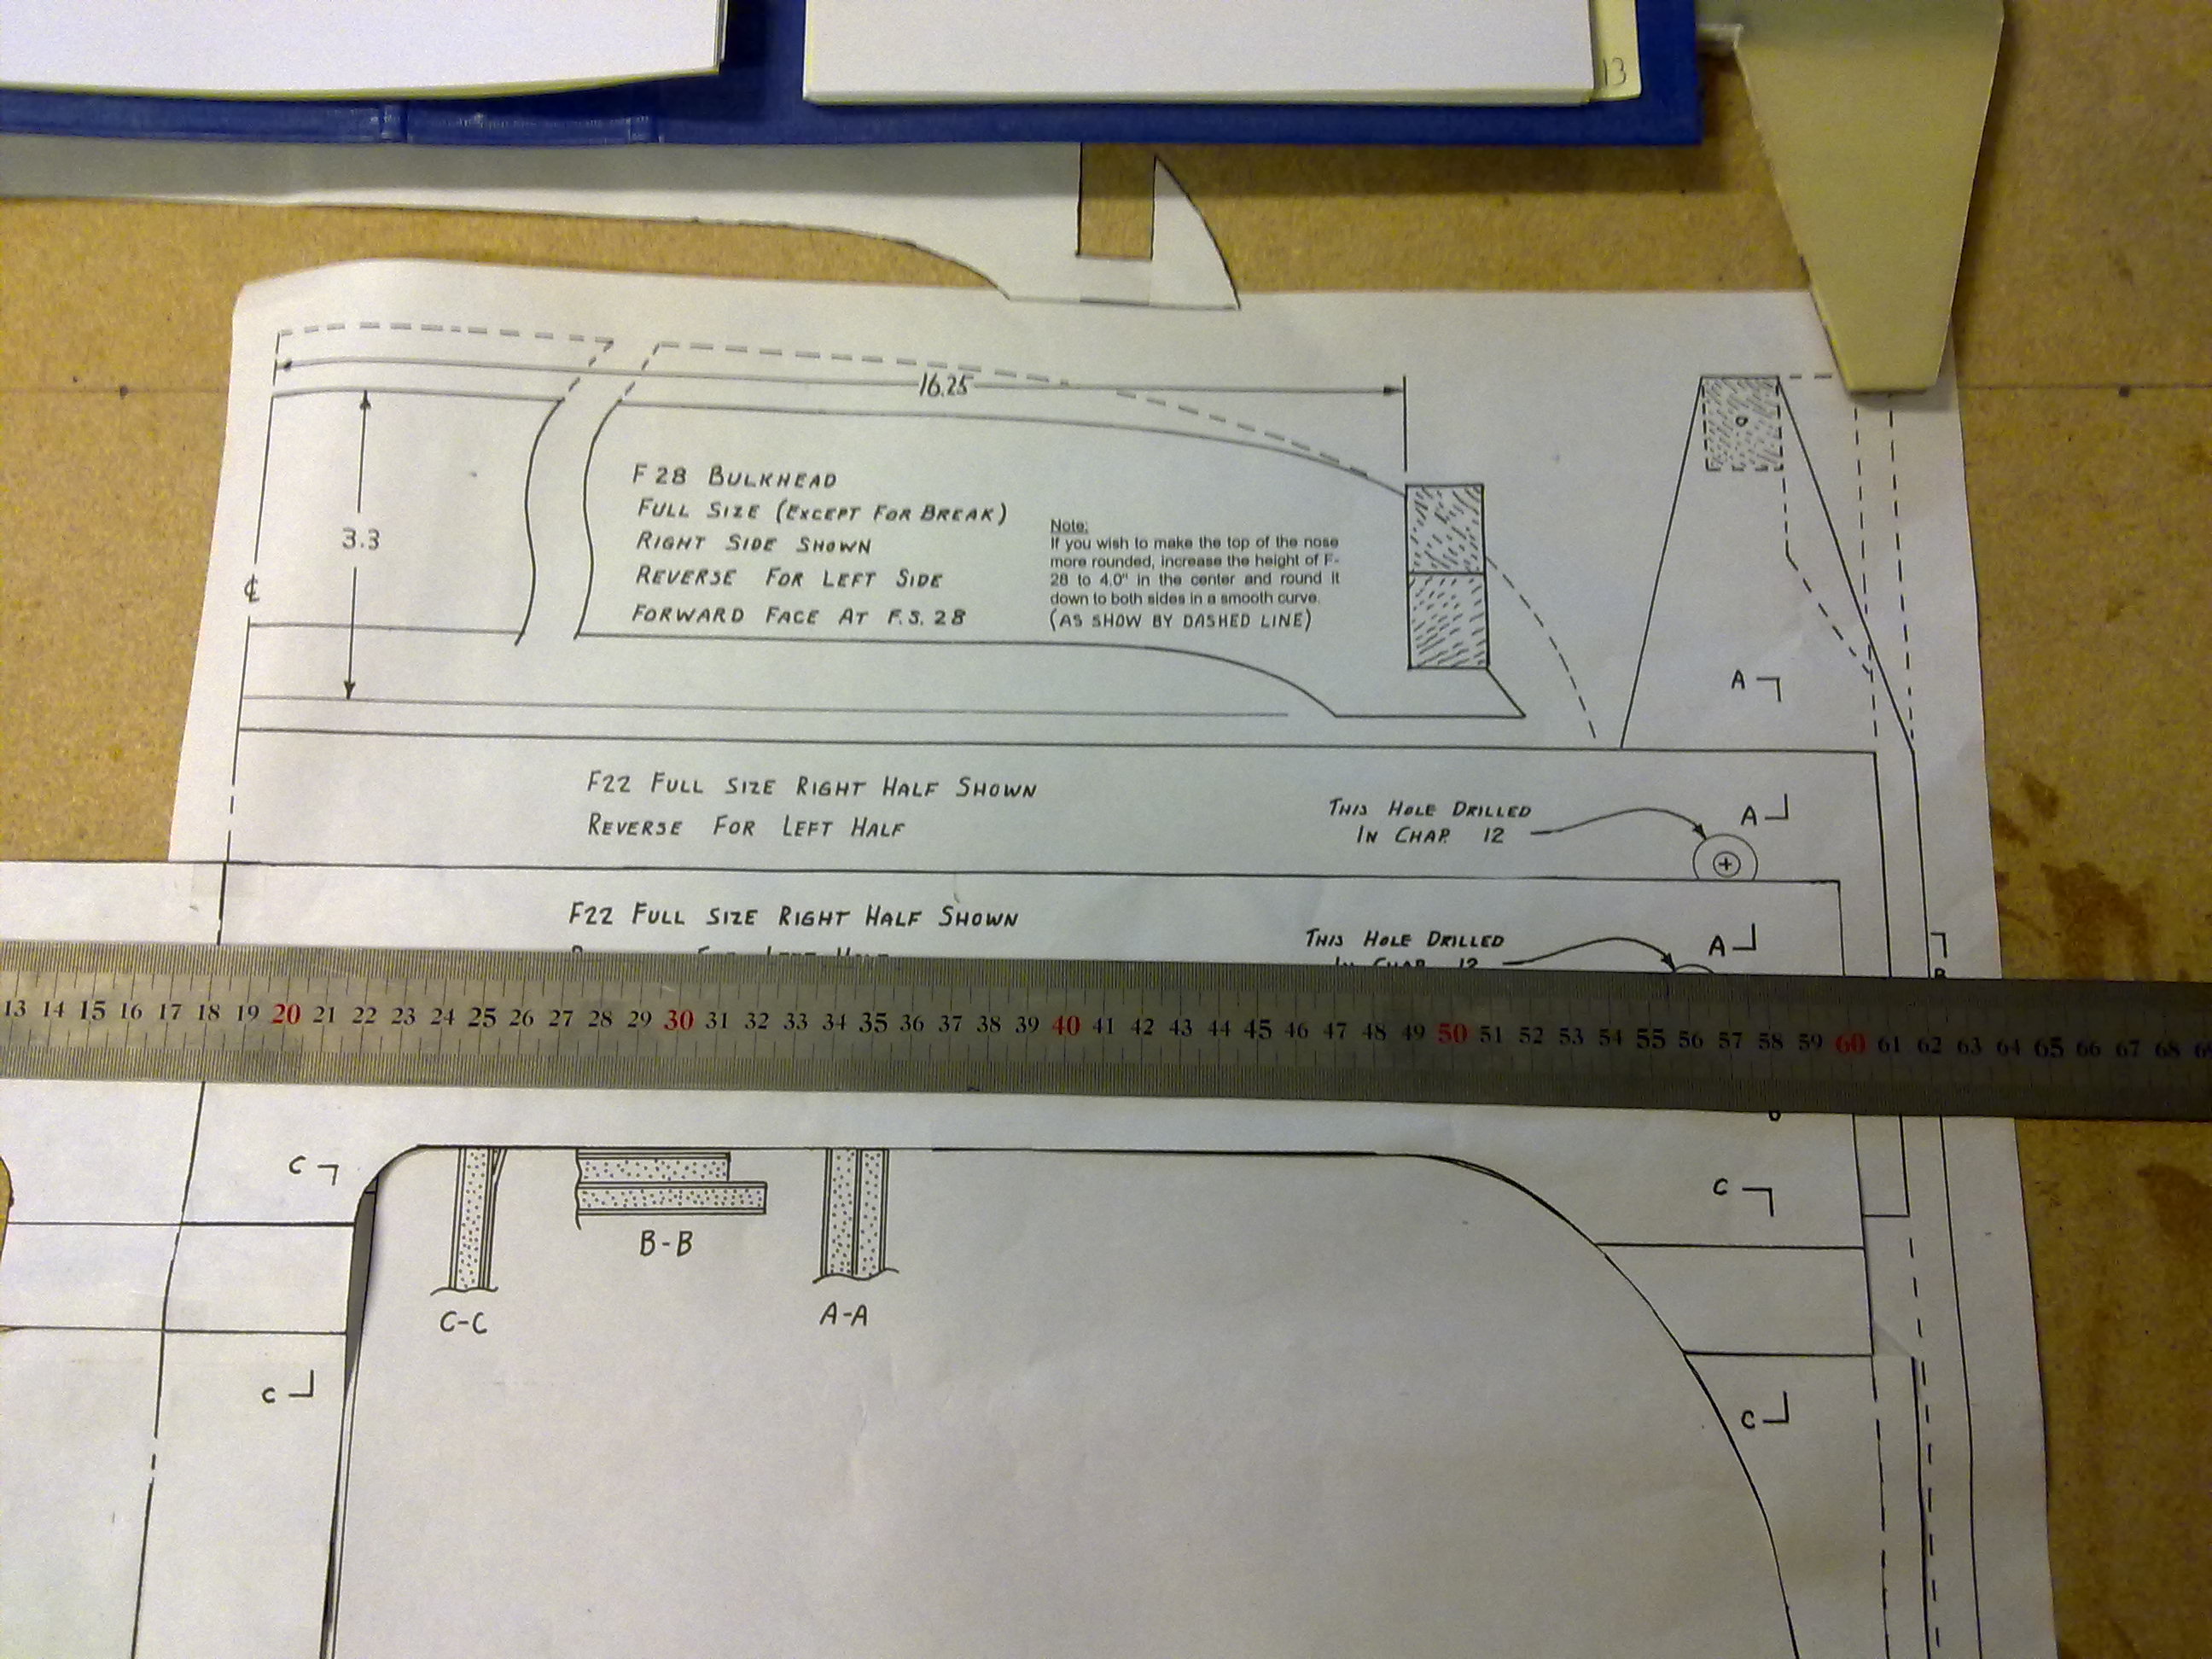
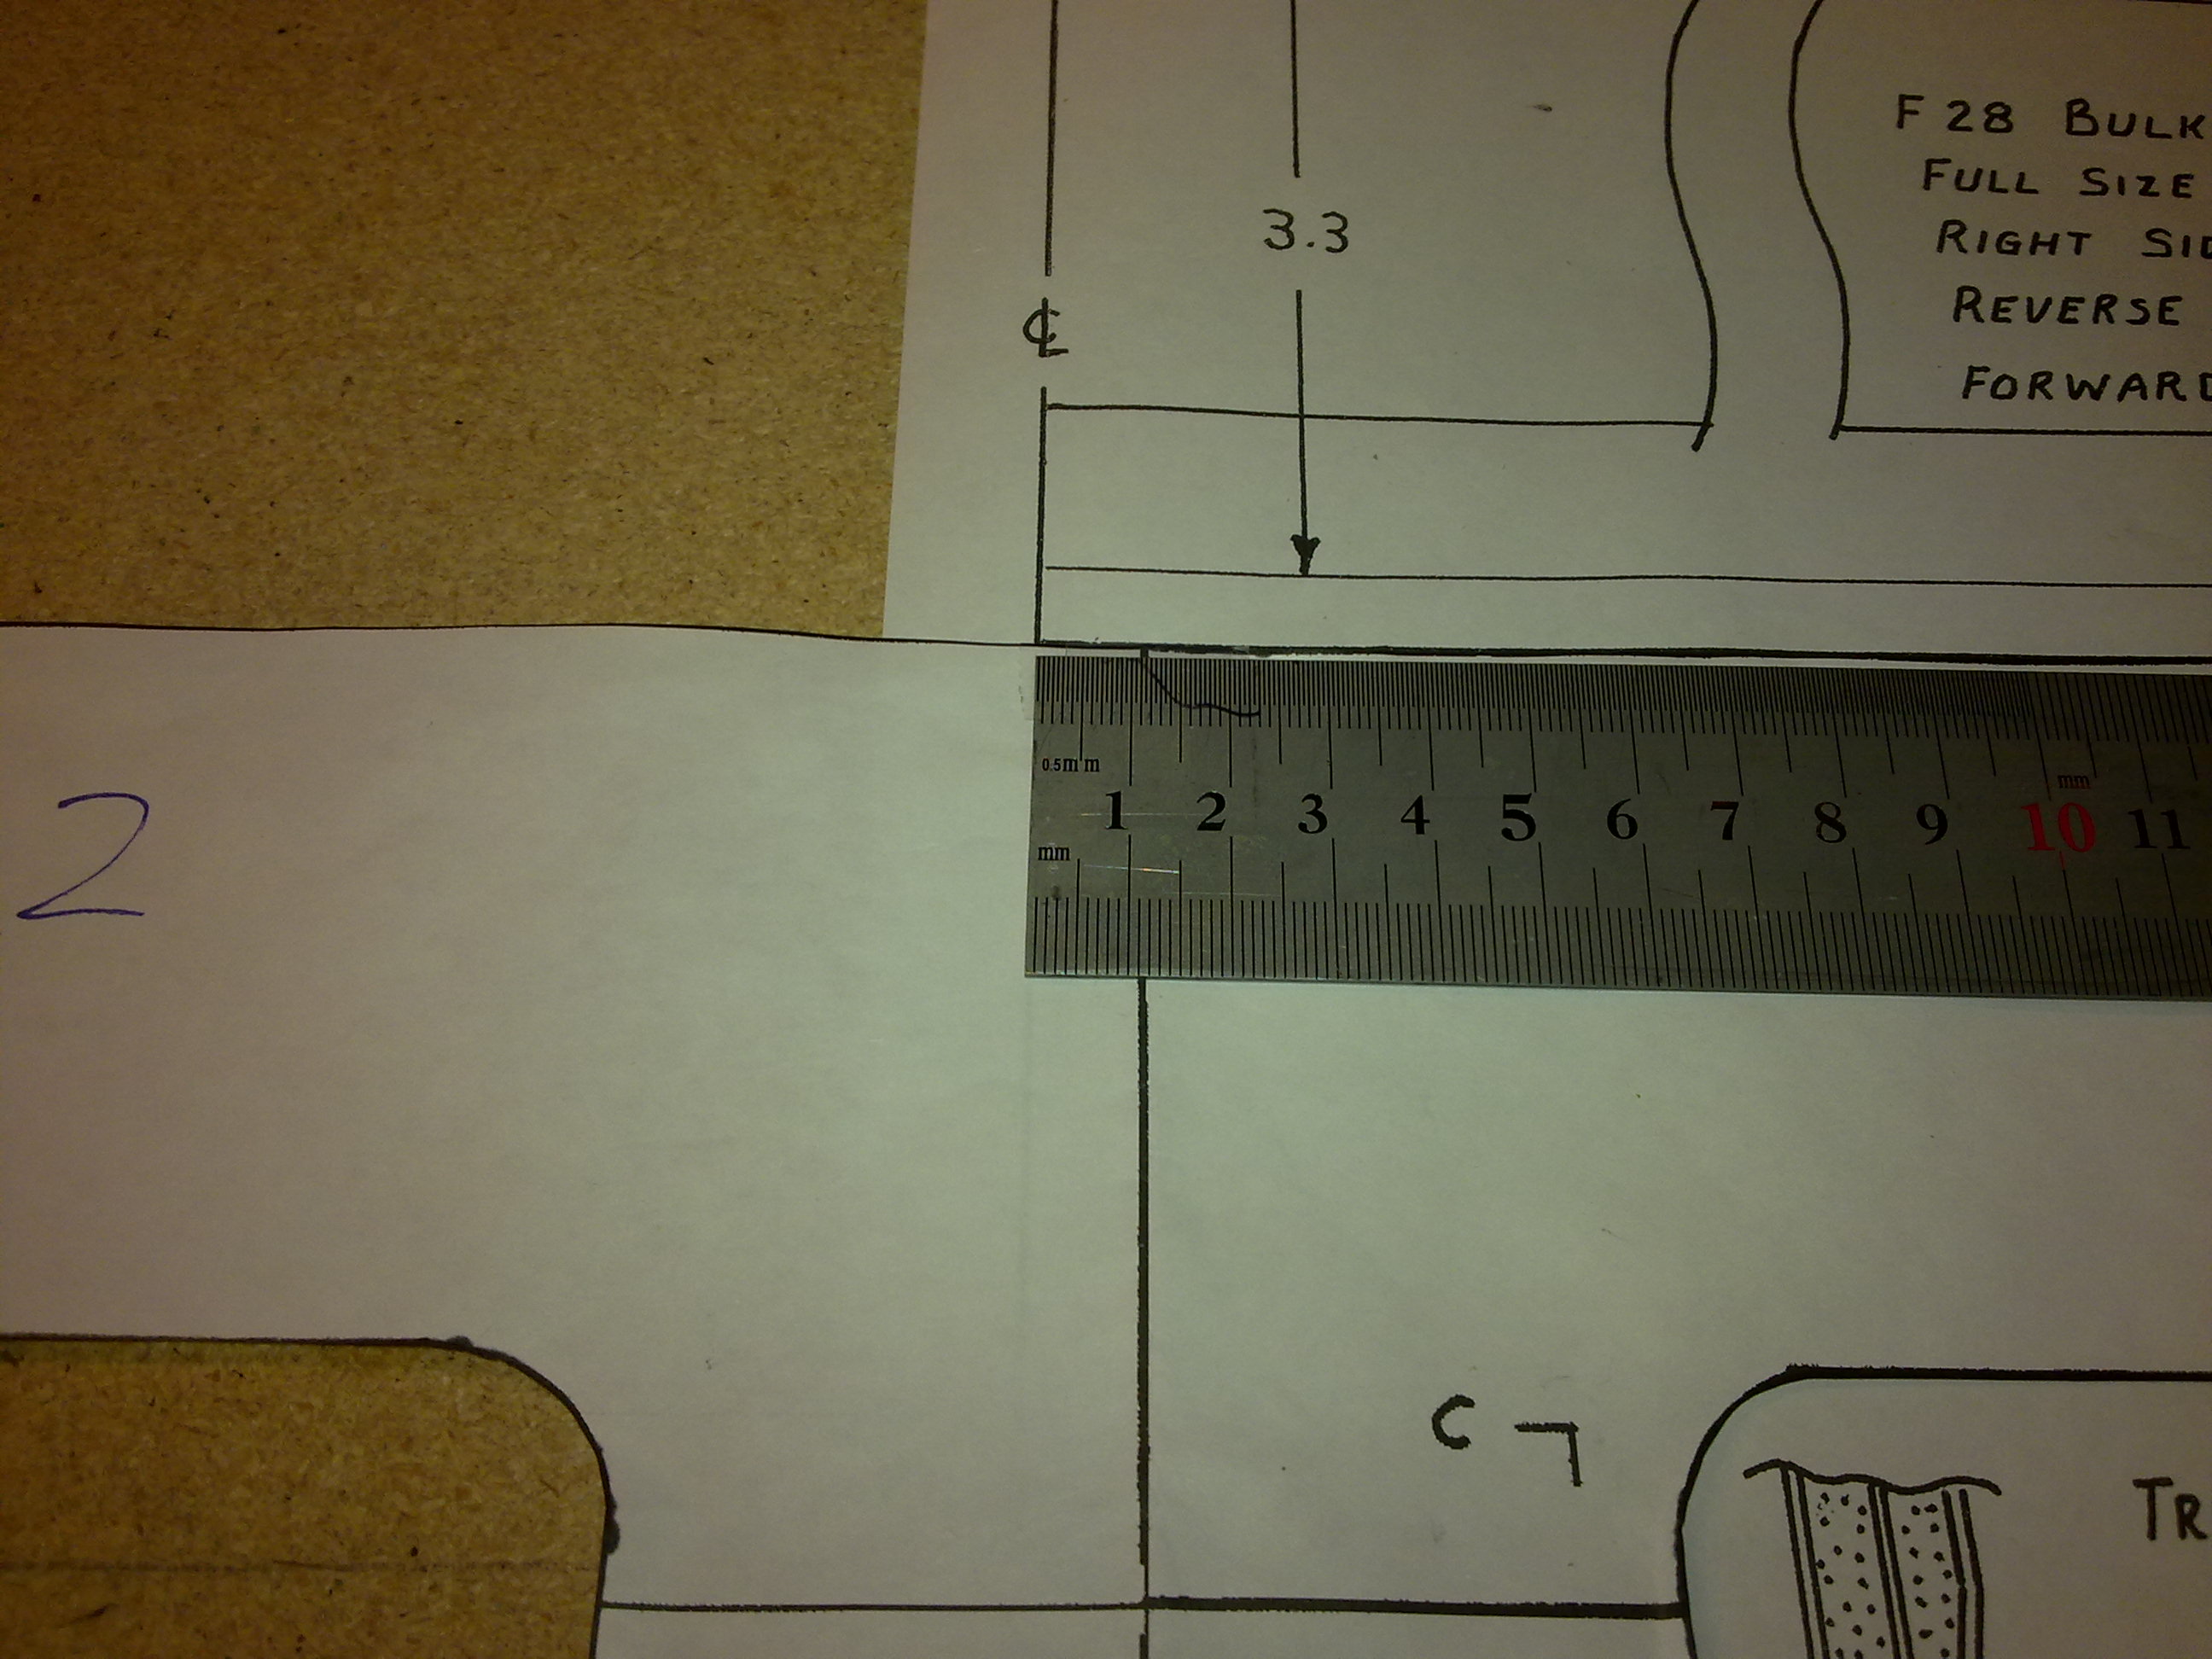
When fiddling with F22 I discovered a strange thing. I have built the bulkheads using the large drawings – not the M-drawings. I then discovered that the width of F22 on the large drawings is 33.7″ while the width according to the M-drawing should be 34.5″ approx!! There is no doubt that the drawings differ, but which one is correct? I asked the question on the Cozy-list, the canard-list and the canard-forum. No one could answer this but several builders had used the large drawings and confirmed that their F22 was 33.7″ wide. I got a tip to check the lift-tab-position of the canard to assure that they fit F22. That should be no problem, so I will continue with the 33.7″-version of F22.
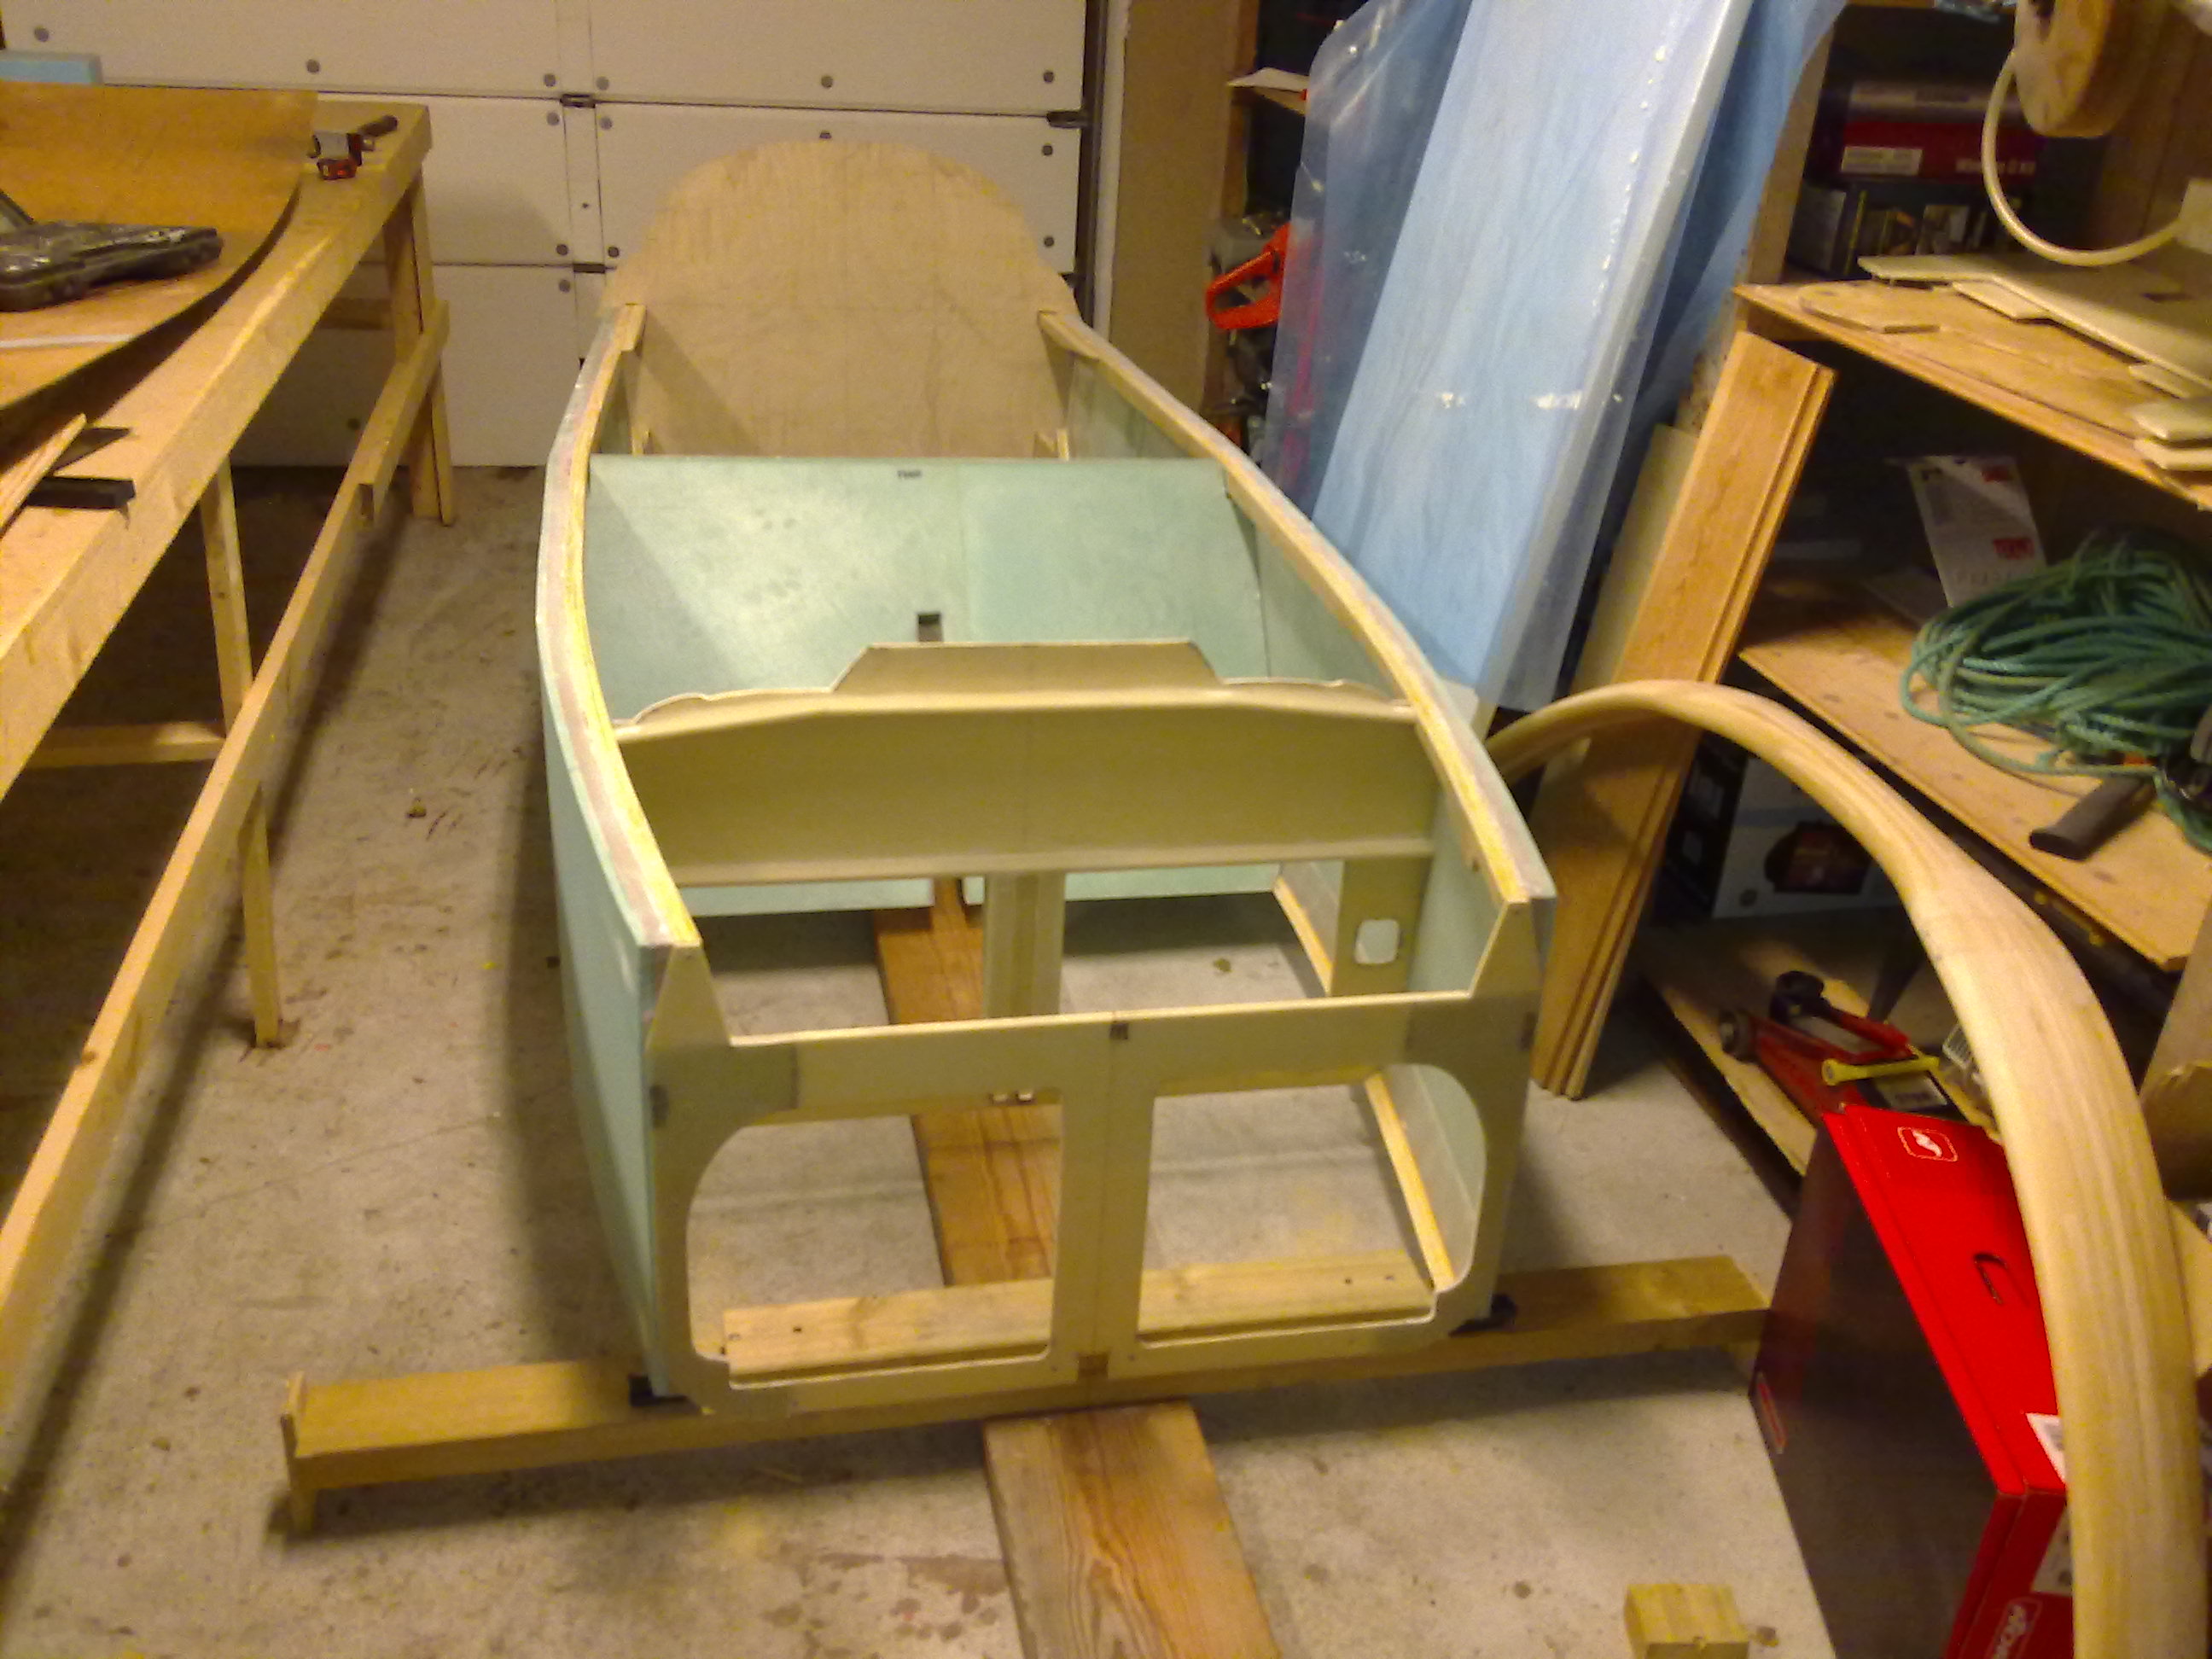
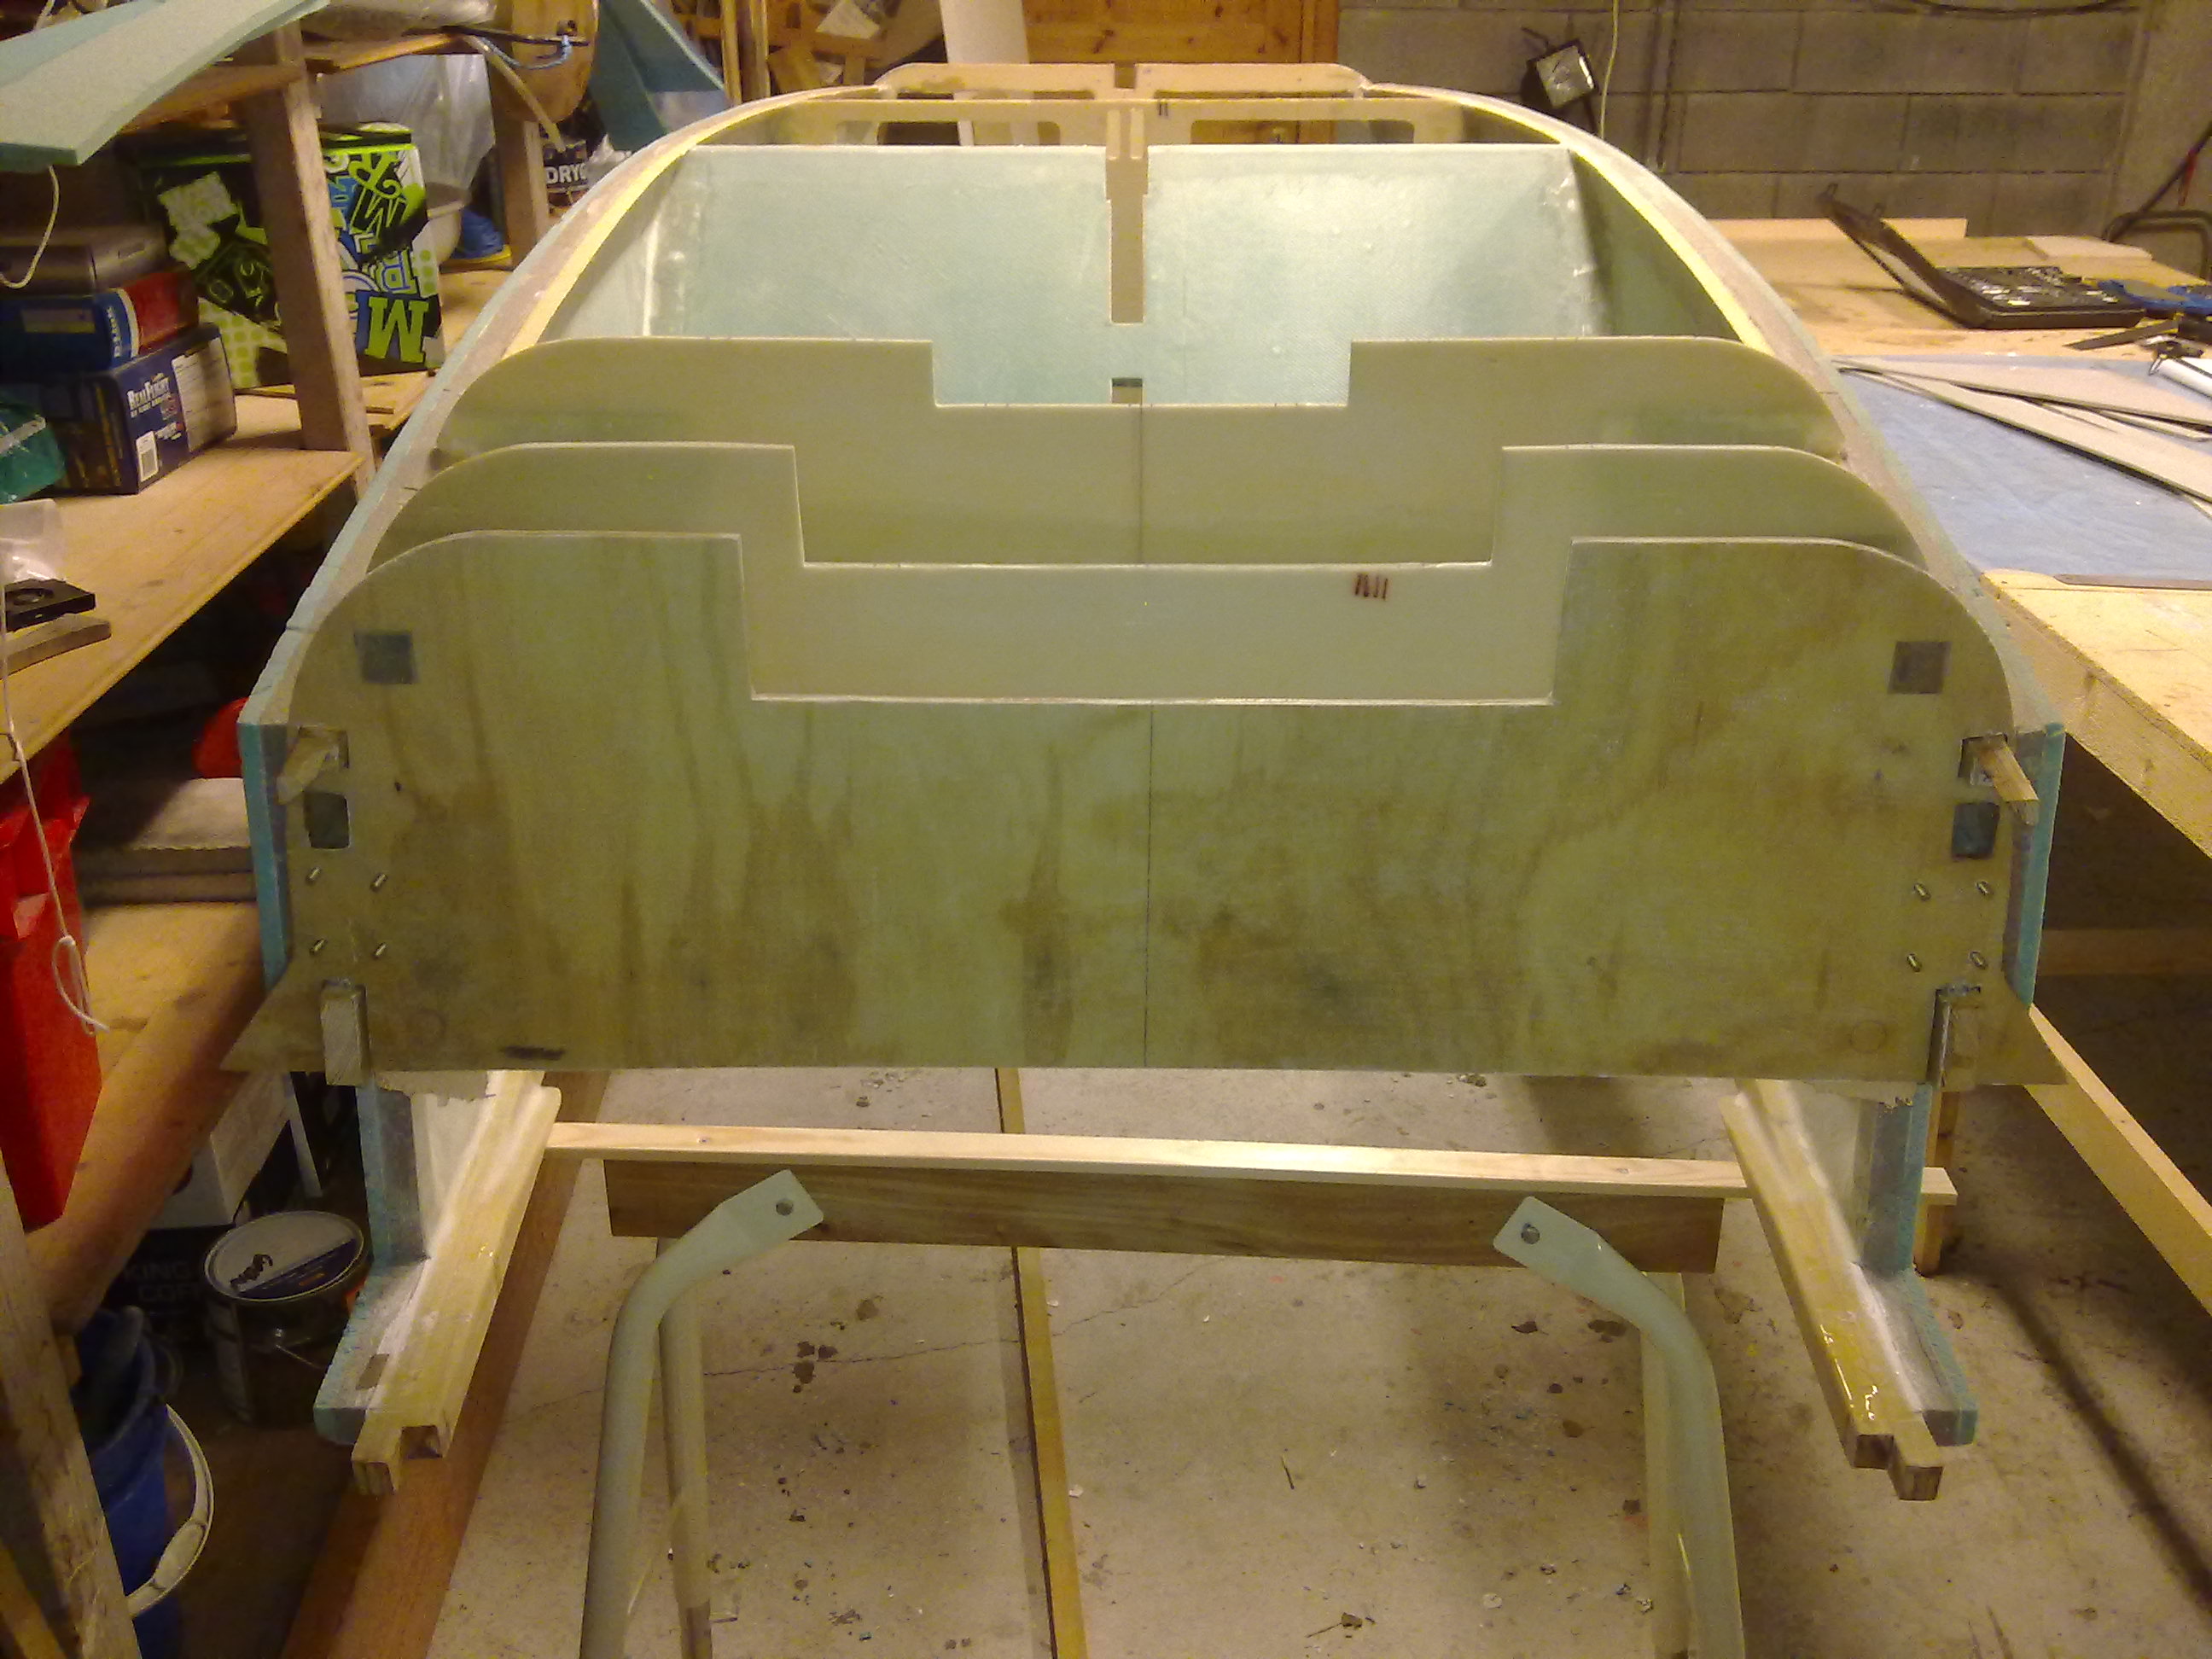
The tub is starting to take shape! Here I have followed the plan assembling the tub the right way up. Many builders have assembled the tub upside down, but I chose to do it the plans way. I started by leveling of the plank at the bottom, and also the 2″x4″ fore and aft. The longerons are at WL23 – i.e. 23″ up from the plank. This is only a dry-fit. I will use flox when I assemble the tub permanently. I measured the diagonals to look for straightnes. It was only 2mm difference, so I call it good to go. Just to the right of the tub in the picture is the landing-gear bow. I bought it from a builder in US that had to abandonded his project. It is brand new and came with the nose-leg as well. I got a good deal and helped him out as well. Pity he wasn’t able to continue his project though.
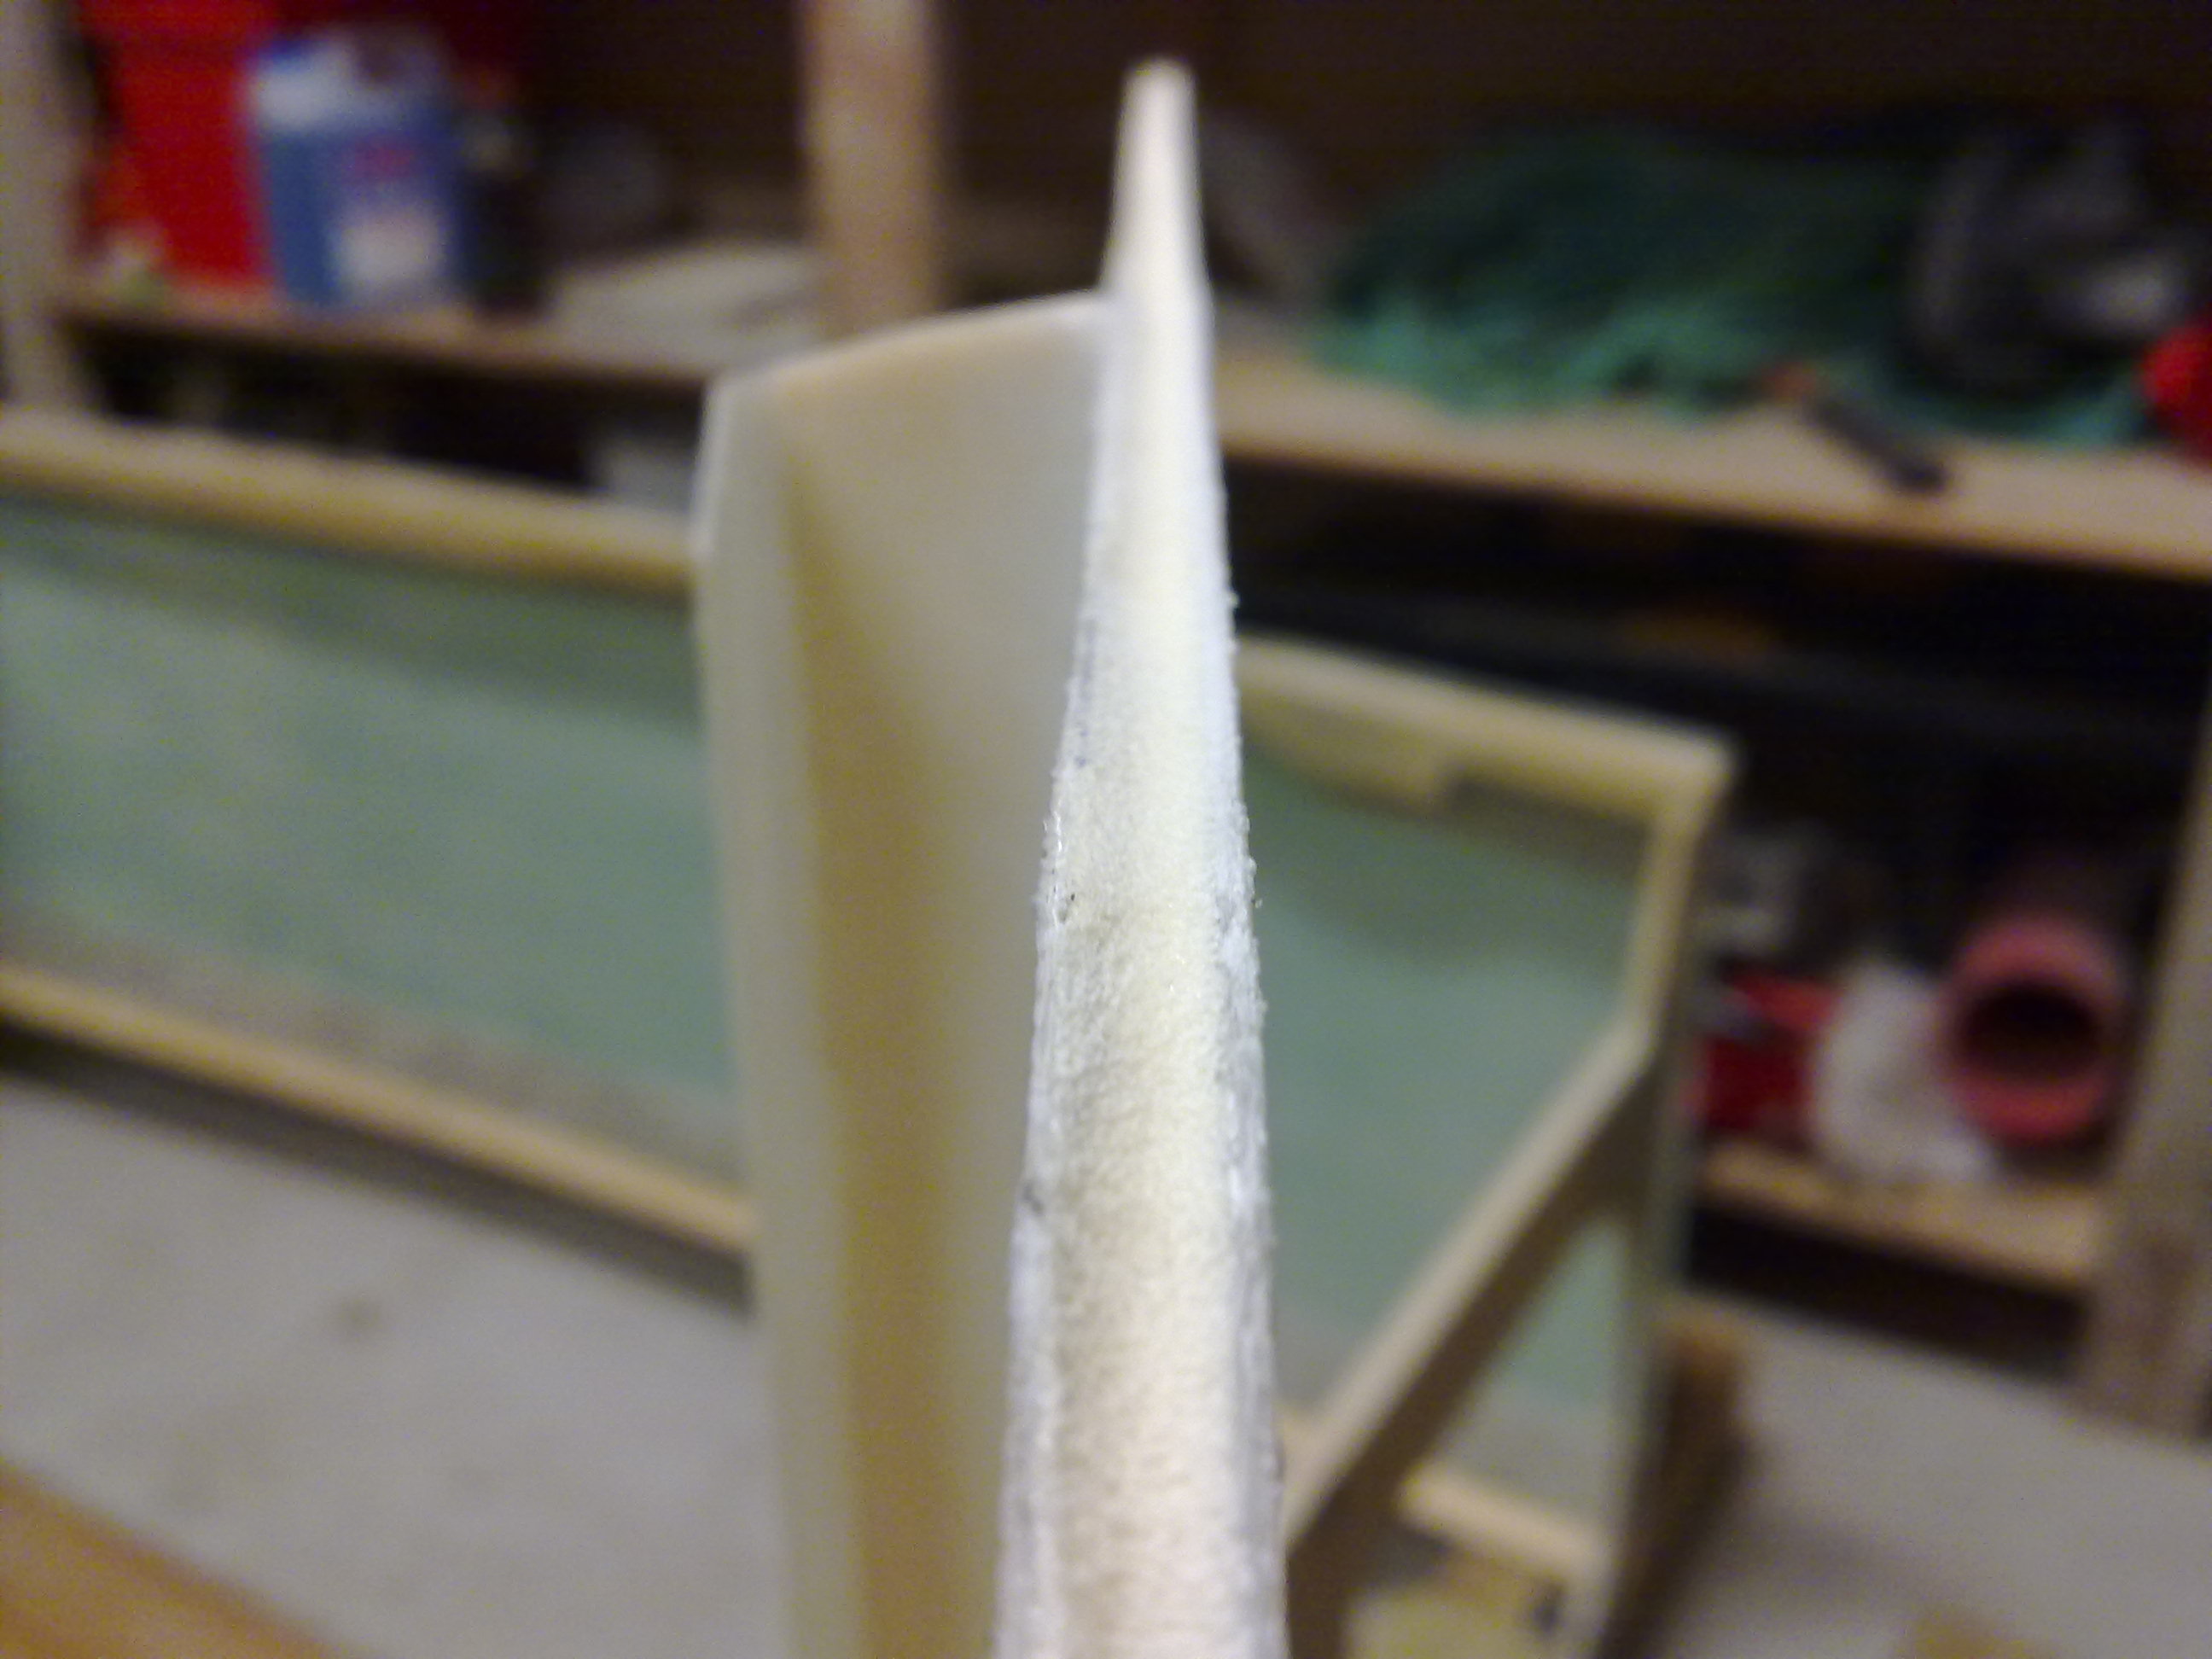
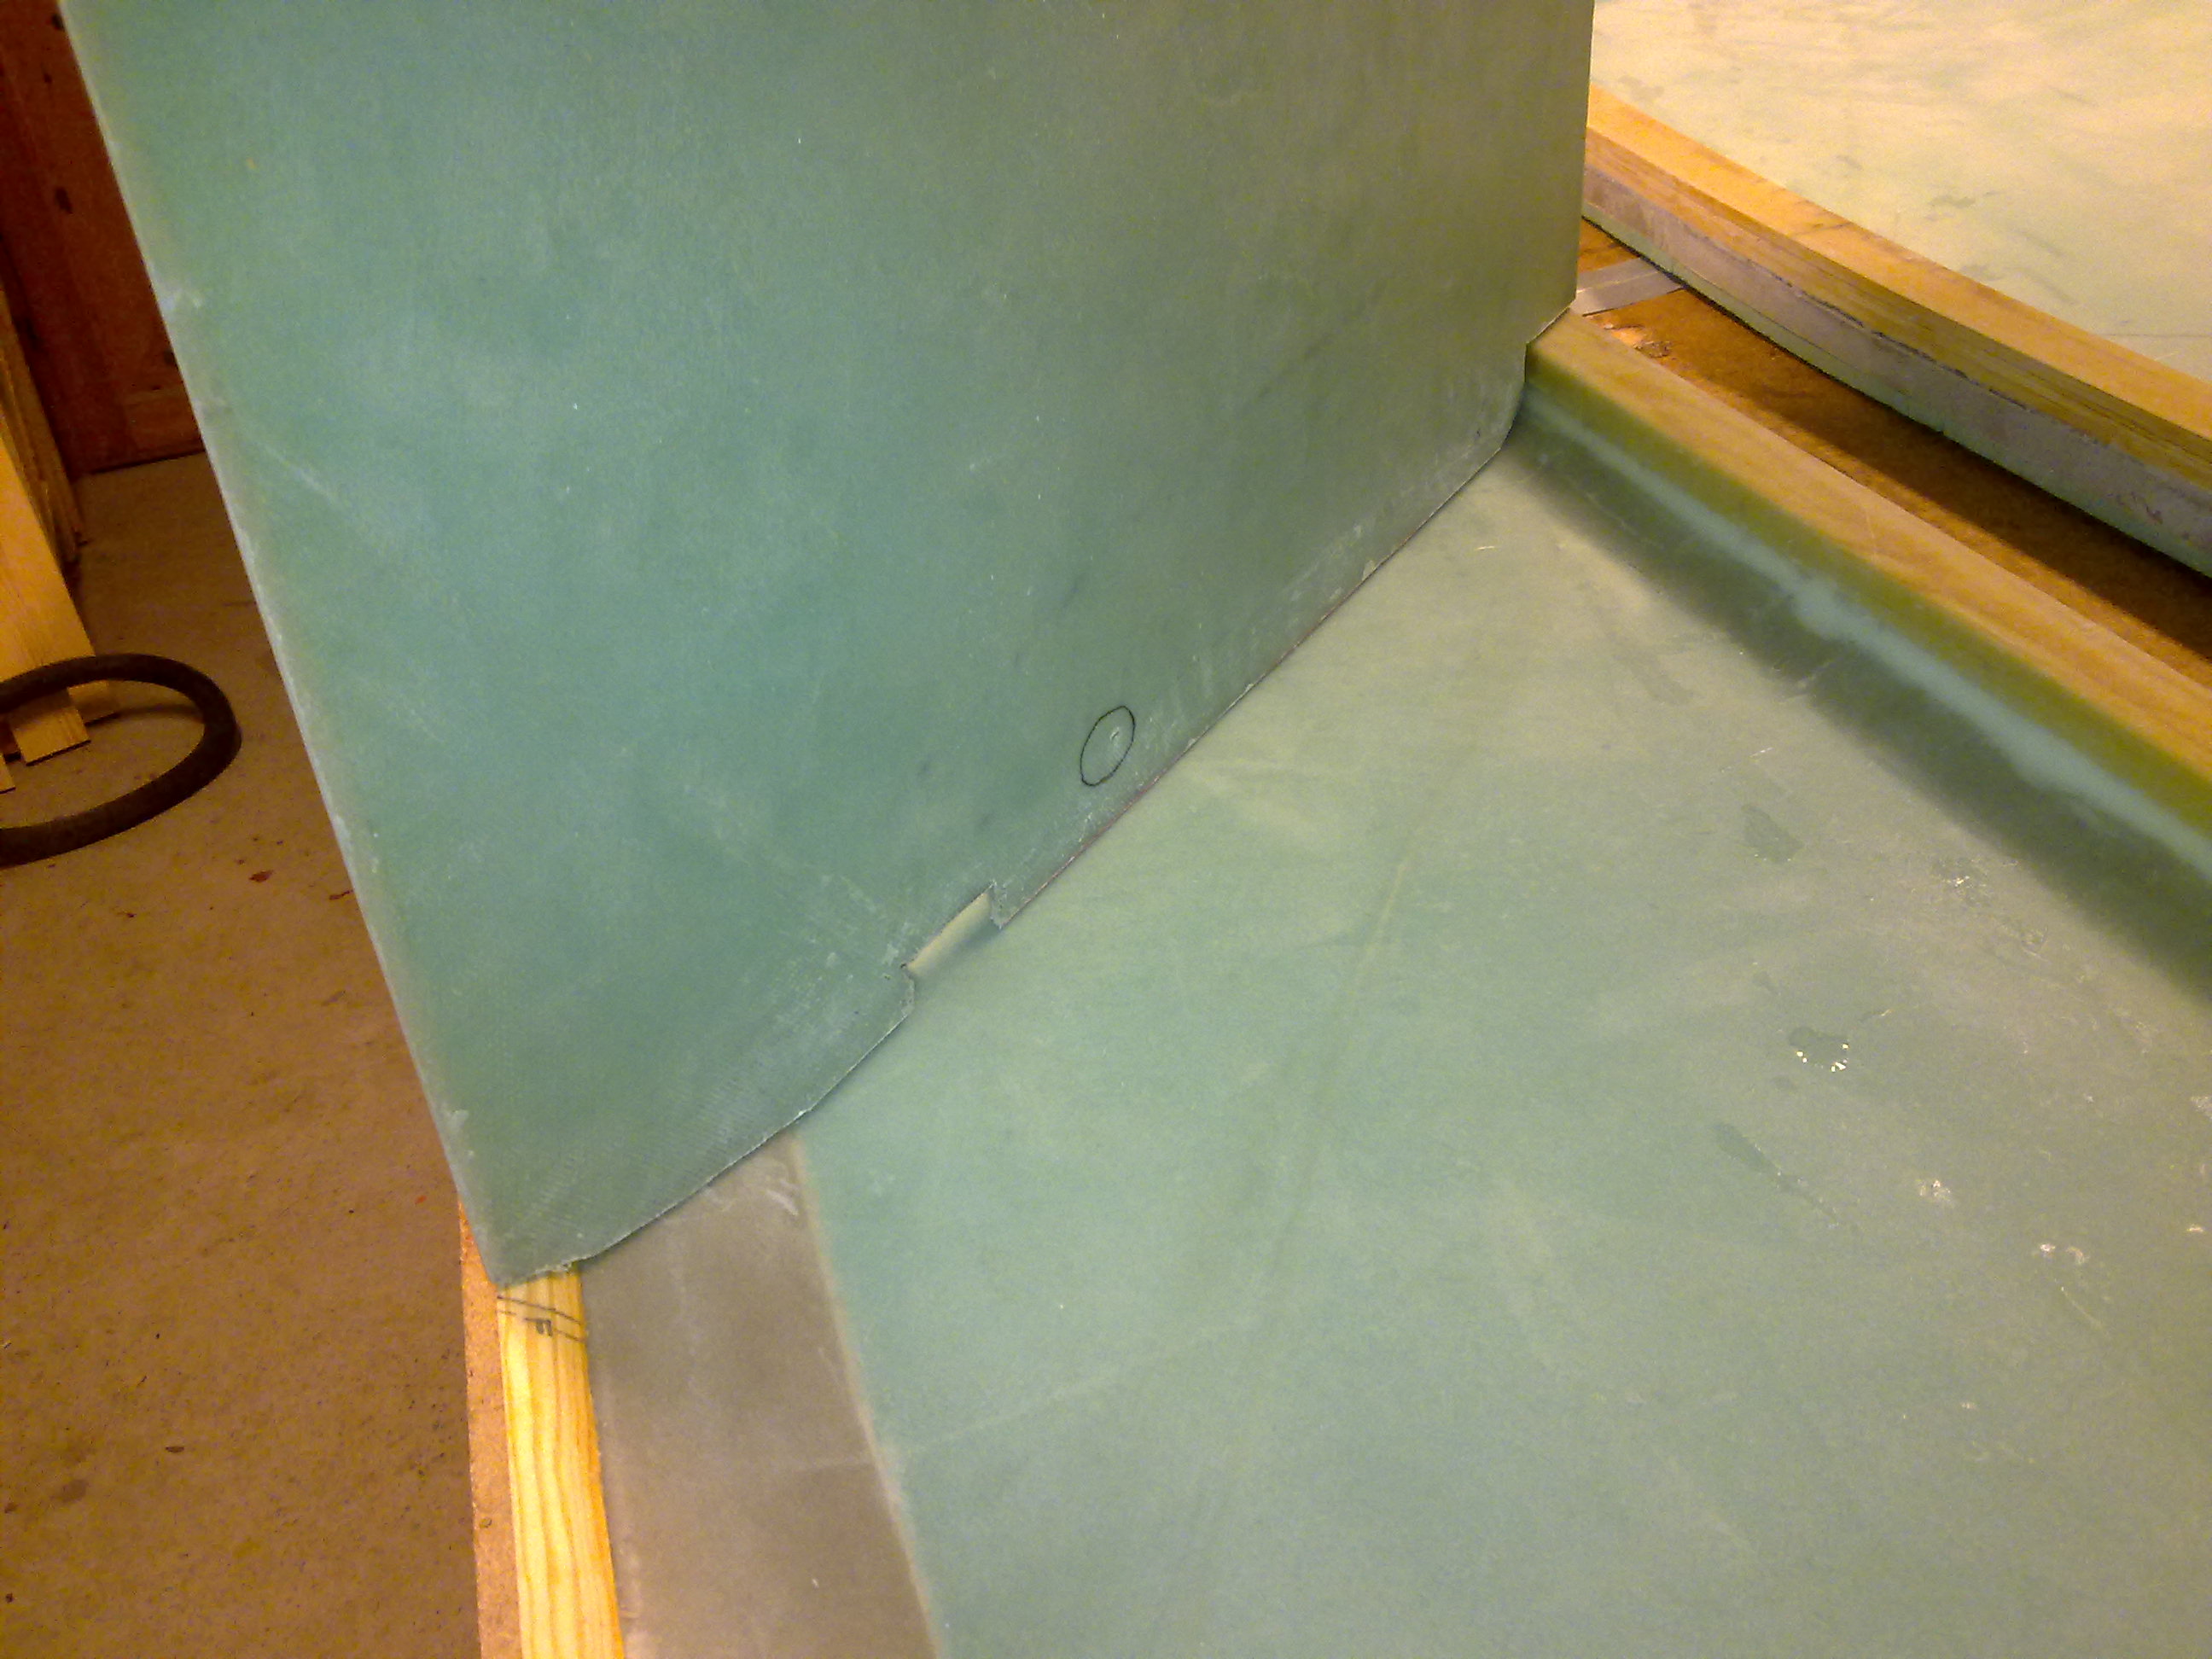
Before I floxed the instrument-panel to the fuselage-side I routed a groove in the foam with the Dremel. This will give a little better bonding since the flox will fill this groove.
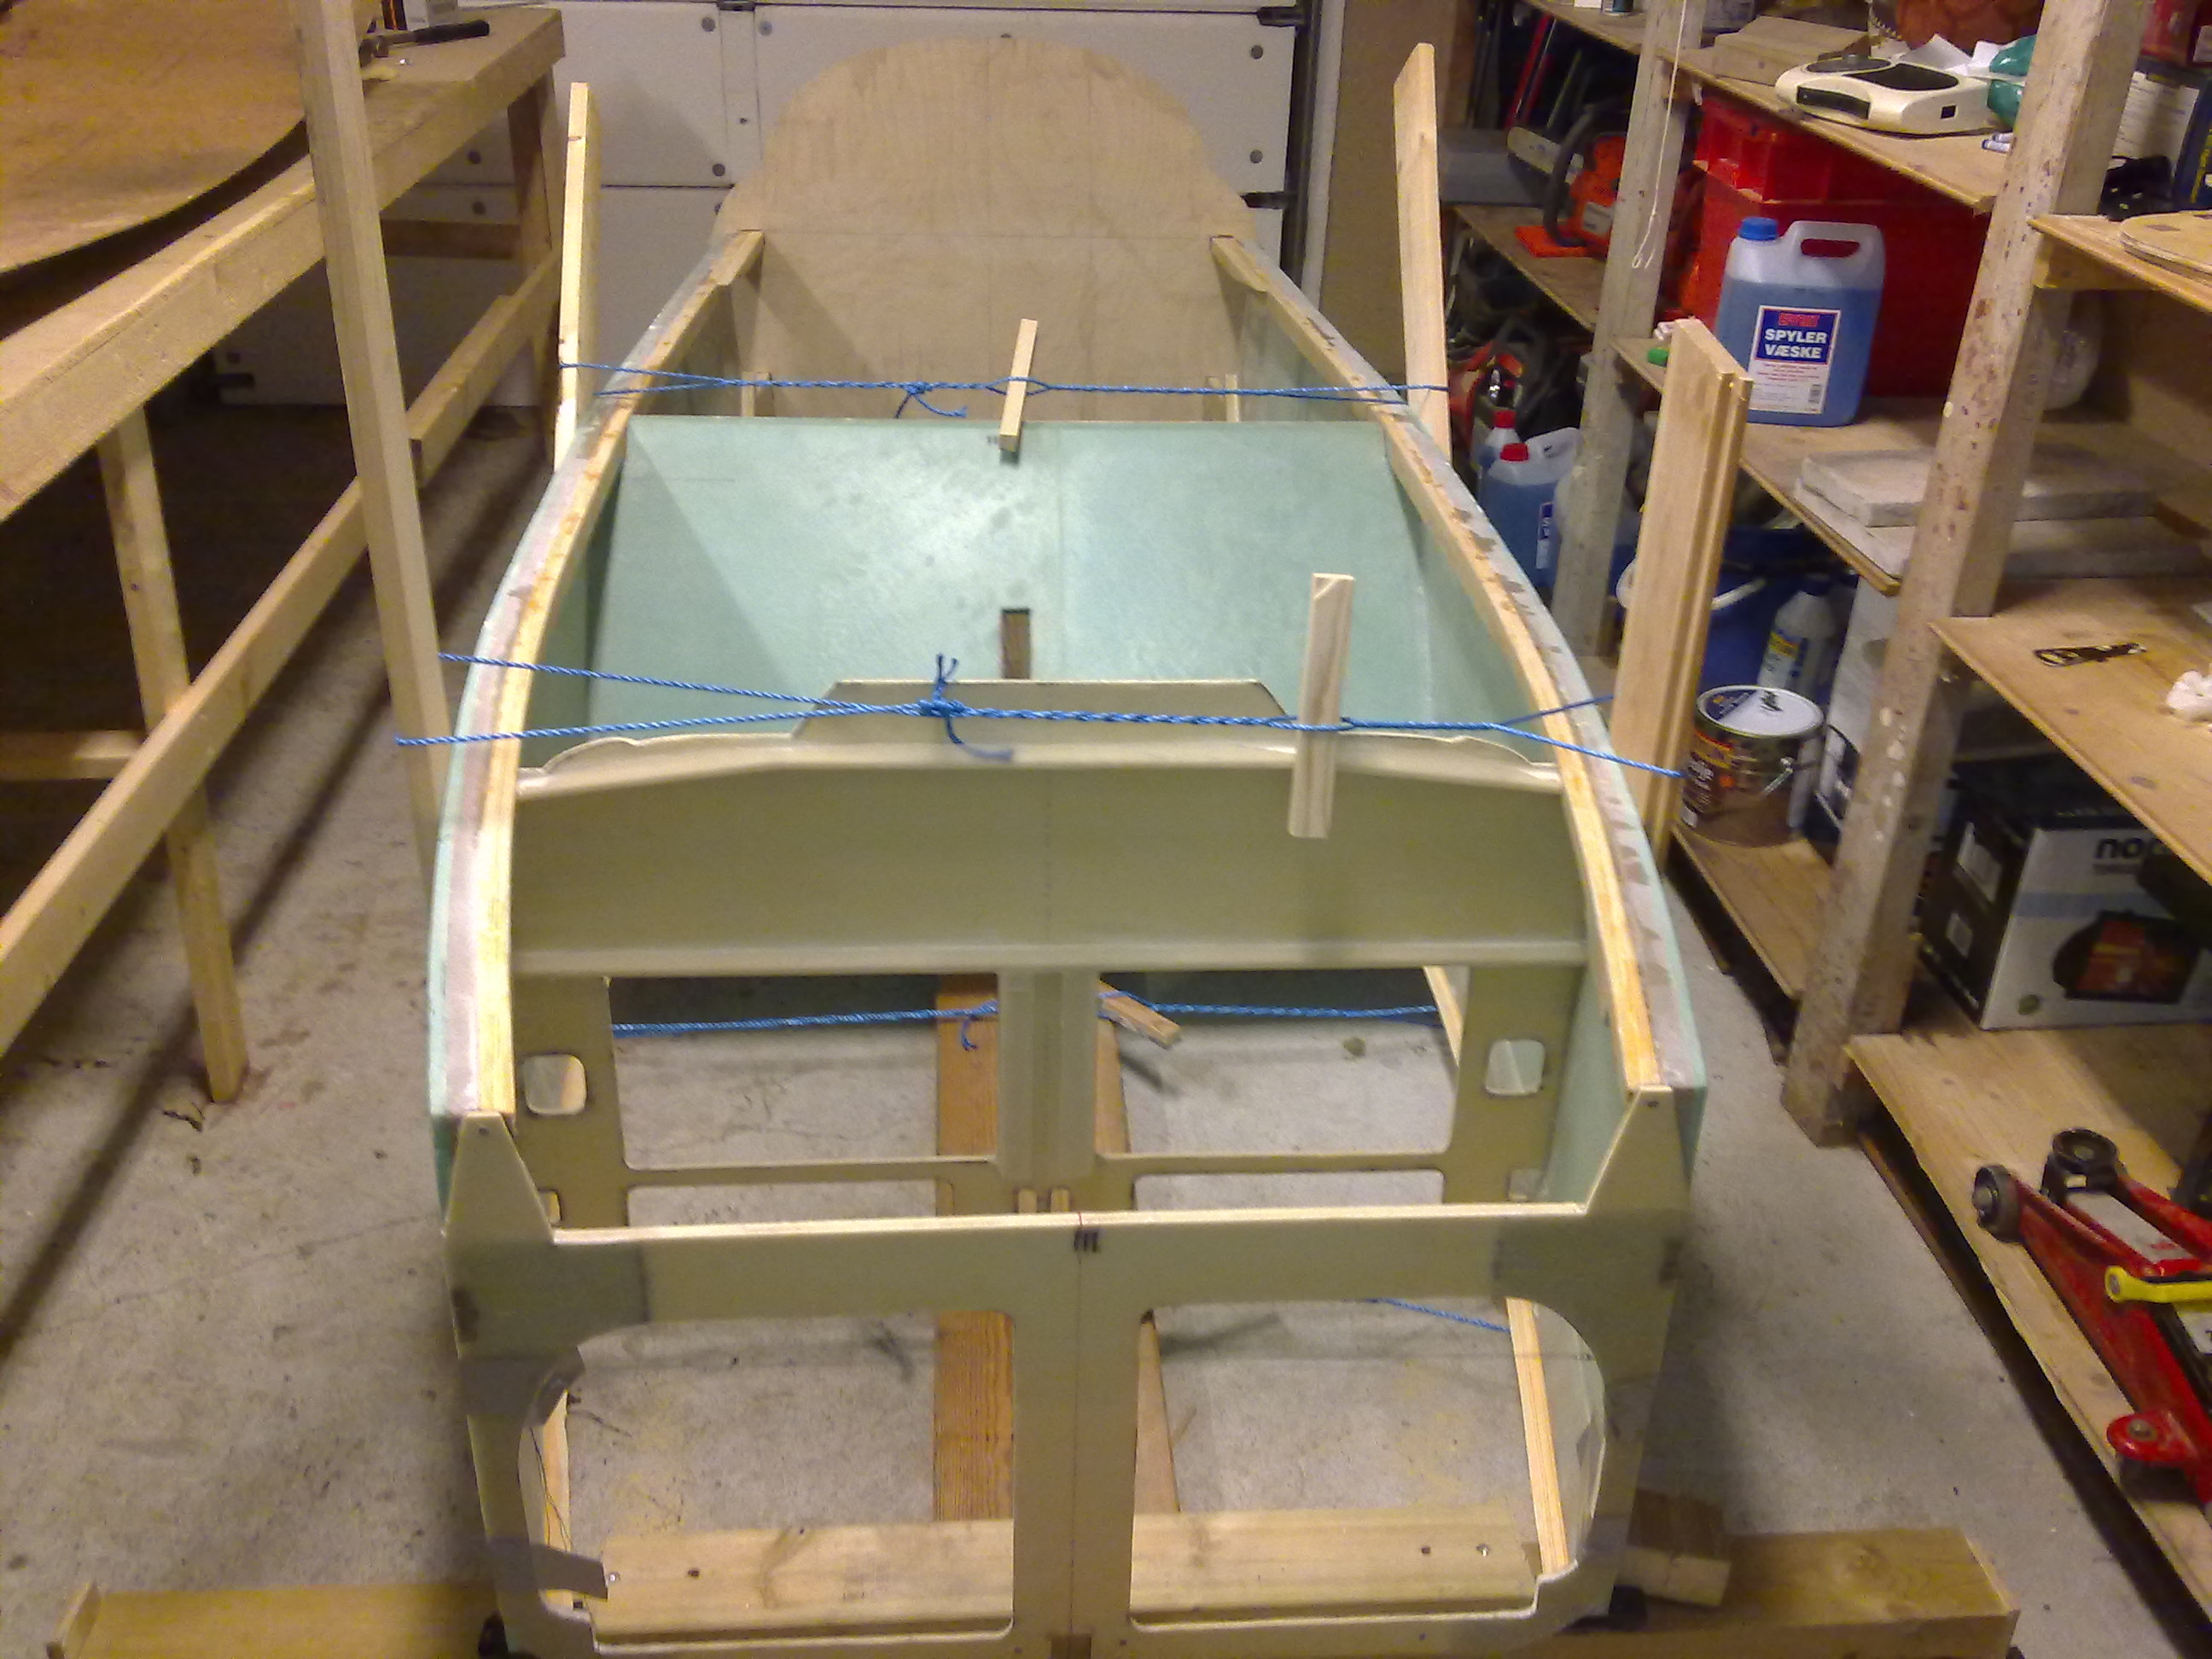
After once again checking for straightnes in all dimensions, I have now floxed the front seatback, the instrument-panel and F22 to the fuselage-sides.
I used the plans method to squeeze the fuselage-side together using a couple of planks and some rope. Making a tourniquet it’s easy to adjust the pressure. Now it shall cure for 24 hours without anyone touching it. As Nat says in the plans: “Don’t even let the dog inside while curing!”.
While curing I started to cut all the BID-tapes using the plans method of laying an 8″ BID-ply ontop of some plastic, apply epoxy and then cut in 4 2″ strips. Worked rather good, but if I should do this again, I would use 3″ wide tapes rather than 2″. My problem was that the BID-tapes stretched a bit hence got more narrow. Then I had to widen them again, much hazzle her. Had I been using 3″ tapes instead I would have had a greater tolerence here. It was also a suprisingly long job to glue the BID-tapes on! I spent 2.5 hour to make the tapes and glue them on and peel ply.
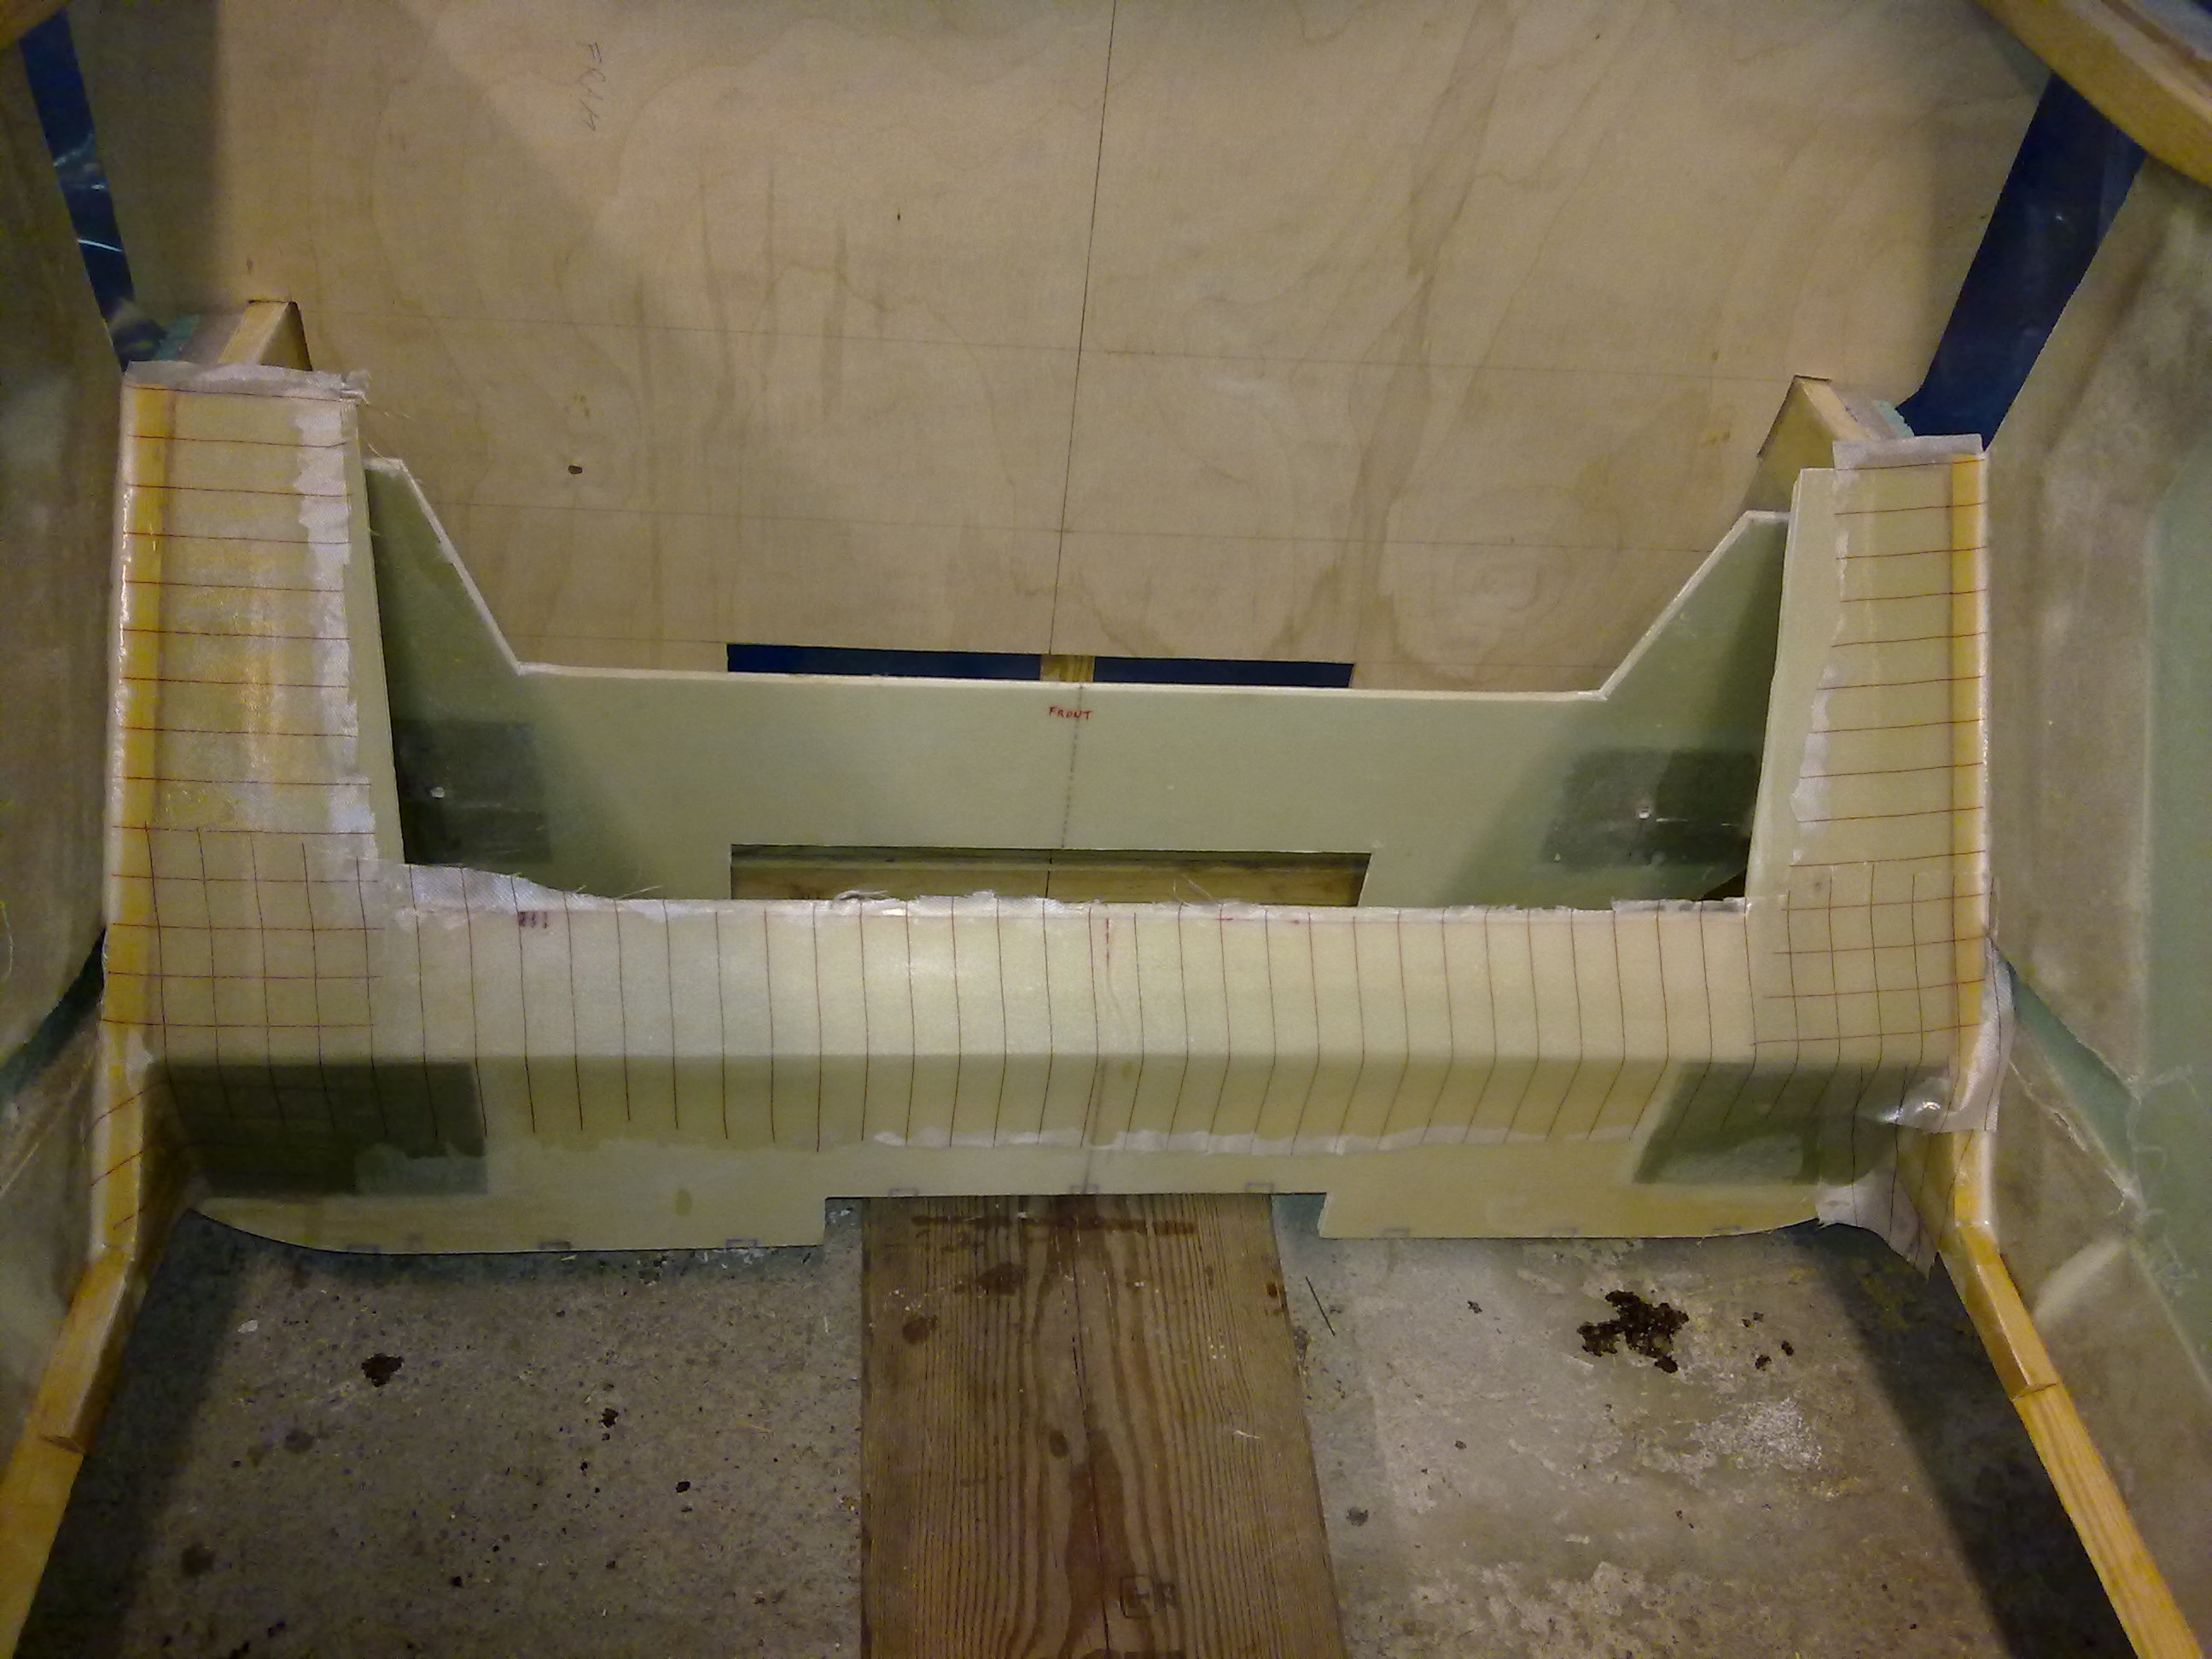
The next step was to flox the landing-gear-bulkheads. Goofed up the aft. I forgot that there are a front and an aft side of this bulkhead. The front side had 8 plies of bid extra. I managed to flox it backwards. It was easy to cut it out and reattach it, no big deal at all. I discovered that I was not the only one doing this, luckily I discovered it early. I sent a tip off to the Cozy-FAQ mentioning that it’s easy to do a mistake here. After cure I floxed the front lower LG using the plans method.
Suddenly the temperature outside dropped to -10 degrees celsius (14F). Christmas is also just around the corner. I decided to turn the heater off to save some money and wait for the temperature to rise over christmas again. The weather-forecast says it will be cold until next year, so I guess this will be the last work done in 2009.
2010:
Off to work again! The temperature has raised to approx 0 degrees celsius so I have started the heat-pump again. I finished the landing-gear bulkheads using the plans method. I have also added 3 plies UNI on the front side of the front LG as per plans. Finally I BID-taped the front LG to the fuselage and taped the joint between the lower and upper front LG. The next step will be to turn the fuselage upside down!
 Since the temperature is low outside, it is rather cold at the floor. To boost the temperature while the epoxy is curing, I made a “heat-tent” of some plastic that I covered the tub with. Inside I have a small heater that raises the temperature to approx 30 degrees Celcius.