
This step is kinda scary – I am going to match drill the centersection spar (CS) to the wings. Obviously this has to be done very accurate to ensure that the wing/spar/wing ends up with correct angles.
2019-07-18: One issue here is that the components starts to take a lot of space. One wing + the spar mounted measures over 6 meters now (18ft). Some creative rearangement of my work bench, and removing one door between the inner room in my garage made it possible to place one wing + the spar on the table, and still have some room to work on.
This is how the setup looks like, using the panorama-function on my phone.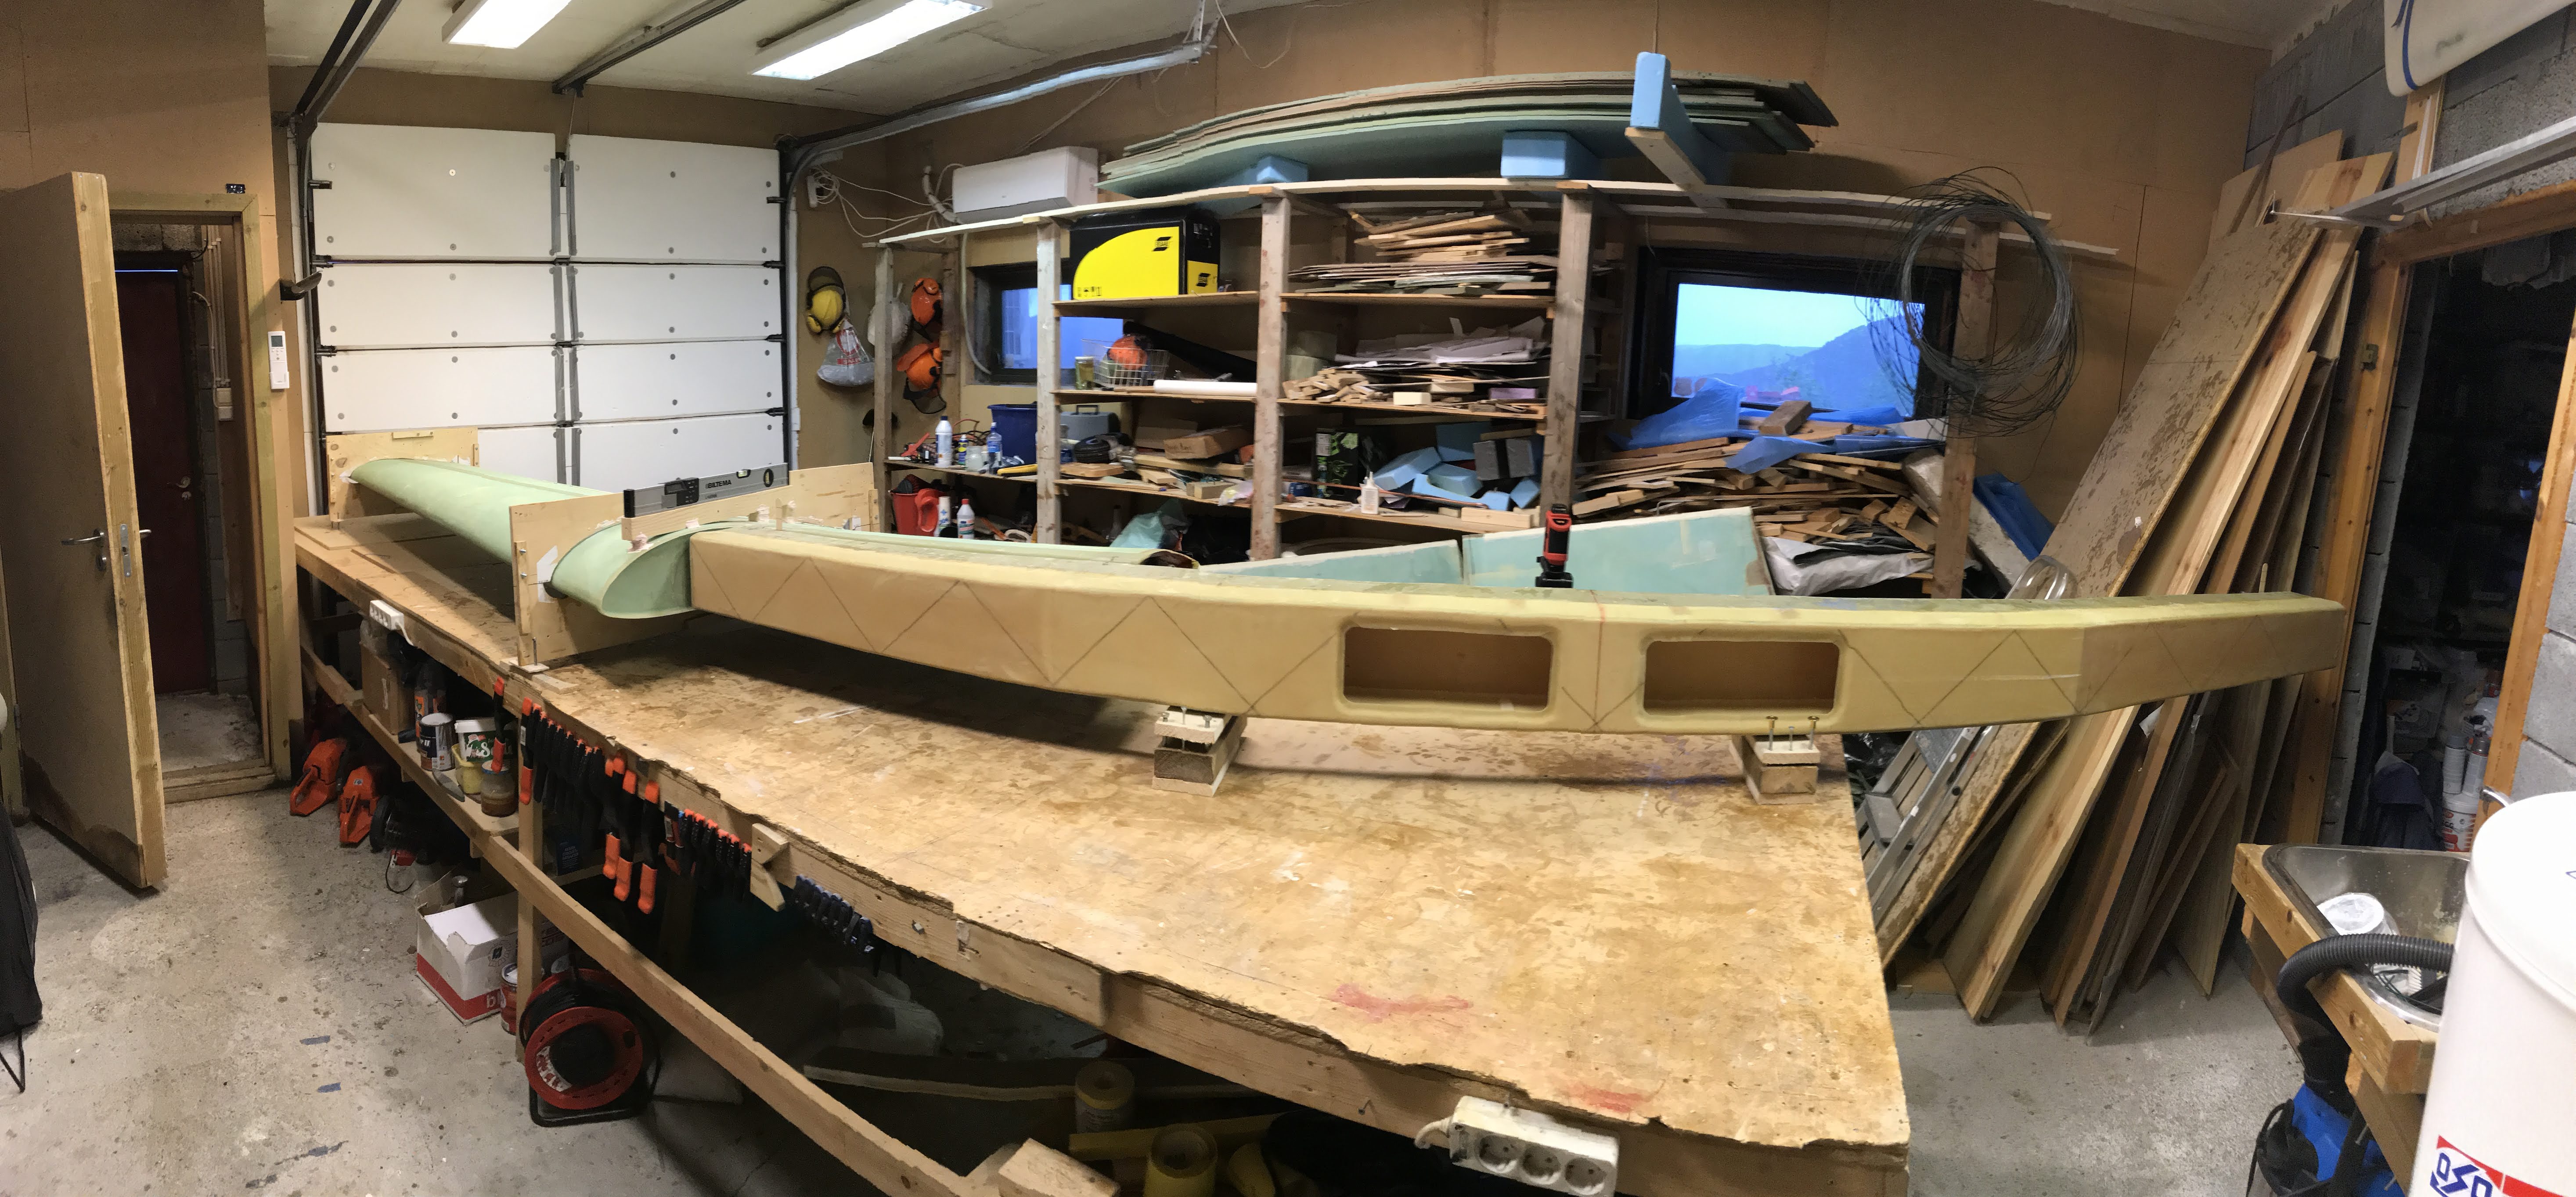
Started by laying the spar aft face up, with the right side flat on the table. Marked the positions for the holes according to plan.

Then I drilled the pilot holes through the hardpoints in two steps, first with a 3mm (1/8″) drill bit then with a 5mm drill bit.
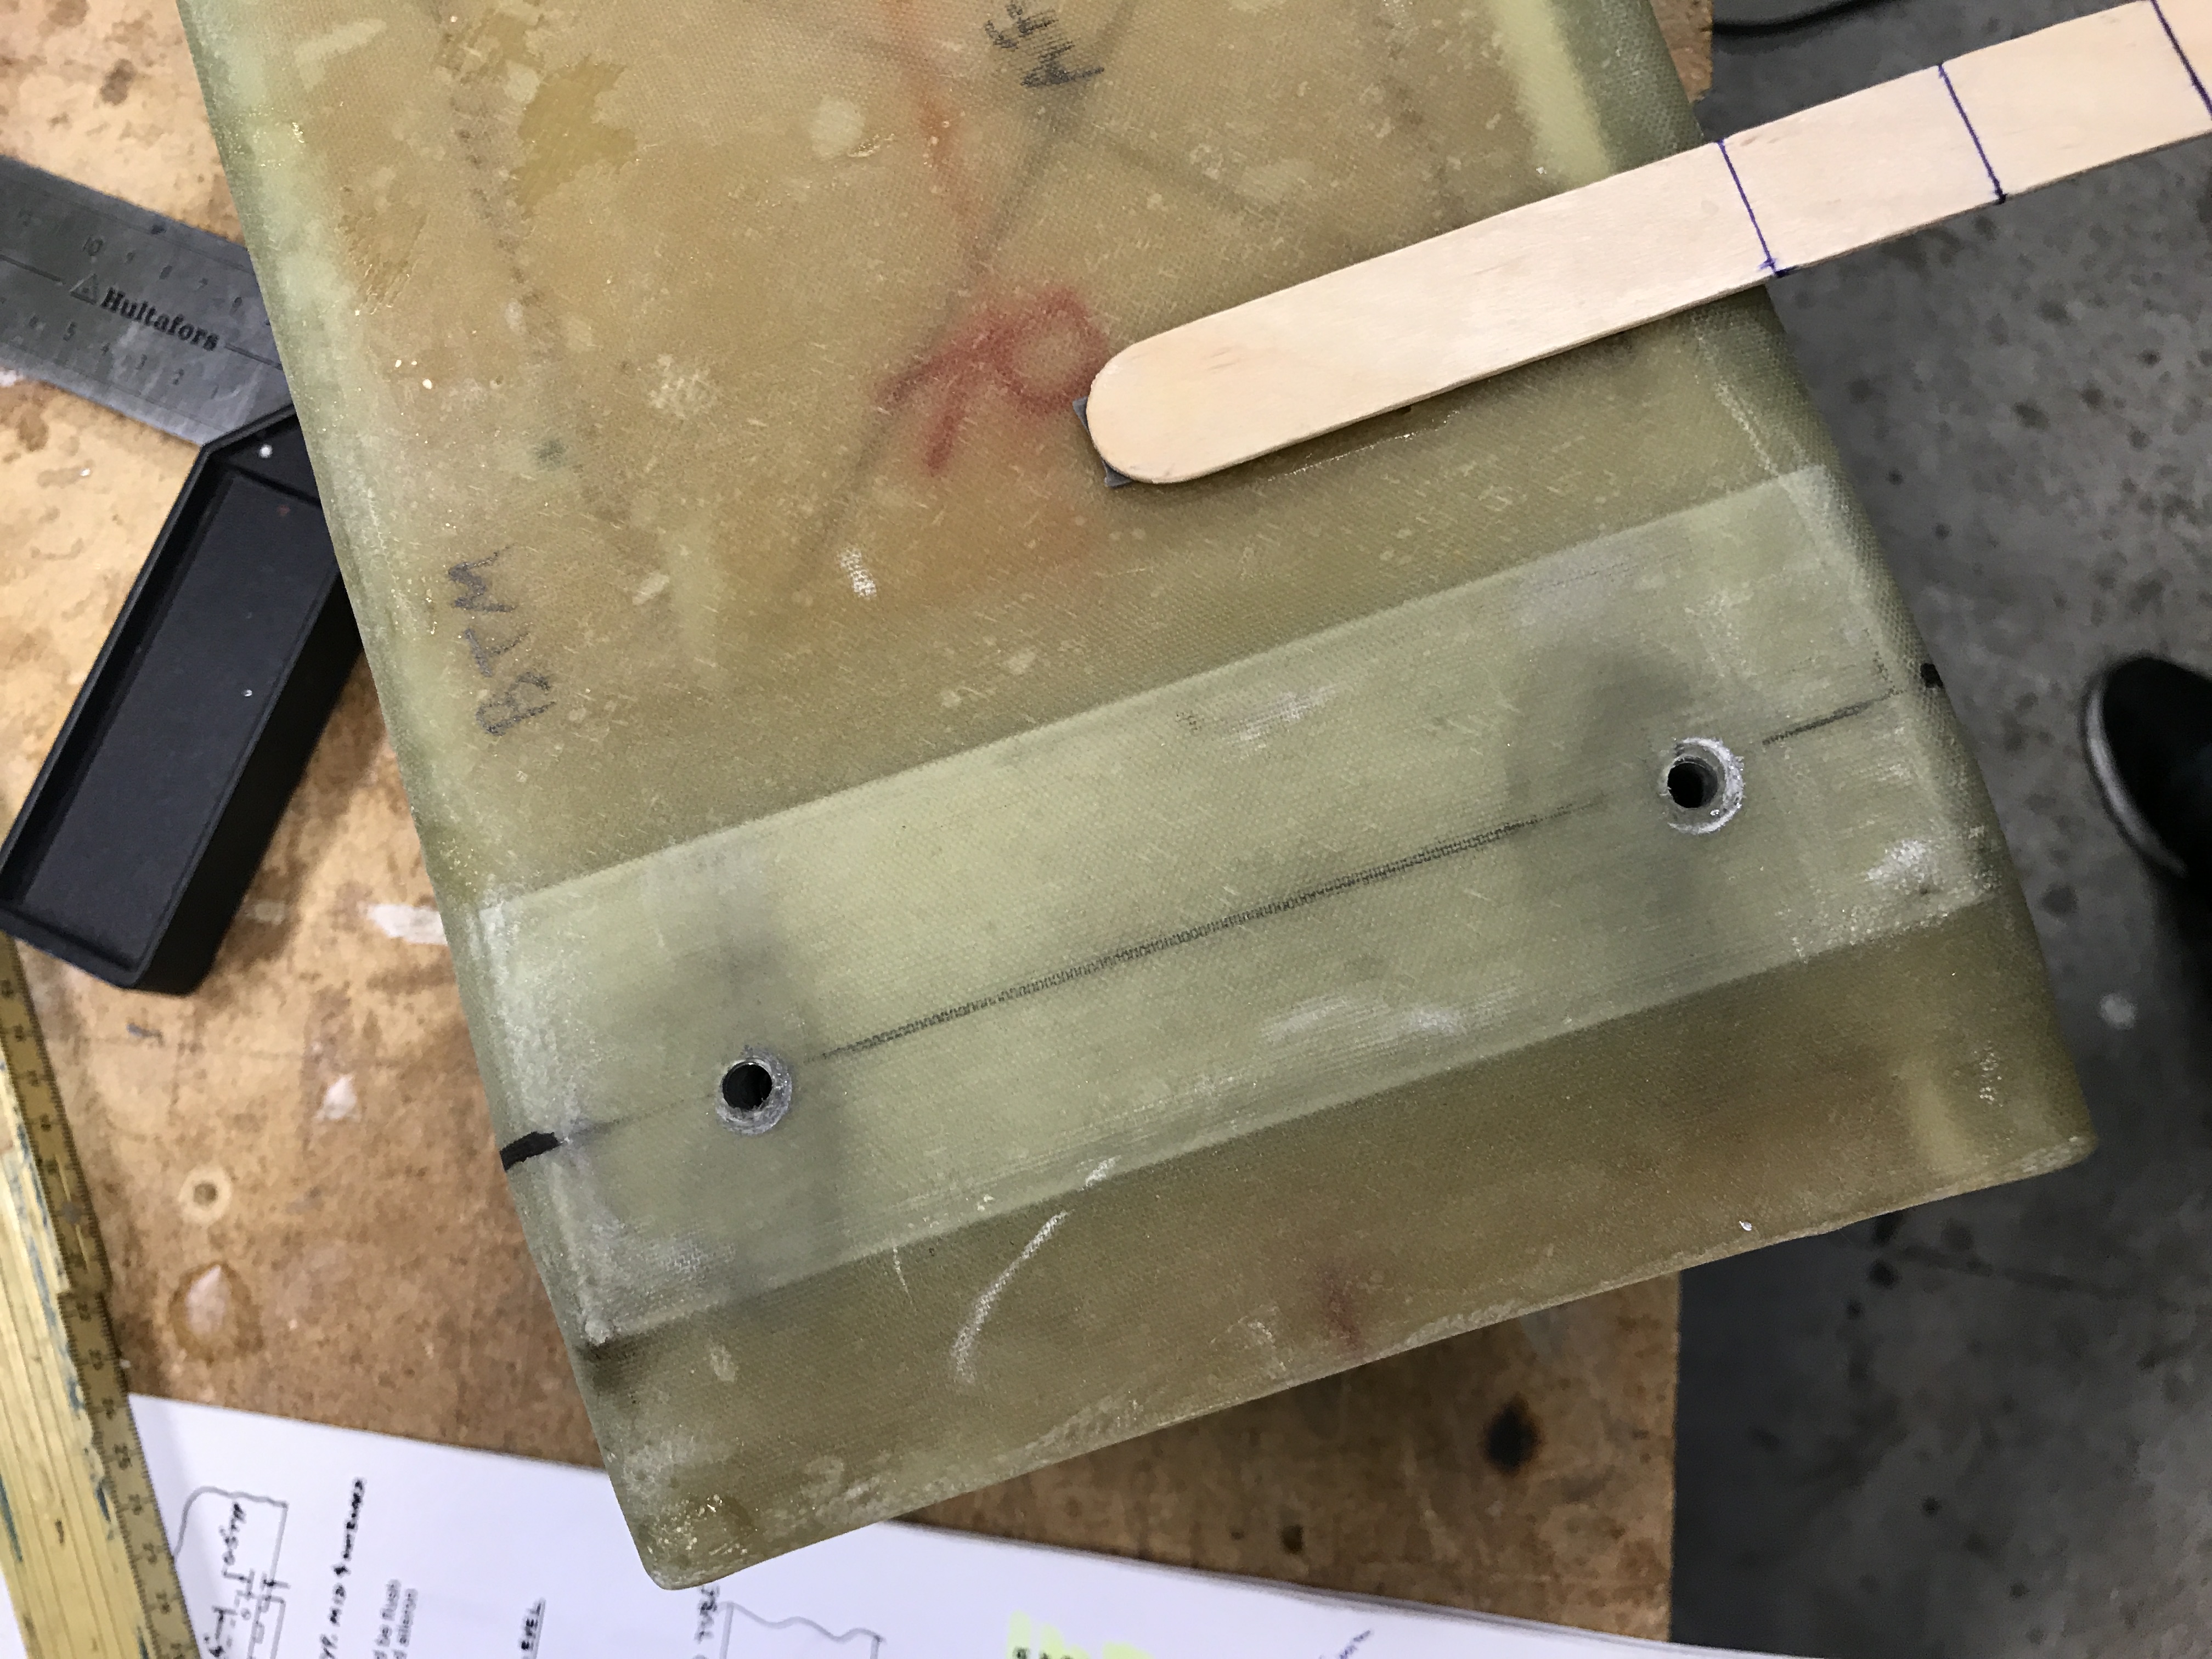
Then I flipped the spar around and marked the holes on the front face and drilled open and through the spar with a long 6mm (1/4″) drill bit.

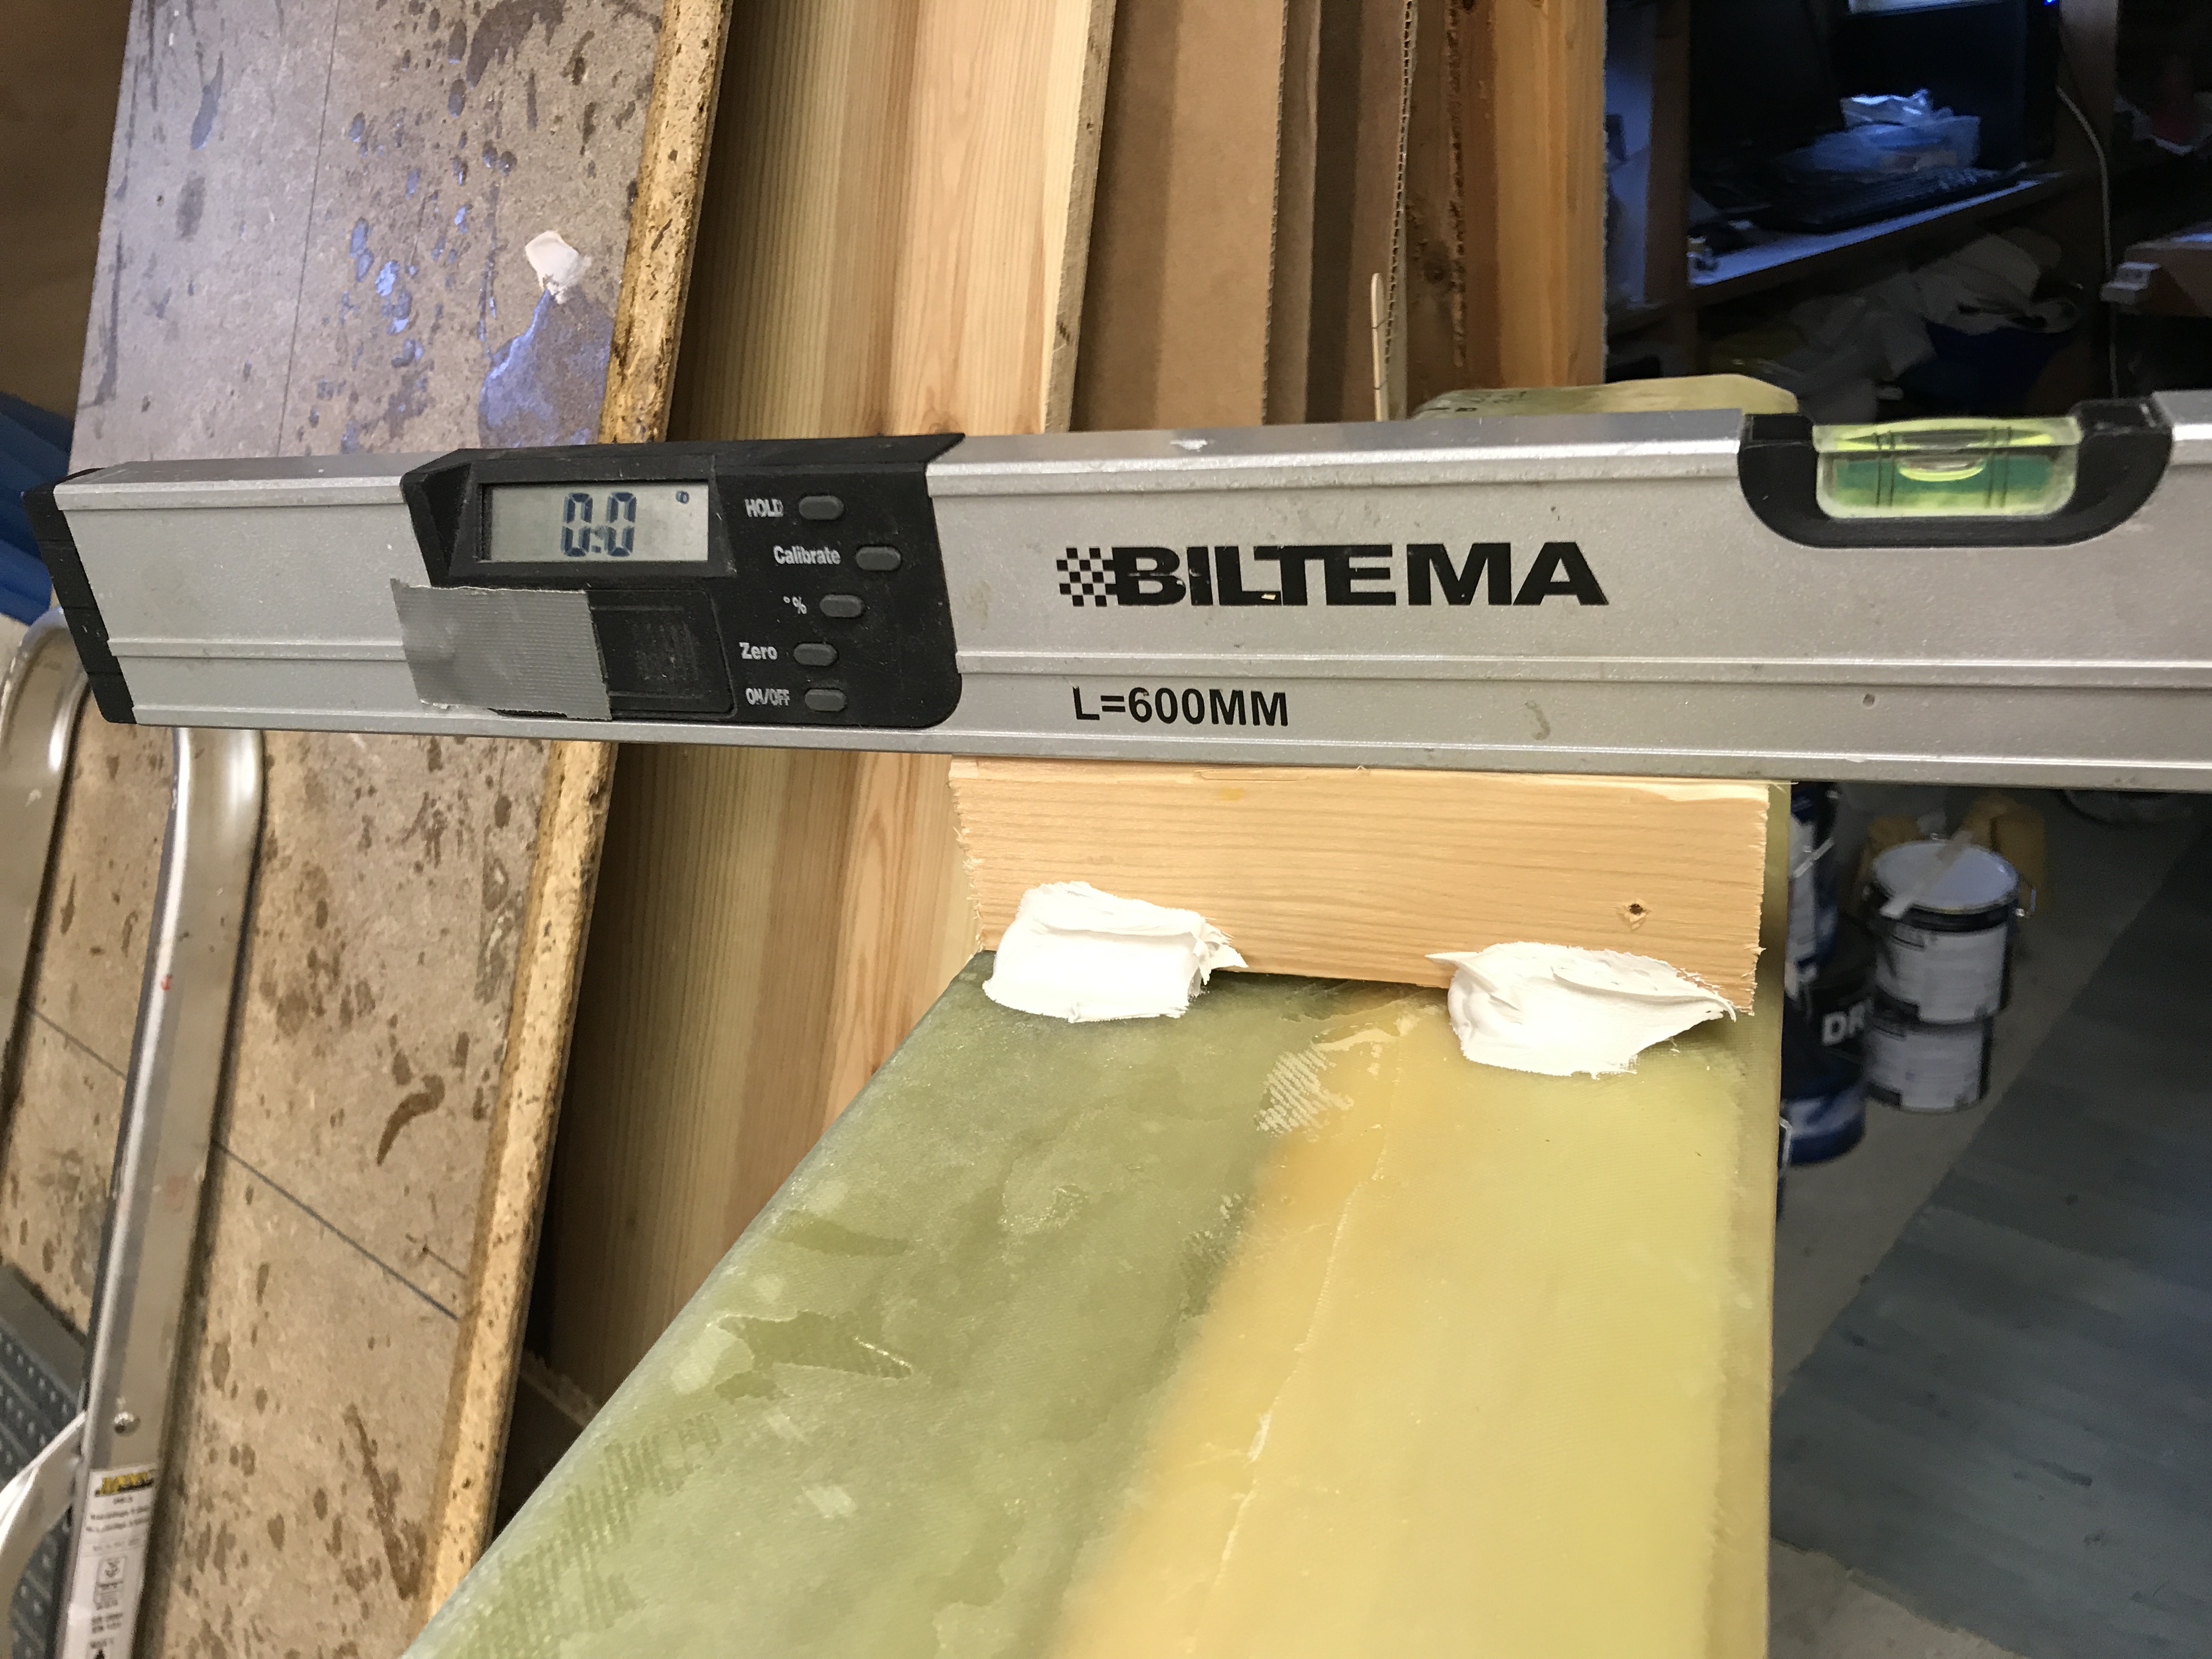
I leveled the wing in both directions, using both the level-board bondoed to the wing as well as a couple of wing jigs reattached to the wing. Since the floor is not level I made some adjustable feets attached to the wing jigs, to easily adjust the wing in all directions until level.
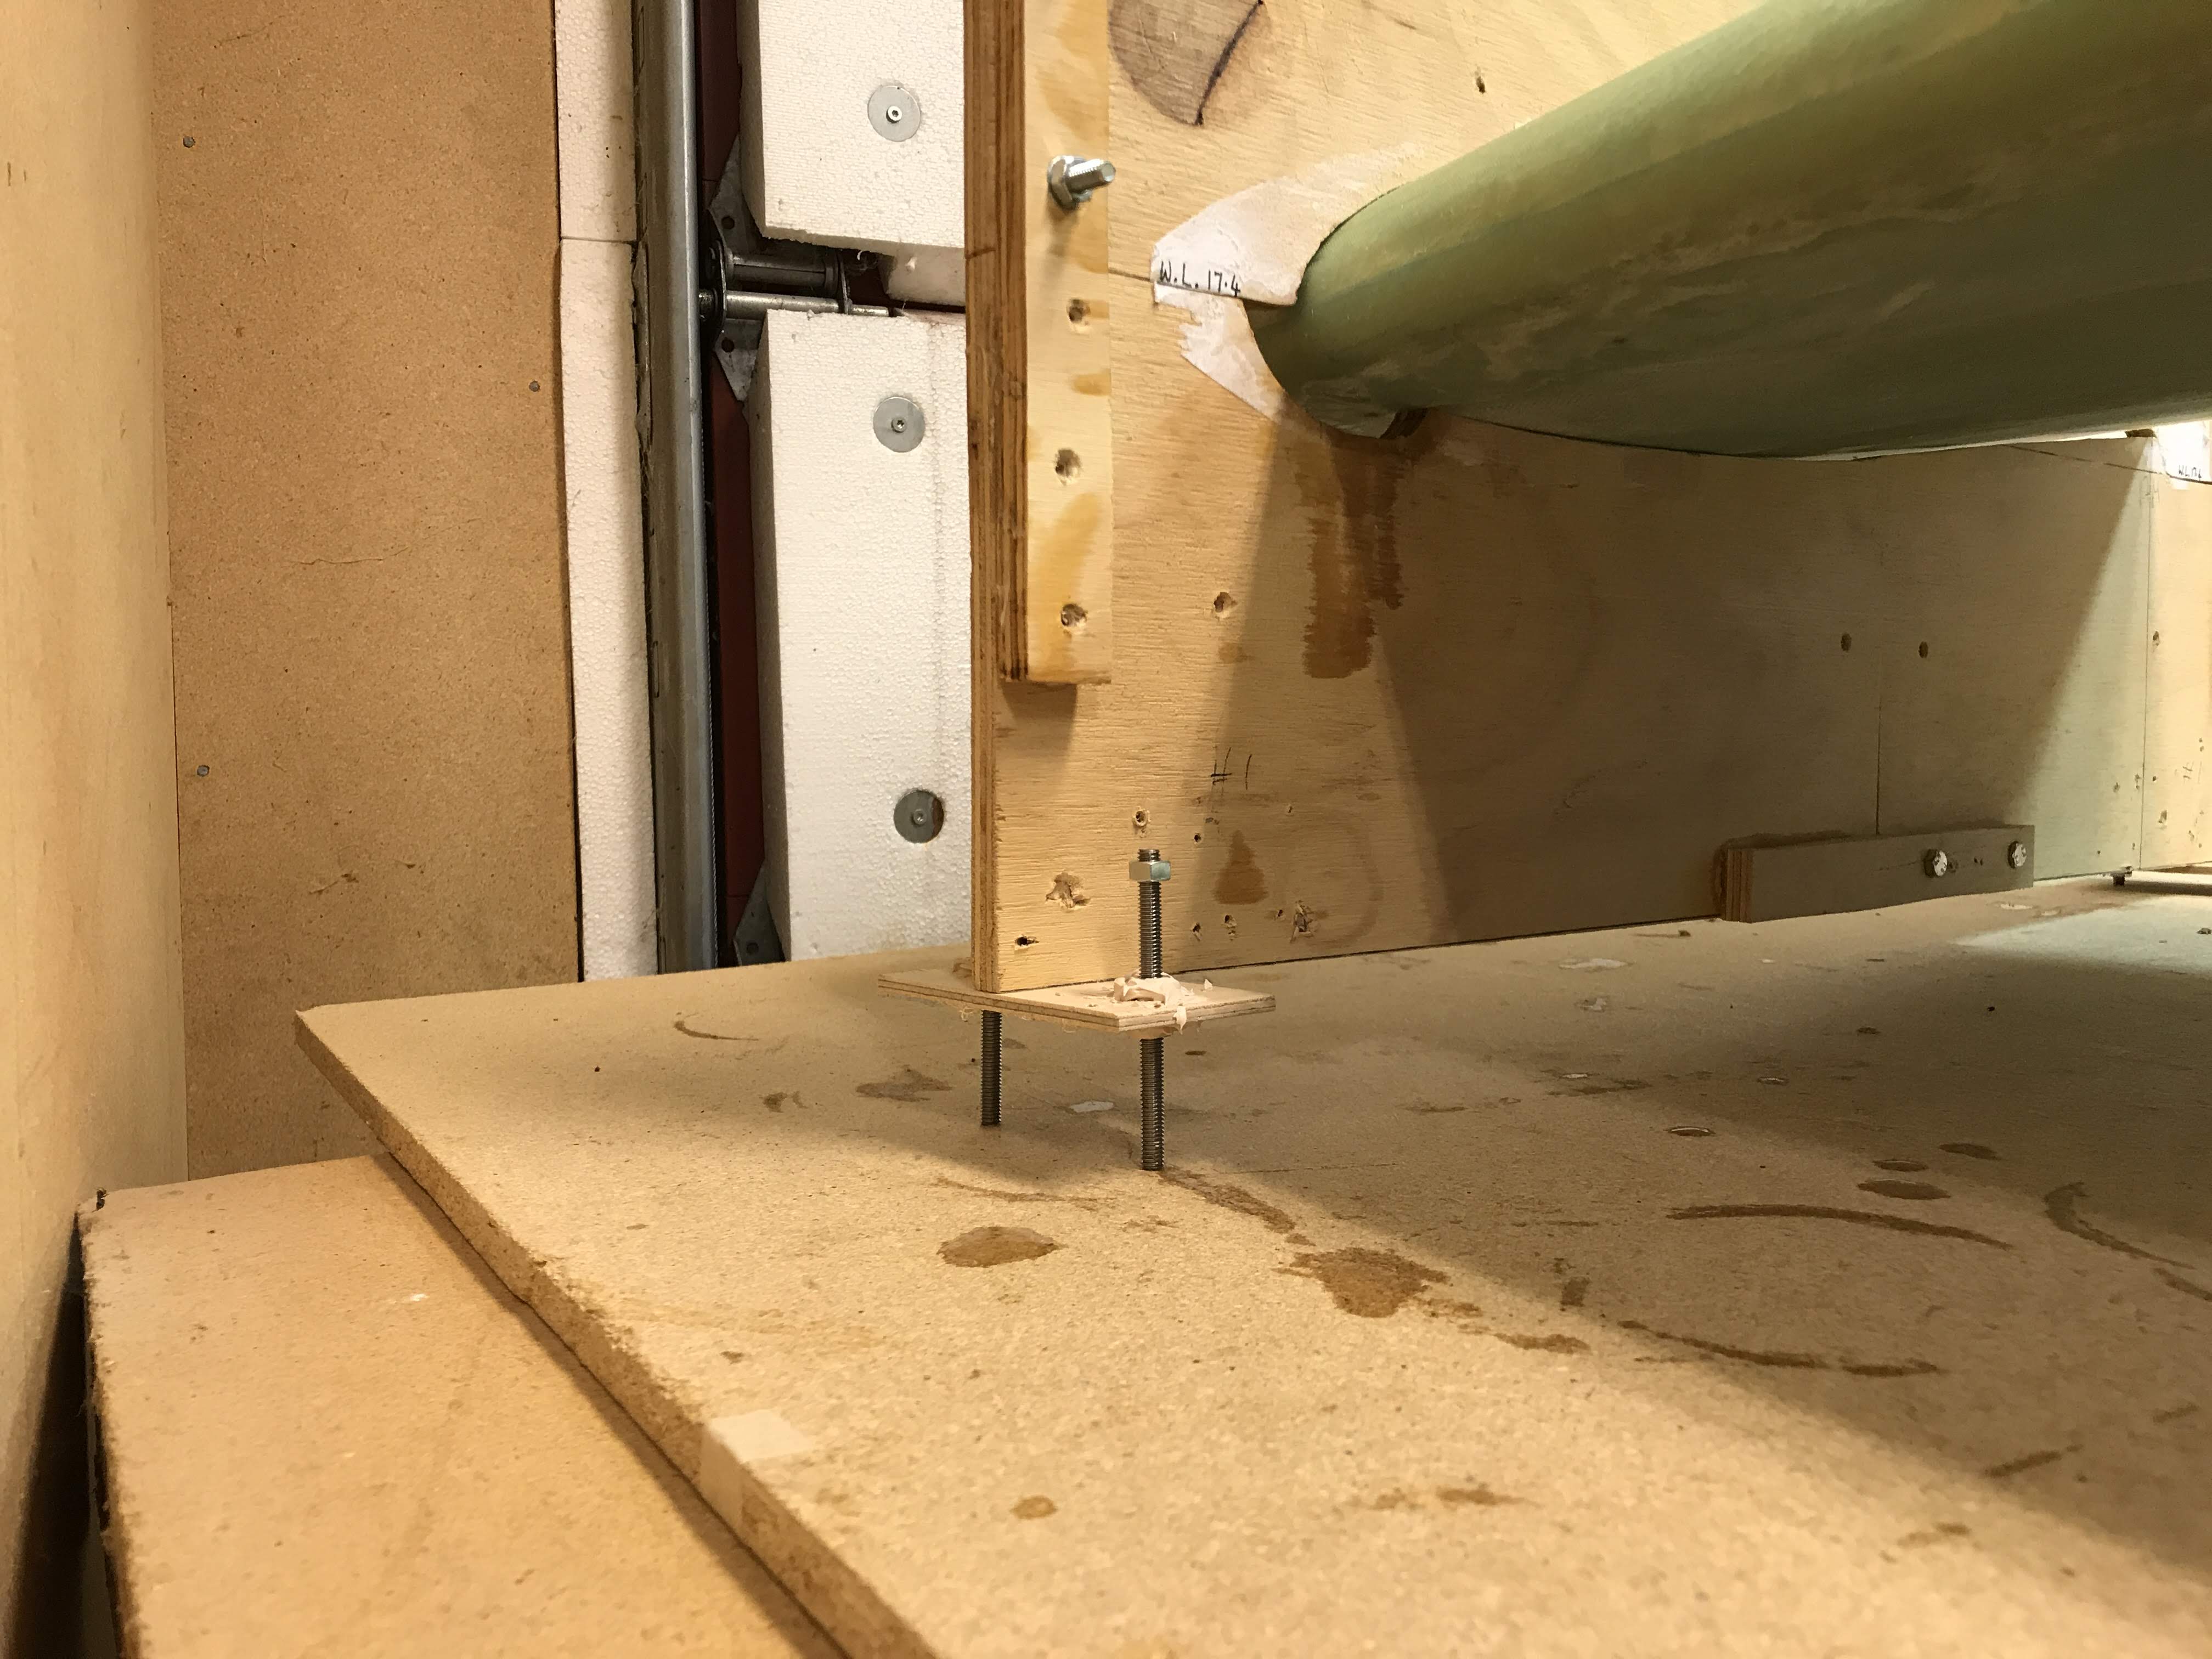
Then I did the same with the spar:
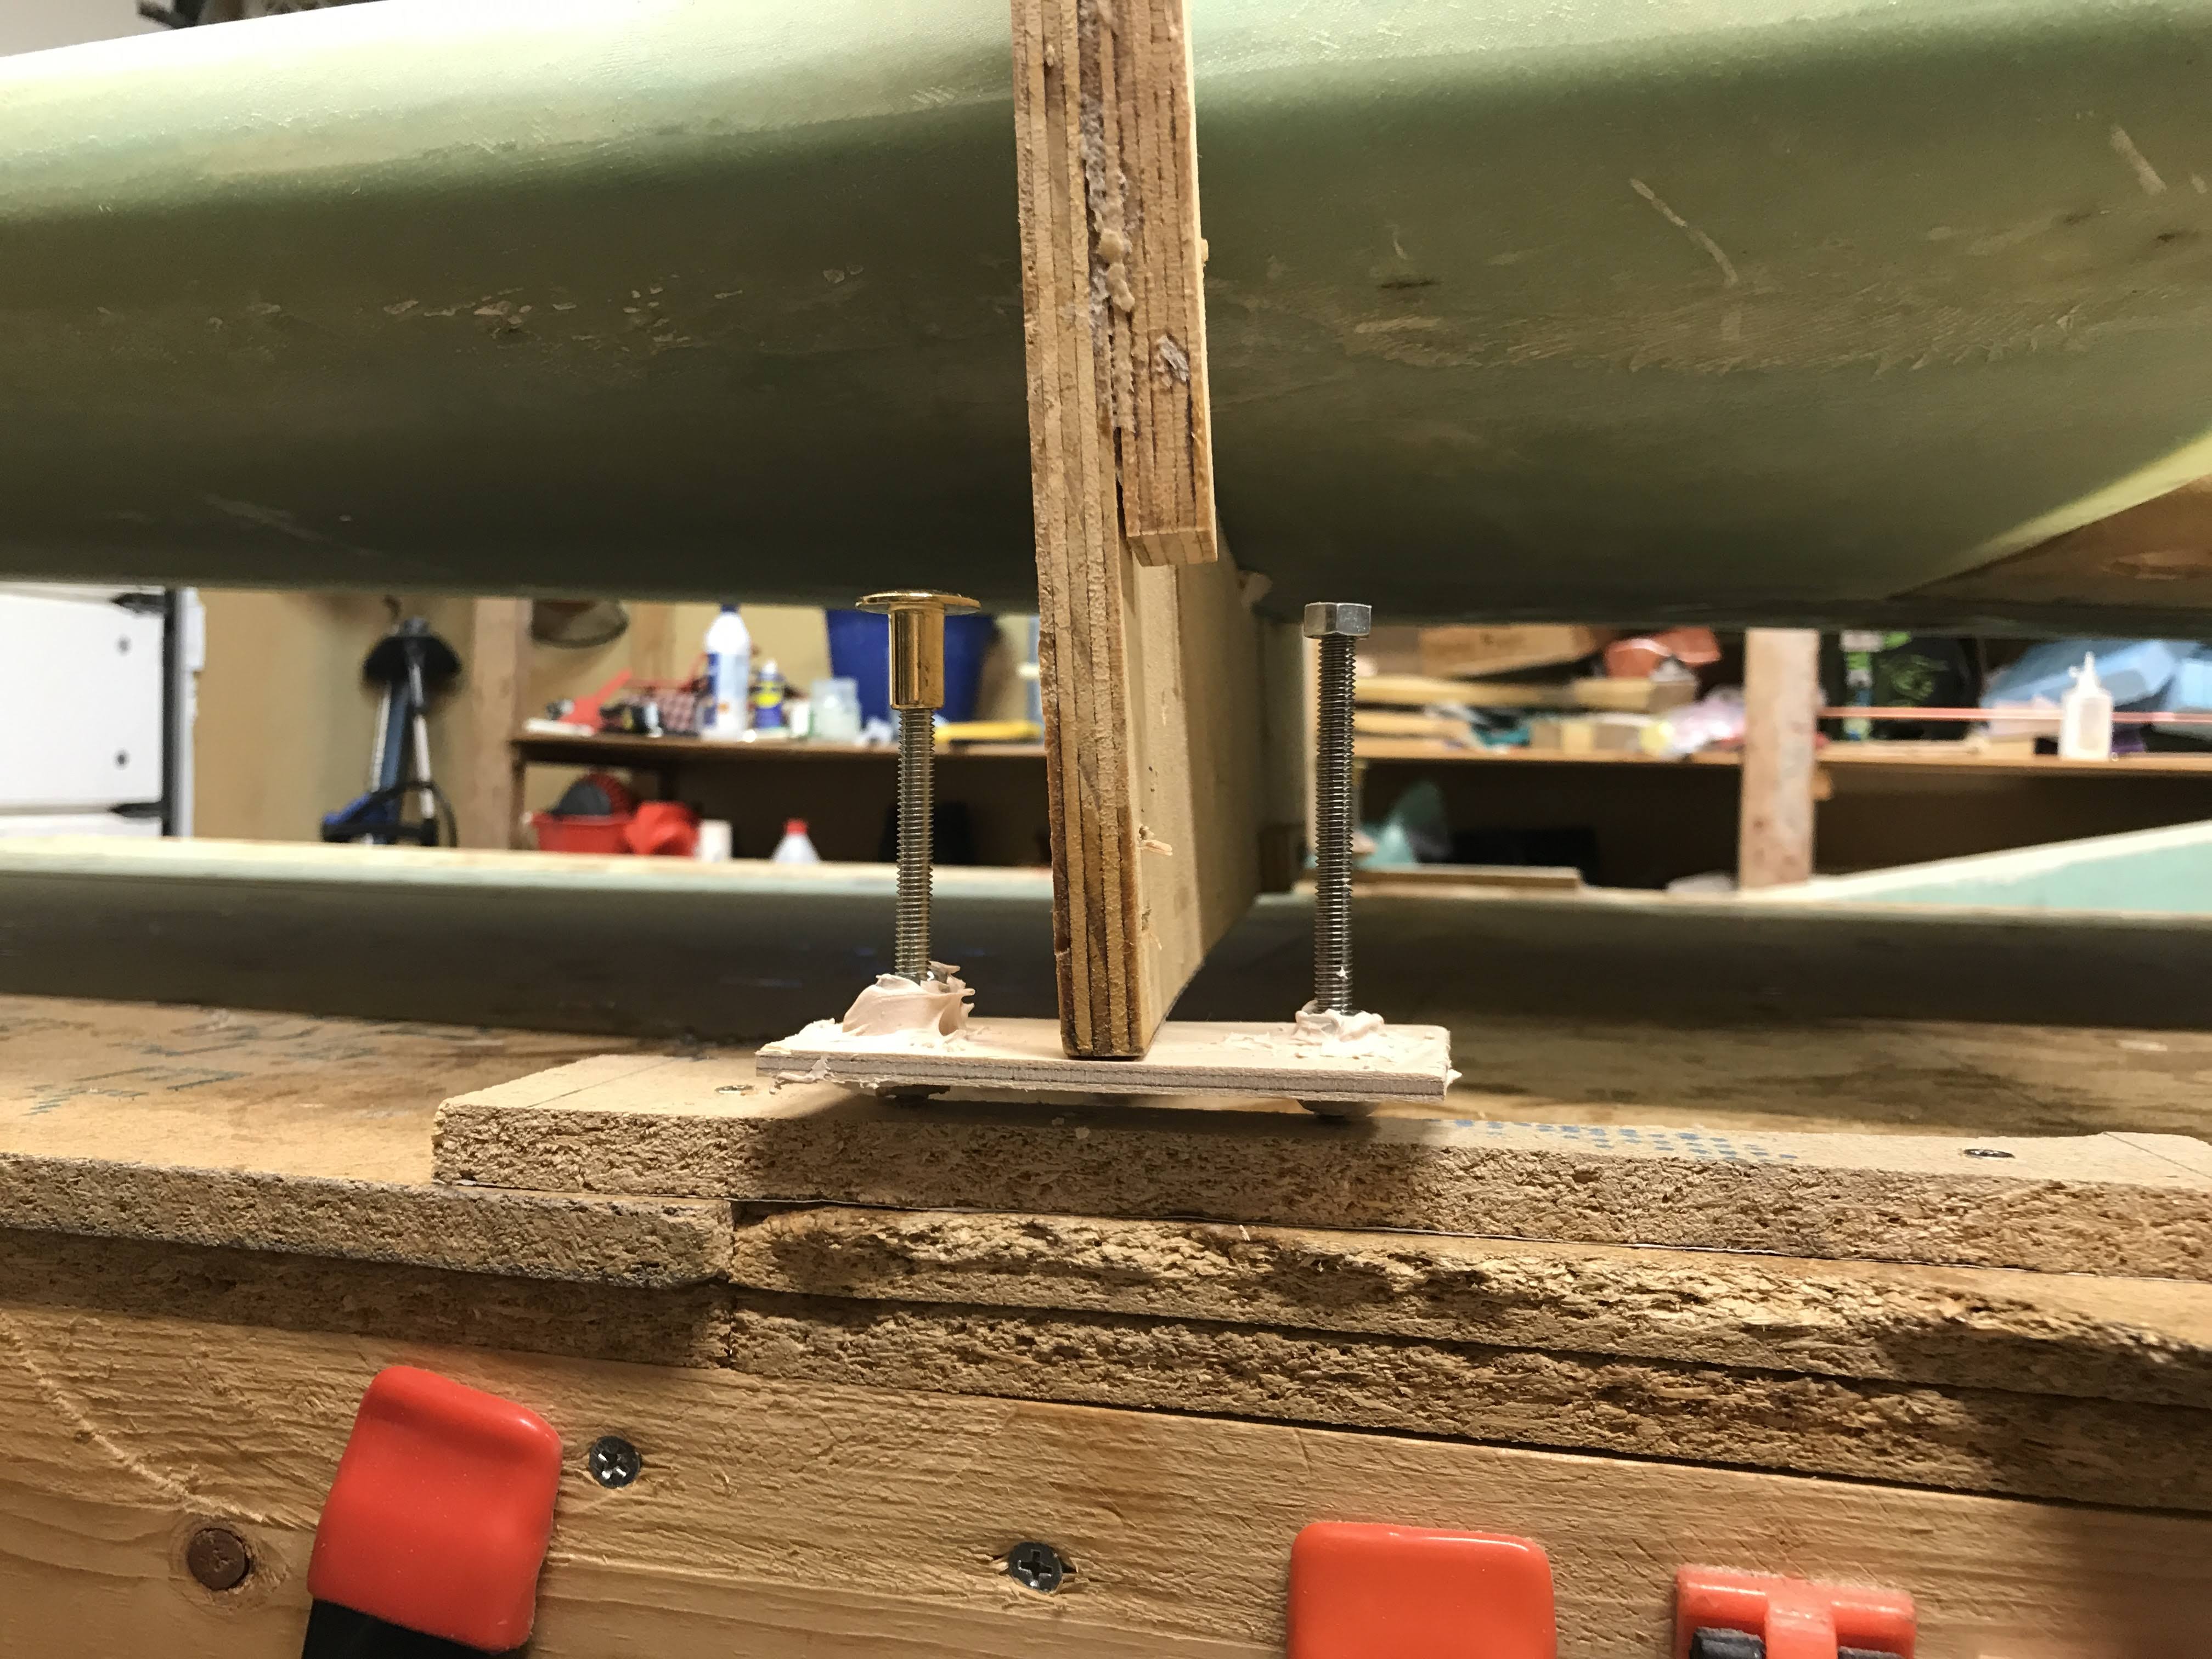
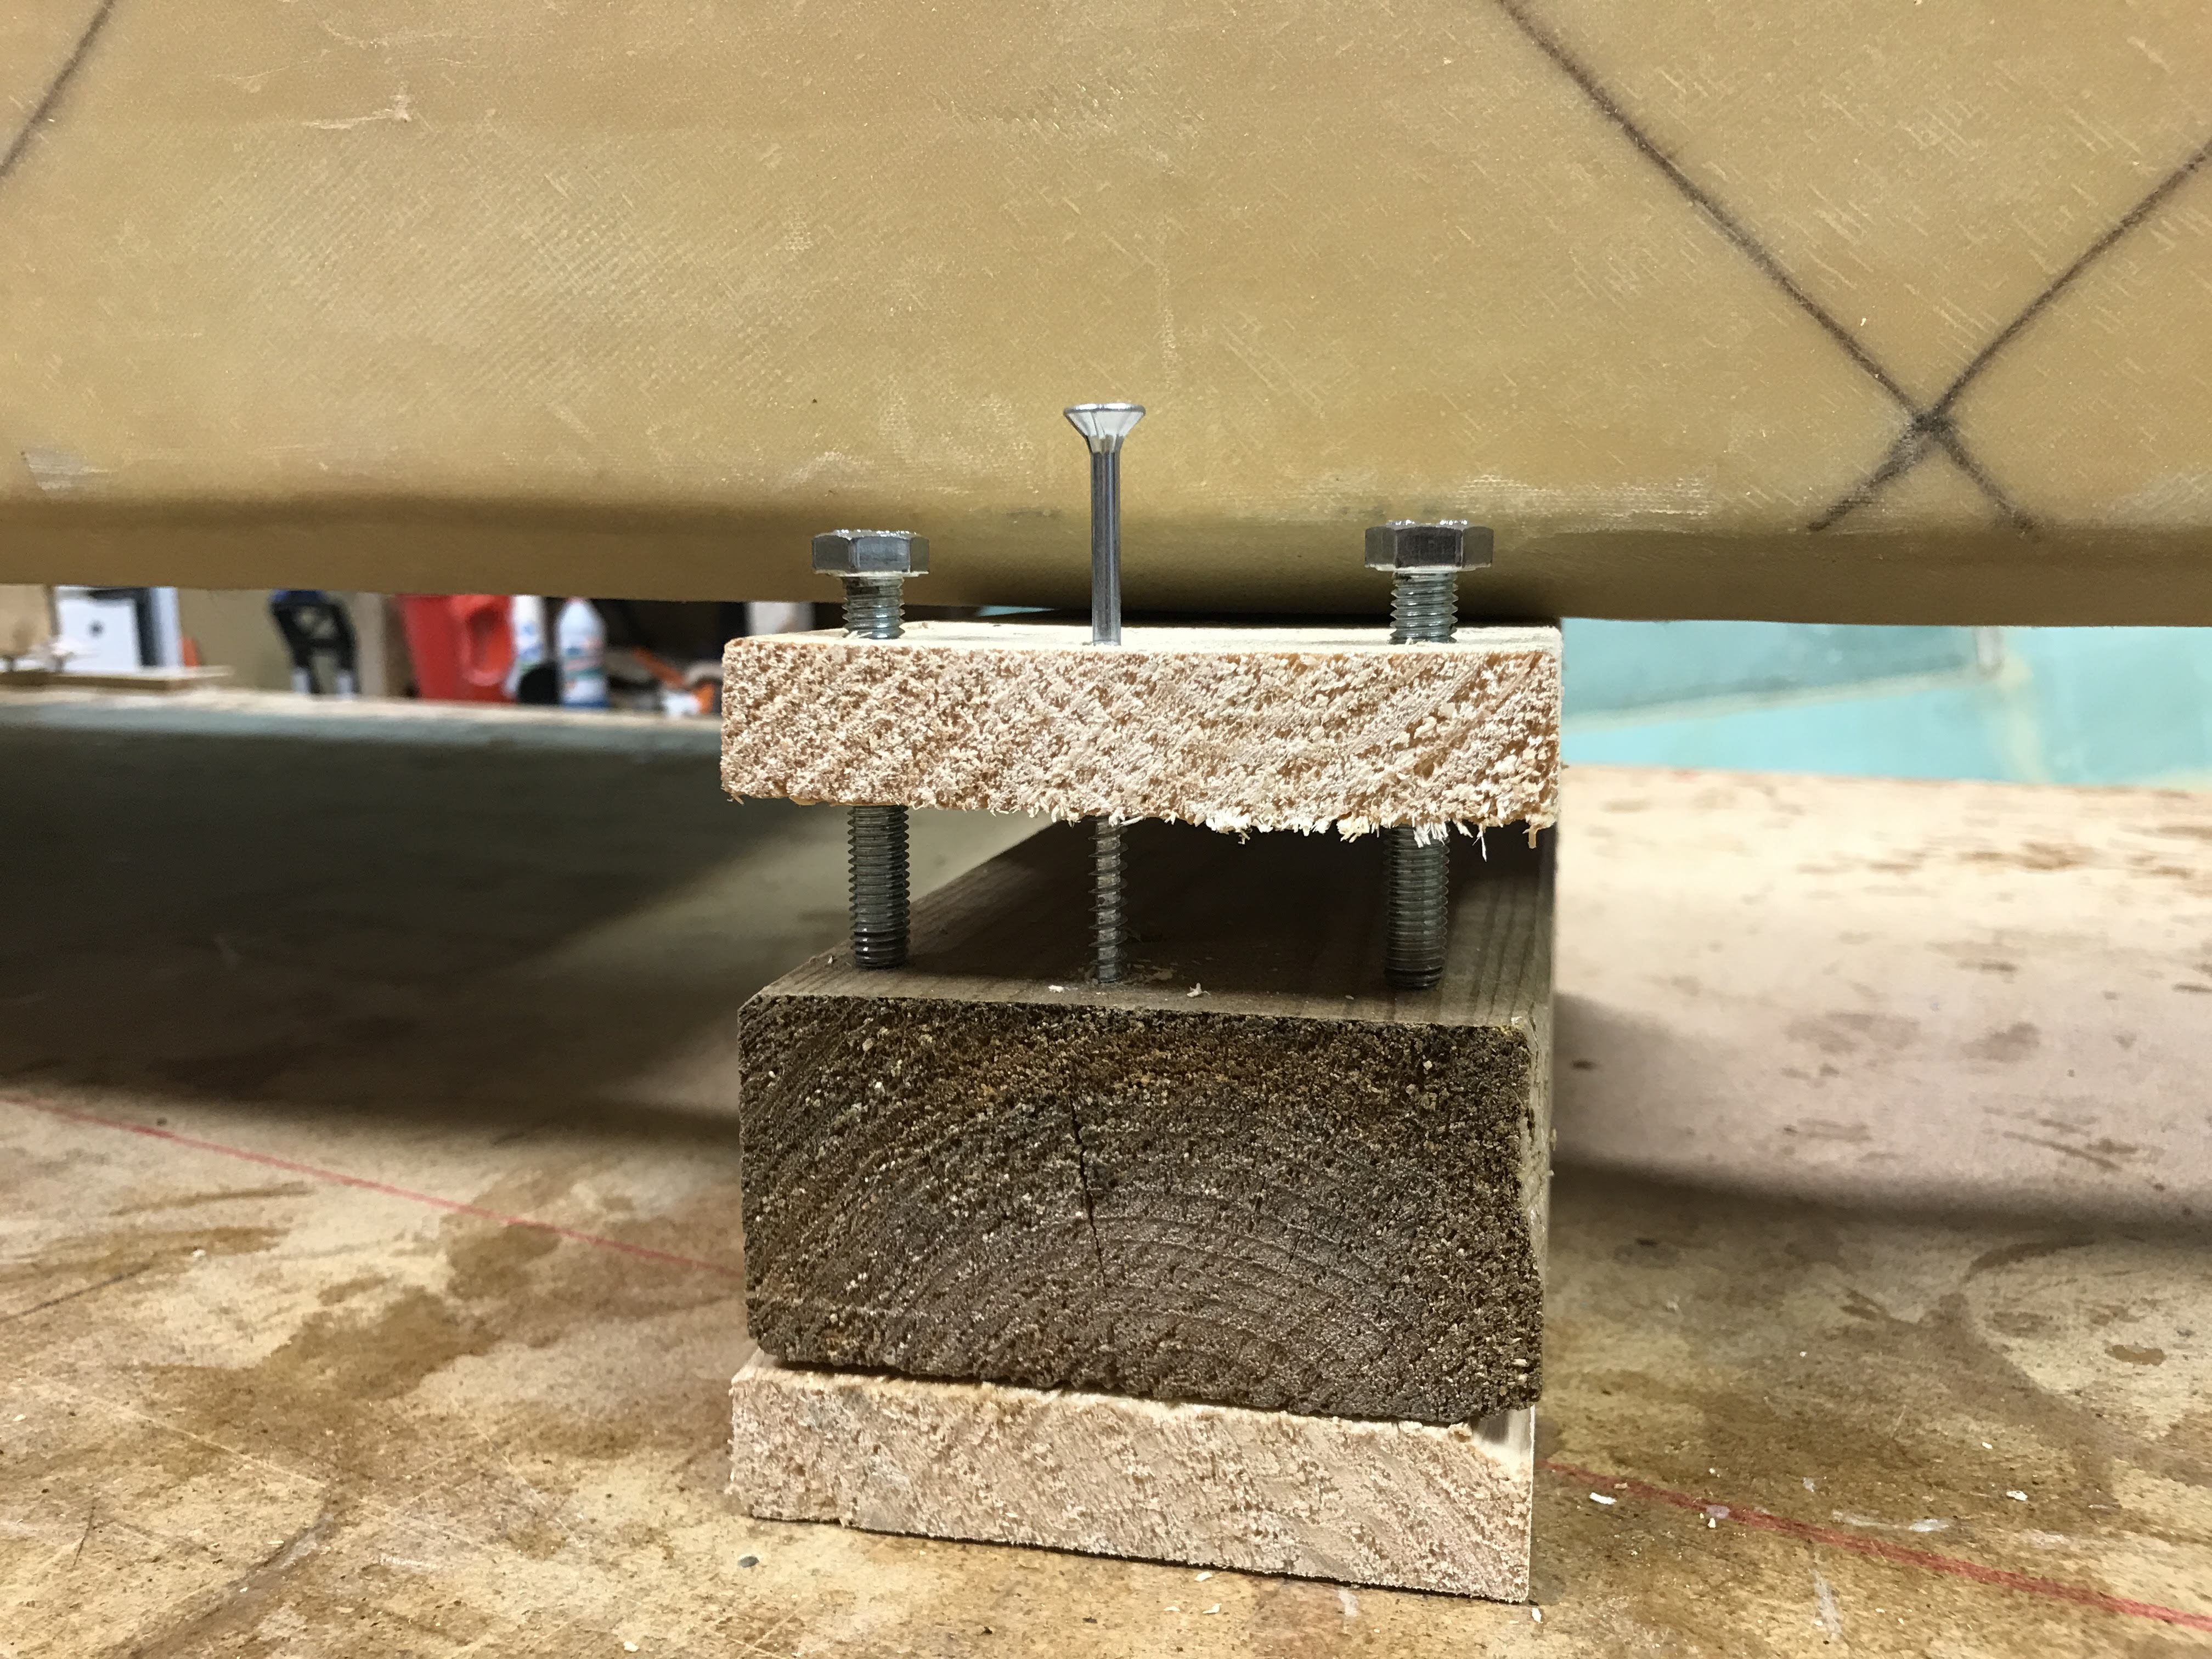 The screw in the center is attached to the middle wood-part, and free floating through the top part. Just to ensure that the upper part is not moving sideways. The two bolts on the side goes through a nut in the wood so I can adjust the height and the level very easy by just turning the bolts up or down on both sides of the spar.
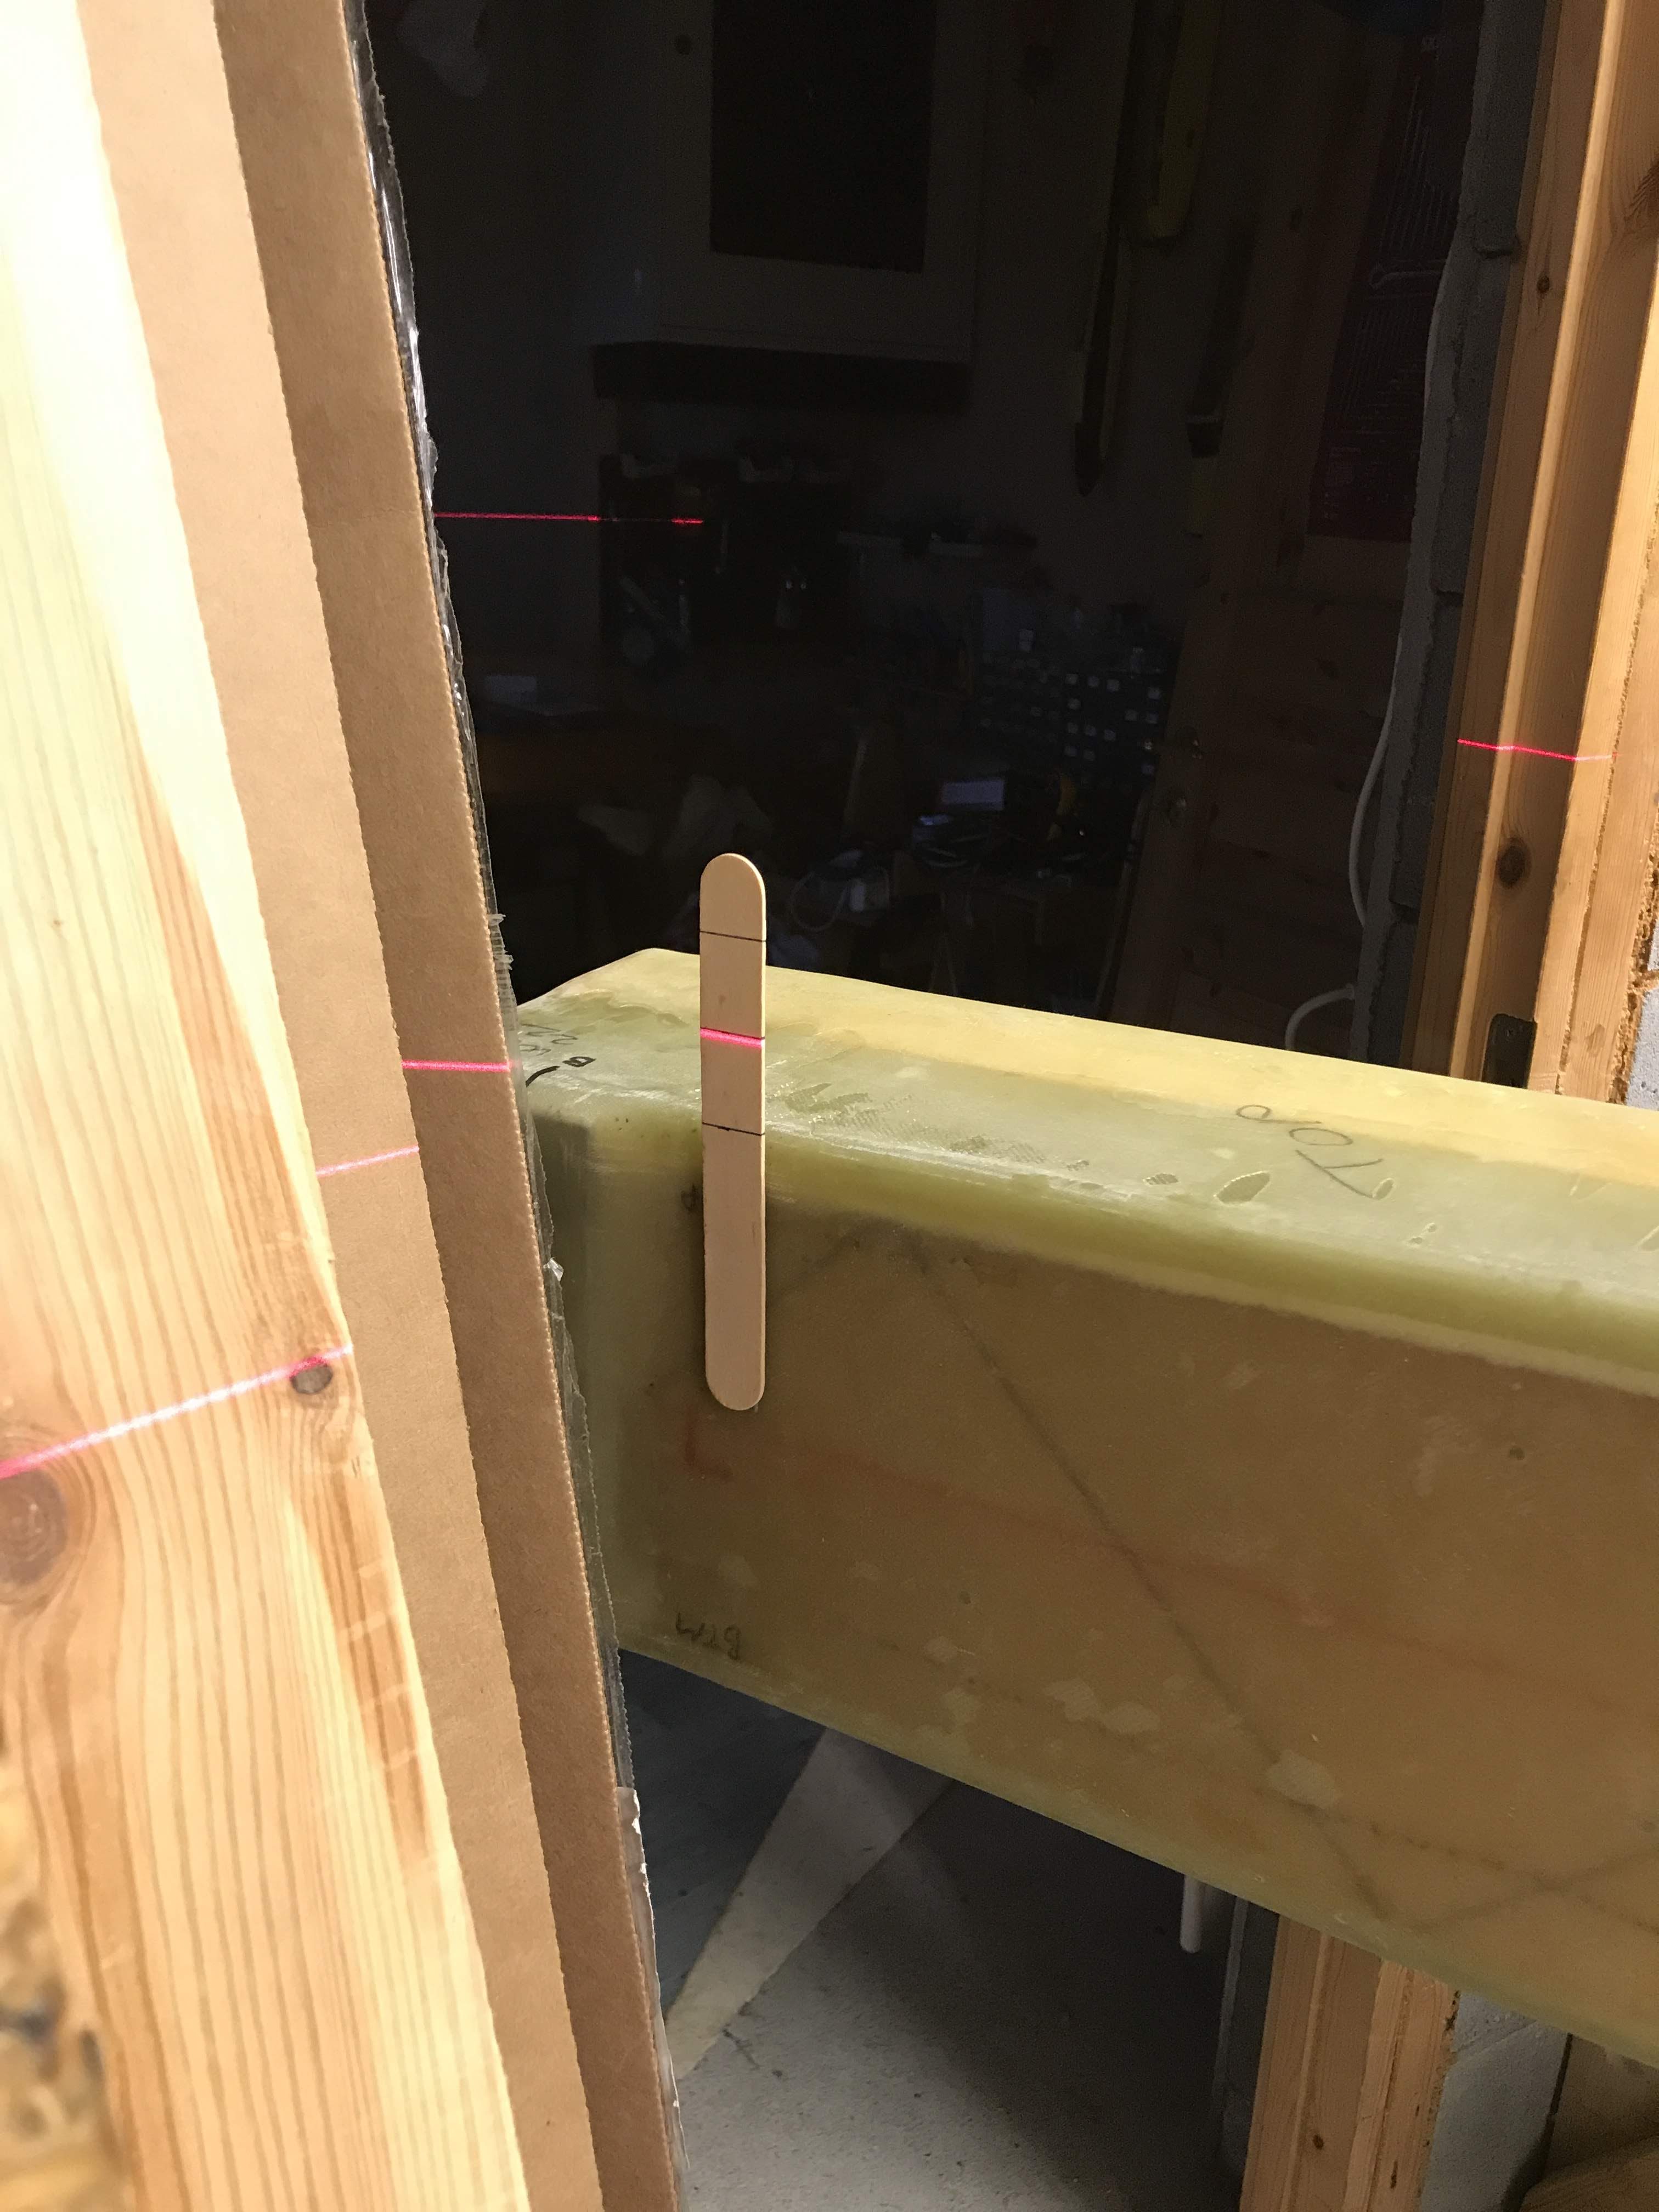
At last I use a laser to align the spar and the wings.

I glued a couple of mixing sticks to the spar and marked 1″ and 2″ on them.

Now everything is level in all directions. I then bondoed the two parts together with some mixing sticks. I also used some clamps to tighten the wing to the spar. The spar is heavy and not so easy to work with here, it will easily slip and turn around if not supported with clamps.

The process of drilling the holes up to 5/8″ was actually rather easy. I read many blogs and group messages and followed the advice to skip the spot facing tool and go for a bi-metal hole saw. I bought a couple of 16mm (approx 5/8″) hole saws. Then I used a grinder and carefully grinded around the outside to make it a bit smaller. I test drilled some holes and ended up with a hole a bit smaller than the LW9 bushing. This was done by intention, I later honed the holes using a Dremel and a sanding drum. It took just some seconds to open the holes to a snug fit. I ended up using only one hole saw.
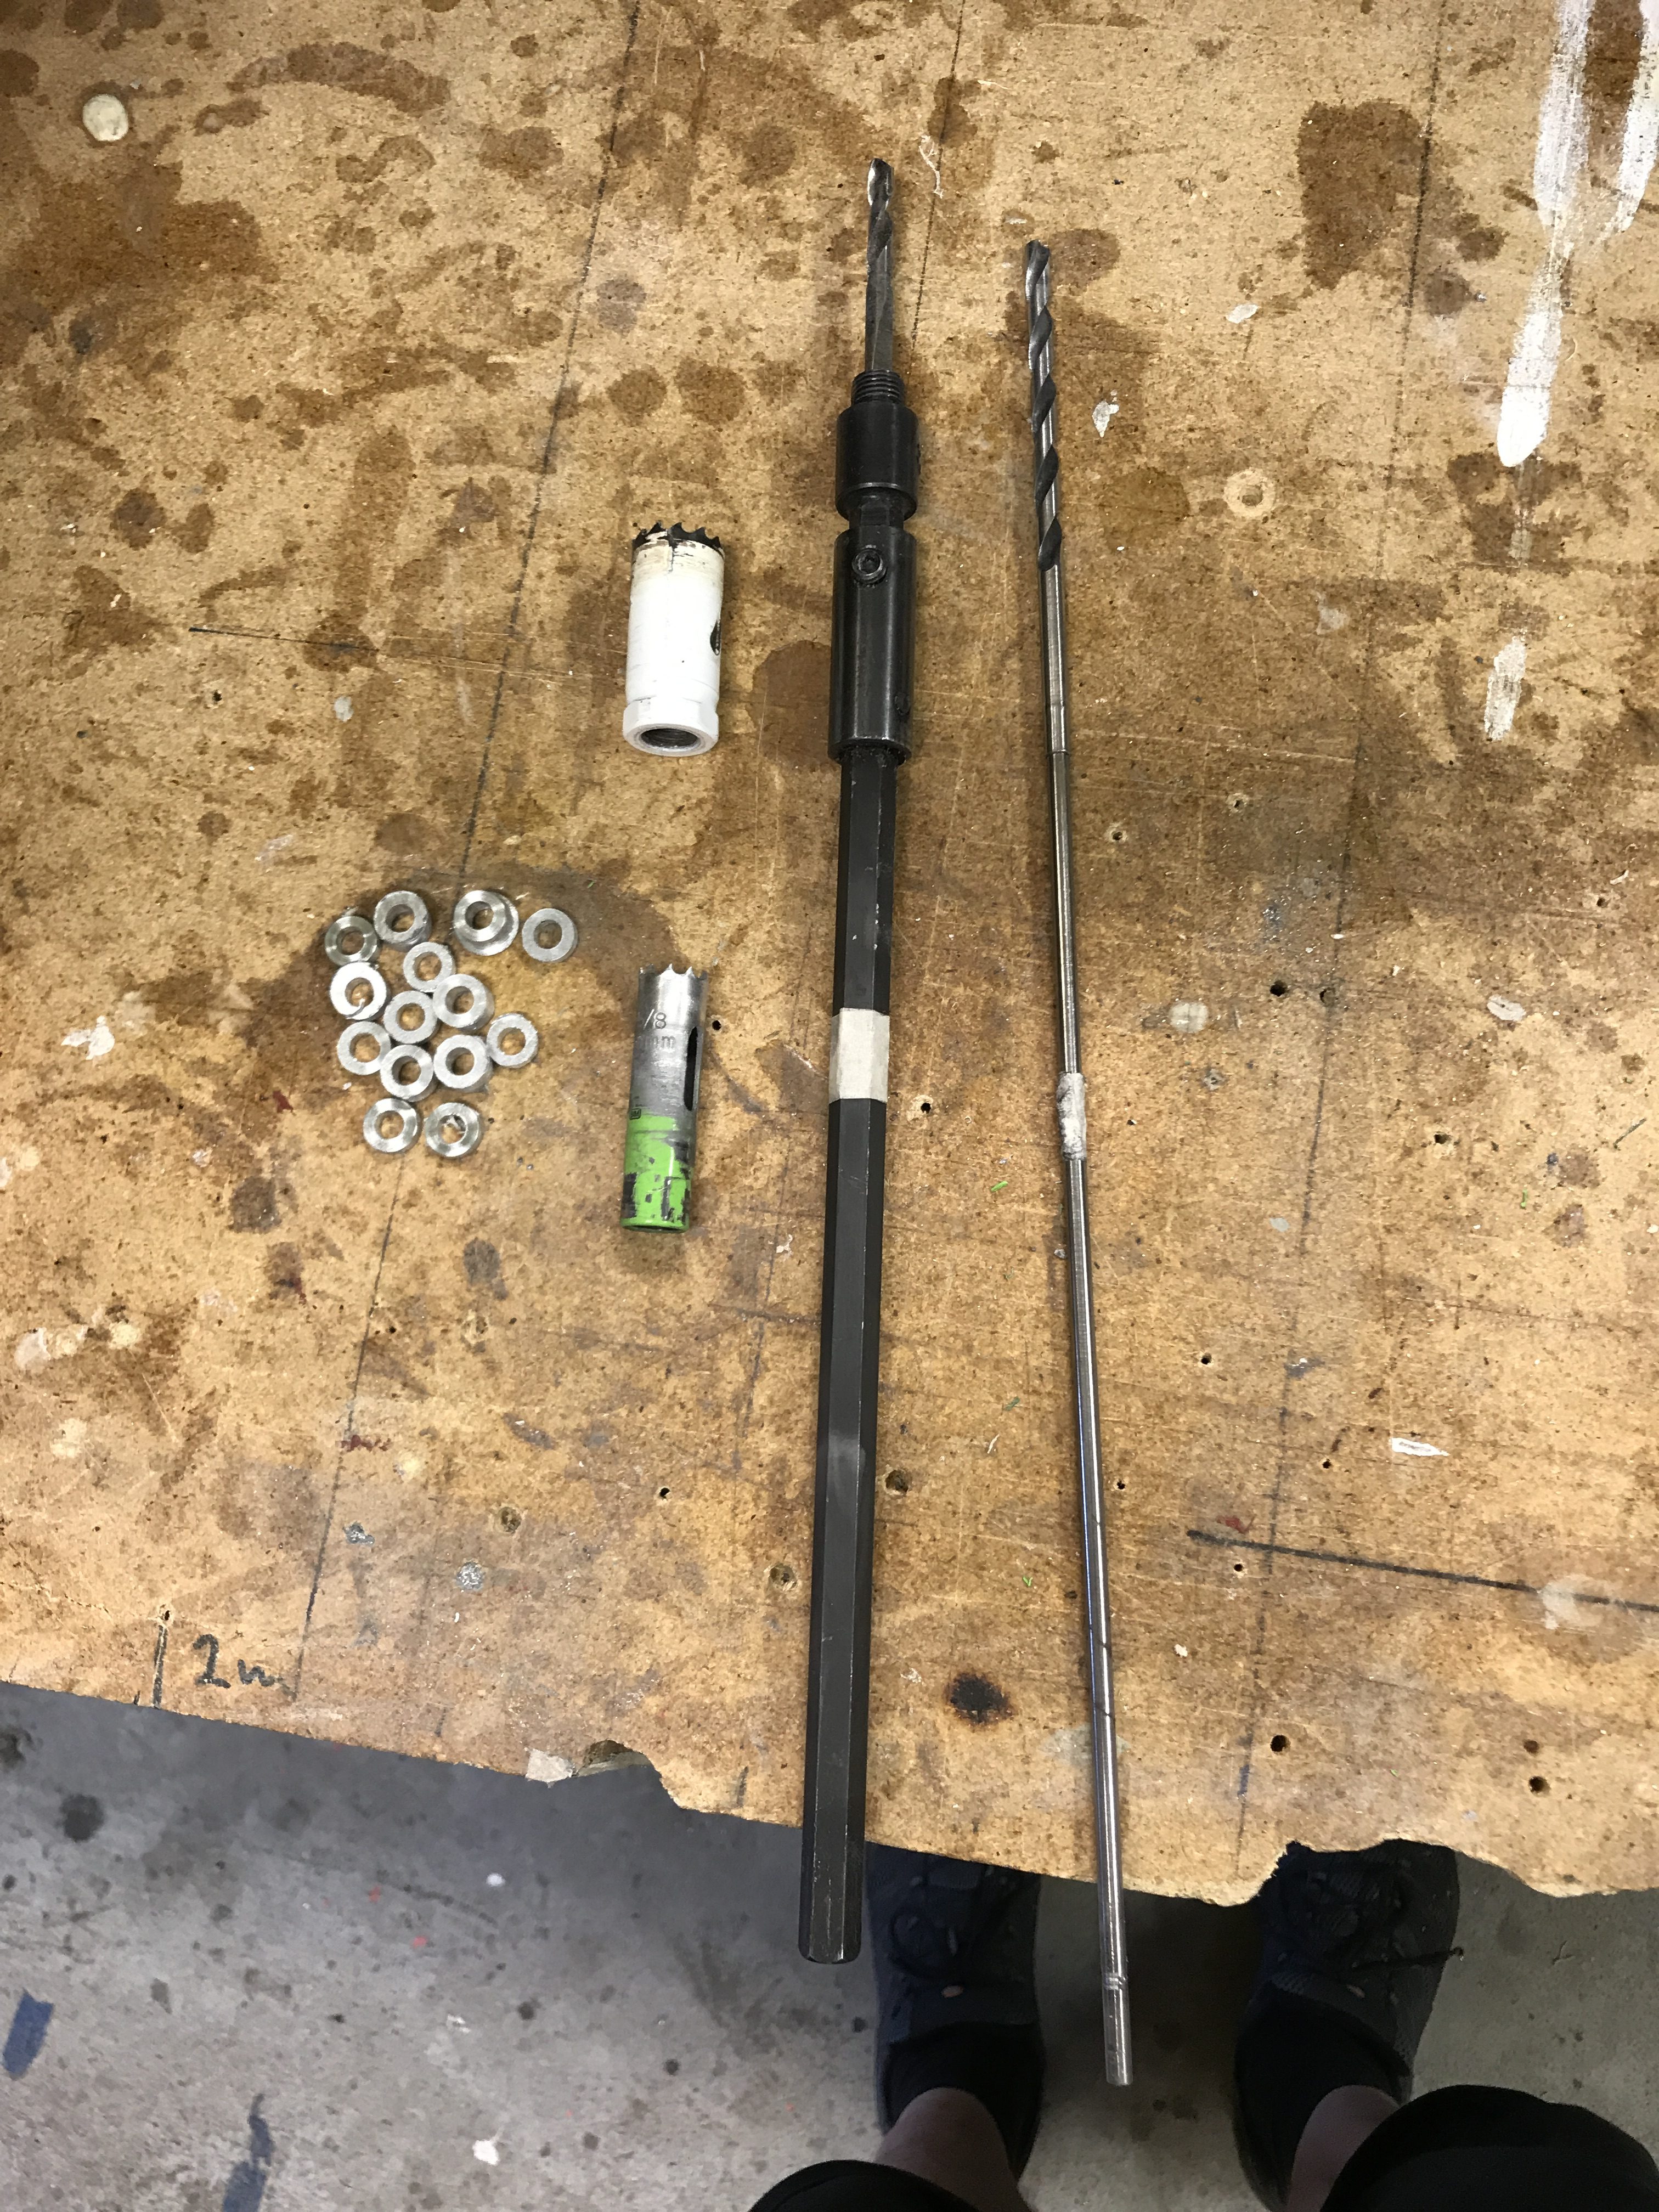
2019-07-22: This is the tools I used. The long 6mm drill bit was used to drill the pilot hole through the spar (already drilled) and through the hard points in the wing. The holes ended up exactly where they where supposed to be.
My hole saw adapter has a larger diameter than the 16mm hole saw (22mm) so I started by drilling the first holes in the front face of the spar with a 22mm hole saw (this is just through the foam and glass in the front face). Then I switched to the 16mm (the greenish one) and started to drill through the aft face of the spar and the wing. The 16mm hole saw is long enough to get through all the hardpoints in the spar and wing.
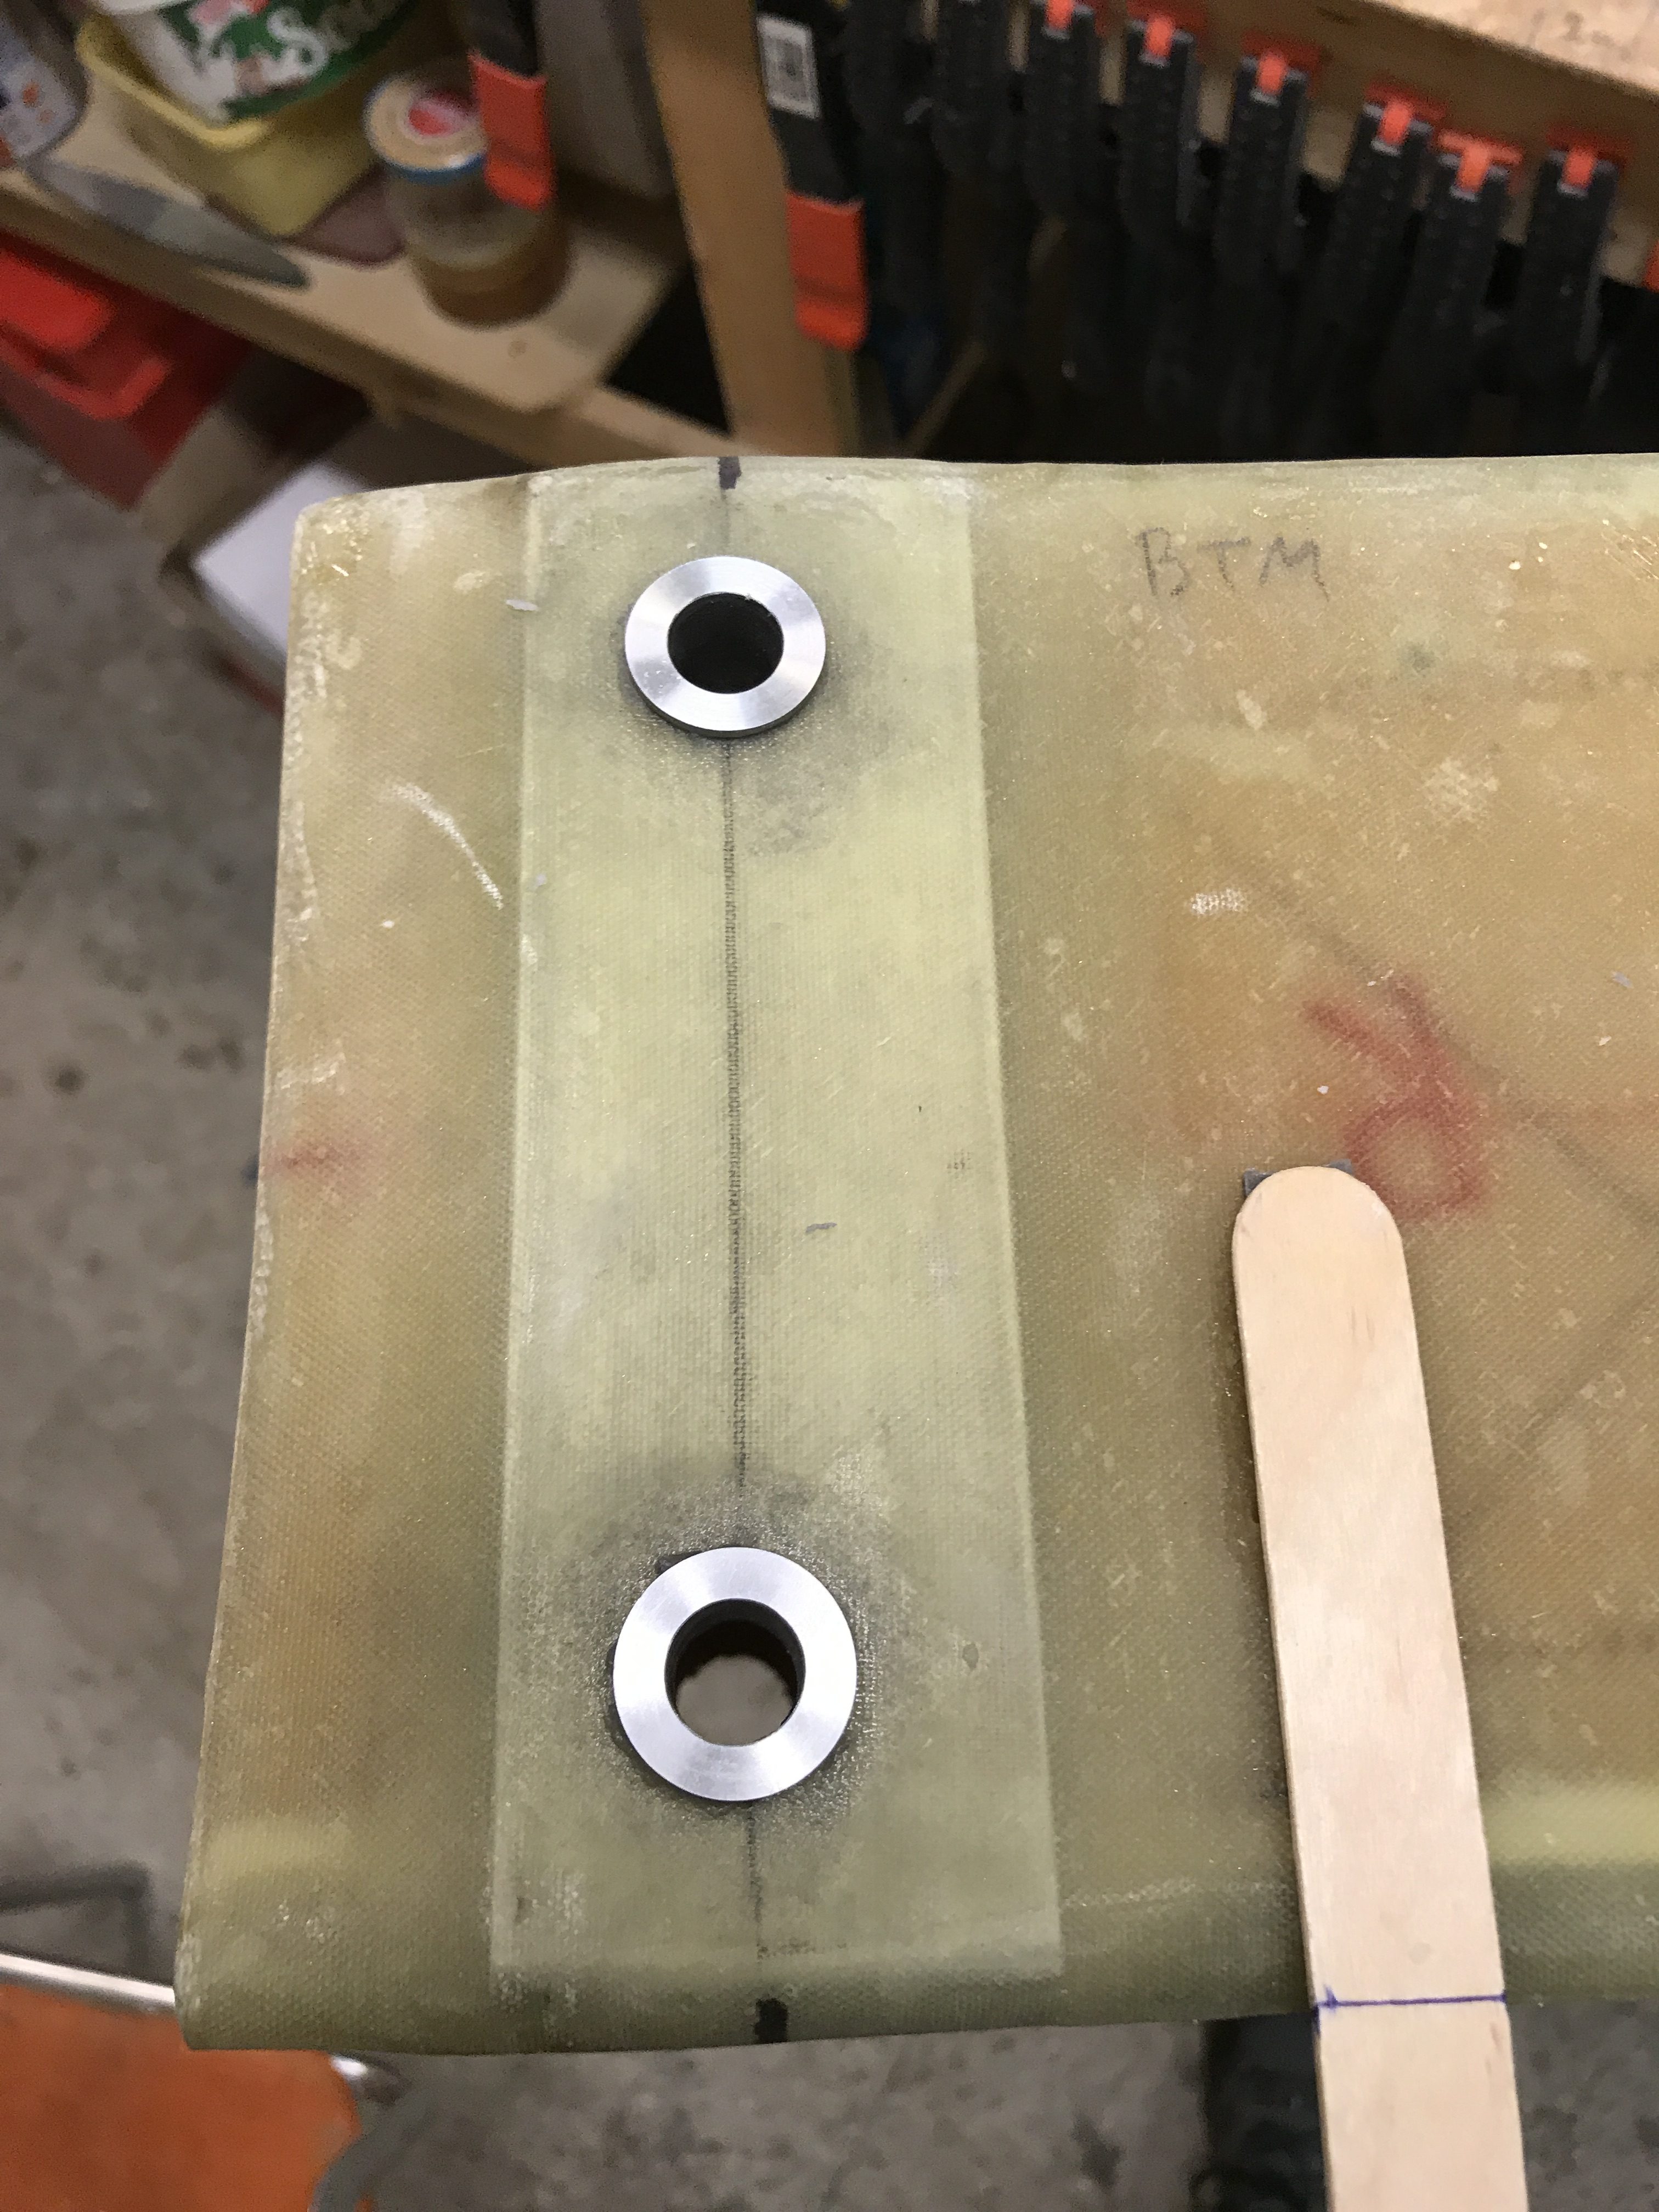
I drilled with medium speed and pressure. I drilled for just 60 seconds a time max and pulled the saw out to remove debris. I also got to see how many hardpoints I had drilled through, since they appeared as small rings that I could take out of the saw (as seen on the picture below).
After the holes where drilled I bondoed two wood boards to the spar between the A and B index on both sides of the spar, and aligned them so they where excatly at the same incidence as the board on the wing (i.e. at zero degrees). I will use these two reference boards later when the spar is attached to the fuselage.
Then I removed the spar from the wing (knocking of the bondo) and adjusted the LW9 bushings according to the depth of the holes, and used some thin flox to glue them to the spar and to the wing.
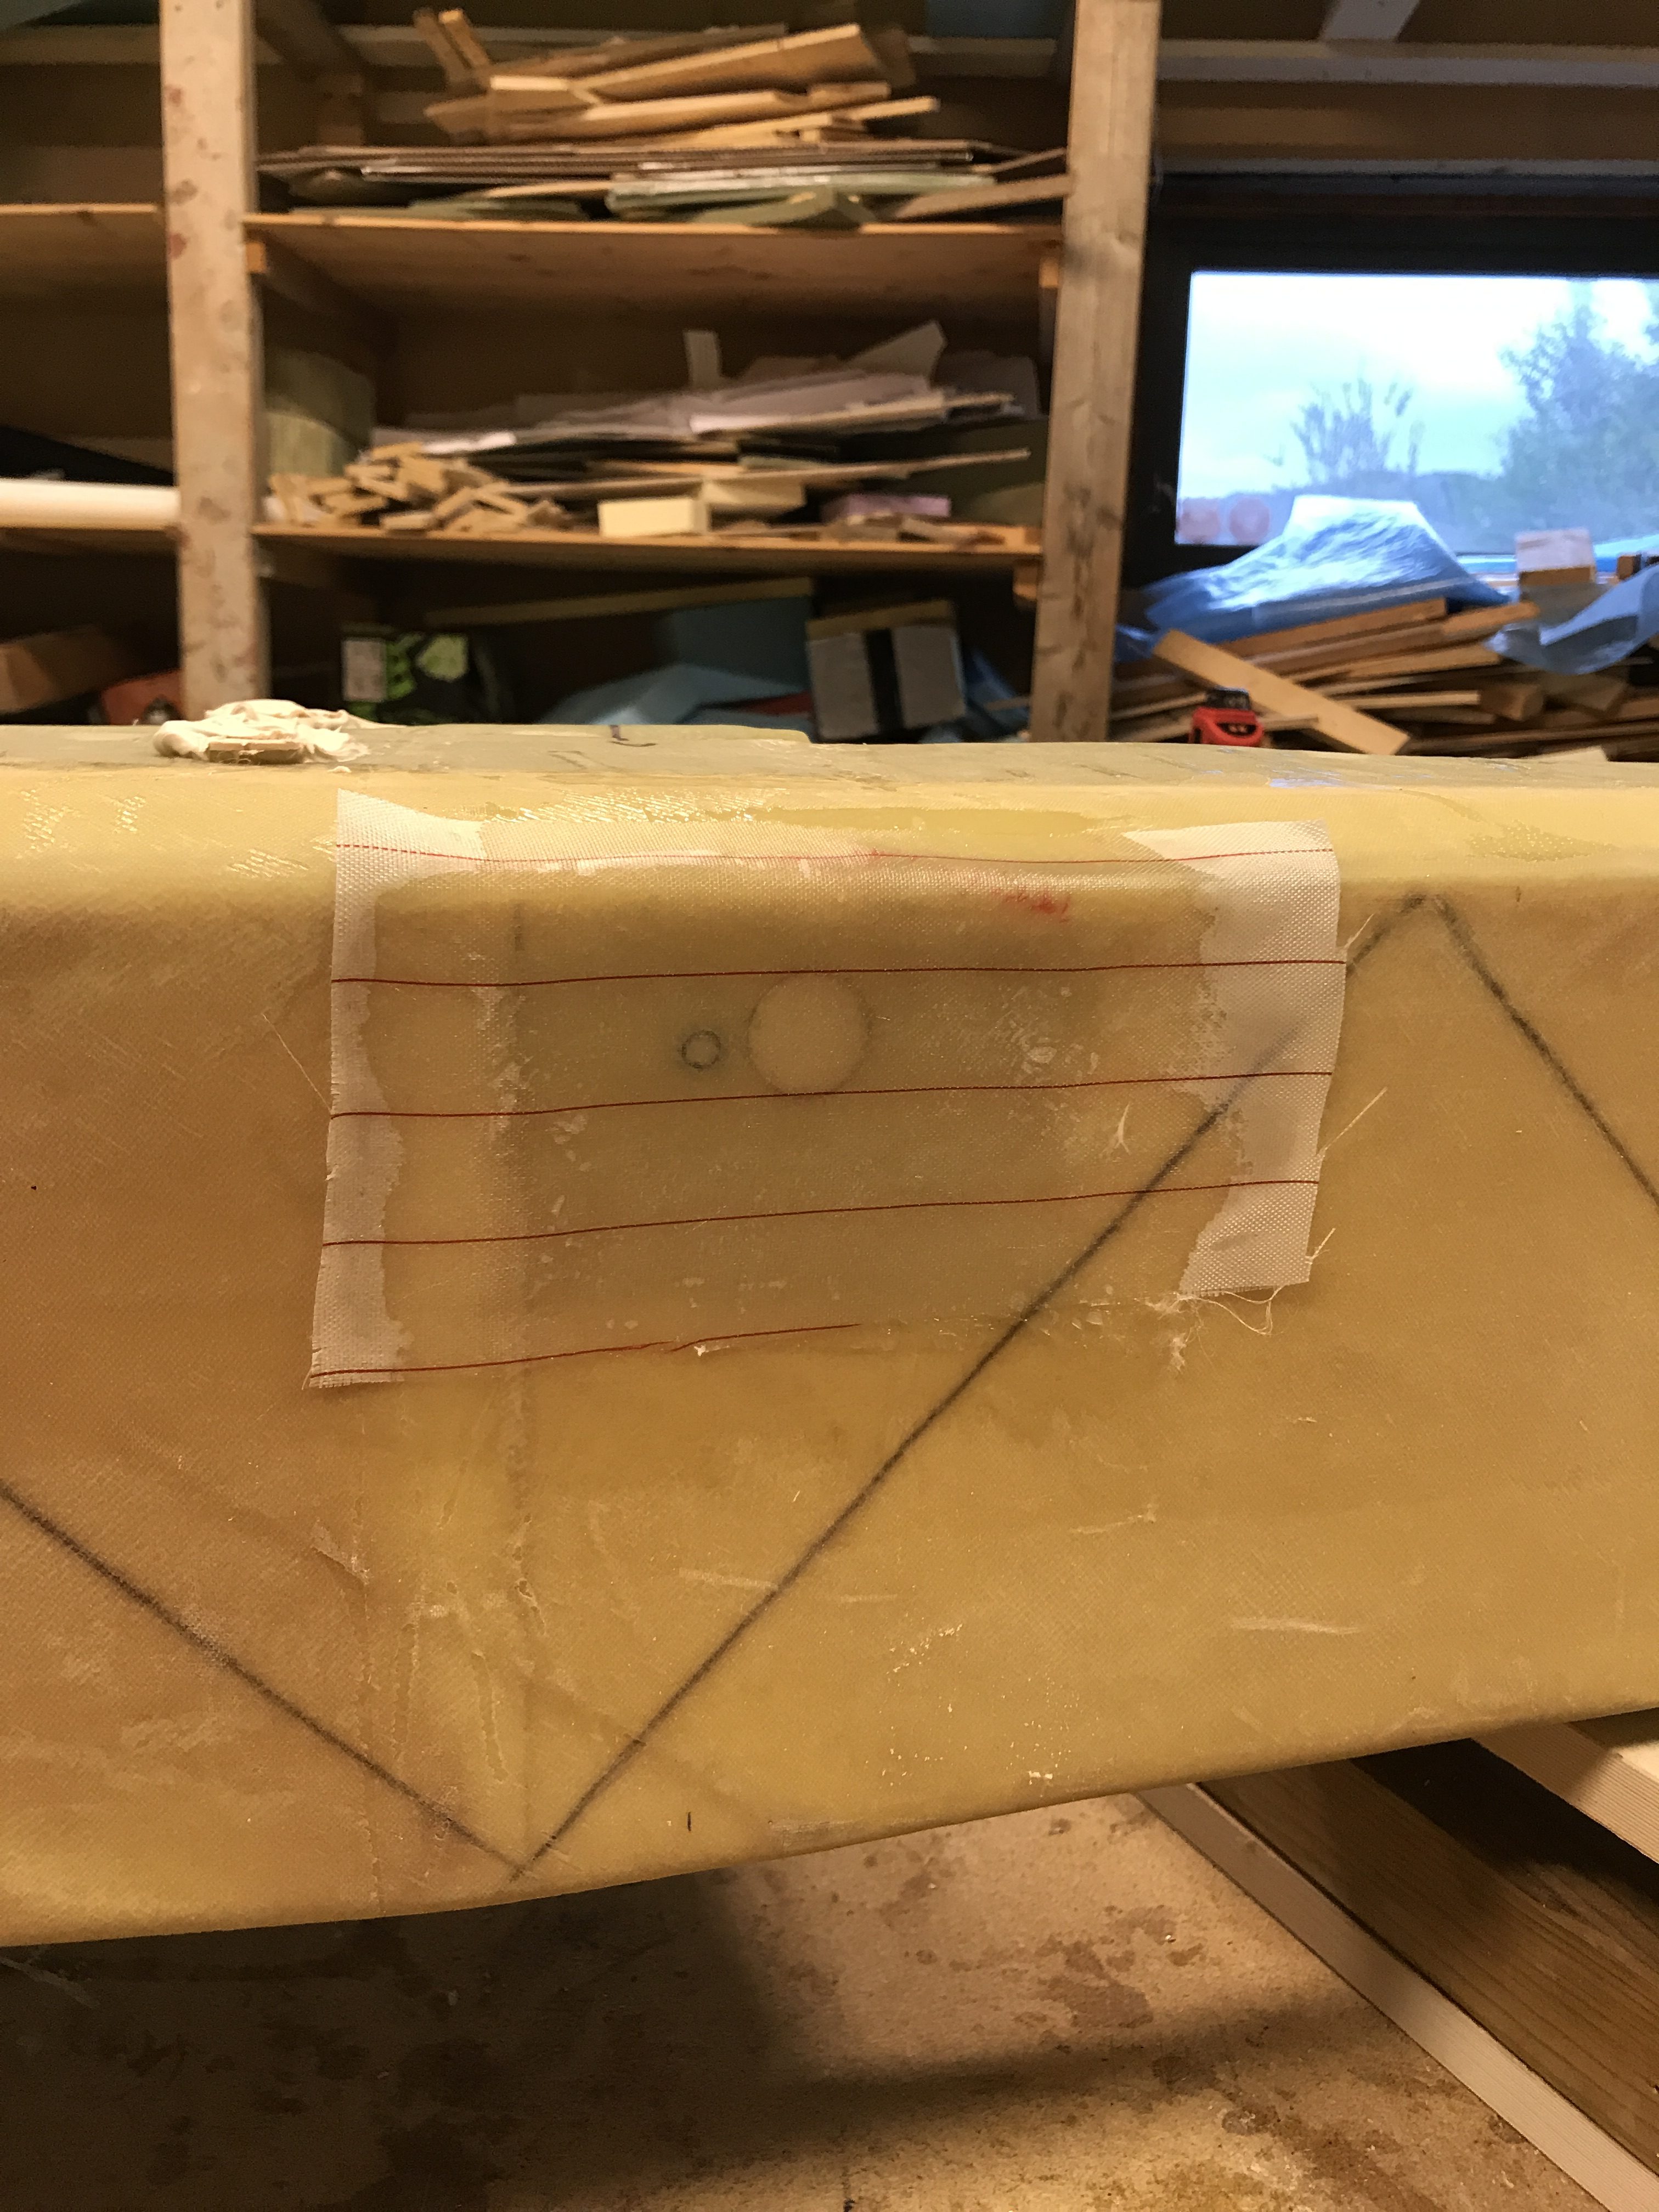
Then I plugged the inboard hole in the front face of the spar according to plans and glassed with two BID. This is because this part will be a part of the fuel tank later.
2019-07-23: Continued with the left wing – did the same procedure again.
Afterwords: I read a lot of building blogs to understand how the spar to wing drilling and aligning should be done the best way. I ended up doing it just like the plans described. I don’t have enough space to mount both wings to the spar at the same time. The process ended up beeing not so difficult as I anticipated.