
In this step I will fabricate the skid plate – not in plans. This is described by Wayne Hicks.
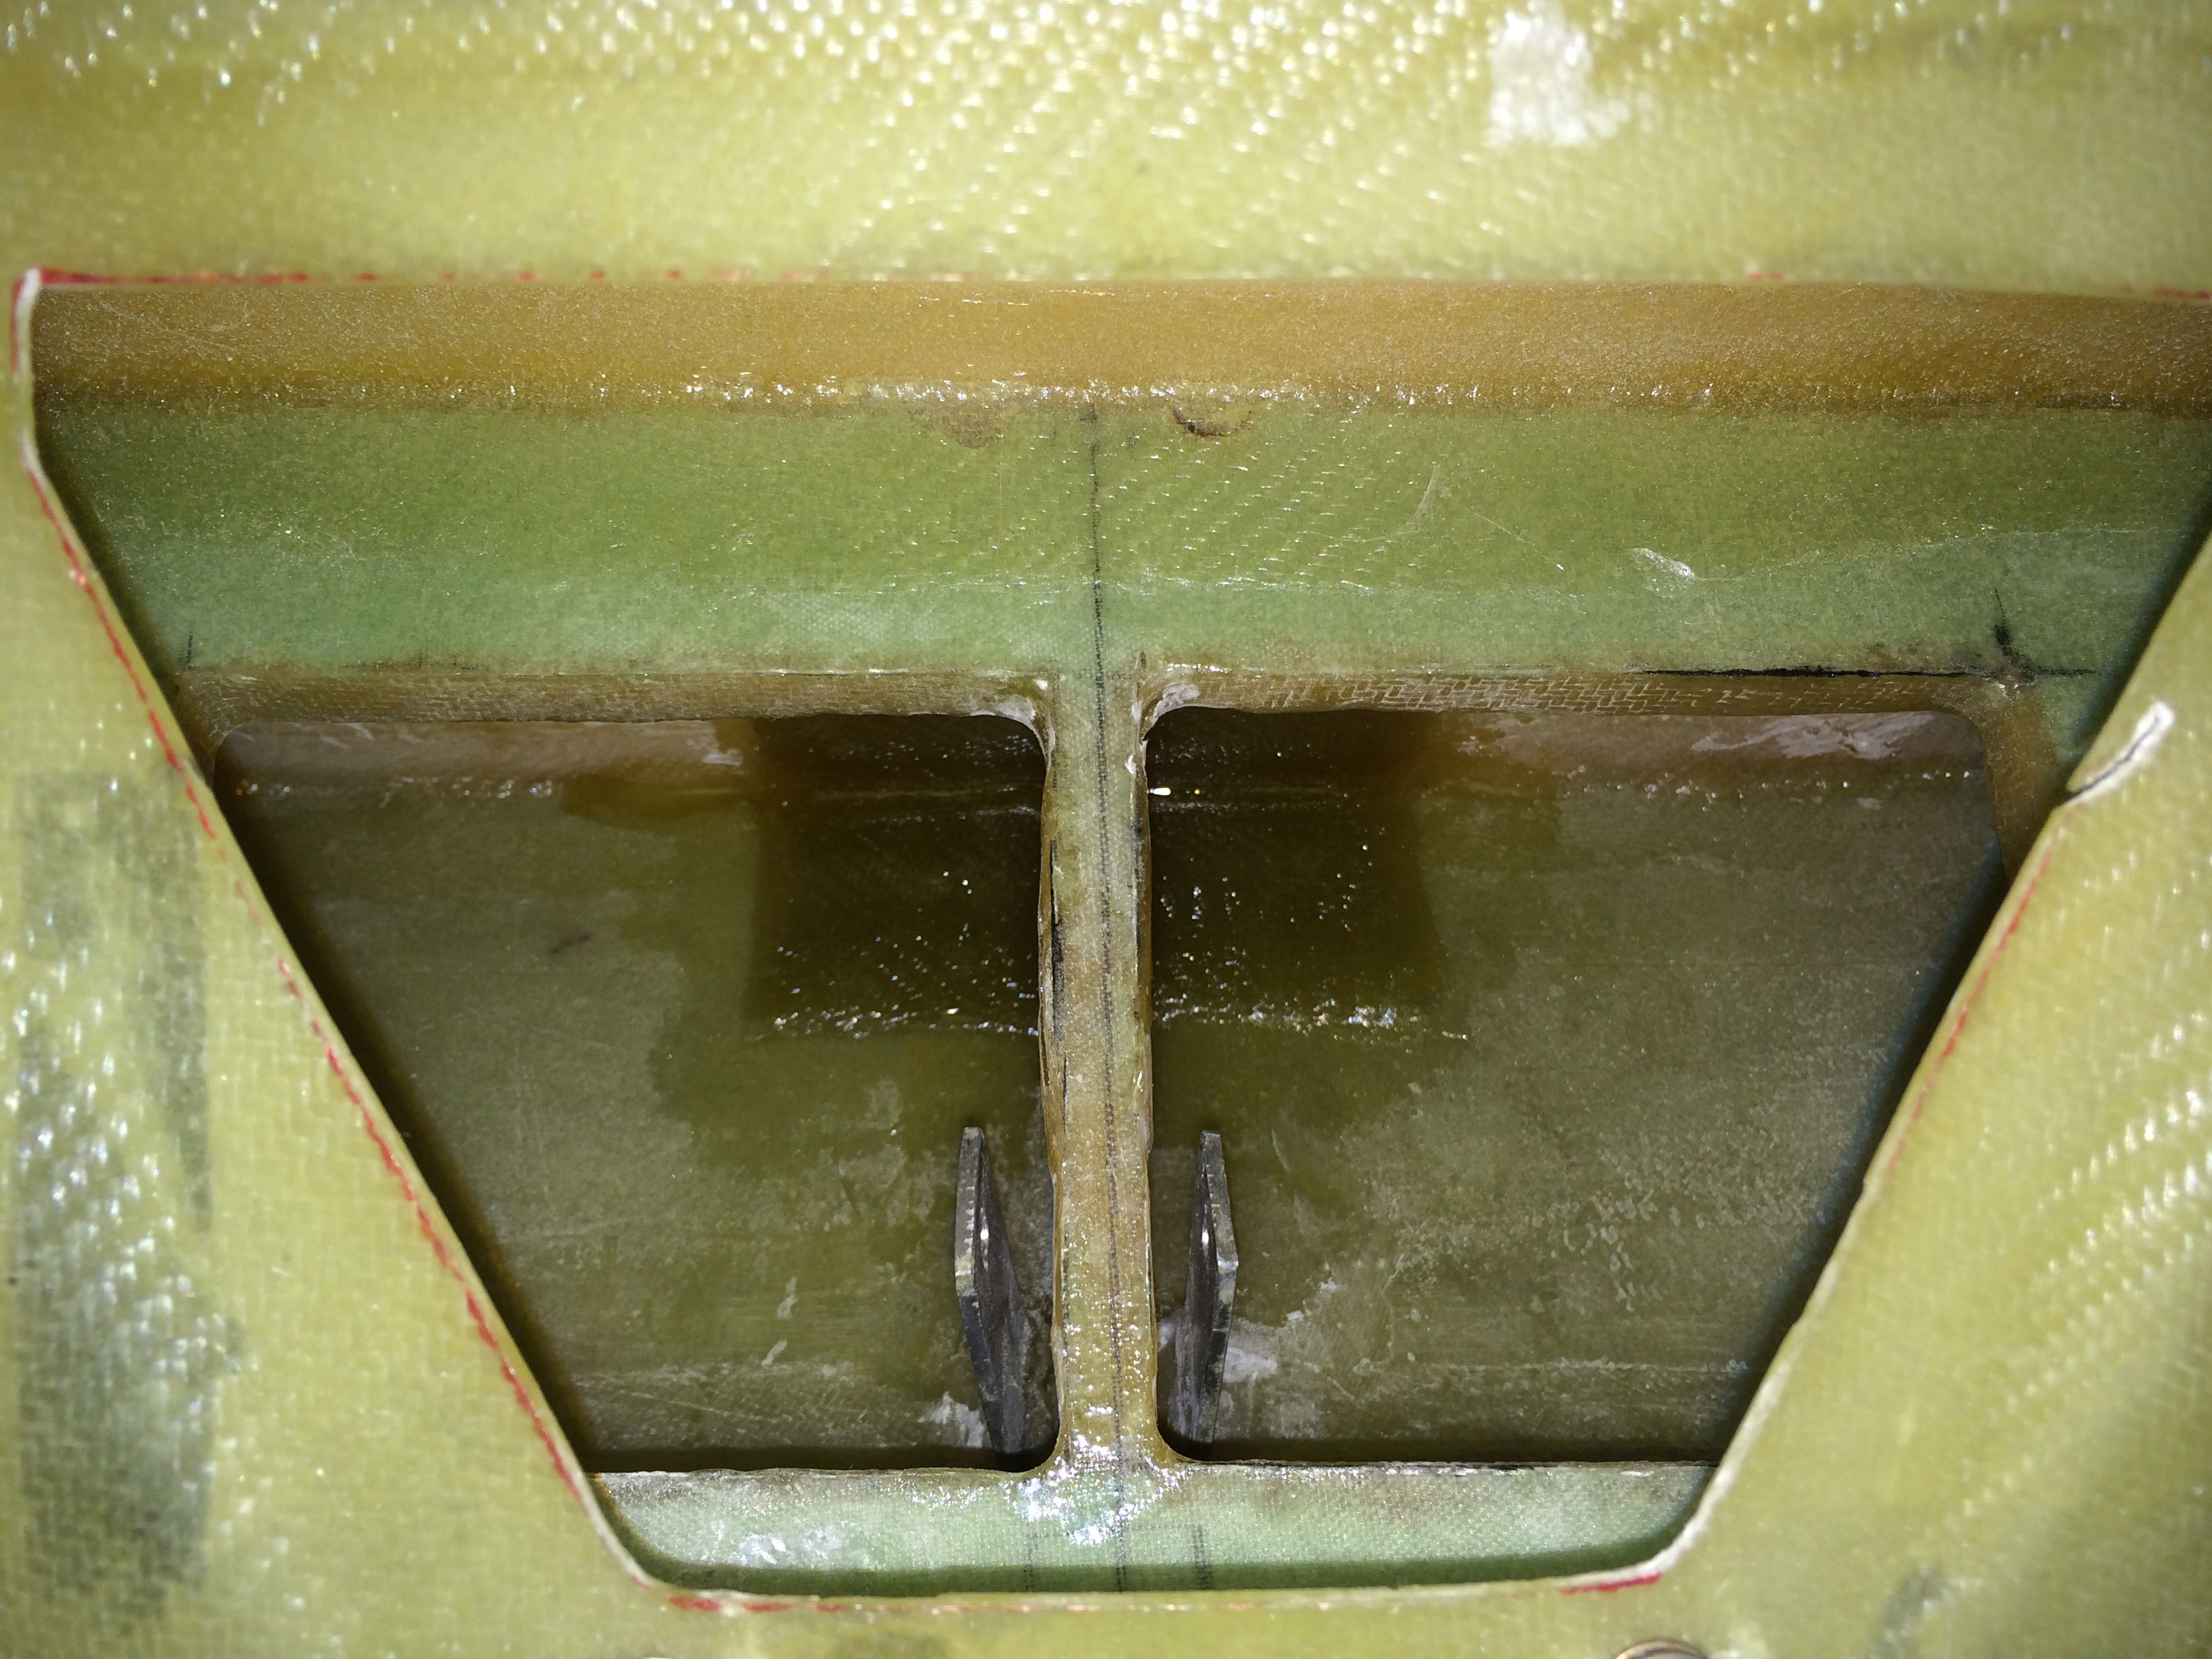
2014-08-12: I will skip the nose-puck and instead make the skid-plate as pr Wayne Hicks. This requires four hardpoints made of 16 ply BID patches. Two in the nose cone against FS0 and two in the nose compartment against NG30. I have also made a “duplicate” in the nose cone. I will later flox the cone to FS0 using this “duplicate” as I will refer to as FS-0. See pictures further down.
This picture show the BID hardpoints (glossy) at the bottom of the nose cone against FS-0.
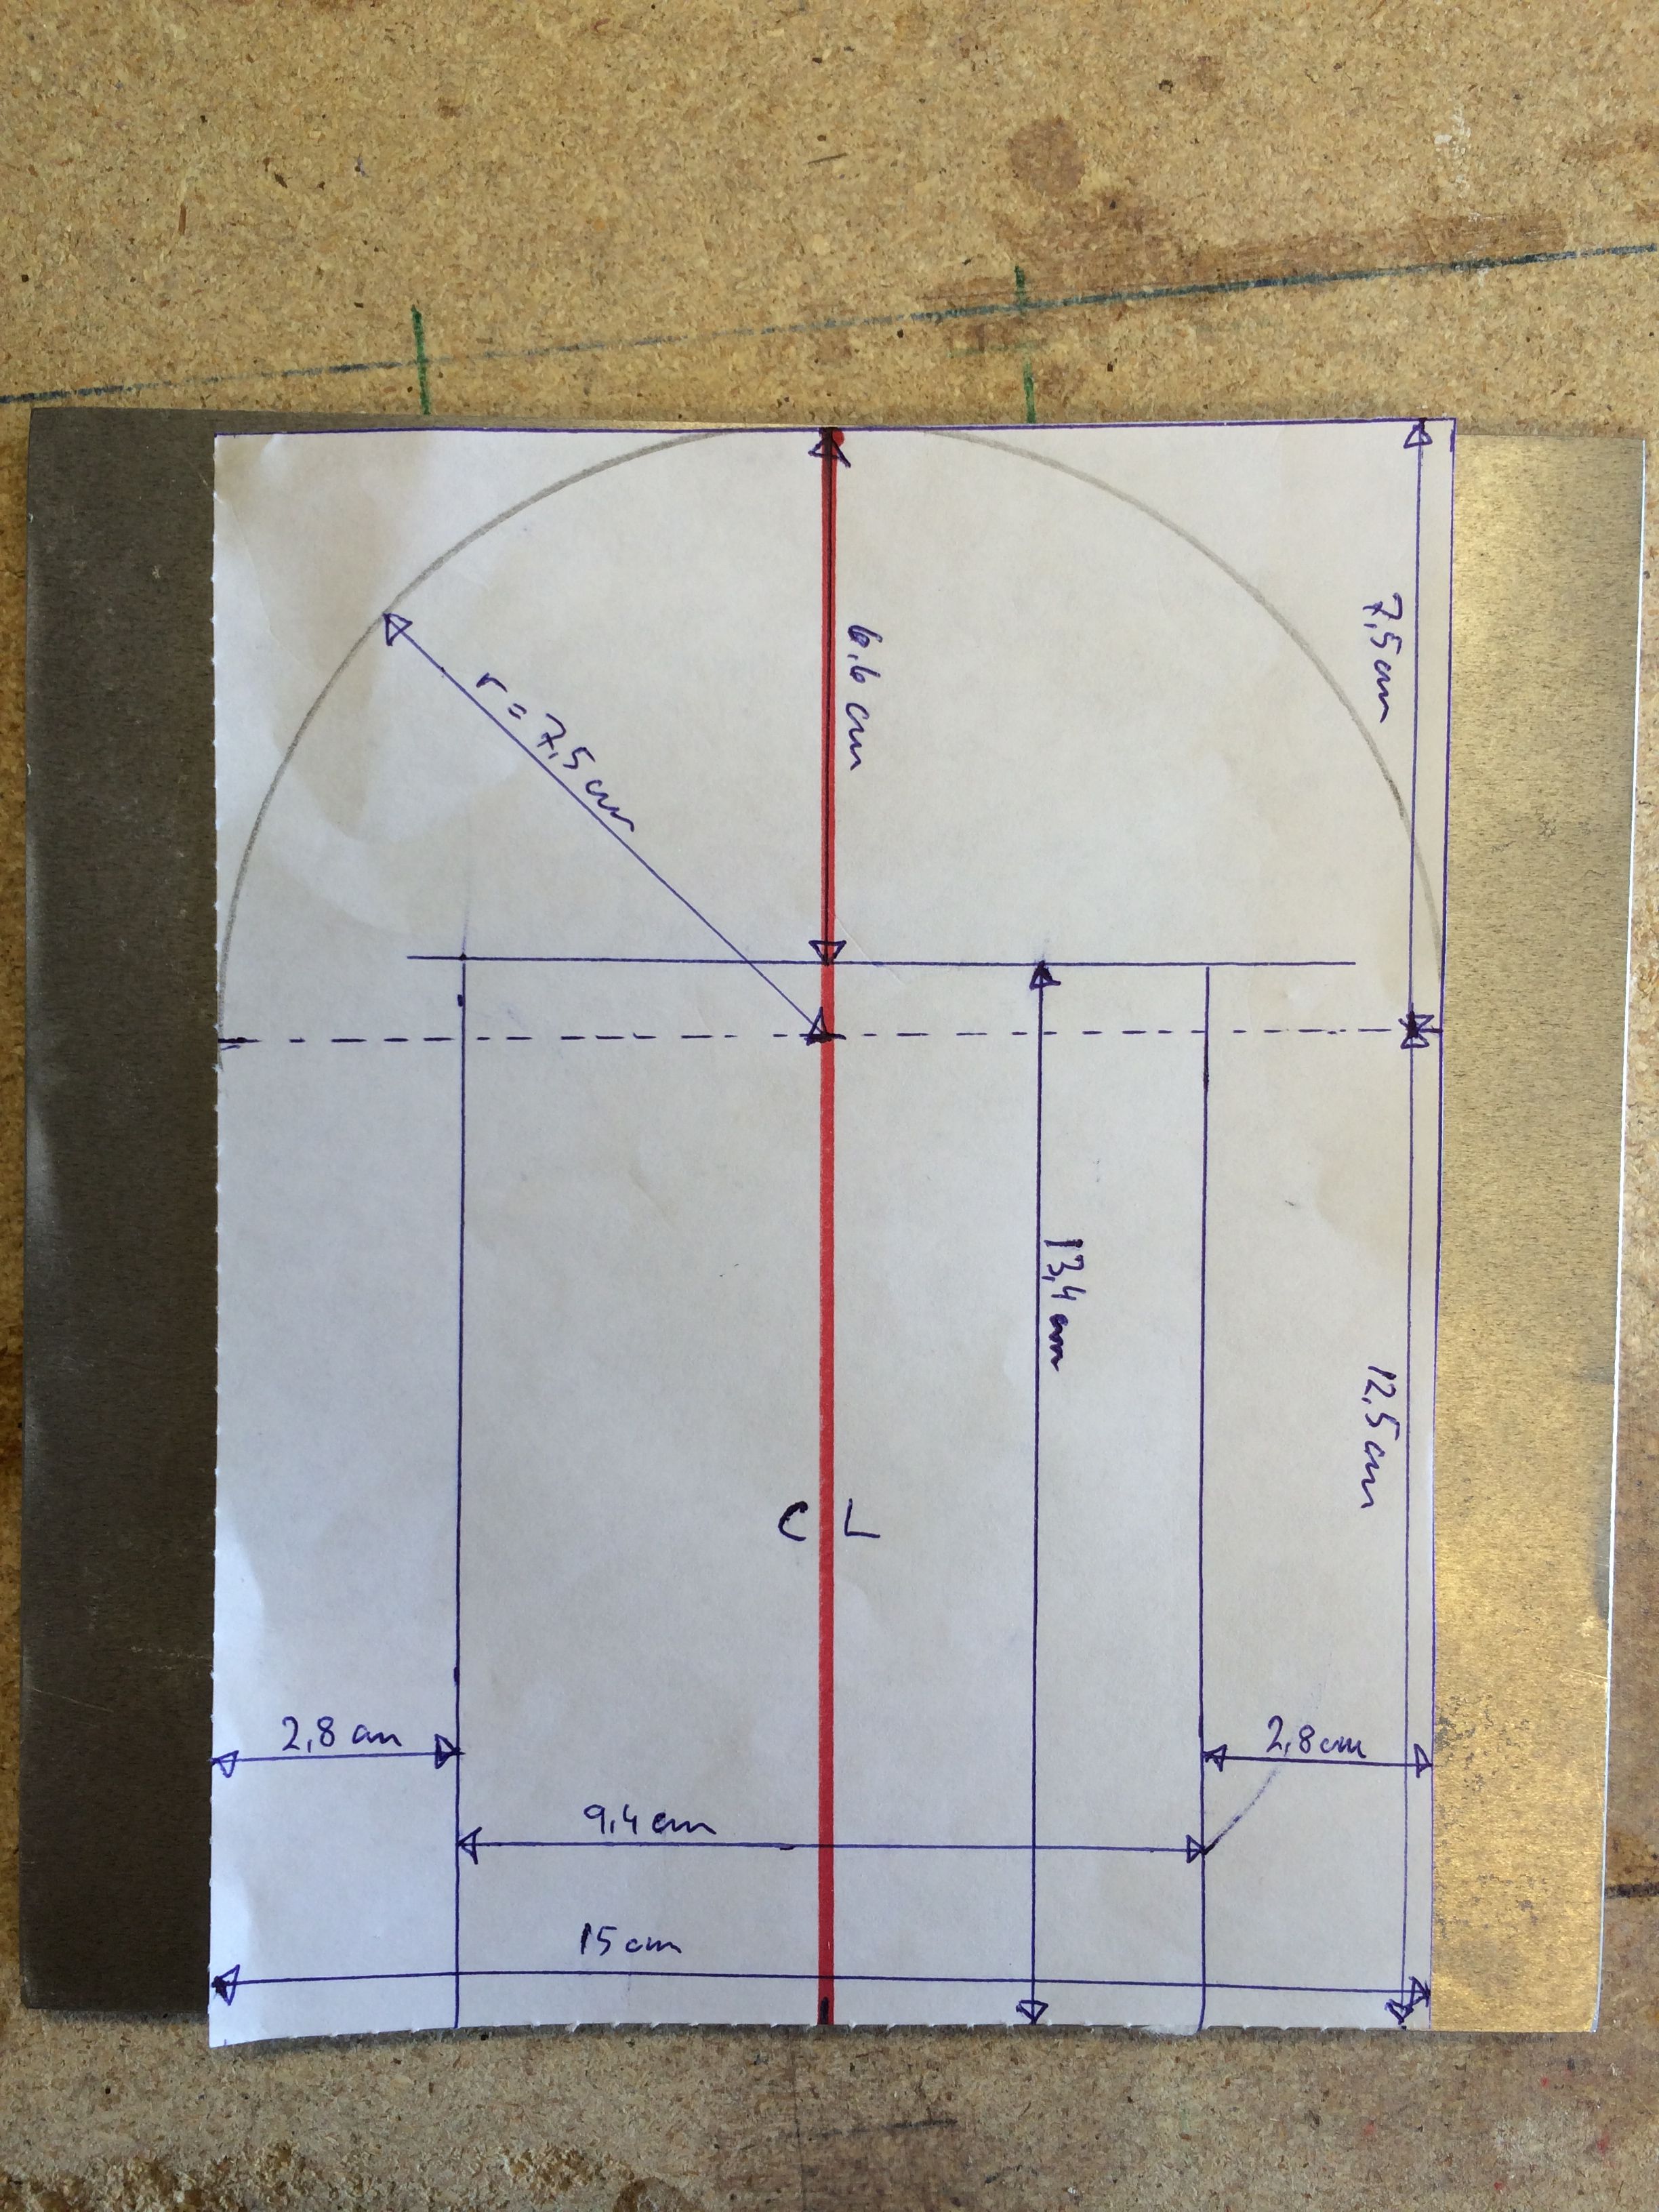
2014-08-31: The skid plate is custom made, tailored to fit MY dimensions. I made a paper template with all the measurements.

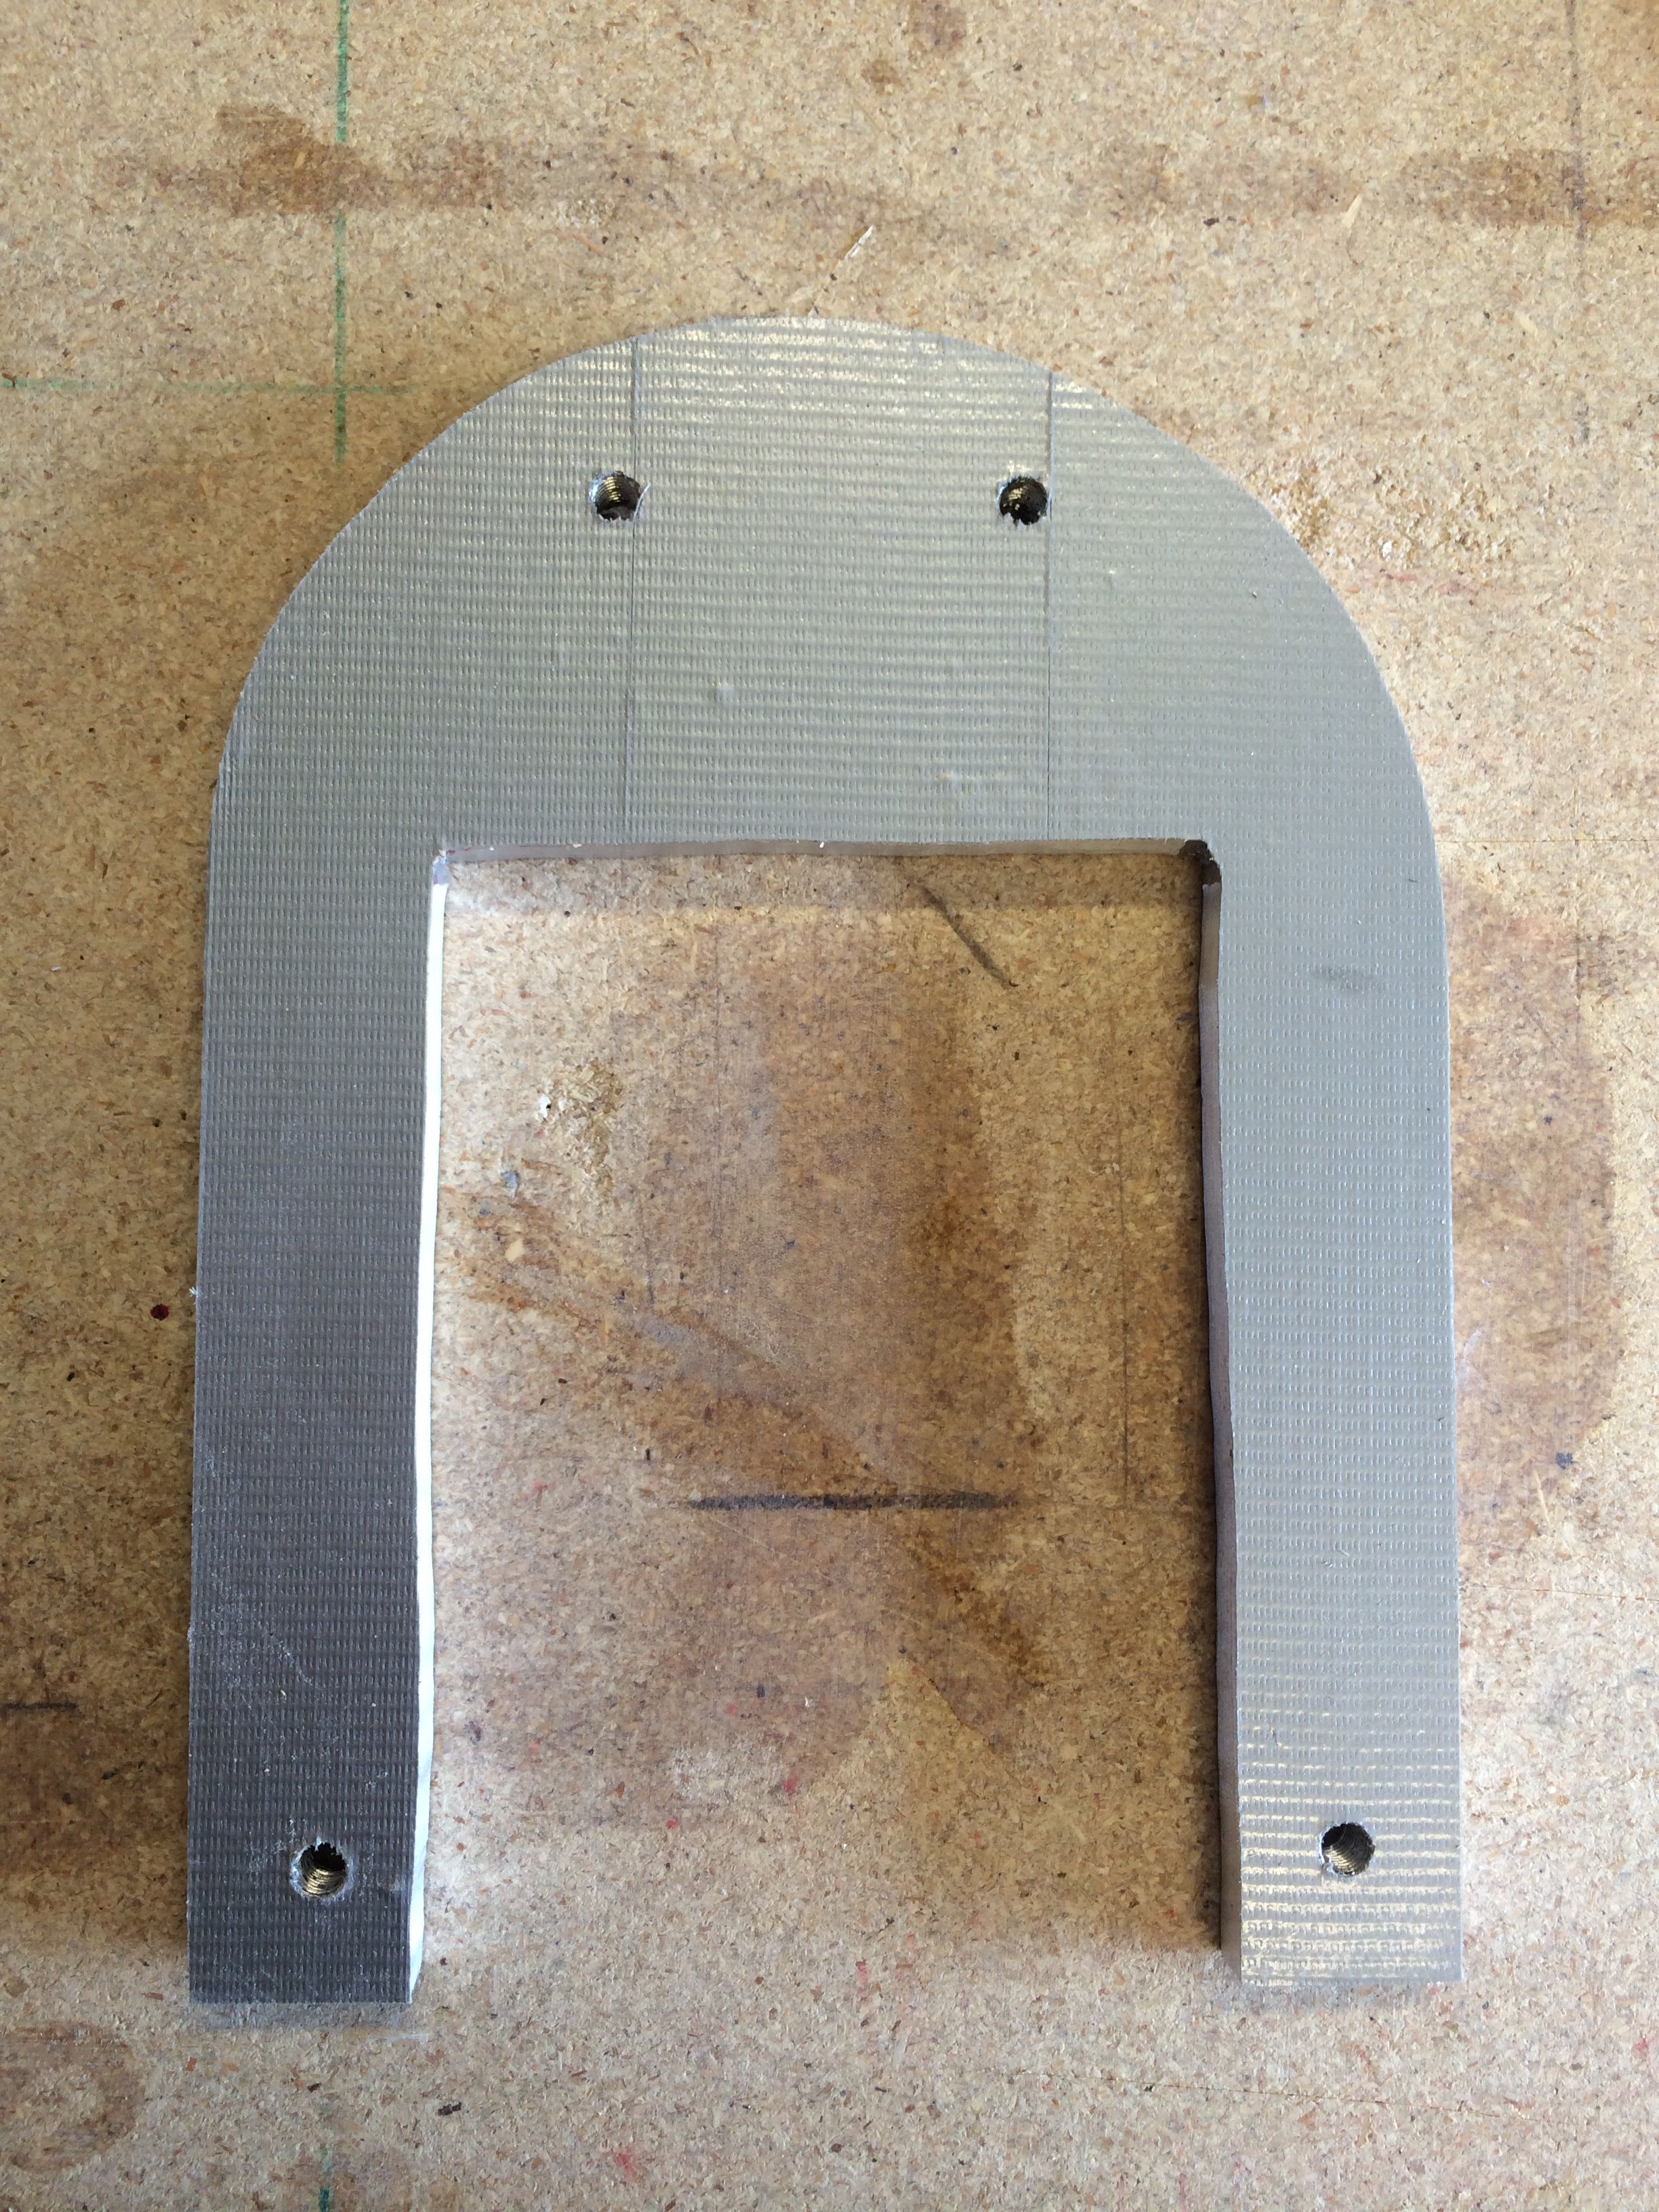
2014-08-31: The alu plate is 10mm thick, 6082-T6. After some try and fail I learned the tricks to cut and shape the aluminum. Using oil while cutting and routing was the key factor for success. I cut the shape using my jigsaw with an alu-blade. Then I borrowed a hand held metal router and shaped the outside edges in a 45 degress angle (approximately). I drilled four holes through the hardpoints in the fuselage and nose cone and through the skid plate. Then I tapped the holes to match 4 AN4 bolts.
Finally I sanded the edges smooth and shiny. The edge was so sharp that I cut three fingers 🙂
2014-08-31: The skid plate is resting on a bed of flox. I covered the plate with duct tape to ease the release of the plate after cure.
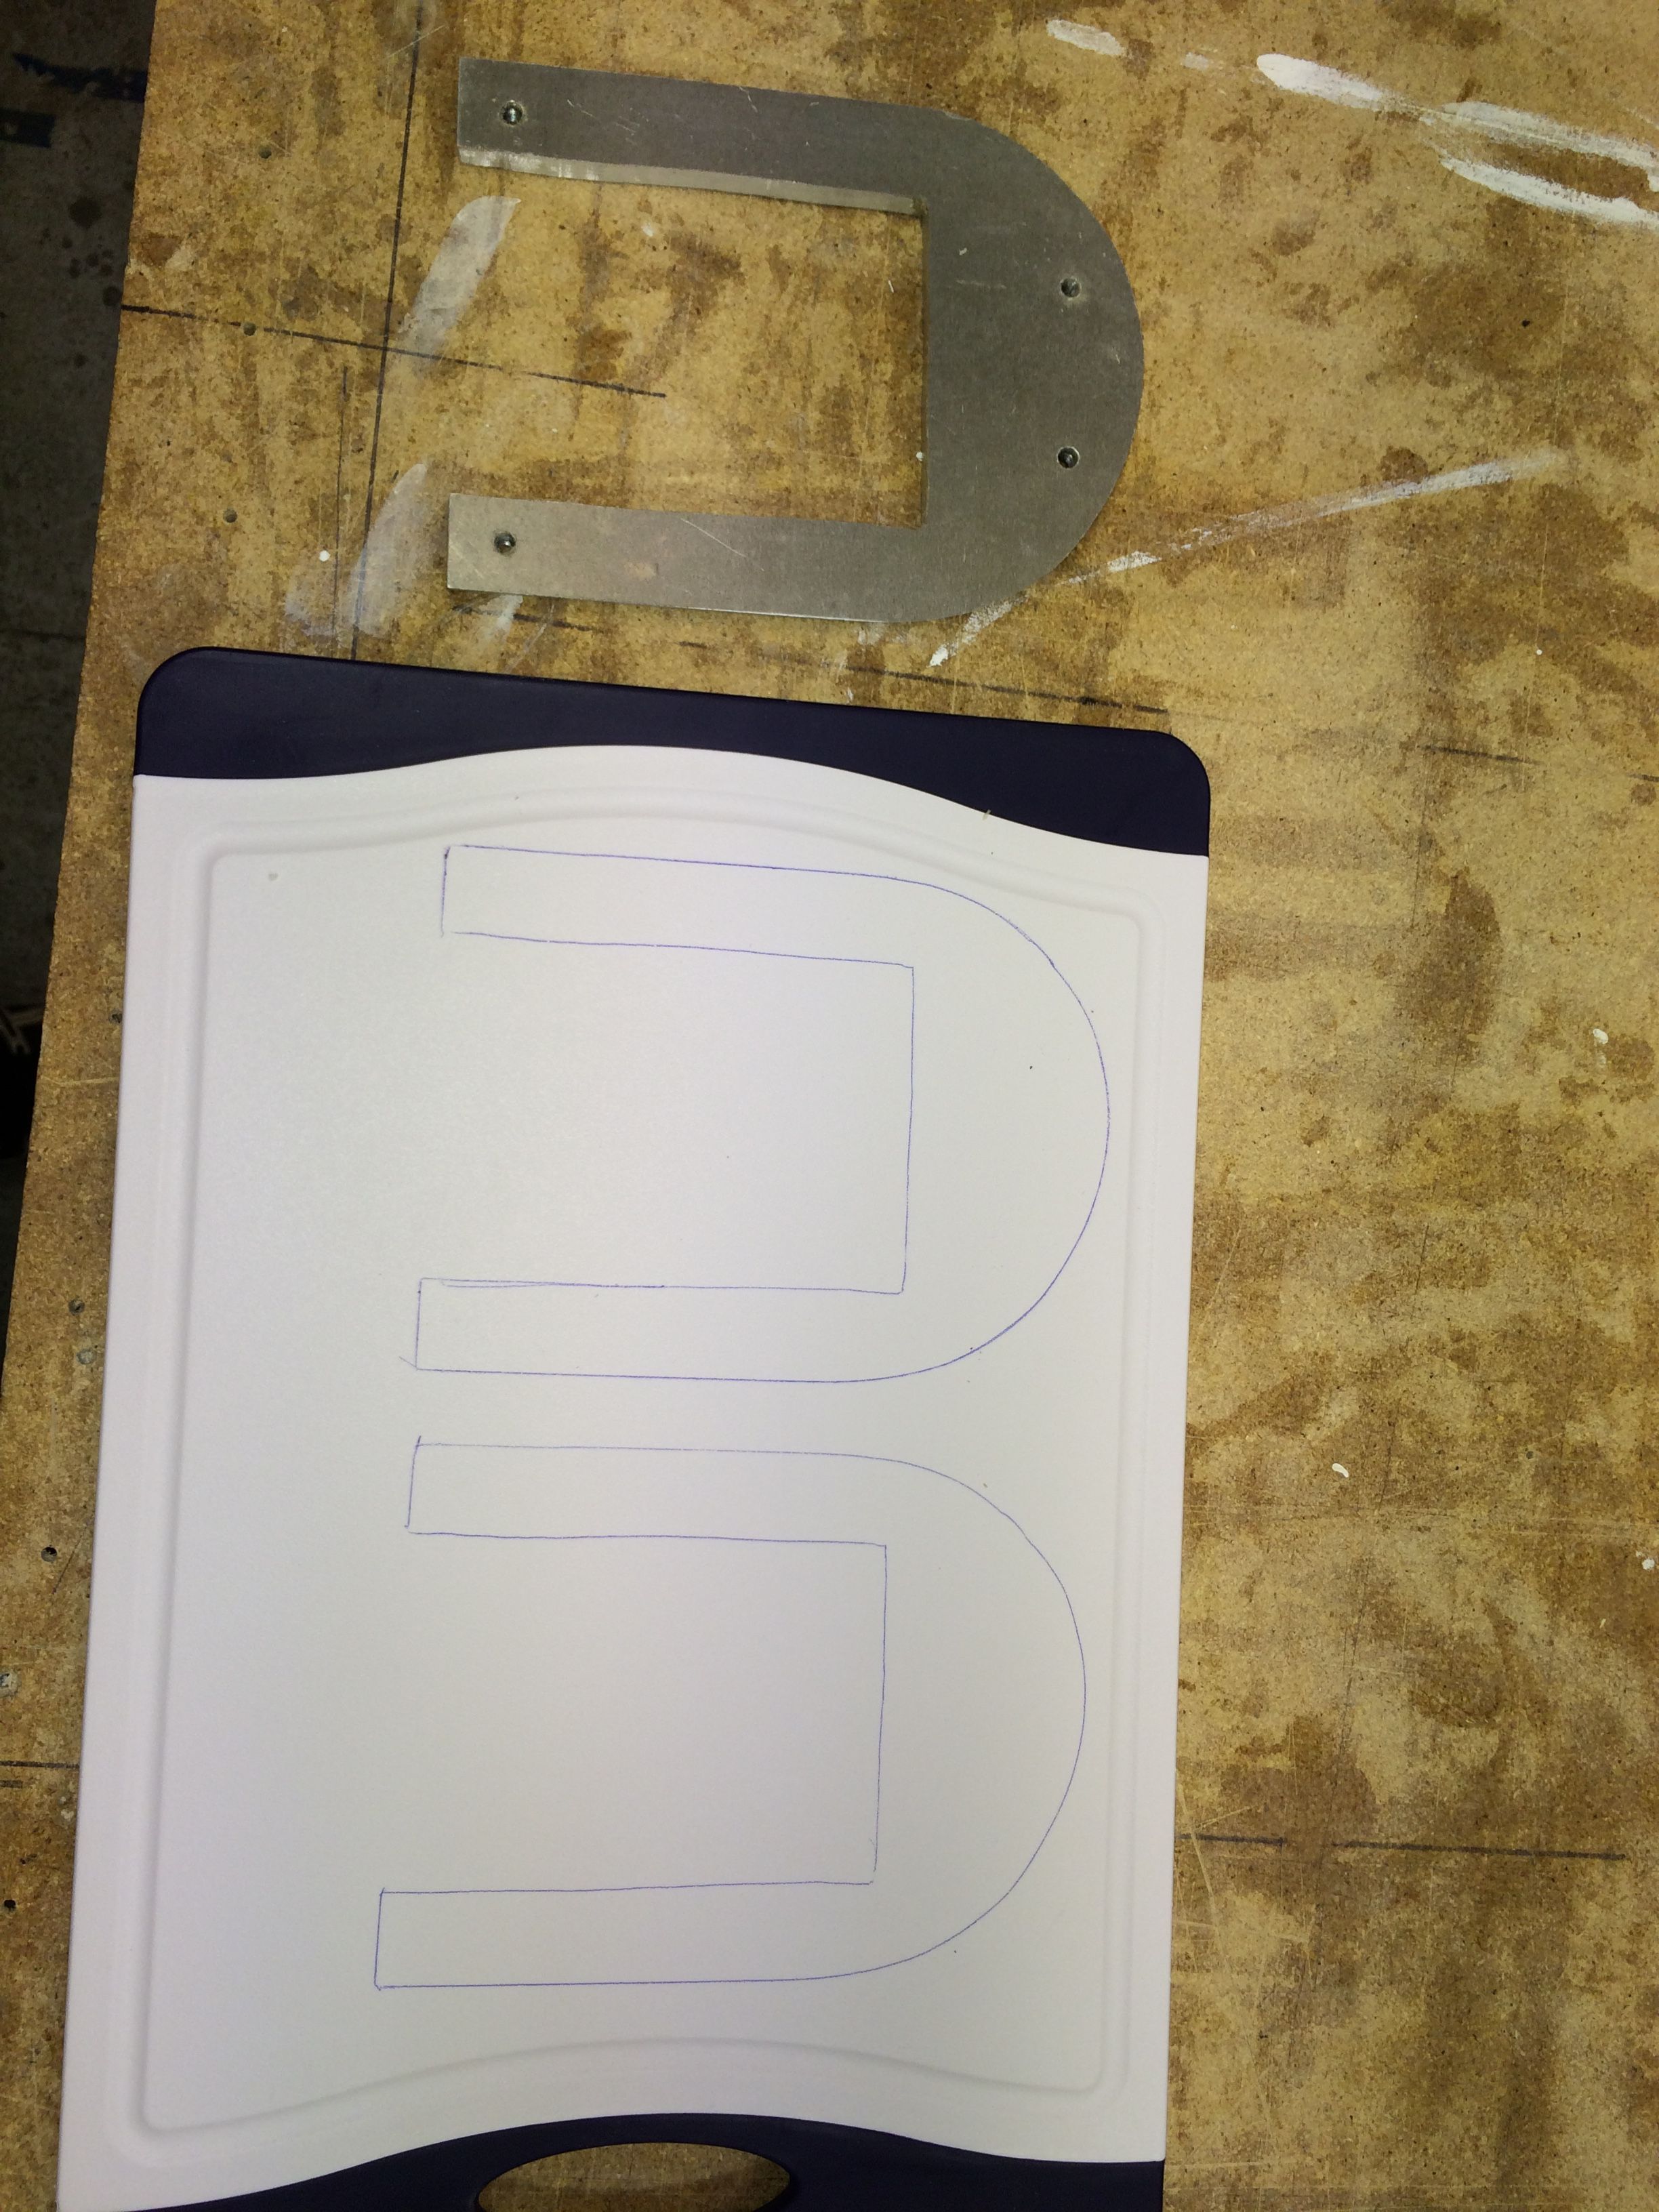
2015-01-24: I got a 10mm thick cutting-plate of some sort of plastic. I will make two “sacrificial-plates” that will be screwed on the bottom of the aluminium-plate. This will also act as a protection and add friction when the plane is parked nose-down.
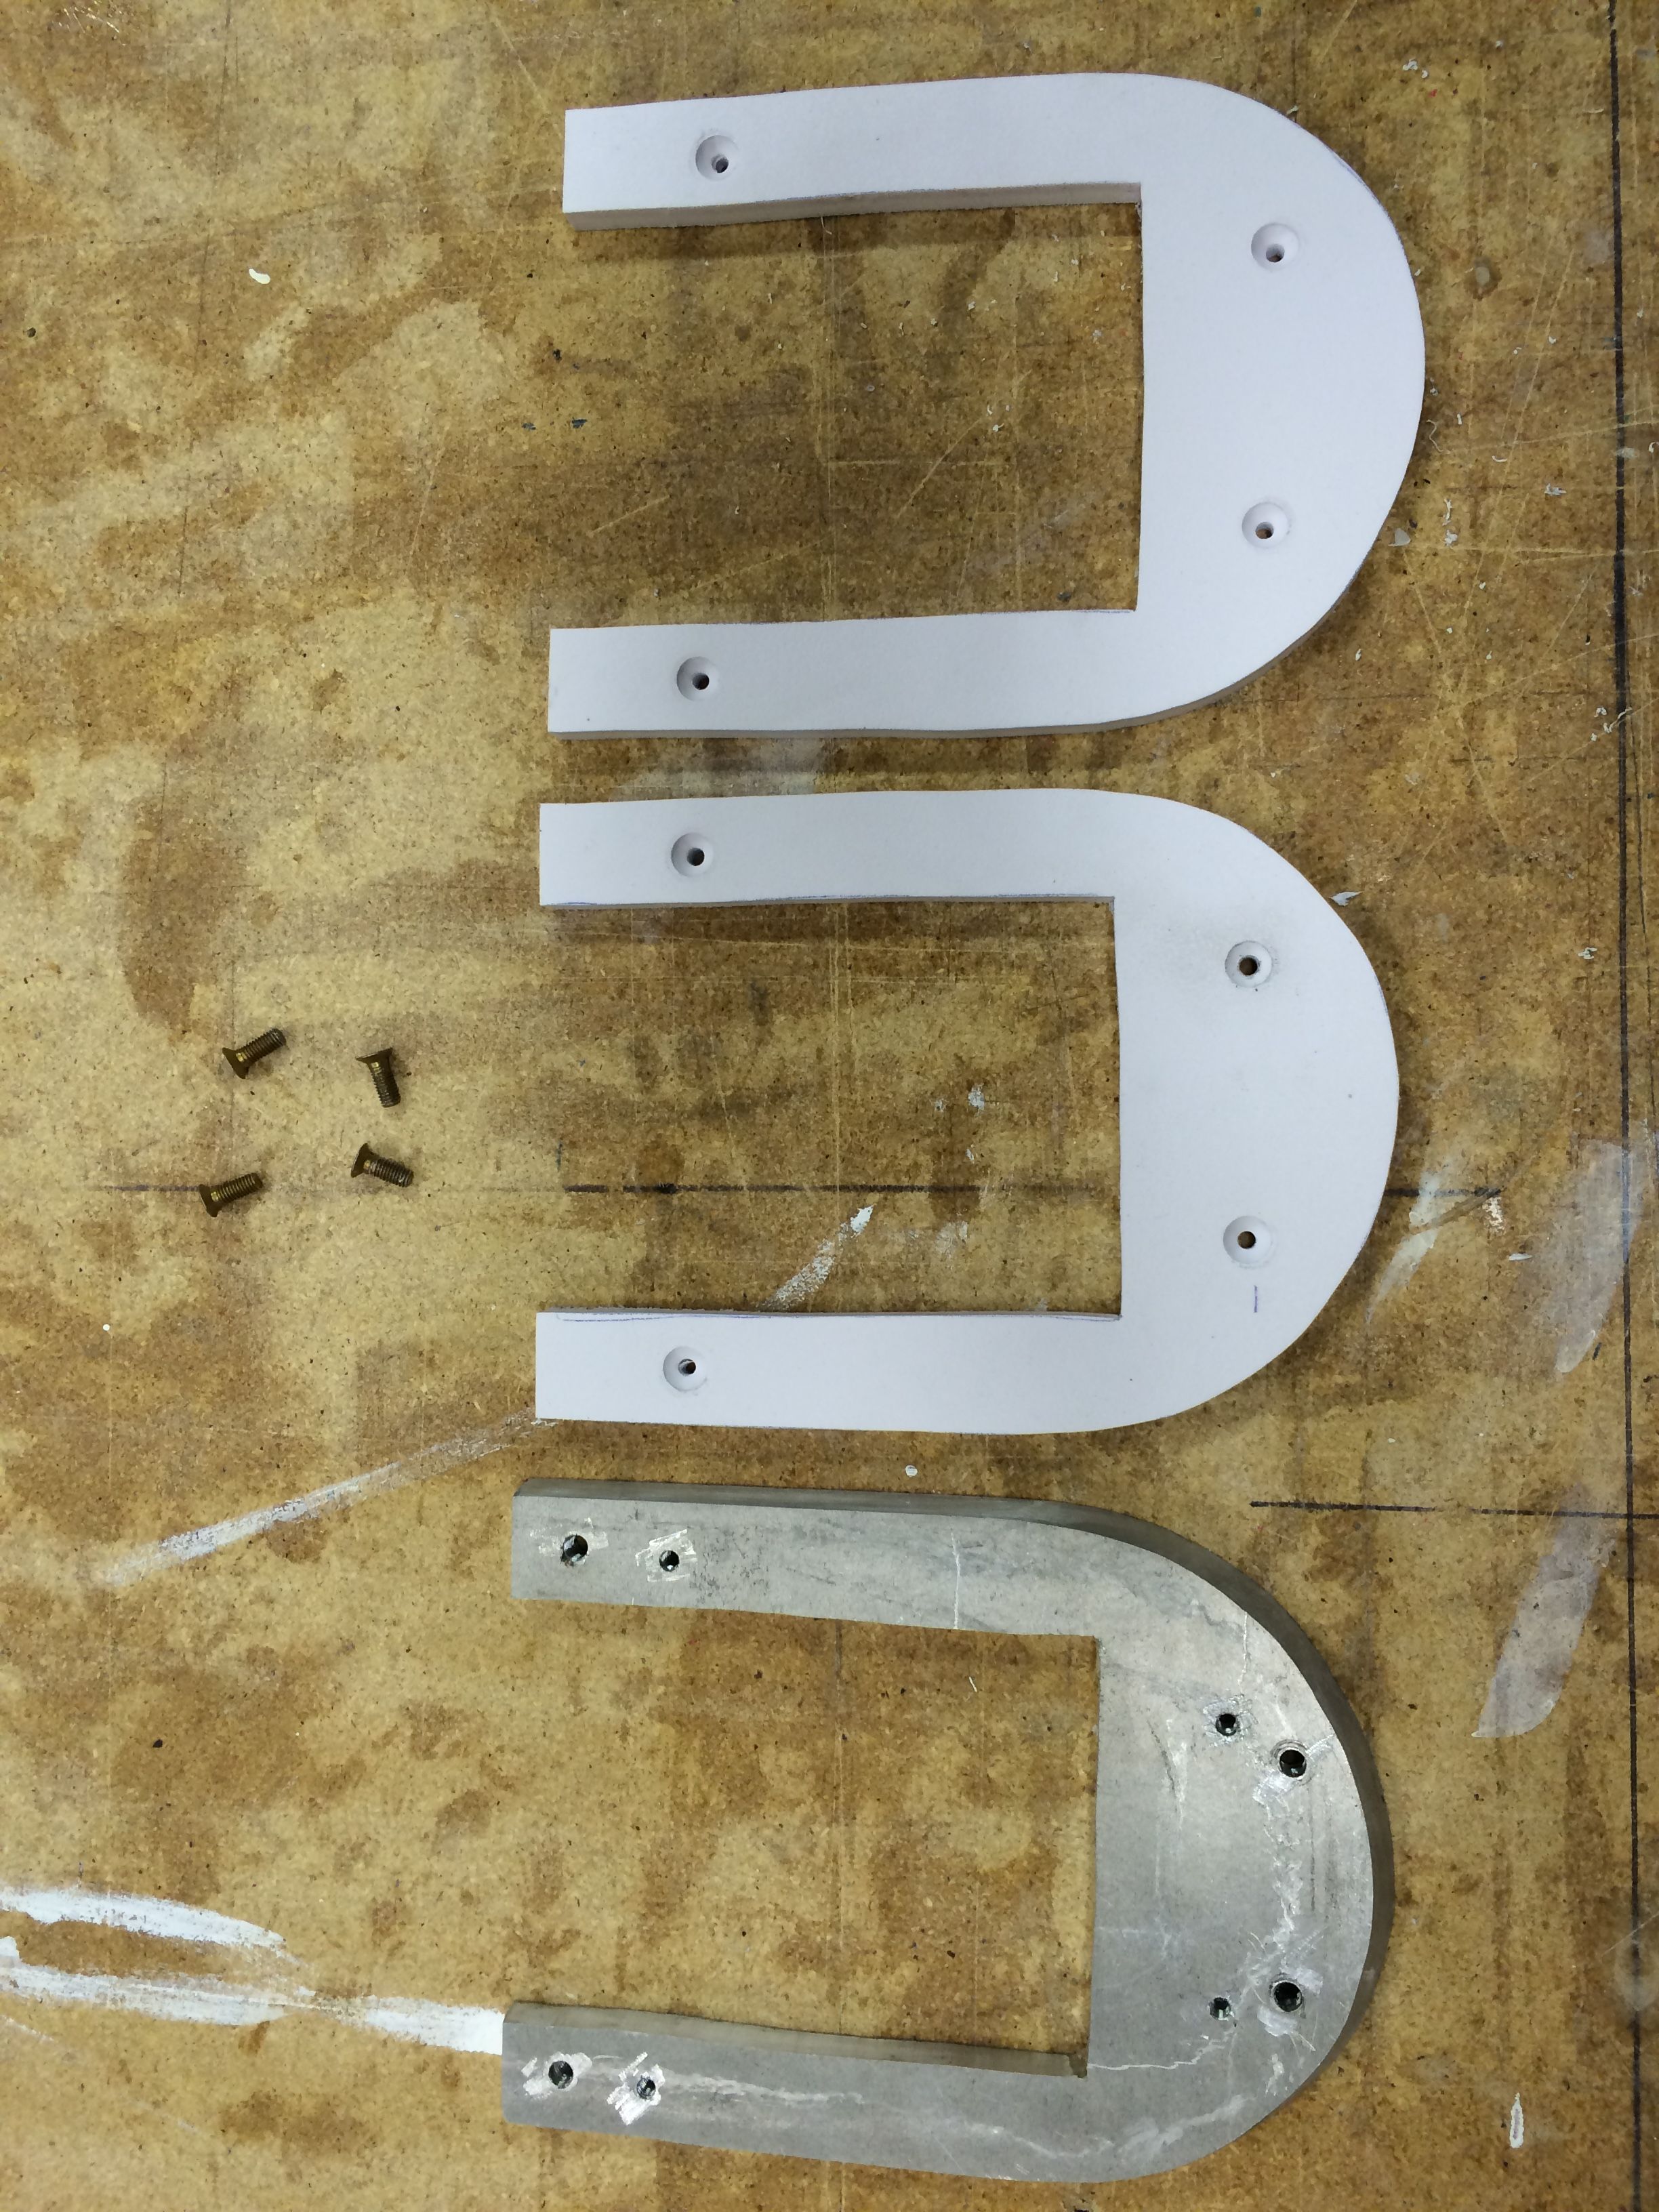
2015-01-24: The plastic plates are cut out, holes are match-drilled into the alu-plate. They are then tapped so I can screw the plastic-plates tight onto the alu-plate.
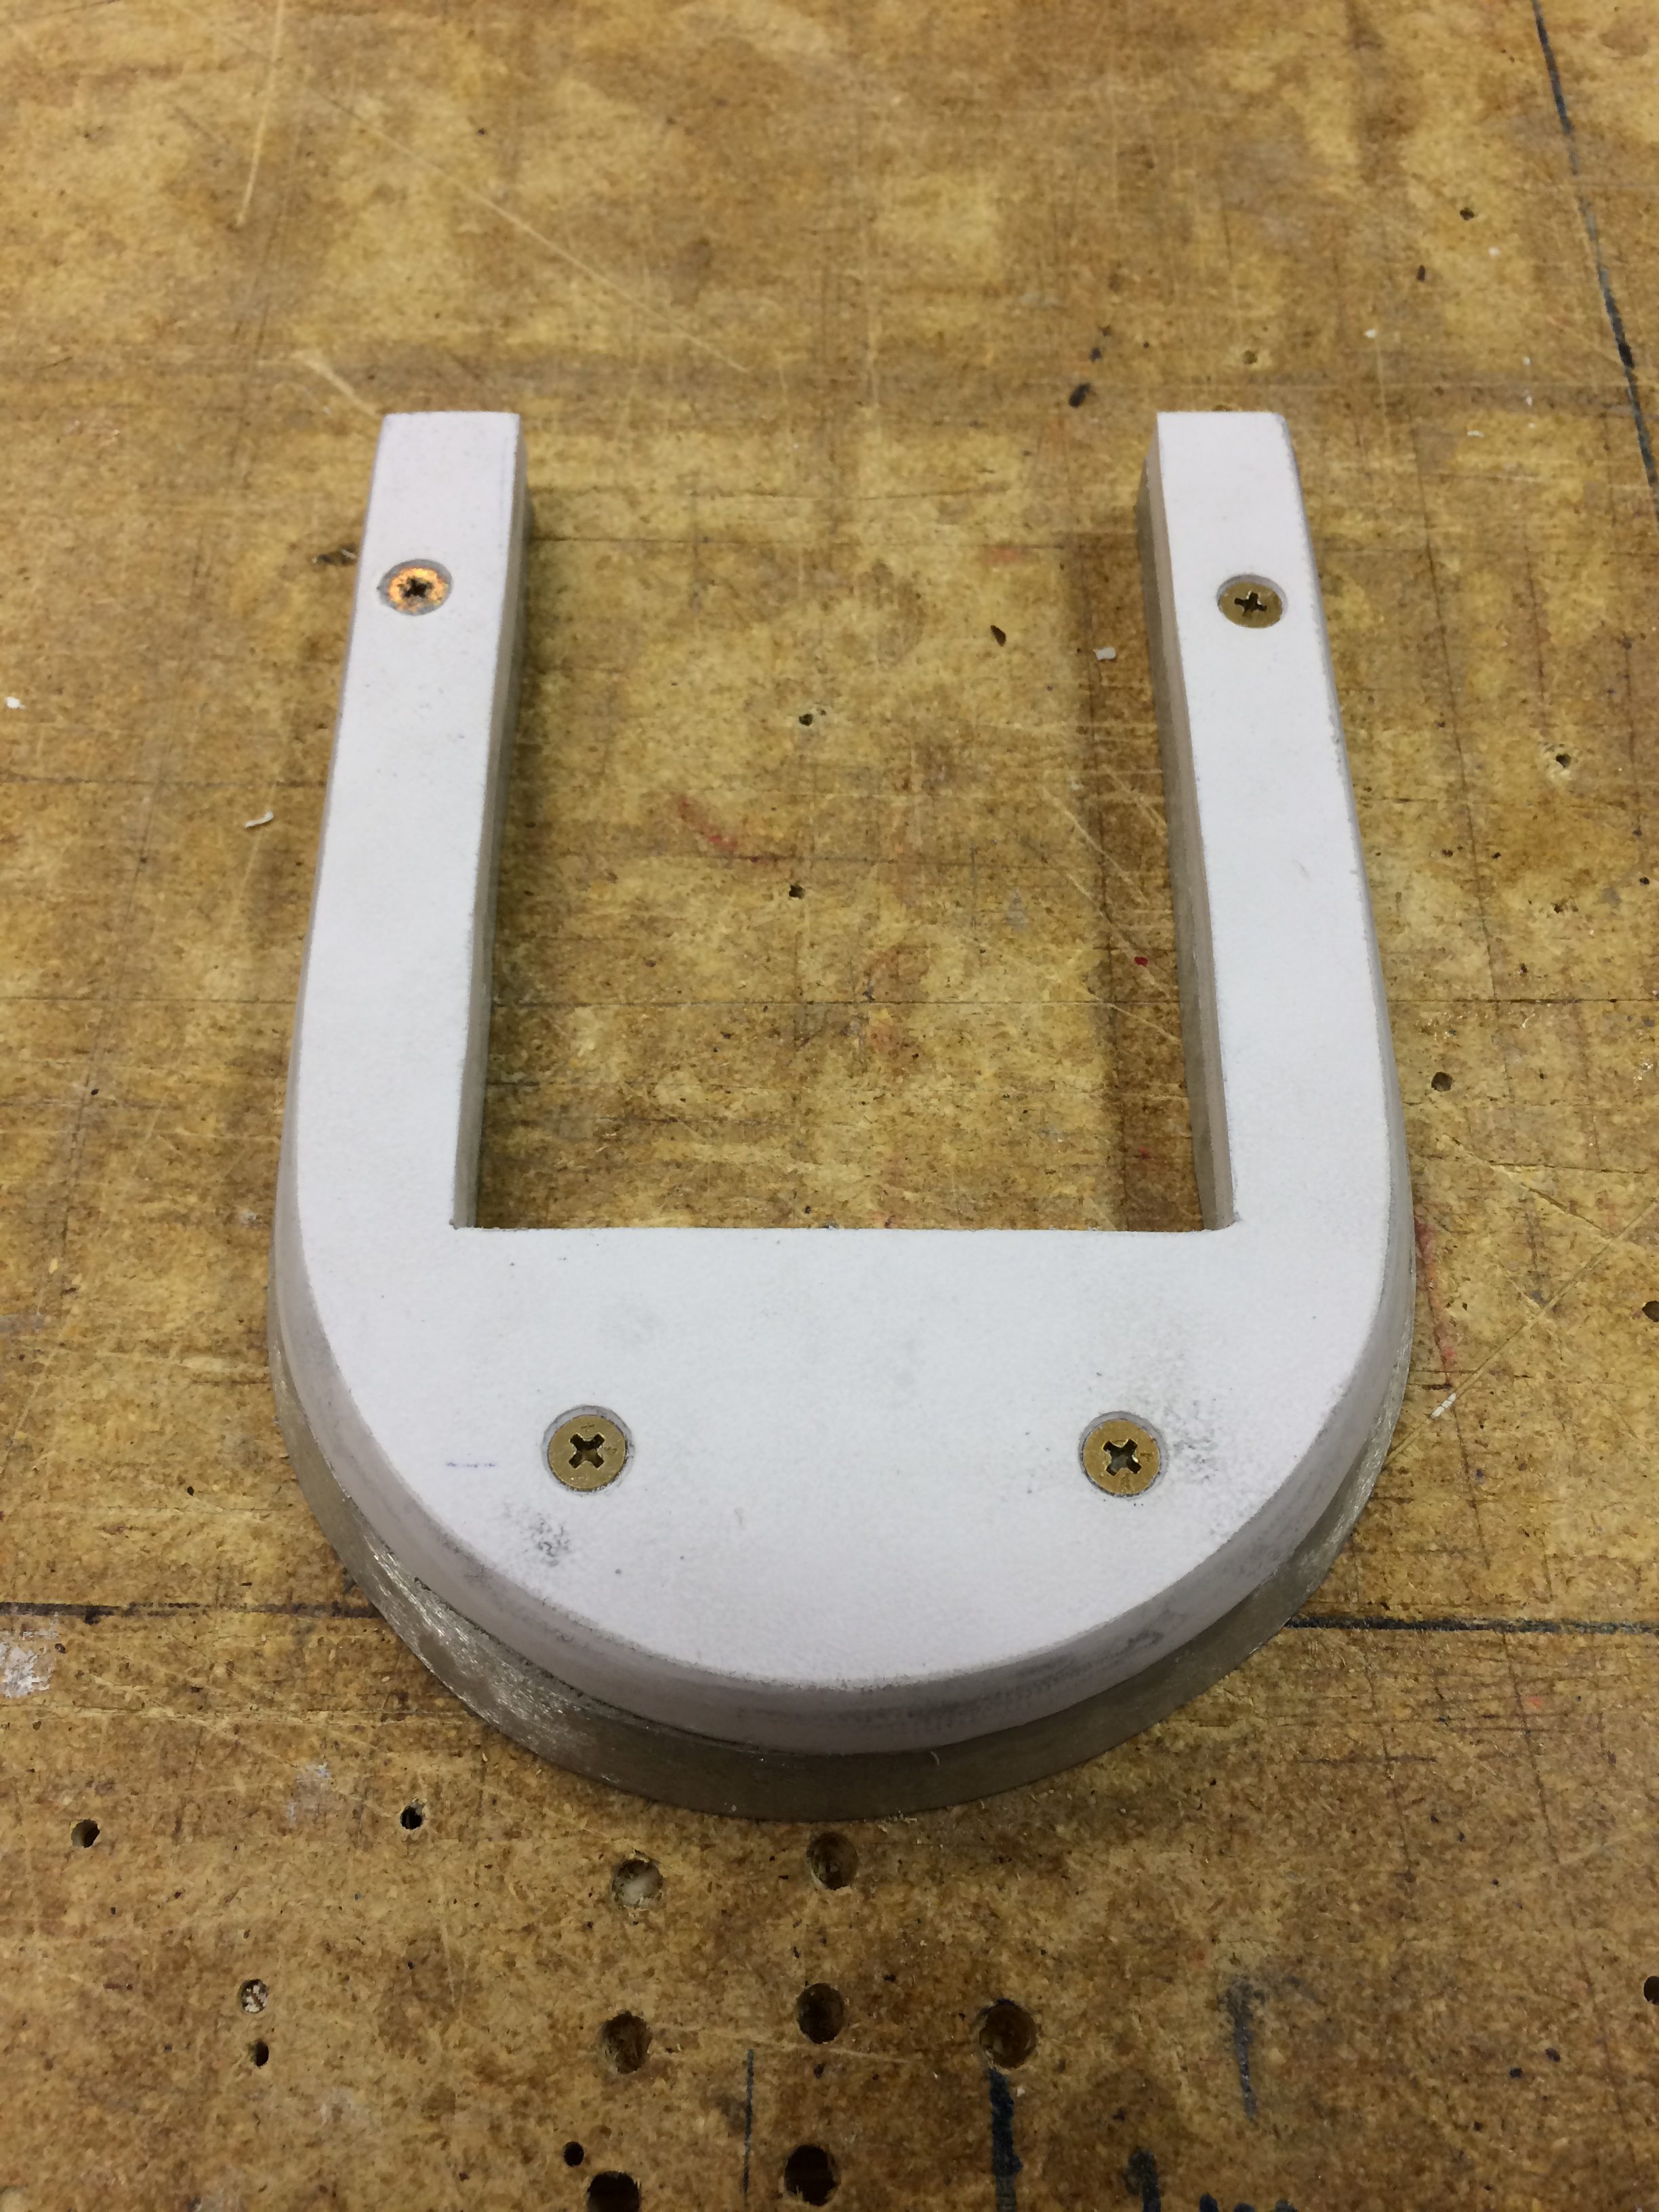
2015-01-25: The plastic-plate is beveled to fit the alu-plate.
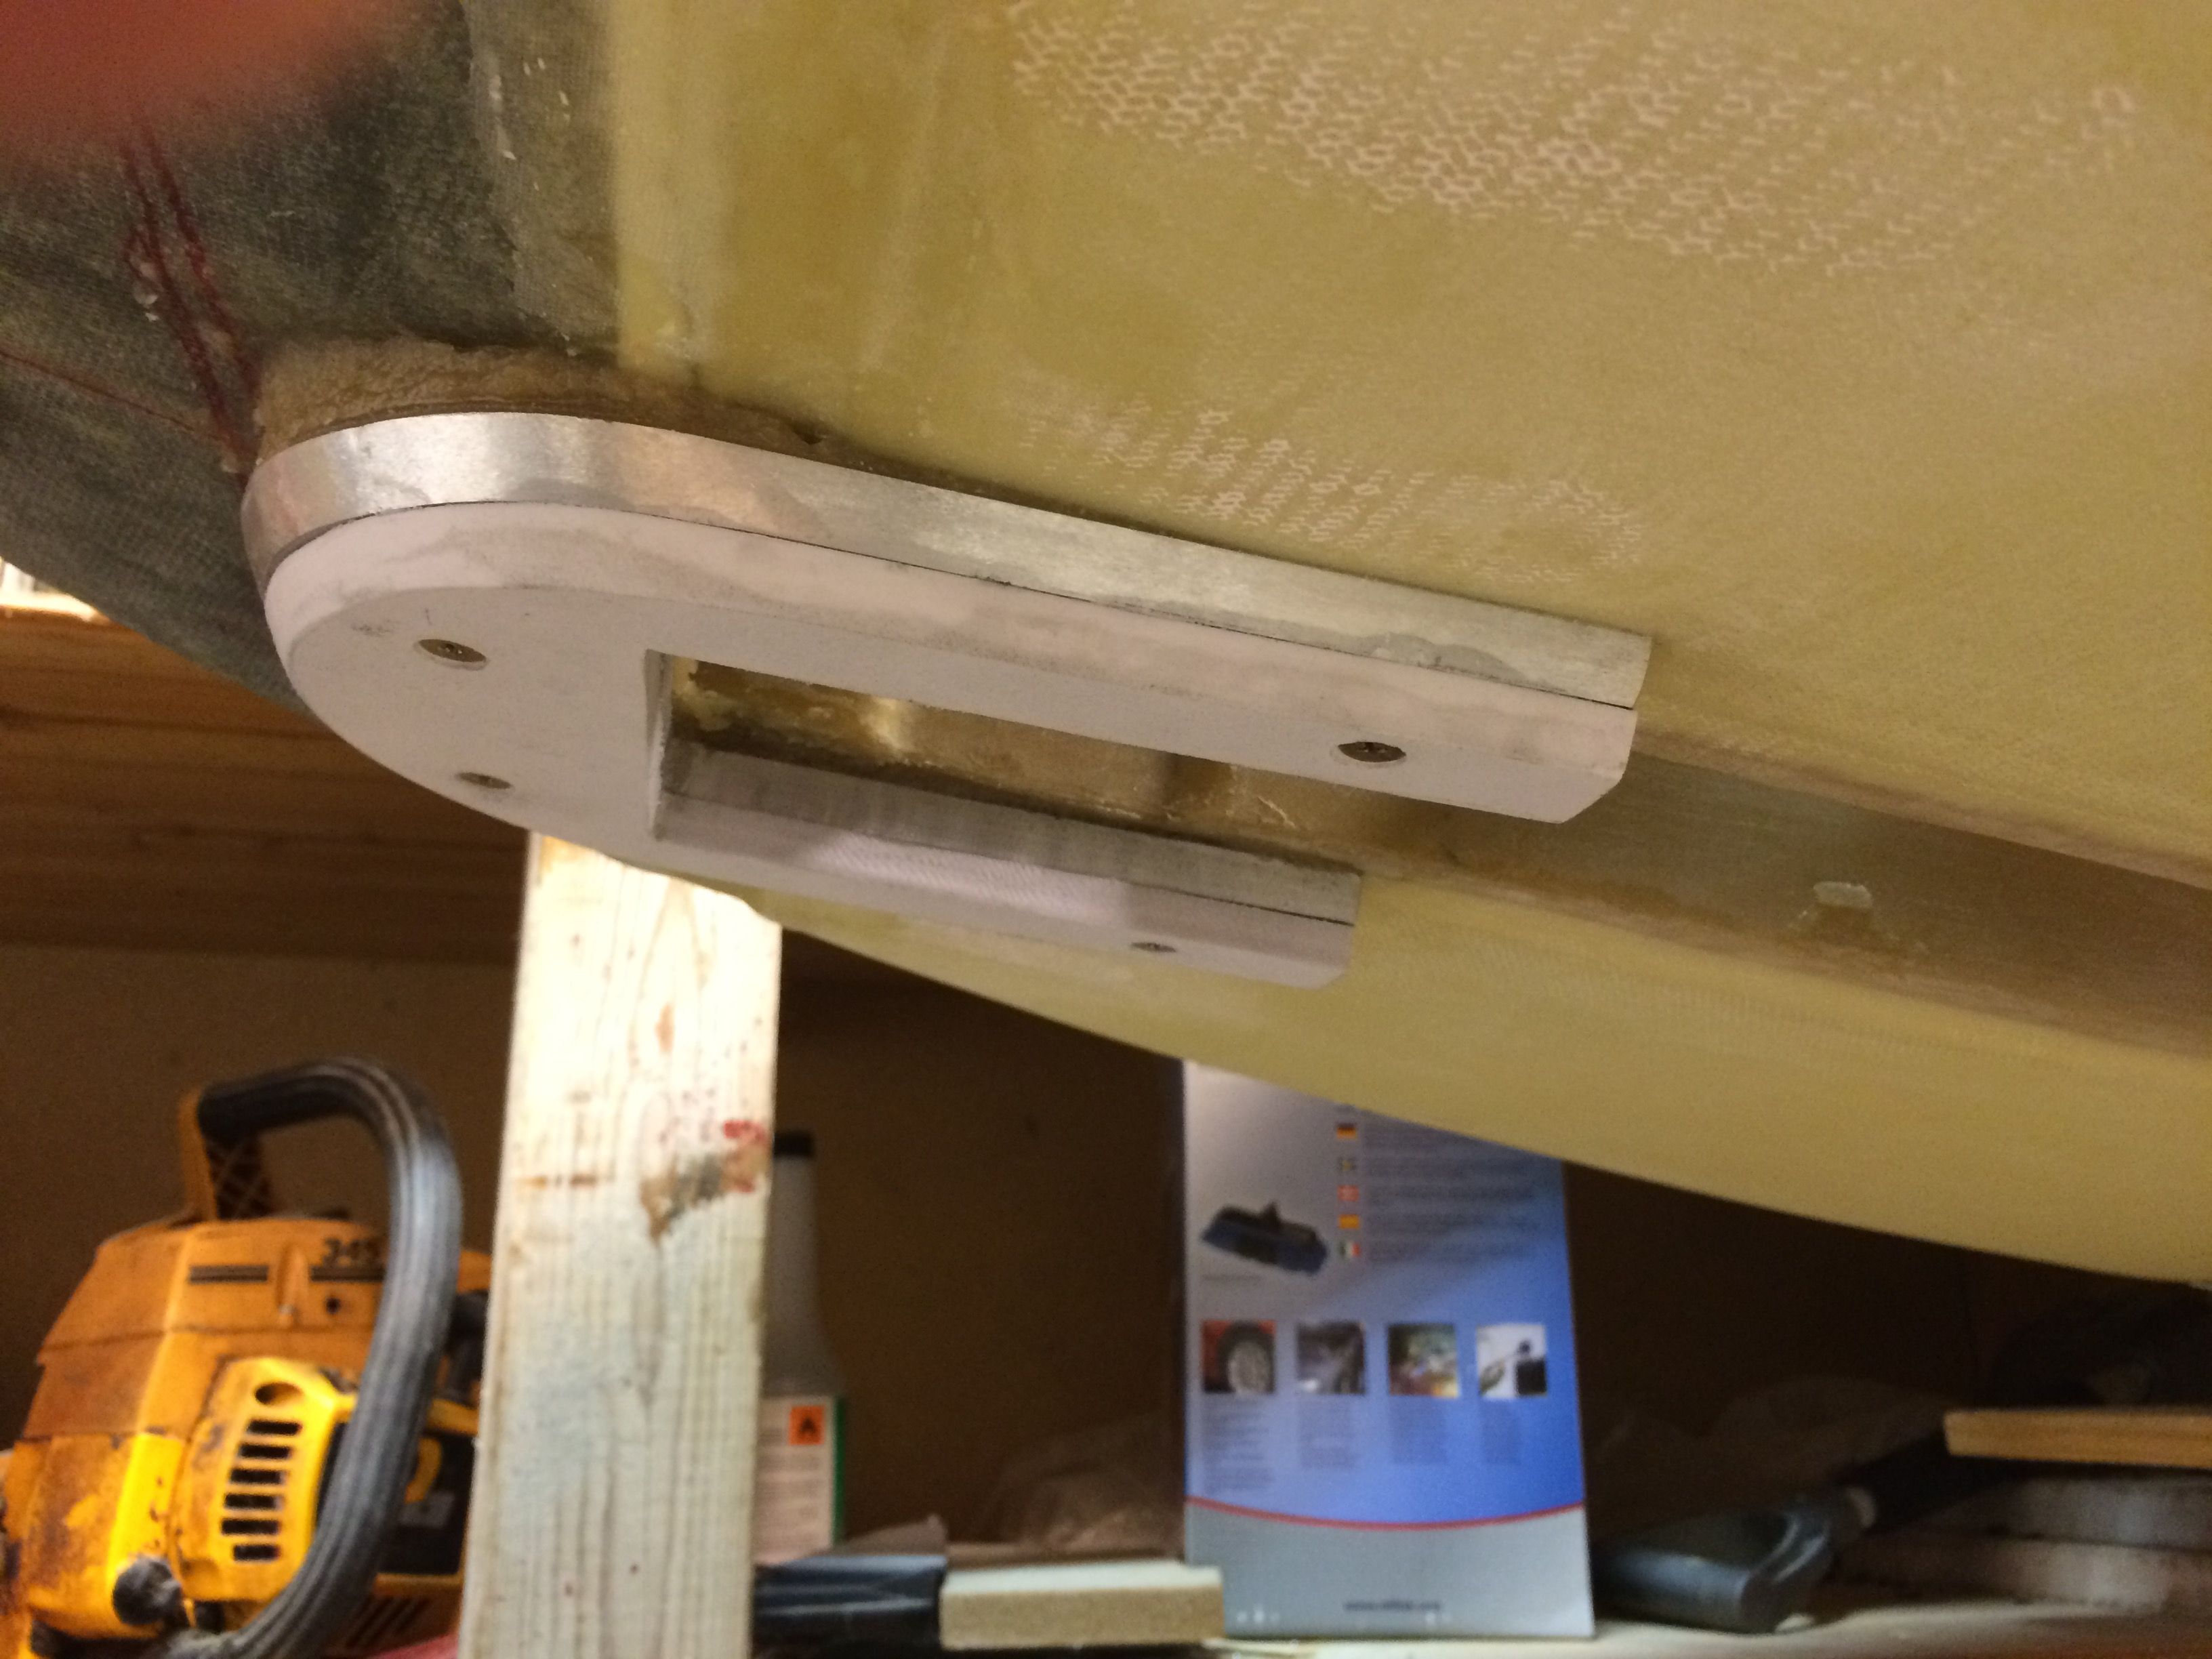
2015-01-25: Finally the whole assembly is mounted on the nose. I will make a streamlined fairing around the perimter of the skid-plate, with micro.
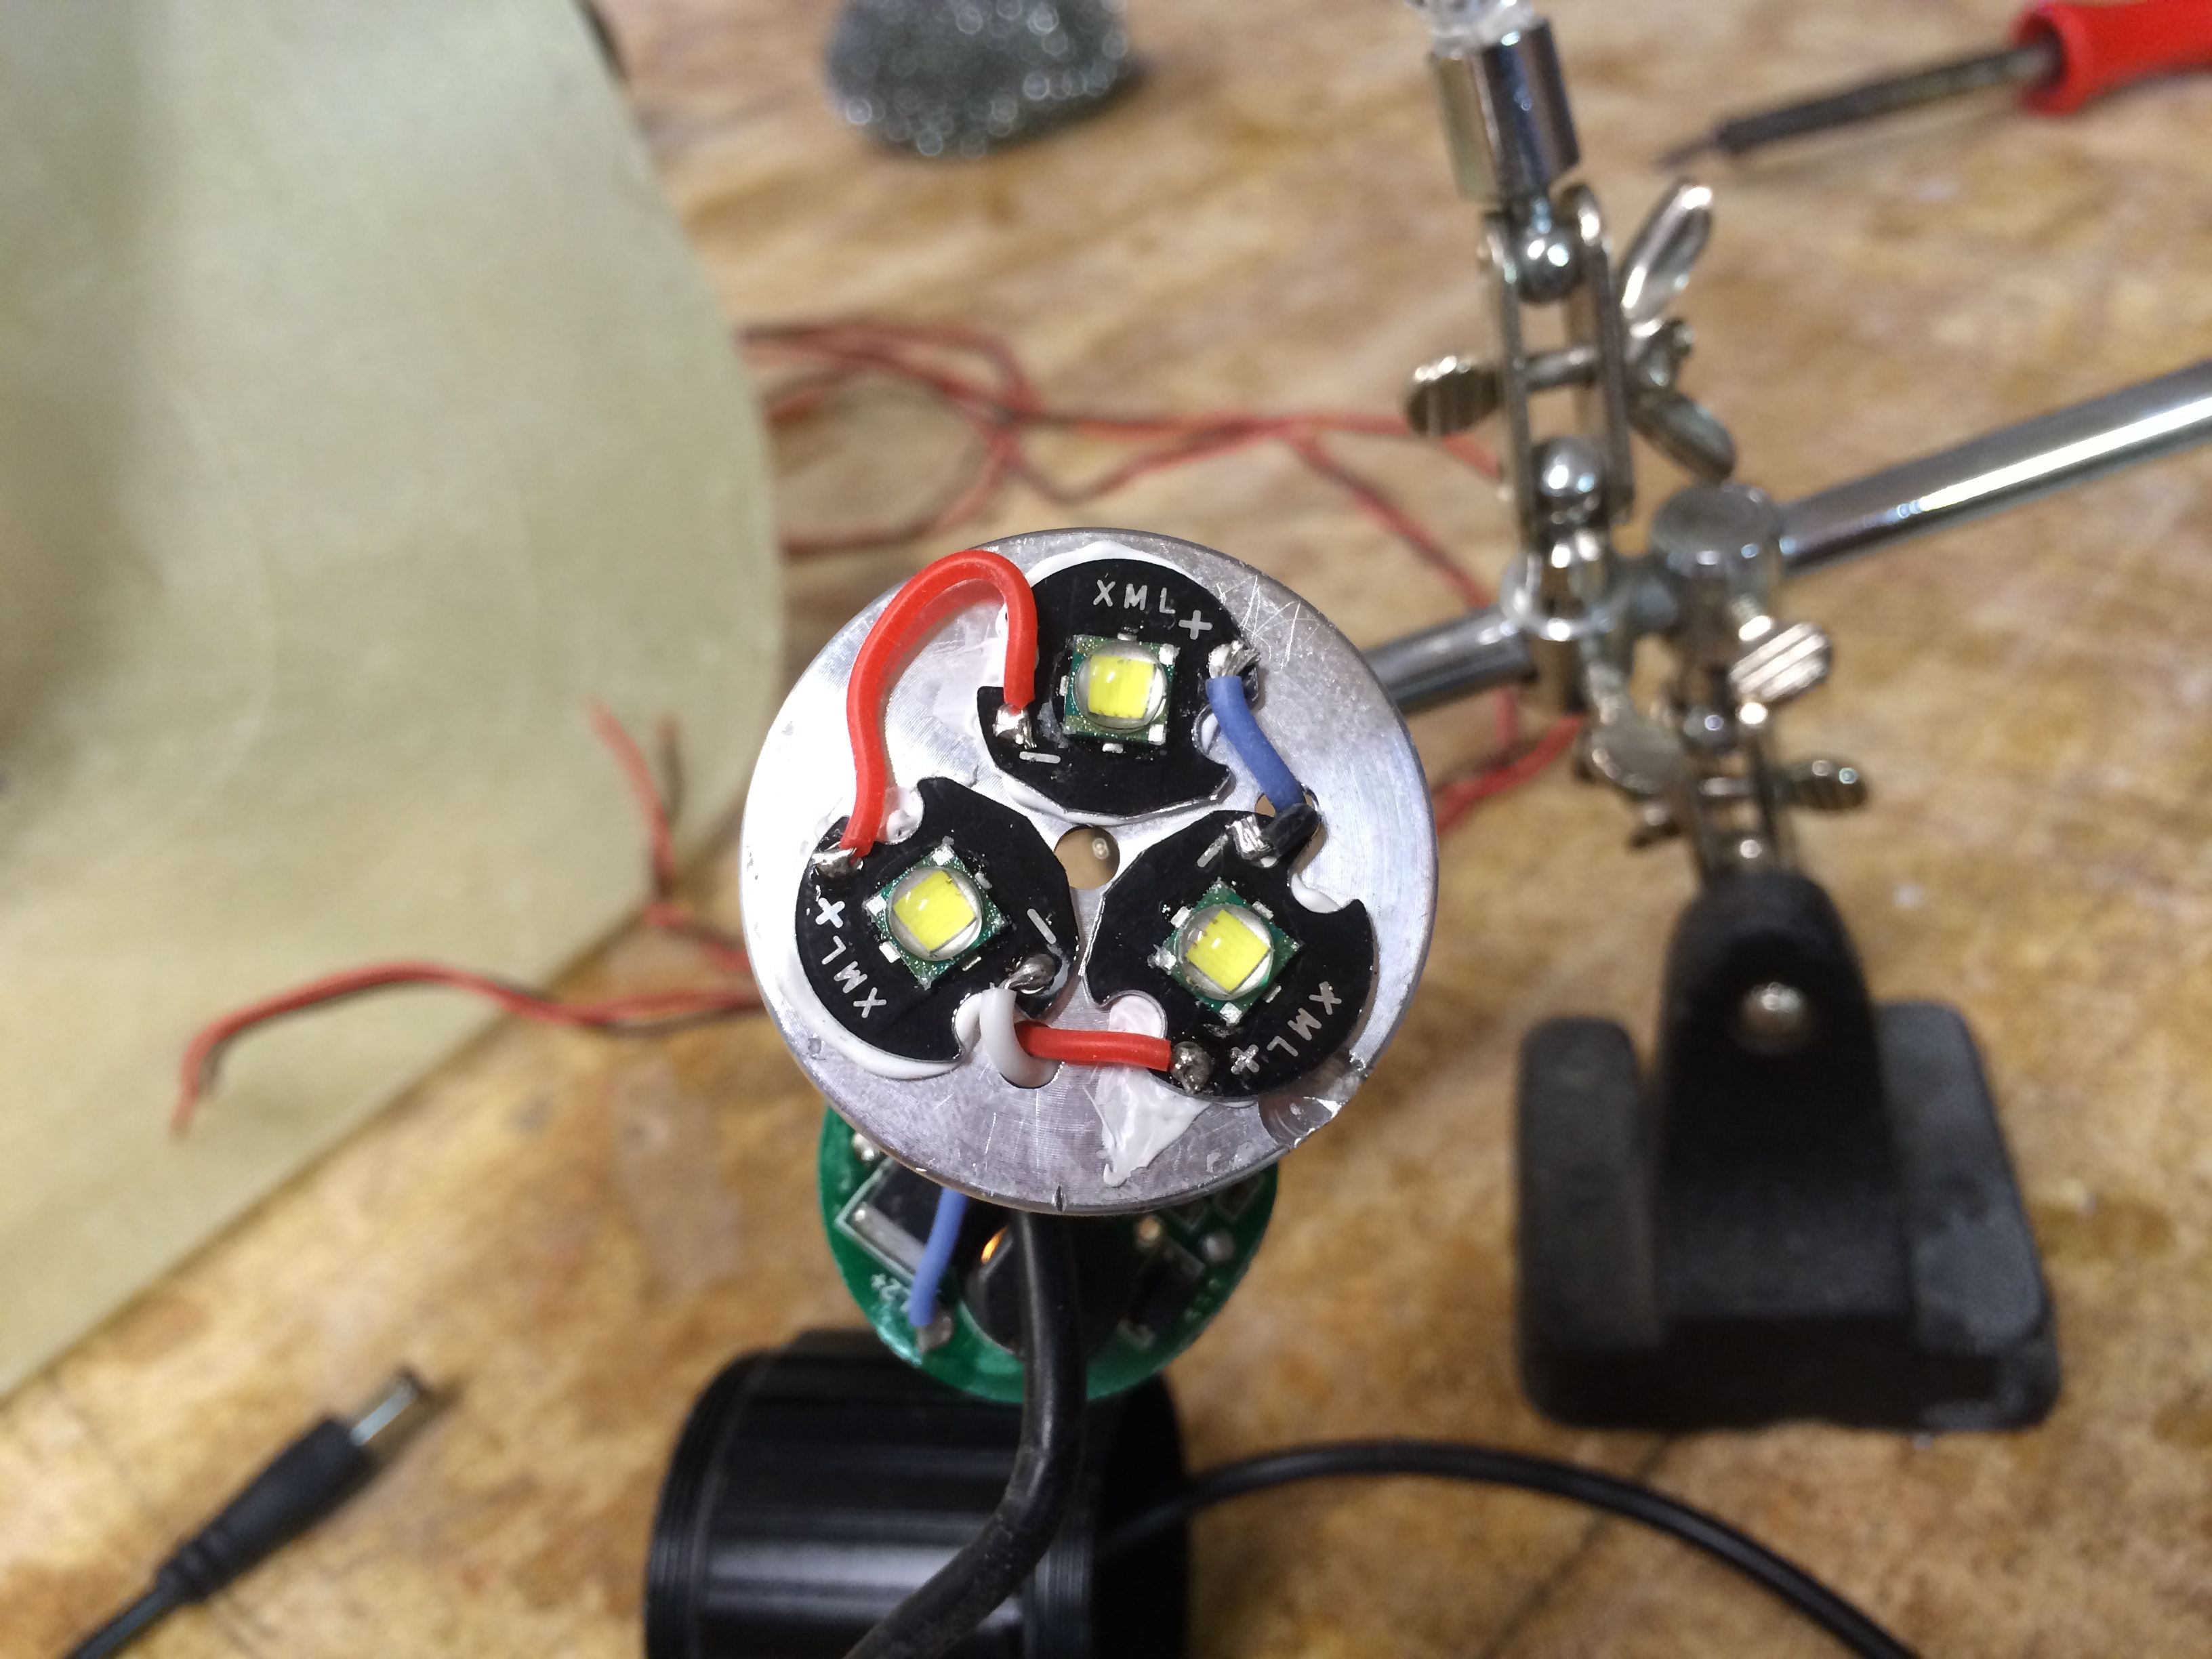
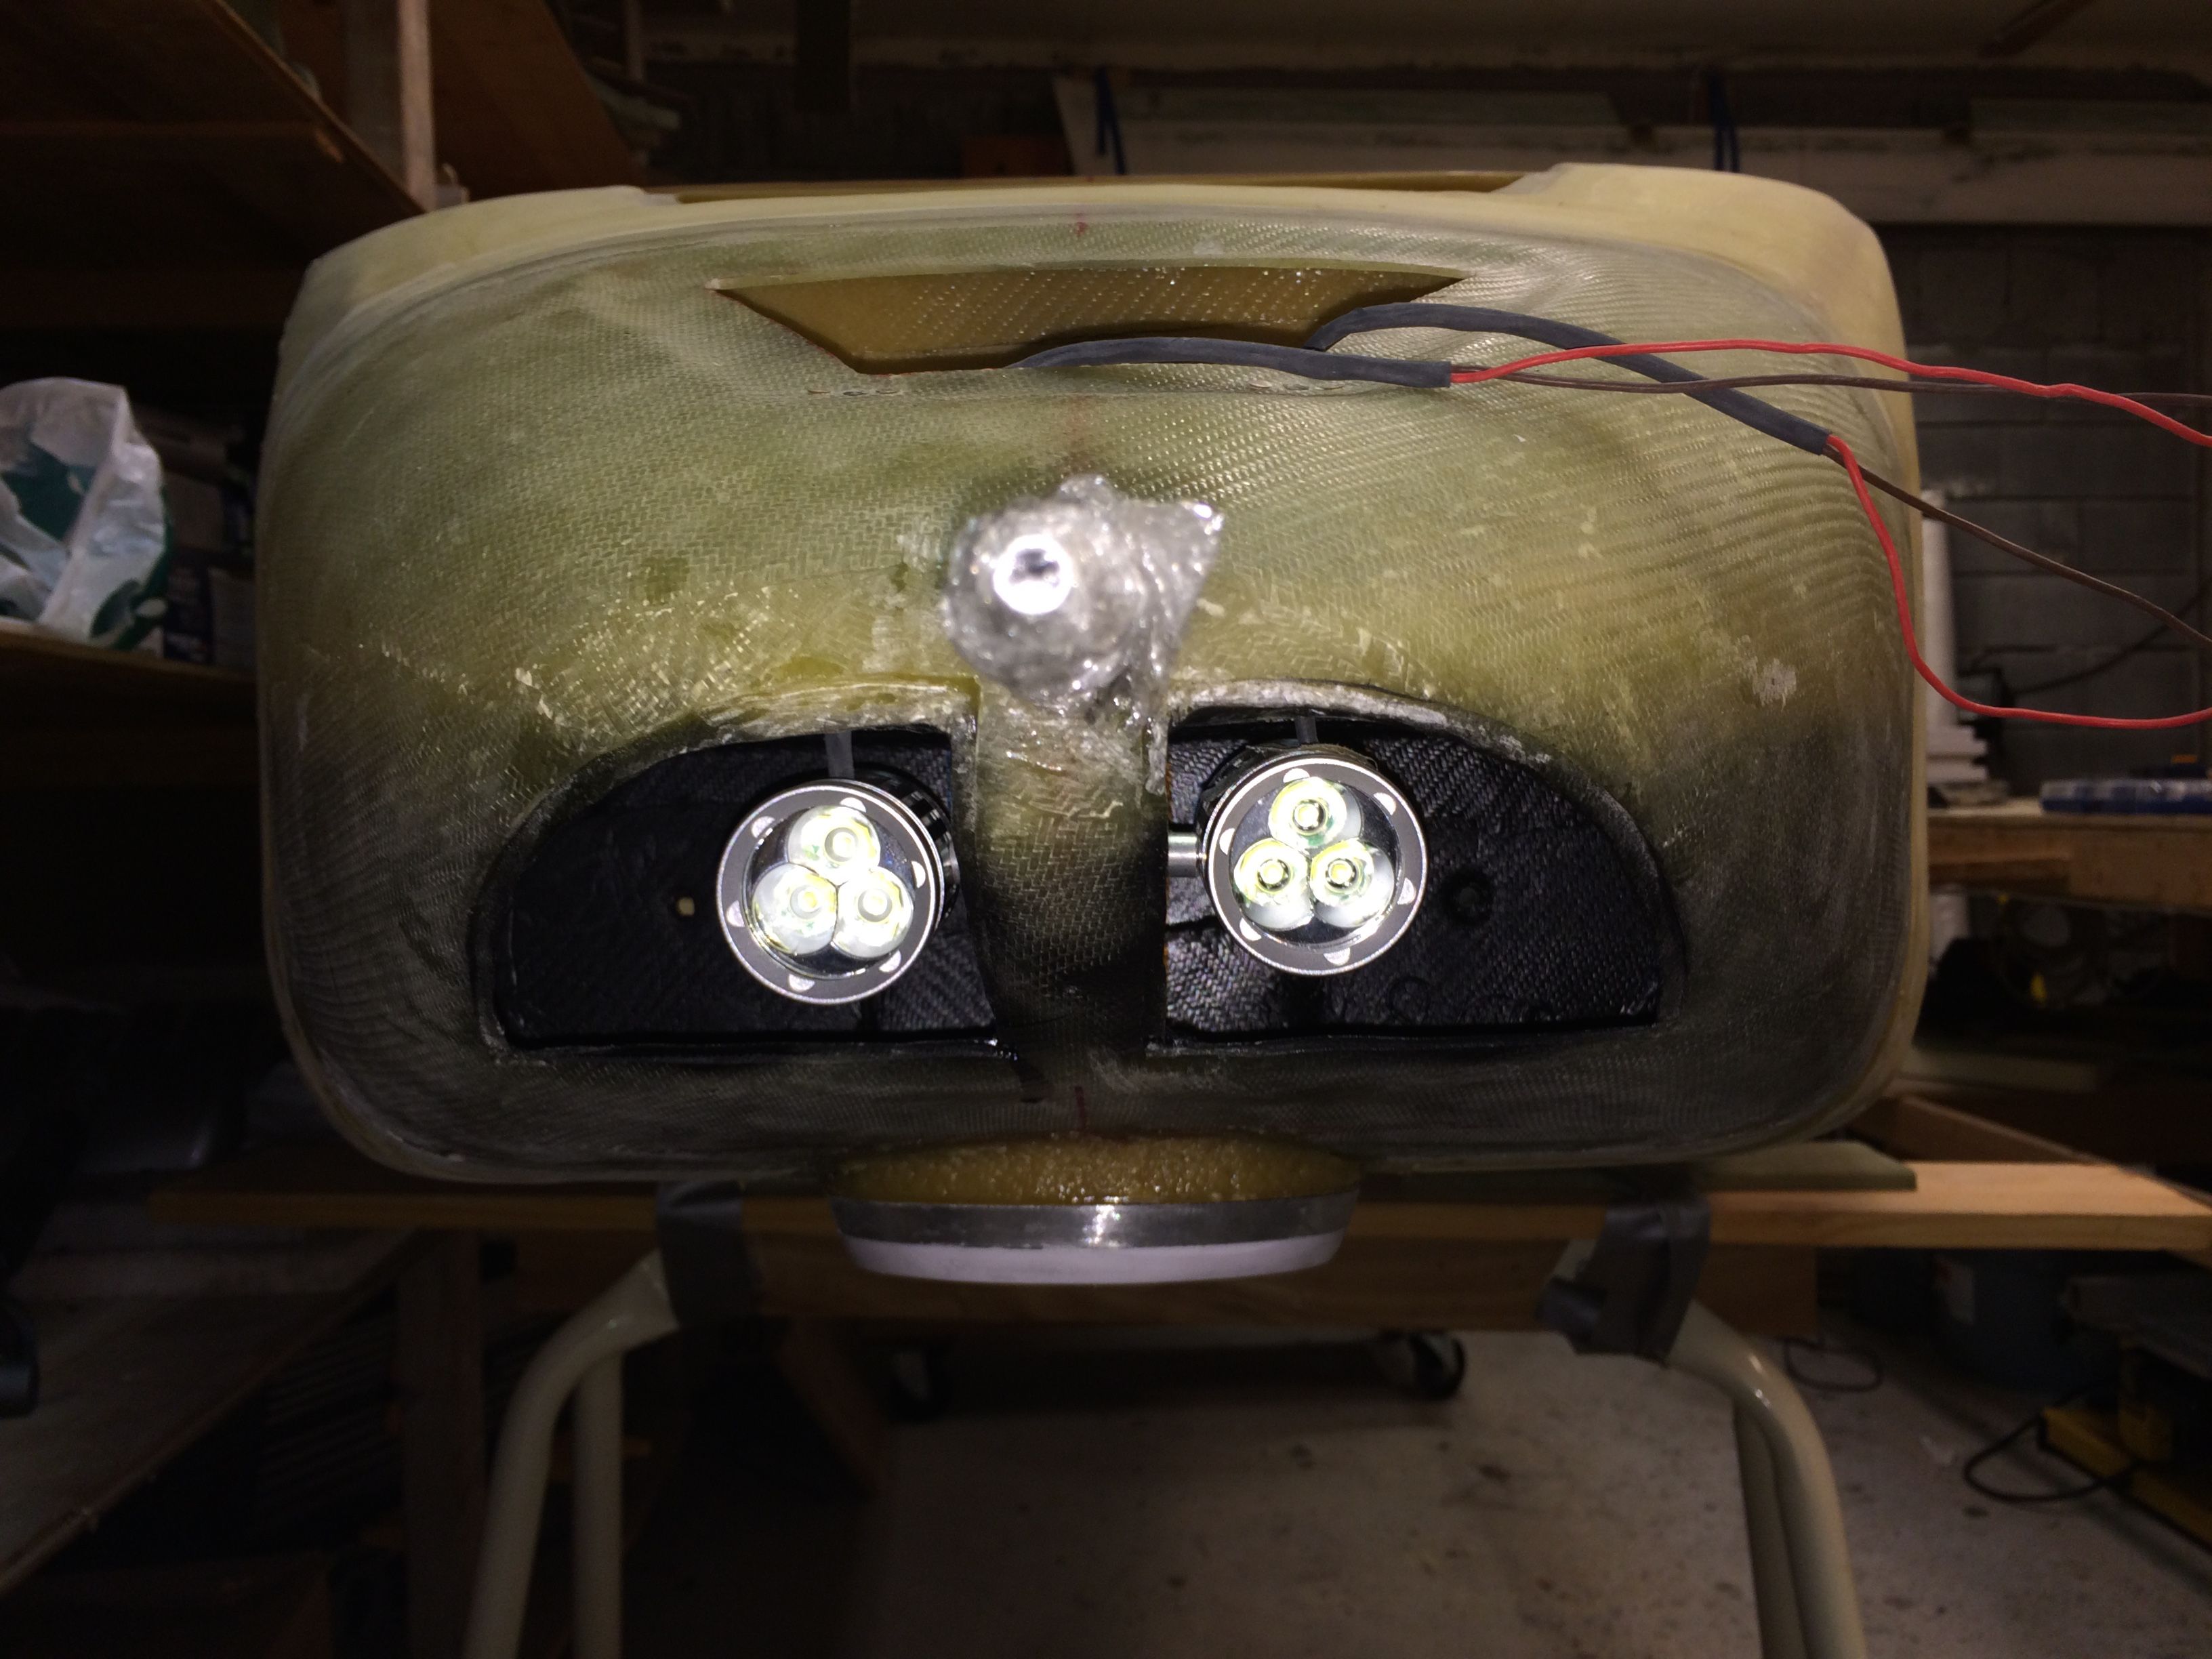
2015-02-02: The landing lights are made of two high intensity LED bicycle lights, each emitting 3000 Lumens. They use 3 CREE XM-L T6 LED lenses each, built in a solid aluminum housing which also acts like a heat-sink. Since the LED’s only tolerates 9V (3.1 V each) I also need a voltage regulator. I will use two – one for each light. I use RC equipment to reduce the voltage. All is bought on eBay. I had to modify the light itself, and bypass the internal electronics. The lamps had a push-button to select 1, 2 or 3 LED’s as well as flashing LED’s. I simply removed all the electronics and soldered the cables directly to the LED’s. The plan is to have a switch with three functions: Taxi, Taxi + landing and wig-wag. I need to find a simple wig-wag device for the last function, that should not be so hard to find.
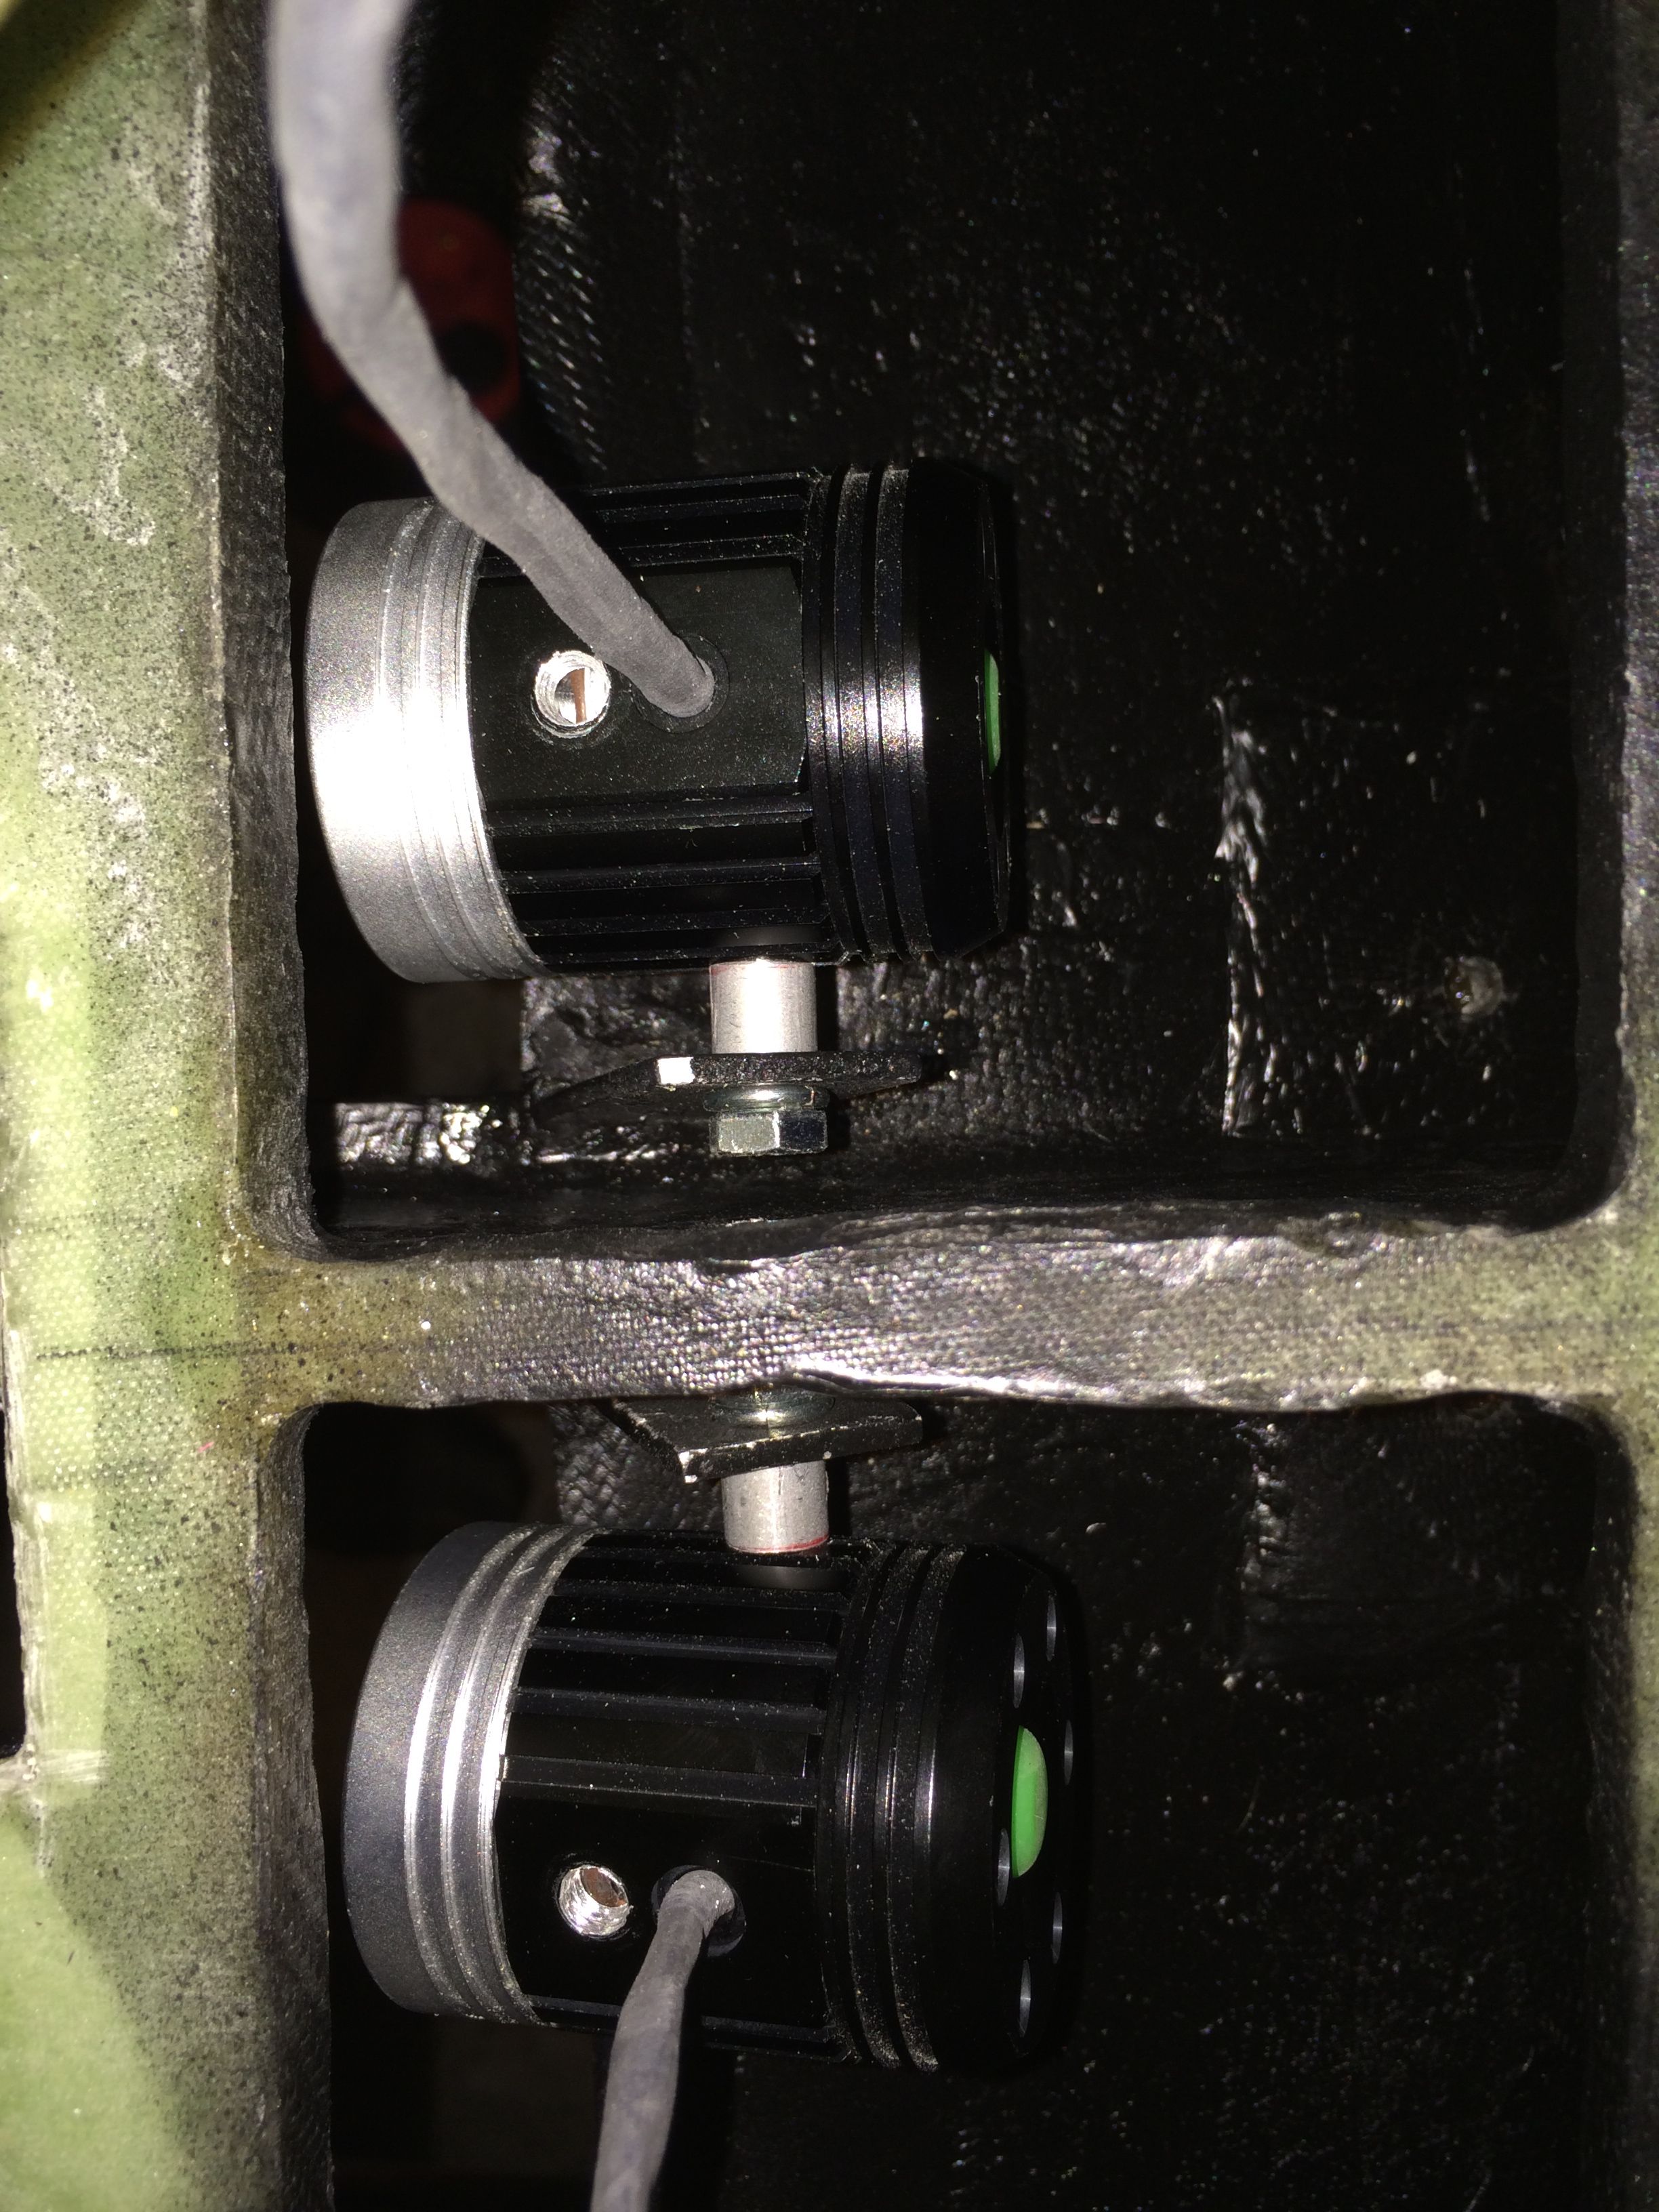
2015-02-02: The lights are mounted in the aluminum brackets.

2015-02-02: I made a spacer of aluminum tubing to position the lights in center of the holes I made in the nose.
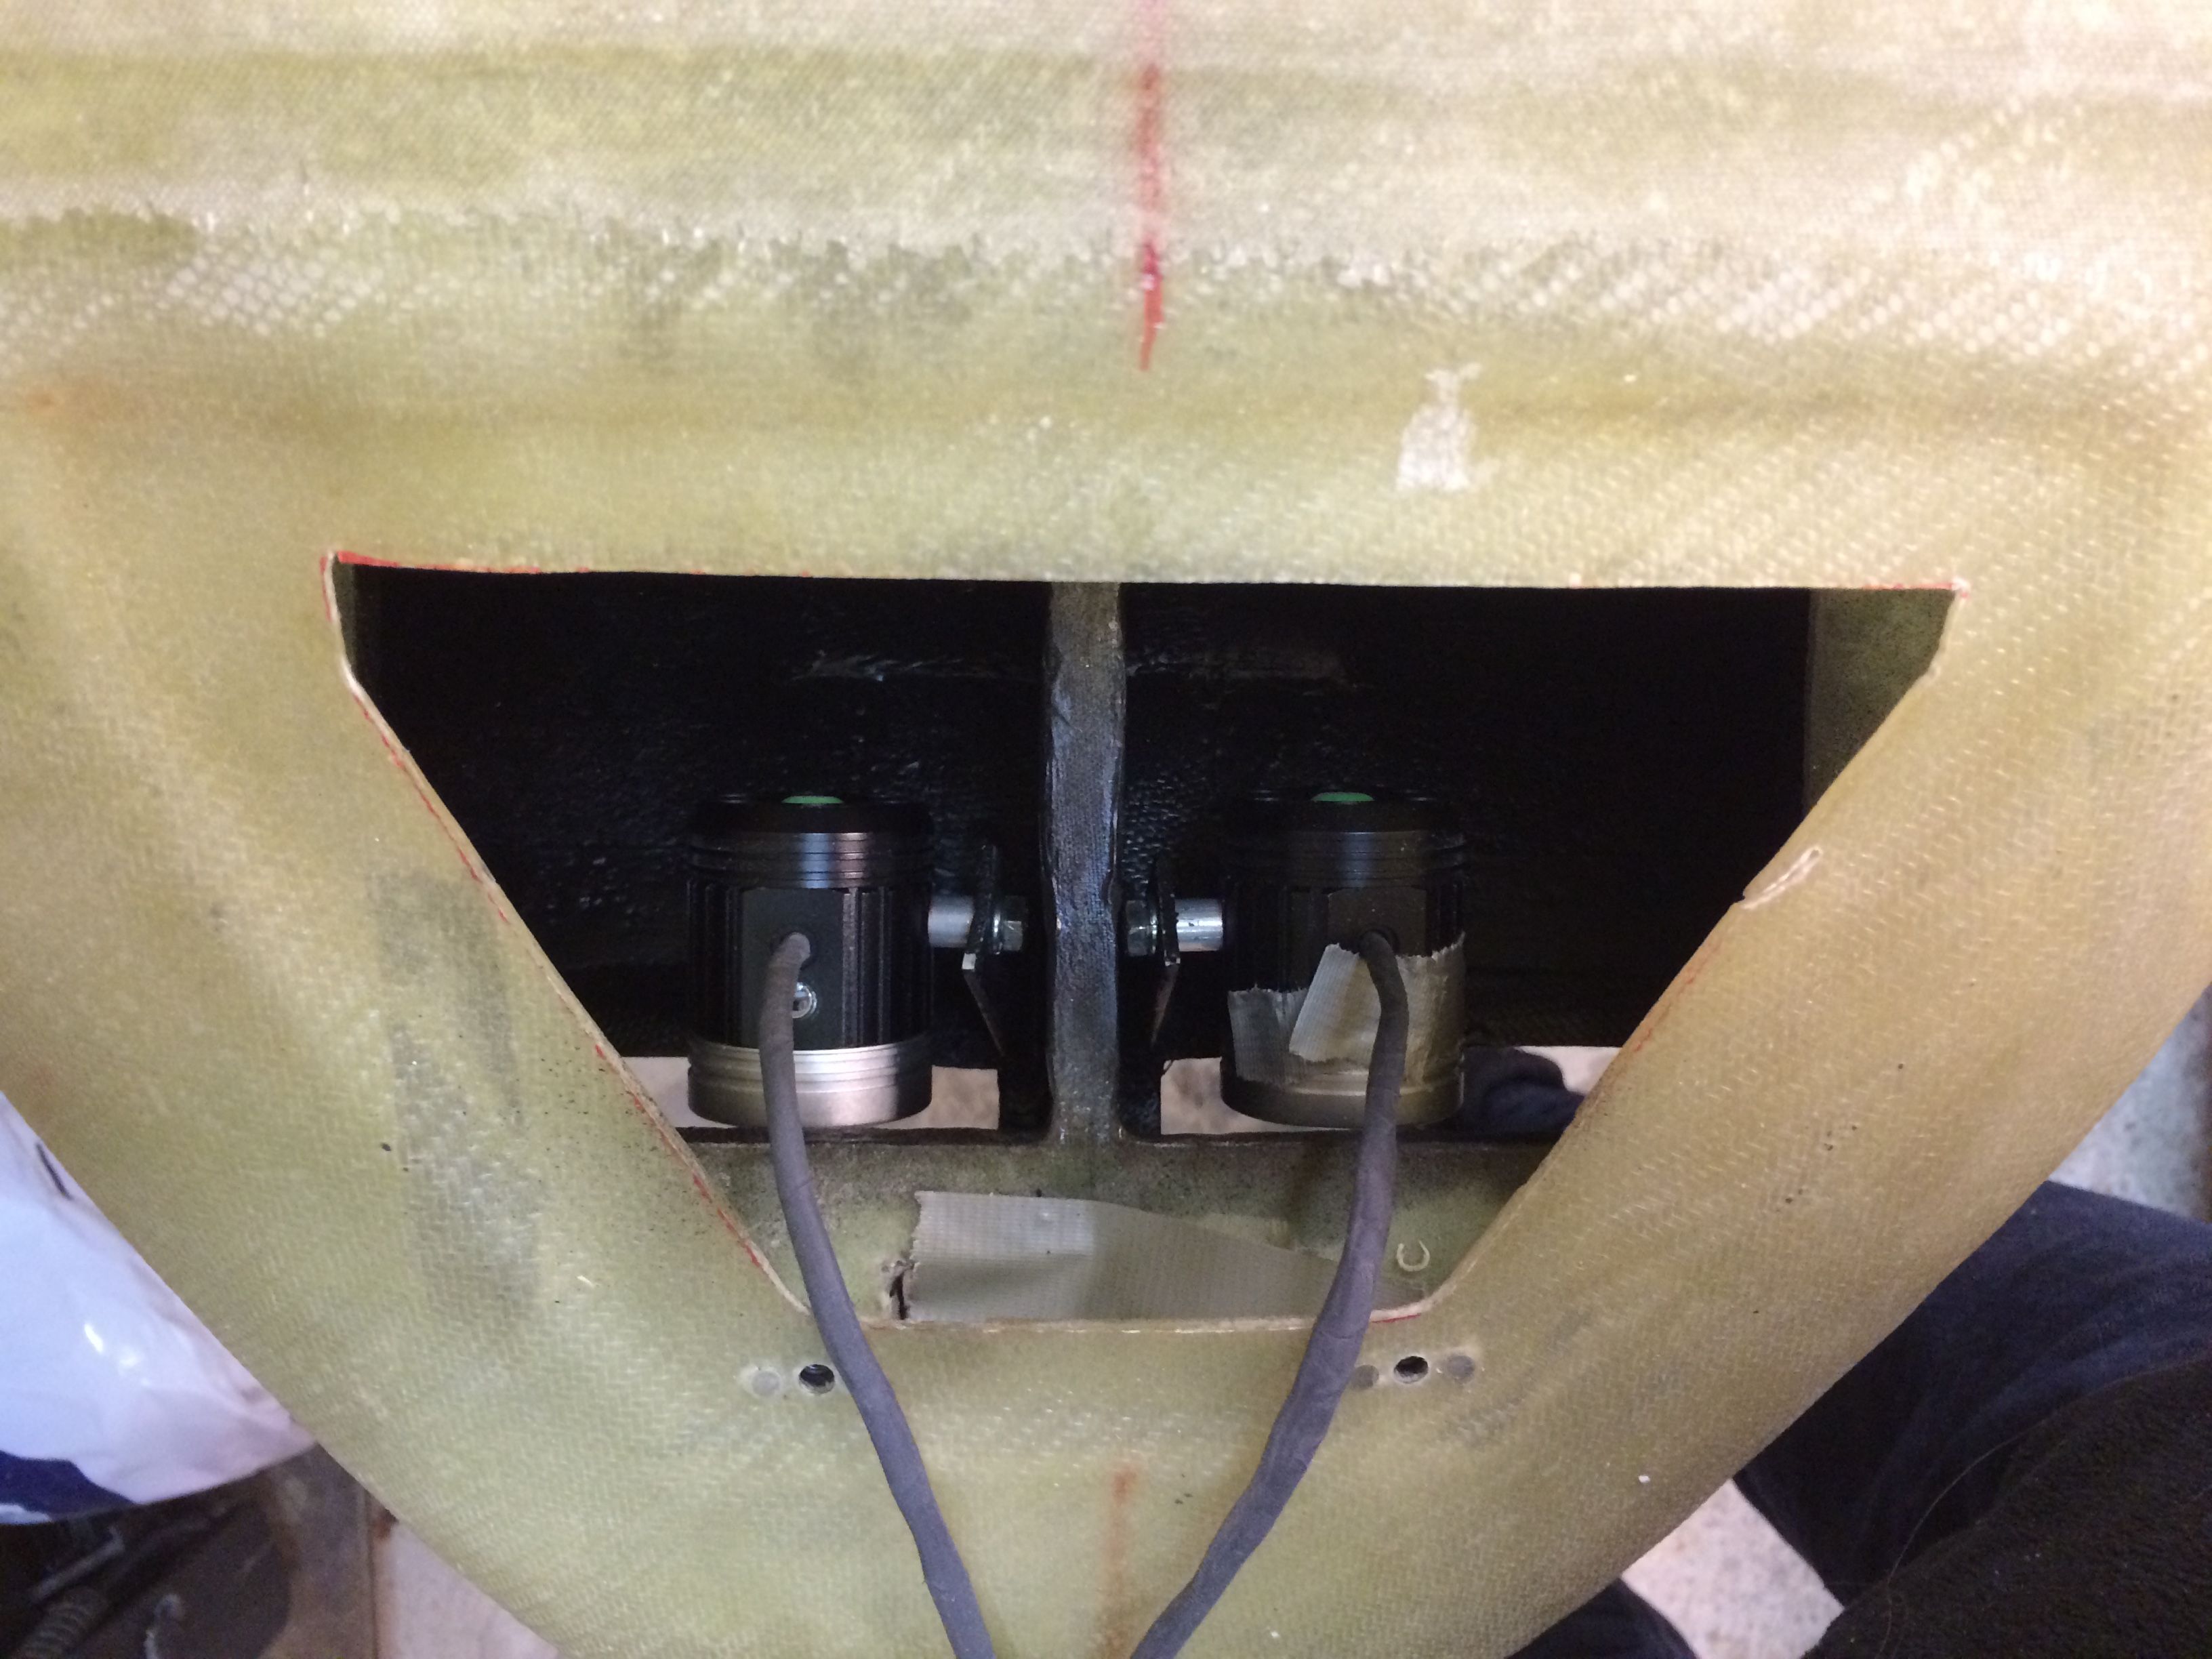
2015-02-02: Testing how tight it will be to fasten and loosen the lights through the nose hatch. I will also cover the holes over the lights with a removable hatch. The upper room of the nose will be used for ballast.
2015-02-02: I sprayed the inside of the nose with black paint so the light don’t shine through the nose. I can angle the lights so I can use one as a taxi light and another as a landing light.
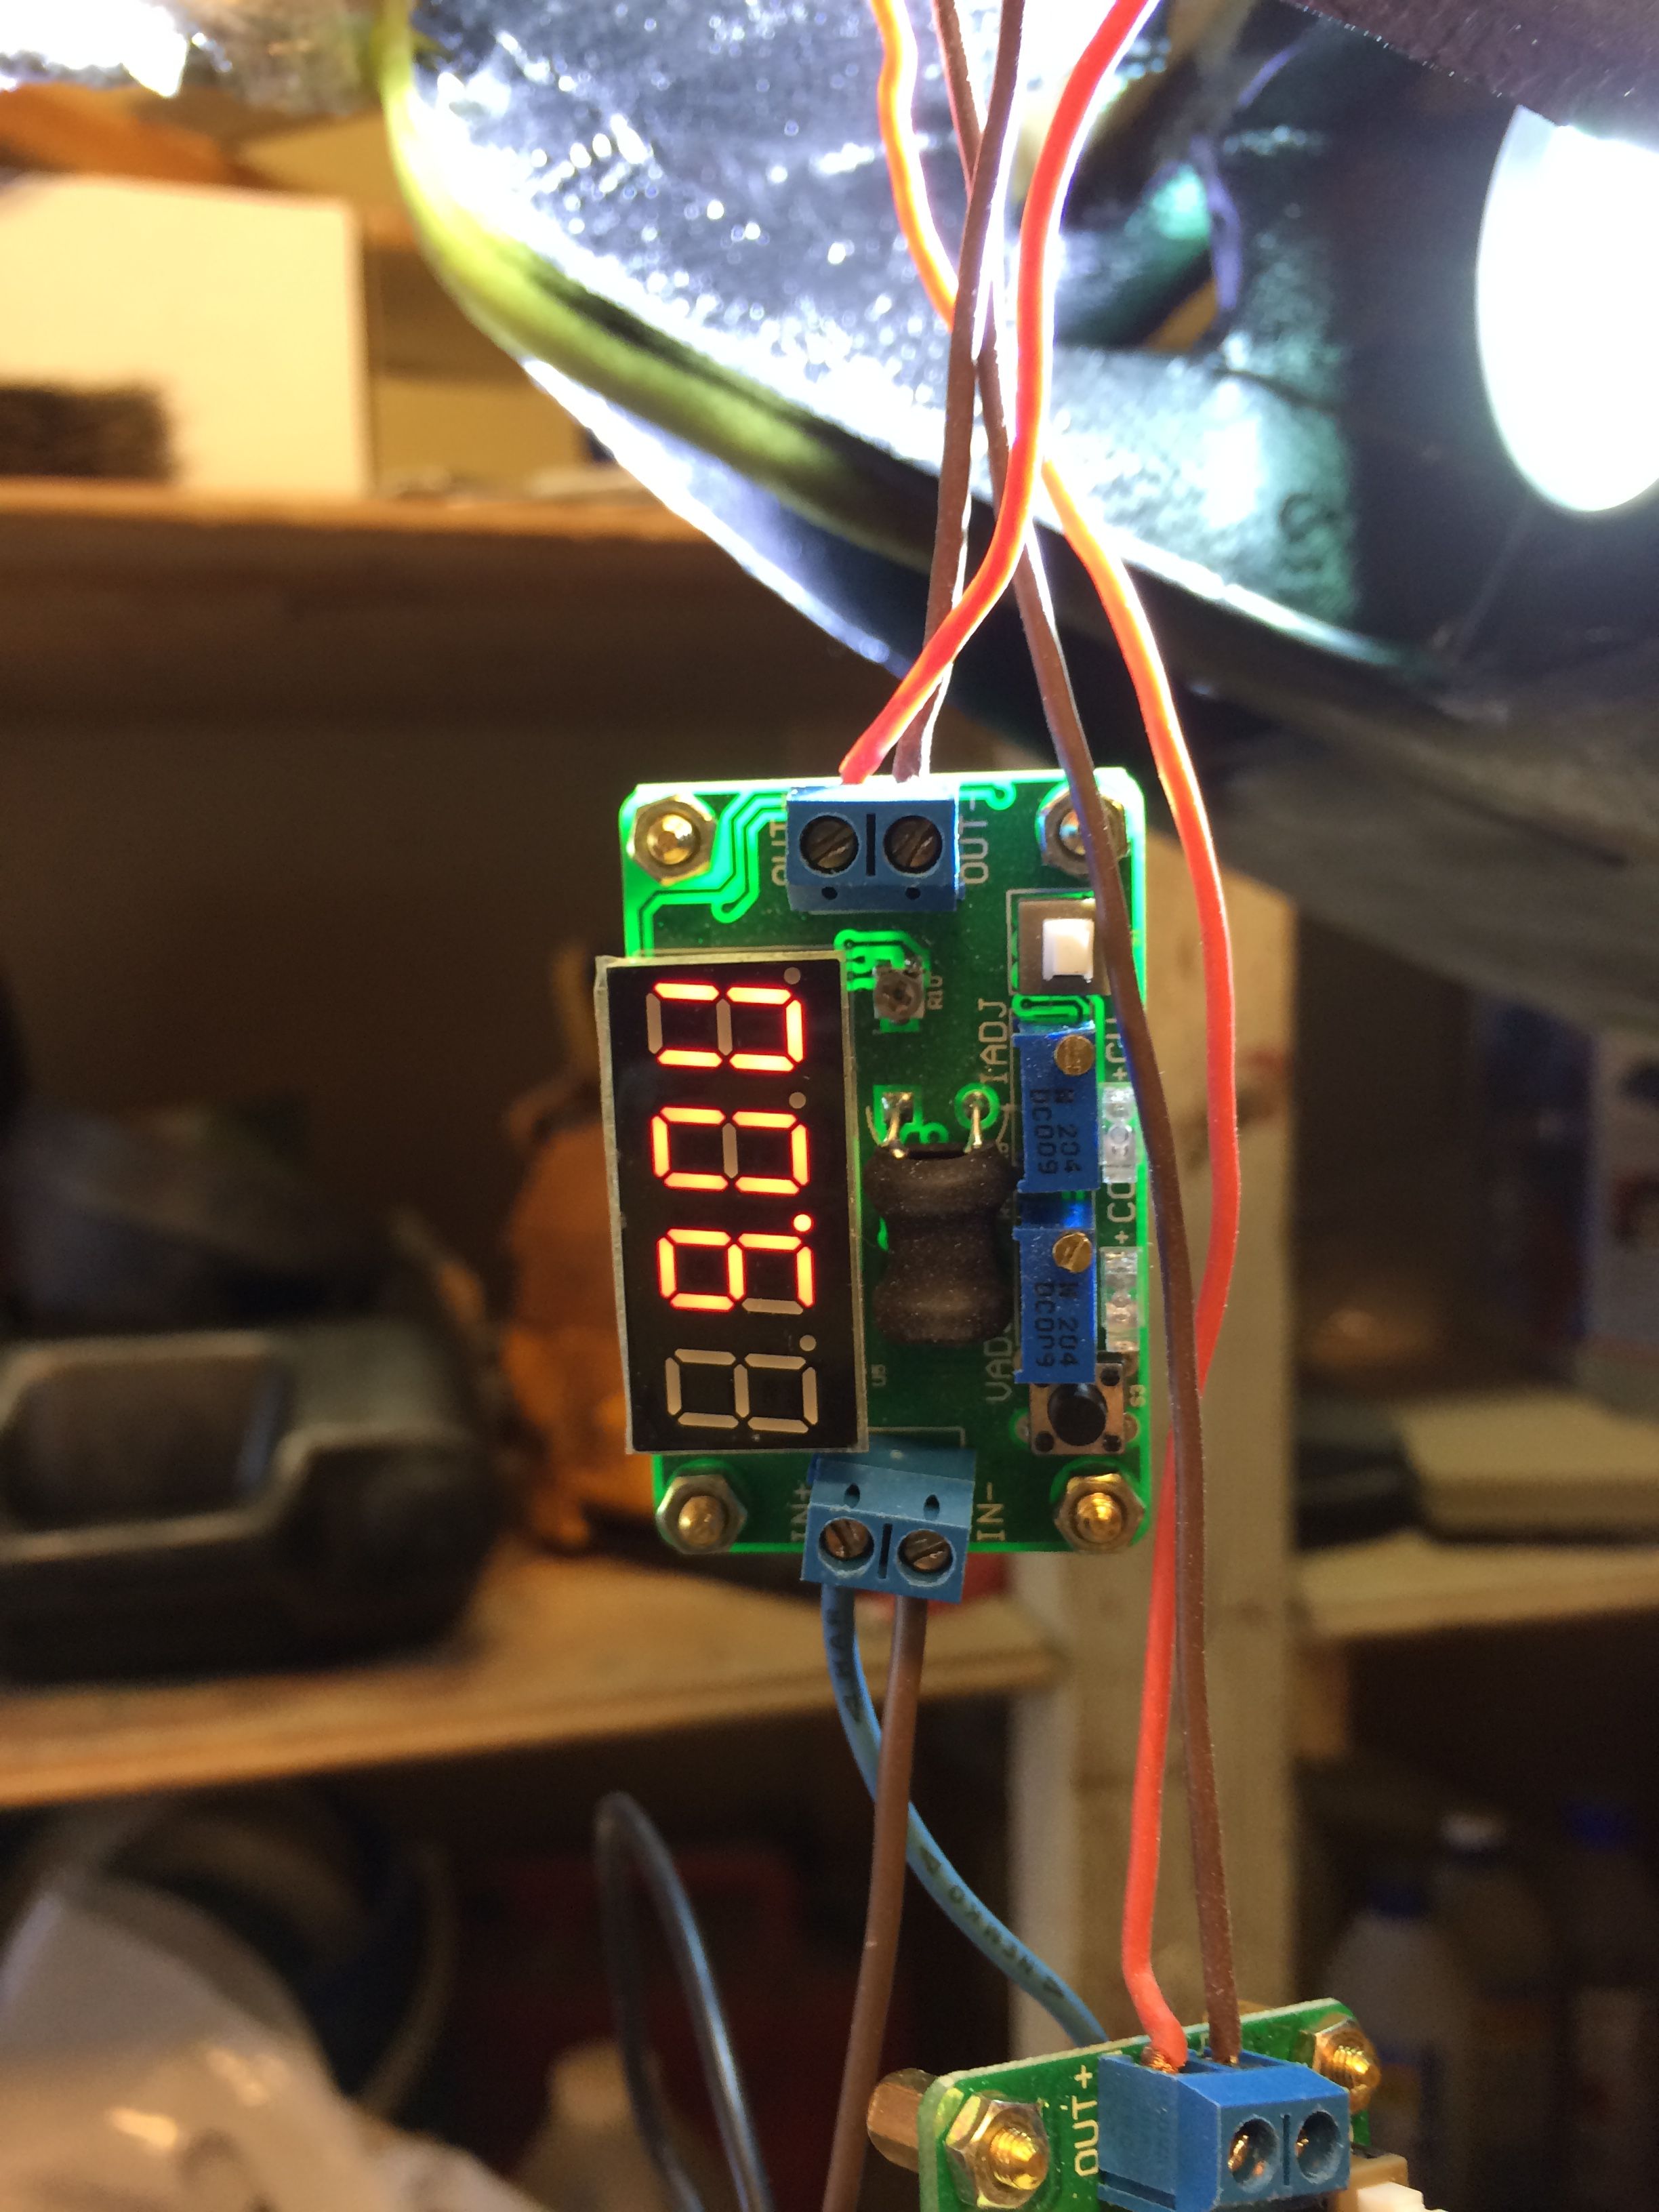
2015-02-02: This is the voltage regulator. I can adjust the output voltage to whatever value I prefer. I set it to 9V even though the LED’s tolerate a bit more than that. Better safe than sorry. The lights do not tolerate 12V. I tested that and they where destroyed. The lights are cheap on eBay (approx $20-$40 each), so I bought a couple extra so I could test.
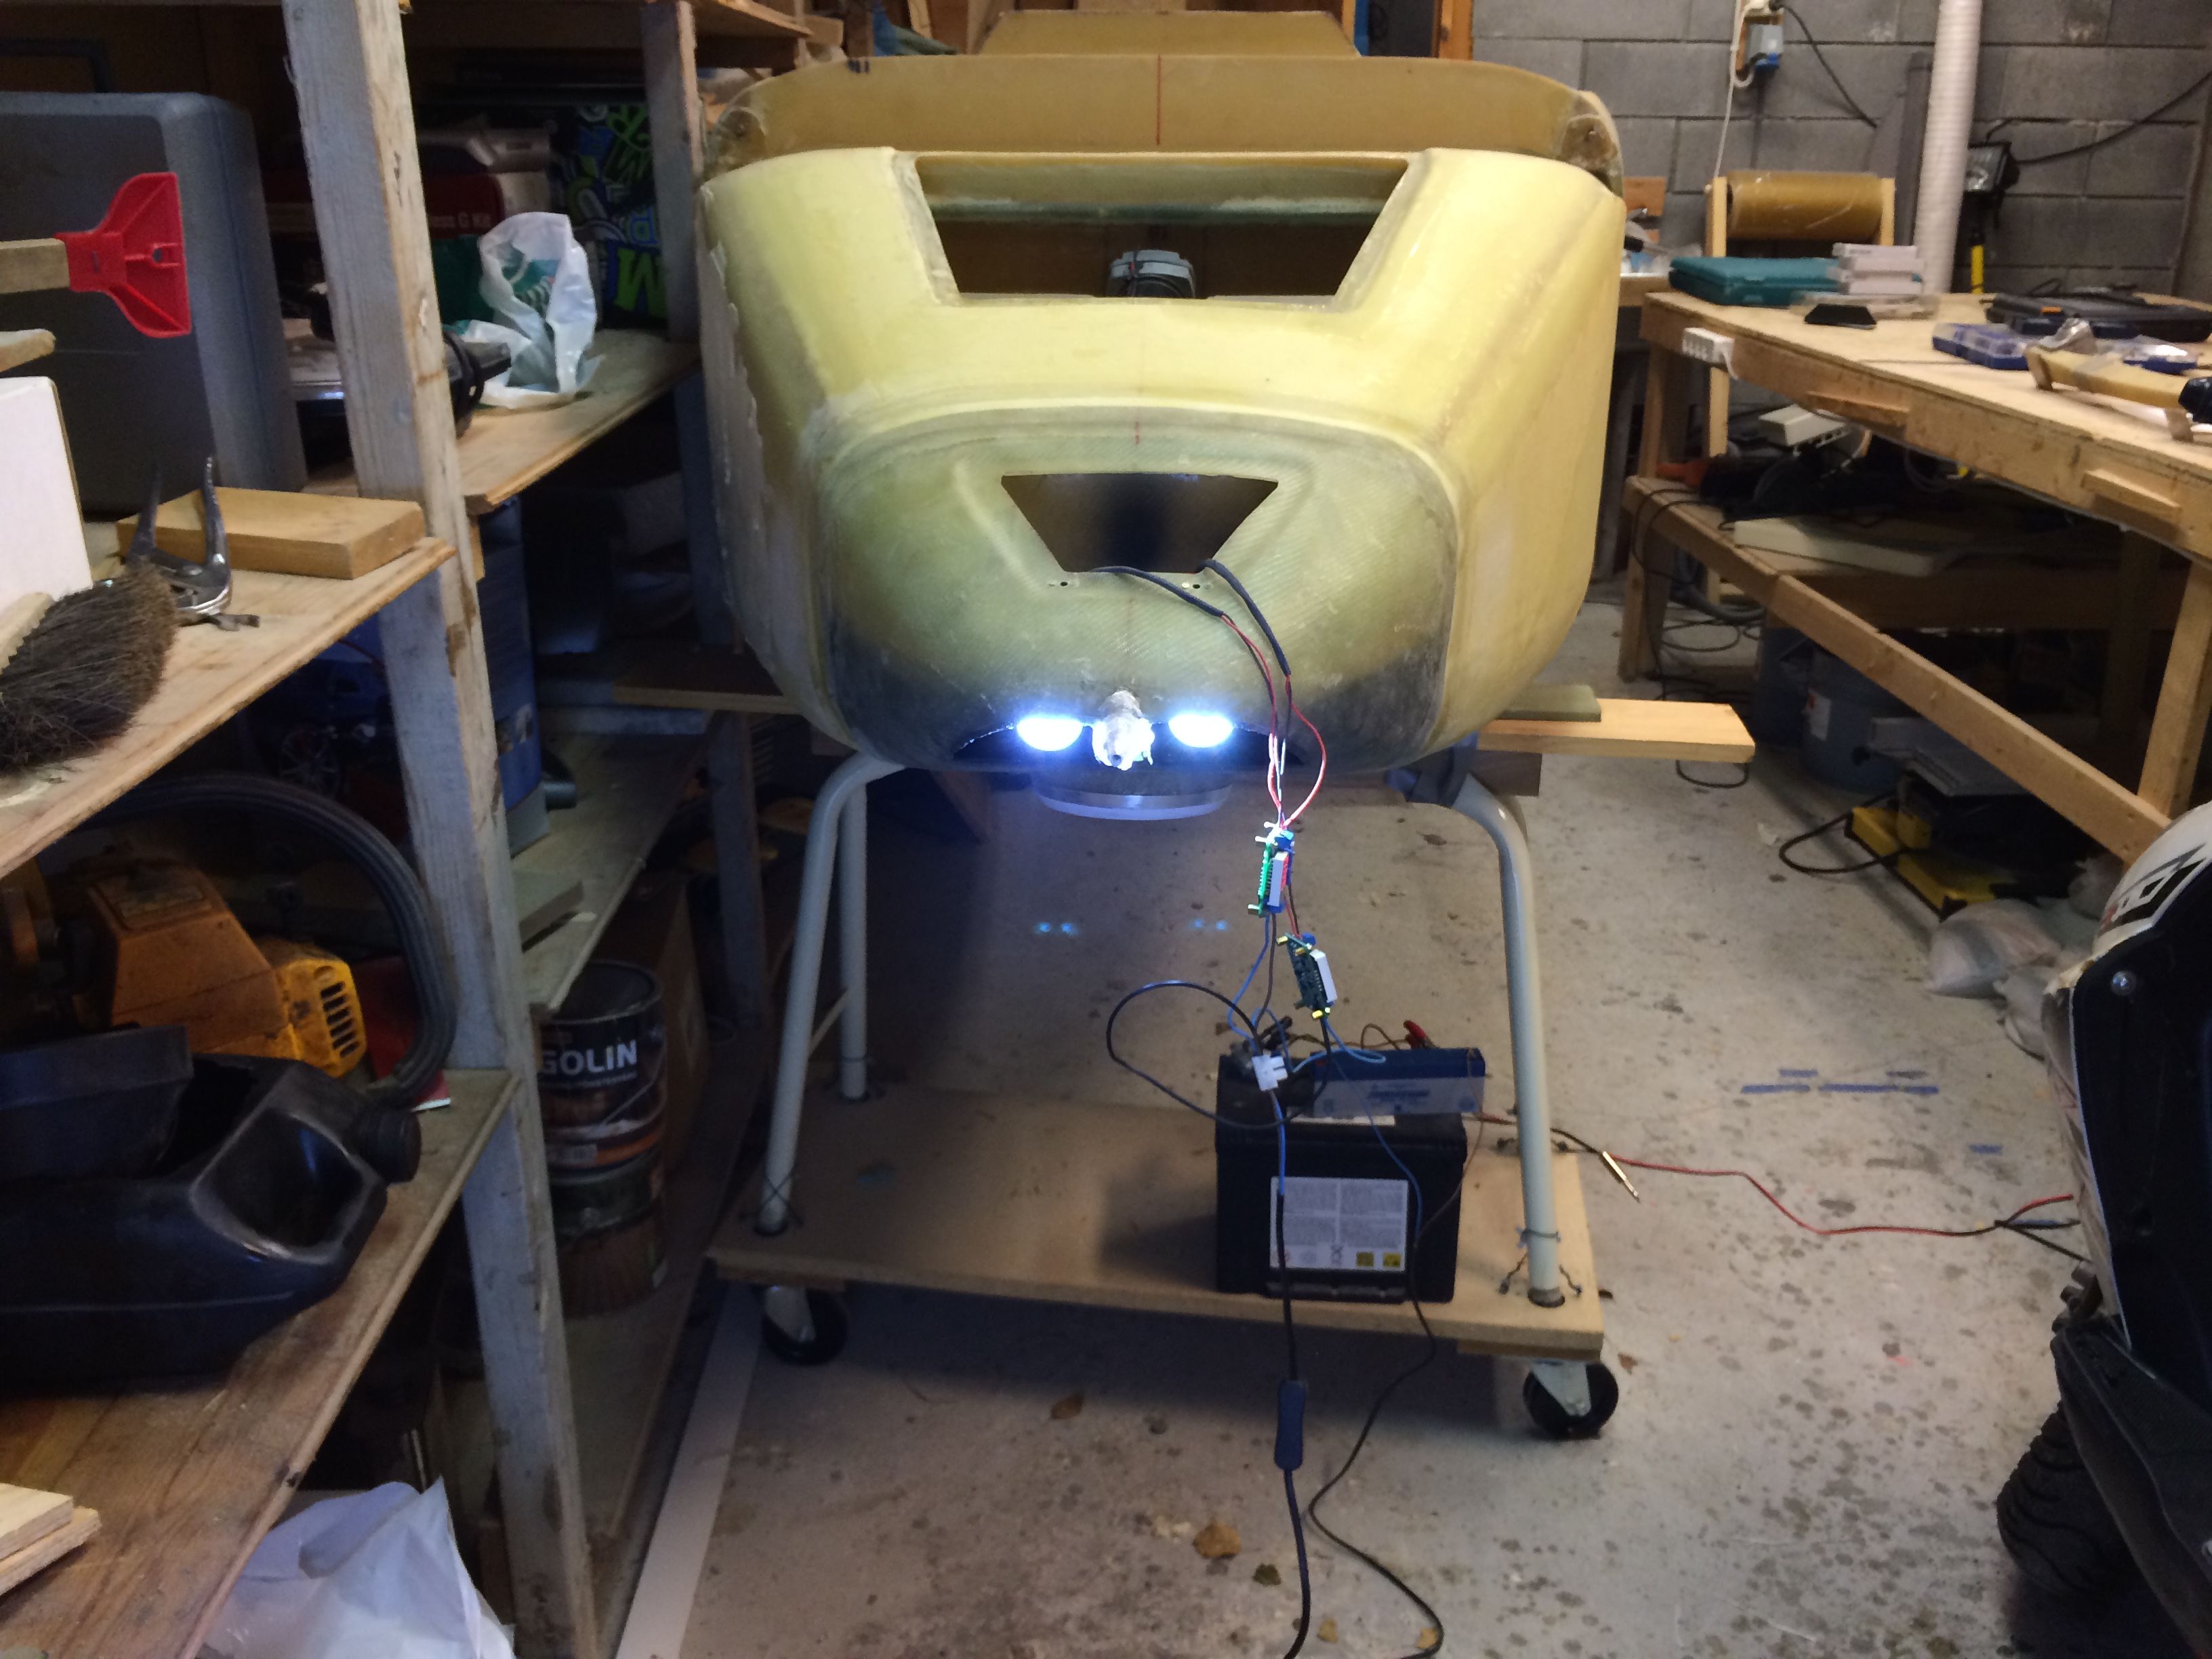
2015-02-02: Testing both lights. The lights are STRONG. Avoid looking straight into them, it hurts…
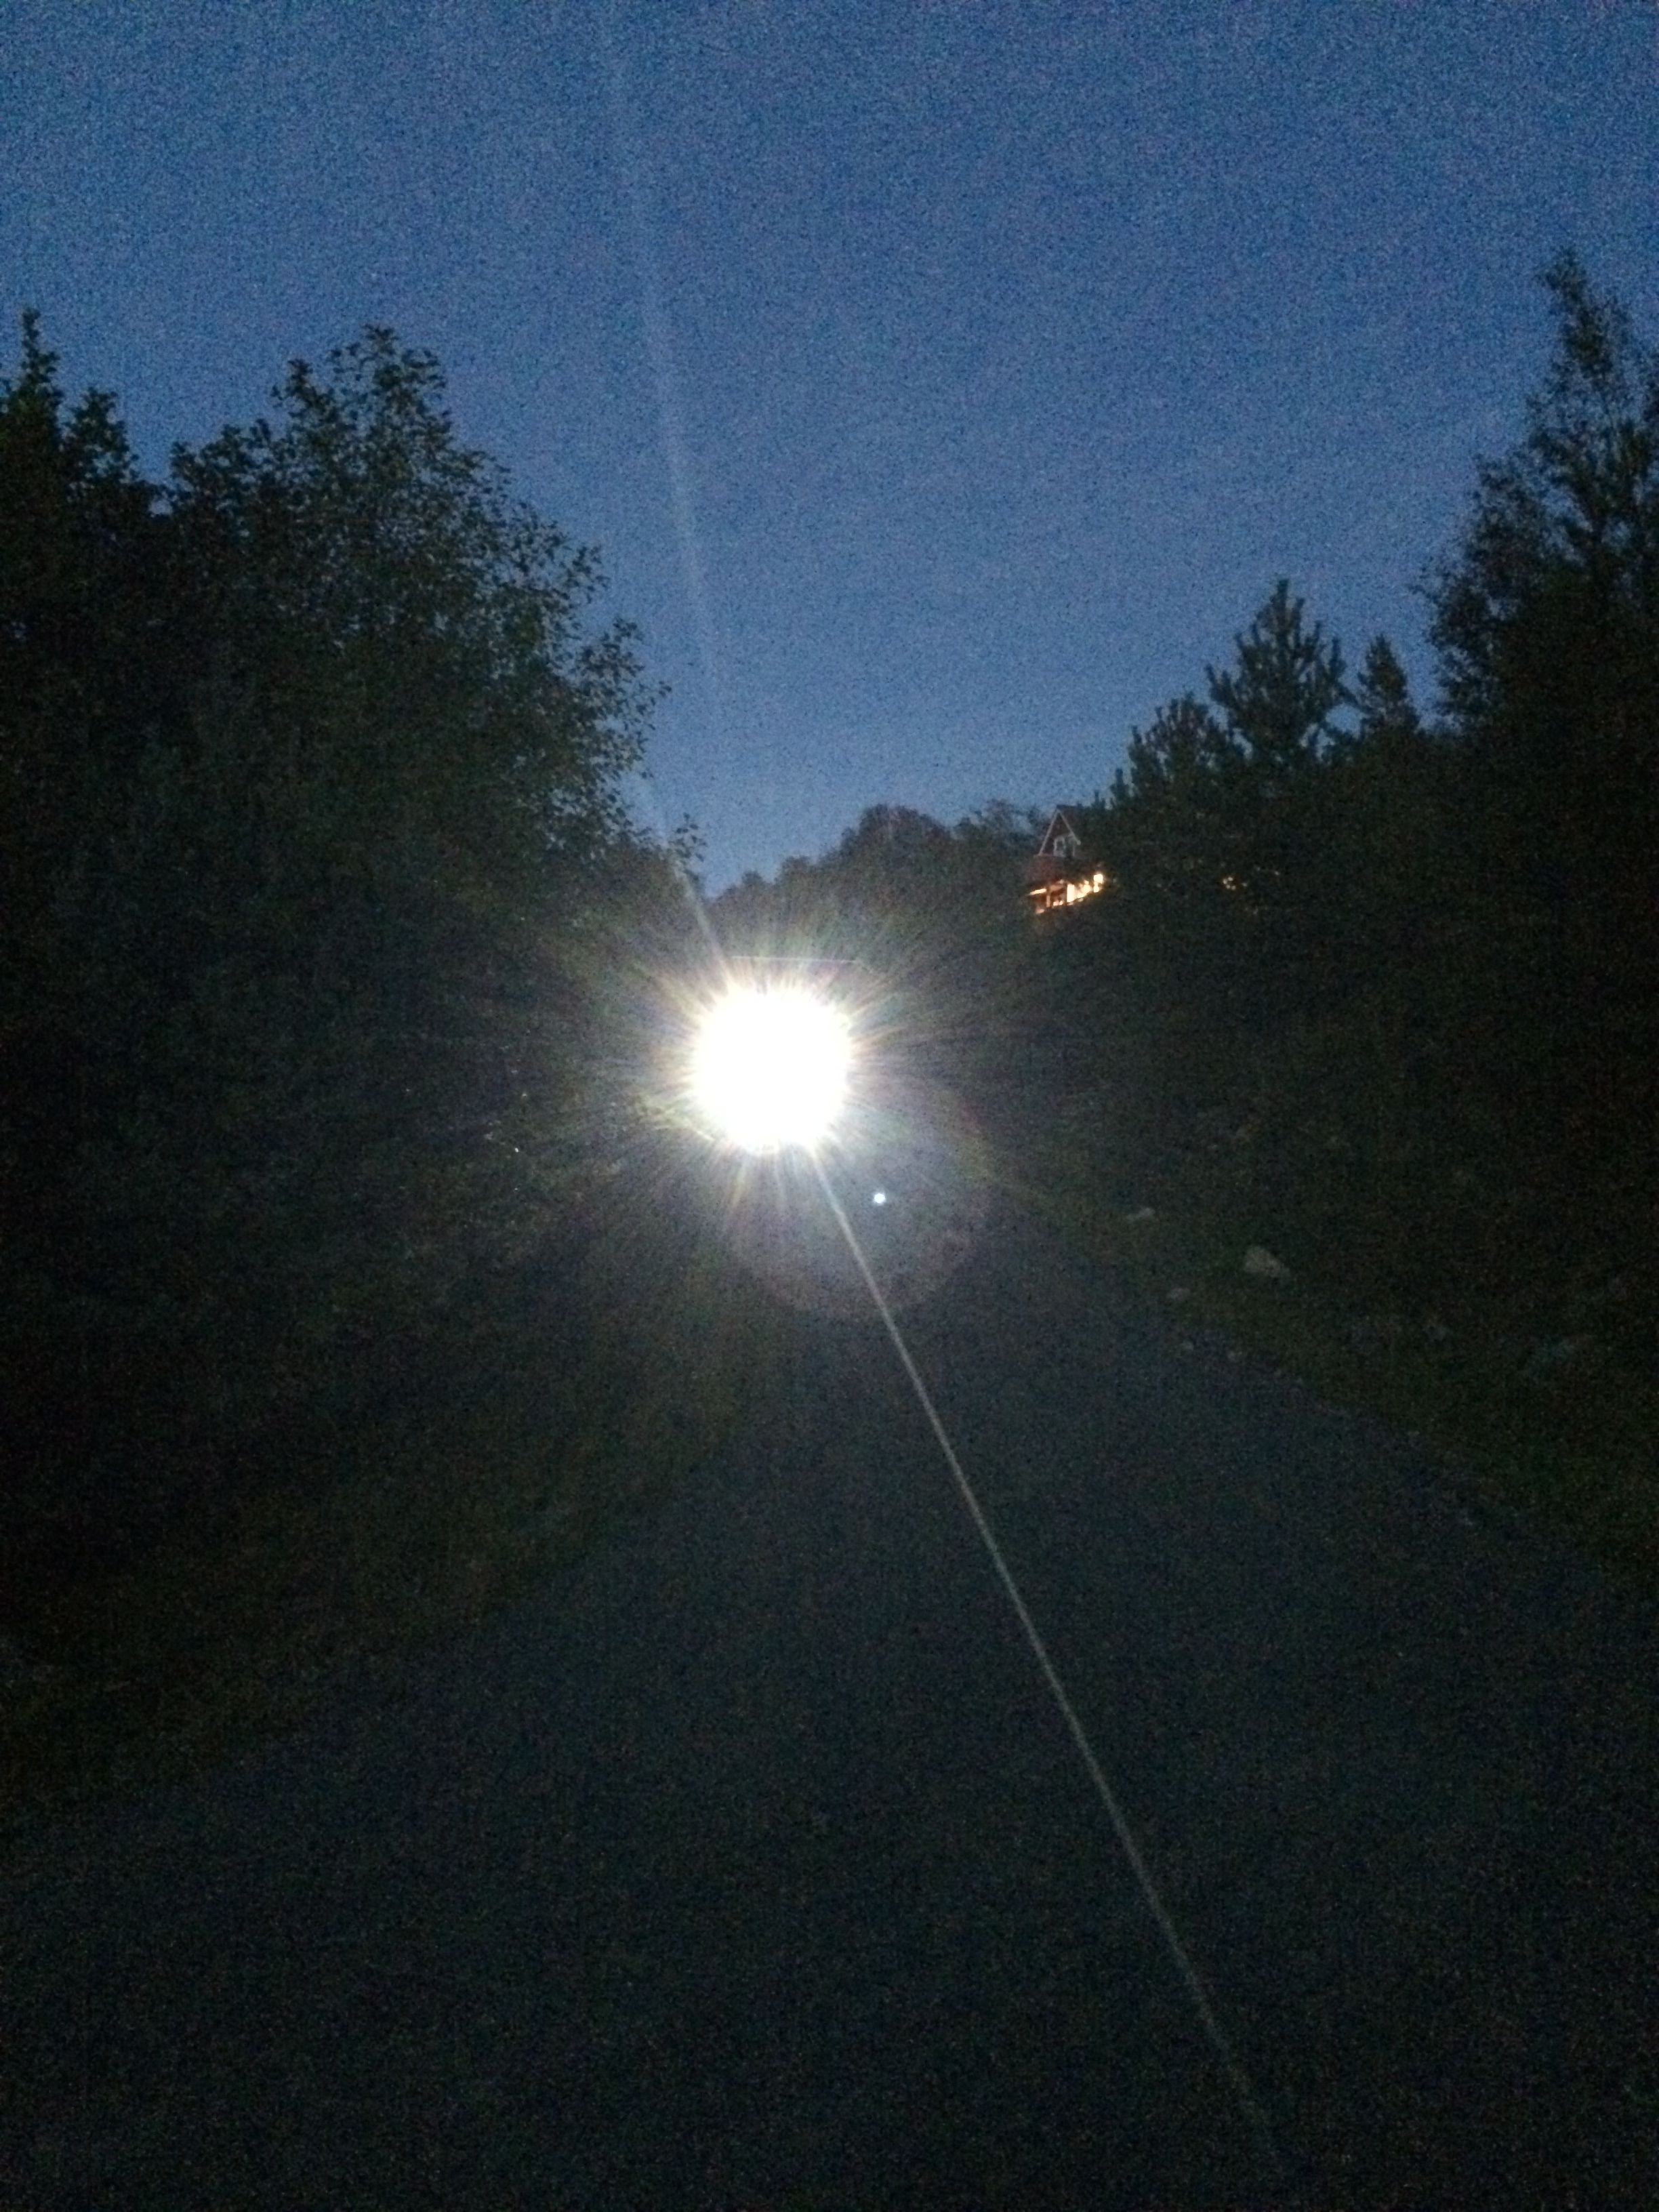
2015-02-02: This picture is taken with just one light working. The distance is approx 55 meter / 60 yards.
Started: 2014-08-12
Ended: 2015-03-28