
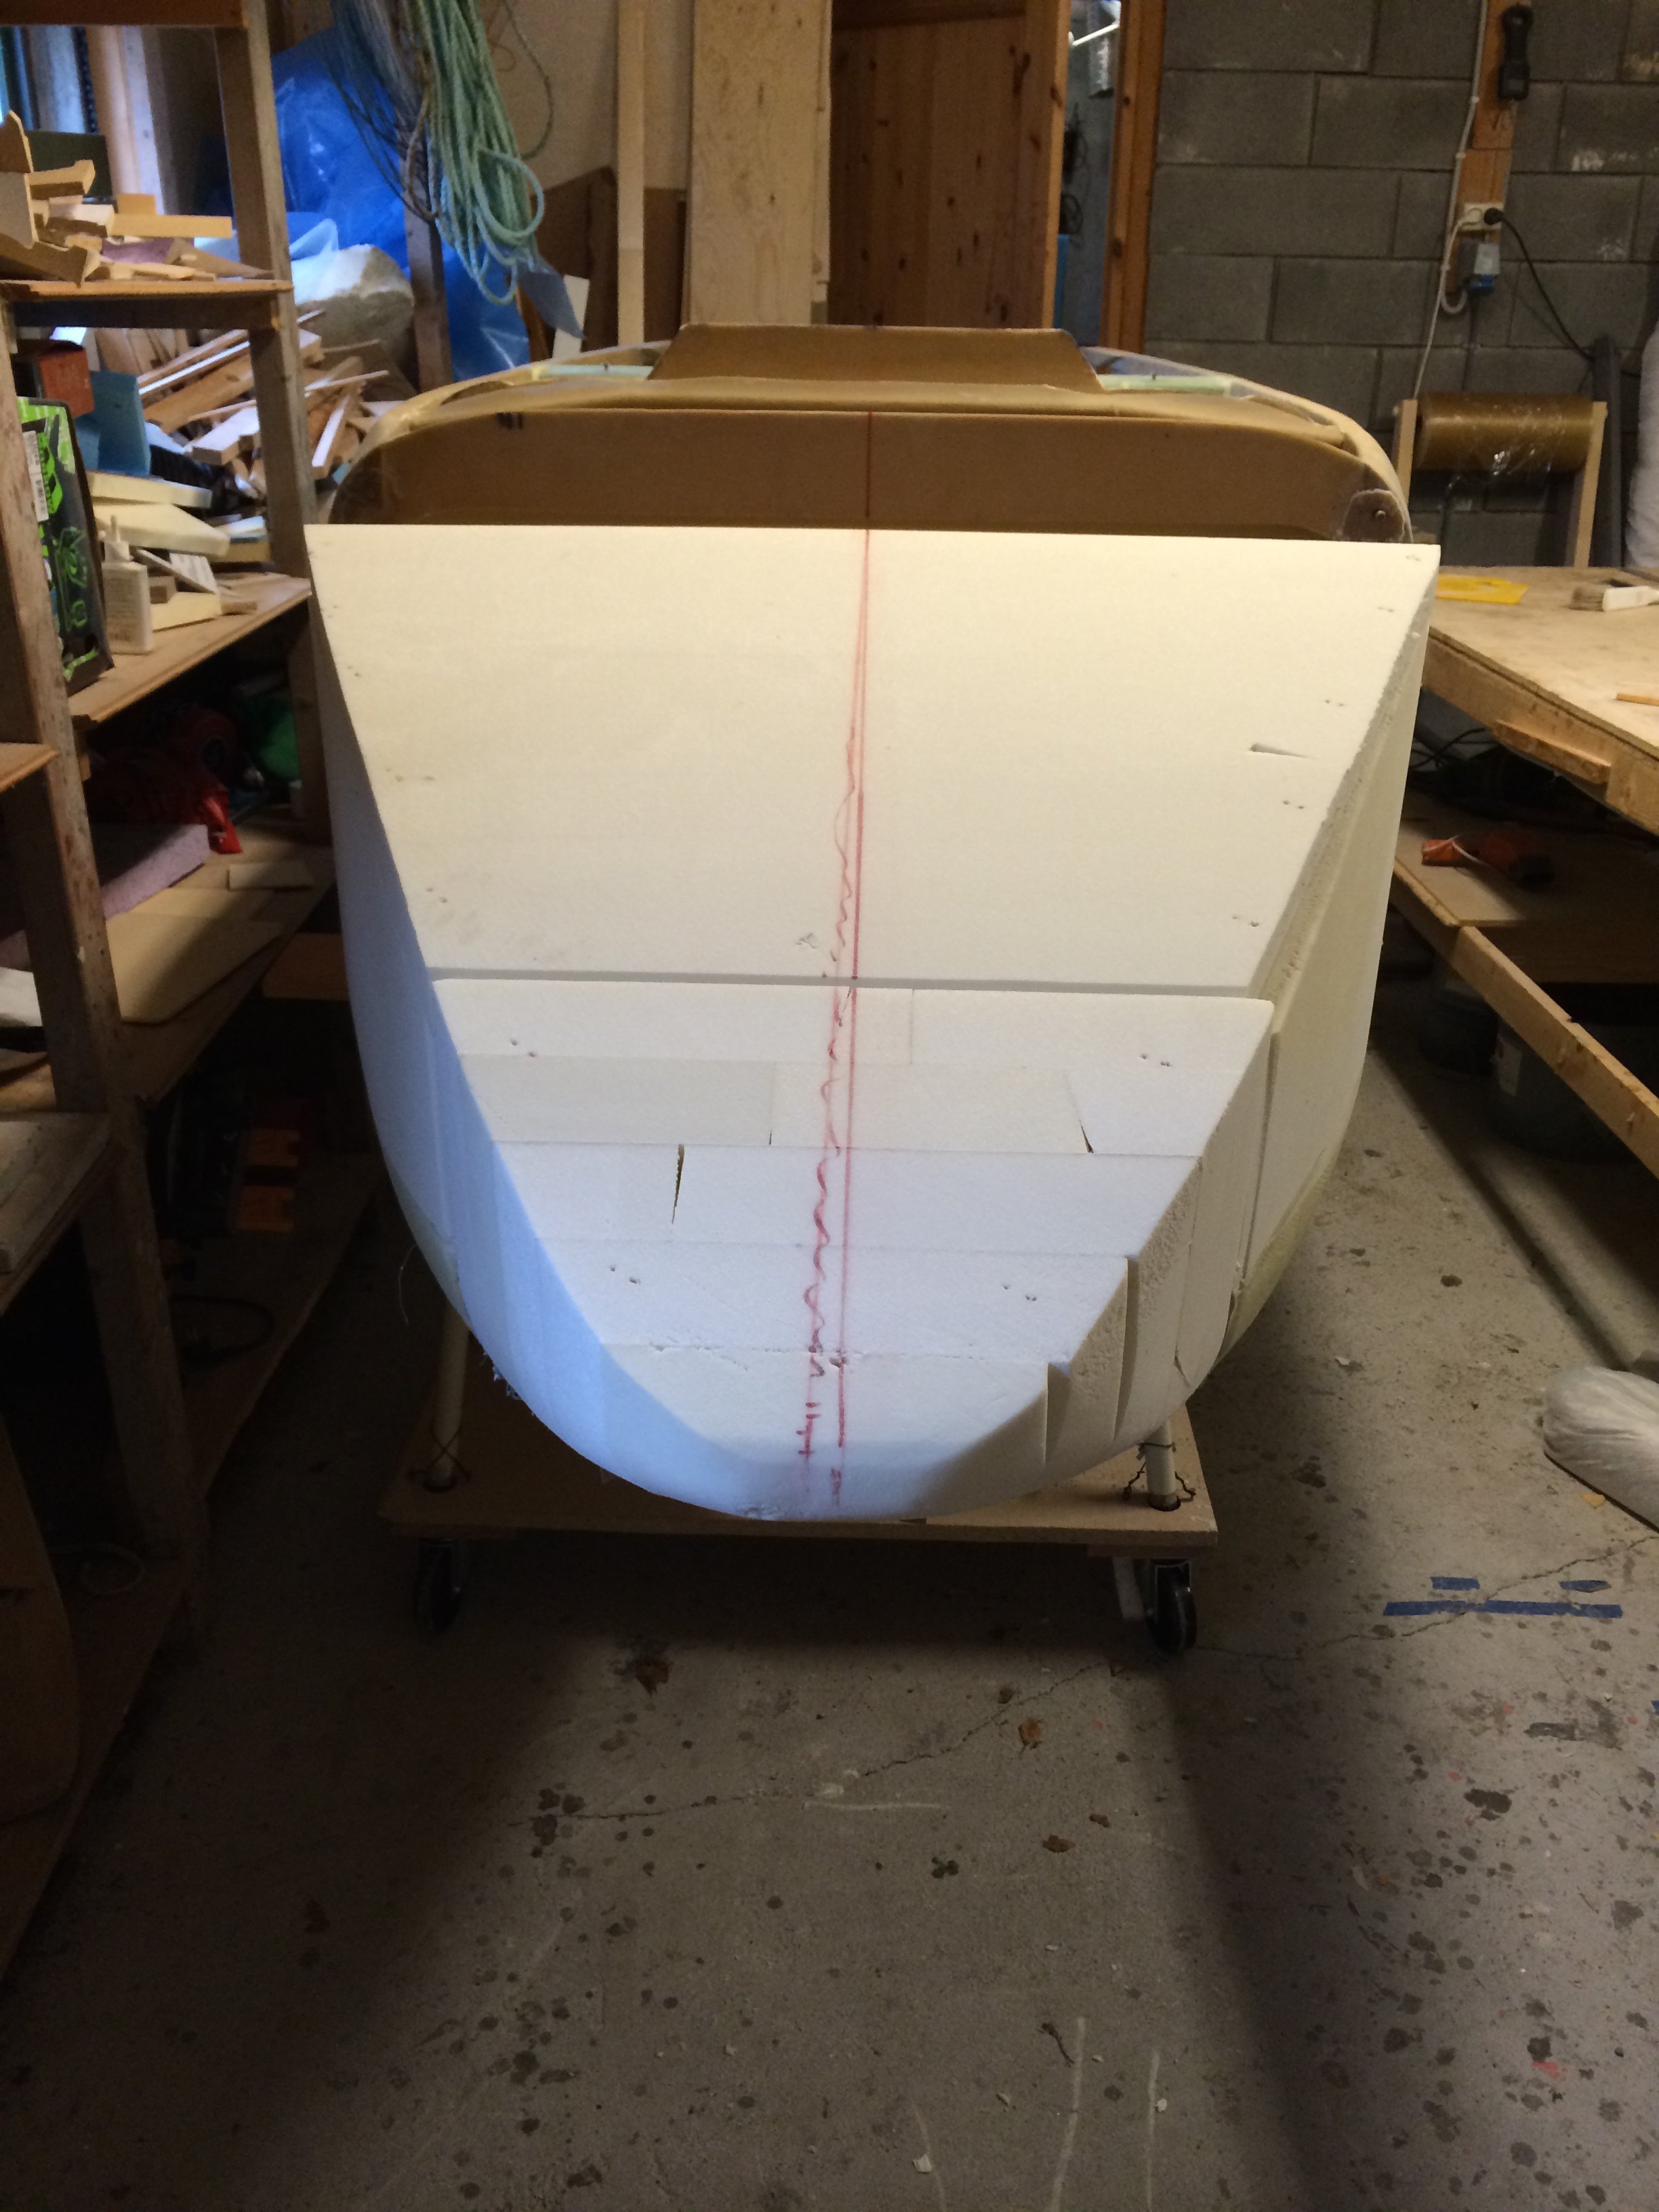
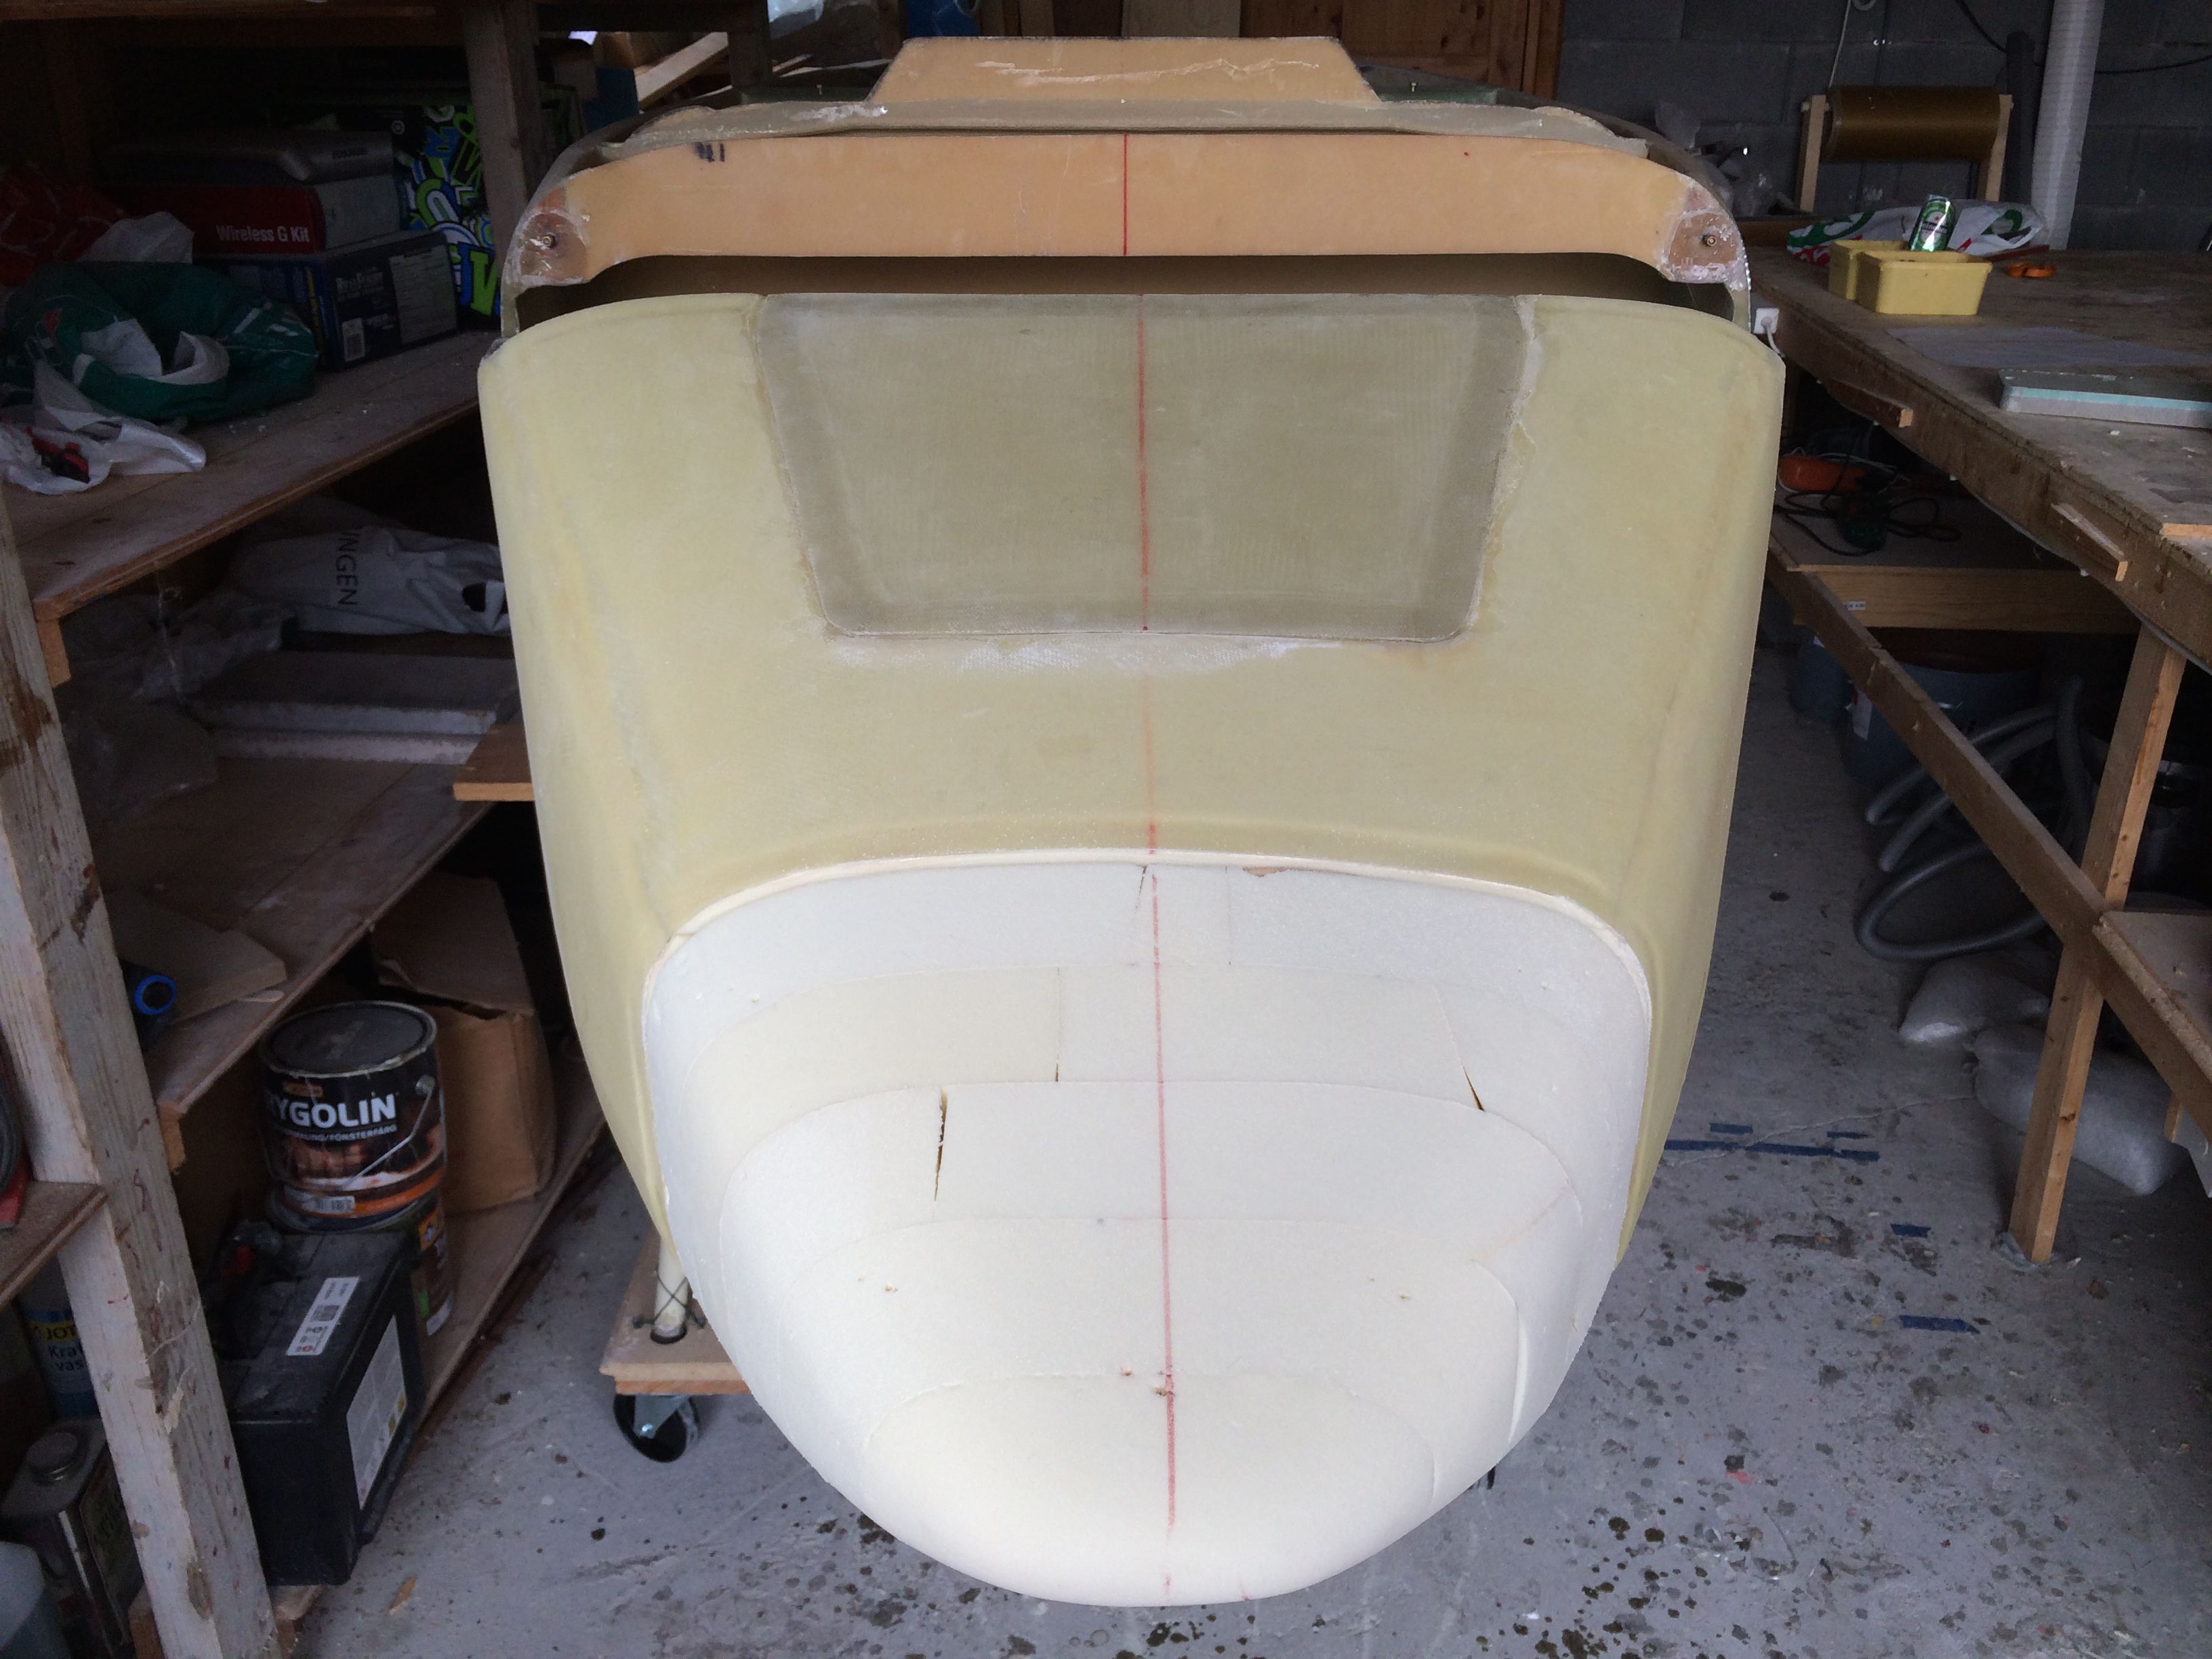
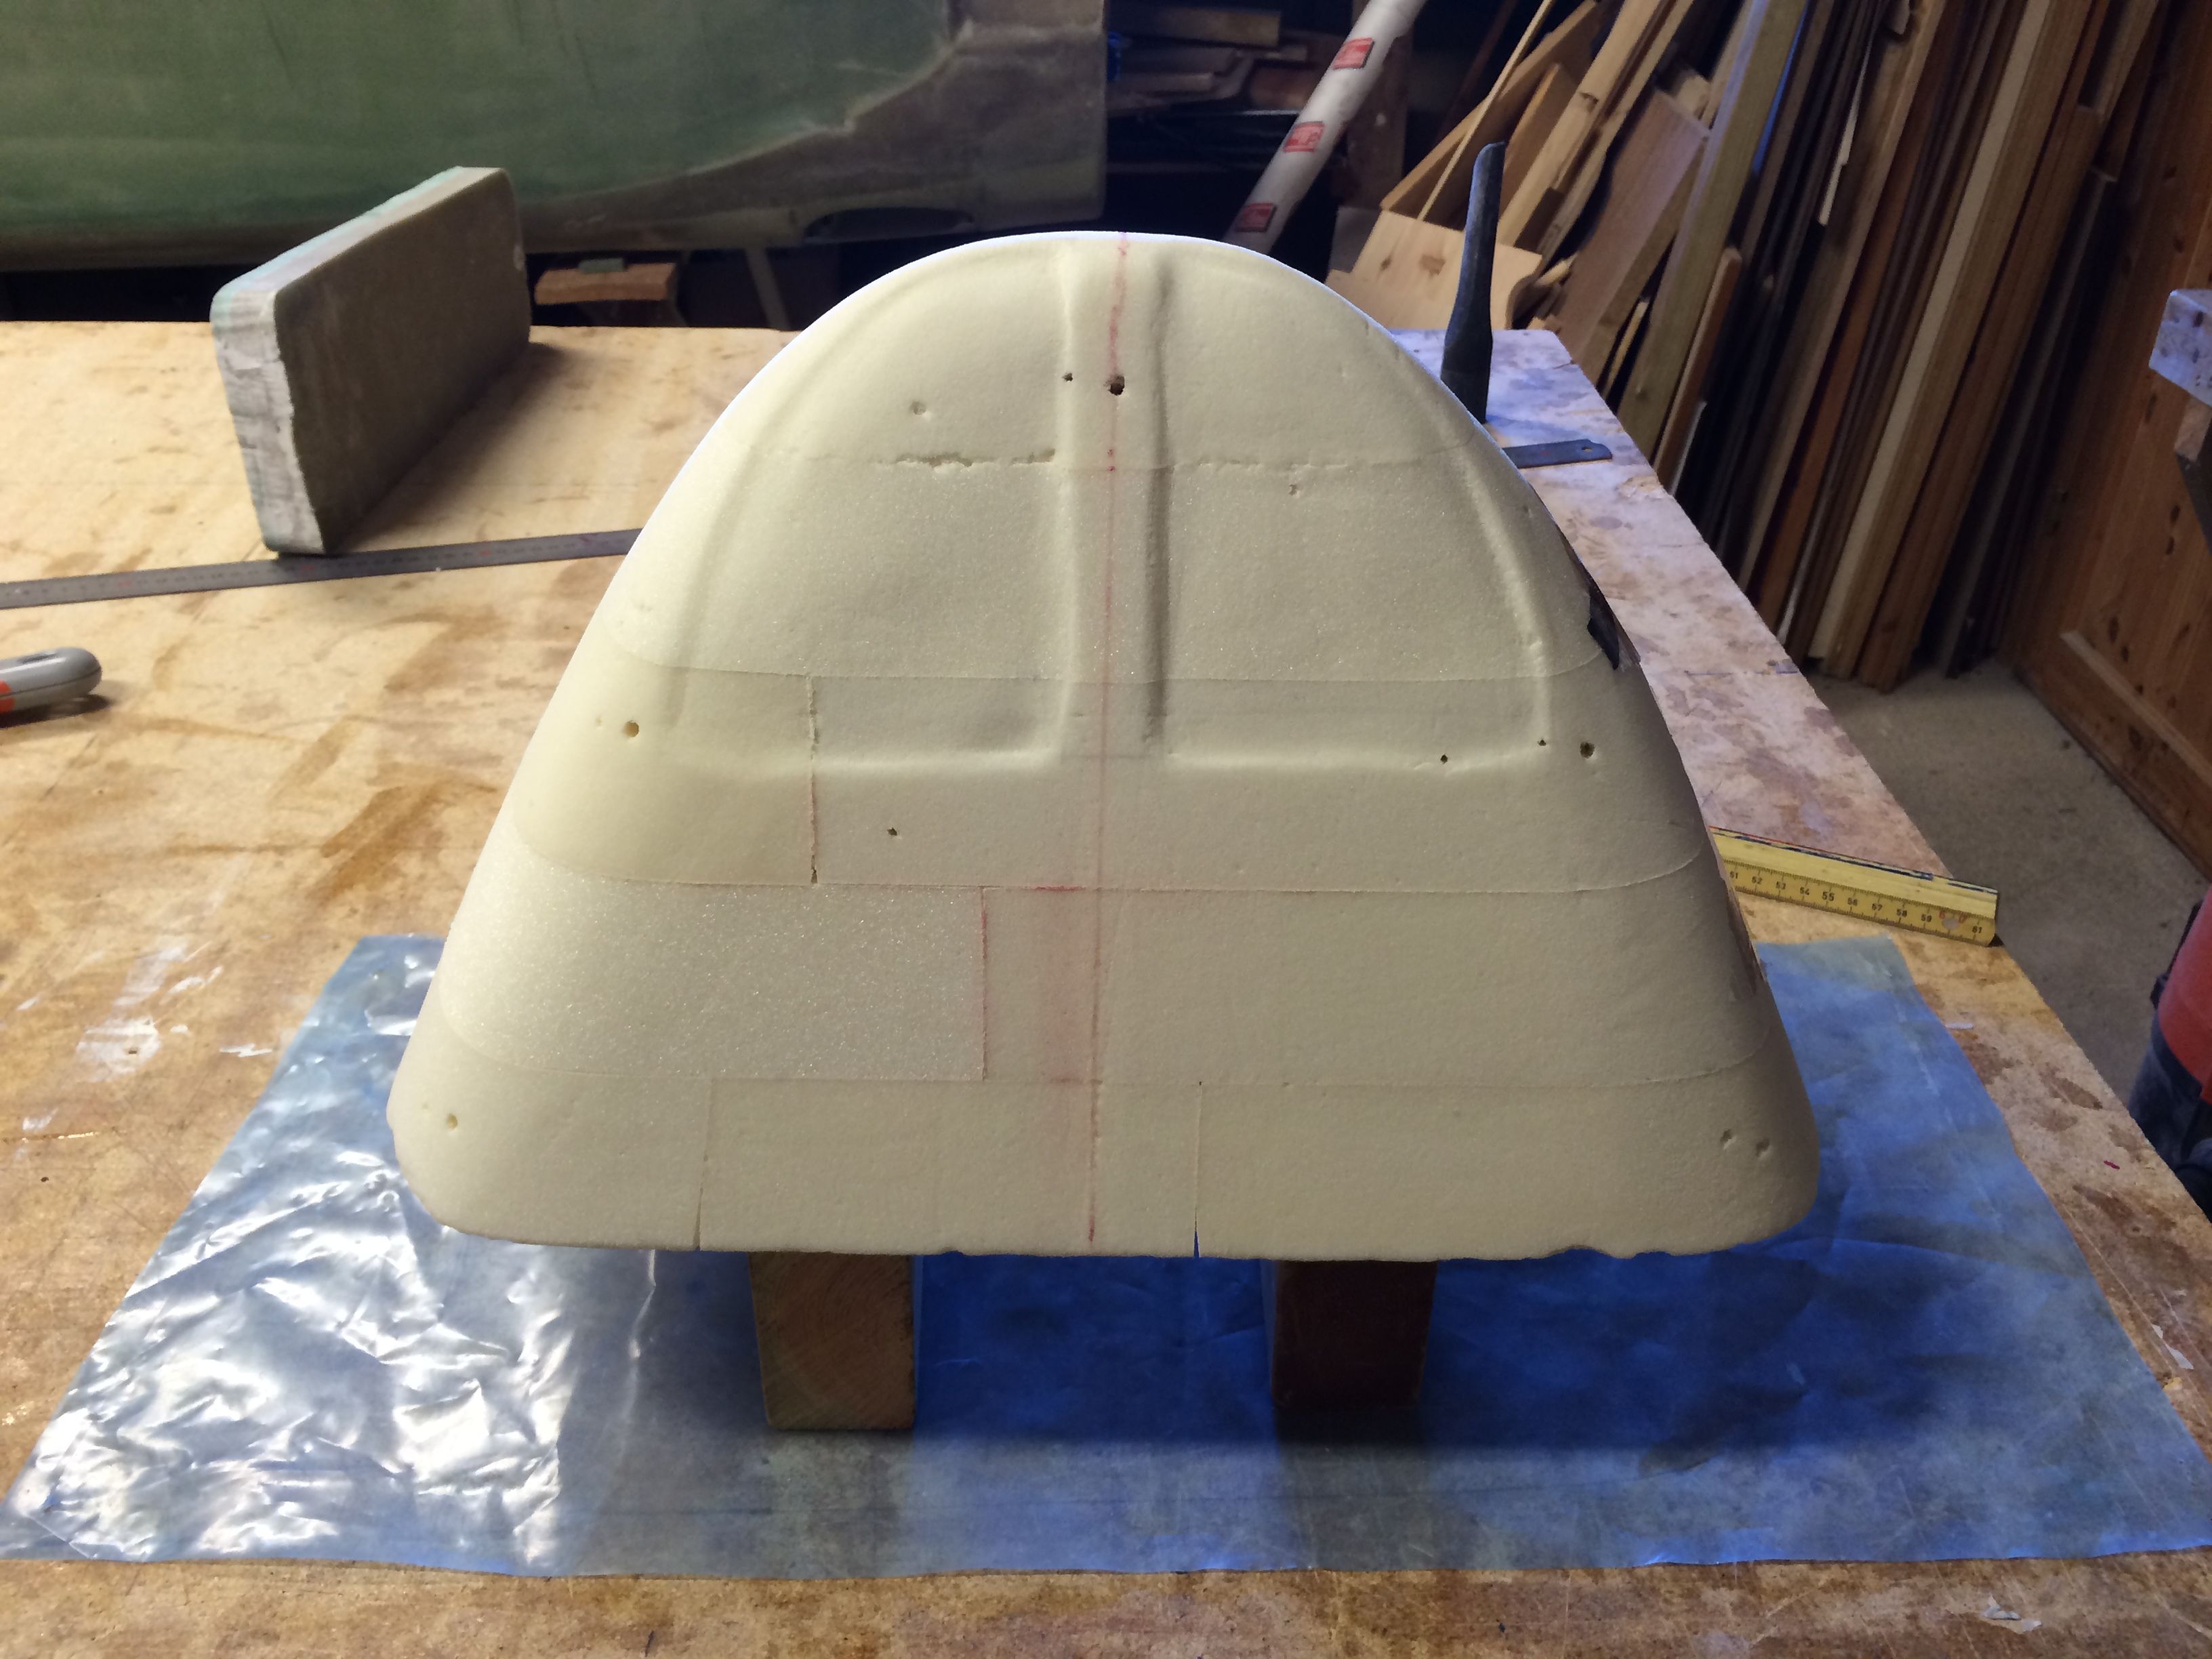
2014-03-22: Turned the fuselage over again and prepared it for shaping the top of the nose section.
2014-03-22: Measured and draw some lines to help getting a symmetric shape. Started with a rough cut using a fine toothed saw.
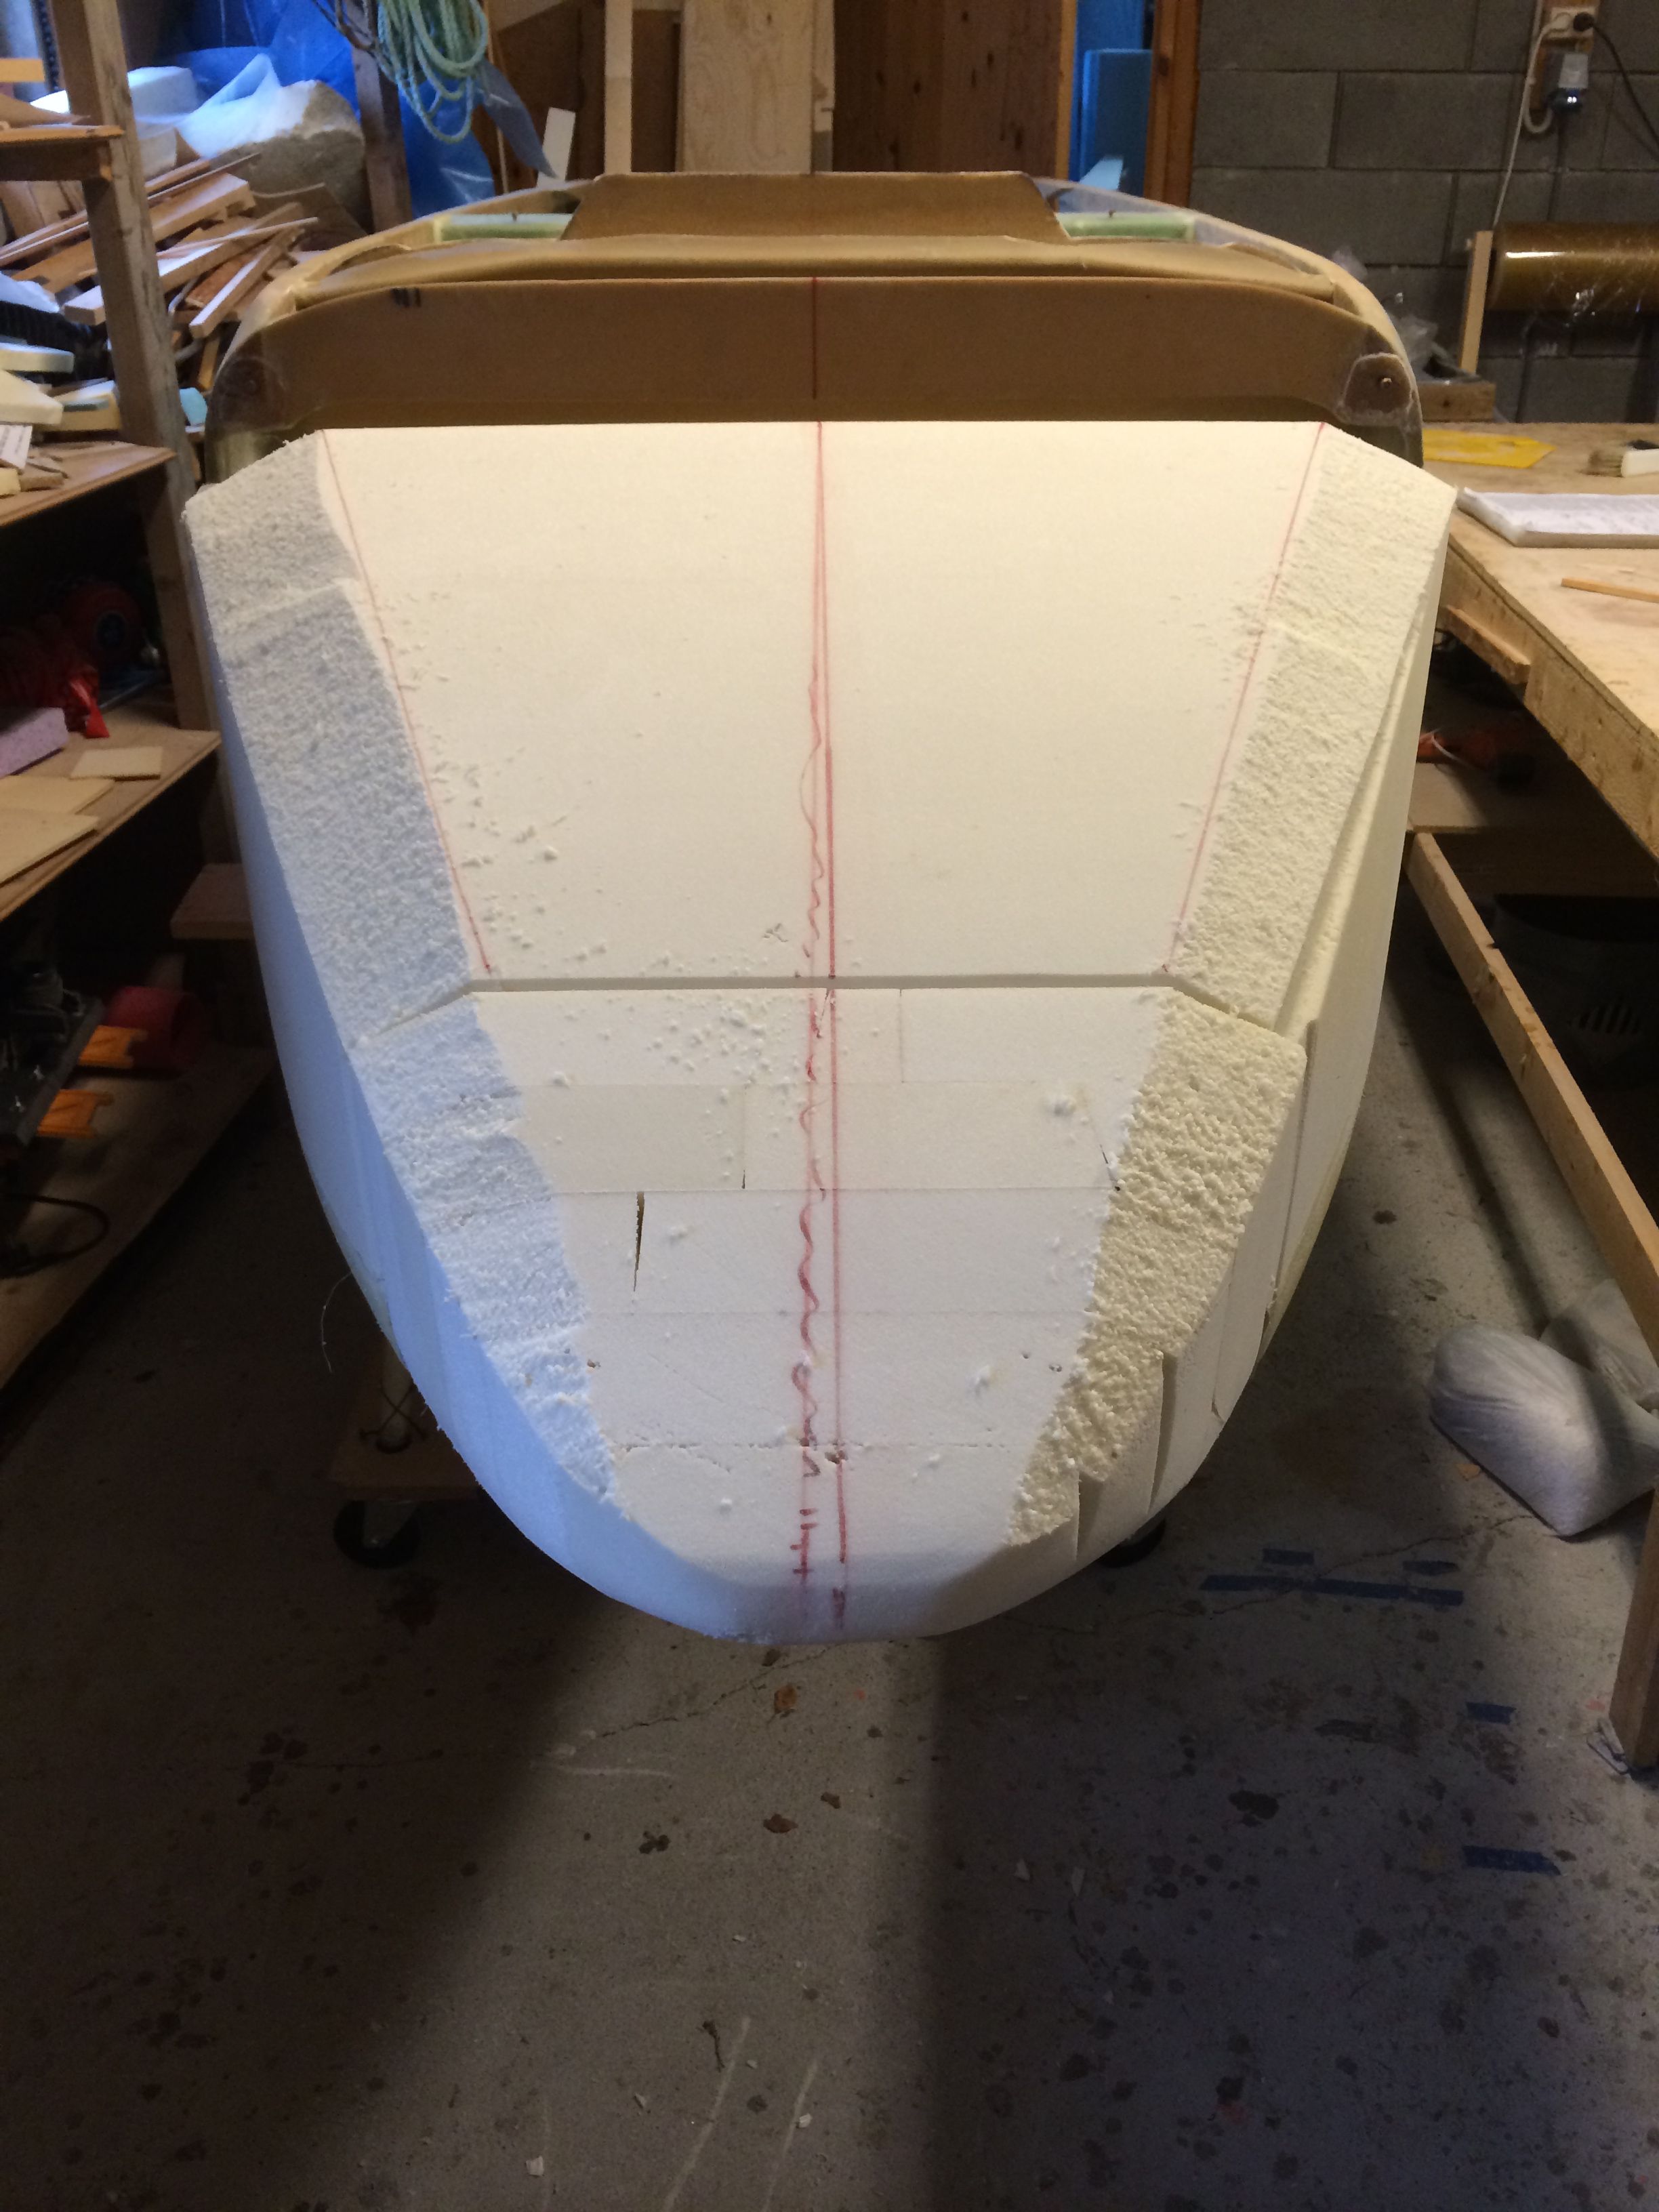
2014-03-22: Then carefully sanding with a long sanding board and 40 grit paper.
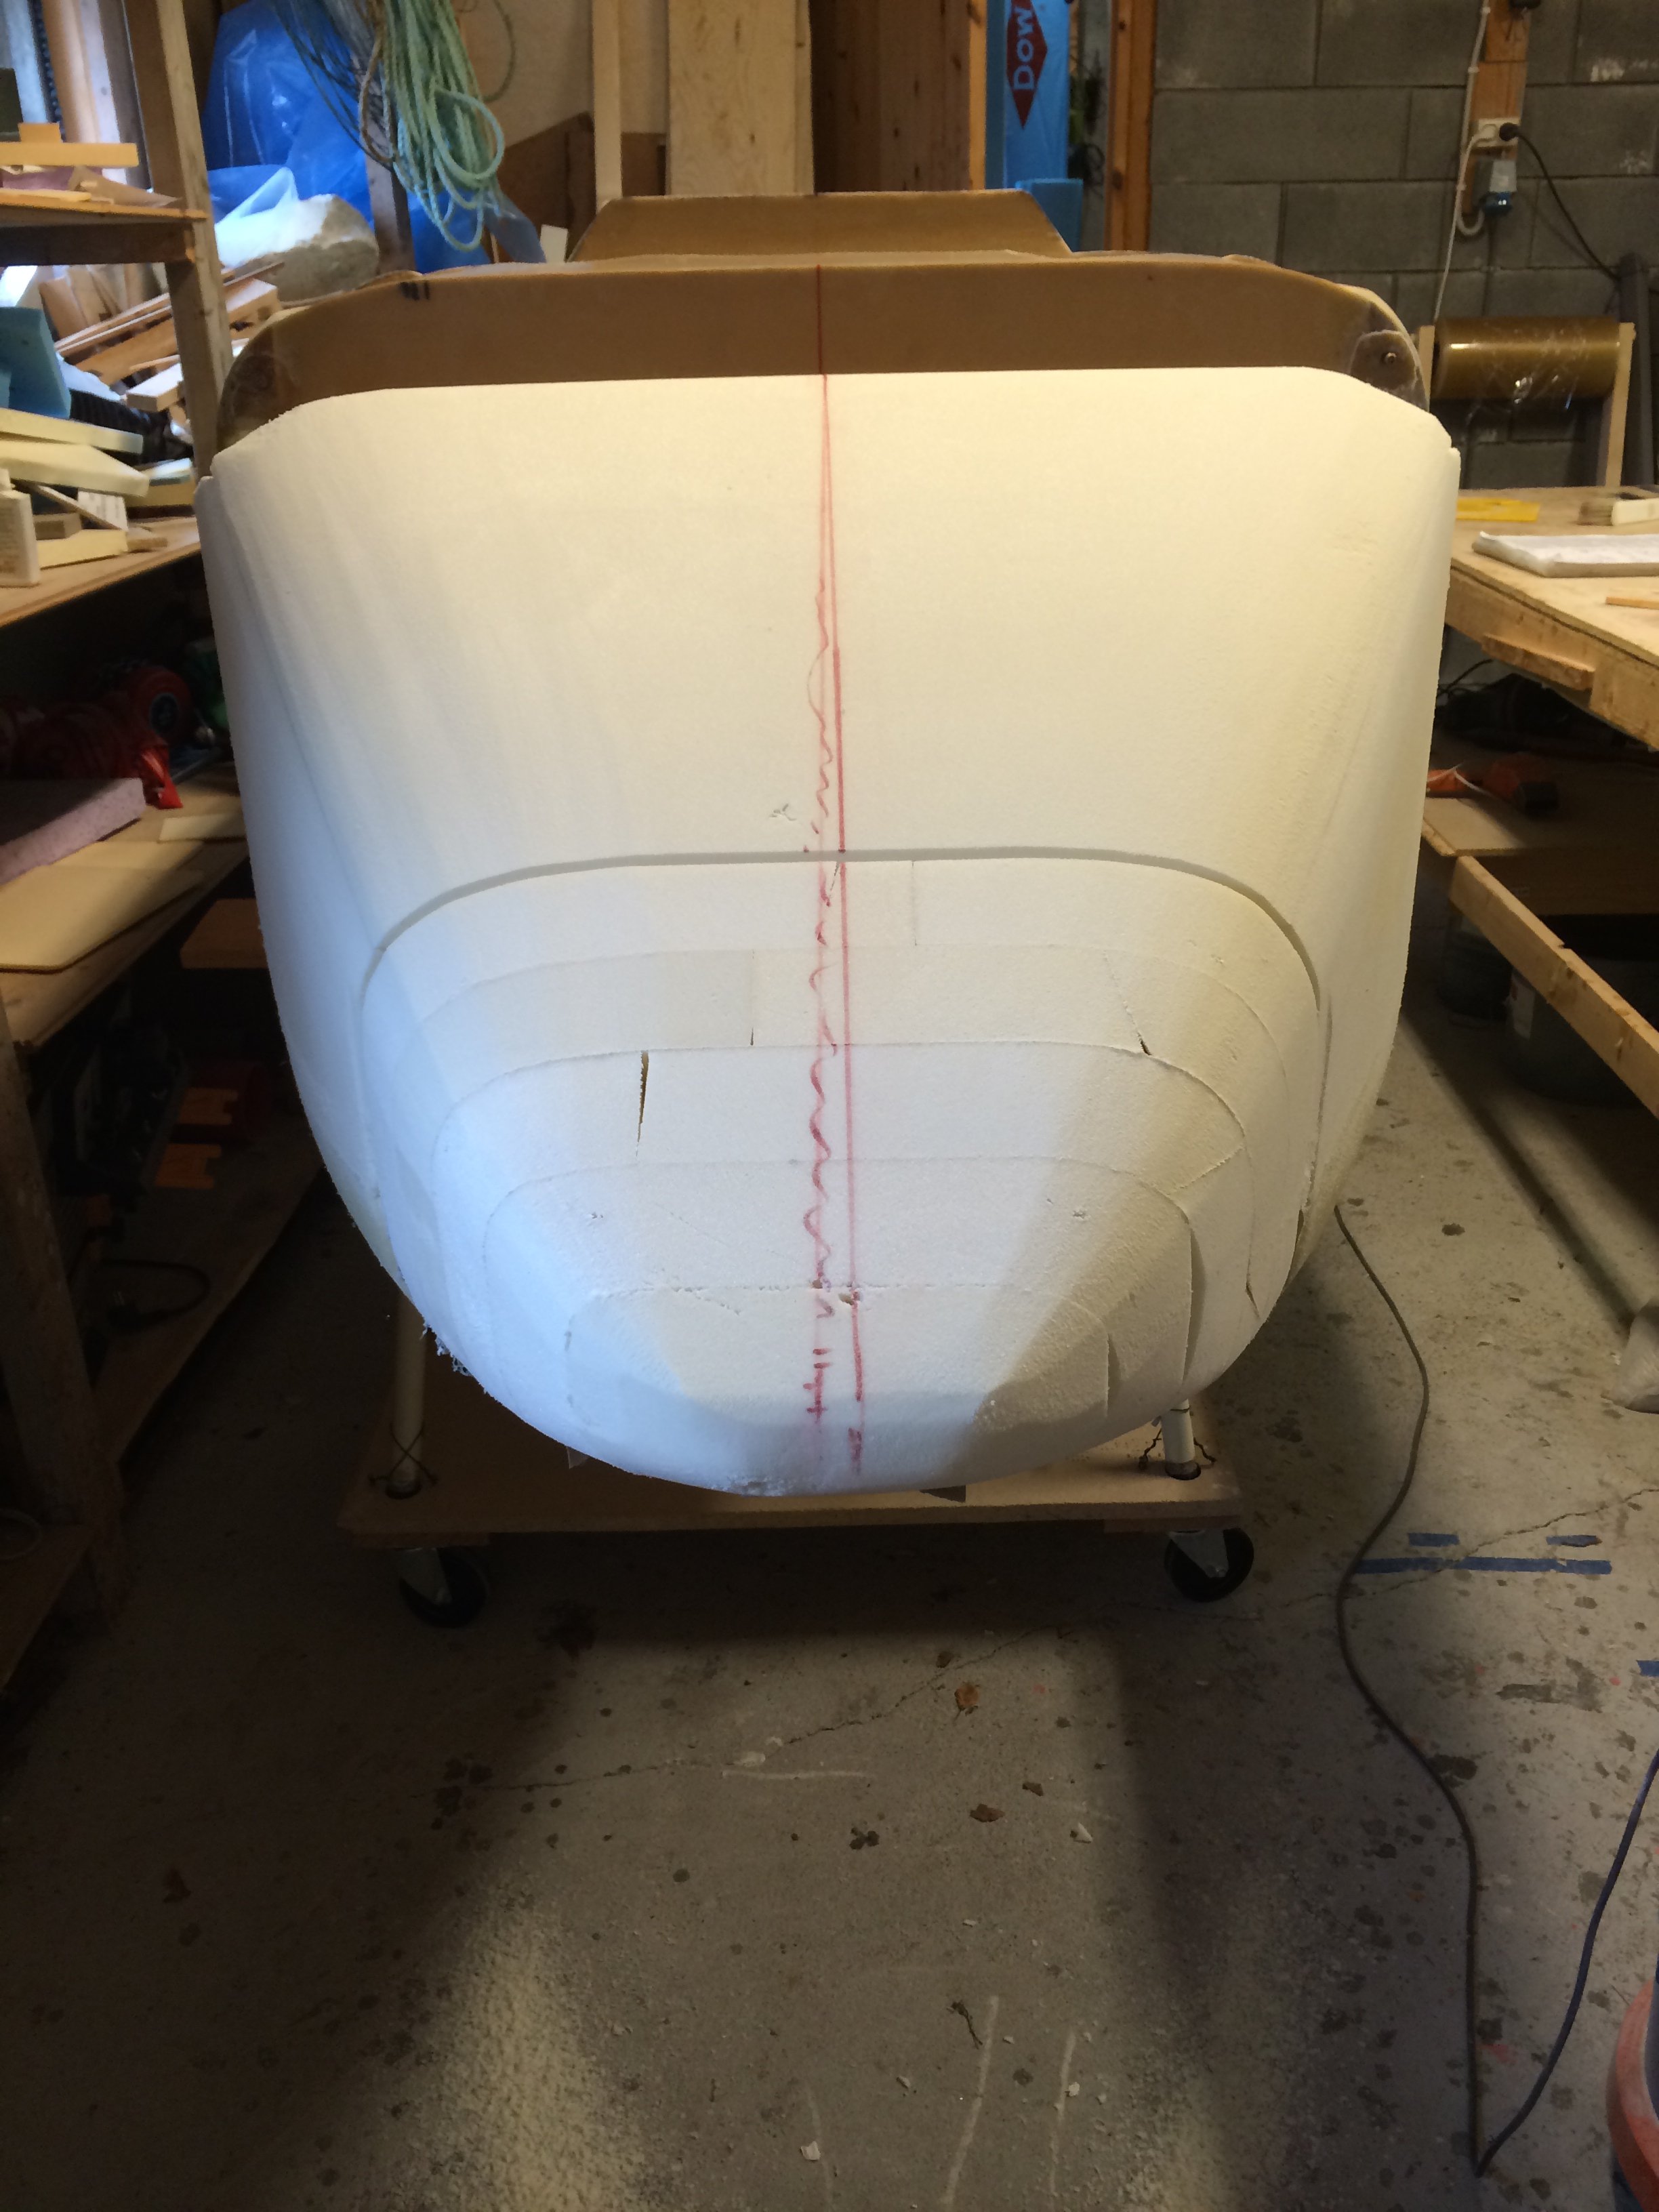
2014-03-22: Almost there… switching to 120 grit paper.
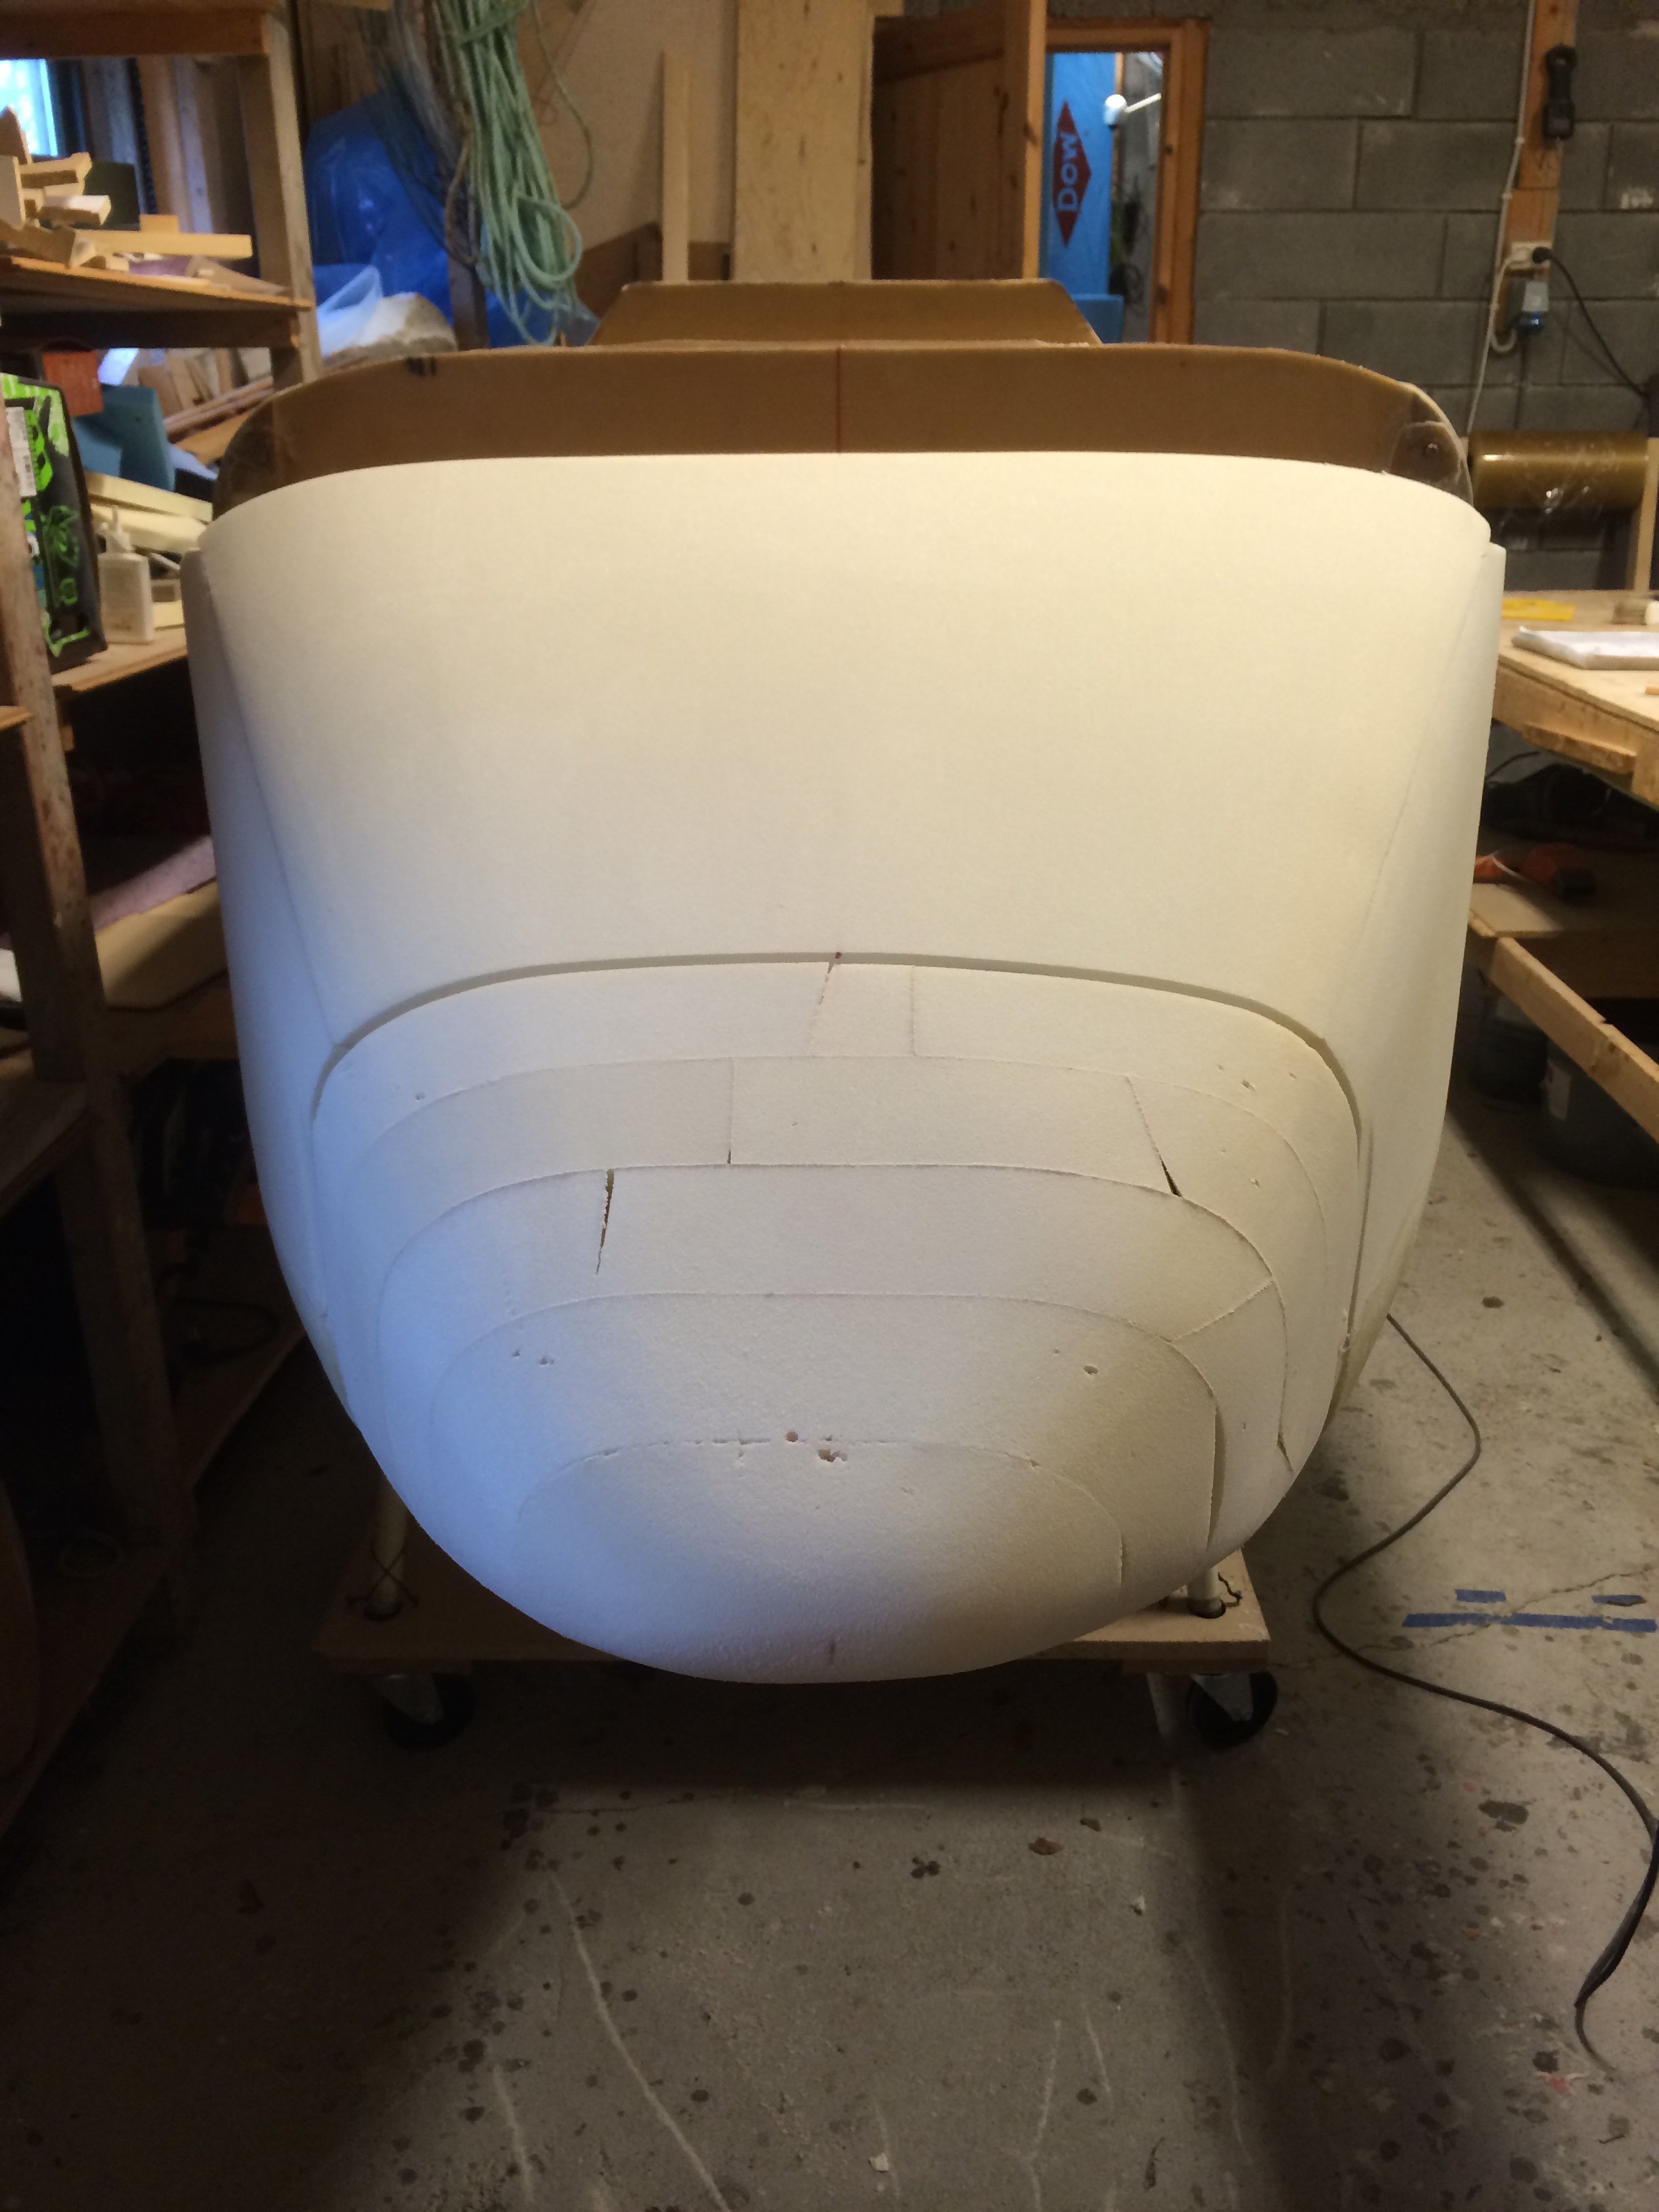
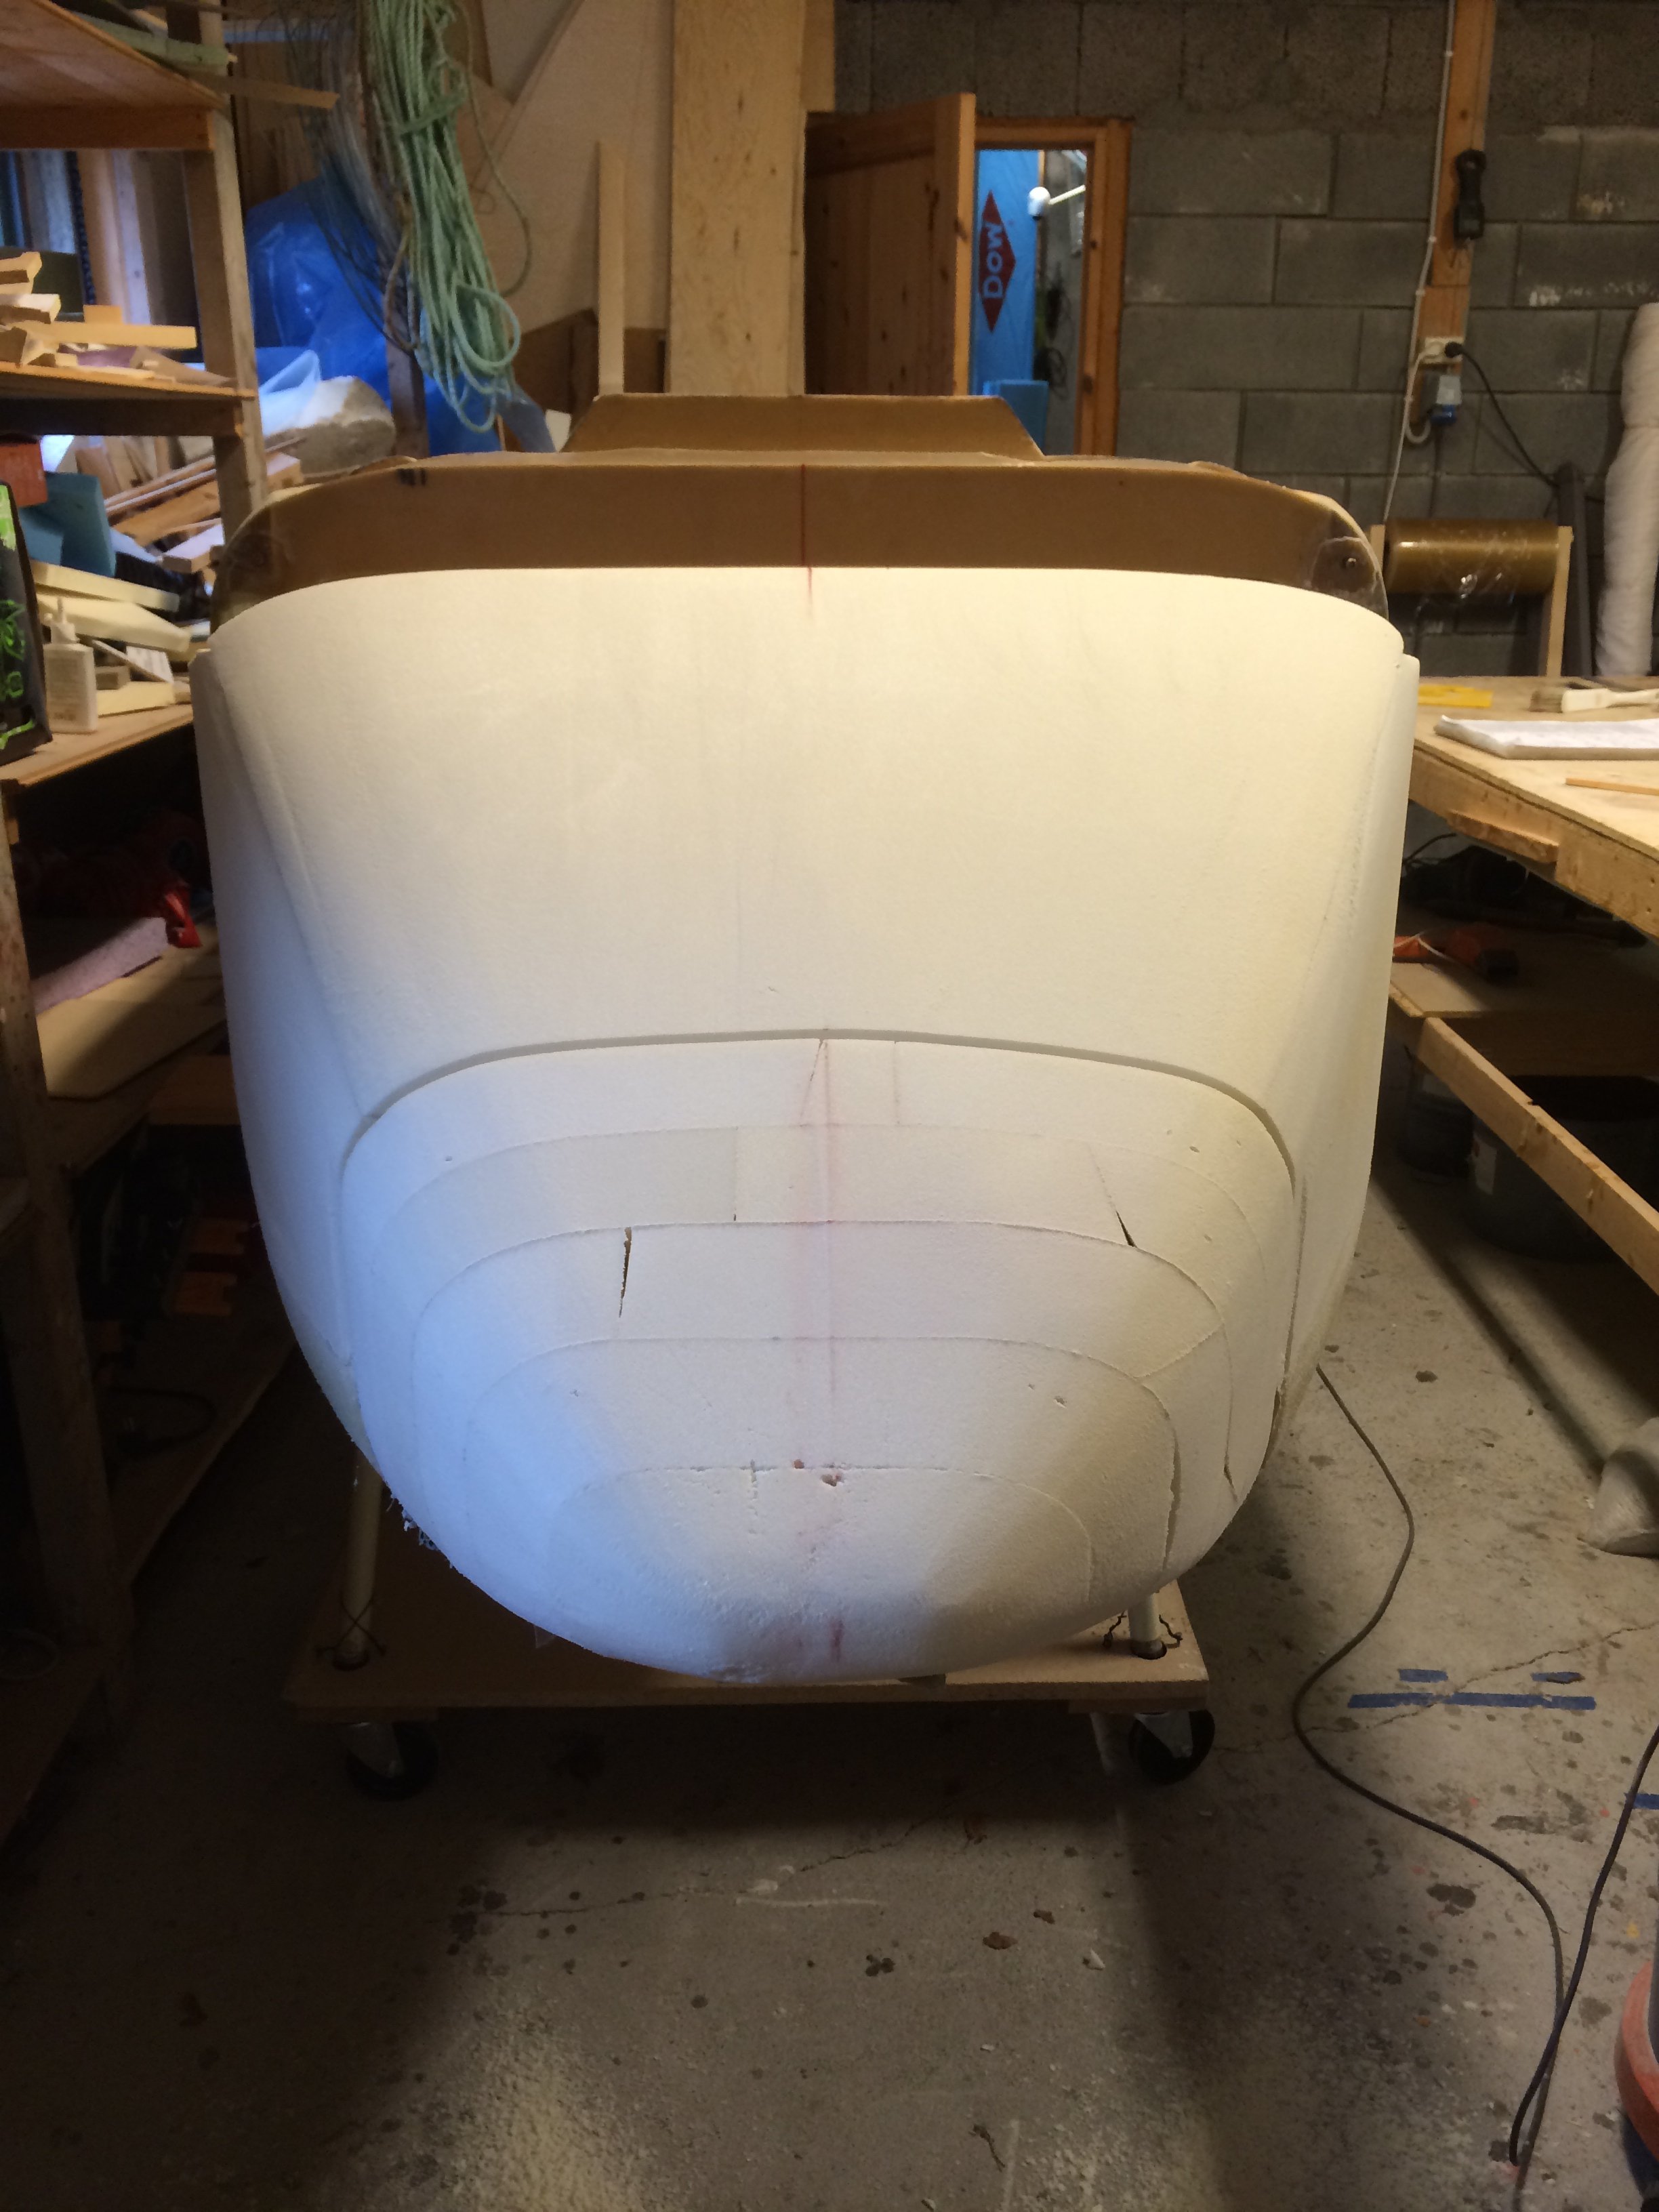
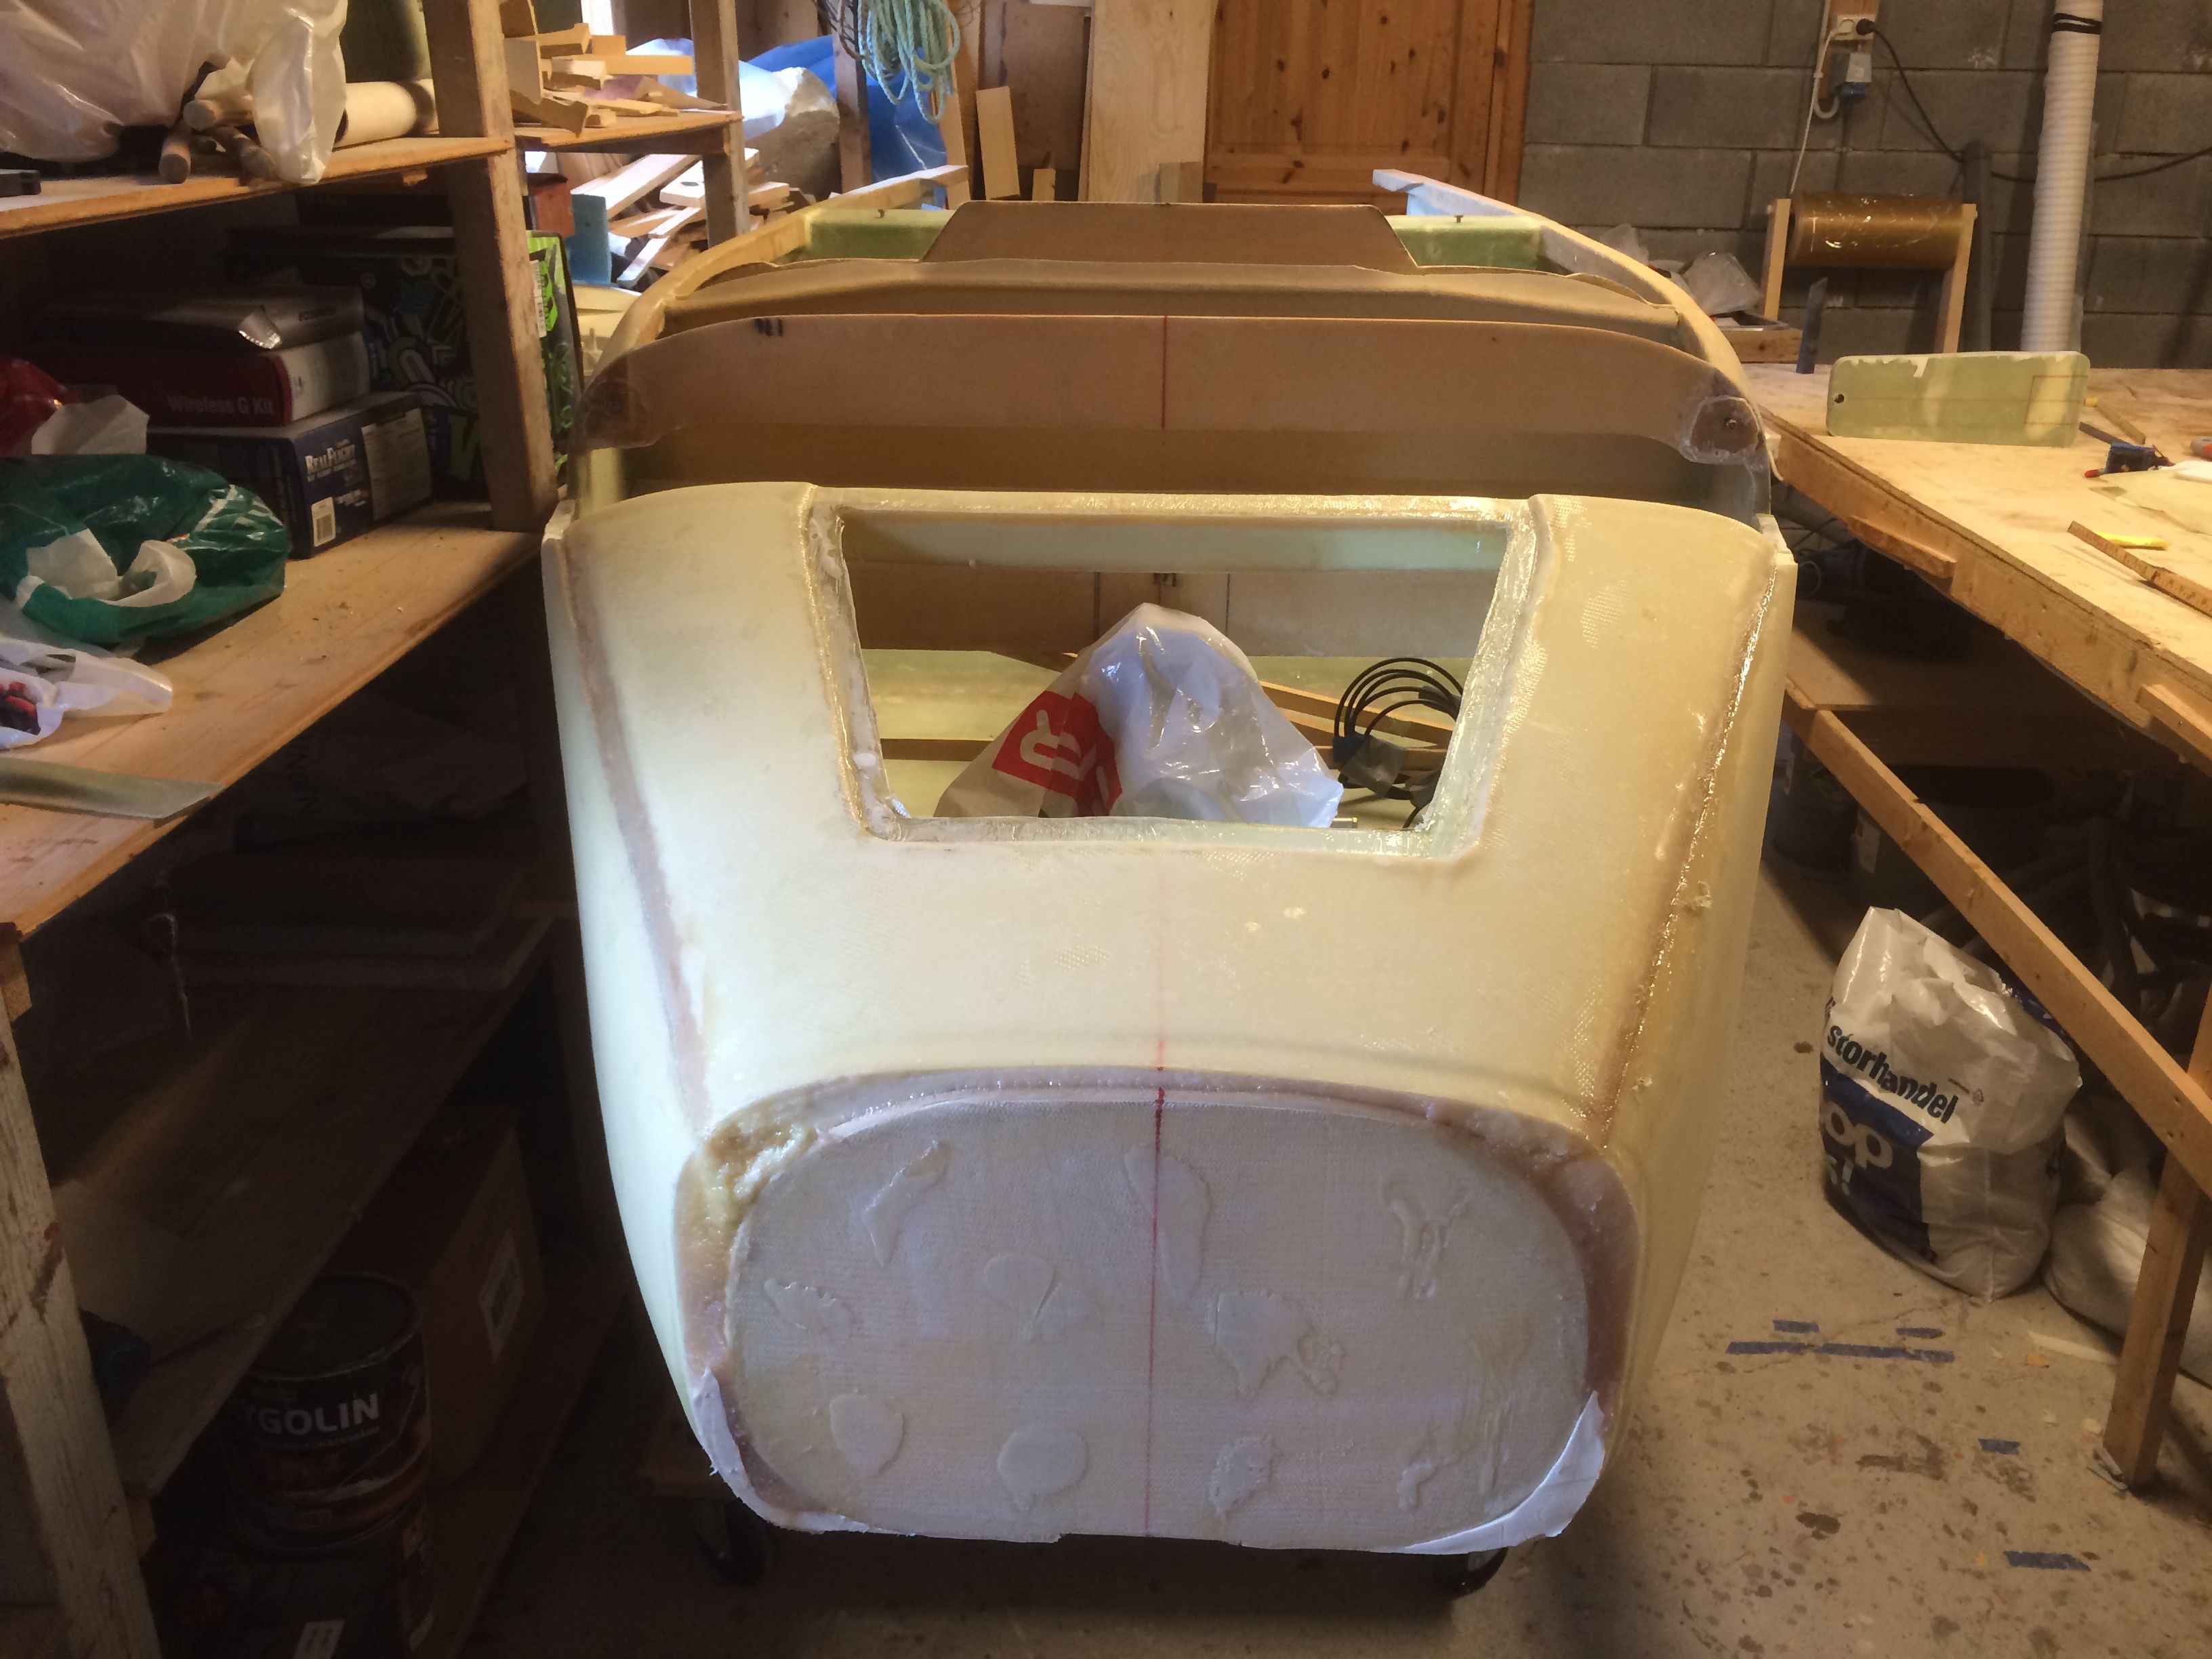
2014-03-22: Looking good! I will glass the section aft of the nose cone first. The gap around F0 will be filled with urethane and sanded smooth prior to glassing.
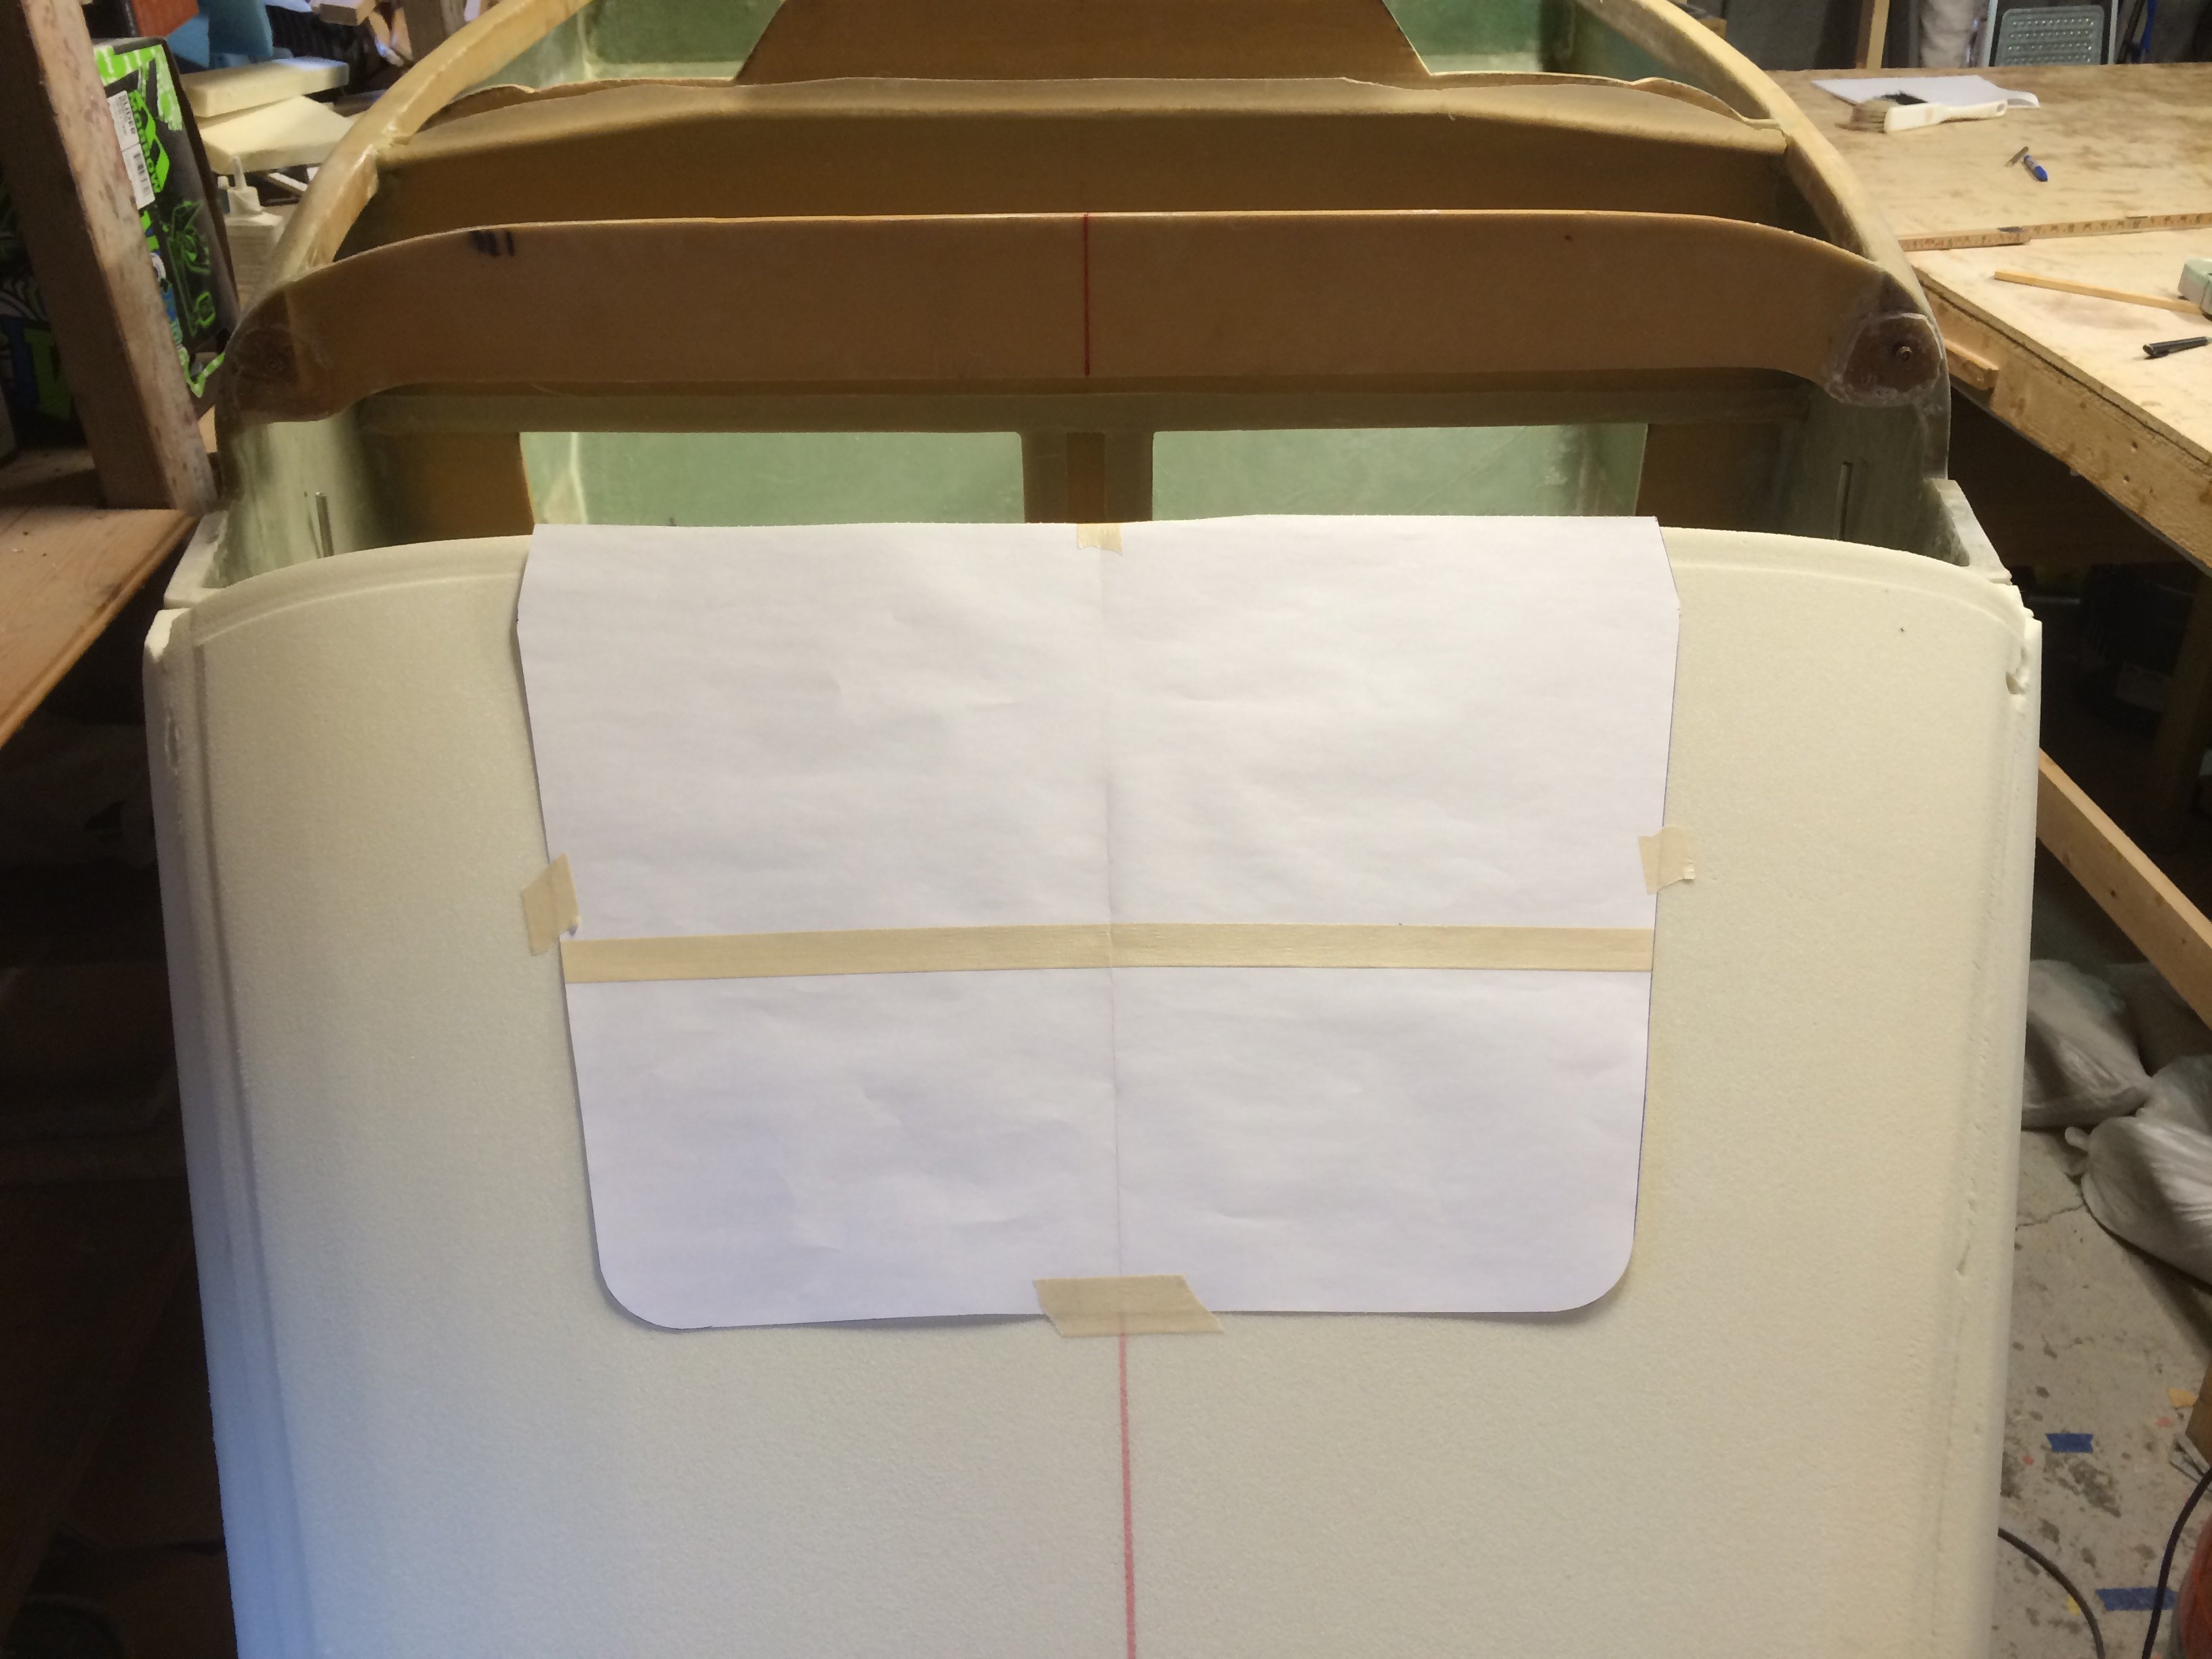
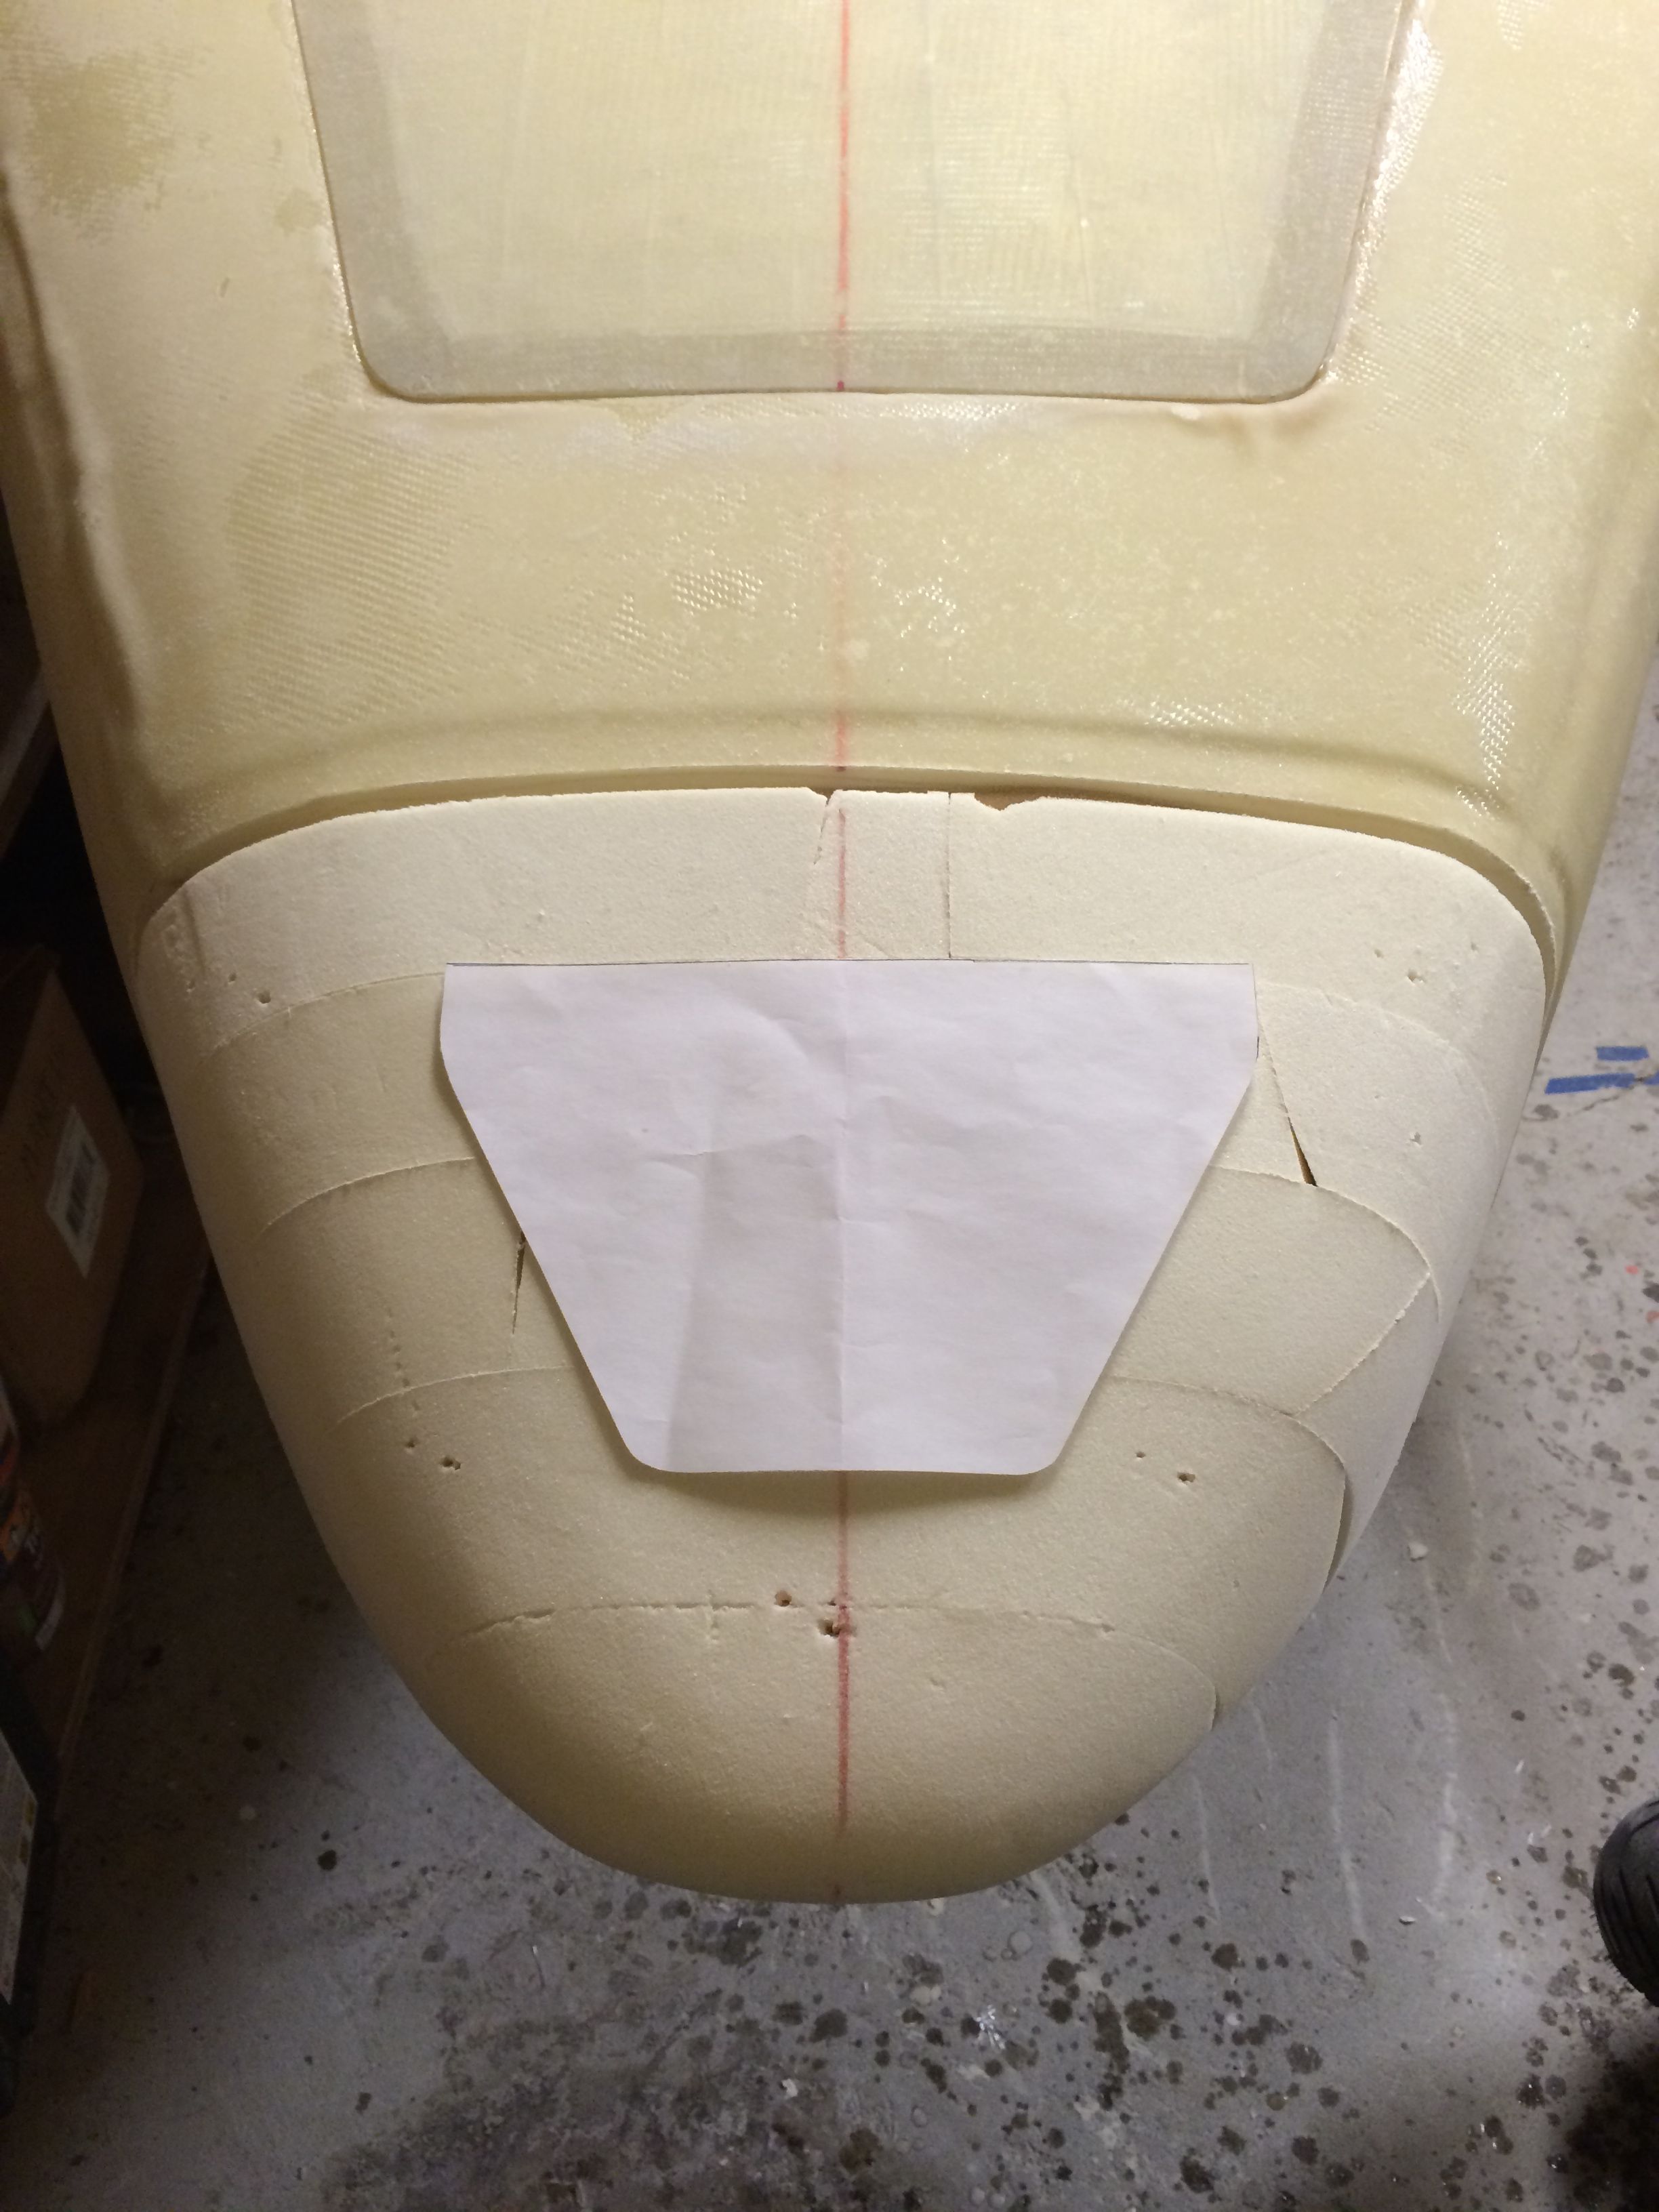
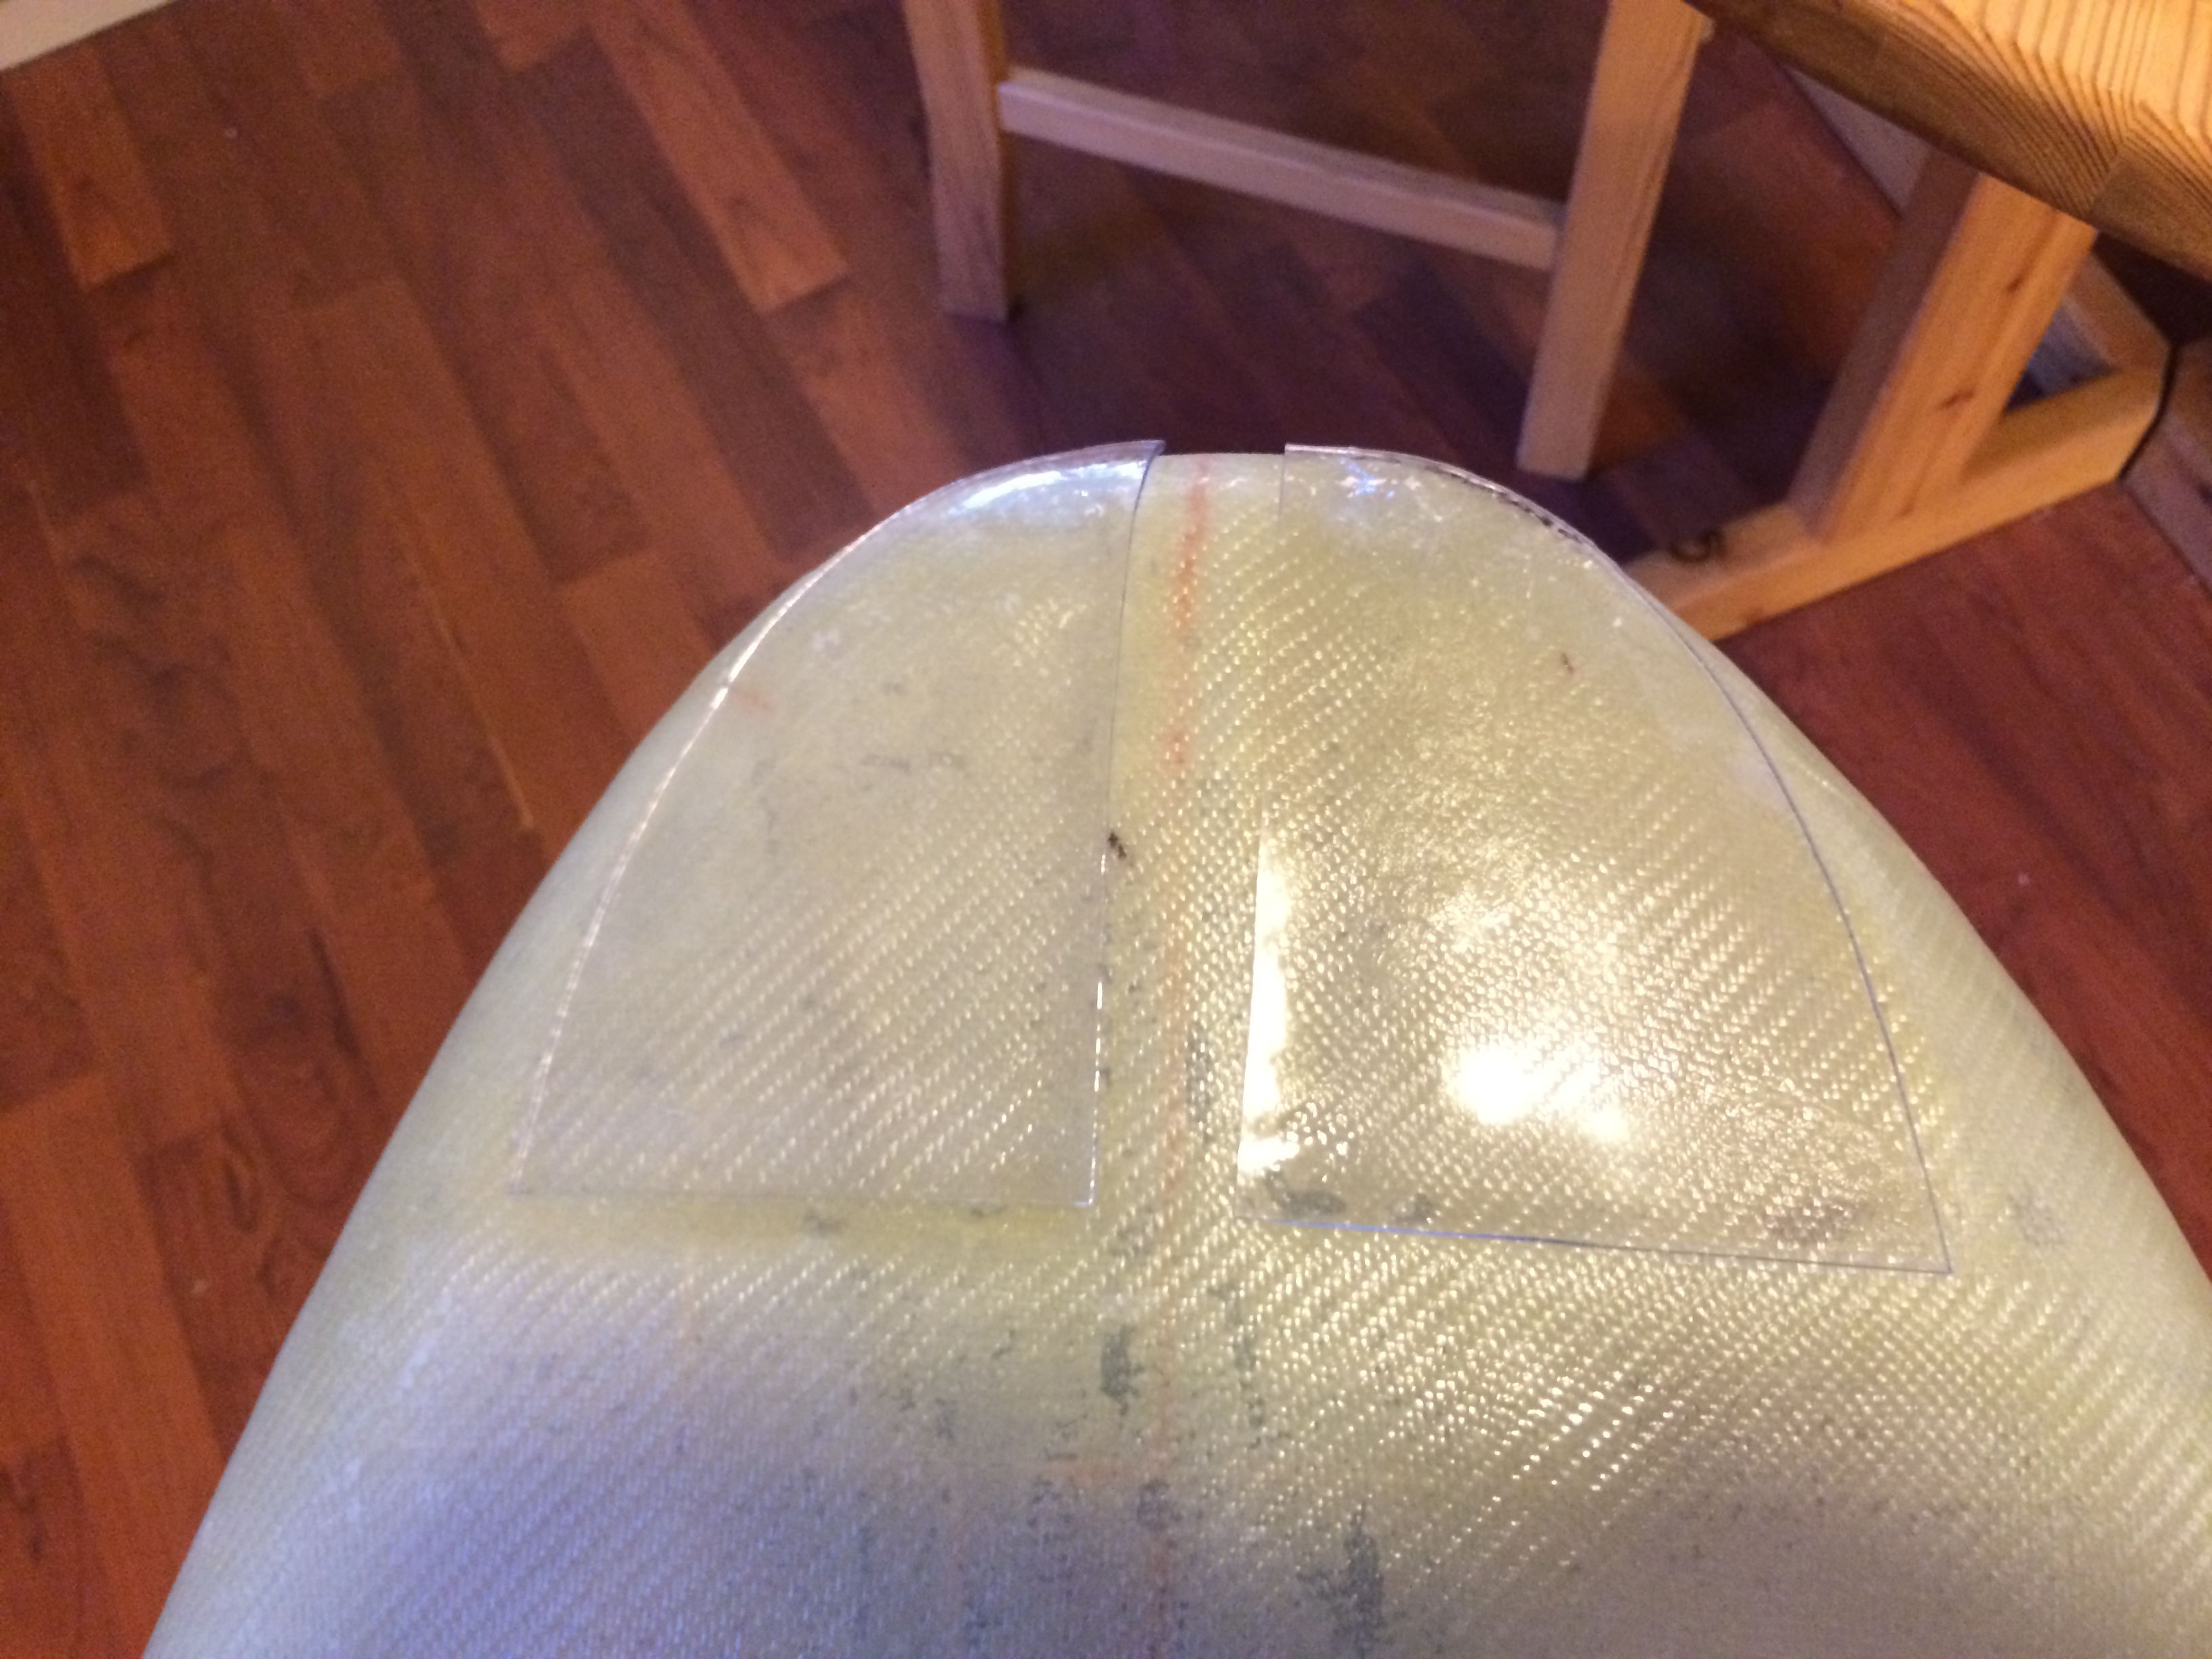
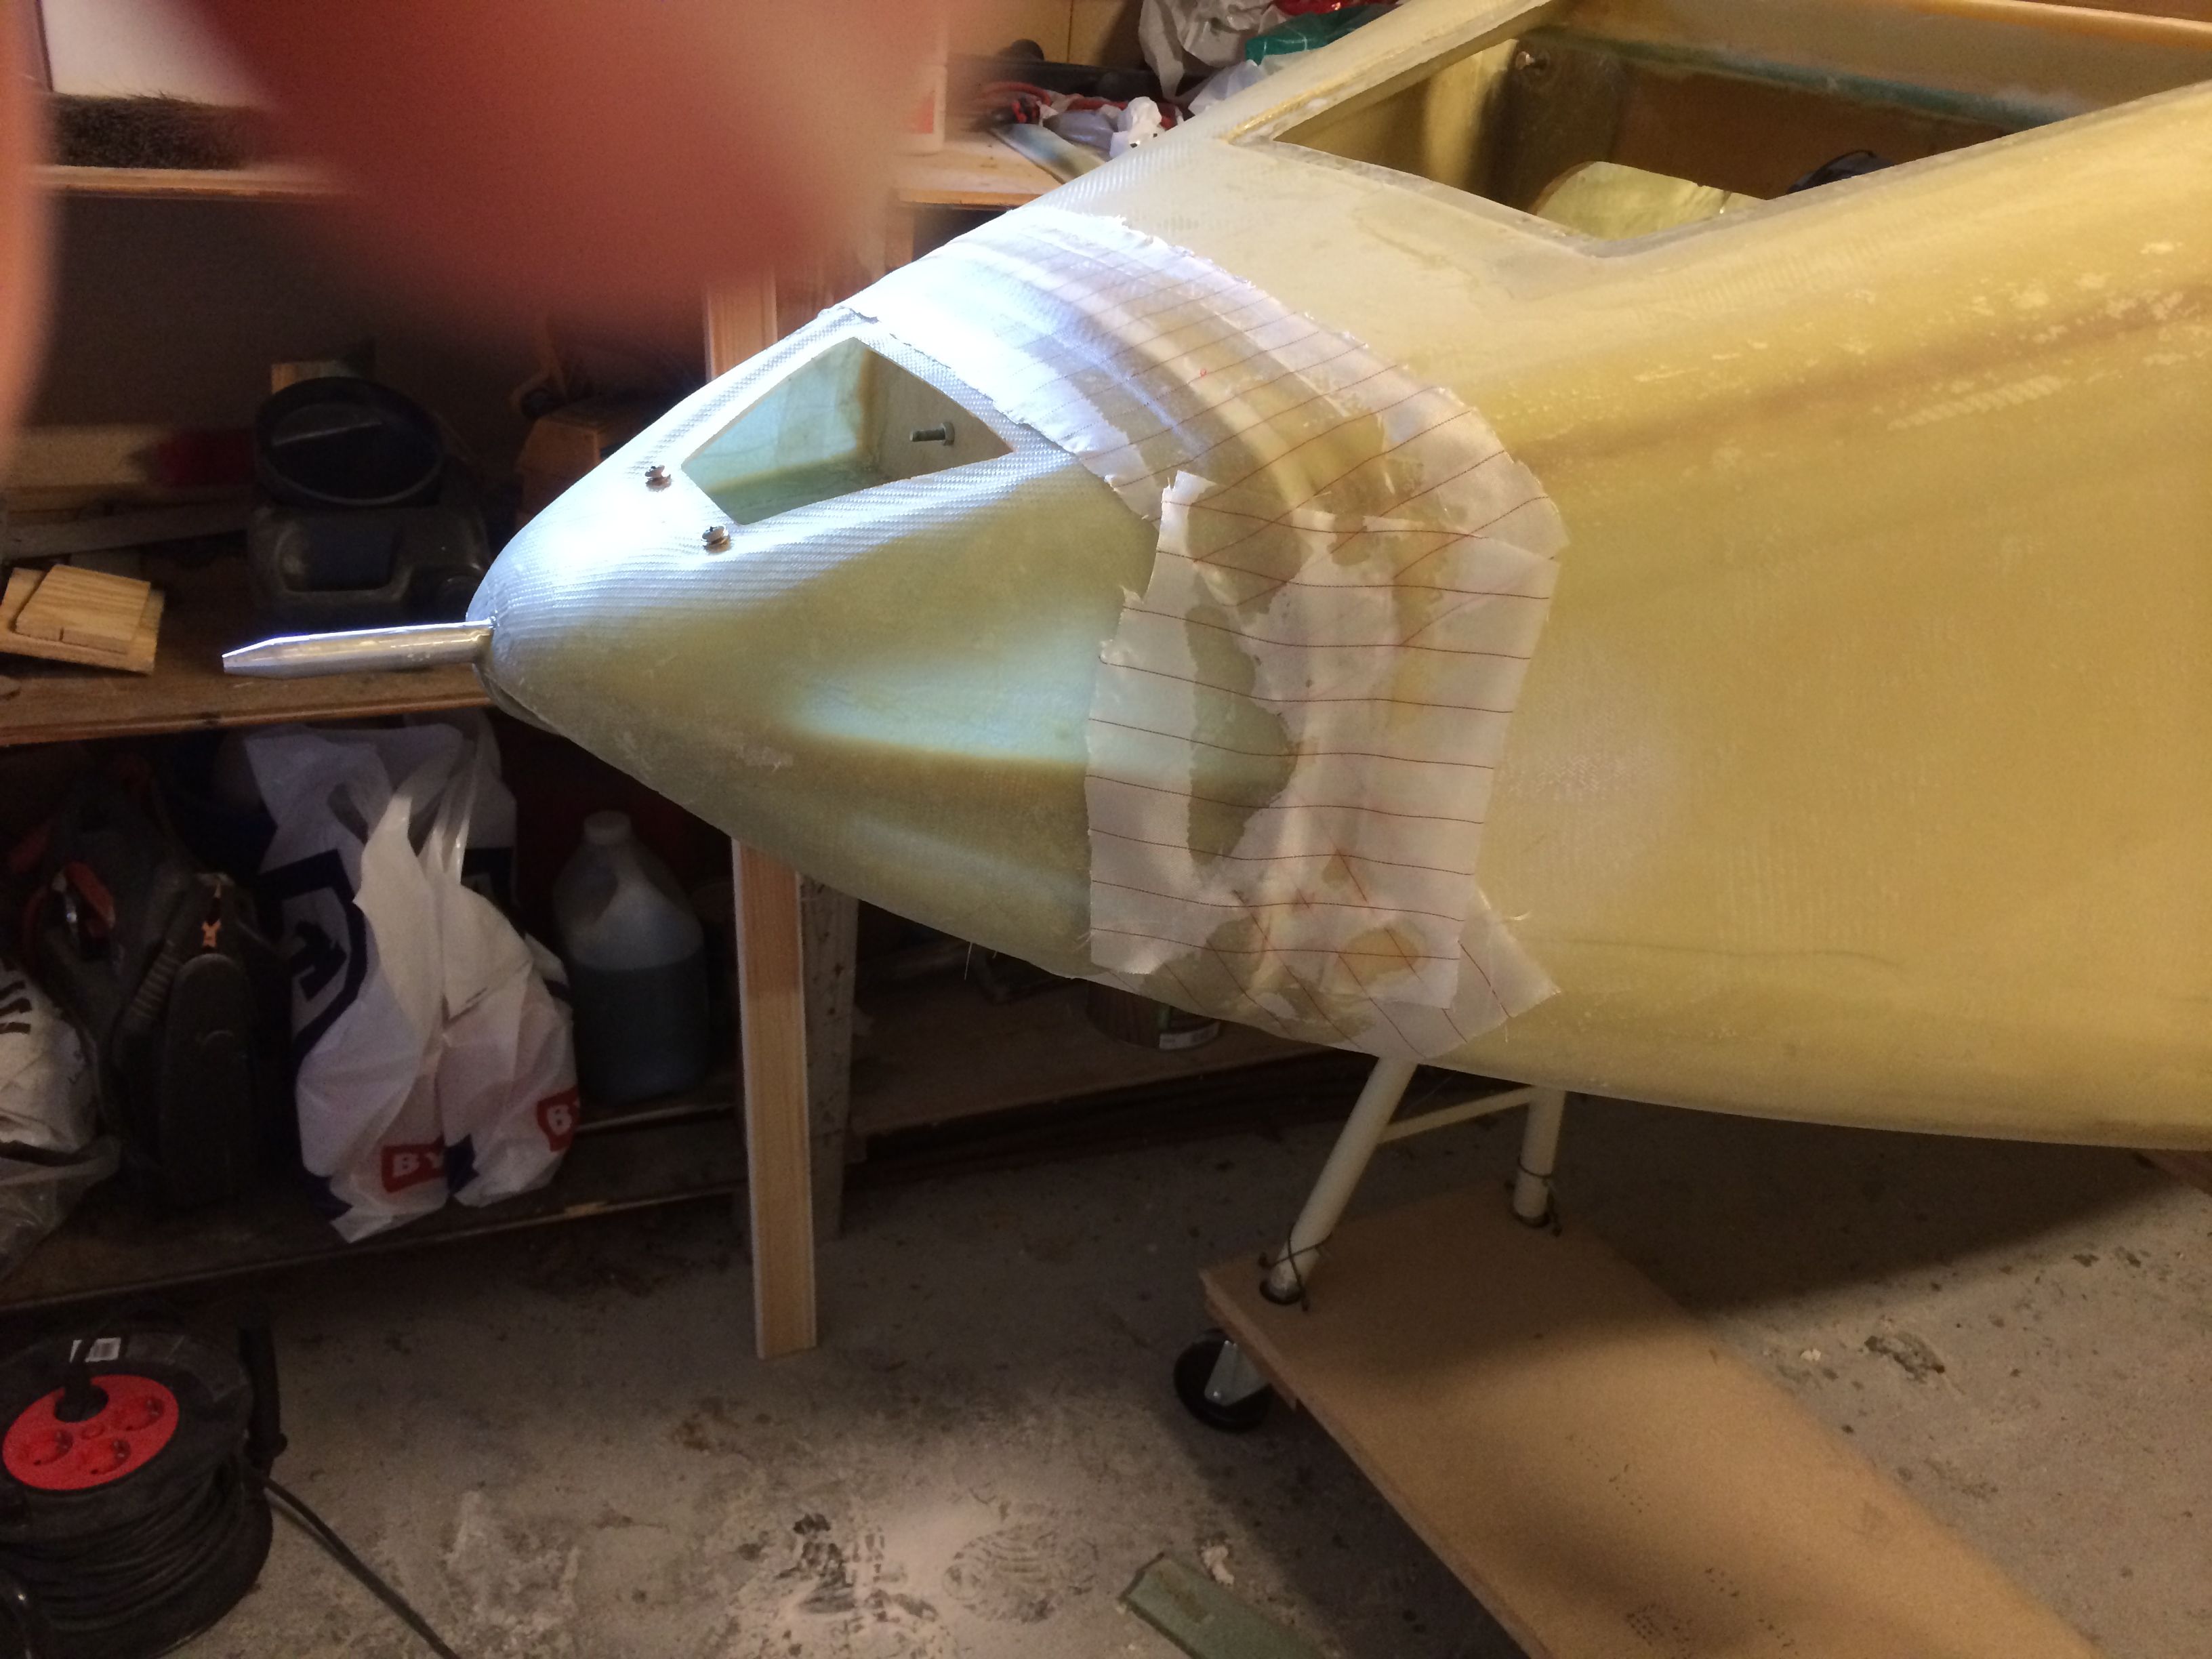
2014-03-22: Made a paper template of the nose hatch as per plans. I have also made the proper recesses to make room for BID-tapes later.

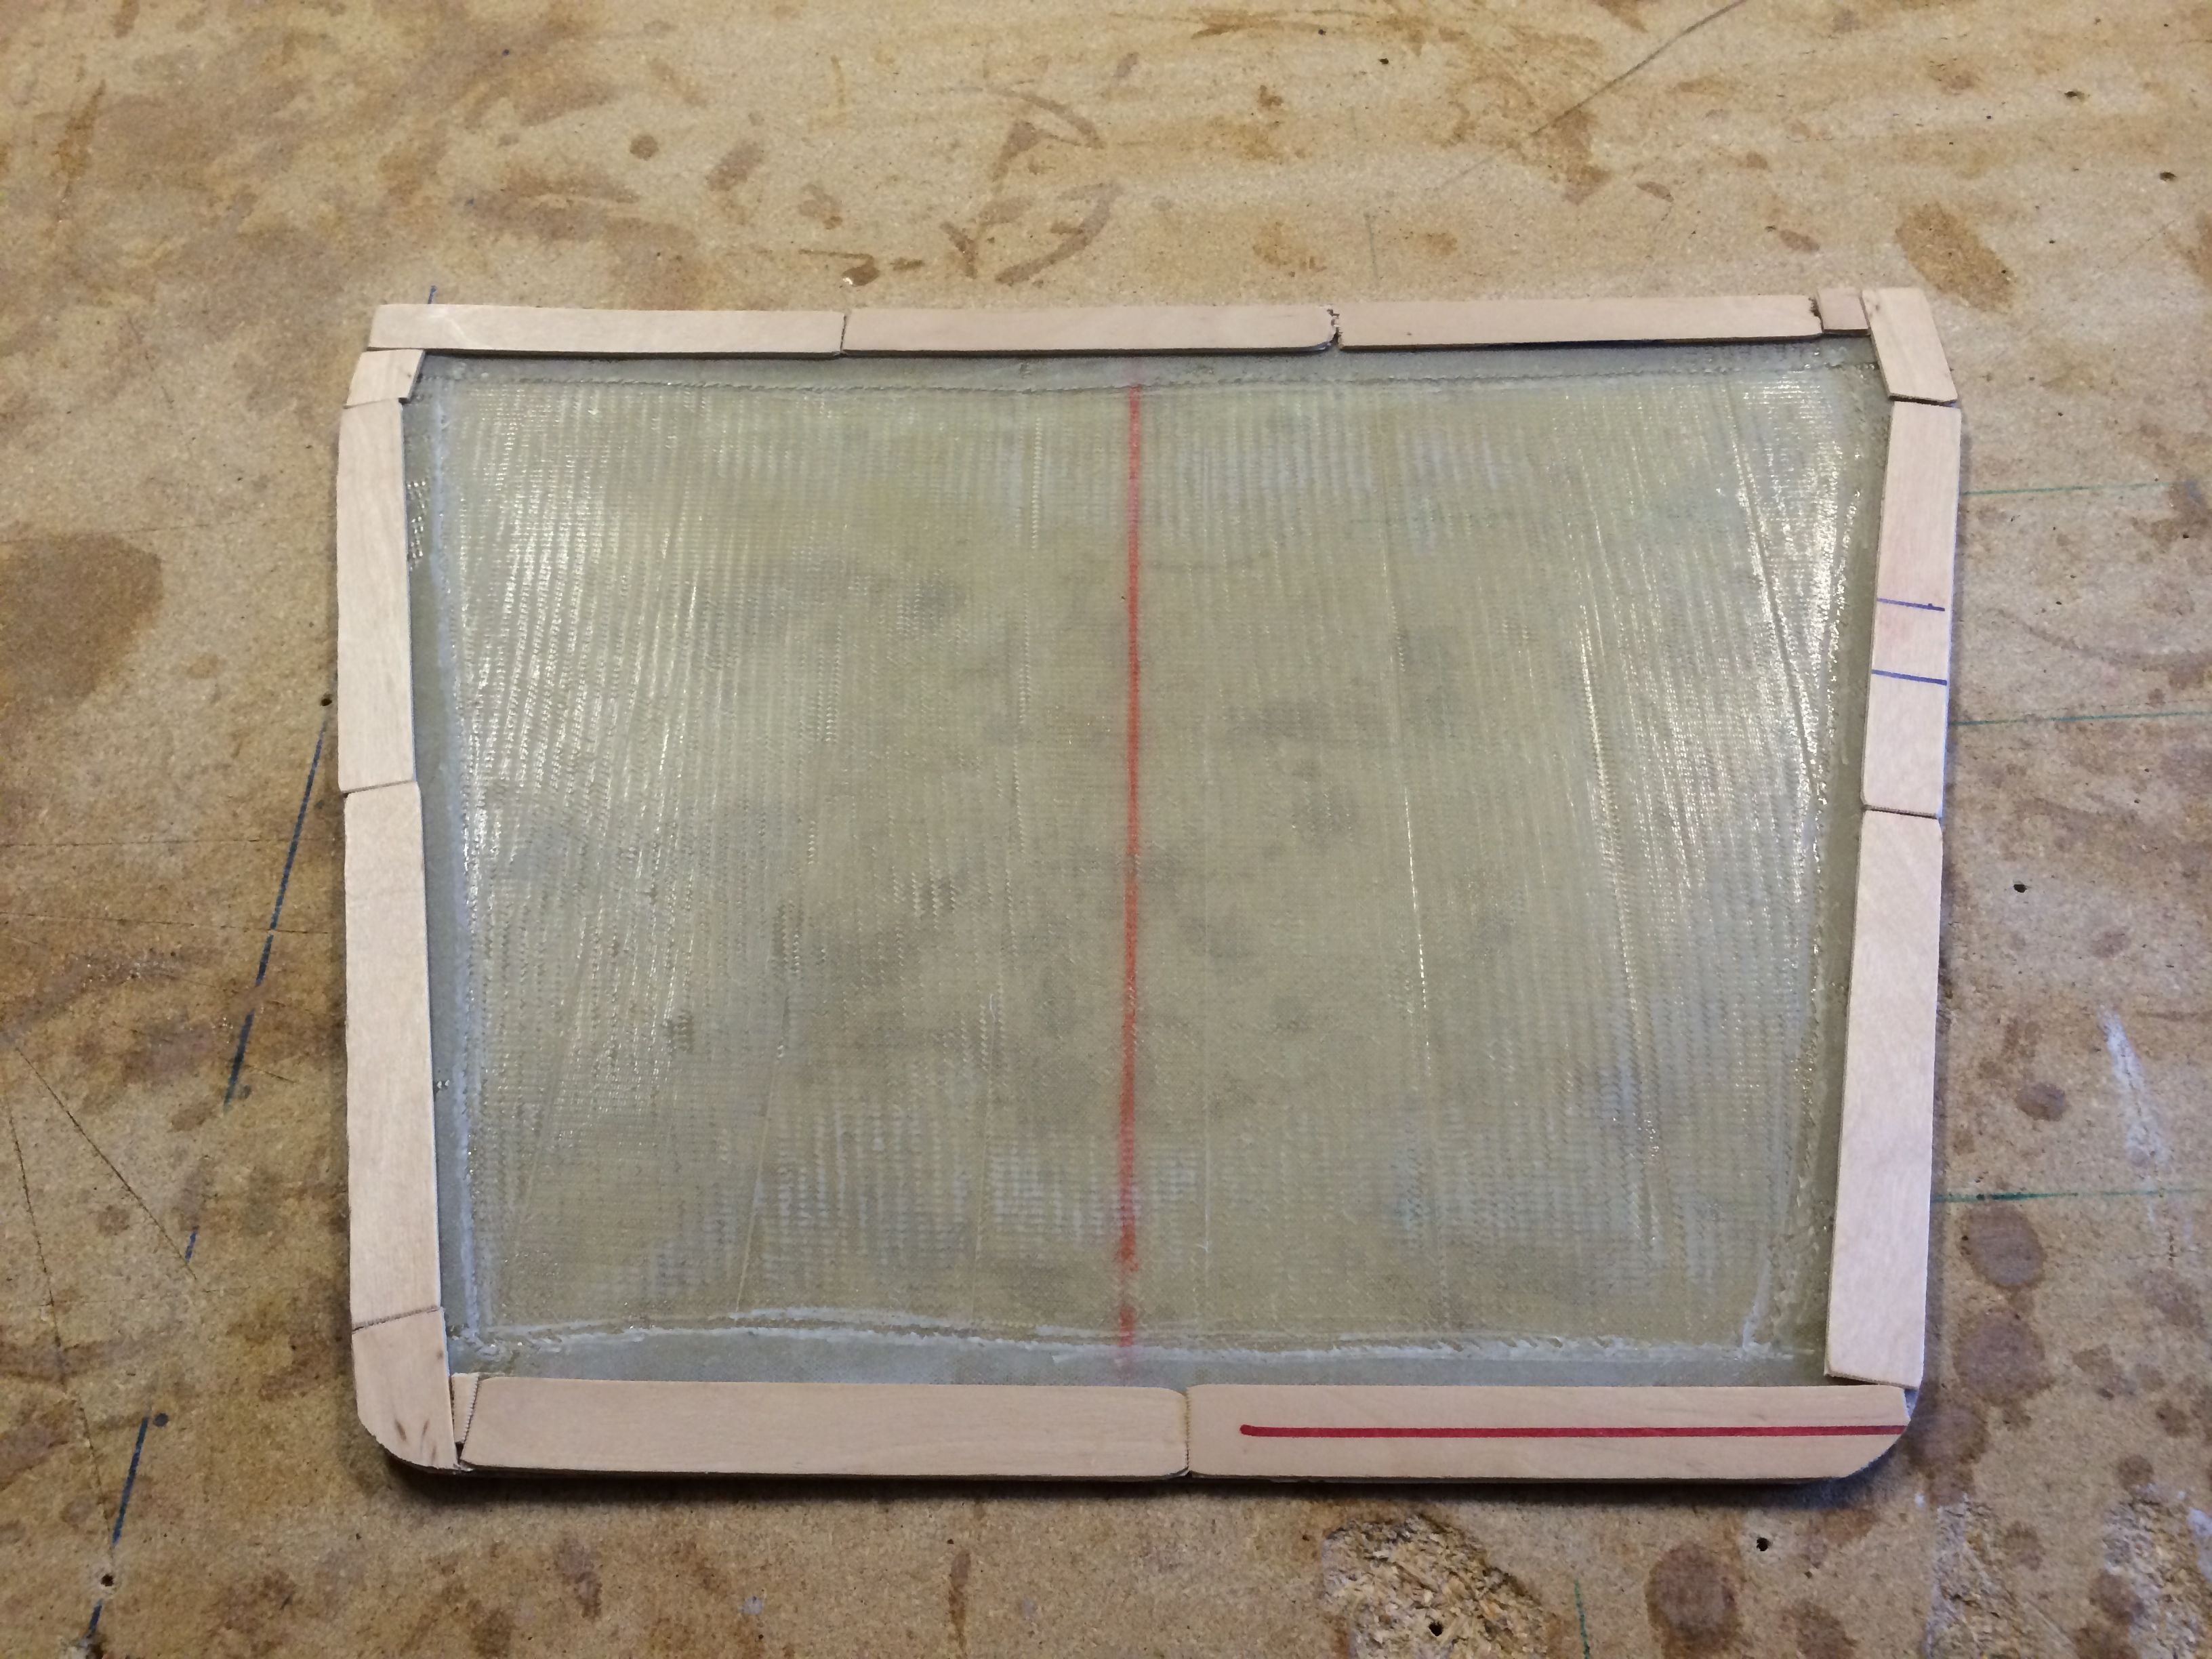
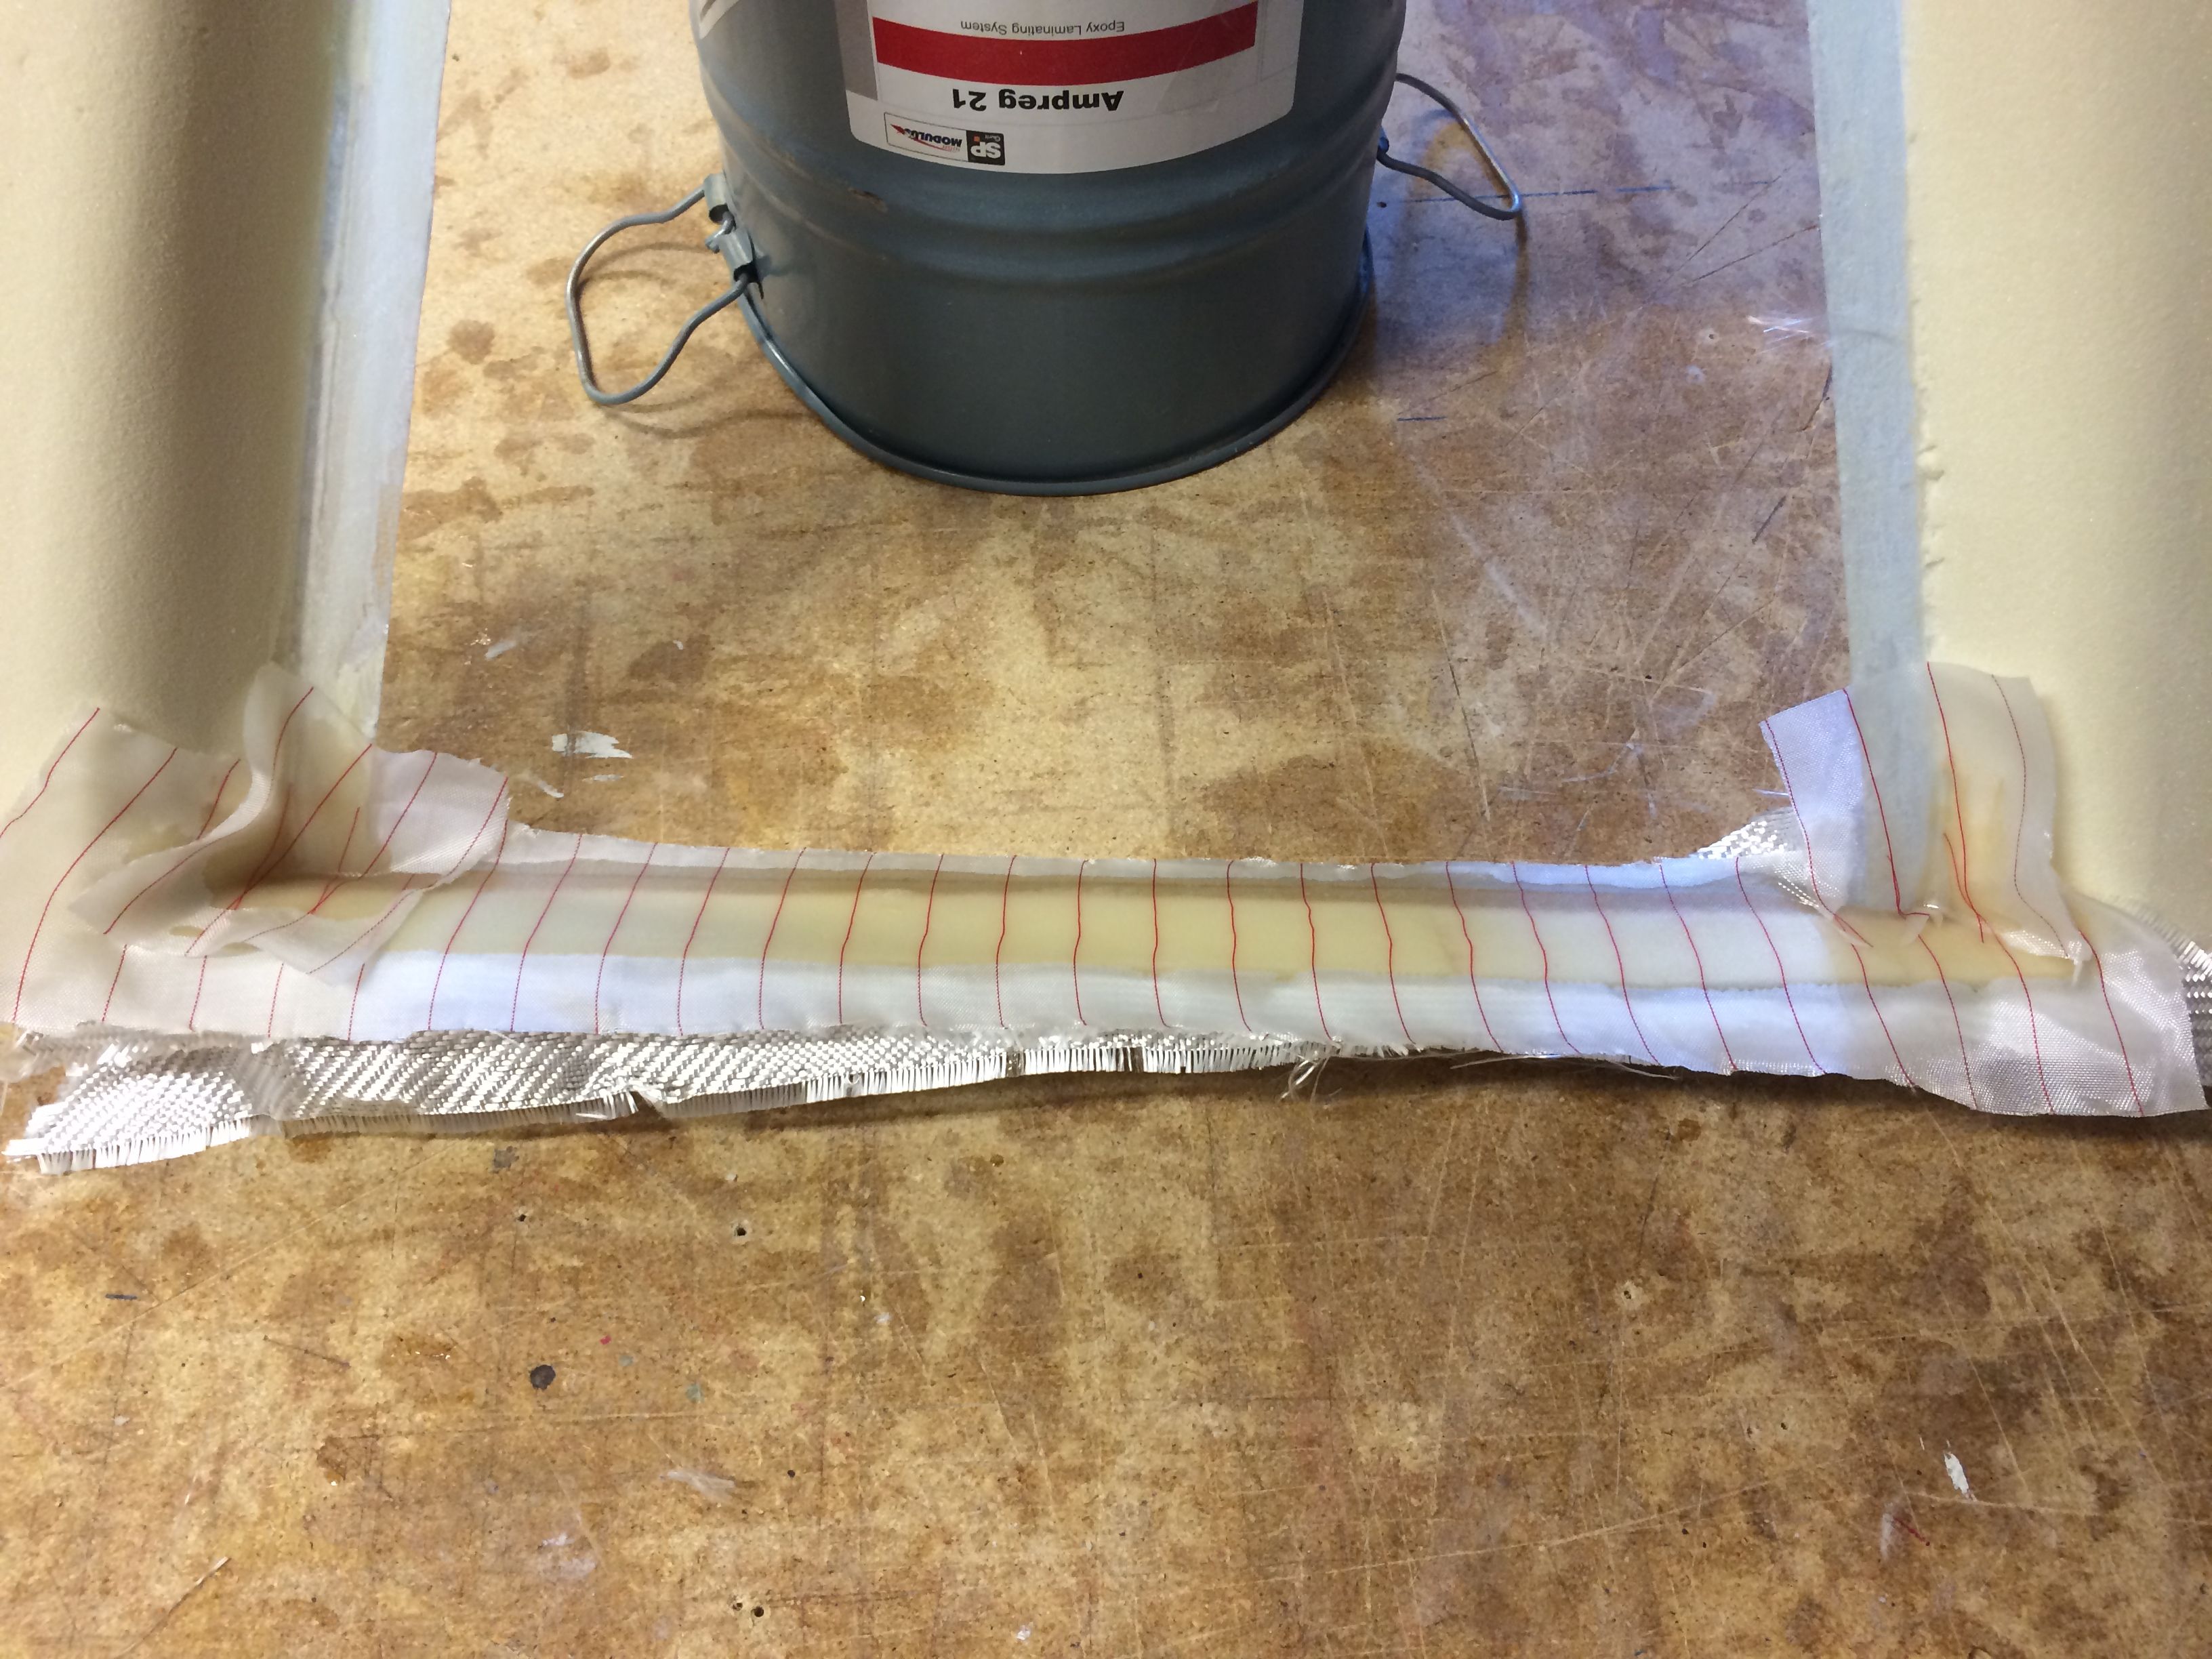
2014-03-22: Taped the whole area where the hatch will come, glassed 3 BID over the paper template and placed it ontop of the nose to let it get the proper shape when curing.
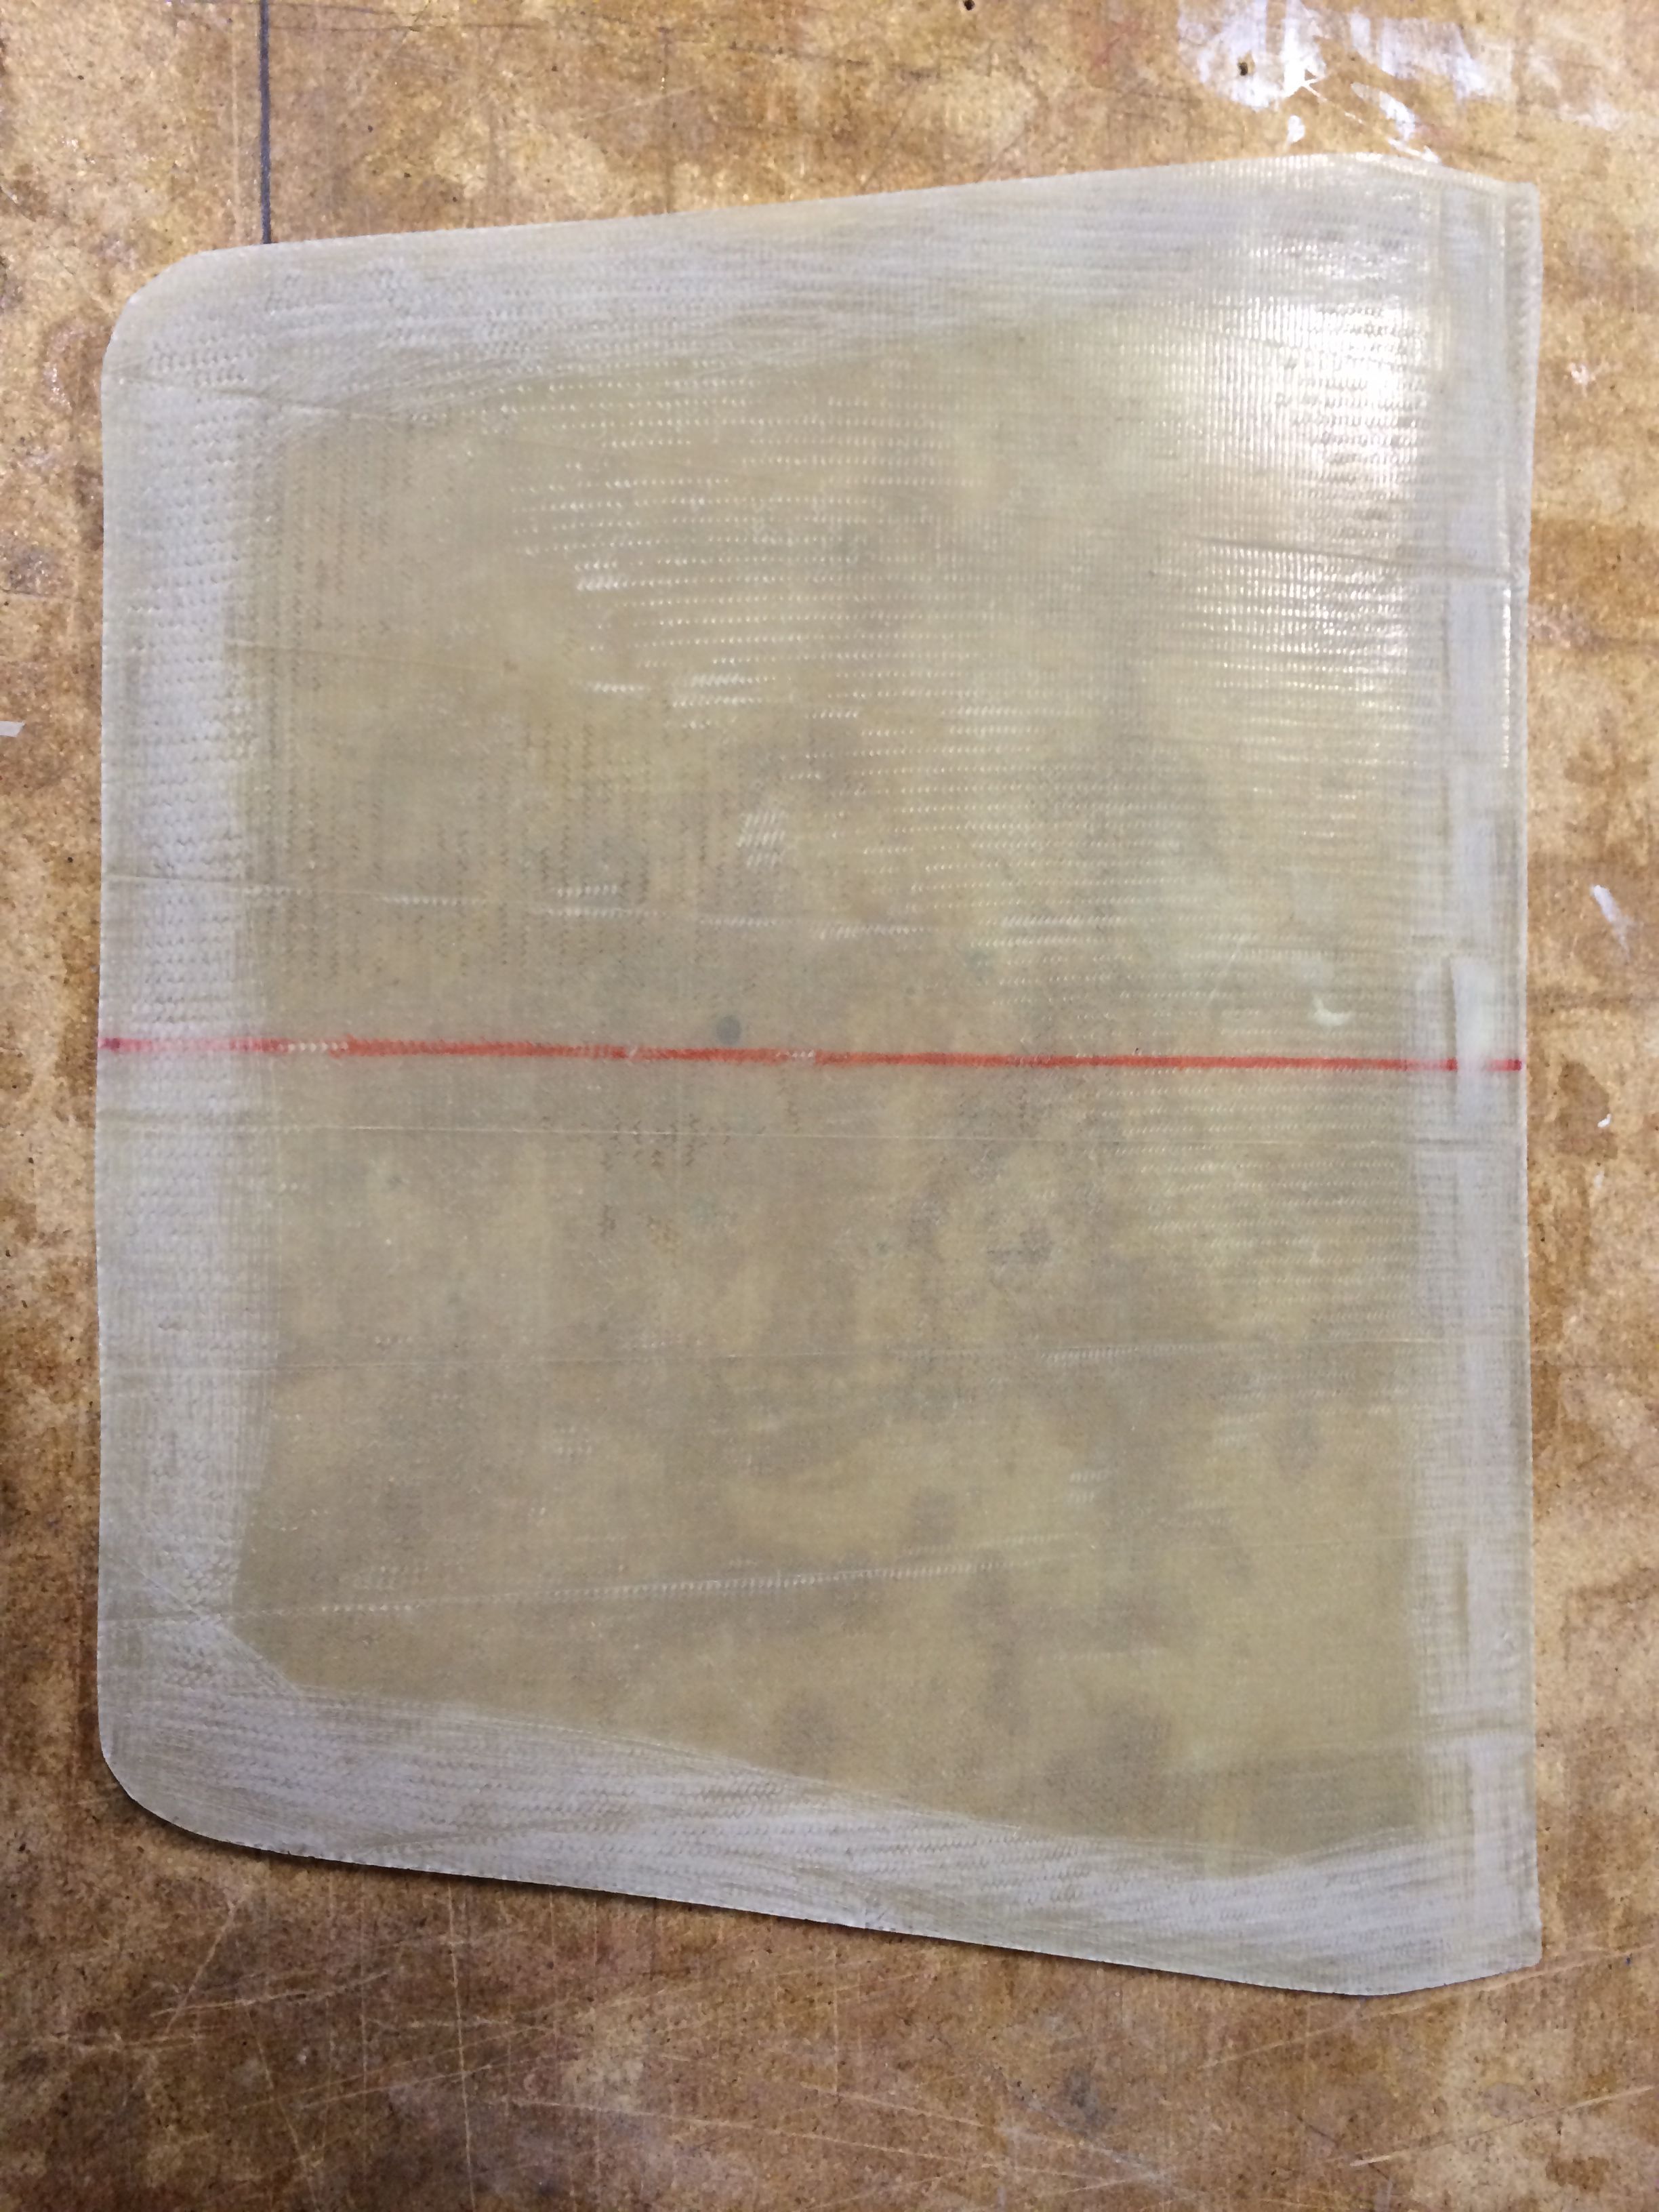
2014-03-23: Popped the hatch off and sanded the perimeter underside with 40-grit before adding 1 inch wide 3 BID tape around to make the edge stronger.

2014-03-23: Tried something new this time. Yesterday while making the hatch I had some epoxy left. I remembered I read somewhere that it was possible to make BID tapes and freeze them down for later use. I made the tapes for the hatch using the saran wrap method I so often use, then I rolled them up on some paper and put them in a plastic bag and then in the freezer.

2014-03-23: This worked like a dream! They melted quick in my garage, I also warmed them carefully with a hair dryer before I applied them to the edge of the hatch.
2014-03-23: Peel plied the edges and put the hatch back ontop of the nose to make it cure in the correct shape. I made a heat-tent over the hatch so it cures very well.

2014-04-06: I asked around whether it was neccessary to use a gasket around the nosehatch or not. After some feedbacks I decided to go for a gasket, and found a rather thin rubber-gasket just perfect for the mission.
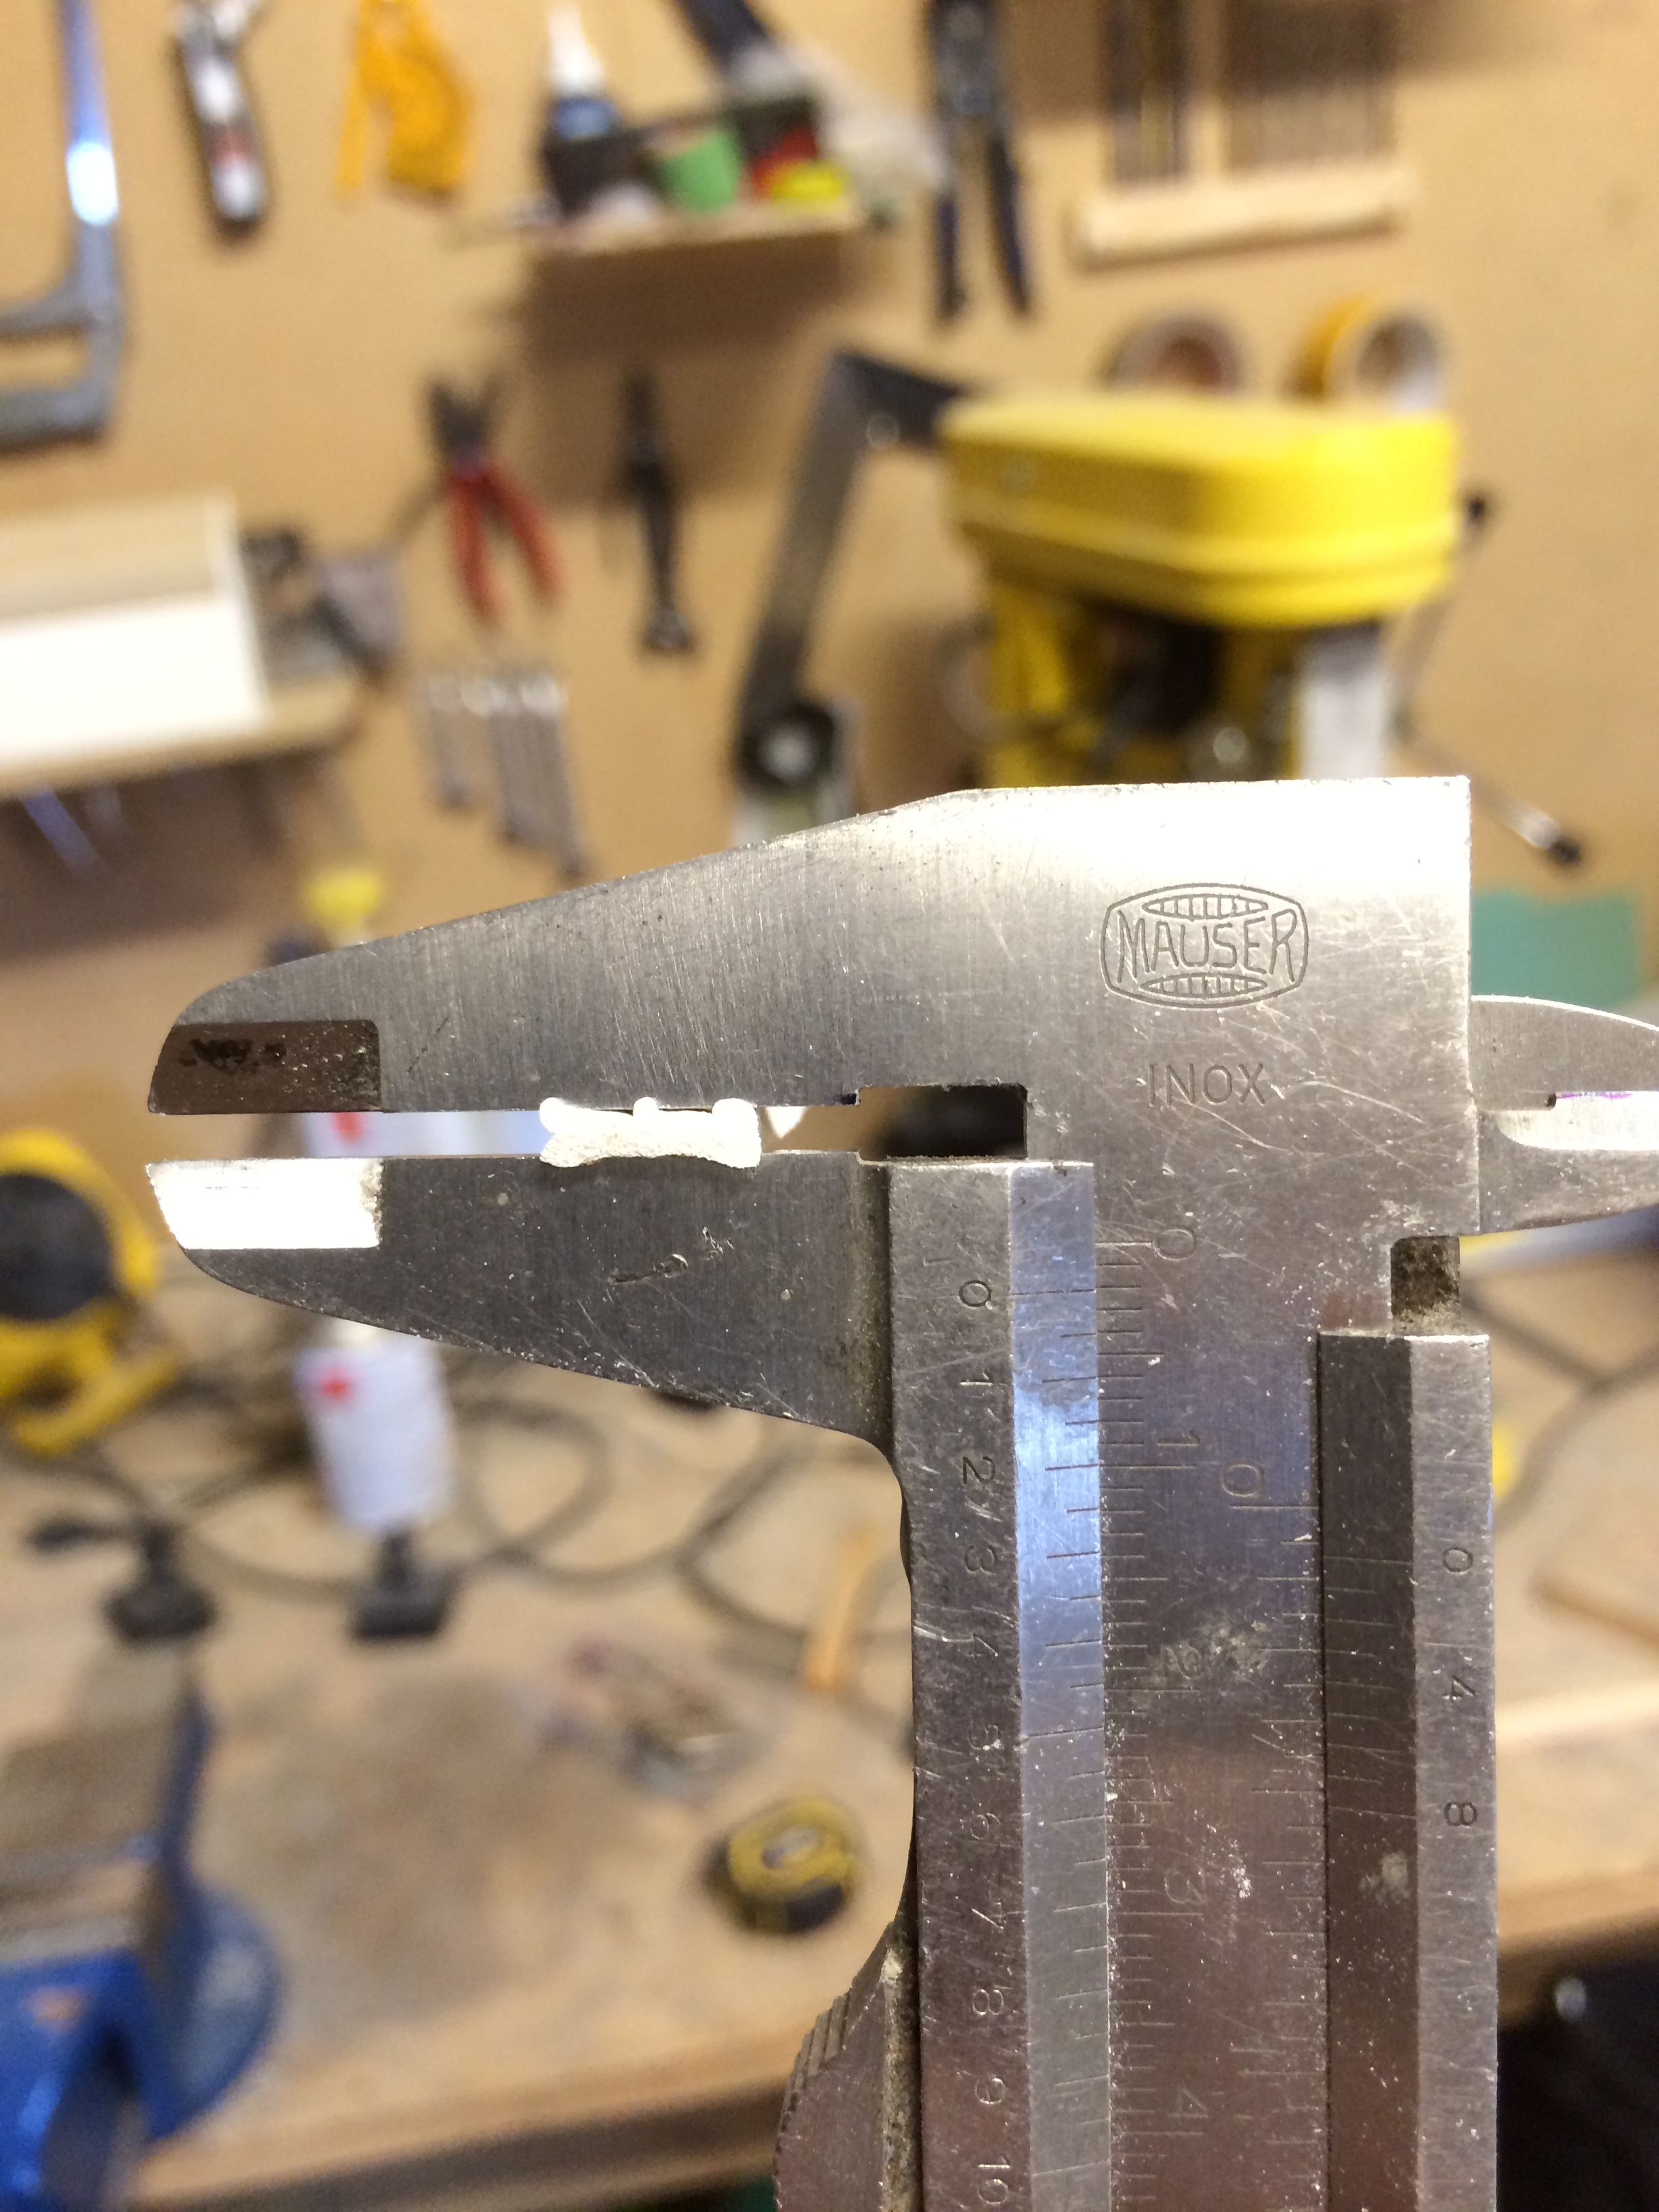
2014-04-06: Compressed it will build 2mm.
2014-04-06: I took some mixing sticks and fastened to the backside of the hatch with double-sided tape. This will be approx 2mm height and will be used to measure the neccessary height when I sand down the opening for the hatch in the next step.
2014-04-06: After carefully sanding and measuring I ended up with this groove, making room for the gasket.

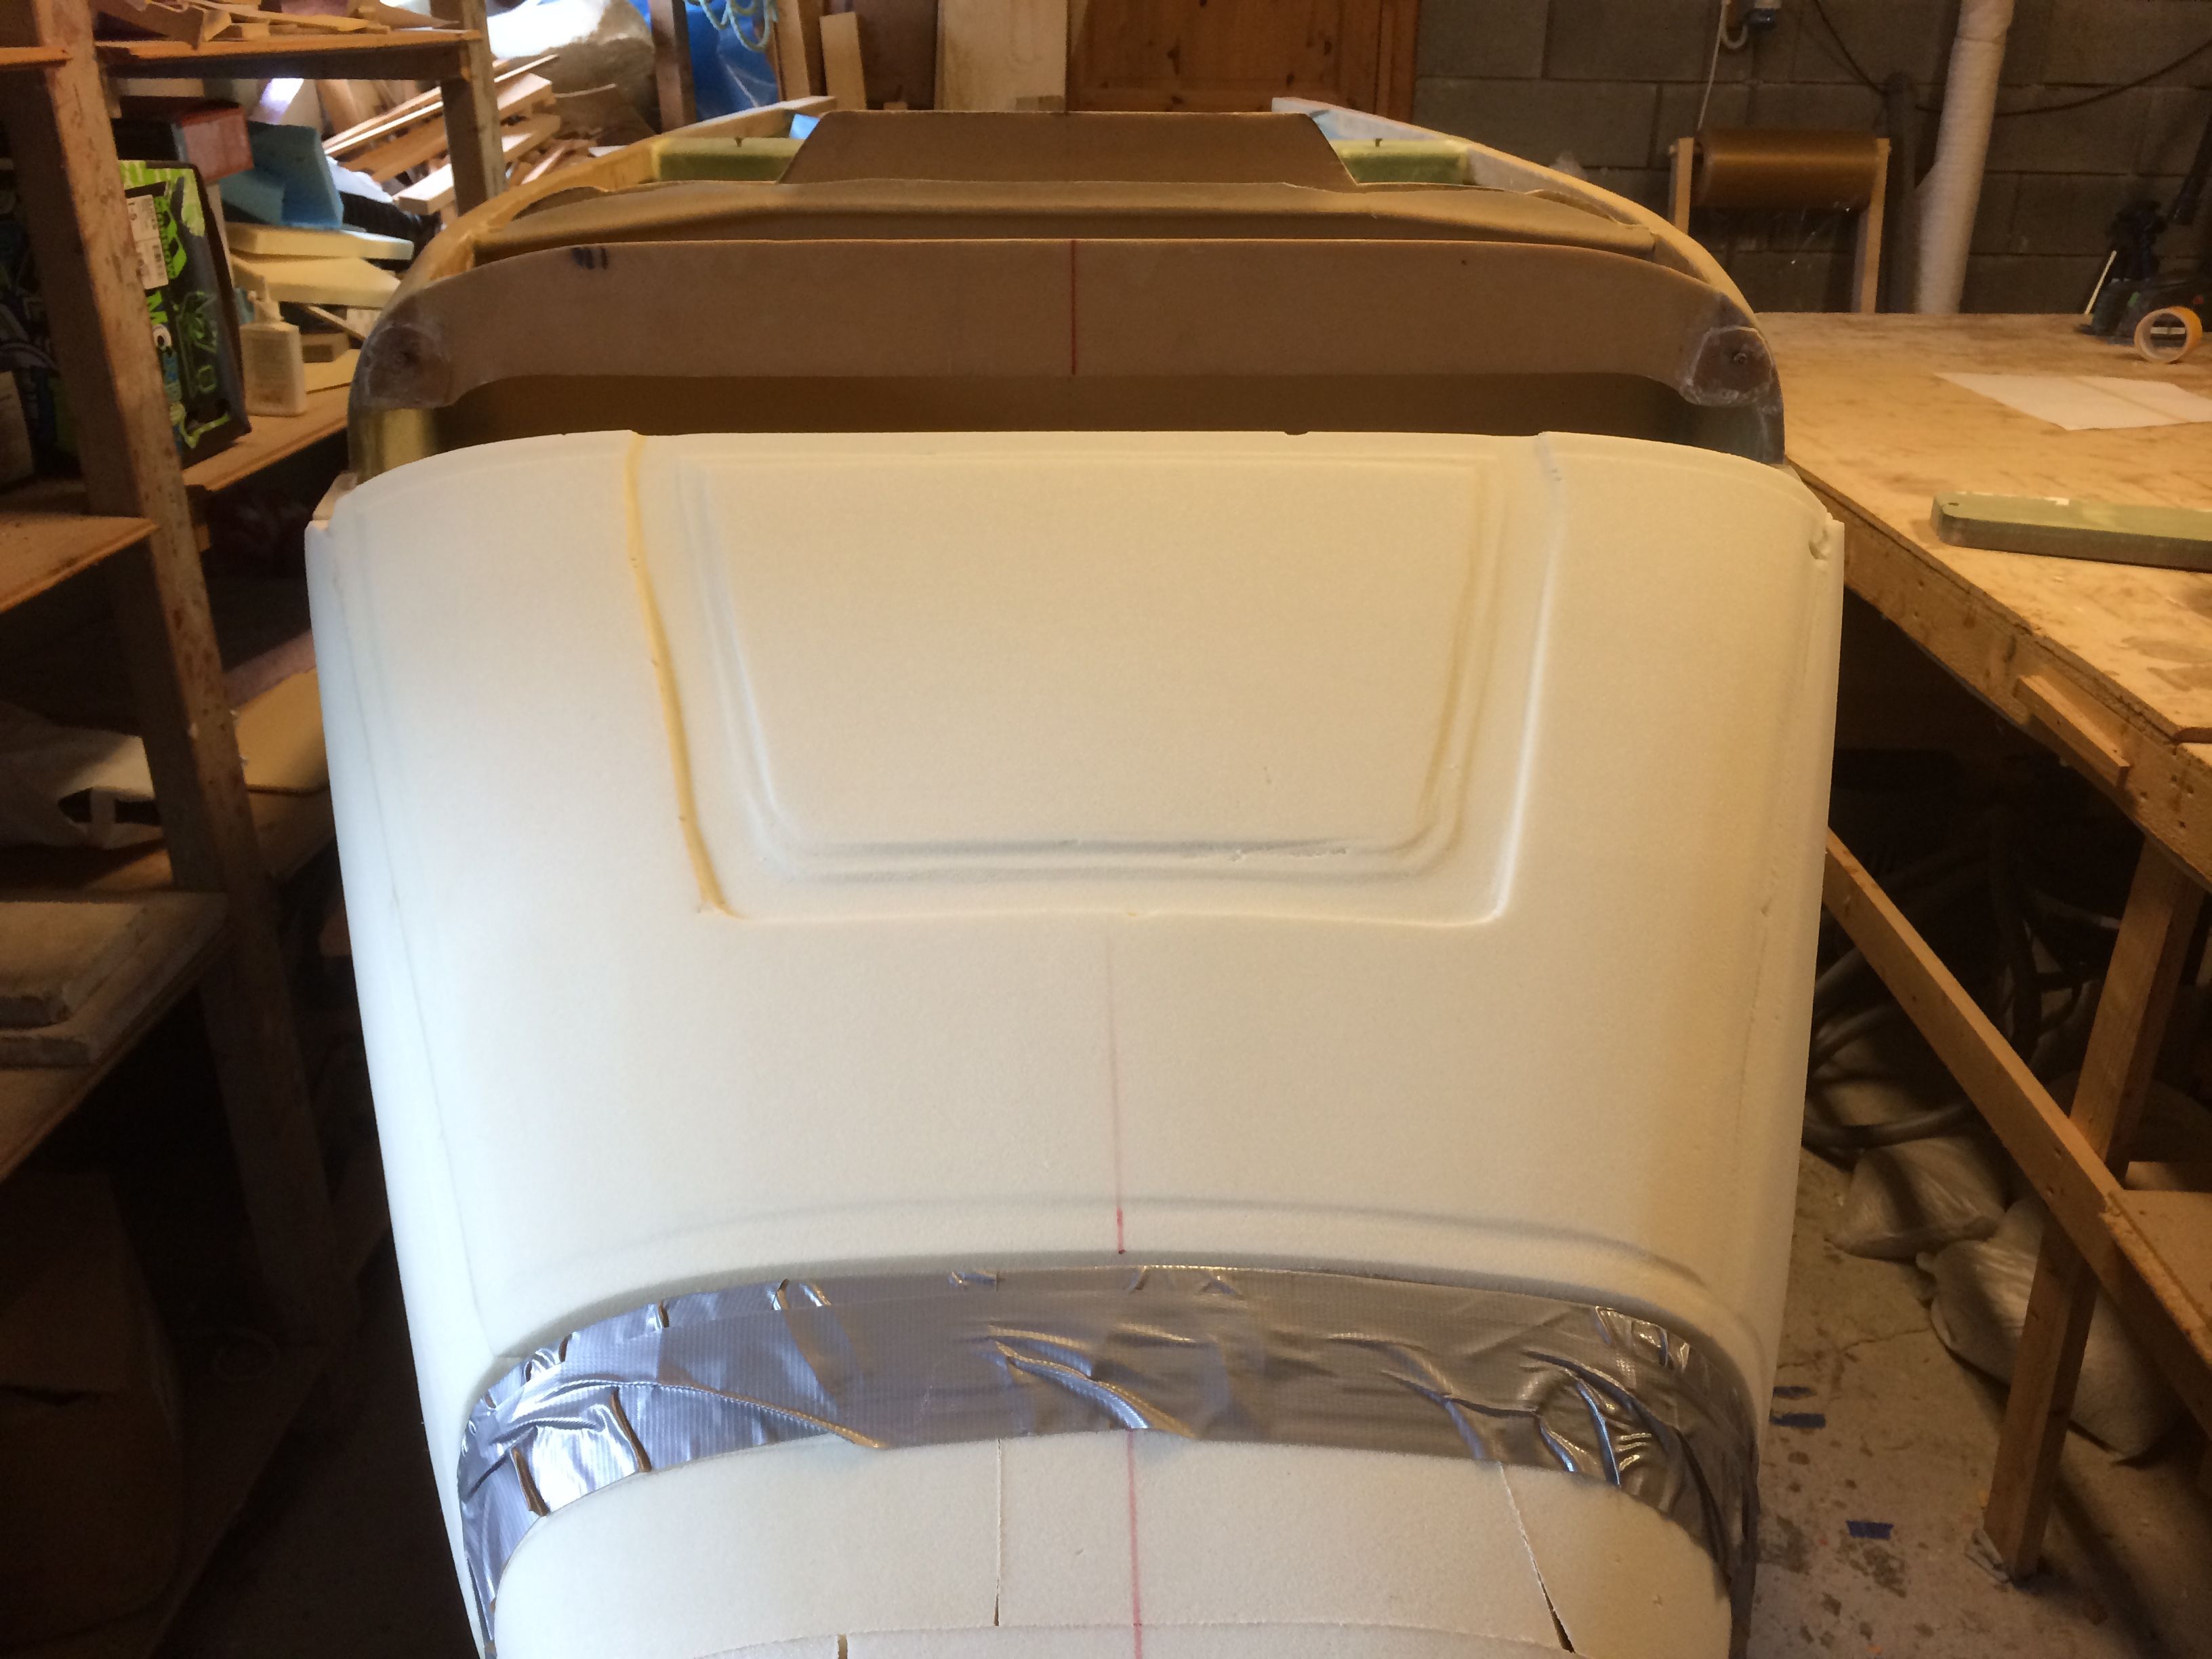
2014-04-06: The nose-hatch fits flush with the foam.
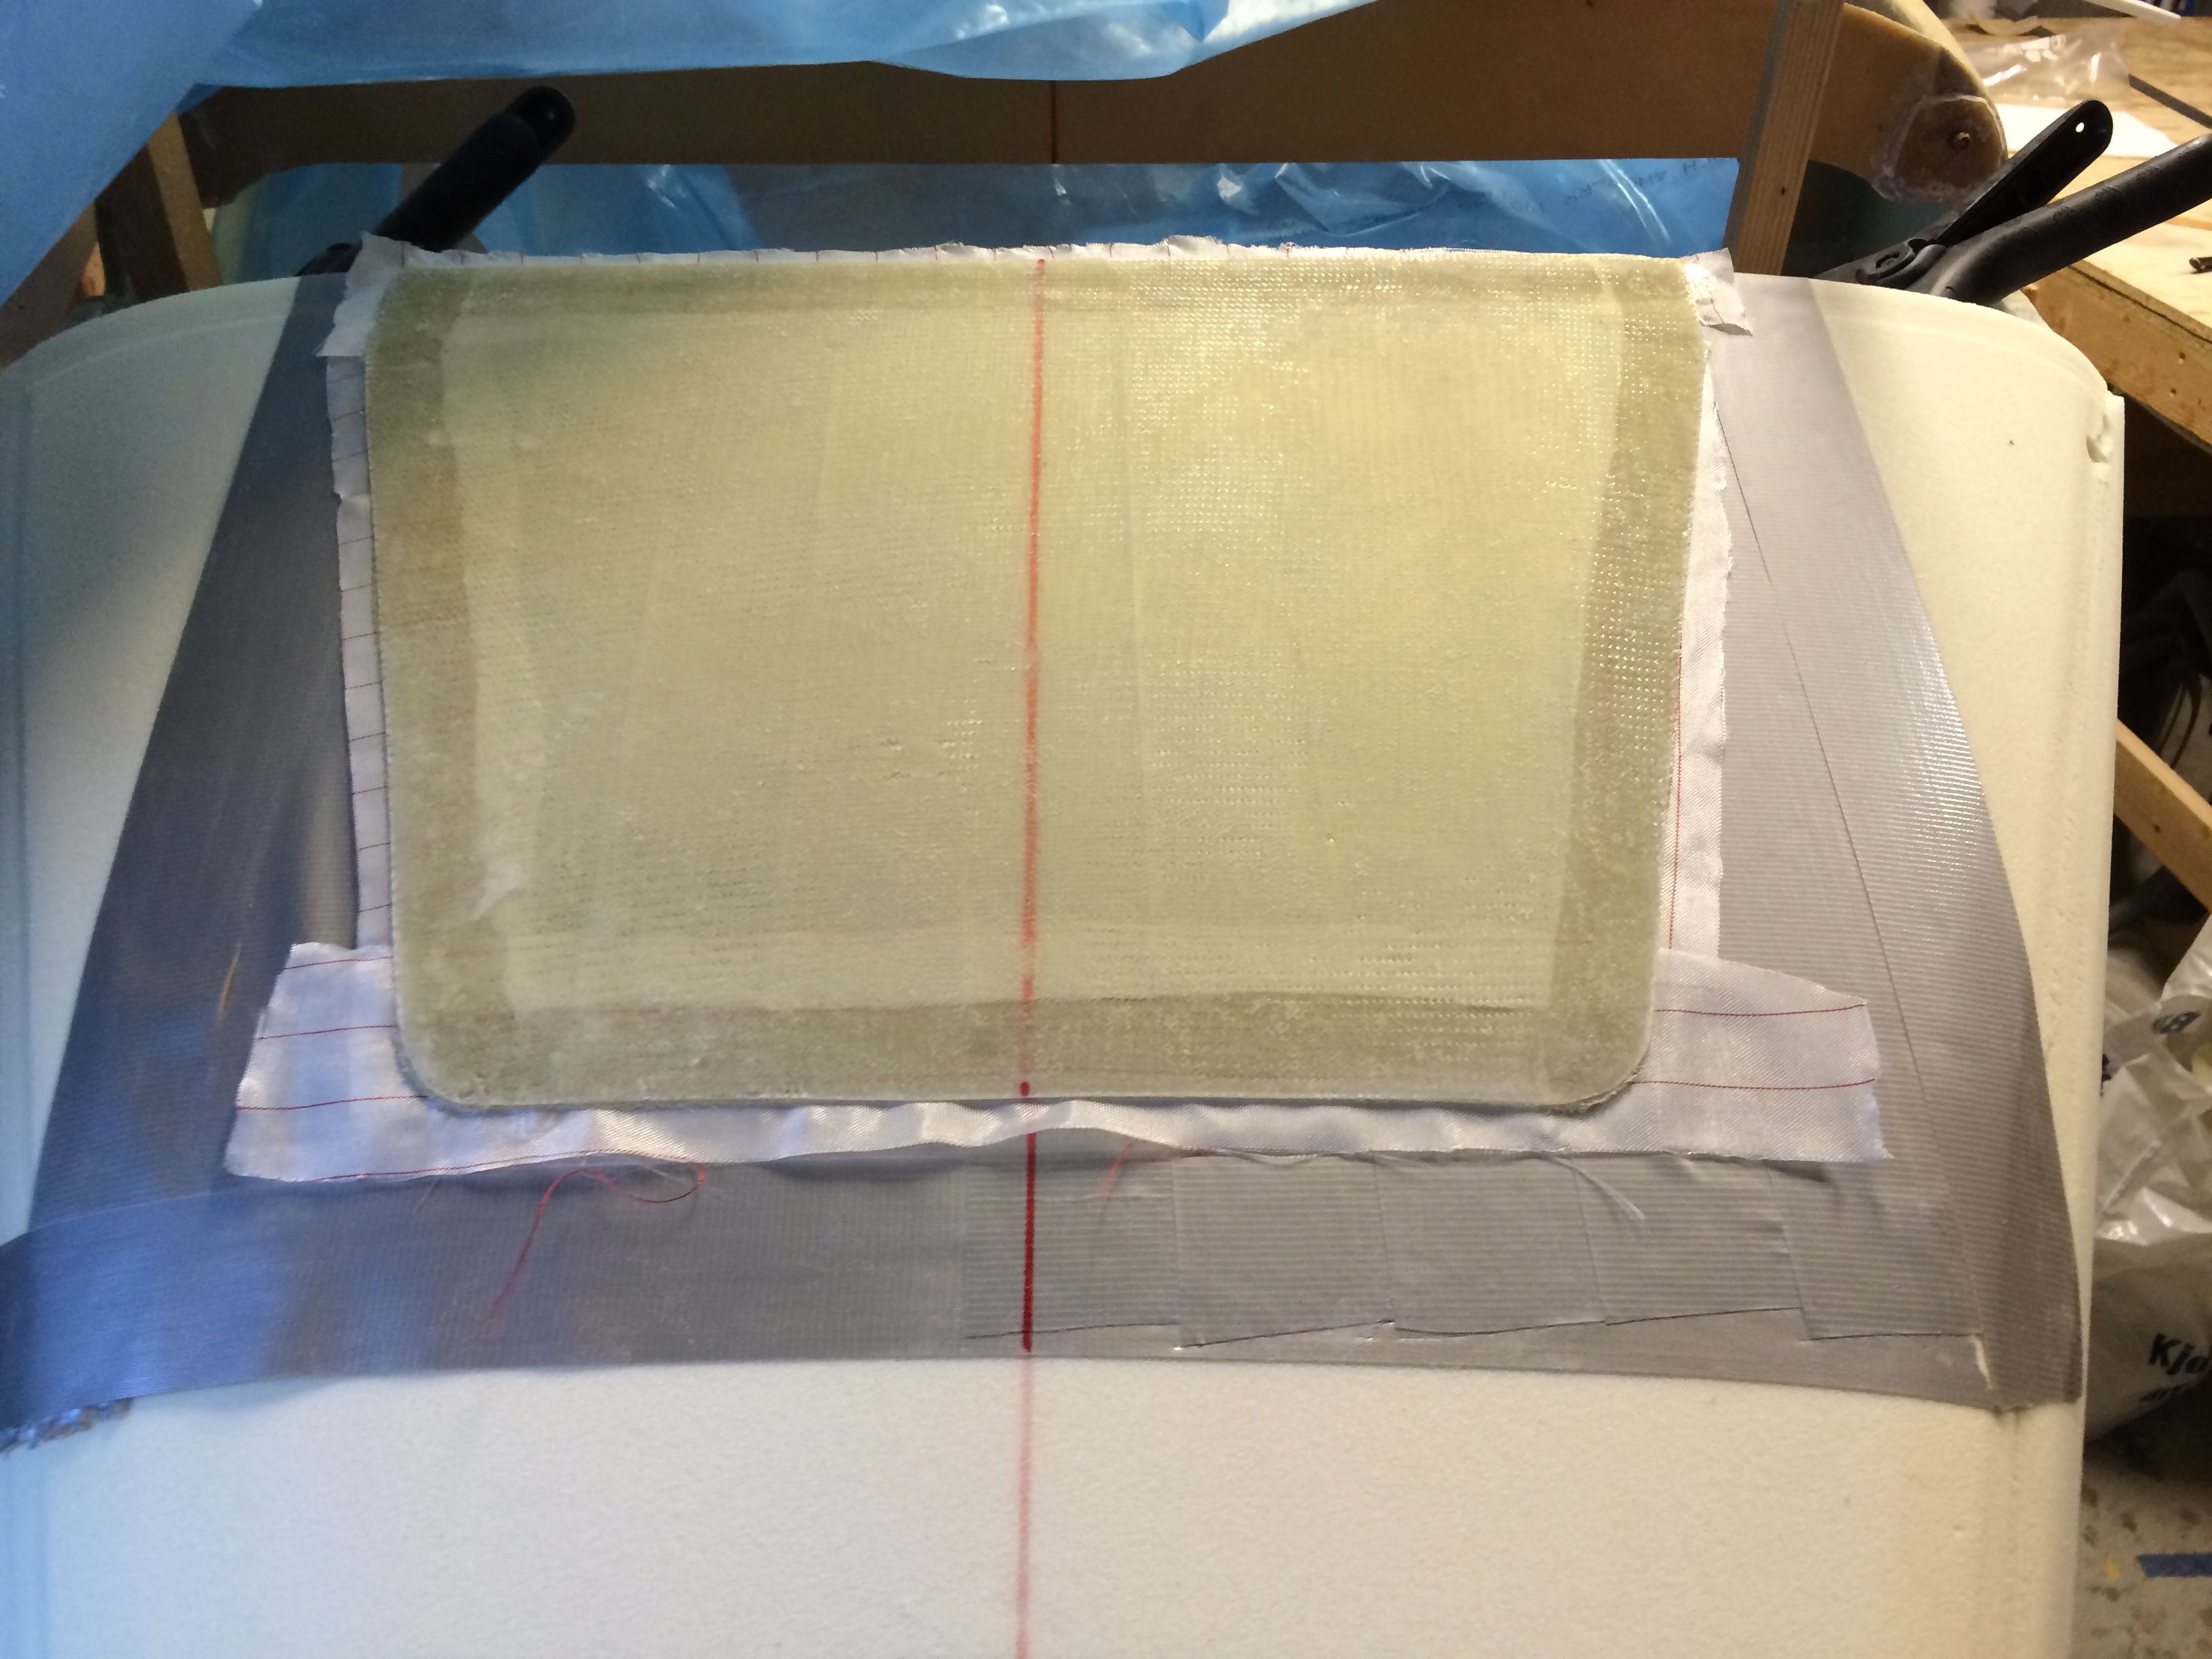
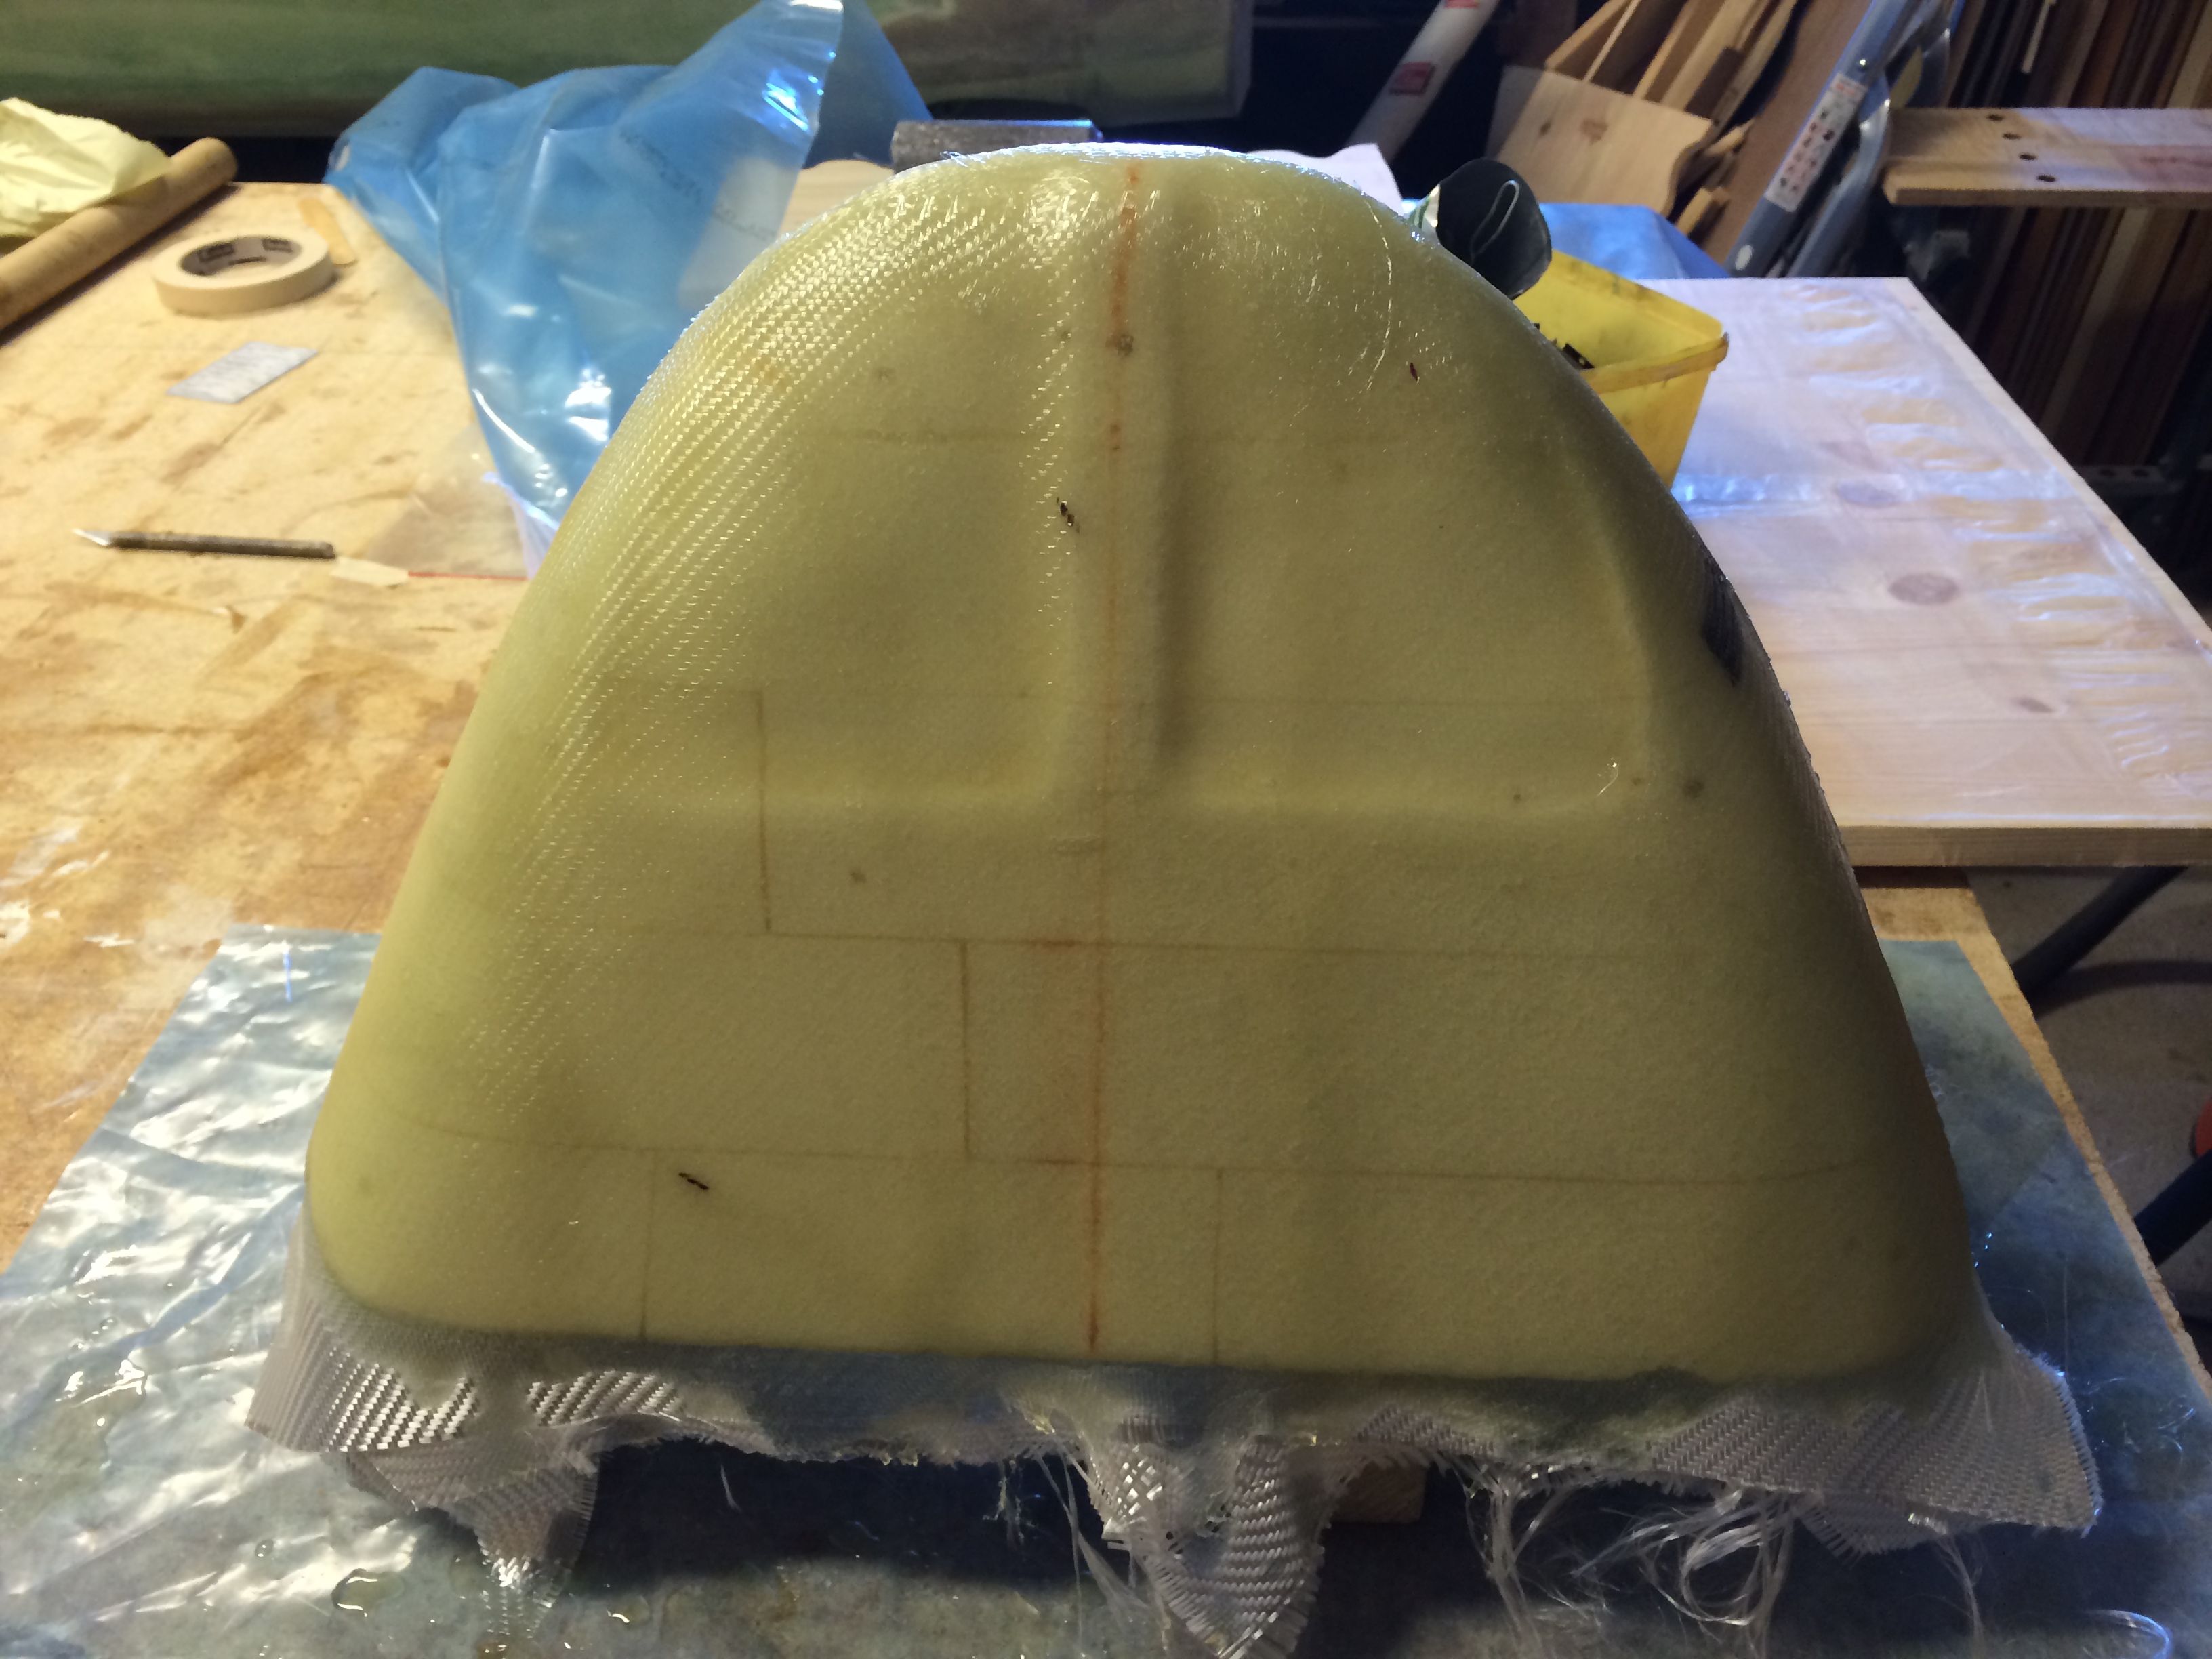
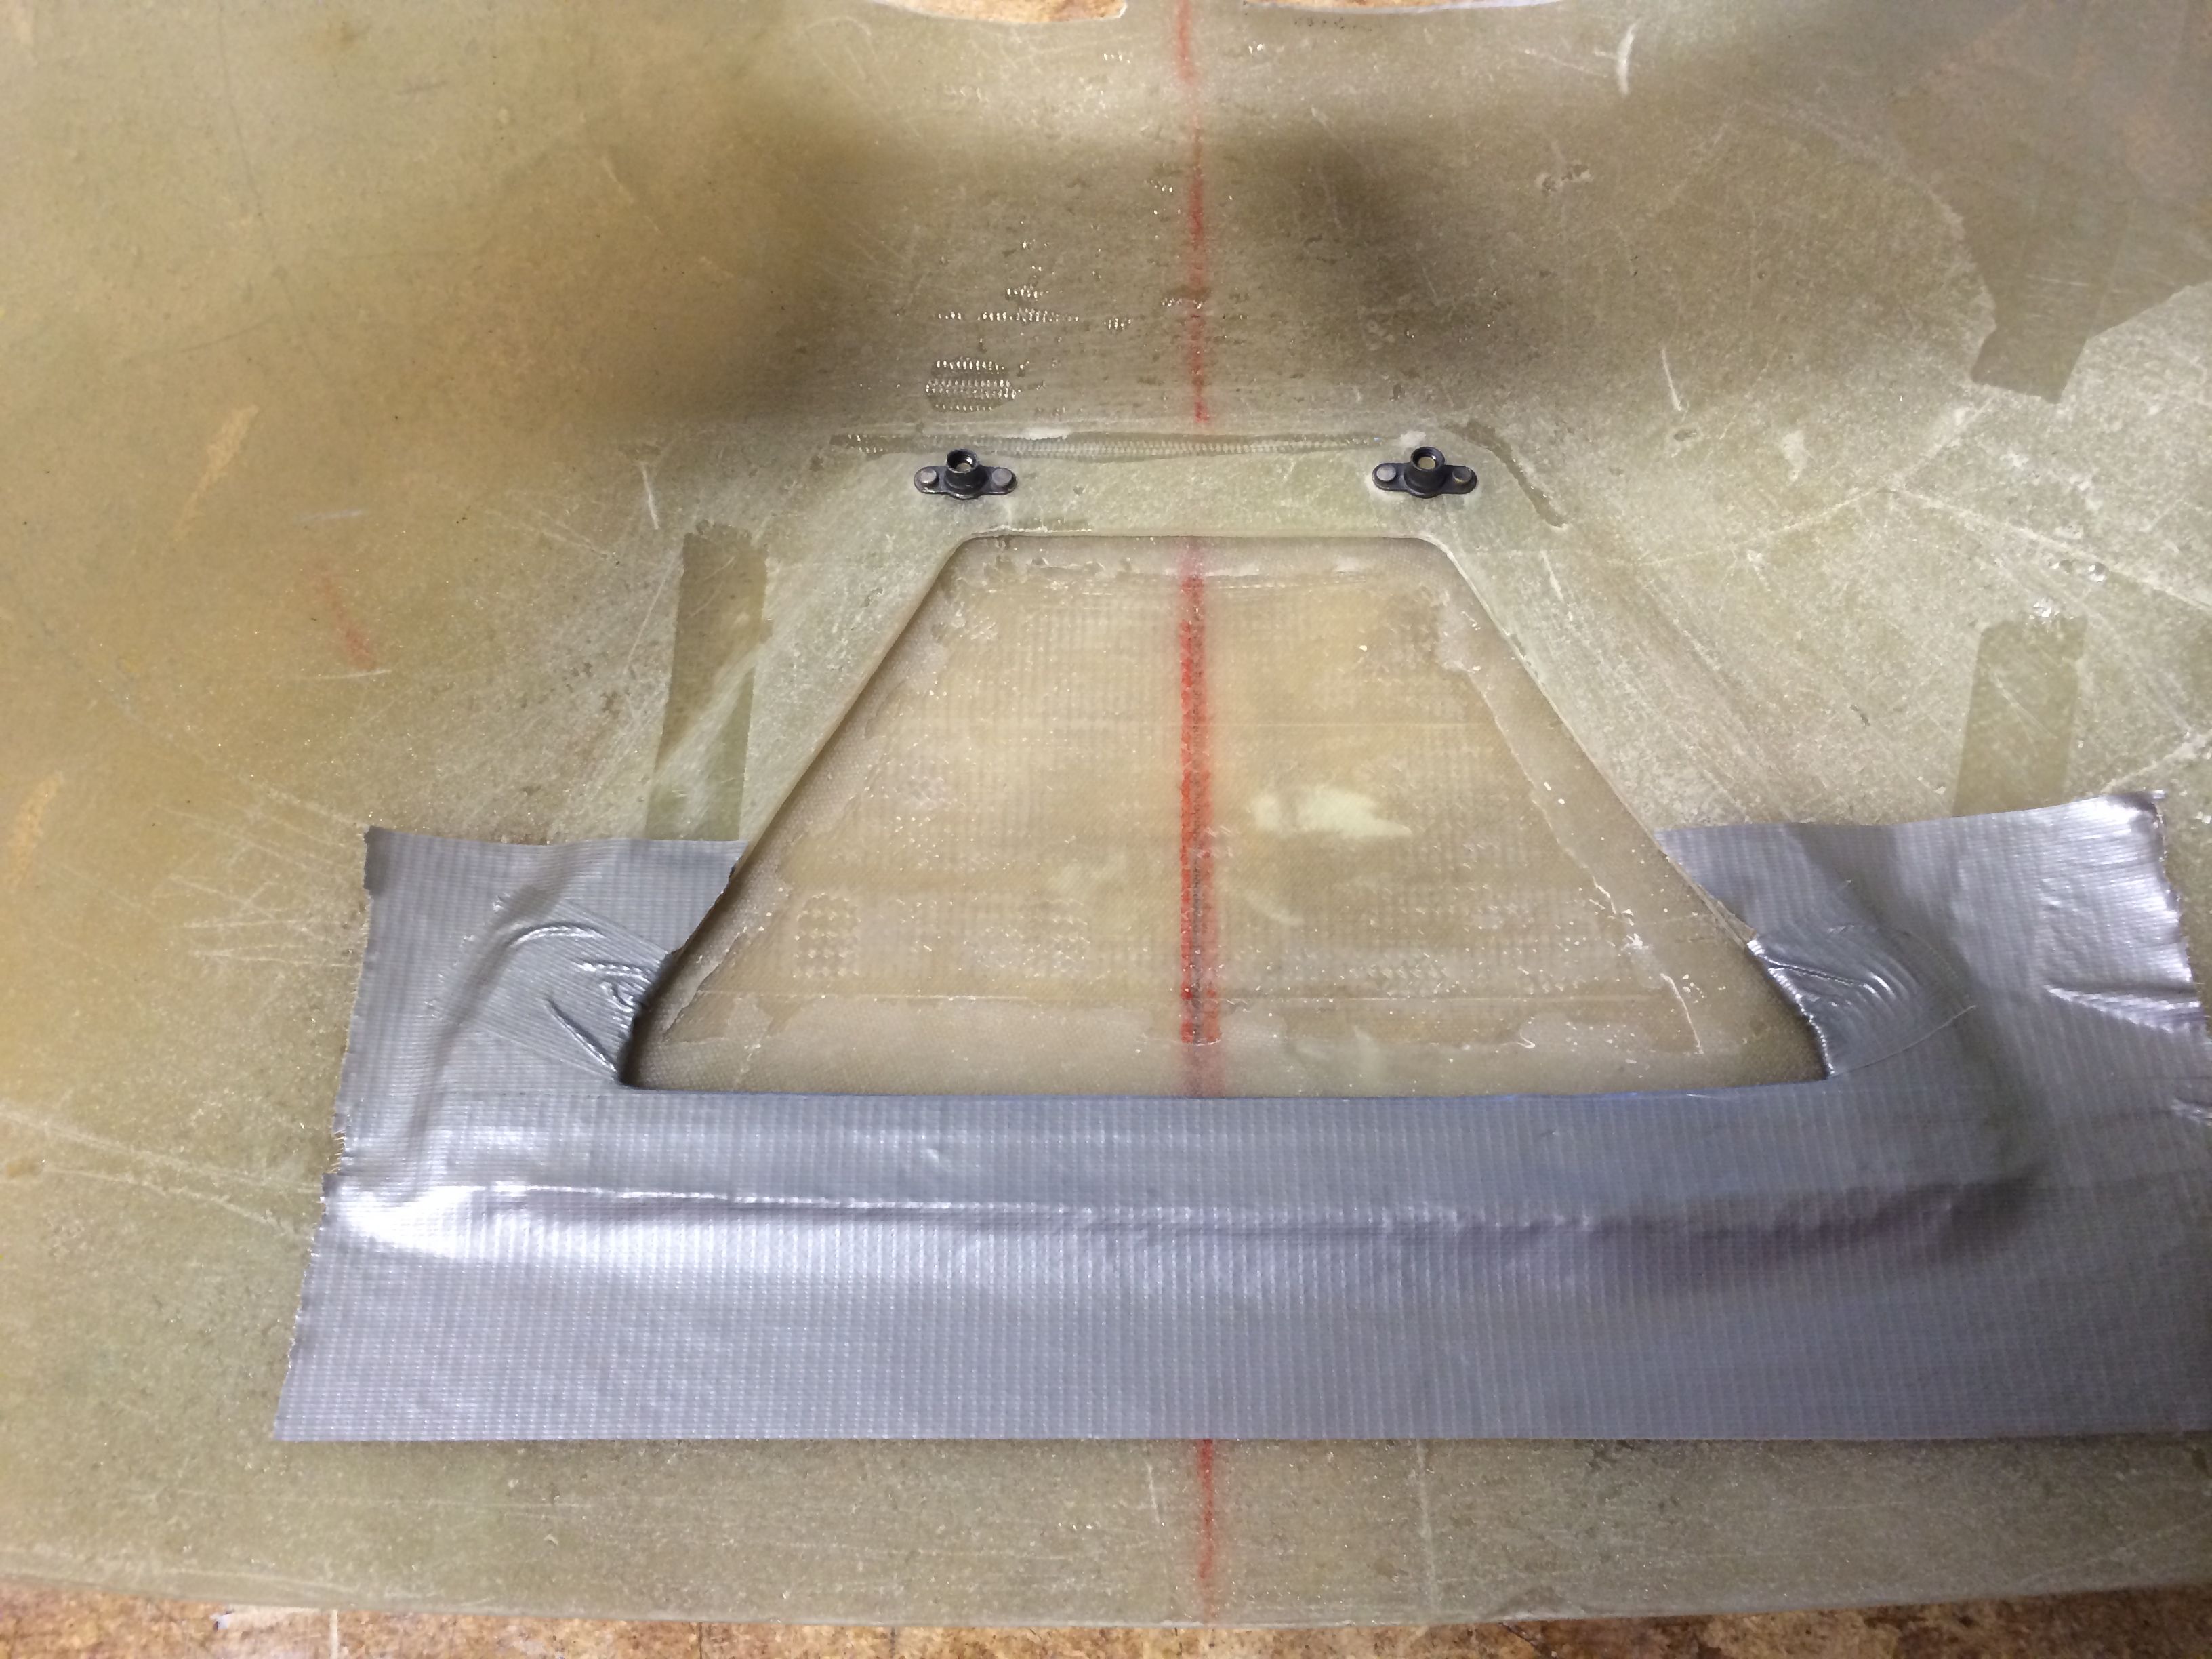
2014-04-06: Then I glassed the top and sides with 2BID. I covered the nose-hatch with some saran-wrap (bad choice) and put it in place ontop of the wet BID so I can remove it after cure. I peel-plied the glass and weighed down the hatch to press down the glass to make it conform with the hatch and the groove.
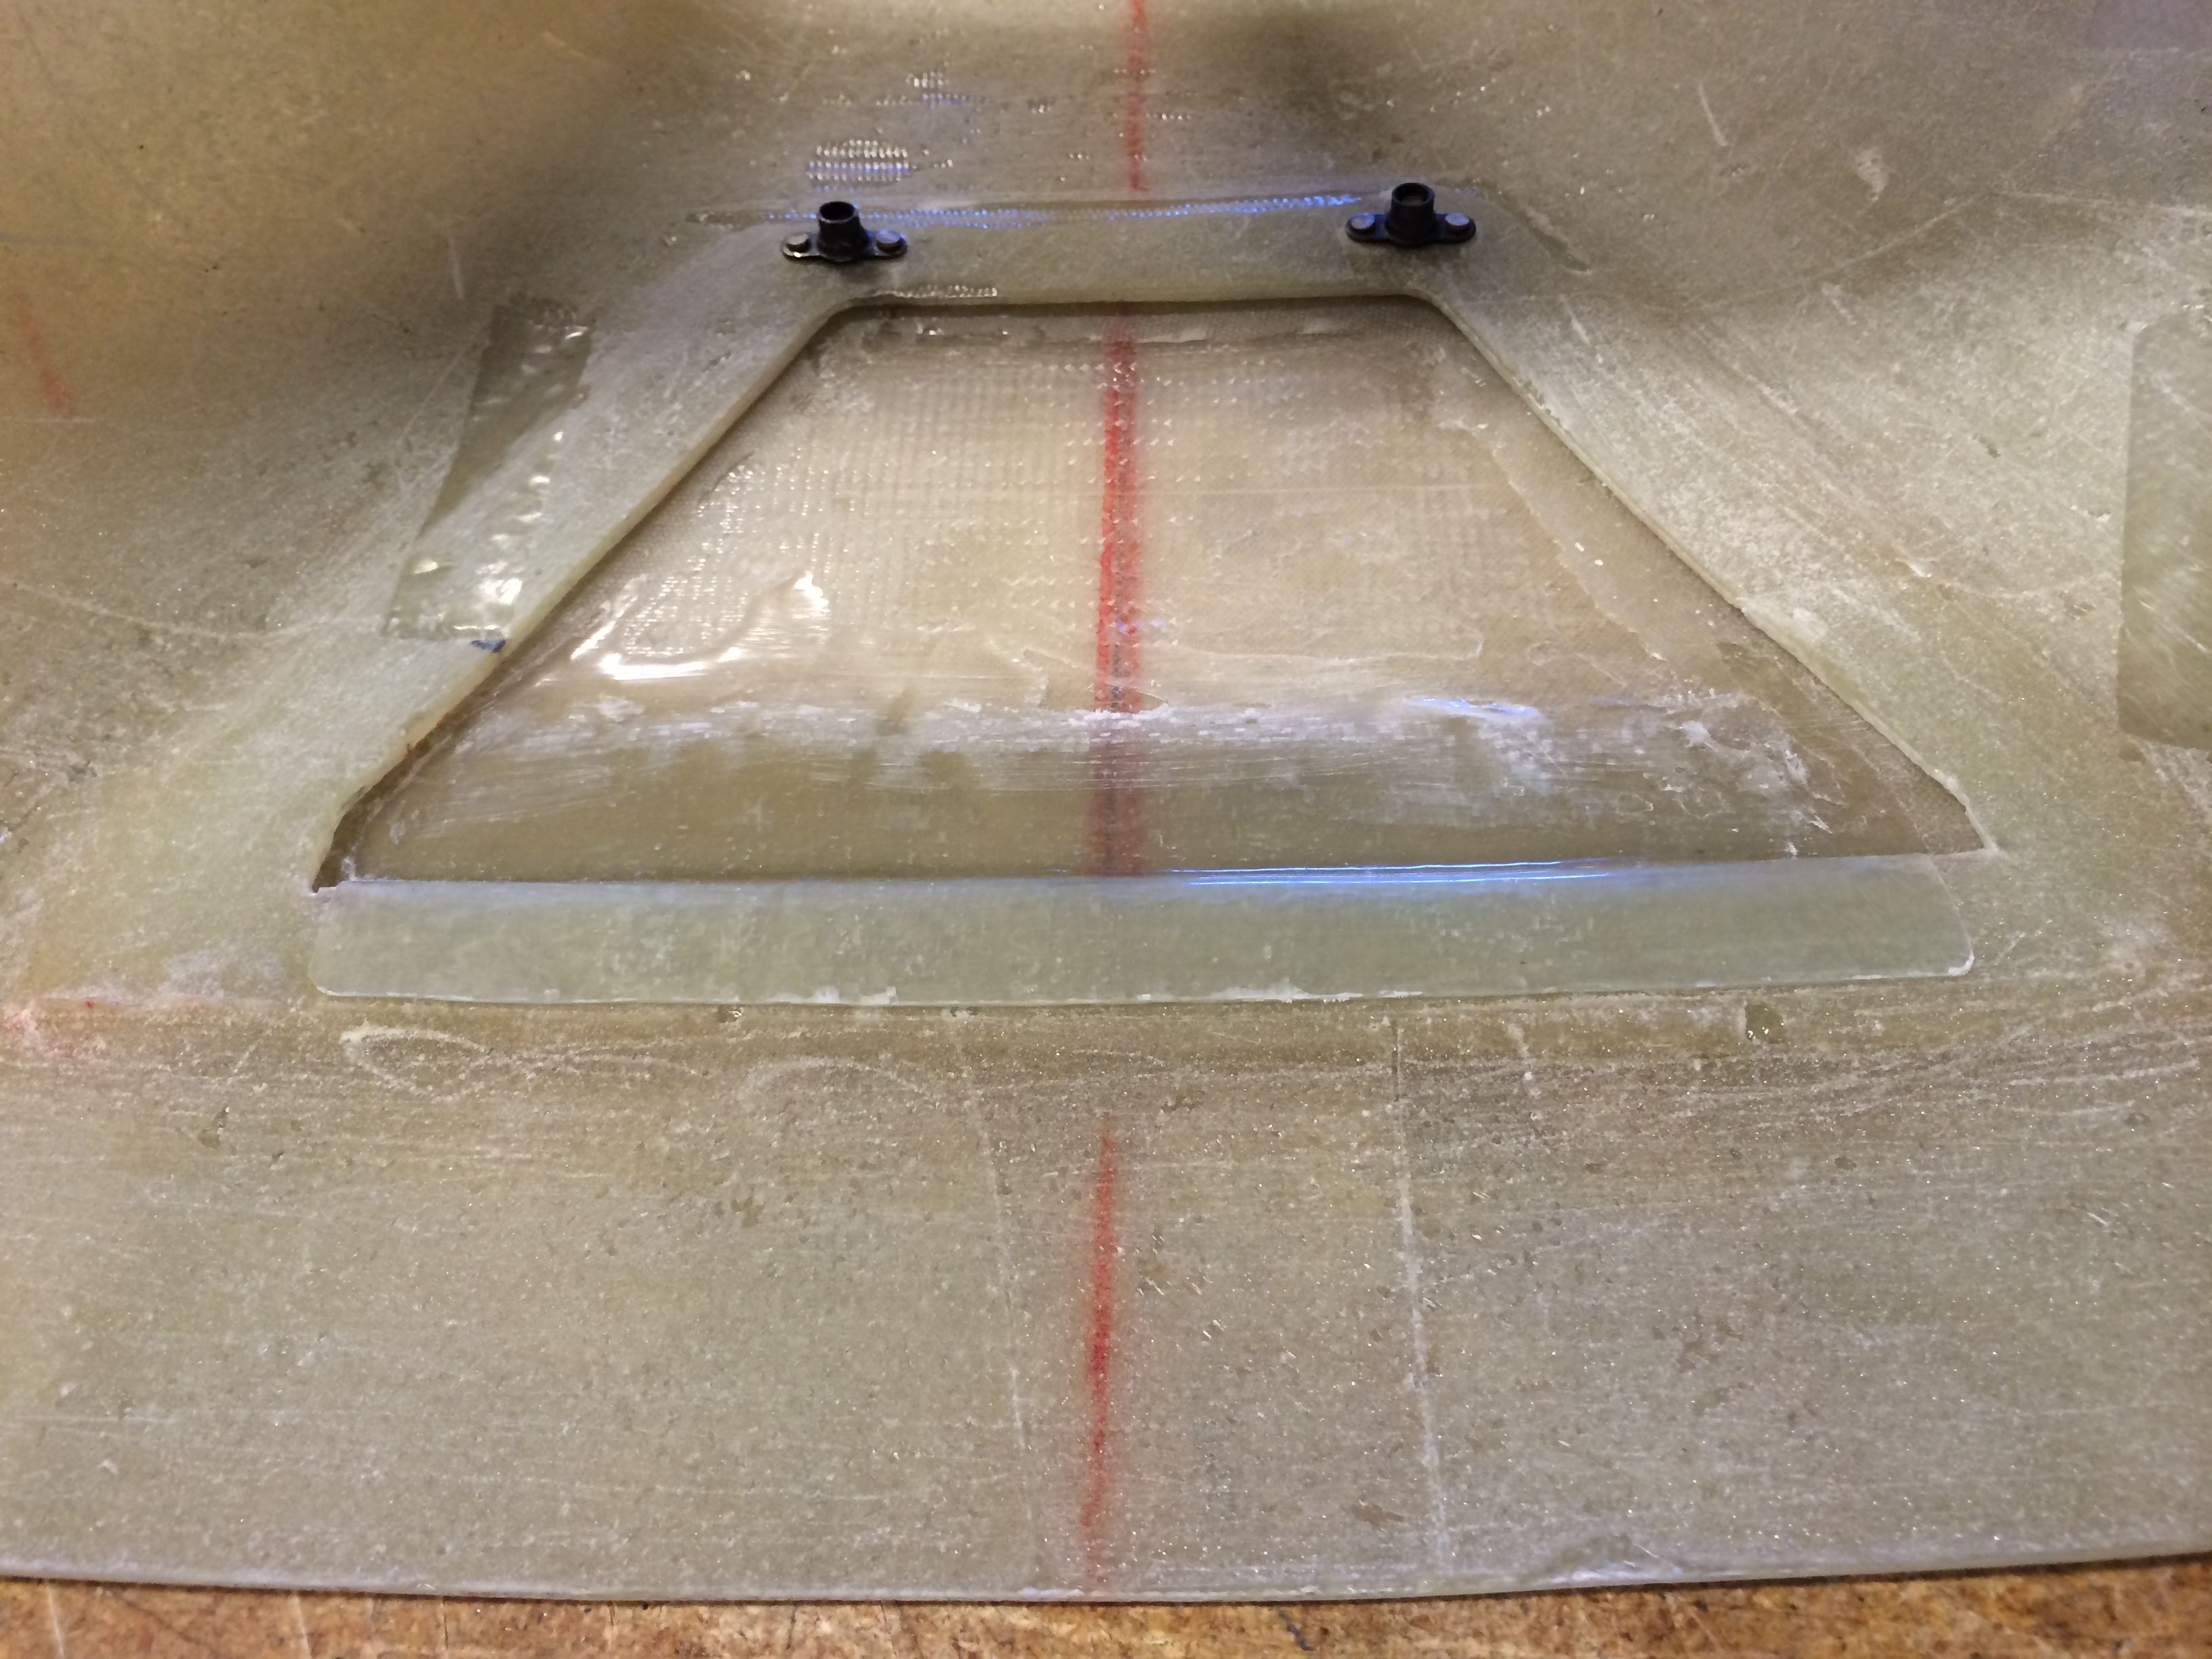
2014-04-07: Removed the peel-ply and the saran-wrap around the nose hatch. The saran-wrap turned out to be harder to remove than aticipated. I had to sand of the saran-wrap from the cured glass to remove all of it. Should have used a thicker plastic, or taped the underside of the hatch with packaging tape instead.
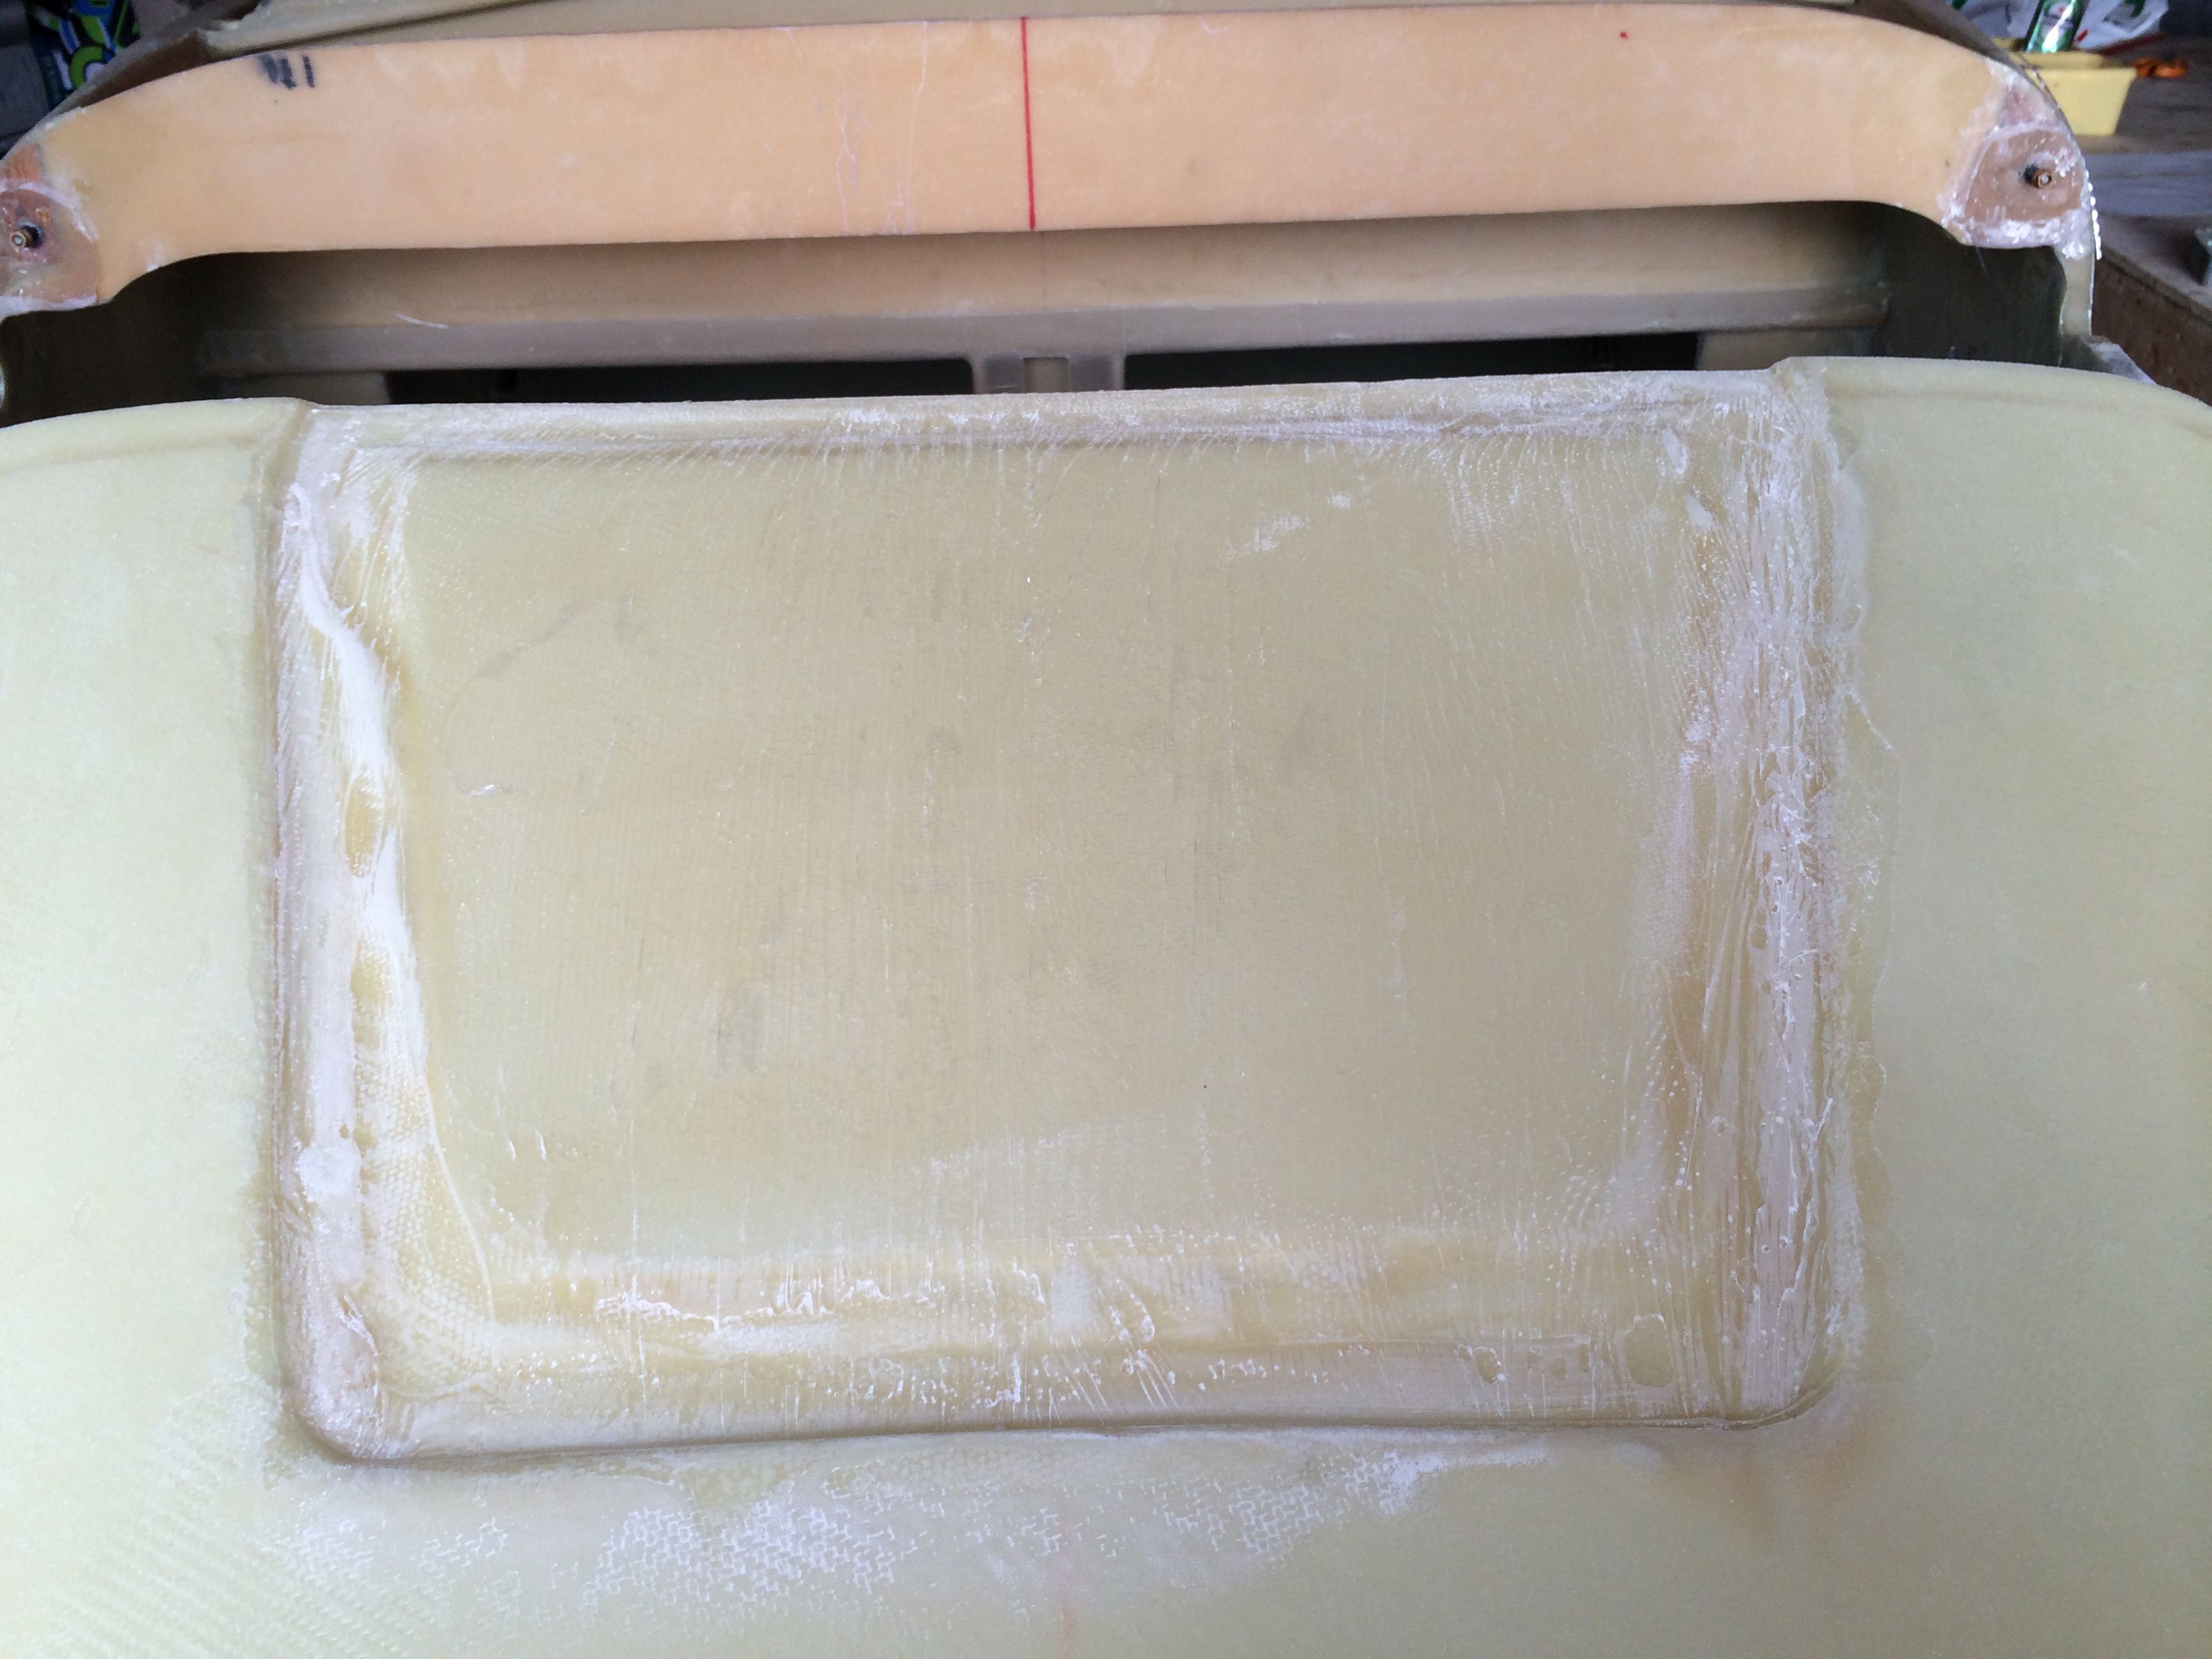
2014-04-07: Even though this picture doesn’t show it, the groove was actually rather fine. It will come out even better when I cut the hole for the opening.
2014-04-12: Cut out the opening.

2014-04-12: Cut off the top again to glass the underside.
2014-04-12: Sanded the perimeter around the opening according to the plans, made room for flox corners as well.
2014-04-12: Glassed the aft side of the opening with 2BID (flox corners as well).
2014-04-14: Glassed the underside with 1BID (flox corners as well). Glassed additional 2BID around the opening to make the edge stronger.
2014-04-14: Floxed the top back on the fuselage and taped the inner and outer seams with 2BID. I also chopped off the nose cone to prepare it for glassing.
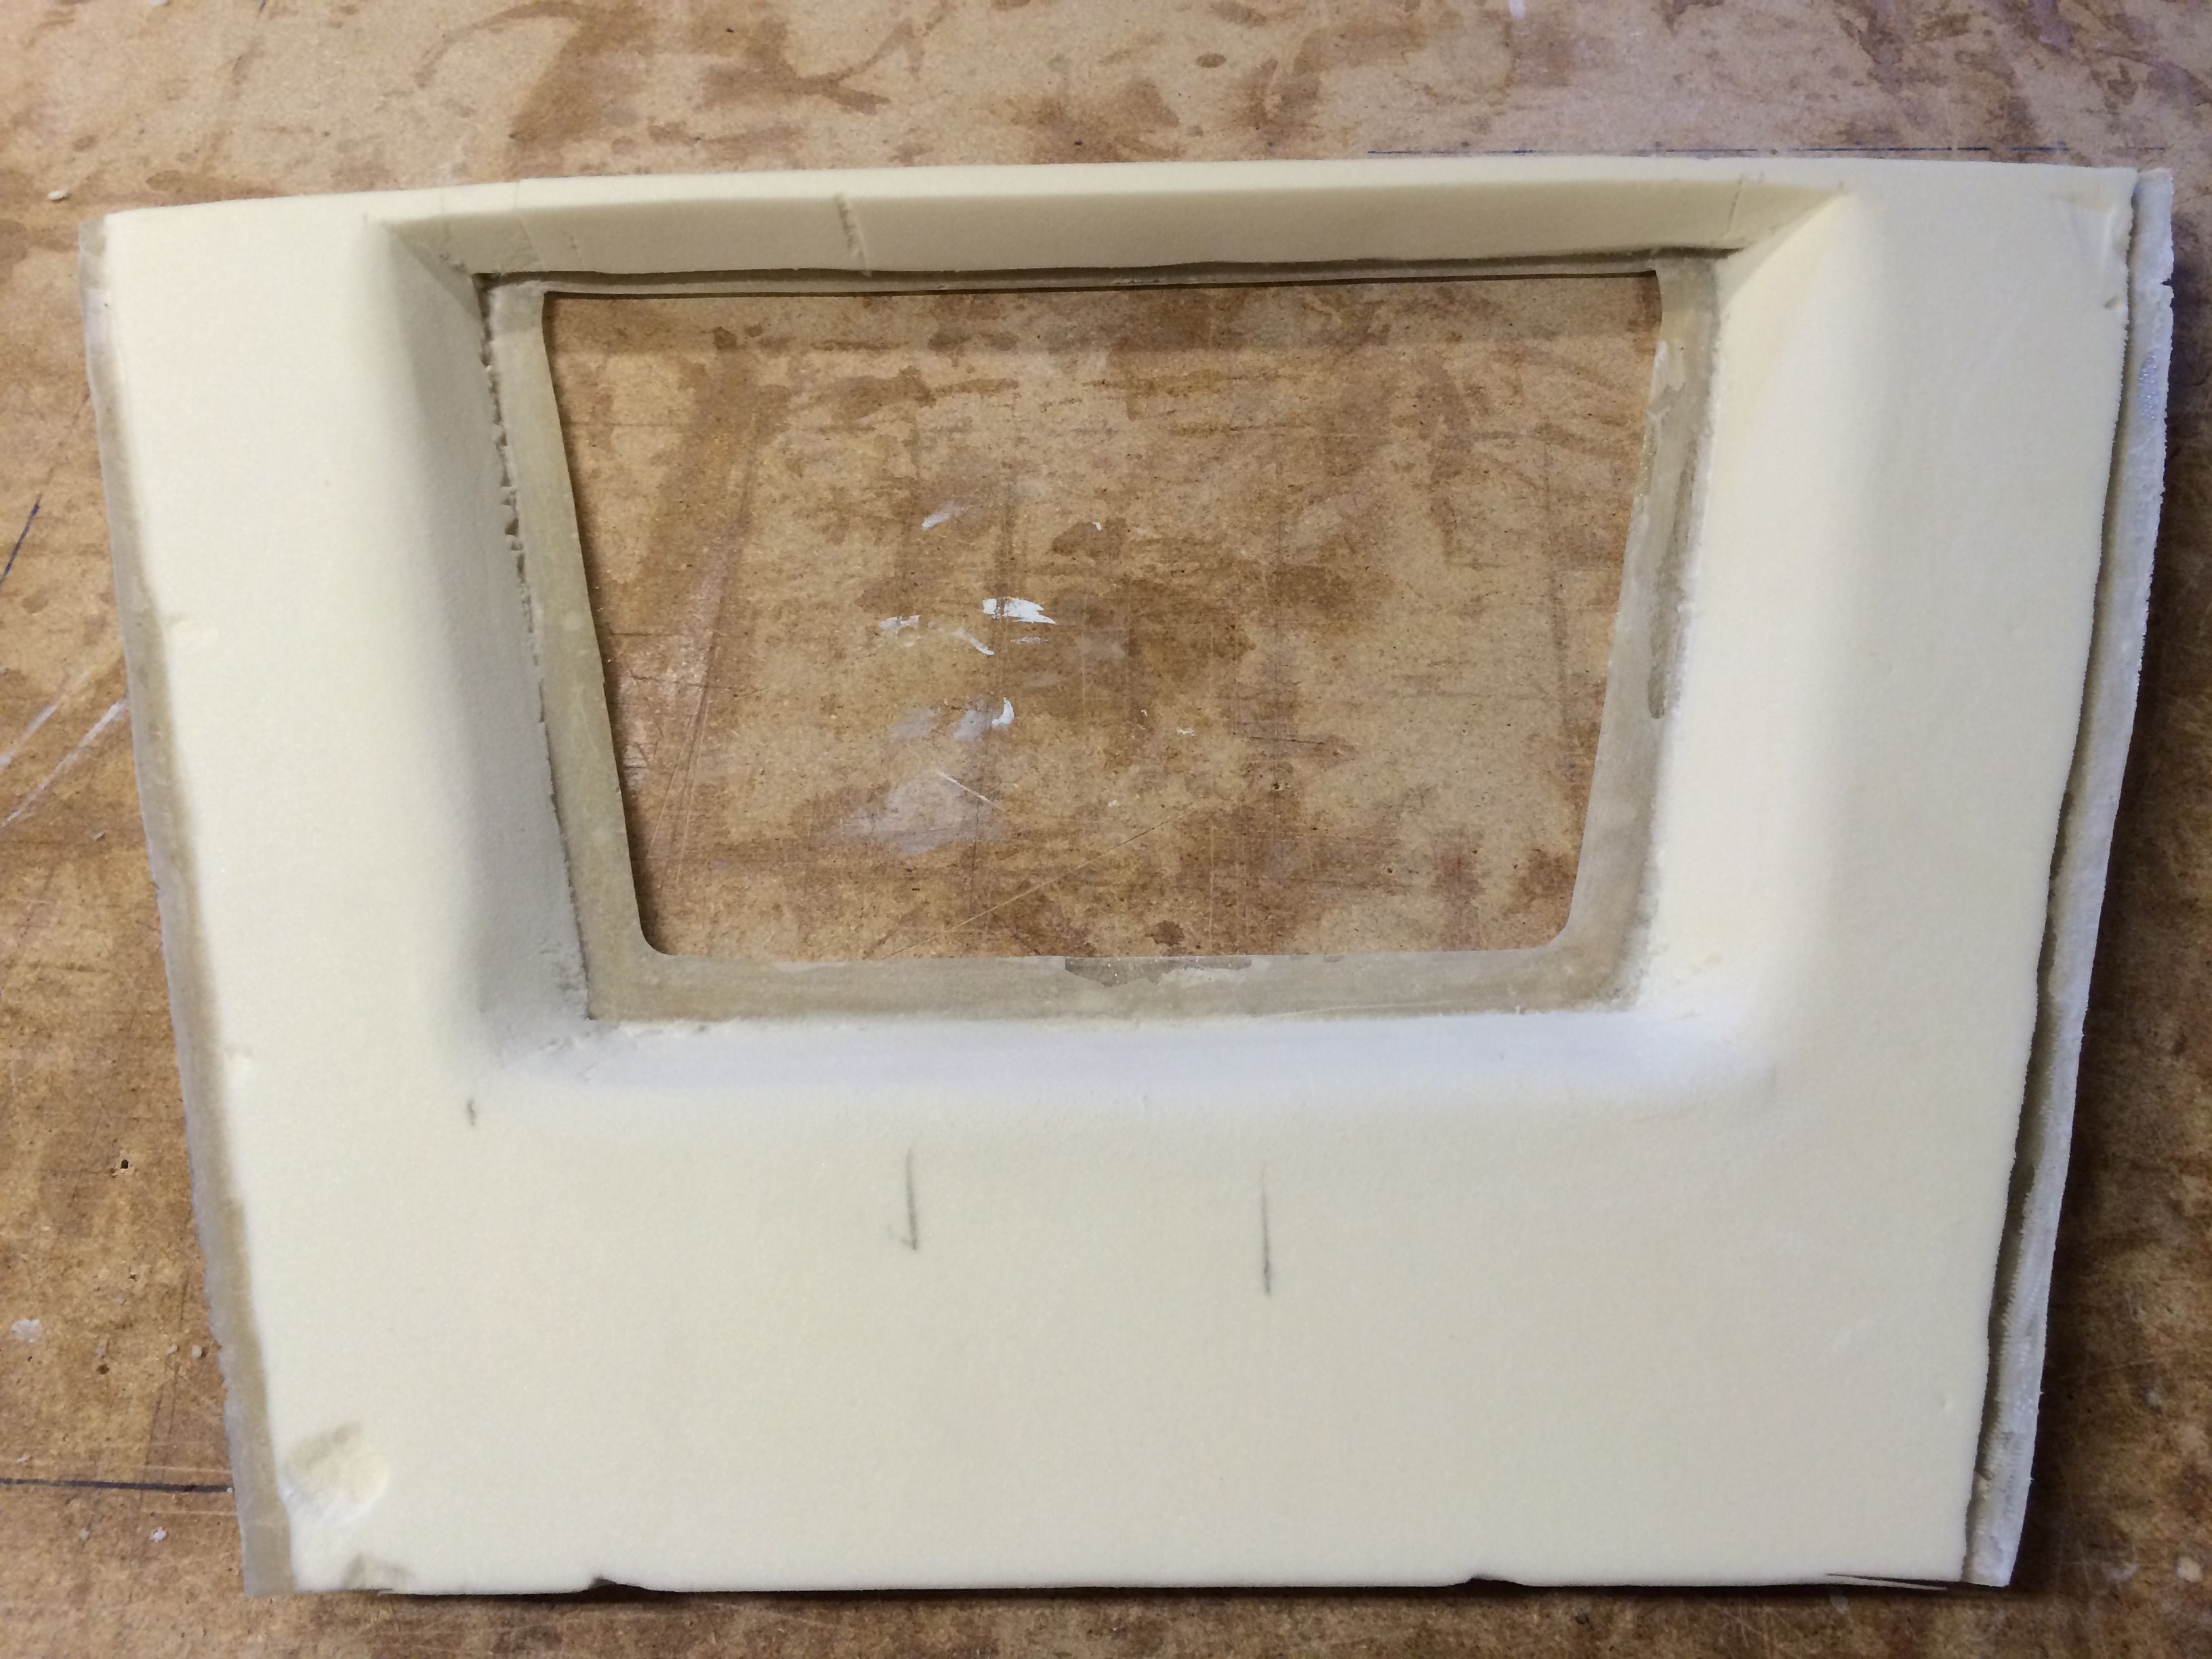
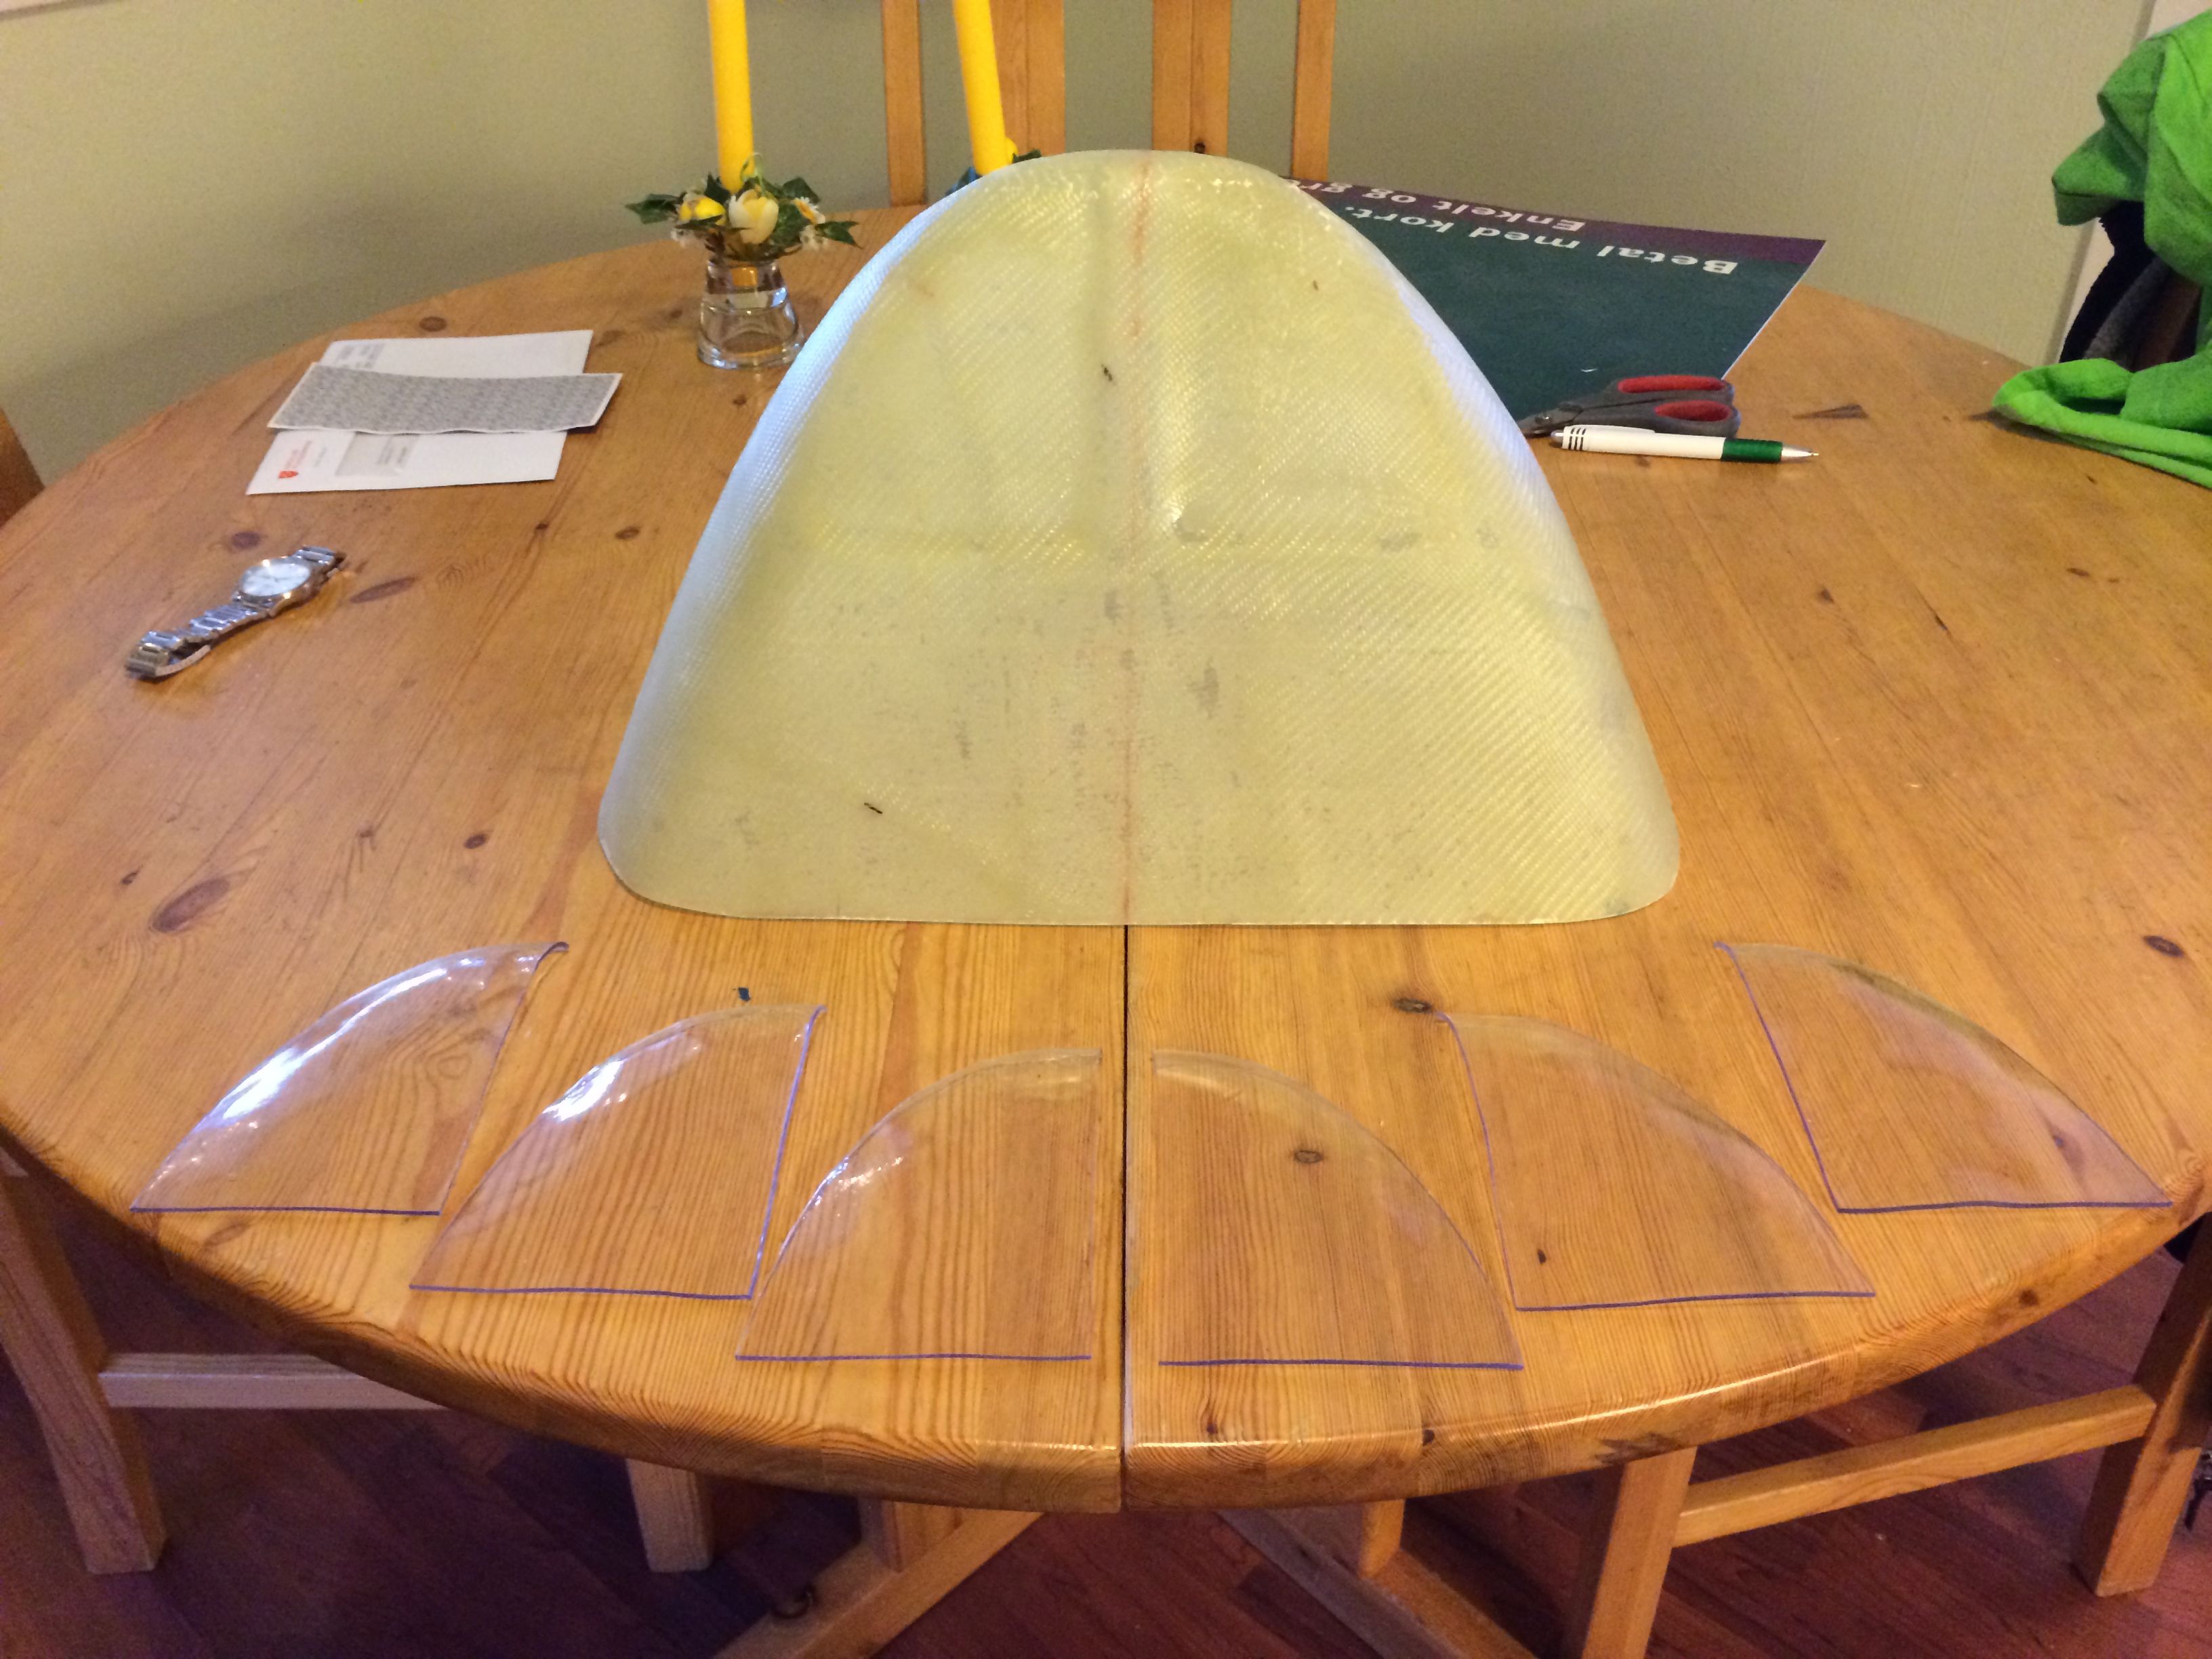
2014-04-14: Made a template for the door in the nose cone. Made the door similar to the other door using 3BID.

2014-04-14: Made template for the landing light covers as well.
2014-04-14: Sanded depressions for the landing light covers. The covers will be floxed to a flange later on.
2014-04-15: Glassed the nose cone with 4 plies of BID. I decided not to use any tape between the foam and the glass as a release agent. The urethane is very dusty even though I vacuumed it several times. This makes the tape to loosen very easy hence making it difficult to get a slick surface.

2014-04-16: After cure I started to carve out the urethane plug. It came out rather easy.

2014-04-16: Sanded the inside with 40 grit paper to remove all traces of the urethane.
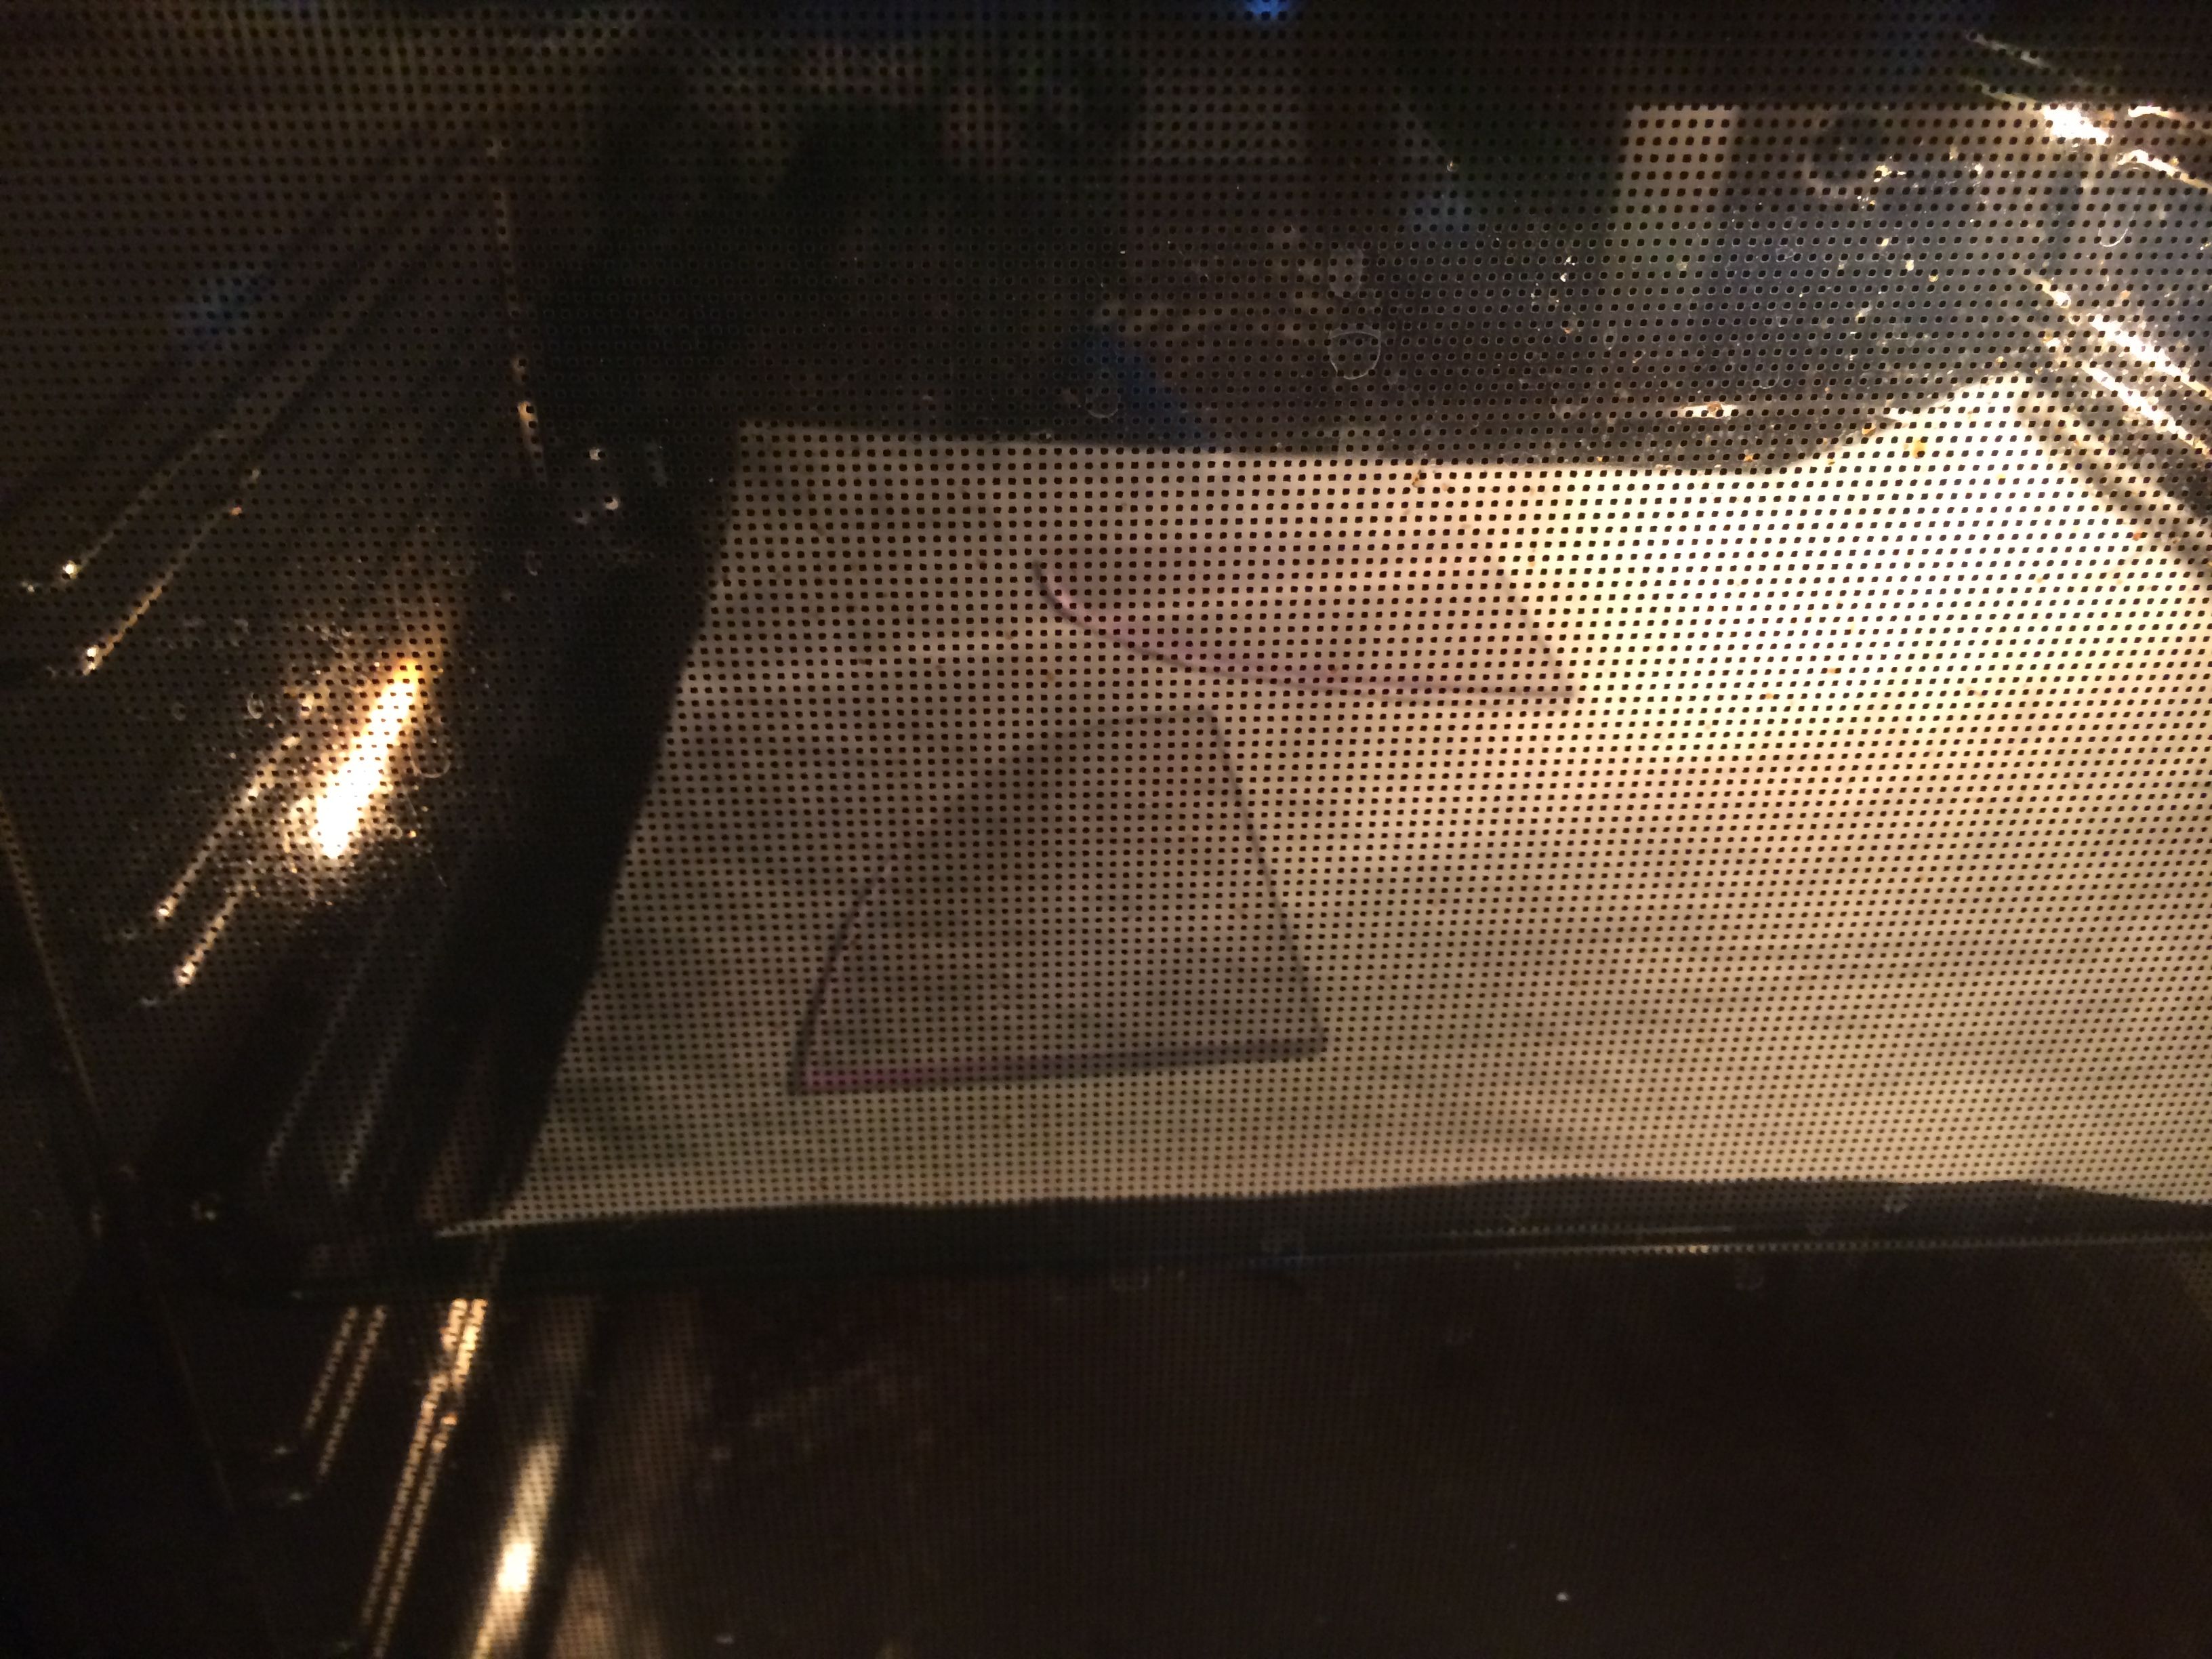
2014-04-16: Next step was to make the landing light covers. I bought several 2mm sheets of a plastic glass called styrene-acrylonitrile (similar to lexan or plexiglass). I used the band saw and sawed out 6 pieces using the template I made earlier. Then I heated the pieces in my oven to 150 degress Celcius (300F). After a couple of minutes the pieces was soft as a slice of cheese.
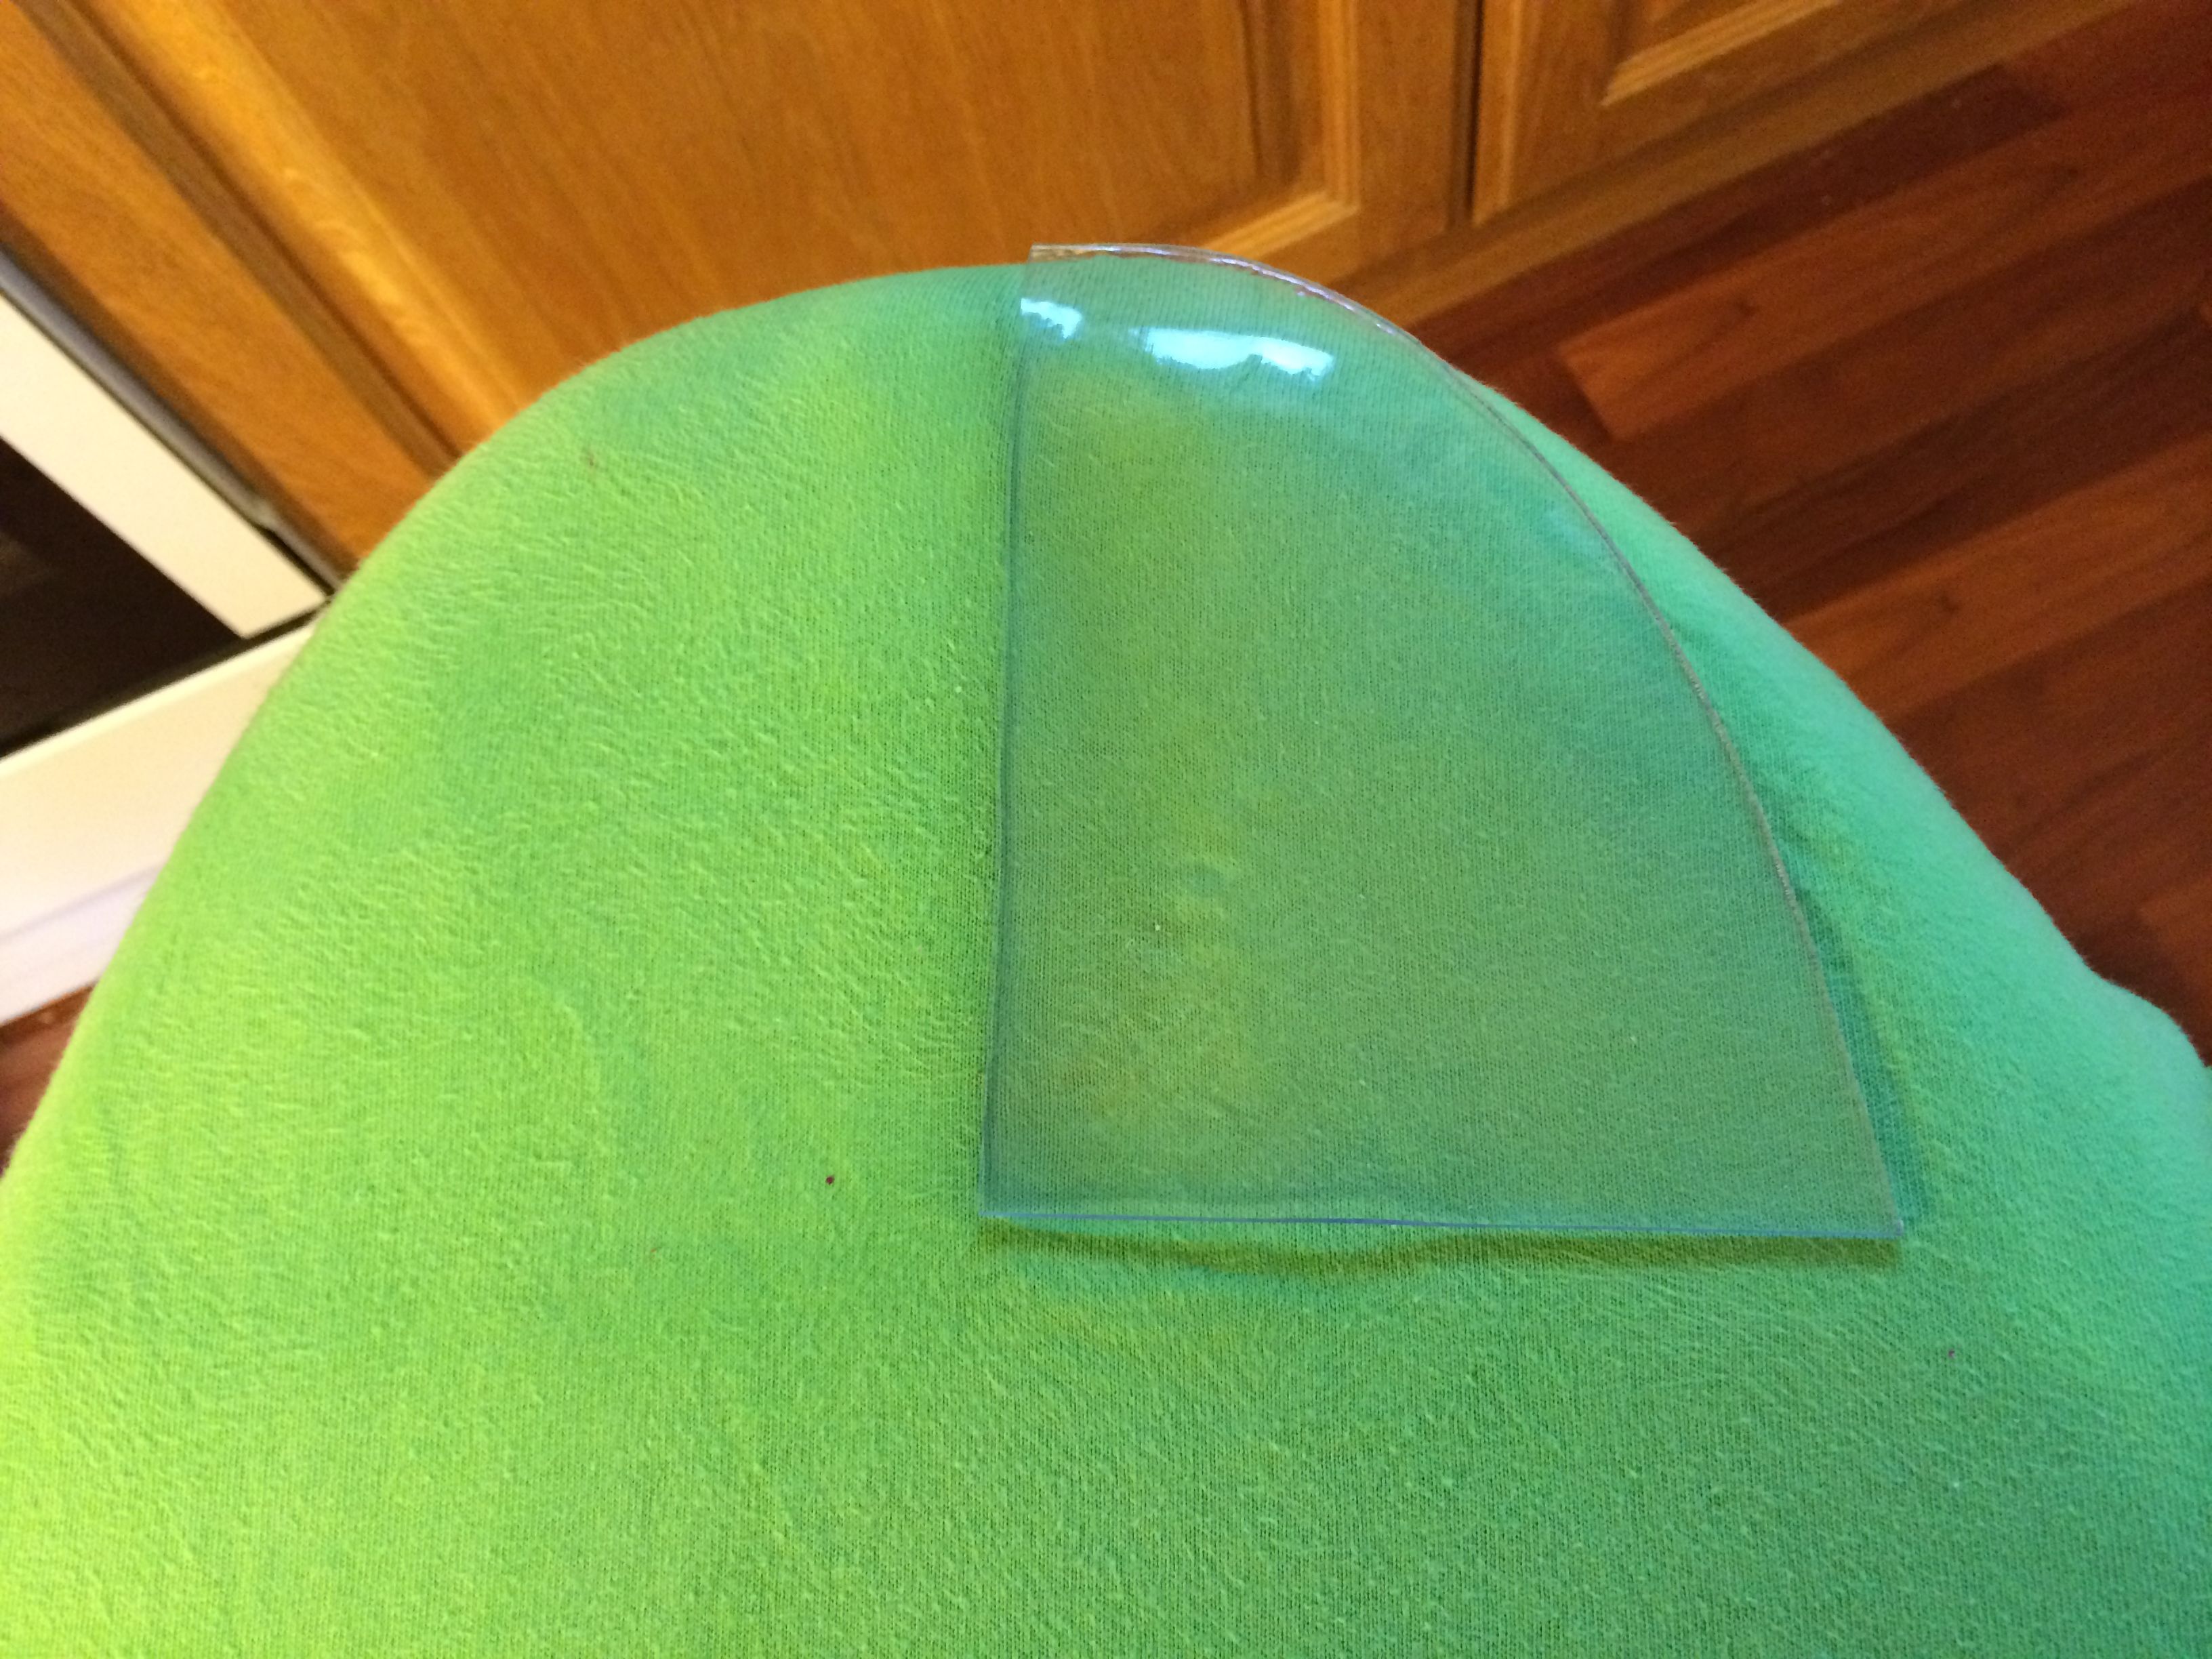
2014-04-16: I covered the nose cone with a t-shirt to avoid transfering the glass weave pattern to the plastic. I then – using gloves – placed the piece on the nose cone in the depression I made earlier. The plastic was very soft so it was easy to bend it down following the profile of the nose. I then held it firmly in place for a minute while the plastic cooled and stiffened up. The plastic cools very quick so I had to work fast.
2014-04-16: The landing light covers turned out to be rather good!
2014-04-16: I made three covers for each side, to have some spares.

2014-04-17: I planned to hinge the hatch, but decided to make it all removable the easiest way by using two anchor nuts in front, and making a lip aft to lock the hatch.
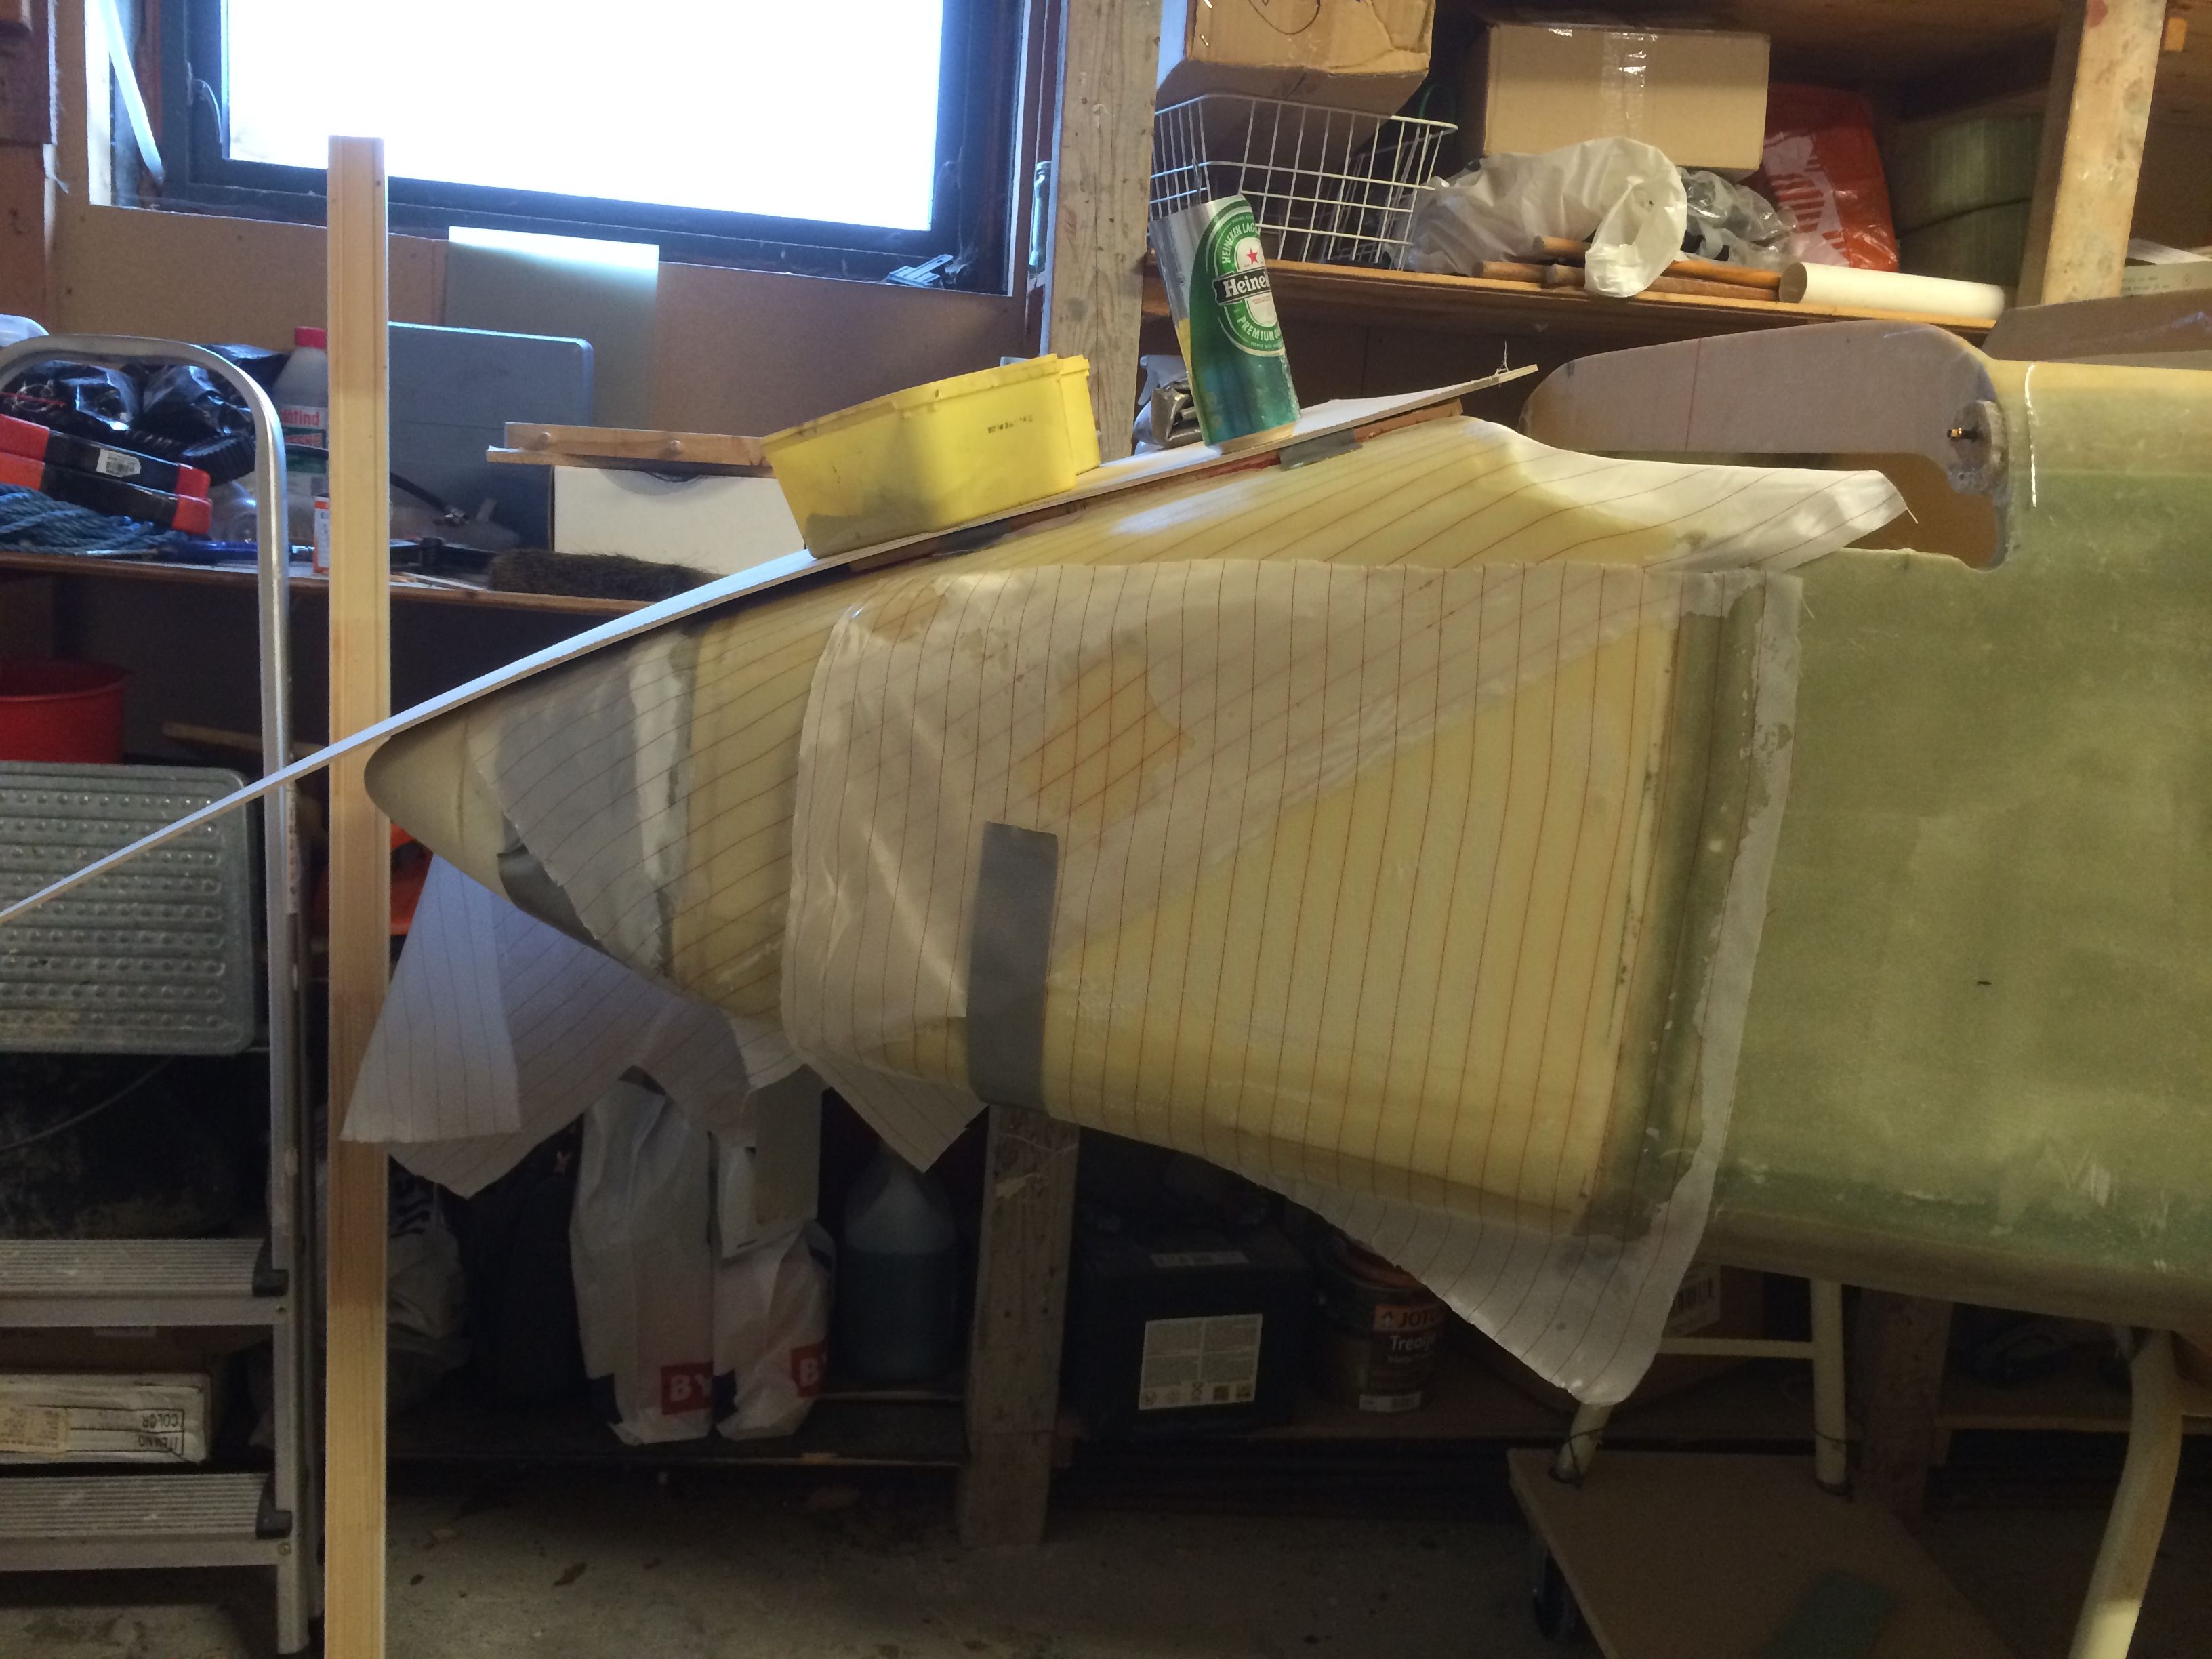
2014-04-17: Preparing for the lip, using duct tape to avoid the BID to fasten to the nose cone.
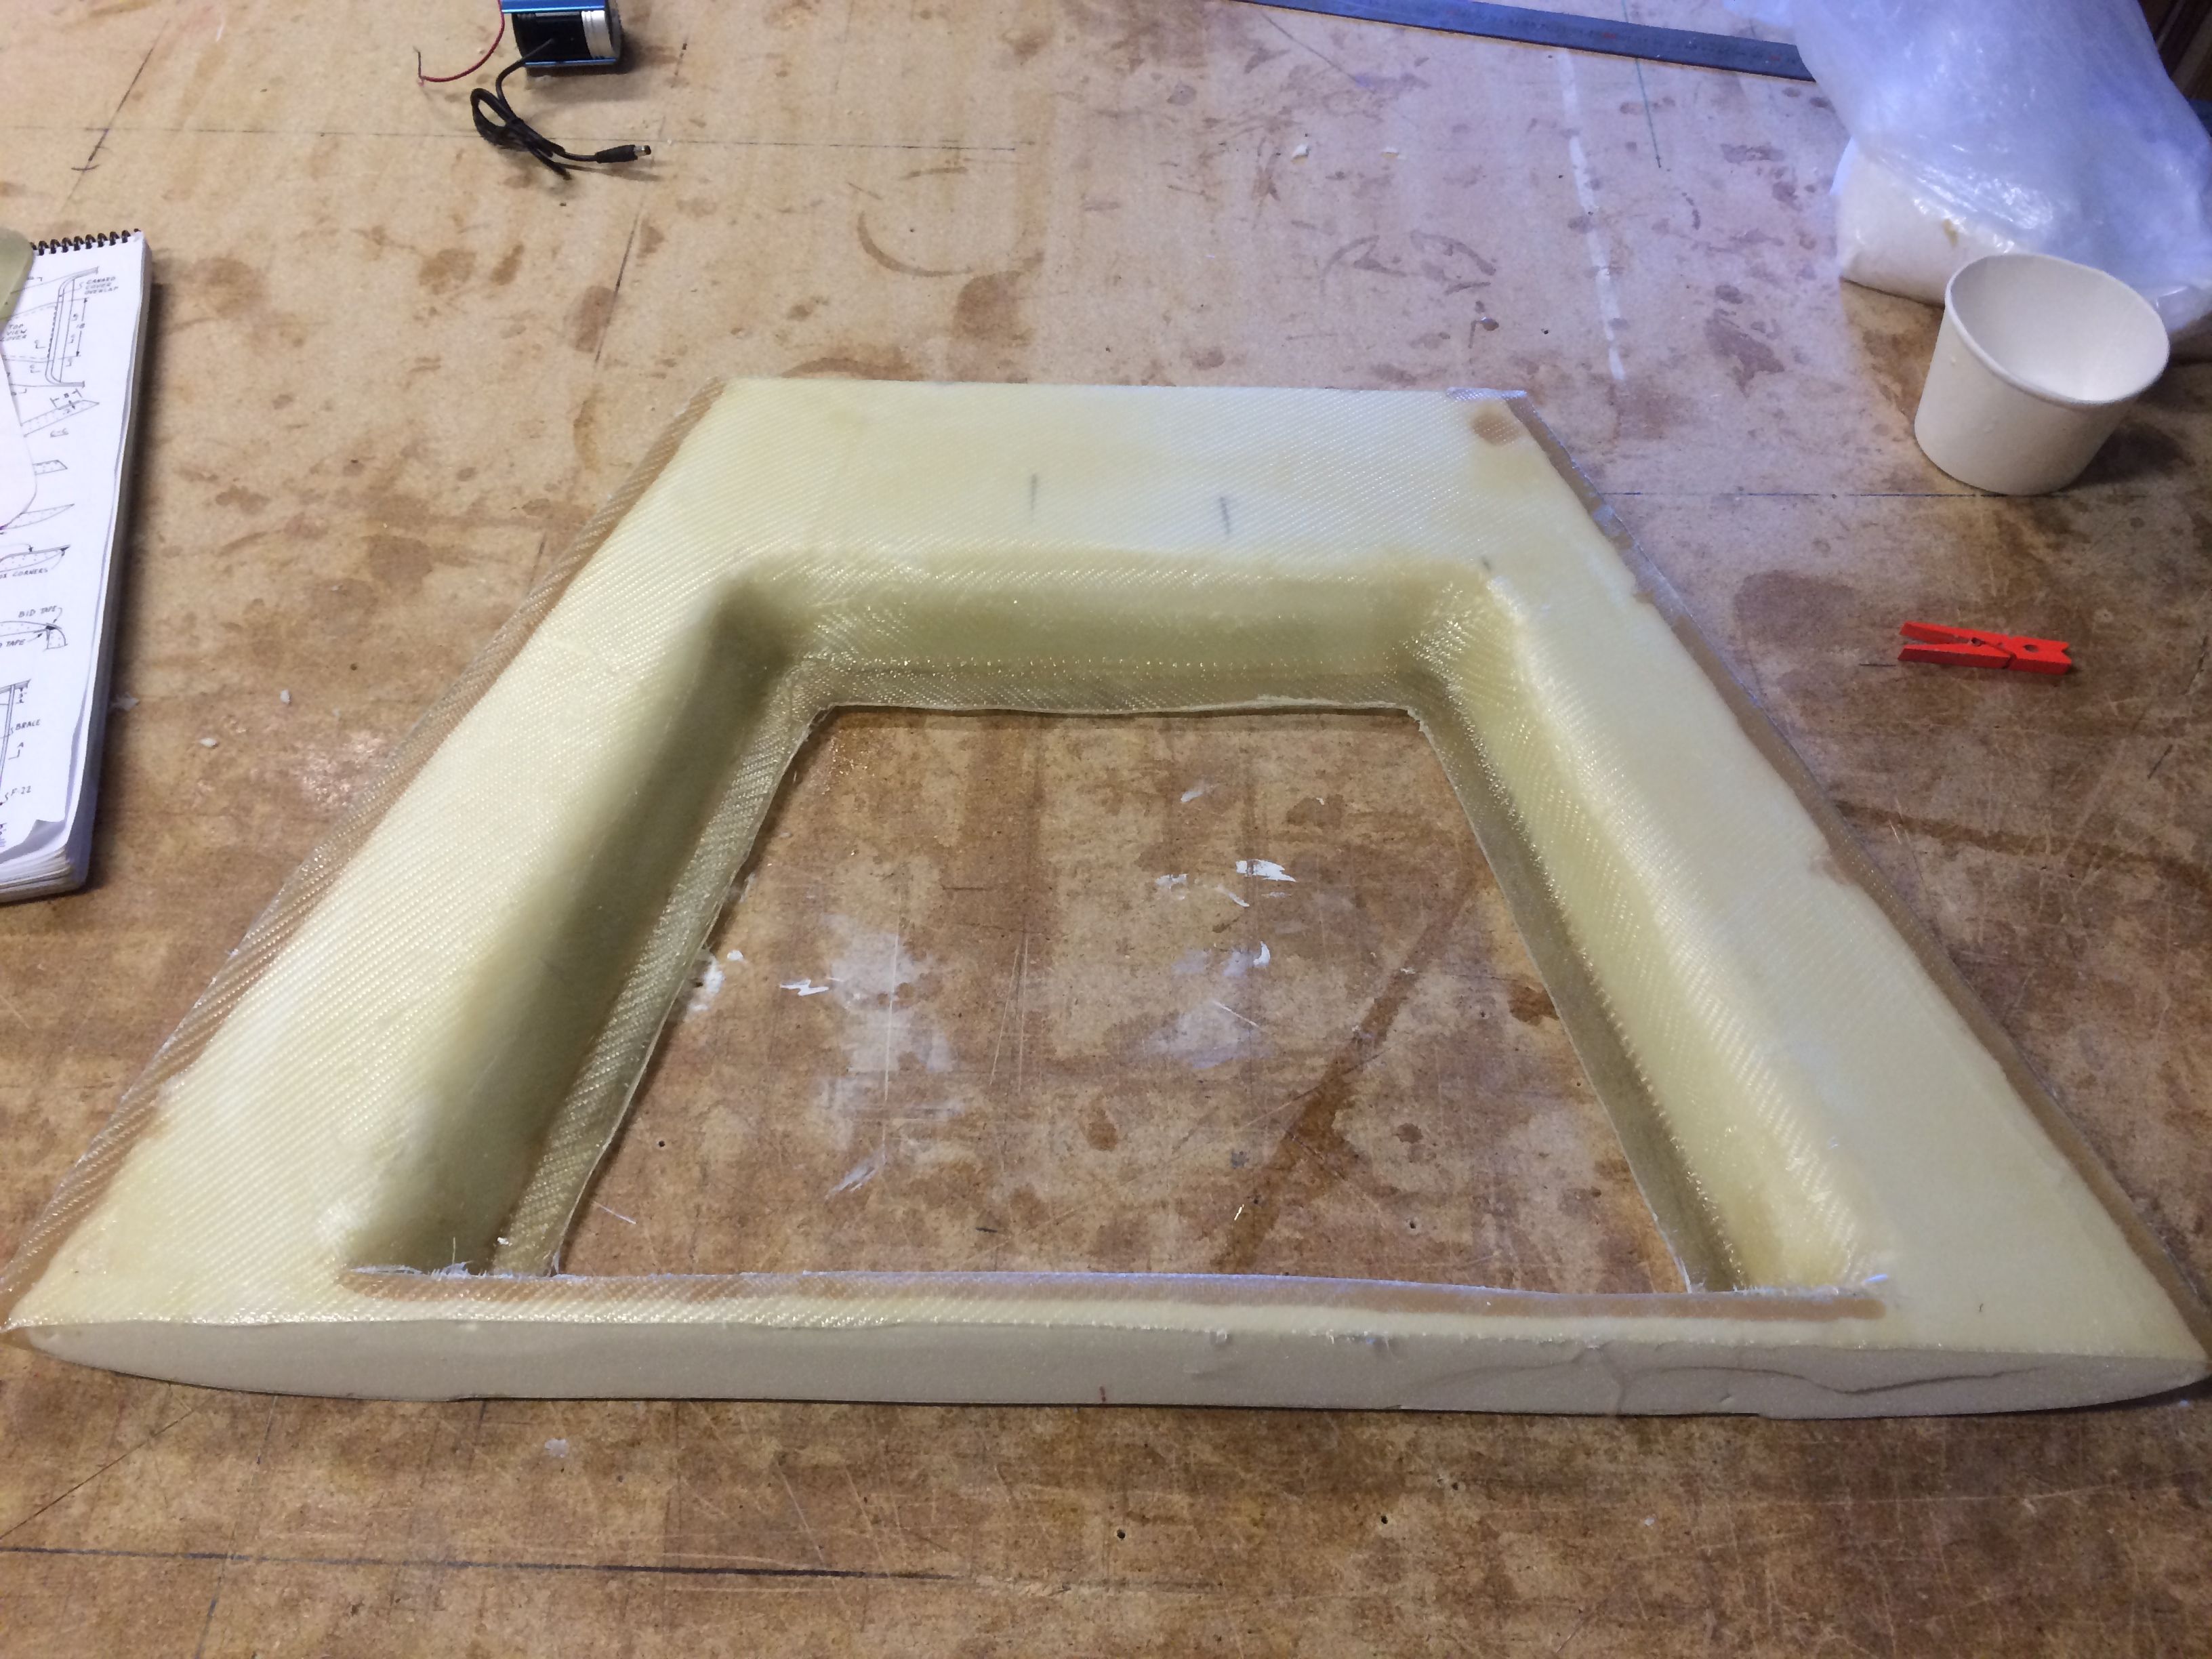
2014-04-18: The lip was glassed with 4BID. Had to press it down using some wood-sticks and weigh them down. The result was very good.

2014-04-18: Sideview of the lip.
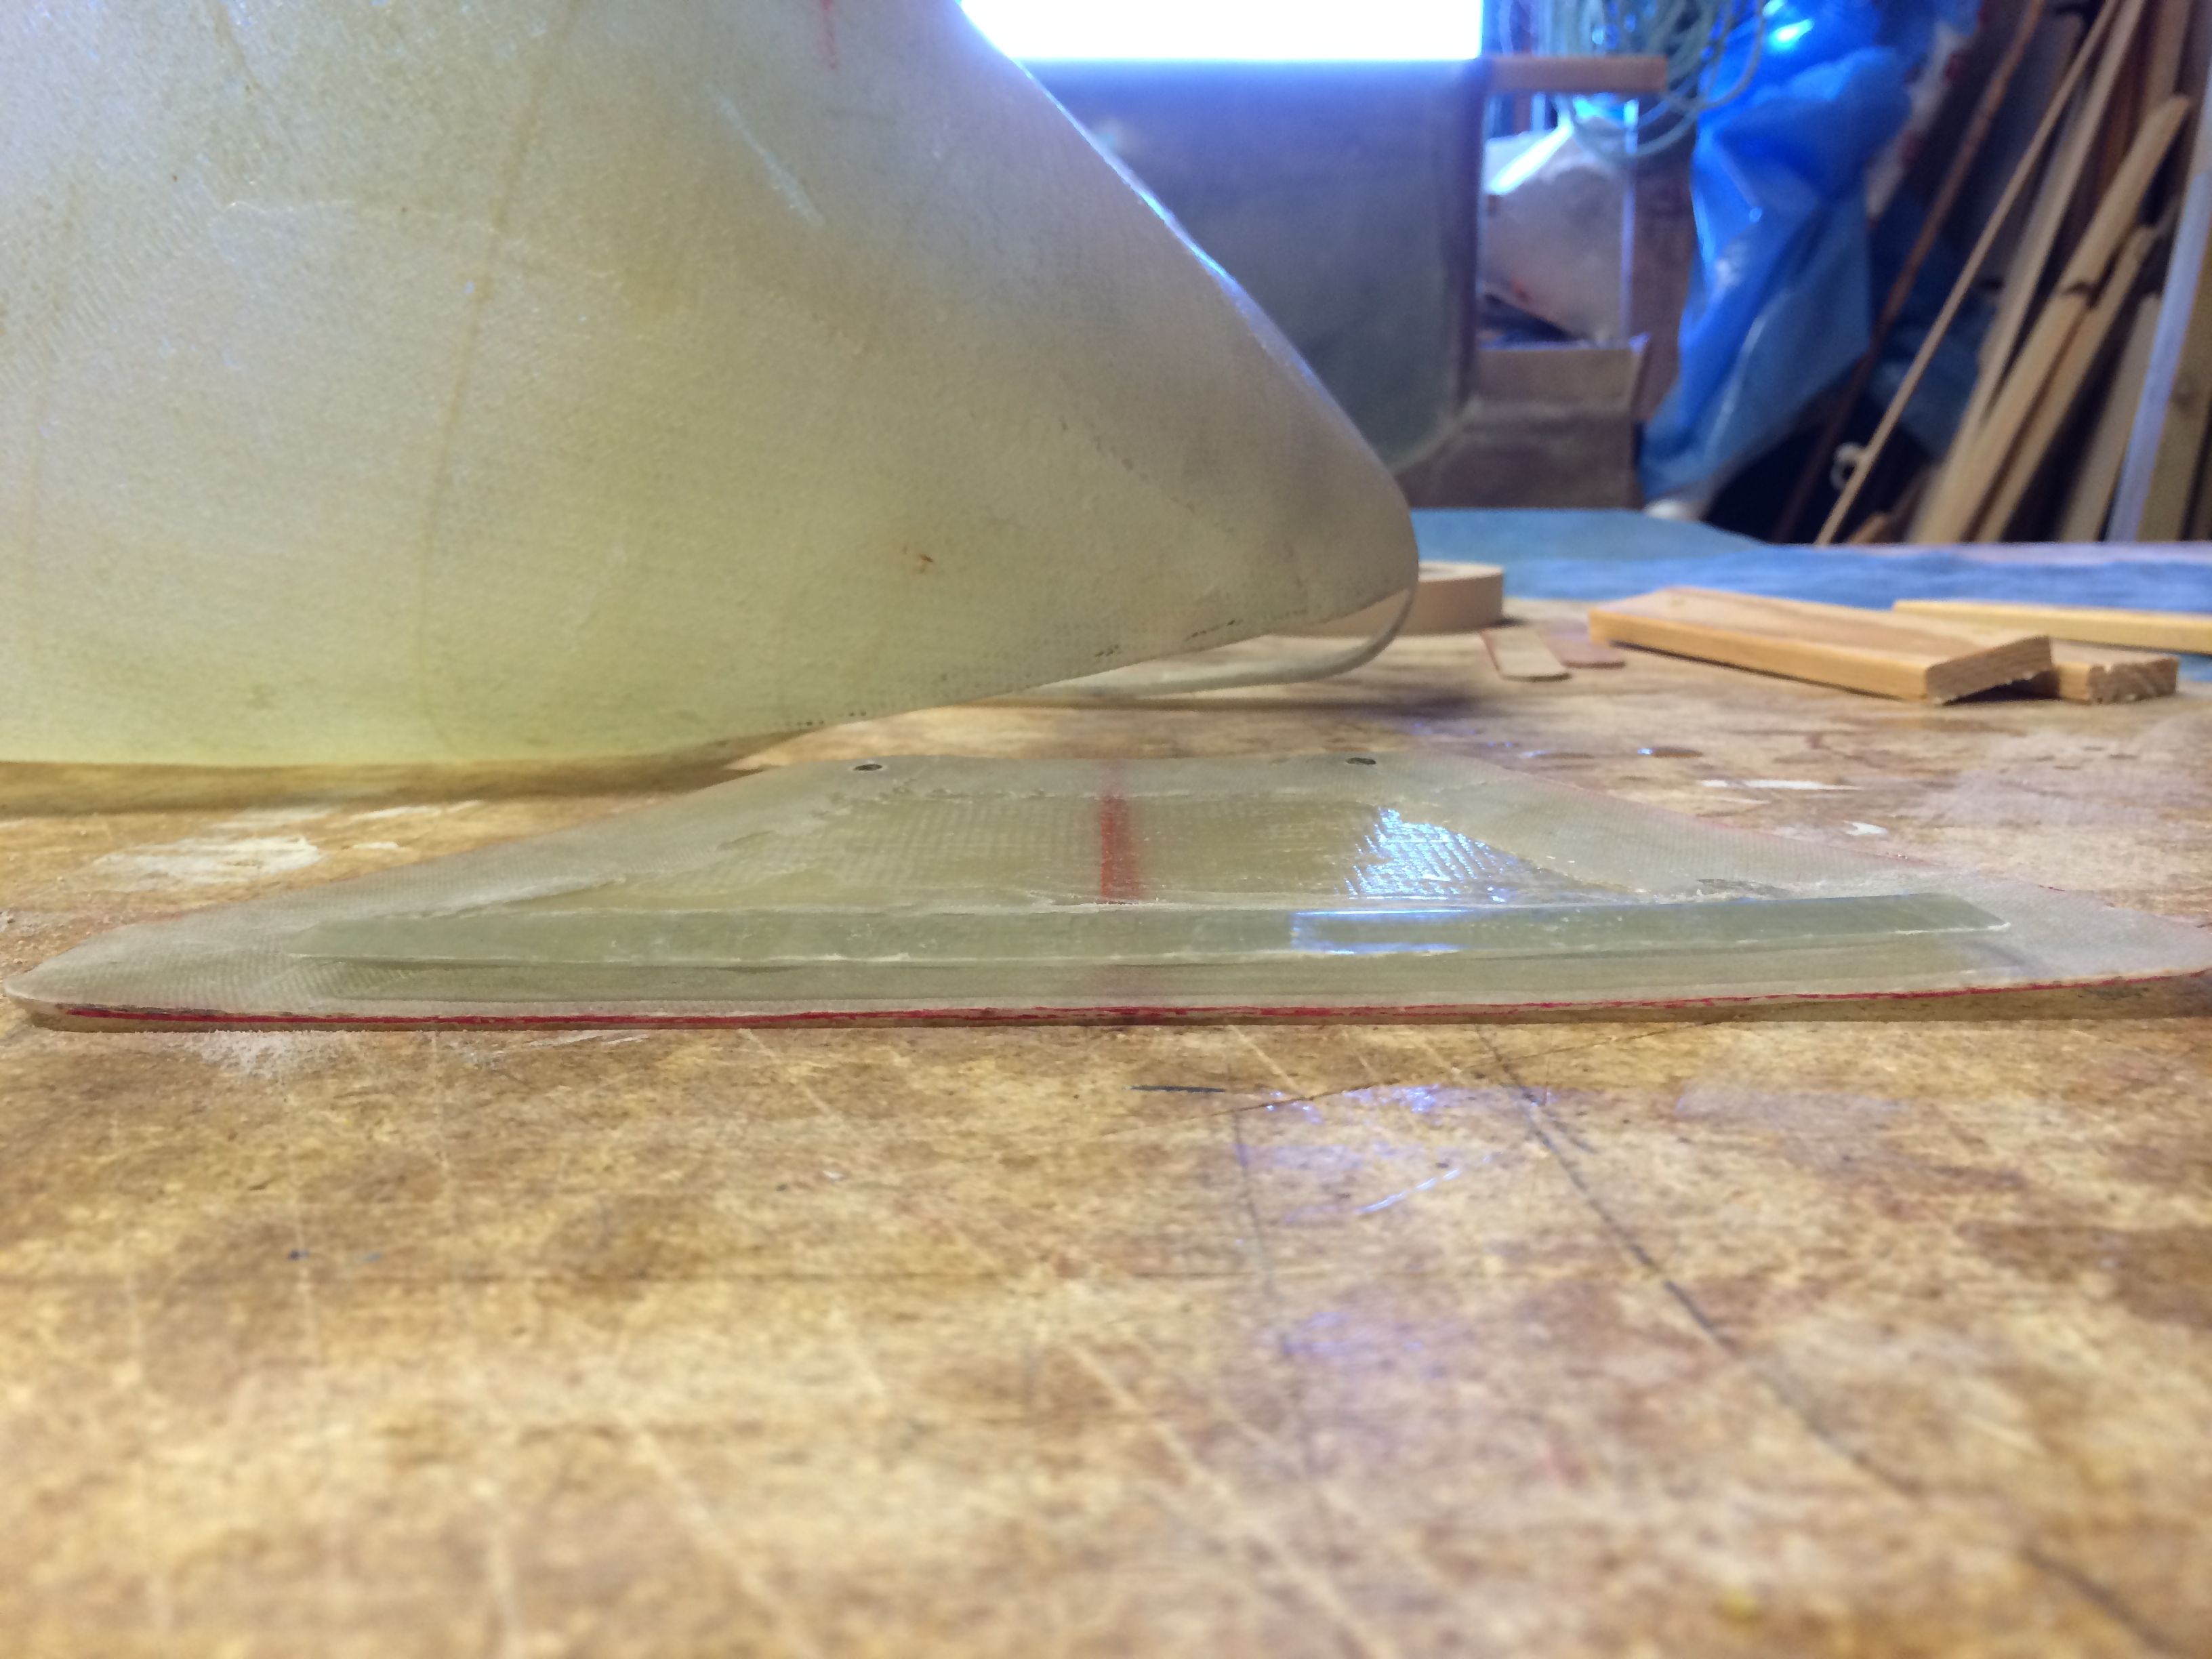
2014-04-18: Another view of the lip.
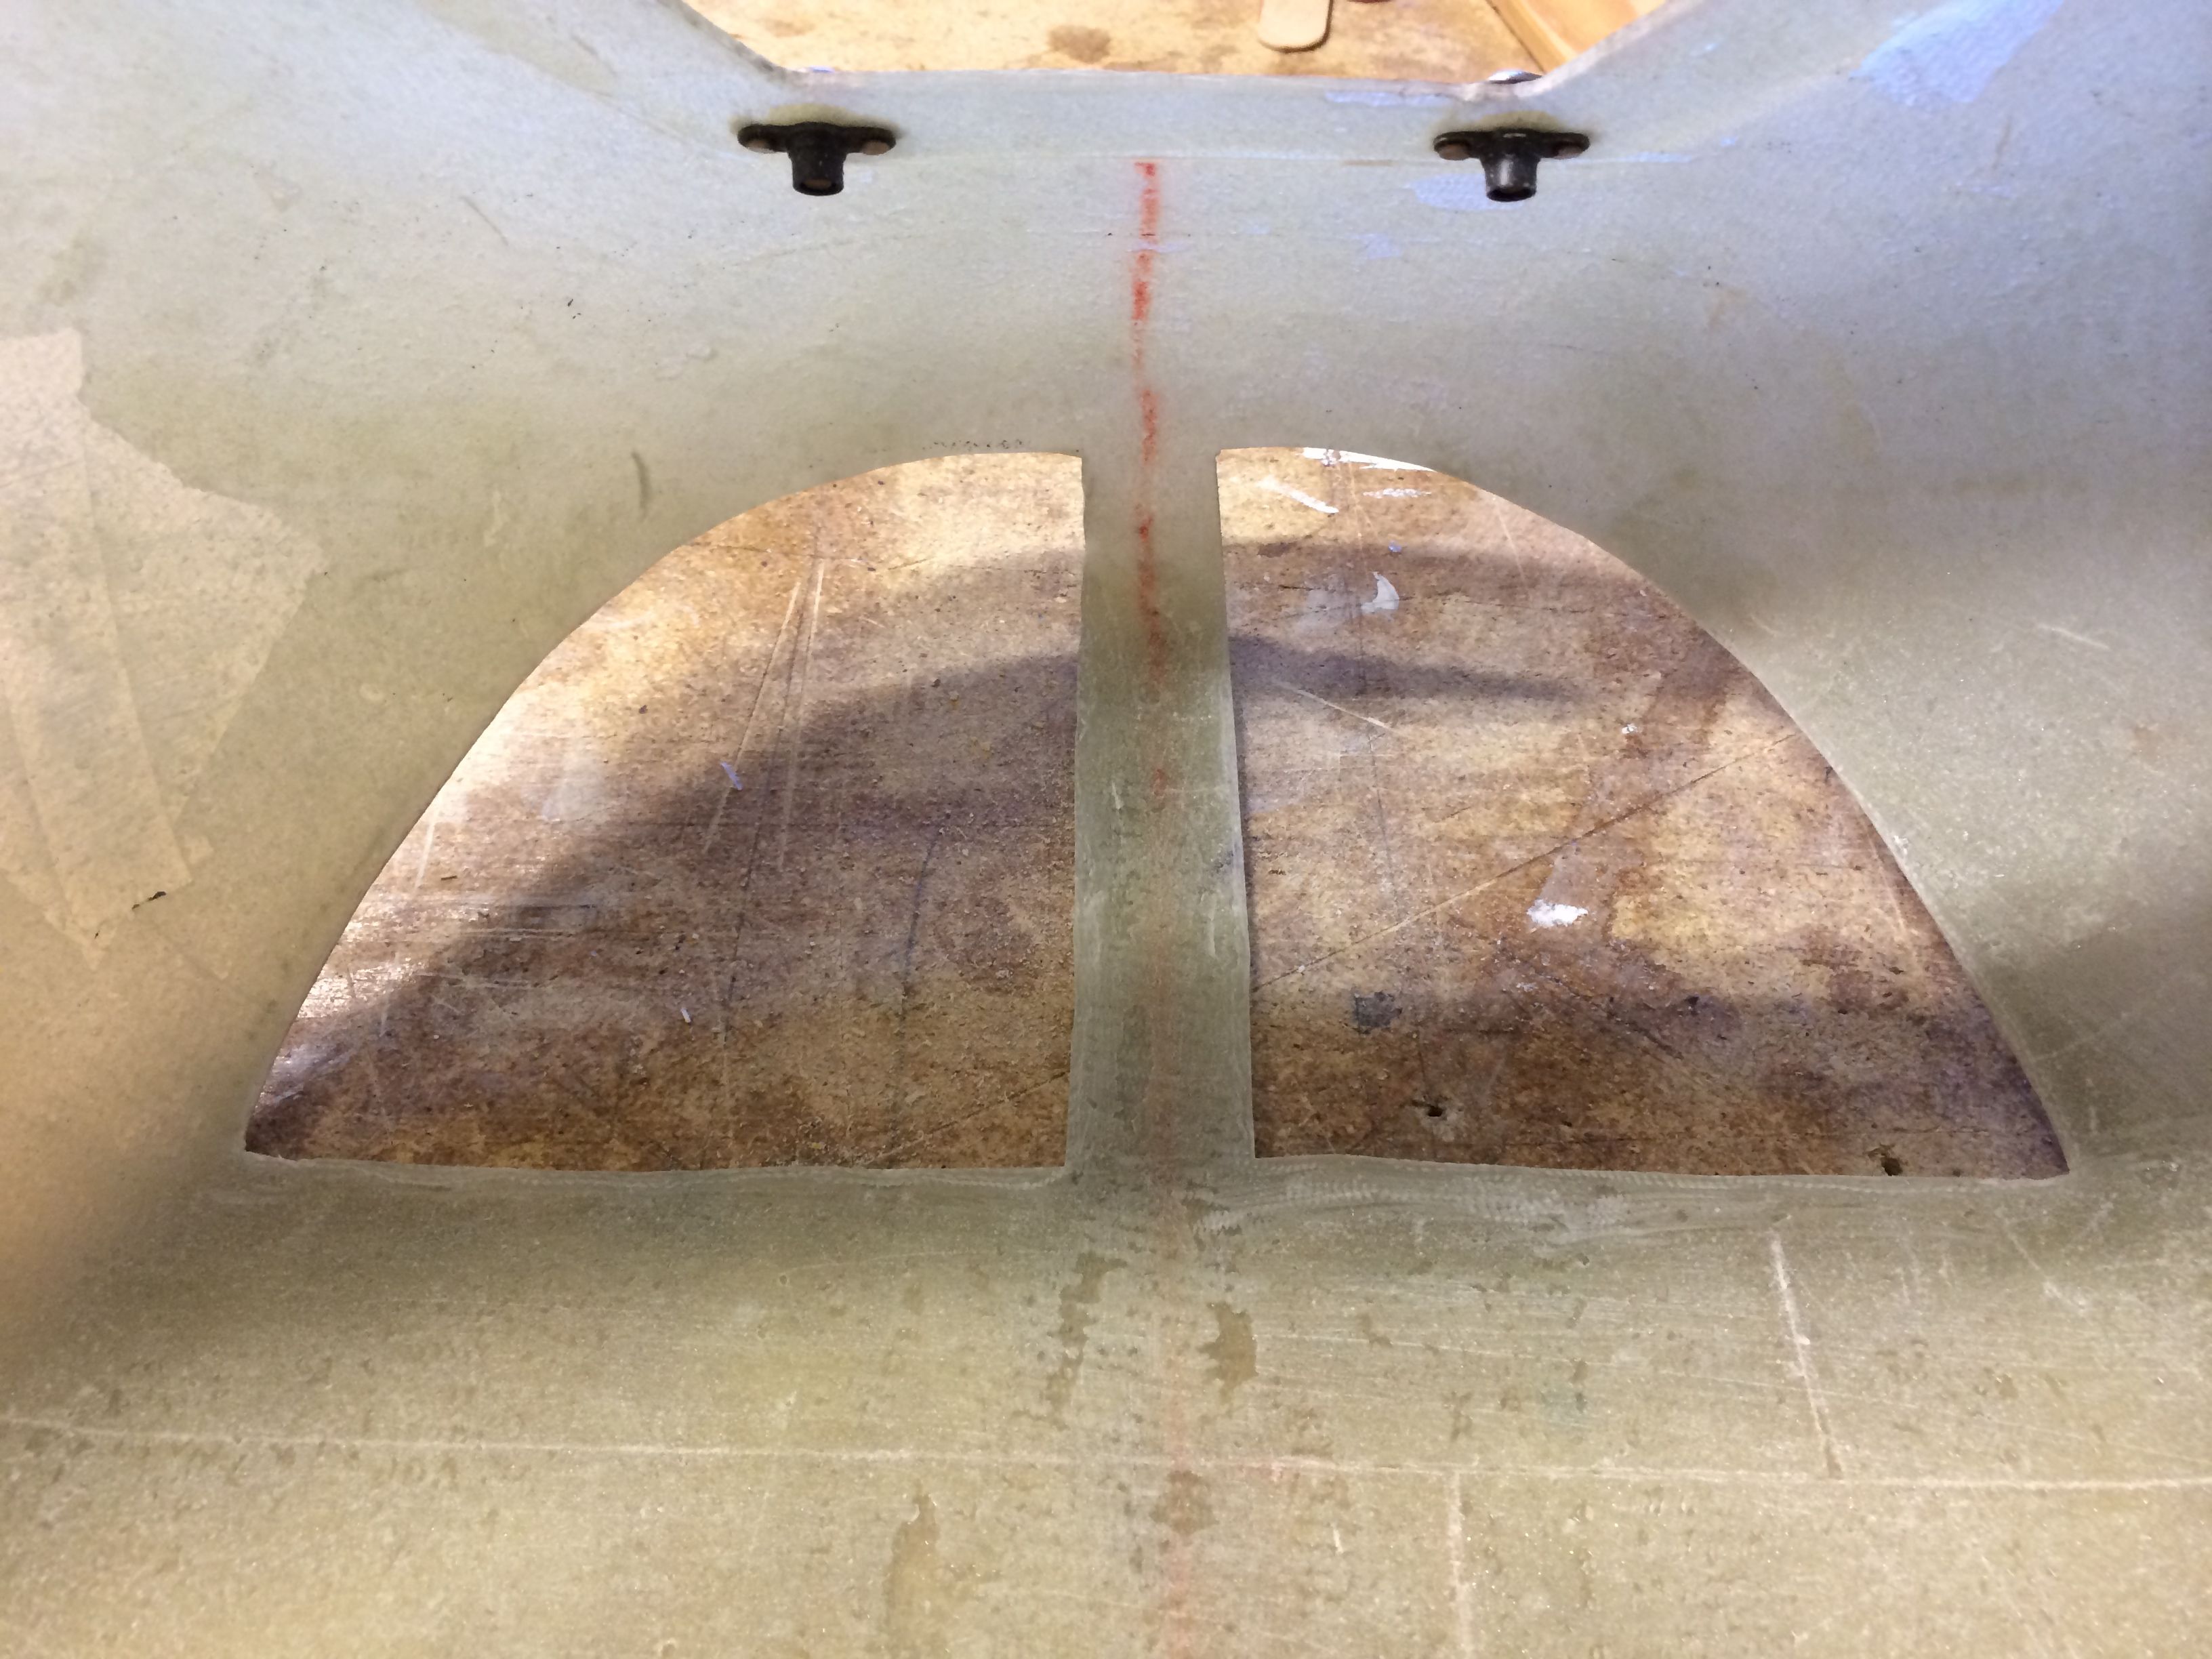
2014-04-18: Cutouts for the landing light covers.
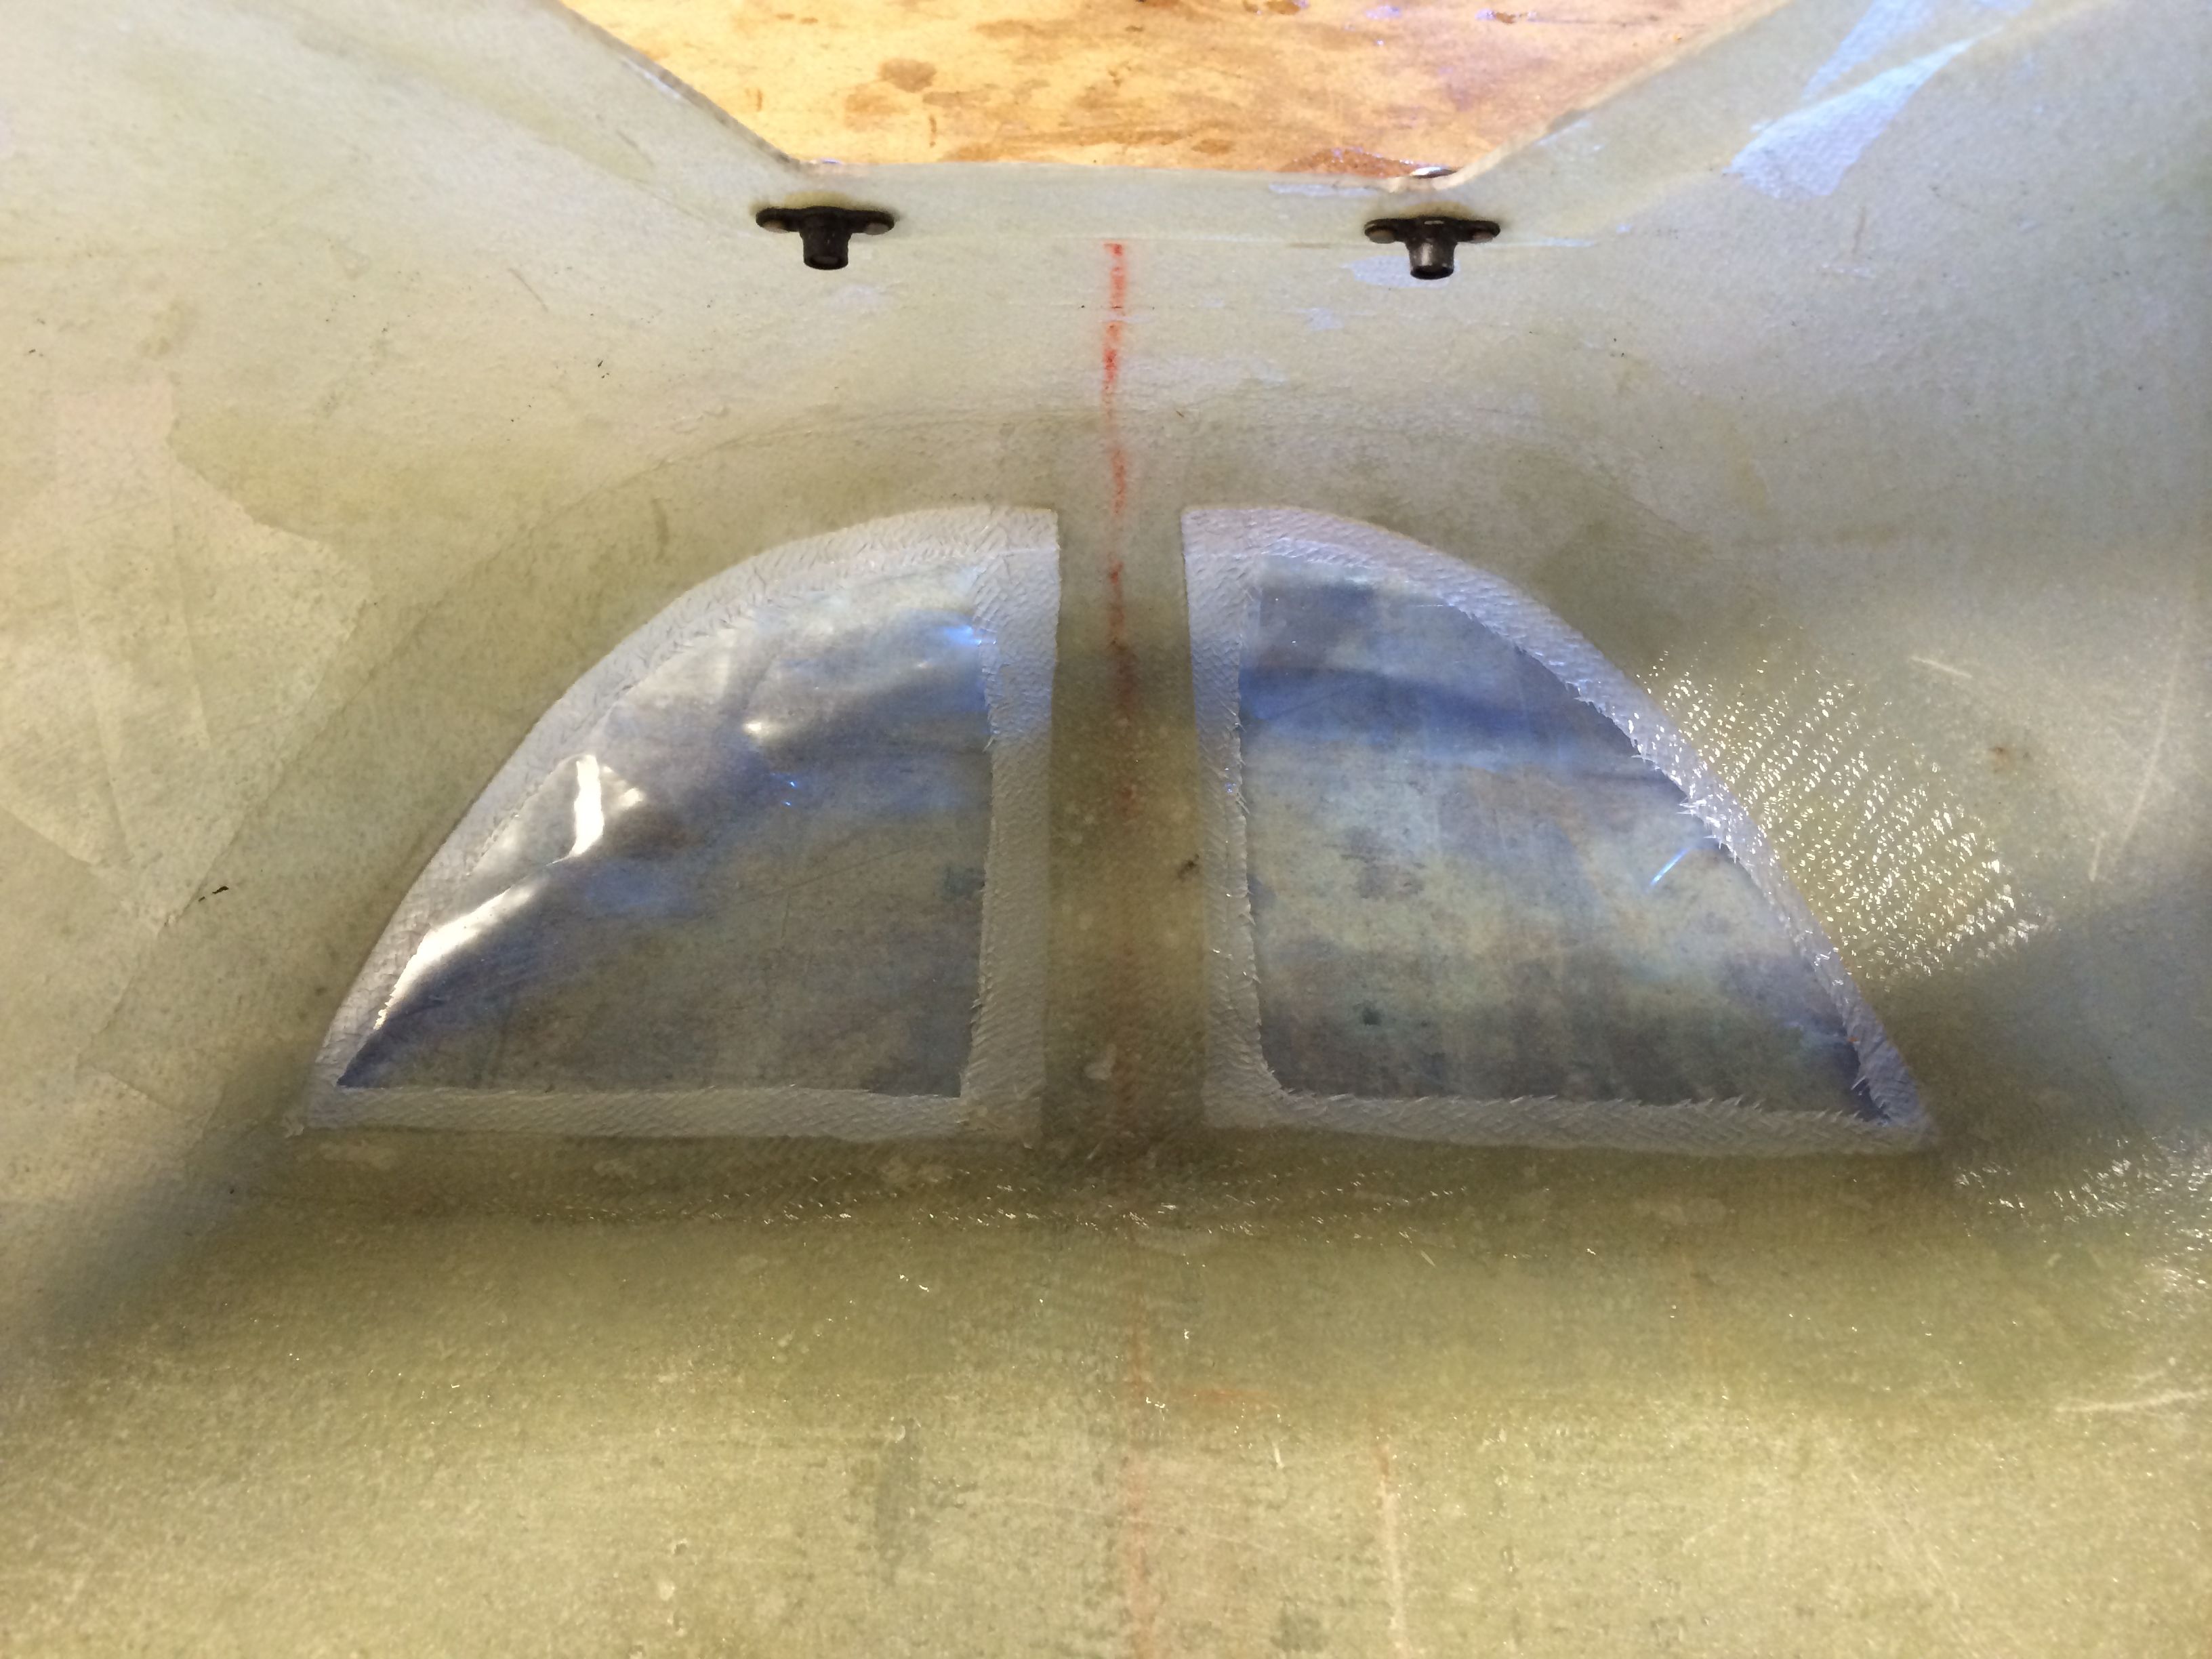
2014-04-18: Glassed a flange from the inside (2BID) where the covers will be fastened from the outside later.
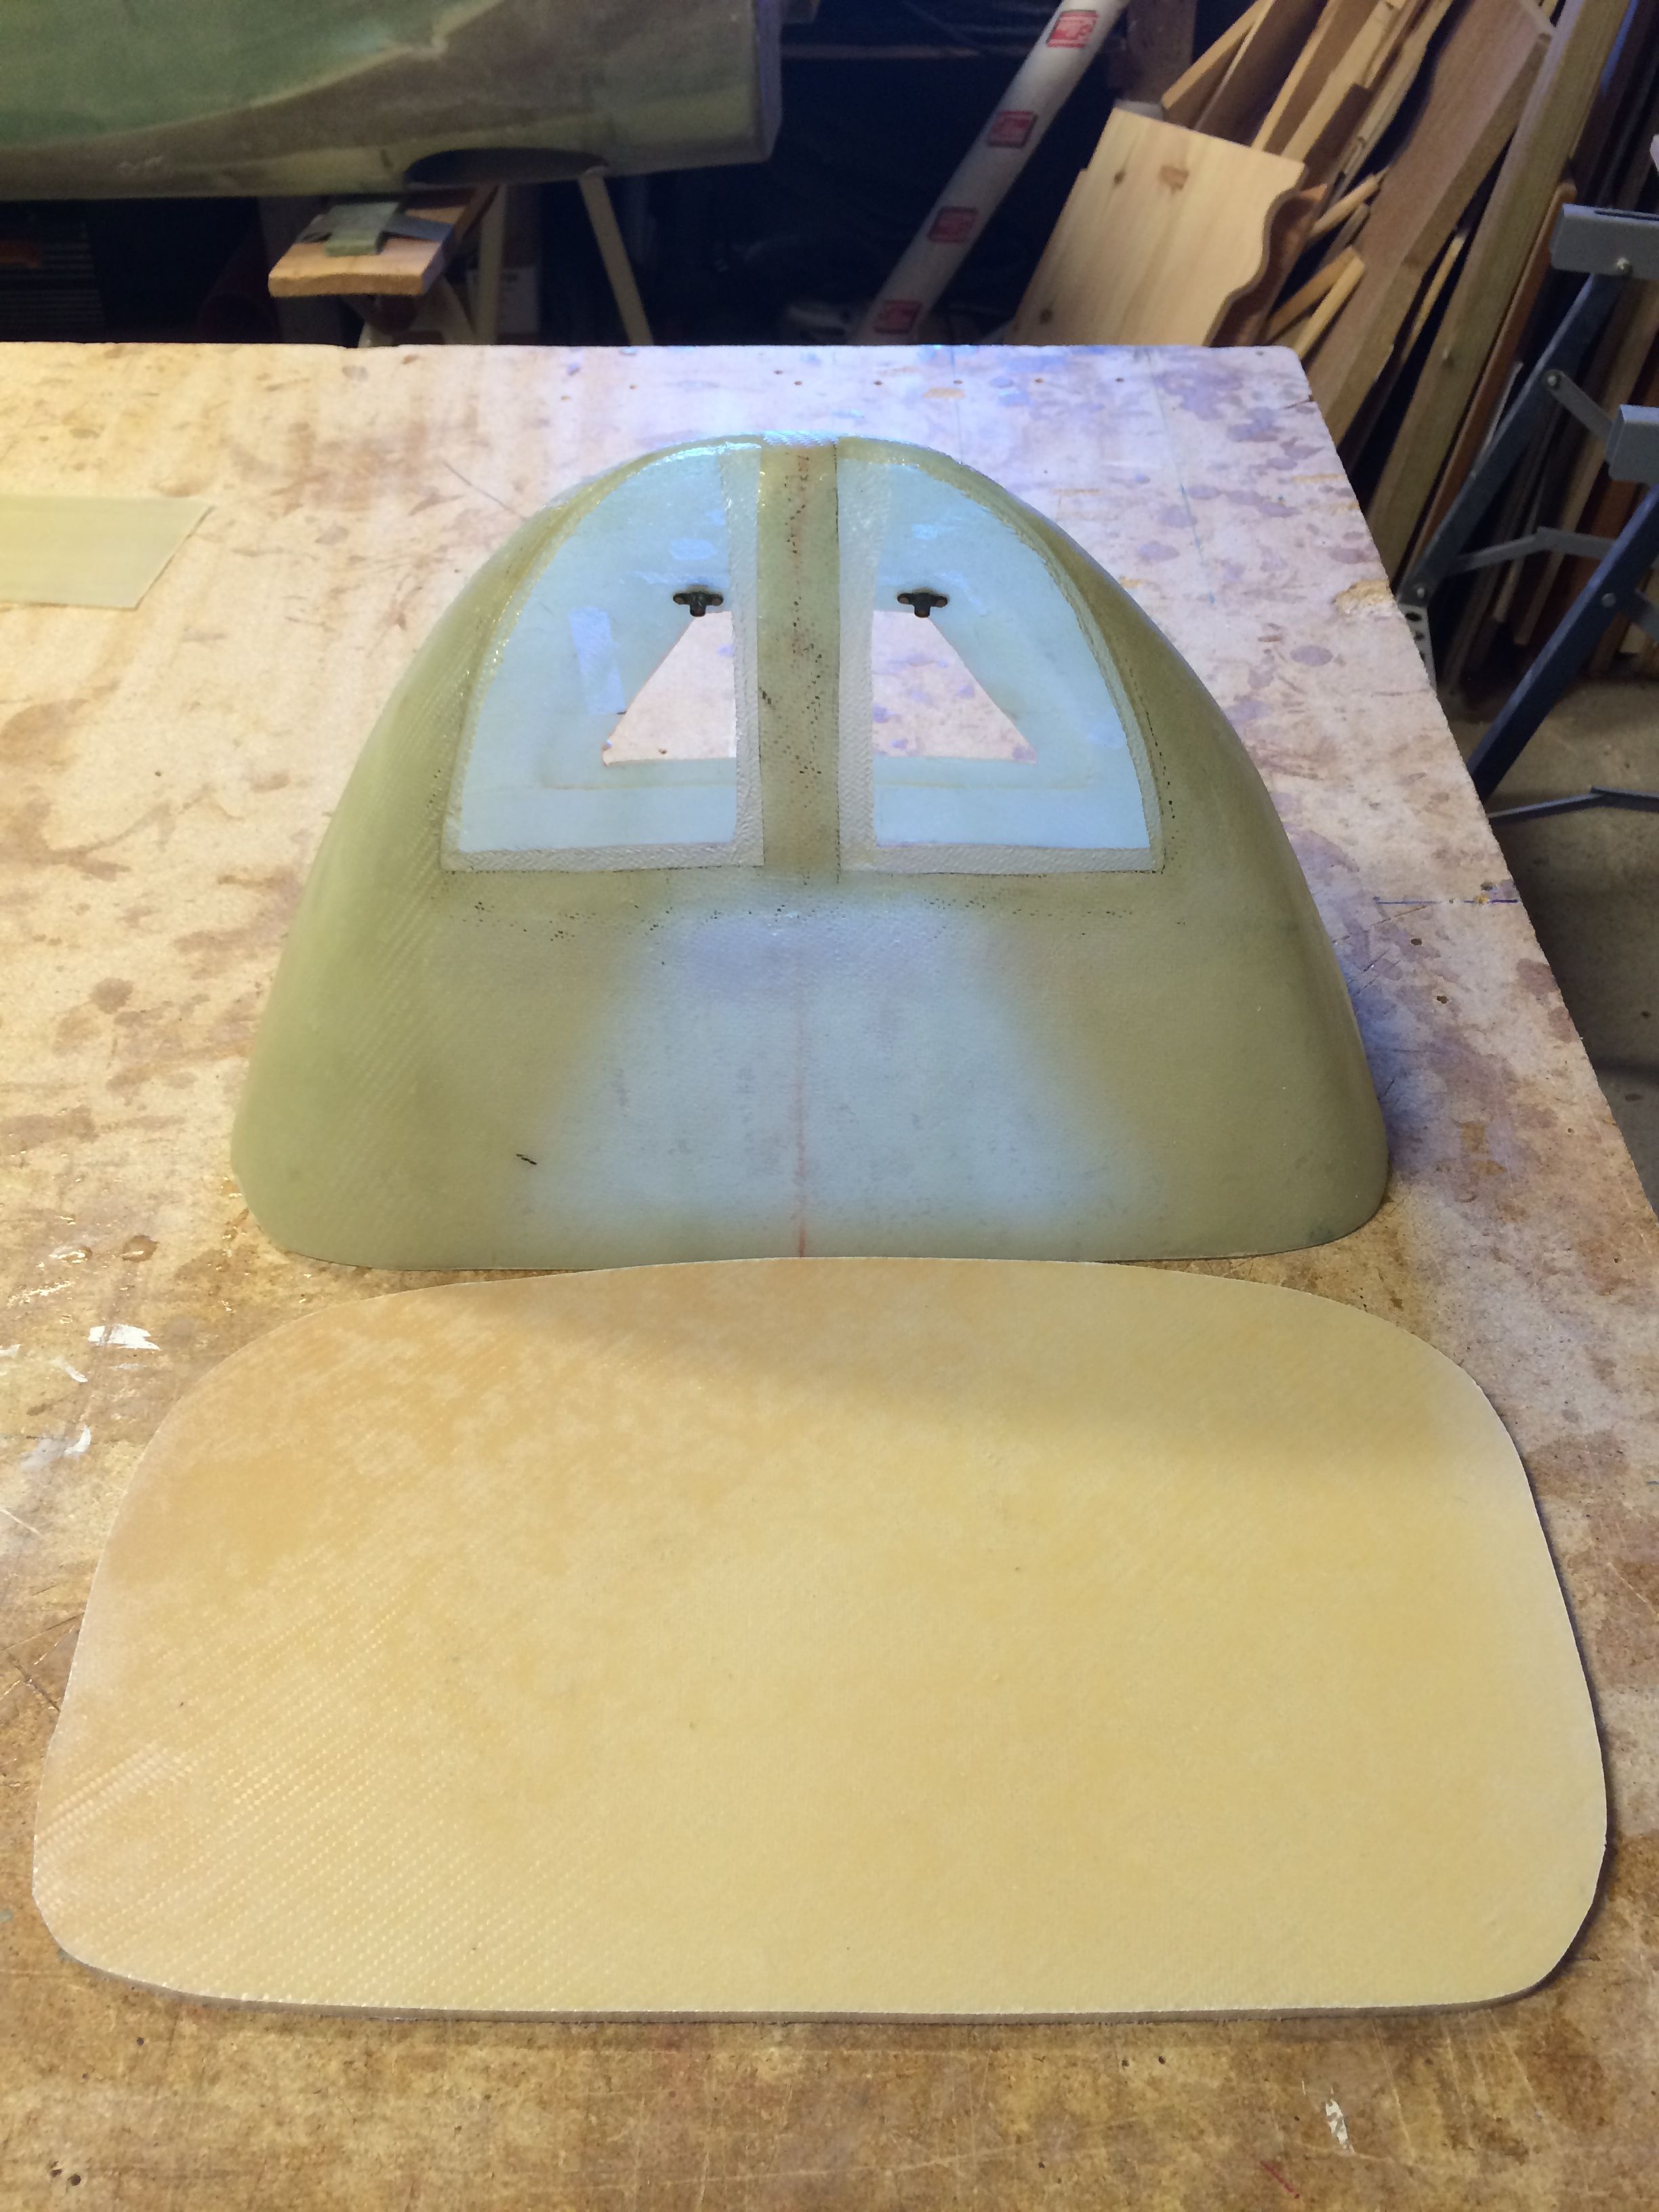
2014-04-19: To fasten the nose cone to the nose, i decided to make a new bottom for the nose cone. I will then flox the bottom to the existing FS0.
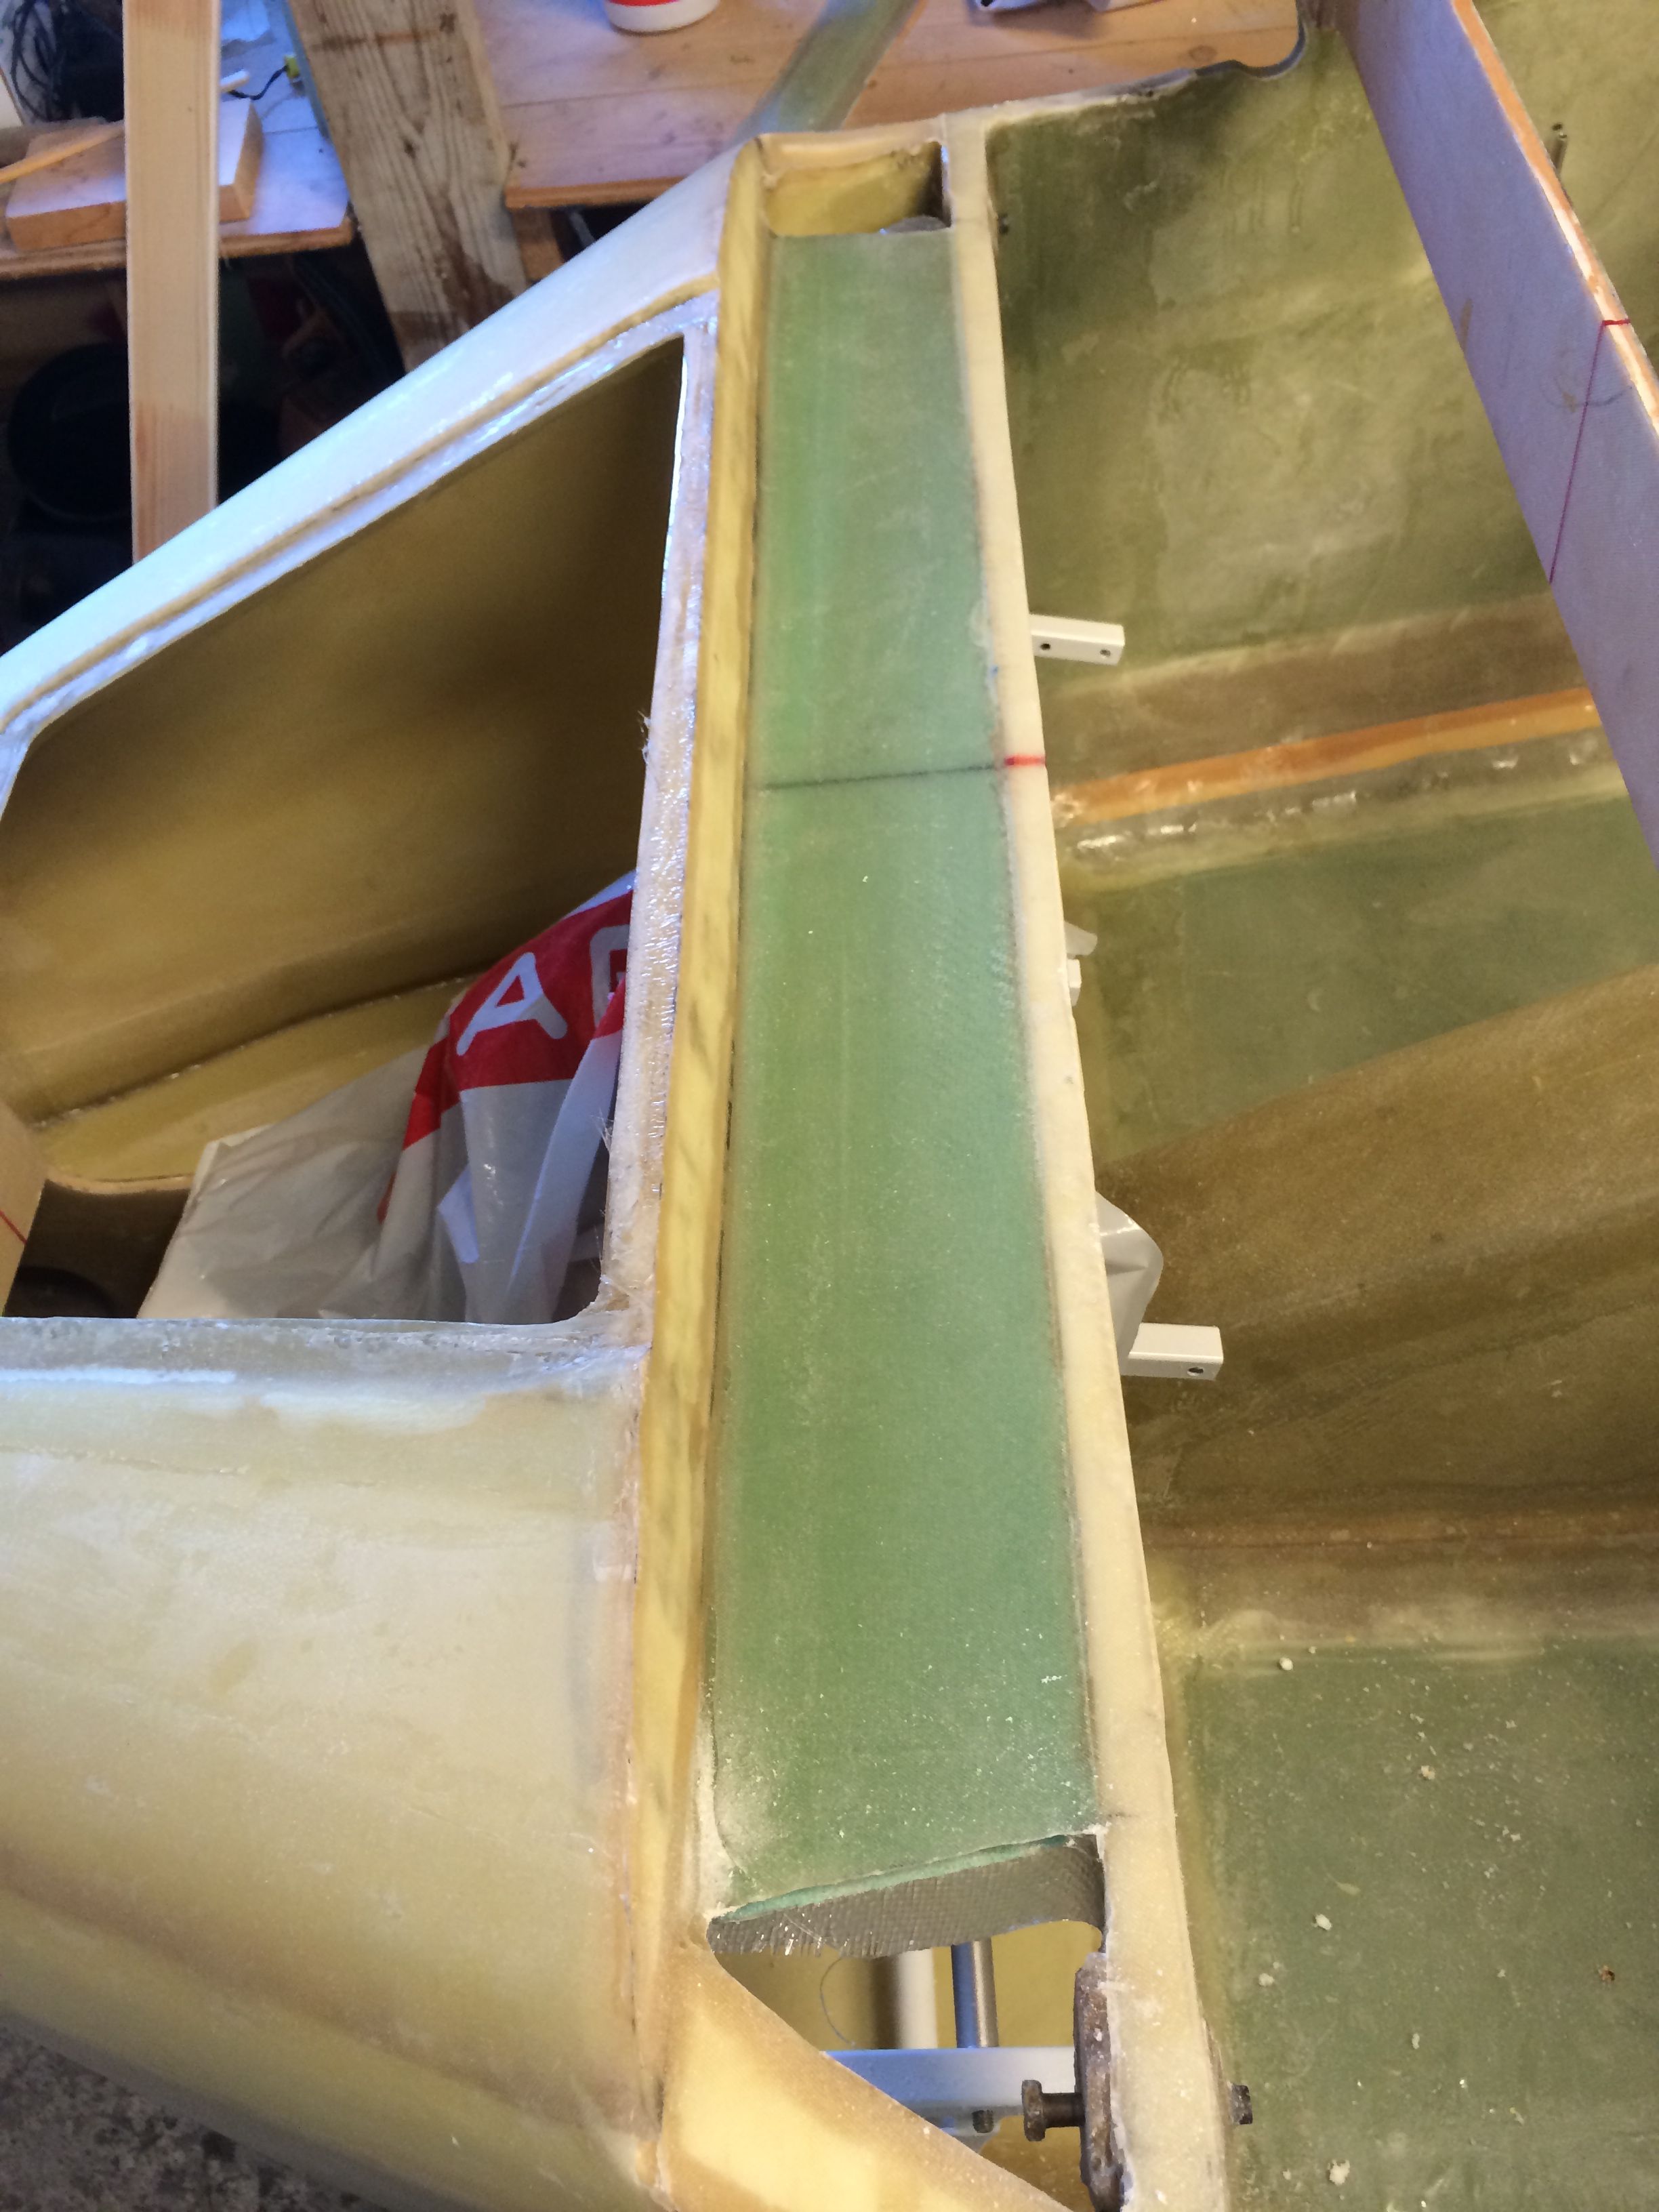
2014-04-21: Meanwhile… I made the brace between F22 and the nose top. I will also cover the sides where there is exposed foam with flox and 1BID.

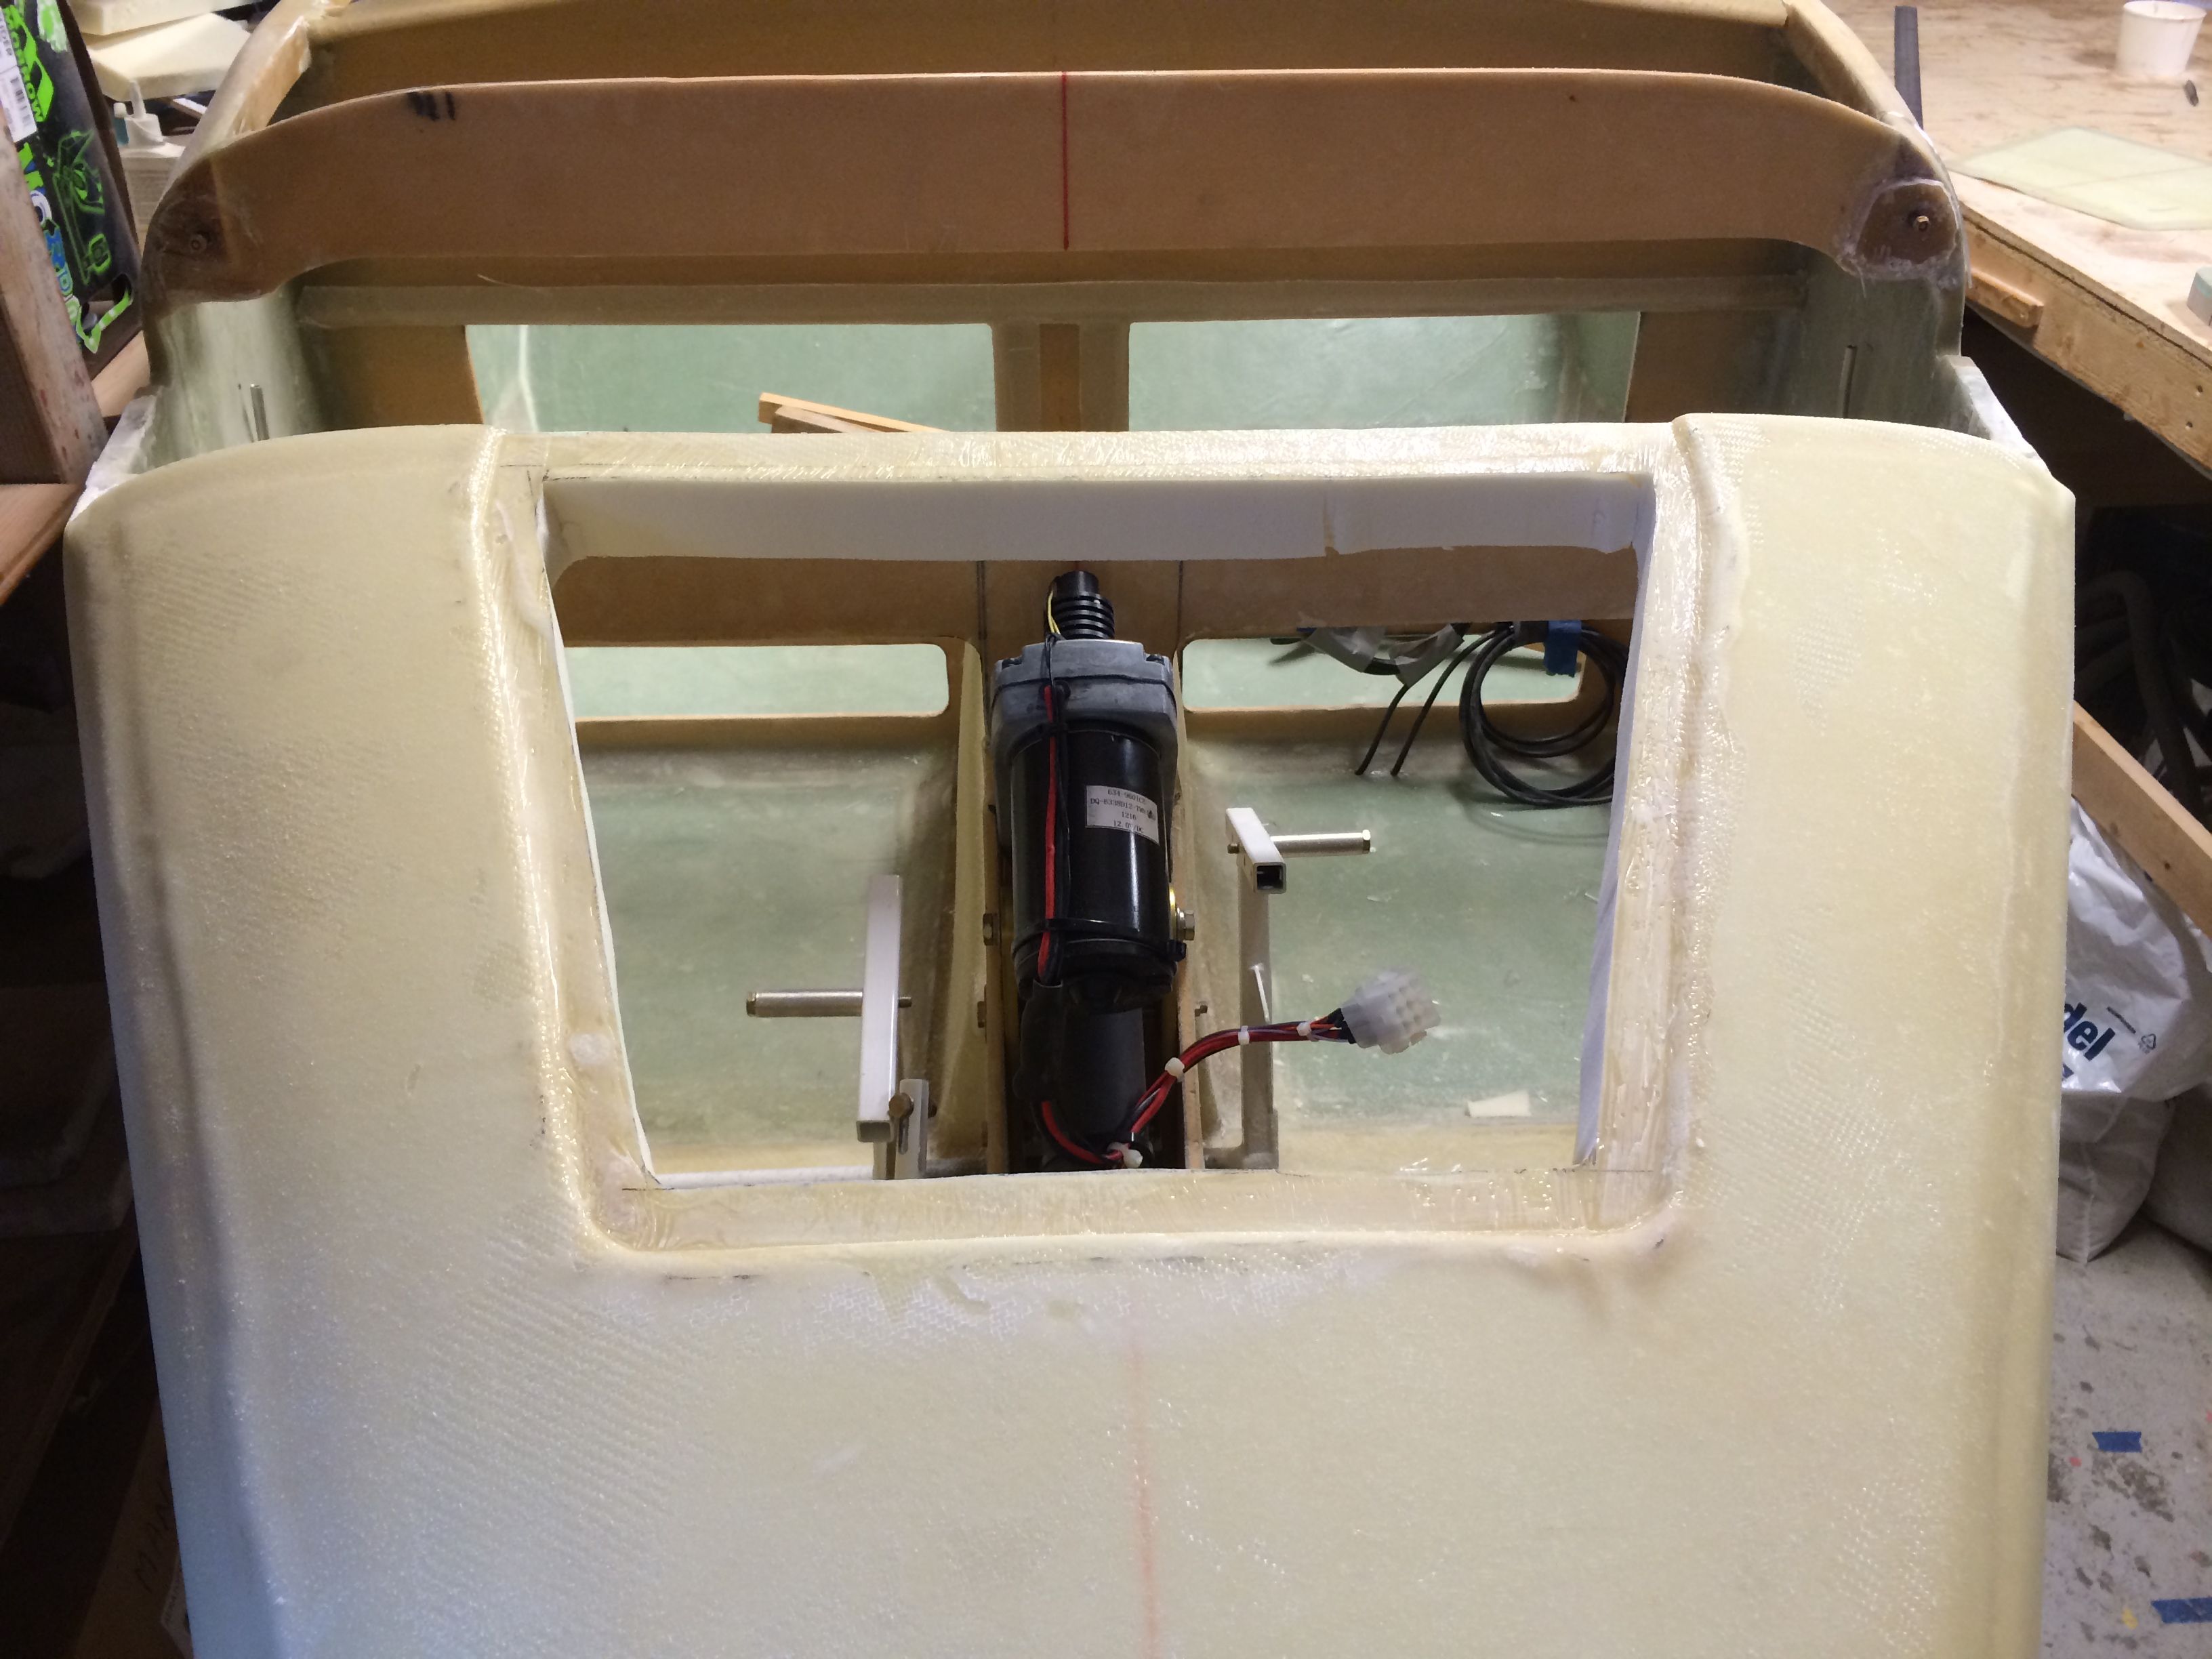
2014-05-02: I made the brackets for the landing lights of two aluminum angles that I glassed to the bottom of the nose cone. In the nose I have also drilled out the hole for the pitot tube.

2014-05-02: The landing lights is two bicycle LED lights. Each emits 3600 Lumen. Since I have two I can direct them individually to use one as taxi light and one as landing light.

2014-05-02: I have to have a voltage regulator as they are rated for approx 3V each LED, i.e. 9V total pr lamp. I bought some digital regulators on eBay that will be used here. More about this later.

2014-06-20: I bought the pitot tube from ACS together with an elbow fitting. I floxed and then glassed the tube with 3 plies of BID on both top and bottom to the horisontal stiffening plate. I also made an opening in the plate to be able to remove the fitting later if neccessary. I have also made two openings to be able to mount and service the landing lights. I will make a cover here later.

2014-06-29: The horisontal plate is floxed and then BID-taped inside the nose cone using 2 BID.

2014-07-06: The vertical stiffener is floxed and then BID-taped inside the nose cone using 2 BID.
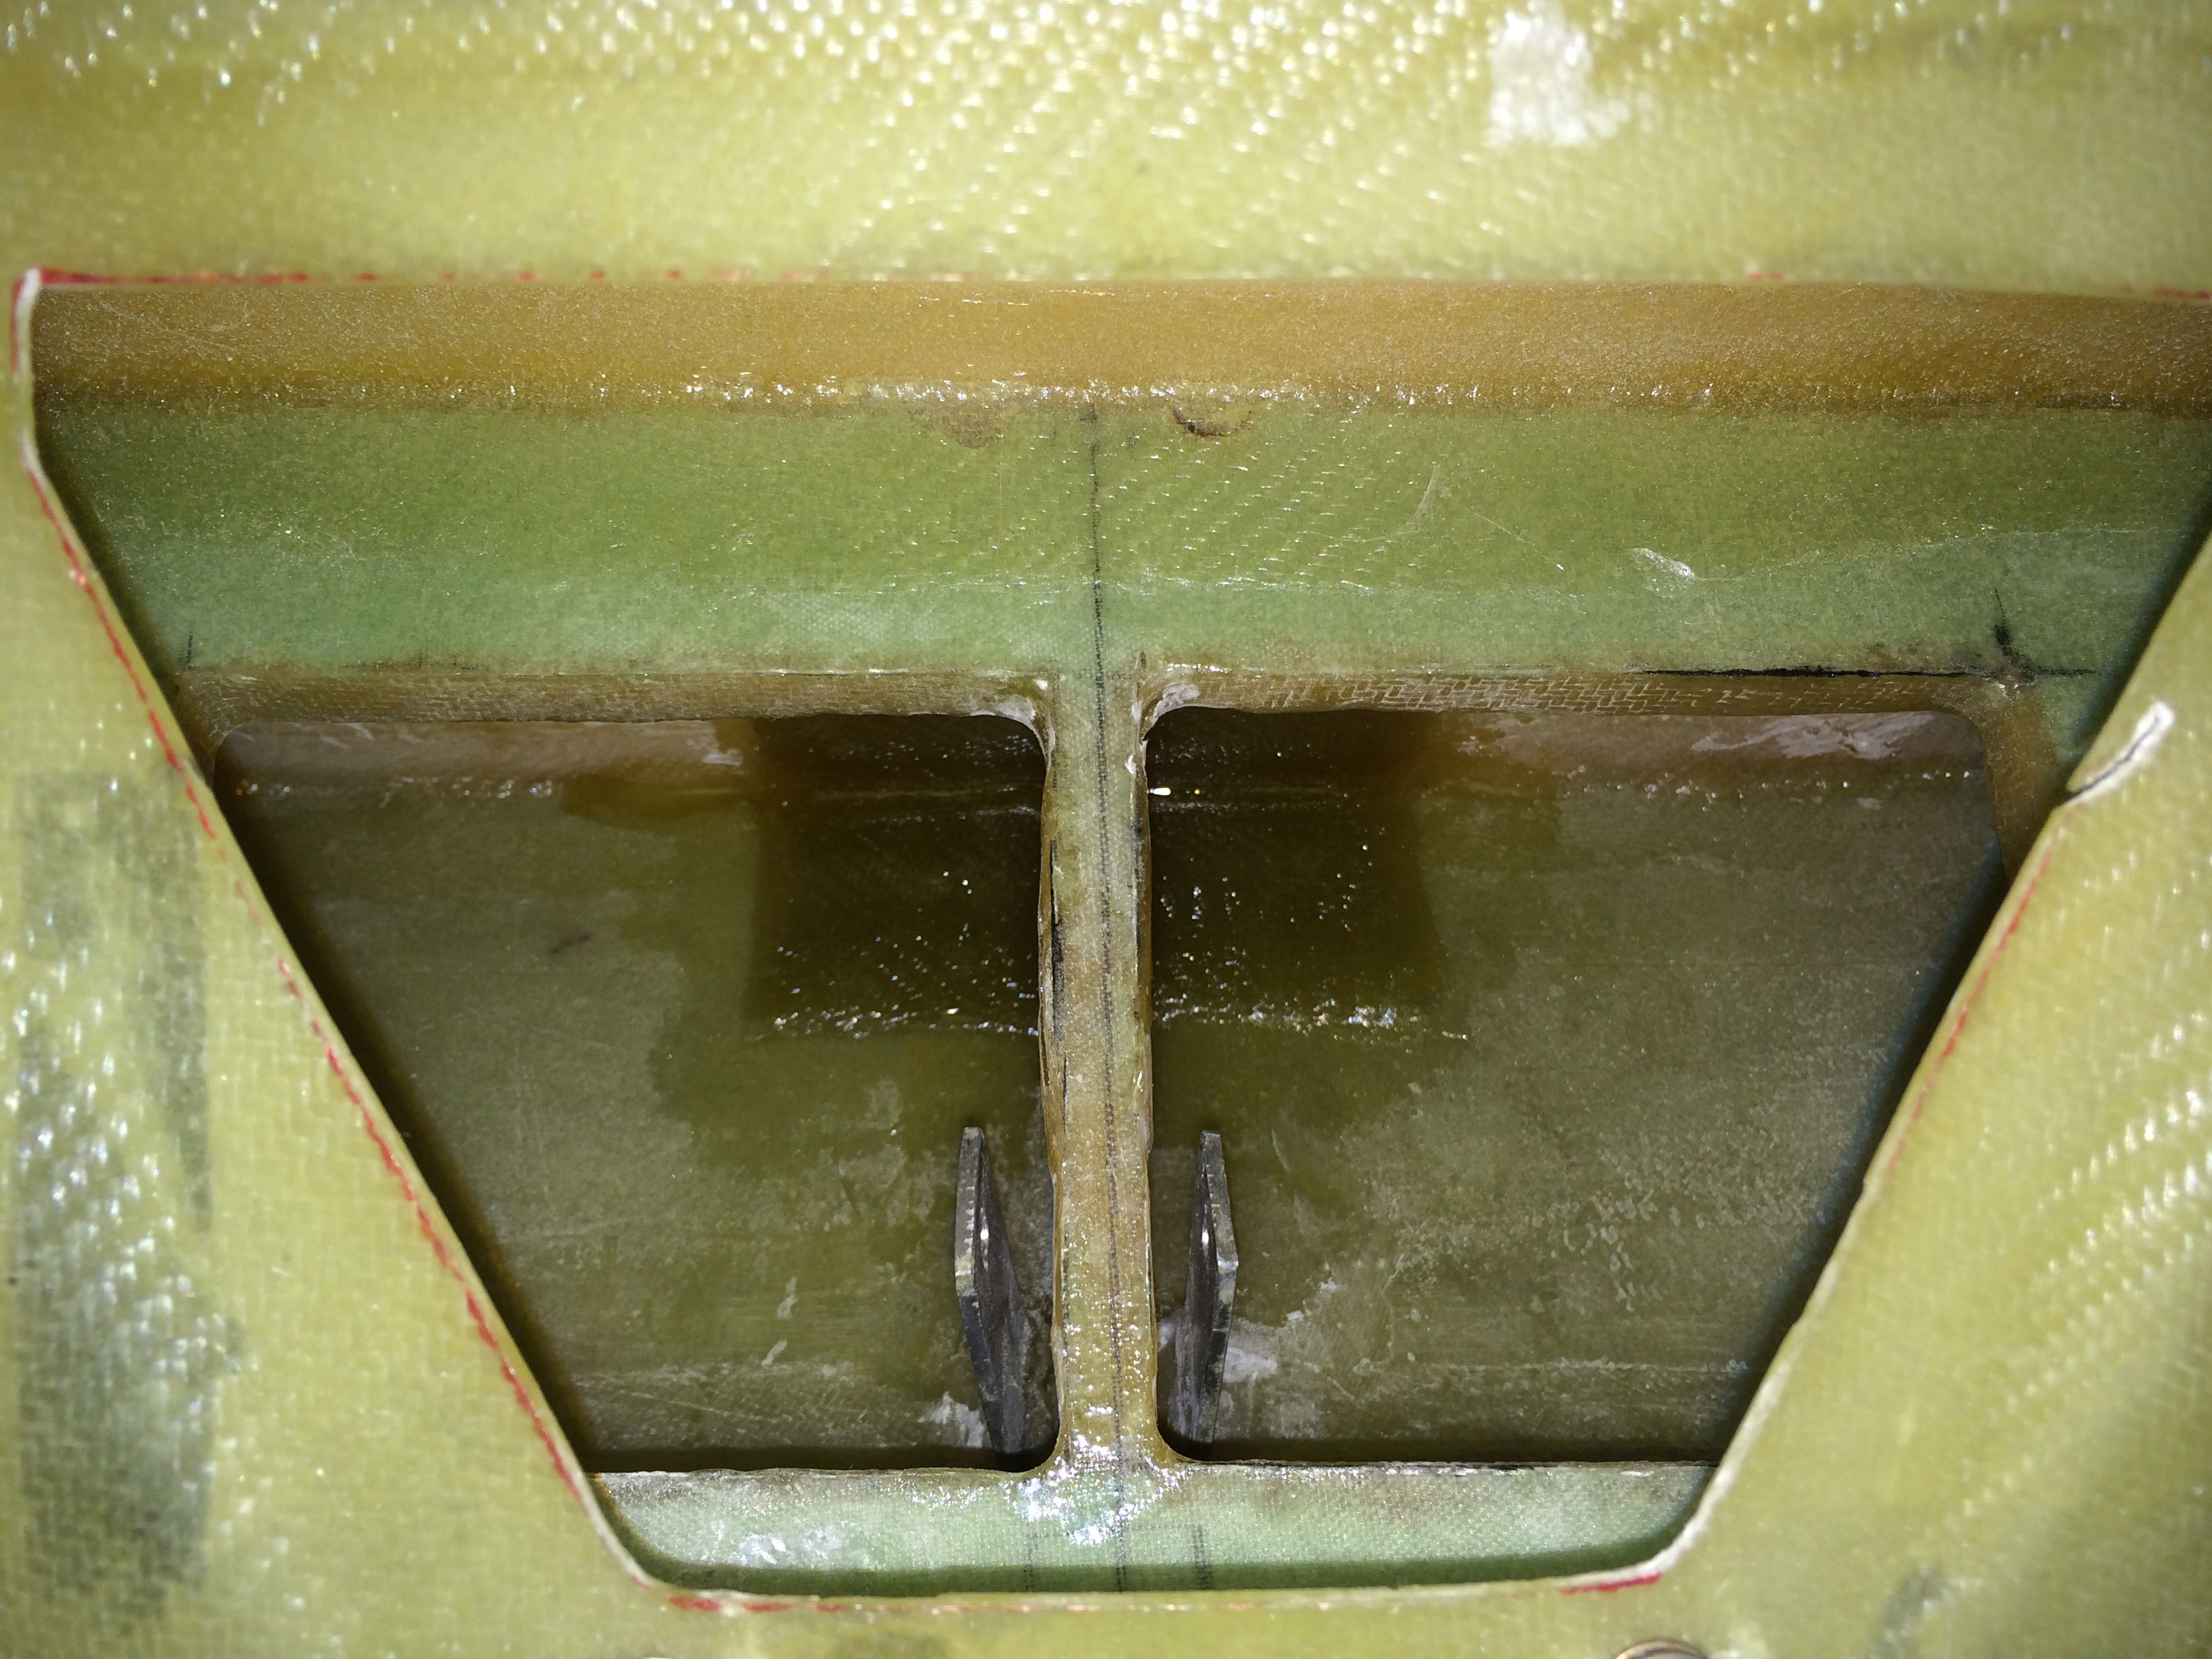
2014-08-12: I will skip the nose-puck and instead make the skid-plate as pr Wayne Hicks. This requires four hardpoints made of 16 ply BID patches. Two in the nose cone against FS0 and two in the nose compartment against NG30. I have also made a “duplicate” in the nose cone. I will later flox the cone to FS0 using this “duplicate” as I will refer to as FS-0. See pictures further down.
This picture show the BID hardpoints (glossy) at the bottom of the nose cone against FS-0.
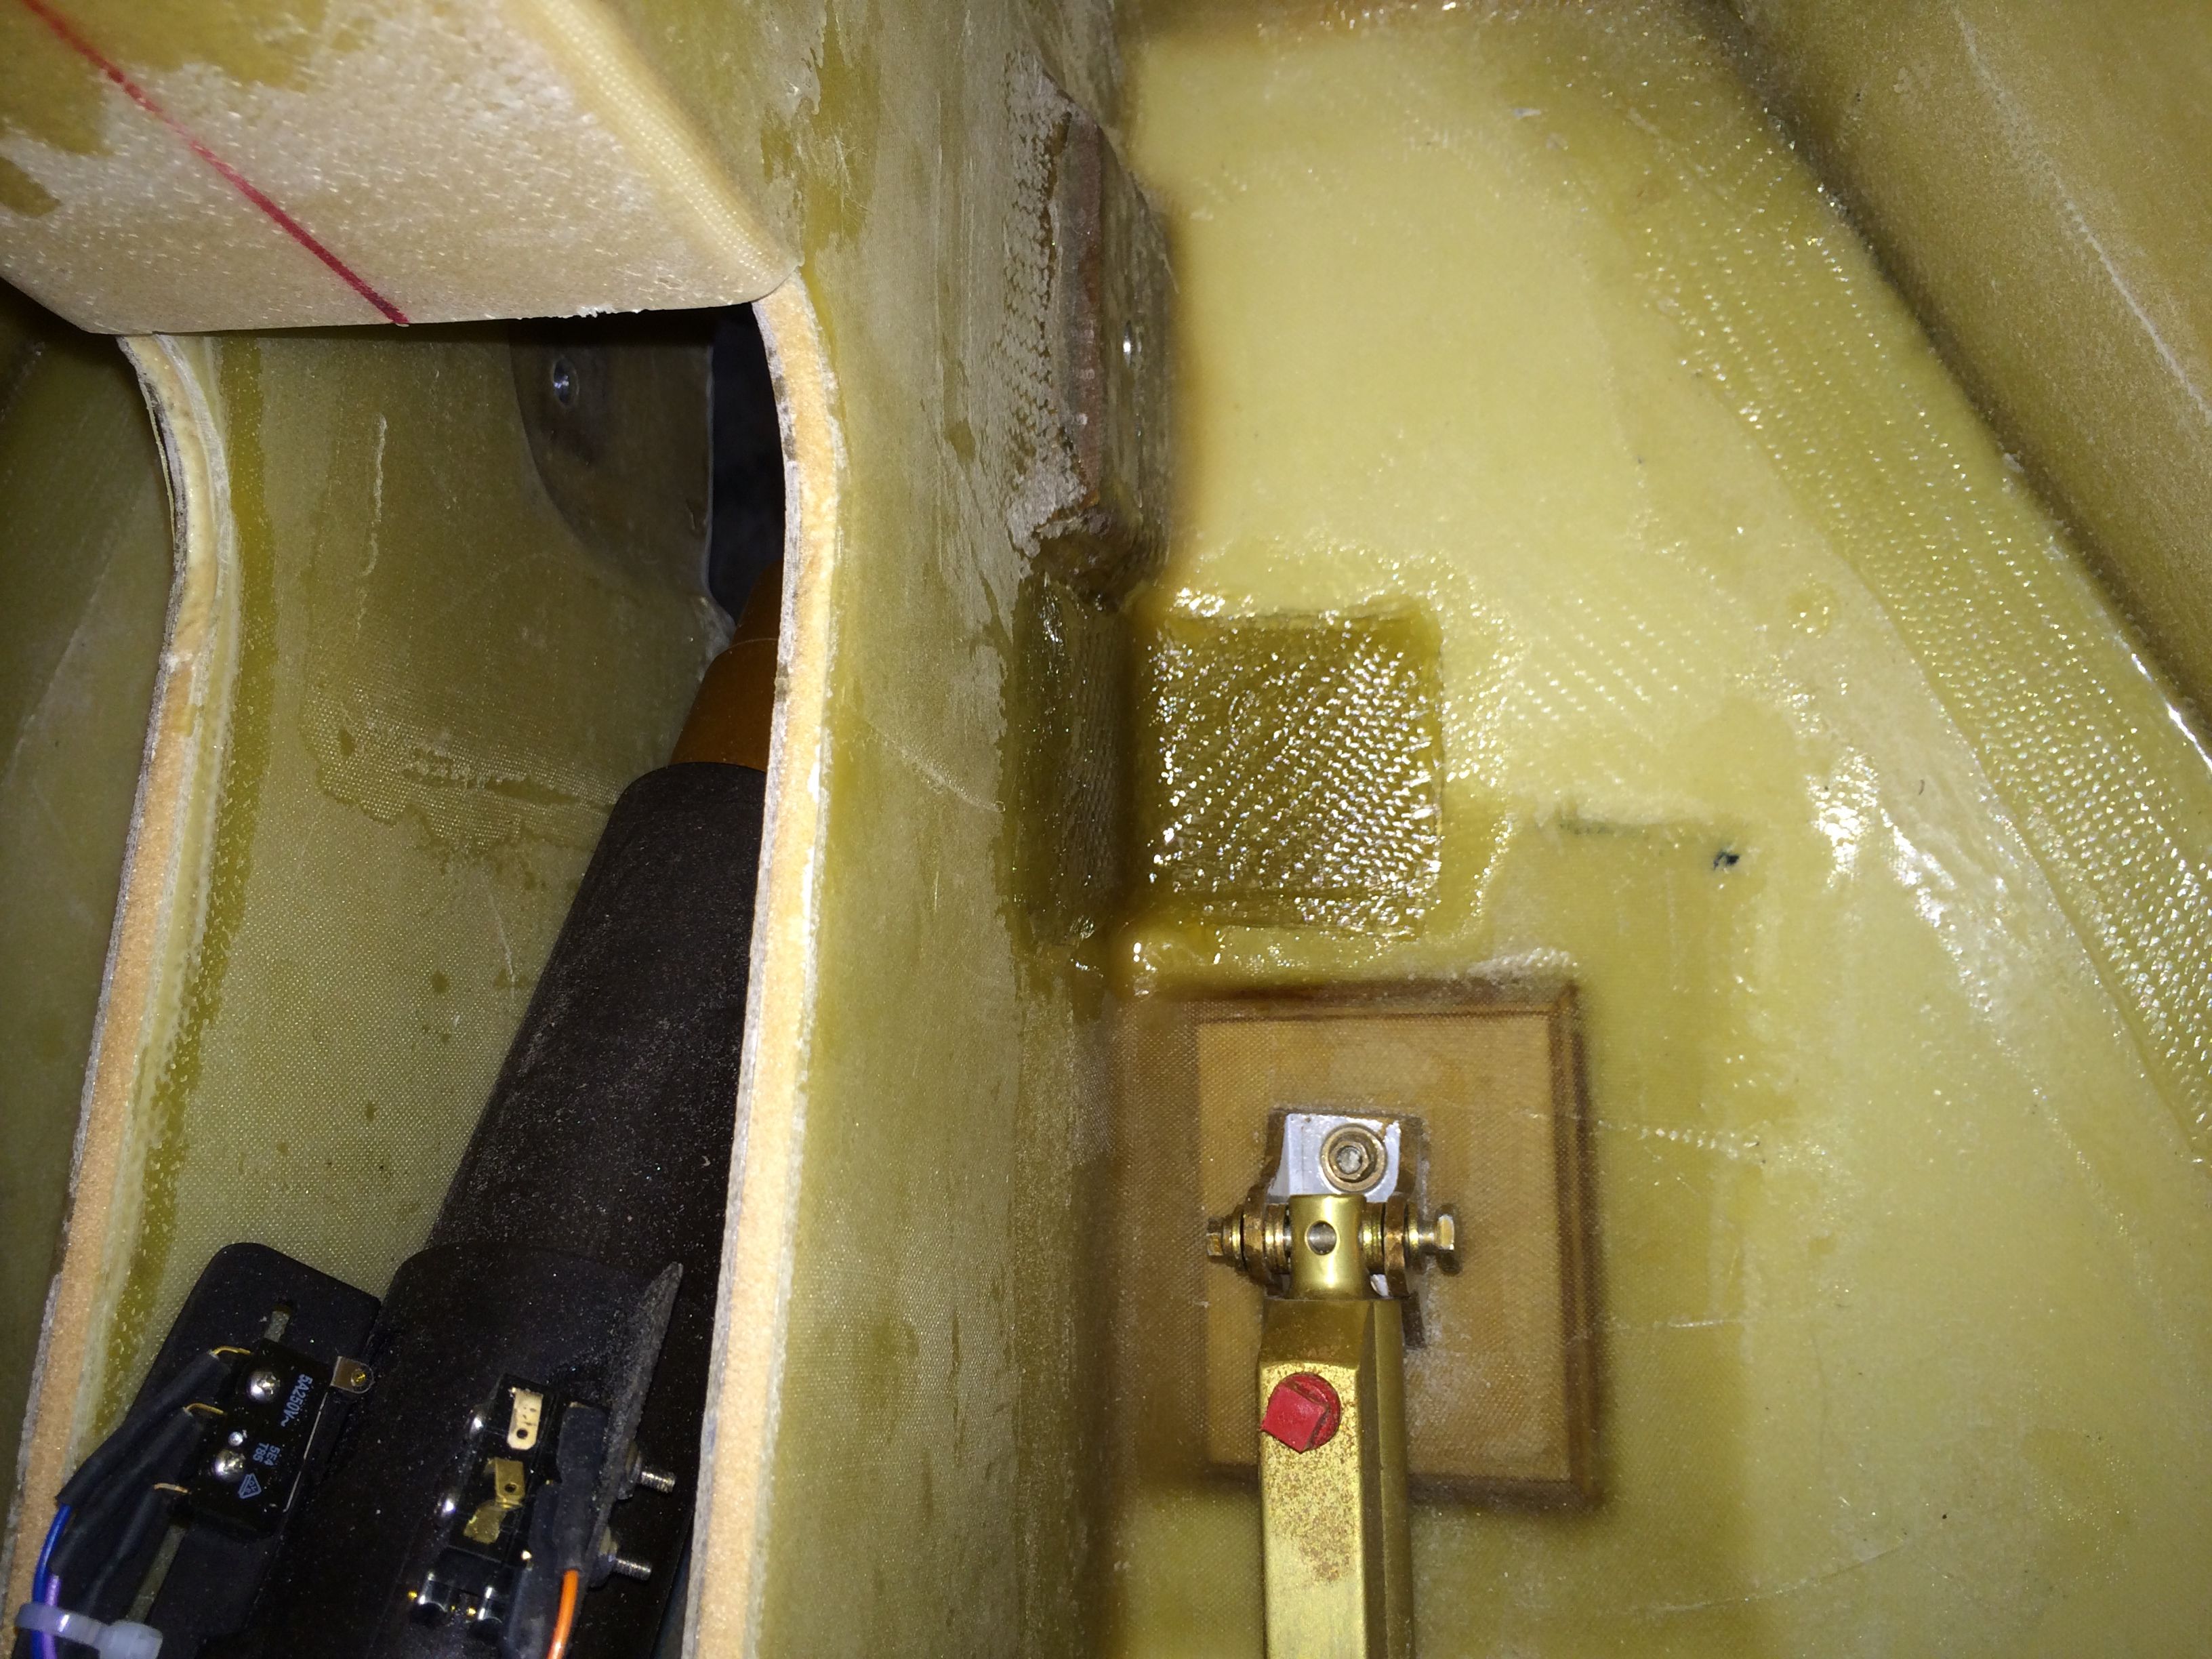
2014-08-12: This shows the right hardpoint up against NG30.

2014-08-12: And this is the left hardpoint.

2014-08-13: I bondoed some sticks to the nose to guide the nose cone so it aligns properly to the nose. Here FS-0 is shown as the back plate of the nose cone.
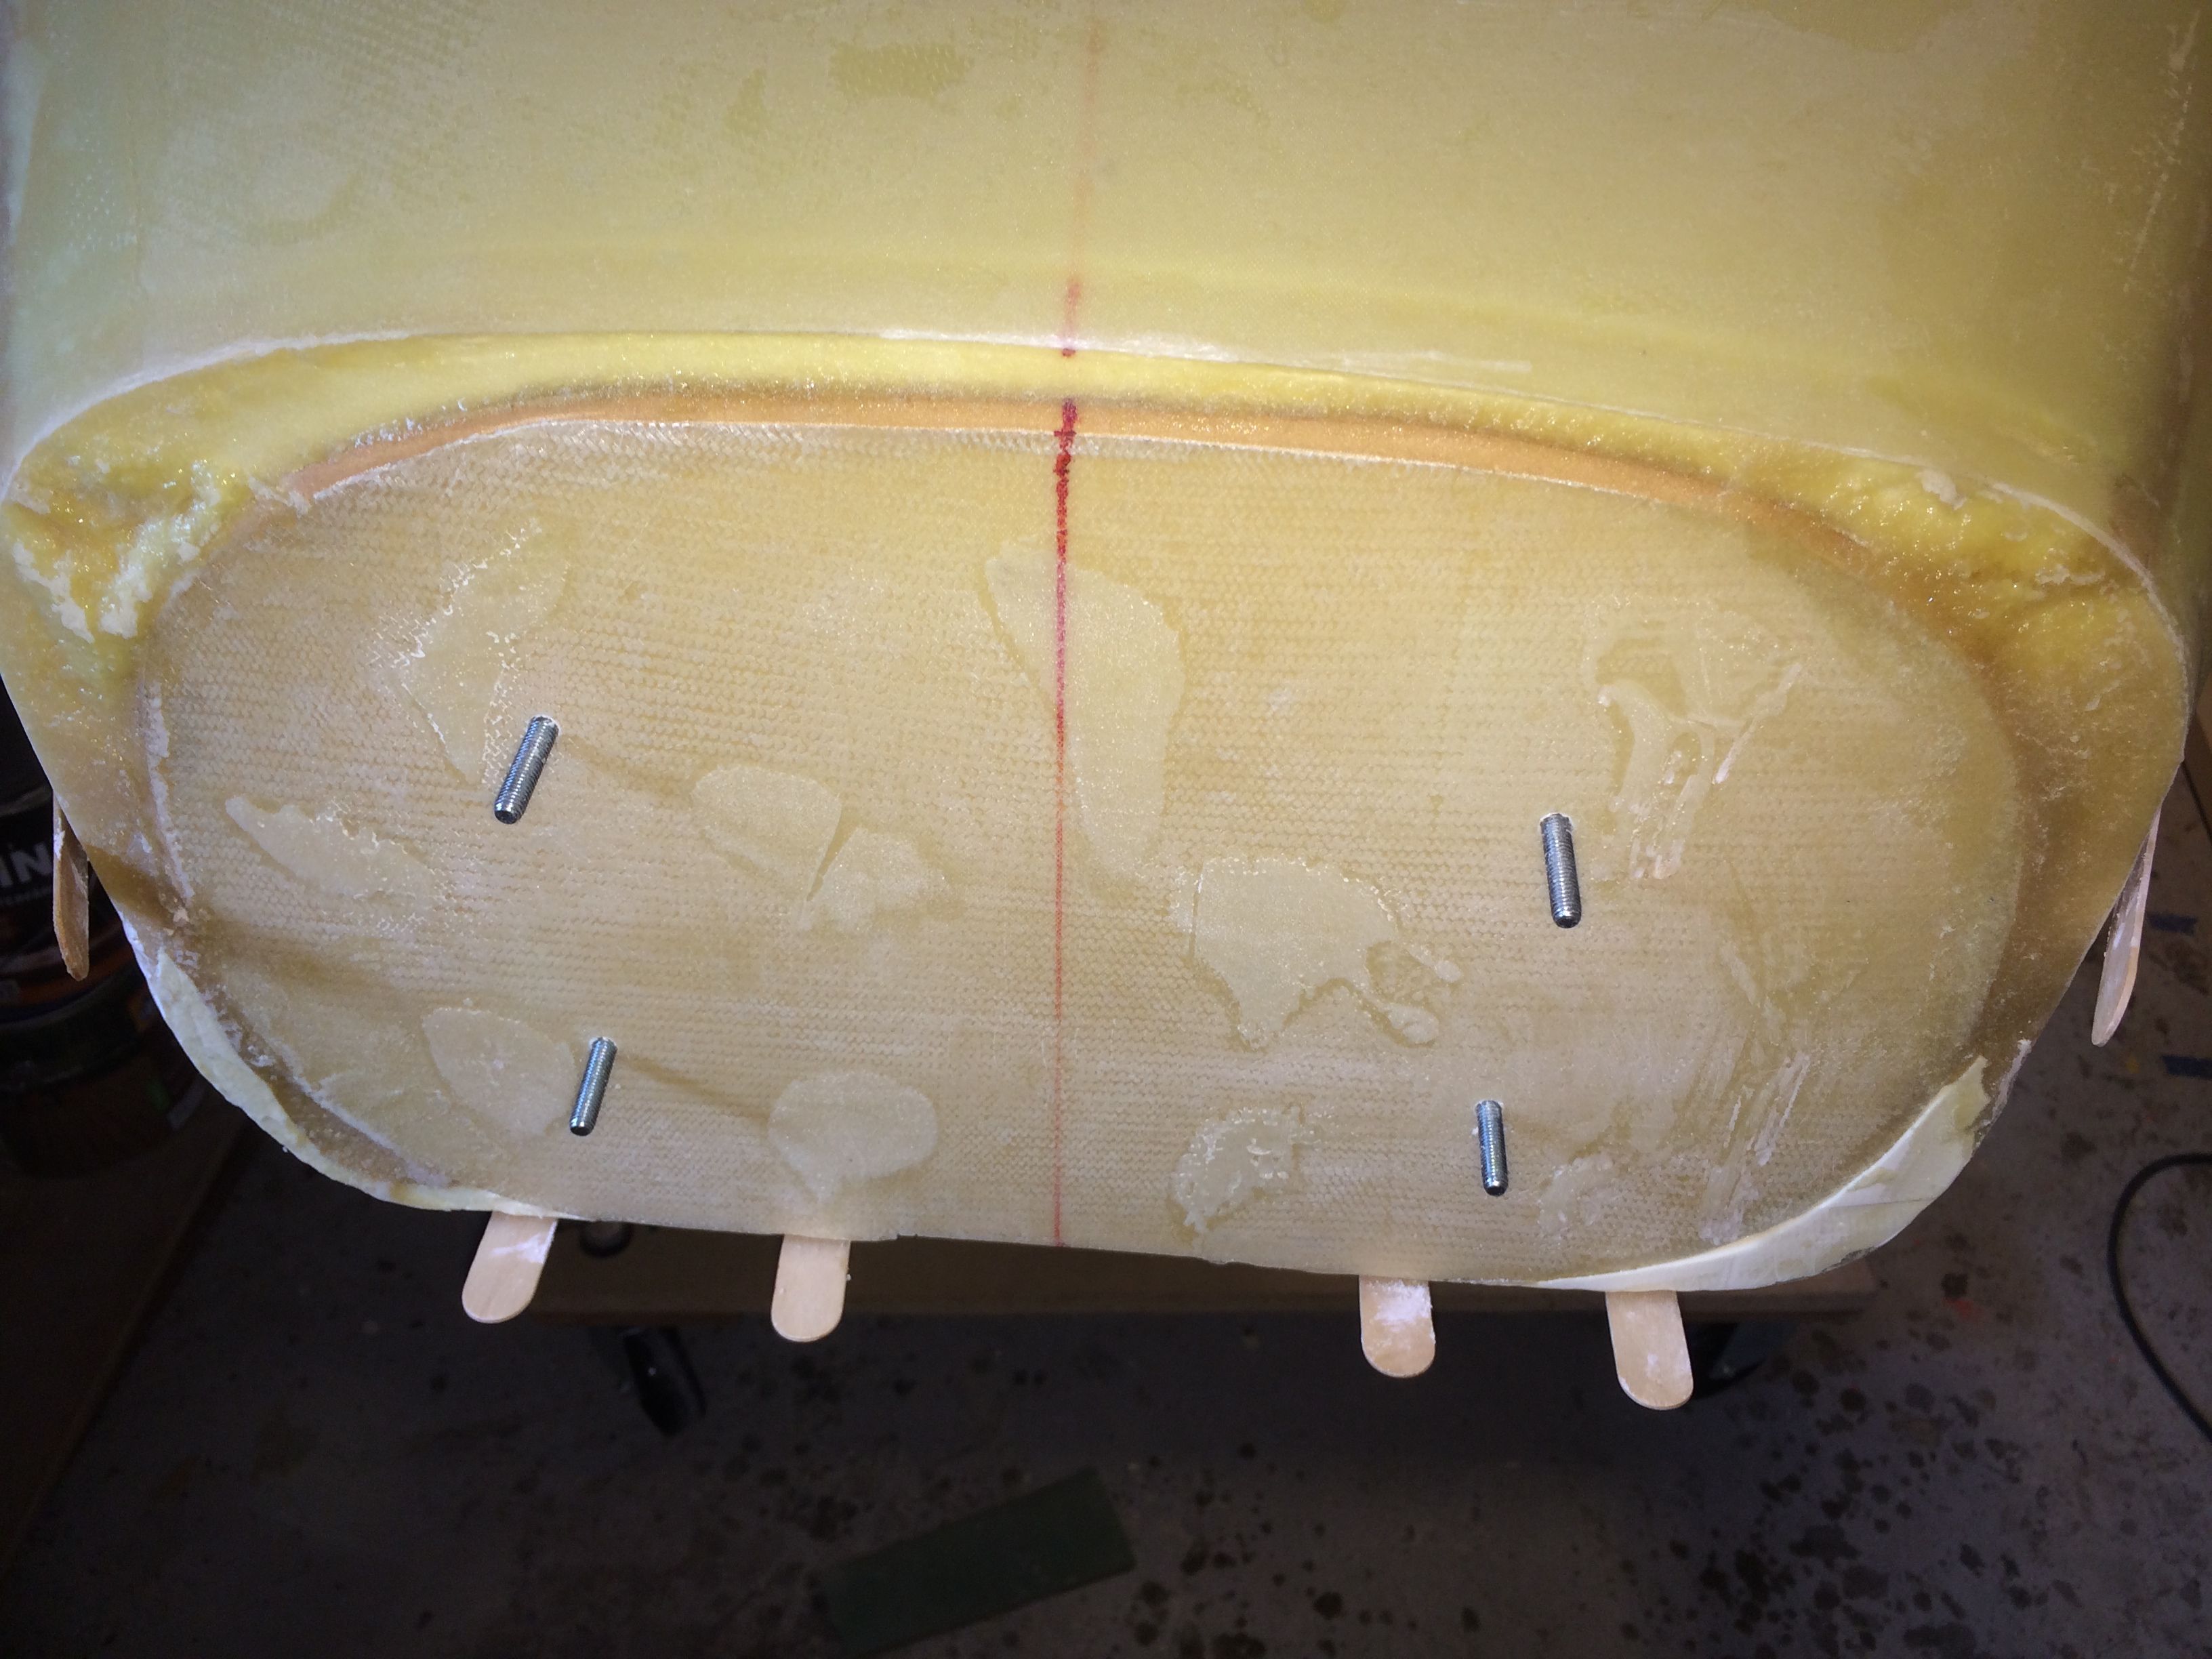
2014-08-13: Then I drilled four holes through FS0 and FS-0 and put some bolts through. I then covered FS0 with wet flox and mounted the nose cone using the bolts as guide, and fastened four nuts to squeeze FS0 and FS-0 as tight as possible. I finished off by taping the joint between the nose and the nose cone with 2BID tape.
2014-08-13: Finally the nose is complete. I peel plied the joint and set to cure.
Started: 2014-03-22
Ended: 2014-08-13