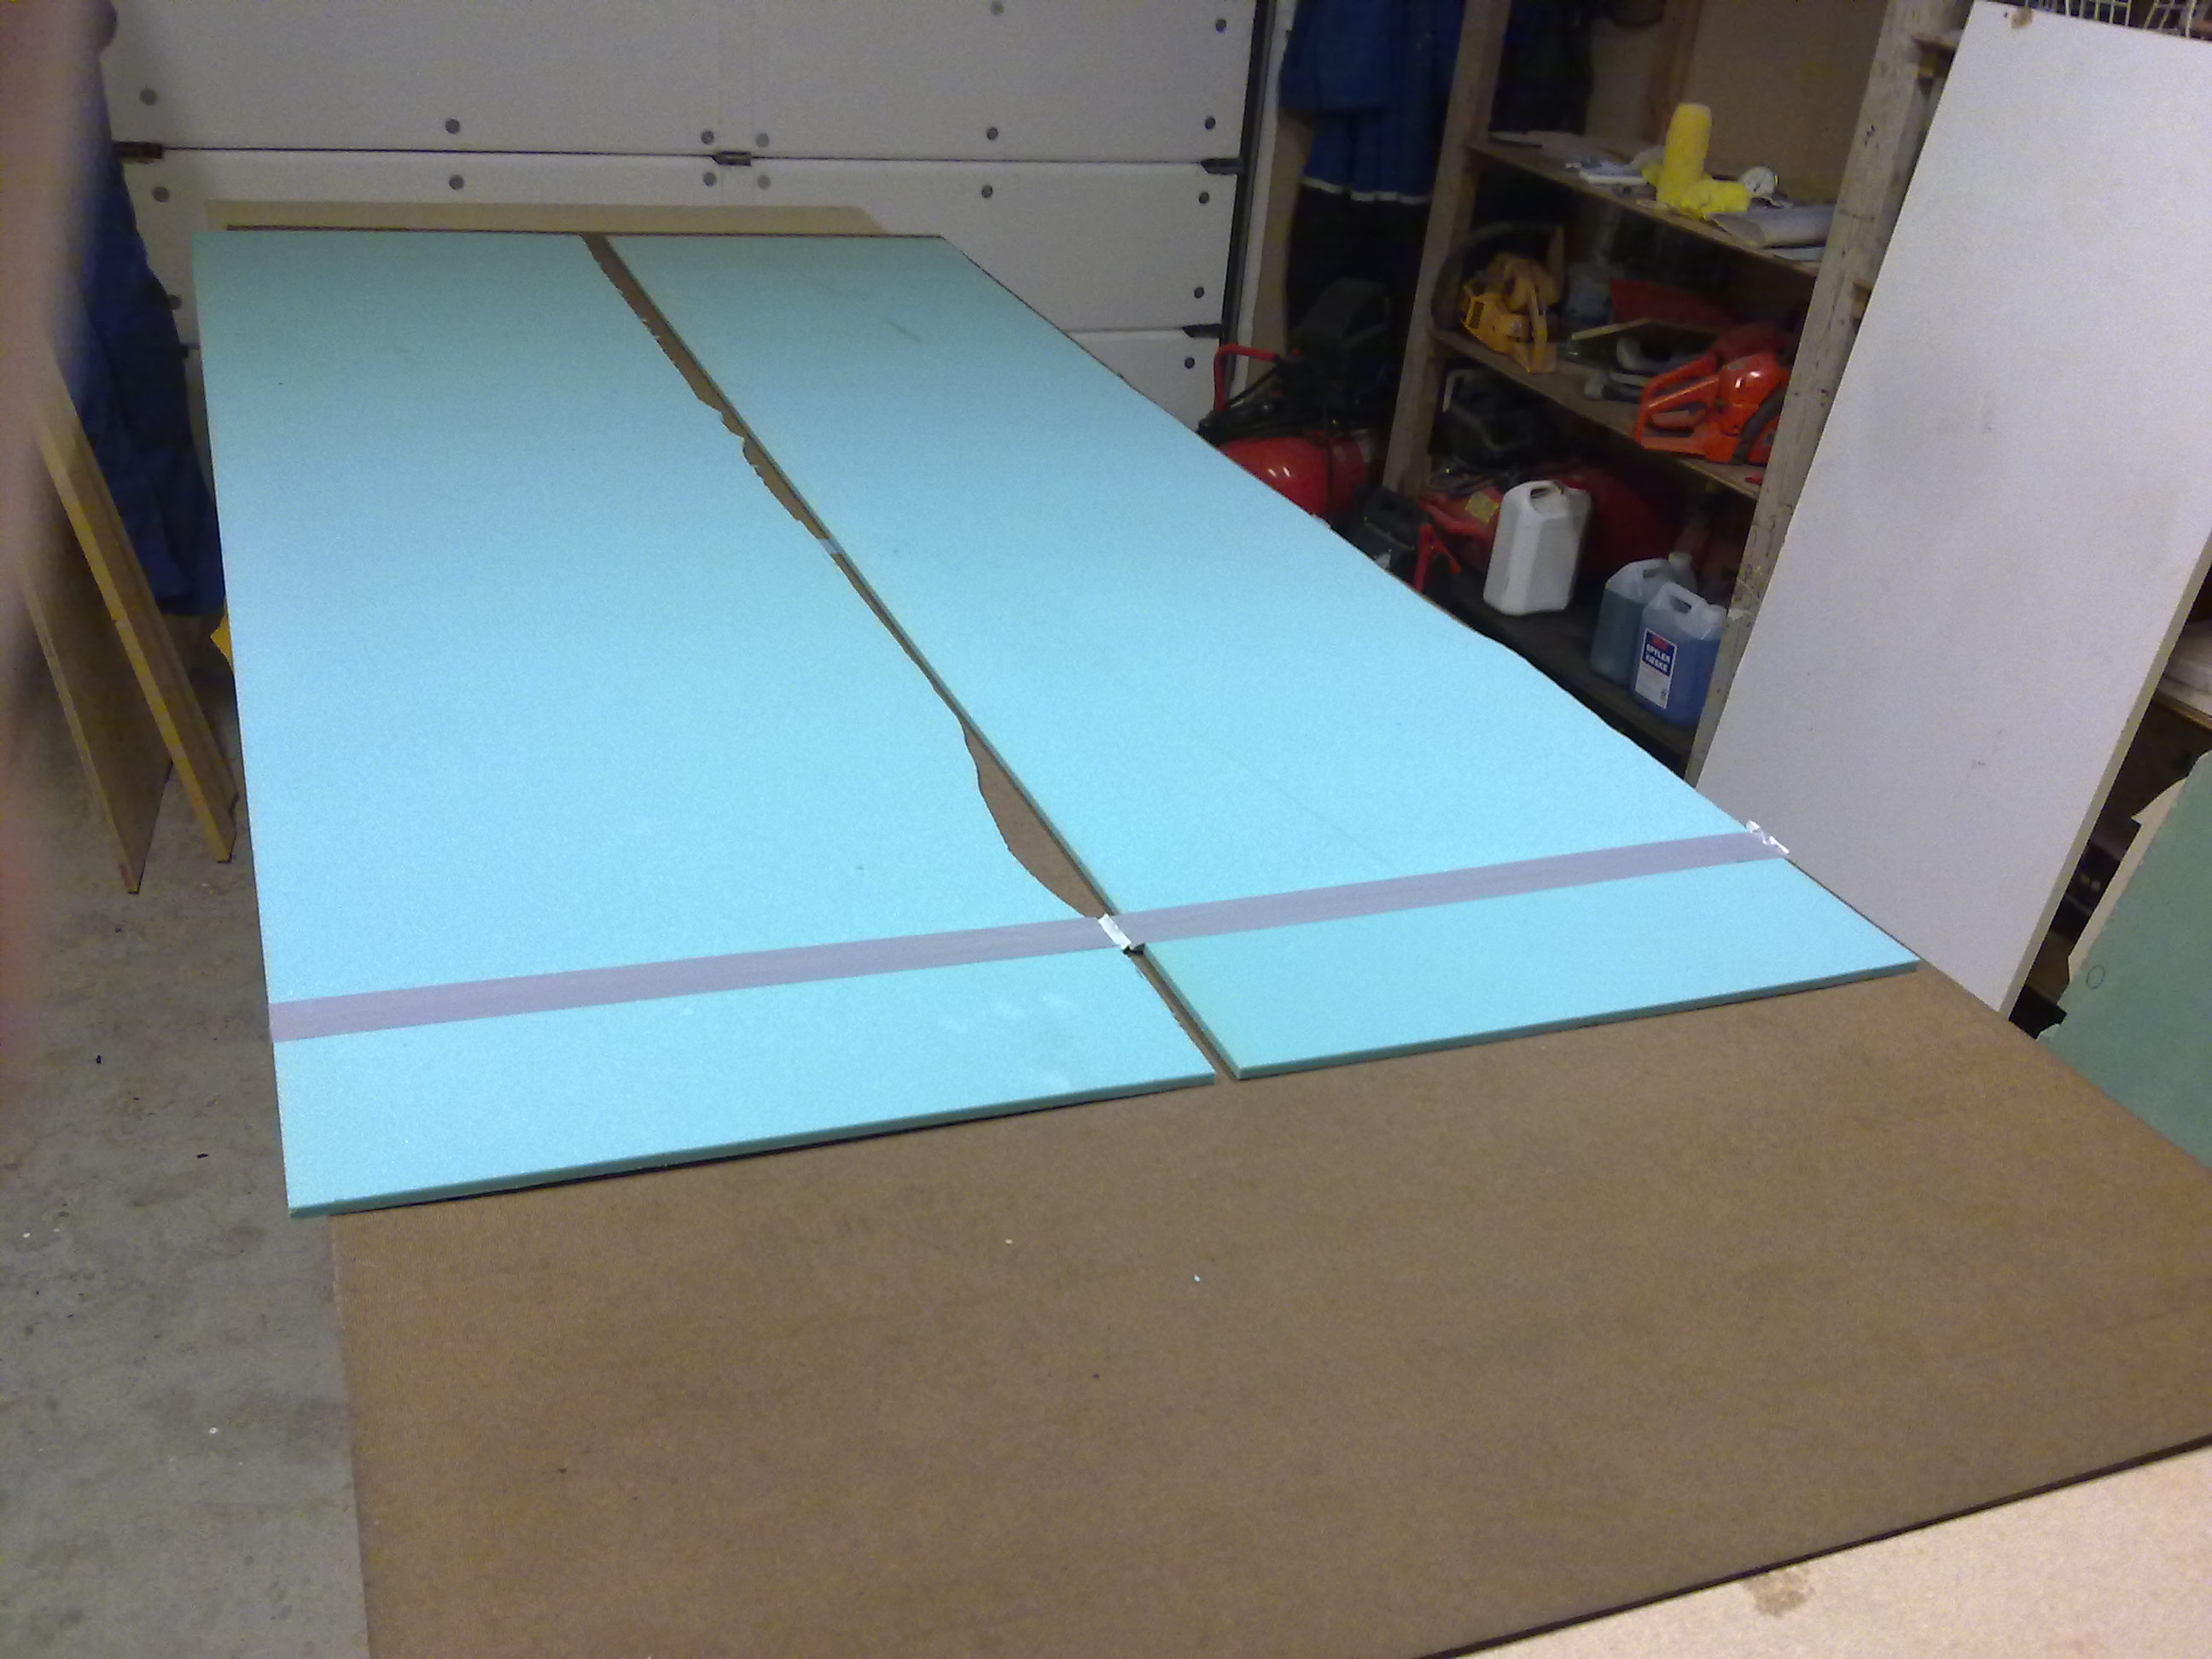
The sides are built using jigs to create the right curvature. The jigs are made of wood-blocks and a sheet of 3mm masonite. The first thing to do is to glue together the sheets of masonite and the foam, since the table will be occupied for the rest of this chapter. I will not have the space available to this later, so off to work:
Jigs
The jigs are made of 1″ x 8″ pine. I measured up the different jigs according to the plan and cut them out using my jig-saw. Piece of cake…
Longerons
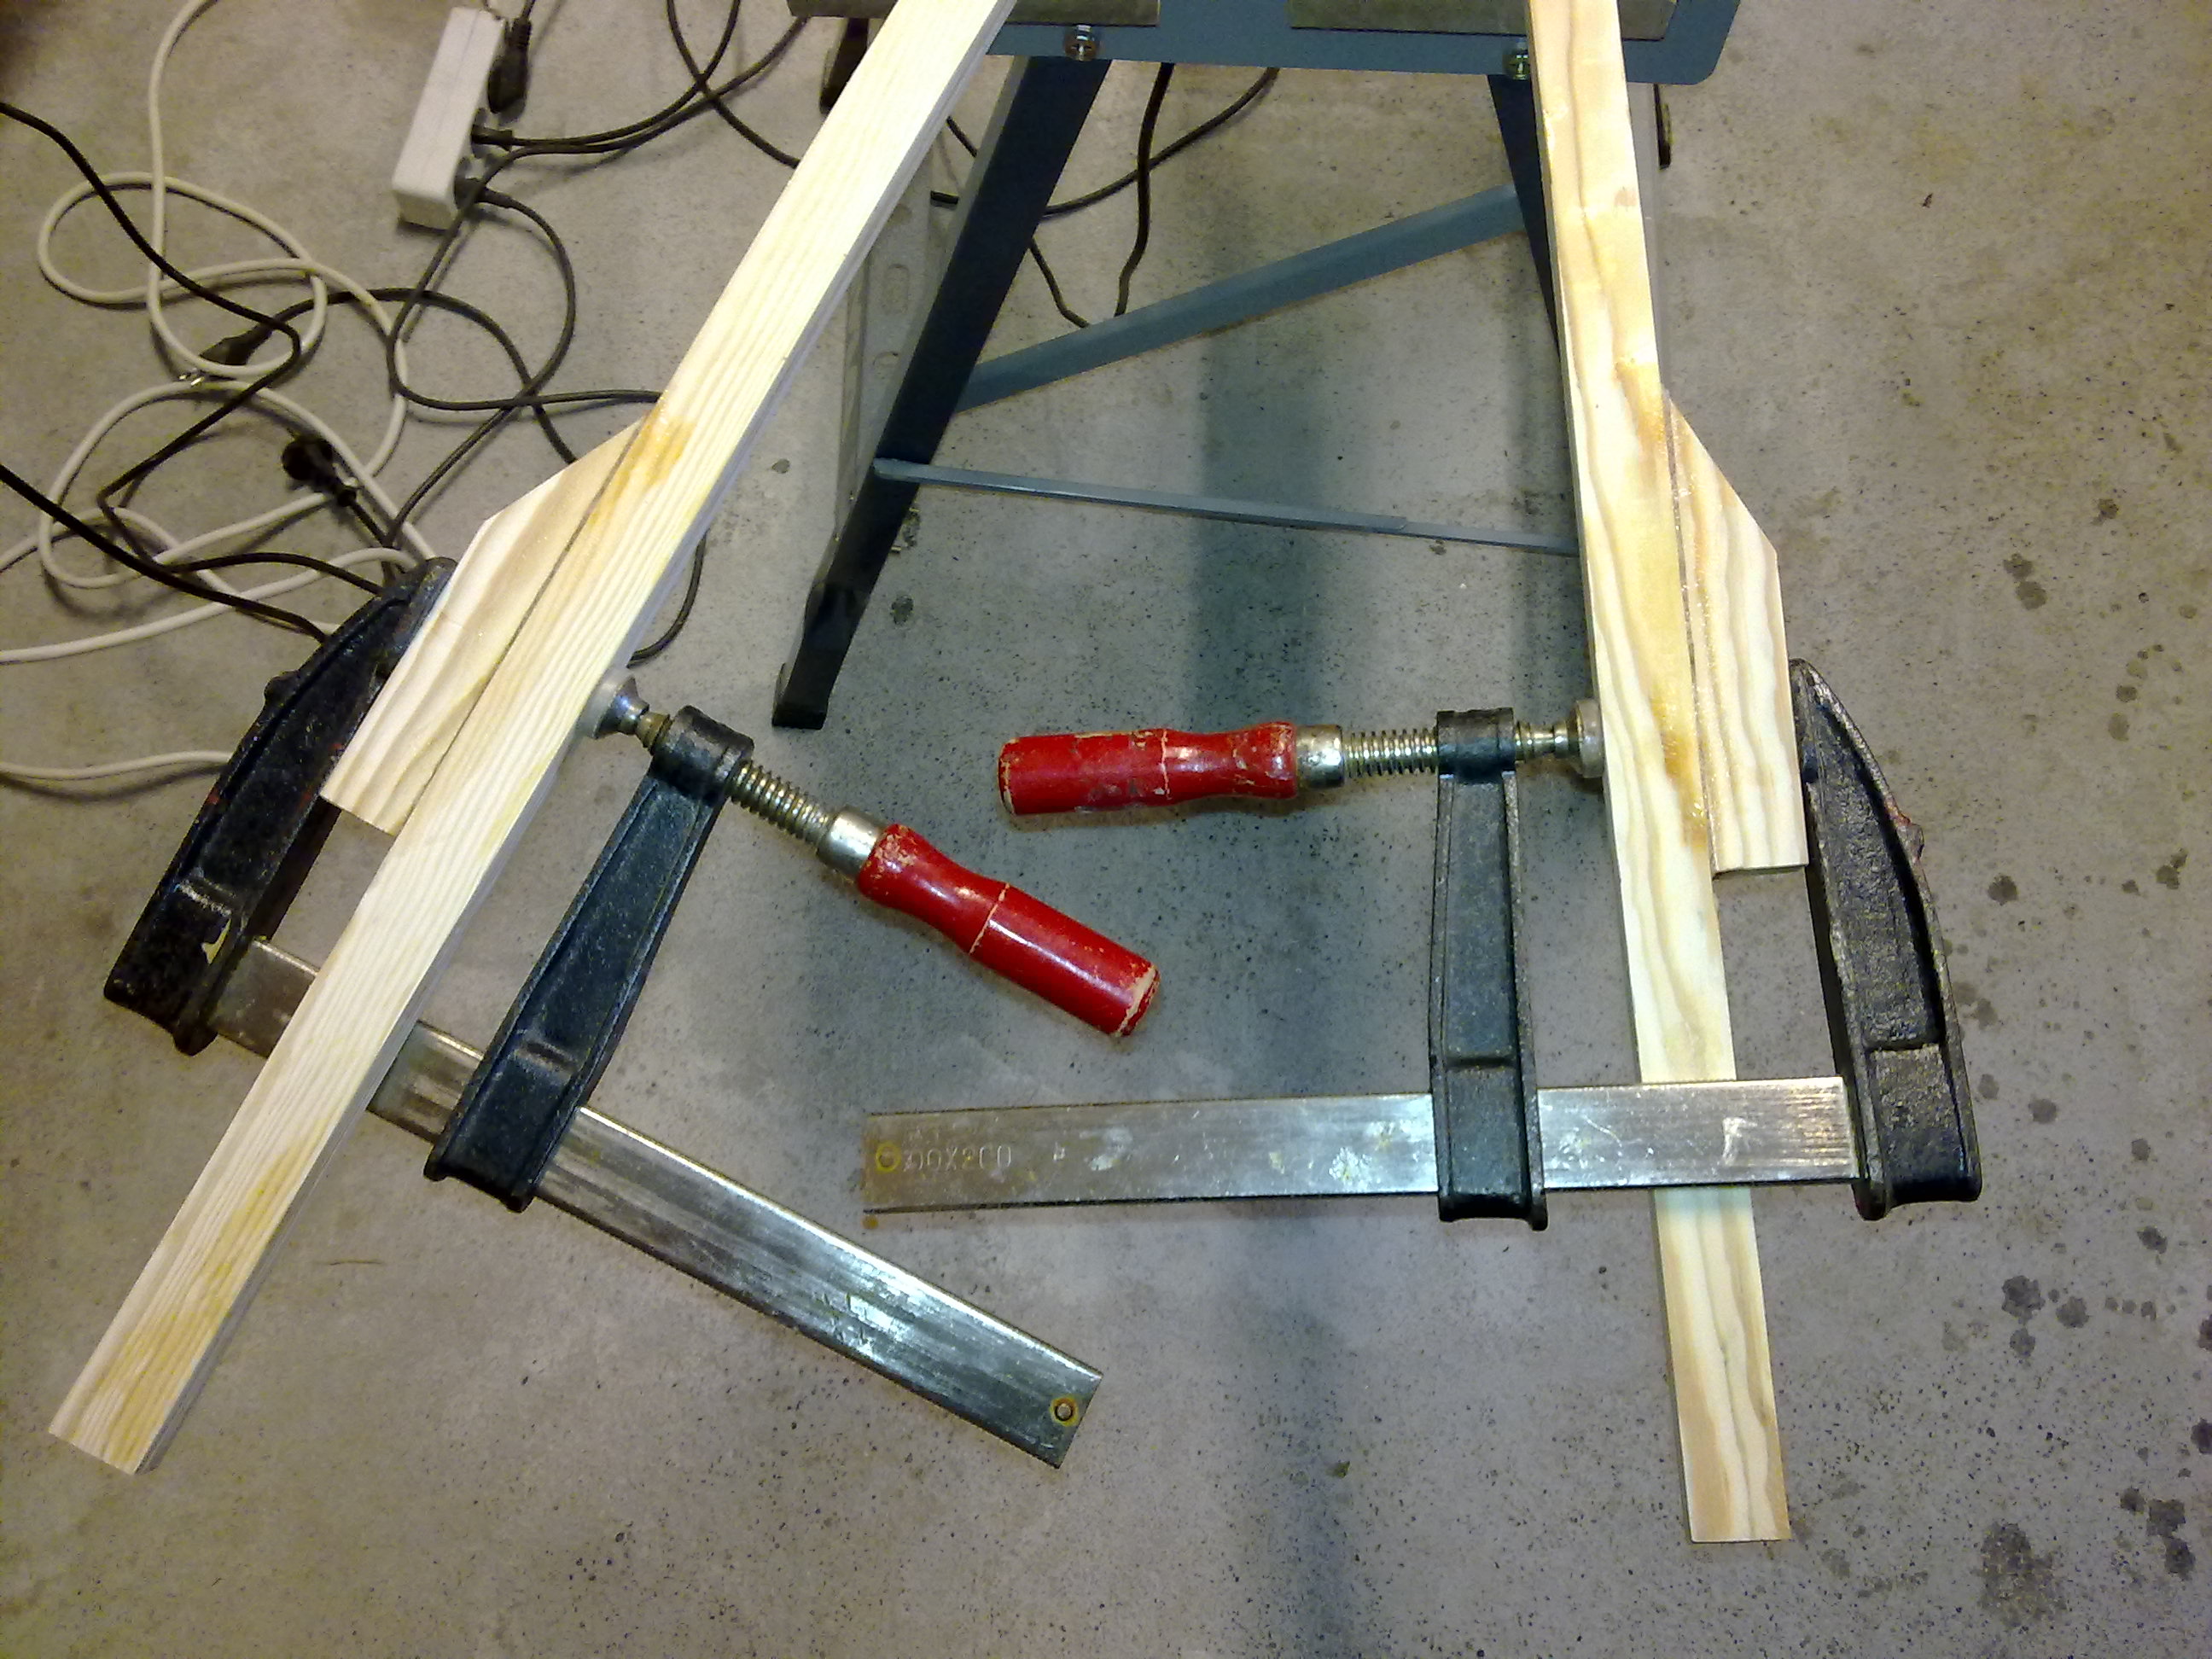
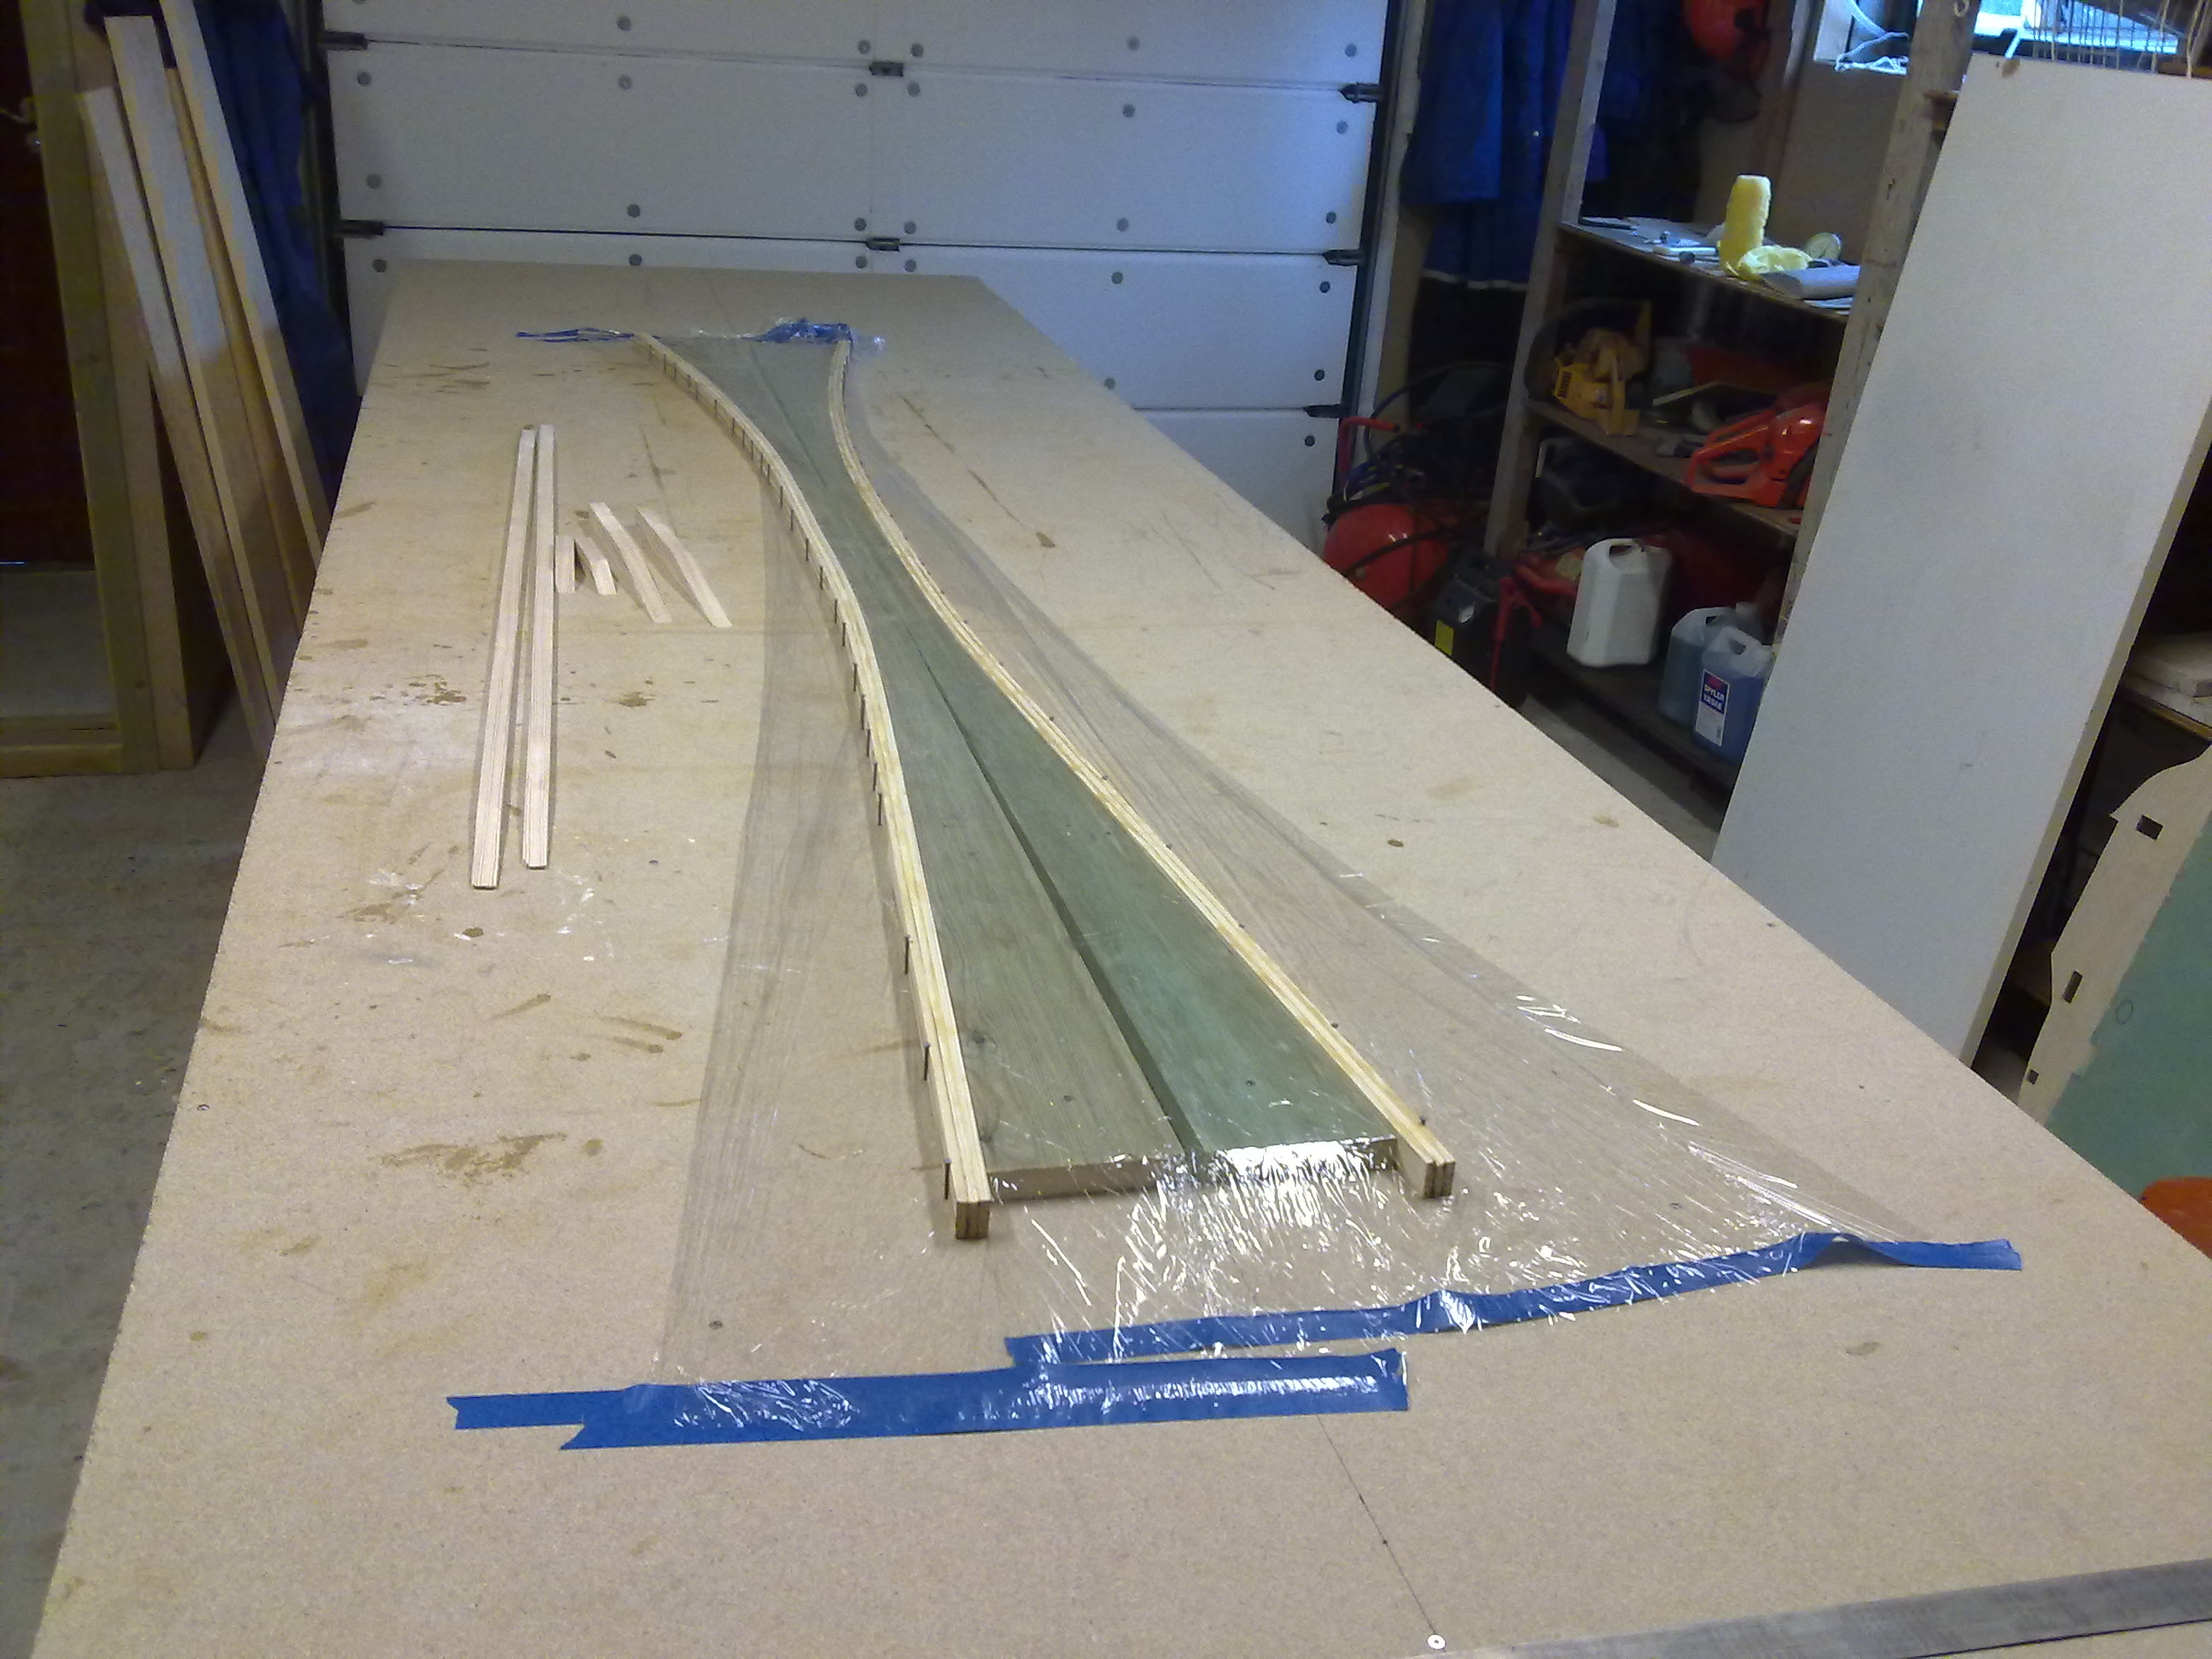
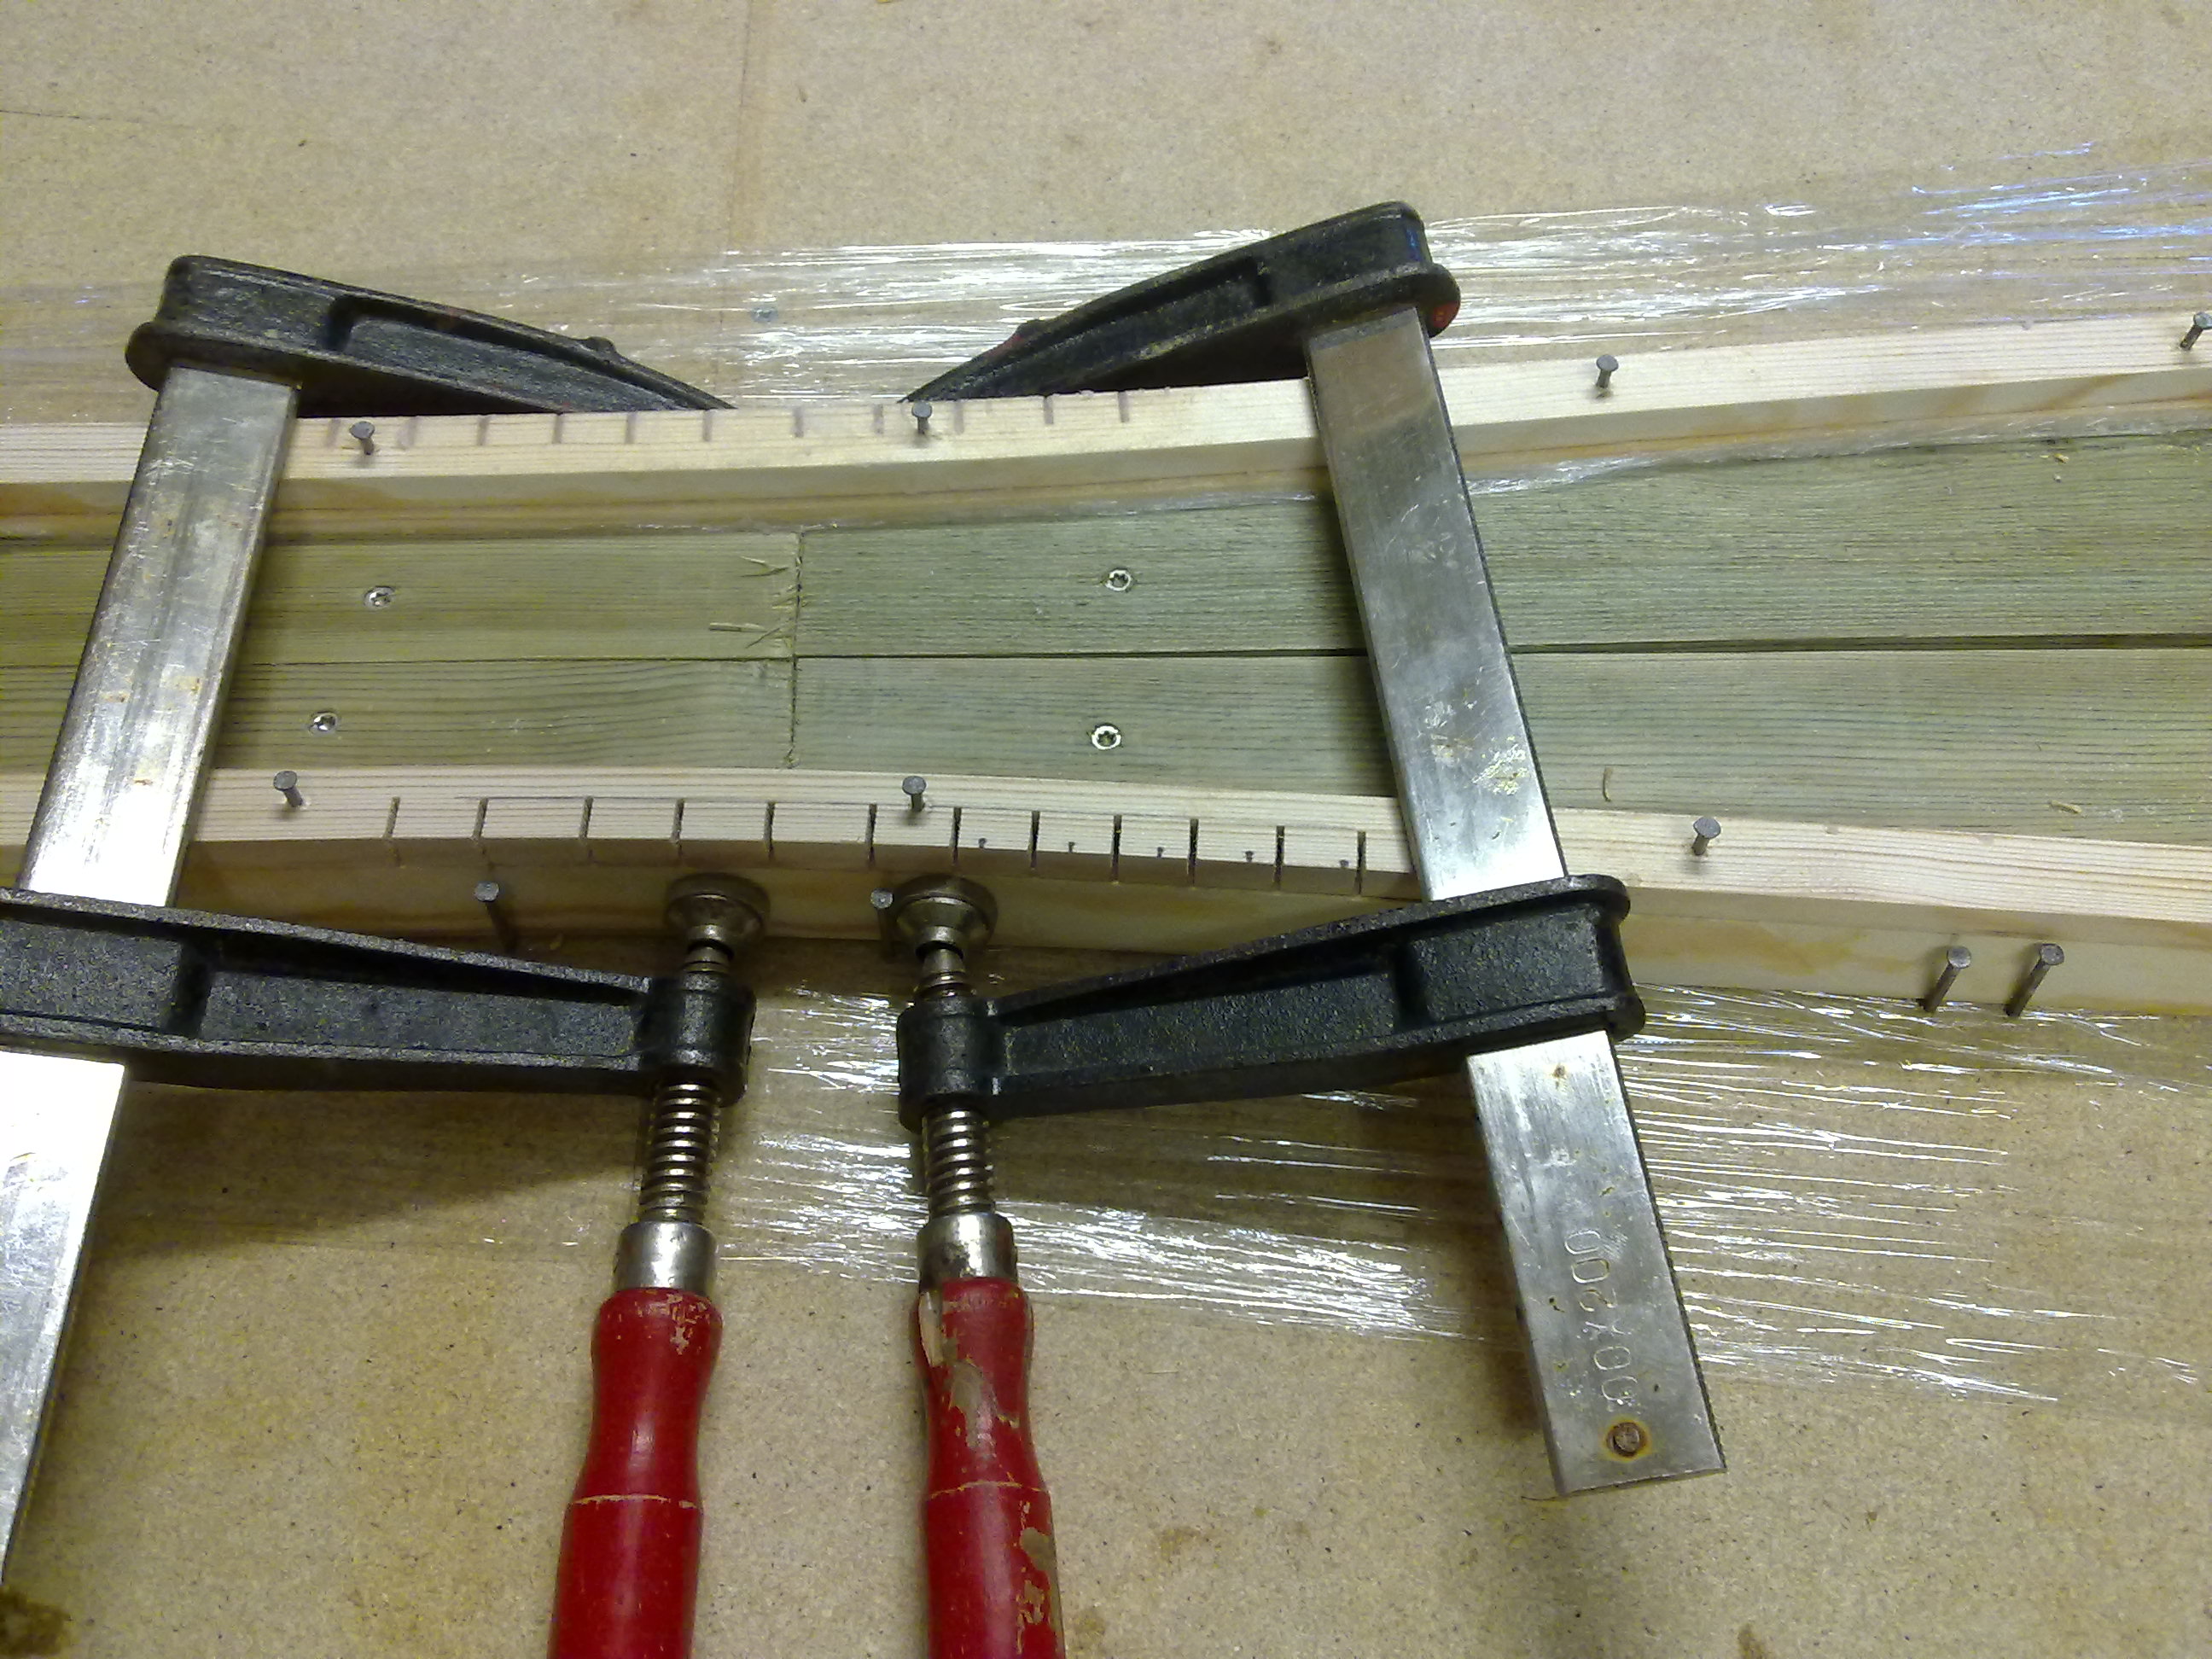
The longerons are made of laminated wood. The plans call out for sitka spruce. This is not available in Norway, at least not without much hazzle, so I ended up using top quality lists/mouldings of pine, free from knots. I trimmed them to the right dimensions using my beloved (!) deWalt-saw. Then I mounted some of the jigs to the table according to plan, and layed some saran-wrap on top of the jigs and table to avoid gluing the longerons to the table or the jigs. The longerons are made of 3 pieces of pine each glued together (laminated) with pure epoxy. Then we use nails to press them against the jigs.
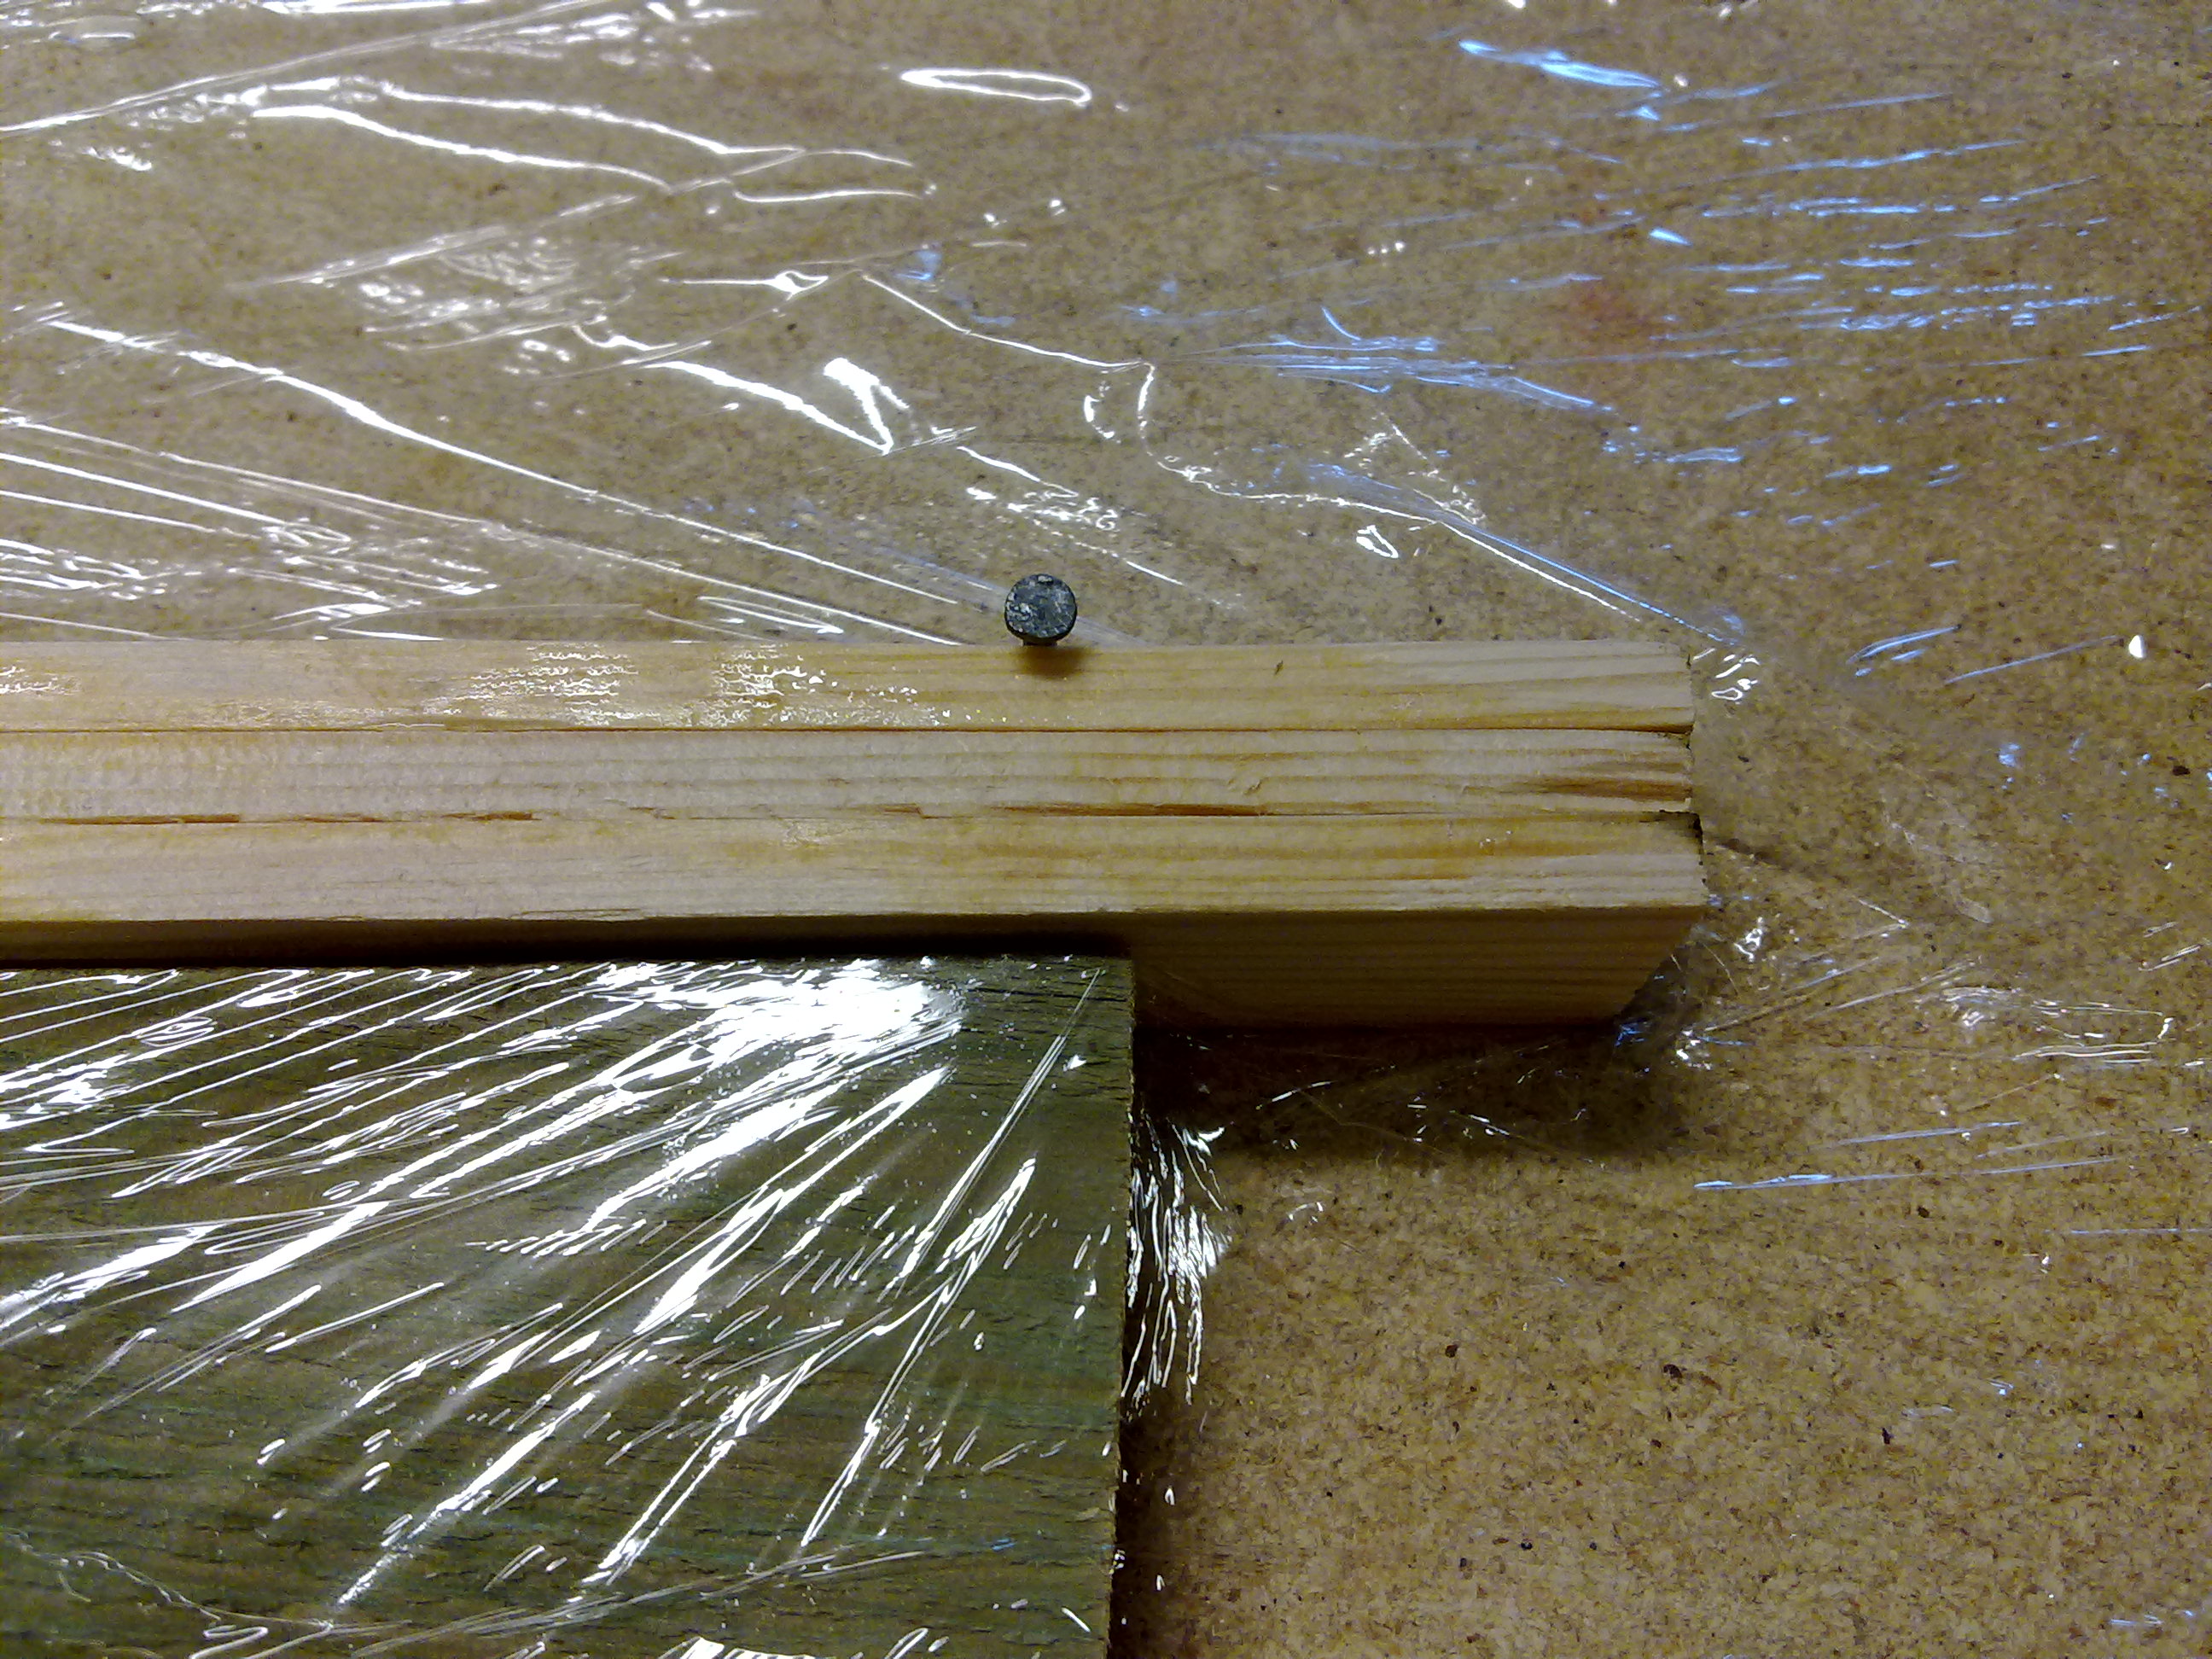
After cure some extra stiffeners are glued onto the longerons. These are glued in place using flox. The longest stiffener has to follow the curvature of the longeron, so to be able to bend them I had to saw some cuts in the stiffener so it could be bent. These stiffeners are held in place by nails into the longeron itself. I pre-drilled each hole to avoid the wood to crack. This part was fun to do, as I enjoy to work with wood!


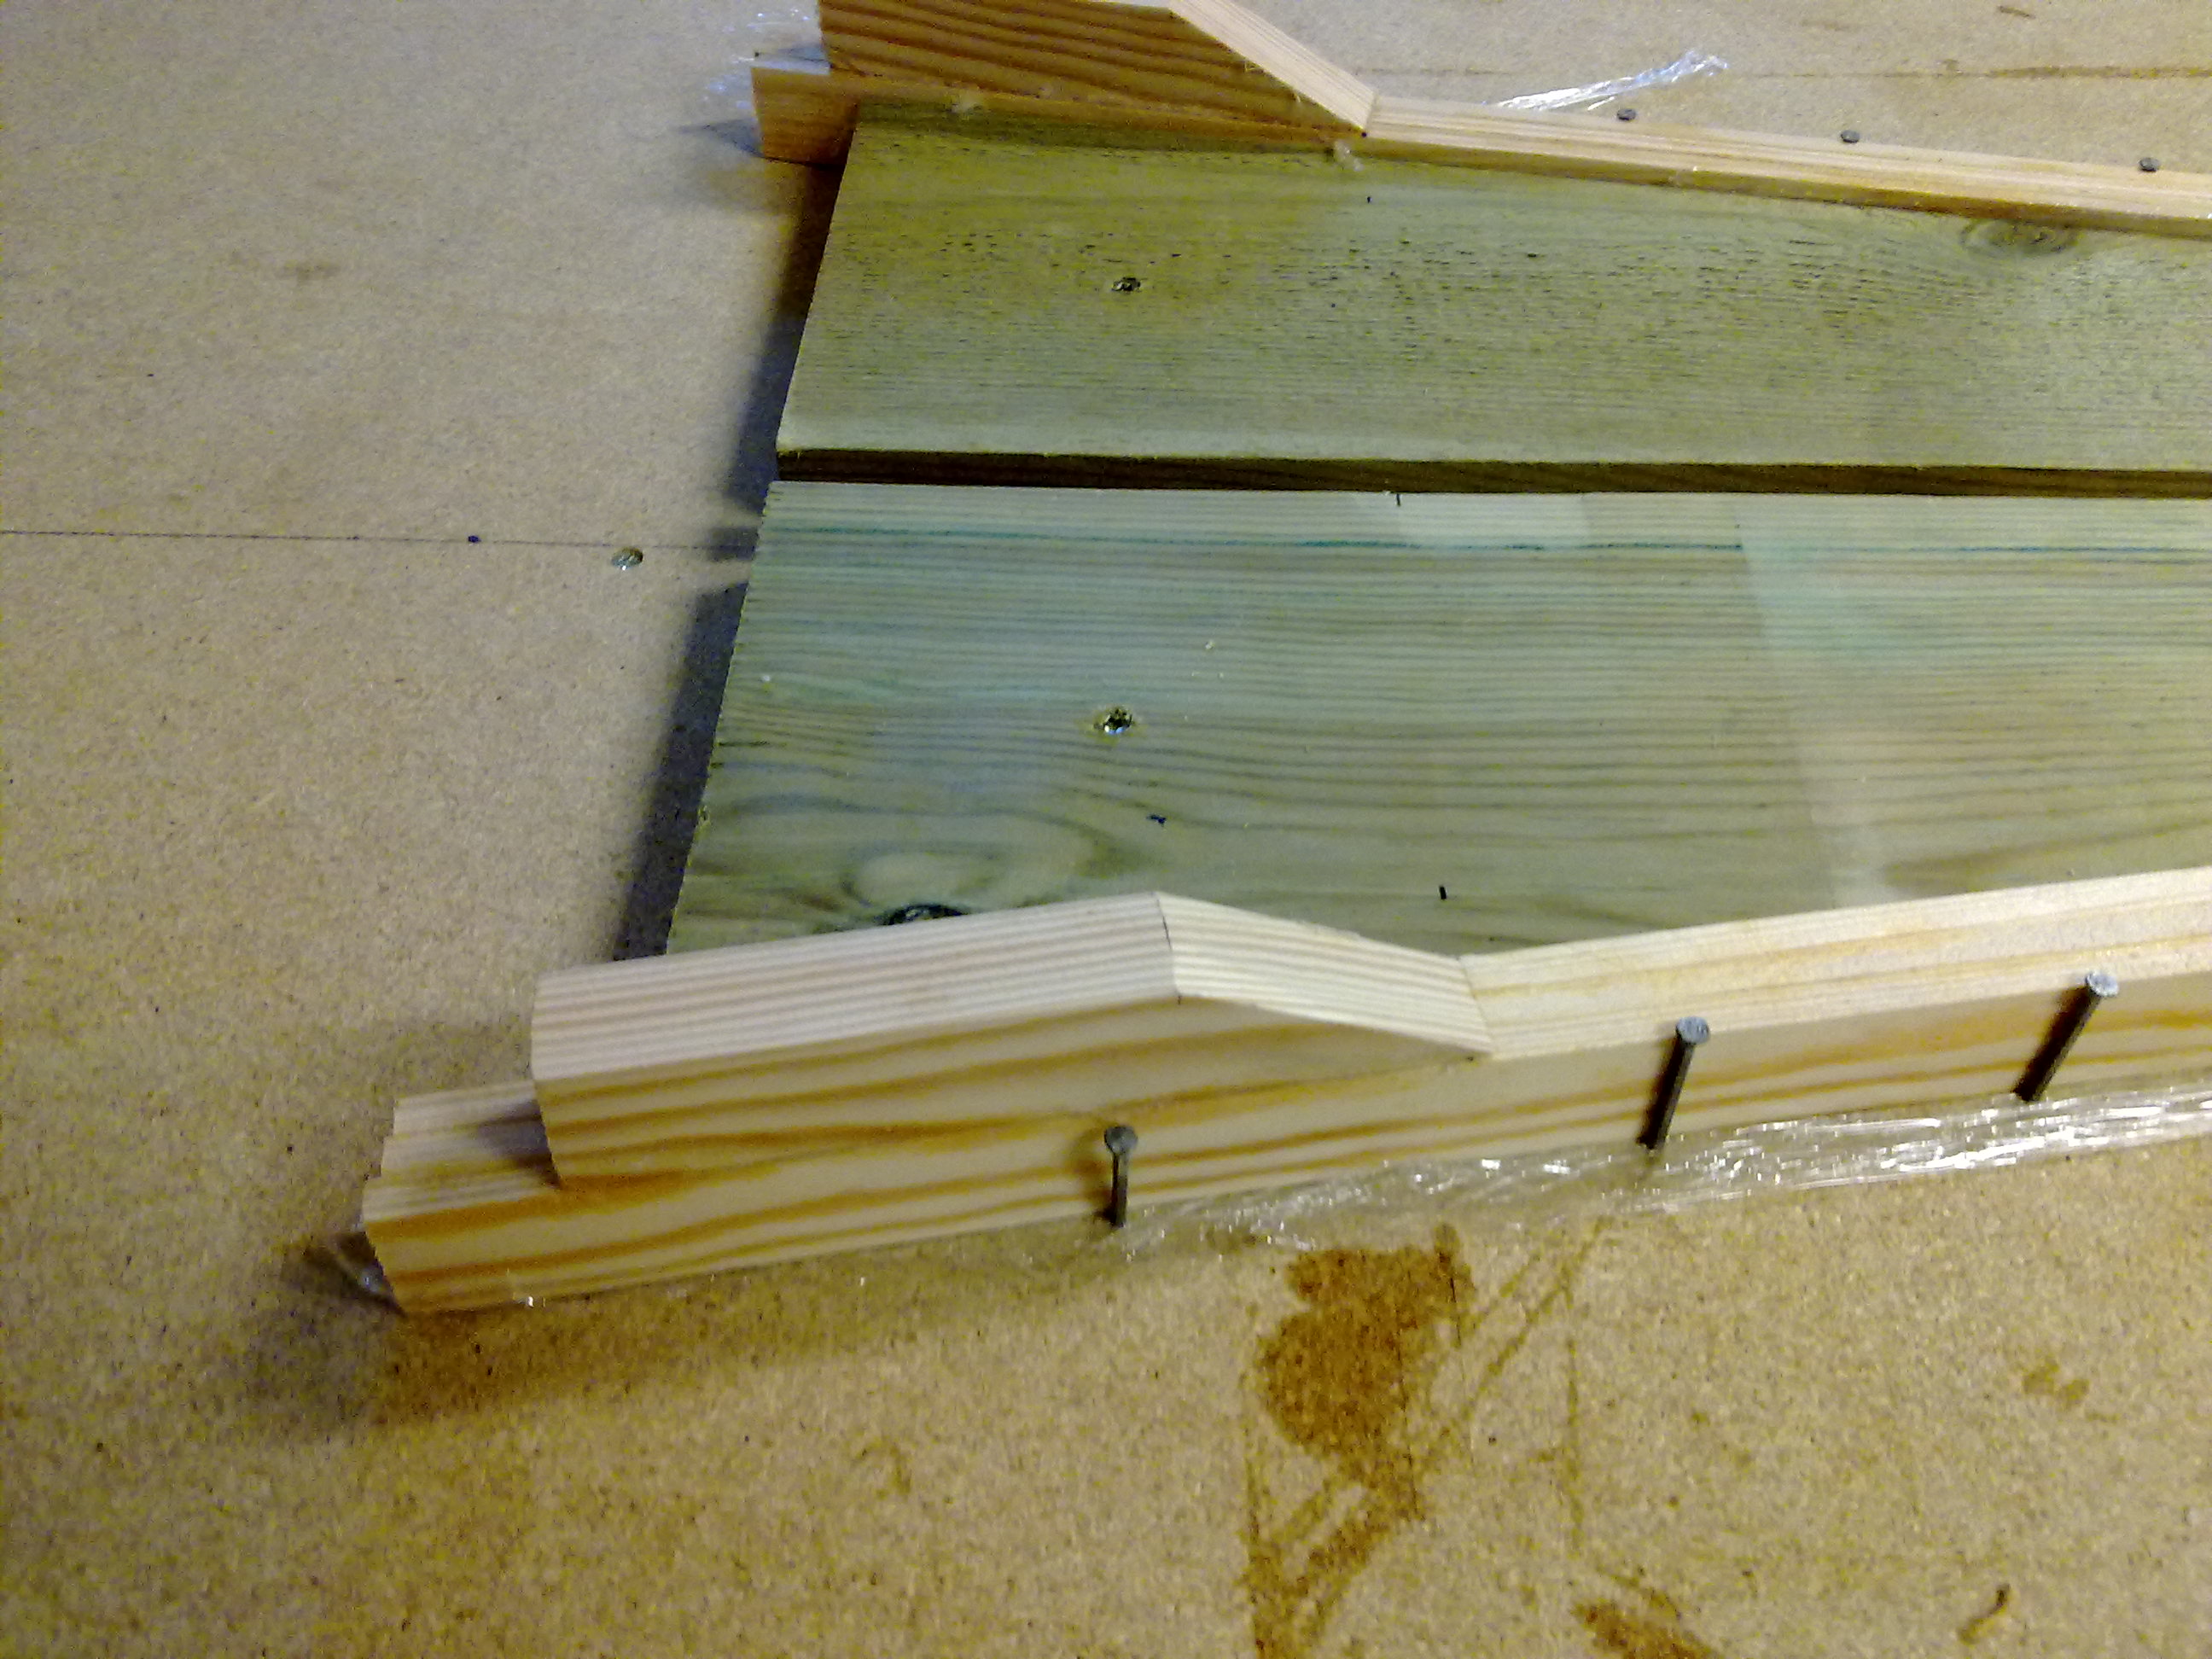
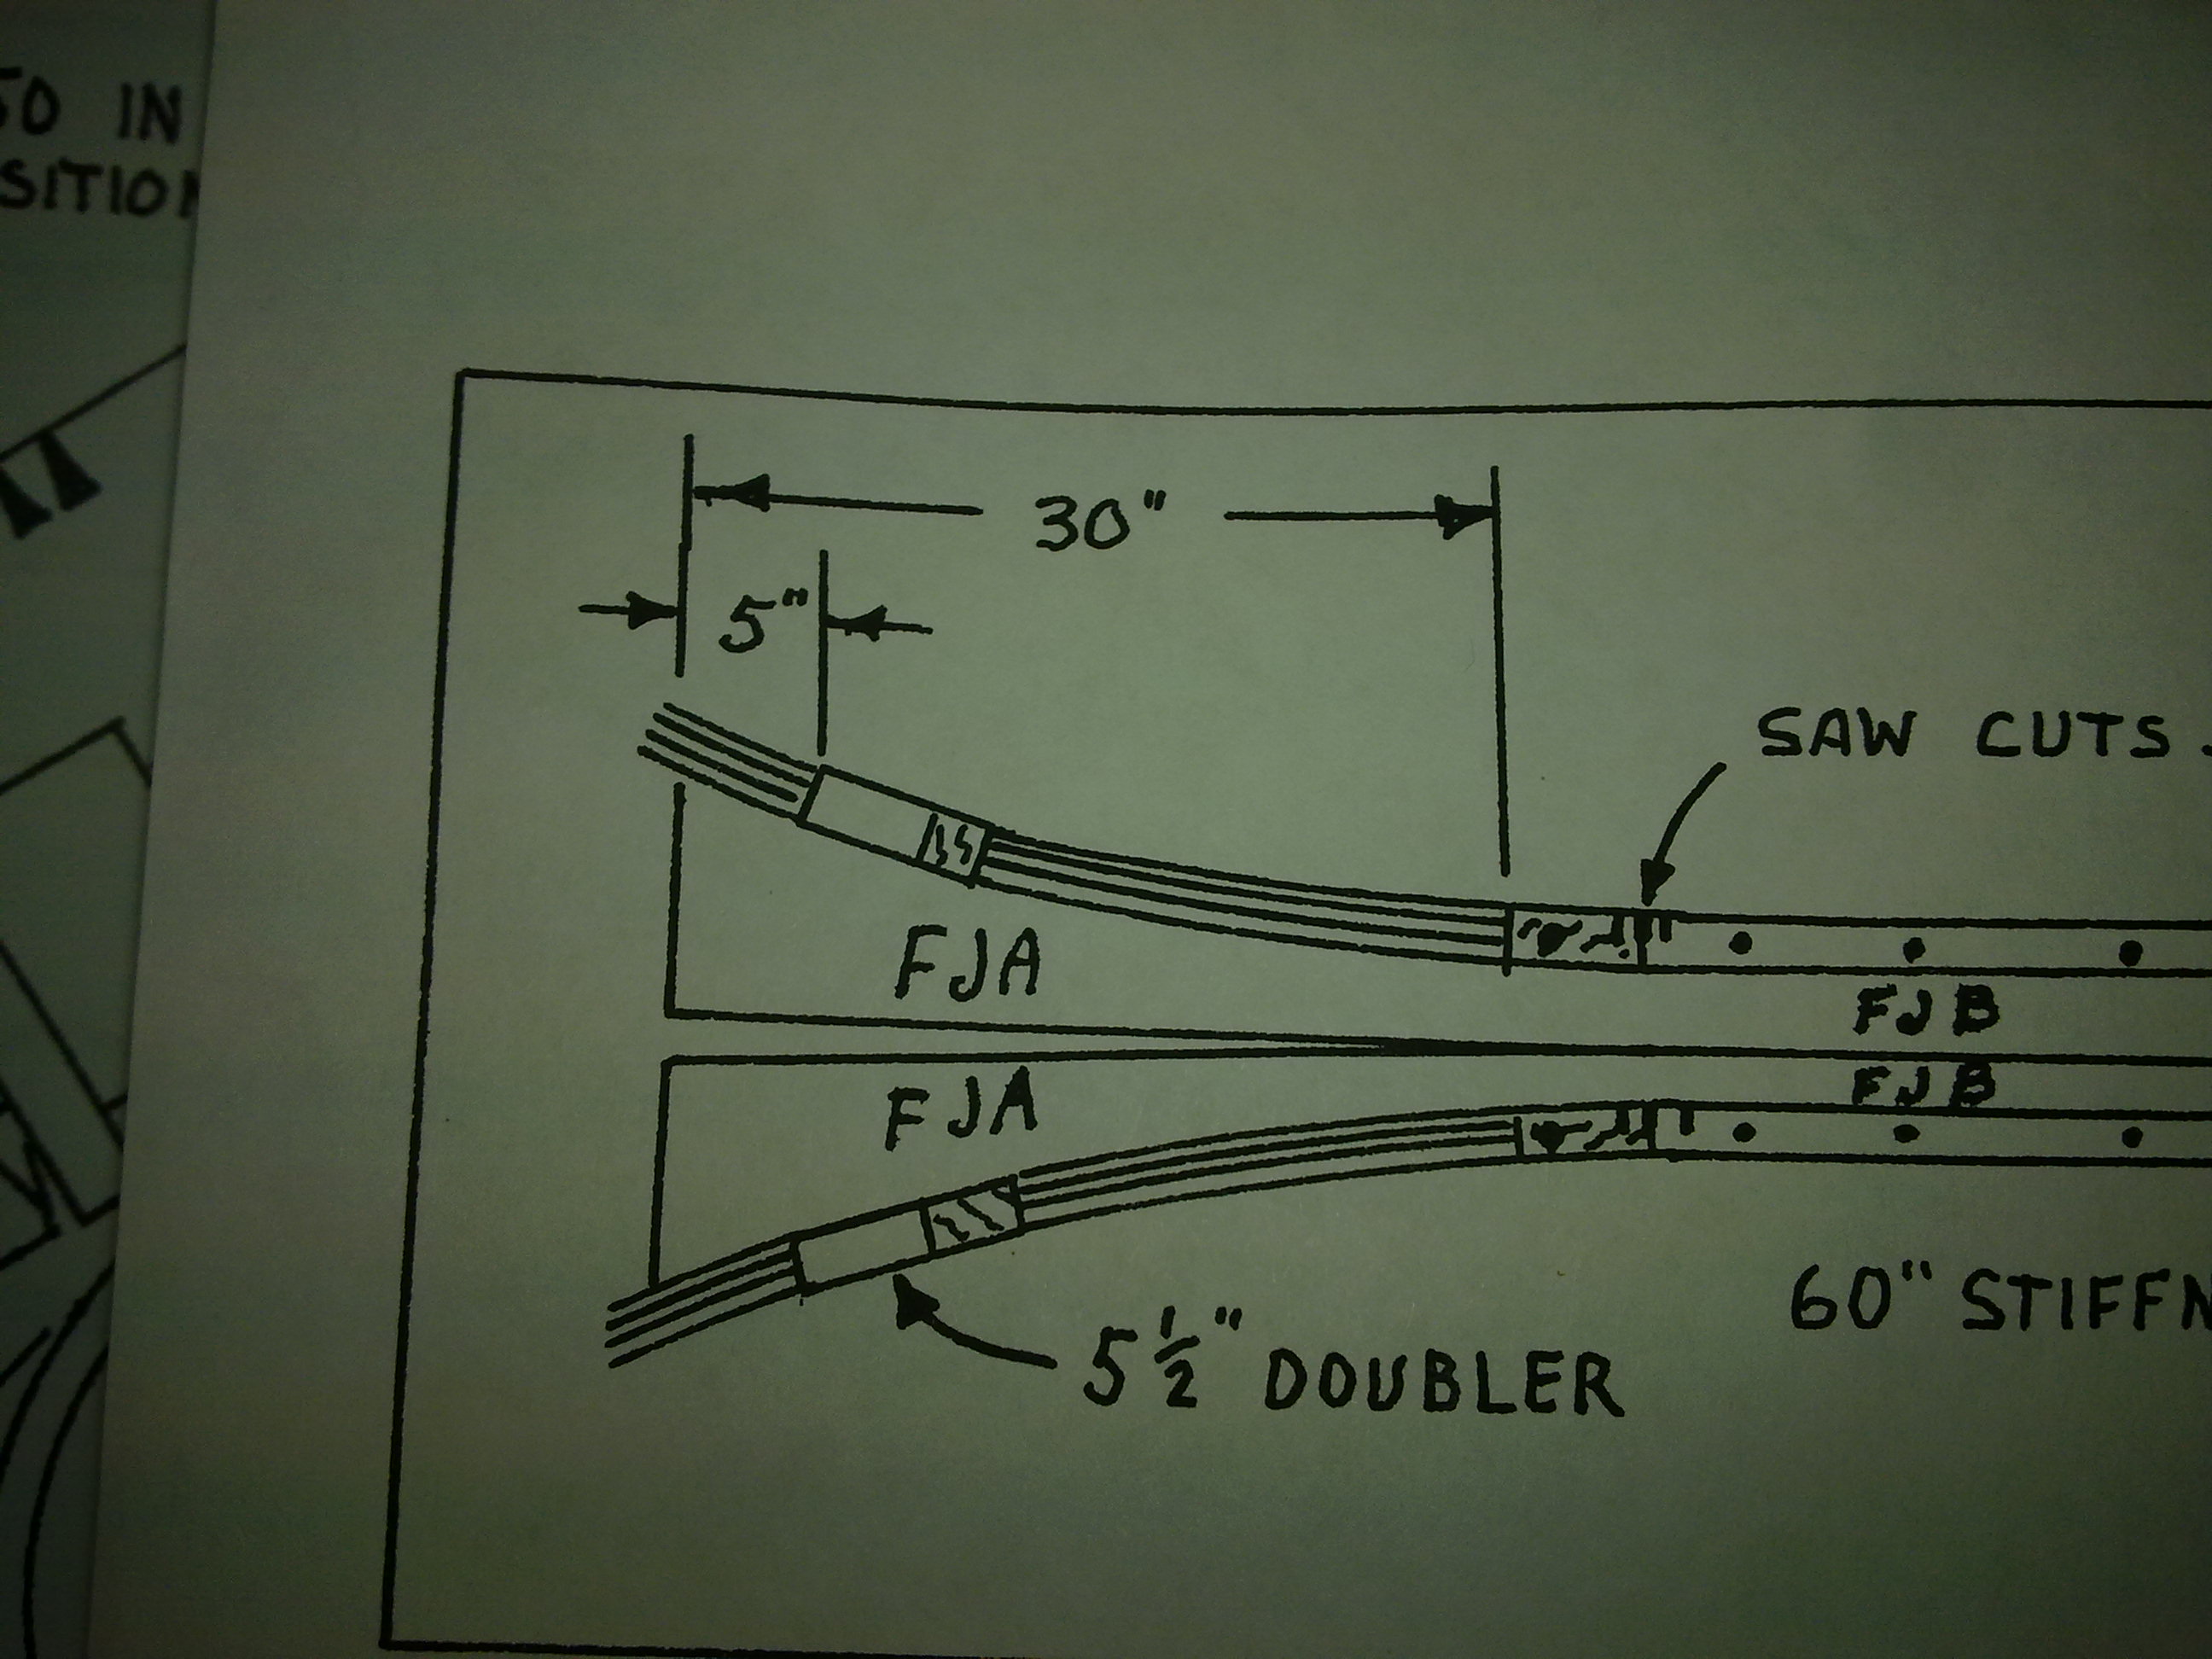
Wait a minute… here is a mistake! I have glued the stiffener wrong! The drawing says 5″ from the FJA-jig:
However I managed to glue the stiffener in front of the 5″ mark I draw… That could lead to a terrible job later on, so thanks to the fact that I started to investigate something I found in the FAQ, I luckily found this and managed to correct it before it was to late.
In the Cozy-FAQ it says: Change the 5.9″ dimension to 6.25″. The reason for this change, and the place where this change takes place, is where the F28-bulkhead is attached to the sides. The text says later on in chapter 6 that F28 should be glued 5.9″ from the front. This makes it difficult to get room for the canard, so we are advised to move F28 to 6.25″ instead of 5.9″. However – this happens in chapter 6, there is no place in chapter 5 the position 5.9″ is mentioned. The closest thing I found was an advice from a builder to glue the stiffener (or doubler as it says) at position 5.5″ instead of 5.0″. Checking the full-size plans this makes sense:
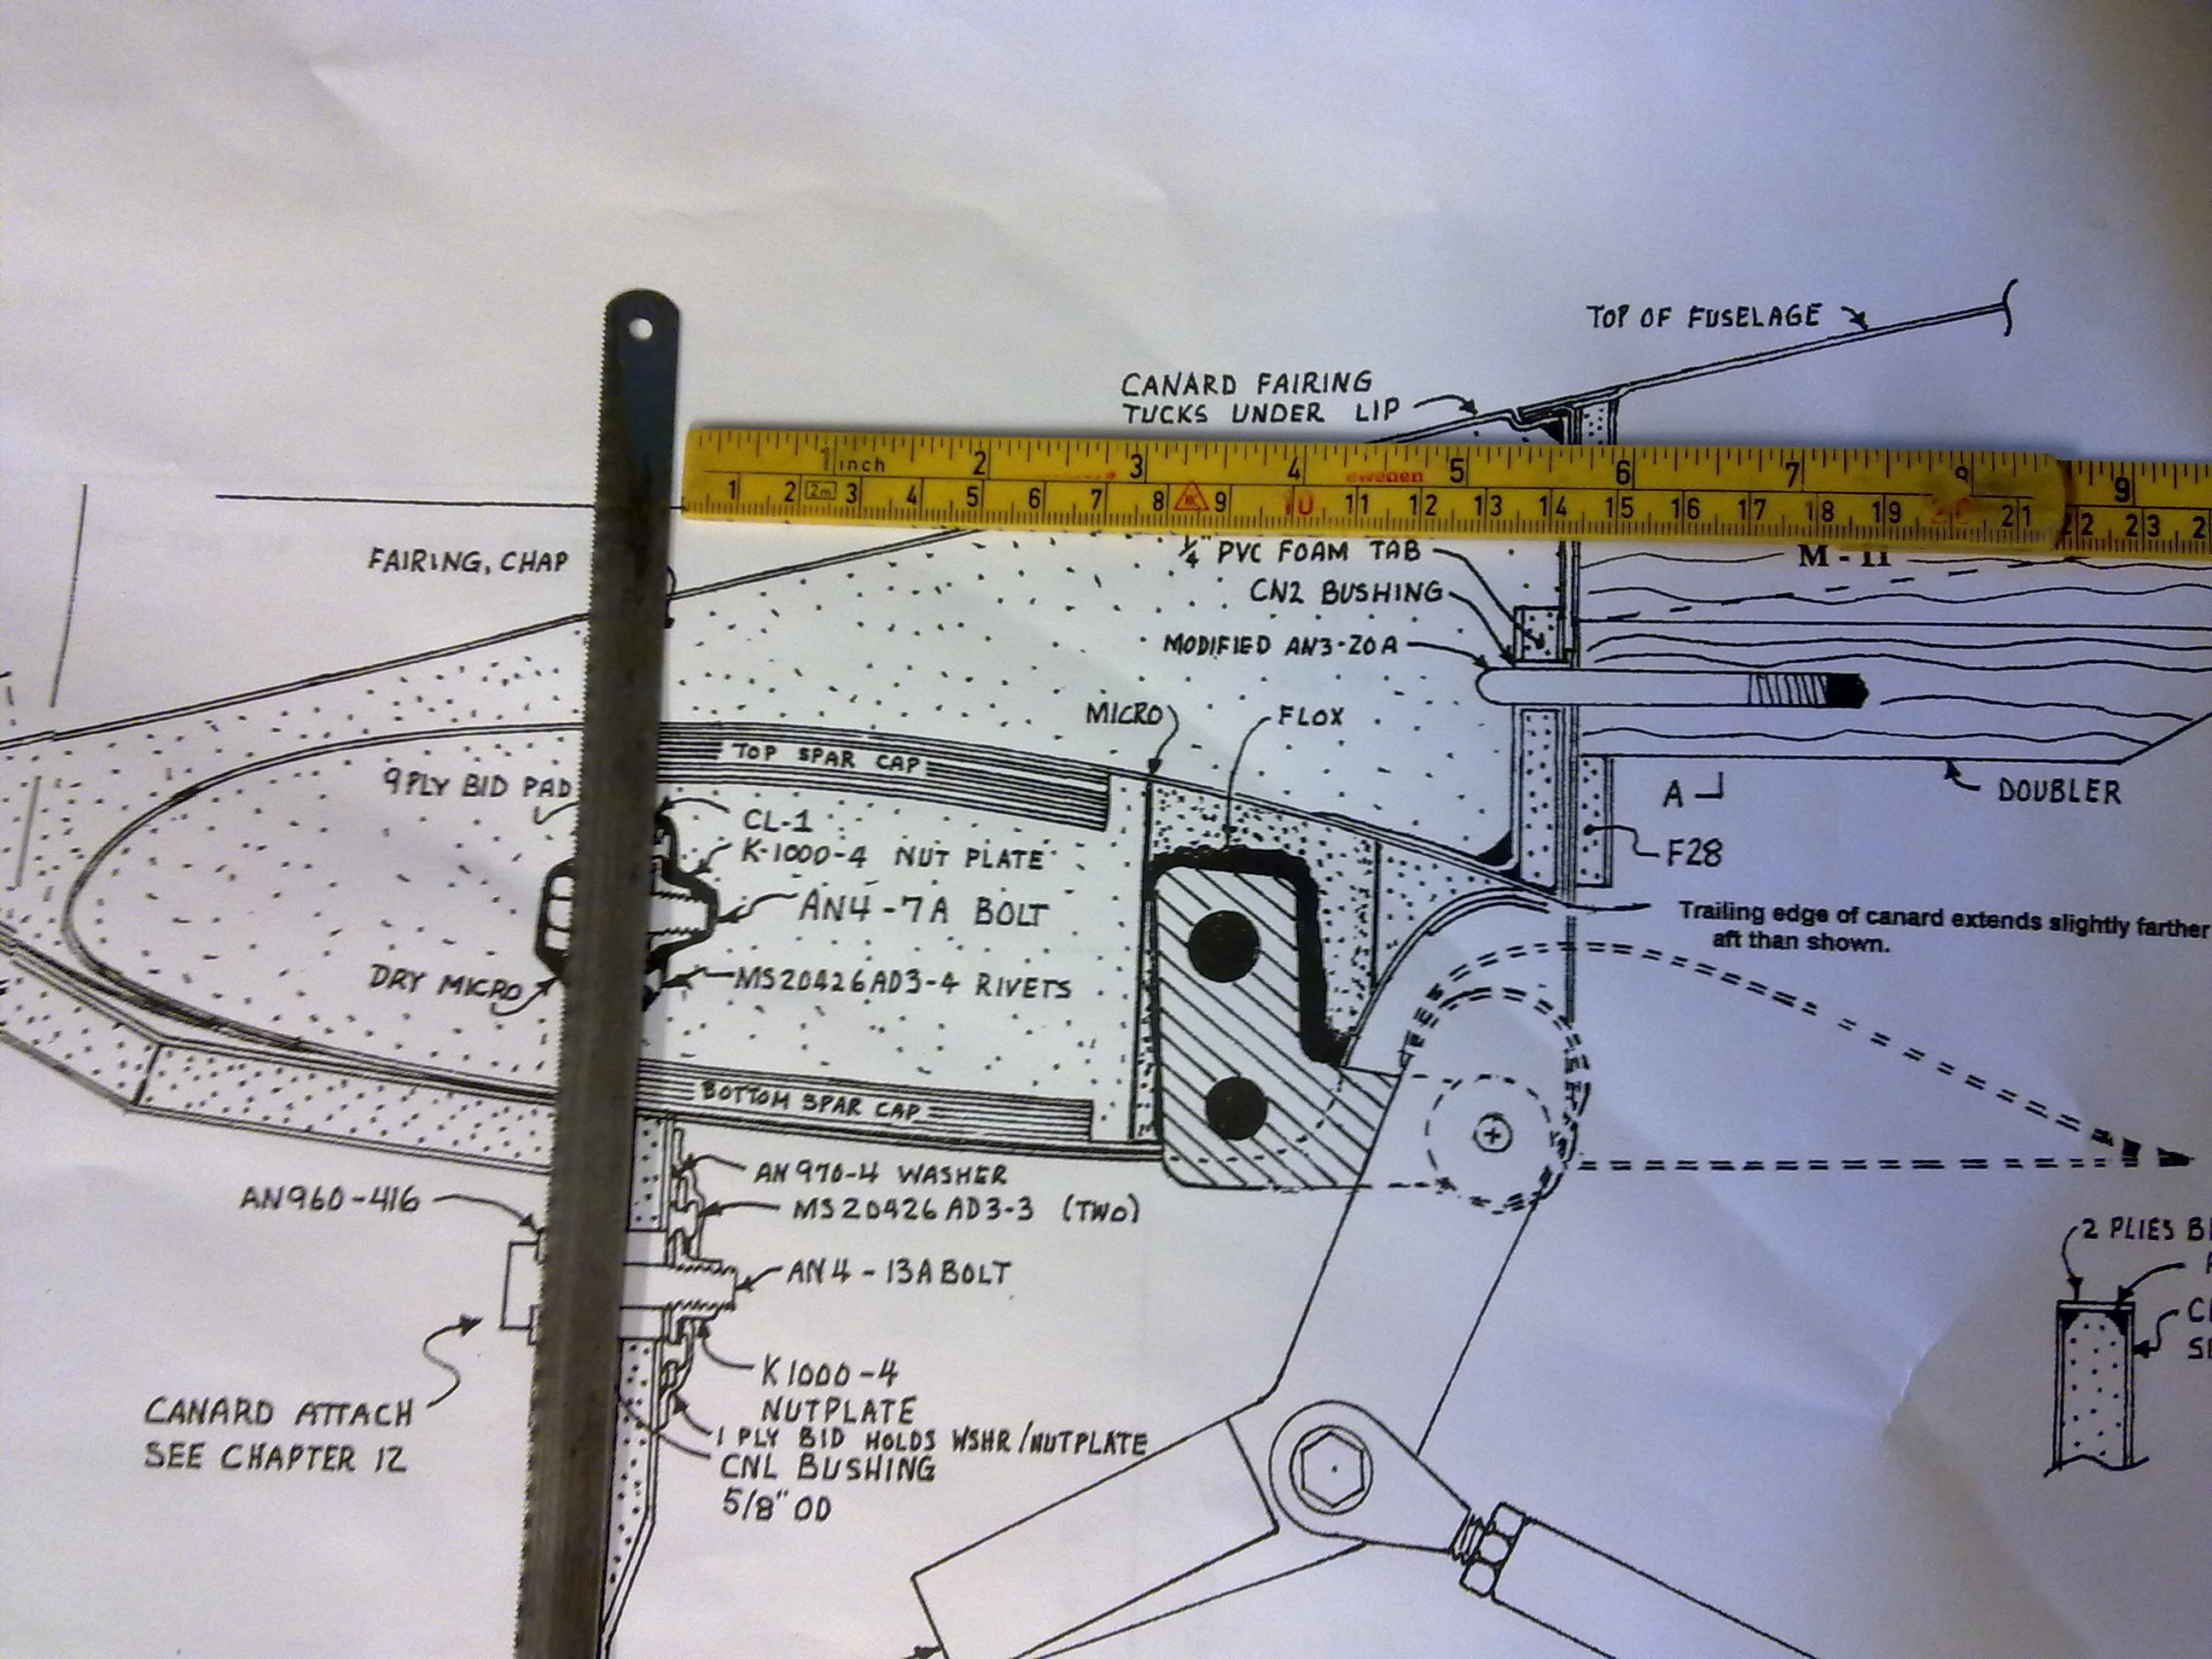
The object of this doubler is to have a hardpoint for a bolt that secures the canard. Moving it 0.5″ further back gives more material available in the doubler.