
This step is not according to the plans. Instead I will use the method described by Wayne Hicks, since it’s easier and better in my opinion.
2011-05-21: Starting with a block of foam which I sand down to fit tight inside the MLG-well.
2011-05-22: It took 1 hour to carve and sand the foam. I chose to use urethane as this is very easy to sand and shape.
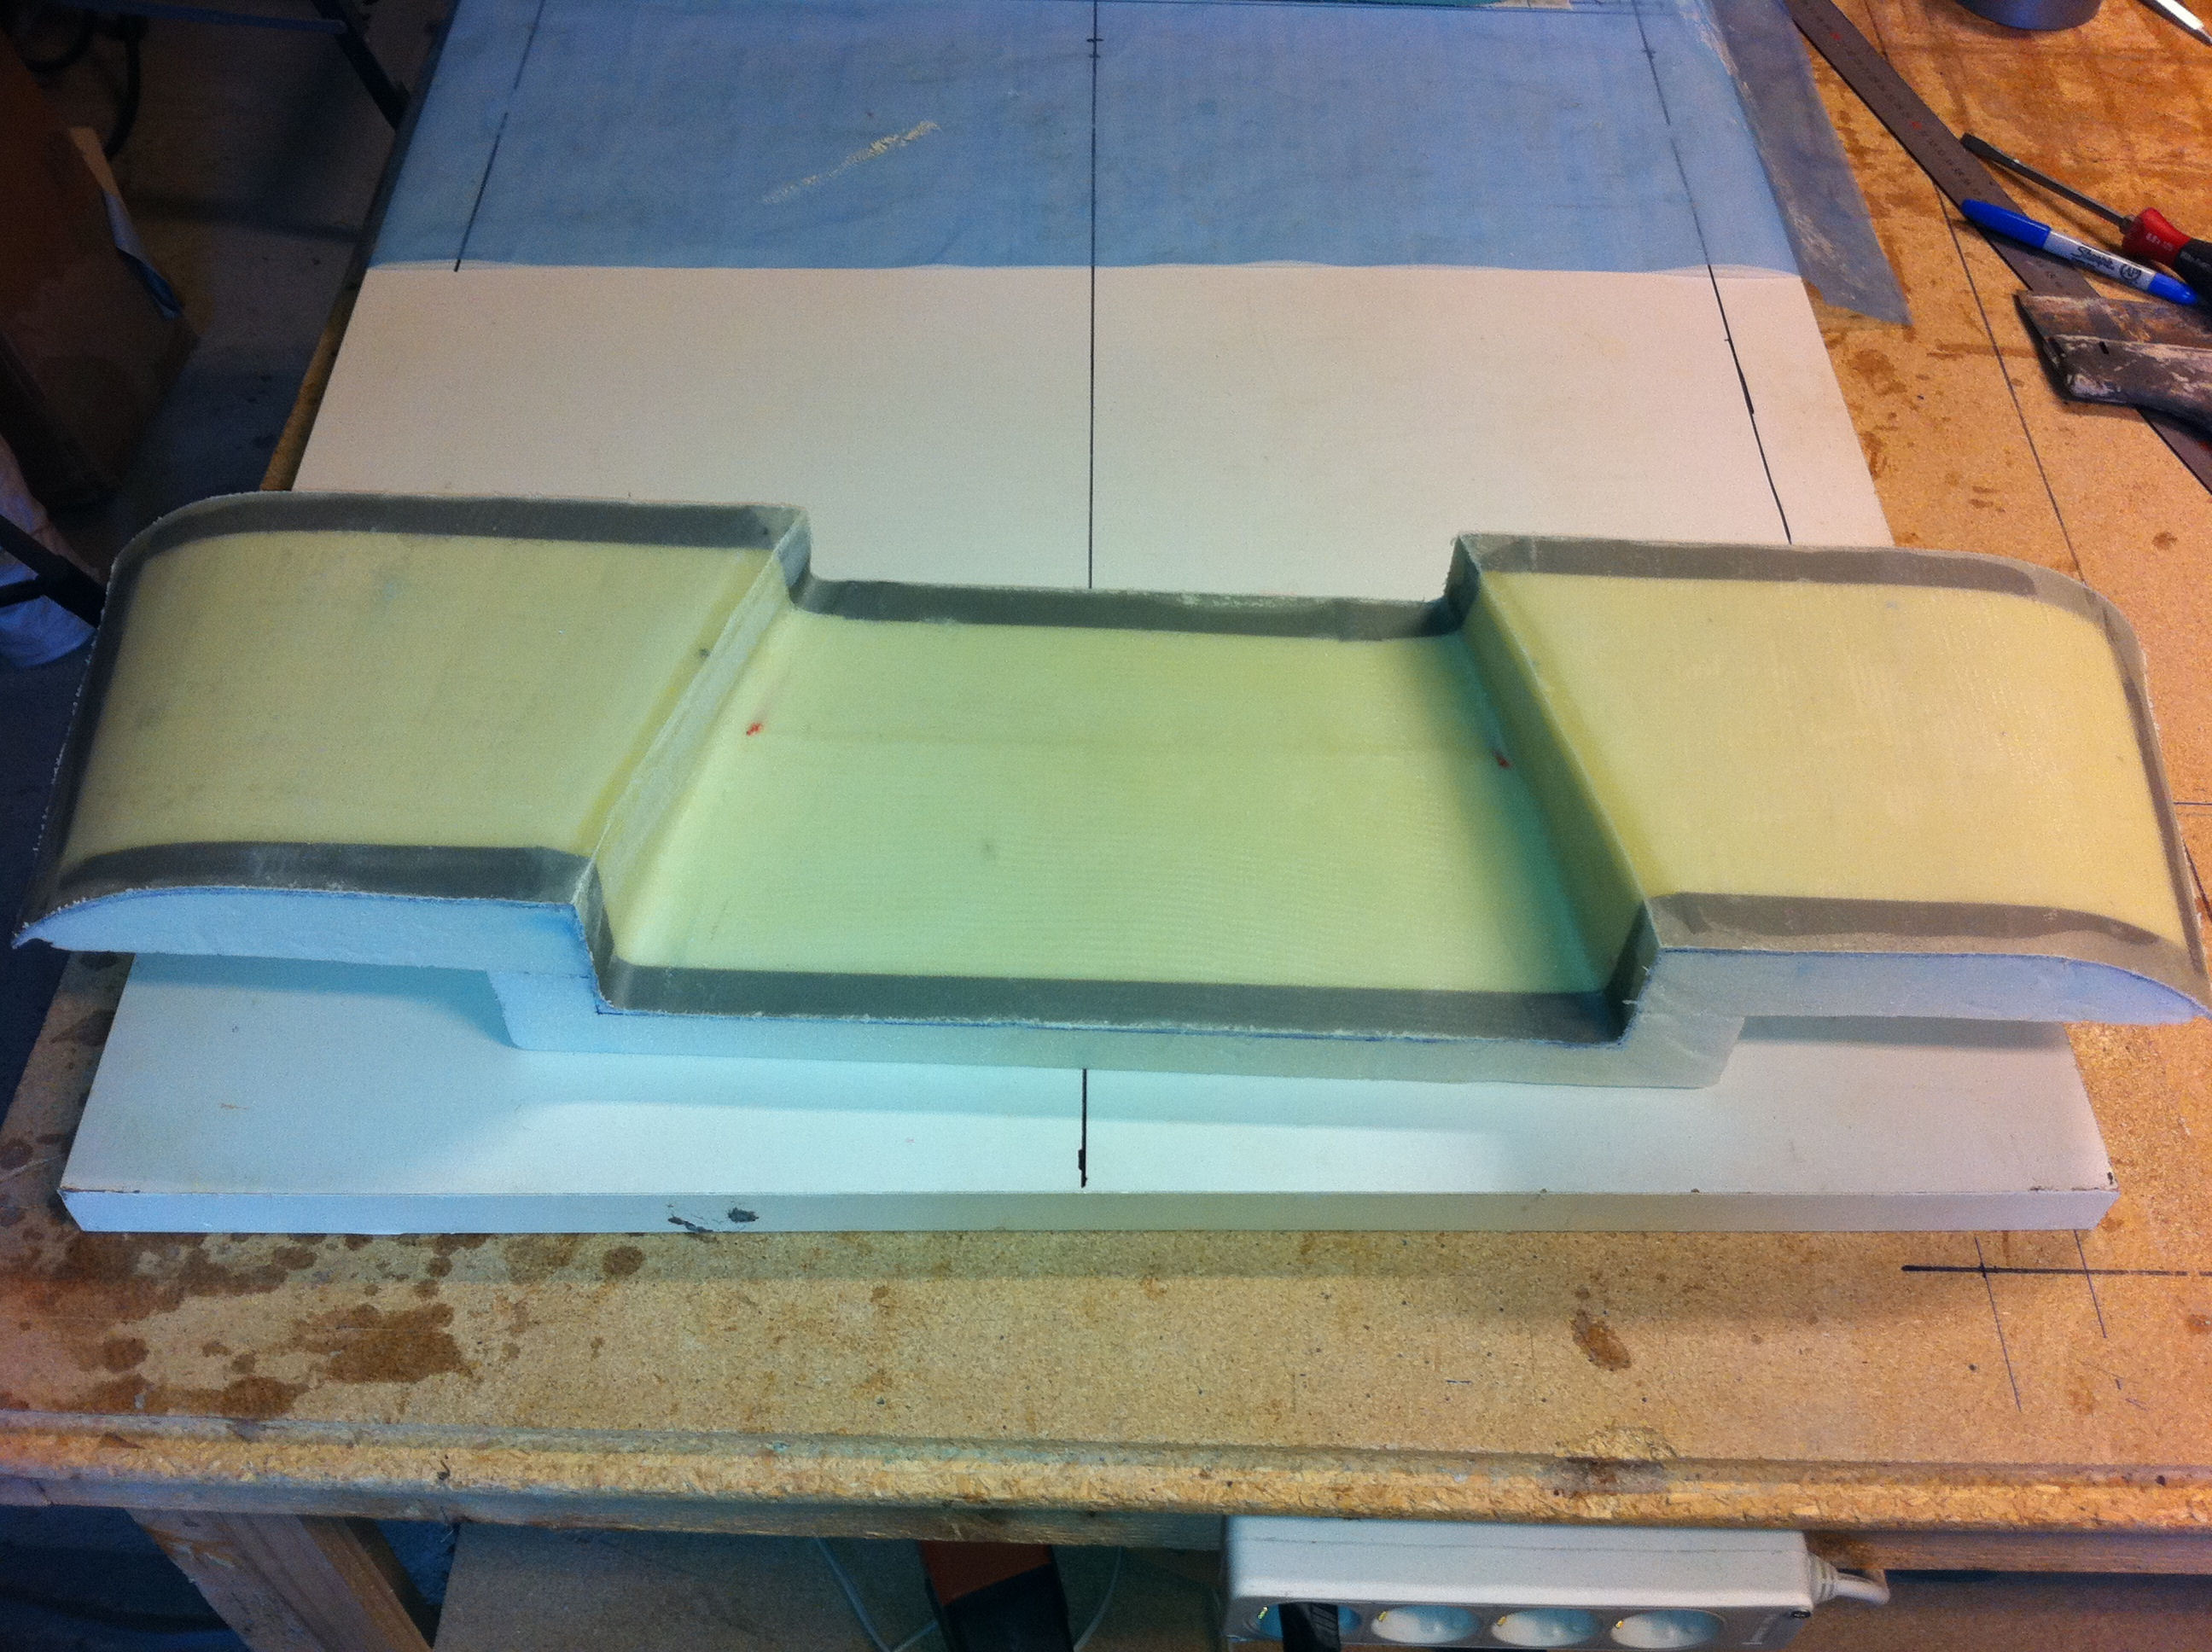
2011-05-28: After glassing the outside I popped loose the plug and cut the glass flush with the foam. Before glassing I had put on some release-tape on the edges – the grey duct-tape. The next picture shows why…

2011-05-29: Almost all the foam is removed. It’s just approx 3/8″ (10 mm) left. The foam is removed completely at the edges that was covered with duct-tape since I will glass this side and make glass-to-glass bond at the edges. At this stage I mounted the landing gear and cut the cover so it fitted nicely around the gear. I left approx 3/8″ gap to allow some flexing of the landing gear. I will later add some fairings around this to make a nice transition between the fuselage and the landing-gear.
I used urethane-foam since it’s very easy to shape. I used a knife to cut away most of the foam before I sanded with 40grit and finished with 120grit paper. The nice thing about urethane is that when I had to sand away some foam to make room for the landing gear I just pushed the cover down and the landing gear made a nice depression in the foam at the places I had to sand…
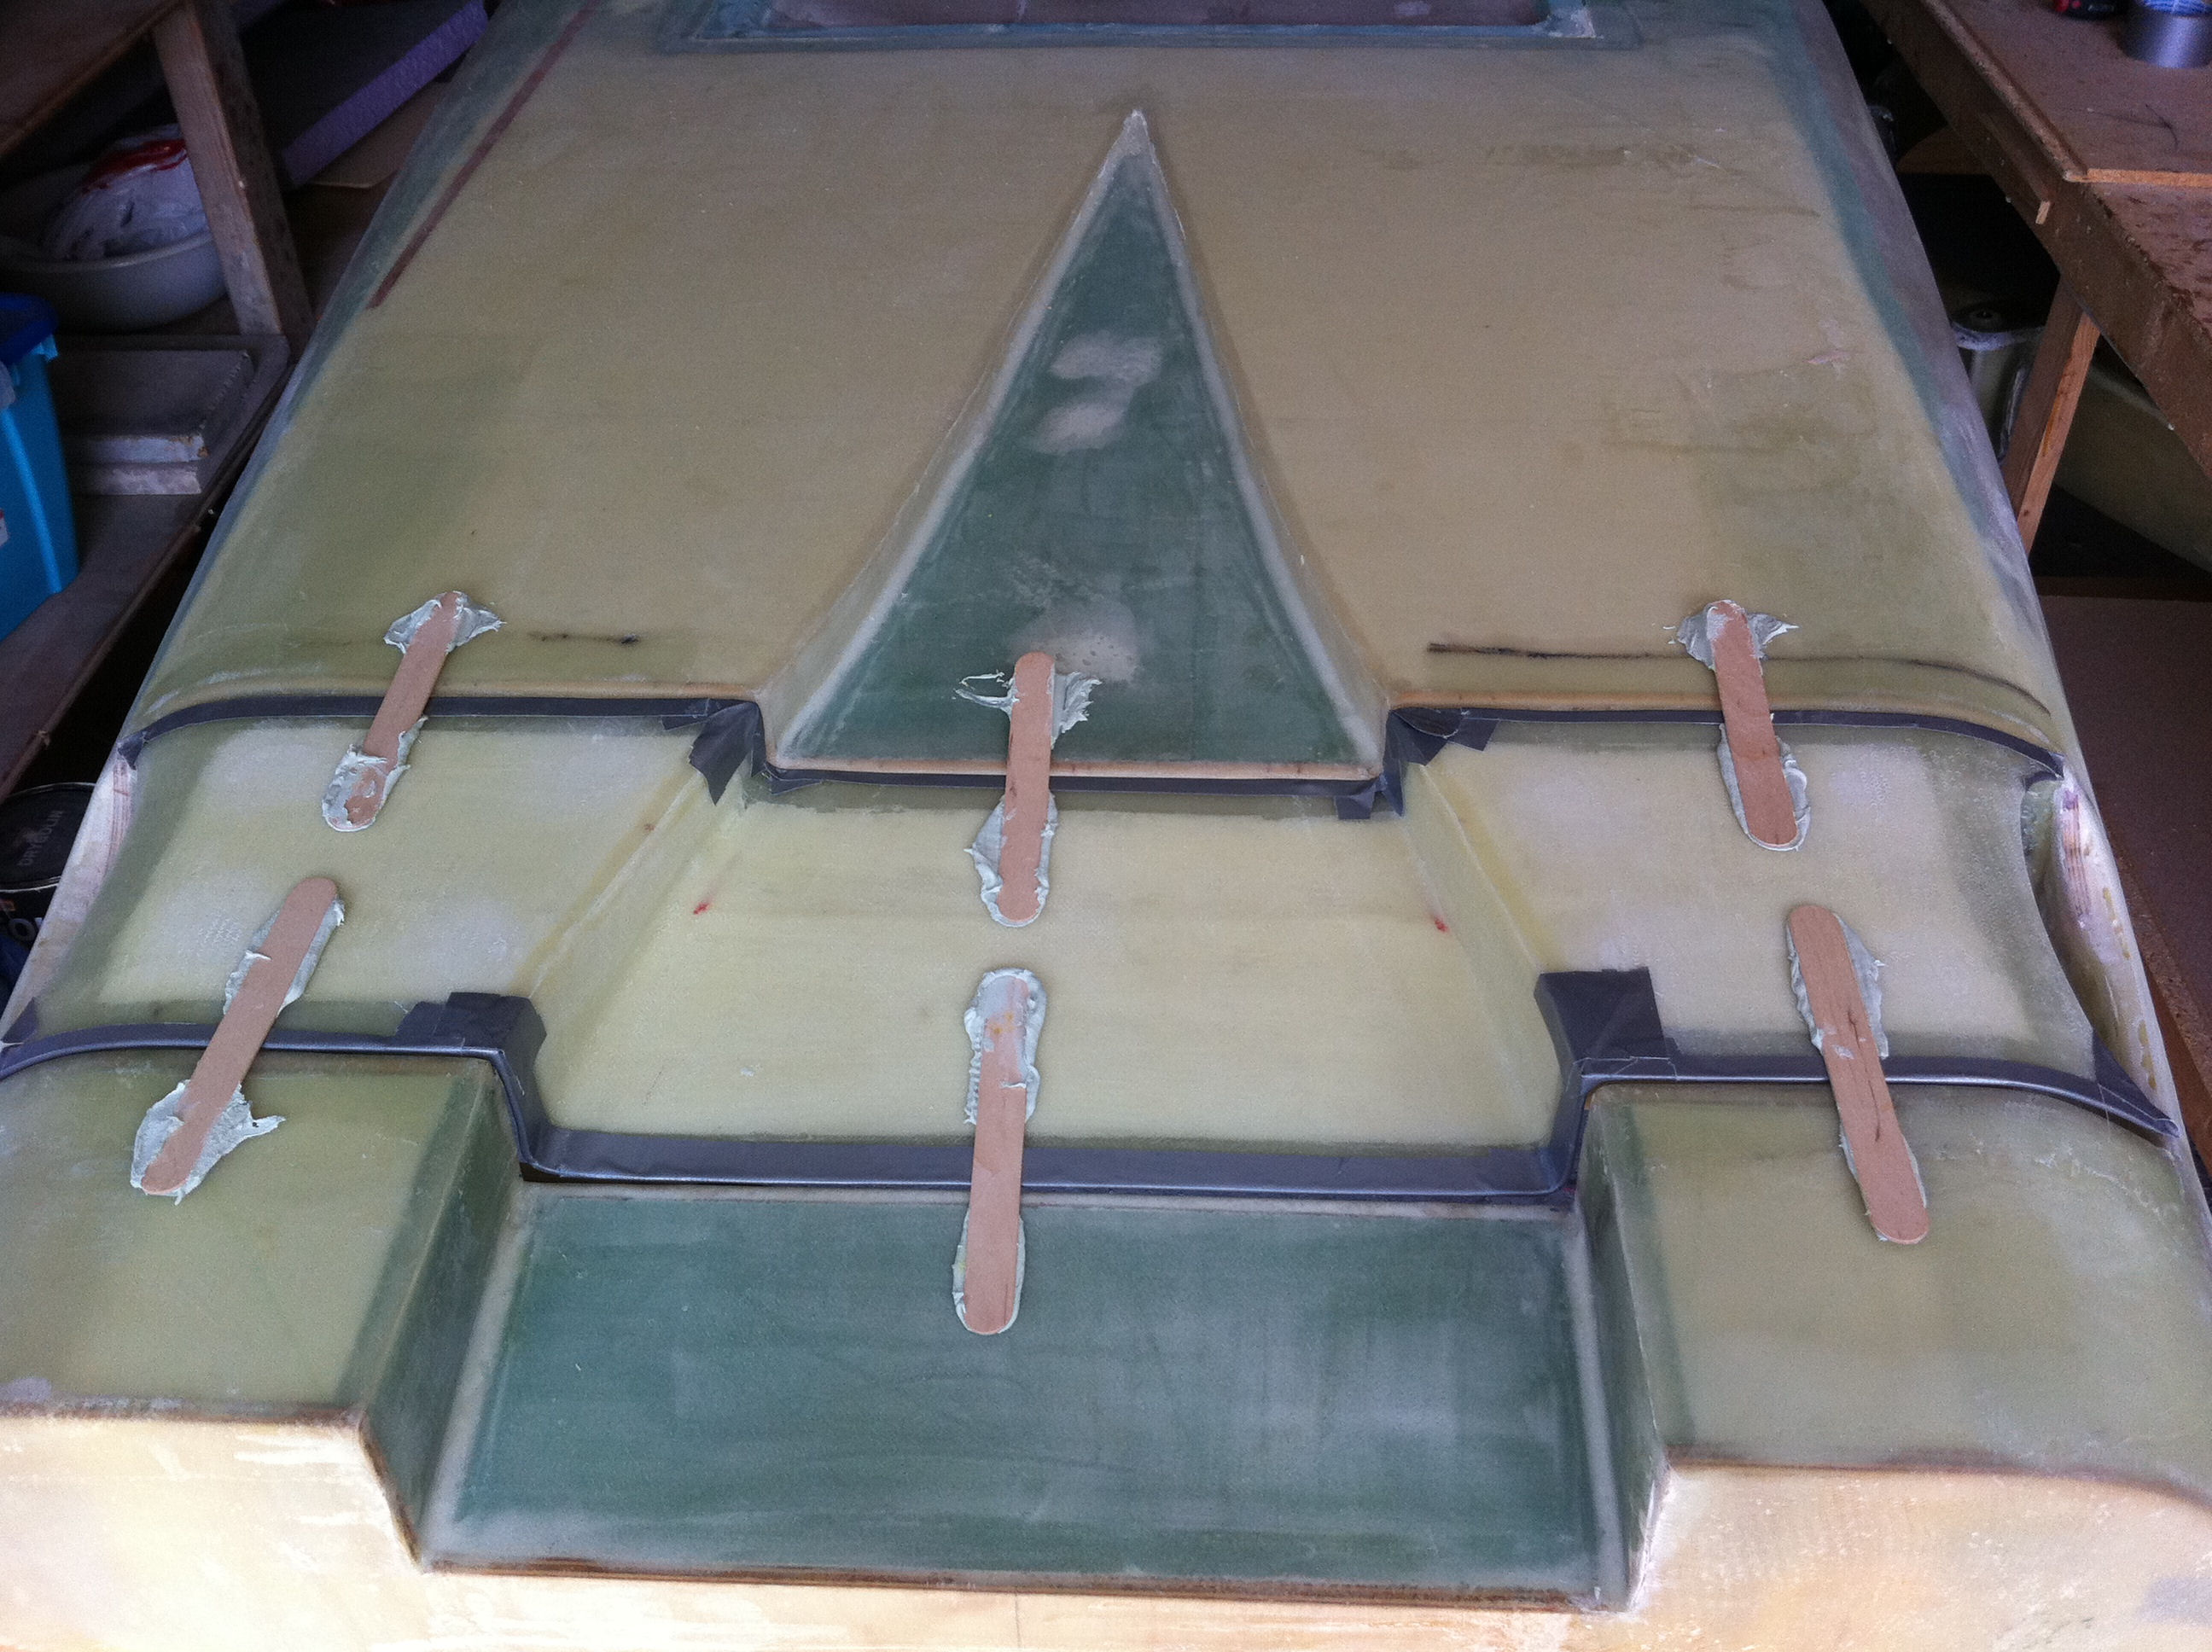
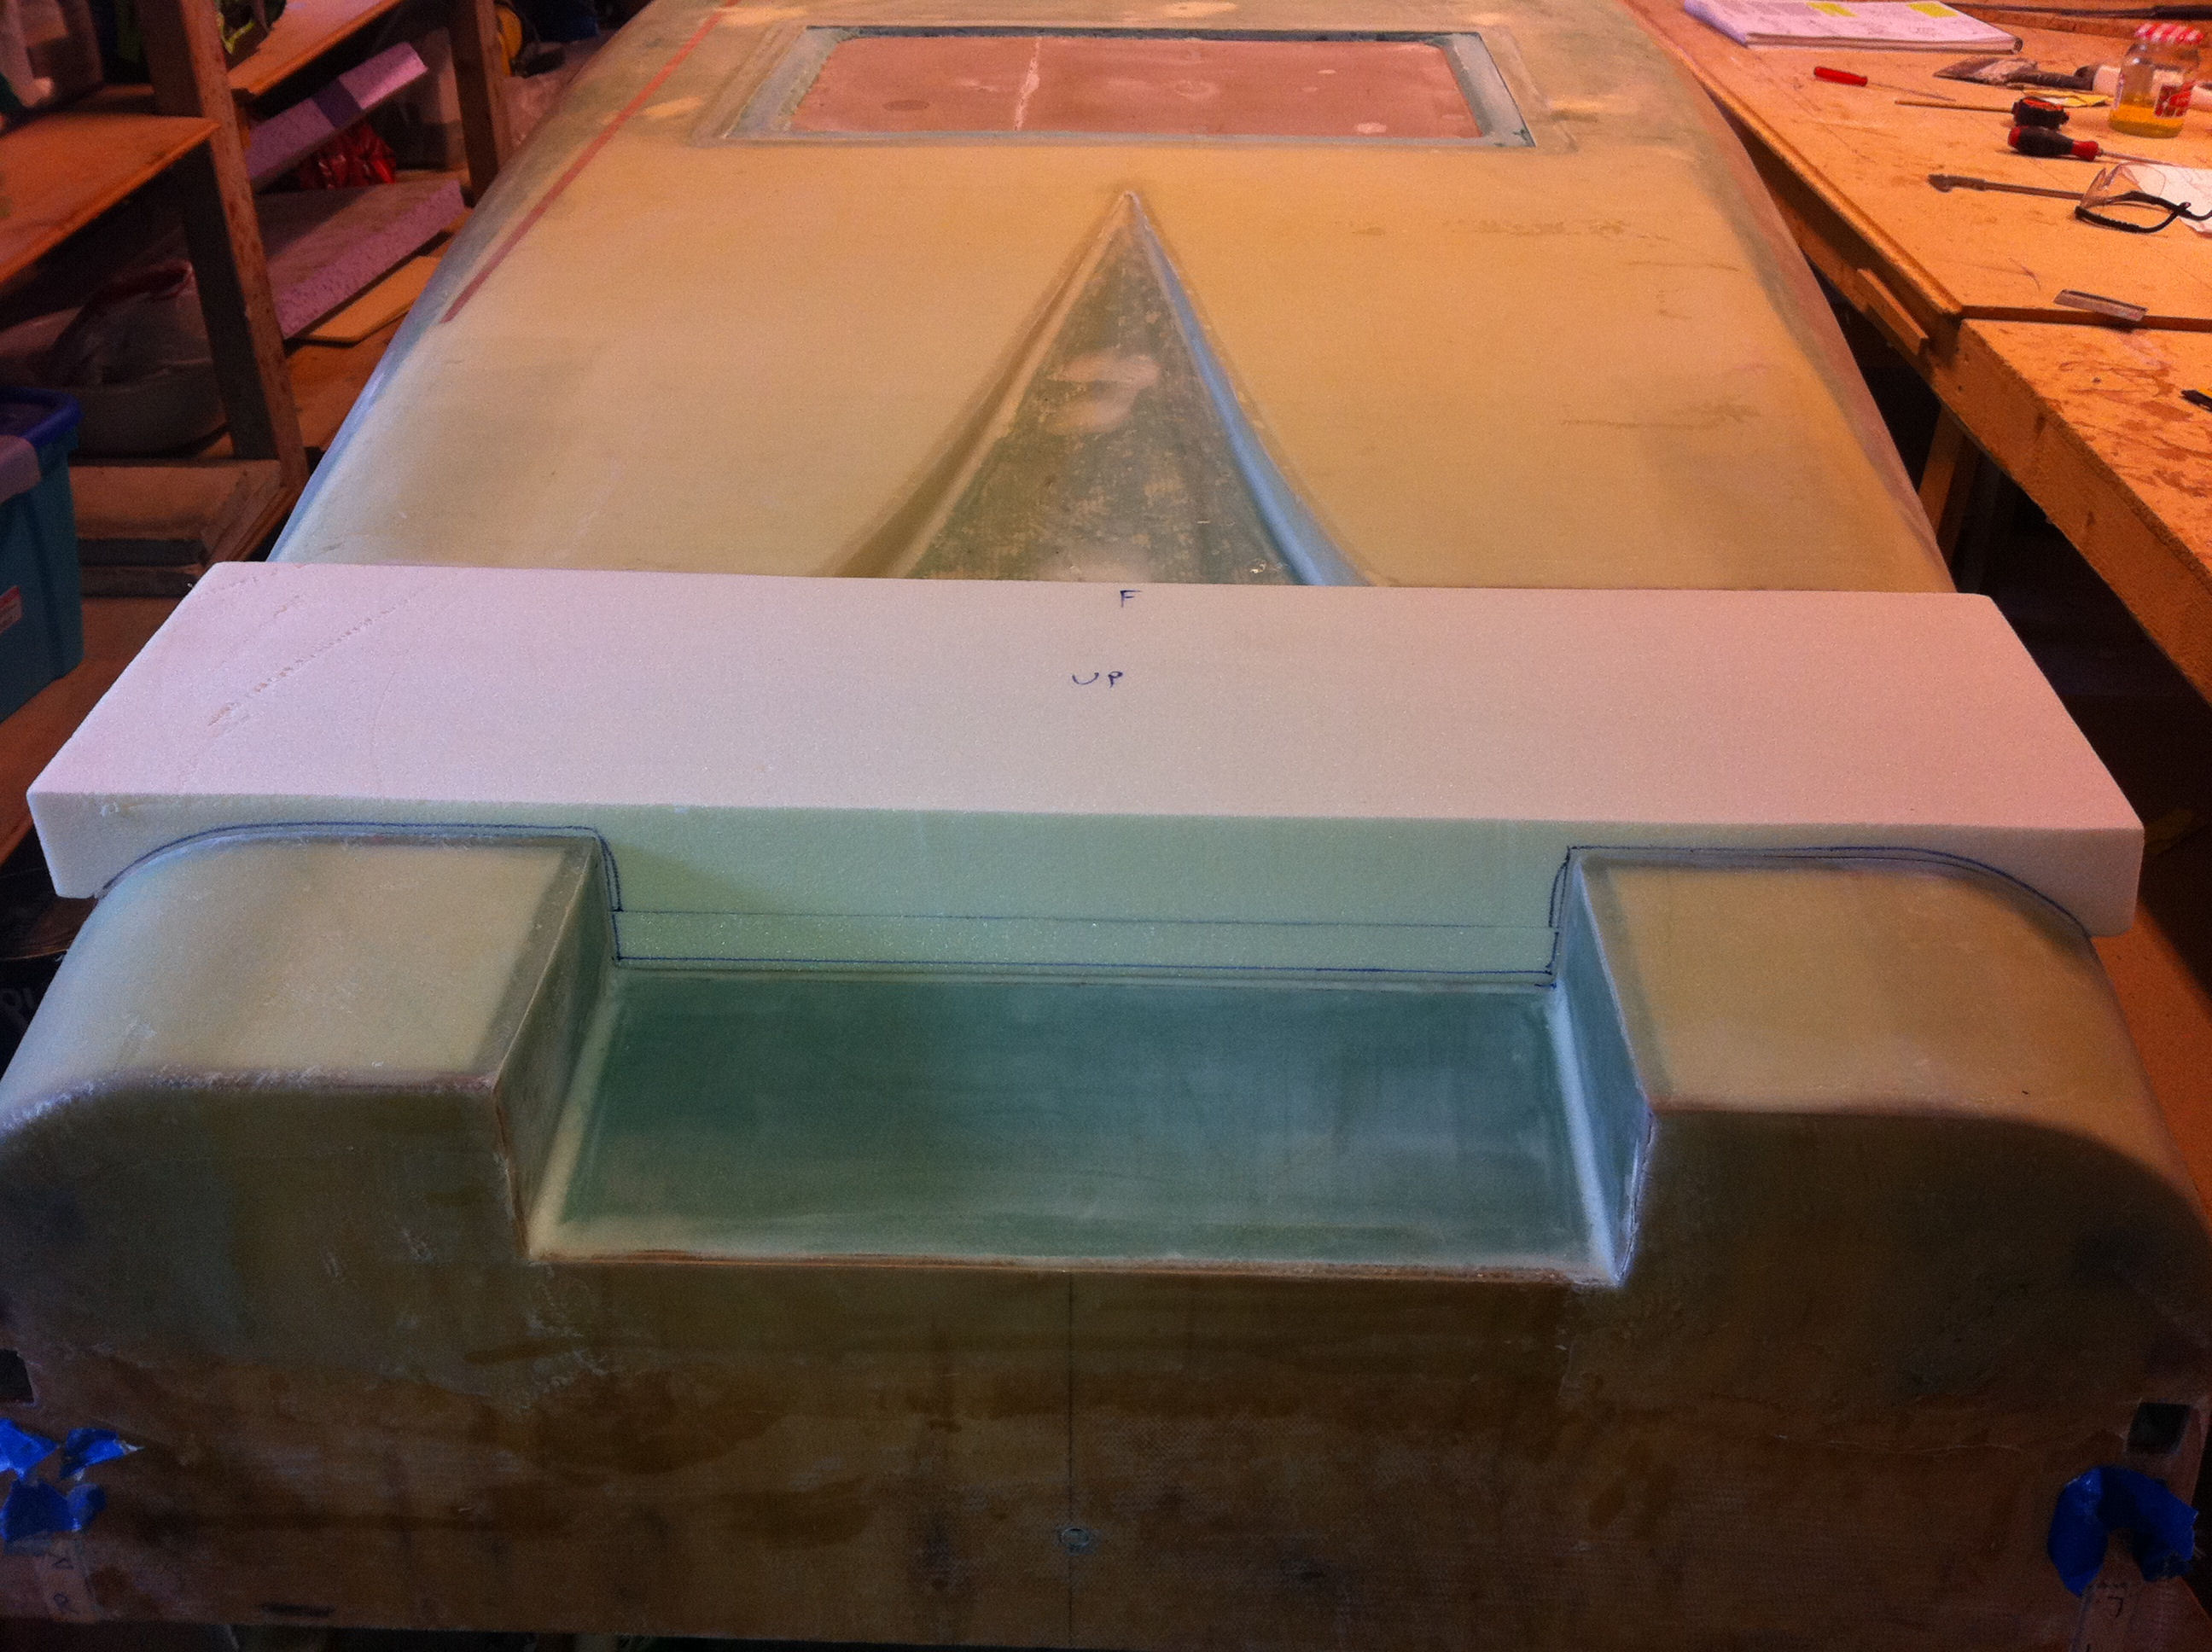
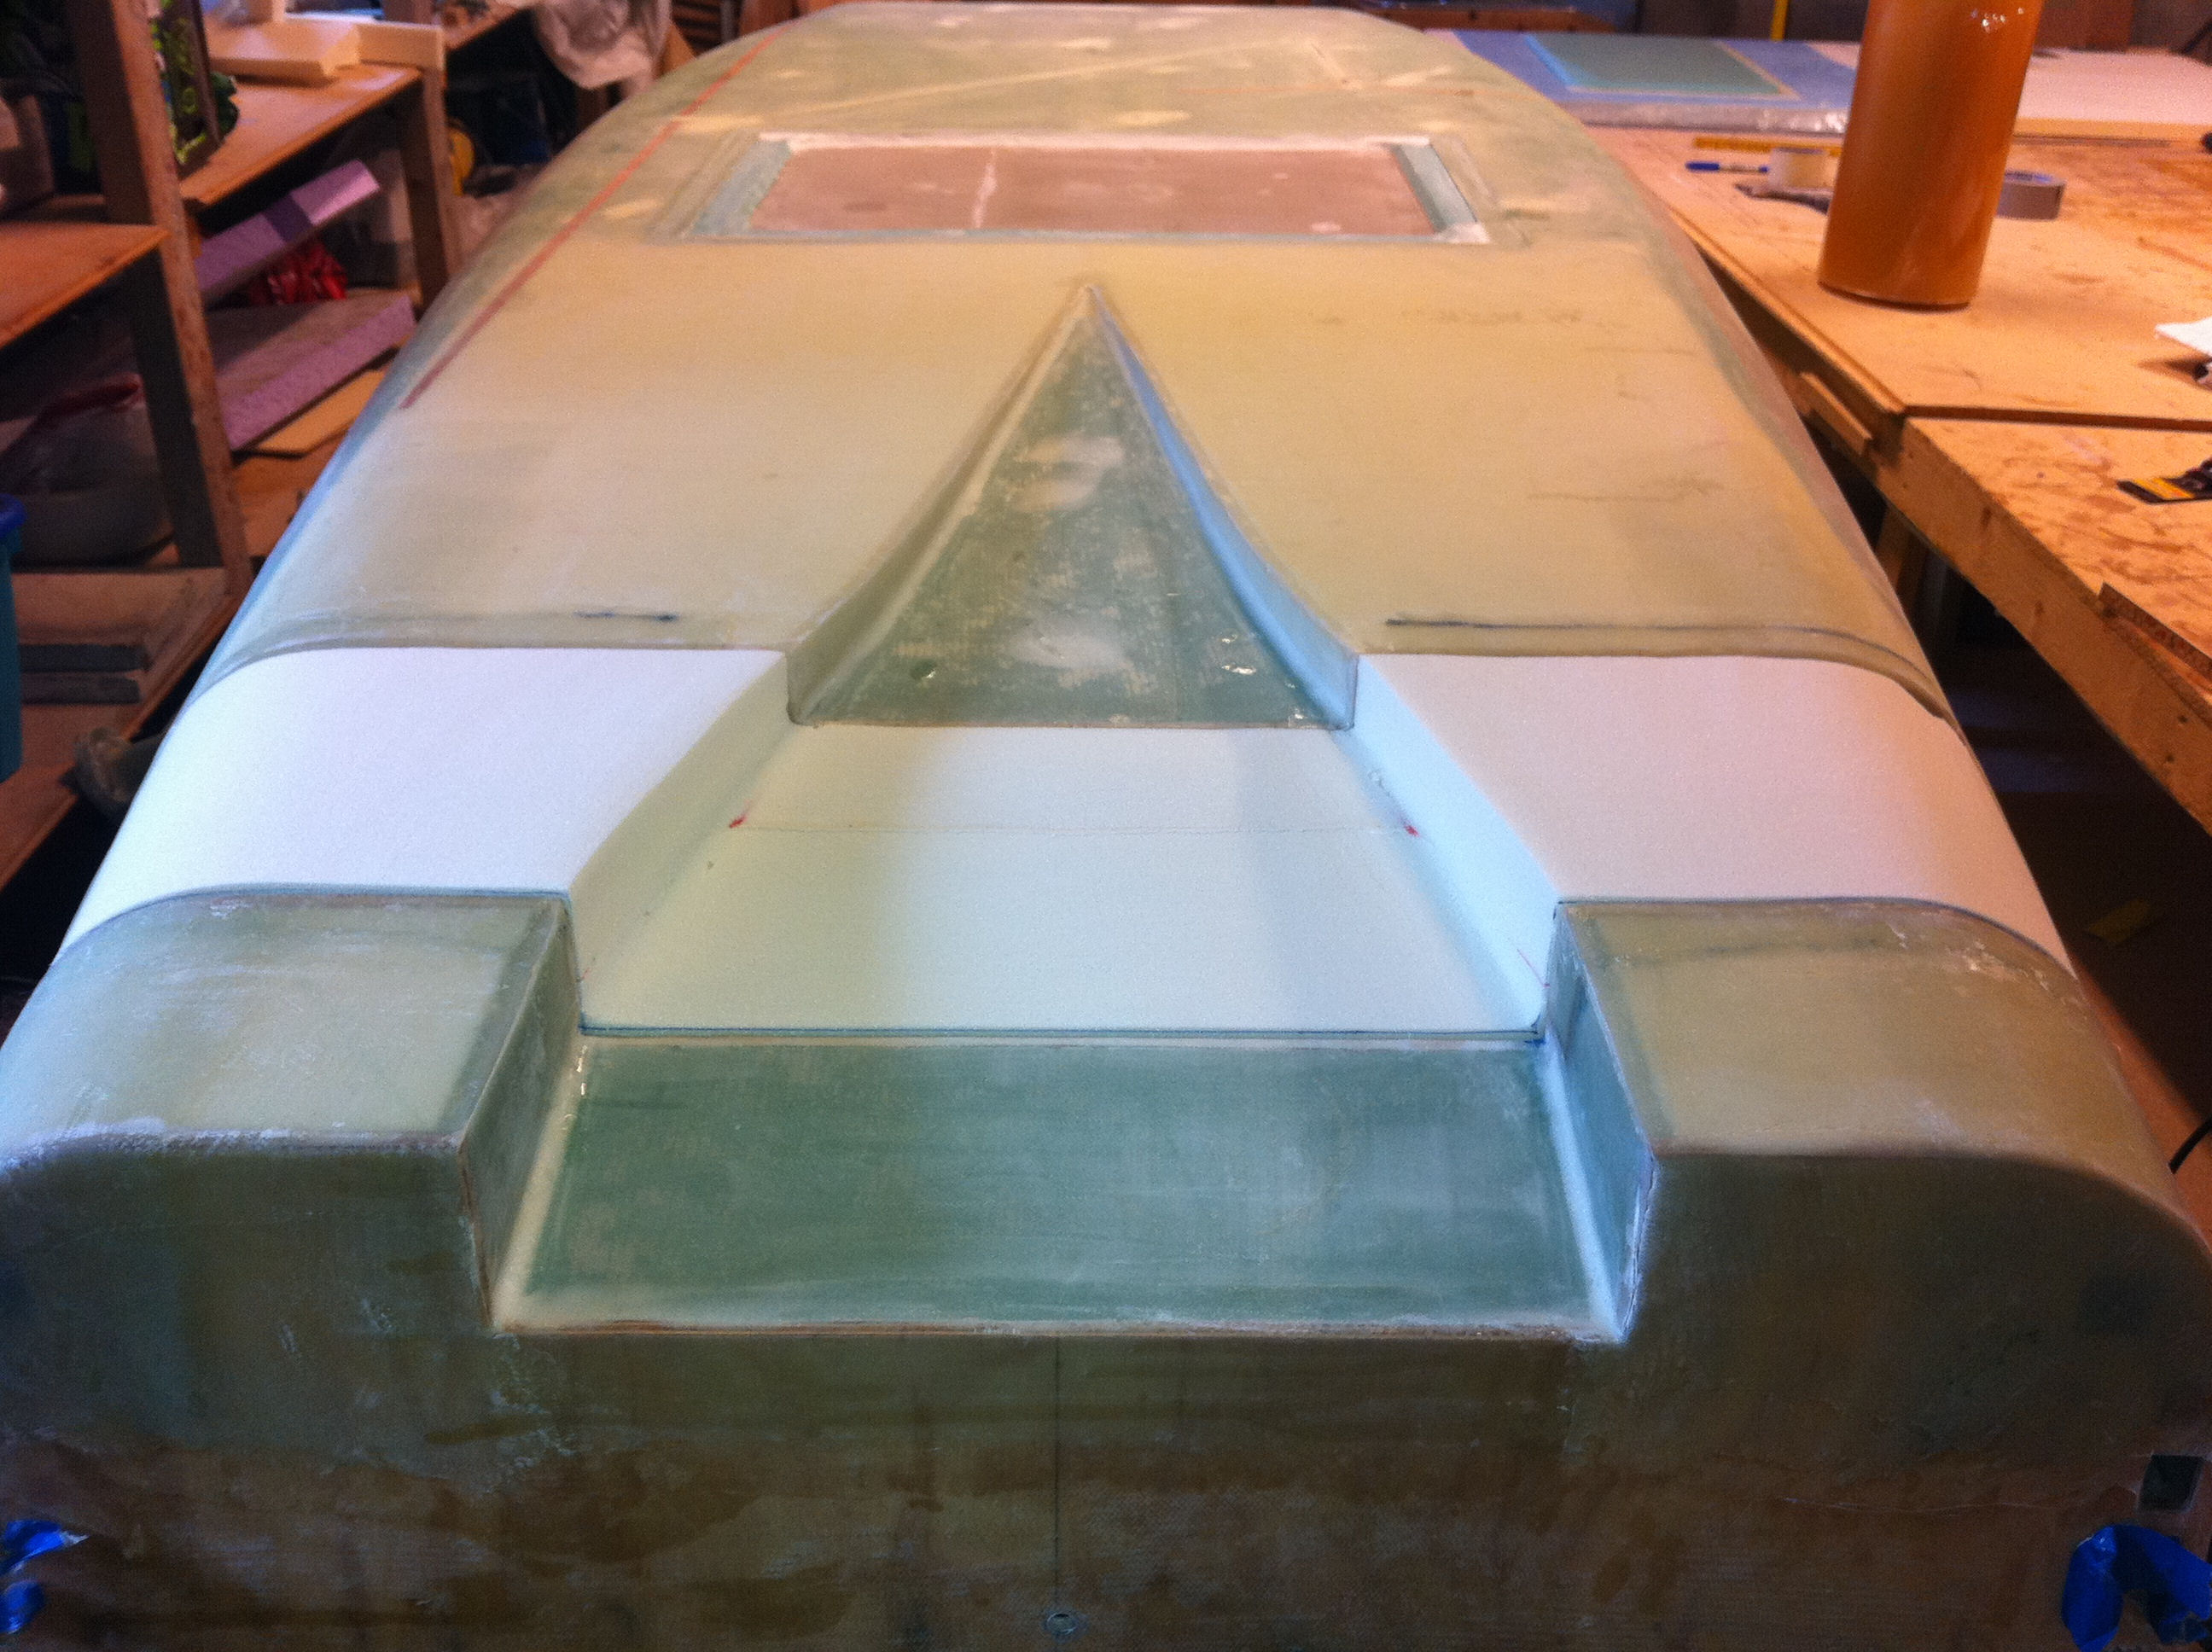
2011-06-25: The cover is ready and glassed on both sides. I trimmed it to fit inside the well and then put on tape on the inside edge to act as a release-agent for the later stages. The picture may be somewhat hard to interpret – the tape is on the inside of the cover, approx 1.5″ wide. I then mounted the cover flush with the surface with some mixing-sticks and bondo.
2011-07-02: Two lessons learned in this step:
1: Do not use duct-tape as a release-agent. It sticks too well to the surface…
2: Make the width of the release-tape 3″ wide to be SURE not to get any epoxy and glass on the cover. It makes it a lot easier to loosen the cover…
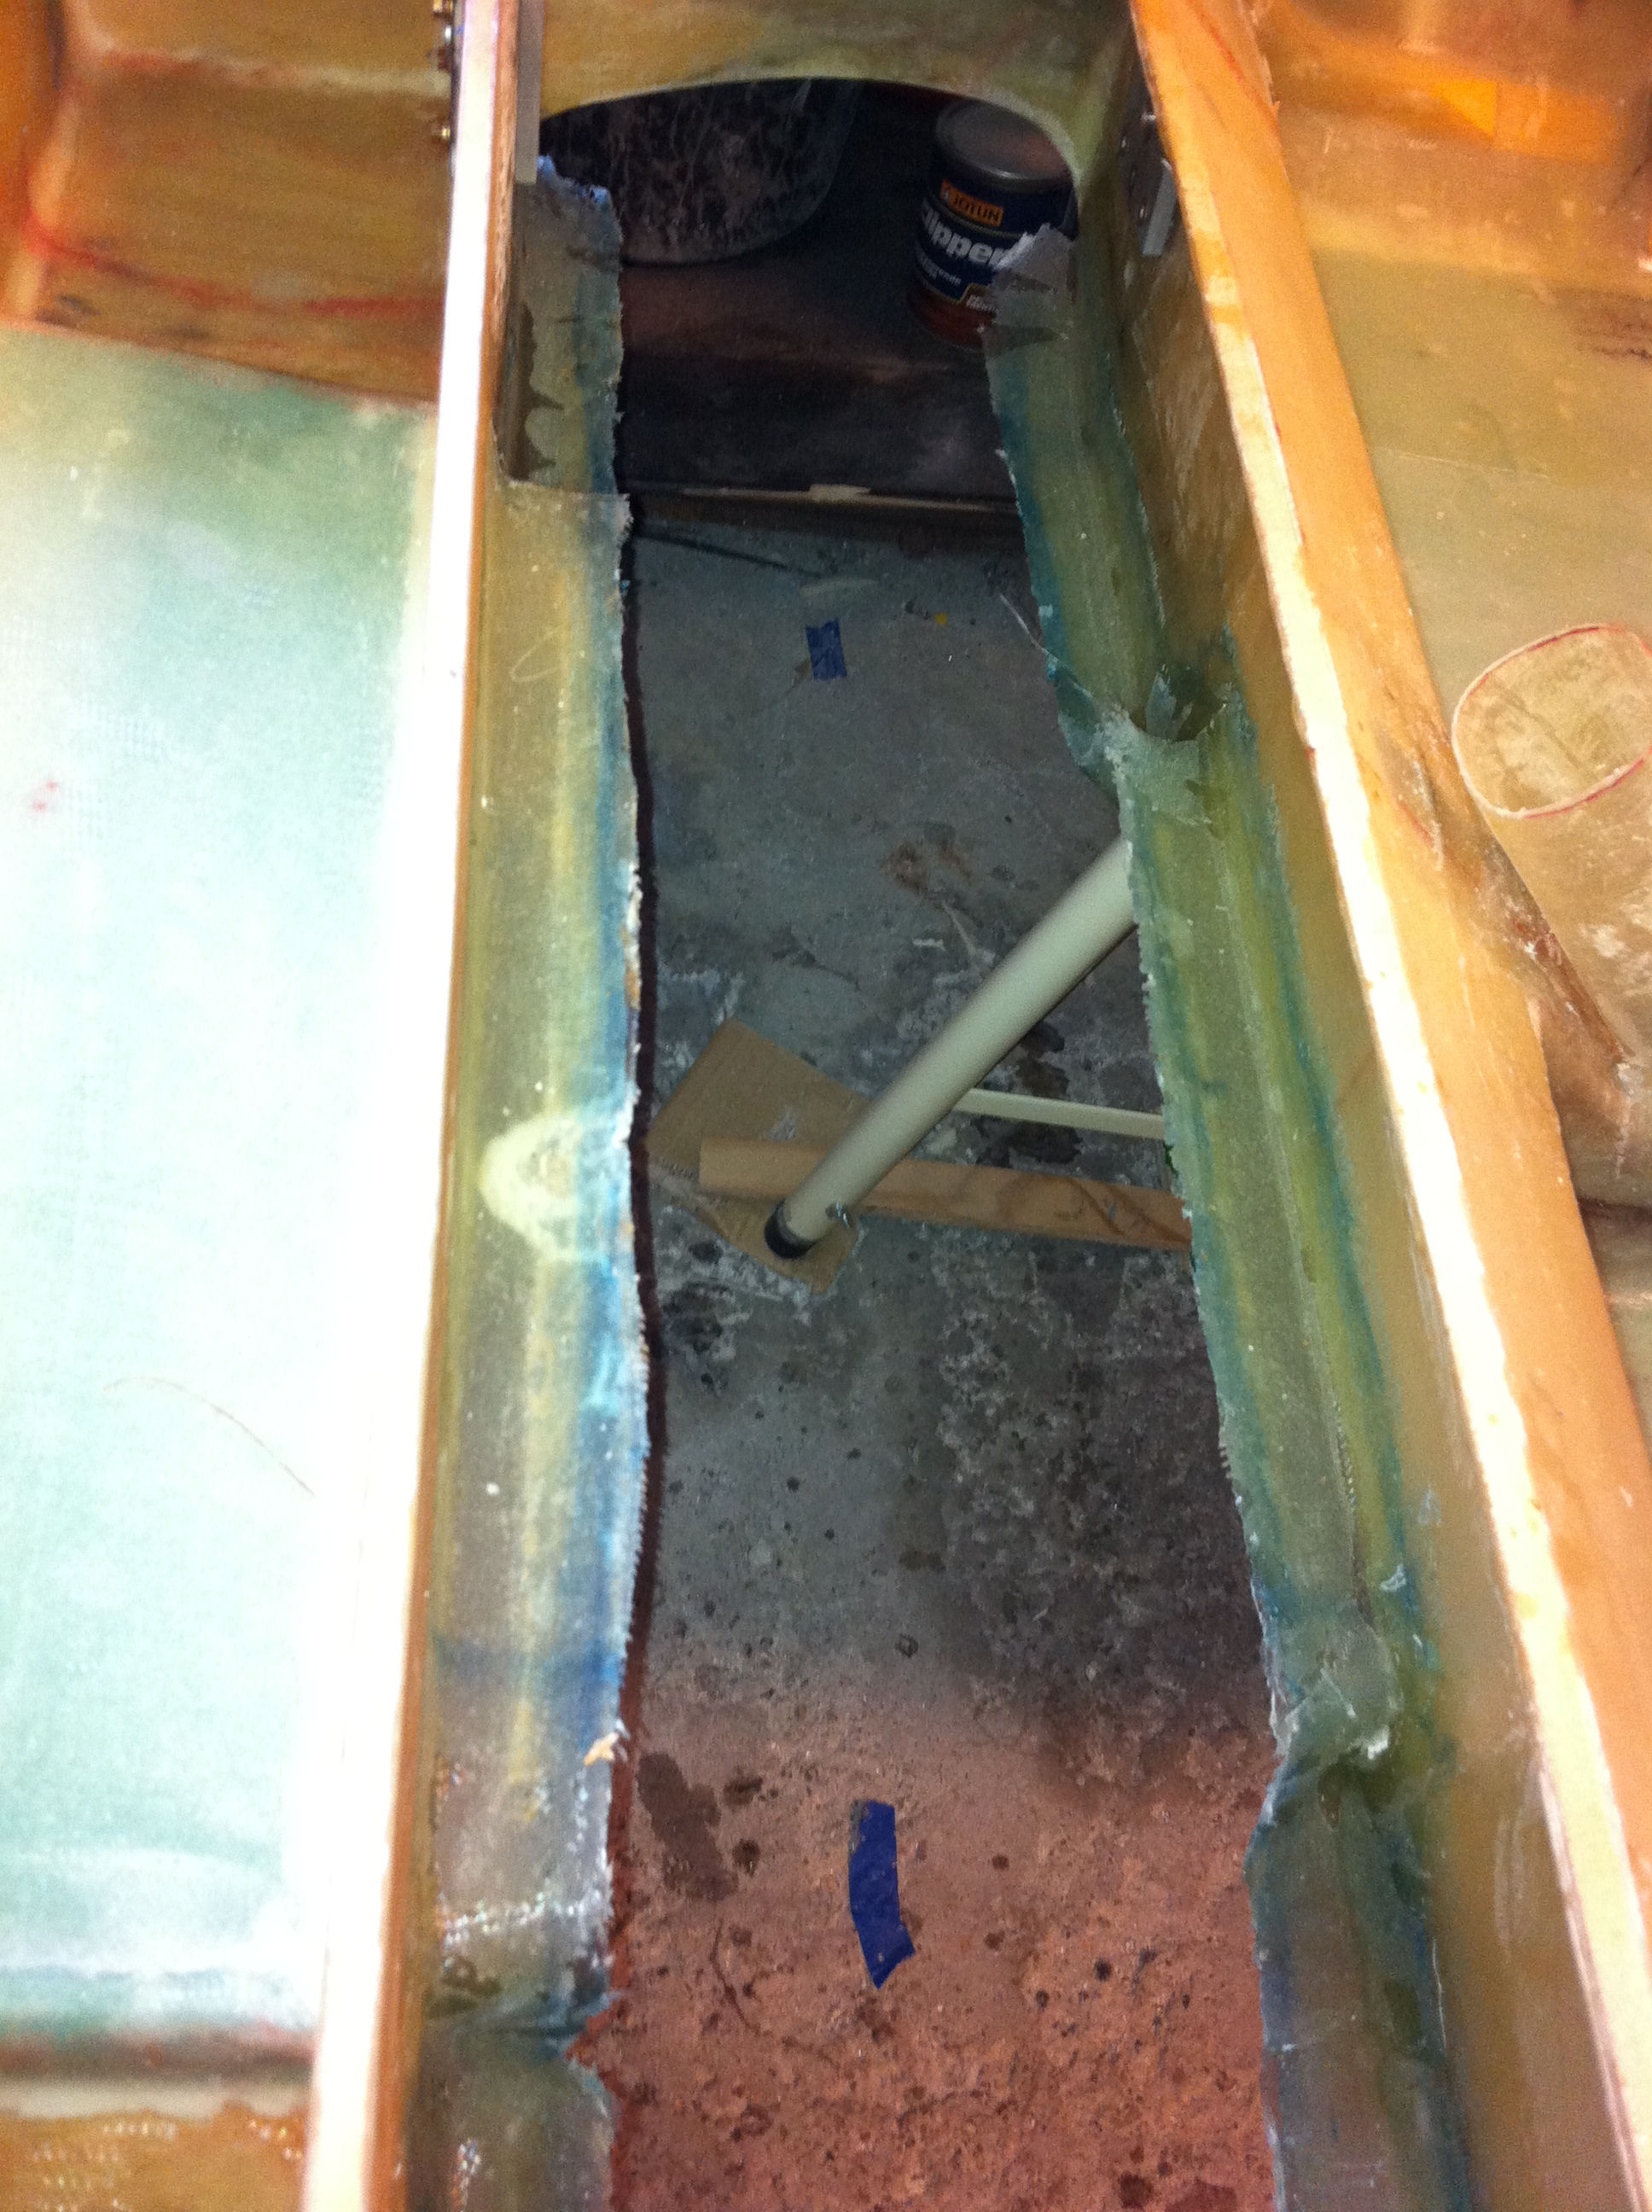
Ok… to perform this step the fuselage had to be turned right side up. I now made the cover-lip / joggles that will support the cover and where I will add the nutplates. It was a fairly easy job. I followed Wayne’s description all the way, so for details take a look at his website or Bernard Siu’s webpage.
The most tricky part was to loosen the cover. The duct-tape was not the best release-agent to use, and it also left some glue behind on the cover when I removed the tape. Had to use acetone and fine sanding-paper to get rid of it

2011-10-9: I have fastened the nutplates with rivets to the cover-lip. Had to buy a rivet-squeezer to get this done.