

2012-06-2: Today my EAA Tech Counselor came to visit me and inspect my work. He flew over from Kjeller (ENKJ) approx 170NM from my local airport Sørstokken (ENSO) in his great looking Long-EZ from 1983. Nice weather although it was a bit windy both places. It was a quite useful visit and we discussed many interesting things. Luckily for me he had no complaints to what I have done so far!
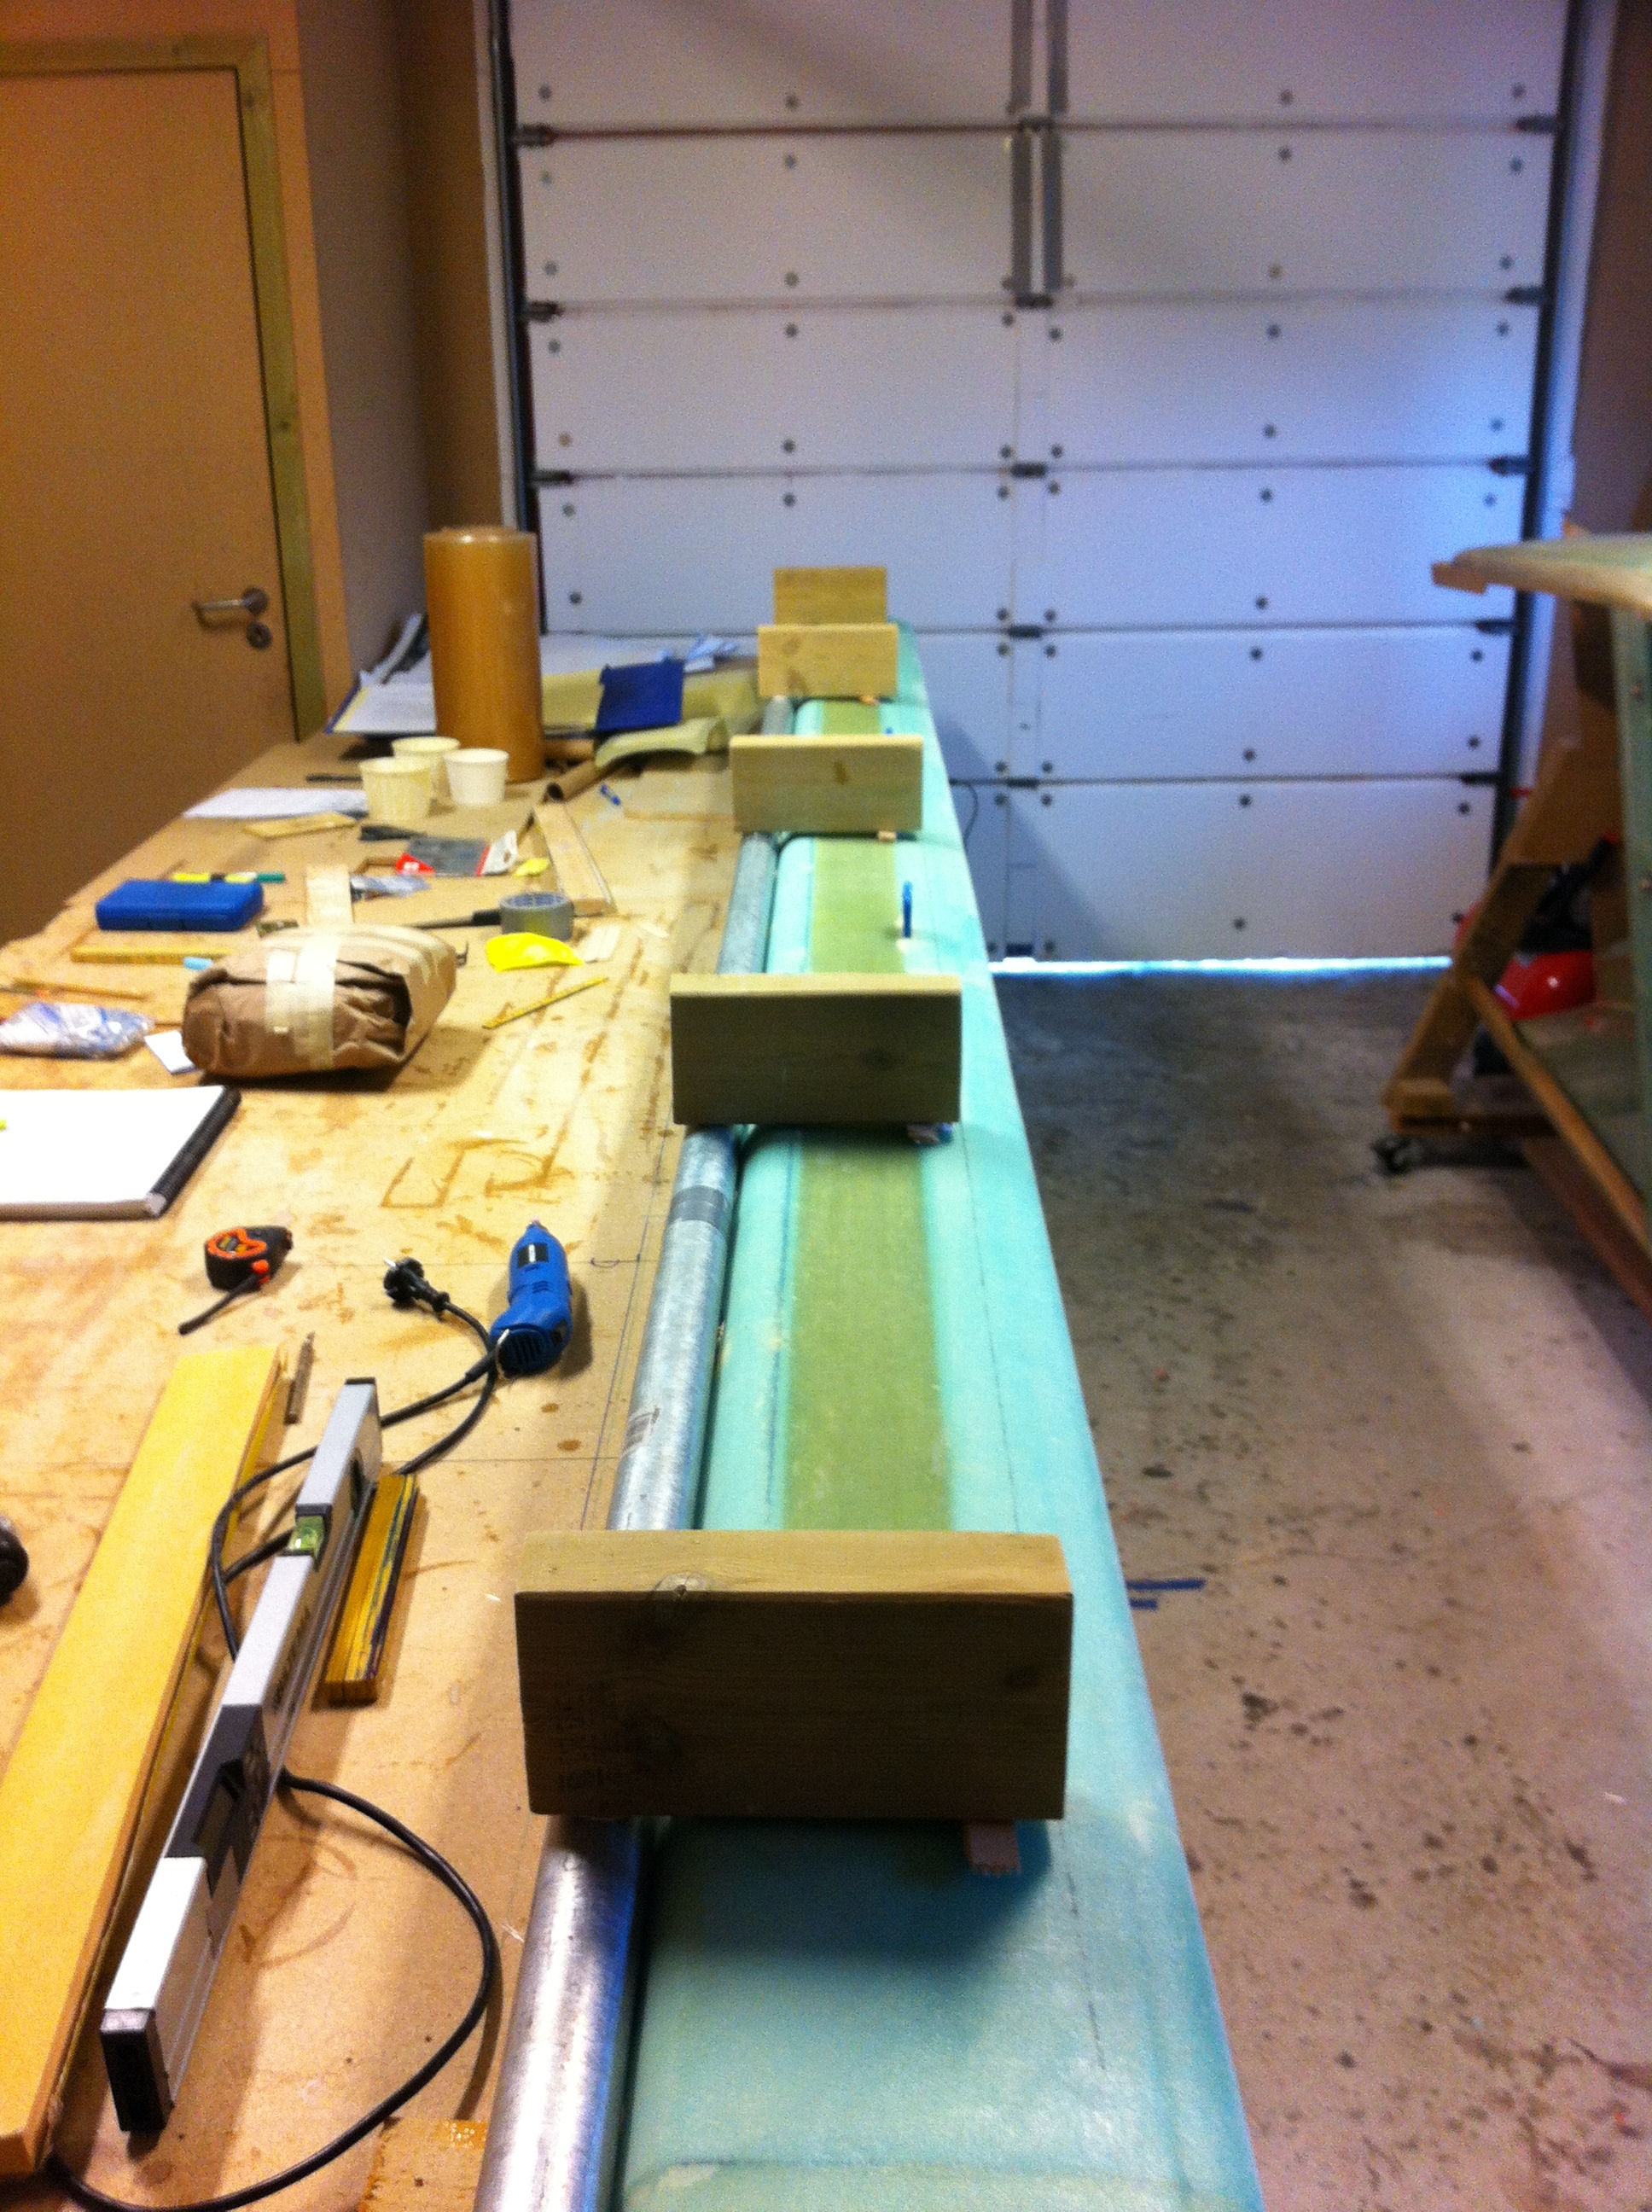
2012-06-16: I got hold of a steel pipe of the right dimension and bondoed this to the trailing edge as per plans. Then I bondoed five 2″ x 4″ pieces of wood to the pipe and canard – leveled in all dimensions. I turned the whole construction around (my wife had to help me as the steel pipe made it rather heavy) and made it ready for glassing the top spar cap.
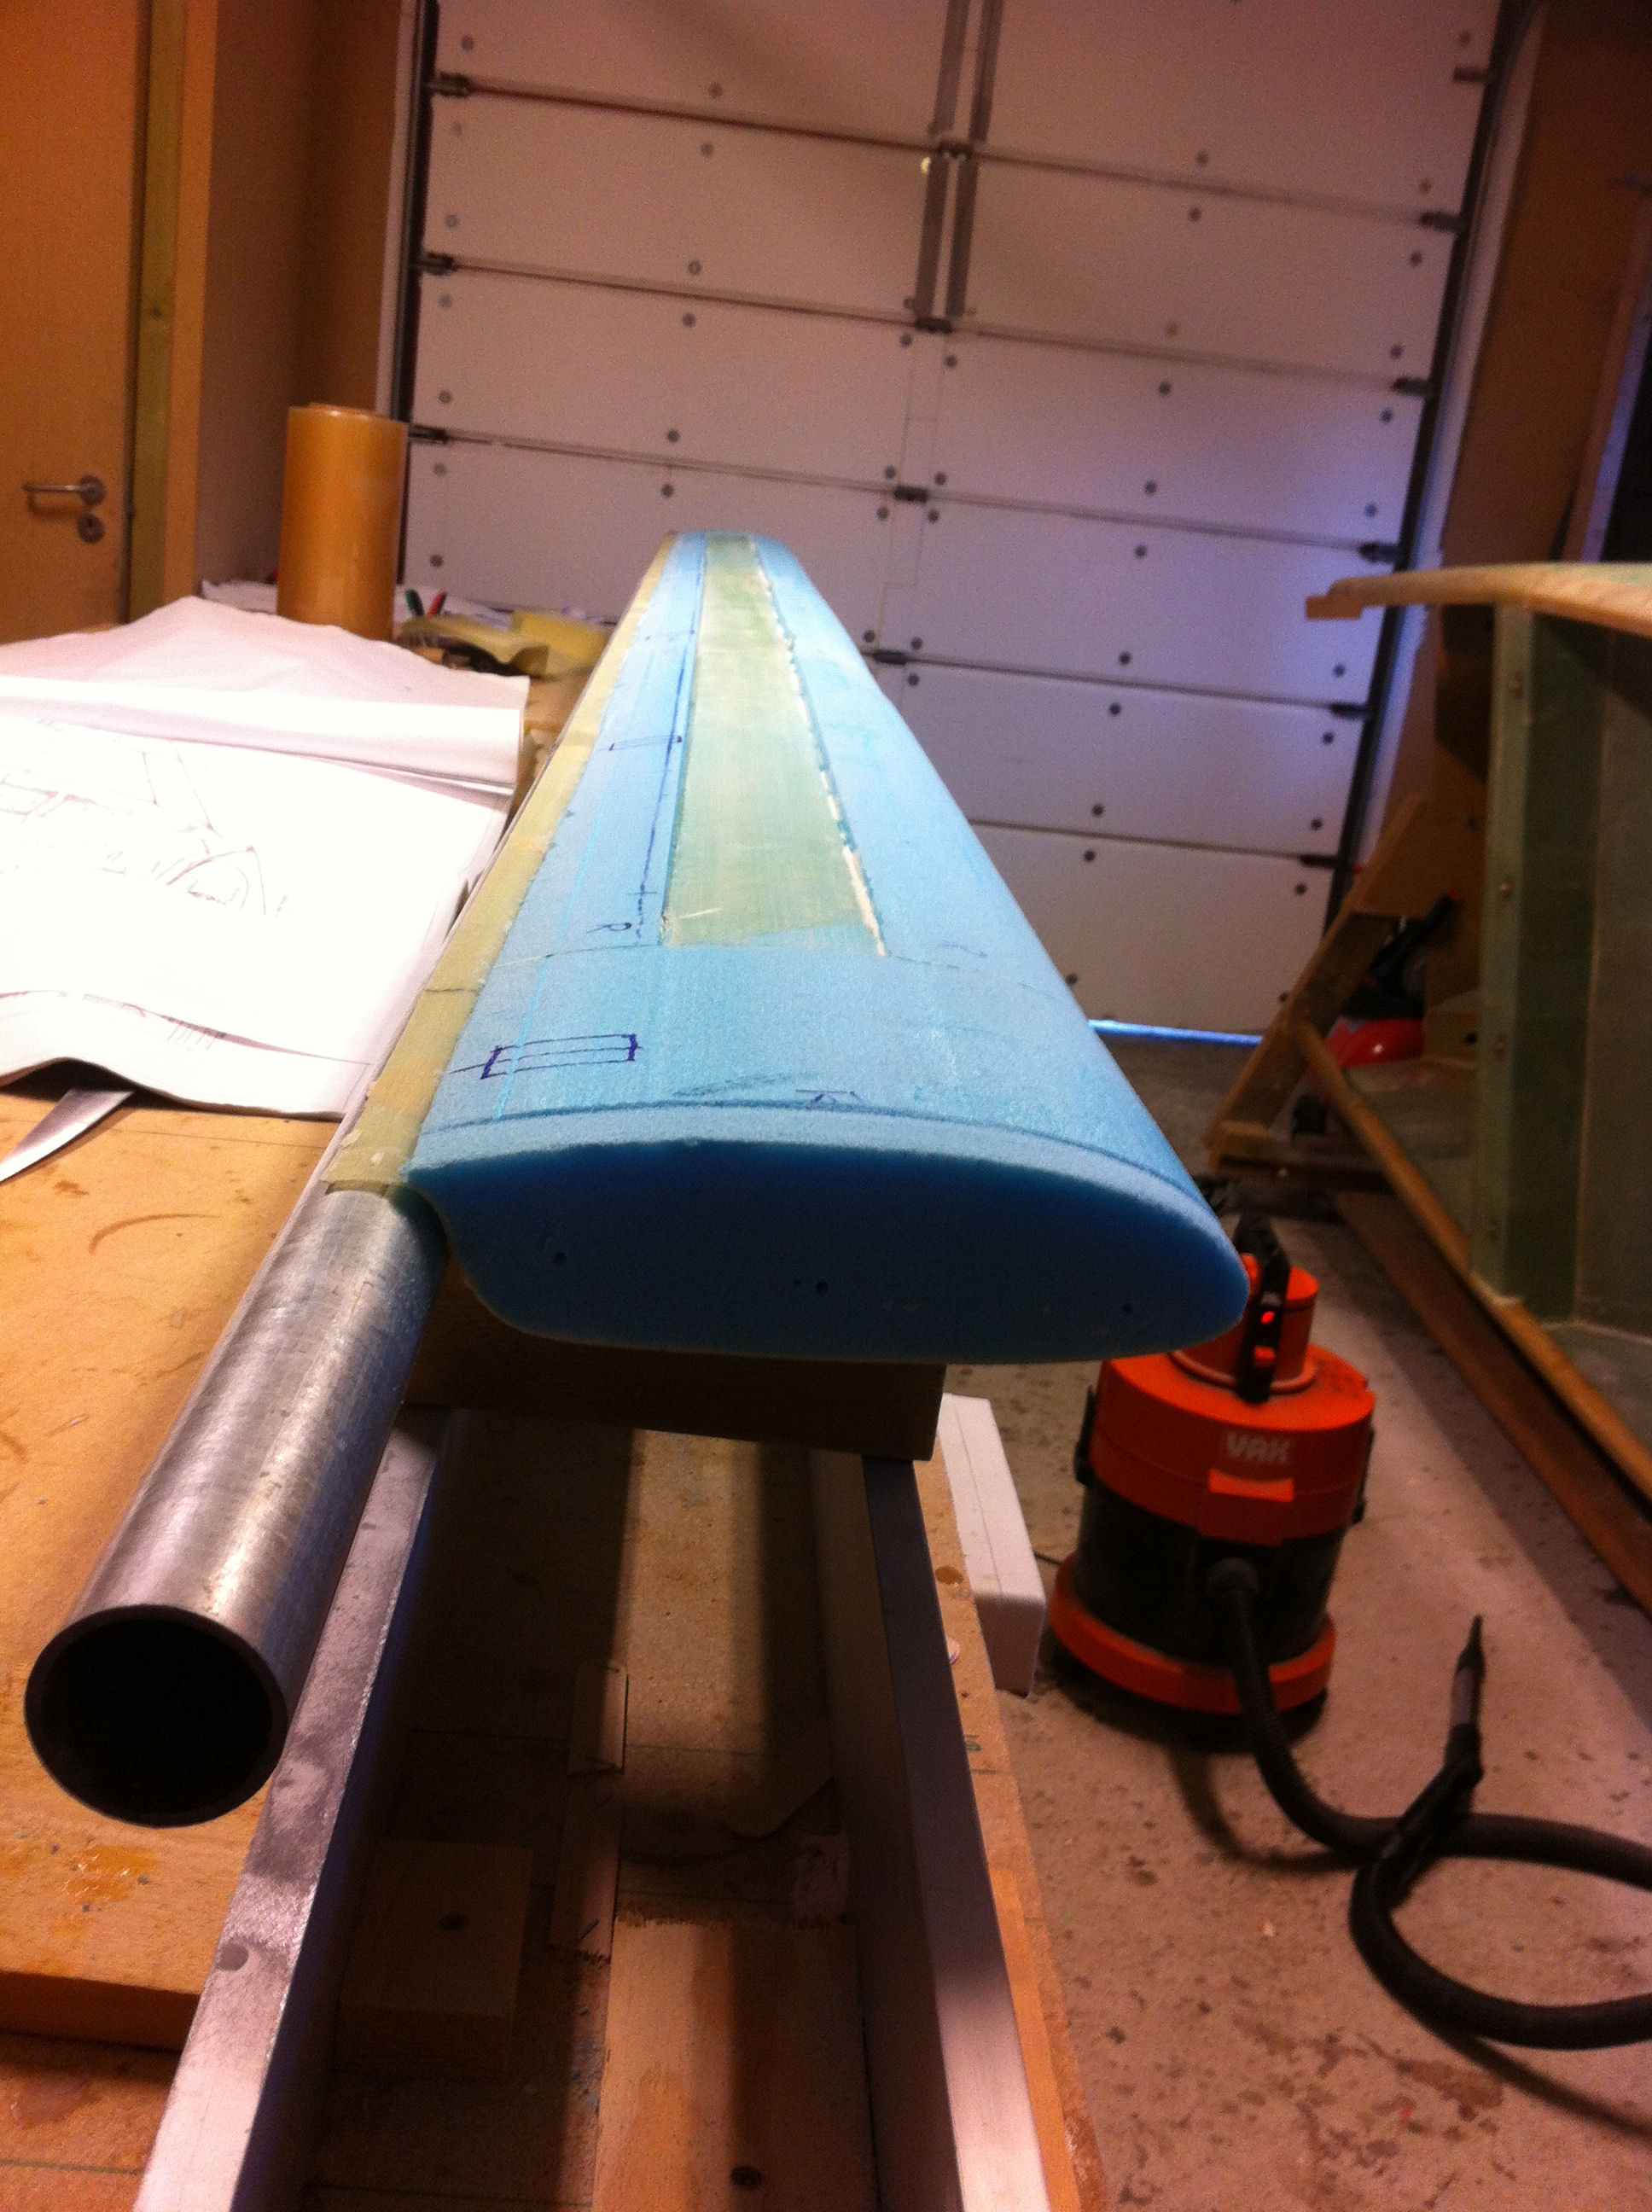
2012-06-16: I sanded a depression on the edges where the tips are to be taped to the canard. I also marked the position for the hinge-inserts. I didn’t have the right type of foam ready (had to order from ACS), so I glassed the spar-cap instead.
2012-06-24: The spar-cap is ready and peel-plied. I used 4 hrs 30 min on this step including masking the canard beforehand. I used 11 plies of UNI-tape.
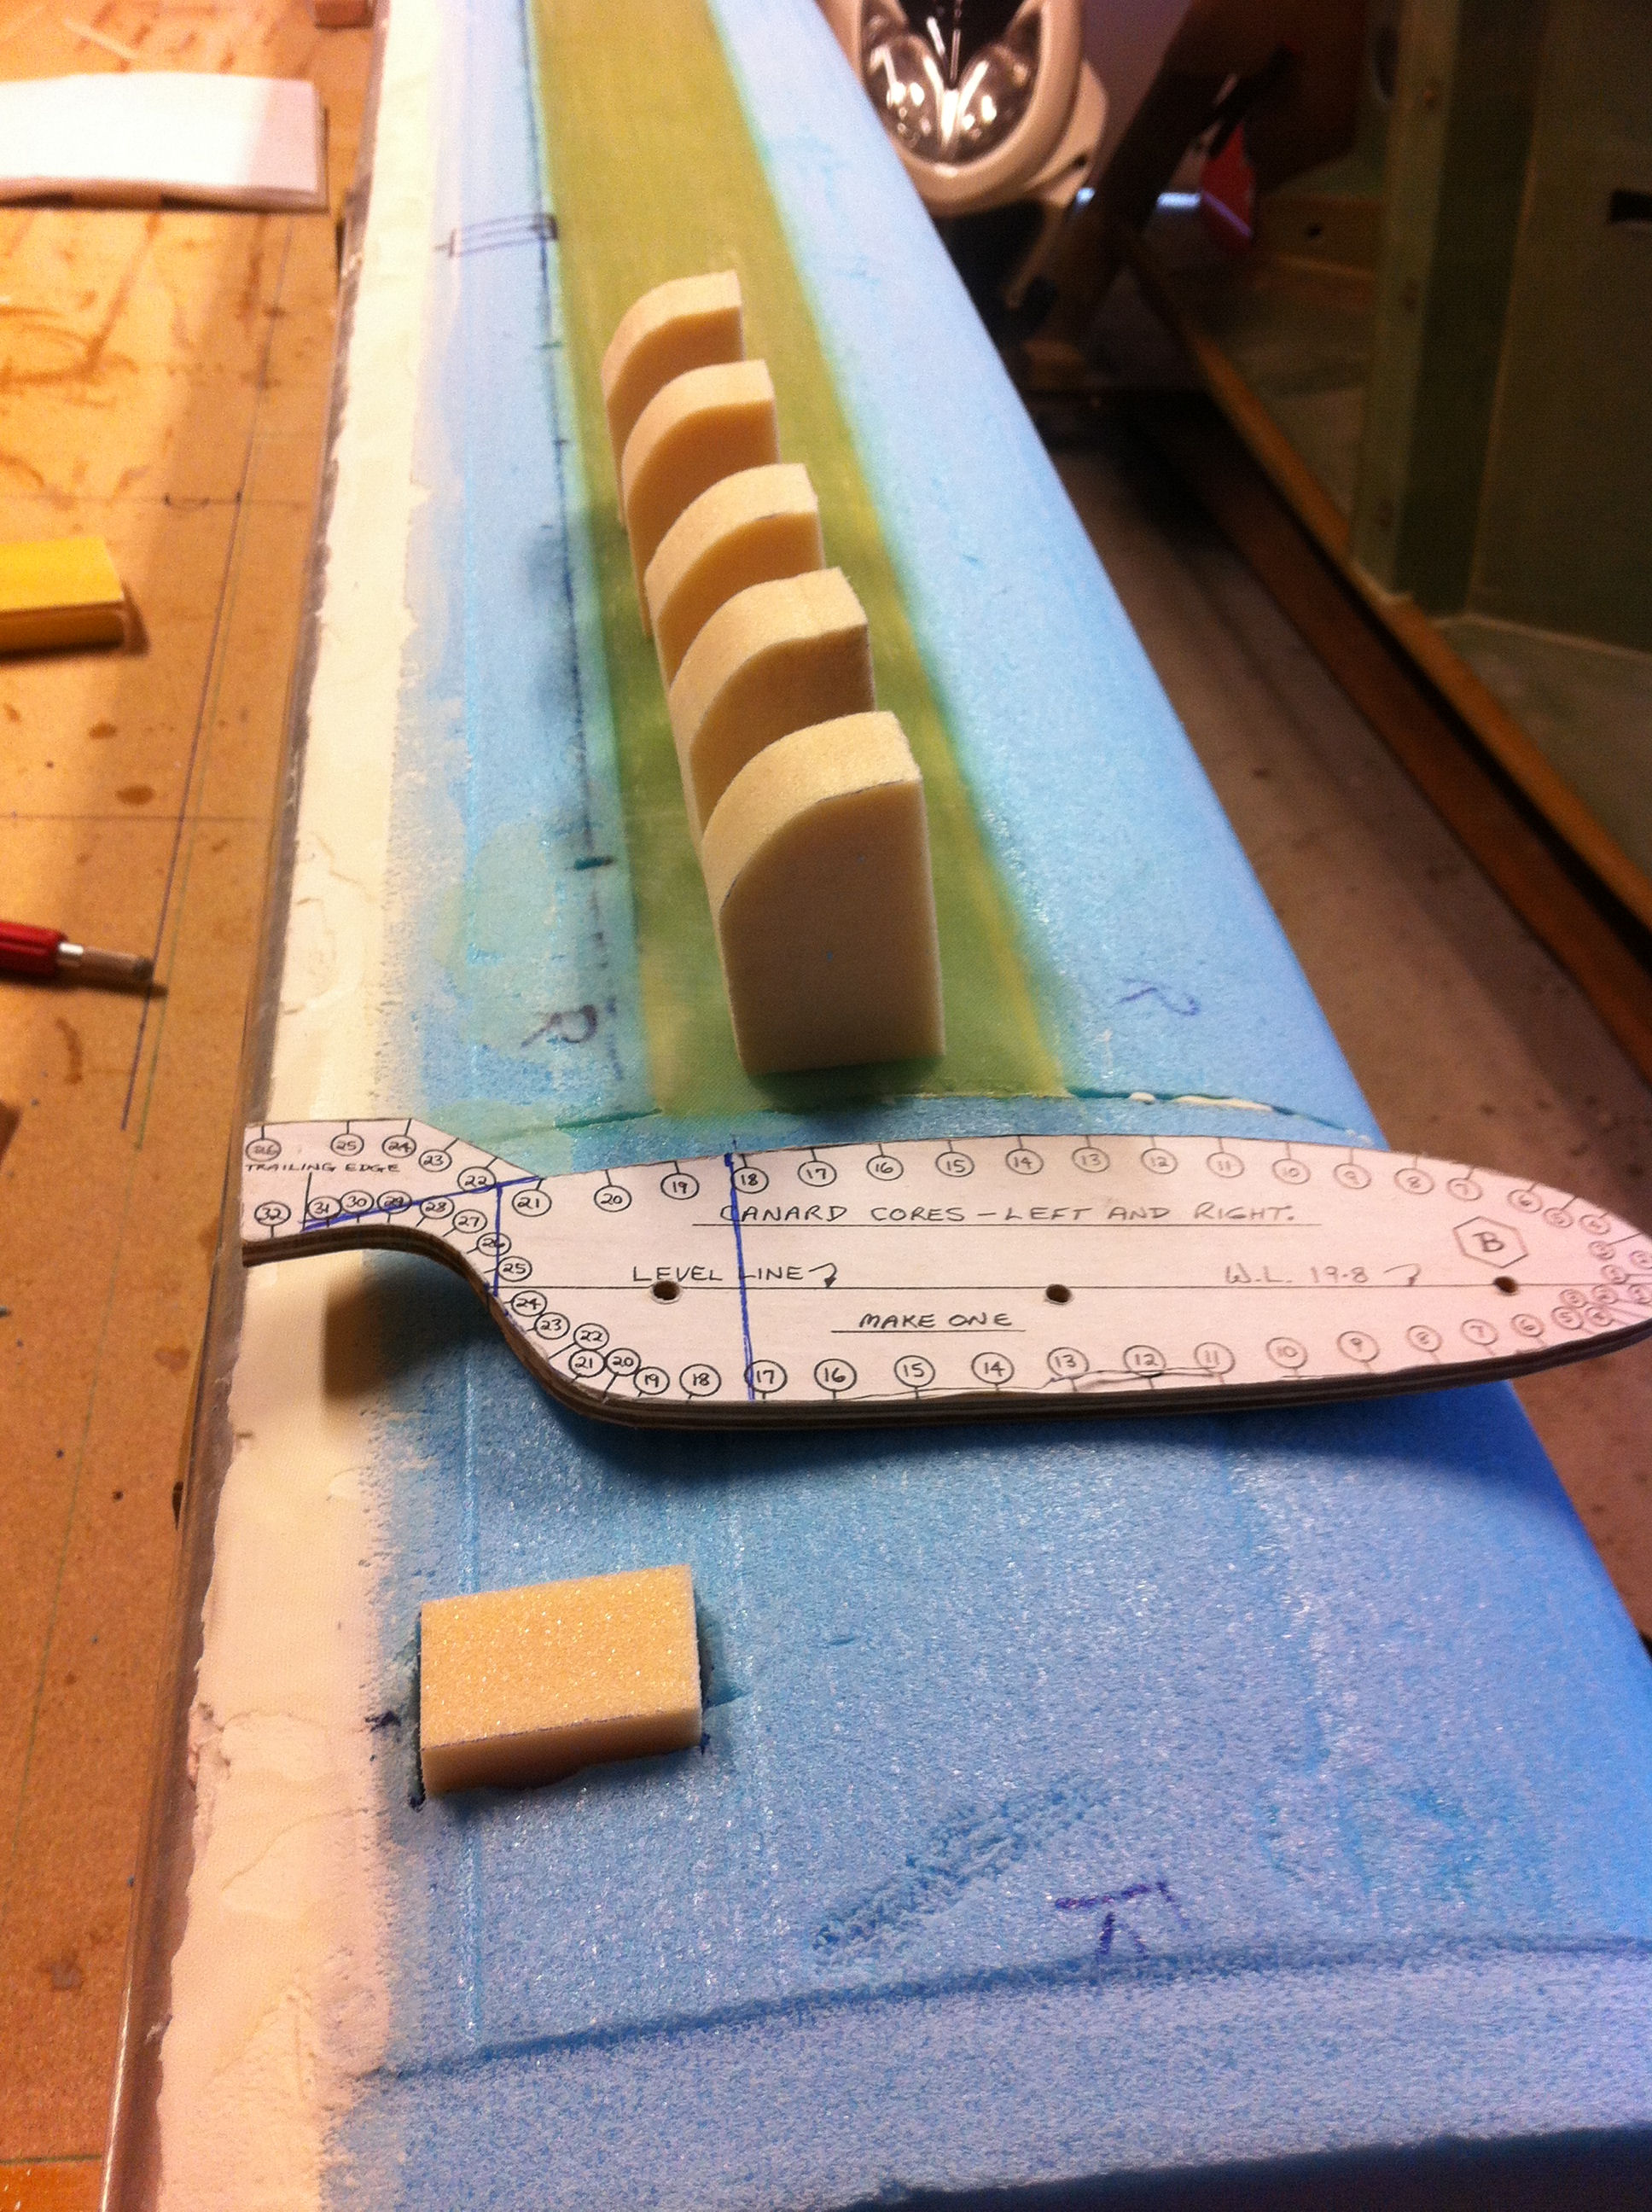
2012-07-01: I measured out the positions for the hinge-hardpoints and marked them on the canard. Then I used the B-template and marked where the hardpoints should come and traced the shape onto the foam. I used my bandsaw to cut them out.
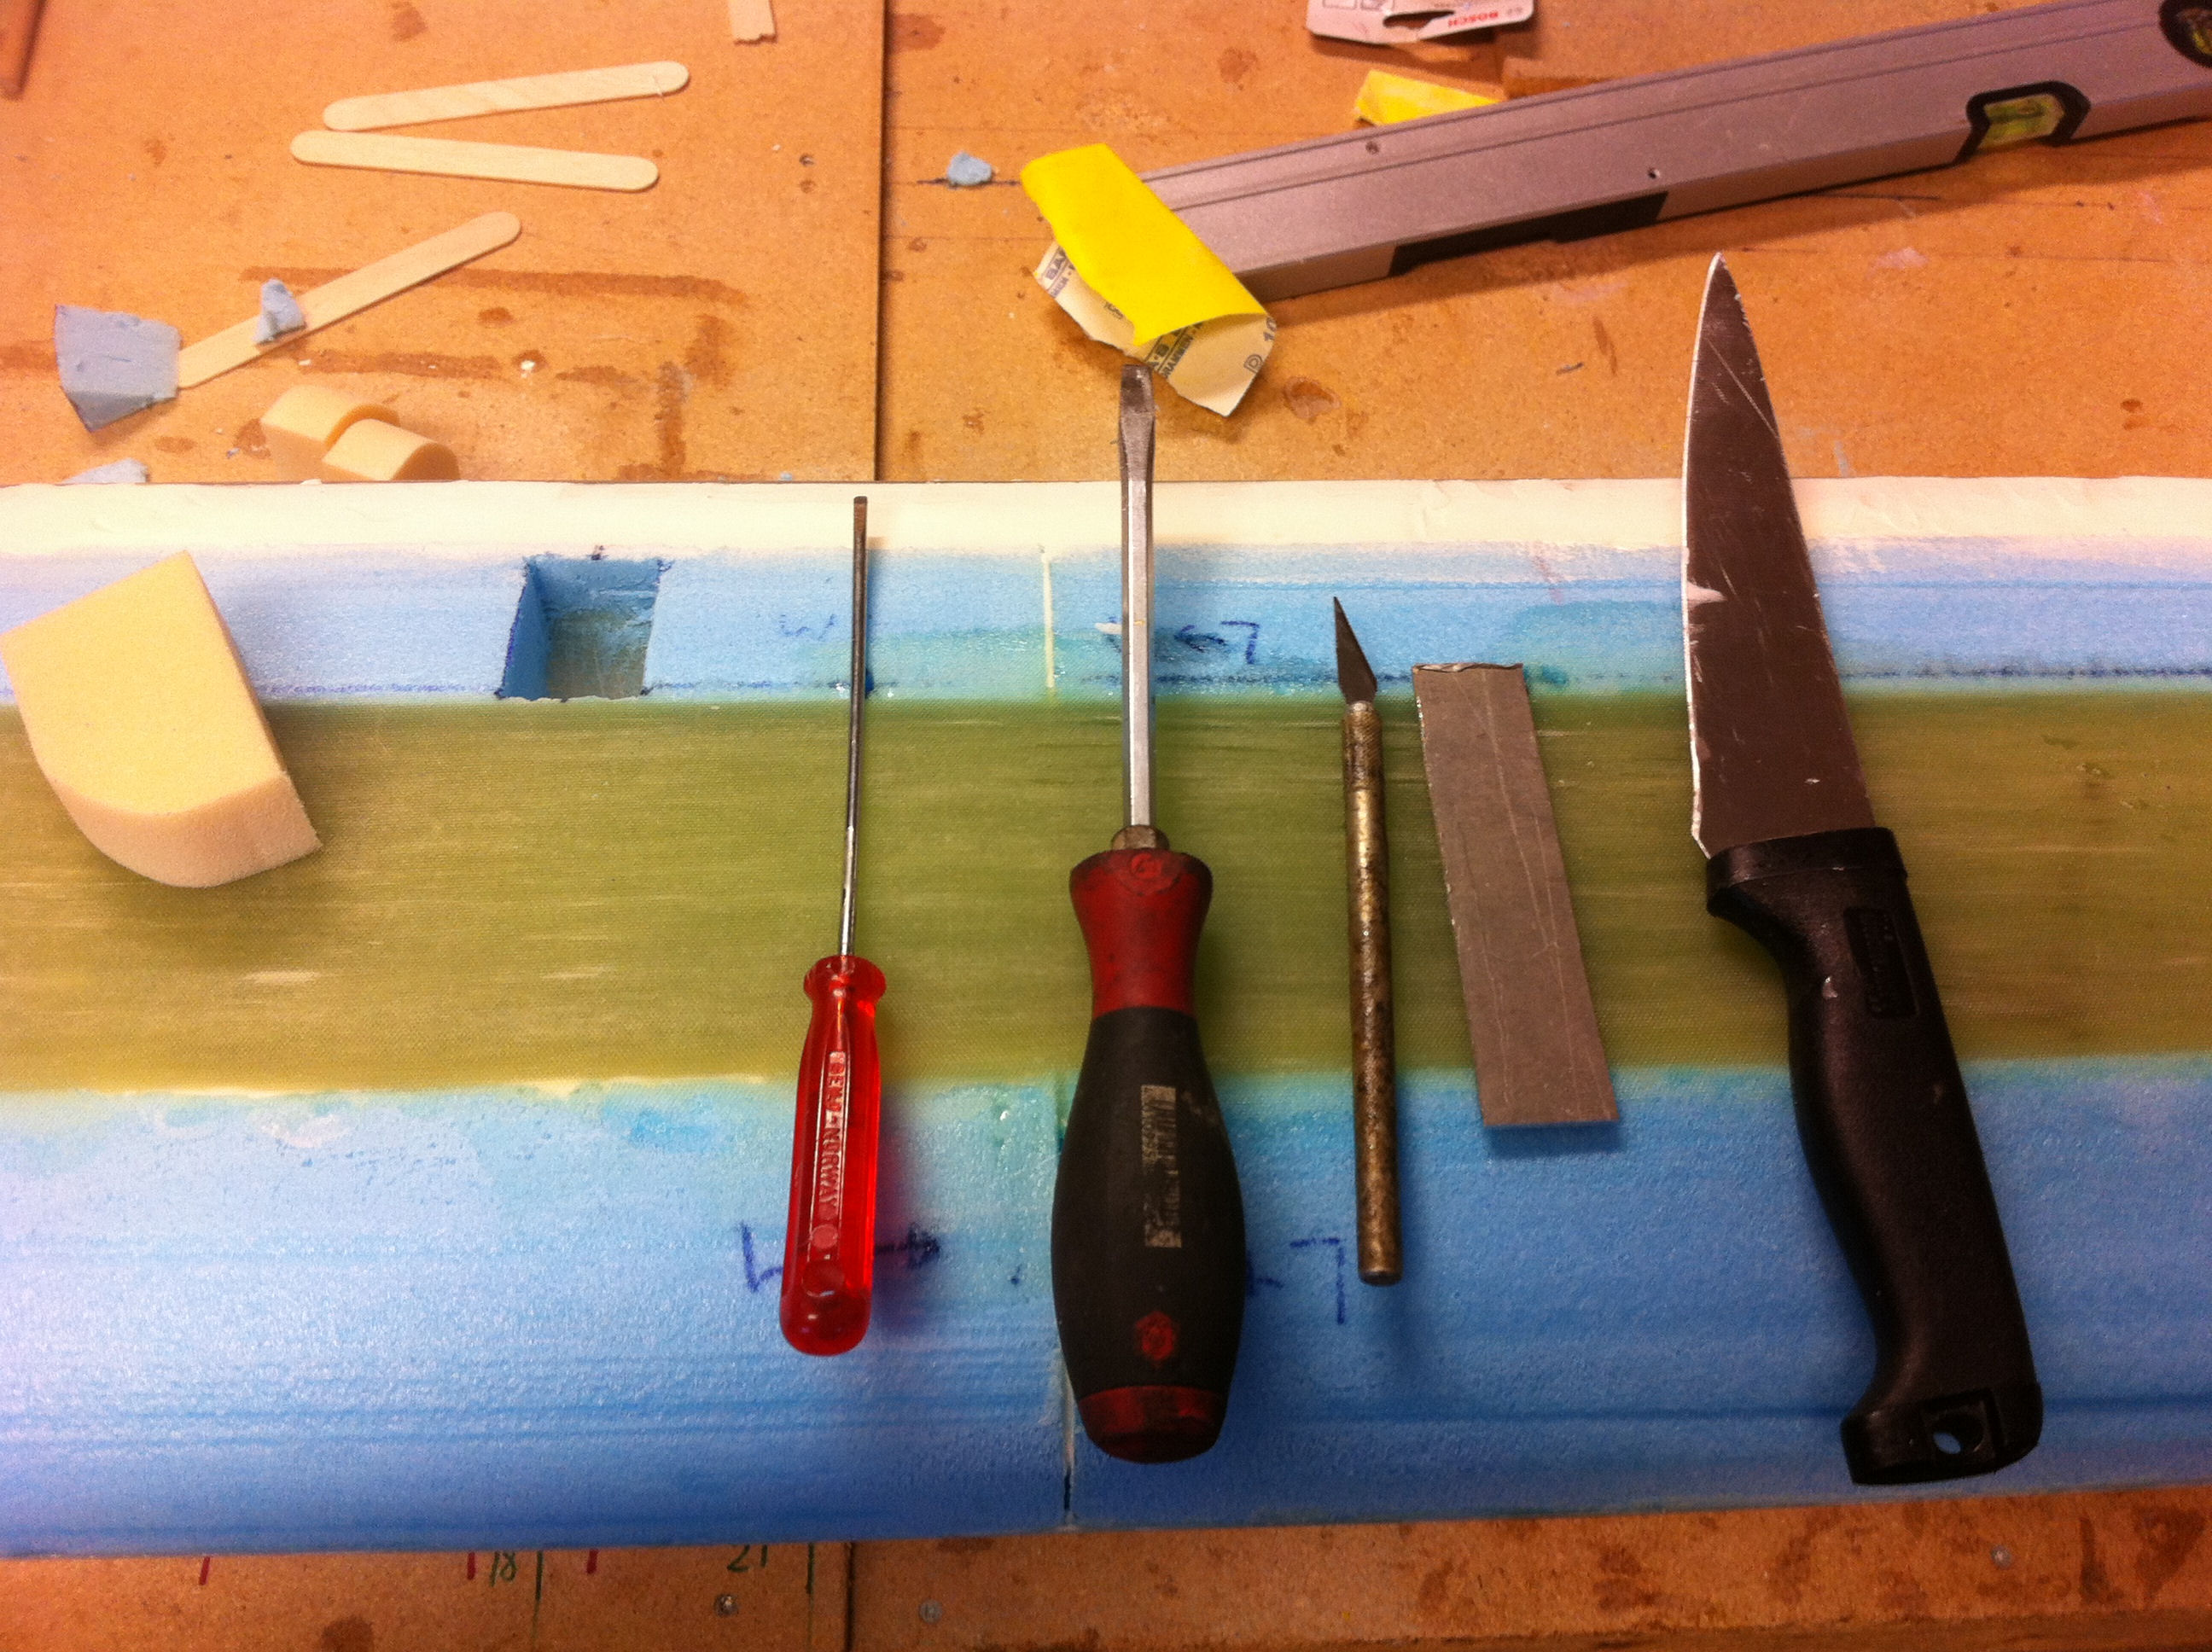
2012-07-01: Here are the tools I used to cut the holes. I tried first with a Dremel but it was easier with various knives, screwdrivers and a sharpened 1″ wide aluminium-plate to scrape the glass free from foam.

2012-07-01: The foam is removed all the way down to the bottom-glass. The hardpoints where then glued with wet micro.
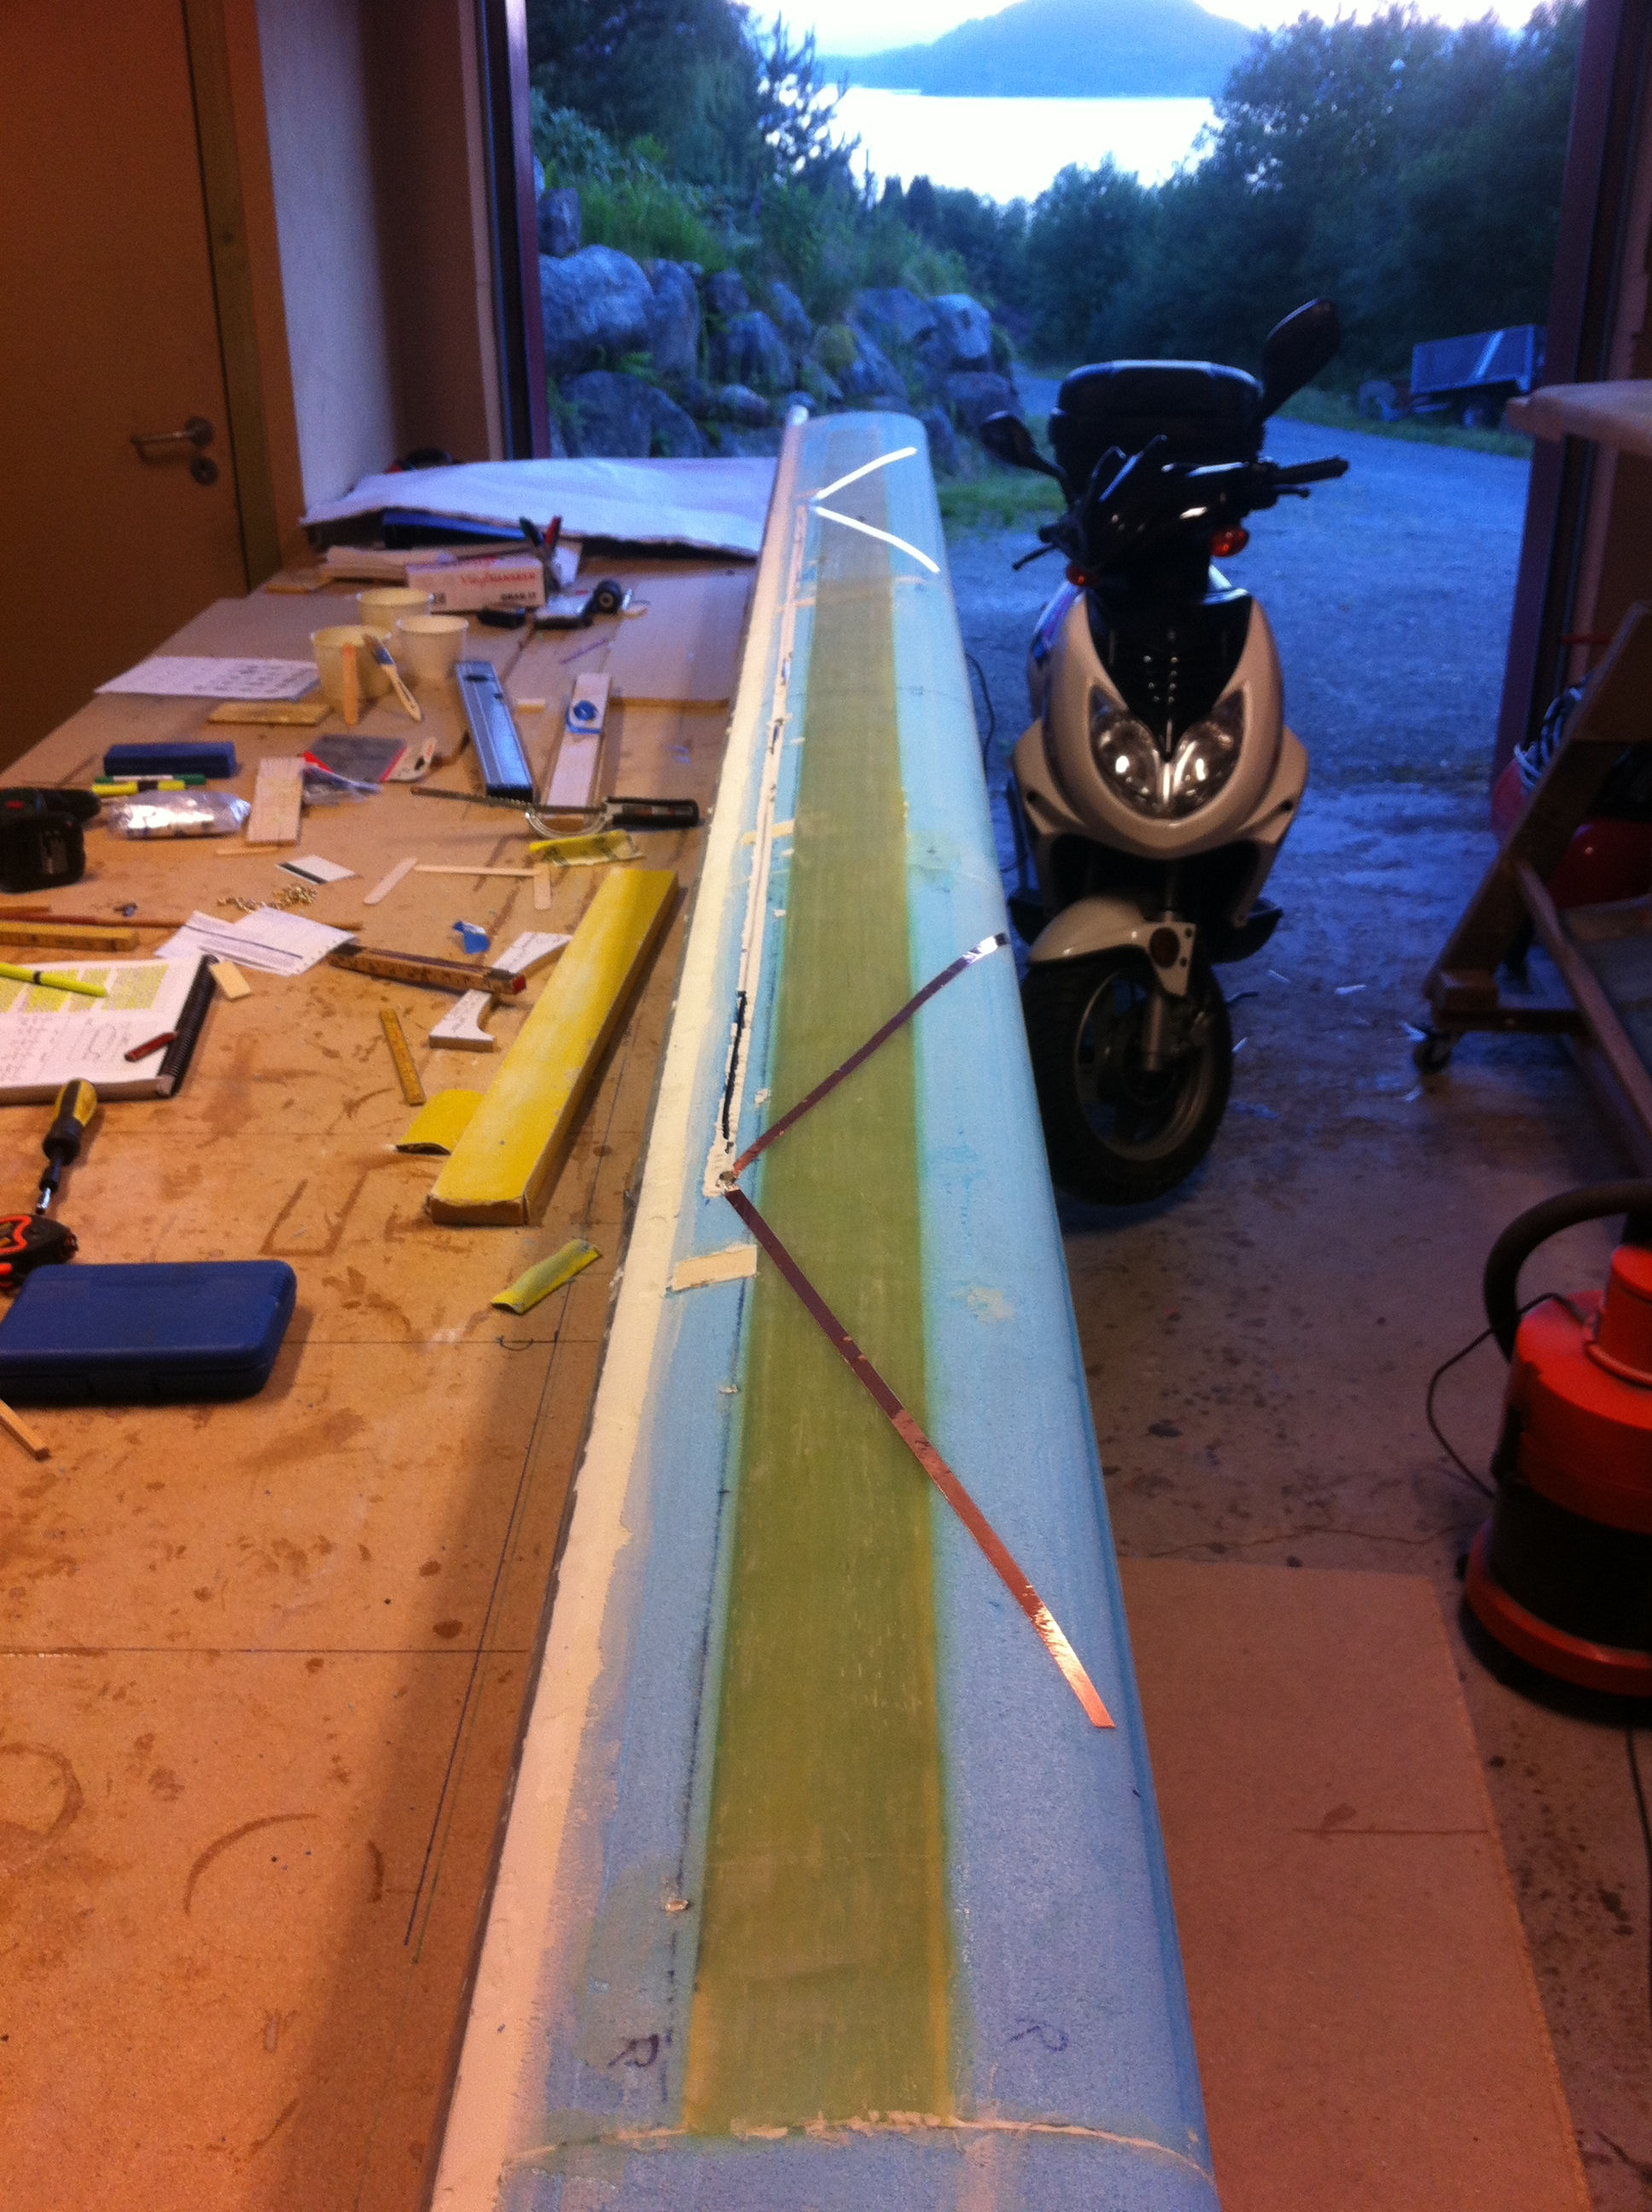
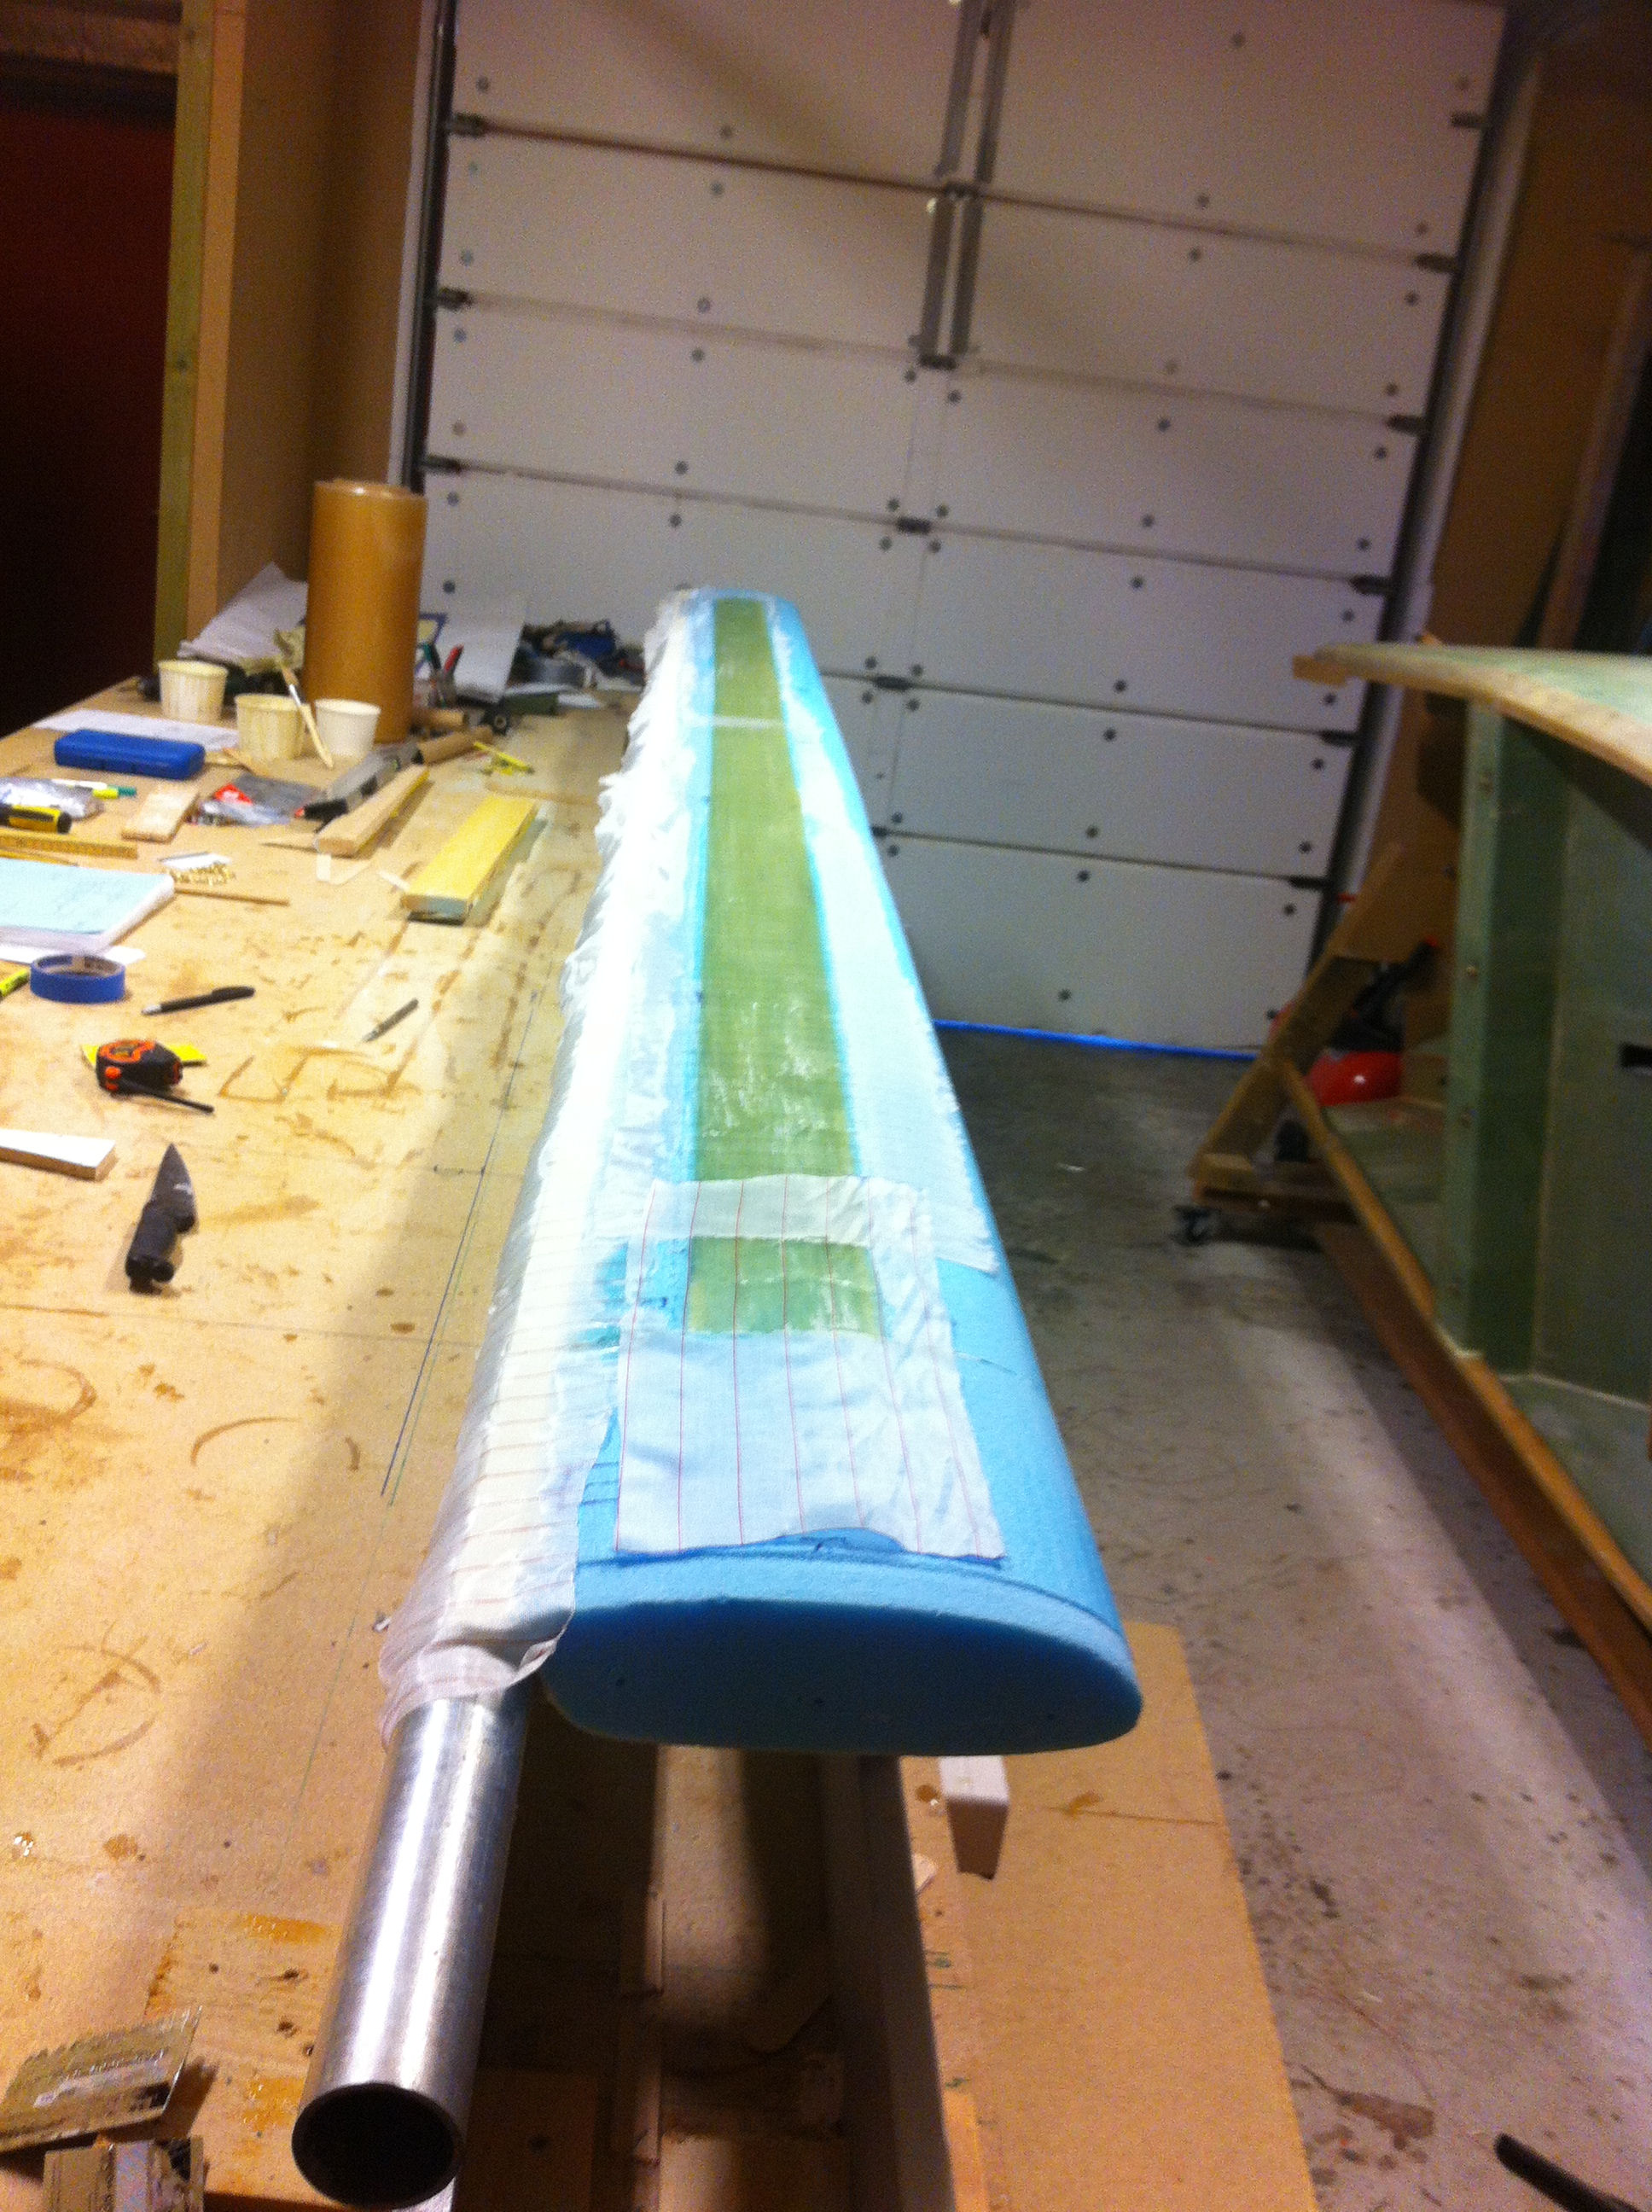
2012-07-13: I installed two antennas based on Charles Furnwegers (se chapter 7) layout. These two antennas are for 2-meter HAM-radio. I’m not sure wether I ever will use these or not, but it costs nothing to add them at this stage, so I chose to do this just to be safe.
I goofed up here btw. I had a major brain malfunction and filled the bare glass at the trailing edge with micro (se the picture above). I was absolutely sure that this was the way it should be done to make a nice transition for the glass from the foam that was ripped off due to the peel-ply down to the trailing edge. I made a similar wing-profile in chapter 3 as a test, but stupid as I was, I didn’t check with this profile how it actually was done. Well – a couple of days later my brain started to work again and I suddenly got a feeling that I had made a mistake. I checked and of course this was a mistake. So I spent one hour today sanding off all the micro down to bare glass again. Glad I discovered this before I glassed the top!

2012-07-15: Finally I glassed the top skin. The next day I removed the peel-ply, the steel-pipe, the wooden support-blocks and sanded off all the bondo. I also tested it on the tub. I weighed the canard, it weighs 28 lbs including the two antennas. Seems rather heavy compared to other builders.
And that was the last step of chapter 10. Now off for some vacation!