
The first step is to add some reinforcement to the landing-gear bulkheads. This is a series of rather complex layups because it involves a lot of curves and corners as well as rather hard to reach places. The main issue is to make paper templates of all the areas before you start to cut the glass.
I draw the pattern on saran-wrap taped to my working-table. Then I wetted out the plies with BID and cut out the pattern that shines through the glass. It is rather easy to place the pattern on place and then remove the saran-wrap.
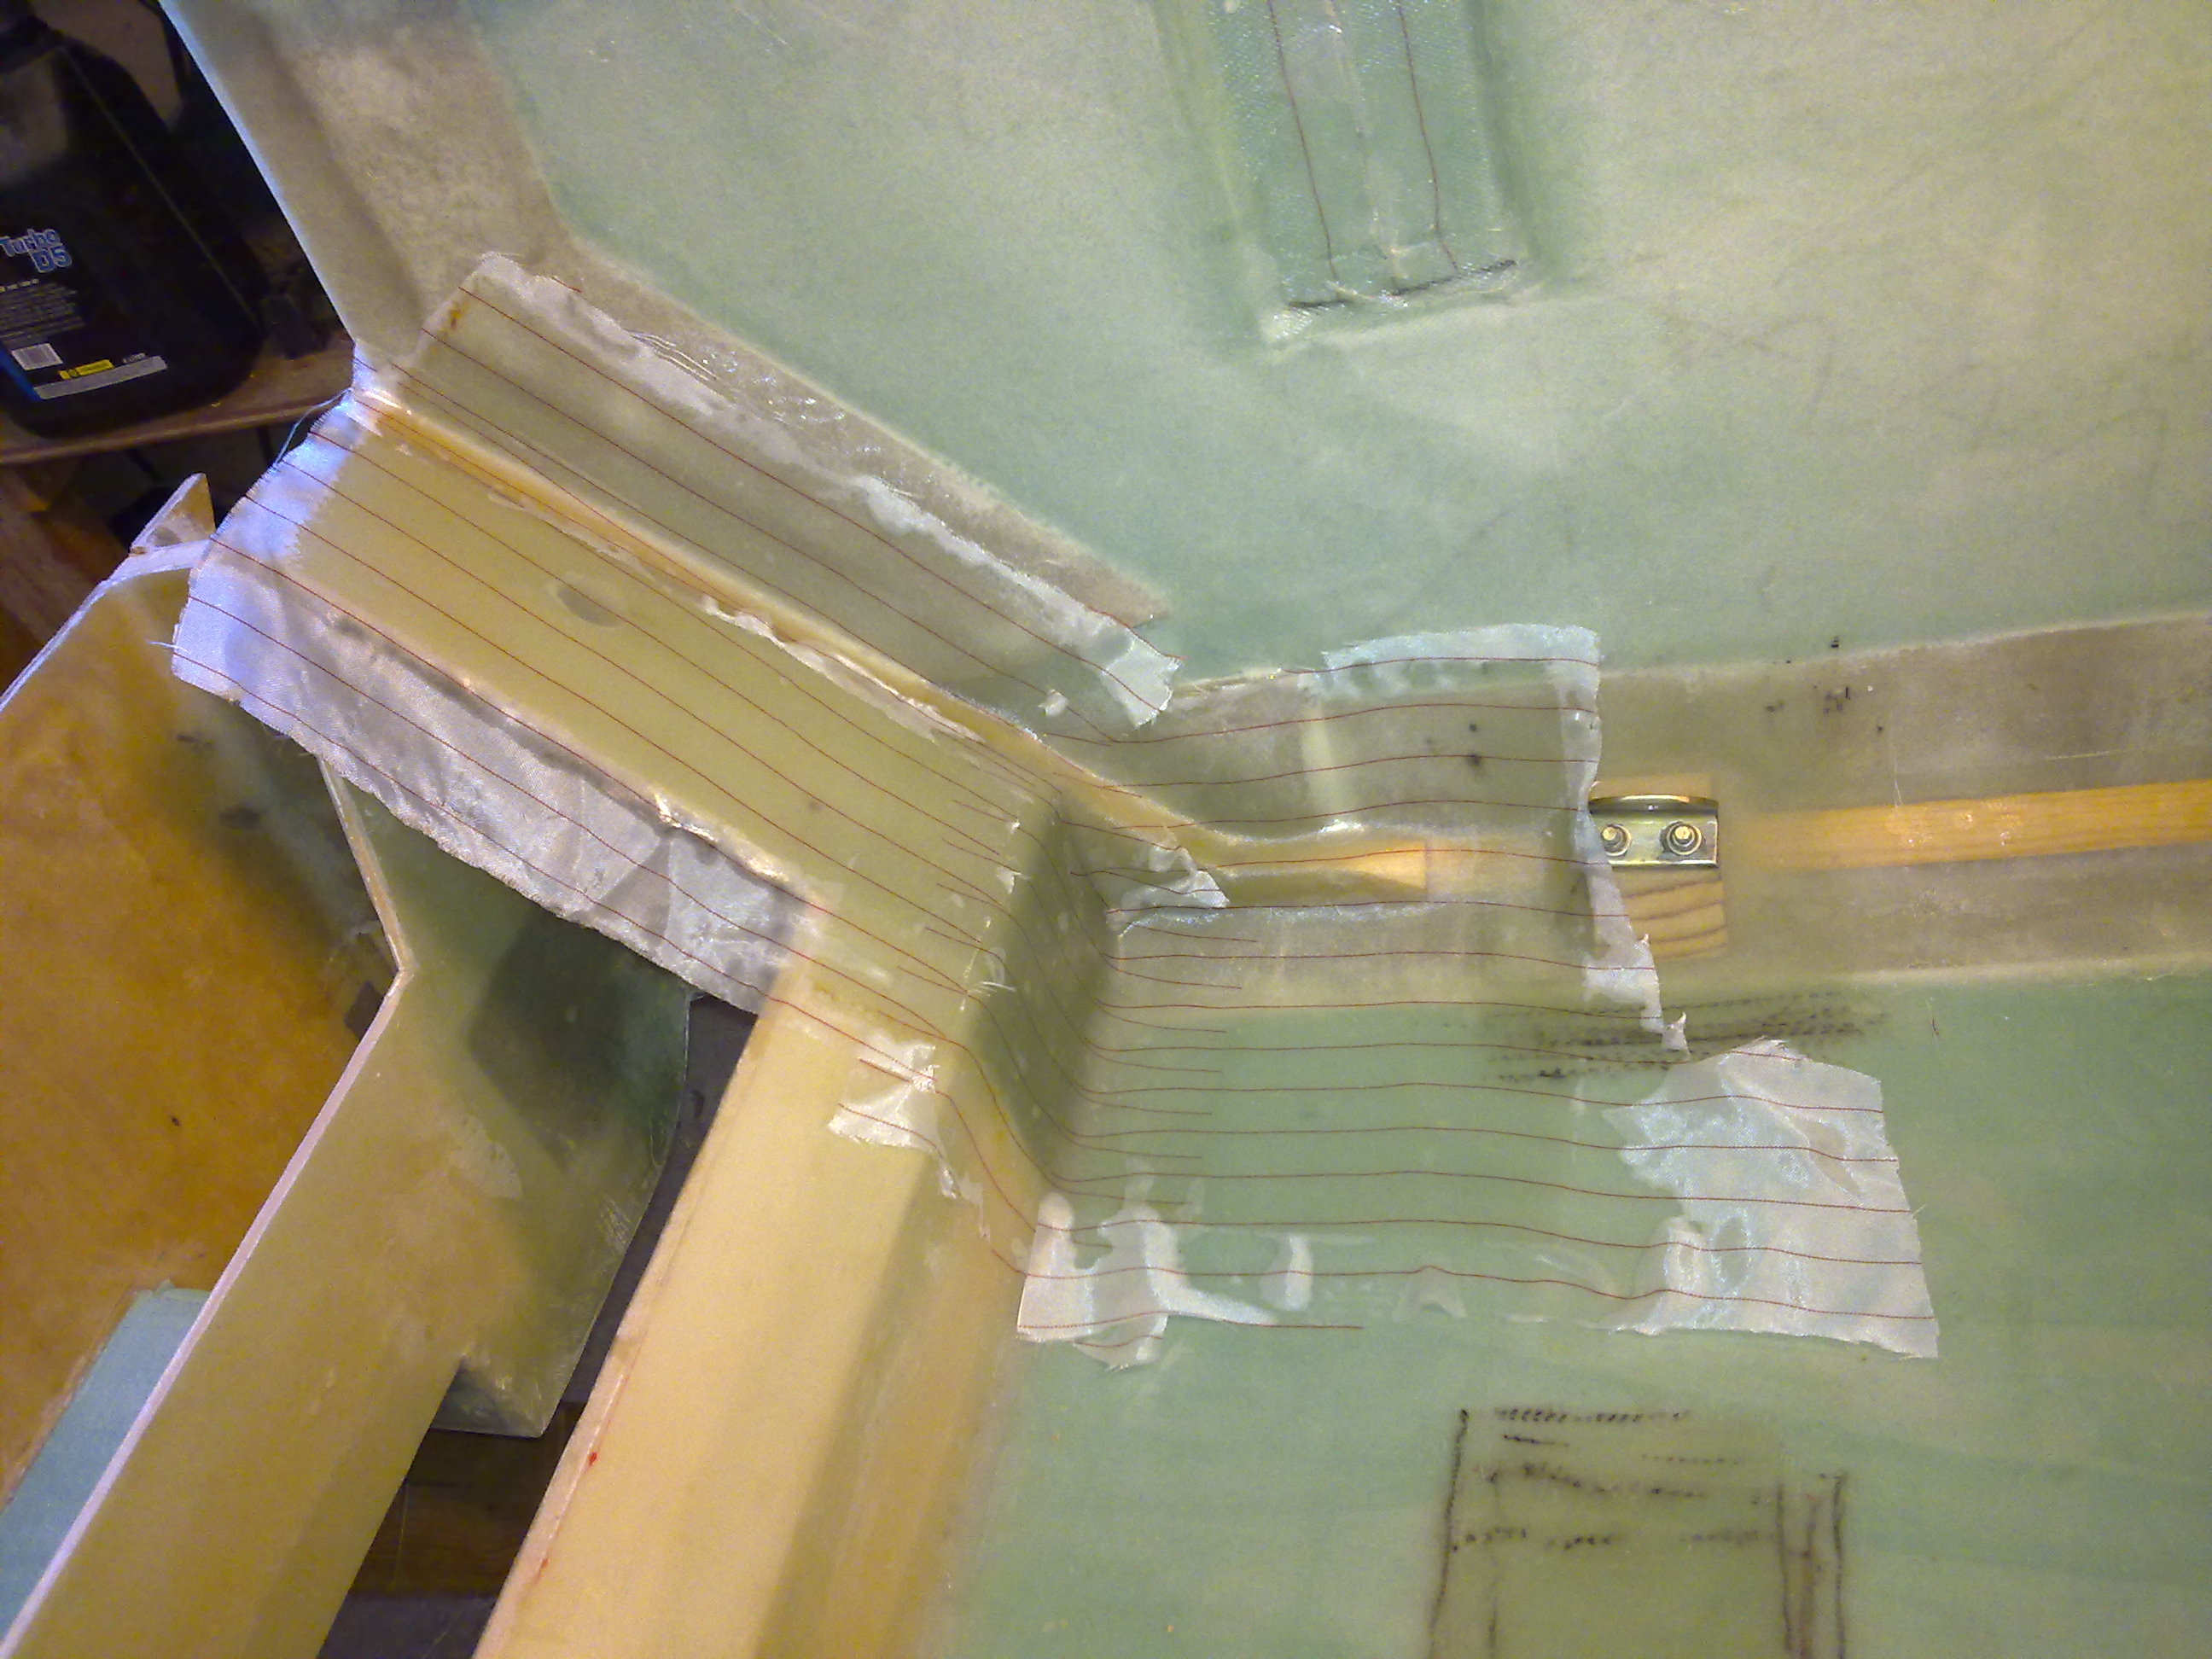
2010-09-12: Step 1: Left side is in place with peel-ply. It consists of two layups.
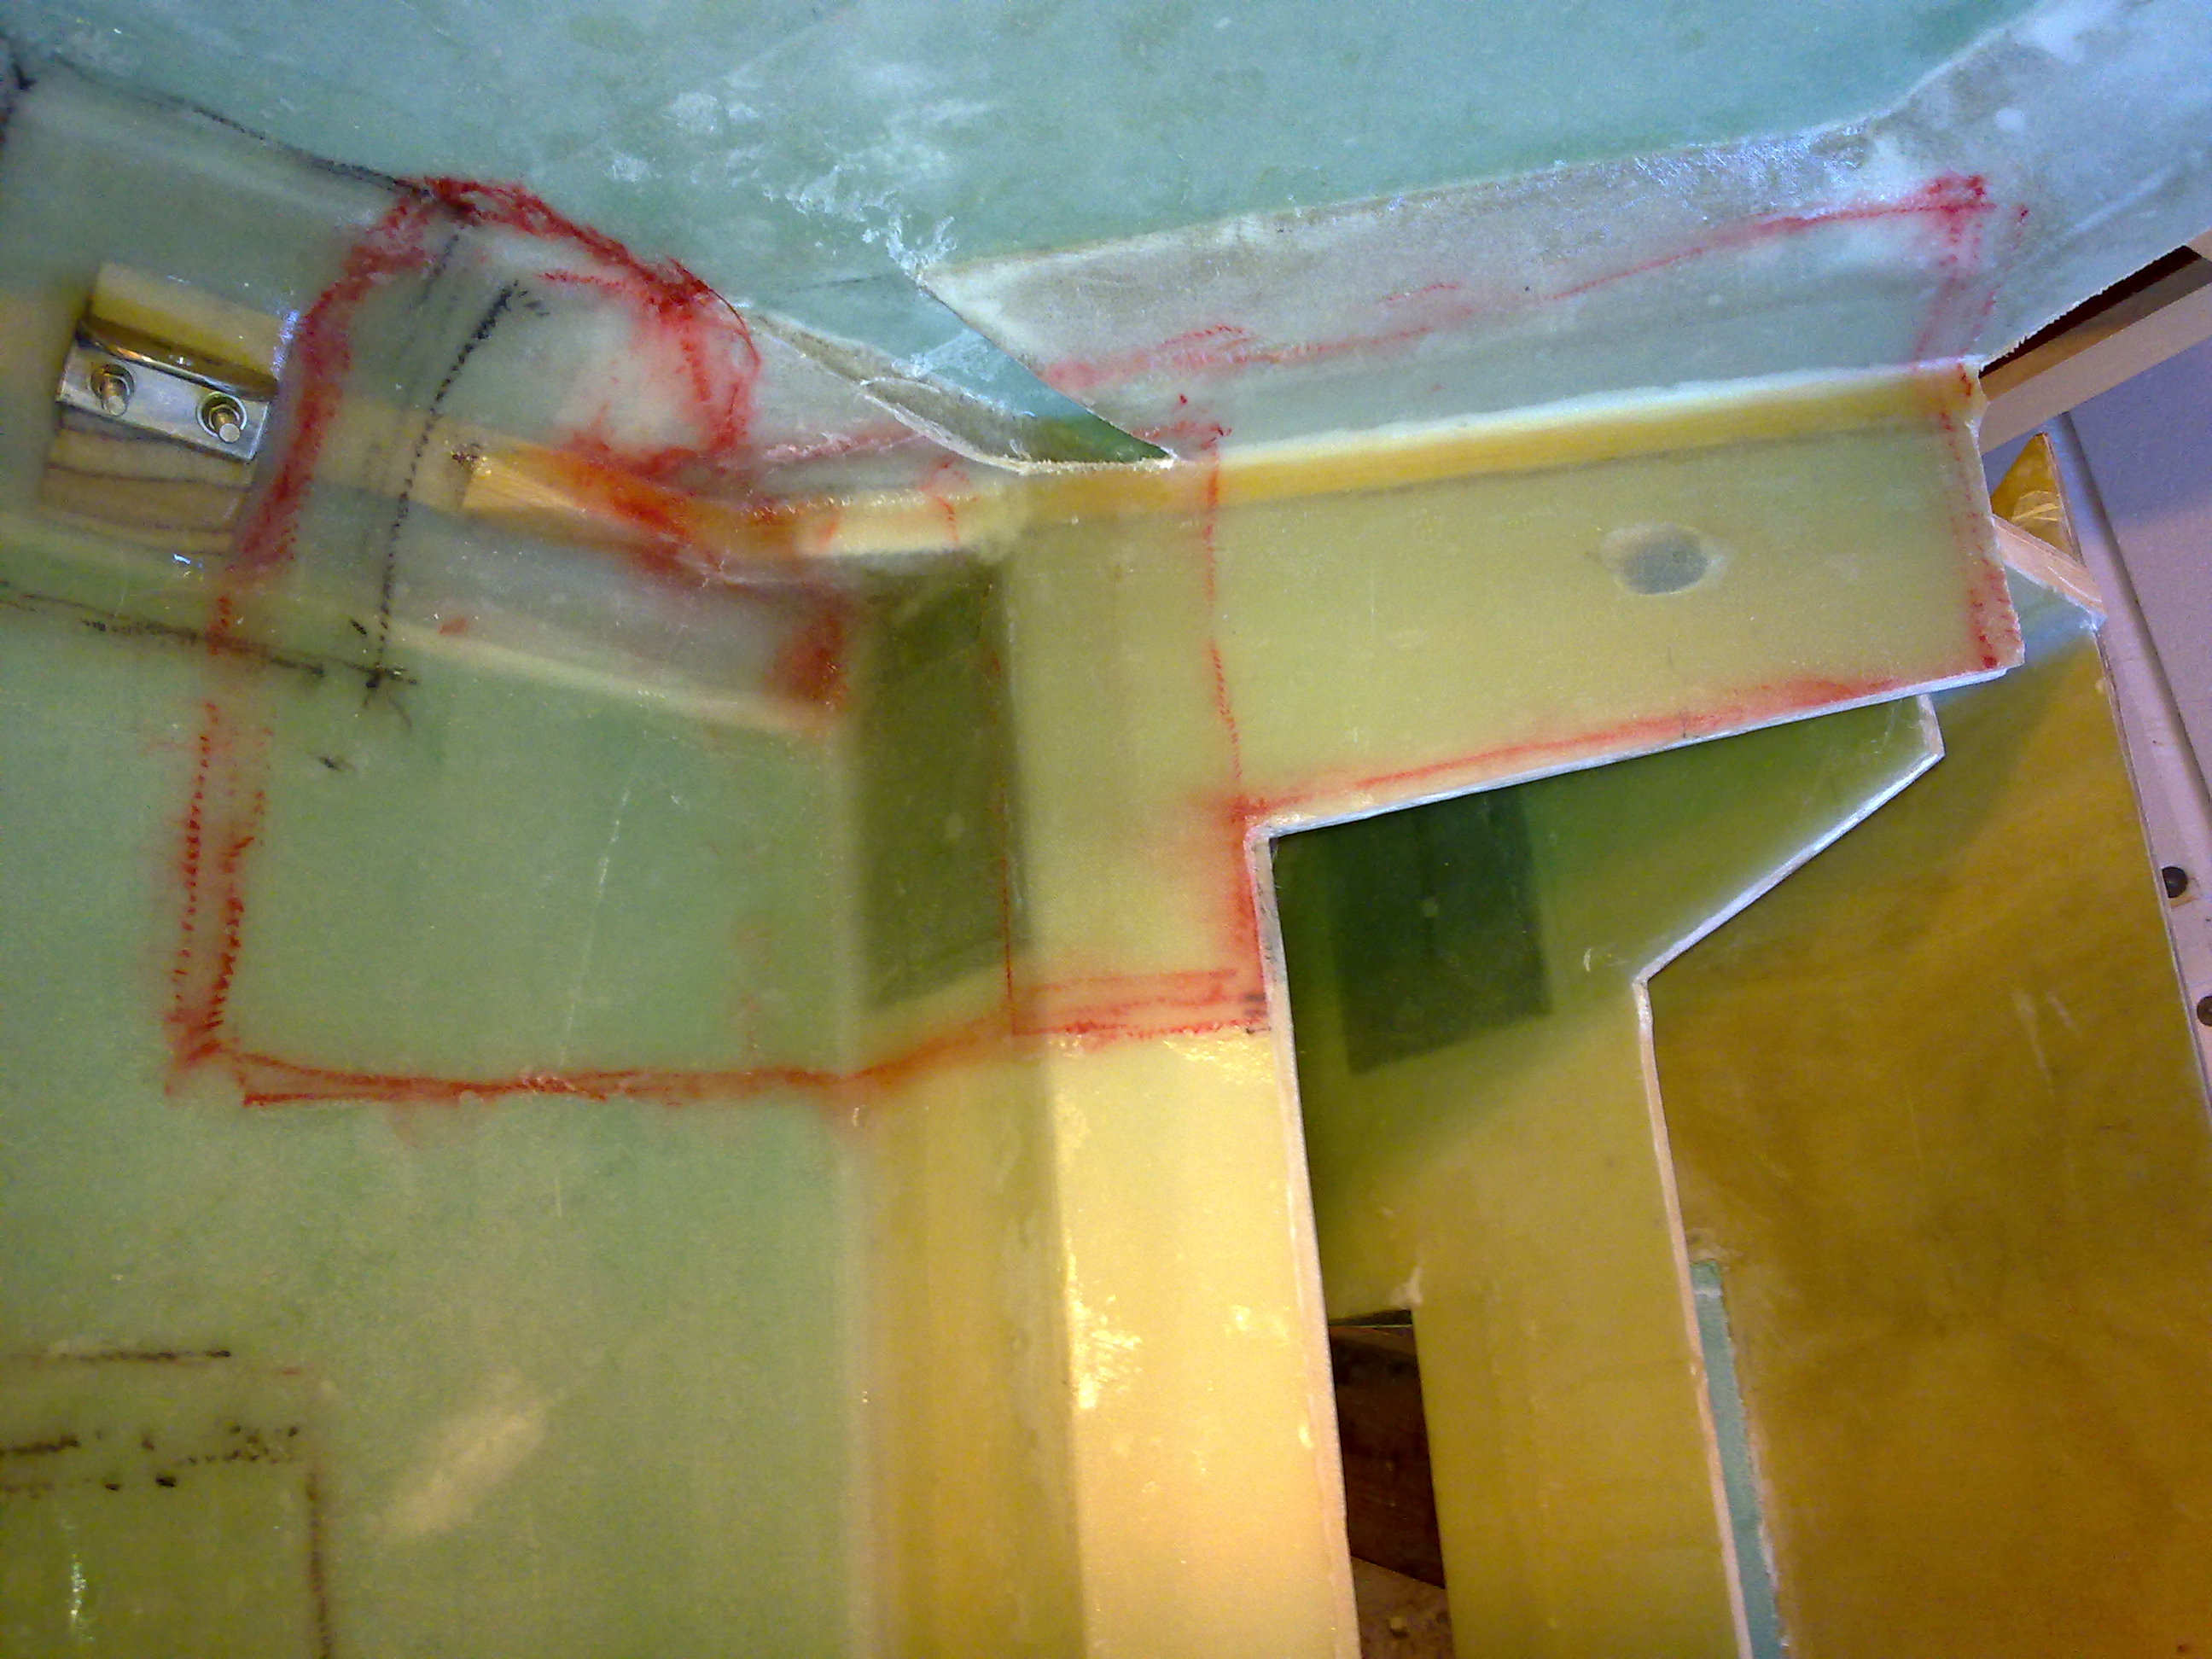
2010-09-25: Step 2: Right hand side is cured. The red stripes is from the pen I used to trace the pattern on the BID.
Note to self: Cut the BID INSIDE the line next time…
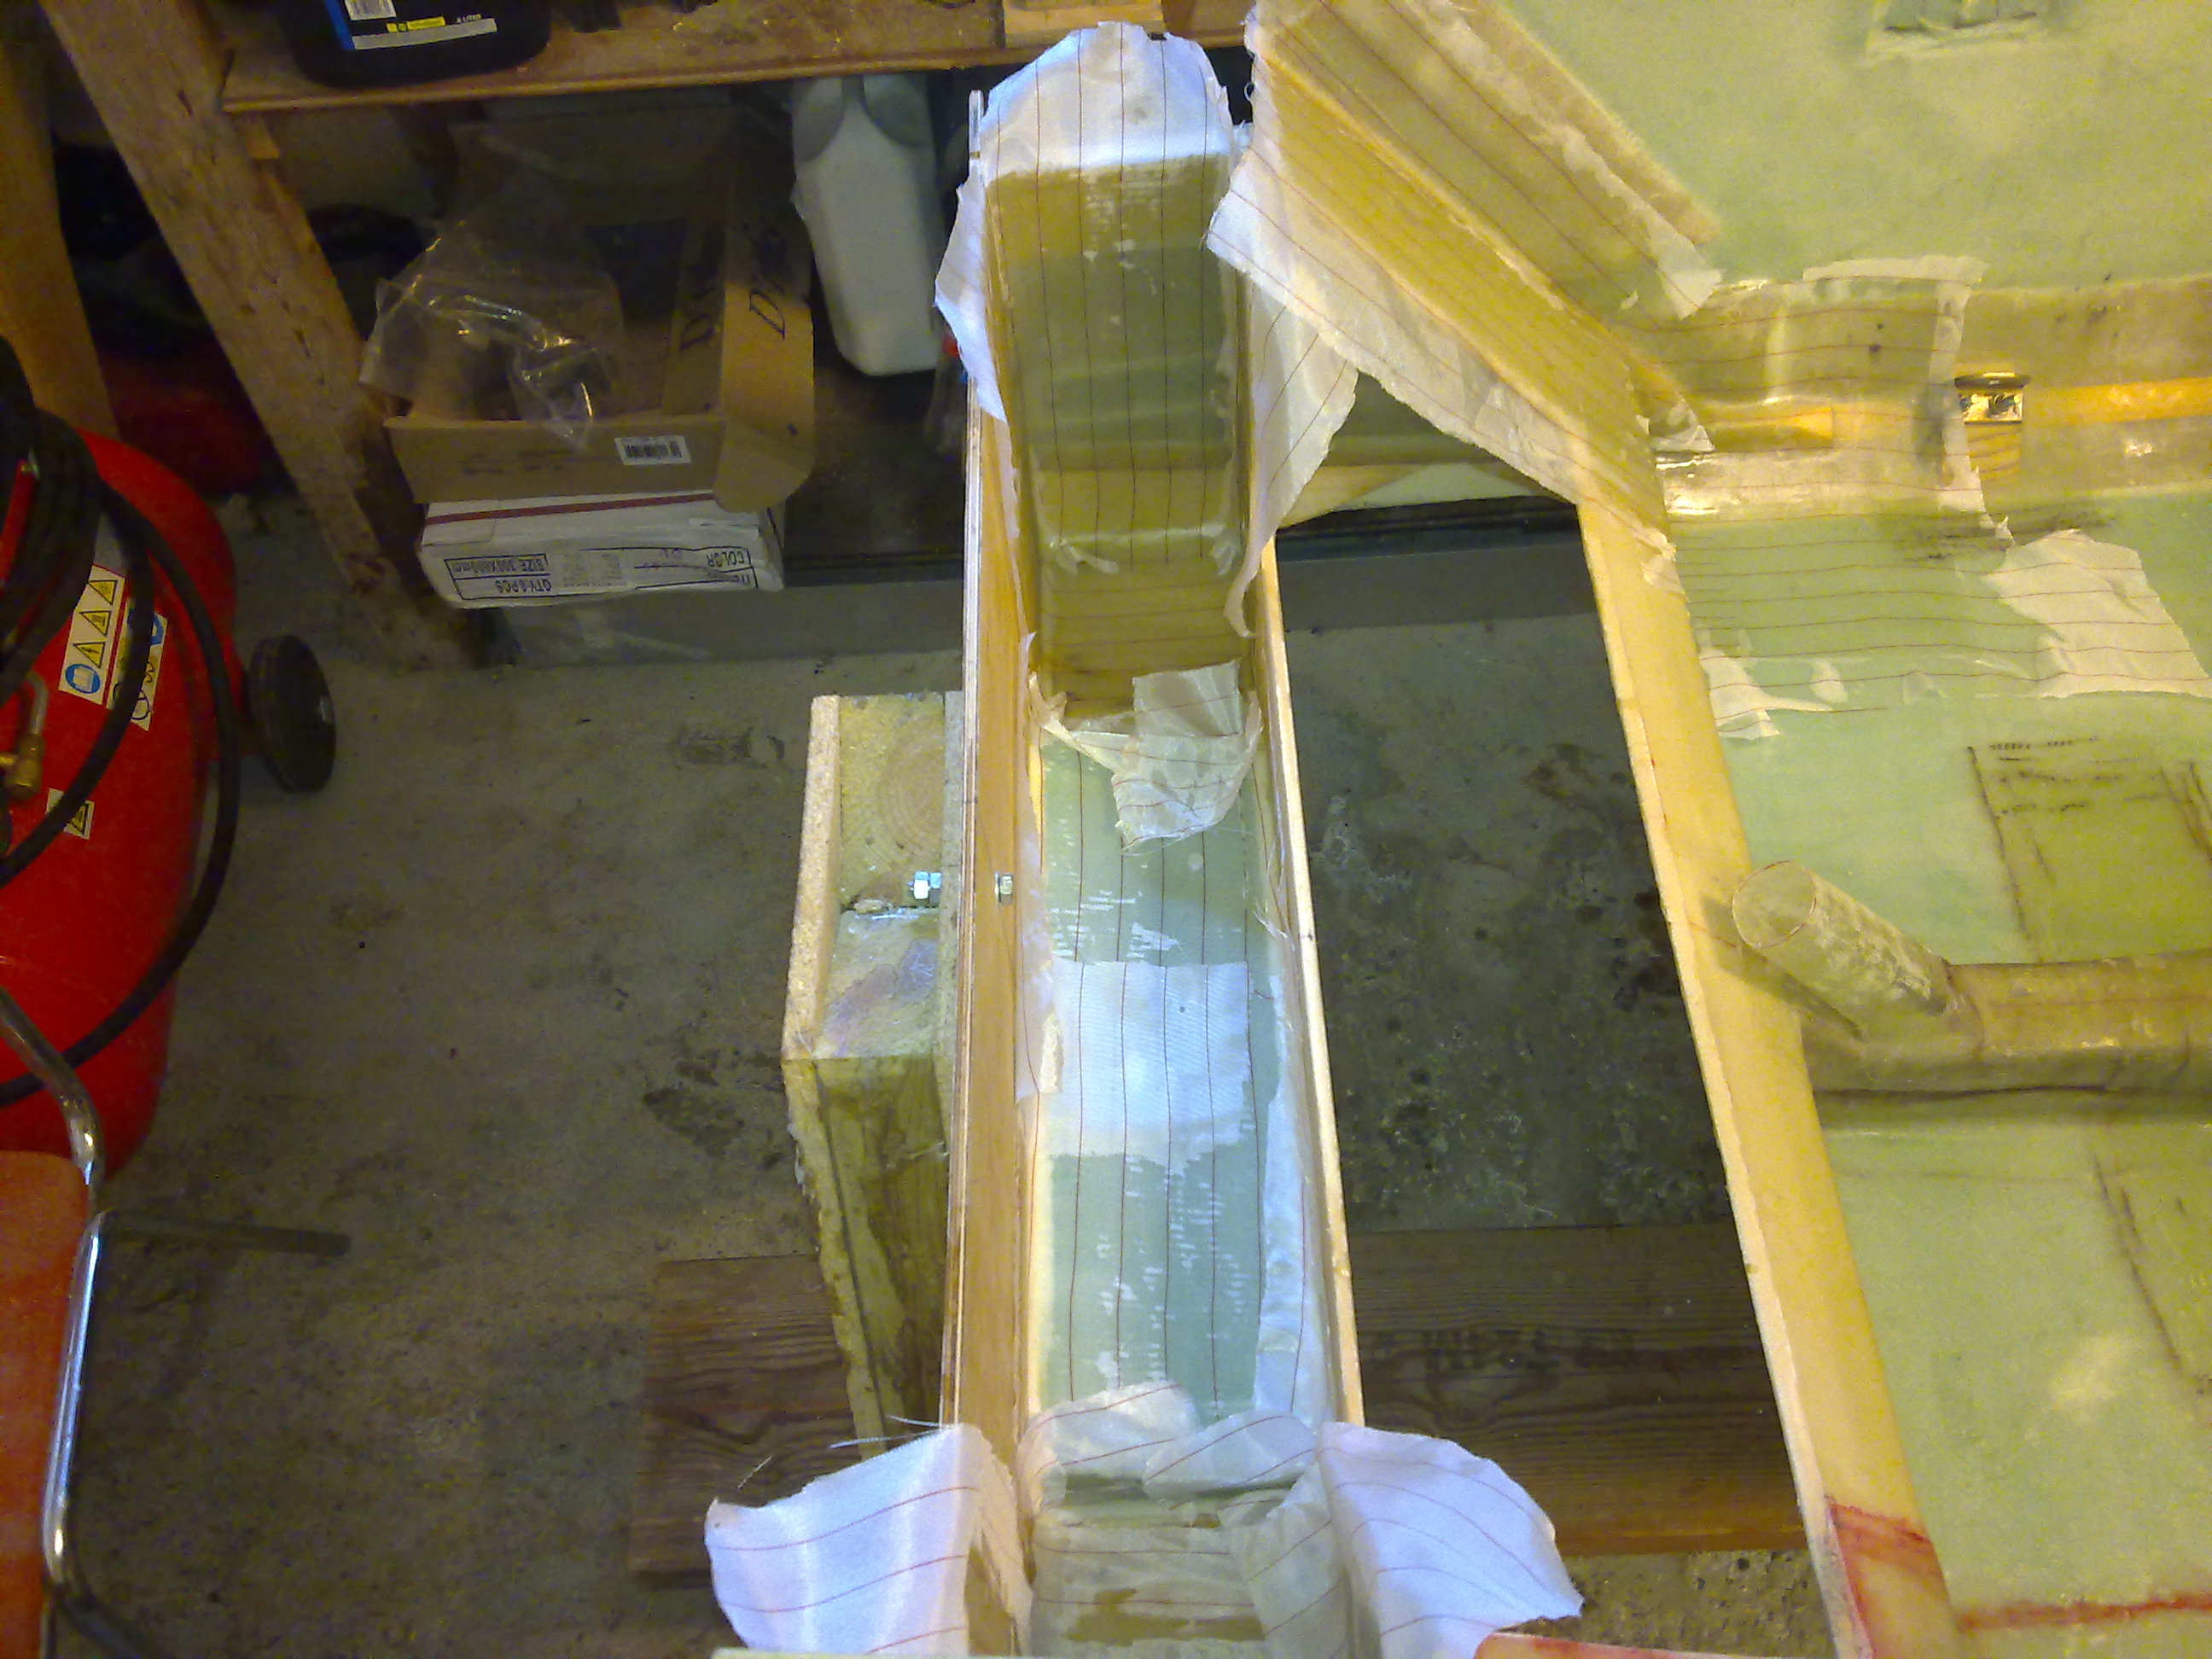
2010-09-25: Step 3: I could do step 3 right after step 1 (while Step 1 was curing) since I work with the fuselage in the same position. Here step 3 is ready and peel-plied. It consists of three layups.
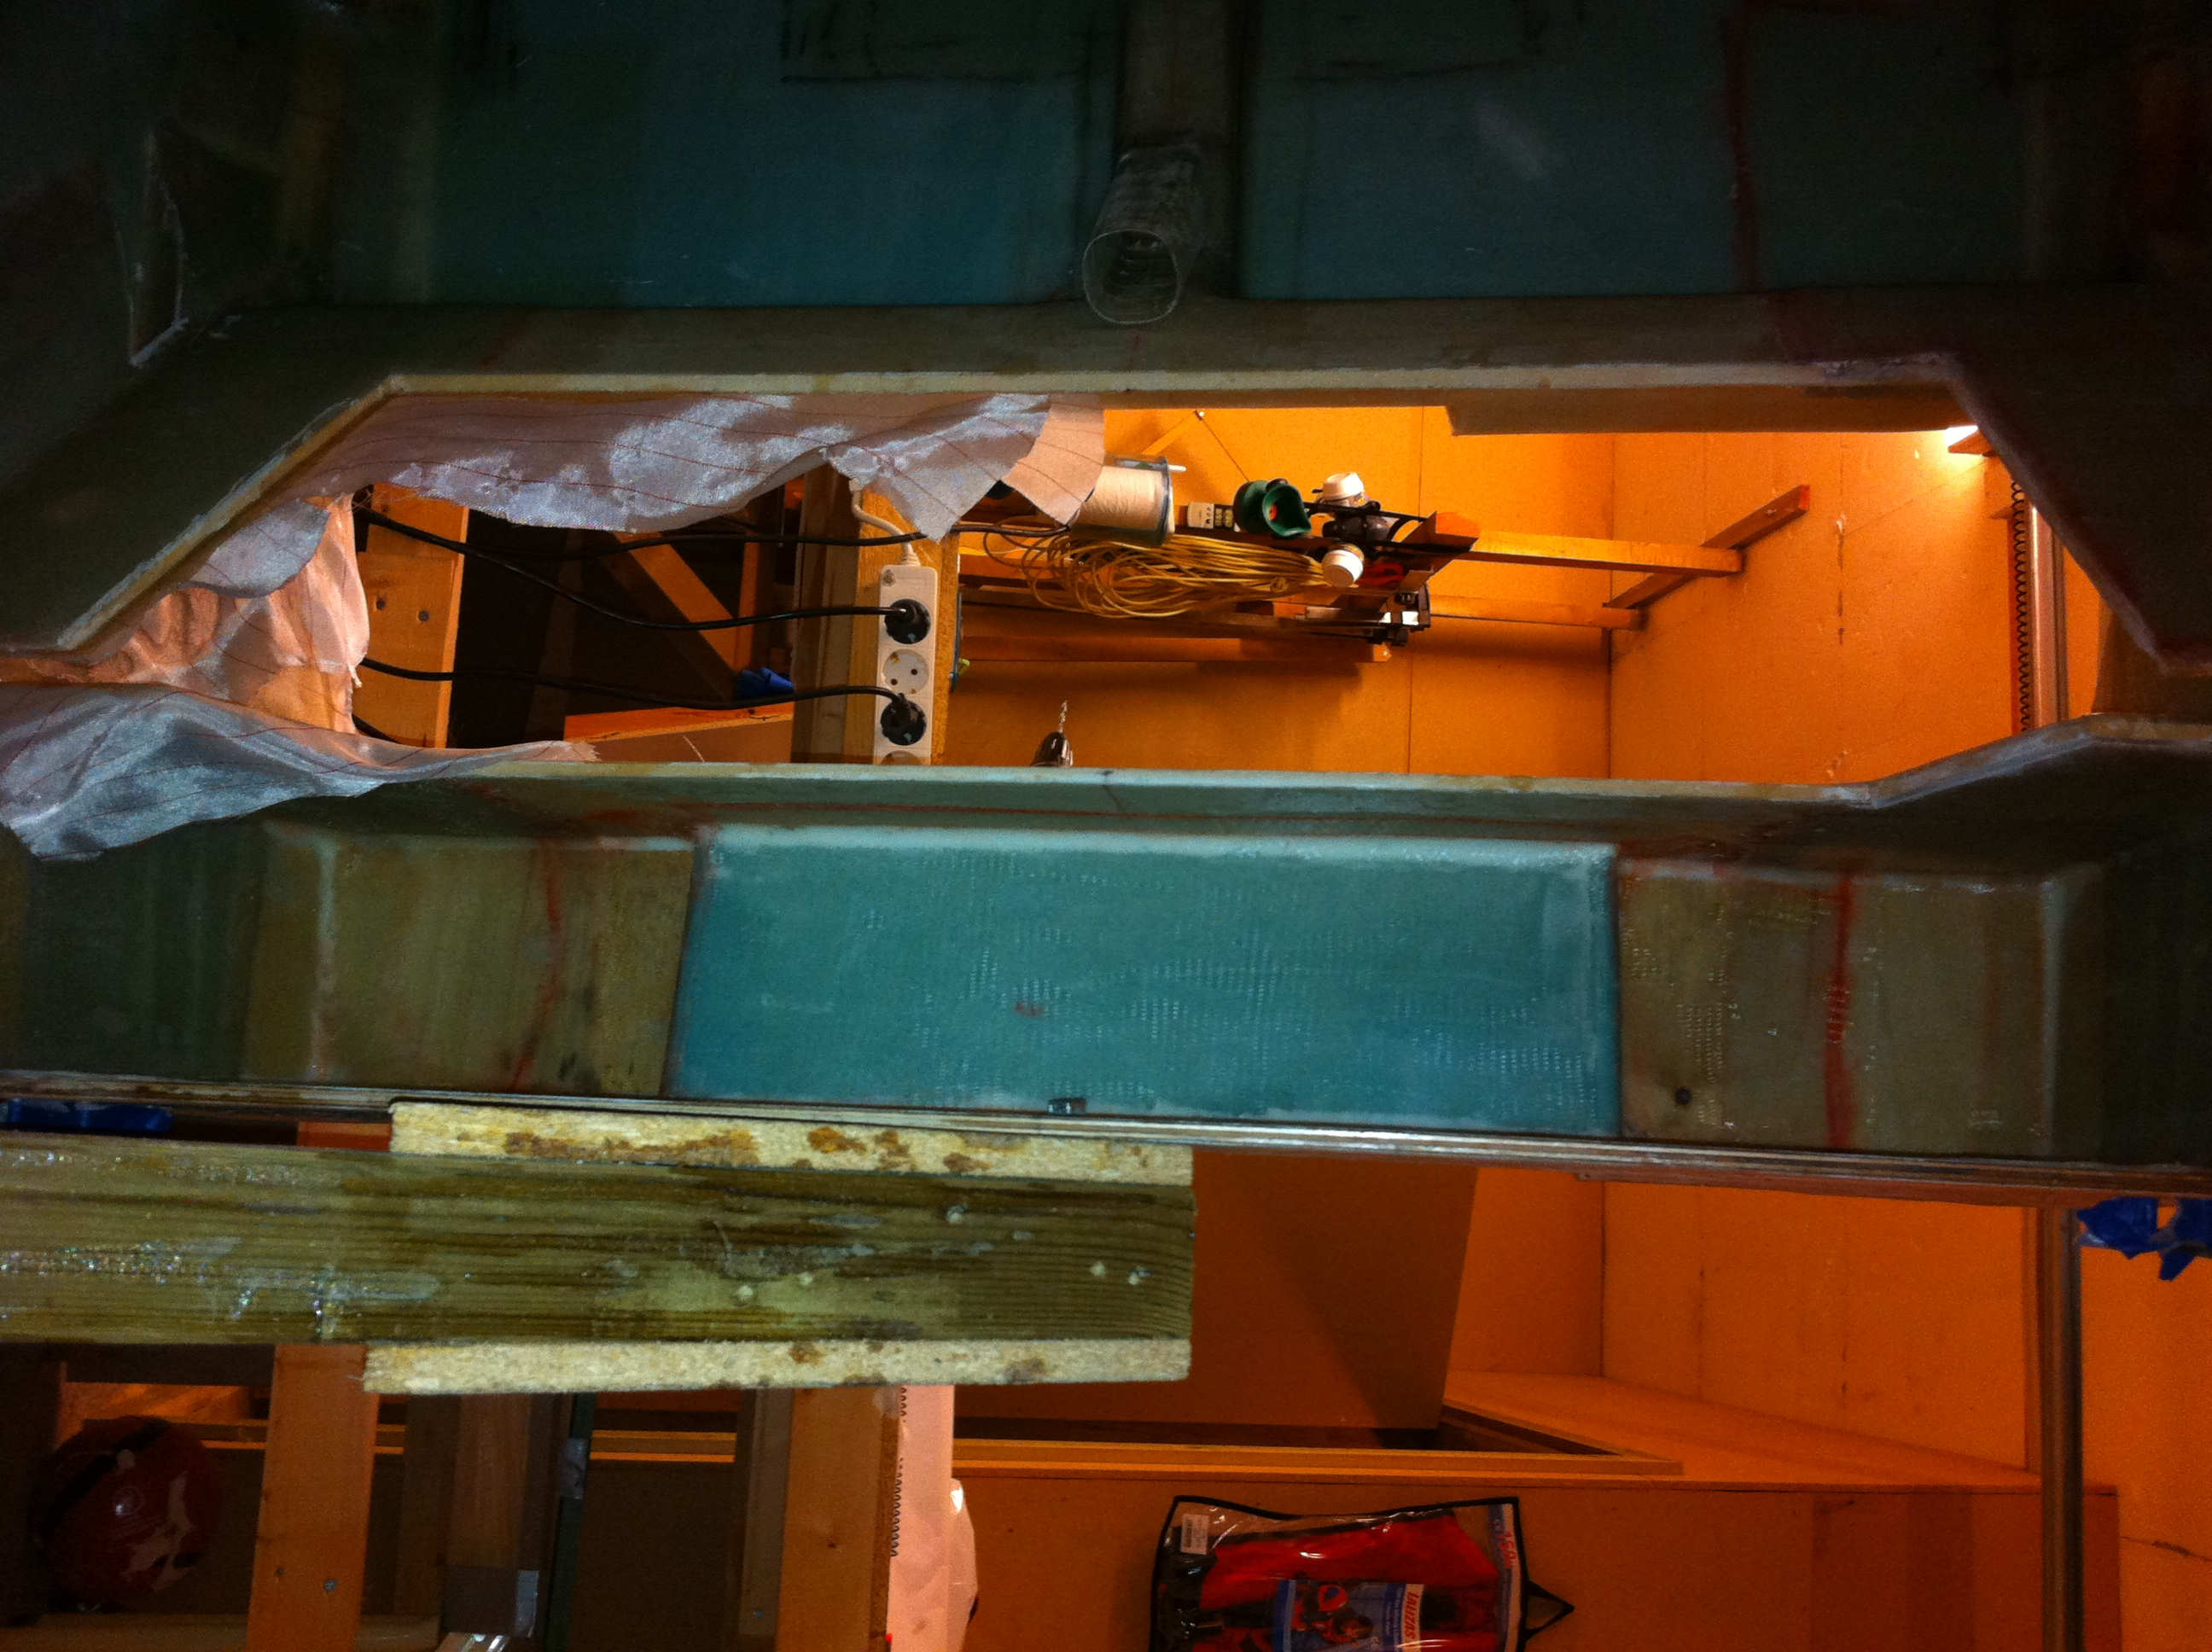
2010-09-27: And here is the result after removing the peel-ply and touching up a bit.
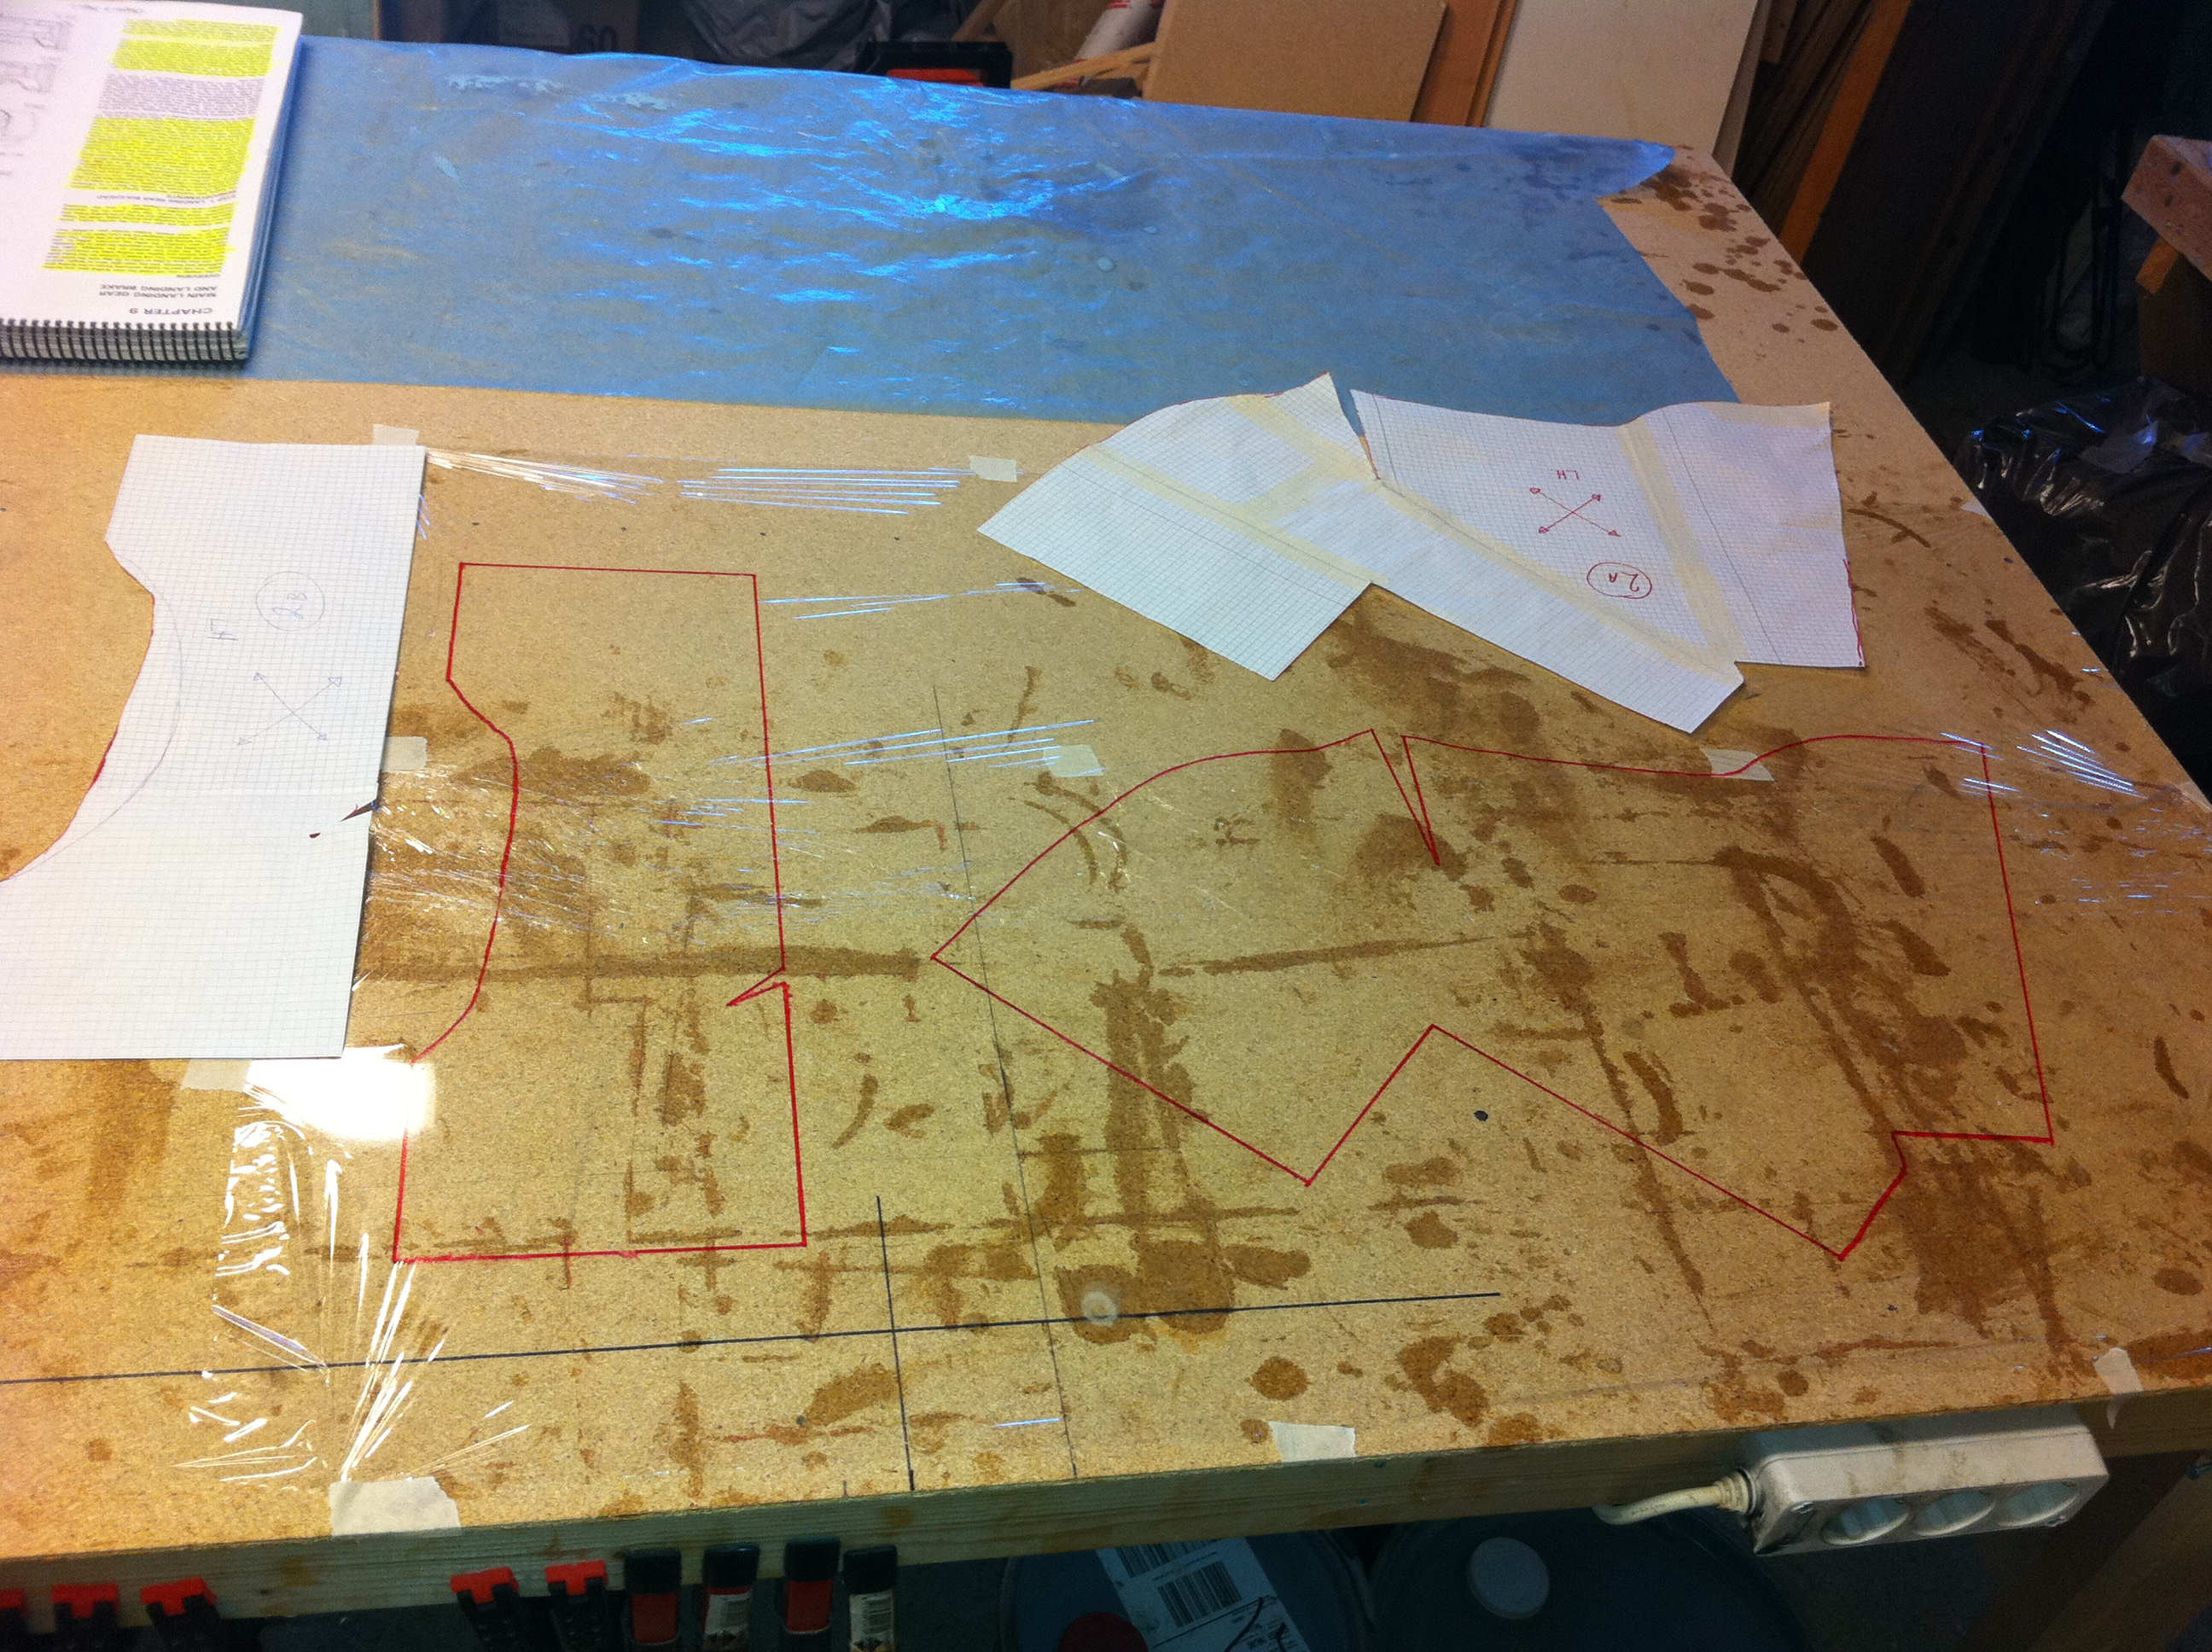
2010-09-27: Step 2: Just to show how I did the layups. First I made paper-templates of each layup. Step 2 consists of two layups on each side. These goes between the front and aft landing-gear. An akward place to work btw…
I covered my work-bench with saran-wrap and traced the templates with a sharpie.
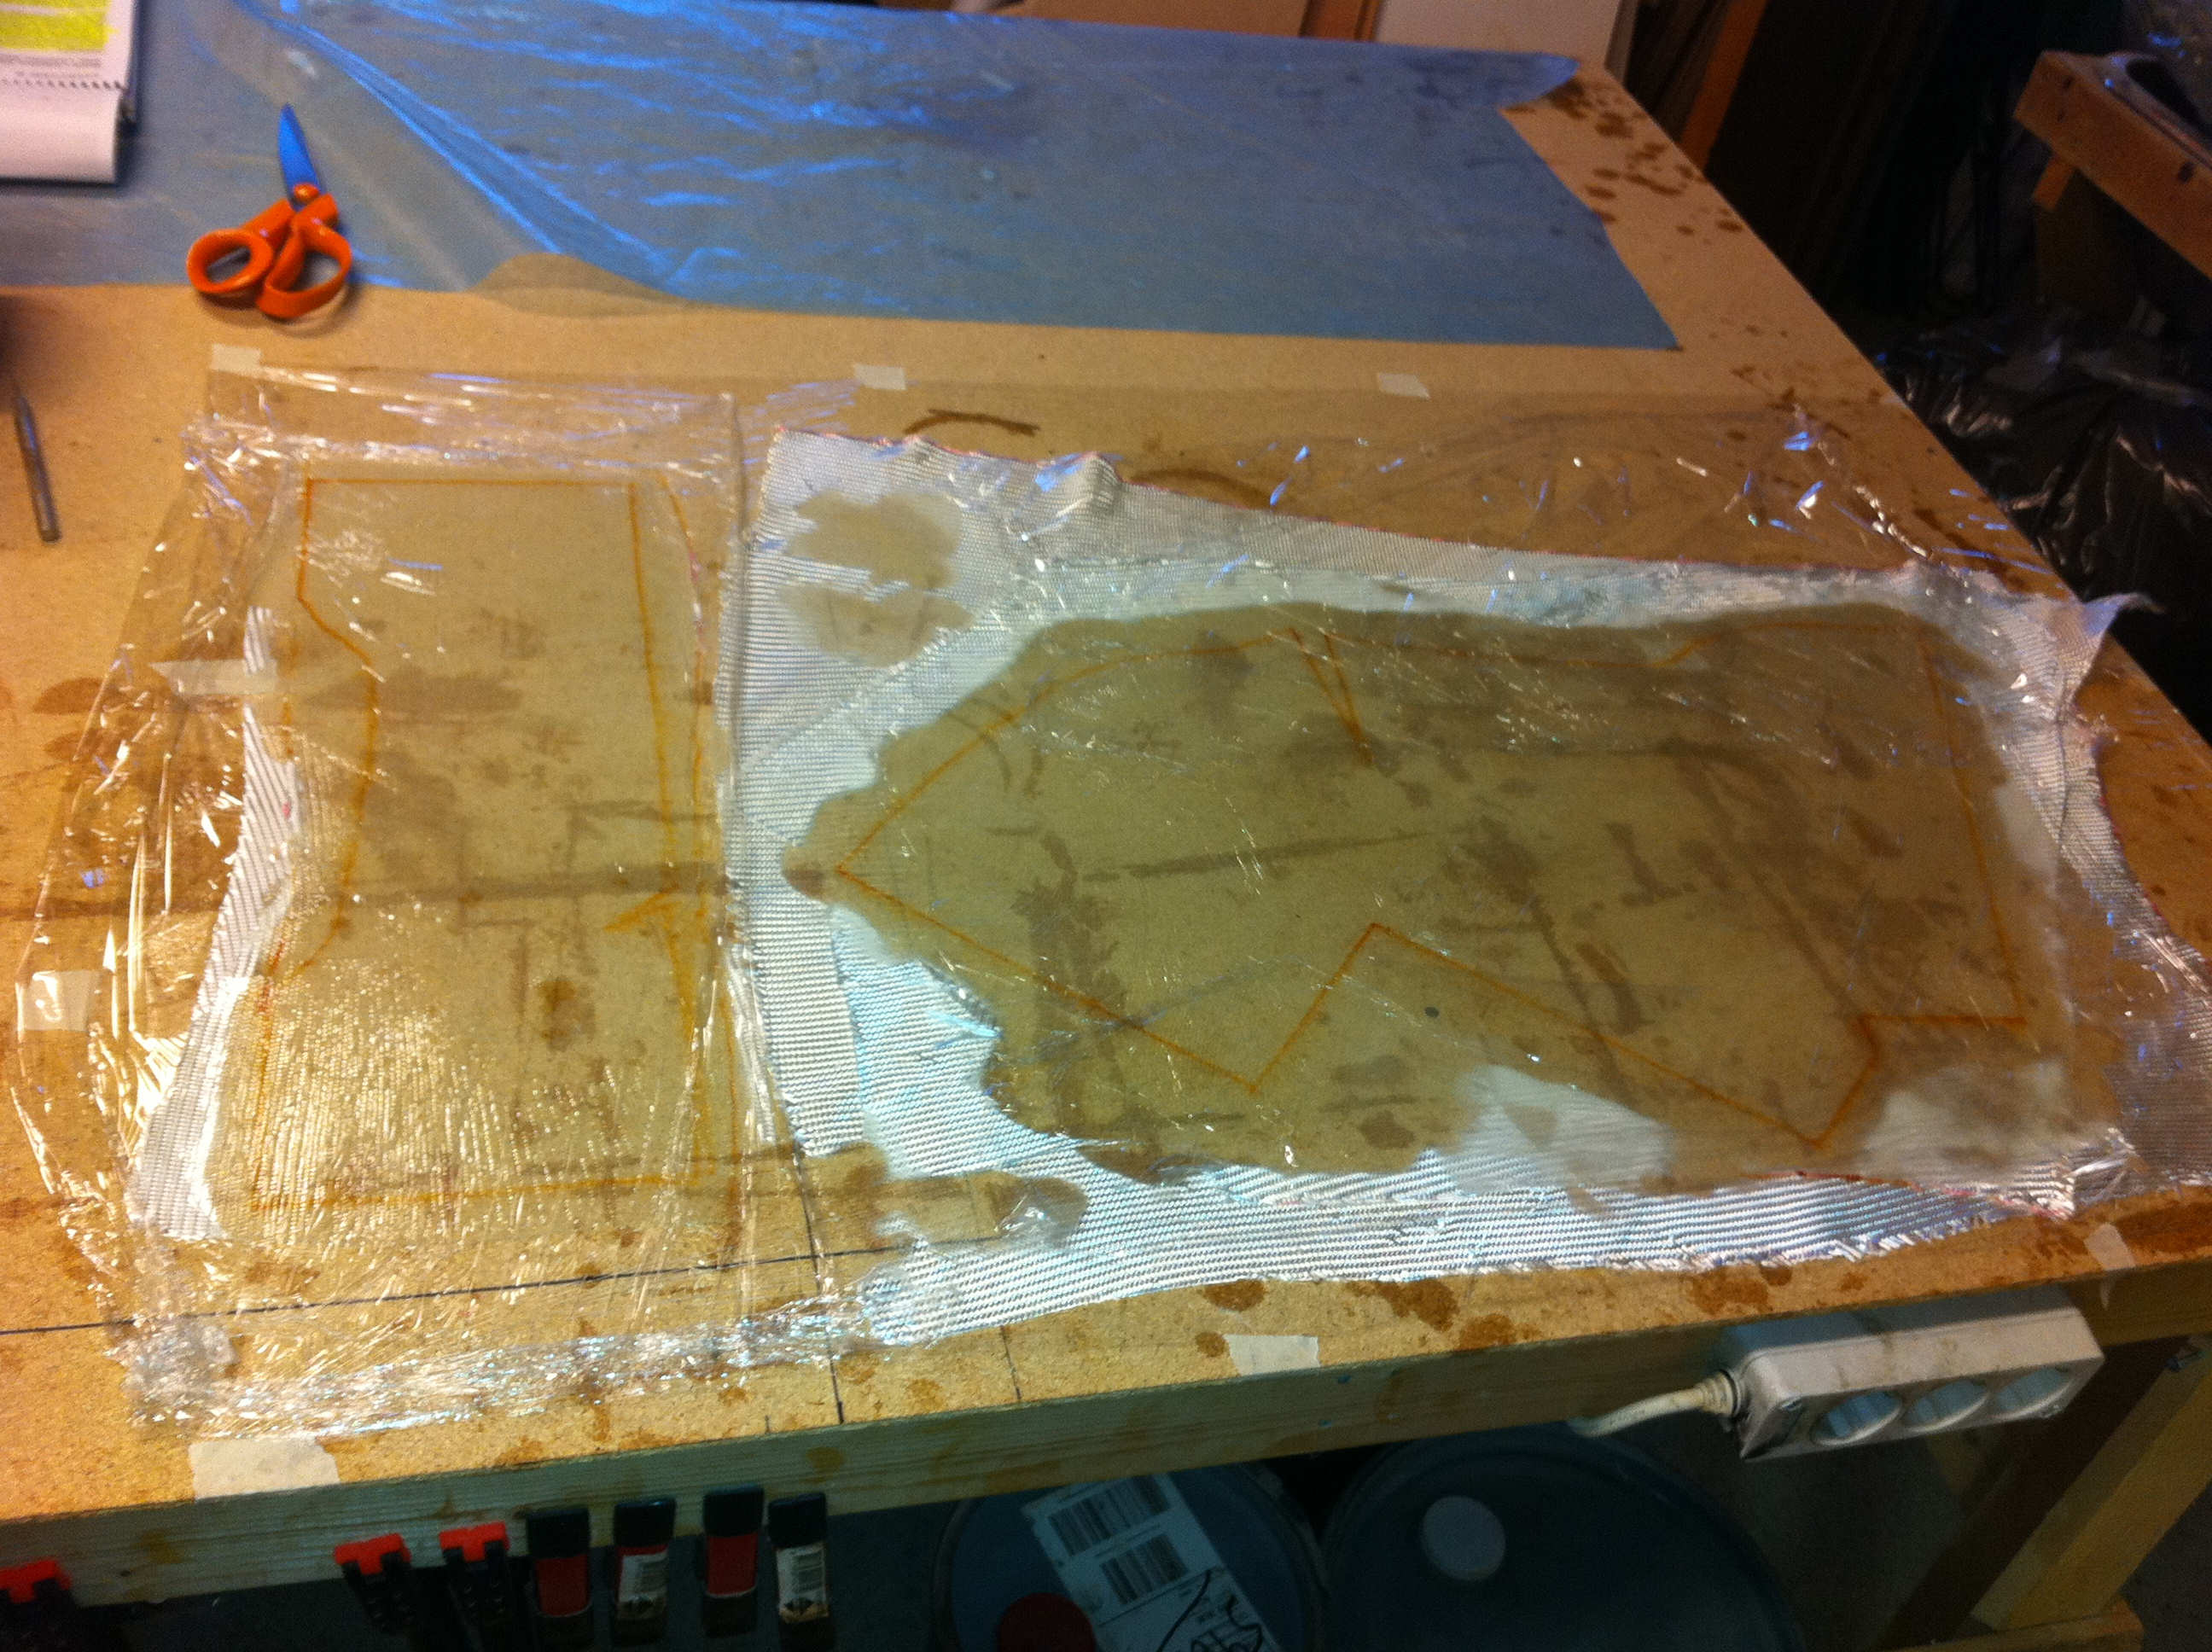
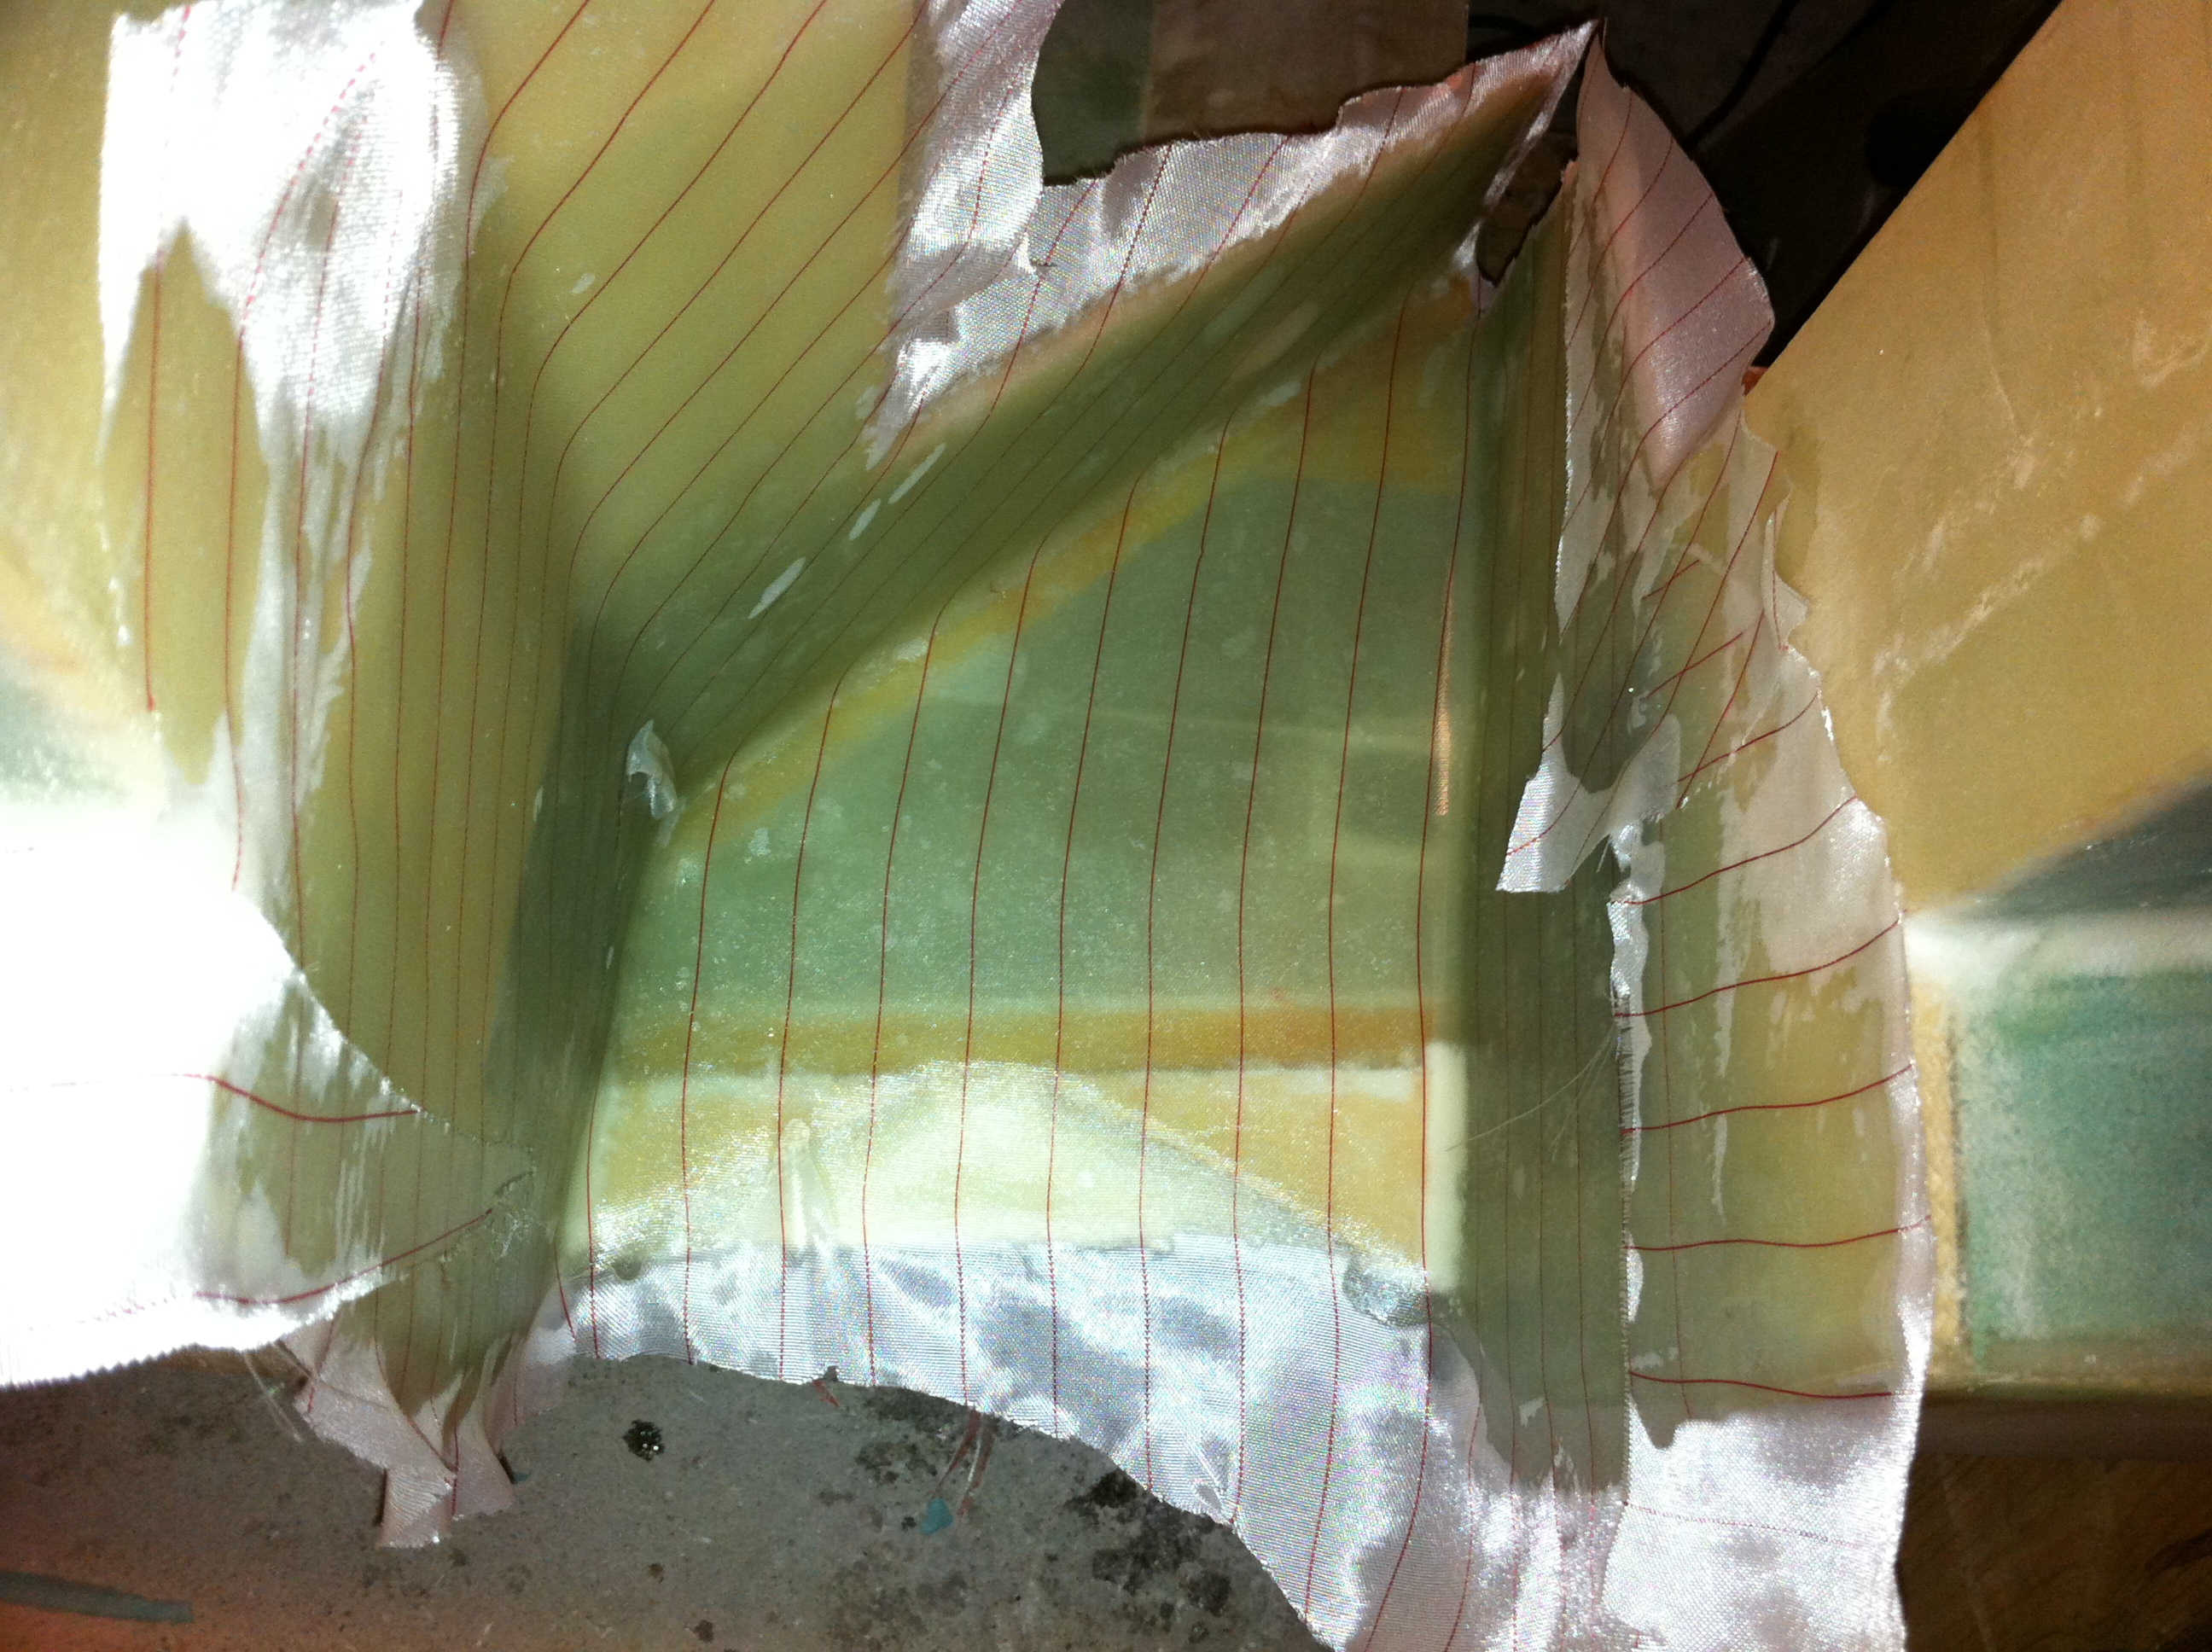
2010-09-27: After wetting out the glass the red lines shines through the glass. I covered the glass with a new layer of saran-wrap and cut out the layups using a sharp x-acto-knife.
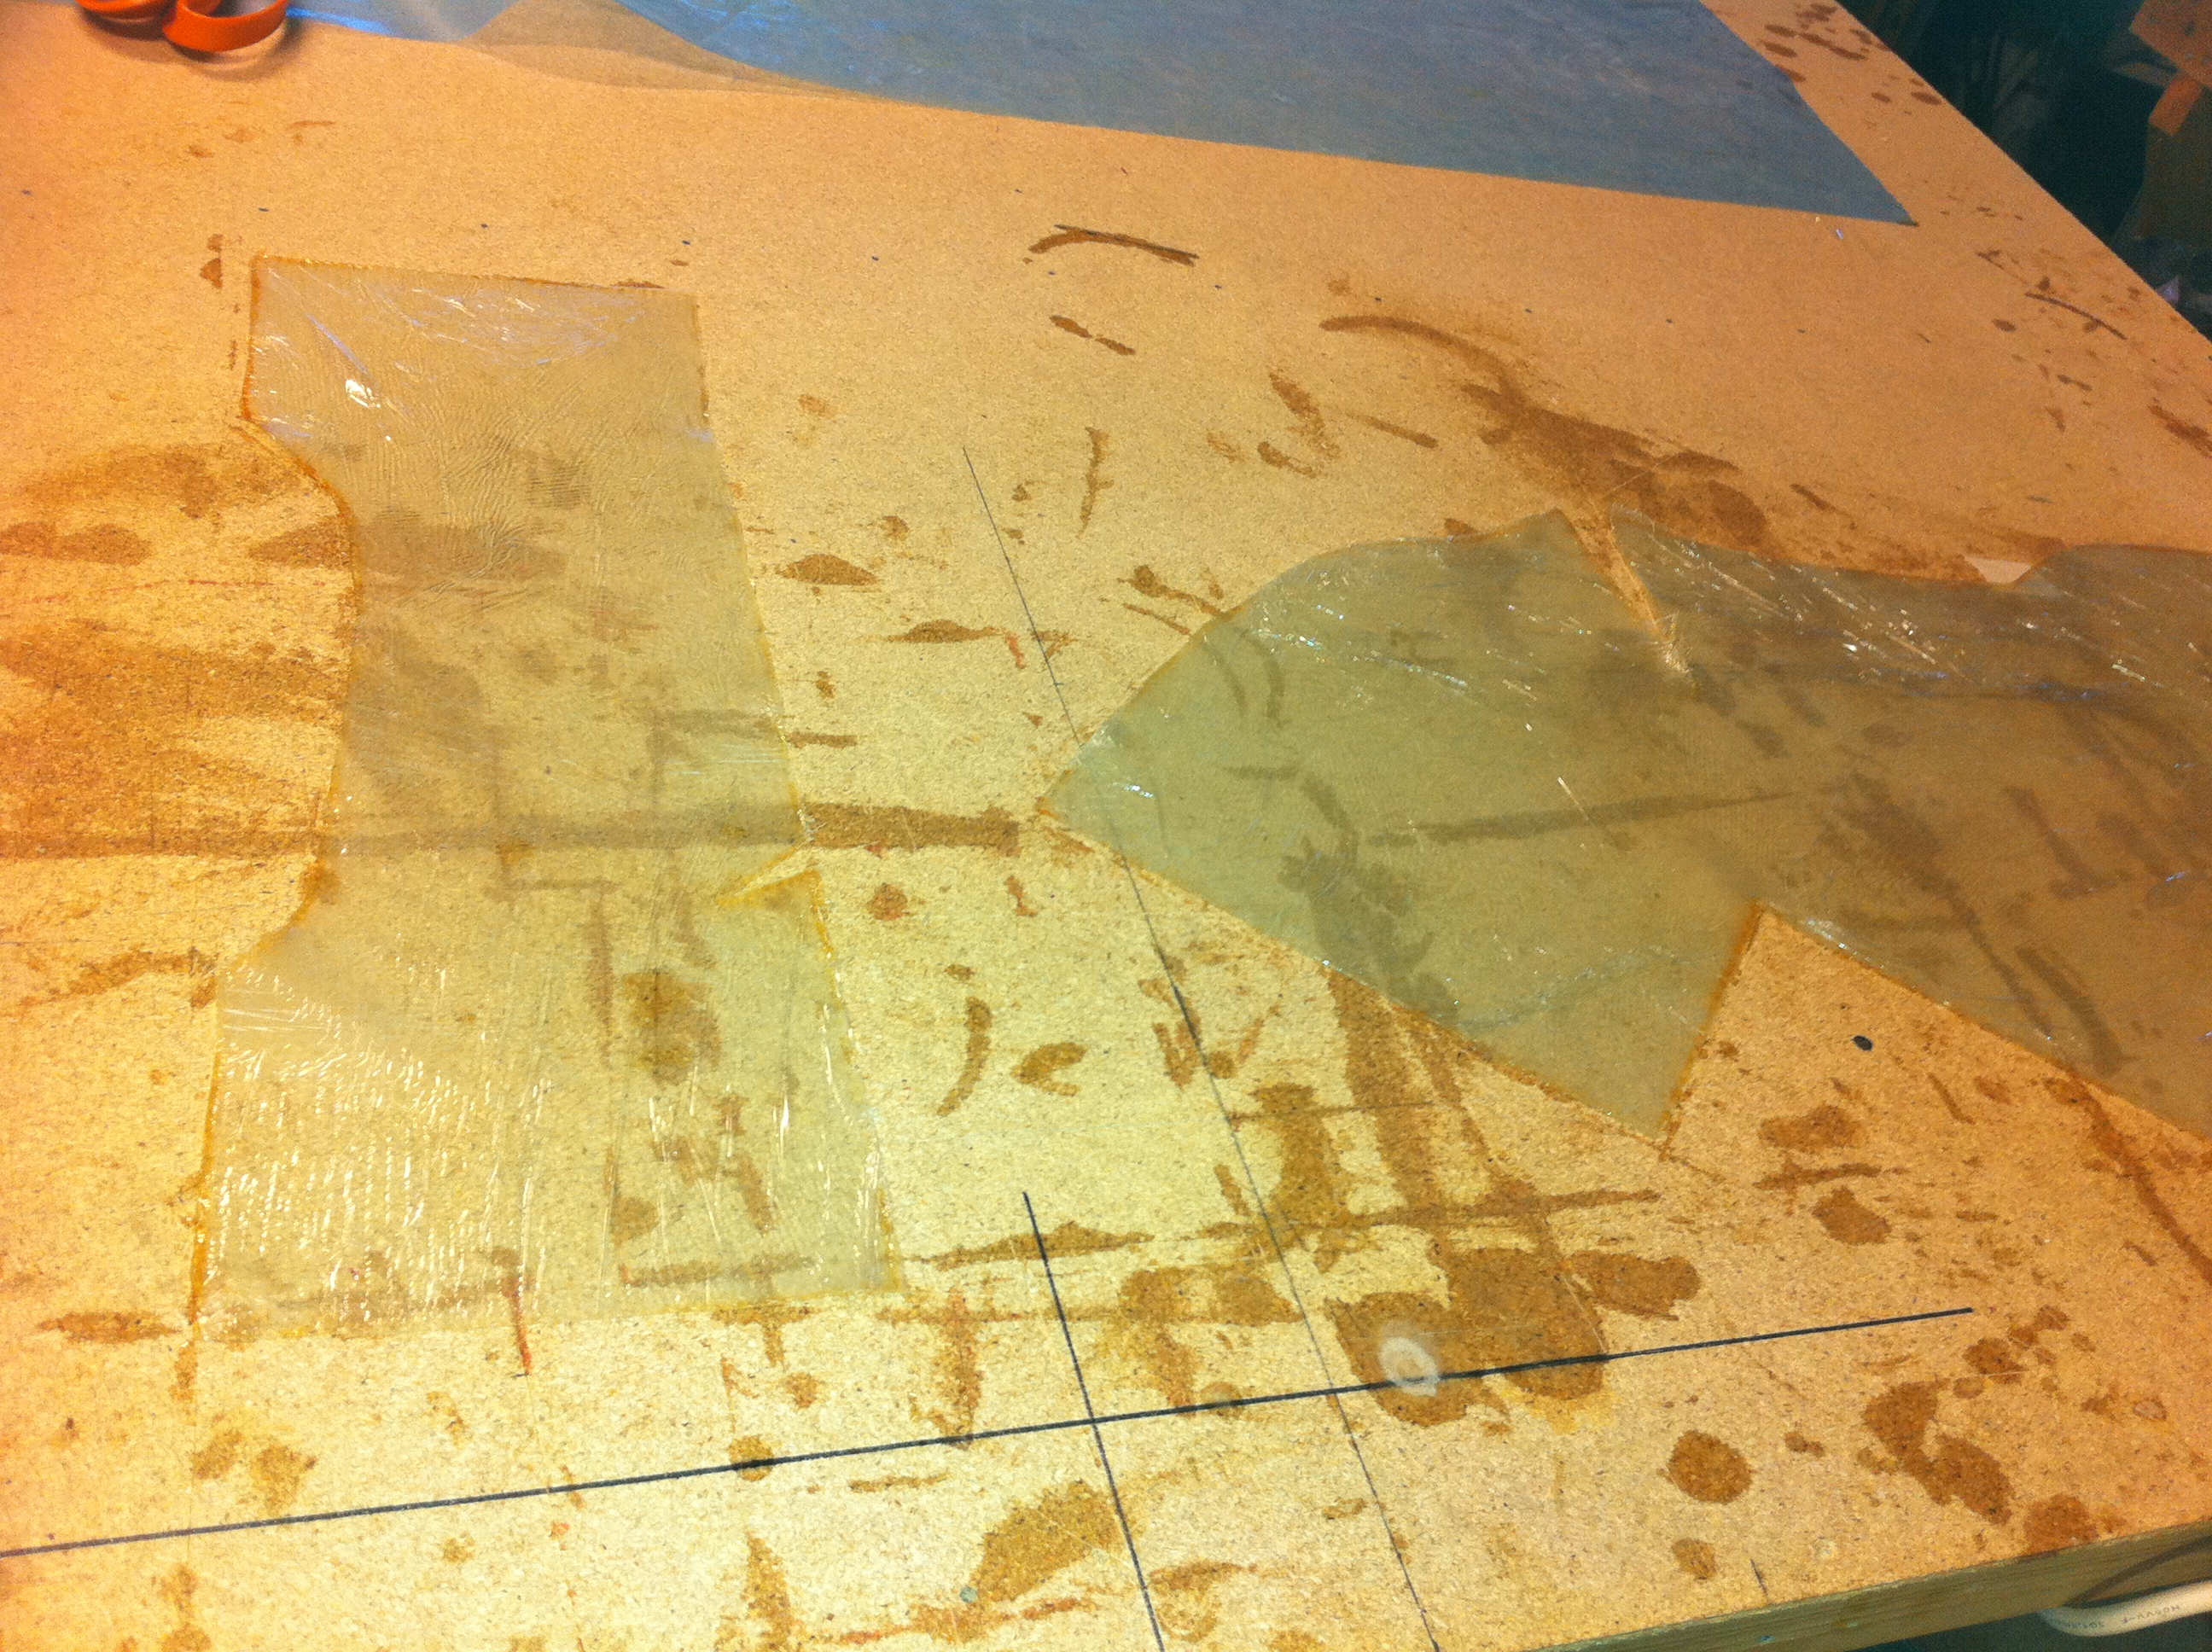
2010-09-27: Here the layups are ready to be transfered to the tub. Since I have covered them with saran-wrap on both sides they are easy to handle.
Remember that the templates have to be used with the reverse side out when you make the opposite layup! If you cover the layups with saran on both sides it really doesn’t matter as you can just flip them over.
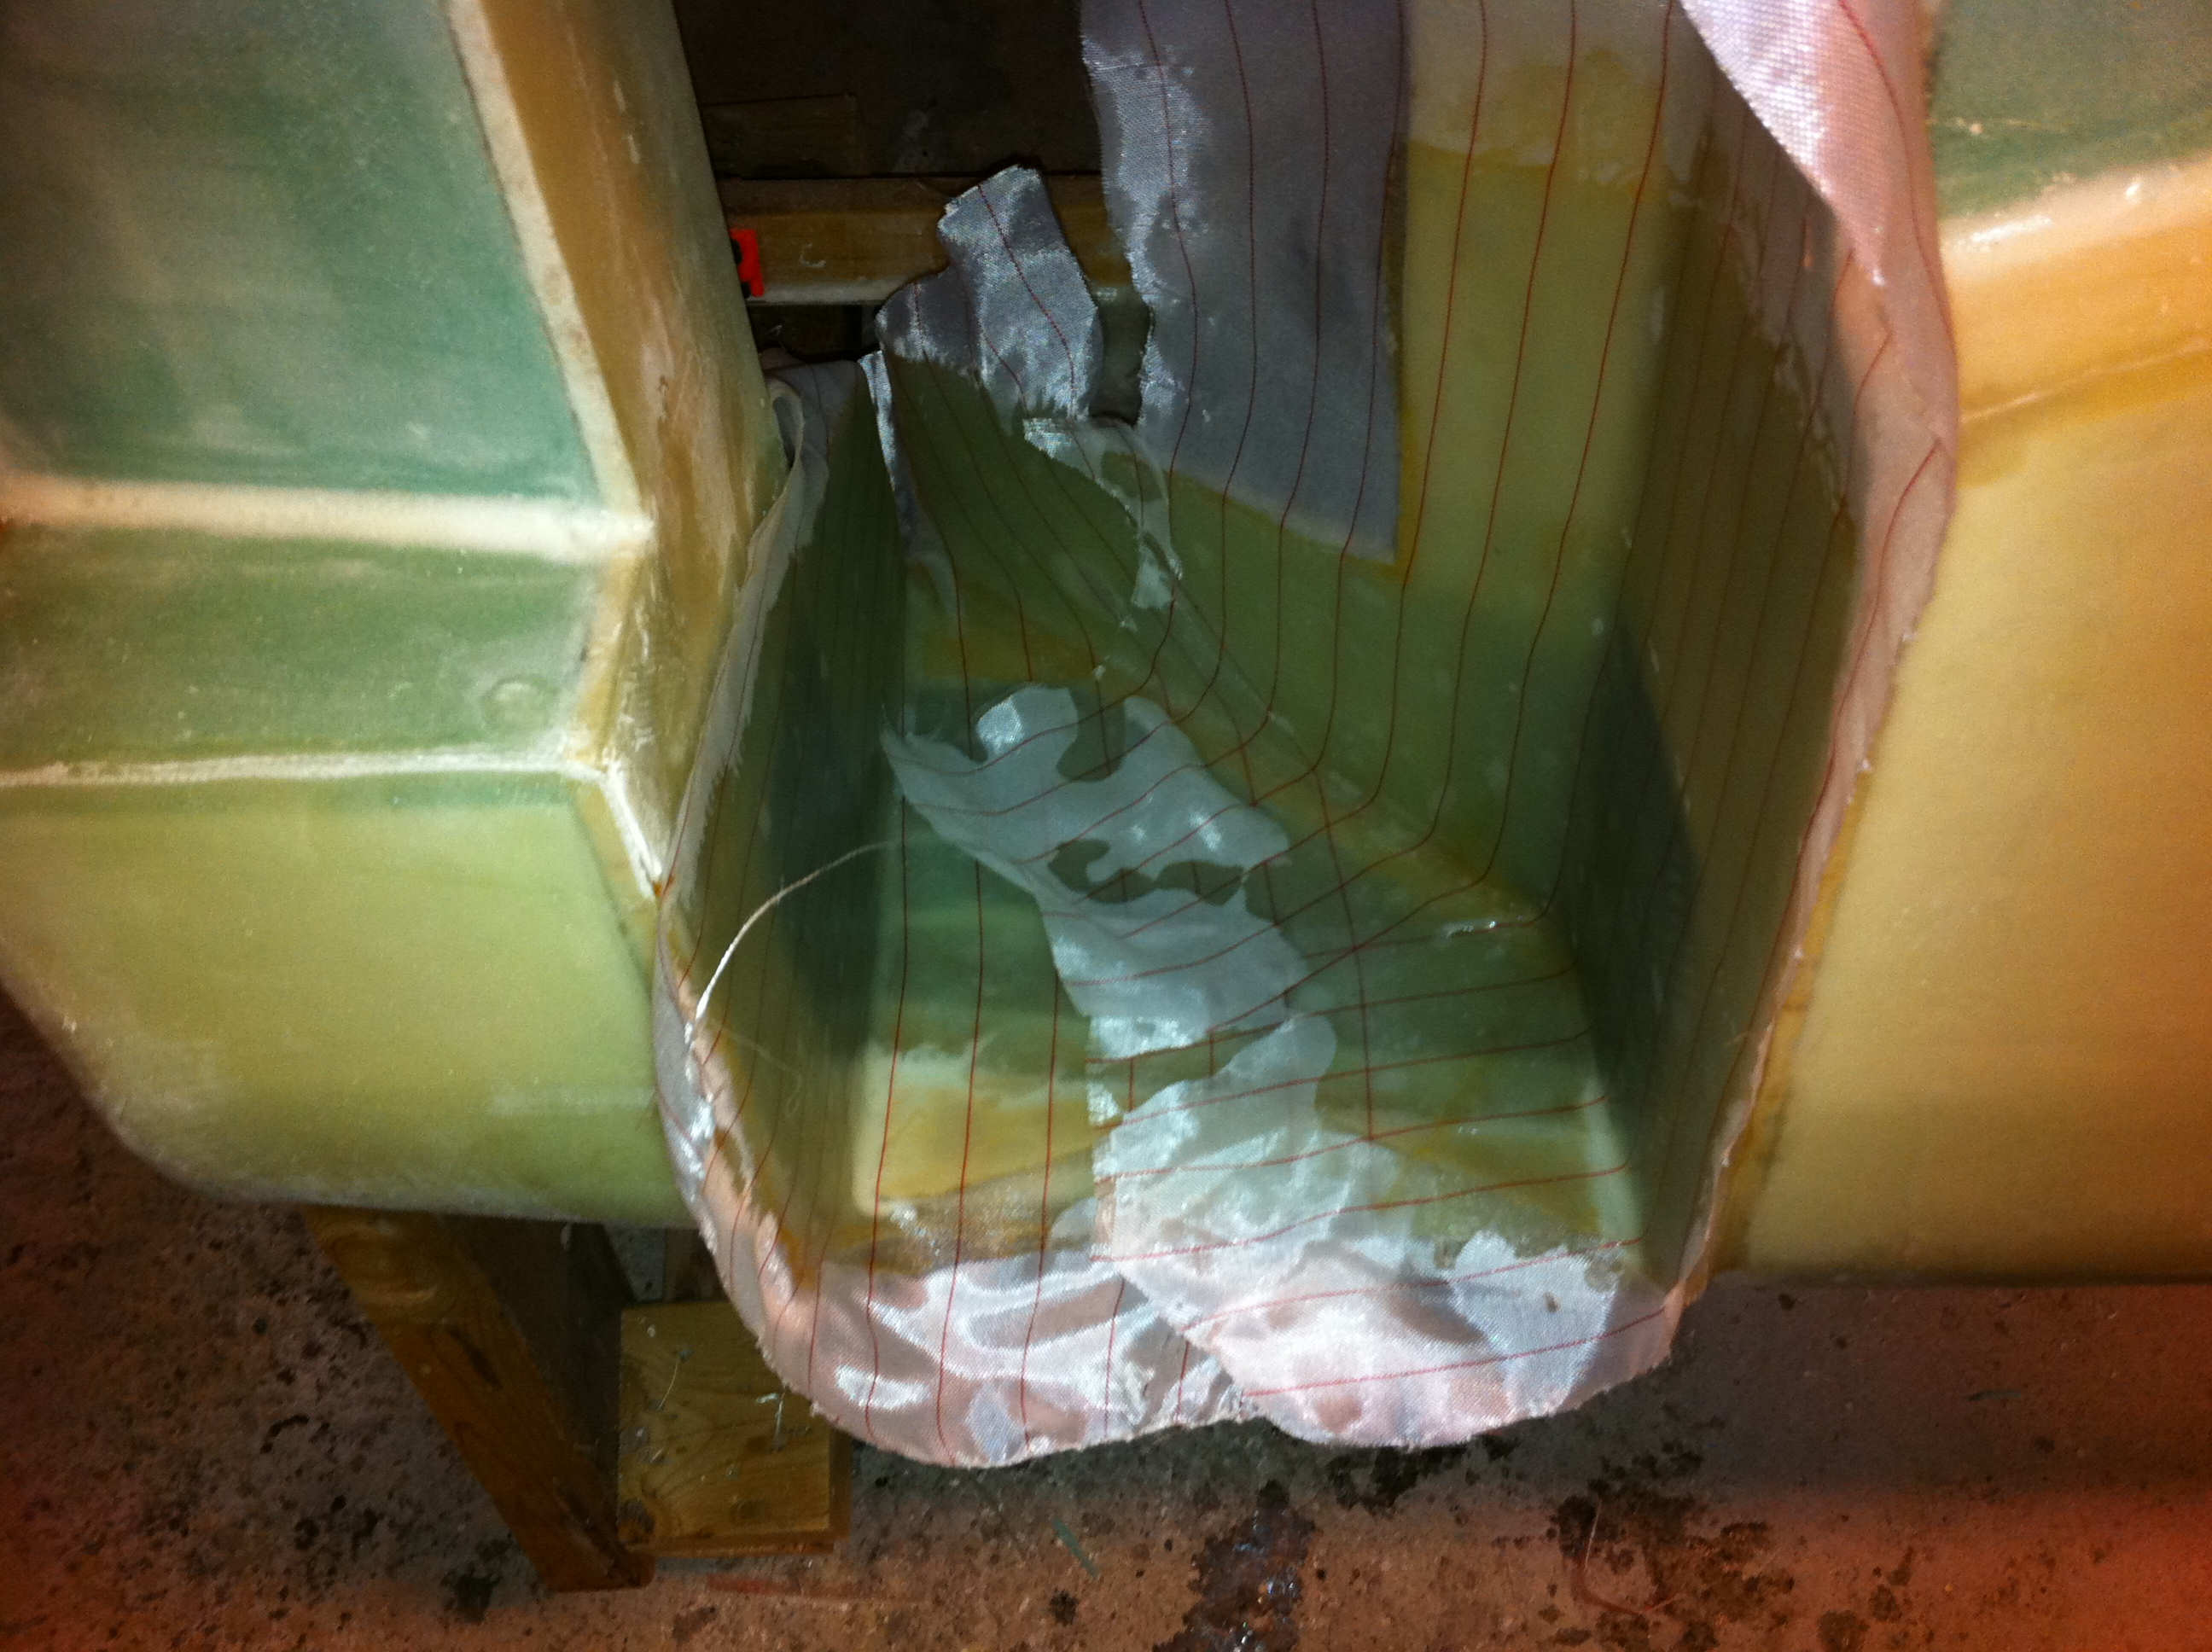
2010-09-27: And finally the layups are in place and I have peel-plied the whole thing. Had to use several smaller peel-ply-parts to make it lie properly down in all the corners. The reason for the dry parts is that it overlaps and therefore are not wetted out properly.
2010-10-03: The left-hand layup is finished and peel-plied.