
A scary step – now I have to cut out the ailerons from the wings. No room for error here…
2017-02-22: Important mantra: Measure twice – cut once. Remember to follow the plans – read the FAQ. Remember the cut is different on the bottom than on the top.
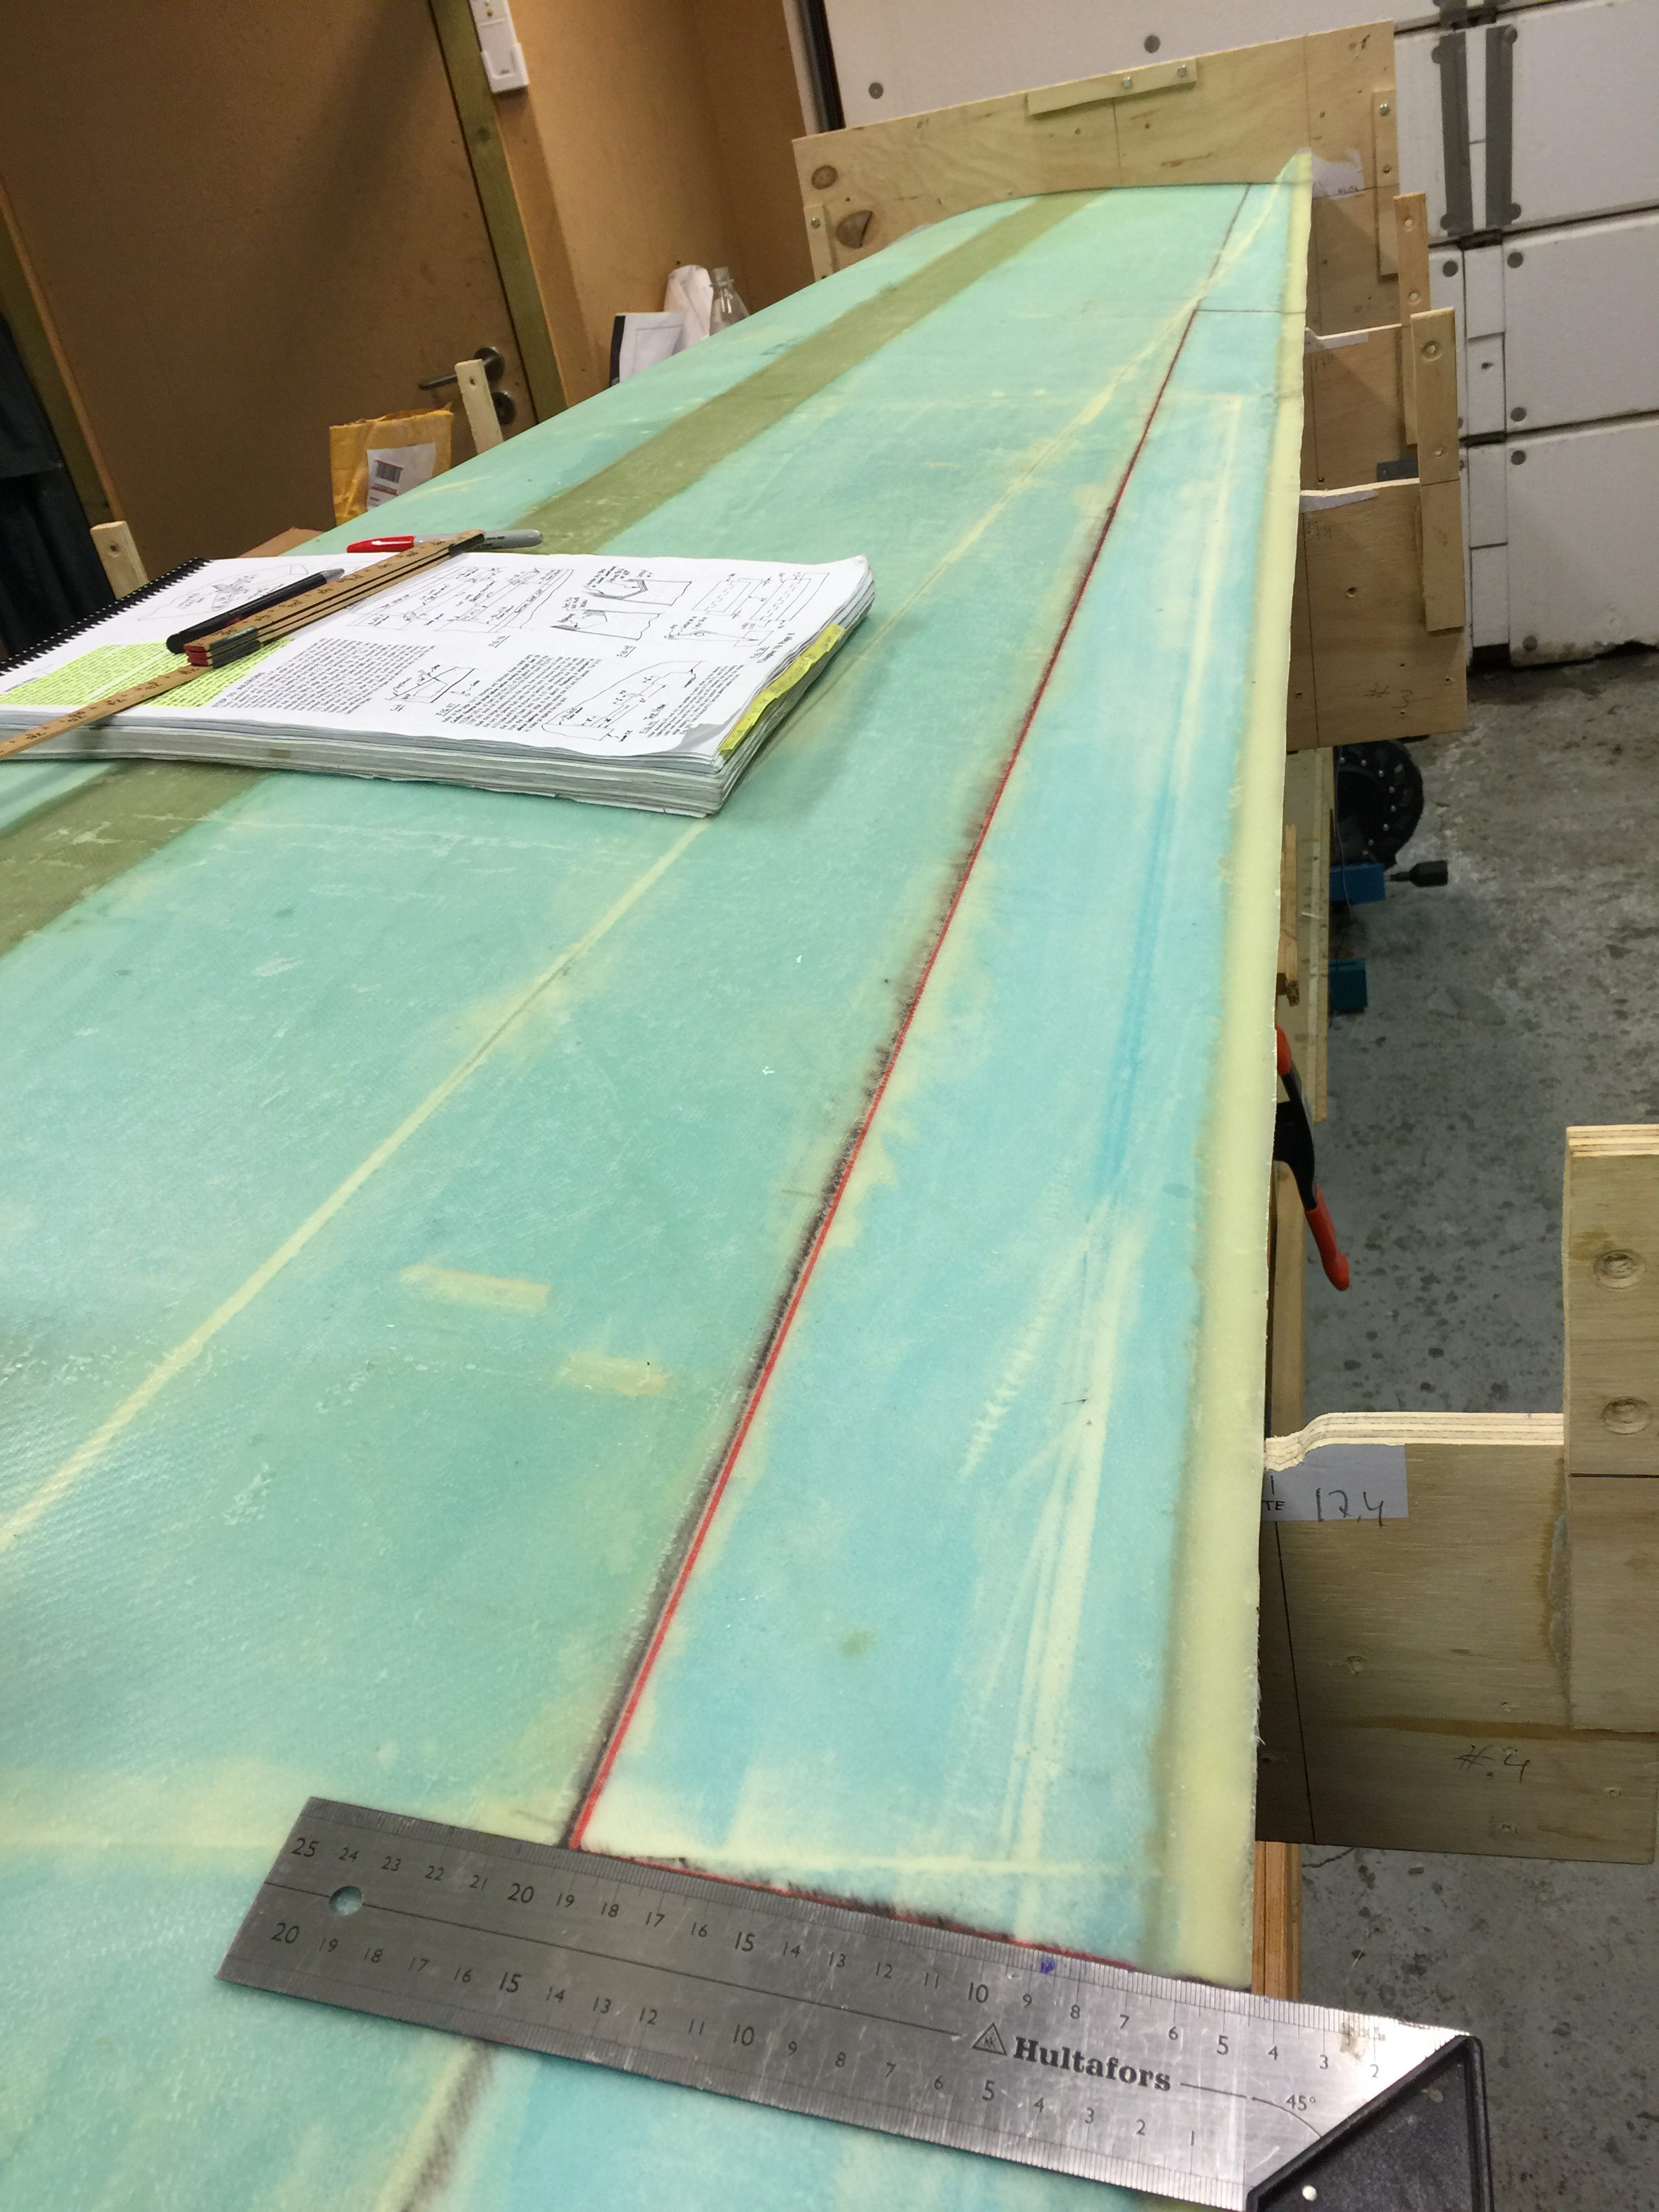
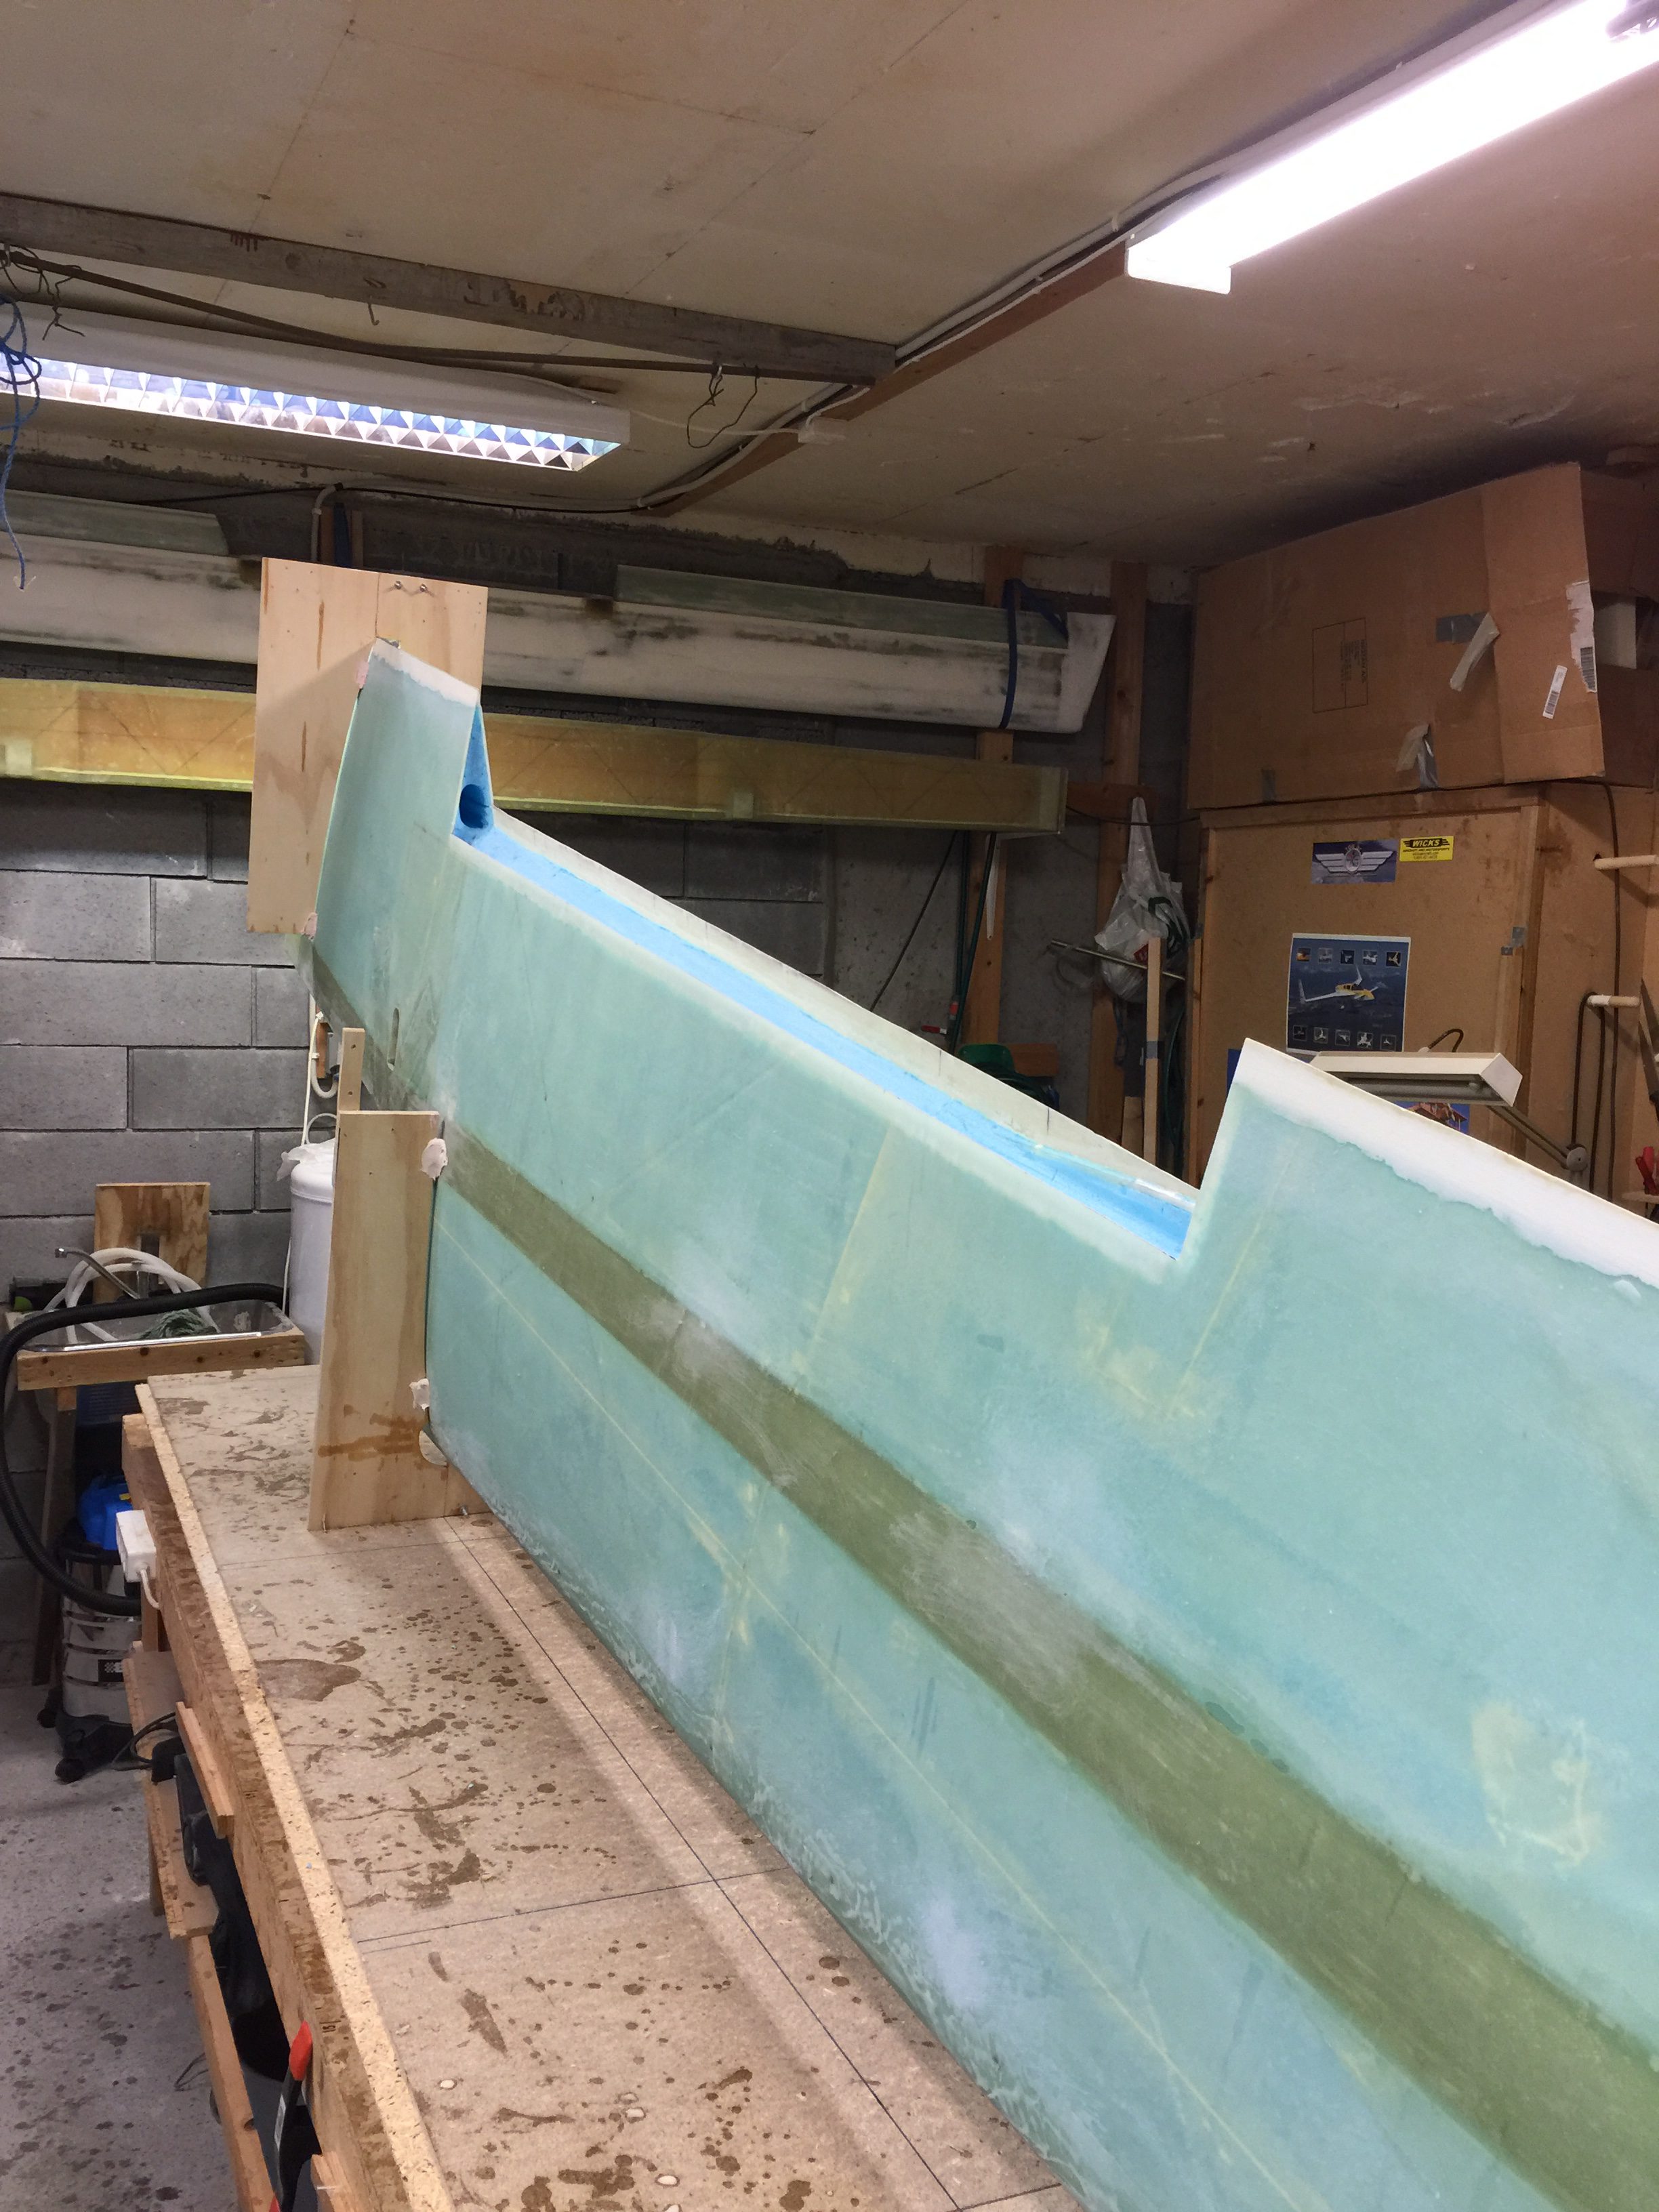
2017-03-11: After preparing the pocket in the wing I raised the wing – leading edge down.
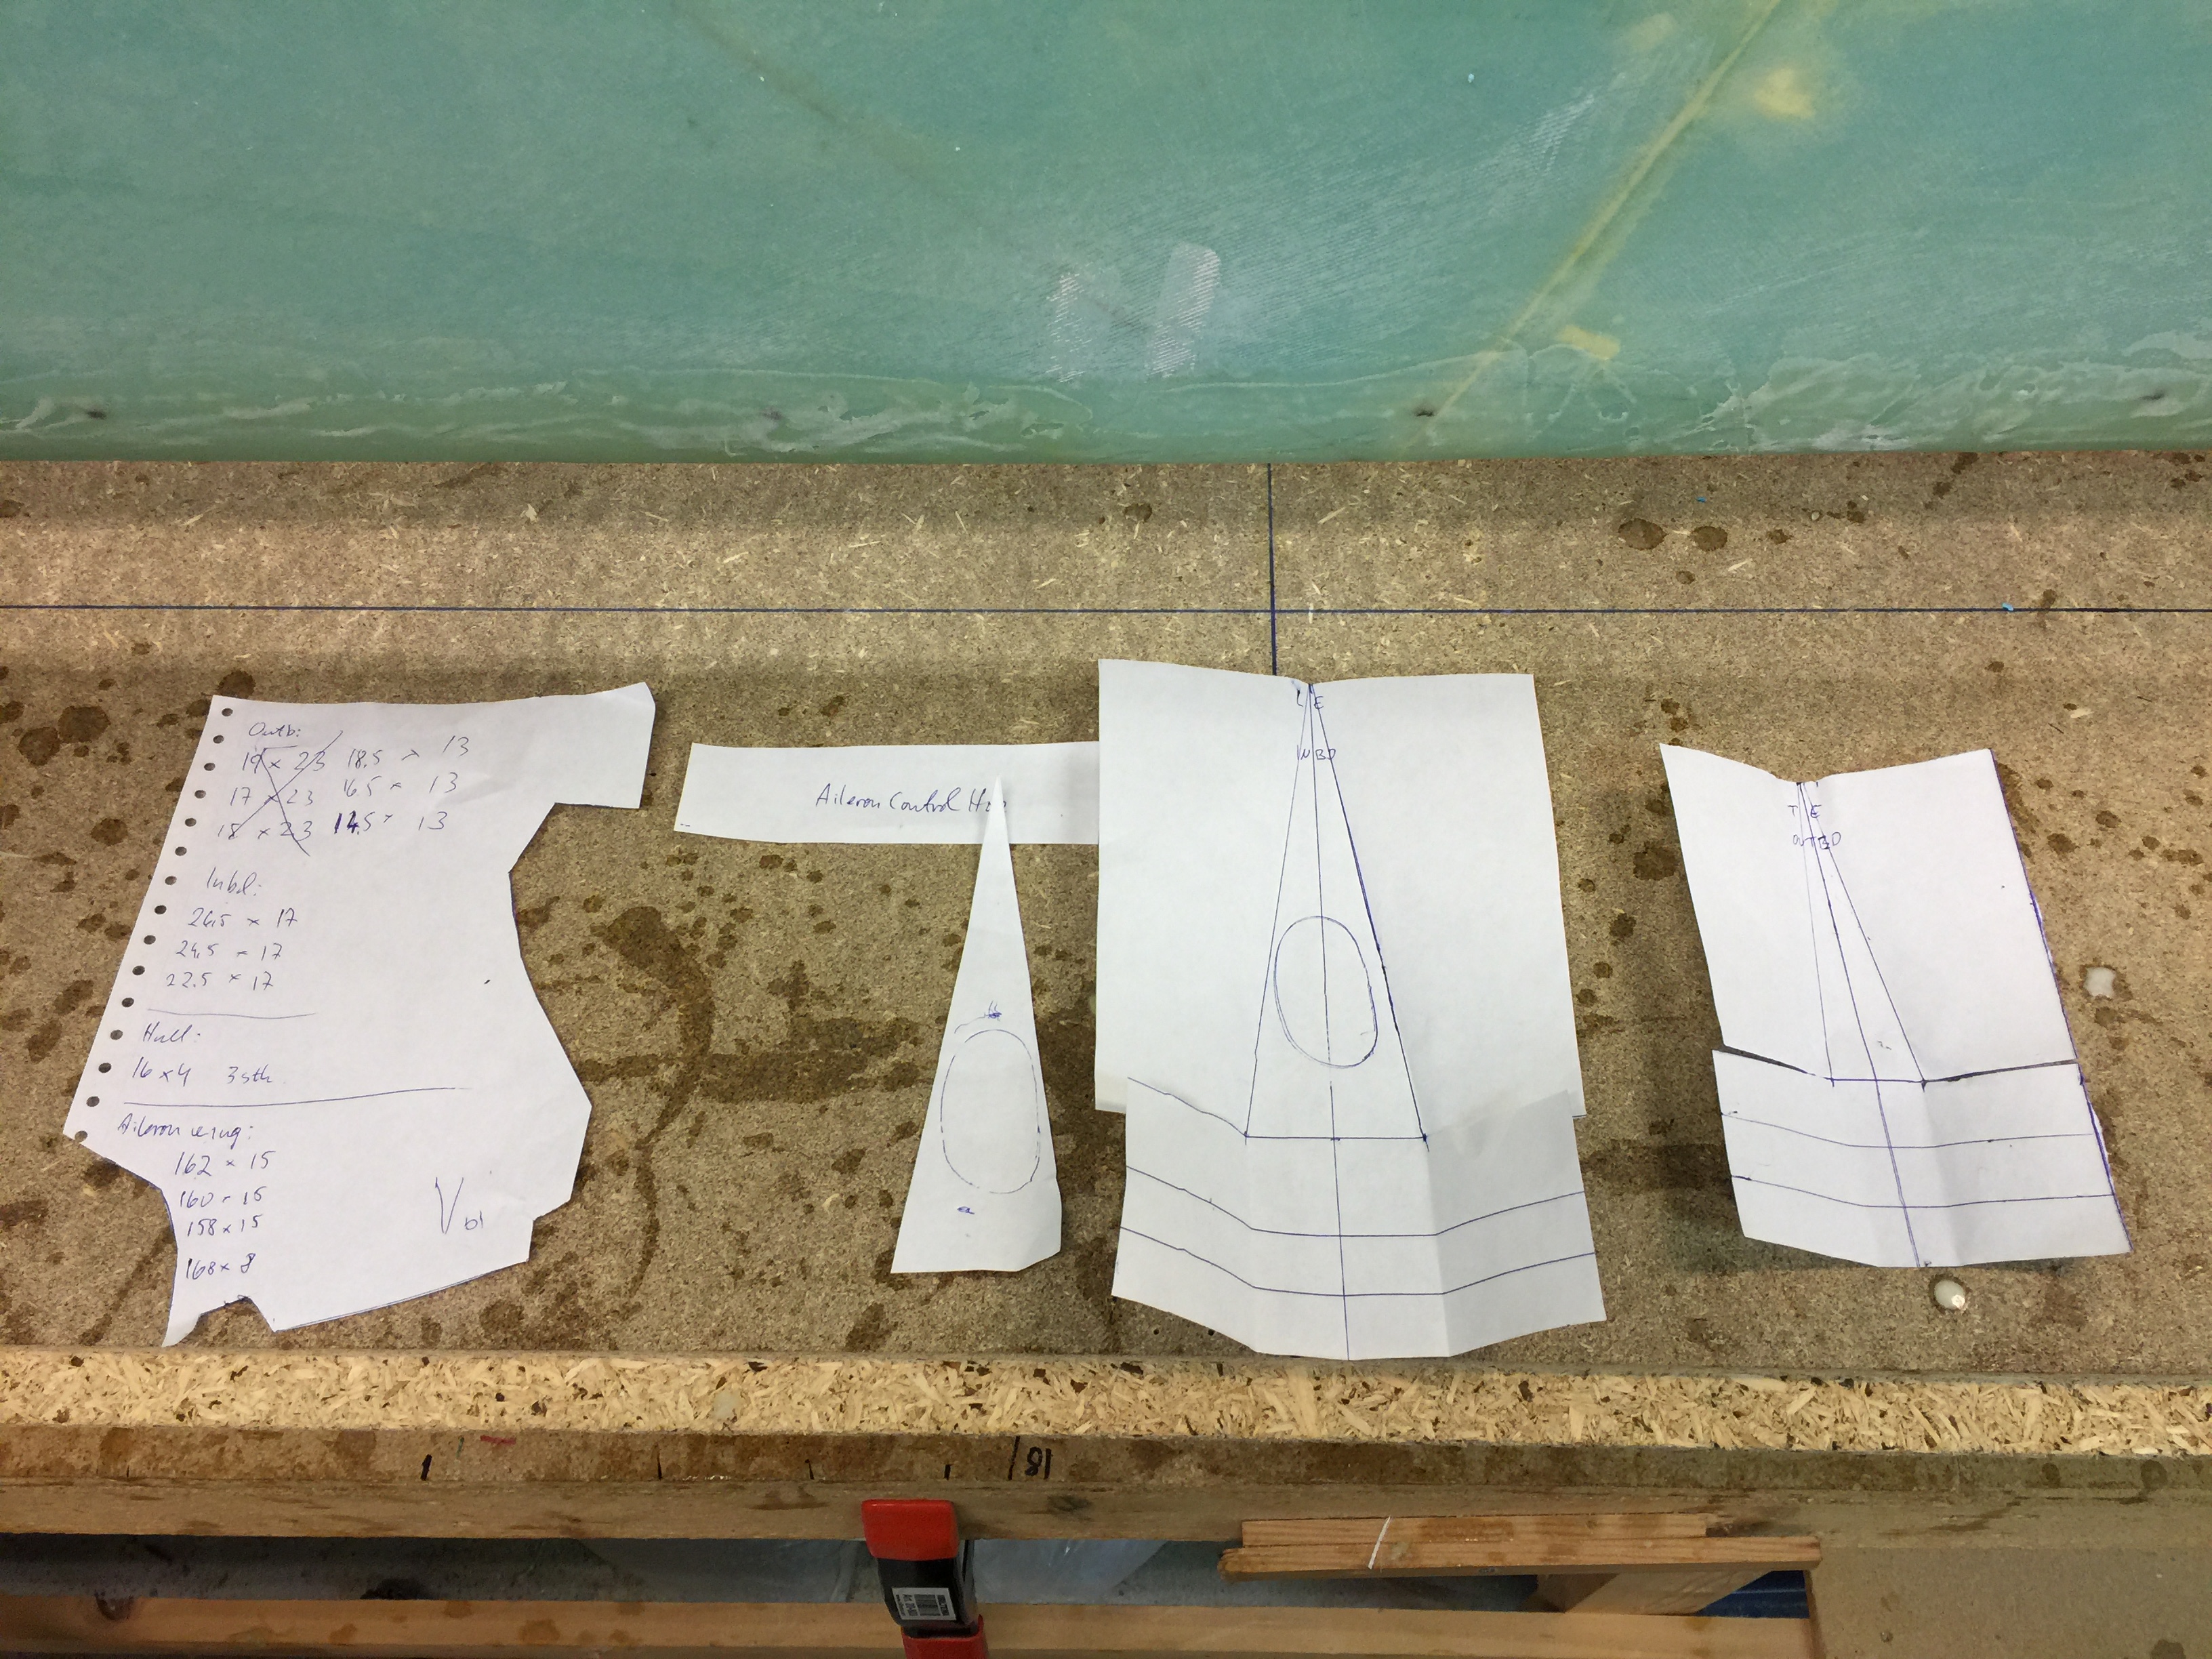
I made some paper templates for the two pockets on each side of the aileron cut out.
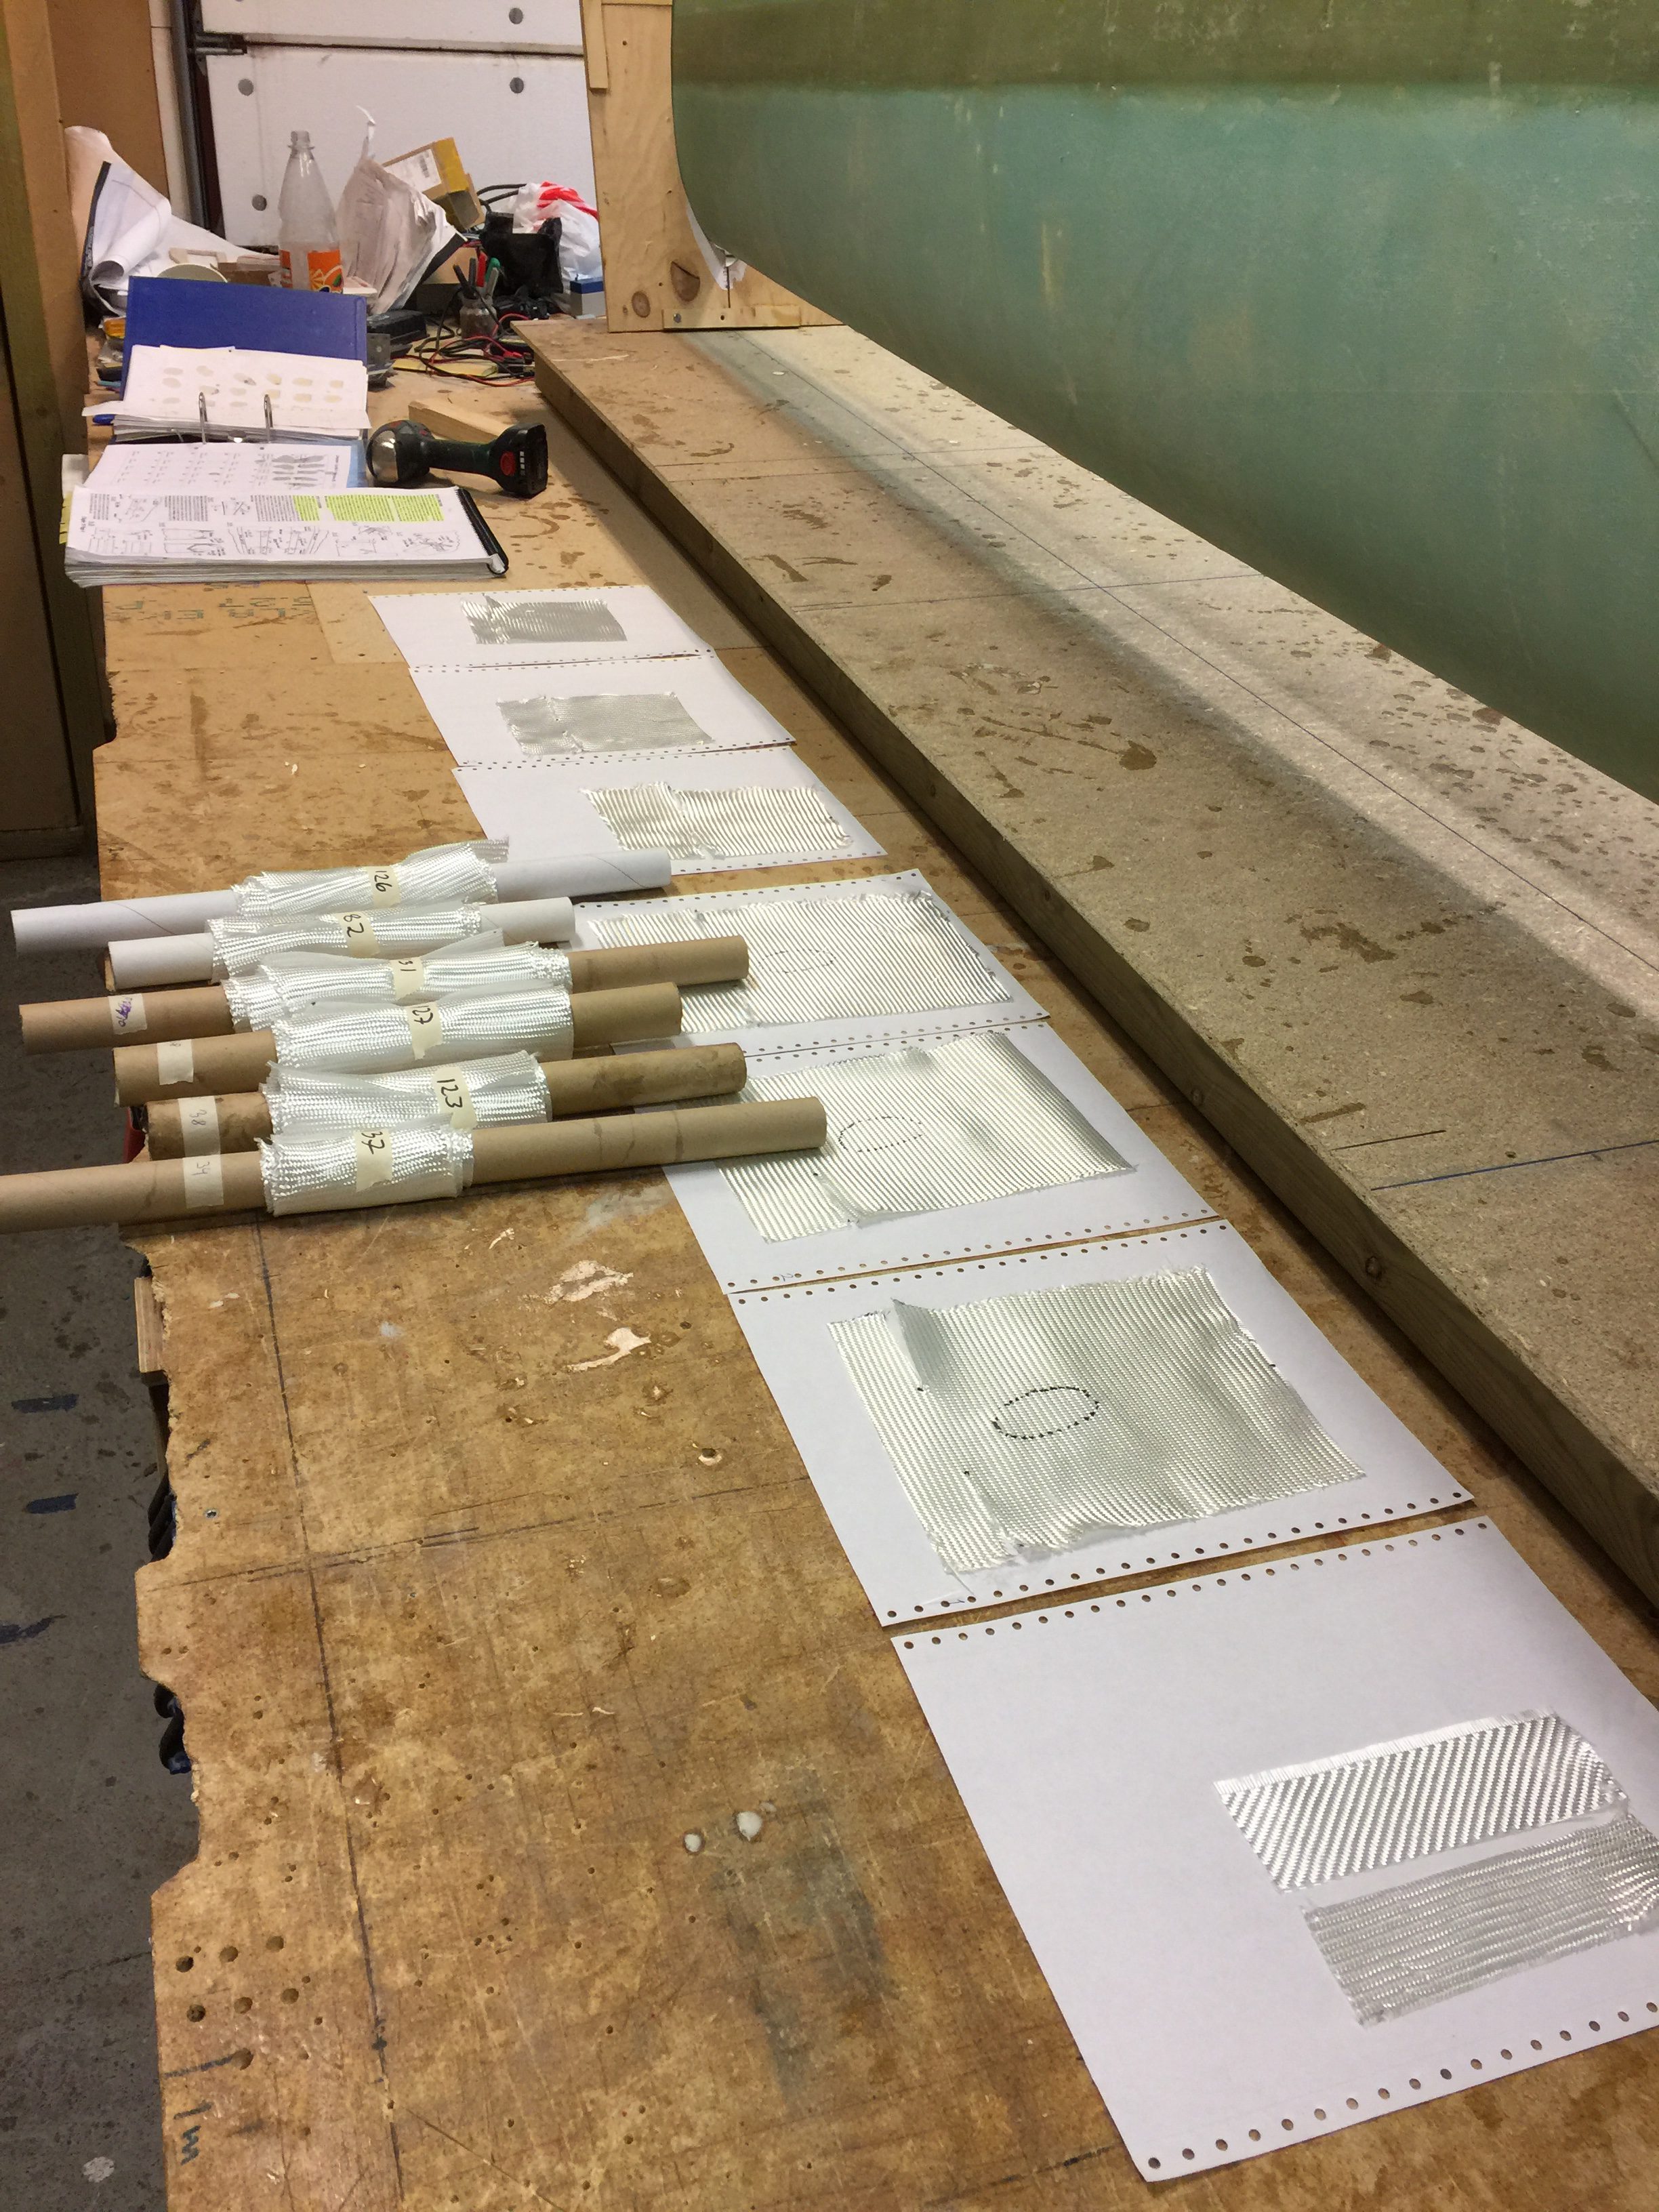
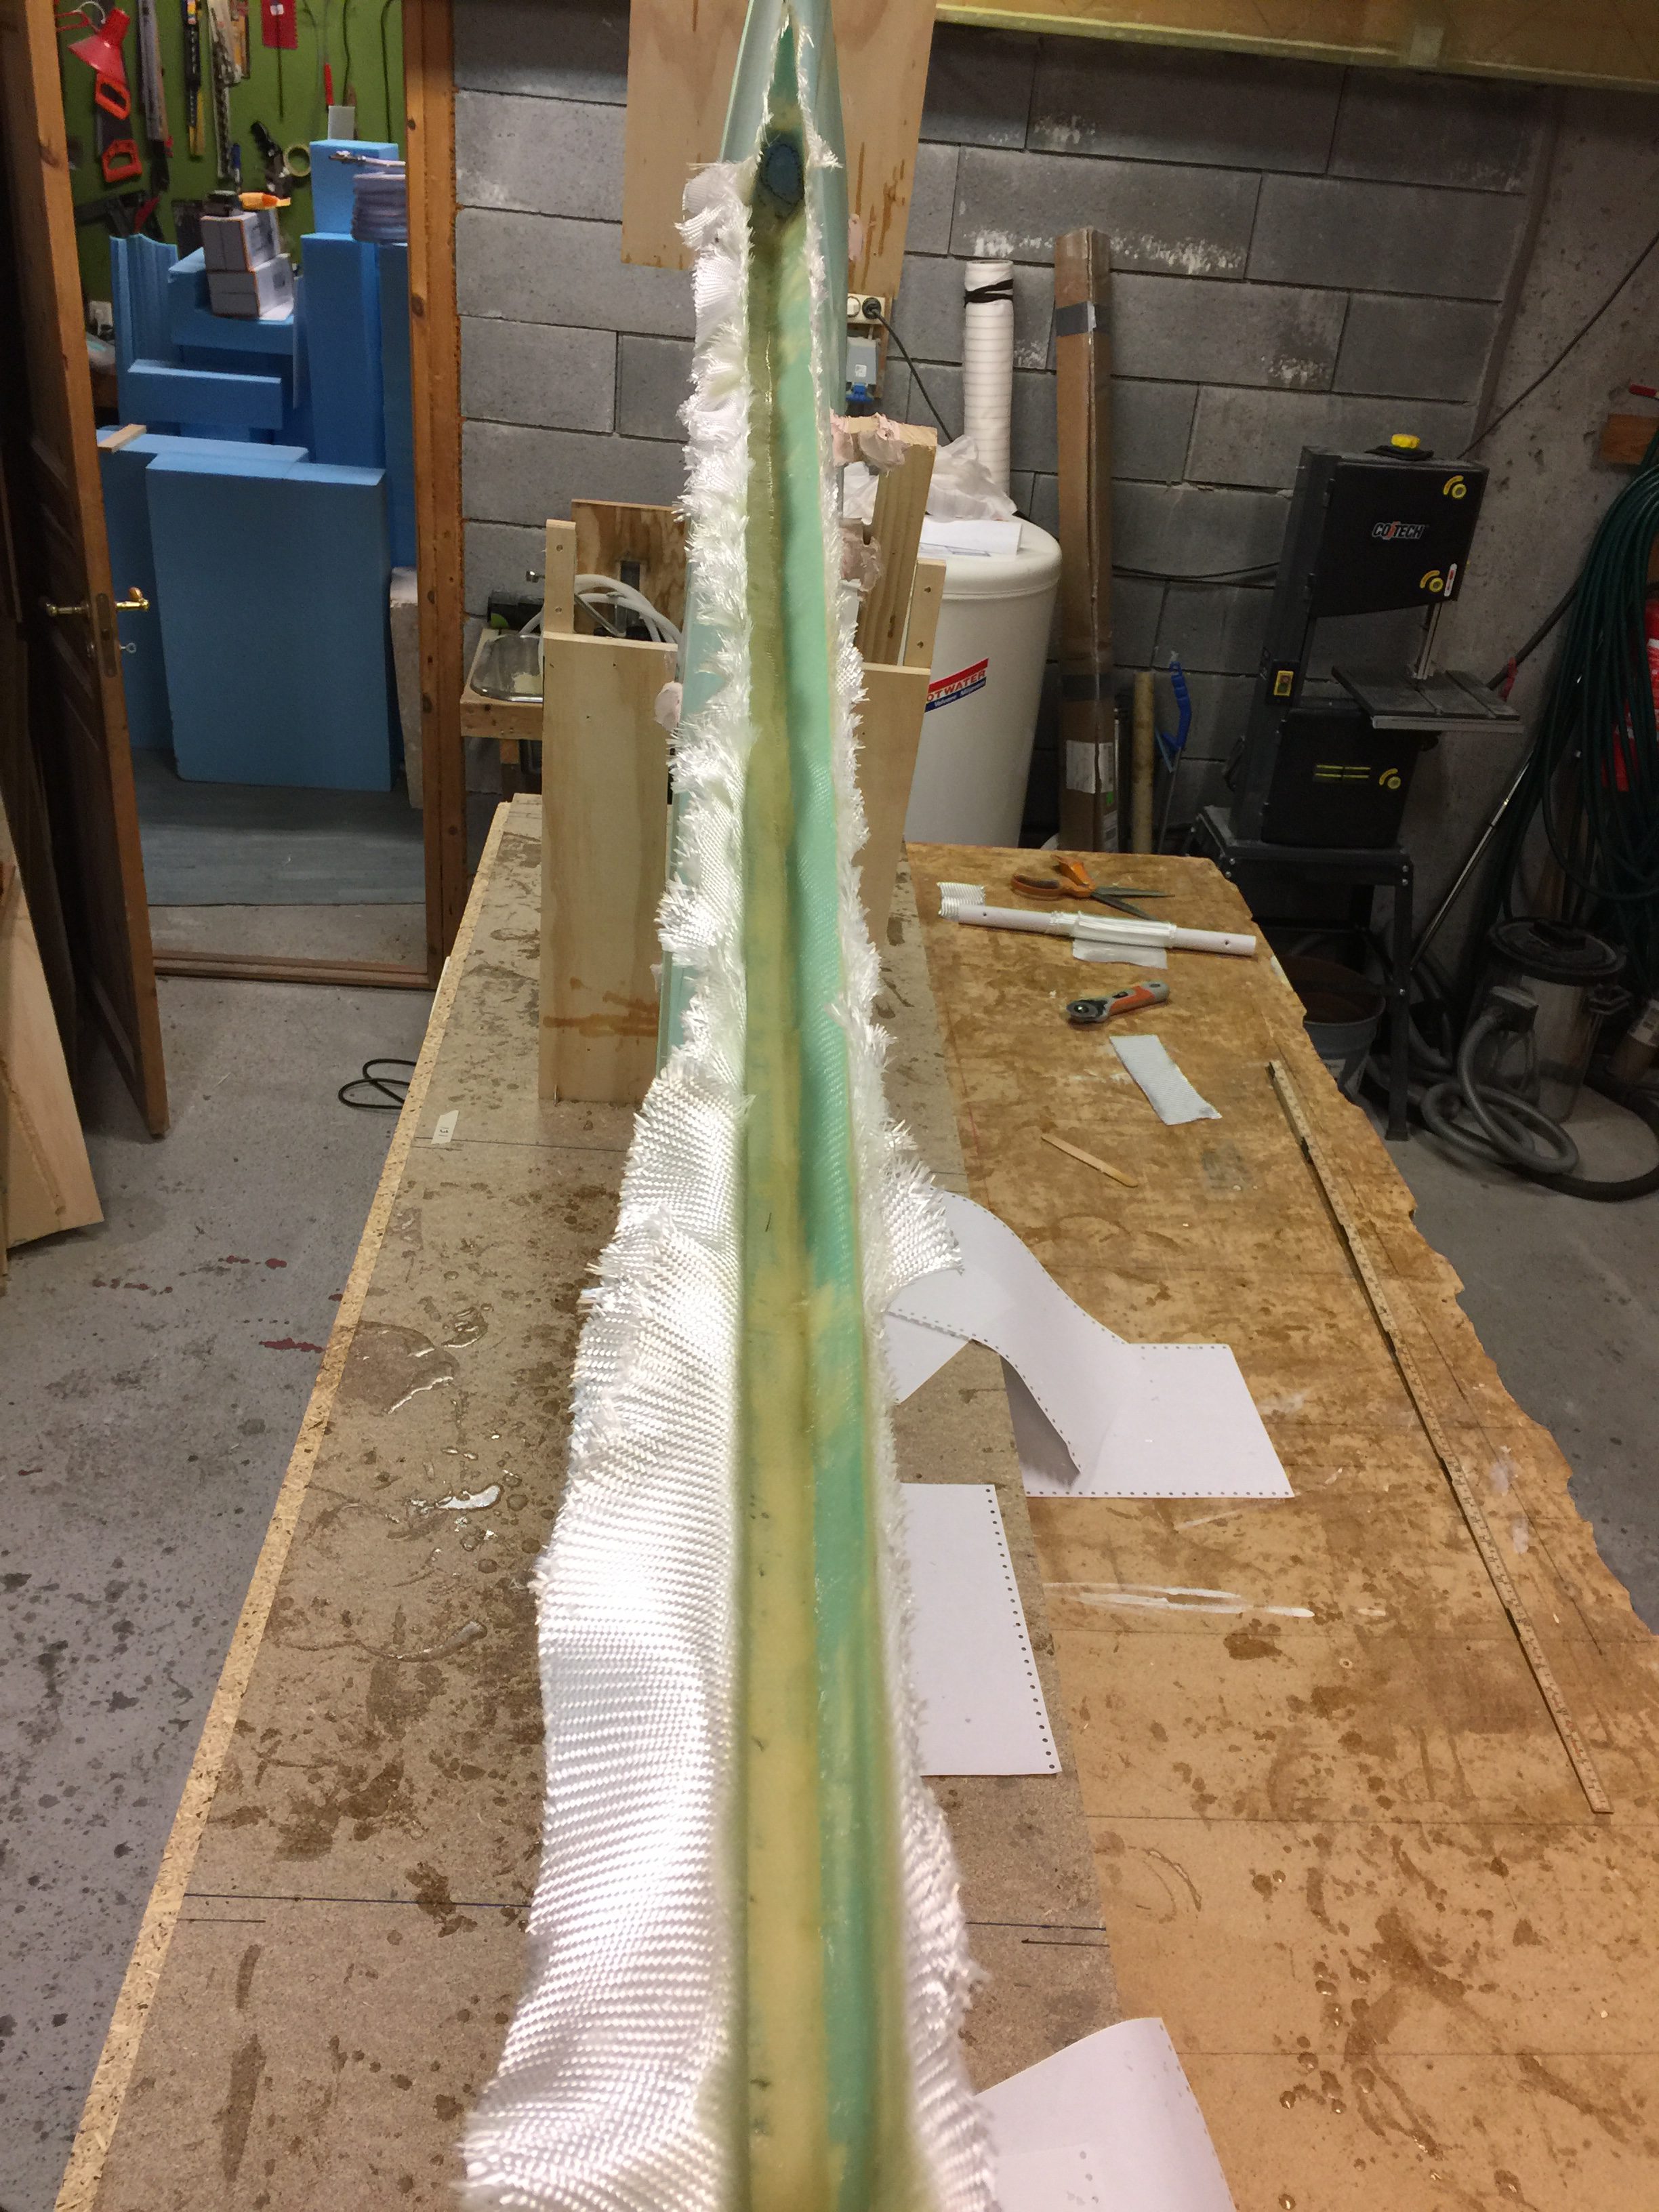
Then I cut all the glass and prepared the wing for glassing.
Finally – glassed the aileron cut out and set to cure.
2017-03-18: Cut off excess glass, sanded the aileron pocket thoroughly. Marked and cut the notches for the hinges.

Prepared the aileron for the steel rod. I washed the rod in aceton to remove all oily residues. Then I removed a tad less (2 mm) foam from the leading edge after getting some advices from other builders. In this way it should be easier to balance the aileron later since the steel rod will be 2mm more forward.
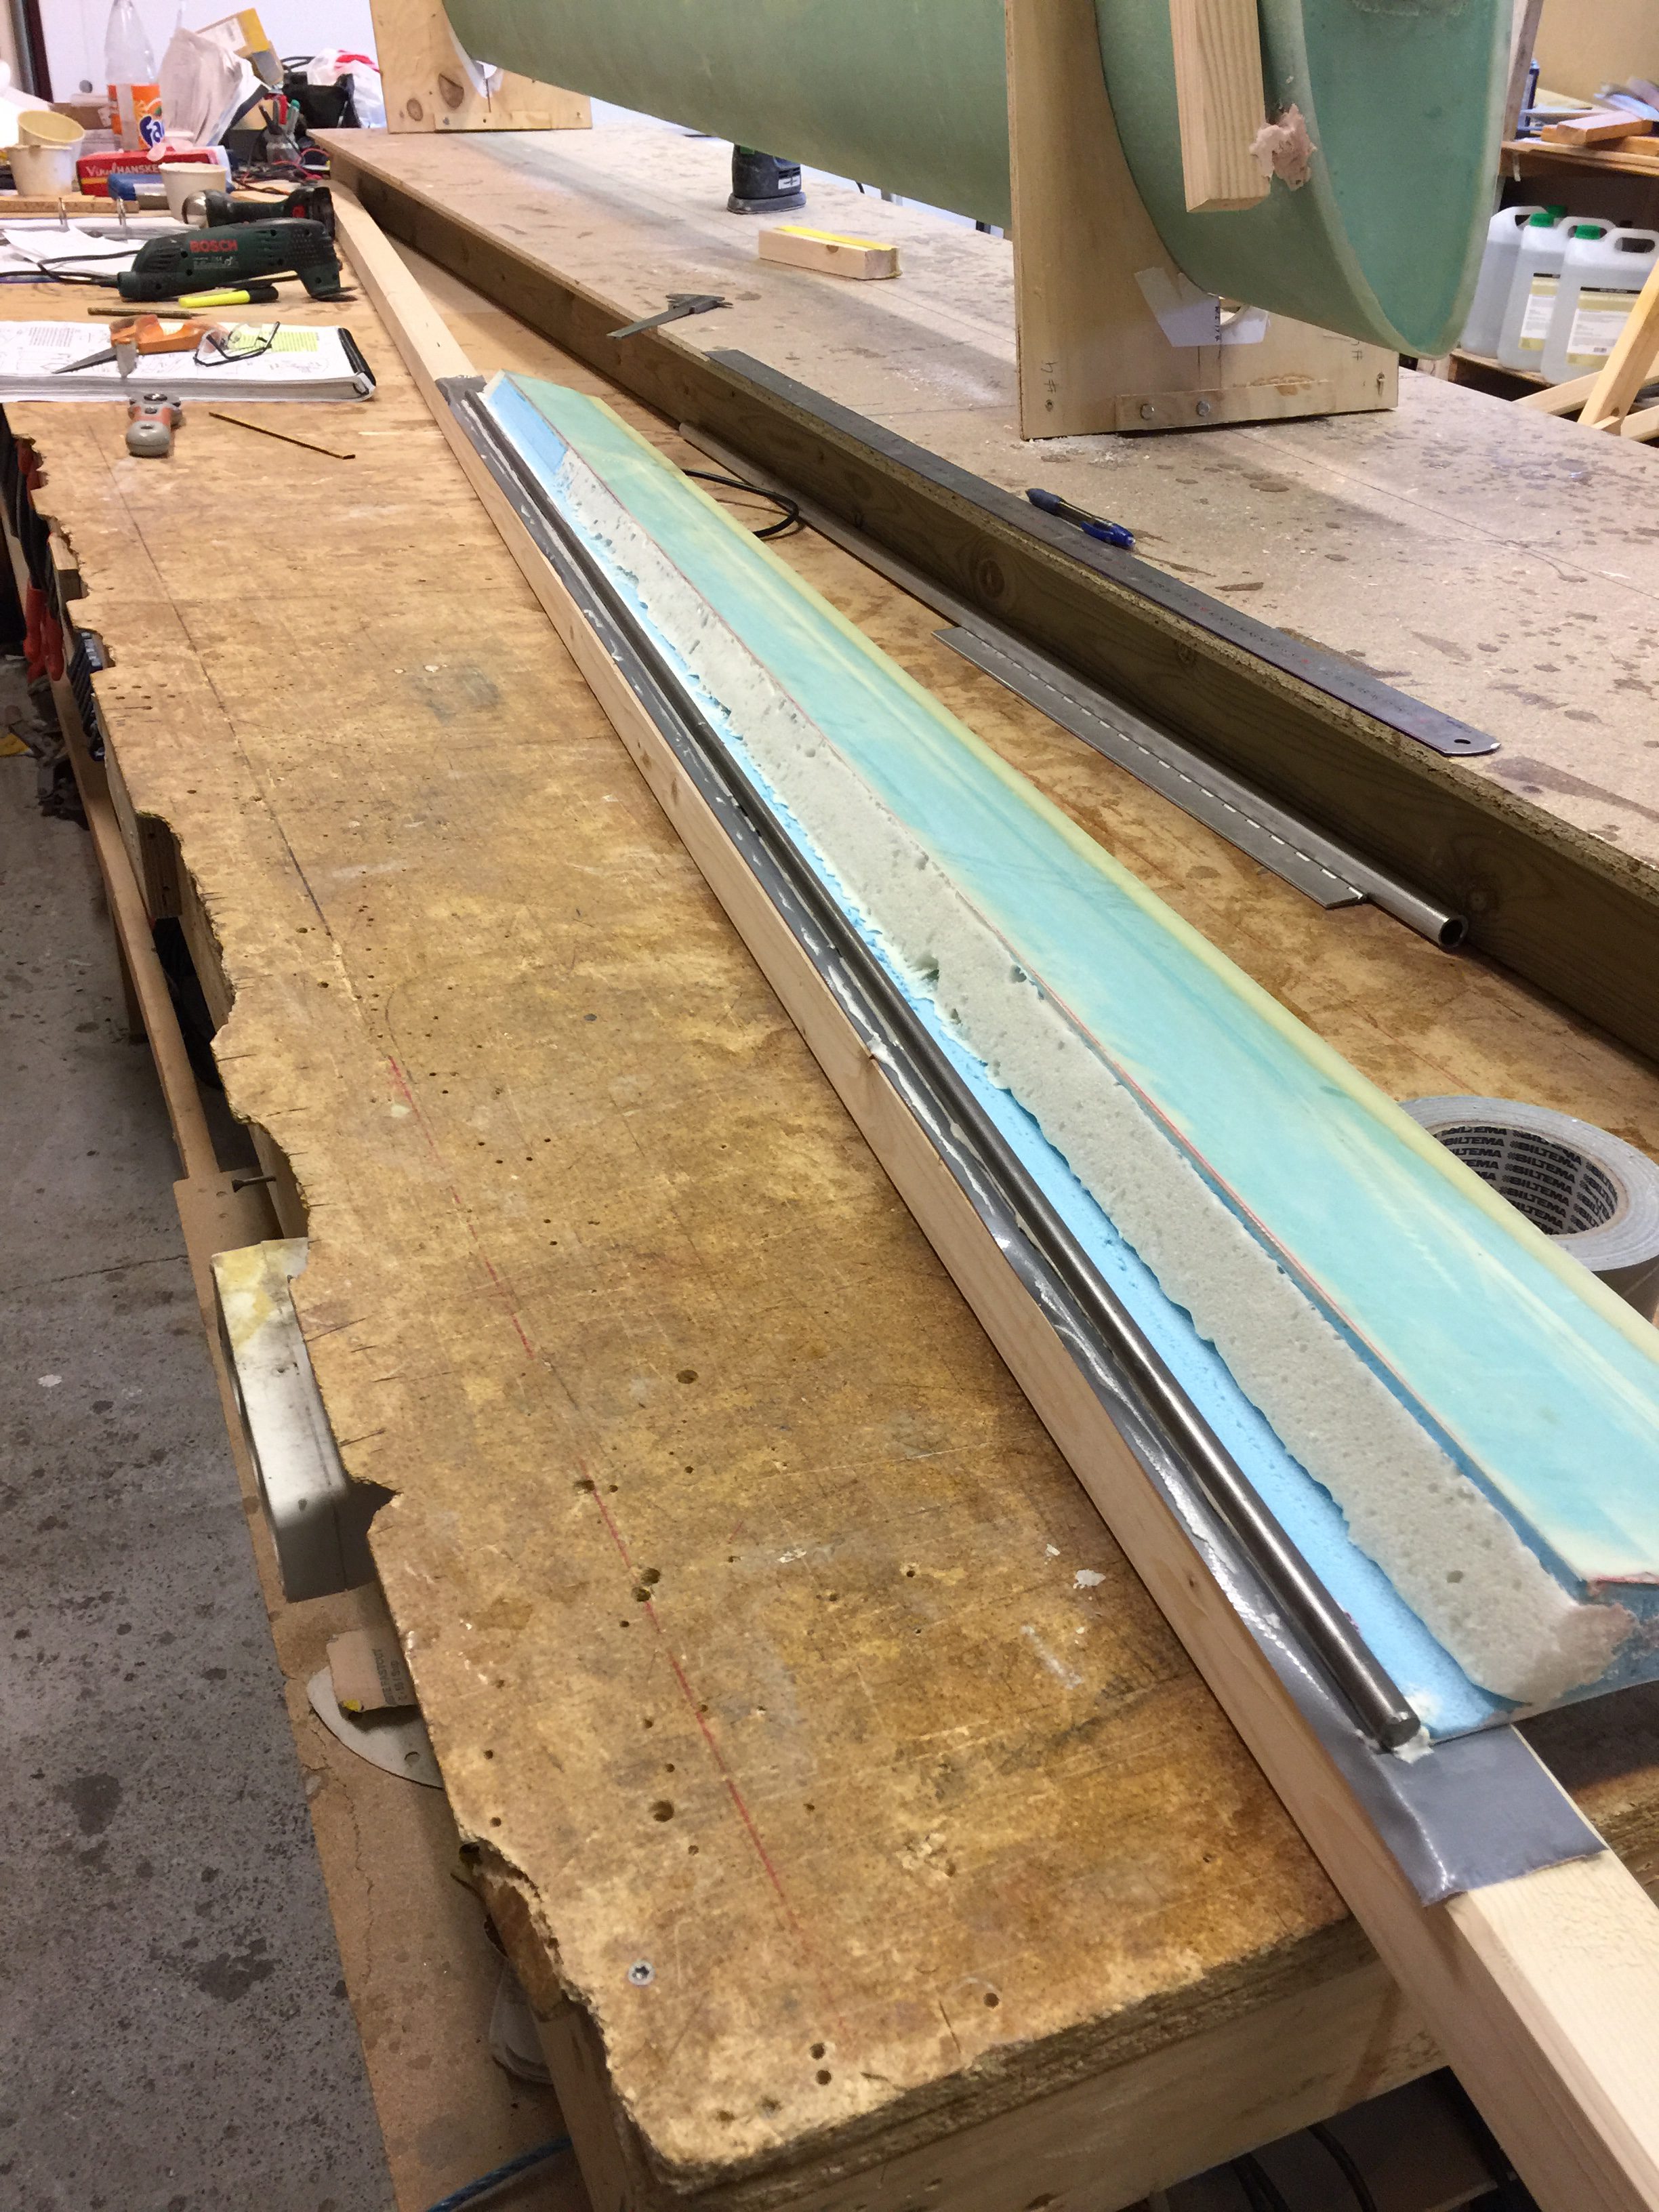
I goofed up when I hotwired the wing cores, resulting in too little foam in the aileron. I filled this with pour foam and will touch up further with some dry micro. Hence the white colored foam in the aileron.
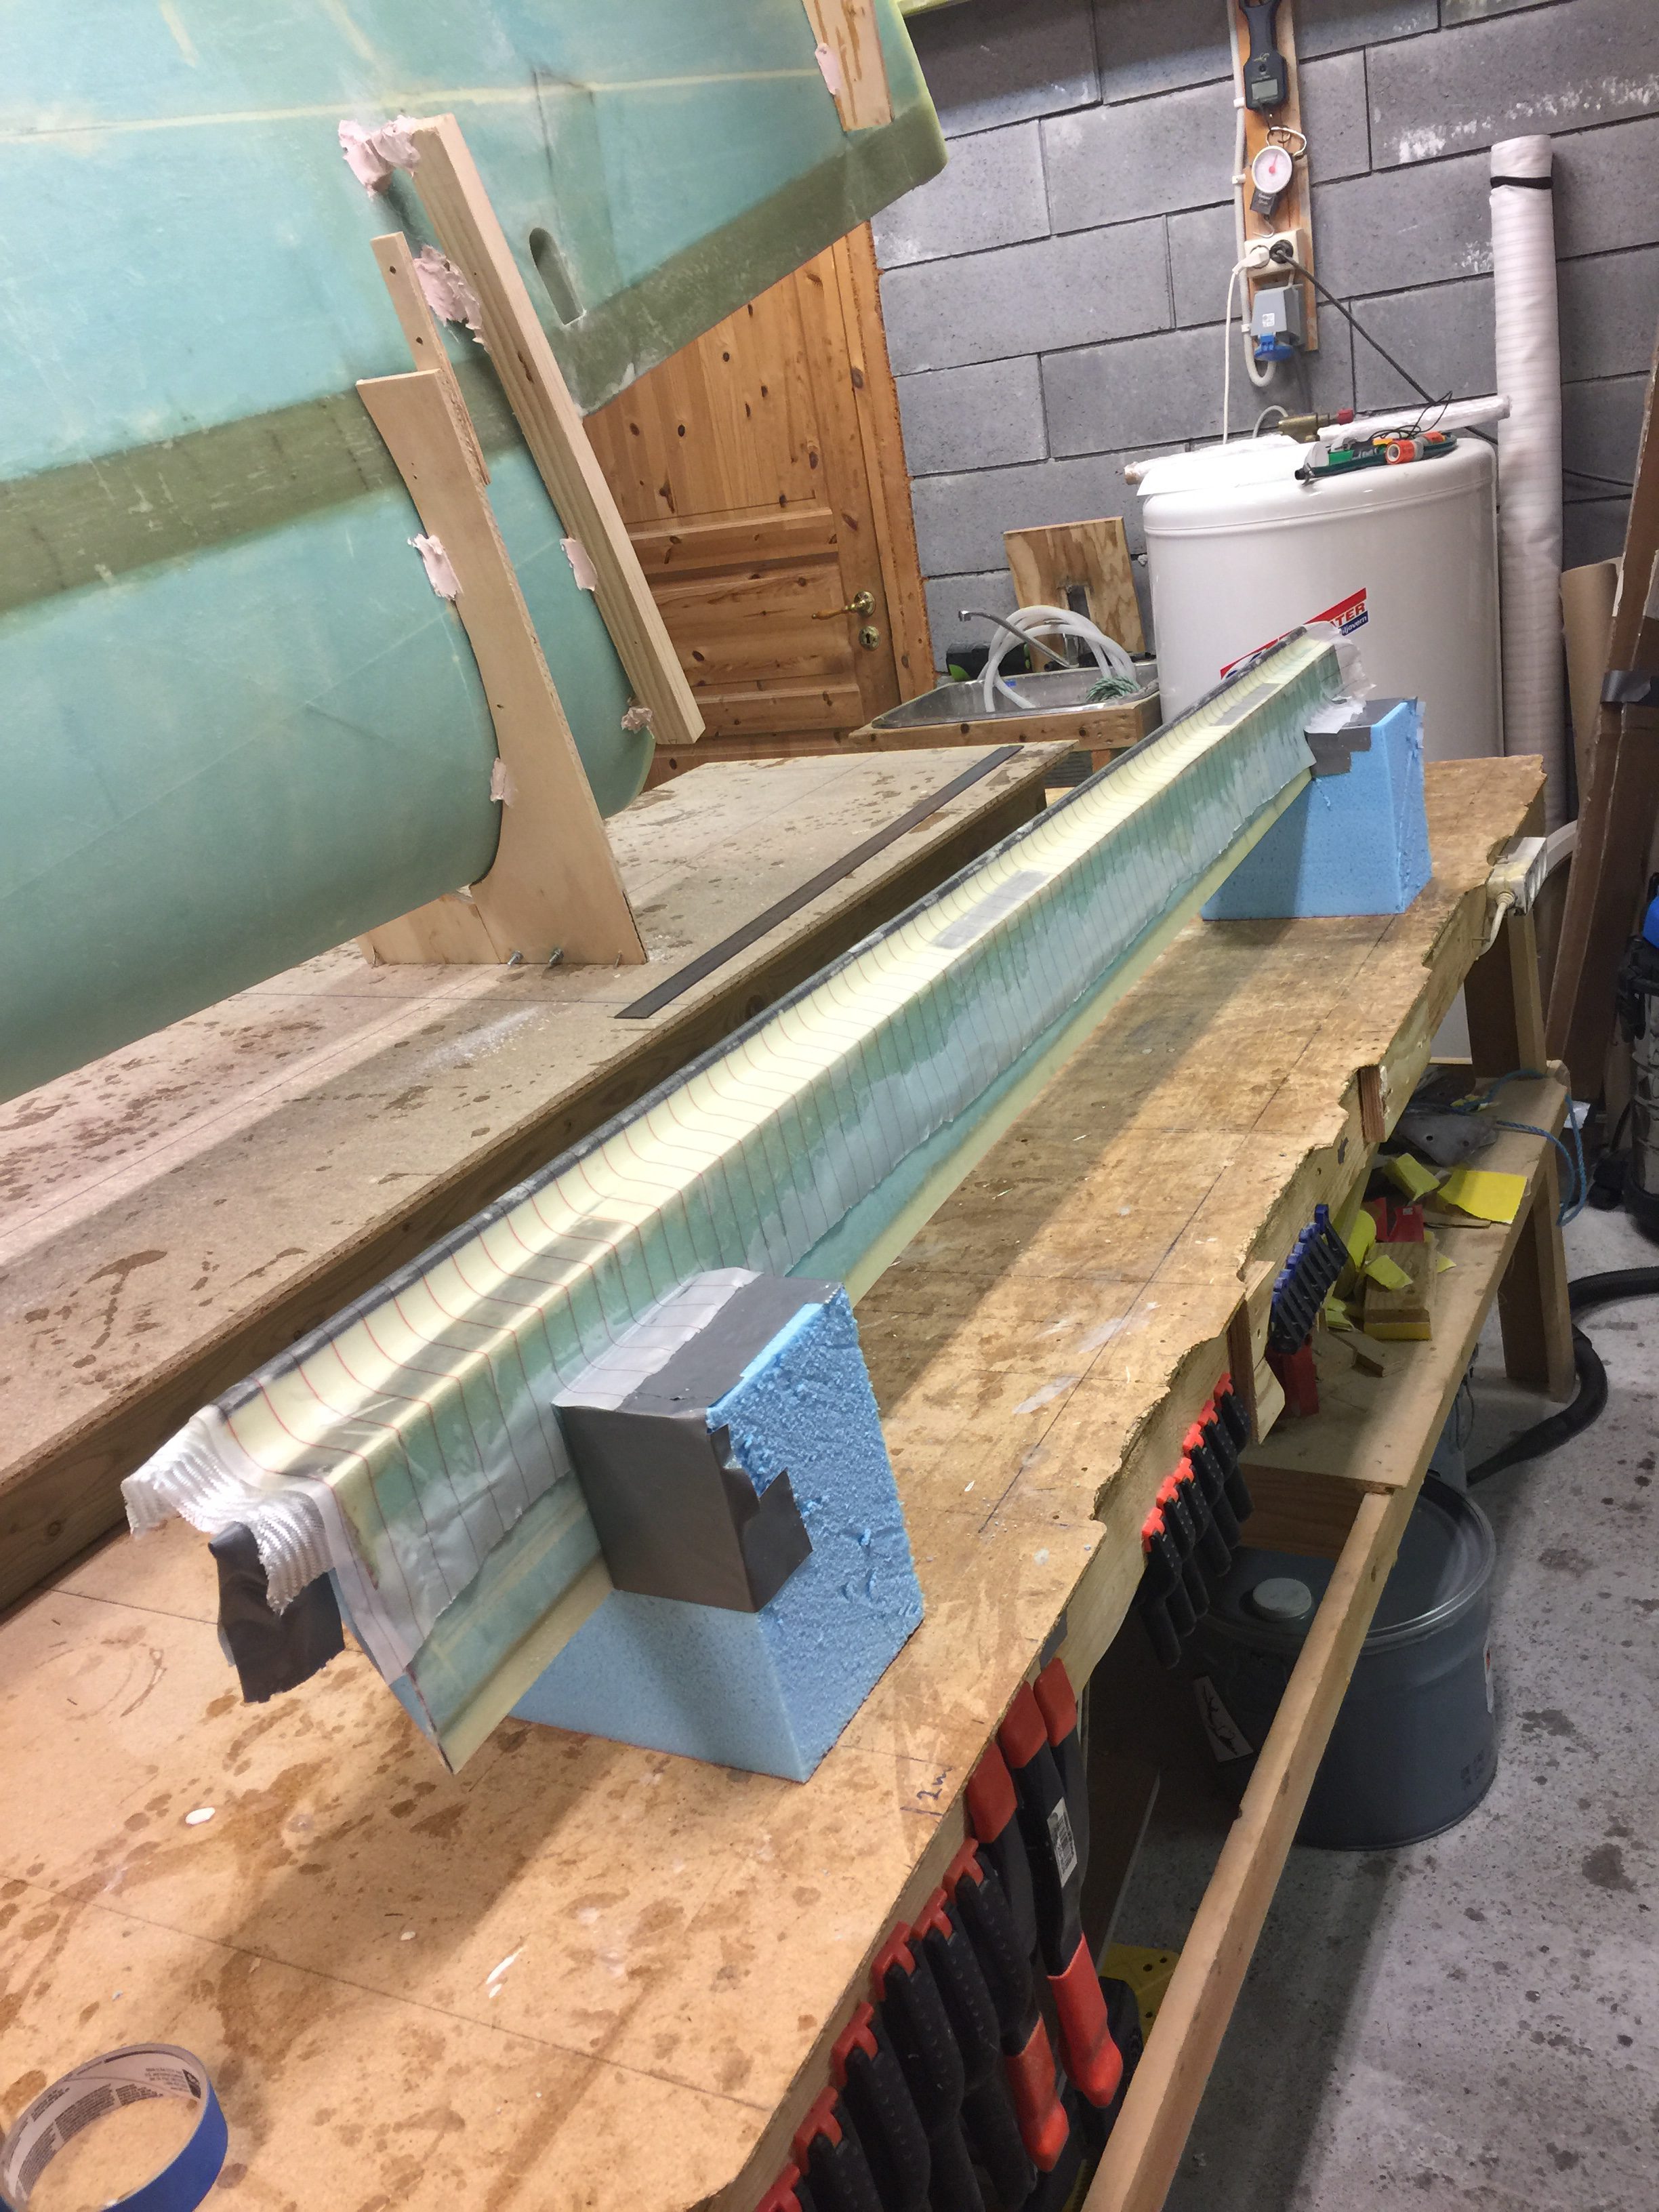
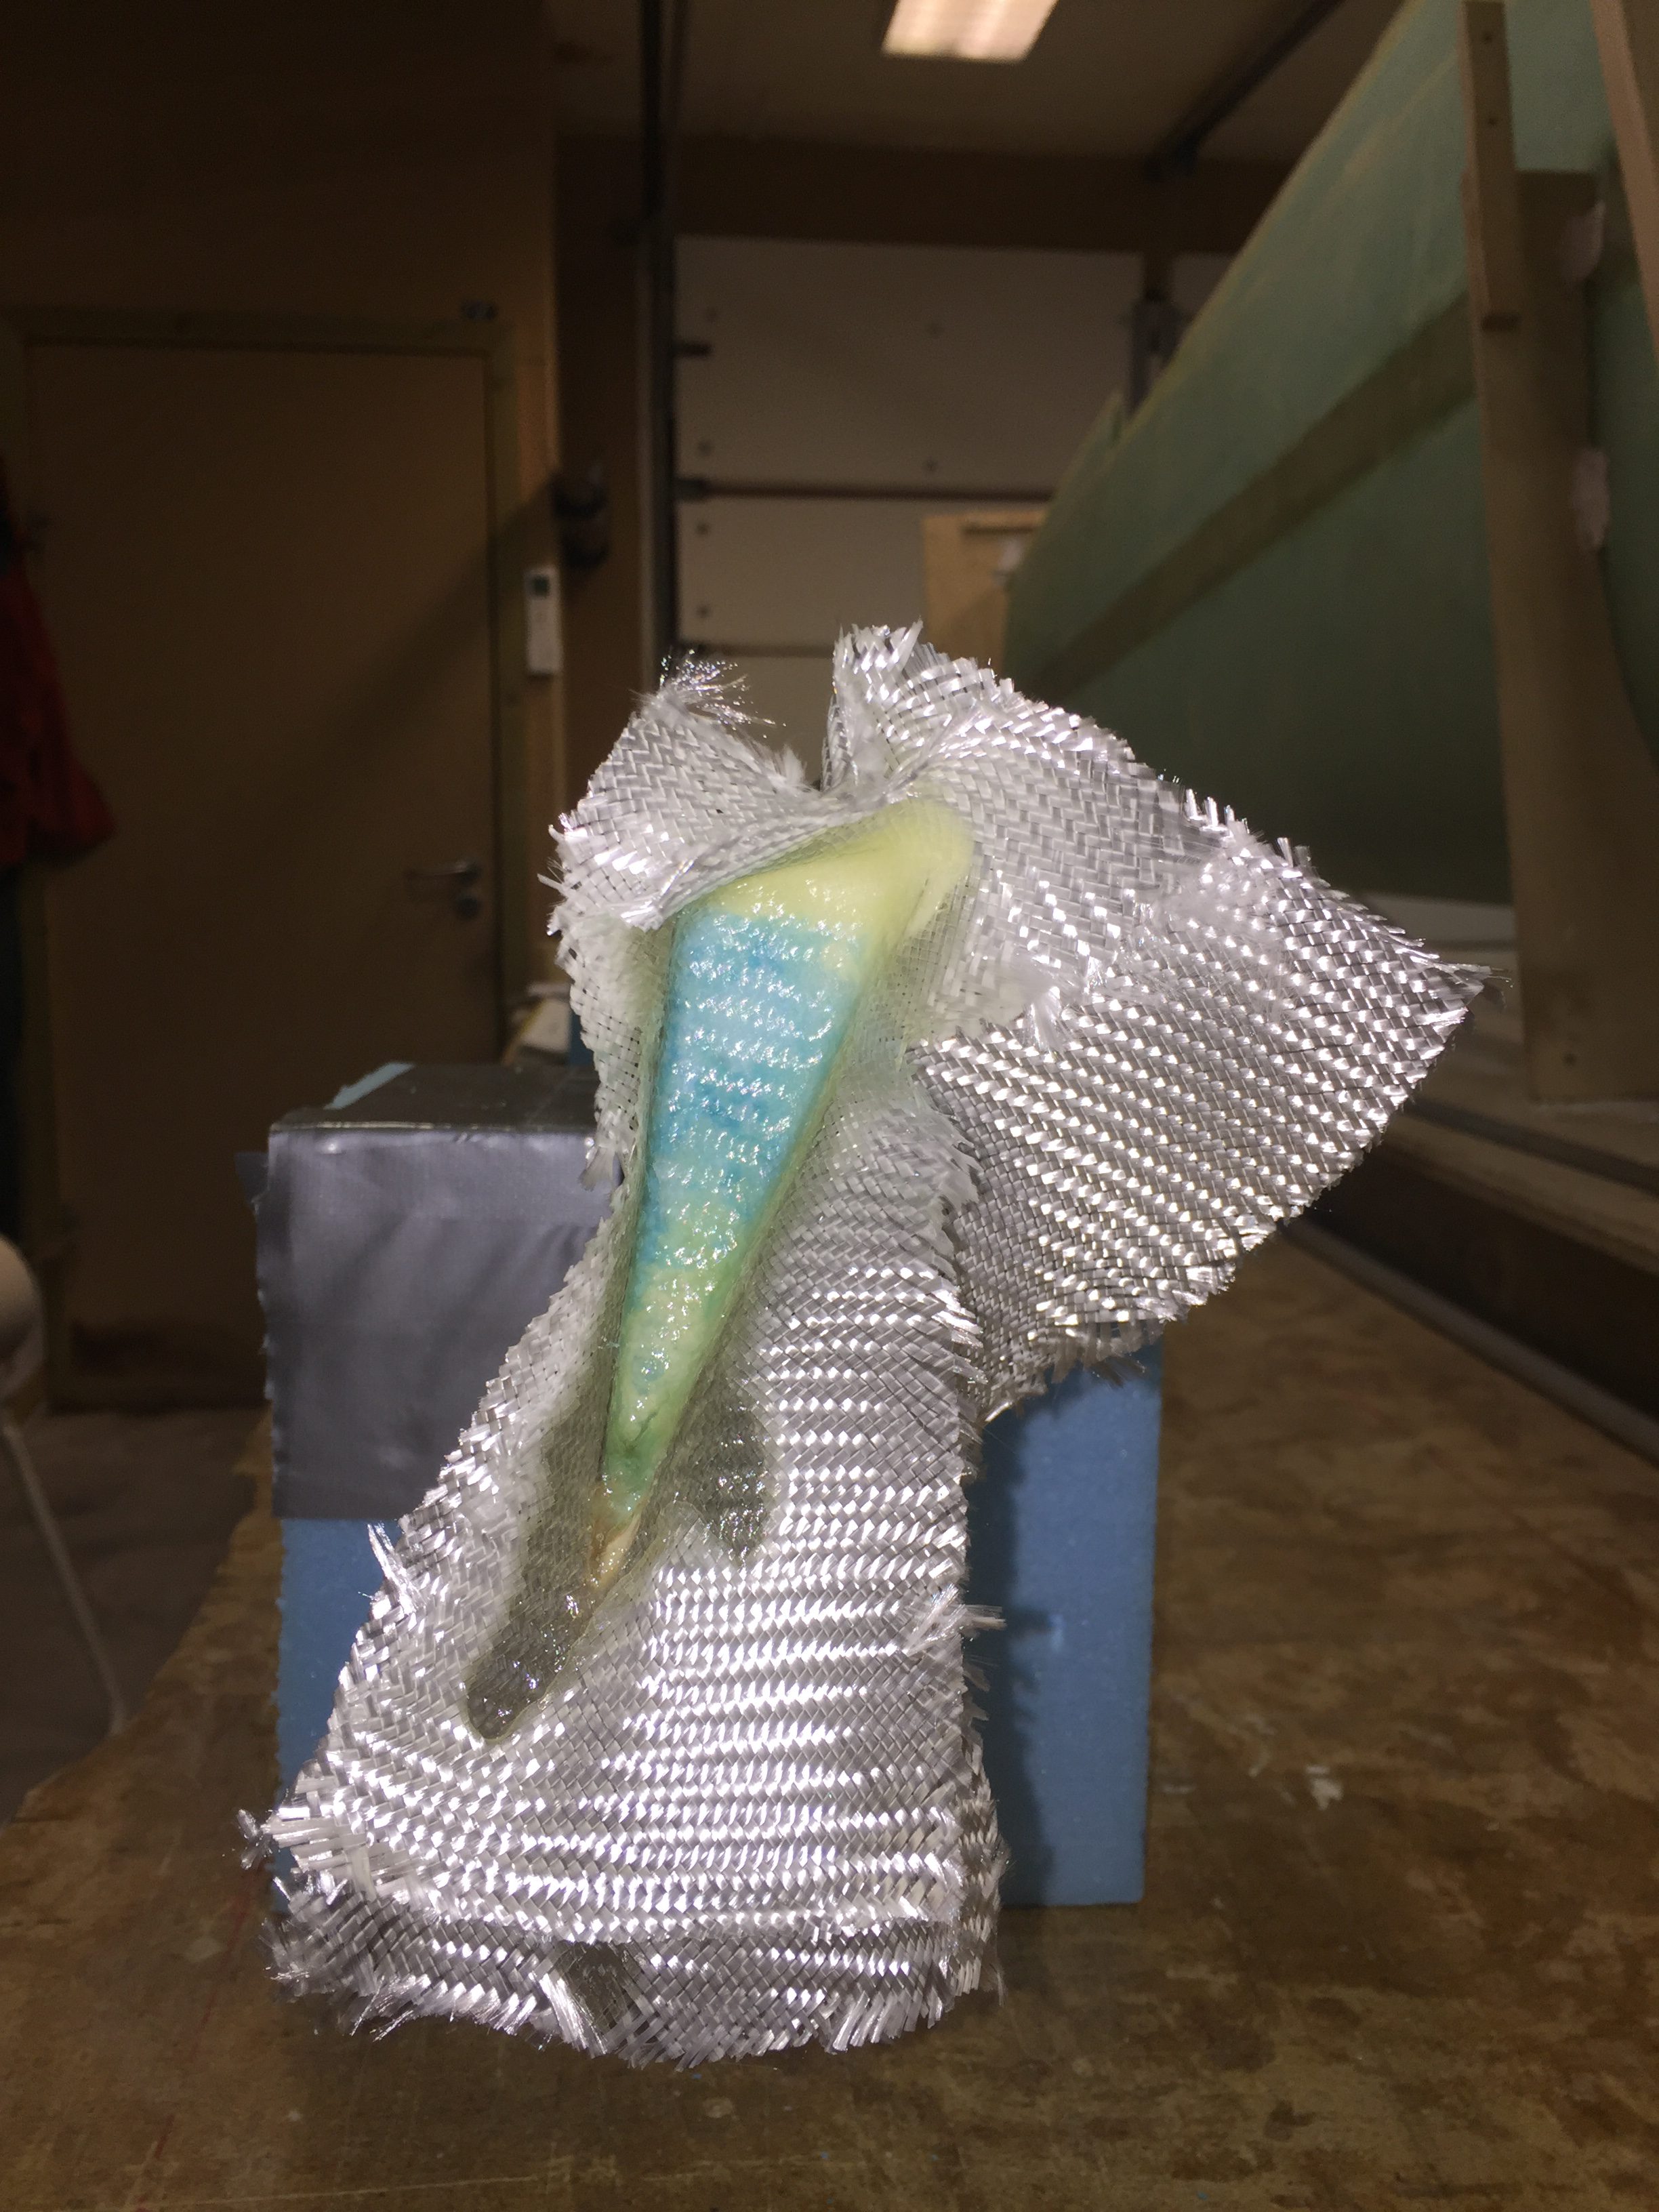
2017-03-20: Prepared the aileron core for the aluminum inserts A2 and A5 (2 pcs), and for the A10 tube. Glassed with 1 BID at 45, peel plied and set to cure.
2017-03-21: Carved out for the aileron ribs (actually used my Dremel with various bits).

Then 2 plies of BID into each rib.
2017-03-23: time for the hinges. I will use click bonds instead of screws. I should have made a recession in the foam before glassing, but didn’t think of that. Will do that on the left wing. Instead I marked the perimeter of the click bond head and sanded down one ply of glass. I will add more glass under the hinge lip and over the click bond so I am no afraid of loosing strength here.
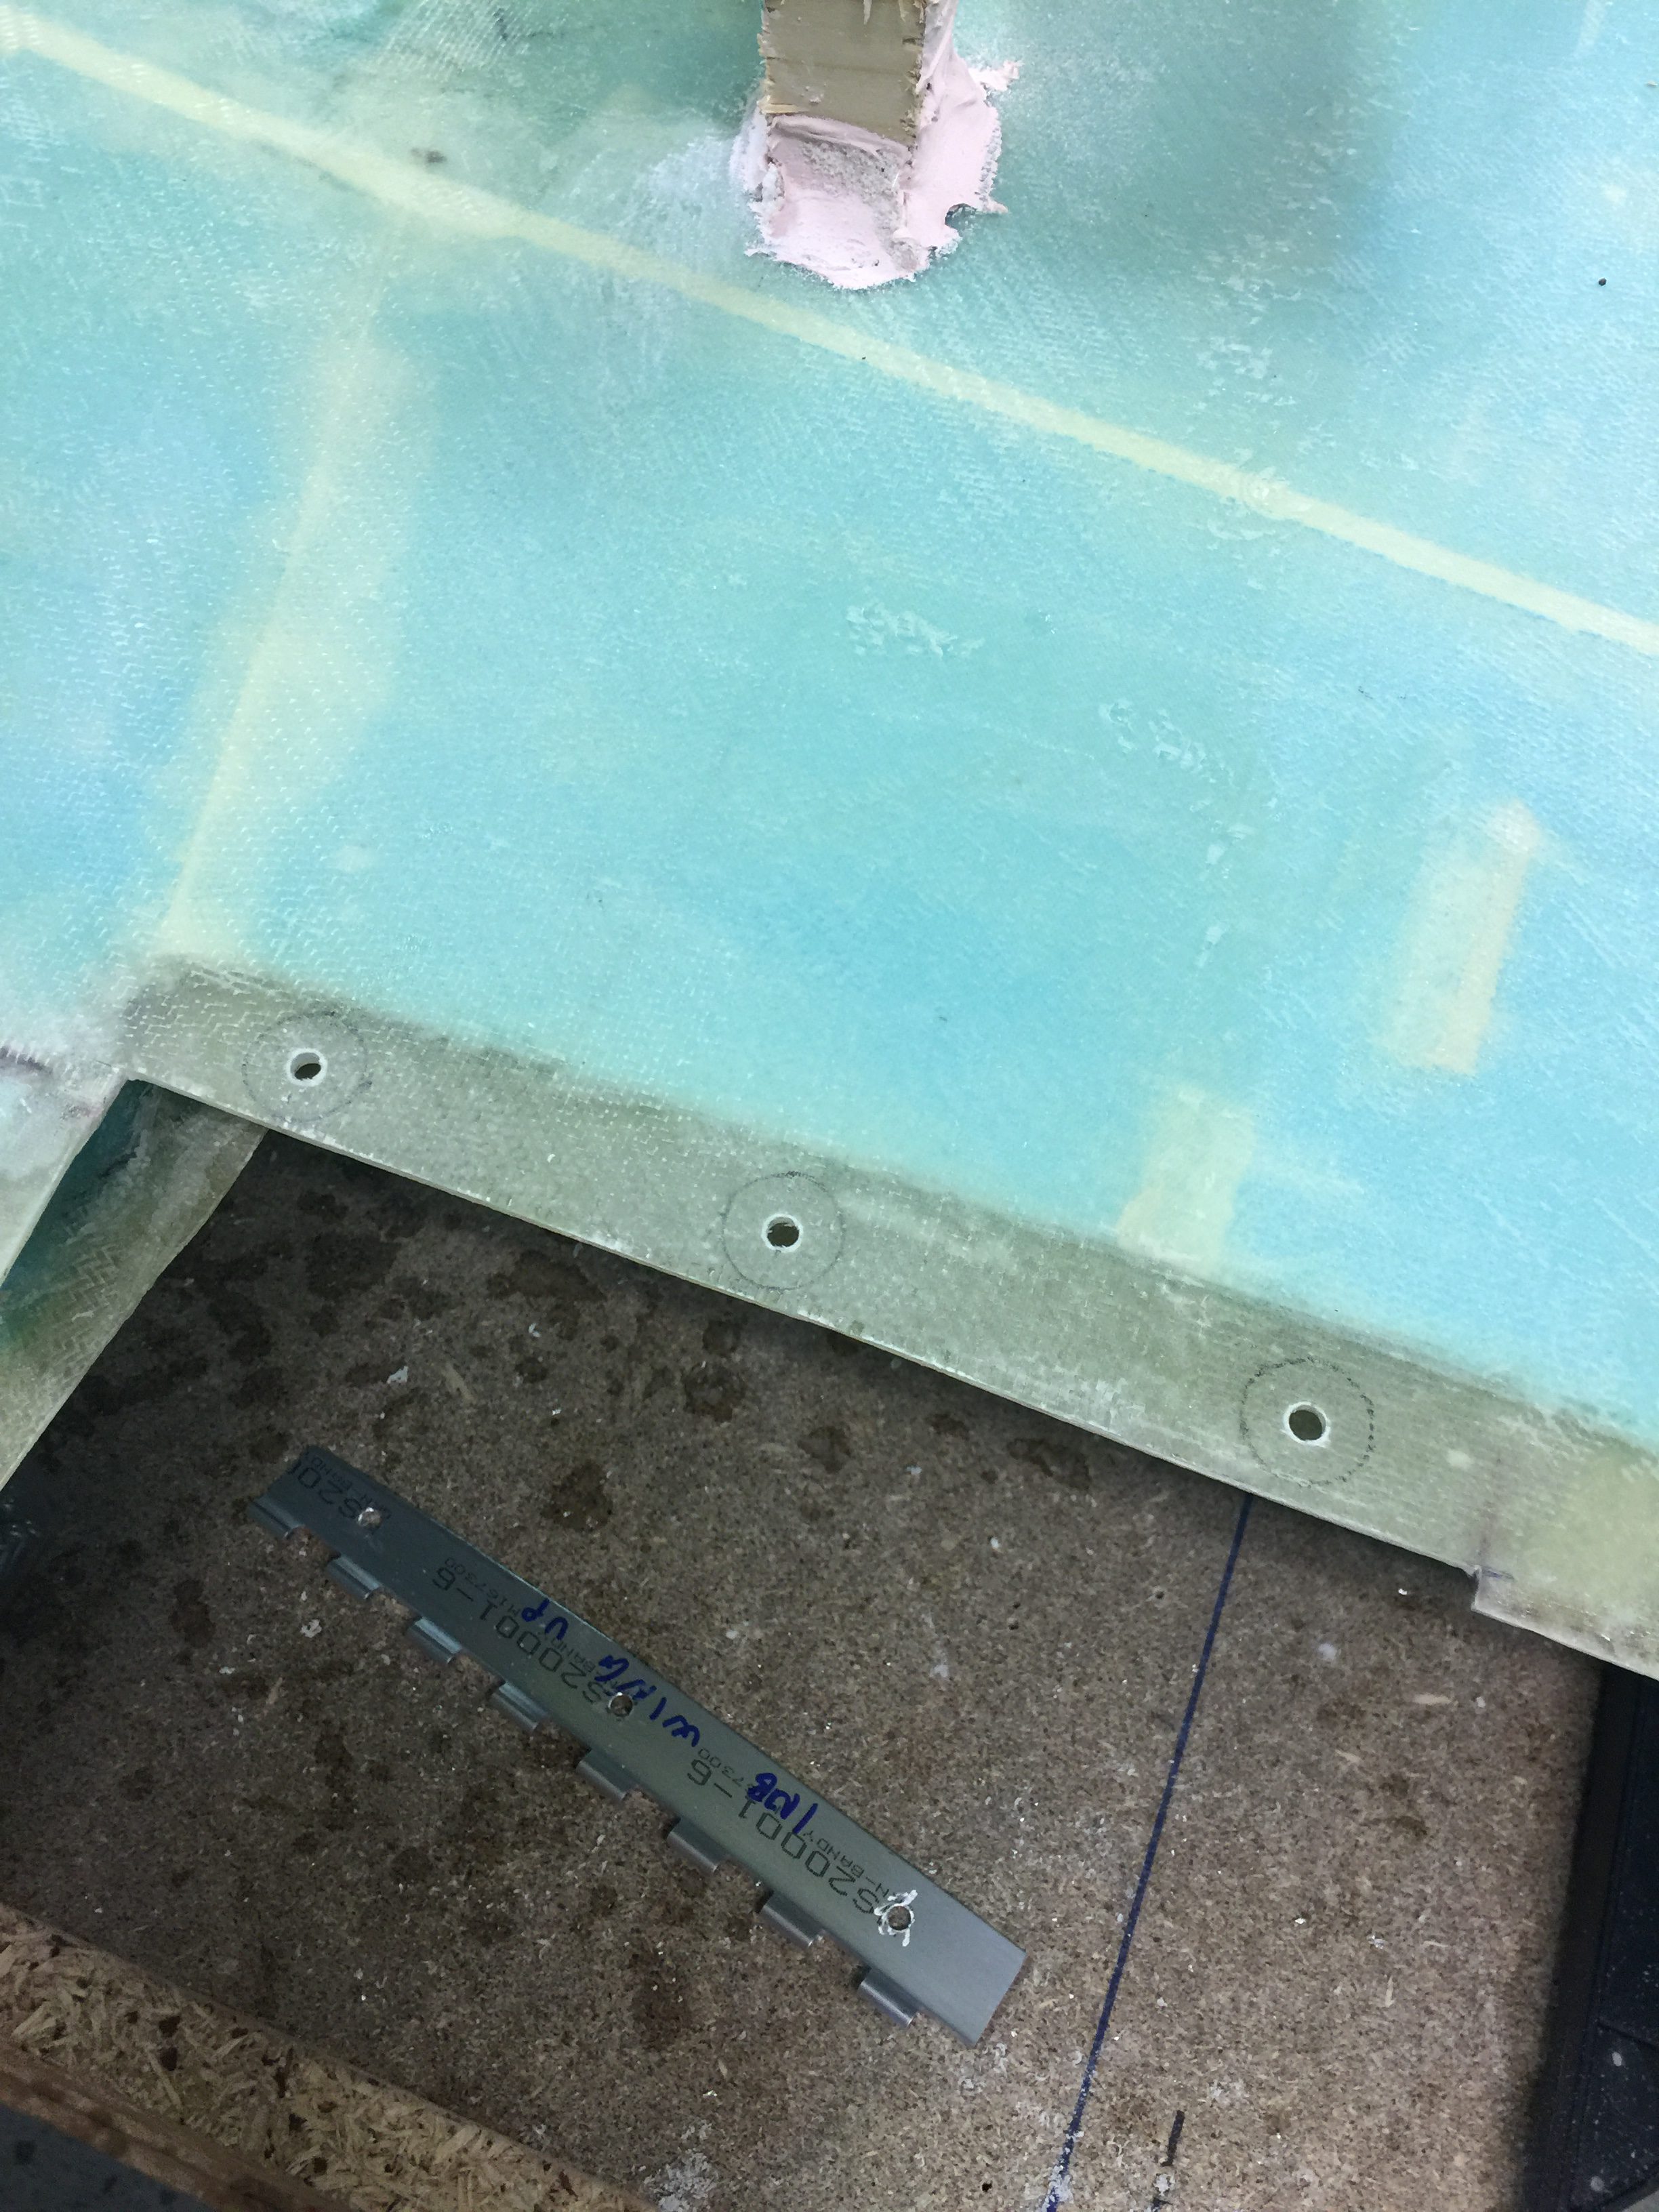
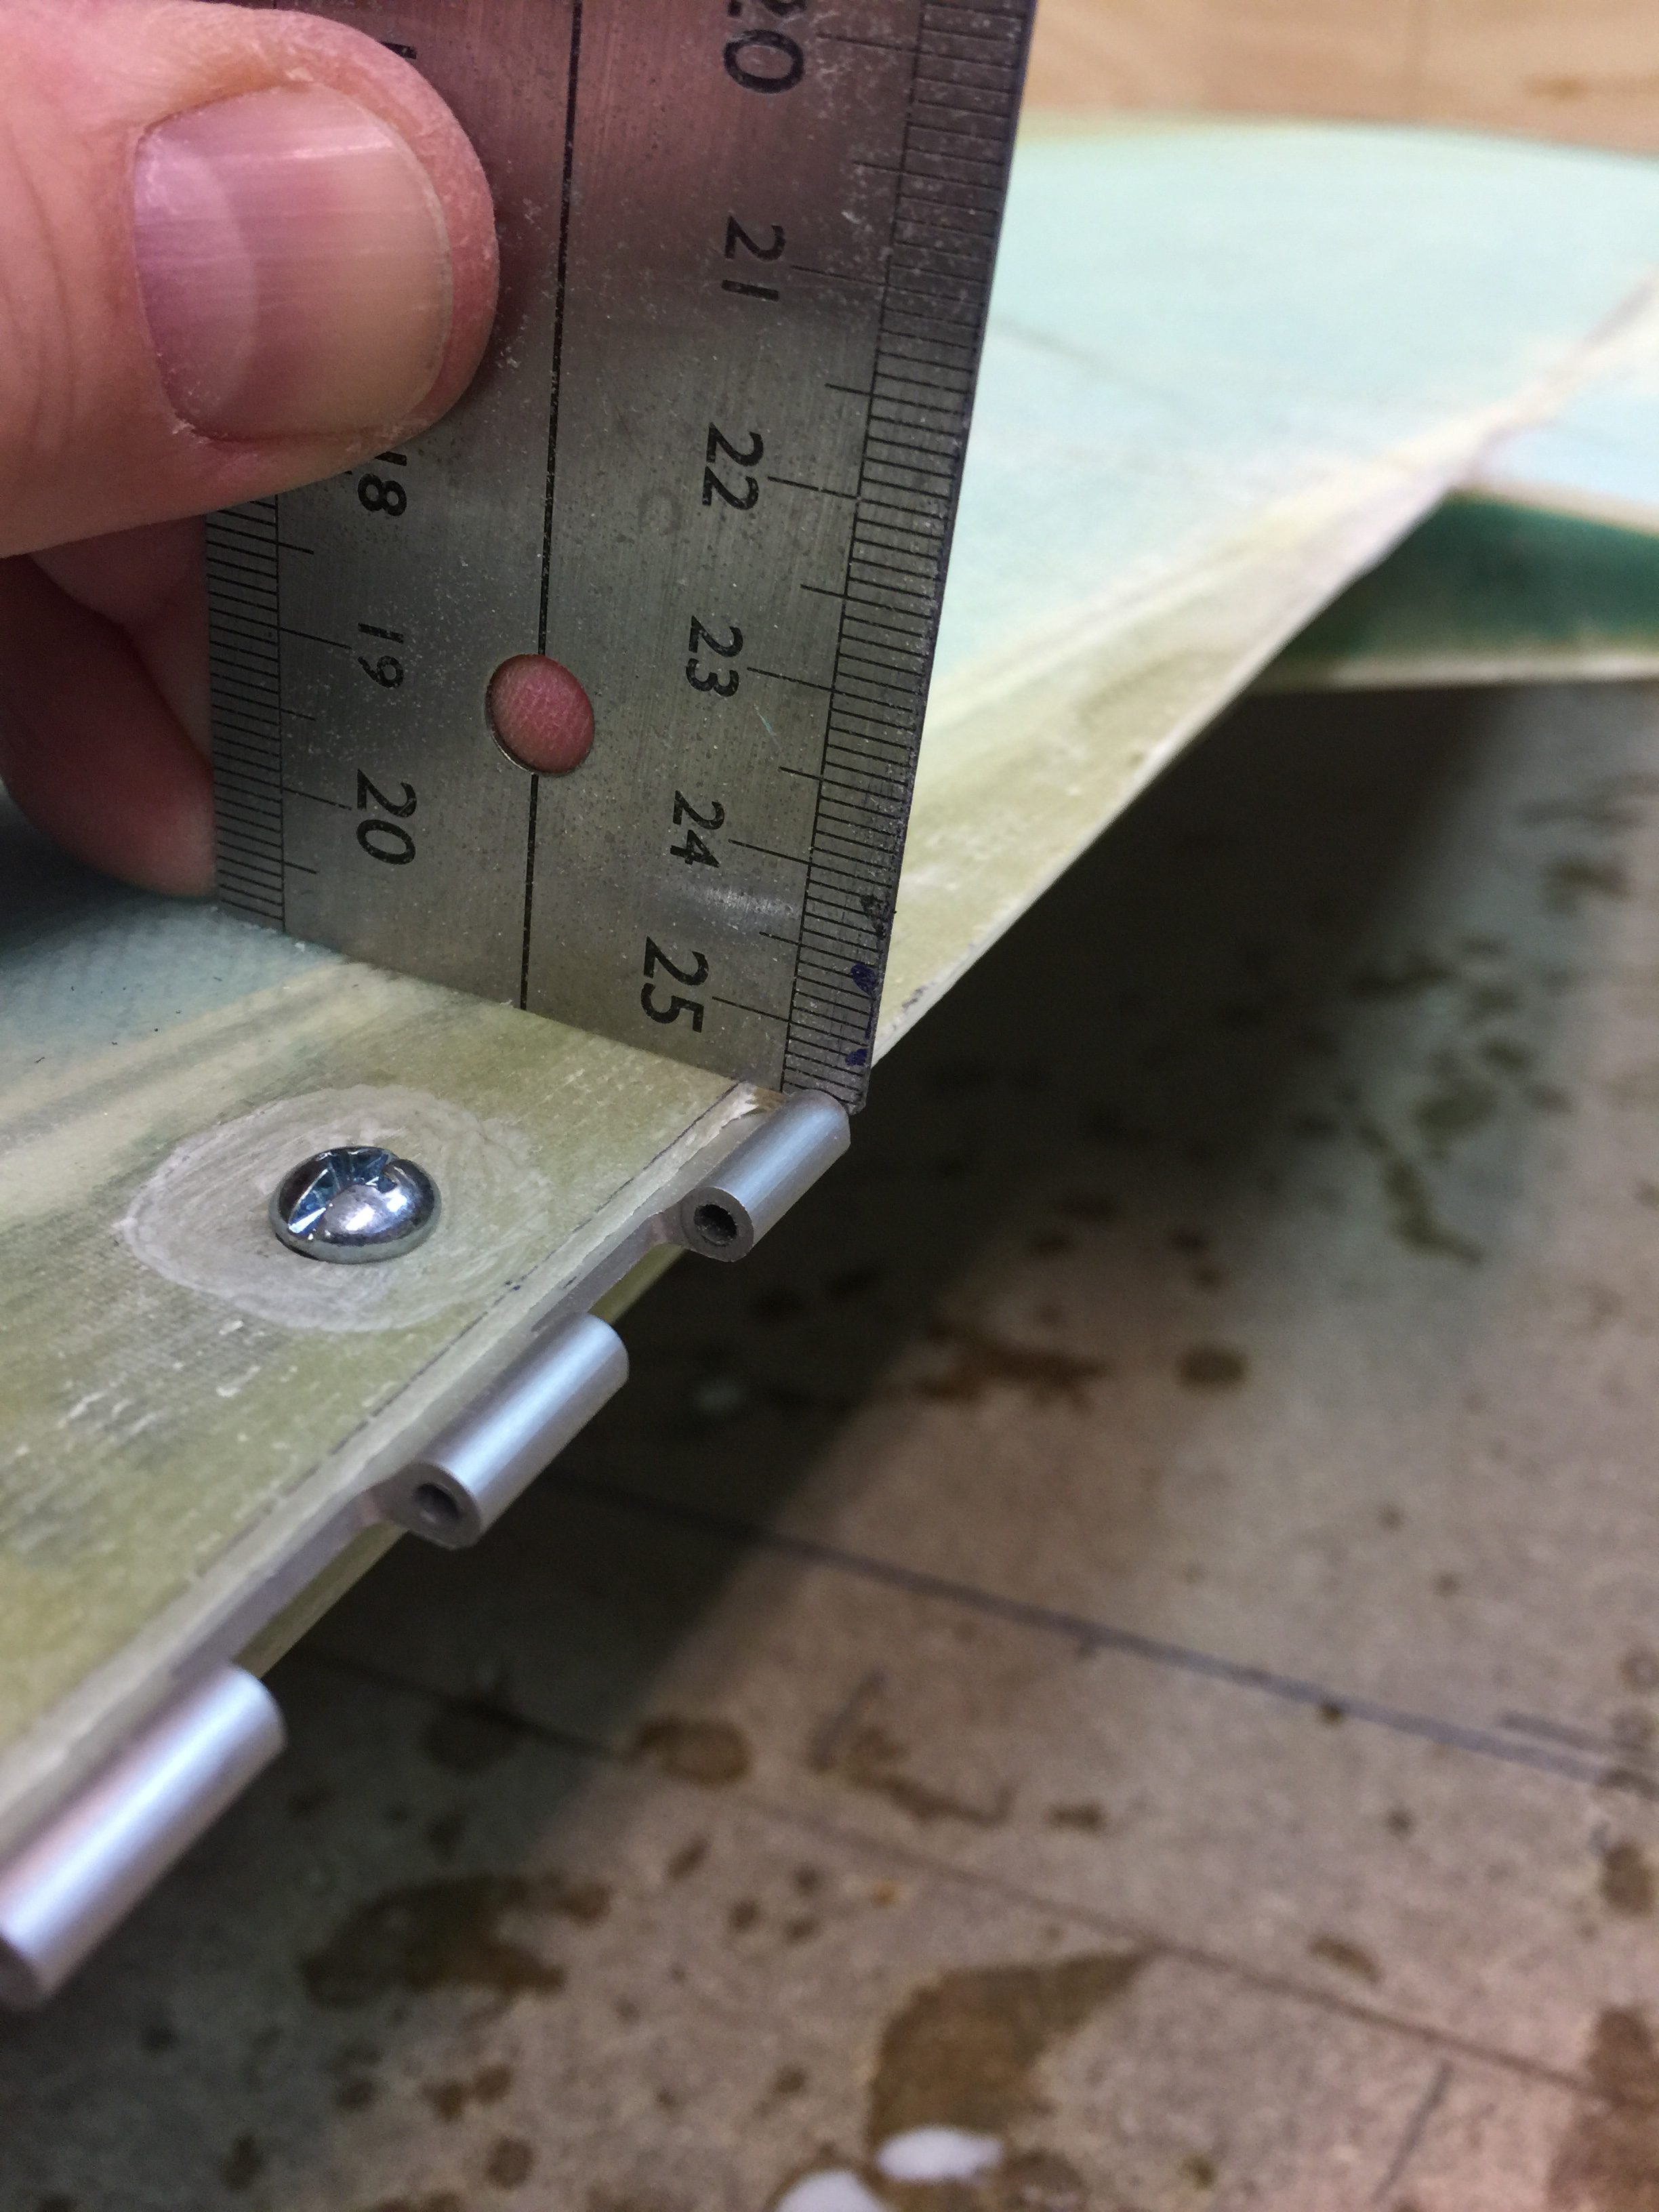
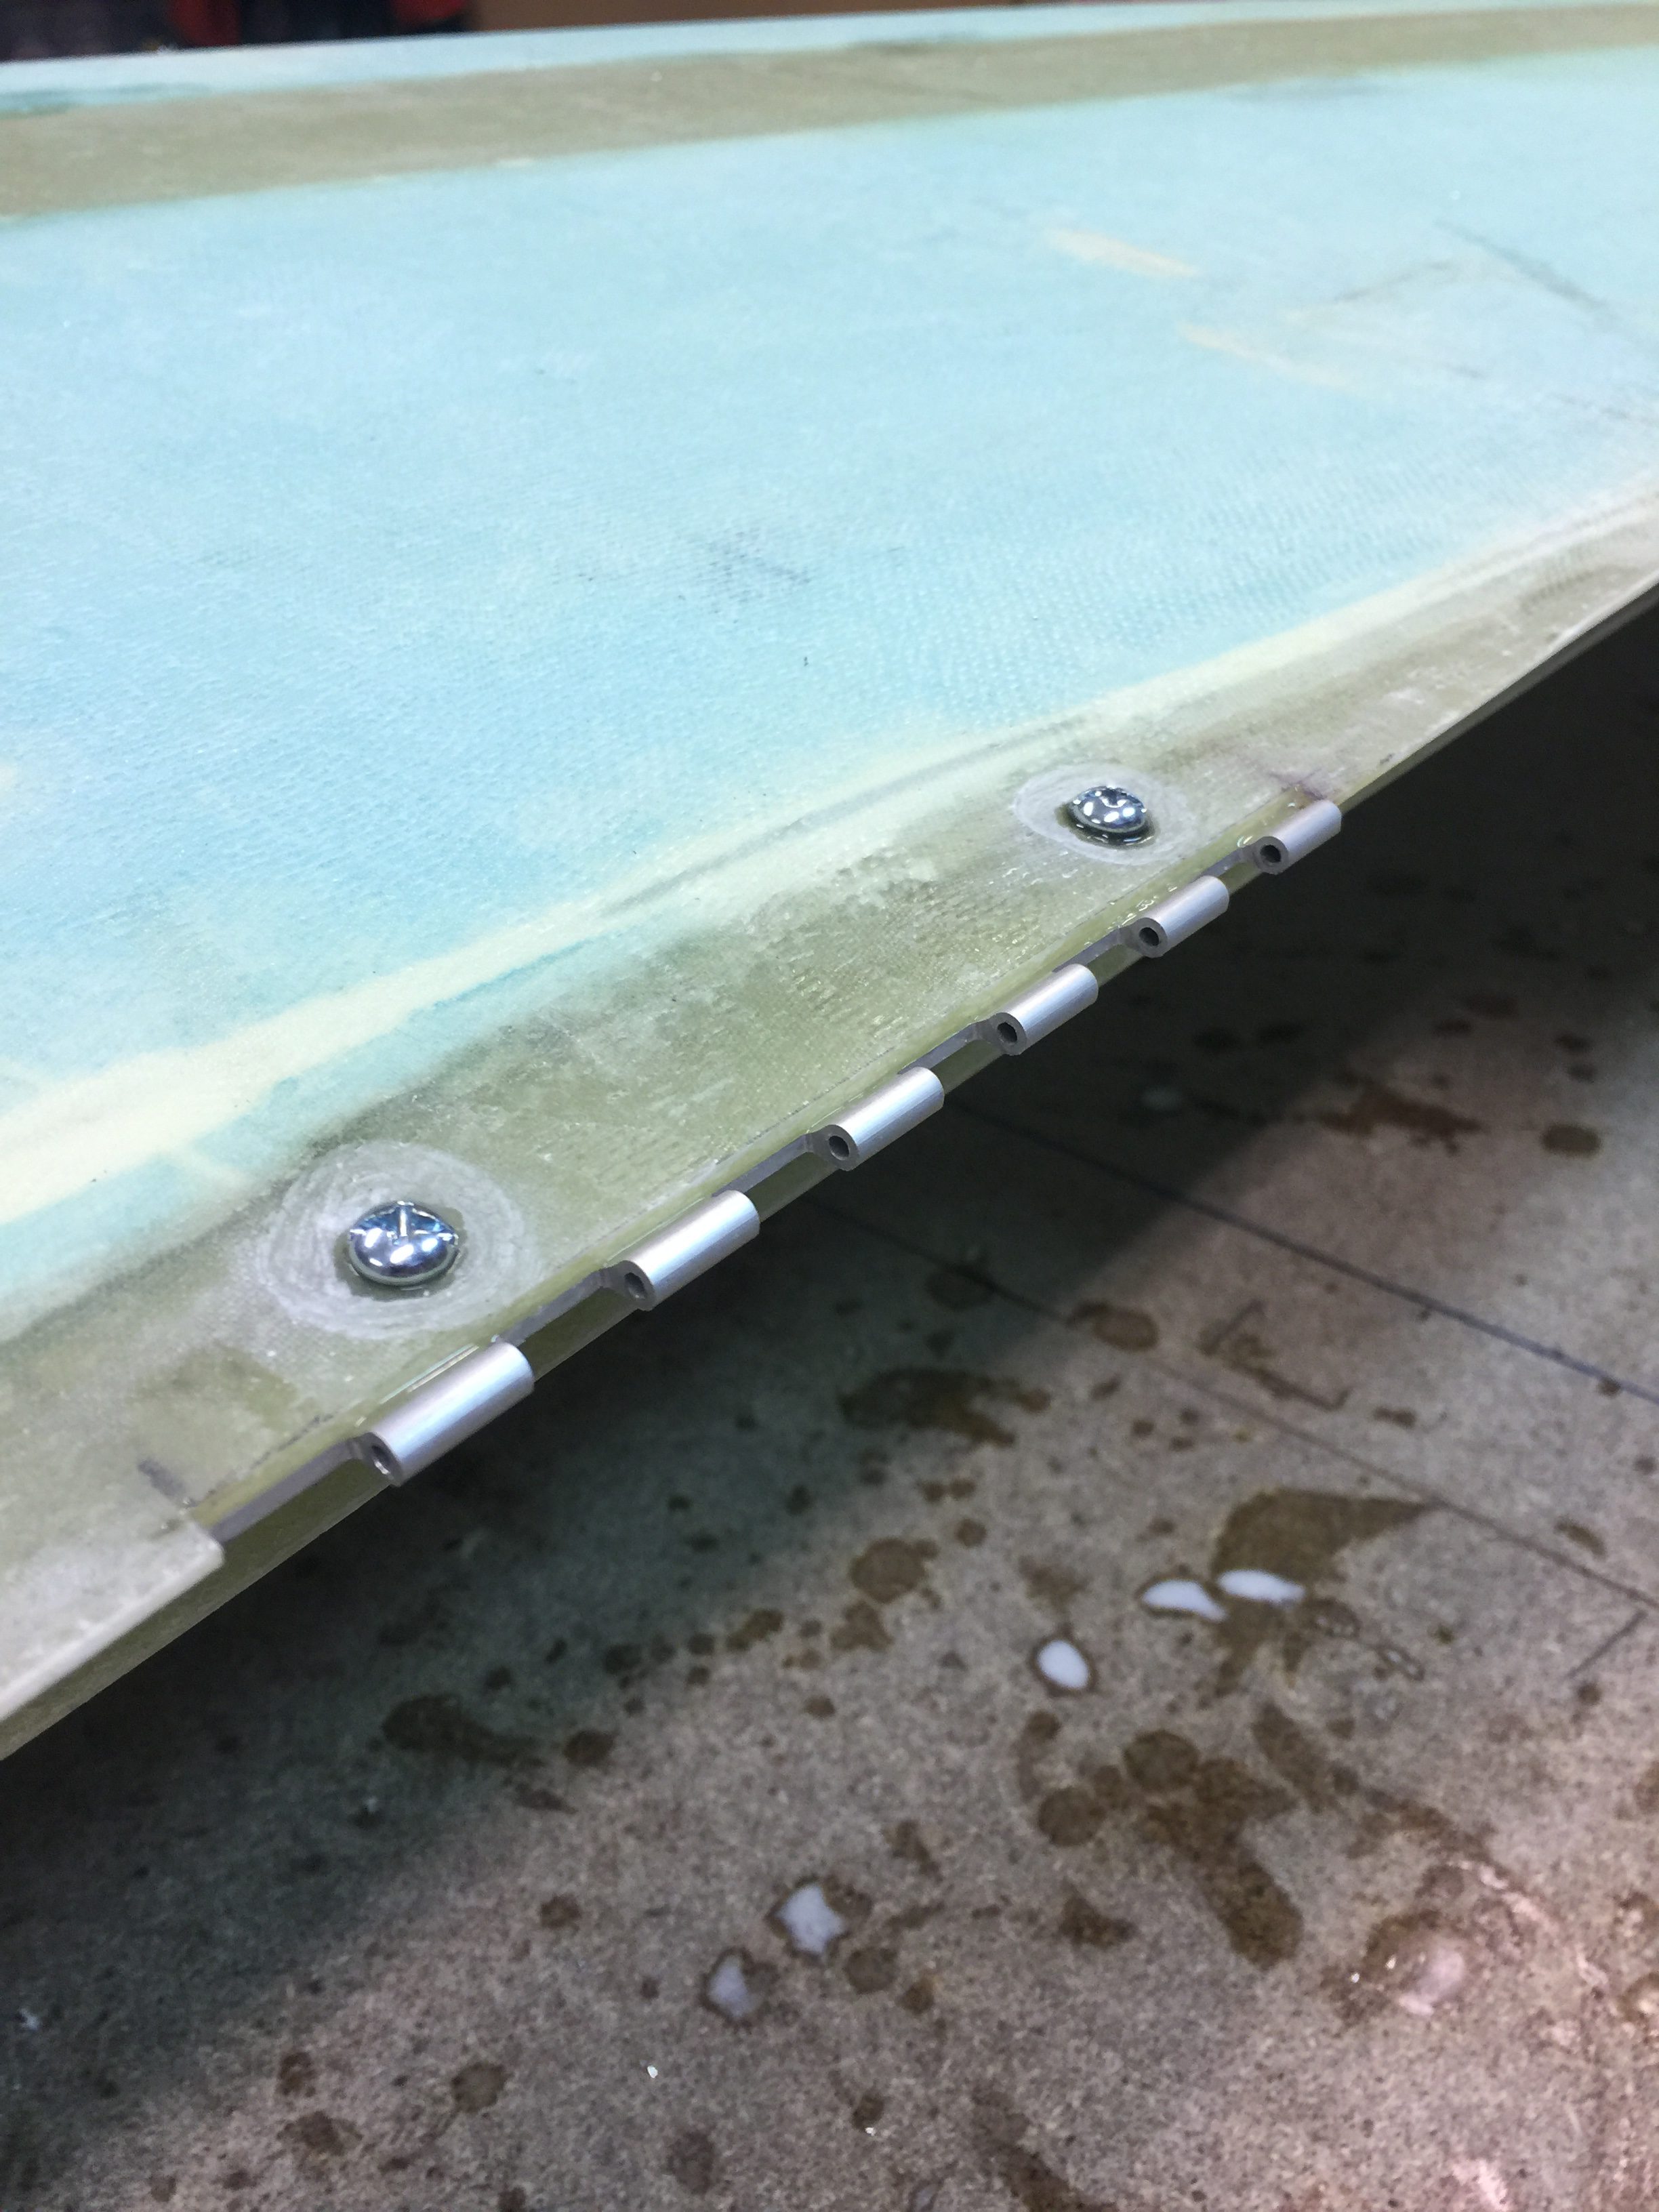
I mounted the hinges temporary using some standard screws from the hardware store to see wether I have to add some glass between the hinge and the lip to lower the hinge. It should be flush with the top skin.
I made a pad of 5 plies with BID, covered the hinge with duct tape and mounted the hinge again. After cure I will pop it loose and remove the temporary screws.
Here the recession for the click bonds are visible.
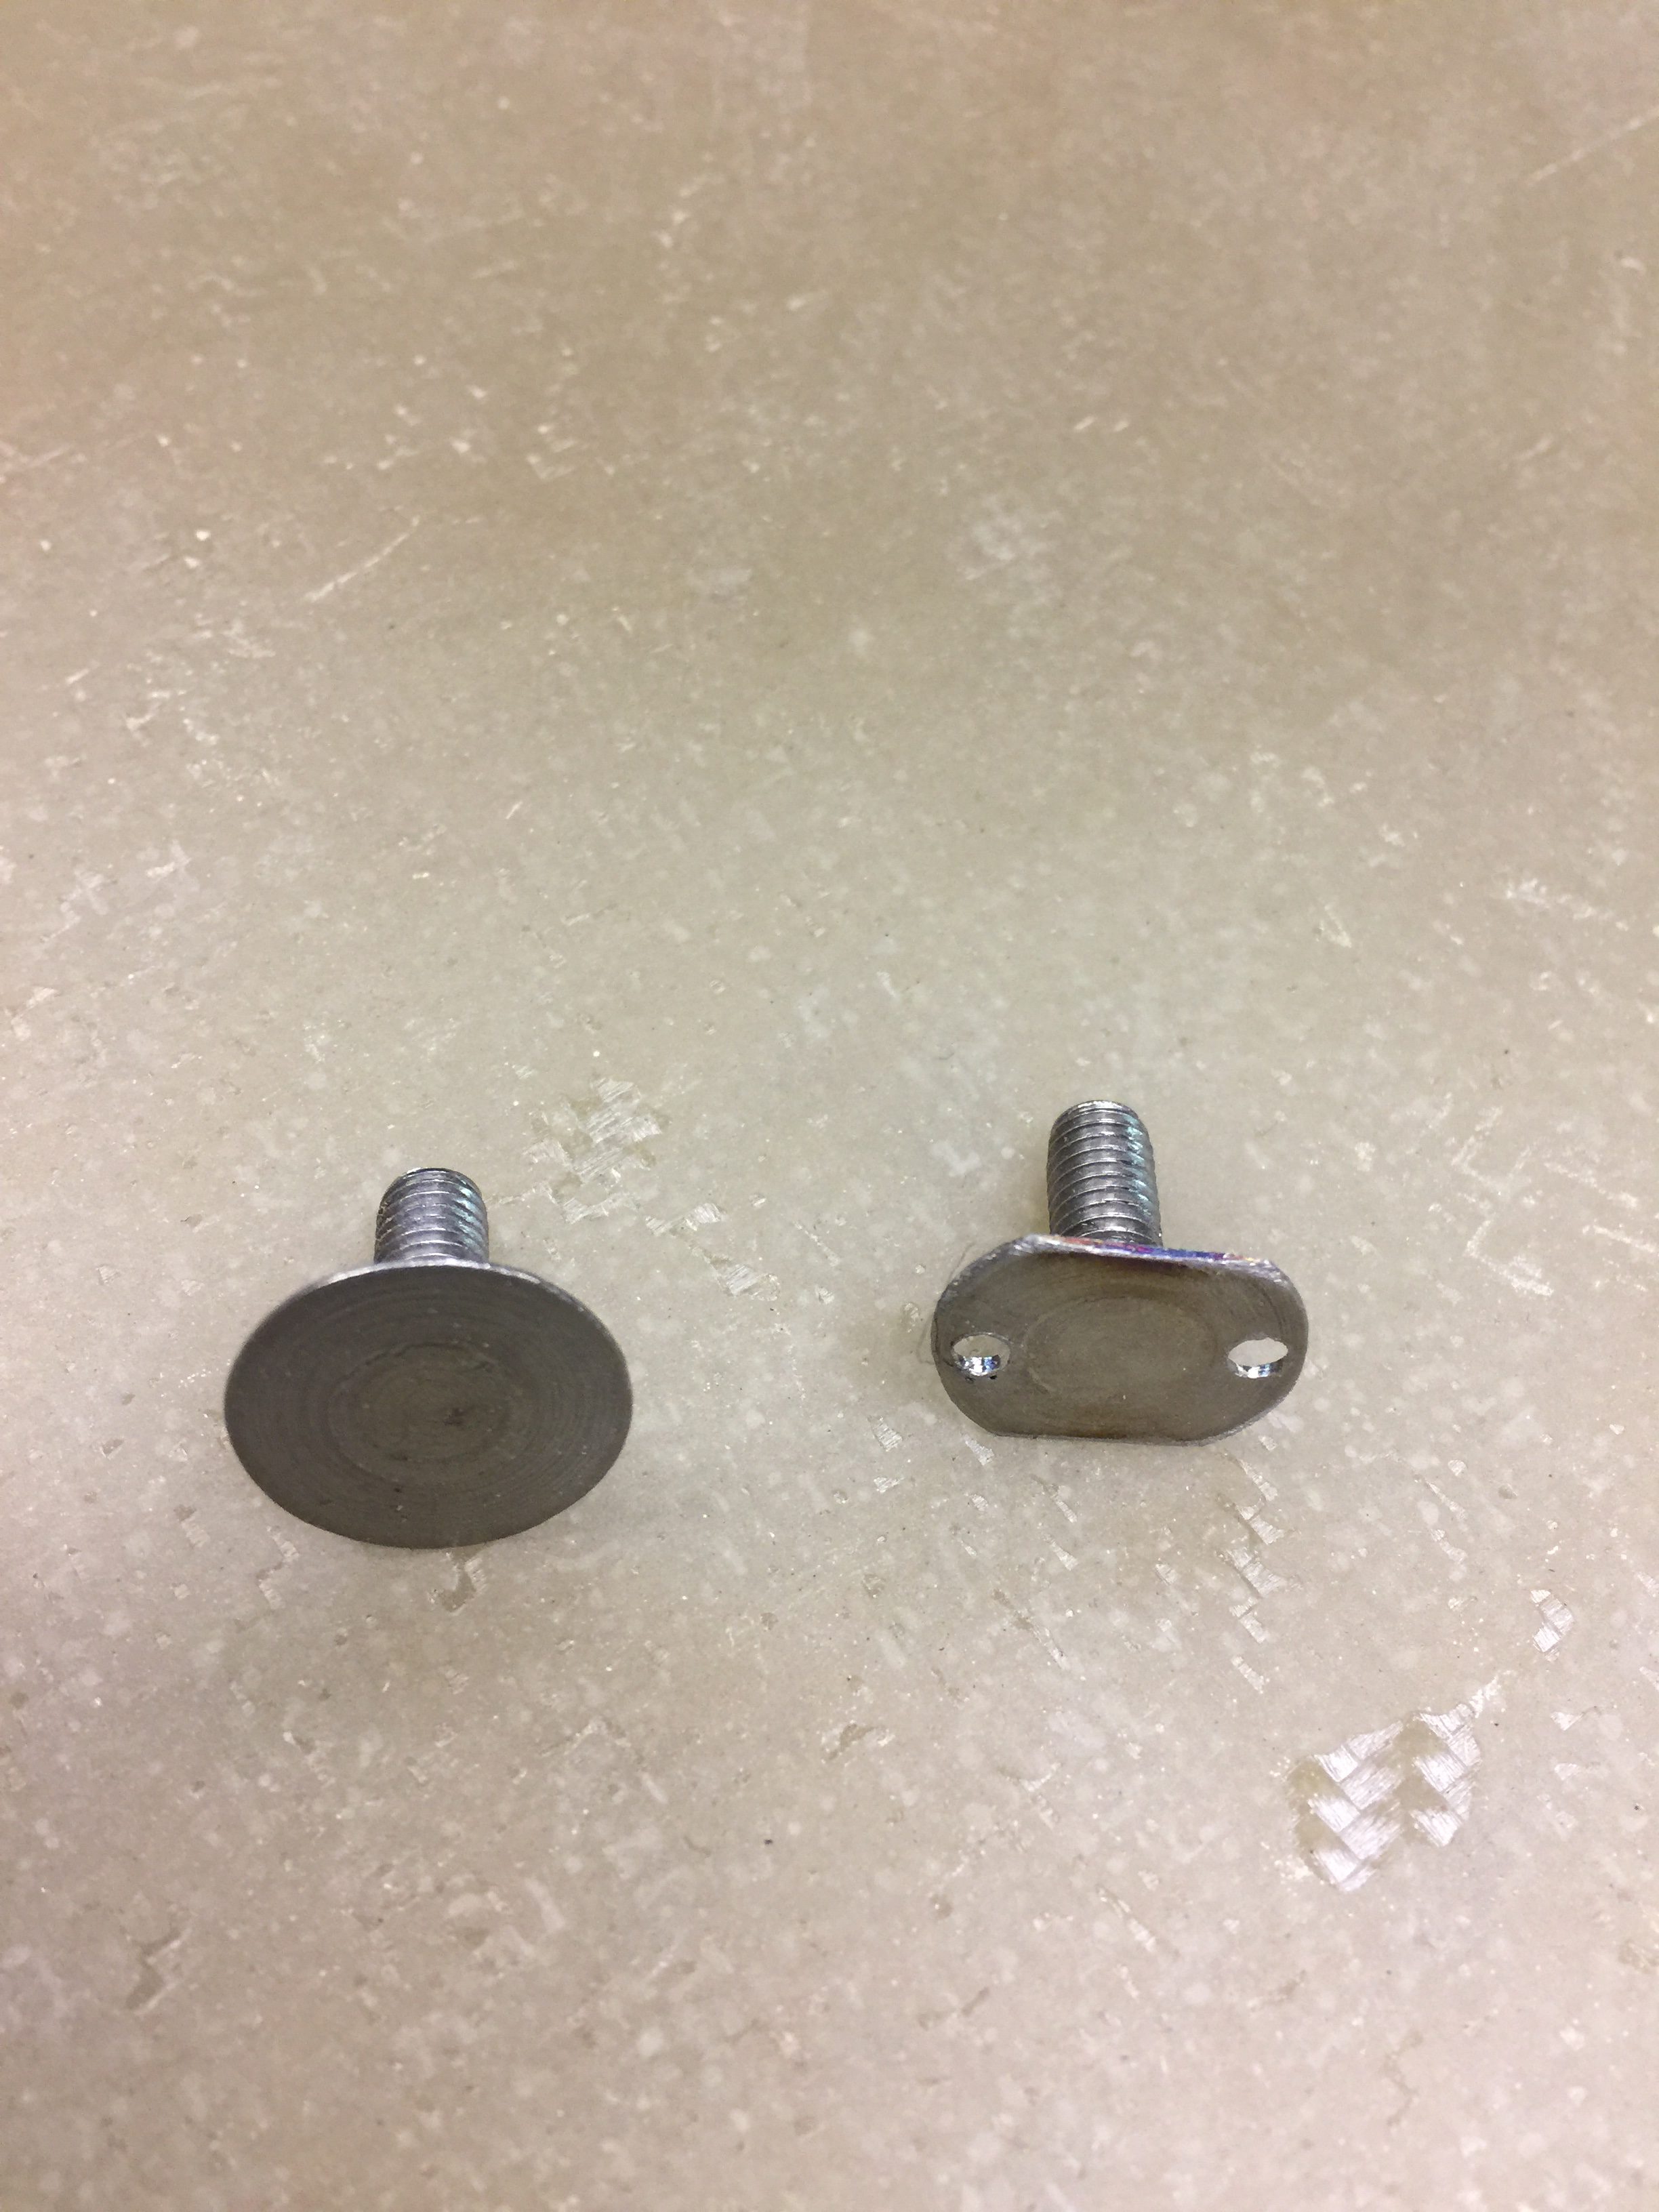
The click bonds have a round head. Some fear that they will come loose after they are glued to the wing and start to rotate when the nut is tightened. To avoid this I have modified the head a bit, as many other have done. This will hopefully secure it even more. The two holes will allow some flox to come through and act as another “anchor” to secure the click bond. They who have tried to remove a click bond without these modifications claims that it is not neccessary at all since it sits so good that they had big problems to remove them at all. Well – it doesn’t hurt (belt and suspenders!).
2017-04-02: Next step is to mount the hinges in the wing – then bondo the other half of the hinge to the aileron, keeping it straight and in correct place while it cures. It turned out to be a bit more tricky than the plans two sentences about this… I had to two tries before I actually got things correct.
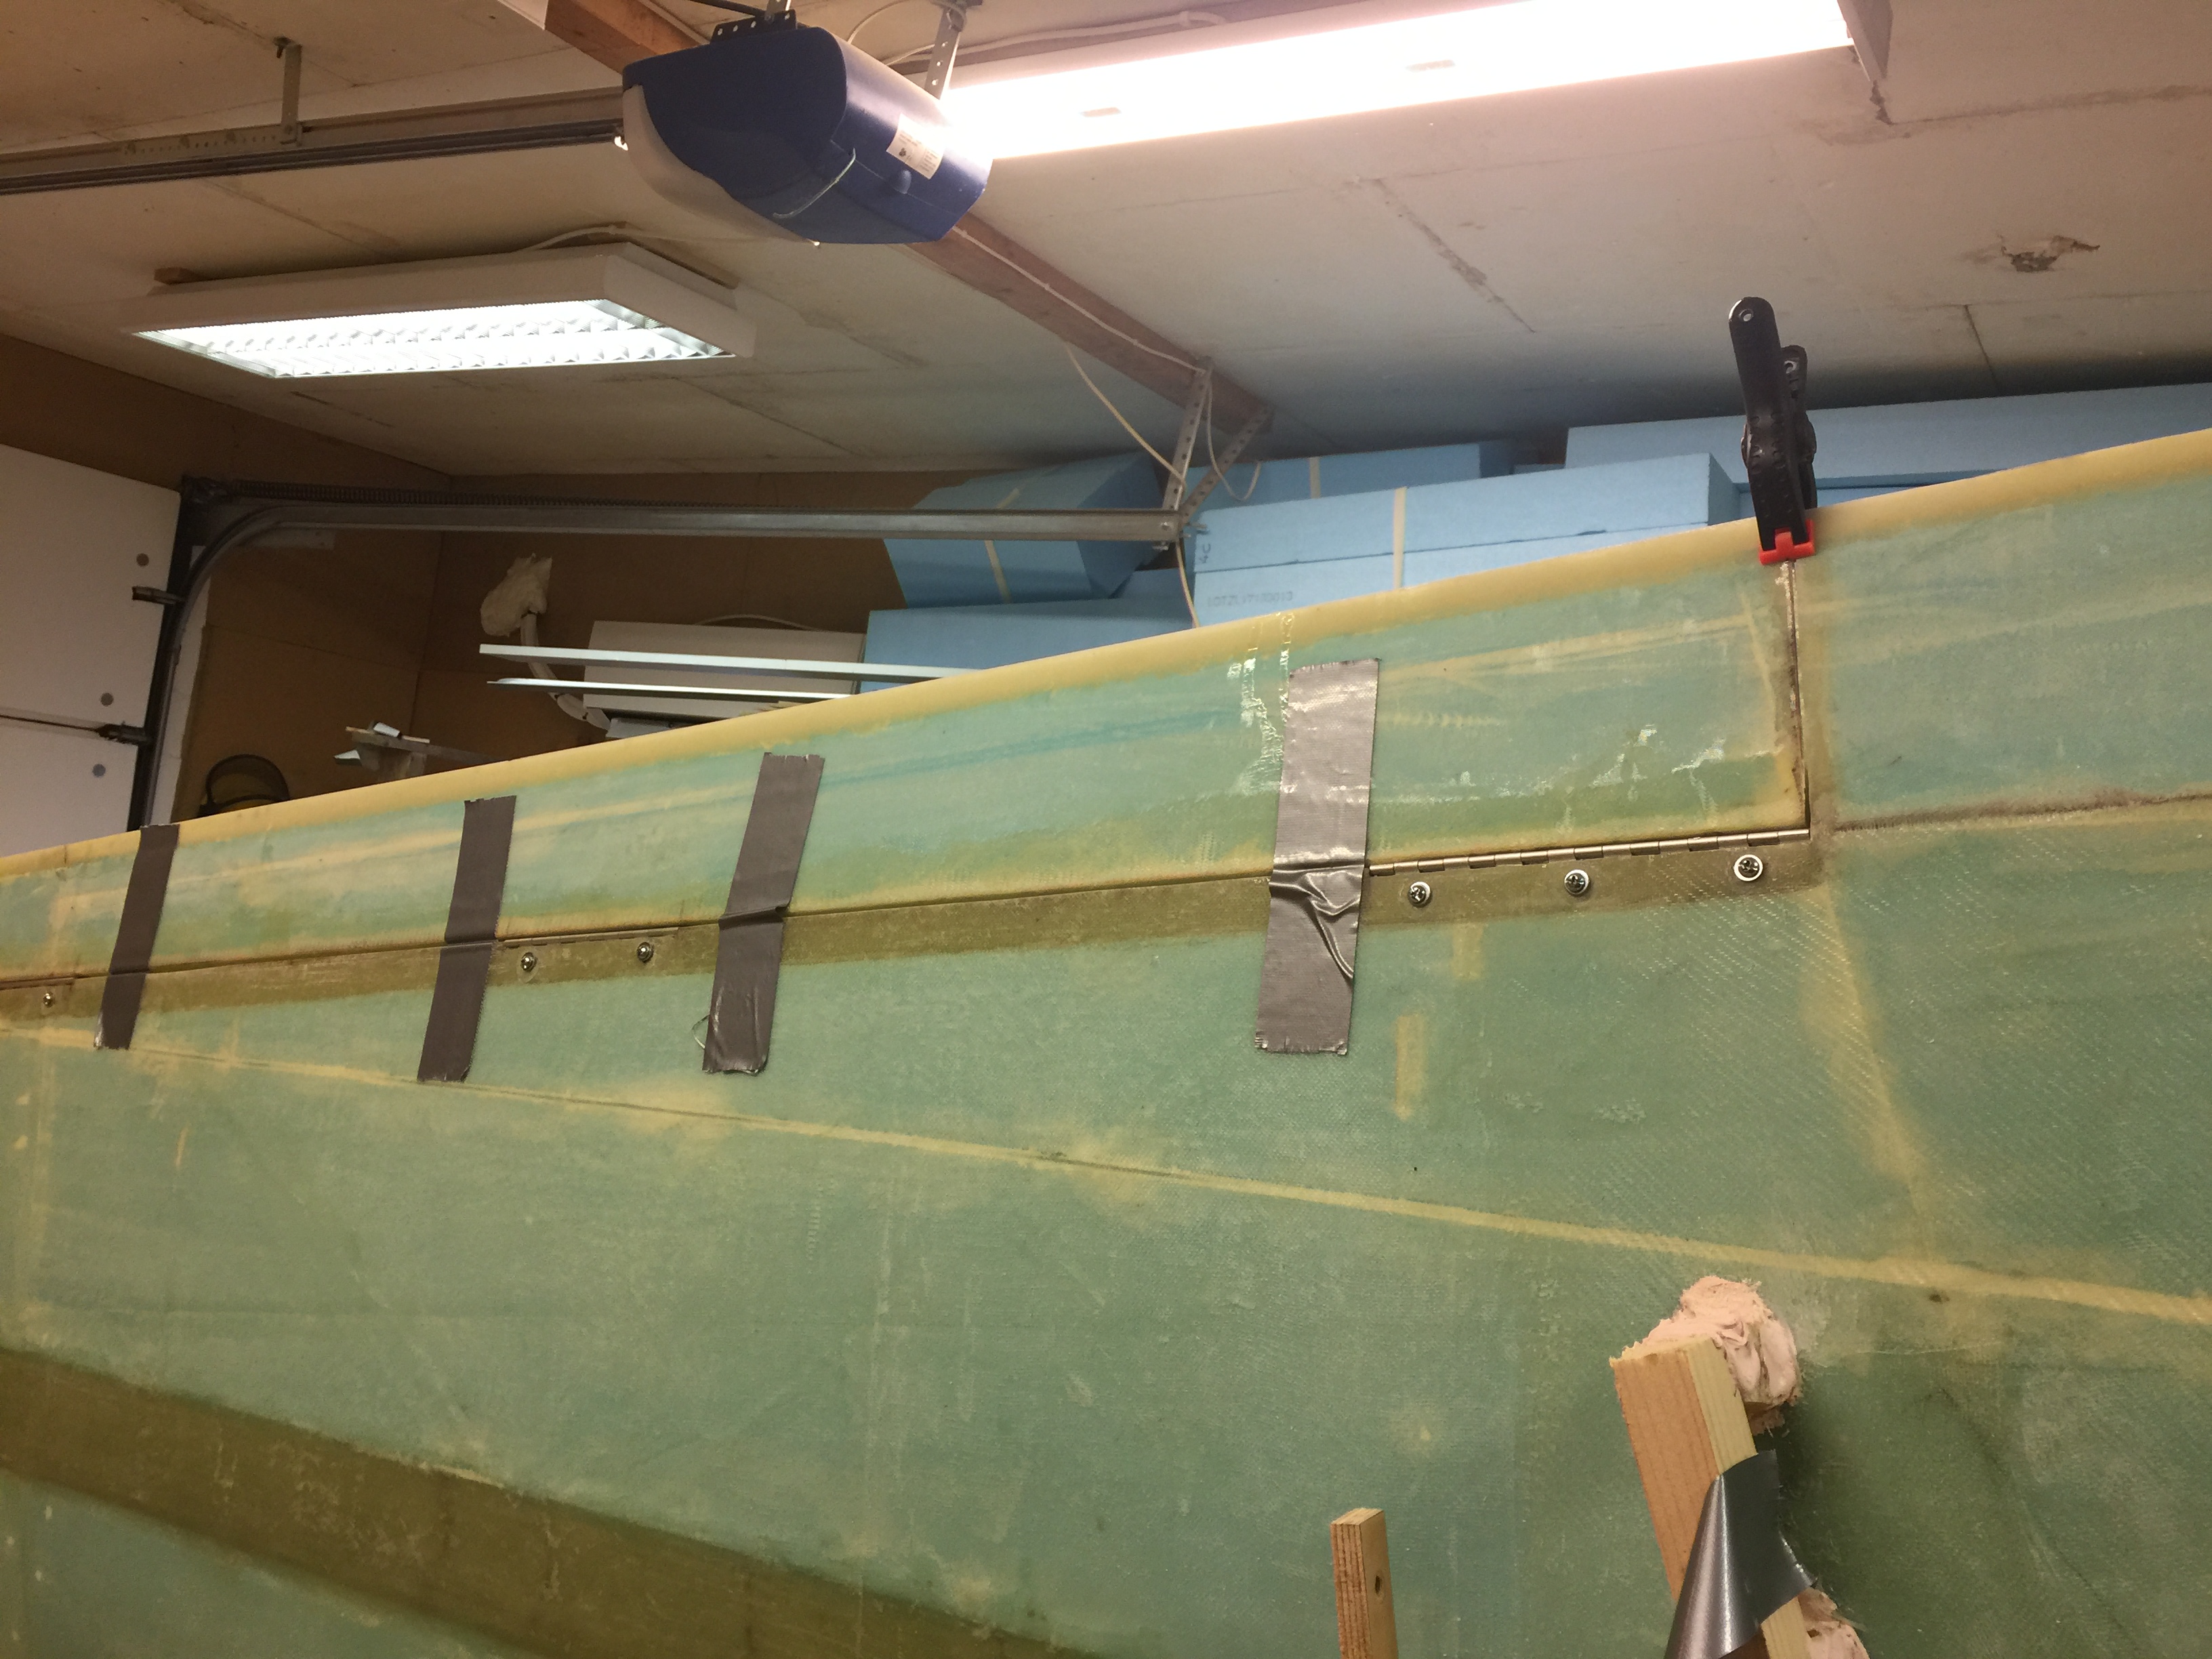
Used clamps, duct tape and my hands to hold this while it cured.
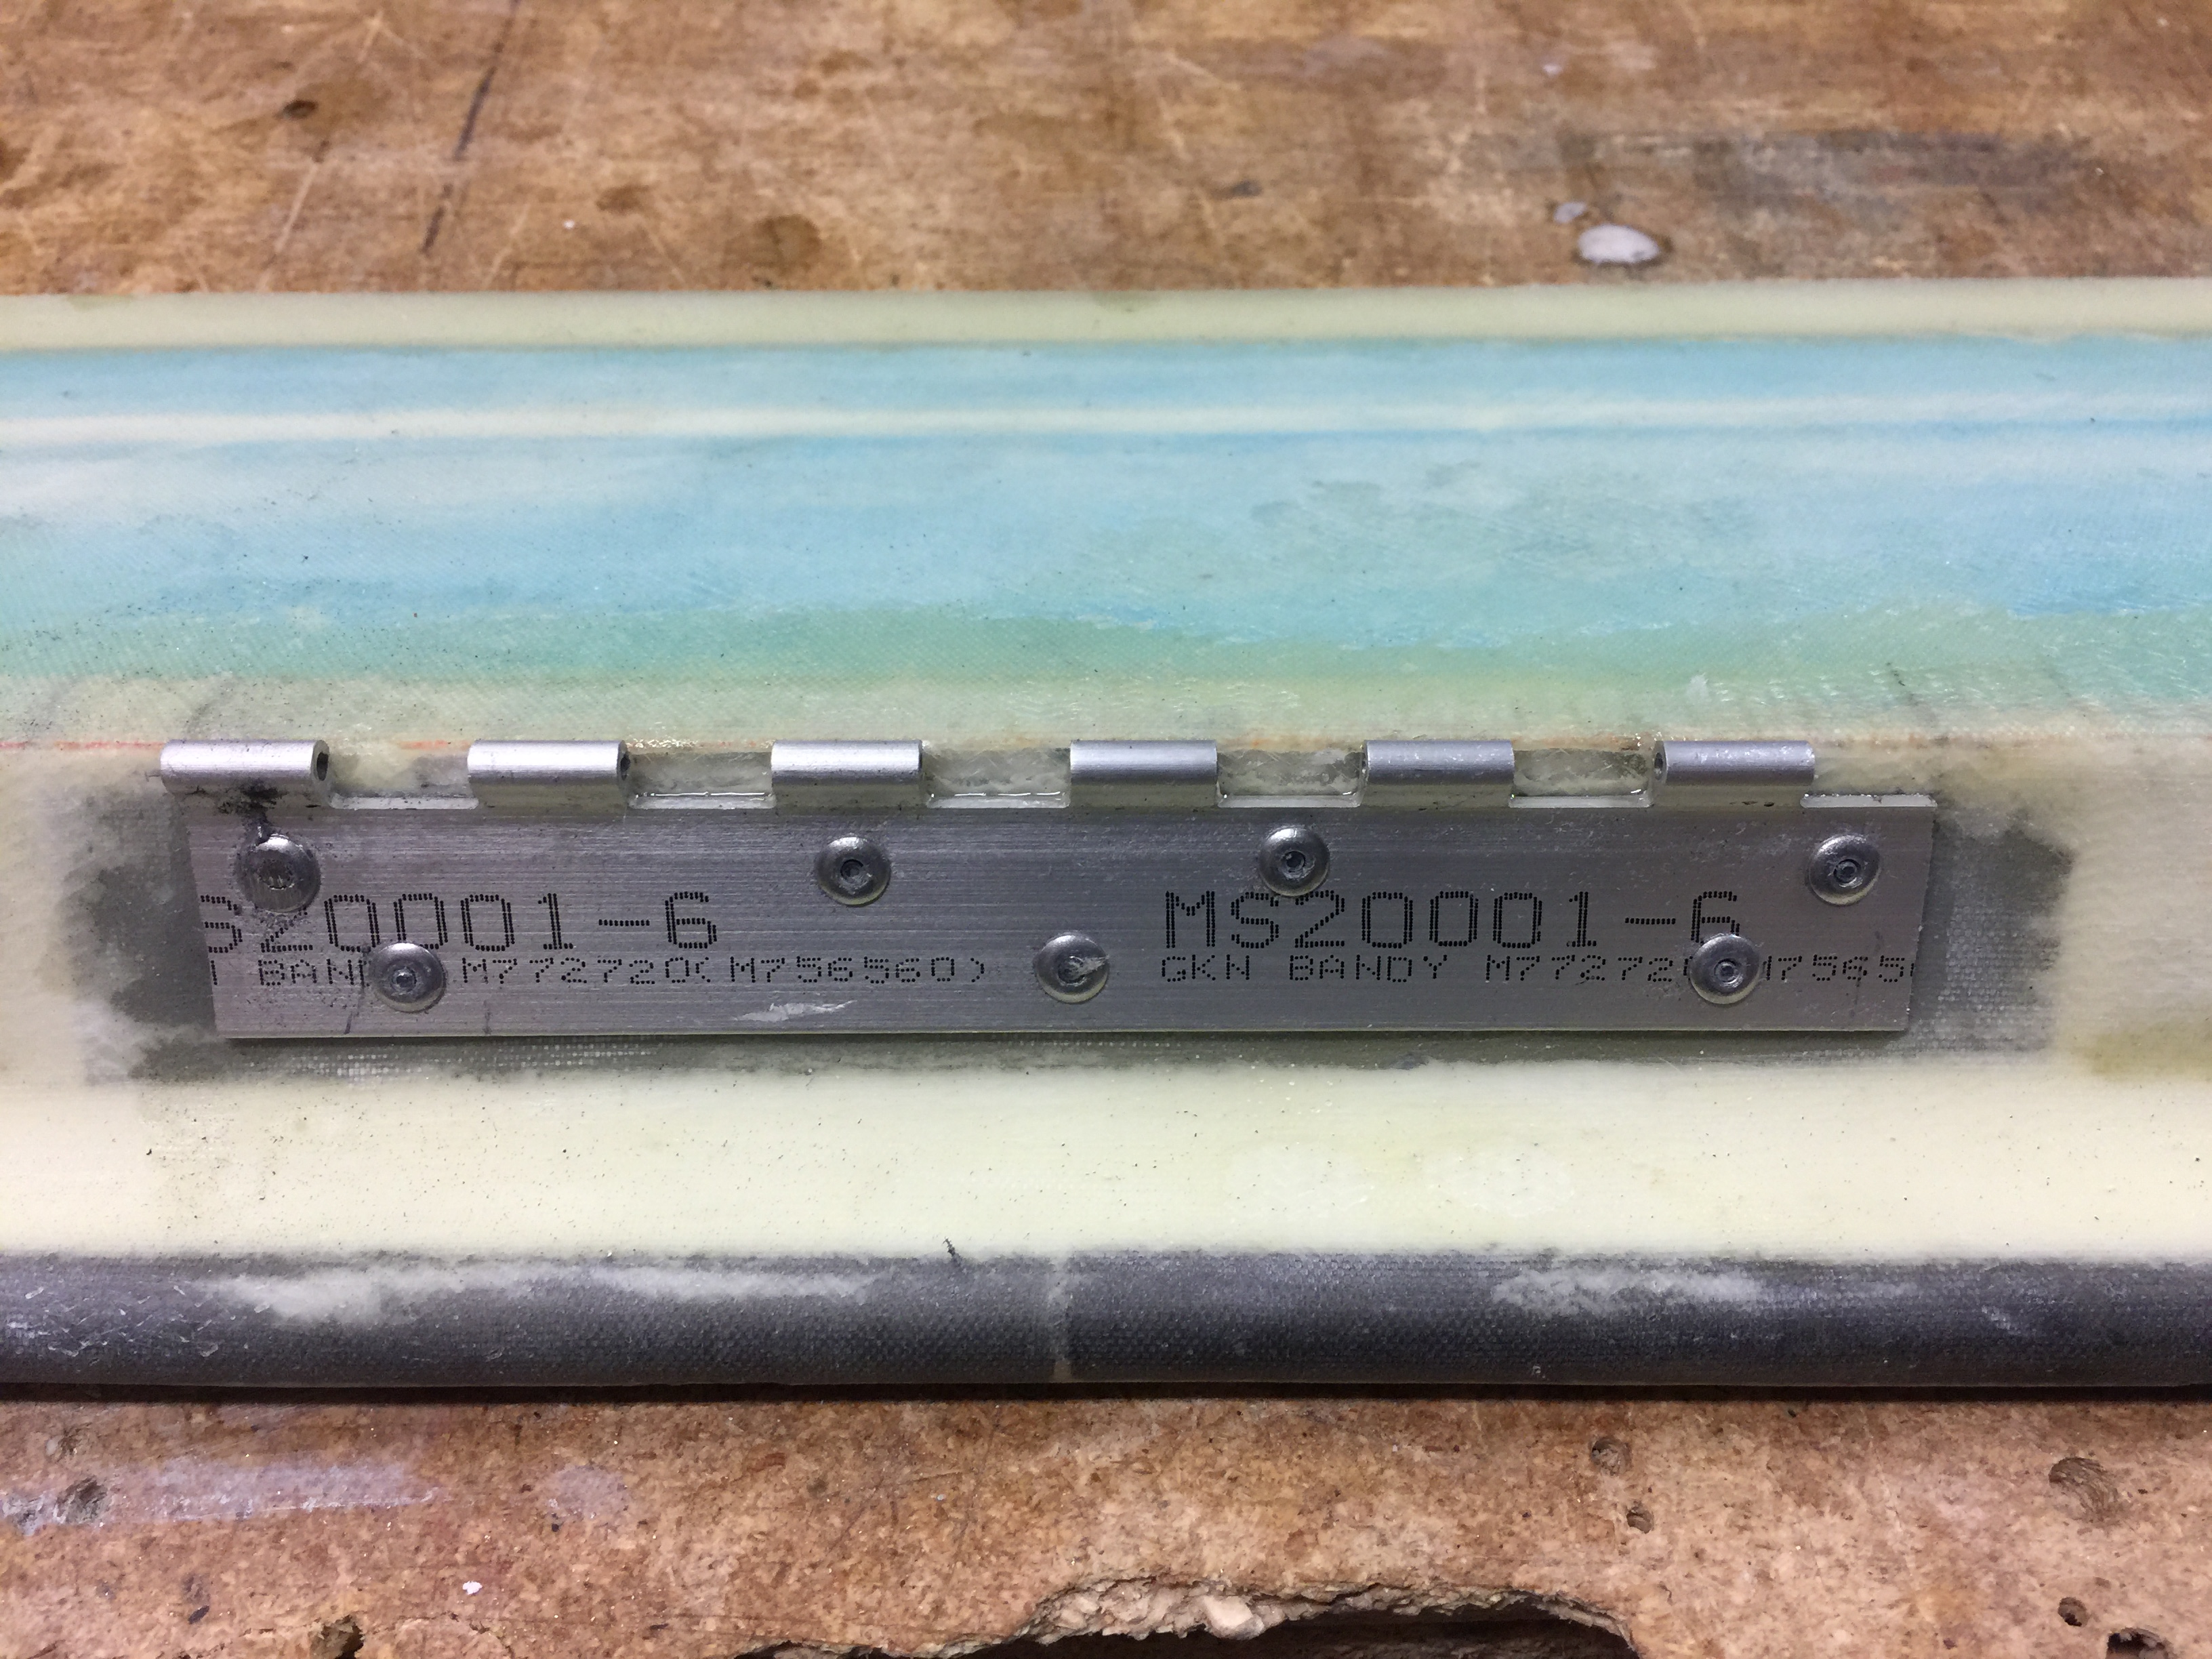
The last step is to pop-rivet the hinges to the aileron together with wet flox. I cleaned the hinge after to remove as much of the flox as possible that oozes out from beneath the hinge. Especially important is this around the hinge area itself. I wiped off all flox and used a hinge pin and ran it through the holes several times to remove flox and epoxy. Finally left the aileron to cure until next weekend.
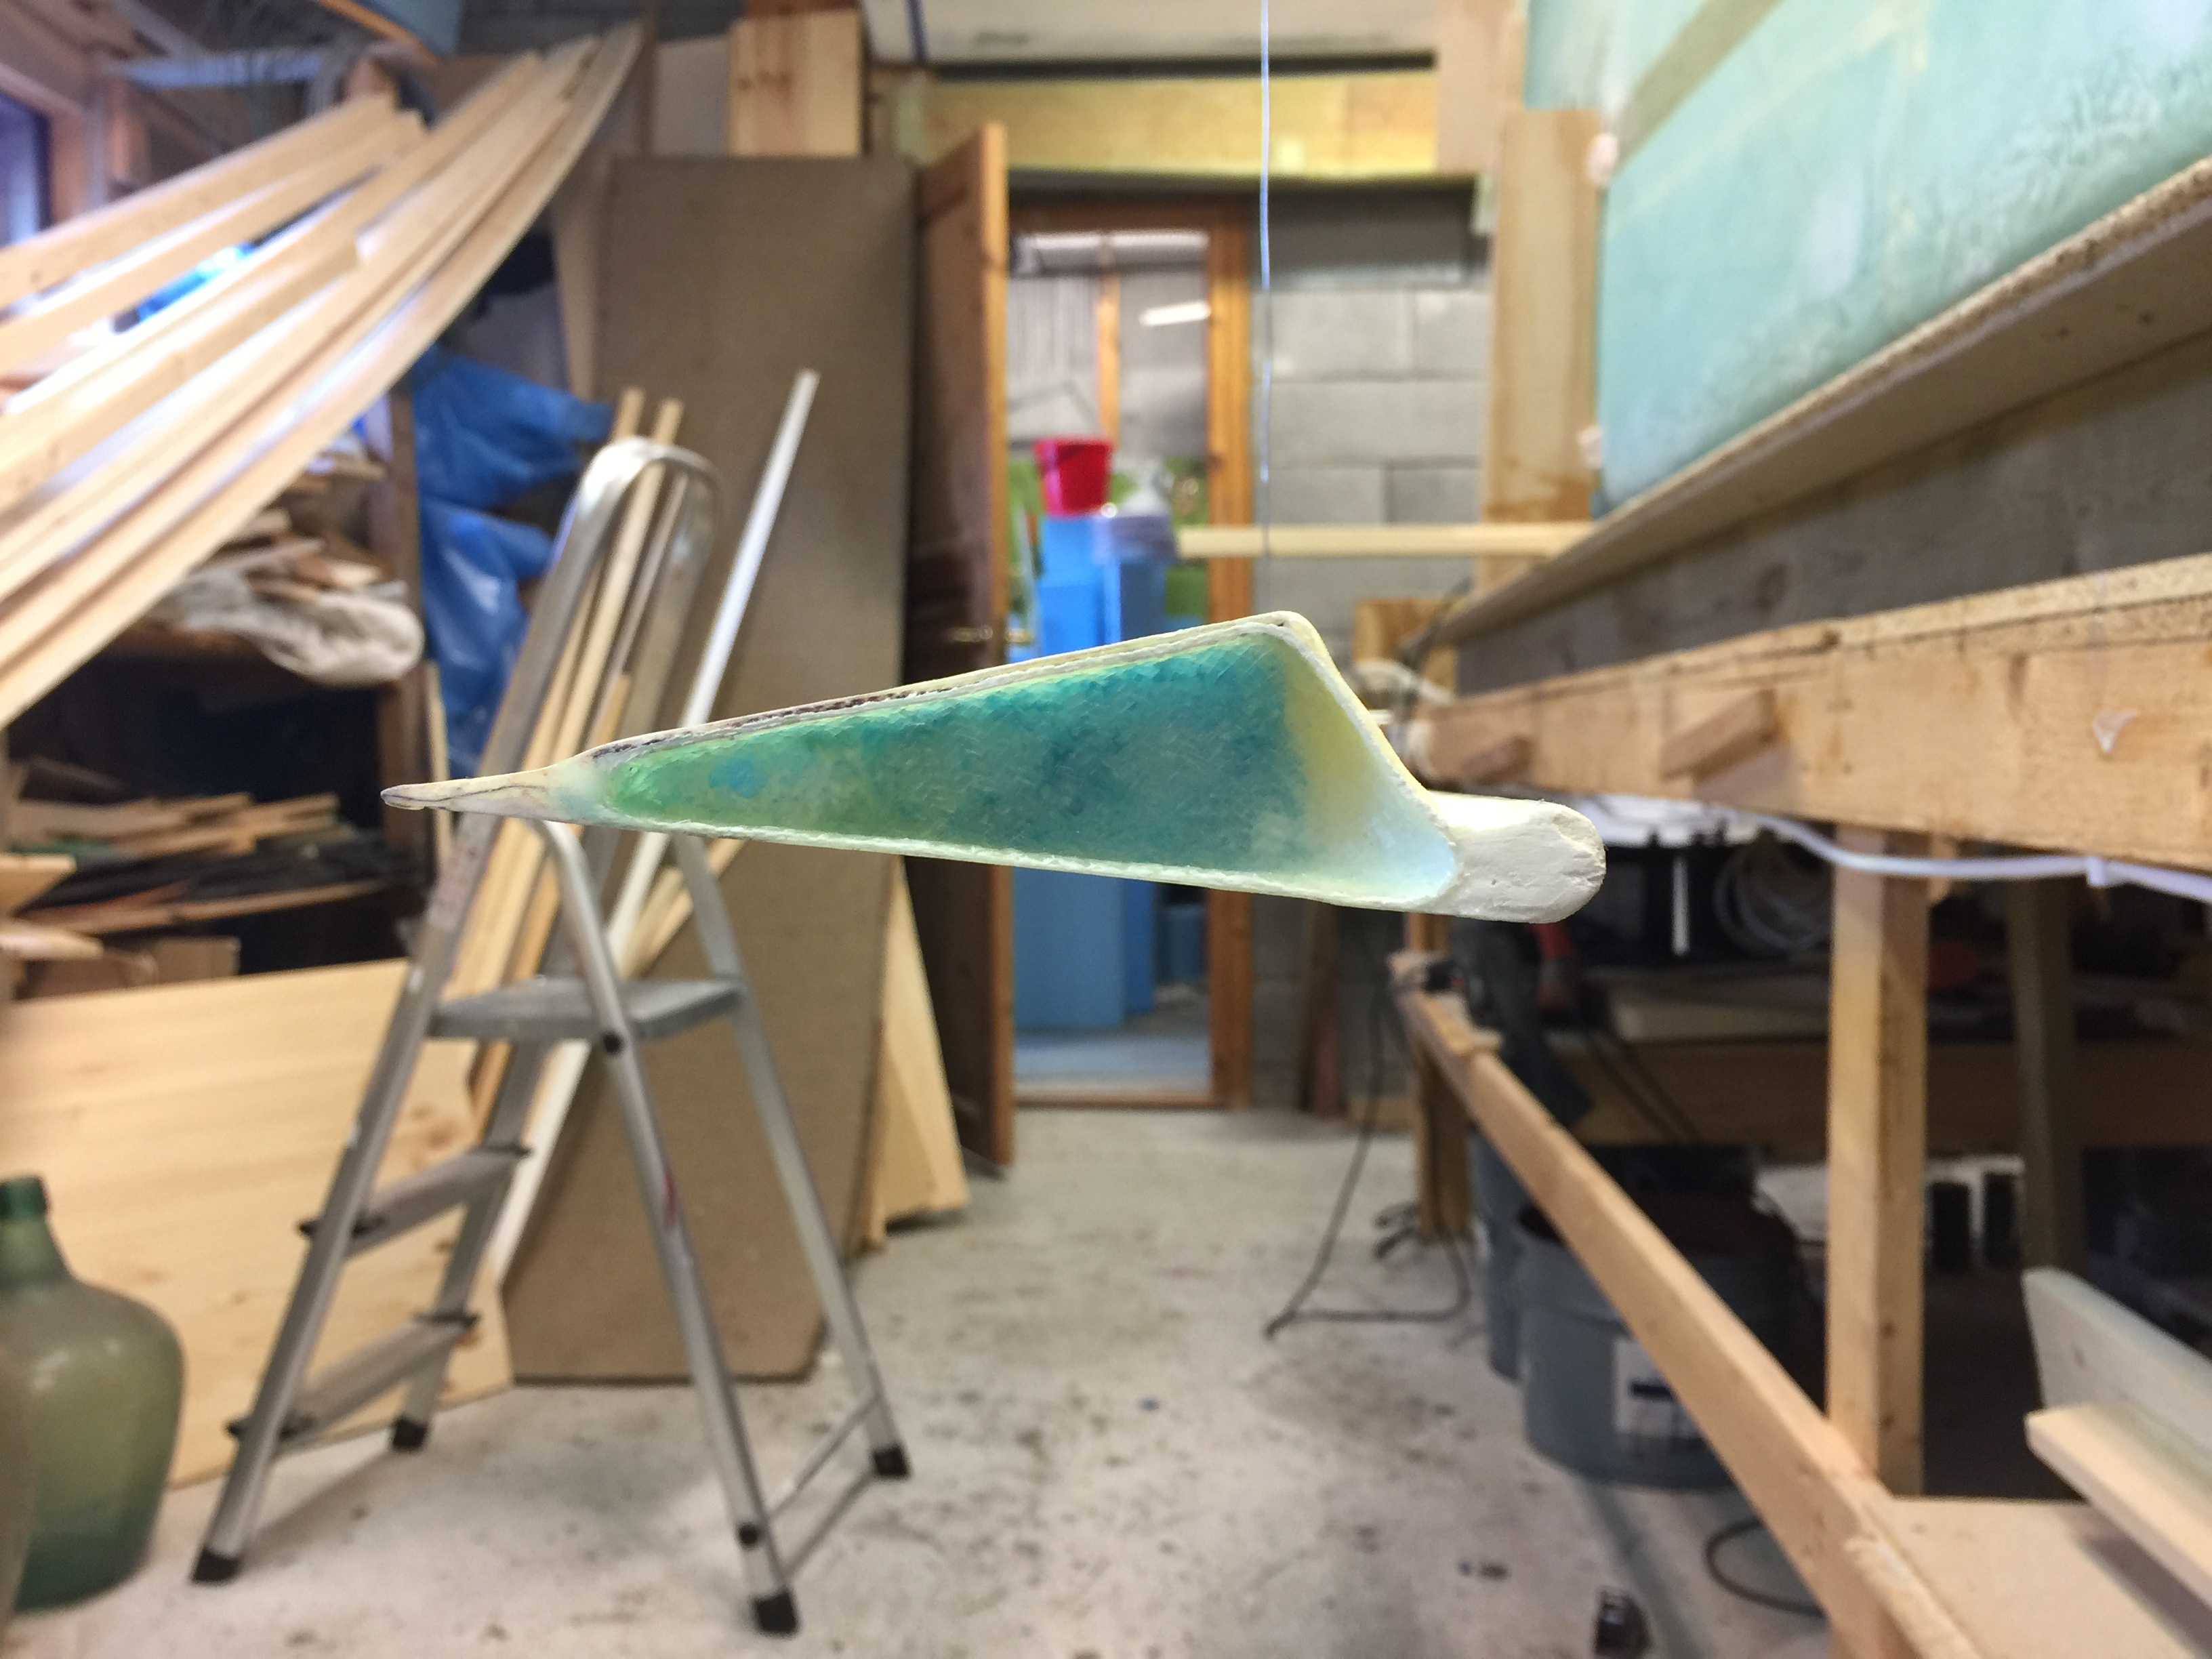
After everything was cured – after a couple of attempts – I finally got to the stage where I am supposed to balance the aileron. Luckily it looks good! Well – not luckily – it looks good because it is built correctly. After 780 hours I might have got some experience in building composite parts 🙂
2019-05-27: From the left wing:
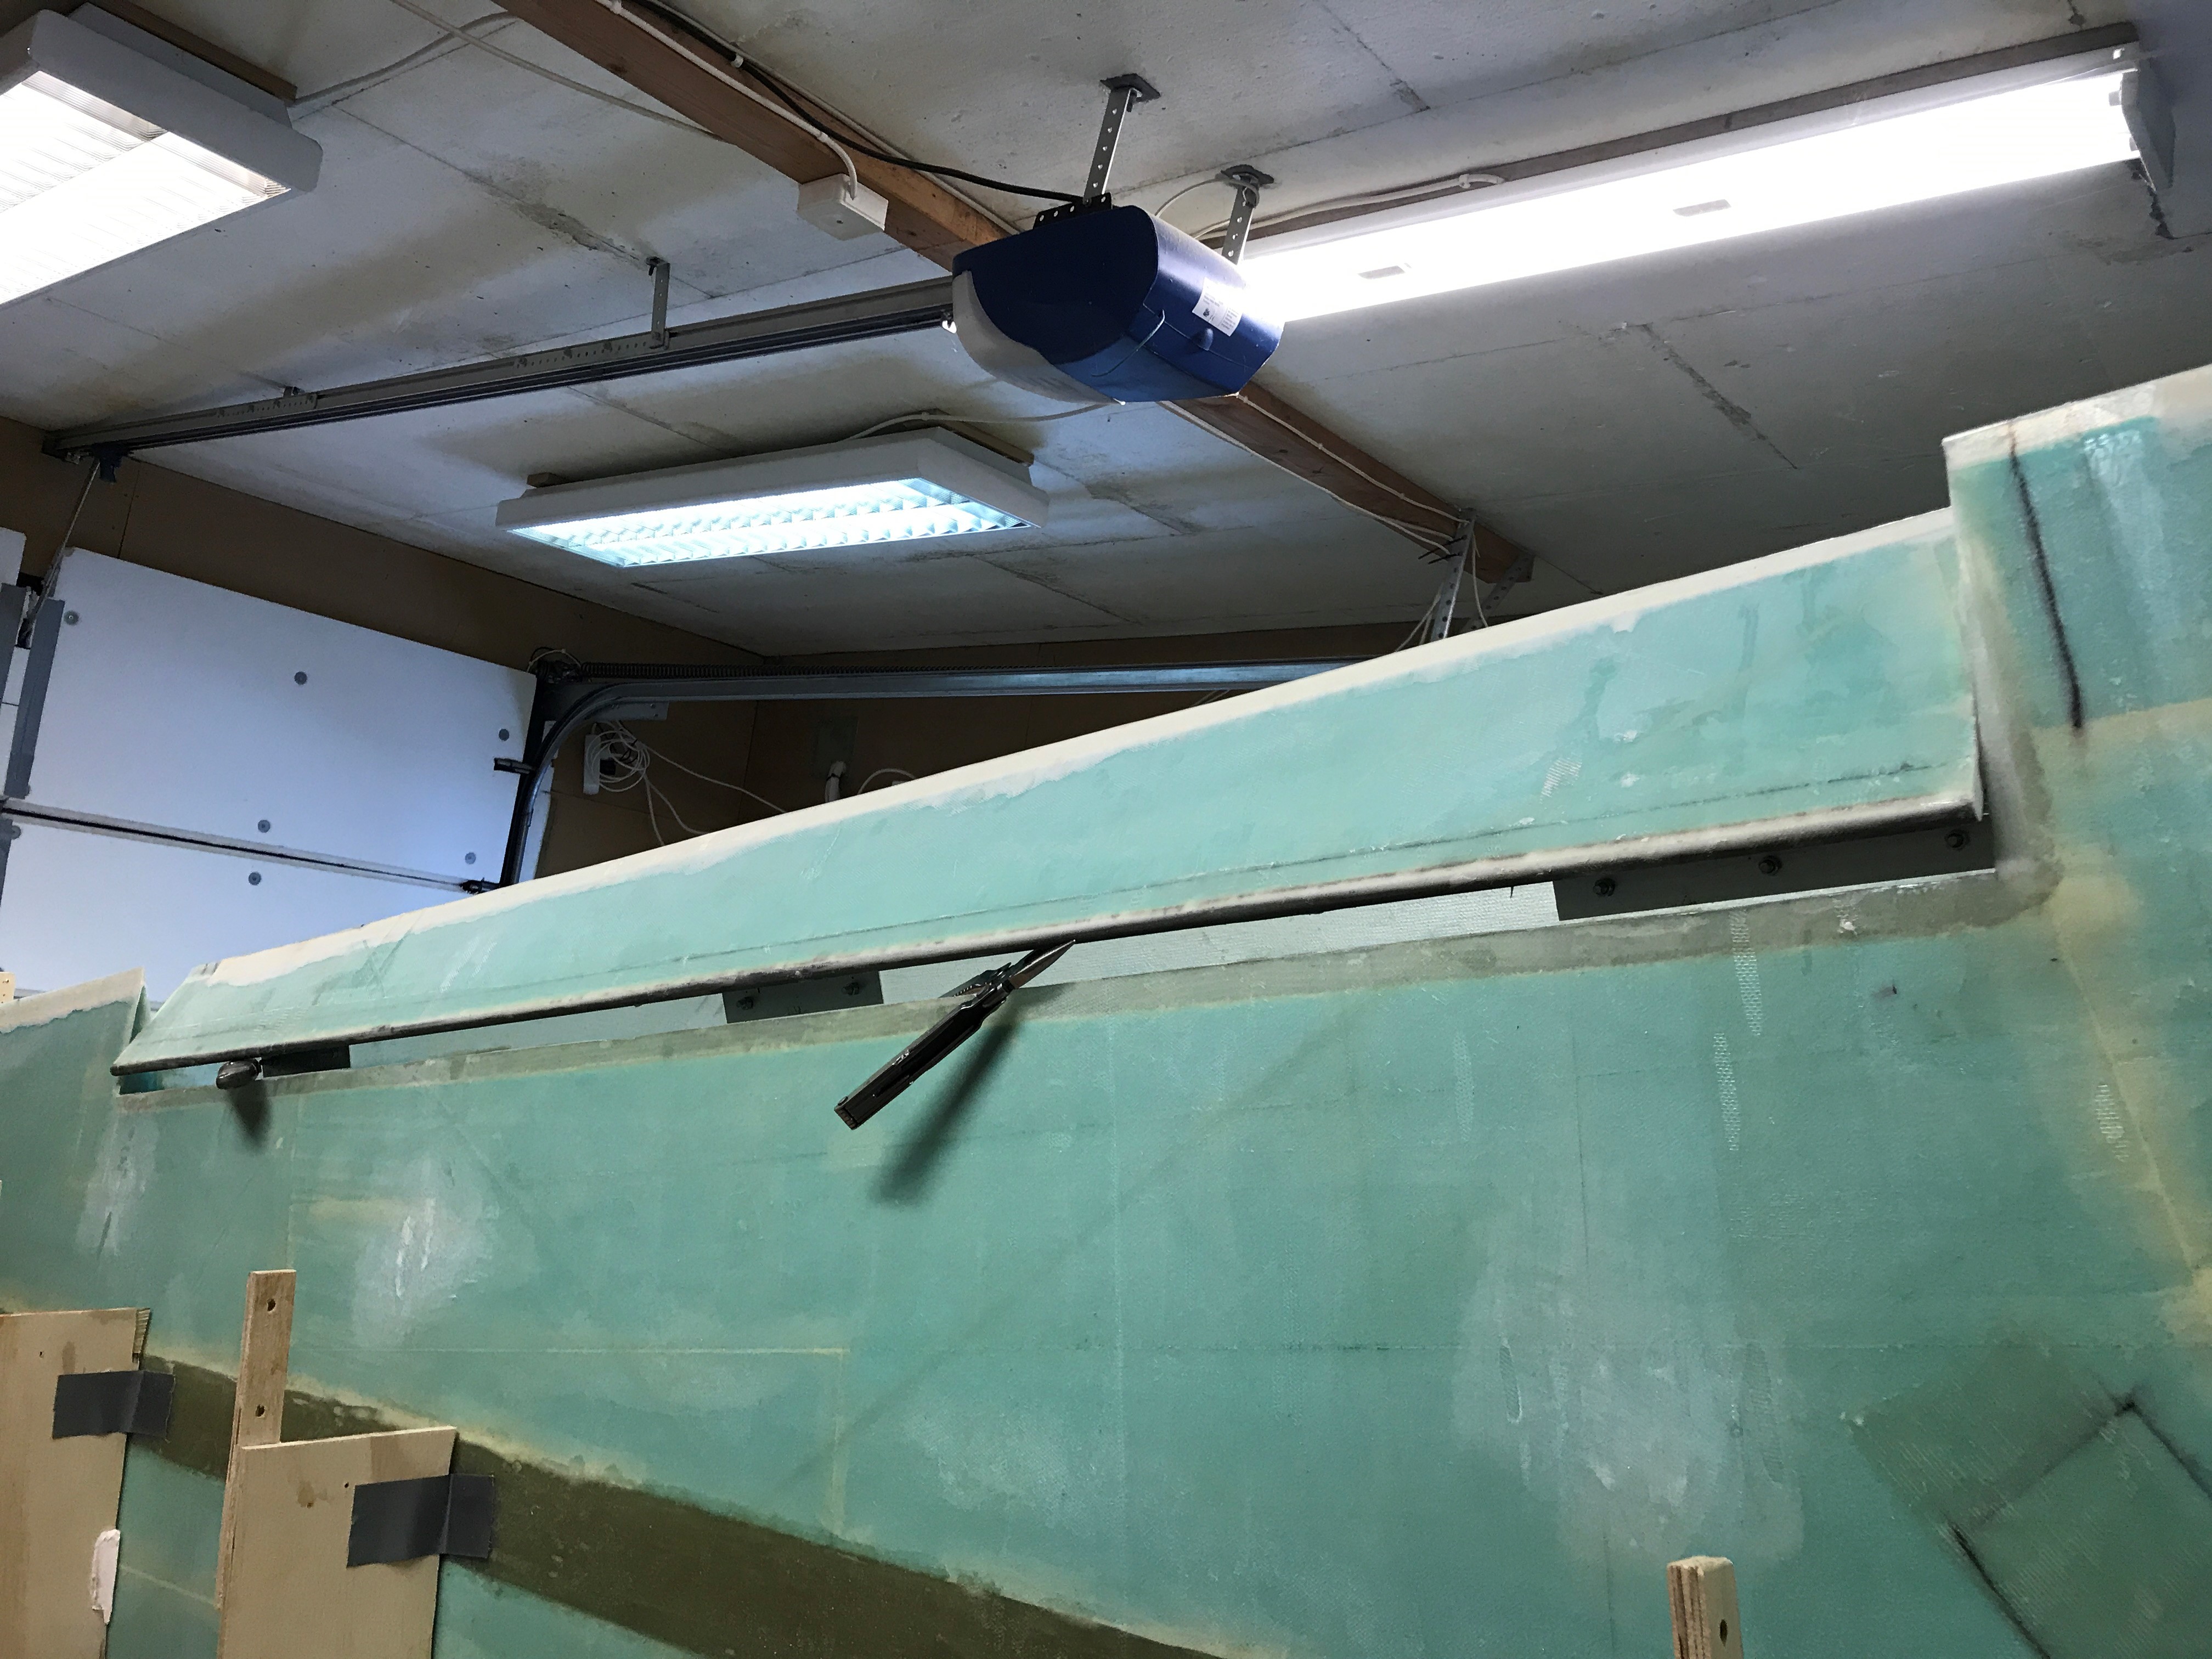
It was a bit easier to fasten the hinges with bondo etc on the second wing. While waiting for the bondo to cure I simply rested the aileron on a Stanley-knife and a Leatherman I happened to have in my pocket.

The left aileron balances quite good also.
Back to 2017: When I test mounted the ailerons with the control tube I discovered that I had to make a better clearing for the assembly of the control tube and the universal joint in the aileron root. It turned out that the bolt in the tube side of the U-joint touched the glass in the wing pocket when the aileron was deflected upwards. Some fine tuning with the Dremel fixed this issue.
I will postpone the click bonds until later since I have to mount and re-mount the aileron several times. I do instead use ordinary screws and nuts which is a lot easier to remove.
Finally – another moving part!