
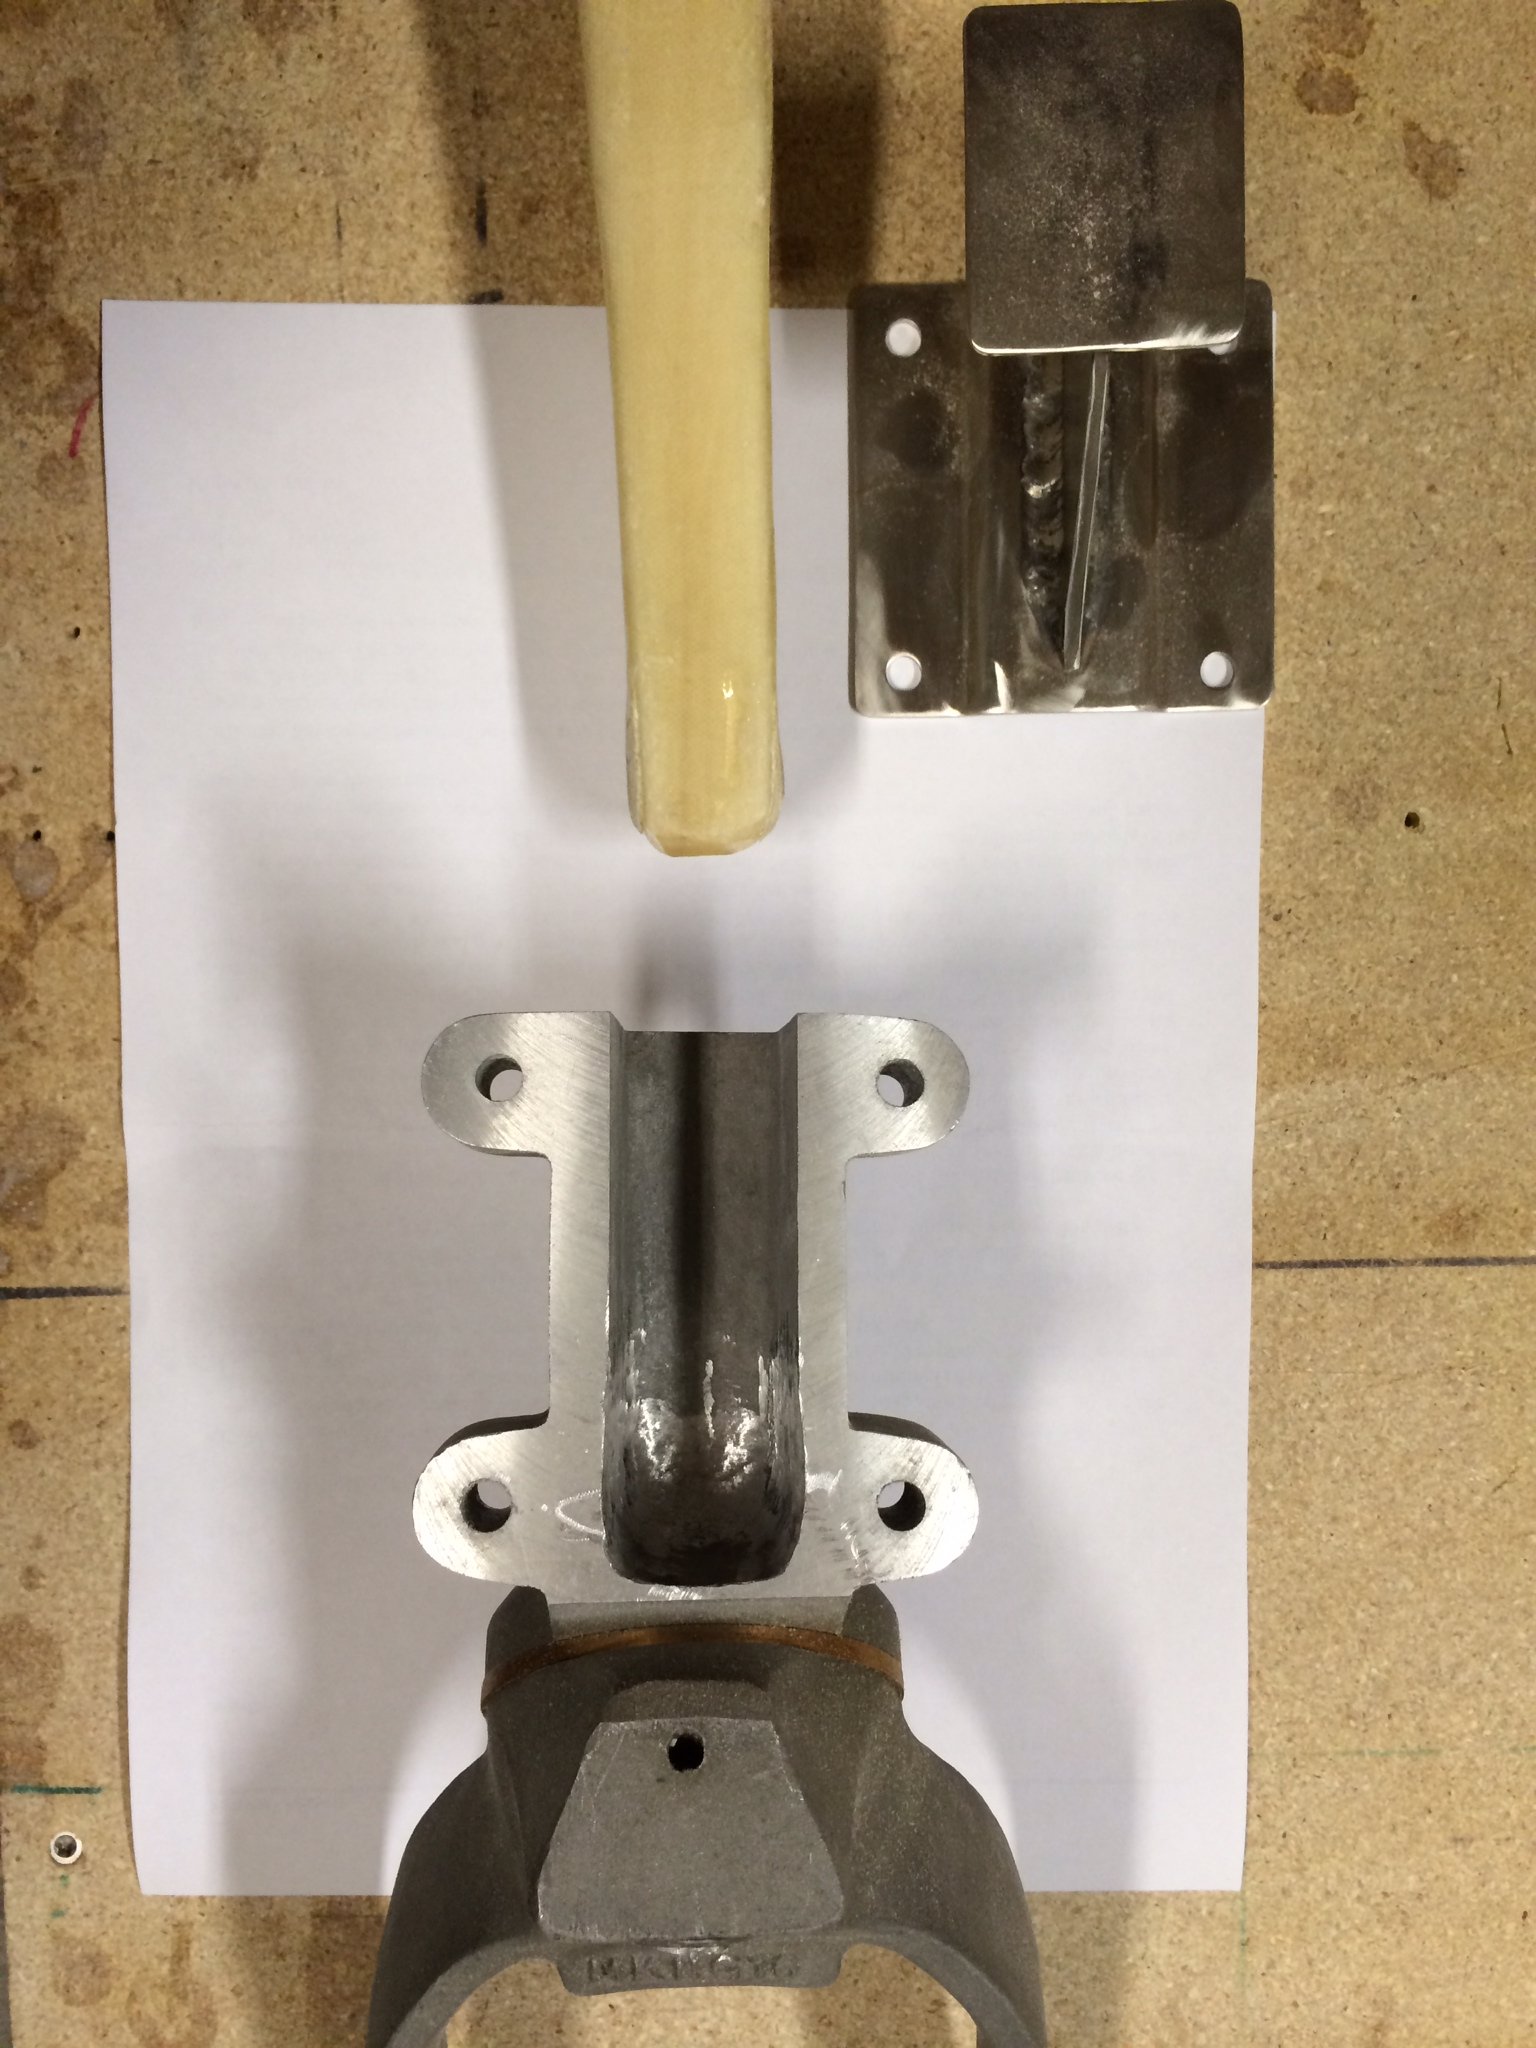
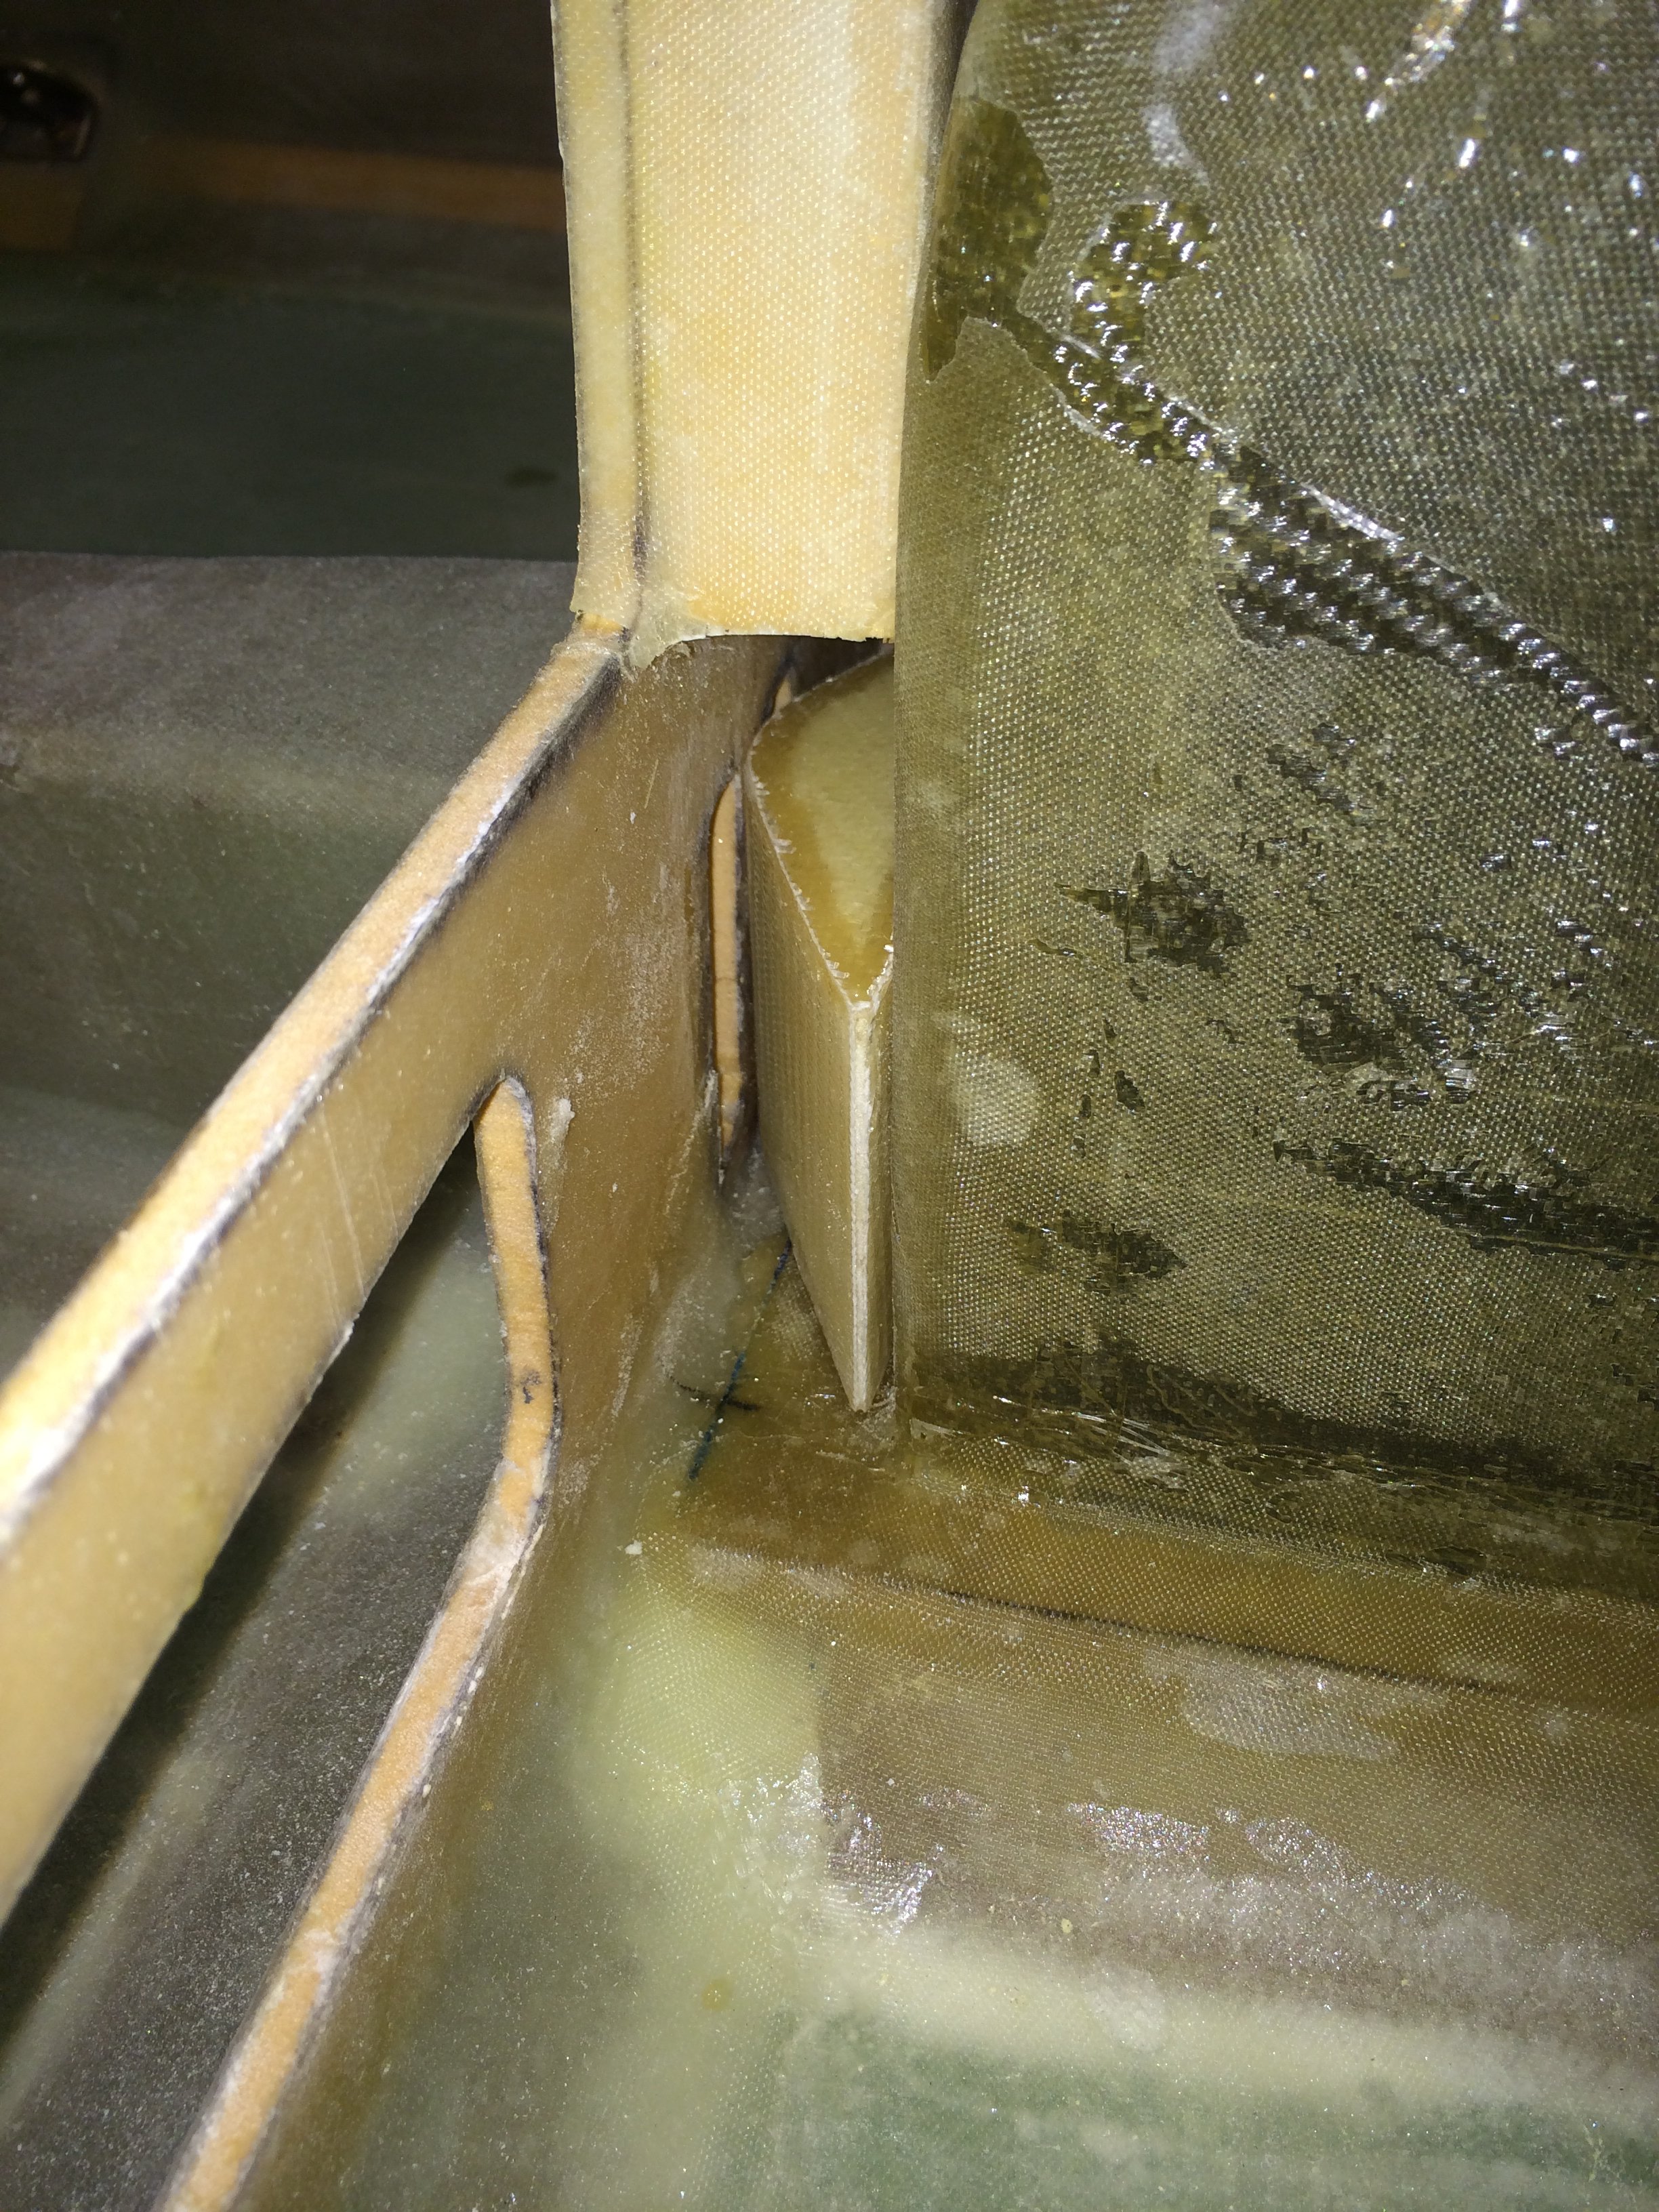
2013-12-15: To fasten the strut to MKNG15 I will use the approach suggested by several builders, including Marc Zeitlin and Dave Martin. There are three easy steps:
1: Remove some aluminum in the casting of MKNG15 to make a “bulb” shaped cavity so the flox can trap the strut inside MKNG15. The strut is then prevented from sliding out of MKNG15.
2: Add some strips of BID to the strut so it fits inside the enlarged opening in MKNG15. Make the end of the strut a bit “fatter”.
3: Fill the cavity with flox, as well as make a buildup of flox between NG2 and the assembly.

2013-12-15: Dale M suggests to make a 4BID pad under the NG2 to stiffen up this part some more. I made this on plastic on the table and put some release-tape under NG2 before I put the BID-pad under NG2.
Btw. I bought a rotary-cutter which I found by accident when I was out shopping. Wow – why didn’t I buy this tool earlier? I recommend this for everyone!

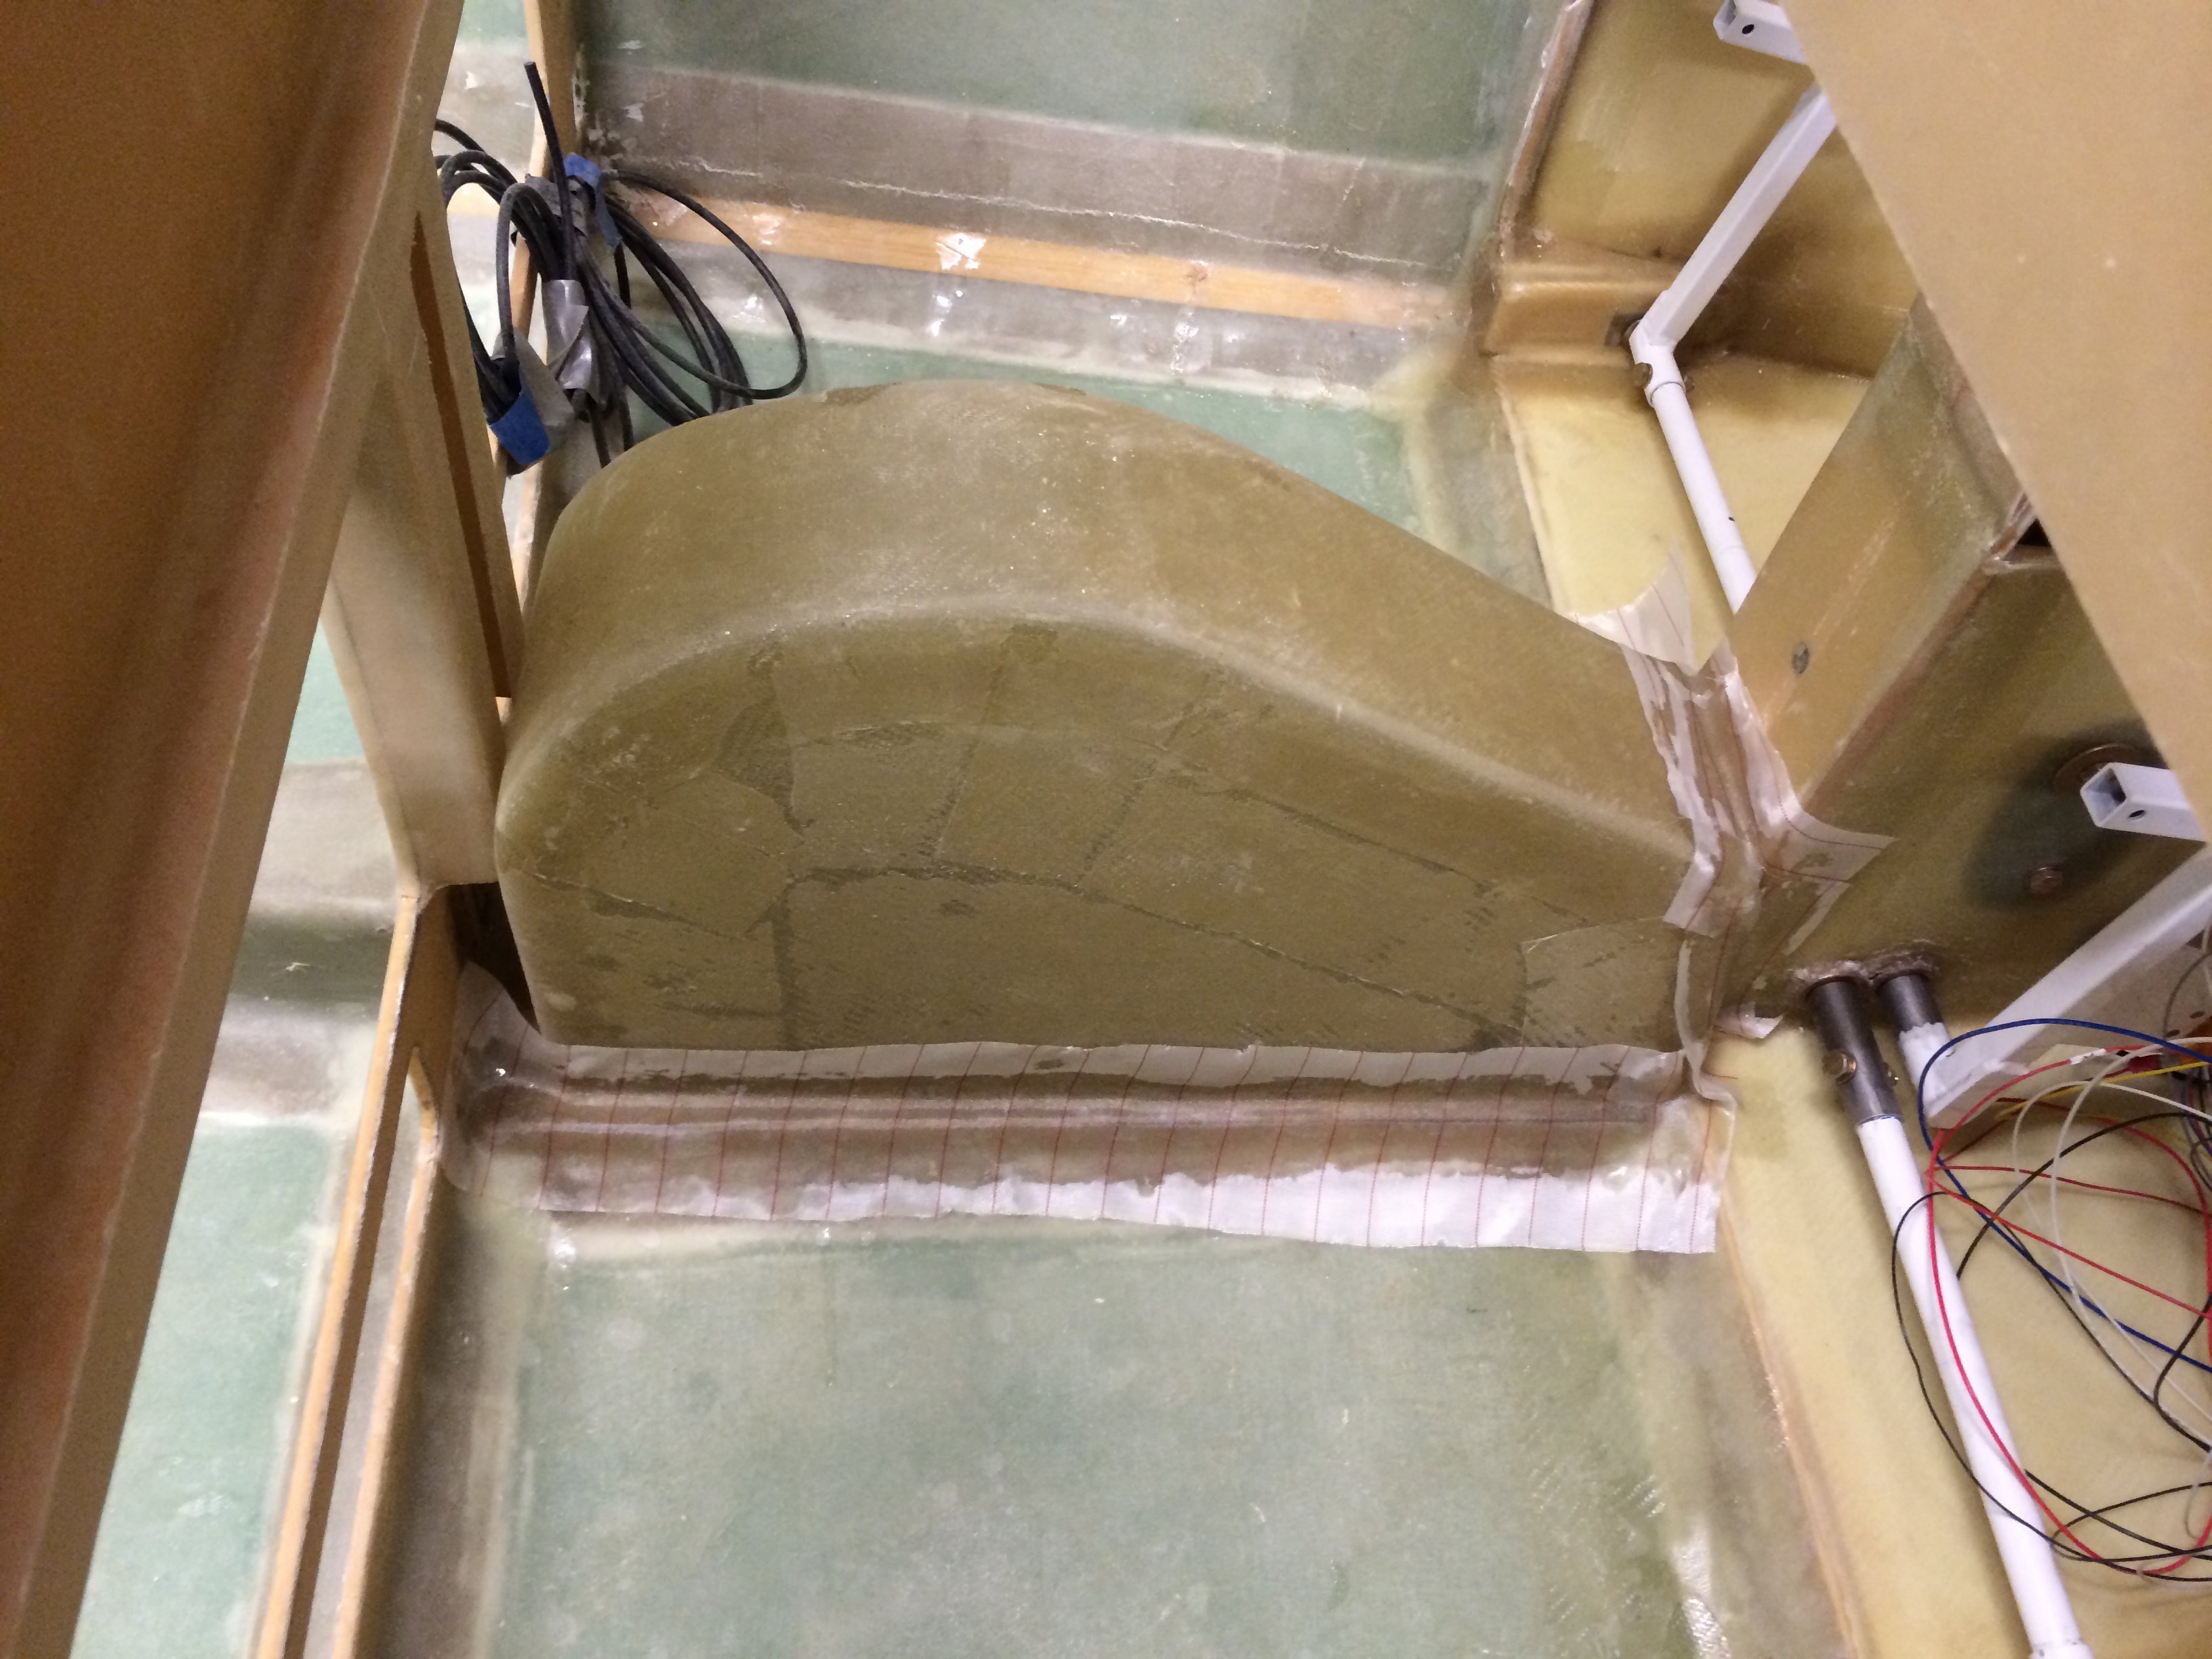
2013-12-15: Here the assembly is filled with flox and set to cure. Later I will clean up the flox that have been oozing out as I thightened the bolts. The bolts btw is just some scrap bolts I had. I will of course use proper AN-bolts and lock-nuts when I’m finished.
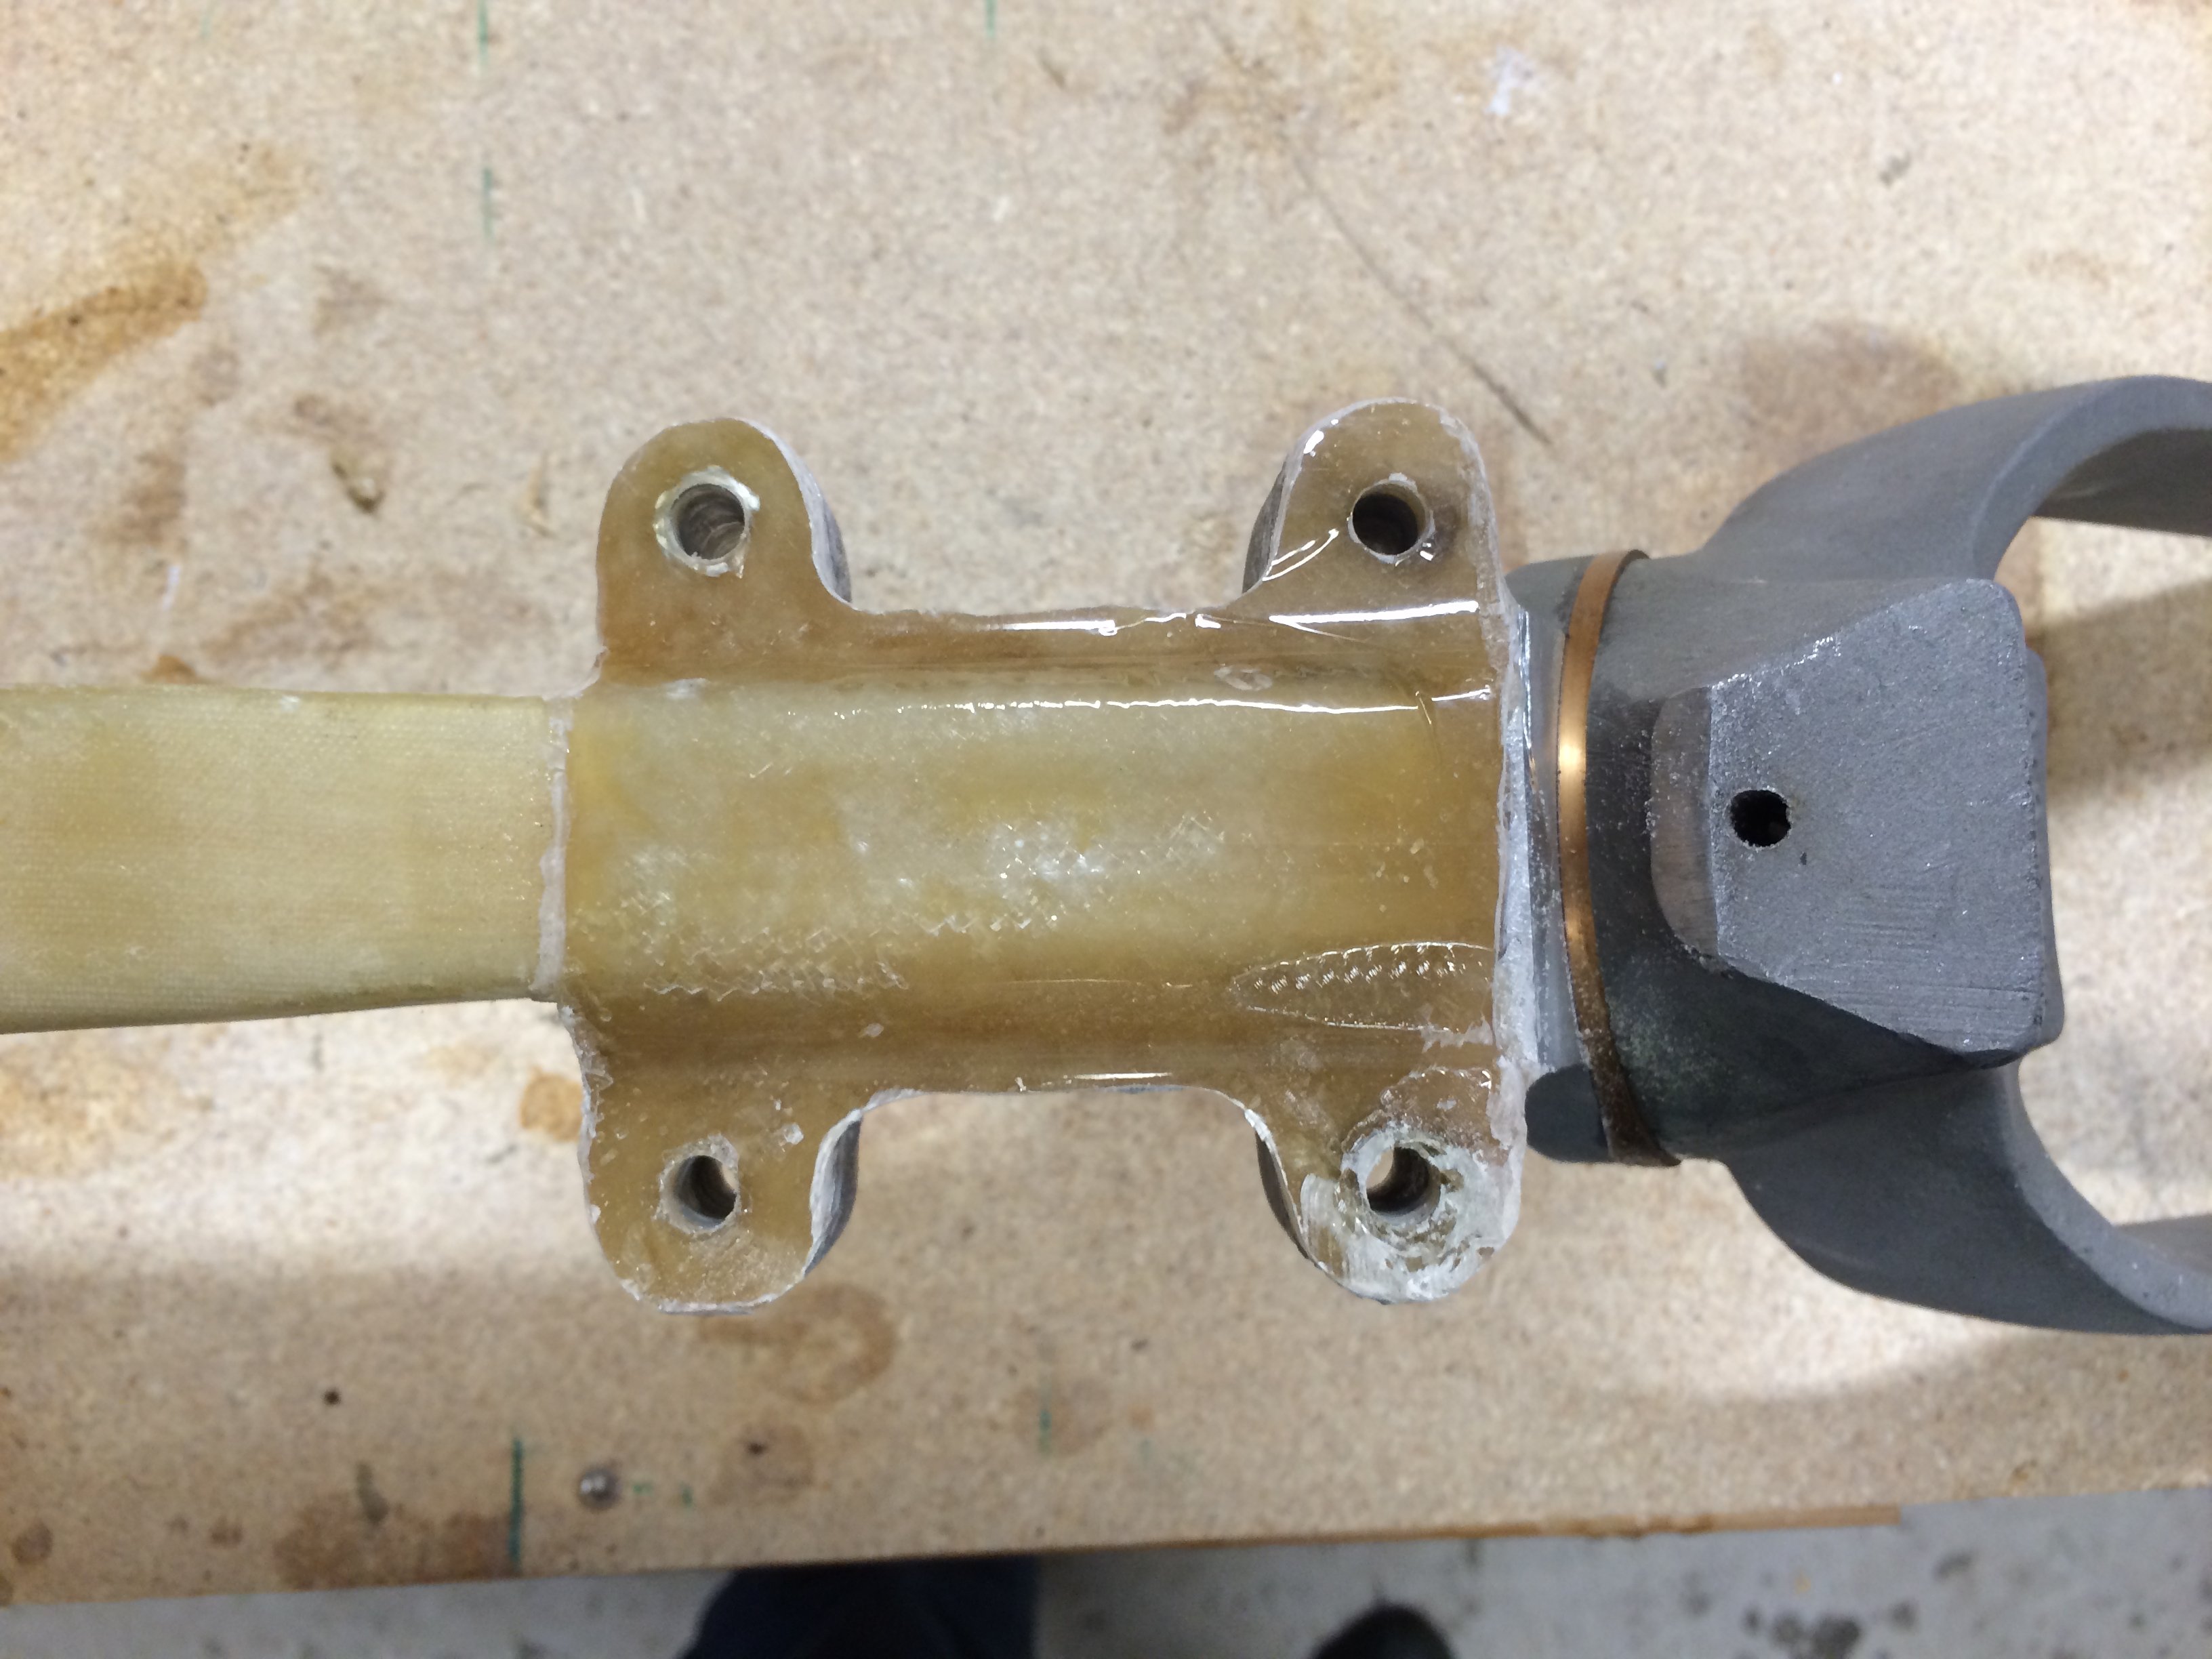
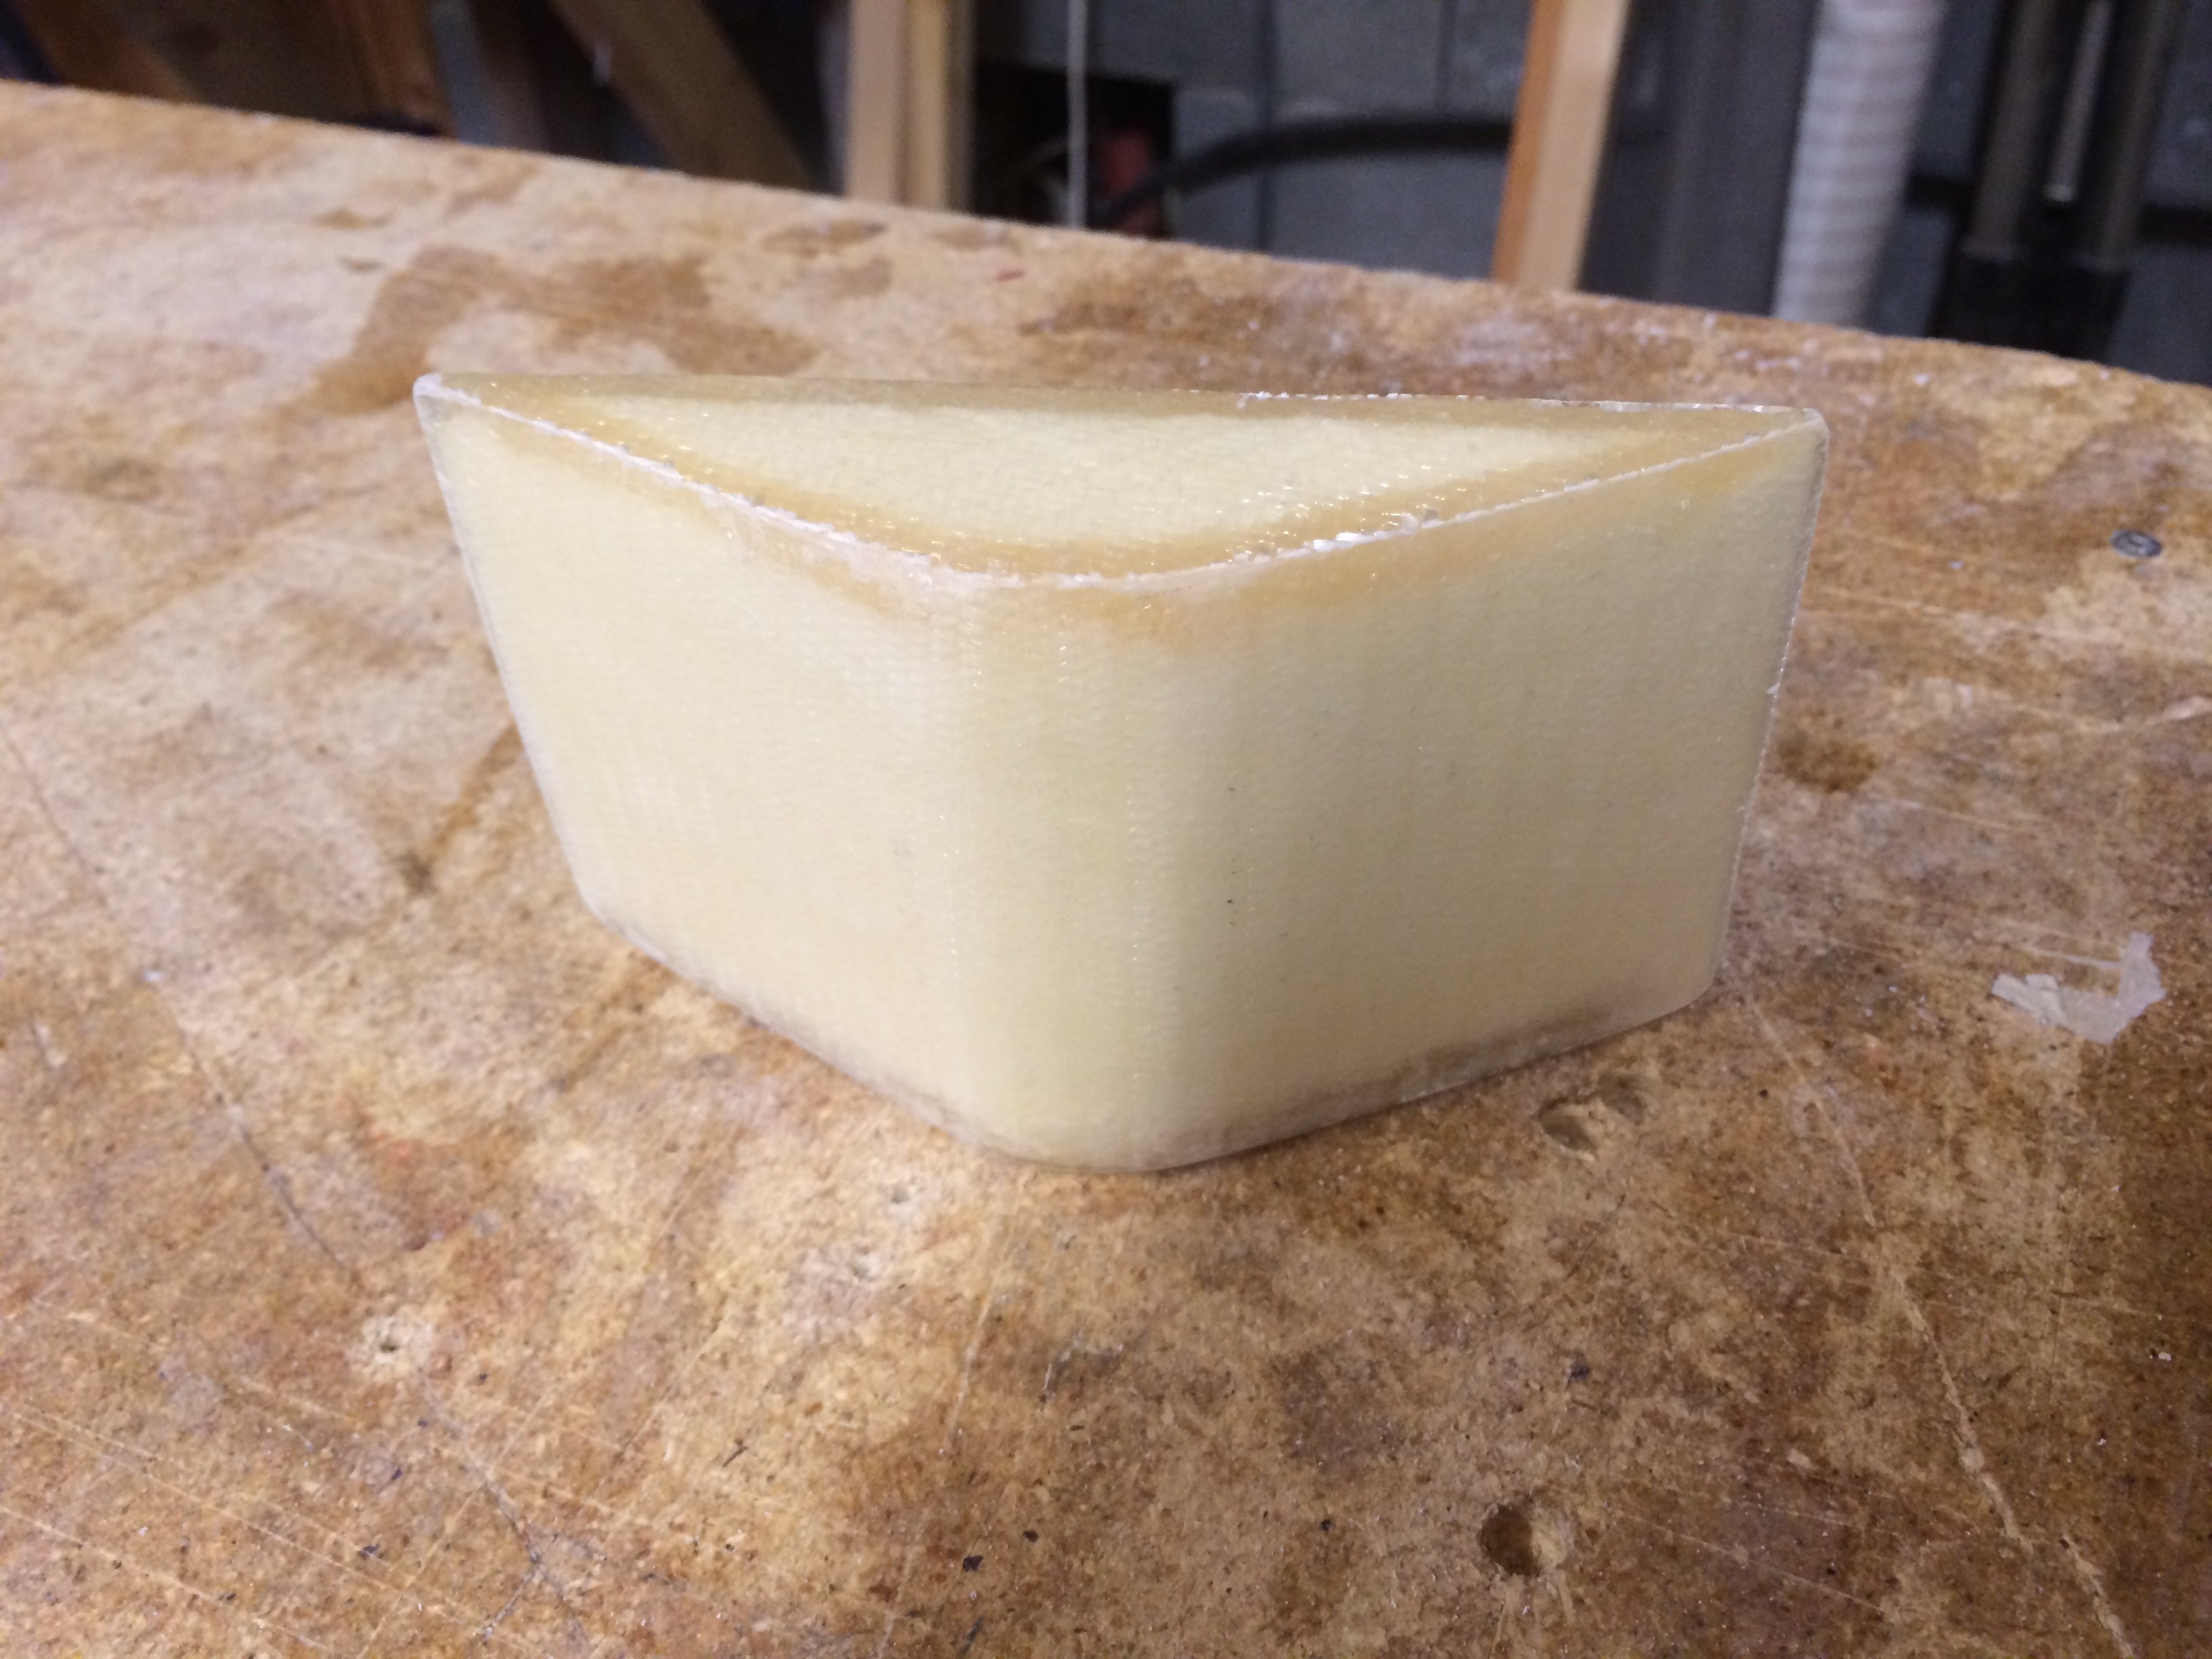
2013-12-22: The flox is cured and I have cleaned and sanded the part.
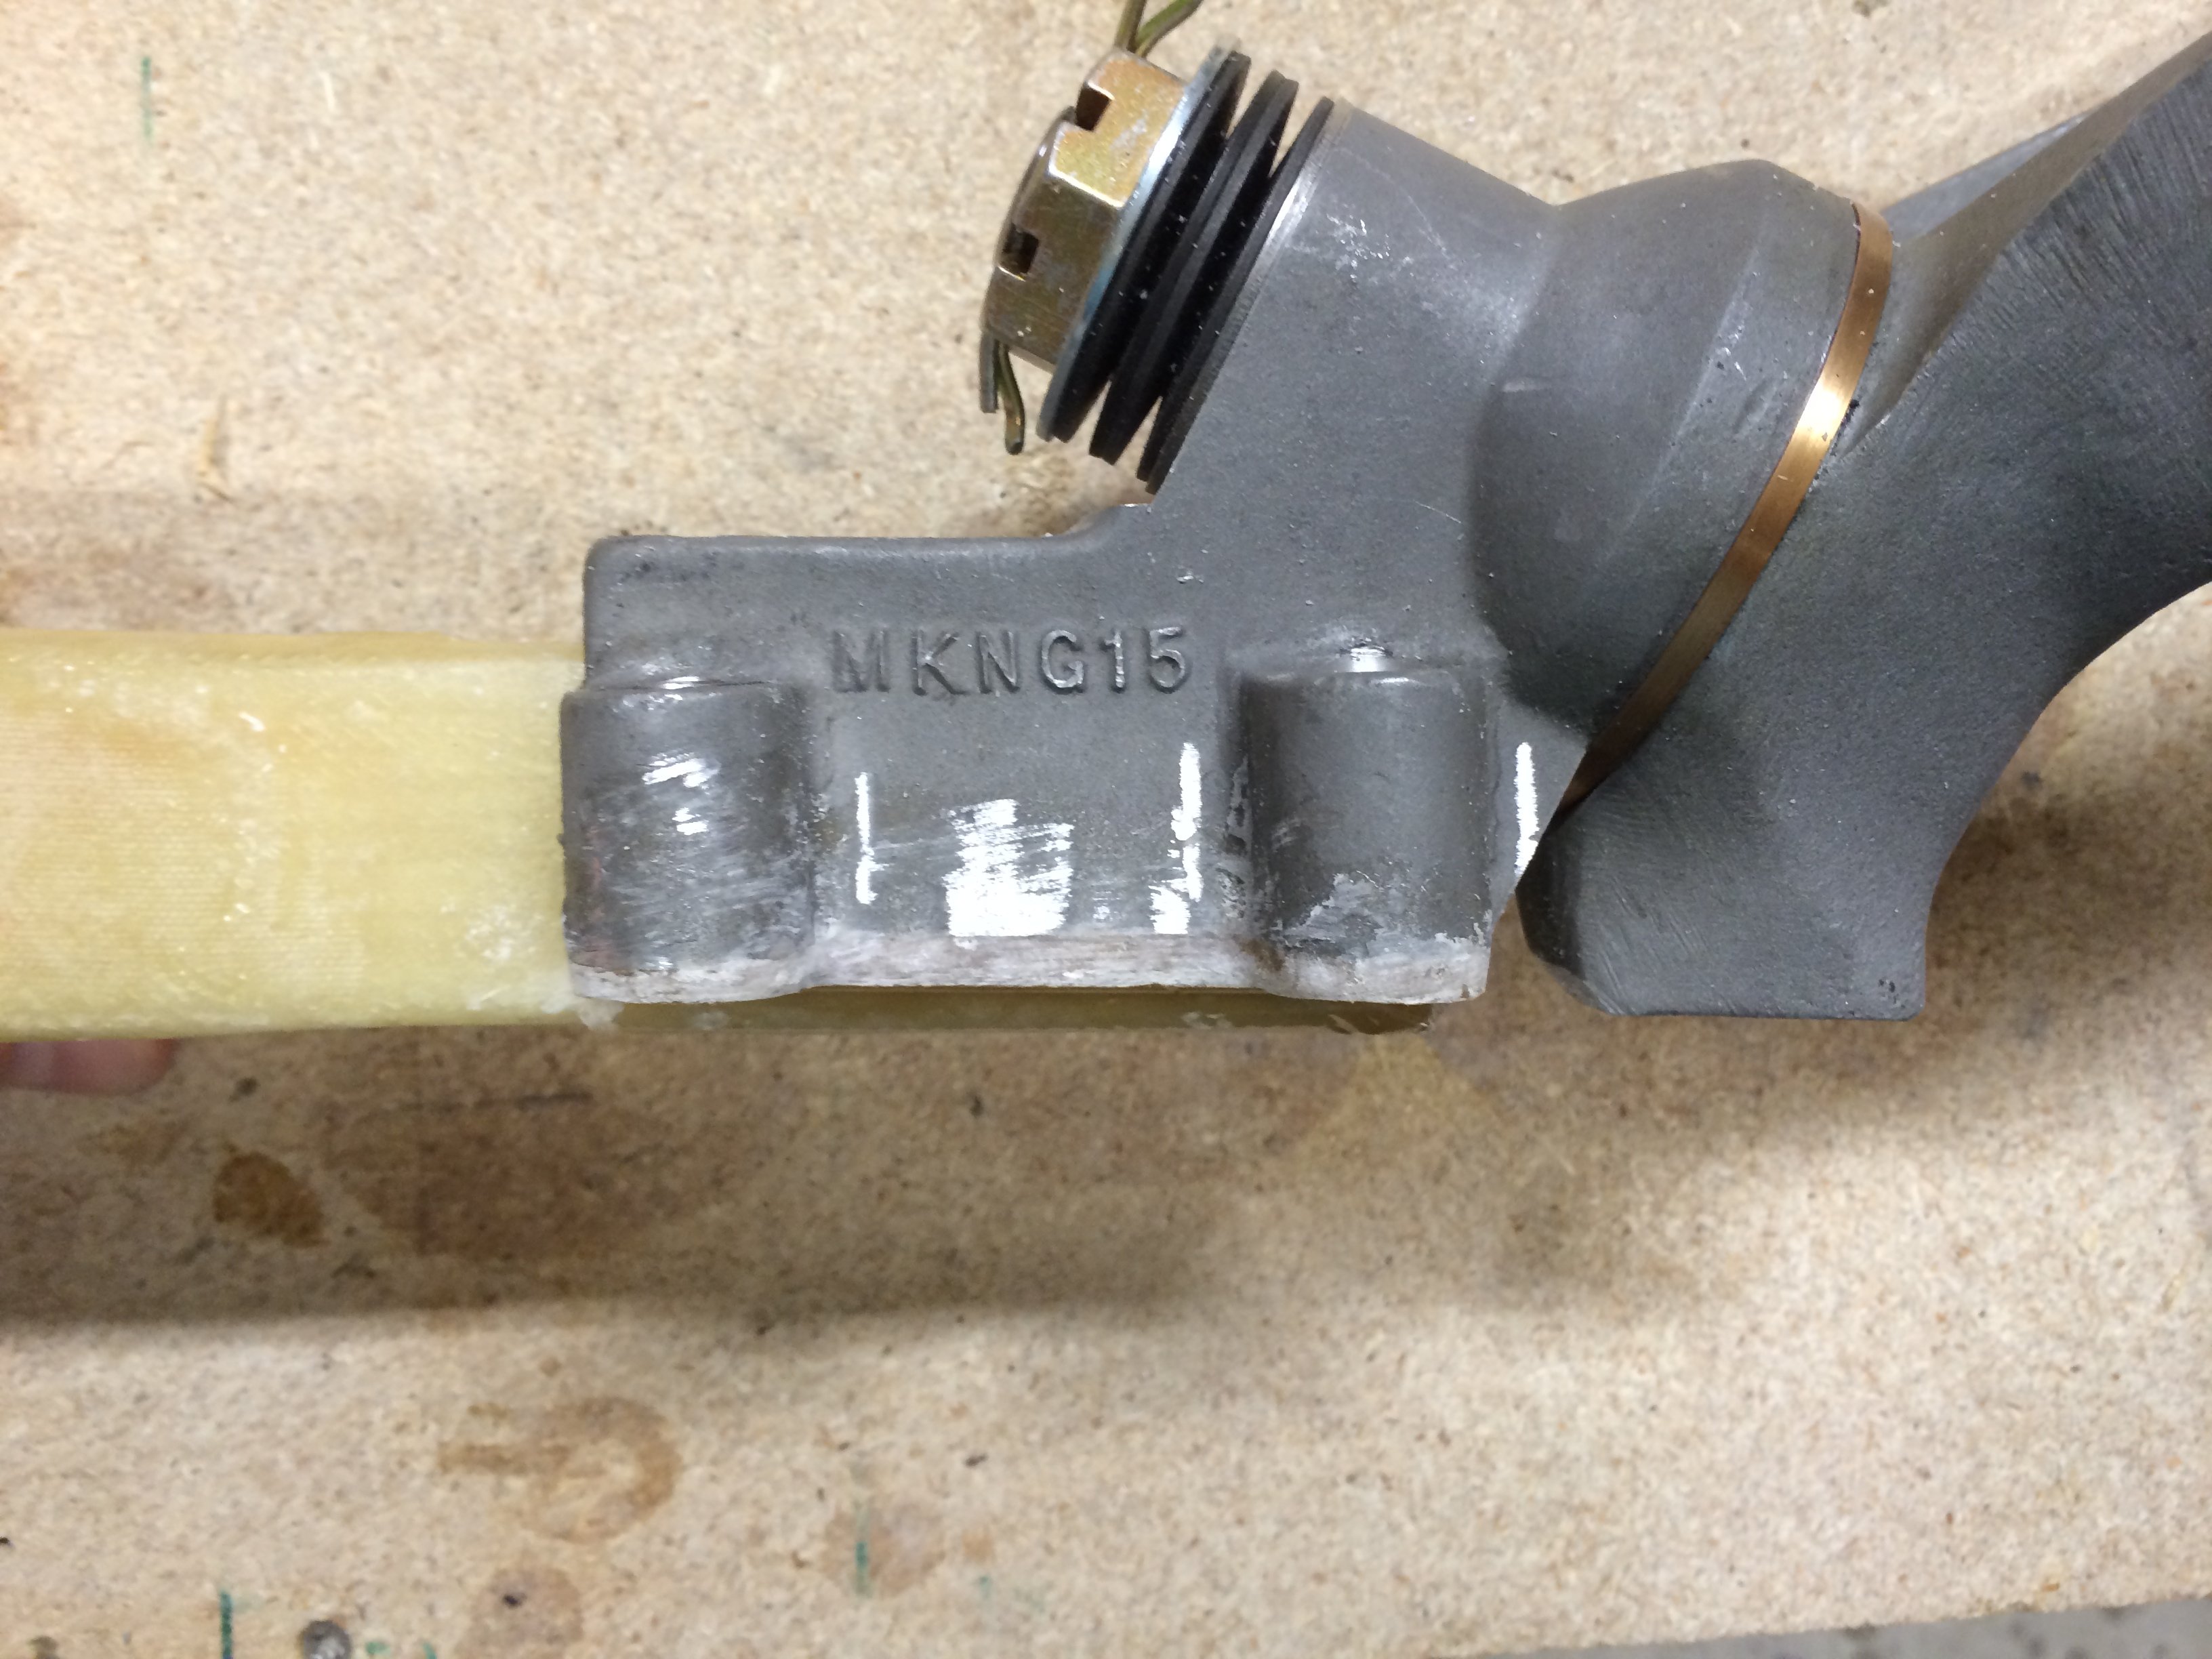
2013-12-22: Here we can see the thickness of the flox-pad.
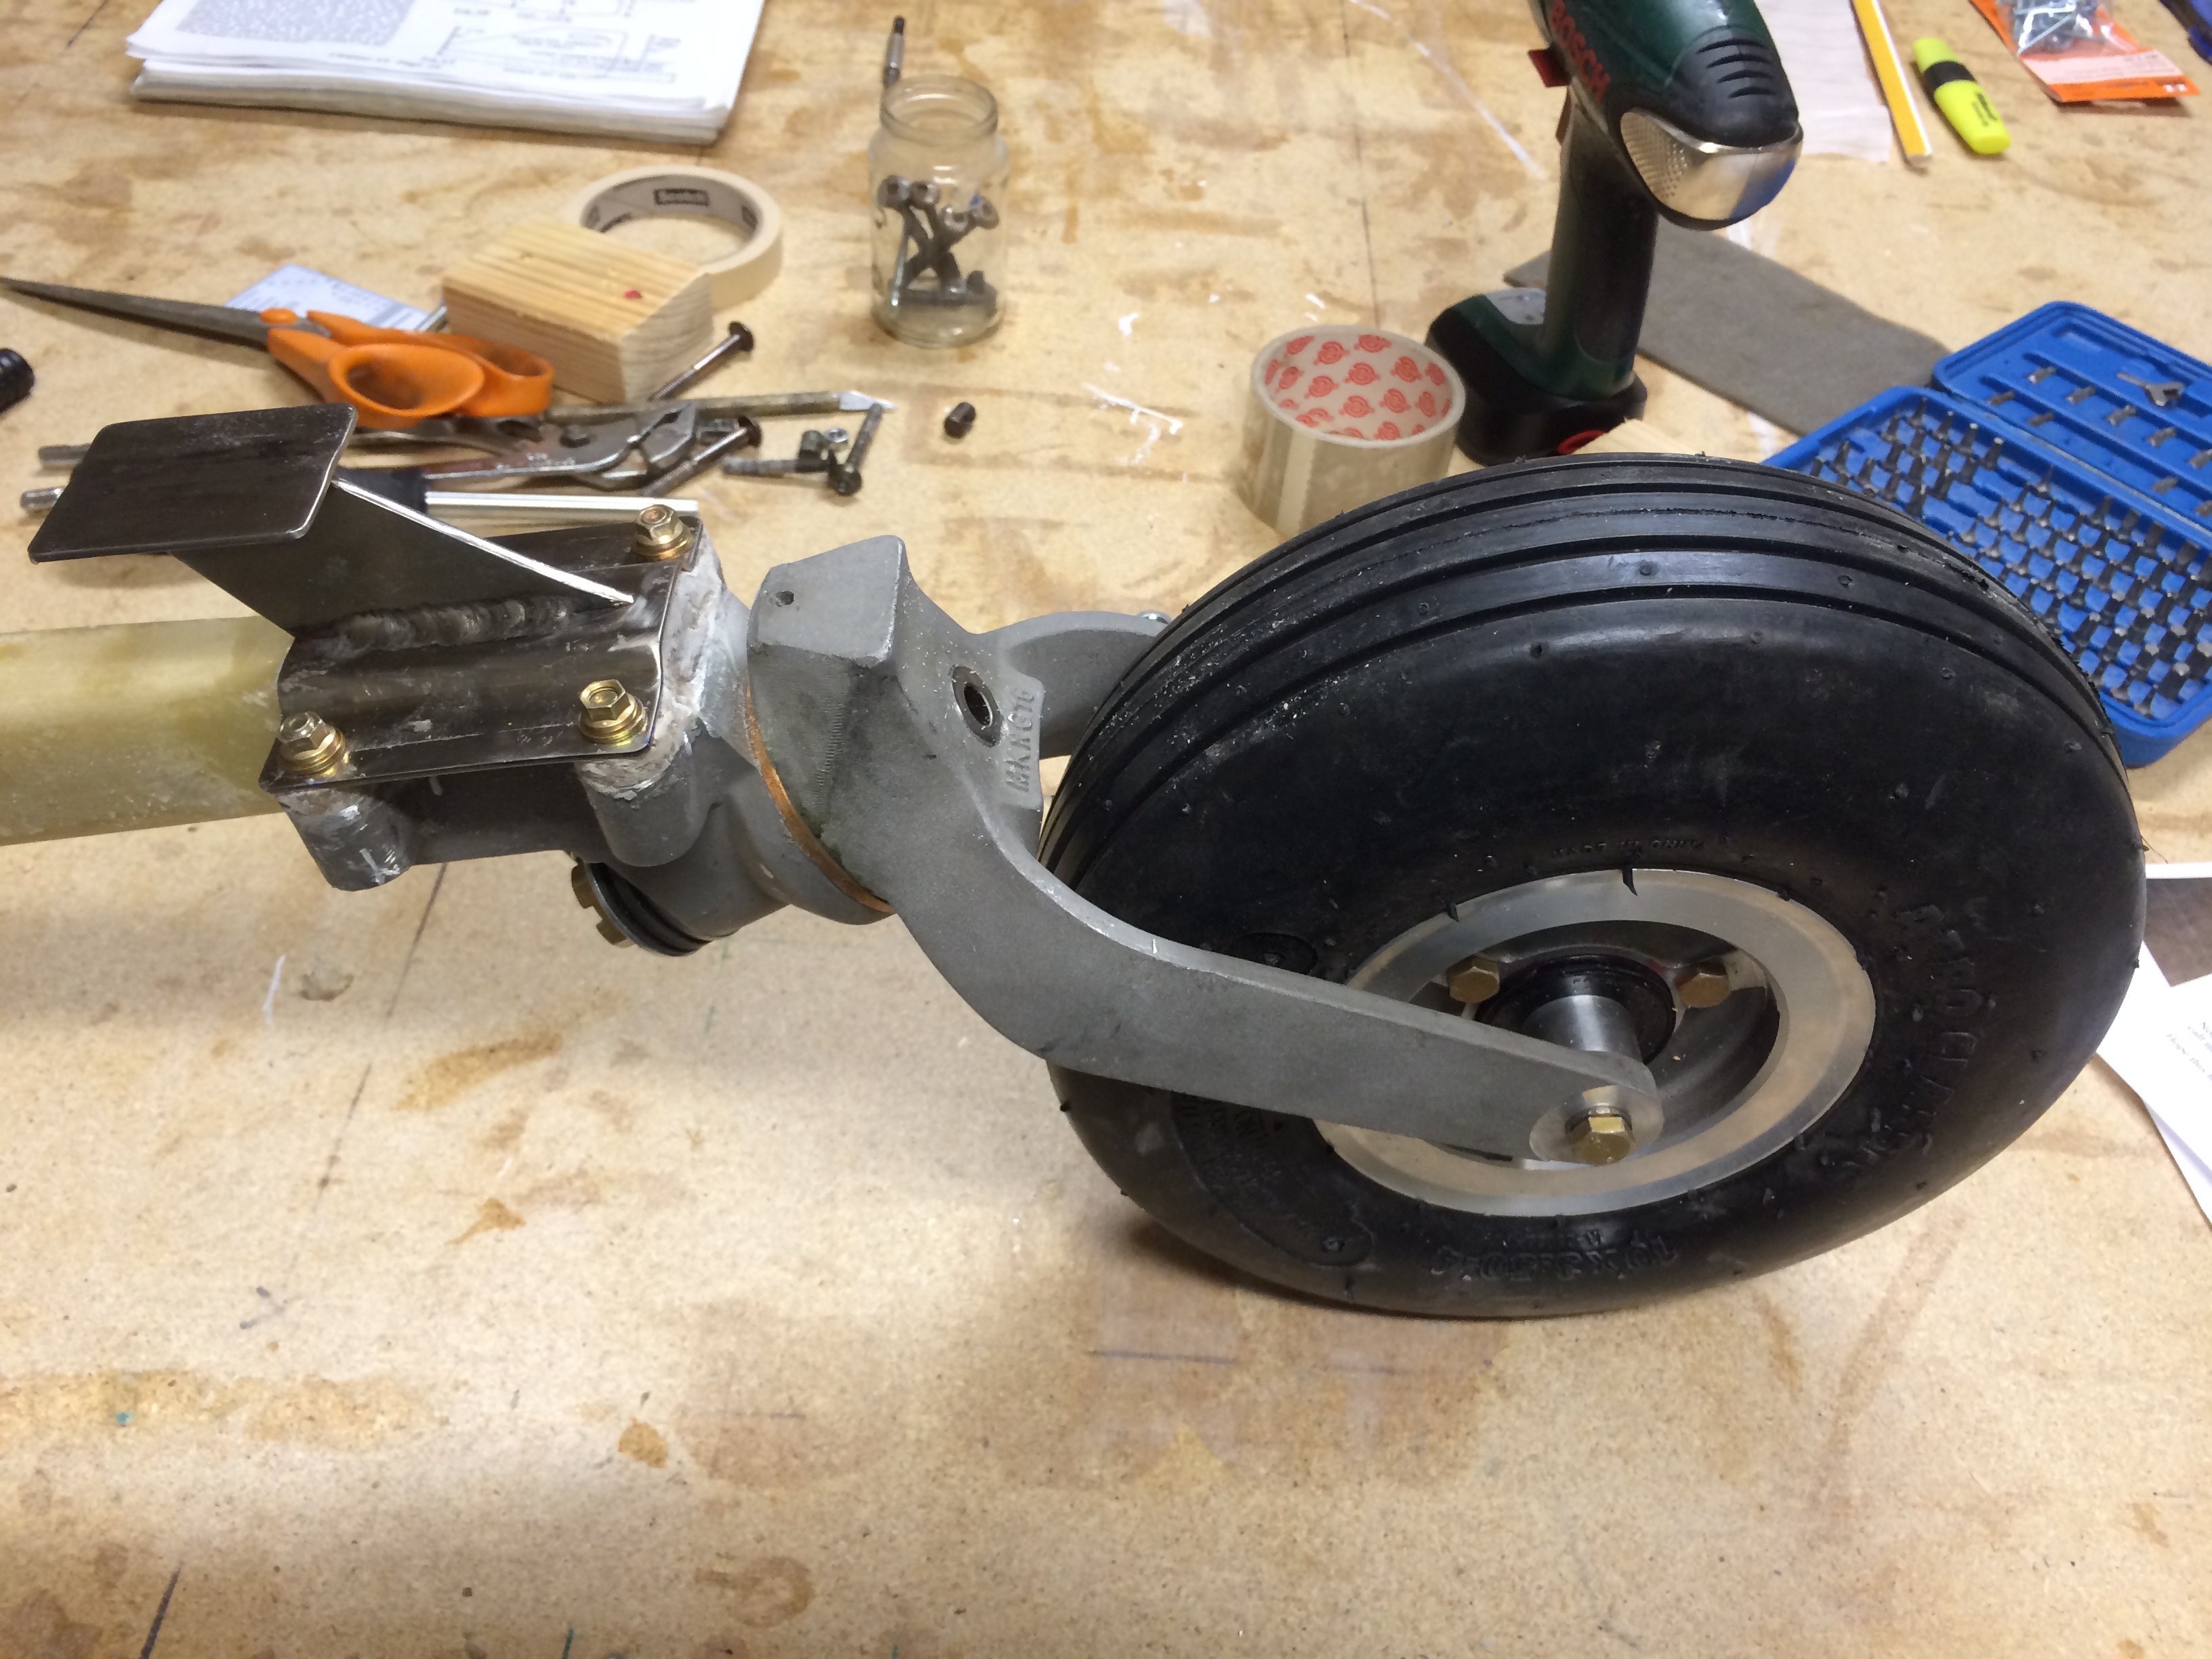
2013-12-22: And finally the whole assembly is mounted.
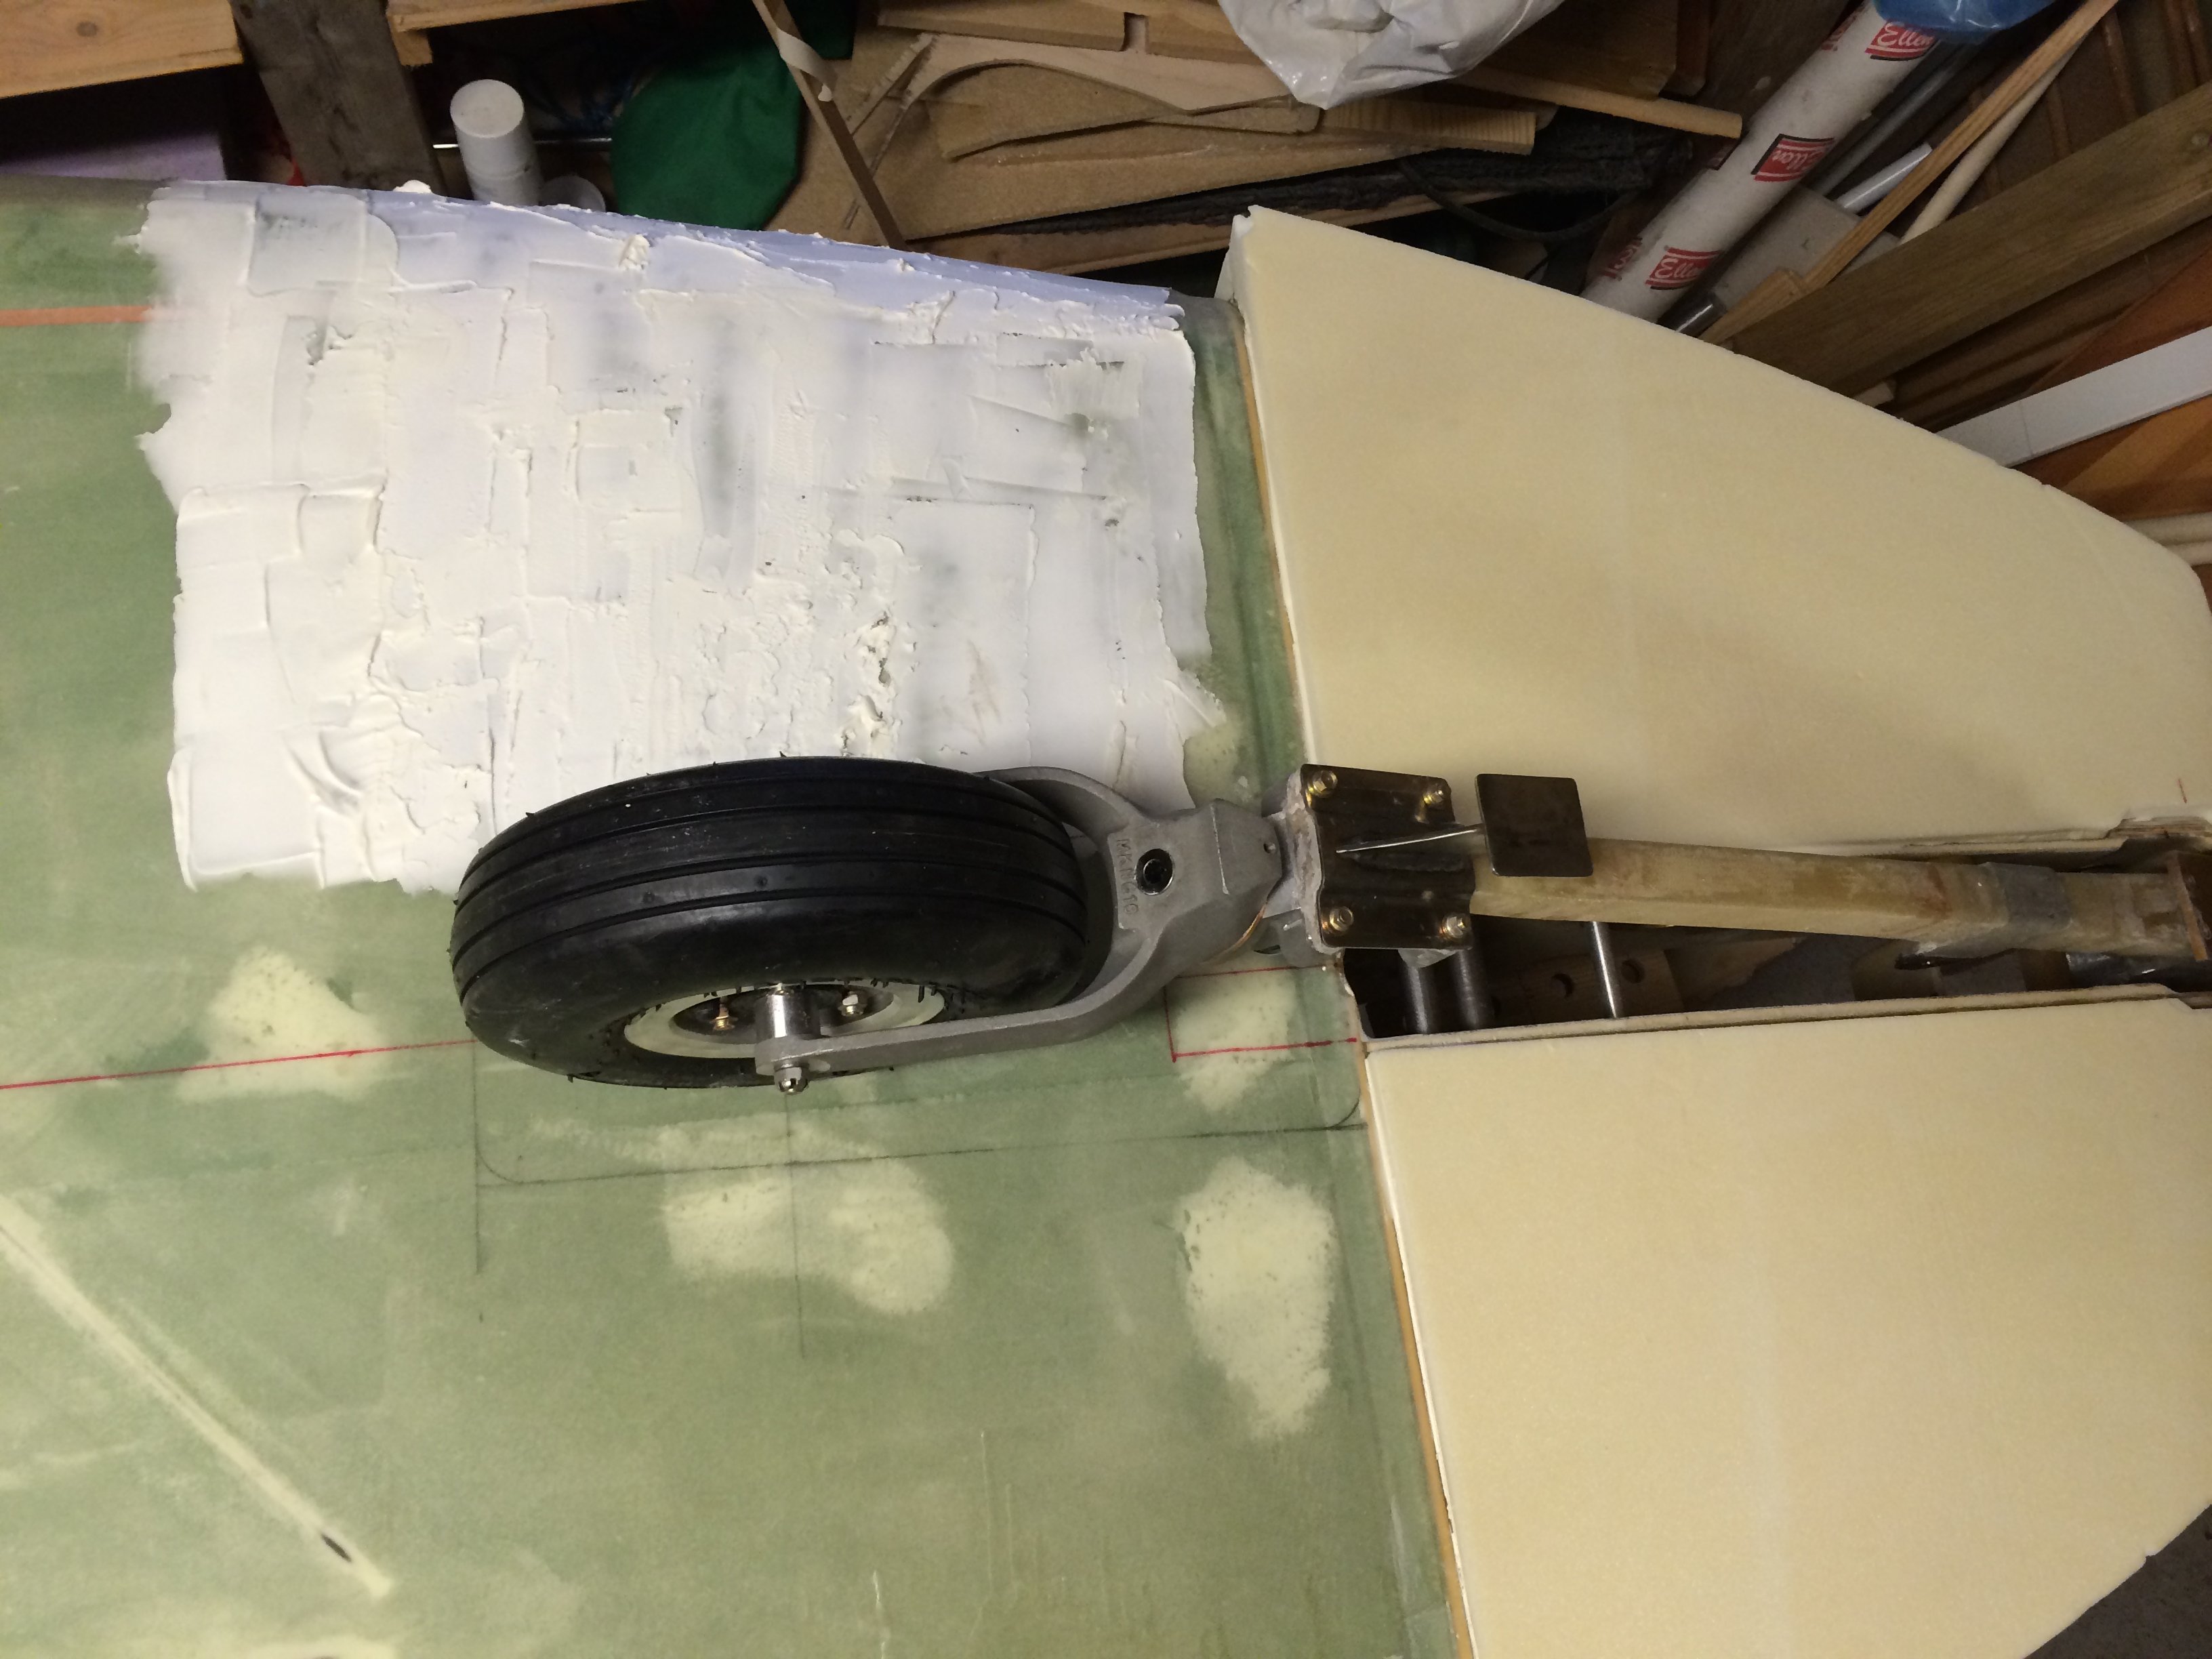
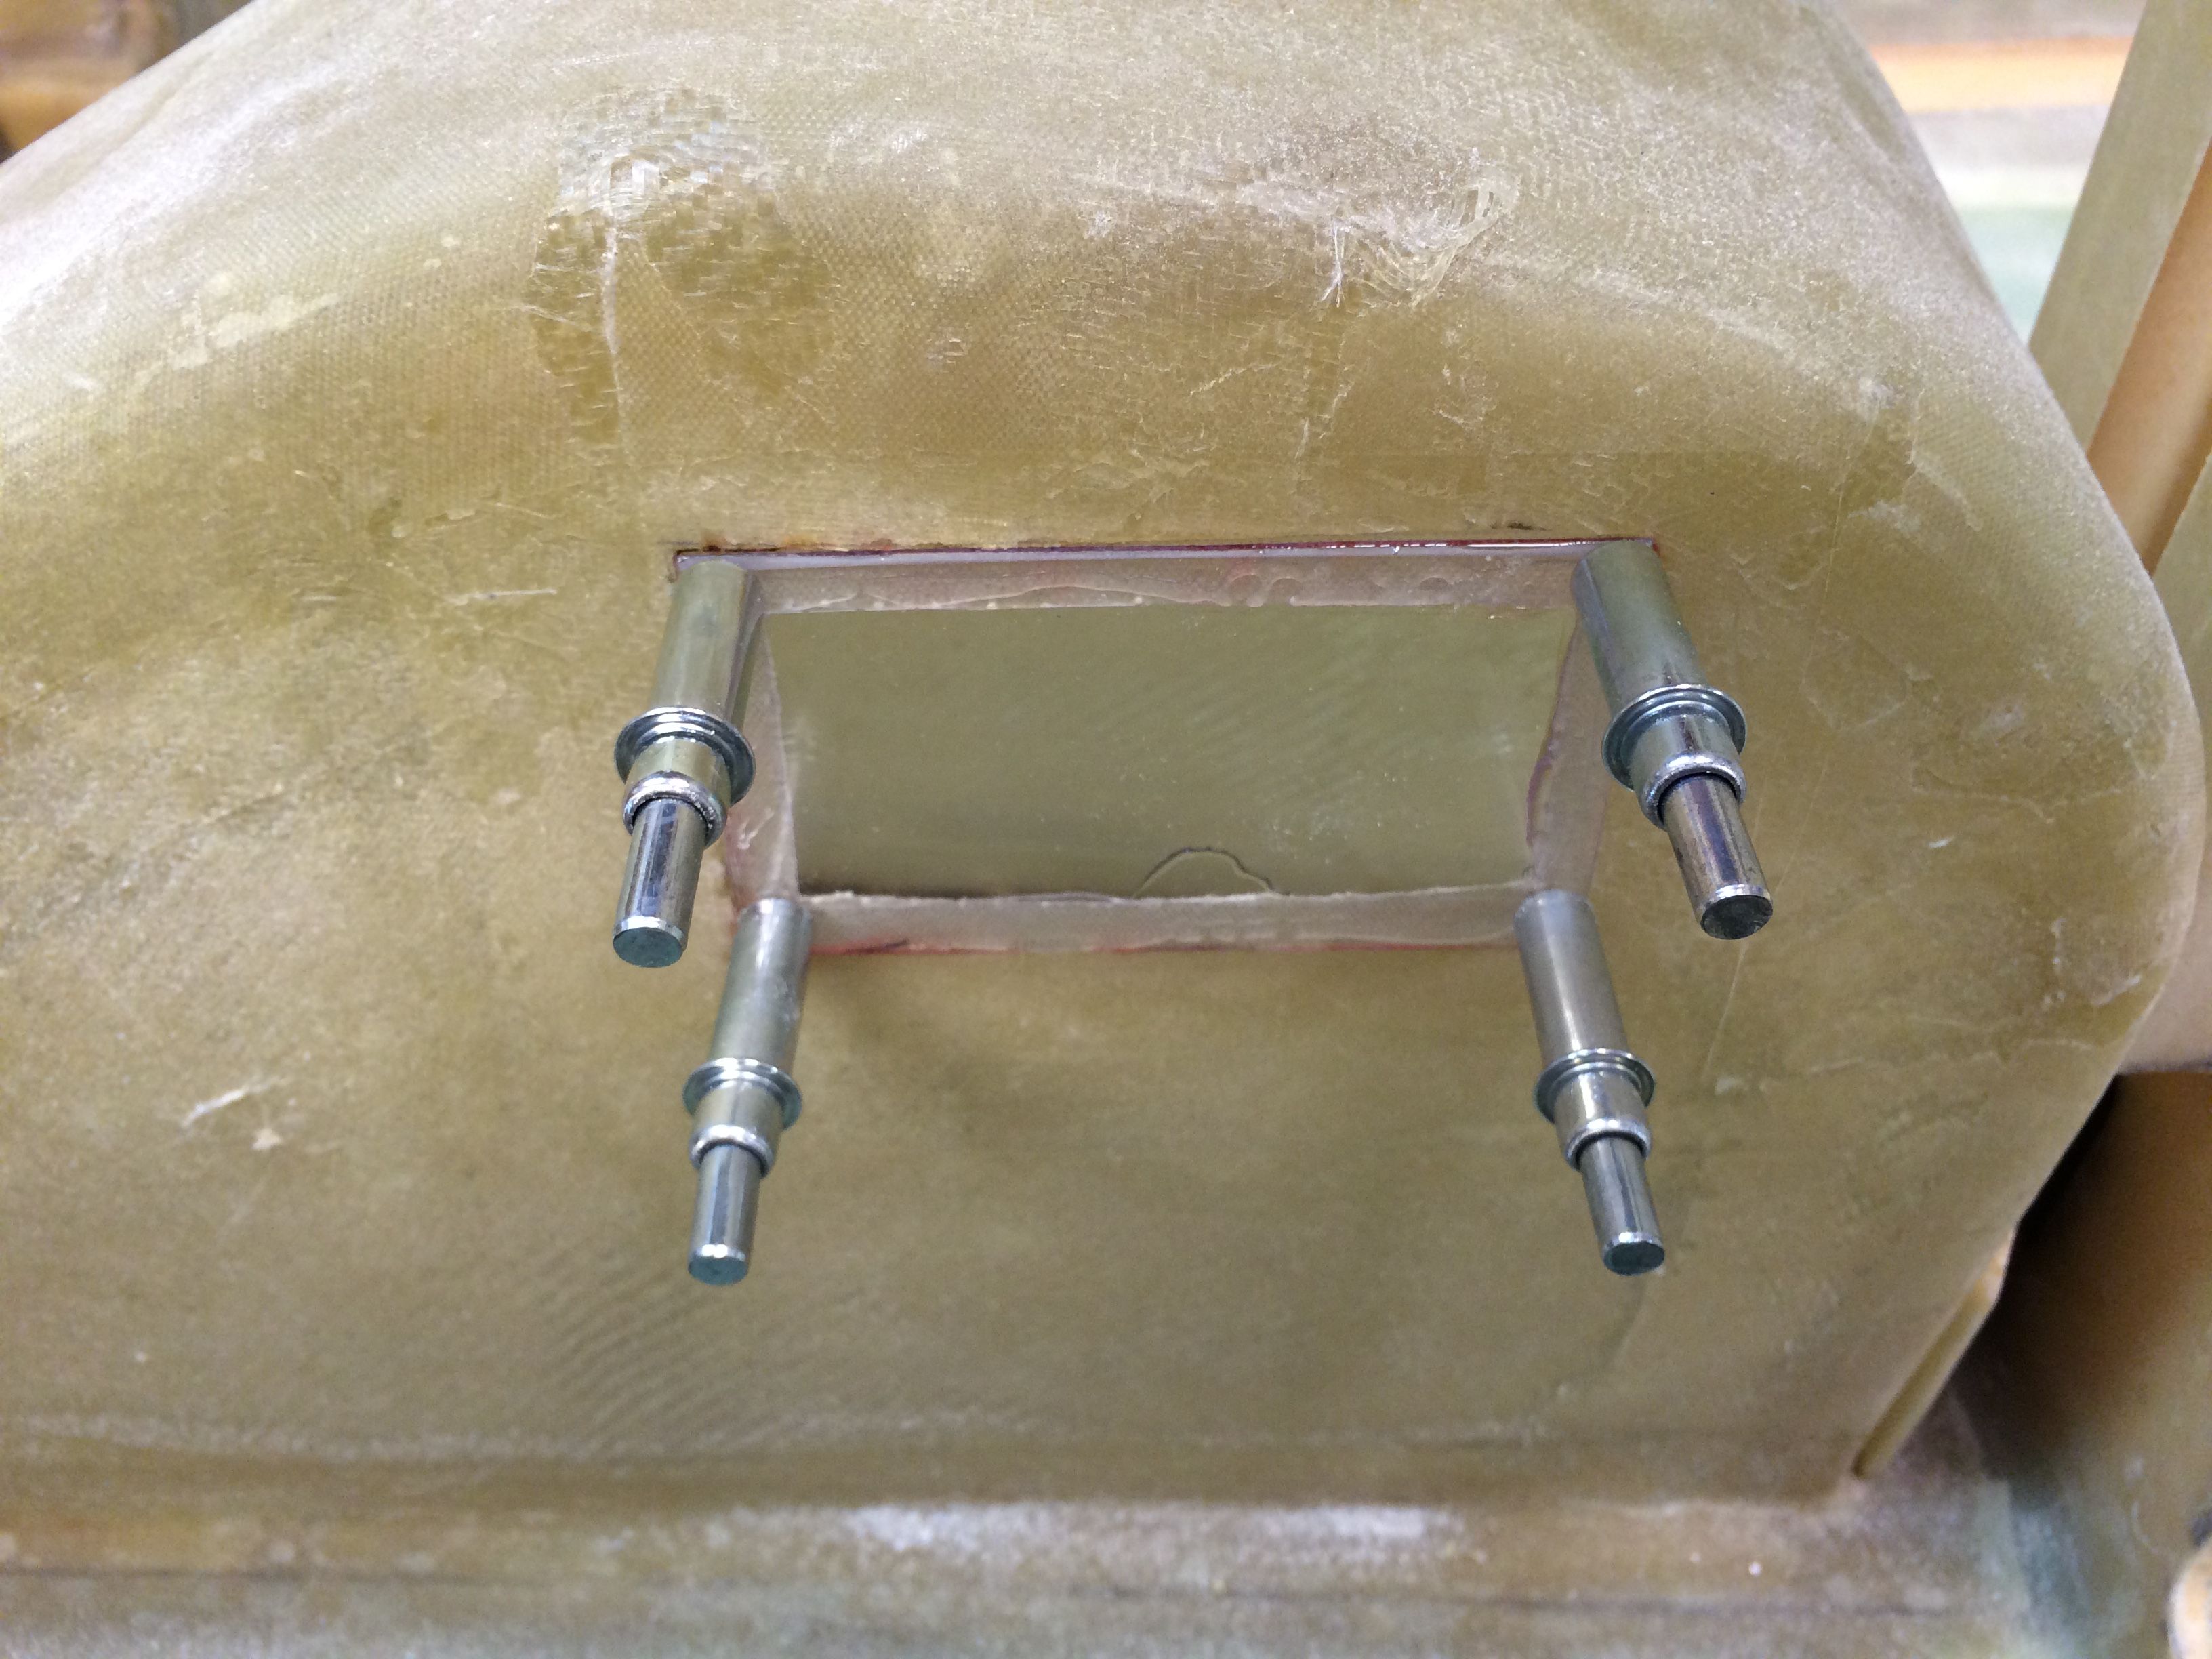
2013-12-27: Next step is to mount the nosestrut-assembly and open up the floor for the nosewheel. There are several ways to approach this, I ended up following the method described by Wayne Hicks. Instead of making a rounded opening following the profile of the wheel, I make a rectangular opening, or actually a trapez. As mr. Hicks I made the opening wider in the front, so that the gear-doors will be held open by the wind pressure. I will not make the doors until I have contoured the bottom to get them flush with the fuselage.
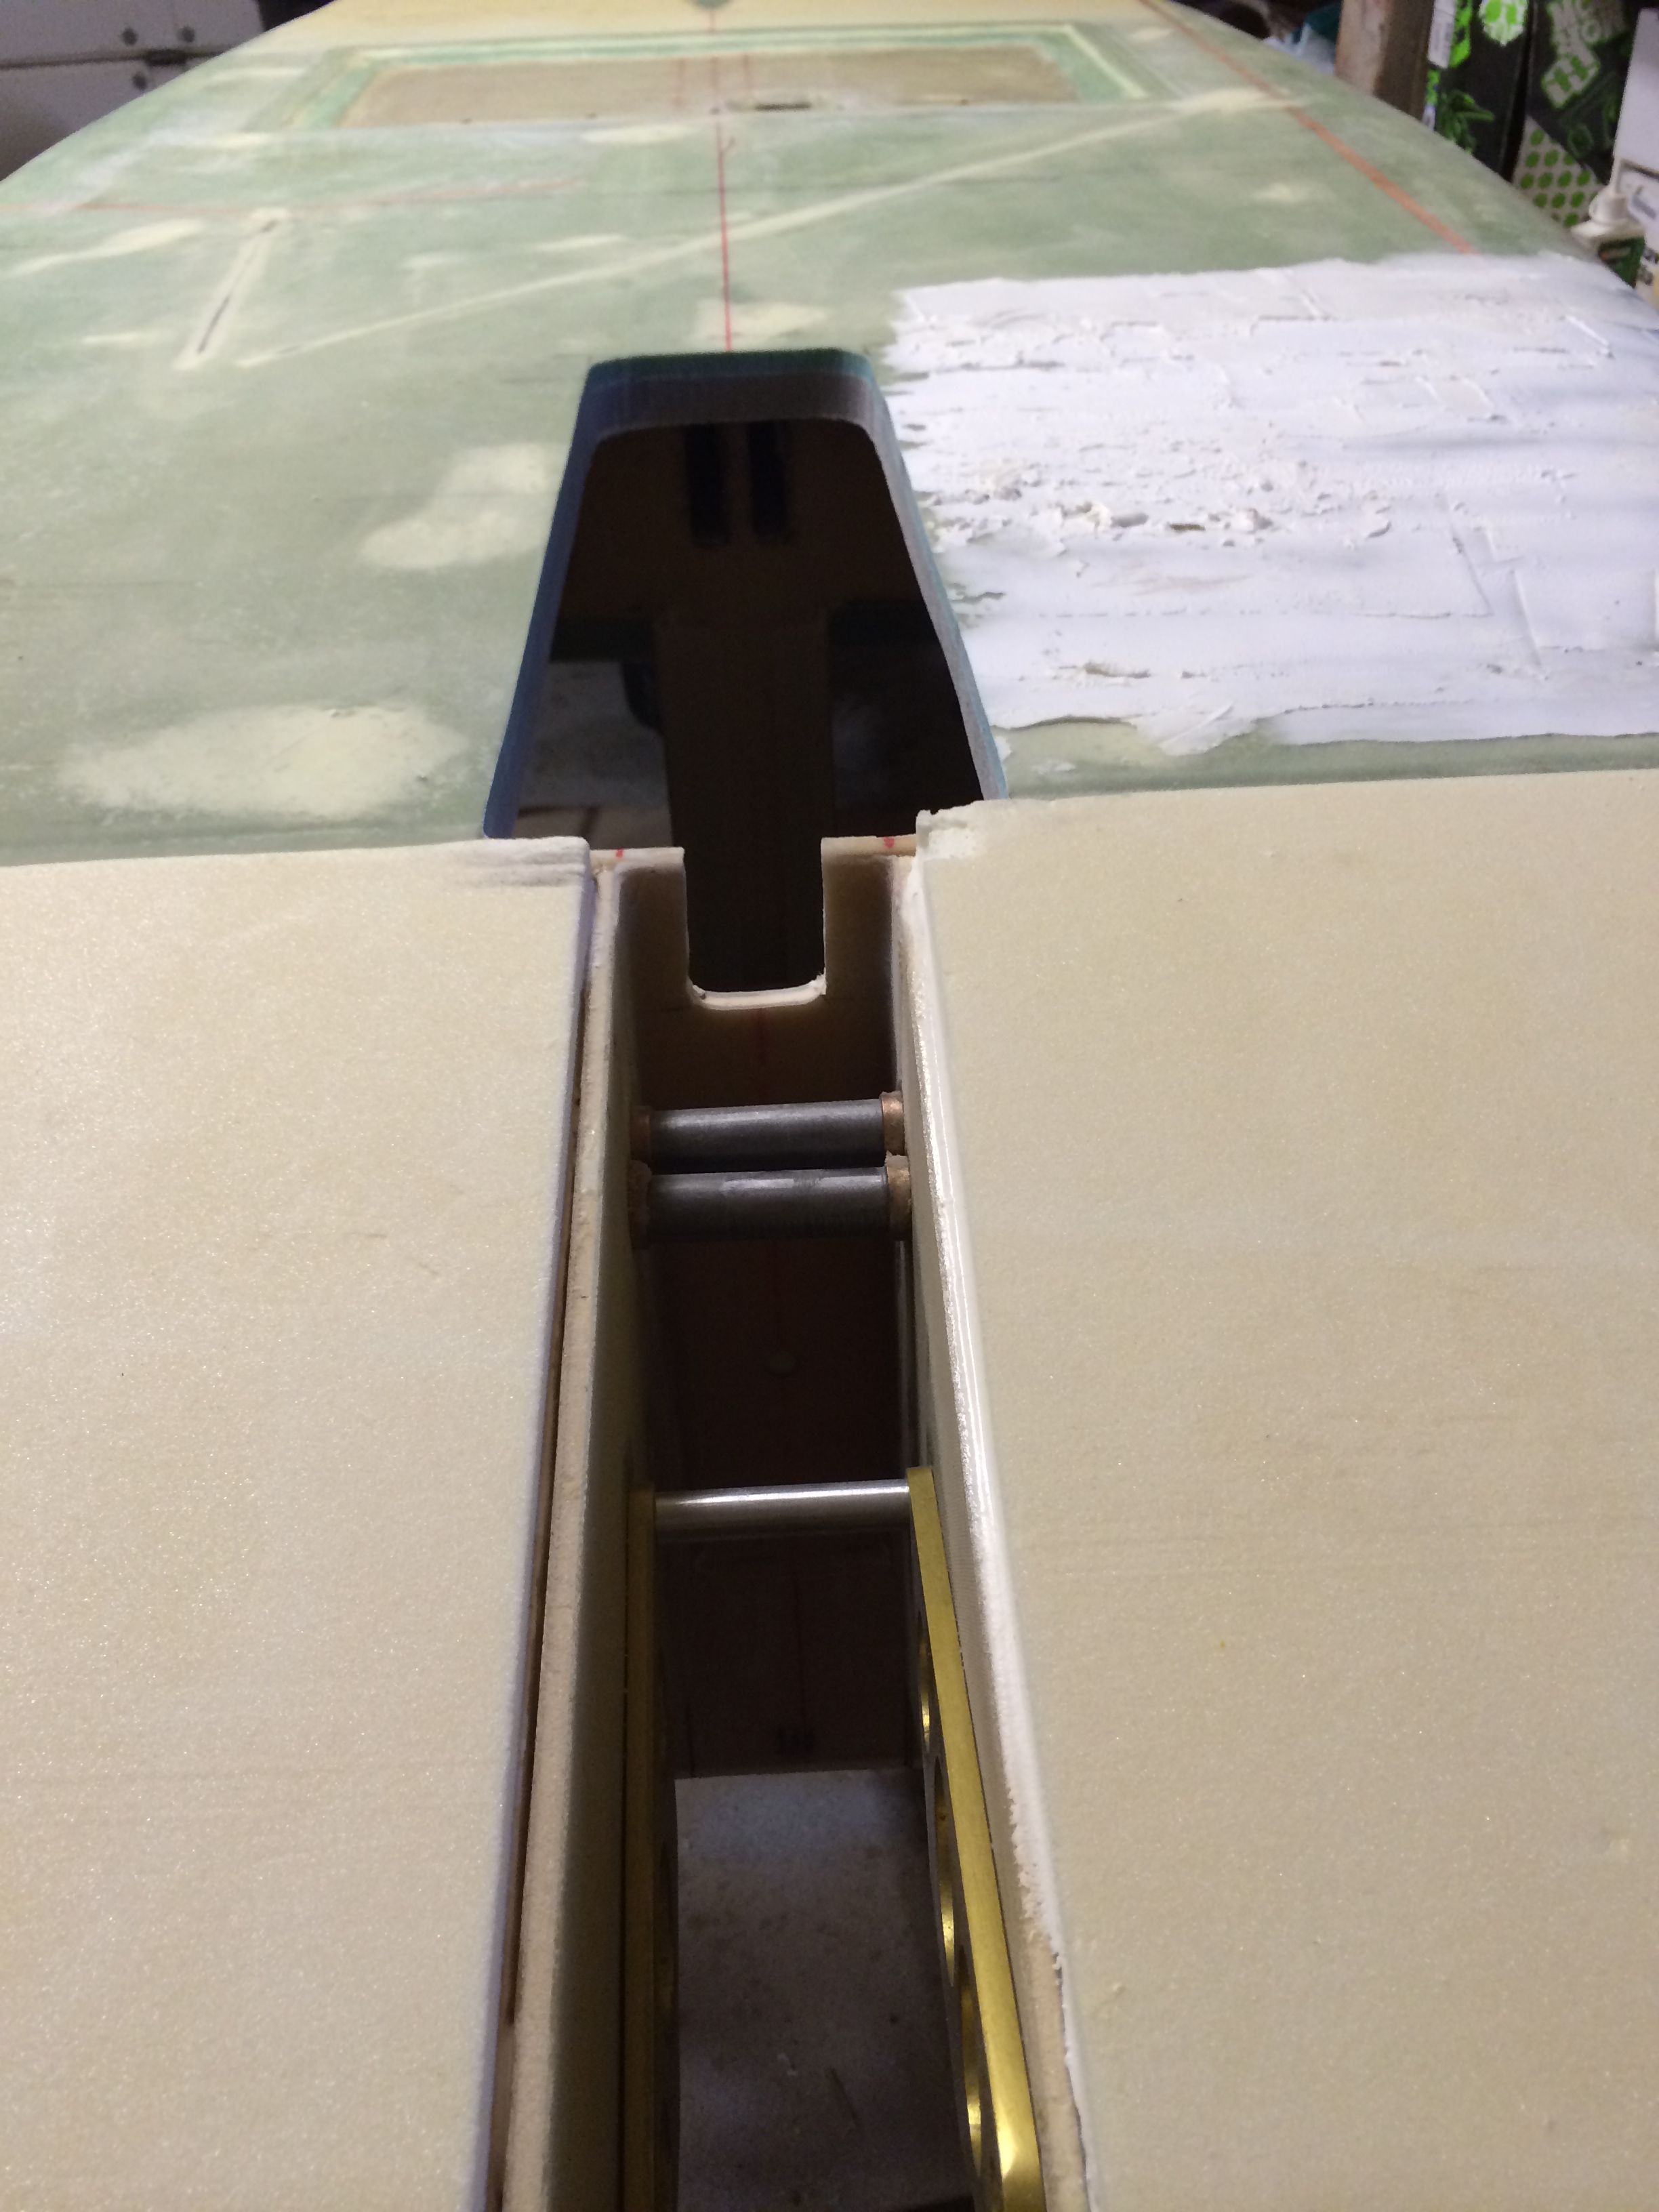
2013-12-27: Had to cut into F22 to clear the strut when in retracted position.

2013-12-27: The nosewheel-assembly in the retracted position.
2013-12-27: I test-mounted the control-system to check the positions in the retracted and the extended position. Took a video of it.

2013-12-29: Made a plug for the nosewheel box of urethane foam.
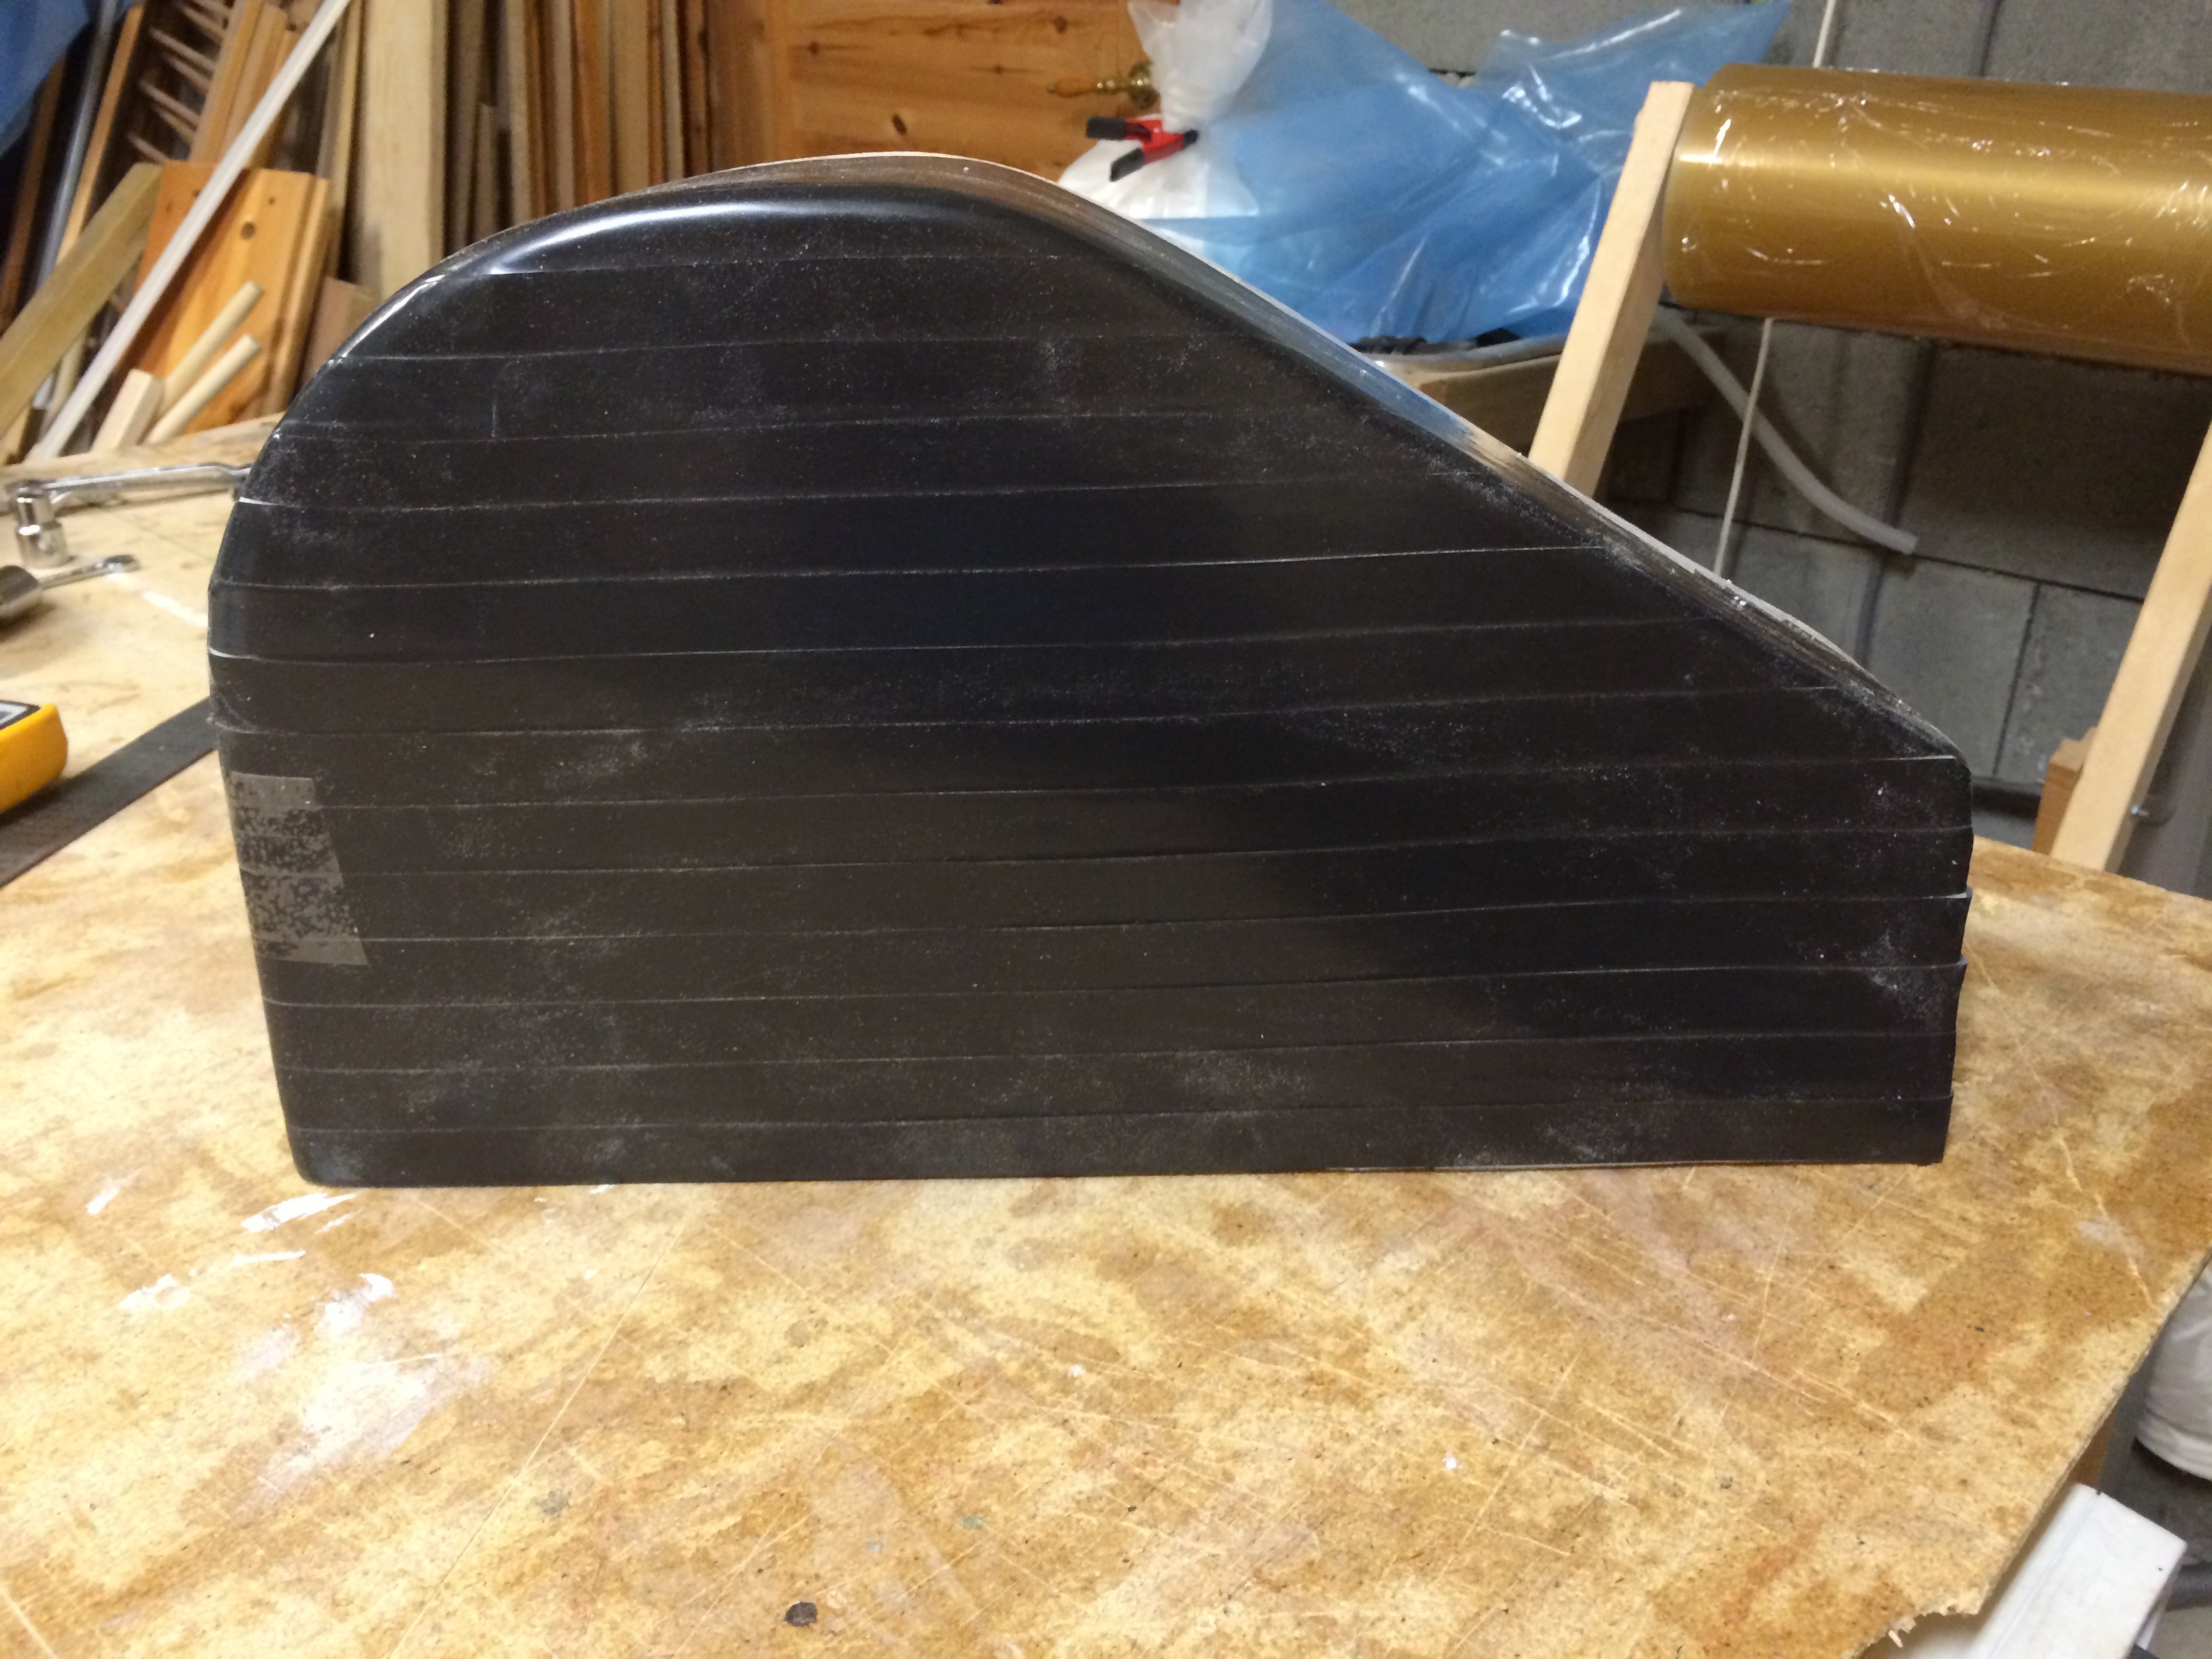
2013-12-29: Covered the plug with electrical tape to give a smooth inside.
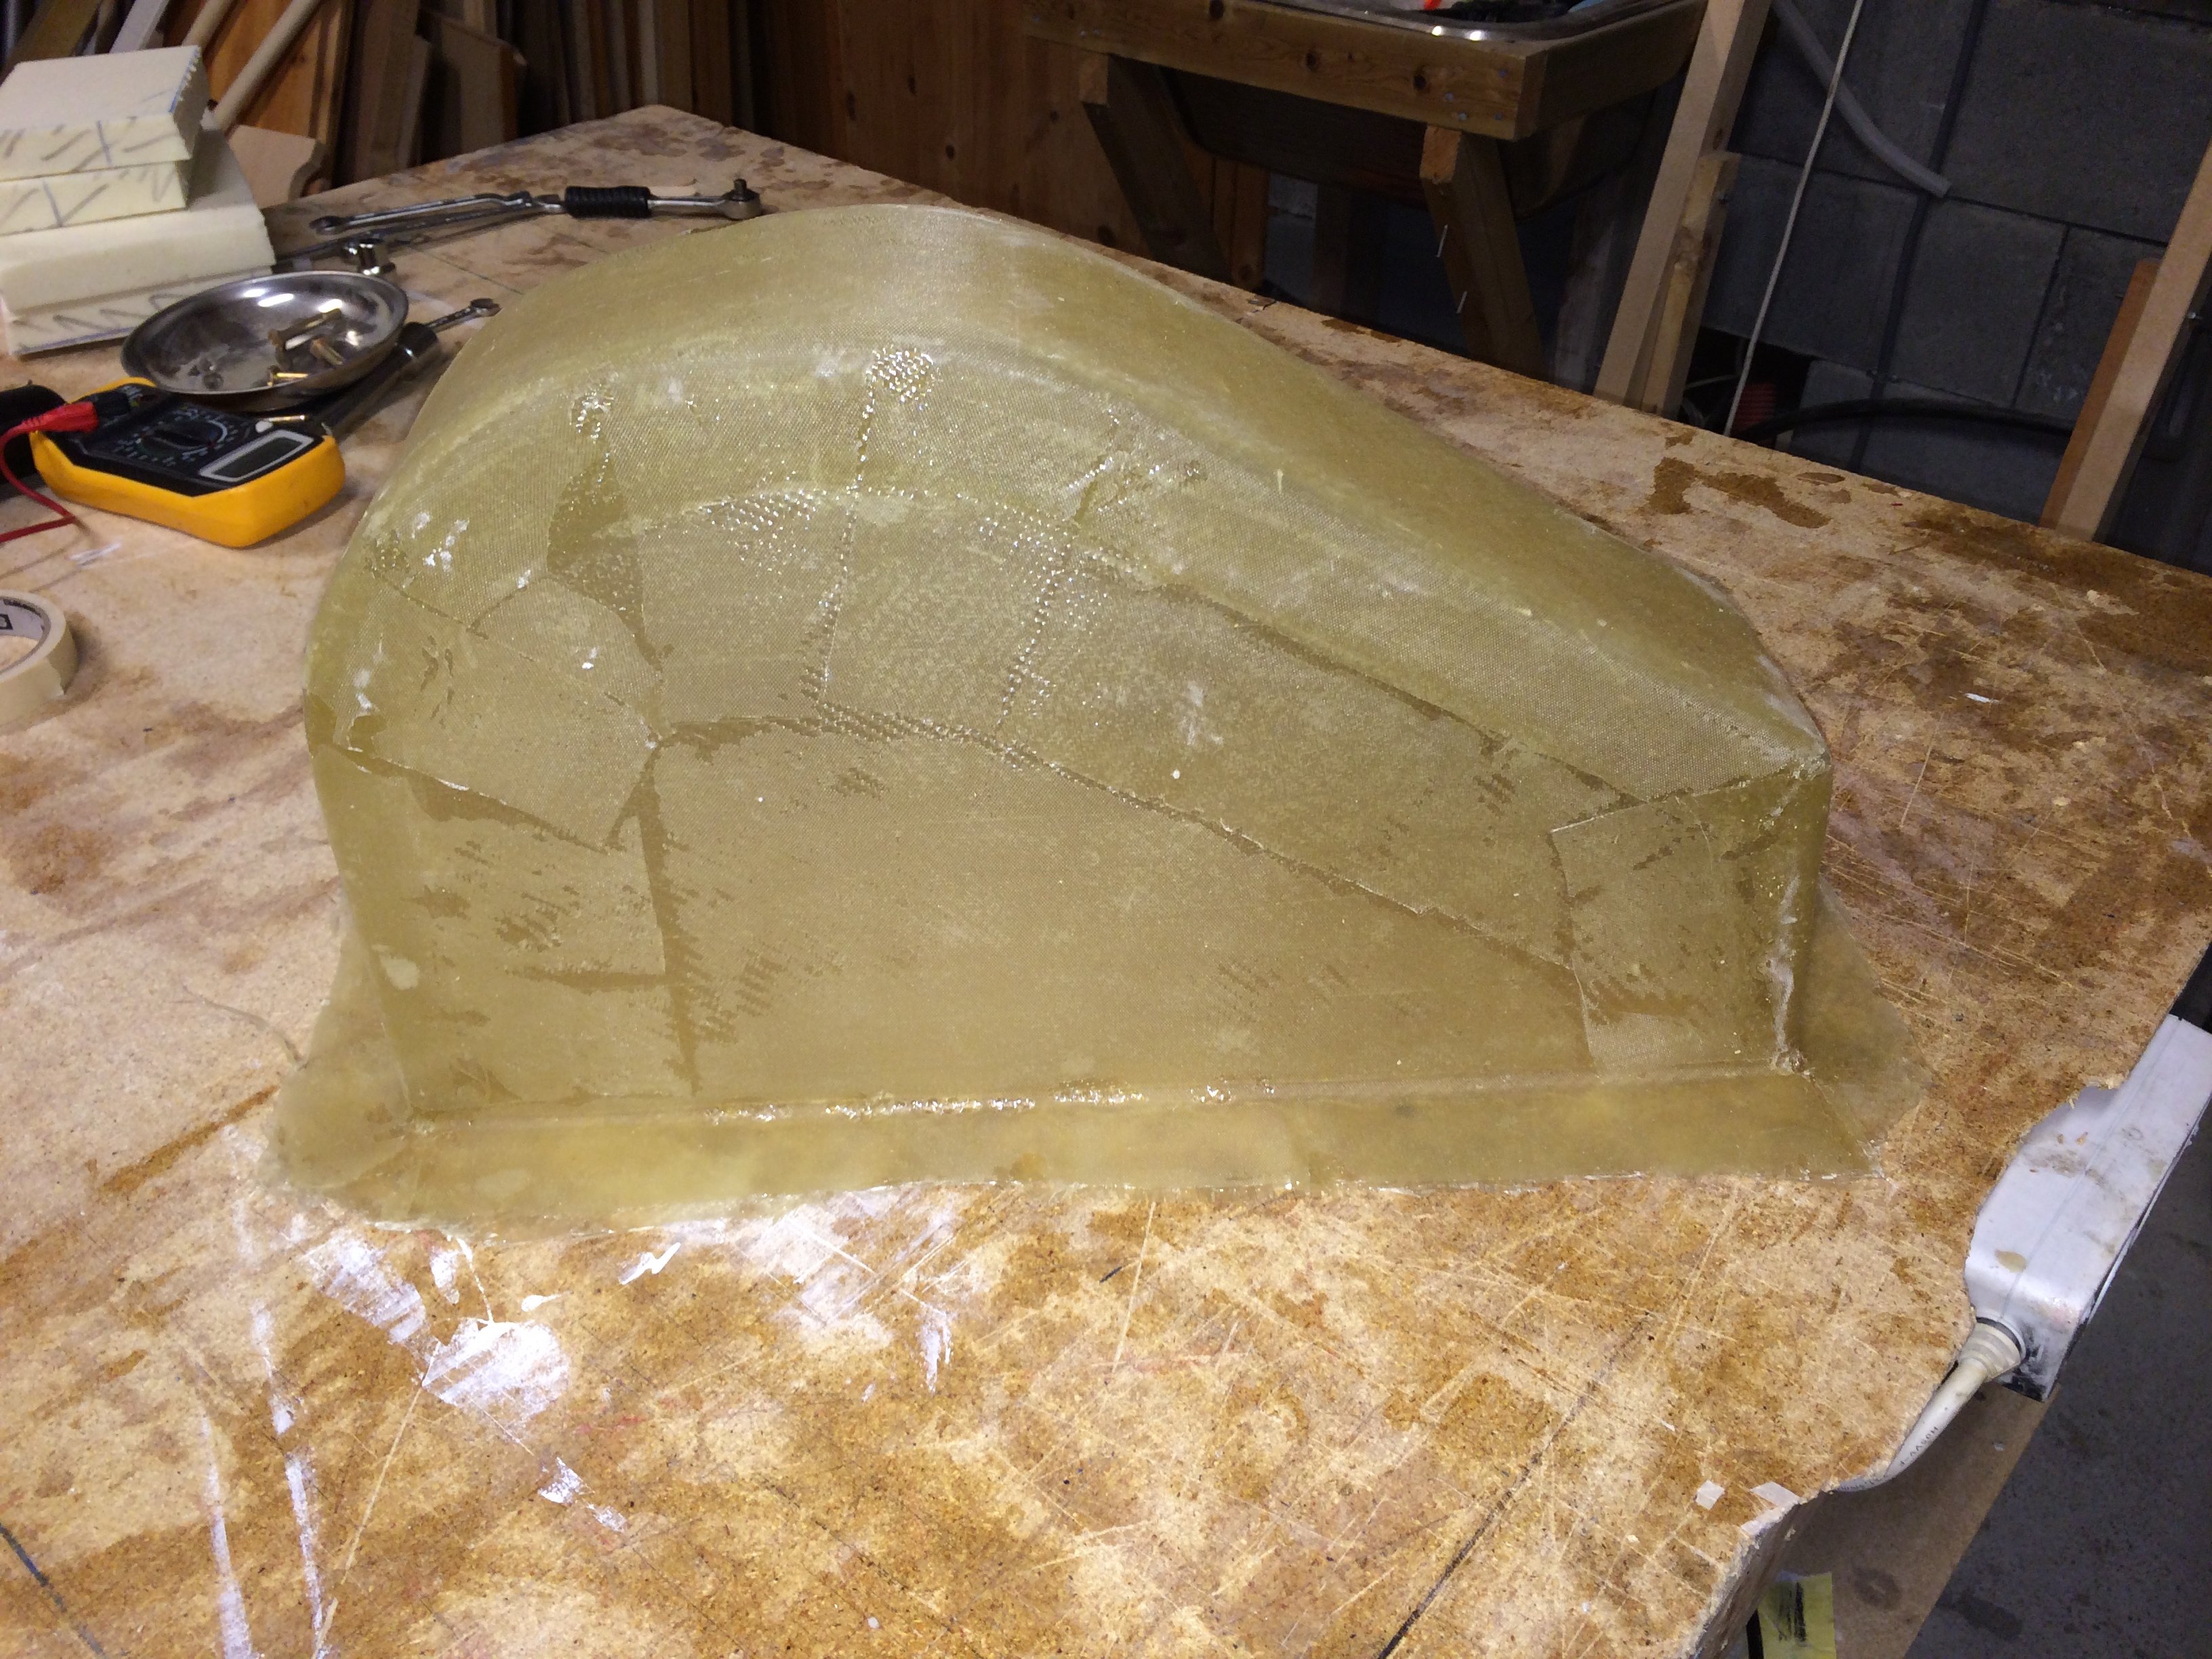
2013-12-30: After cure I removed (destroyed!) the urethane plug and cut the edges smooth.
2013-12-30: Floxed the box in place and 2BID-taped all around. Set to cure.
2013-12-31: Made a wedge of urethane and glassed with 1BID. This is to deflect the air that comes out of the heatduct in front of the instrument panel and behind the new nosewheel box.
2013-12-31: Glued the wedge in place with epoxy.
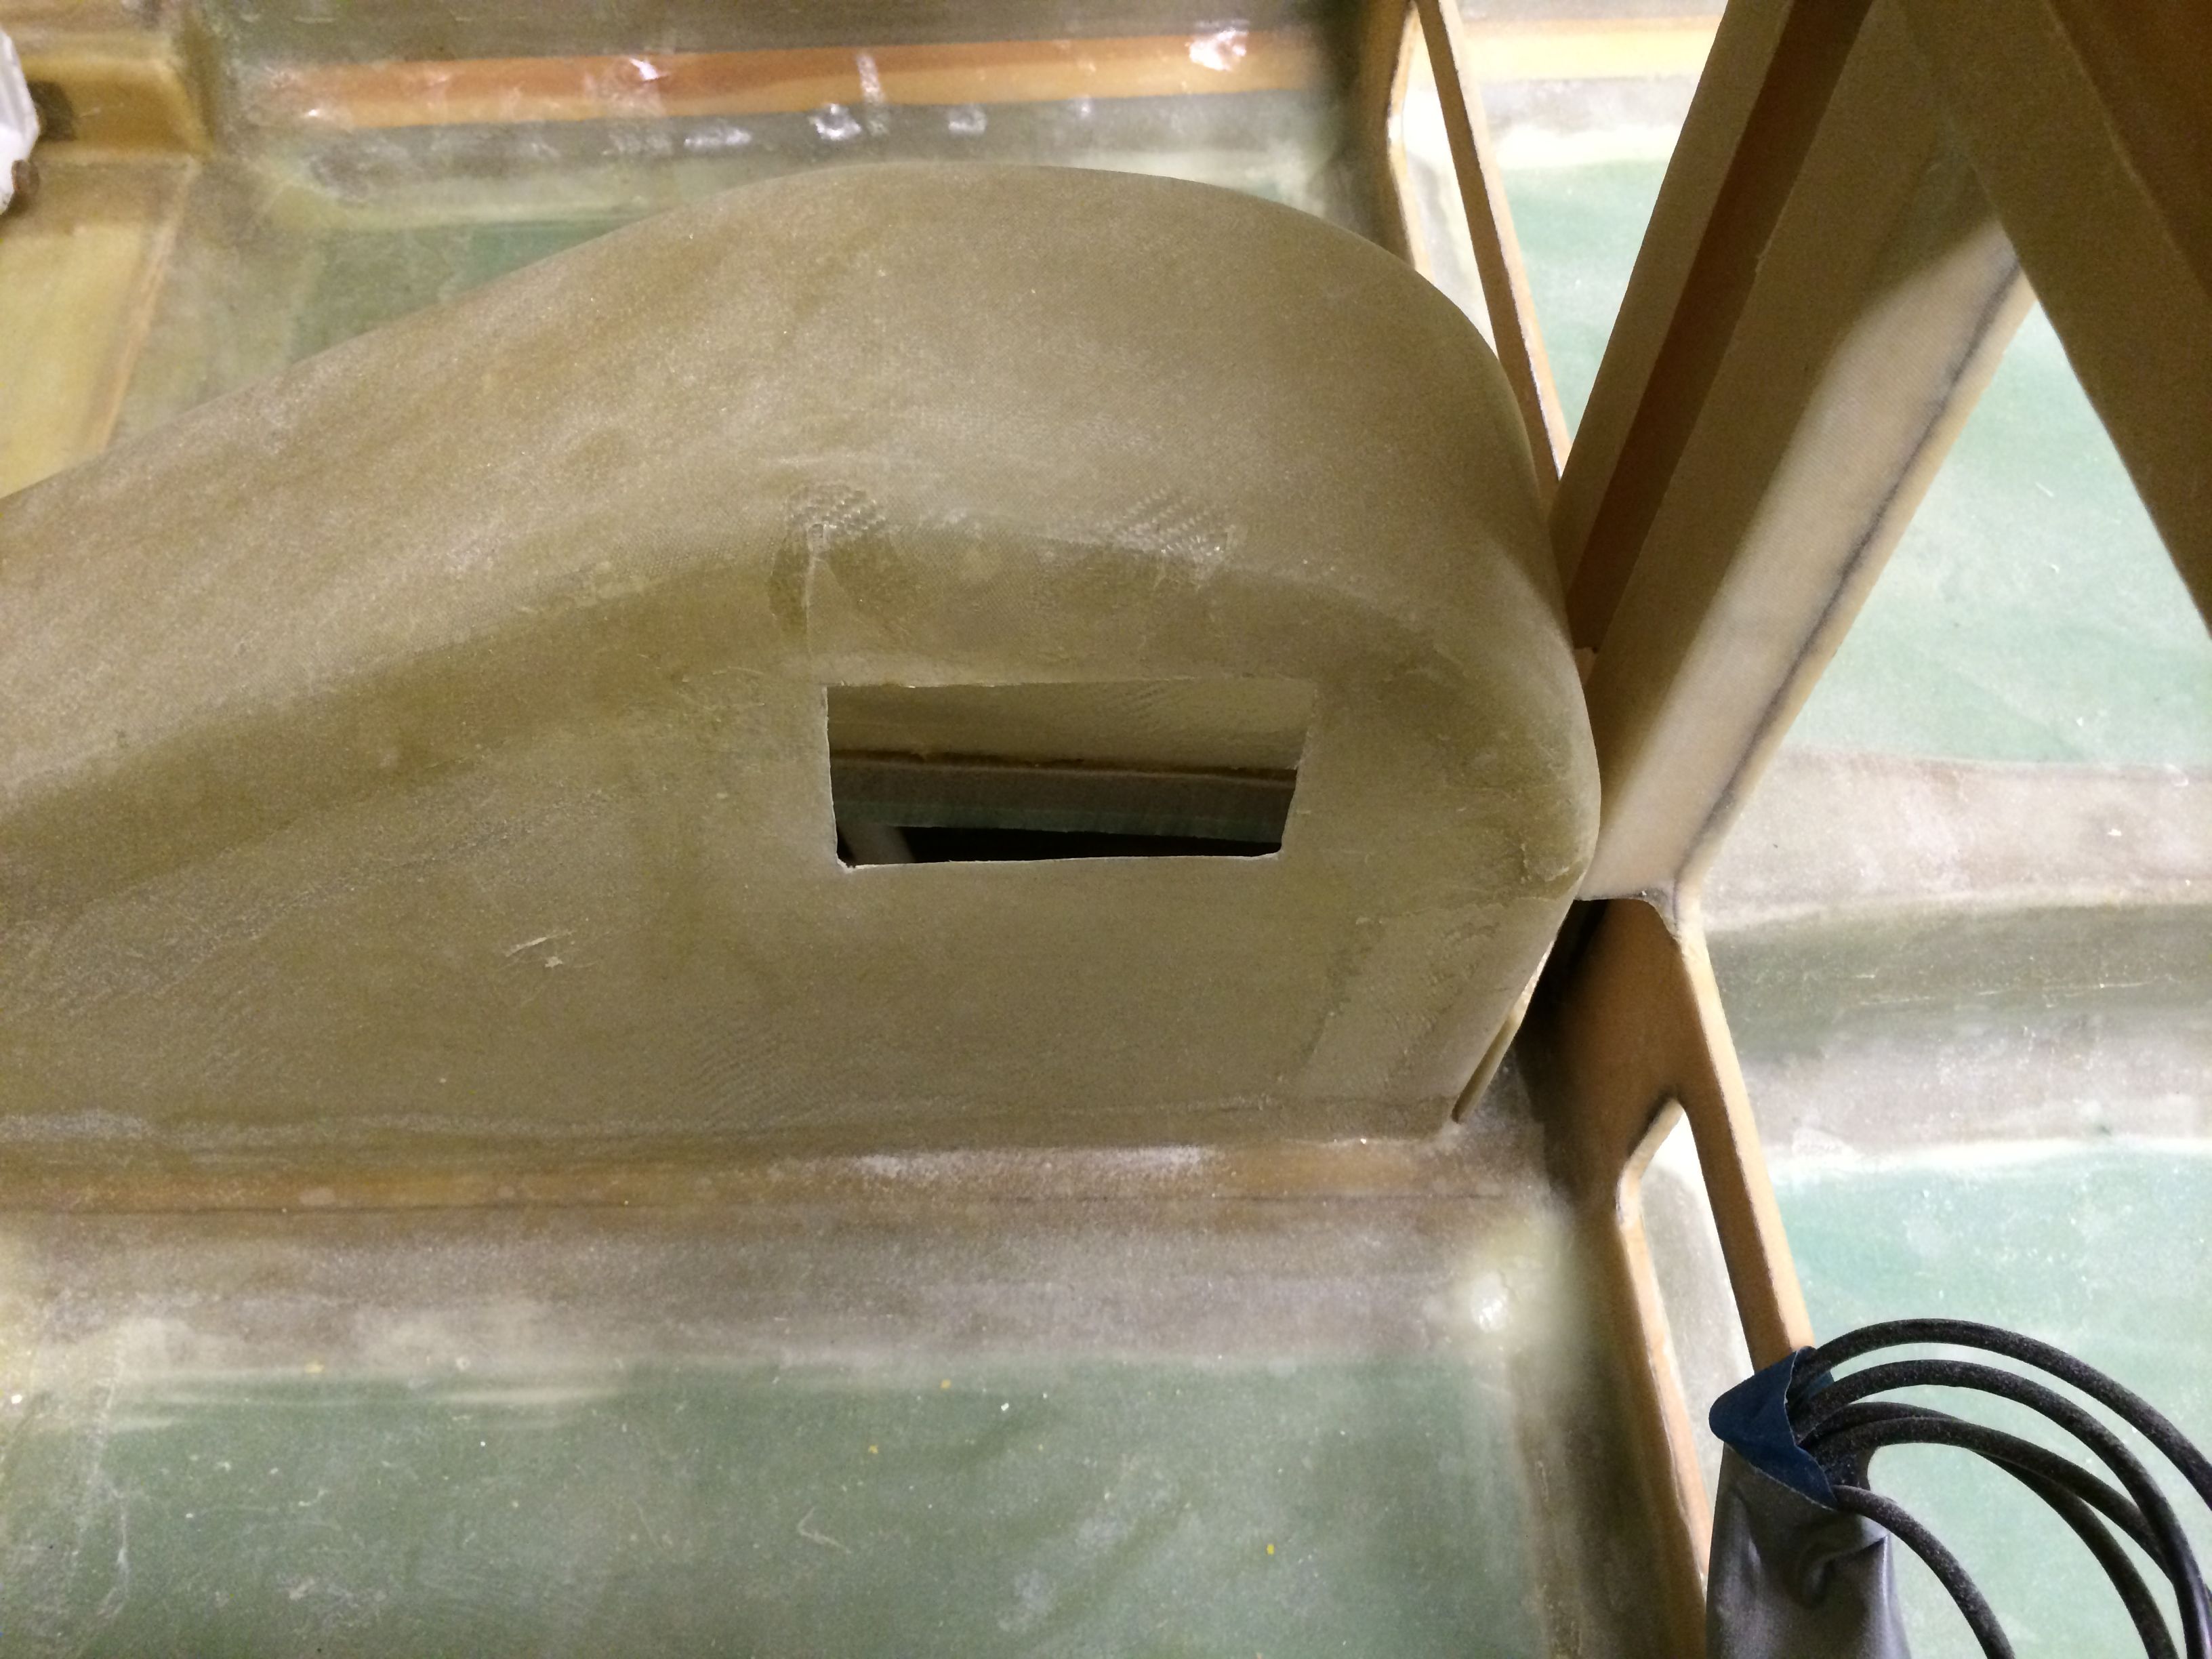
2014-09-28: Cut holes for the windows in the nosewheel box.
2014-09-28: Made a flange on the back, glued 2mm plexiglass with 5-min epoxy. Used clecoes (for the first time!) to hold the glass while the epoxy cured.
Started: 2013-11-24
Ended: 2013-12-31