
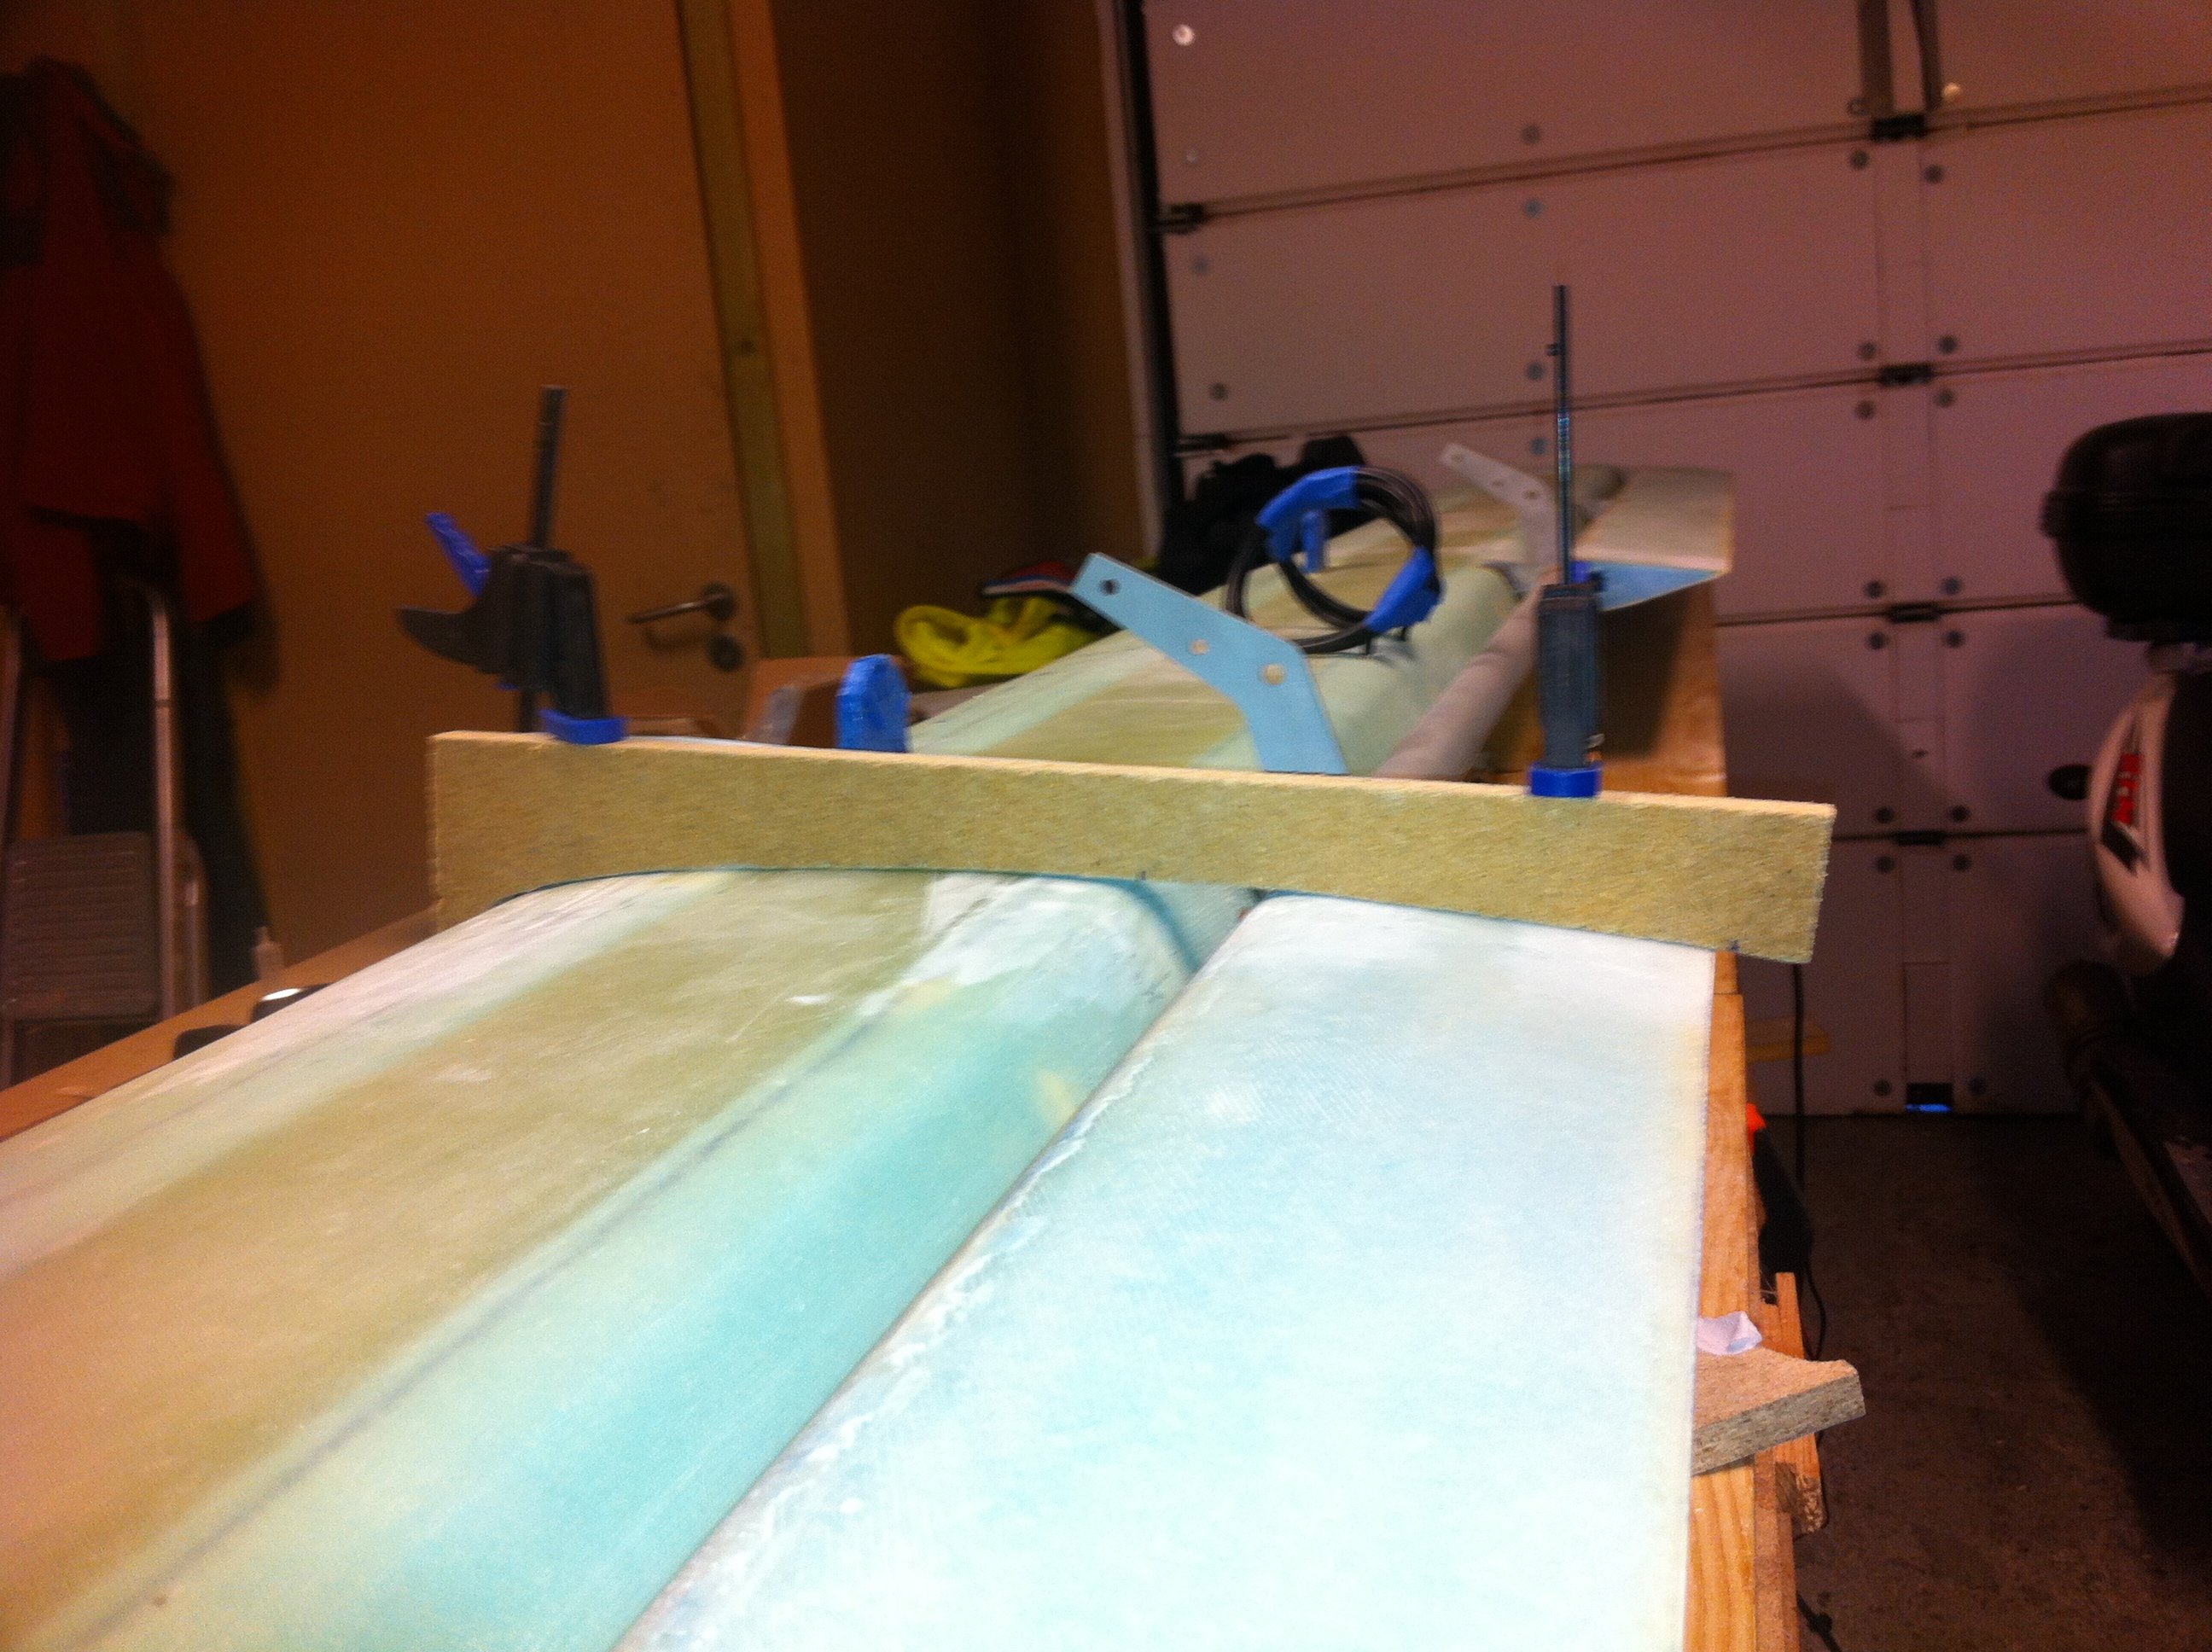
2012-11-03: The plans tells us to use the L-jig (again) to align the elevator at zero degrees. This is wrong, as the L-jig was used to set the elevator at -15 degrees in the former steps. Instead I copied the plans drawing where the elevator is placed at zero degrees, and made a new jig based on that drawing.
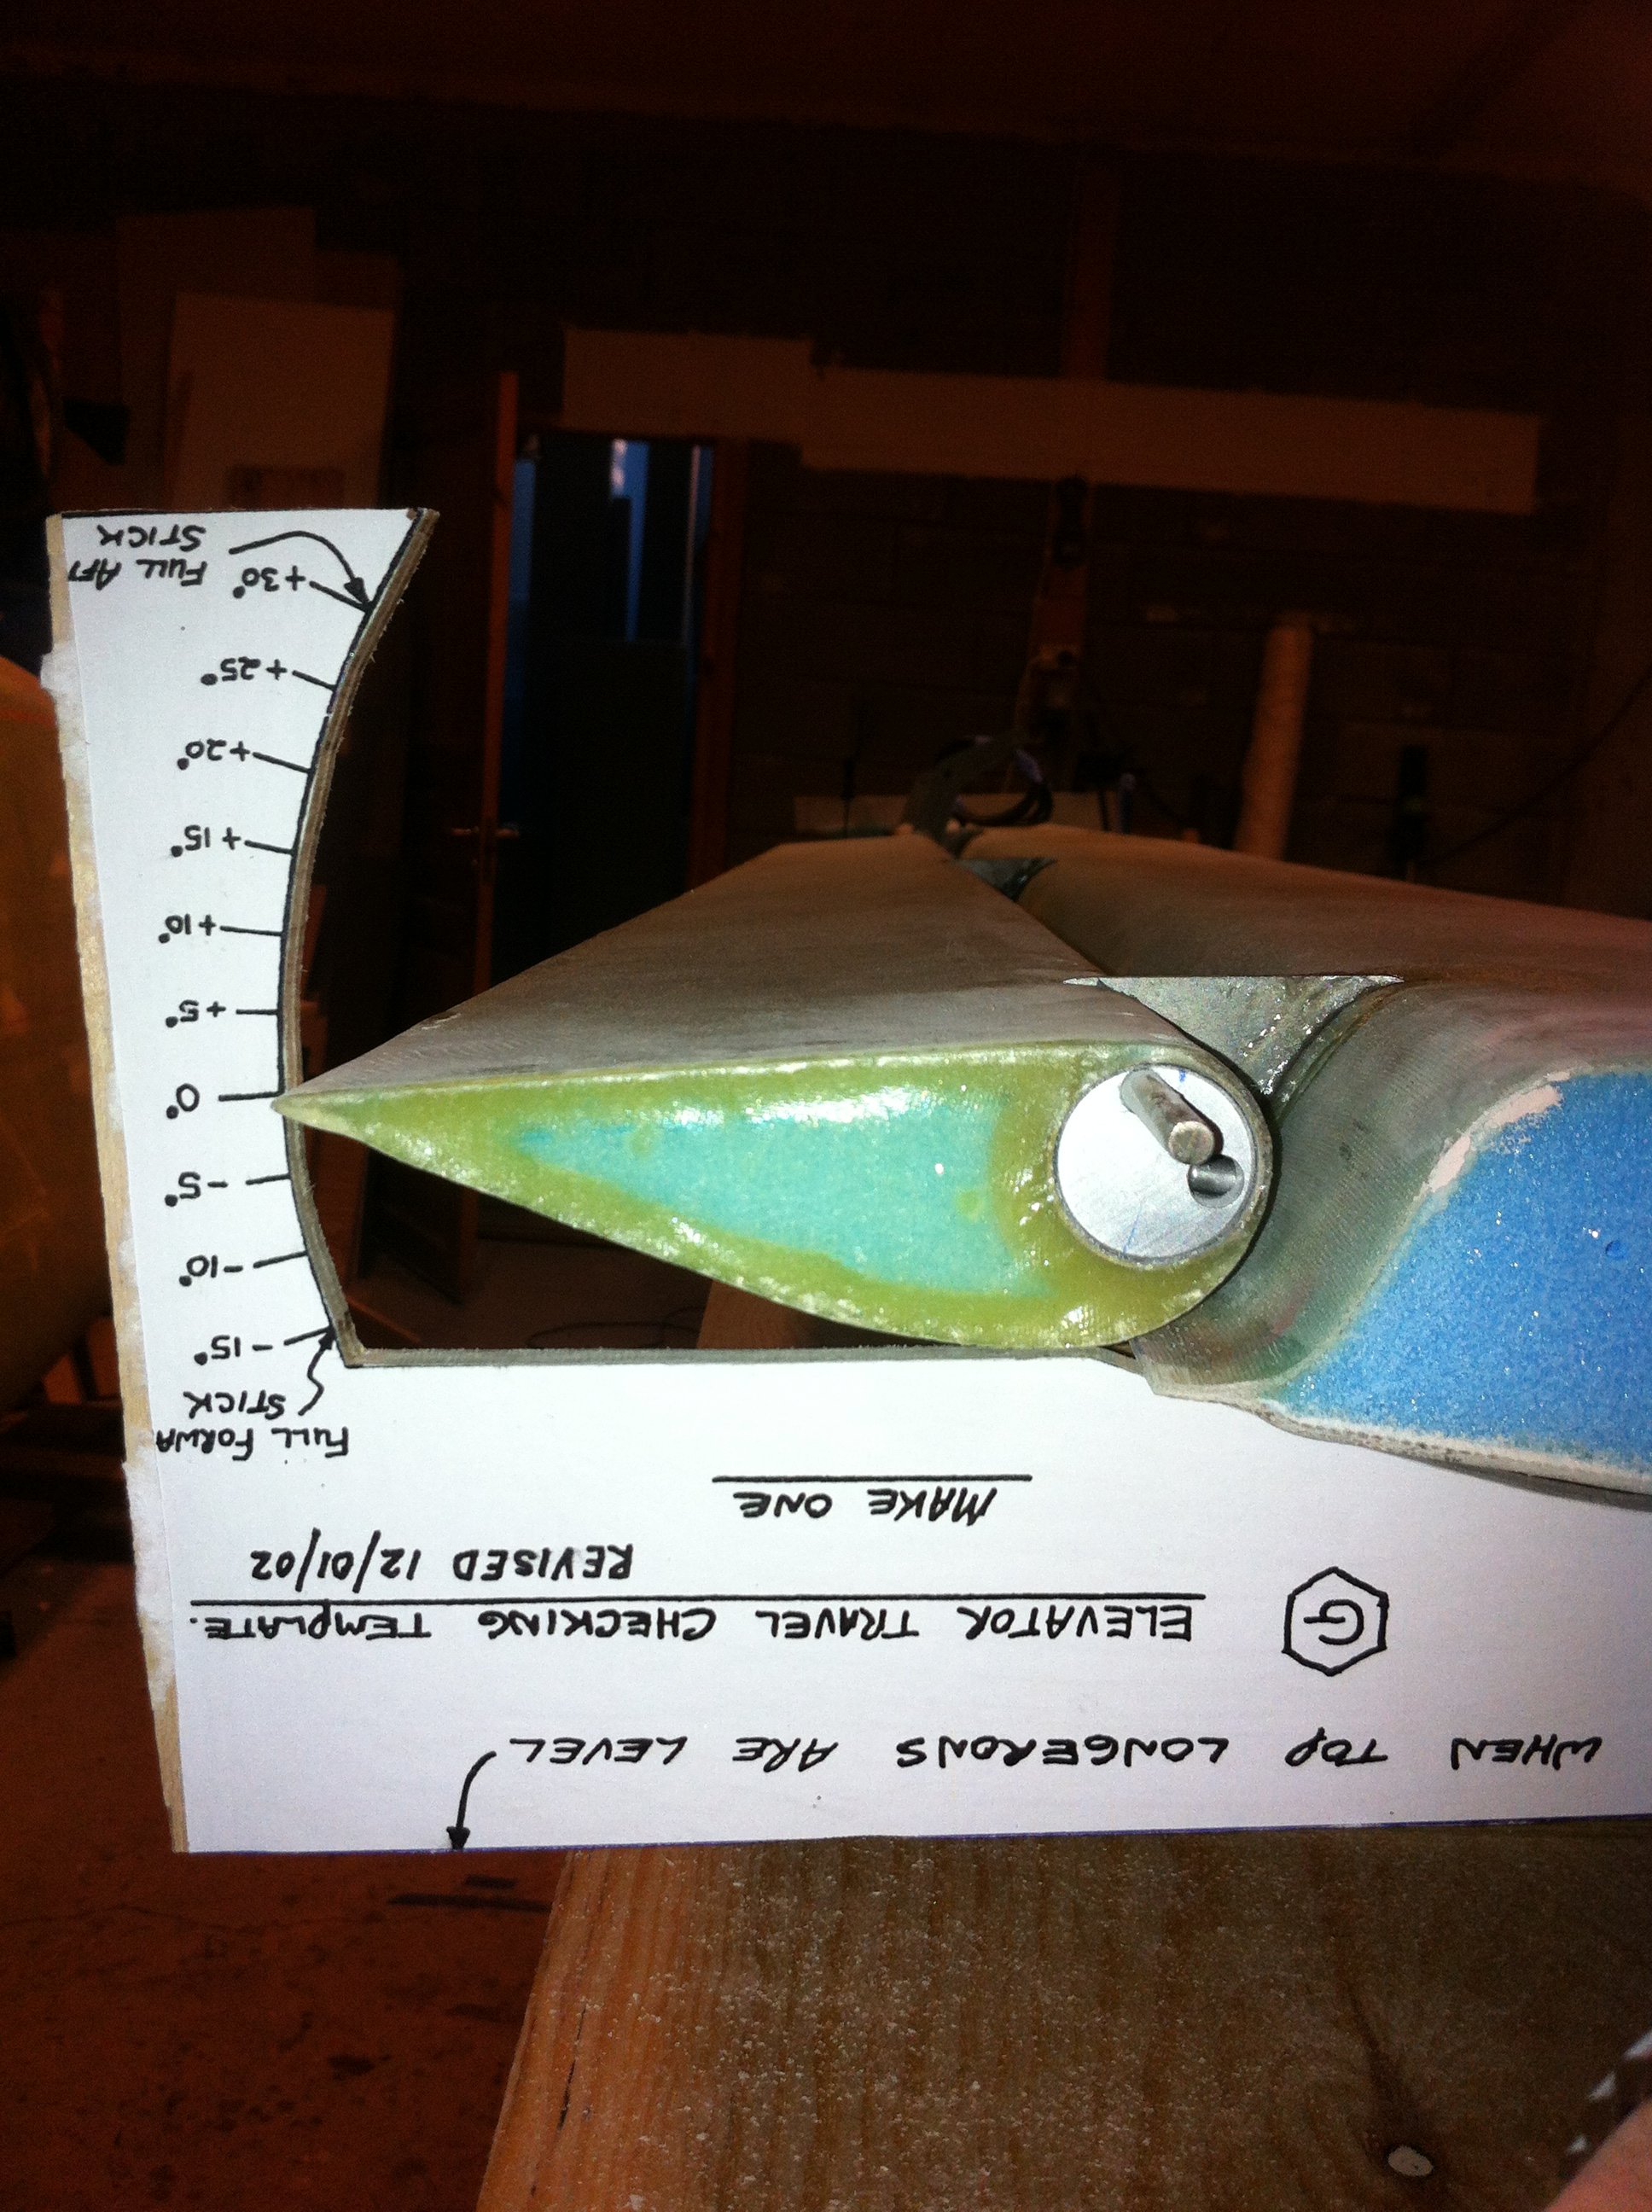
2012-11-03: As you see, the elevator is at zero degrees now. Next step is to turn the canard over.
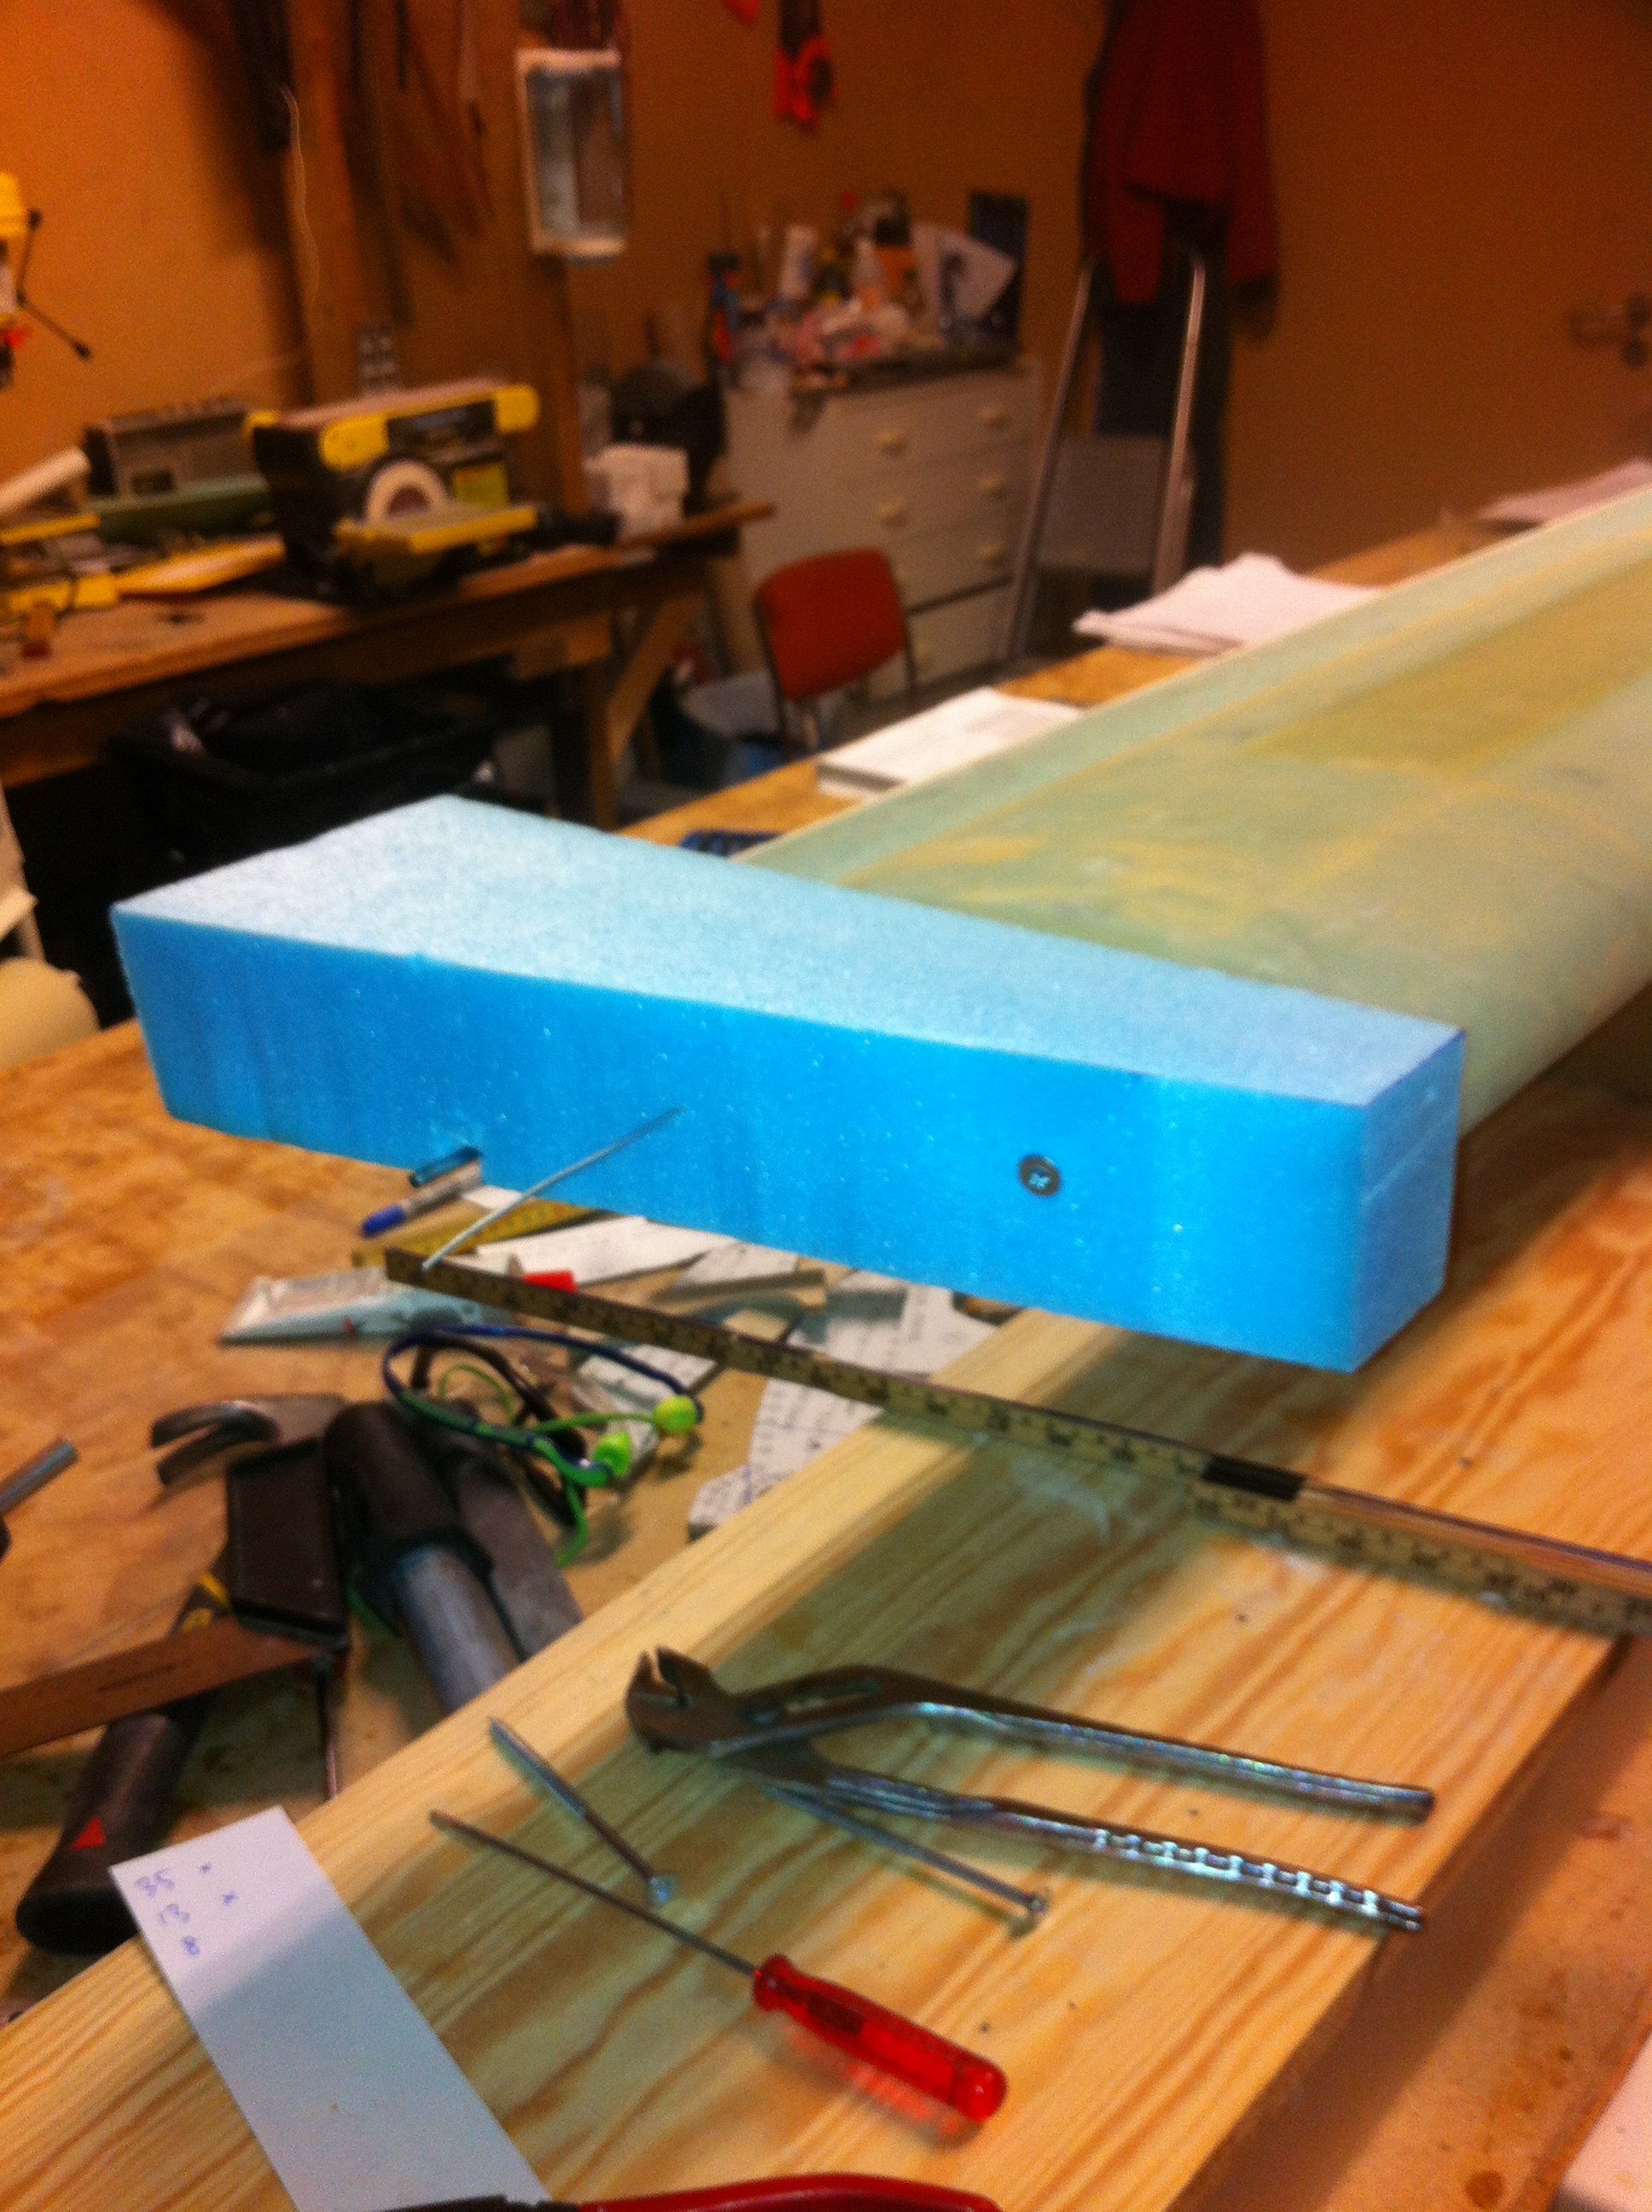
2012-11-03: The canard-tips is next step. I hot-wired them as per plans and microed them to the canard.

2012-11-03: I made them a bit longer than the plans said. This will be cut off in the next steps.
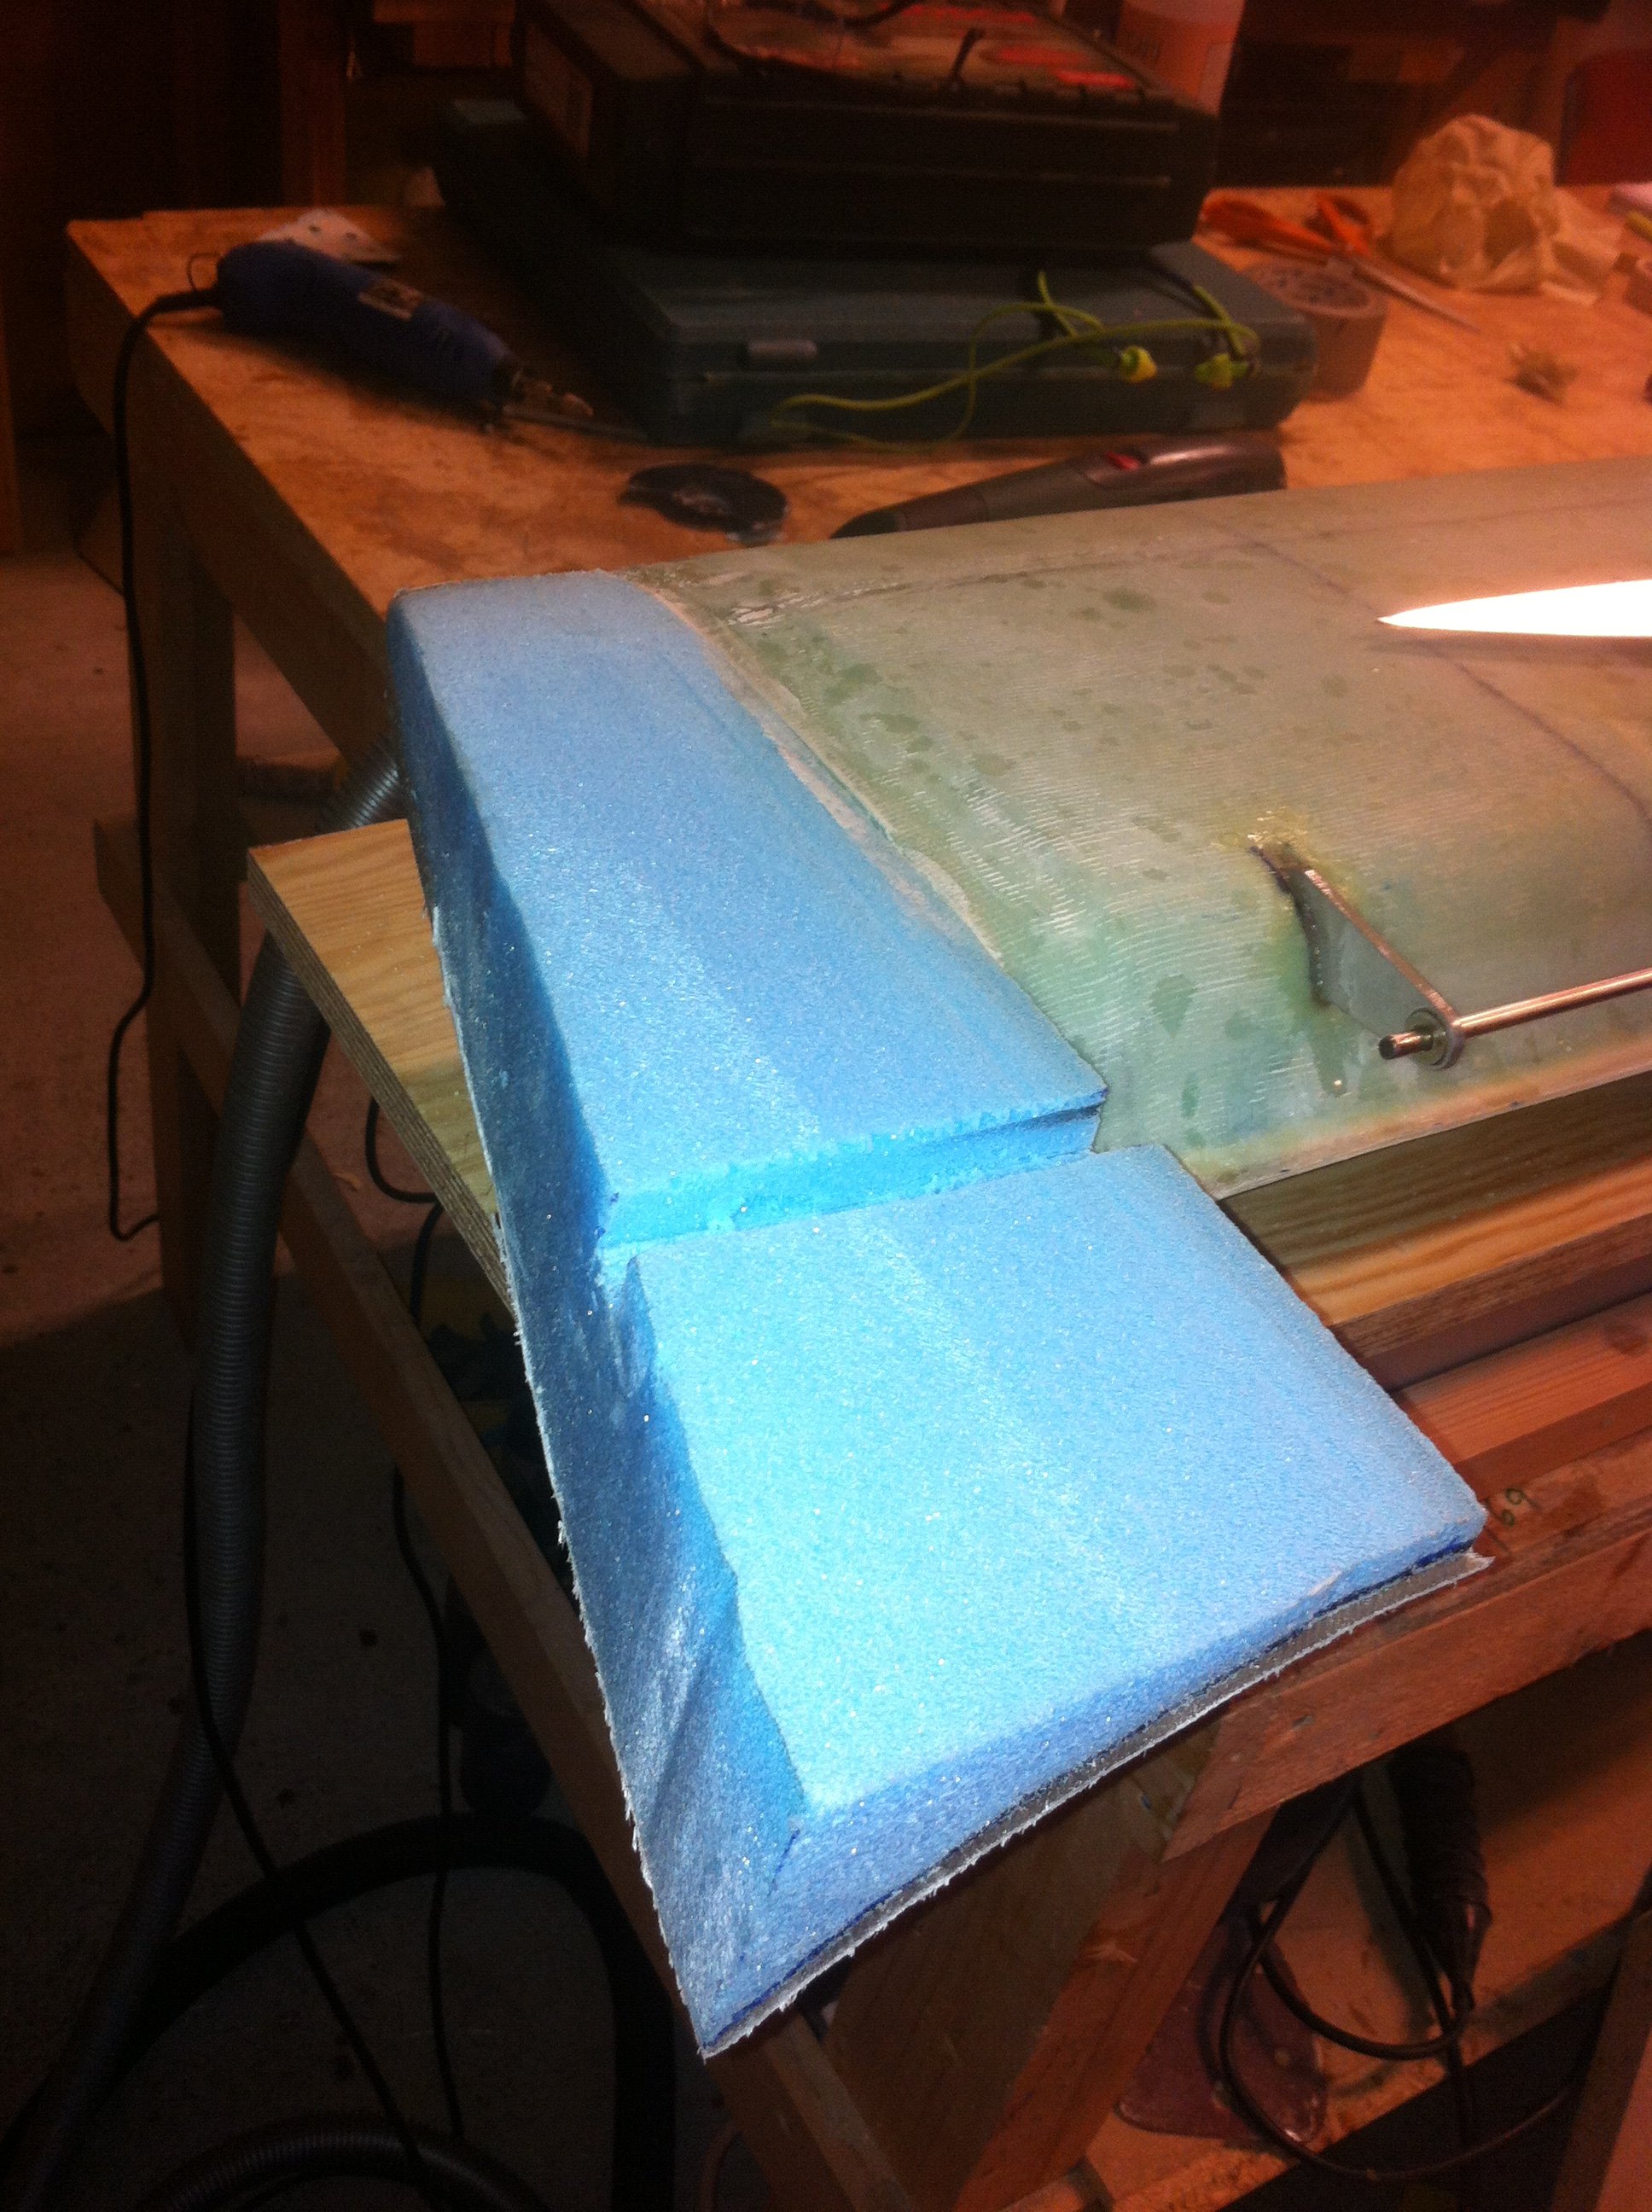
2012-11-04: I started by cutting the blocks to match the trailing edge of the elevator.

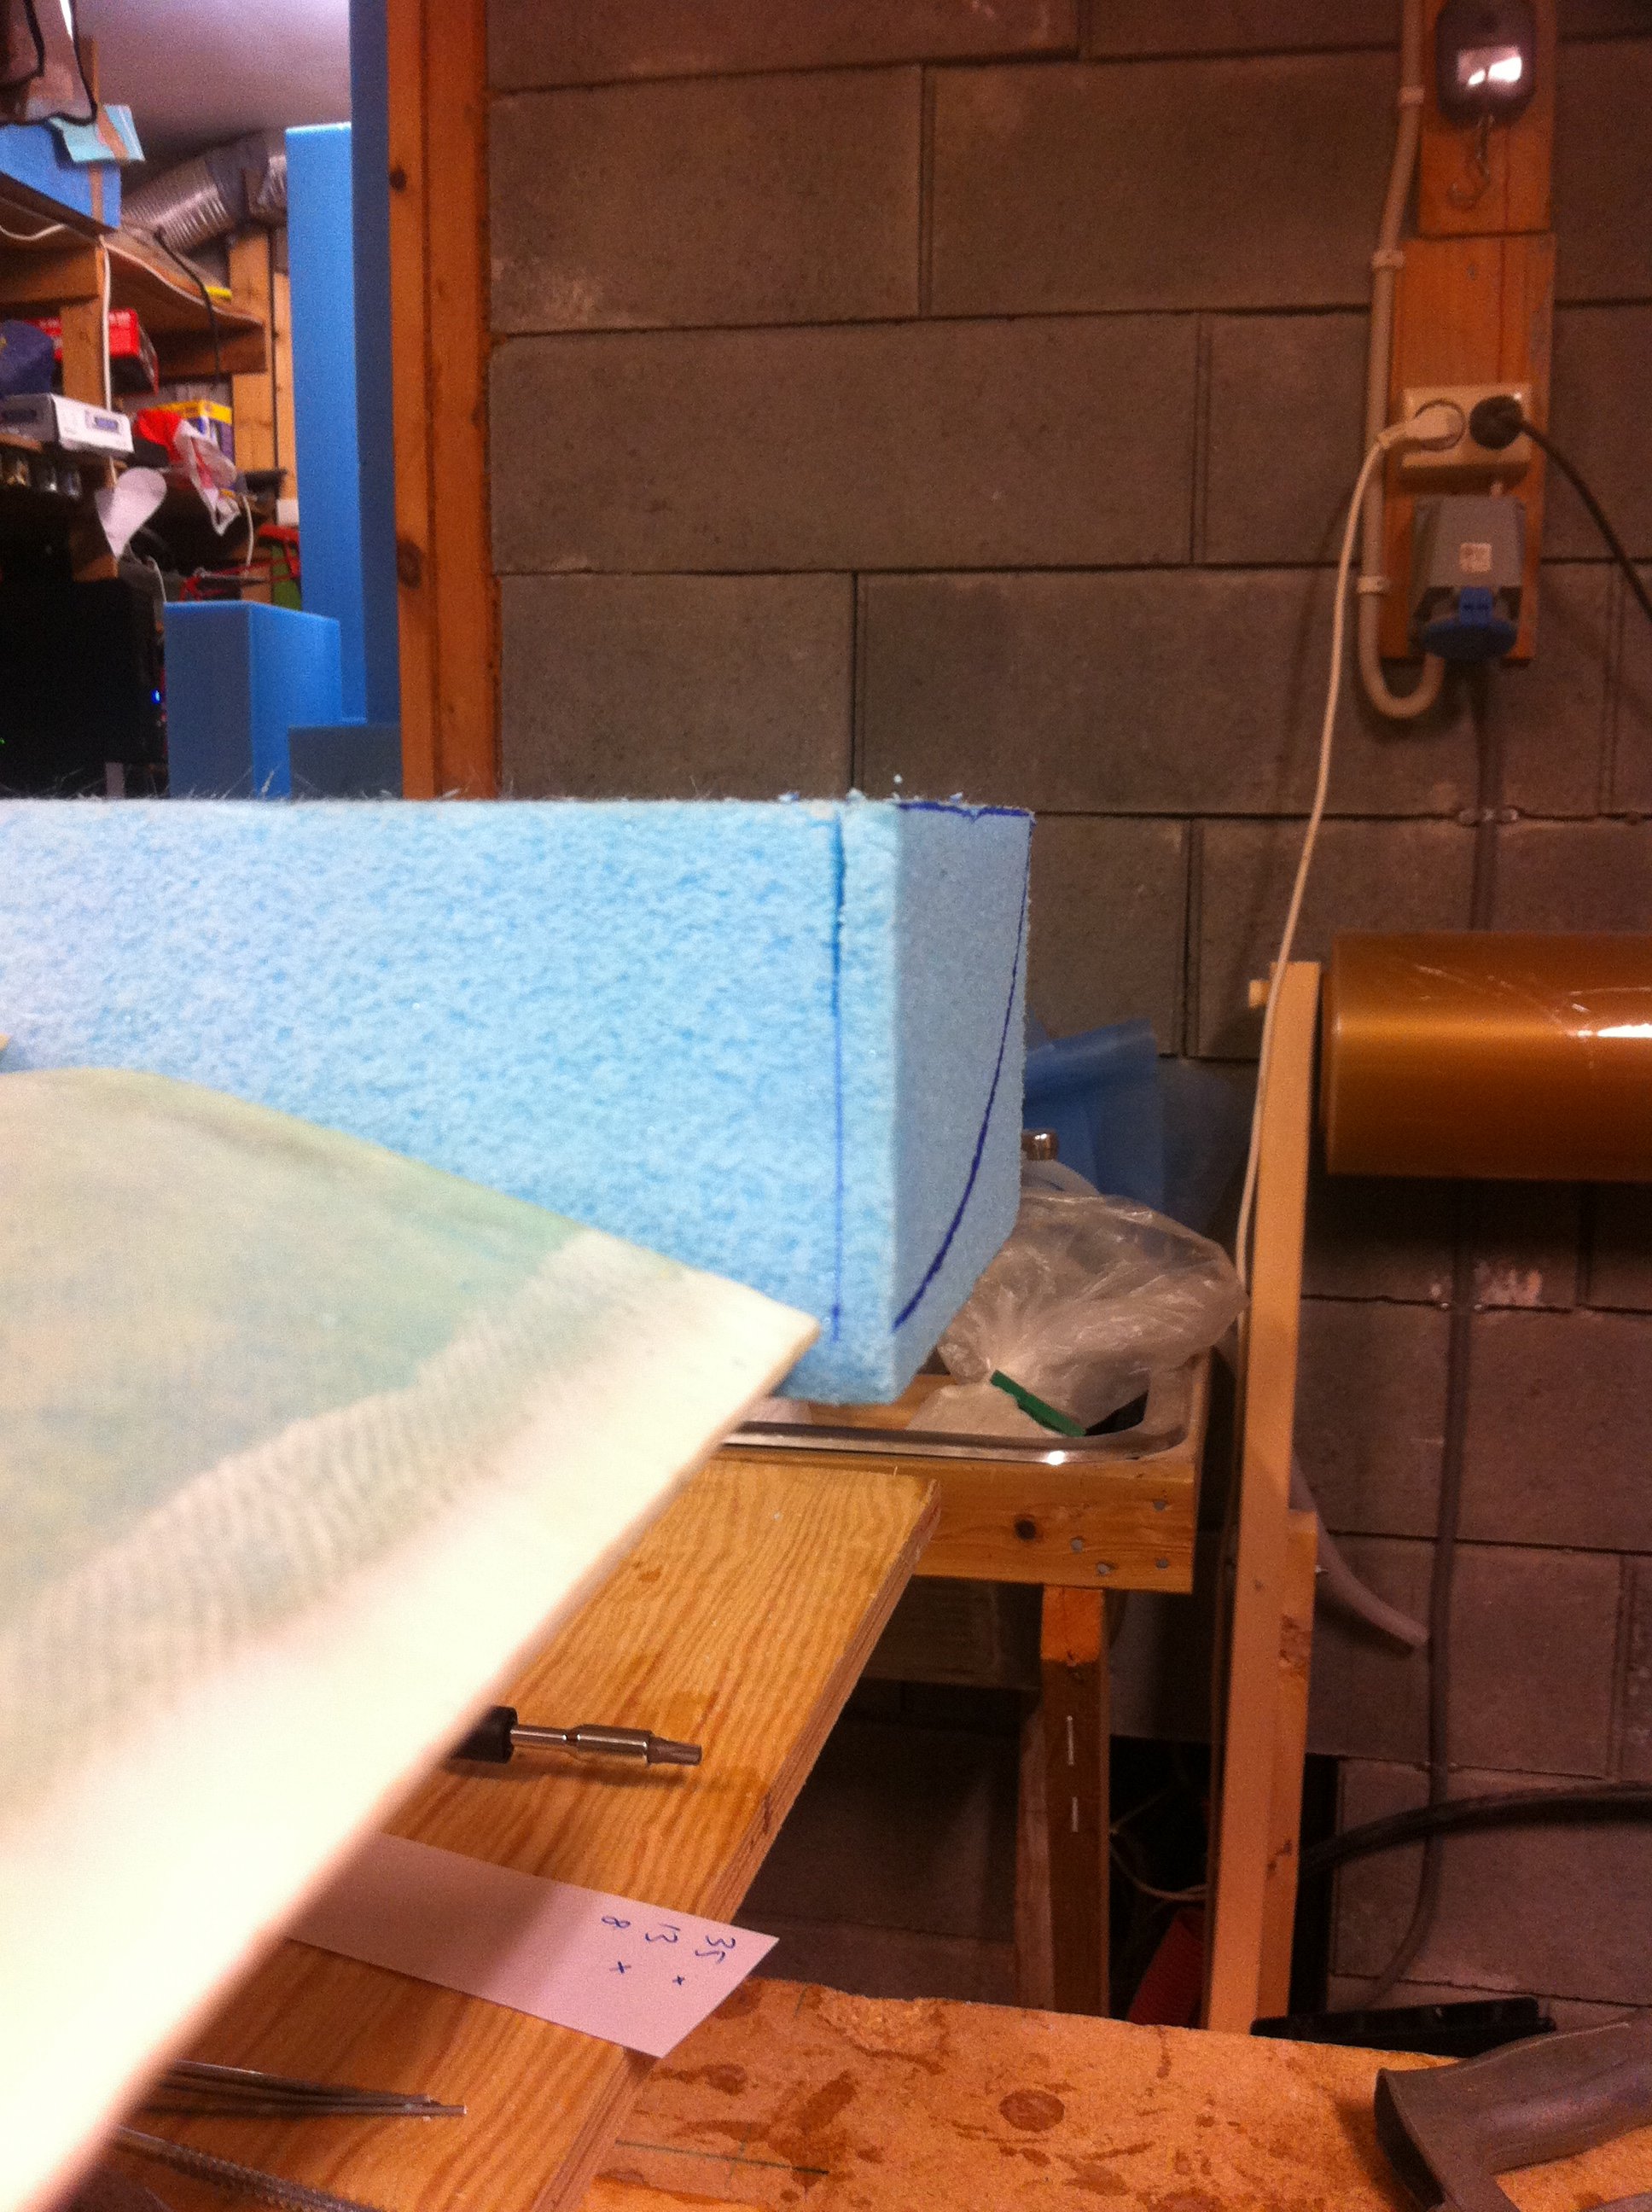
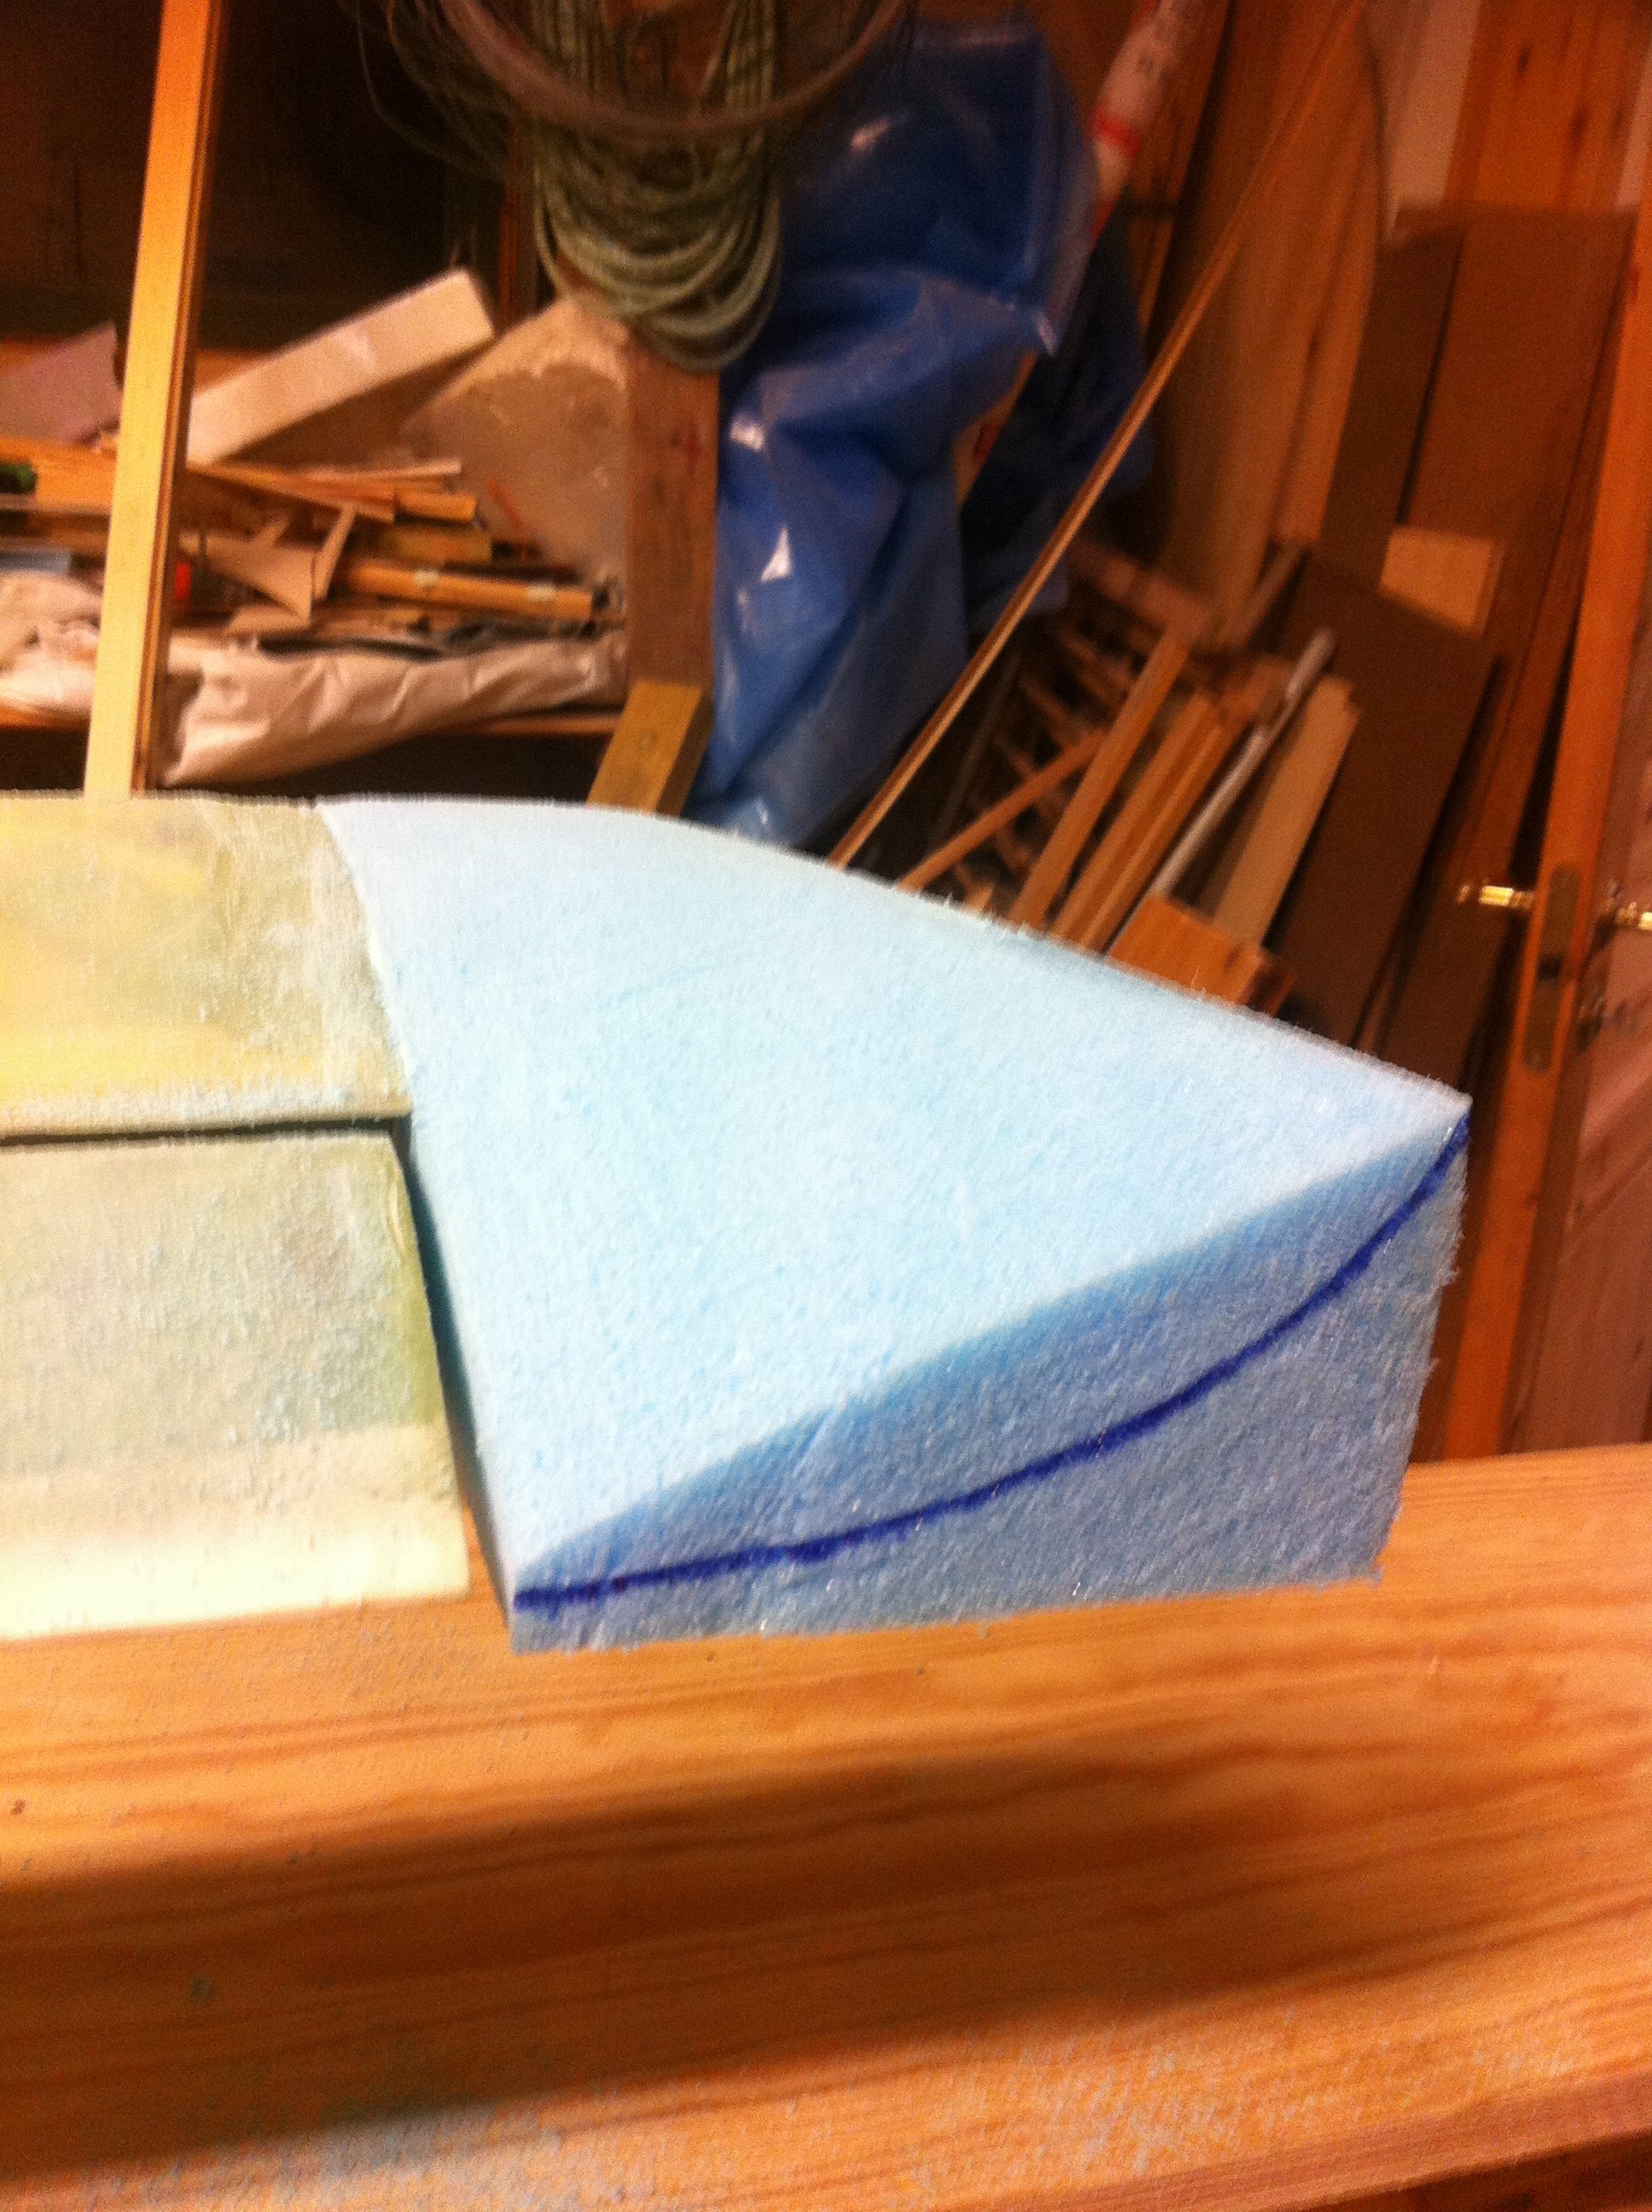
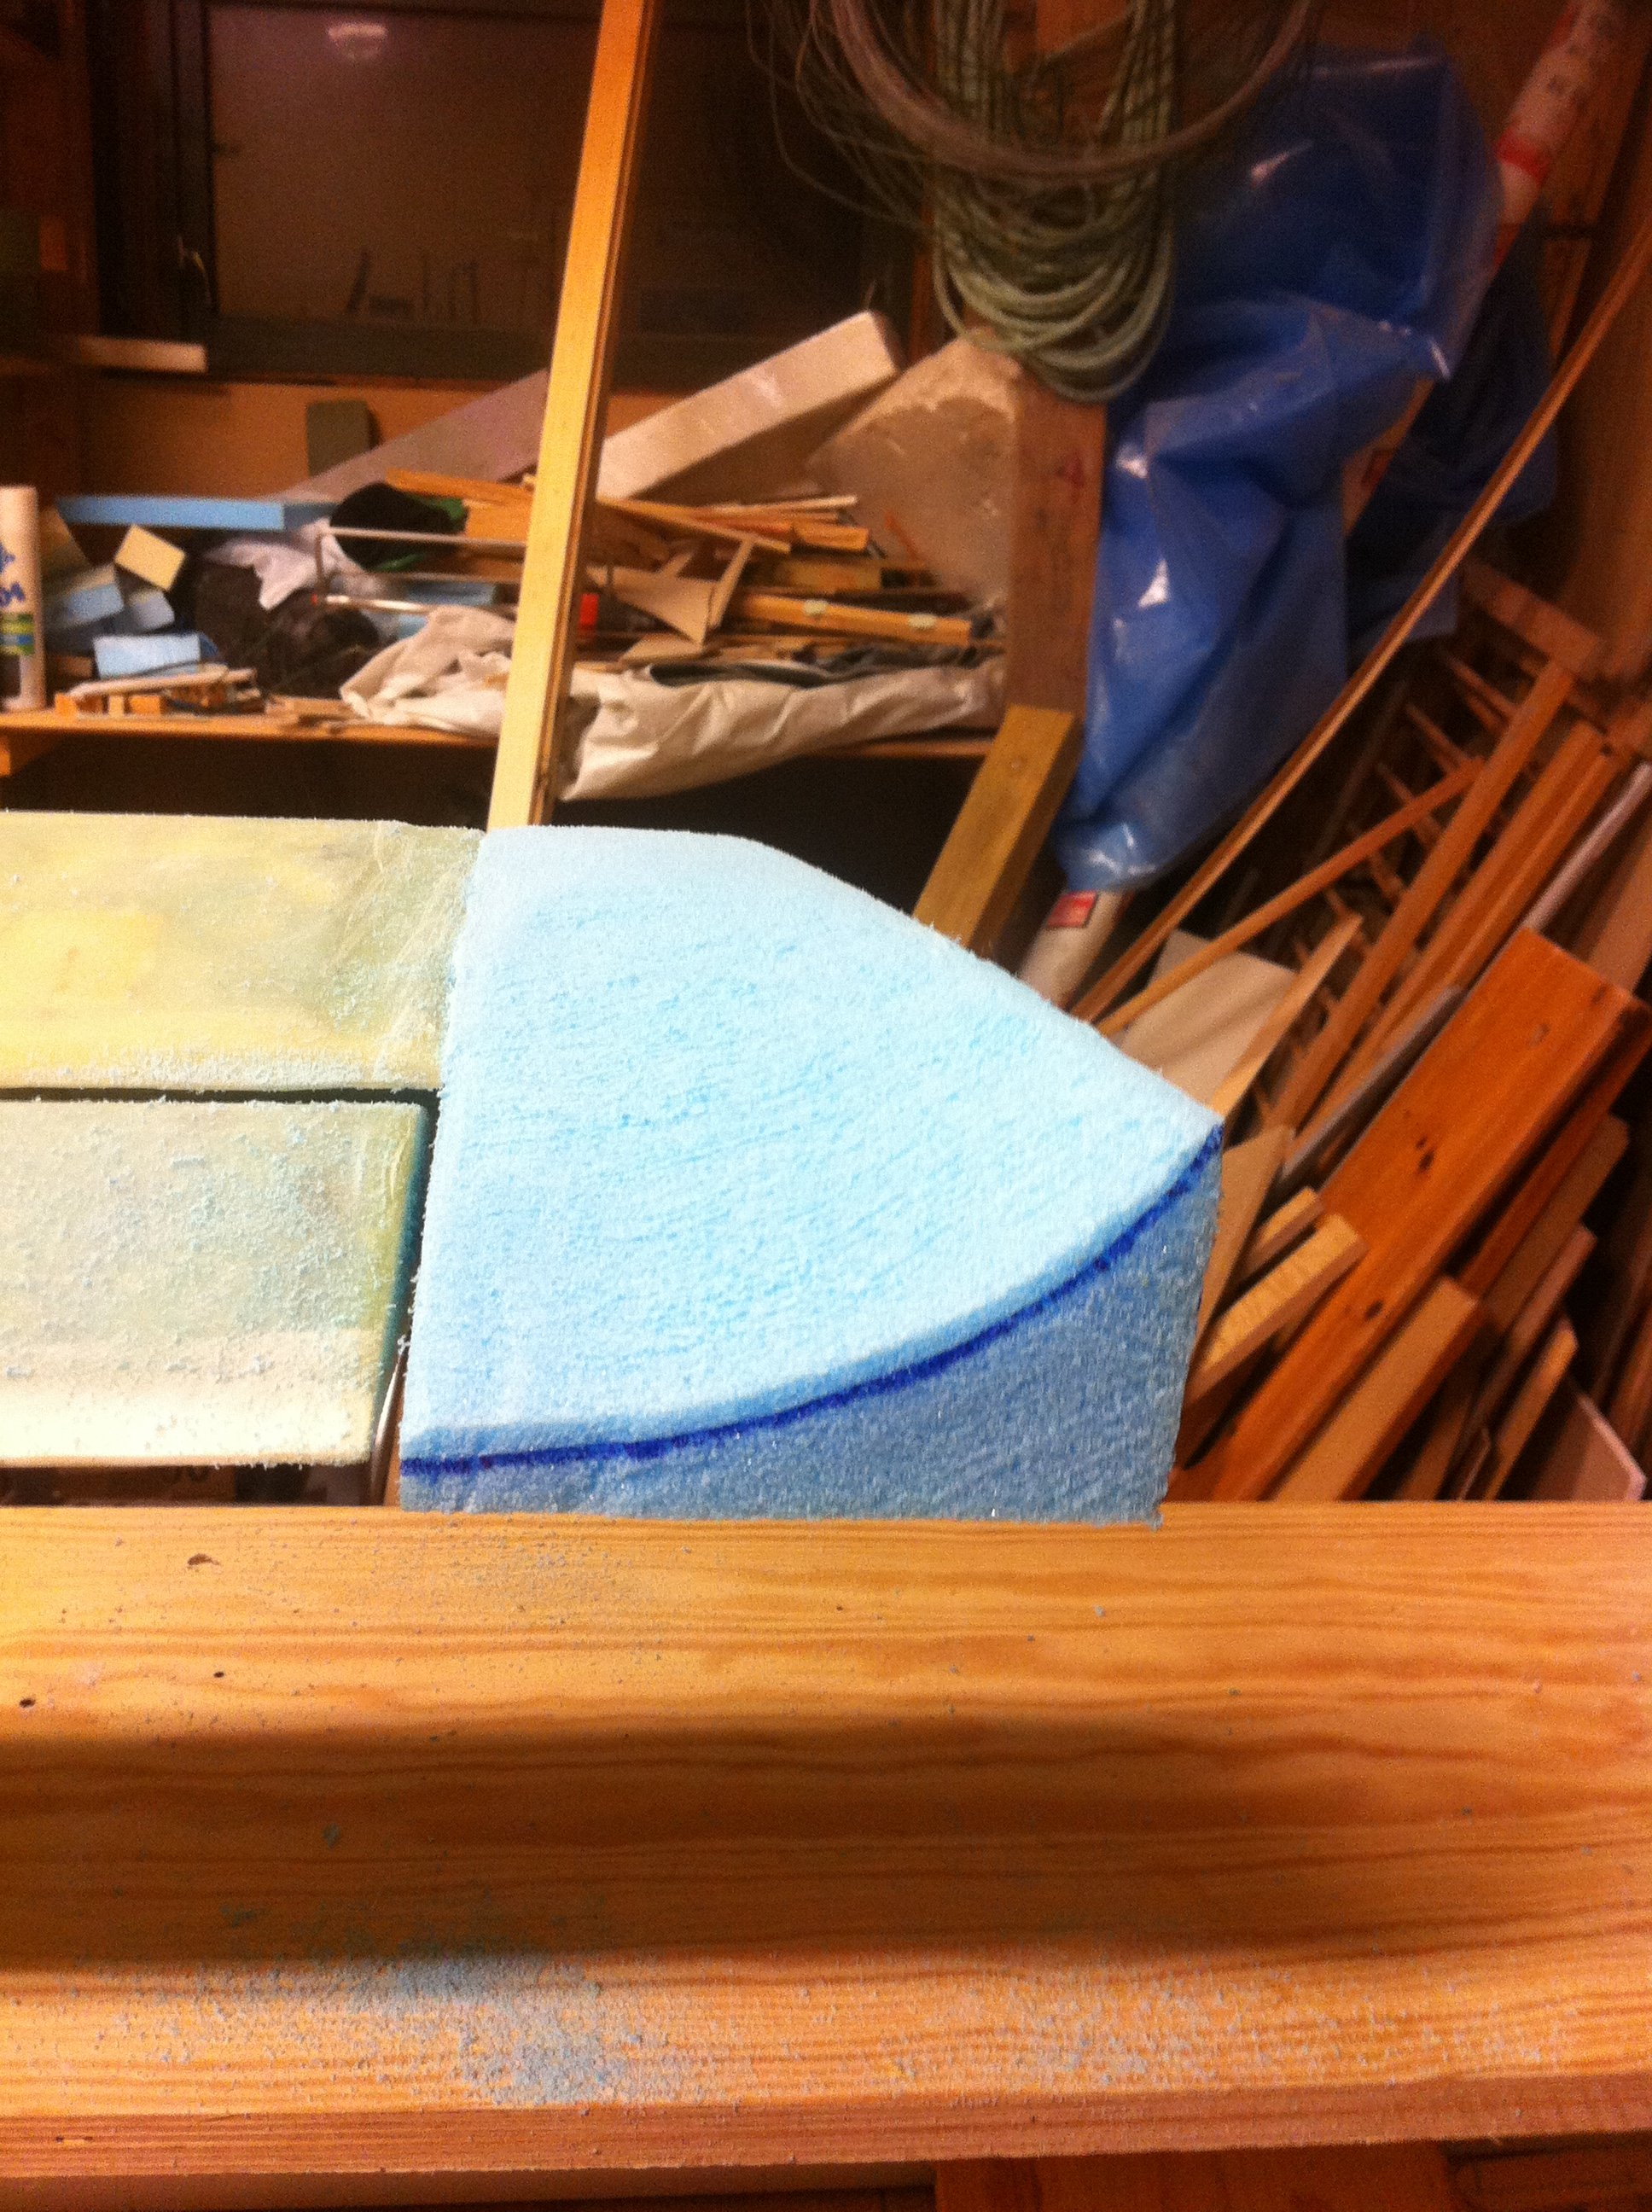
2012-11-04: Then I traced the contour according to the template in the drawings.
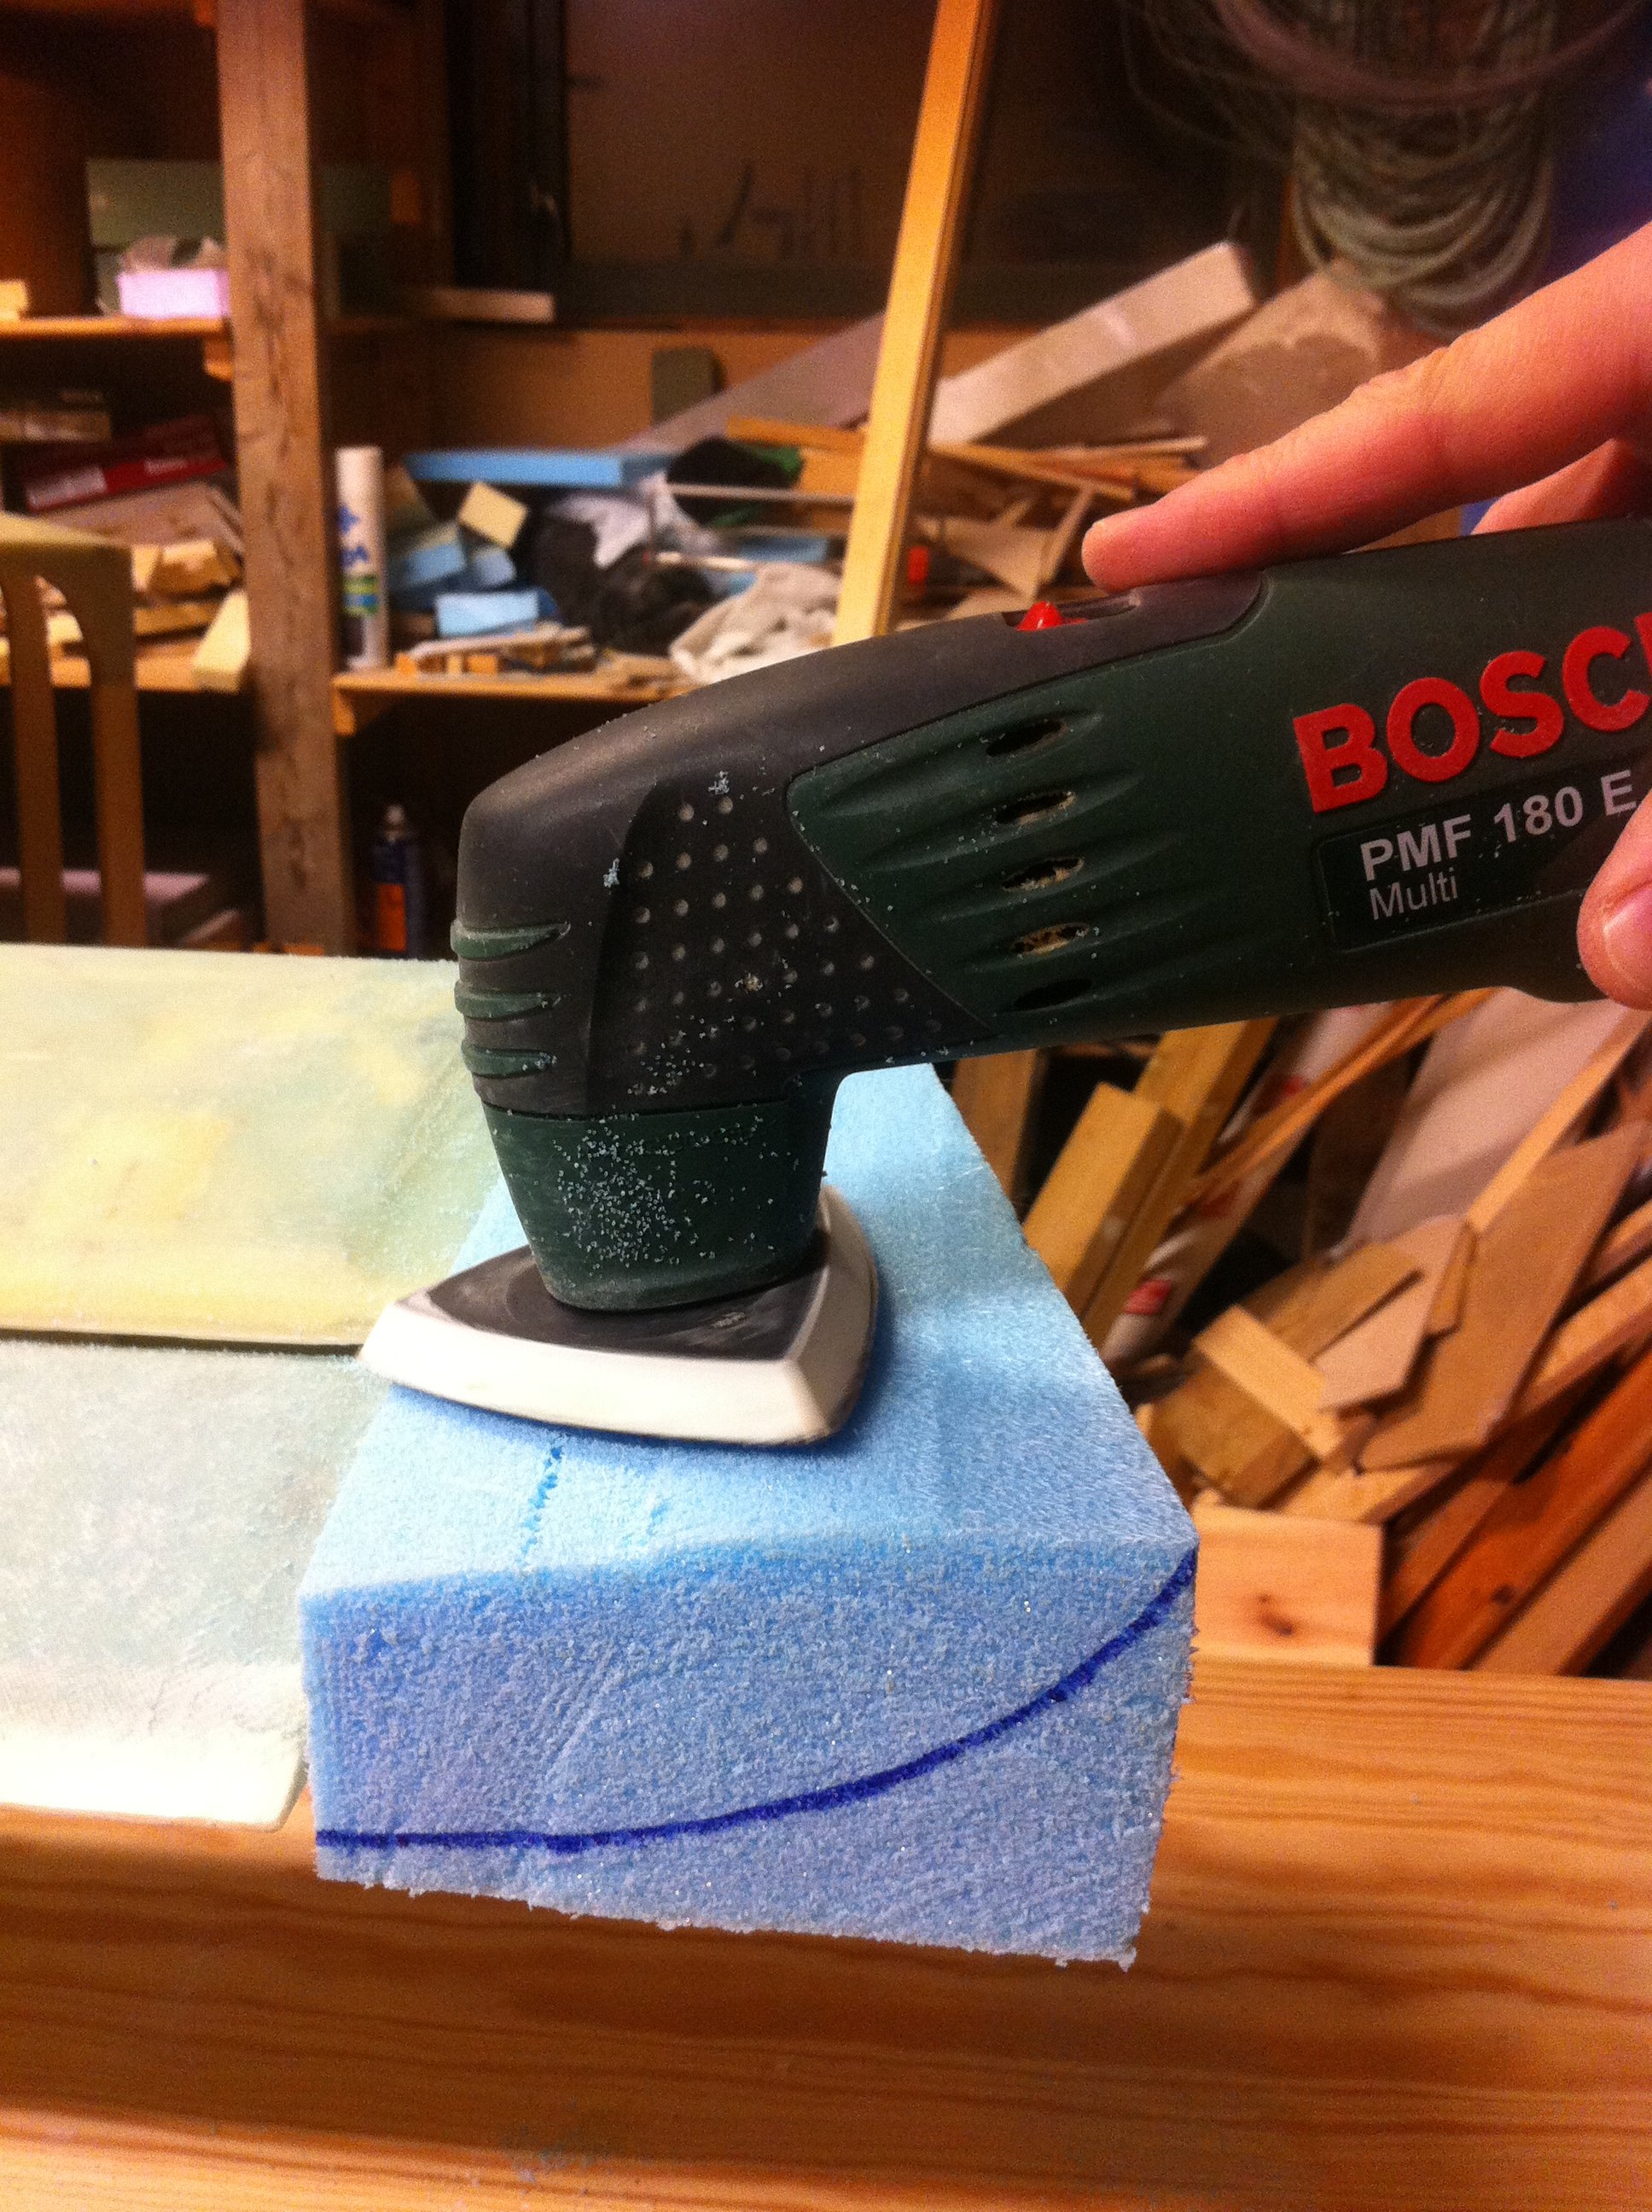
2012-11-04: I used my multitool with a 40-grit paper to sand the contour. Attached a vacumm-cleaner to the tool wich took rid of much of the dust.
2012-11-04: The multitool was ideal to shape the contour.
2012-11-04: Coming to this point I changed to 120 grit paper and sanded carefully a bit more.

2012-11-04: Finally I hand-sanded the last part with a 180 grit paper. I used the hand to feel if the contour was smooth without bumps. Much more accurate then using just the vision.

2012-11-05: Sanded the other tip, and glassed the top of both tips using 2 UNI at crossing angles. I made the layup on the table between plastic as usual.
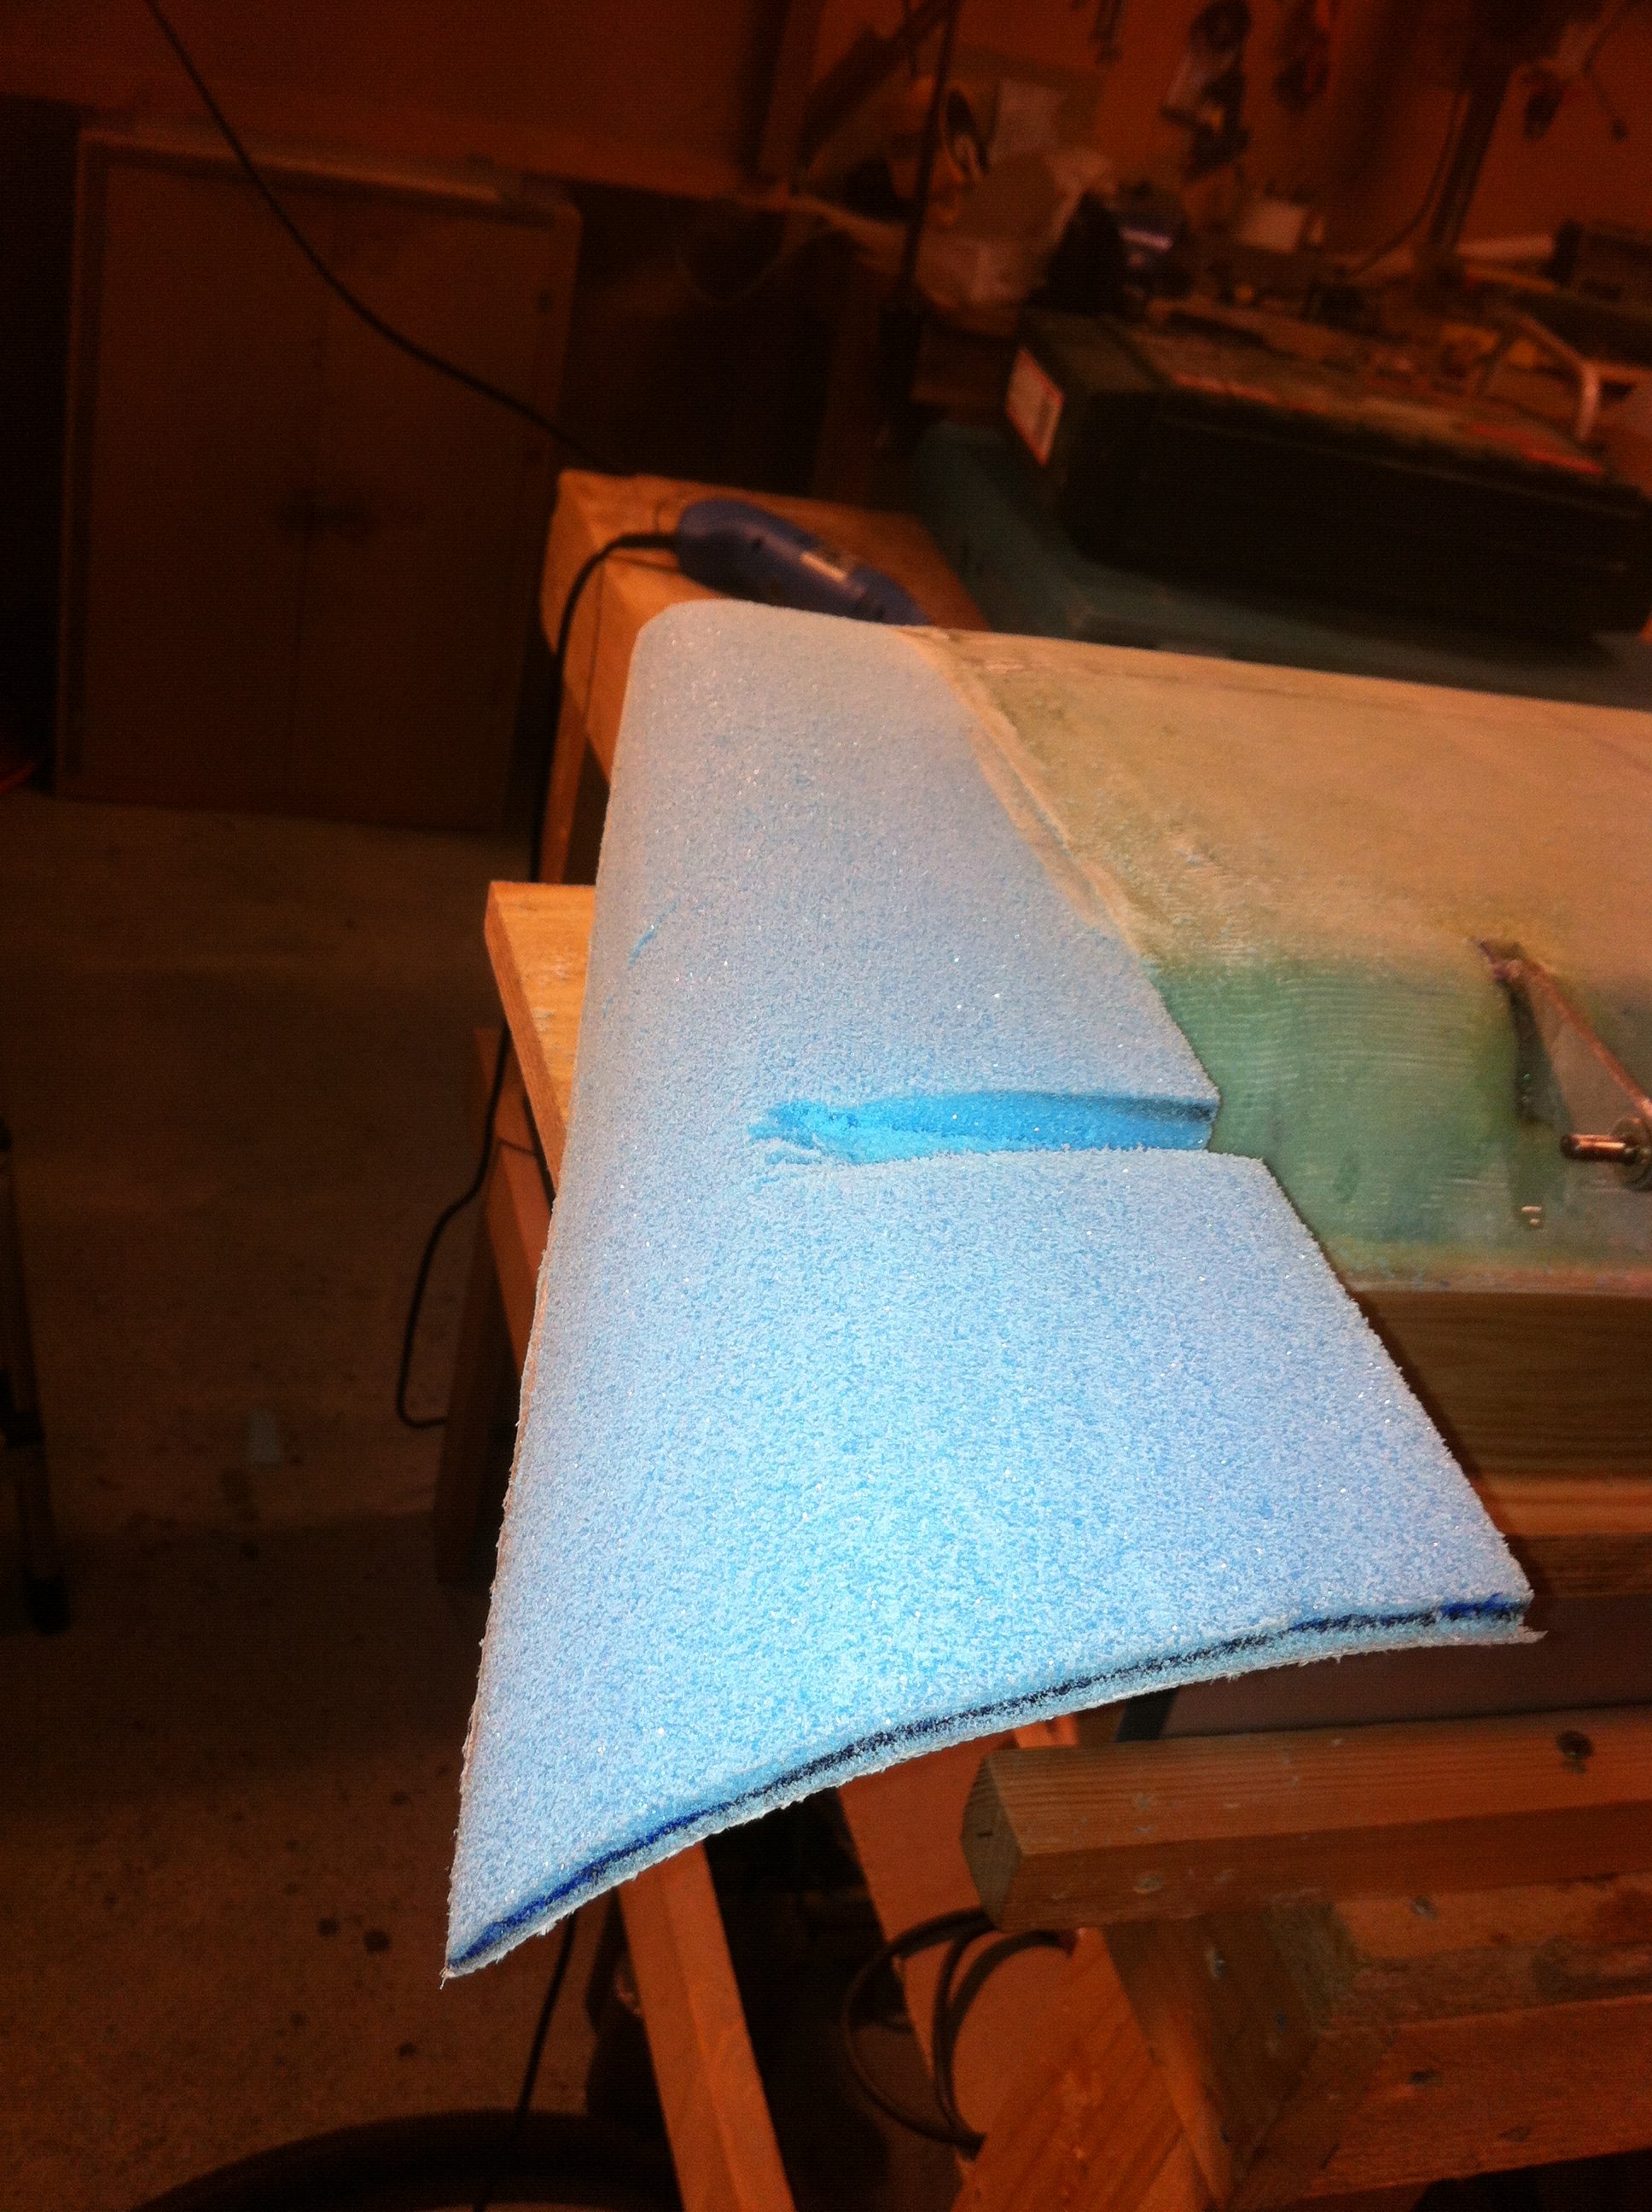
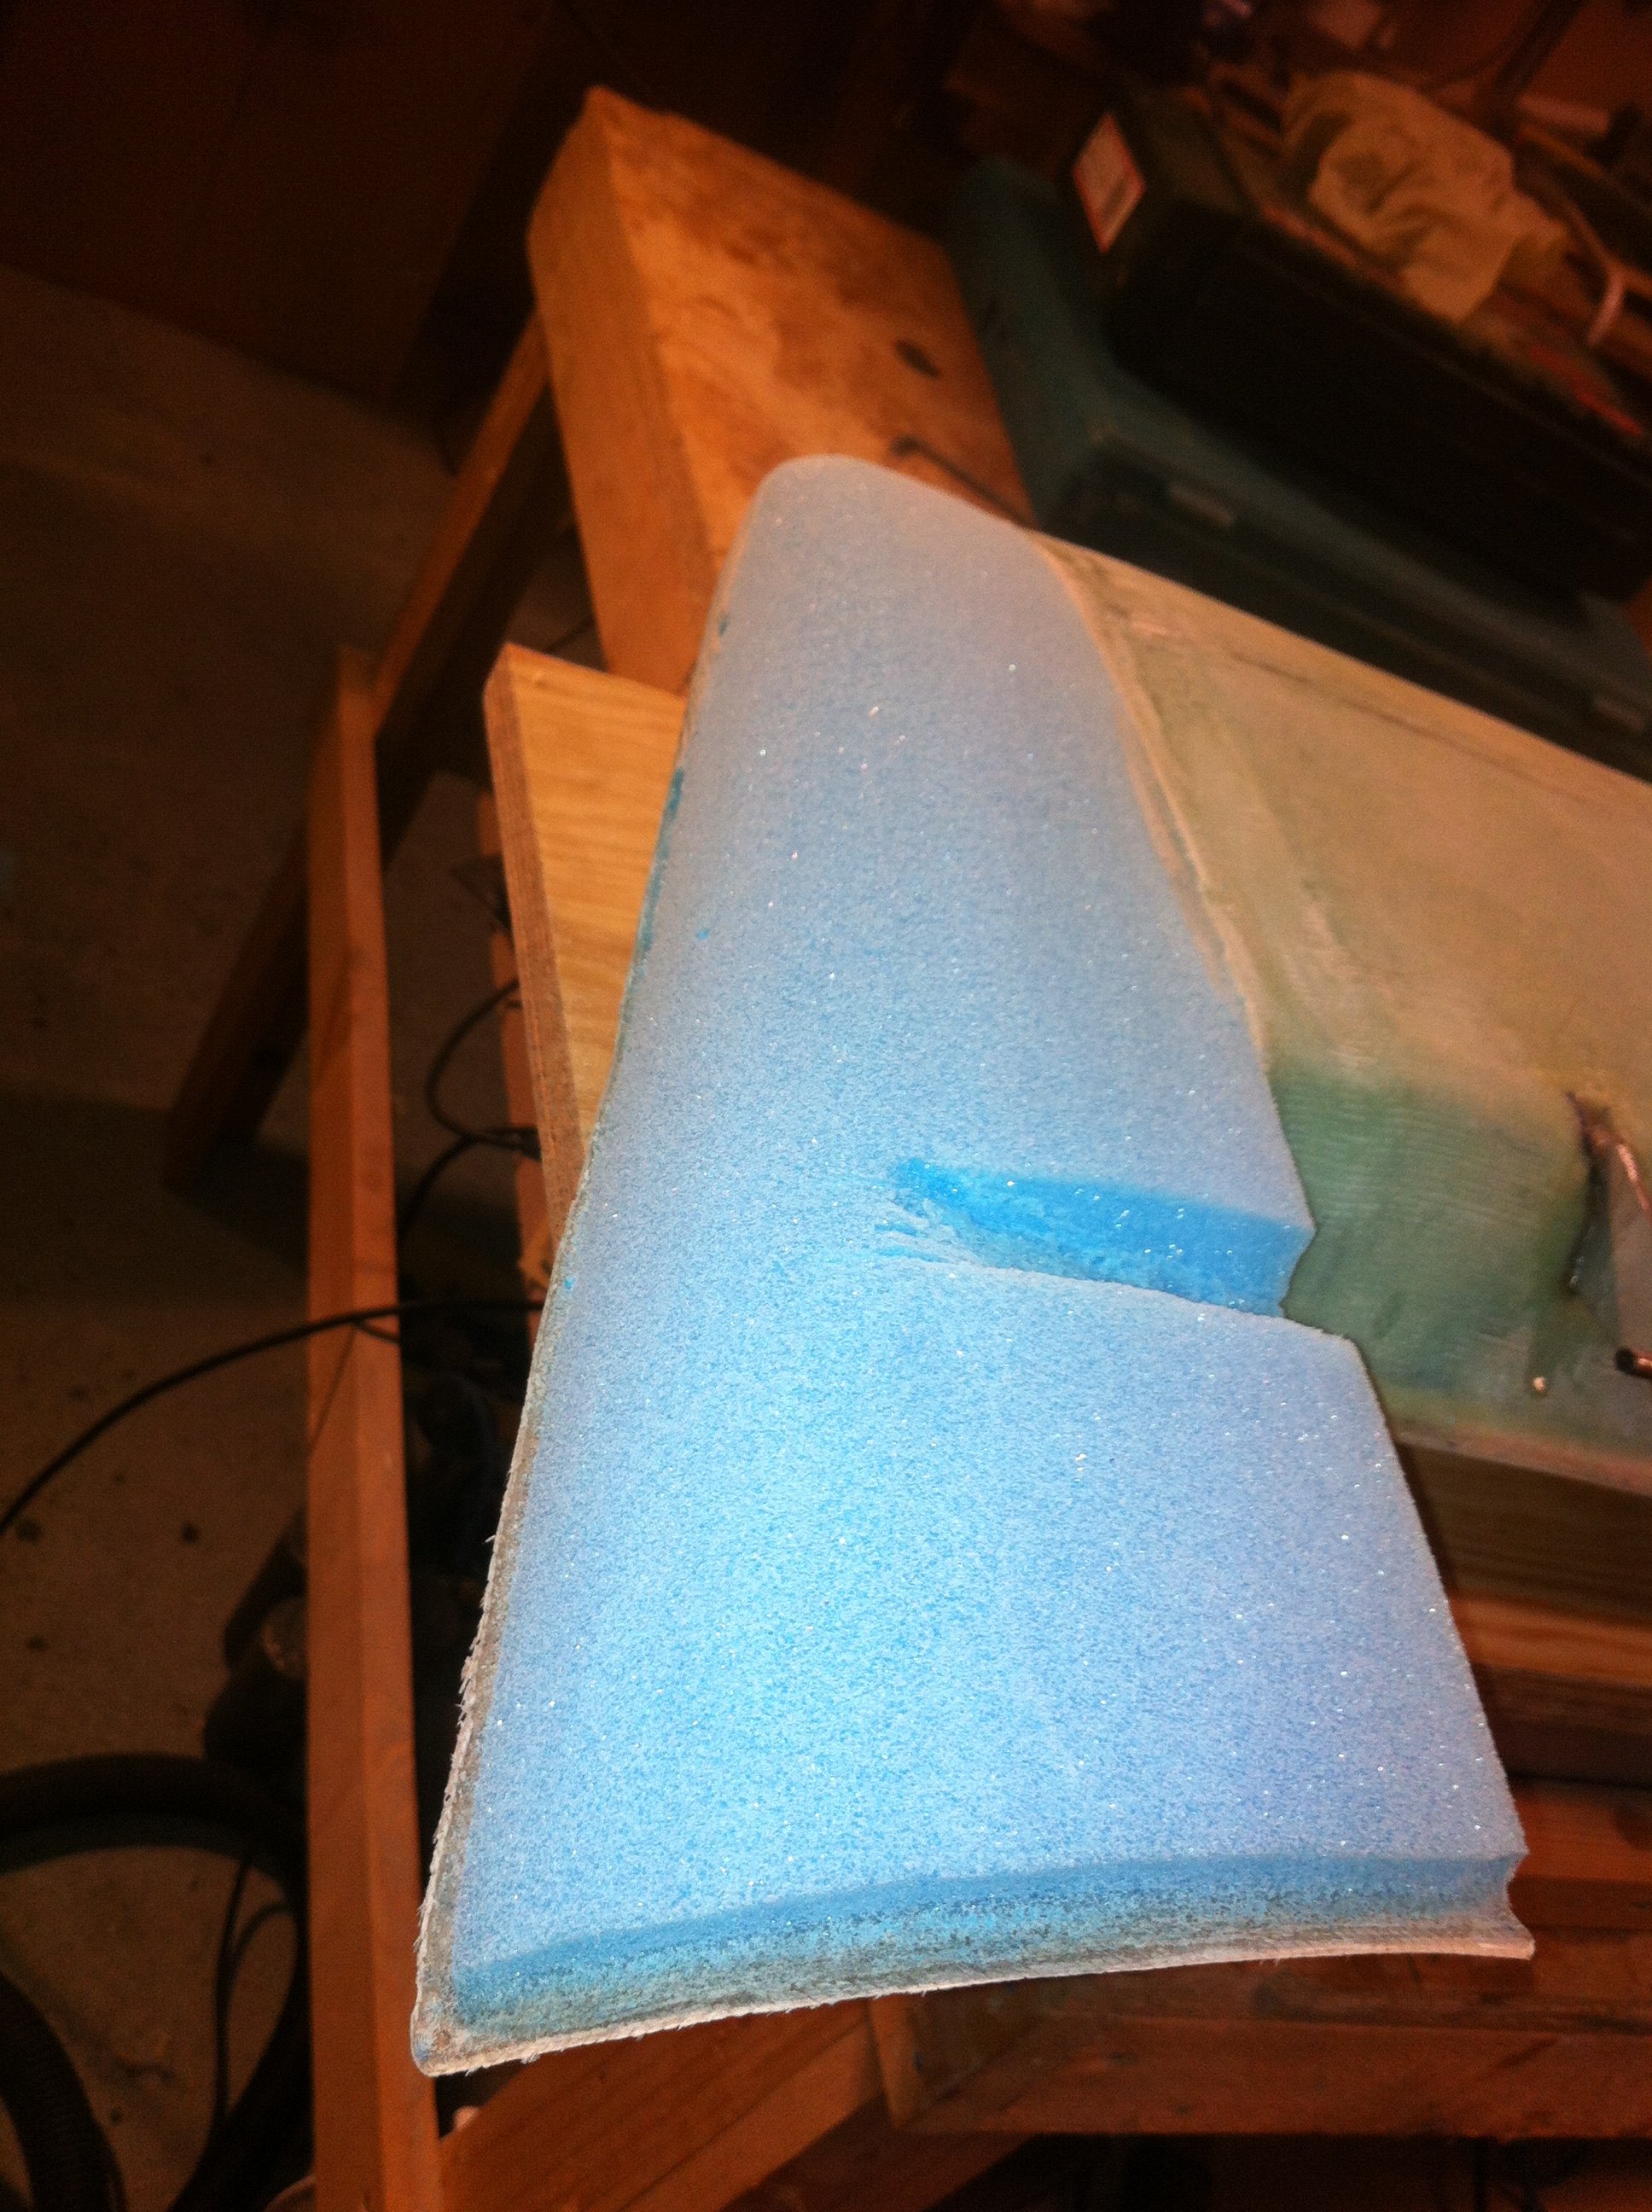
2012-11-10: Started to work on the bottom of the tips. Note the cutout for the hinge-pin. The plans tells to make a hole for the pin. I’ve seen from other sites that when we sand down the foam the hole collapses since the foam ends up very thin here. Hence I decided to just cut a channel here and fill it with micro later.

2012-11-10: I started by carving using a knife.
2012-11-10: Then sanding with 40-grit using my multi-tool.
2012-11-10: Changing to 180-grit and fine-sanding to the final contour still using the multi-tool. Used my Dremel to remove foam at the edges. This is to be filled with micro before glassing.
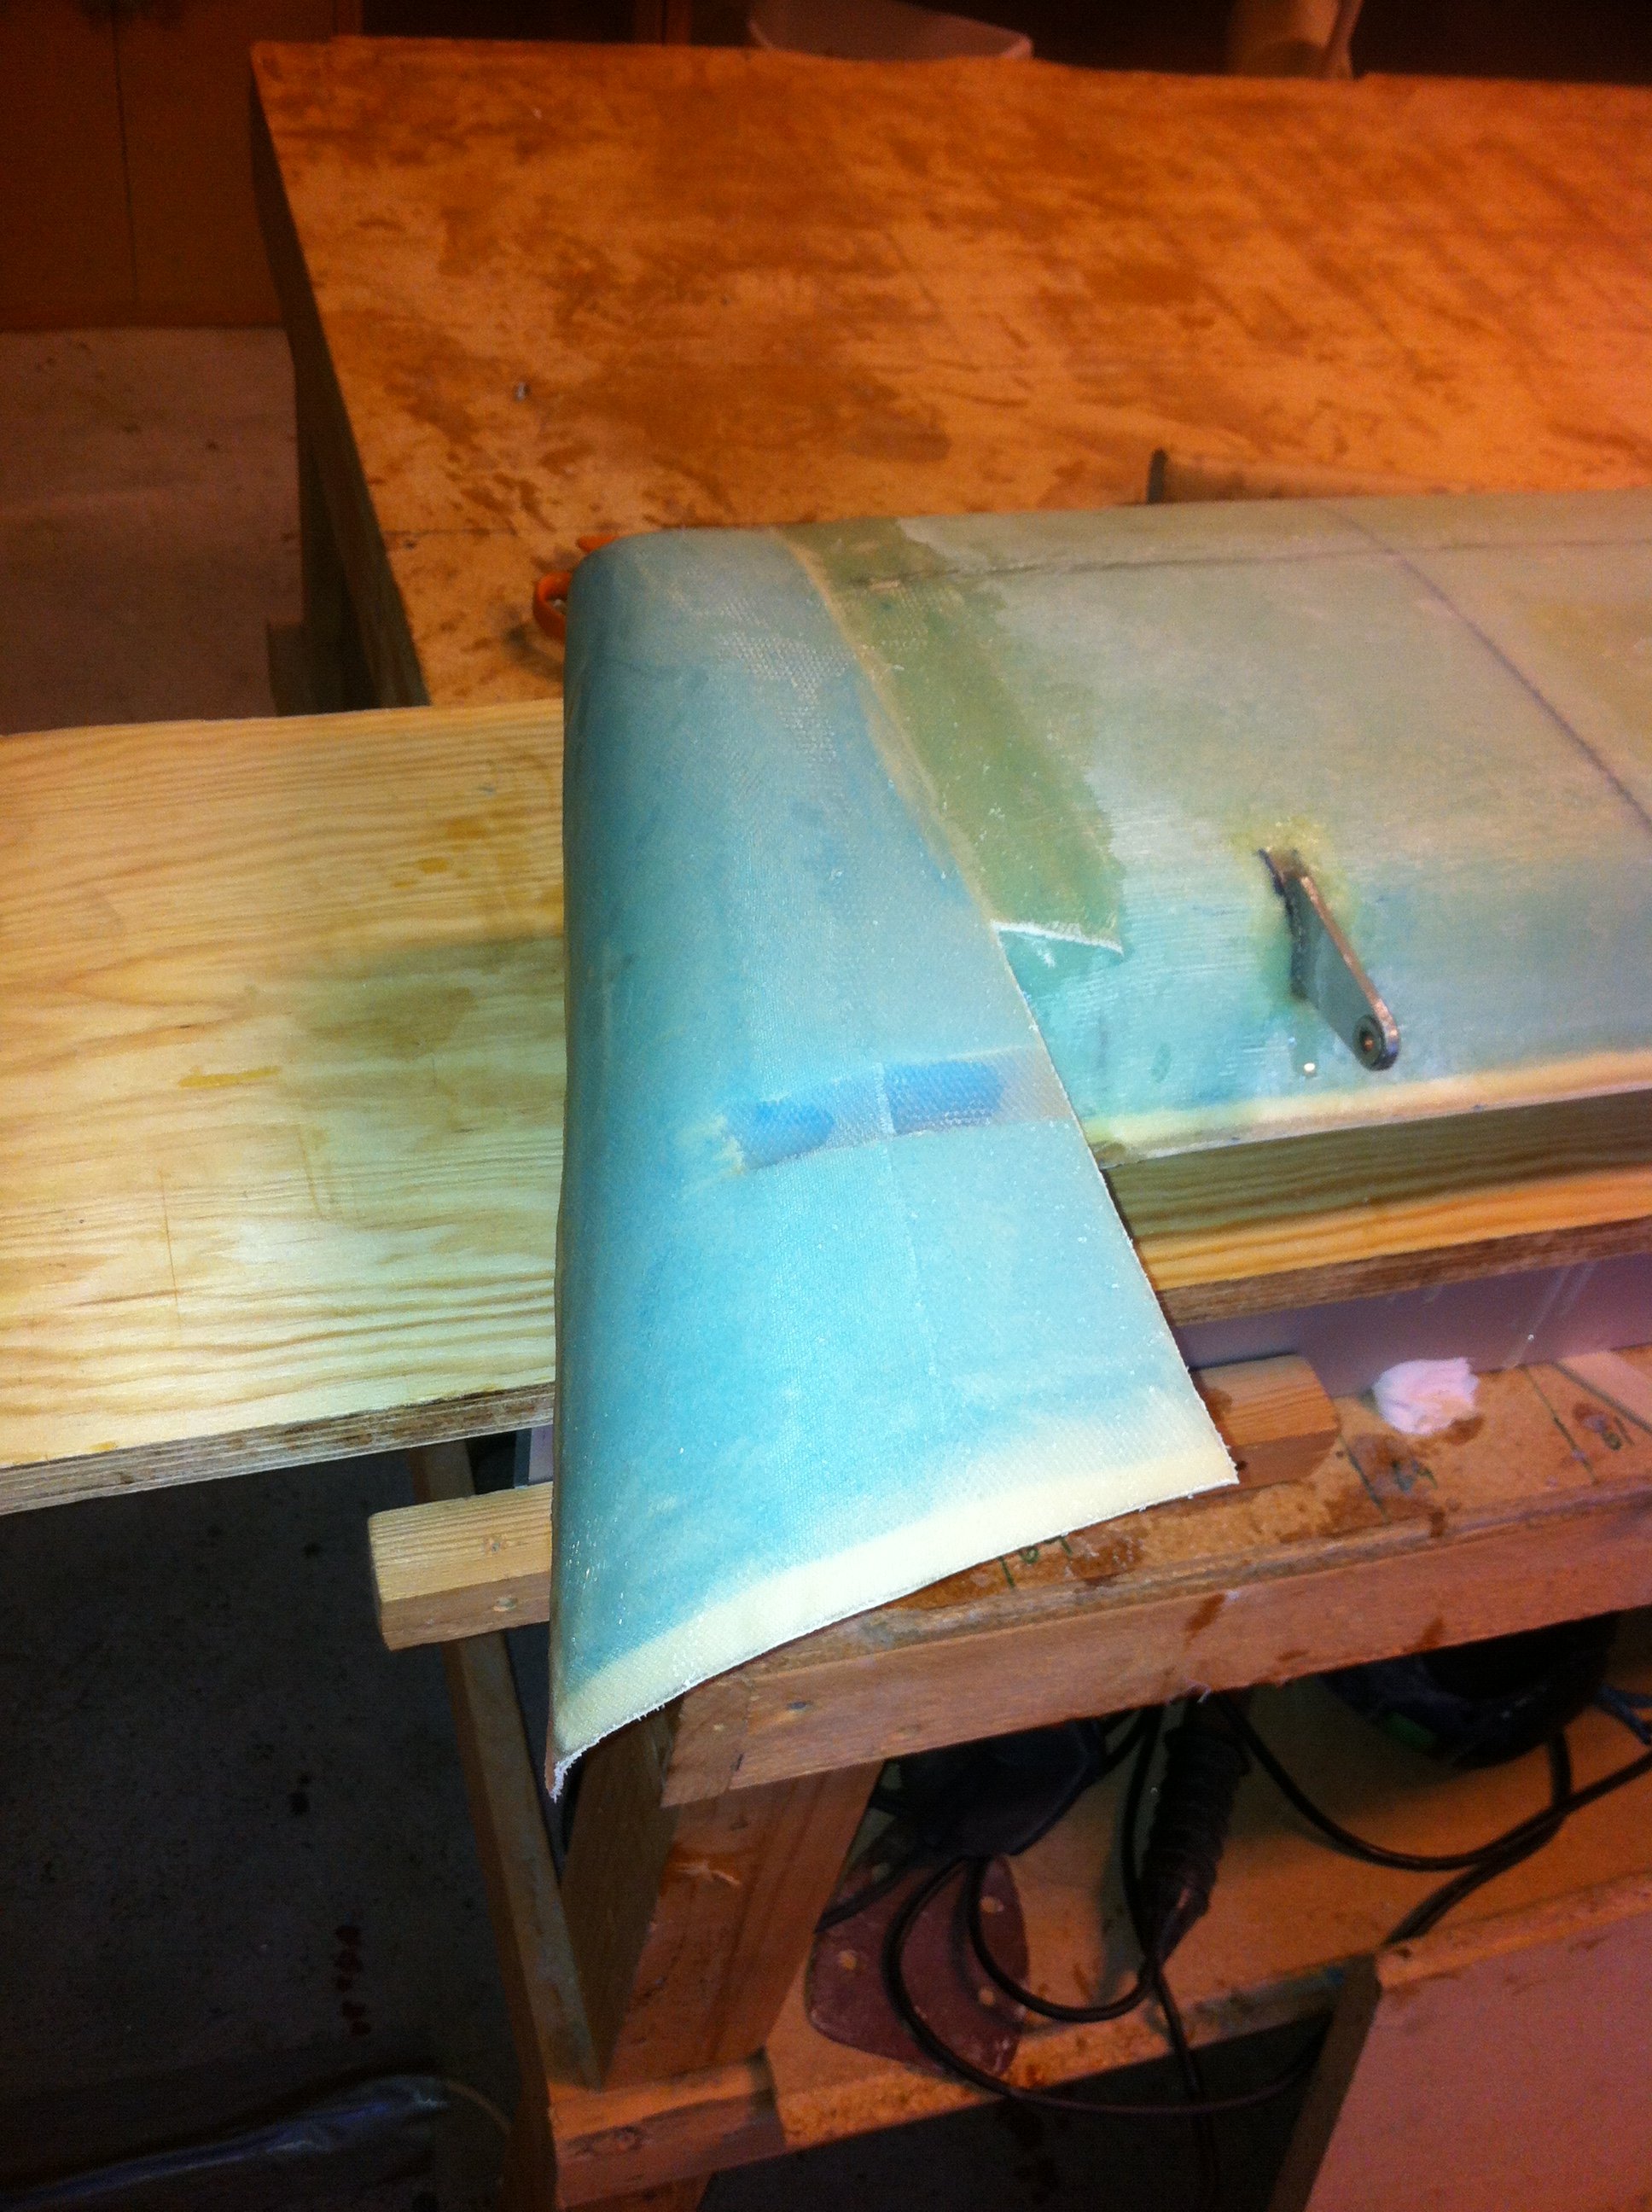
2012-11-11: After curing and cleaning up the tips looks rather good. The channel for the hinge-pin is seen on this image.
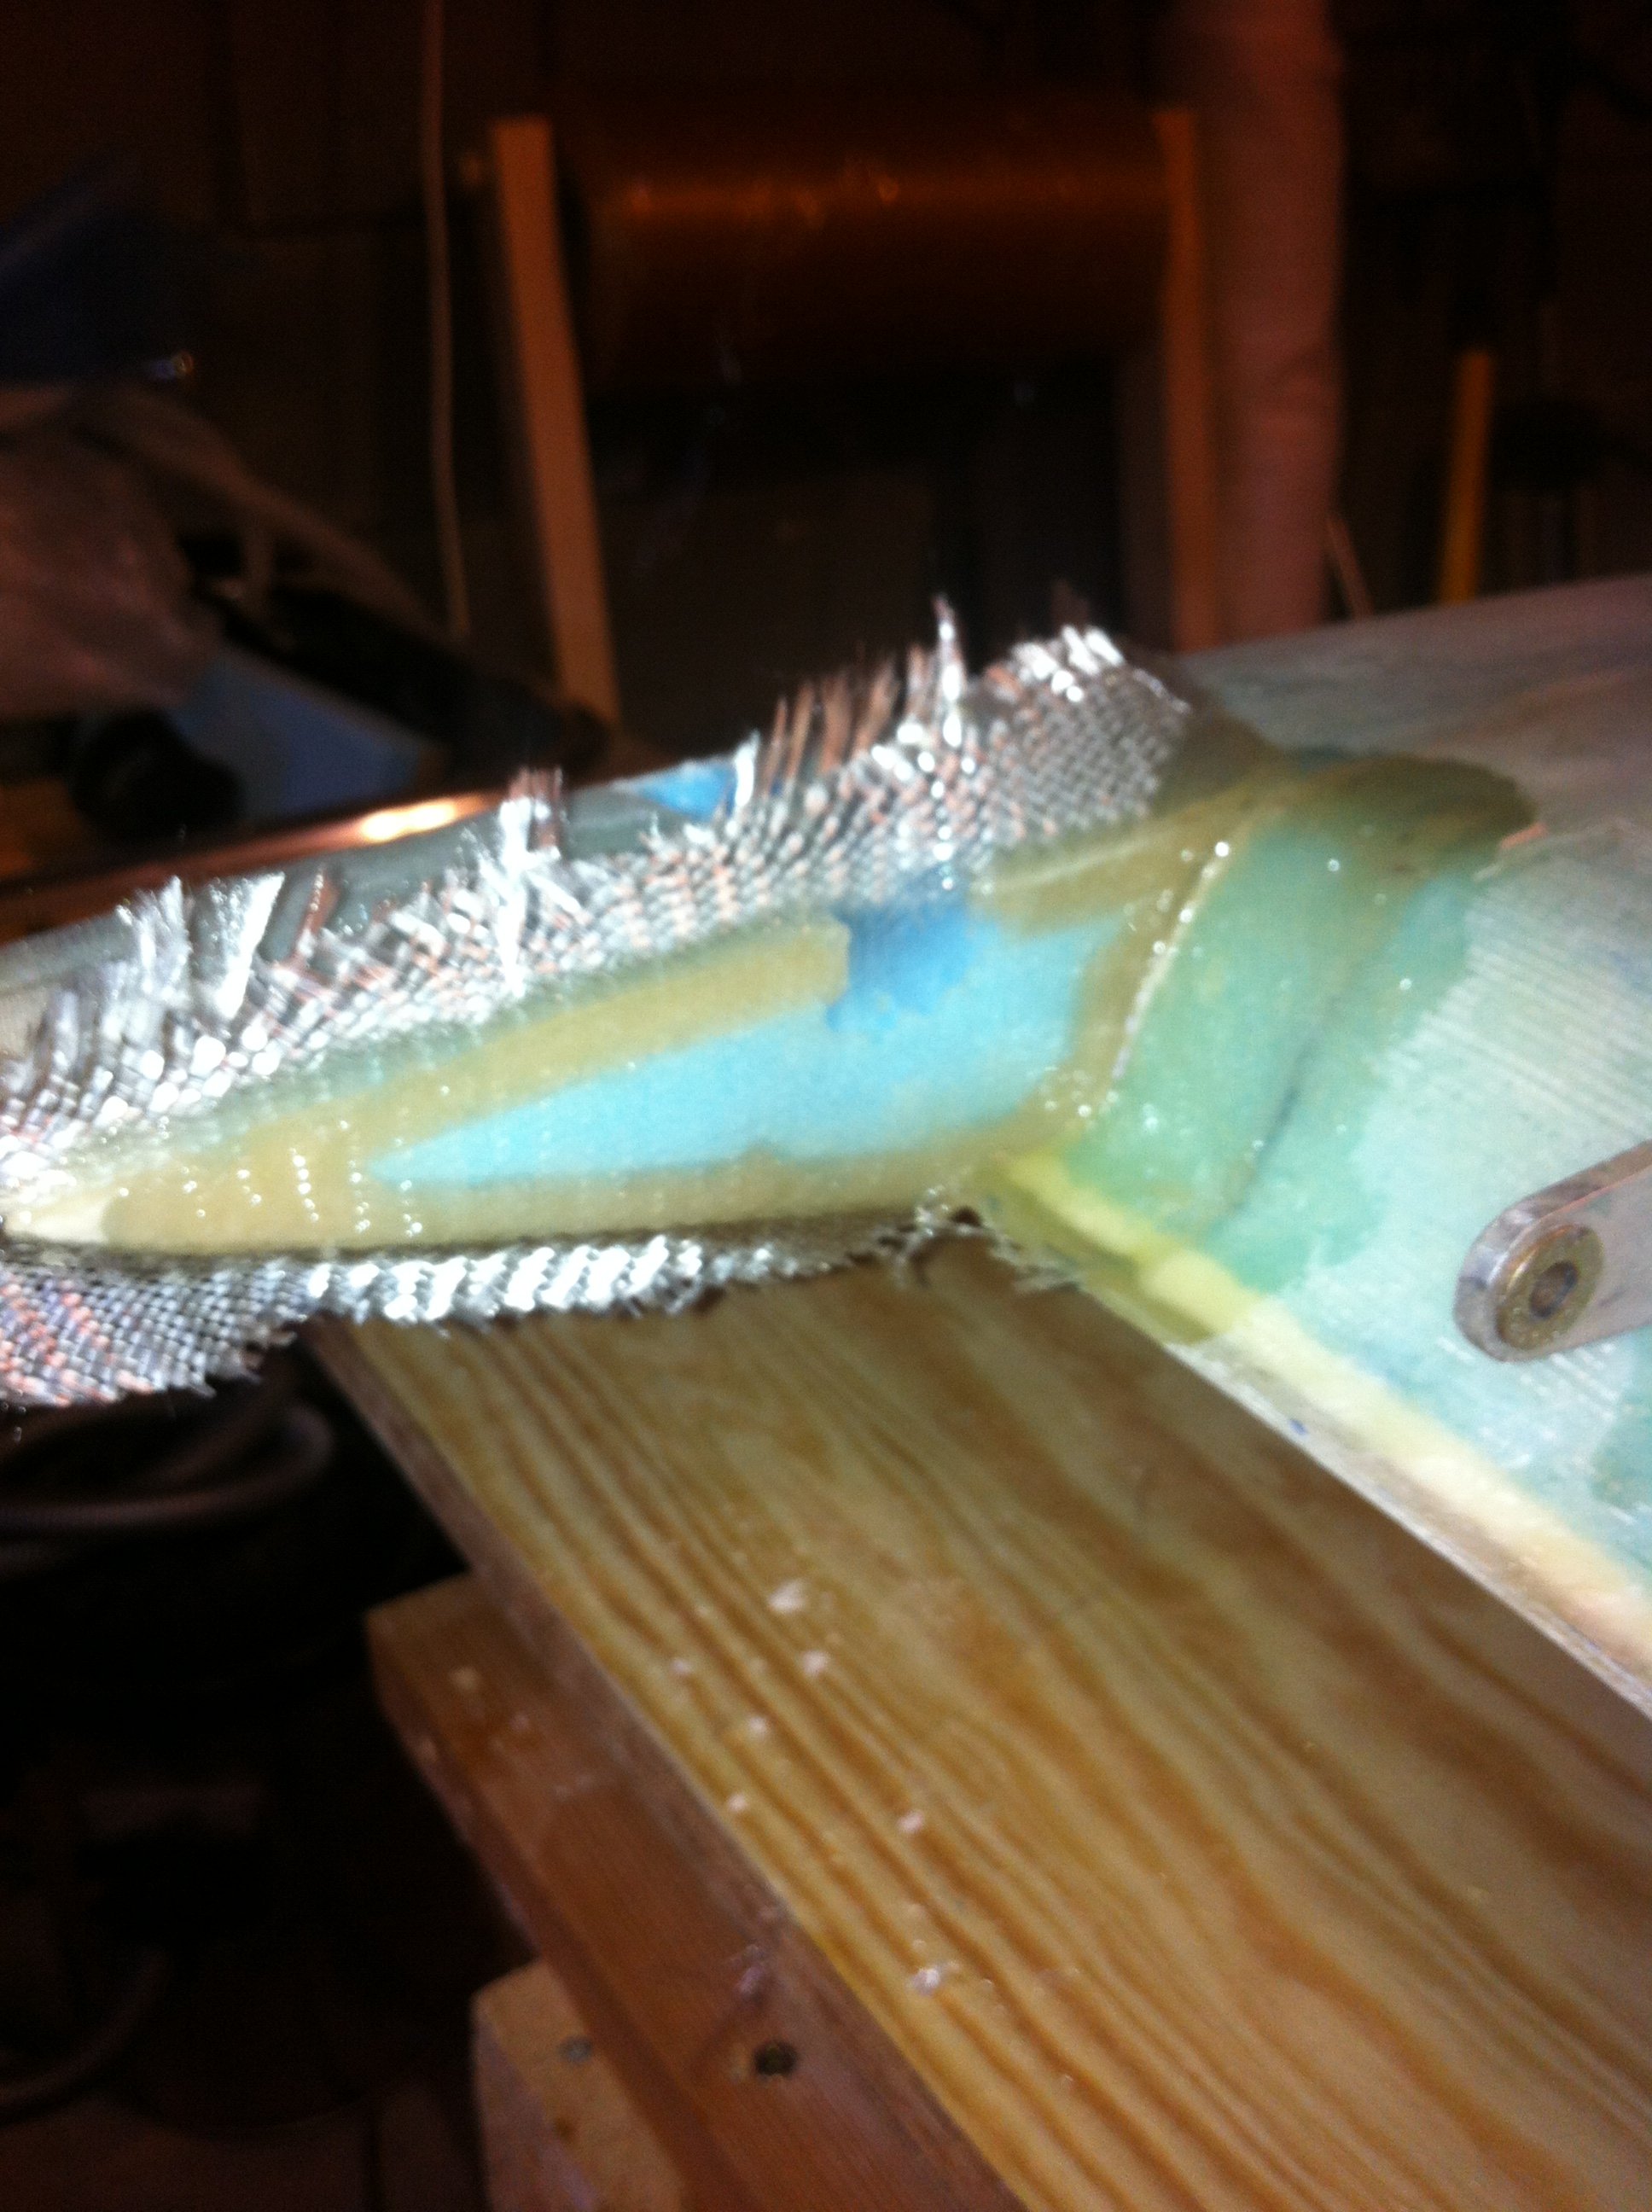
2012-11-11: The inside of the tips are covered with 1 BID with flox corners.

2012-11-25: The hinge pin is tapered to fit the canard tip and a 1/16″ hole is drilled to be able to get the pin out.
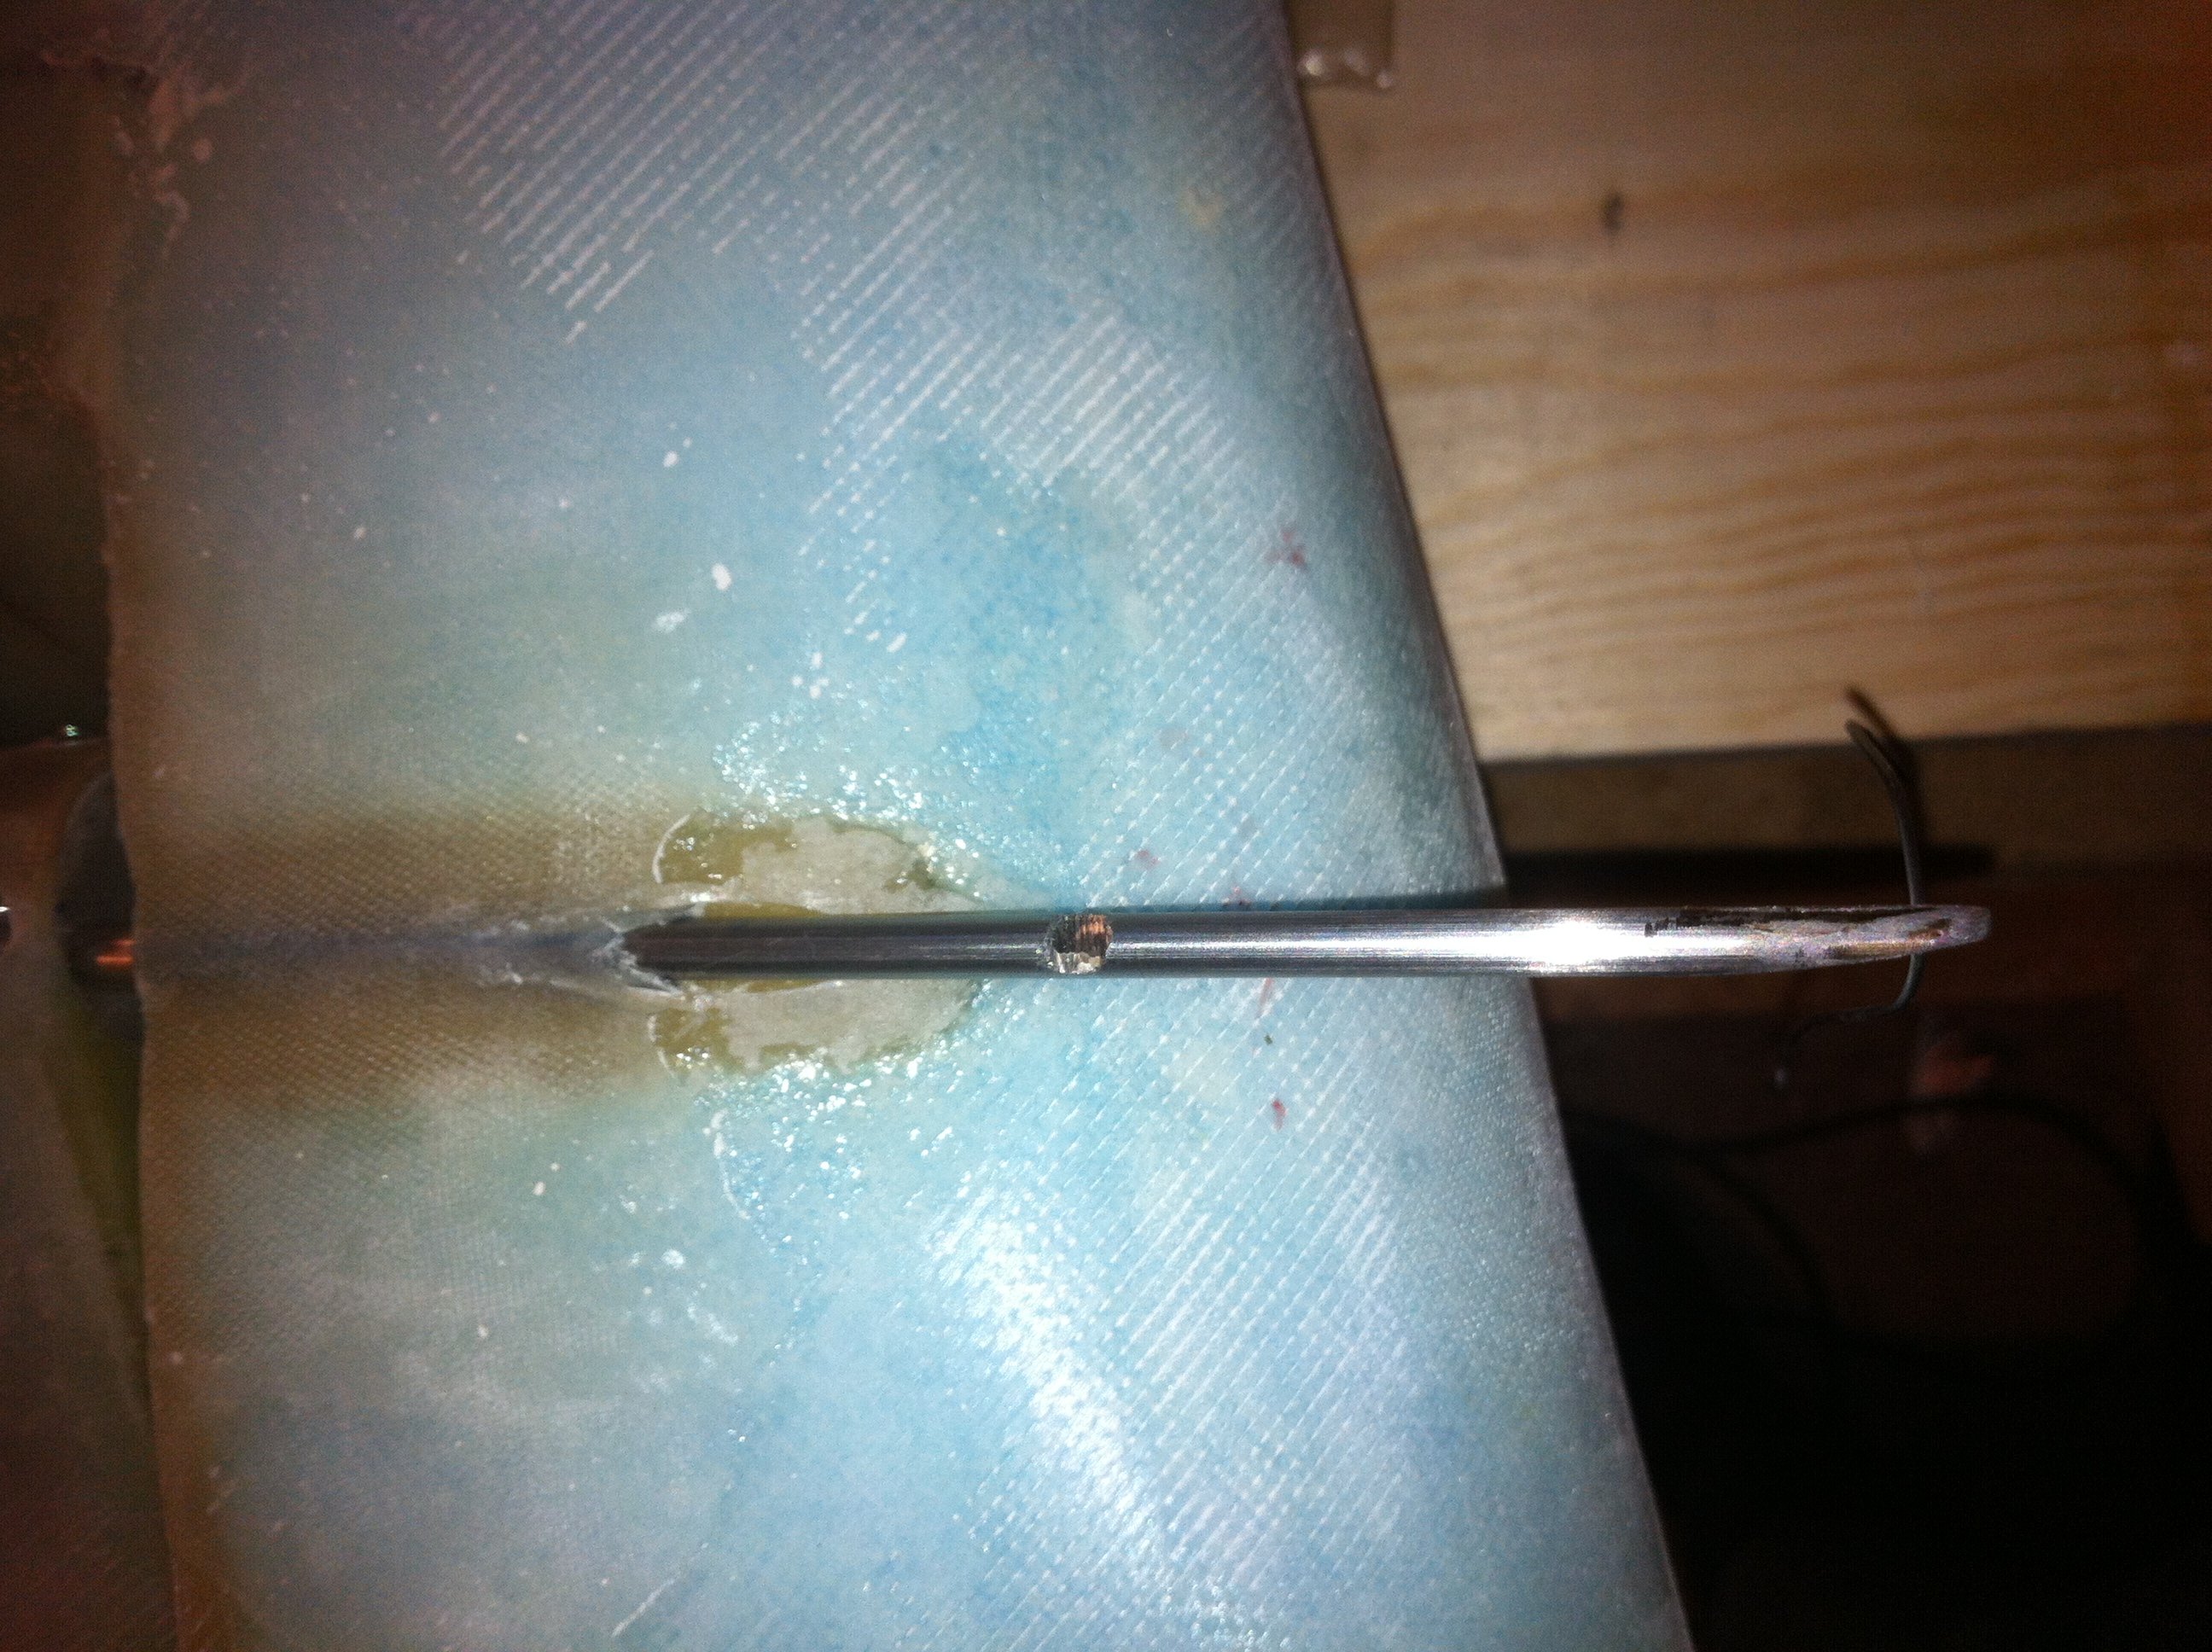
2012-11-25: A slot is filed in the hinge pin where the set screw is coming.