
The next step is to add reinforcement-layups to the landing strut, and add a conduit where the brake-lines can slide through. The plans calls out for soda-straws. I will instead use some PVC-tubing that is more rigid and have a larger inner diameter so I could switch to SS lines (if I wish to…). I will follow Wayne Hicks method of making fairings around the strut. That lets me skip one step in this section where I should make a special sharp trailing edge by using aluminum-tape etc.
2010-10-16: First I have to sand the strut dull to prepare it for glassing. Used a disc-sander with 40-grit paper. This sander has an integrated vacuum-cleaner so all the fine dust was properly collected in the dust-bag 🙂
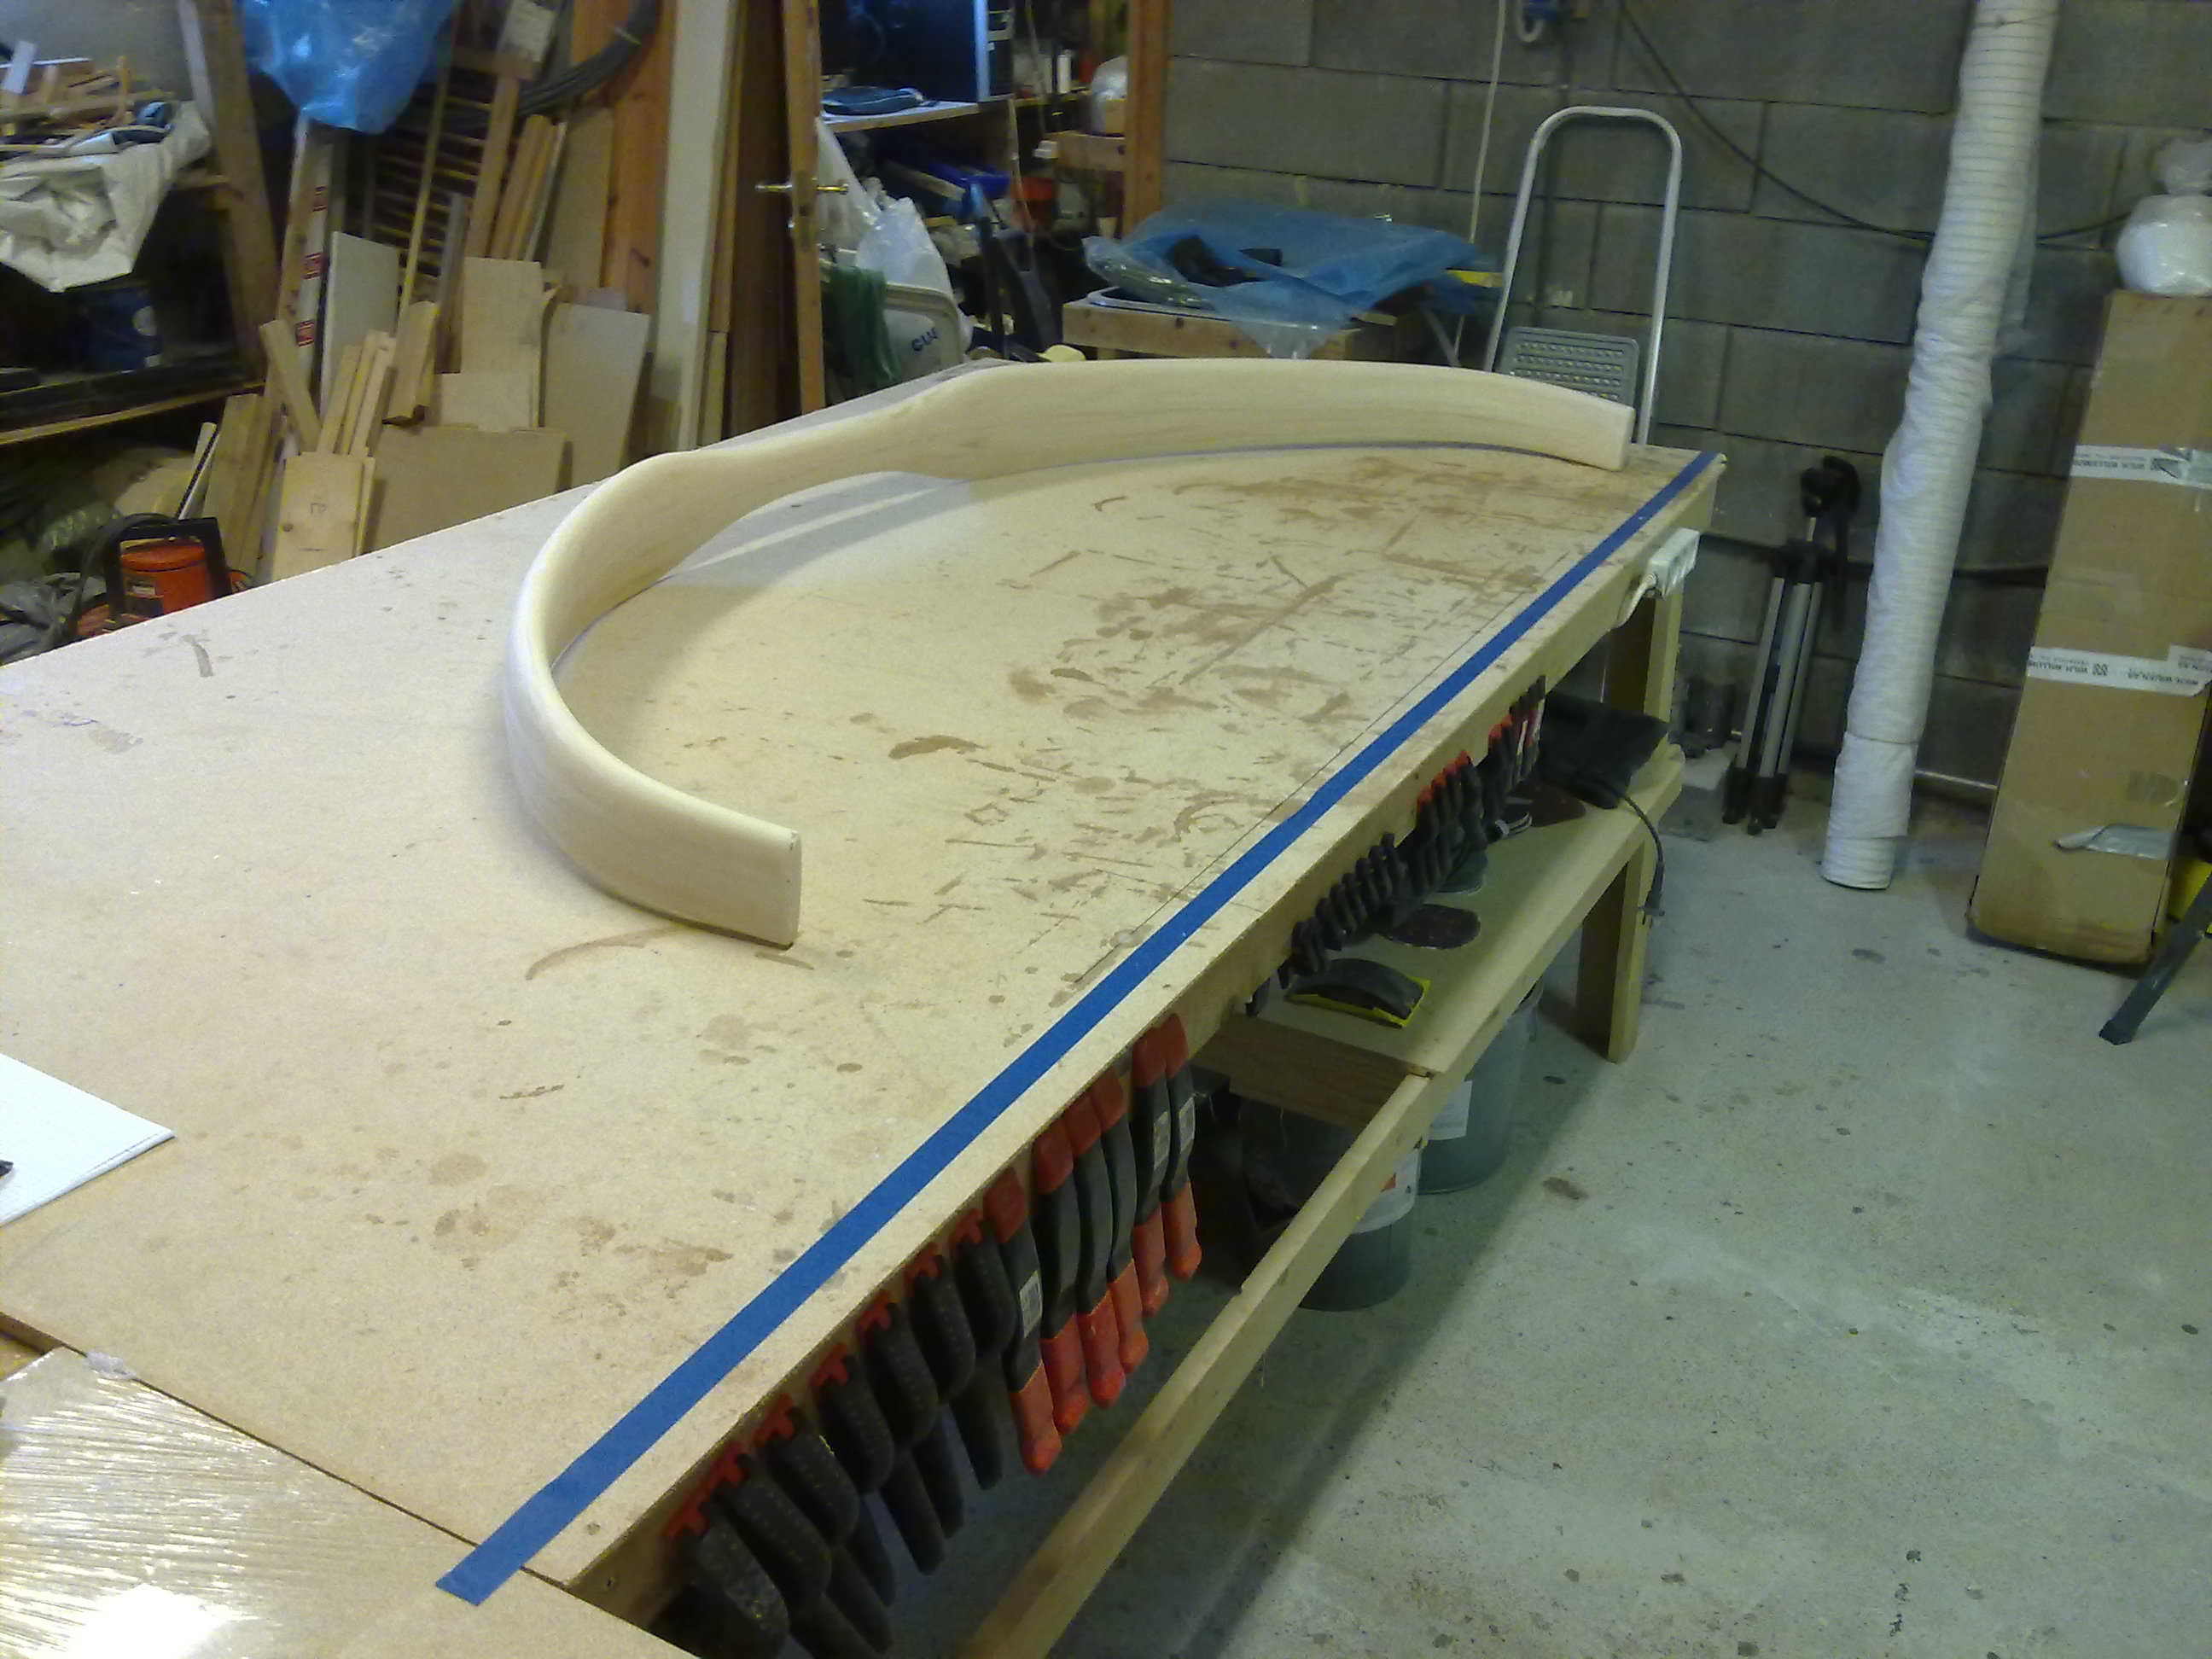
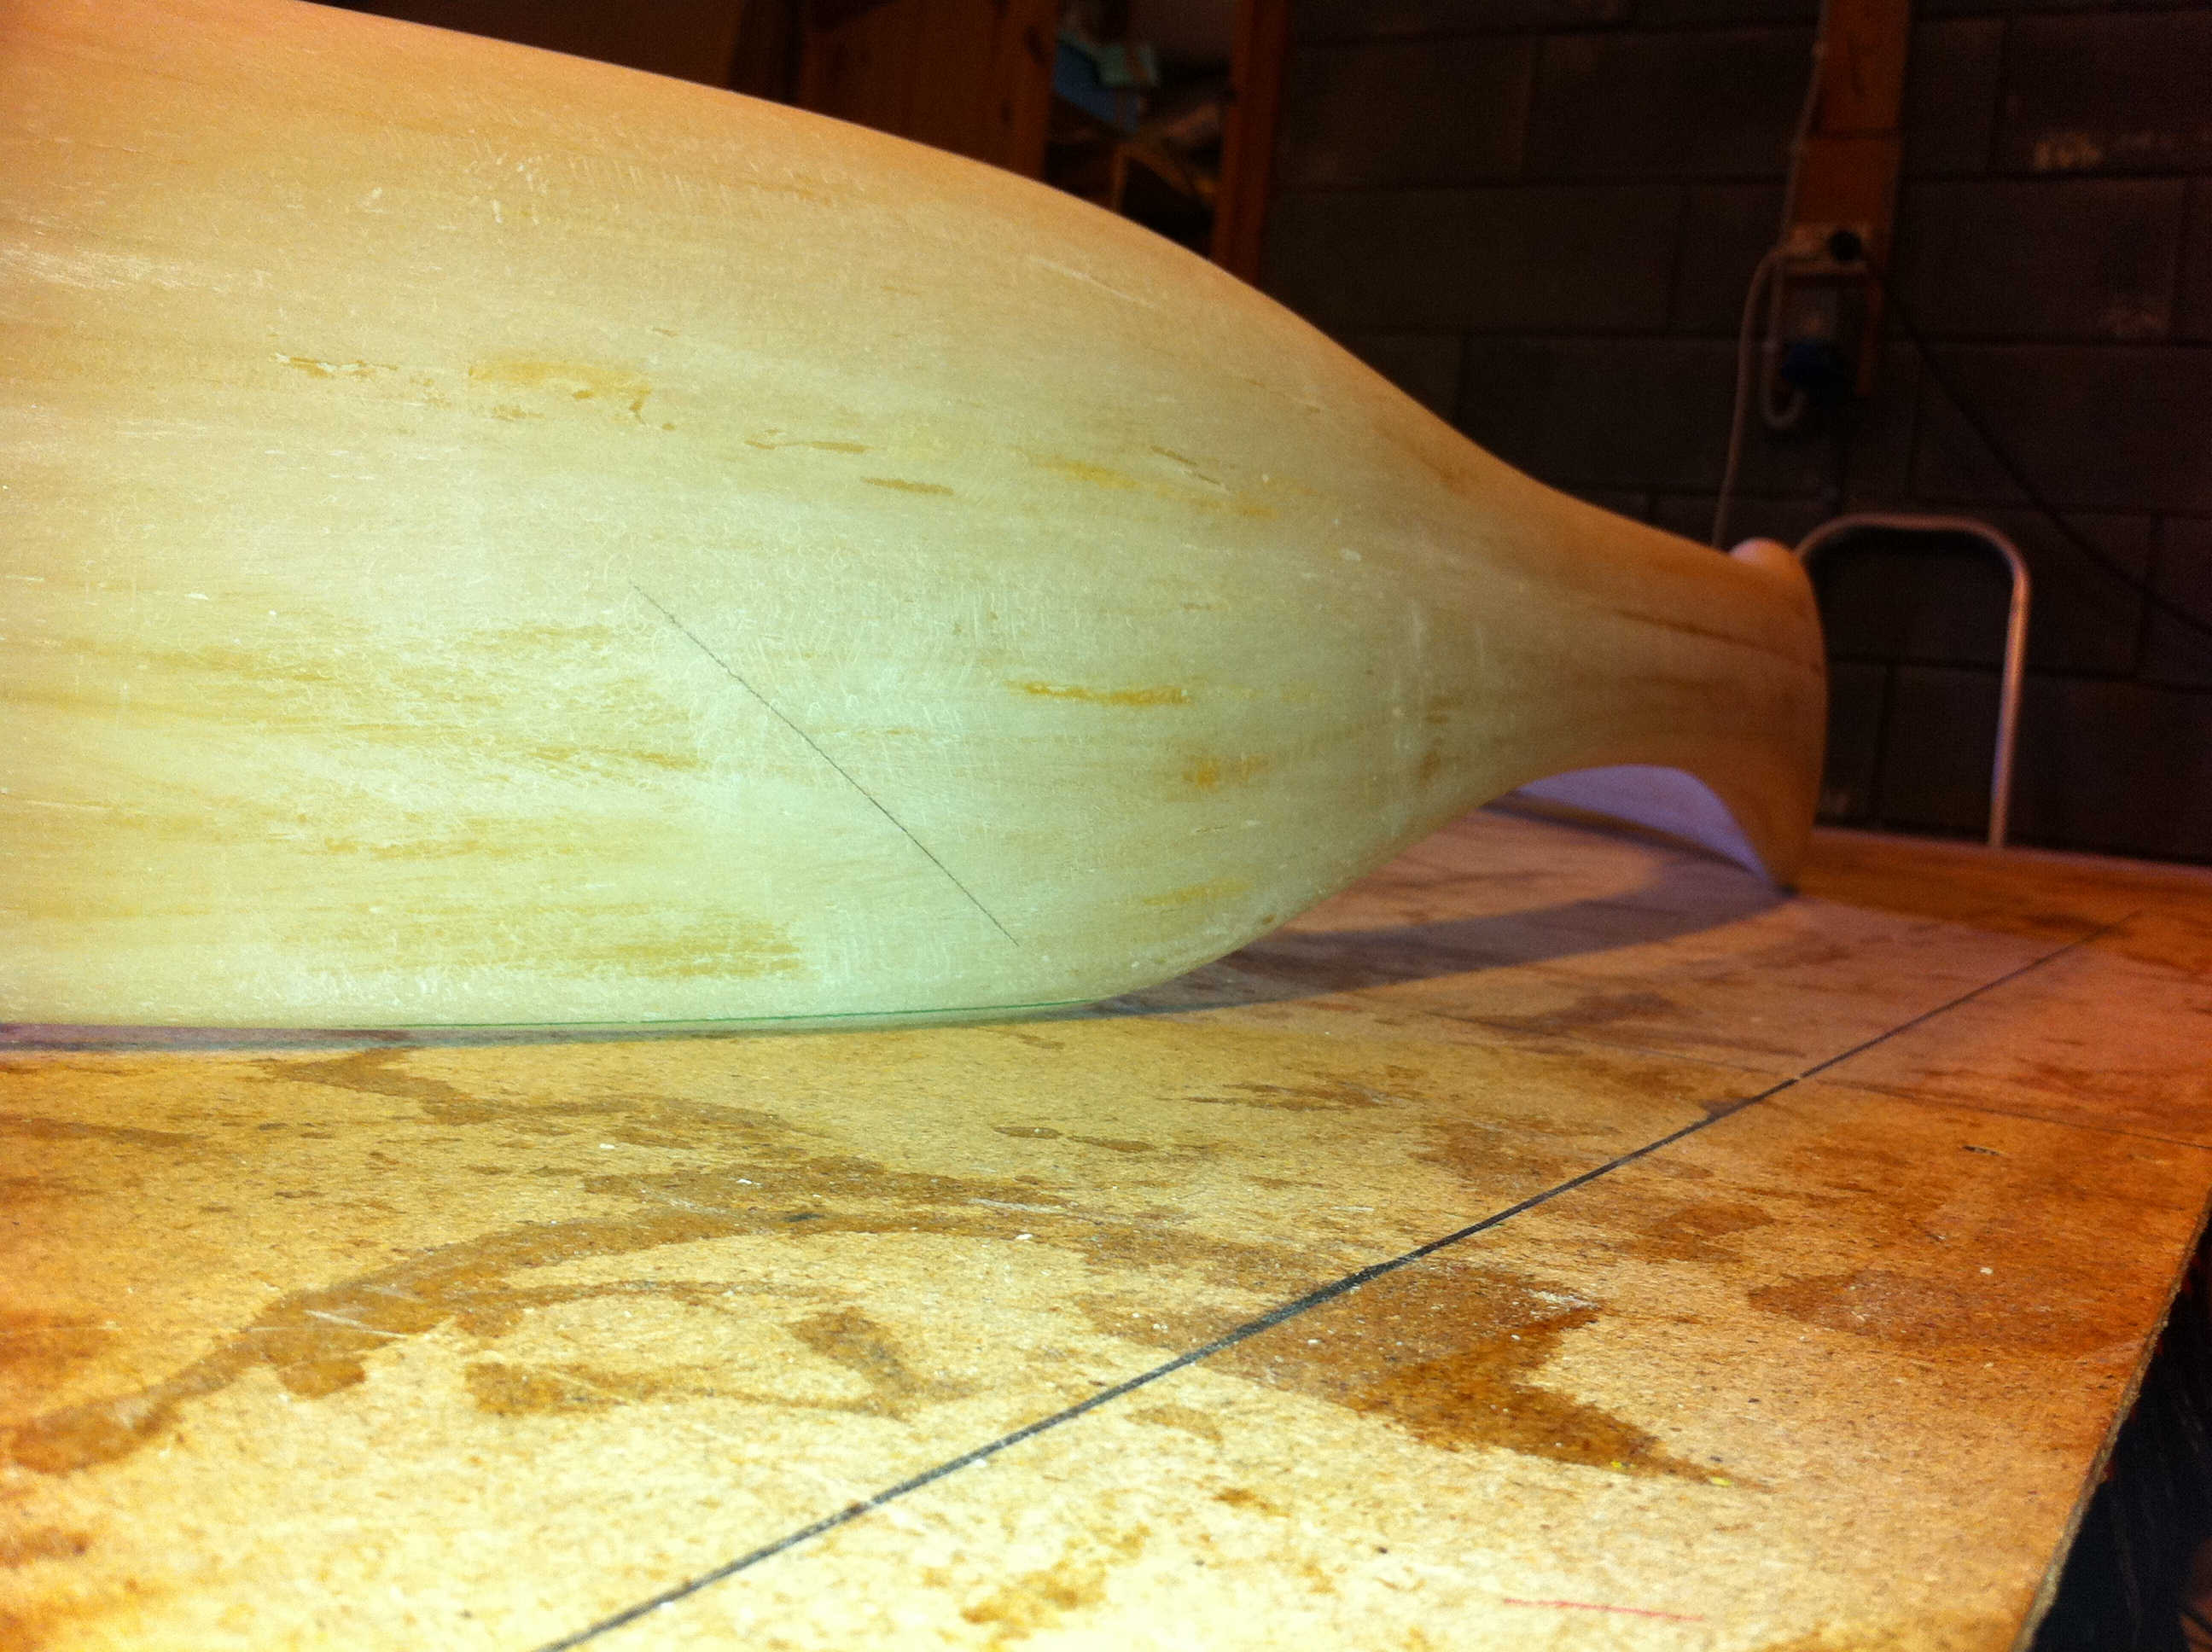
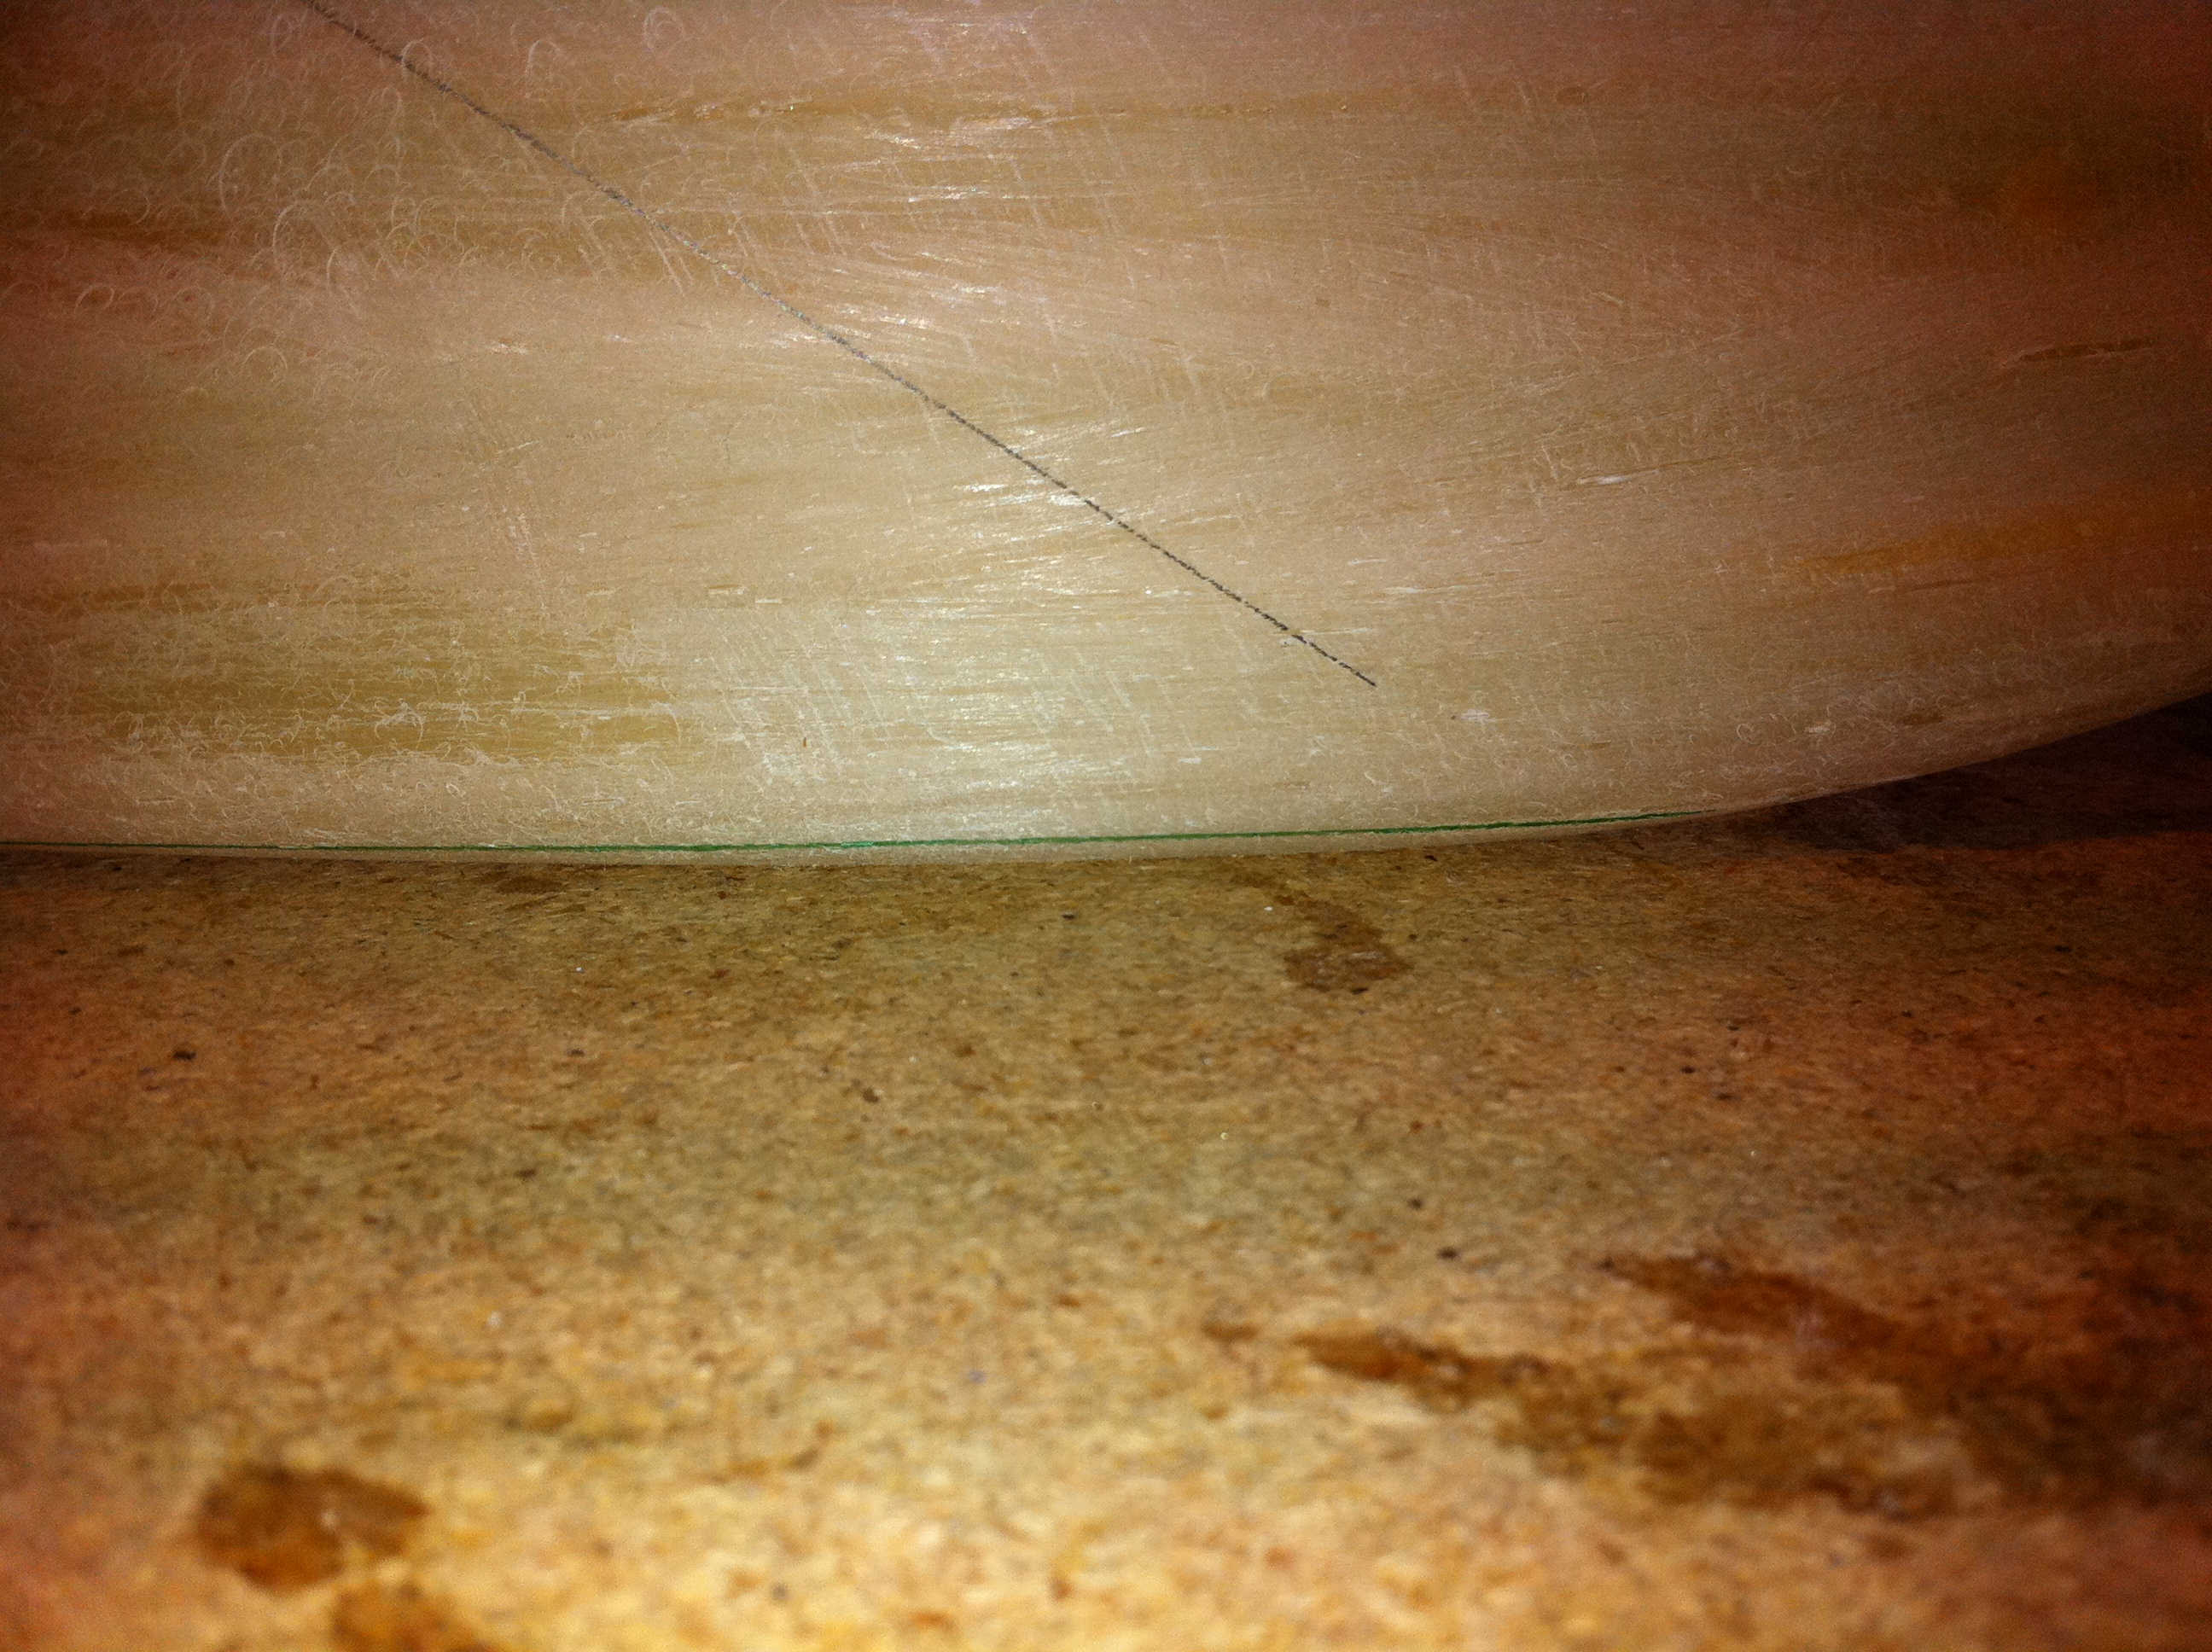
I have measured the length of the strut using the tape-method in the plans. The blue tape is the inside length of the strut – measured along the mid-chord. I need to trim off only 4mm at each side.
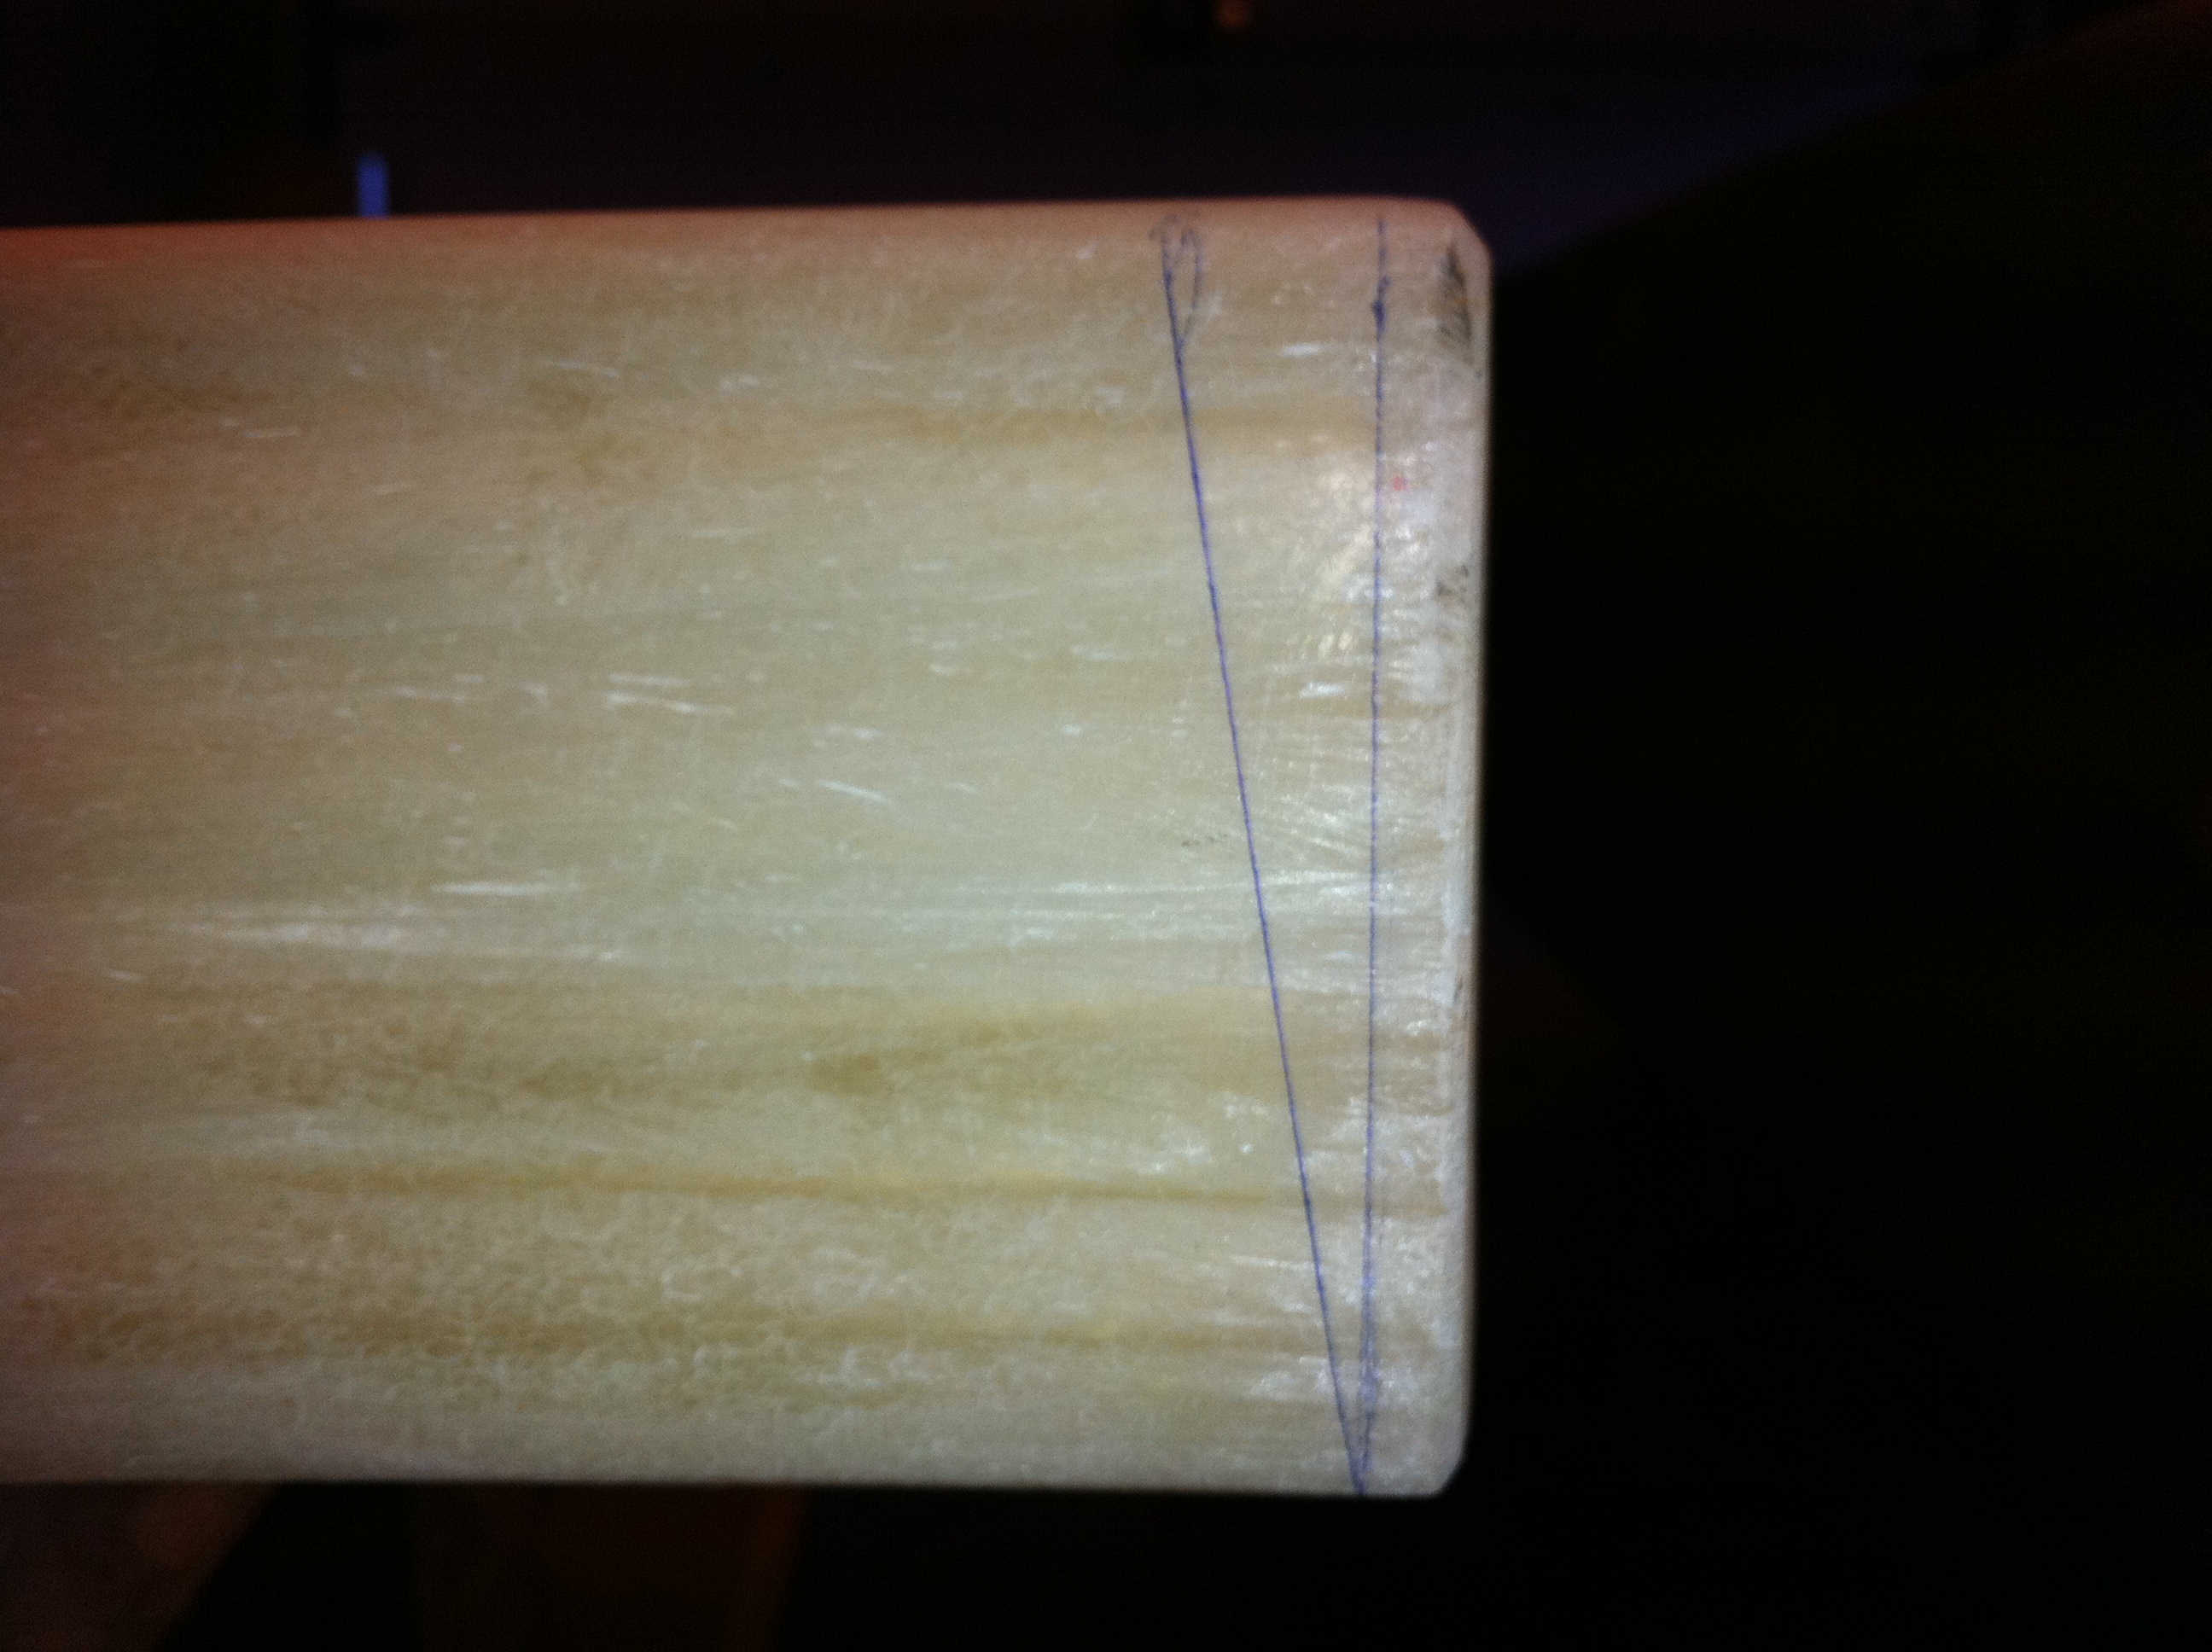
2010-10-23: I have marked the 4mm line, then I made a cardboard-template with an angle of 8° in which I marked an angled line backwards from the leading edge – as the plans tells us.
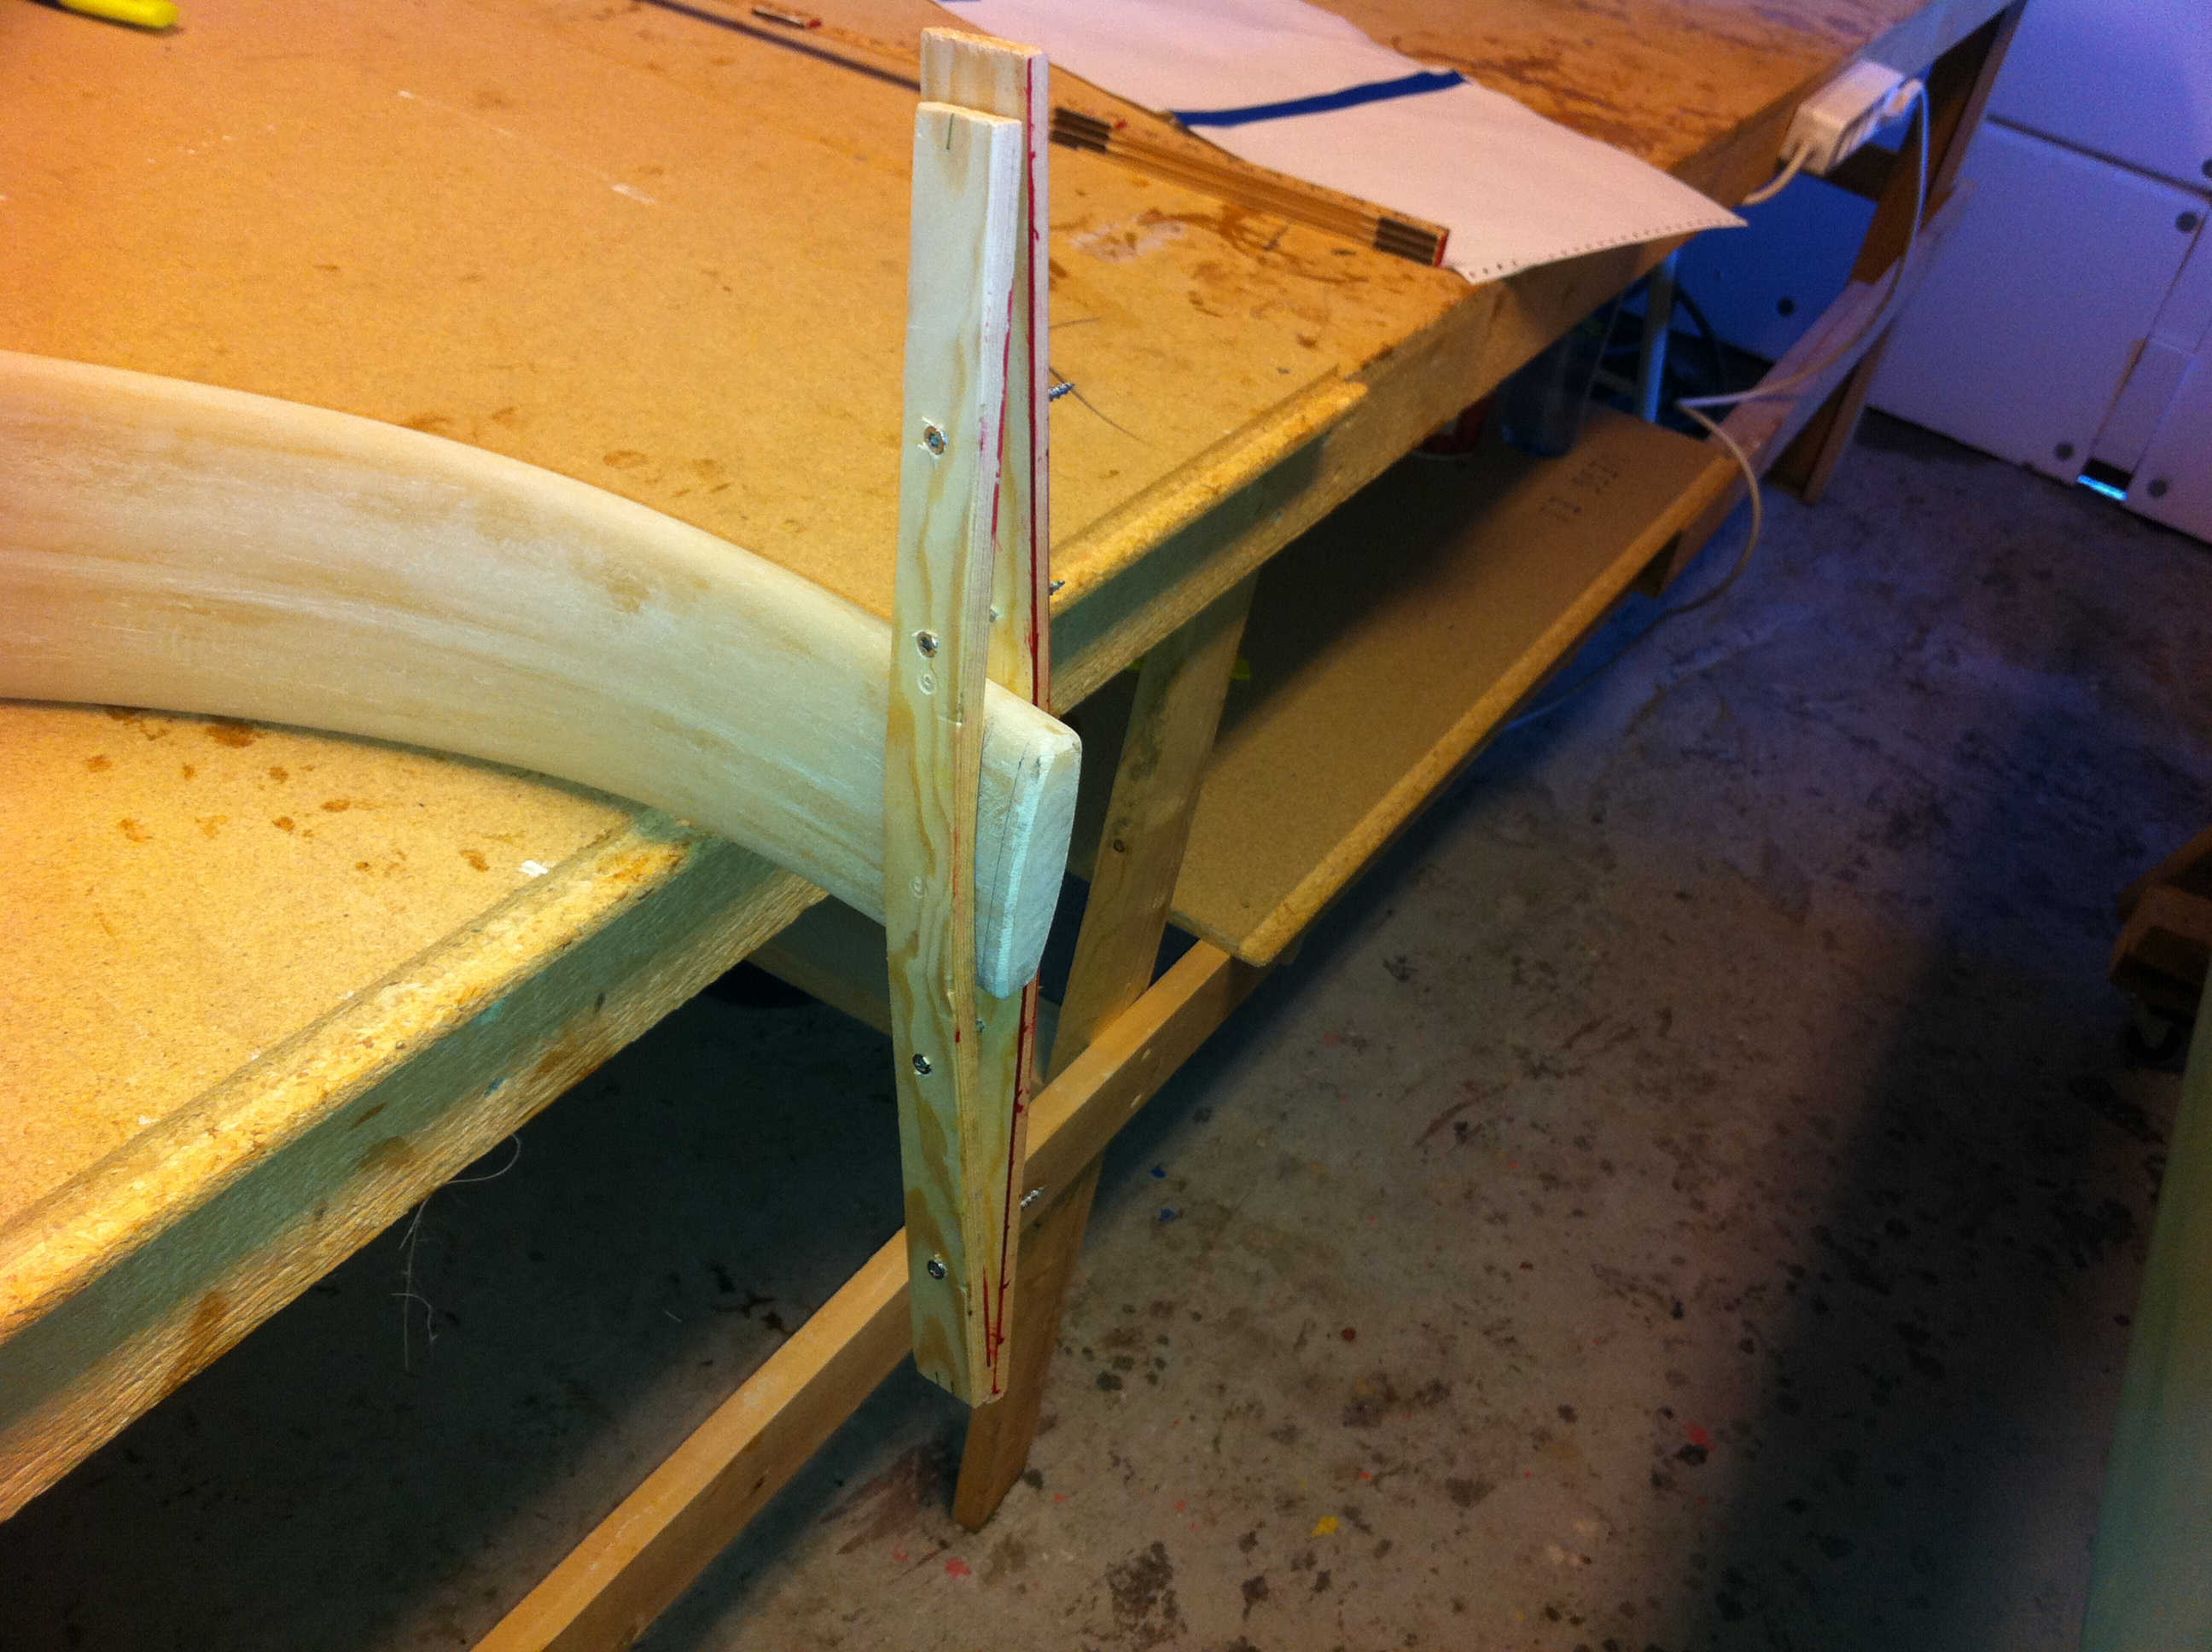
2010-10-23: Then I made a guide of two wood-strips and some screws and placed it at the angled line.
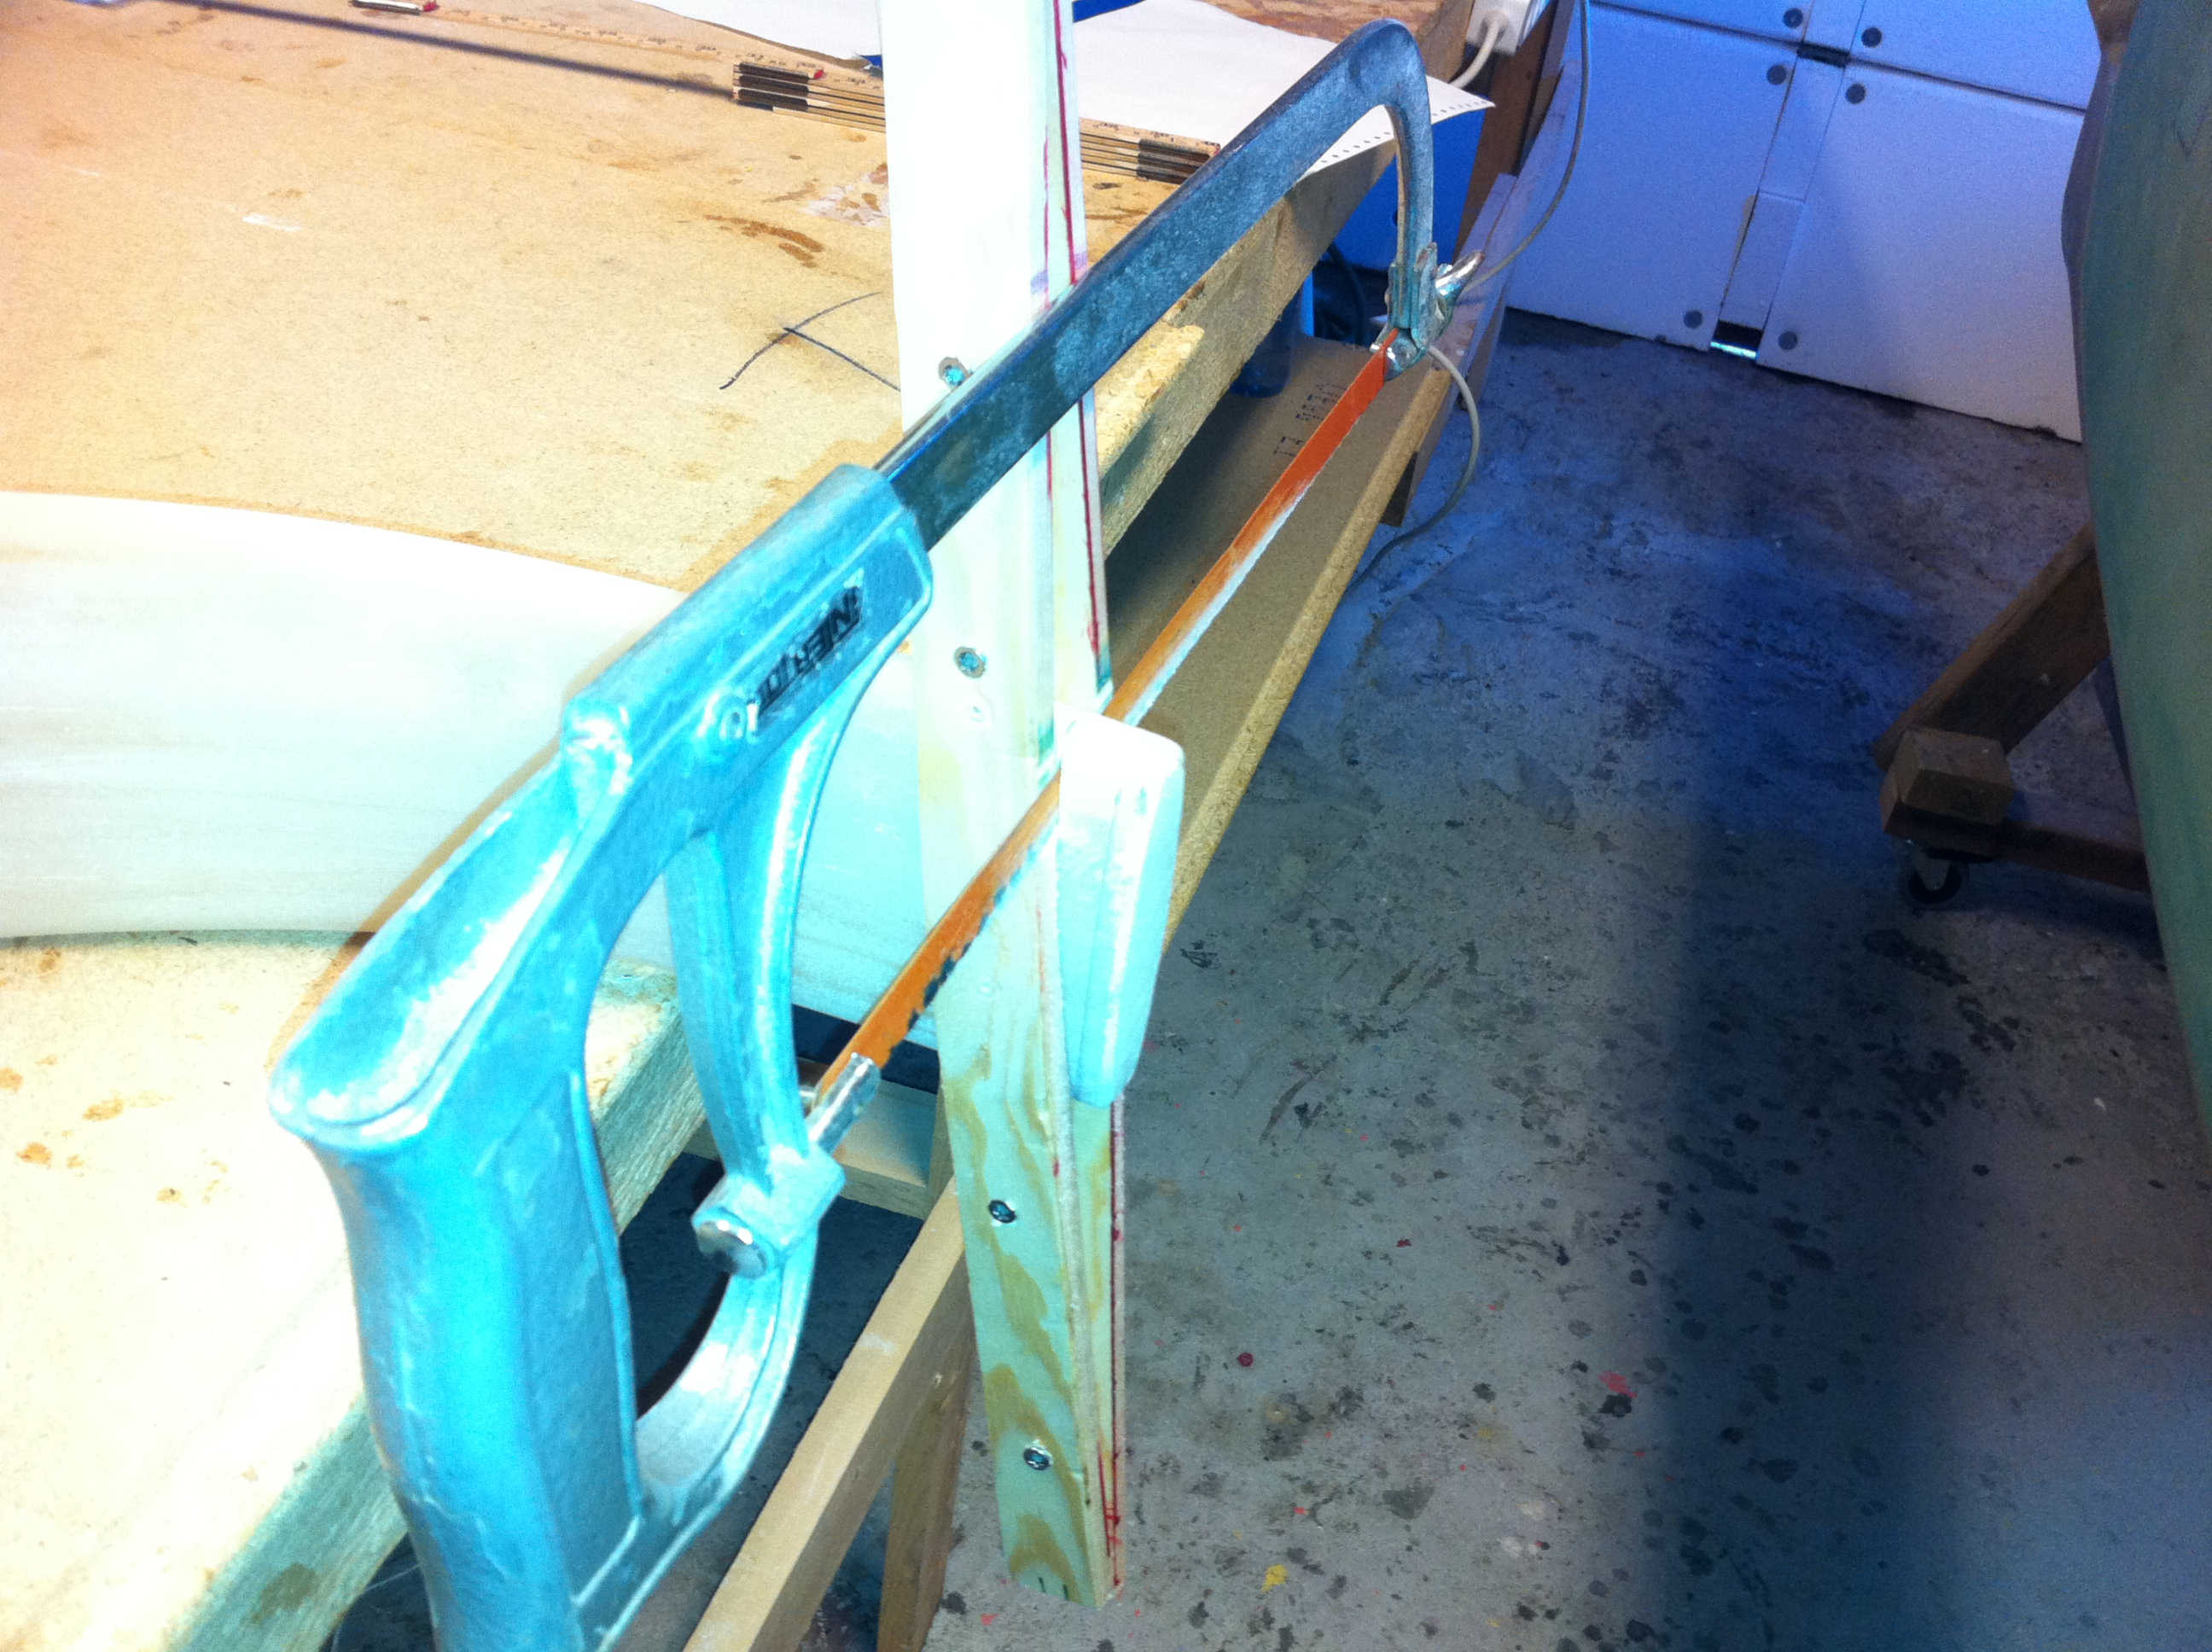
2010-10-23: This guide lets me use the hack-saw and then make a smooth cut in the strut at the correct angle.
2010-10-23: The result was perfect…!
2010-10-23: Now I am to sand off 1/8″ (3mm) from the “bumps” that the attach-tabs are to be mounted on later. This is to make this part as straight as possible. That’s what the plans tell me anyway.
2010-10-23: A close-up picture. I have marked 1/8″ from the bottom. This is to be sanded off.

2010-10-23: After some seconds of sanding with my belt-sander, the strut was flat at these spots.
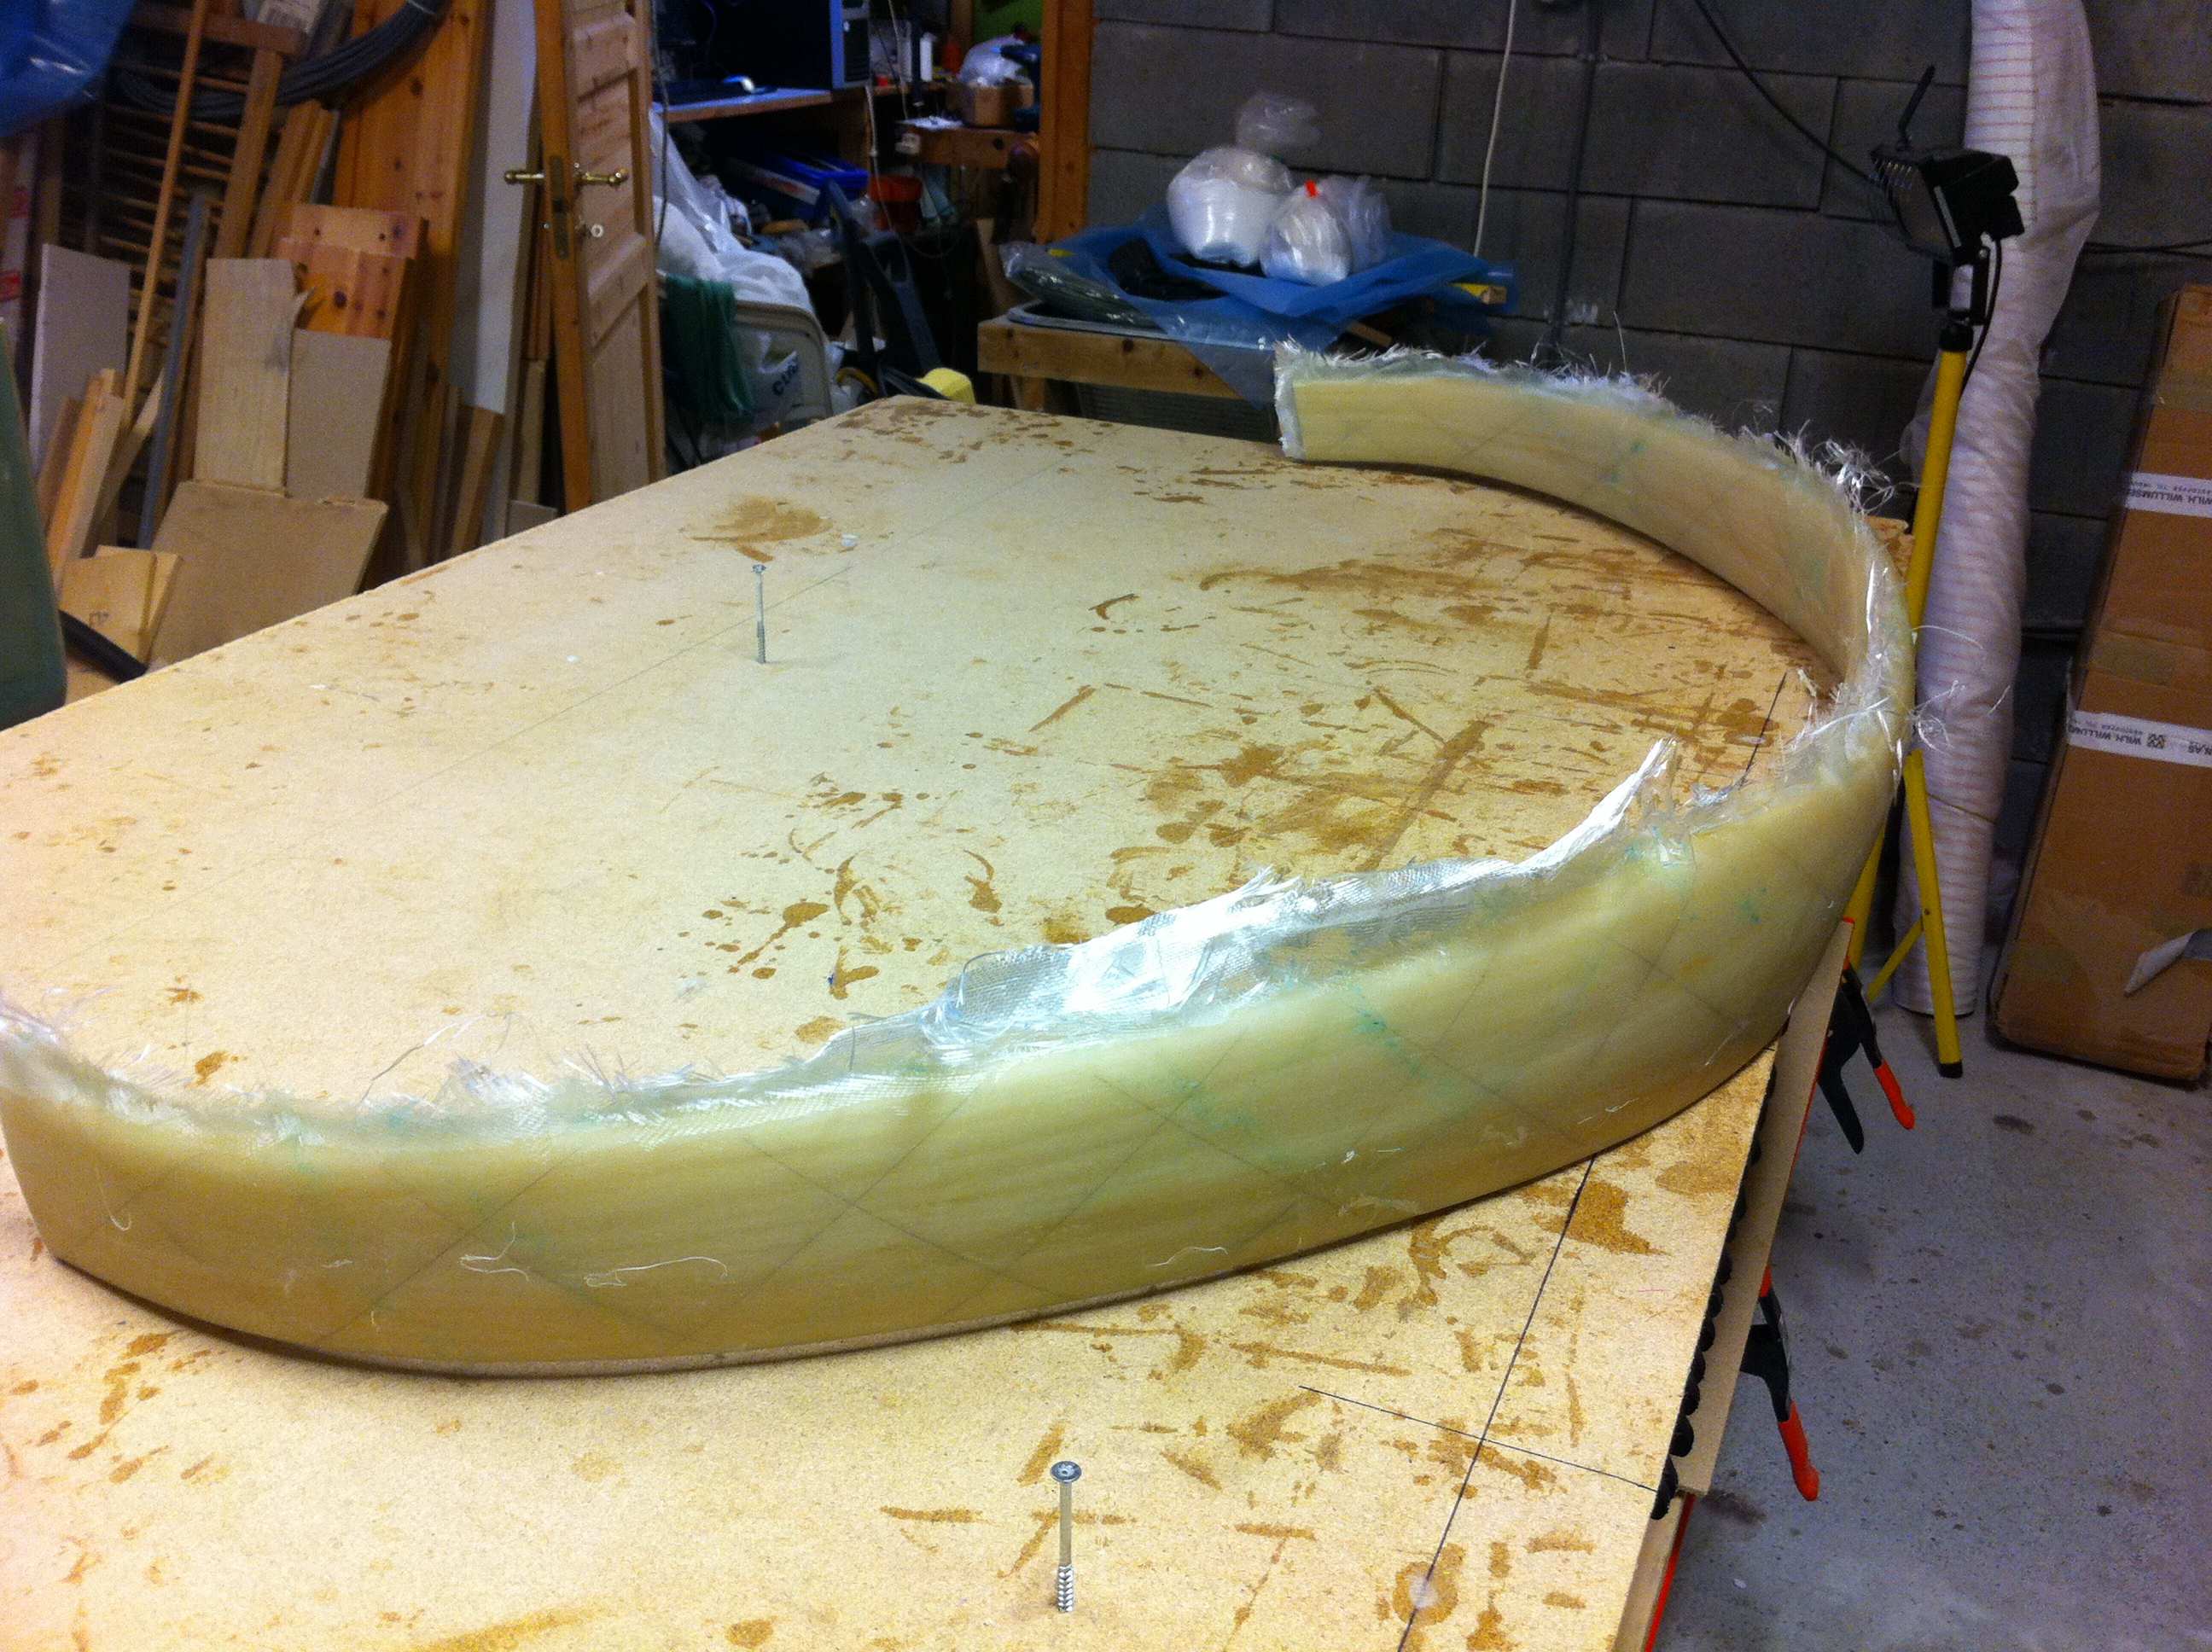
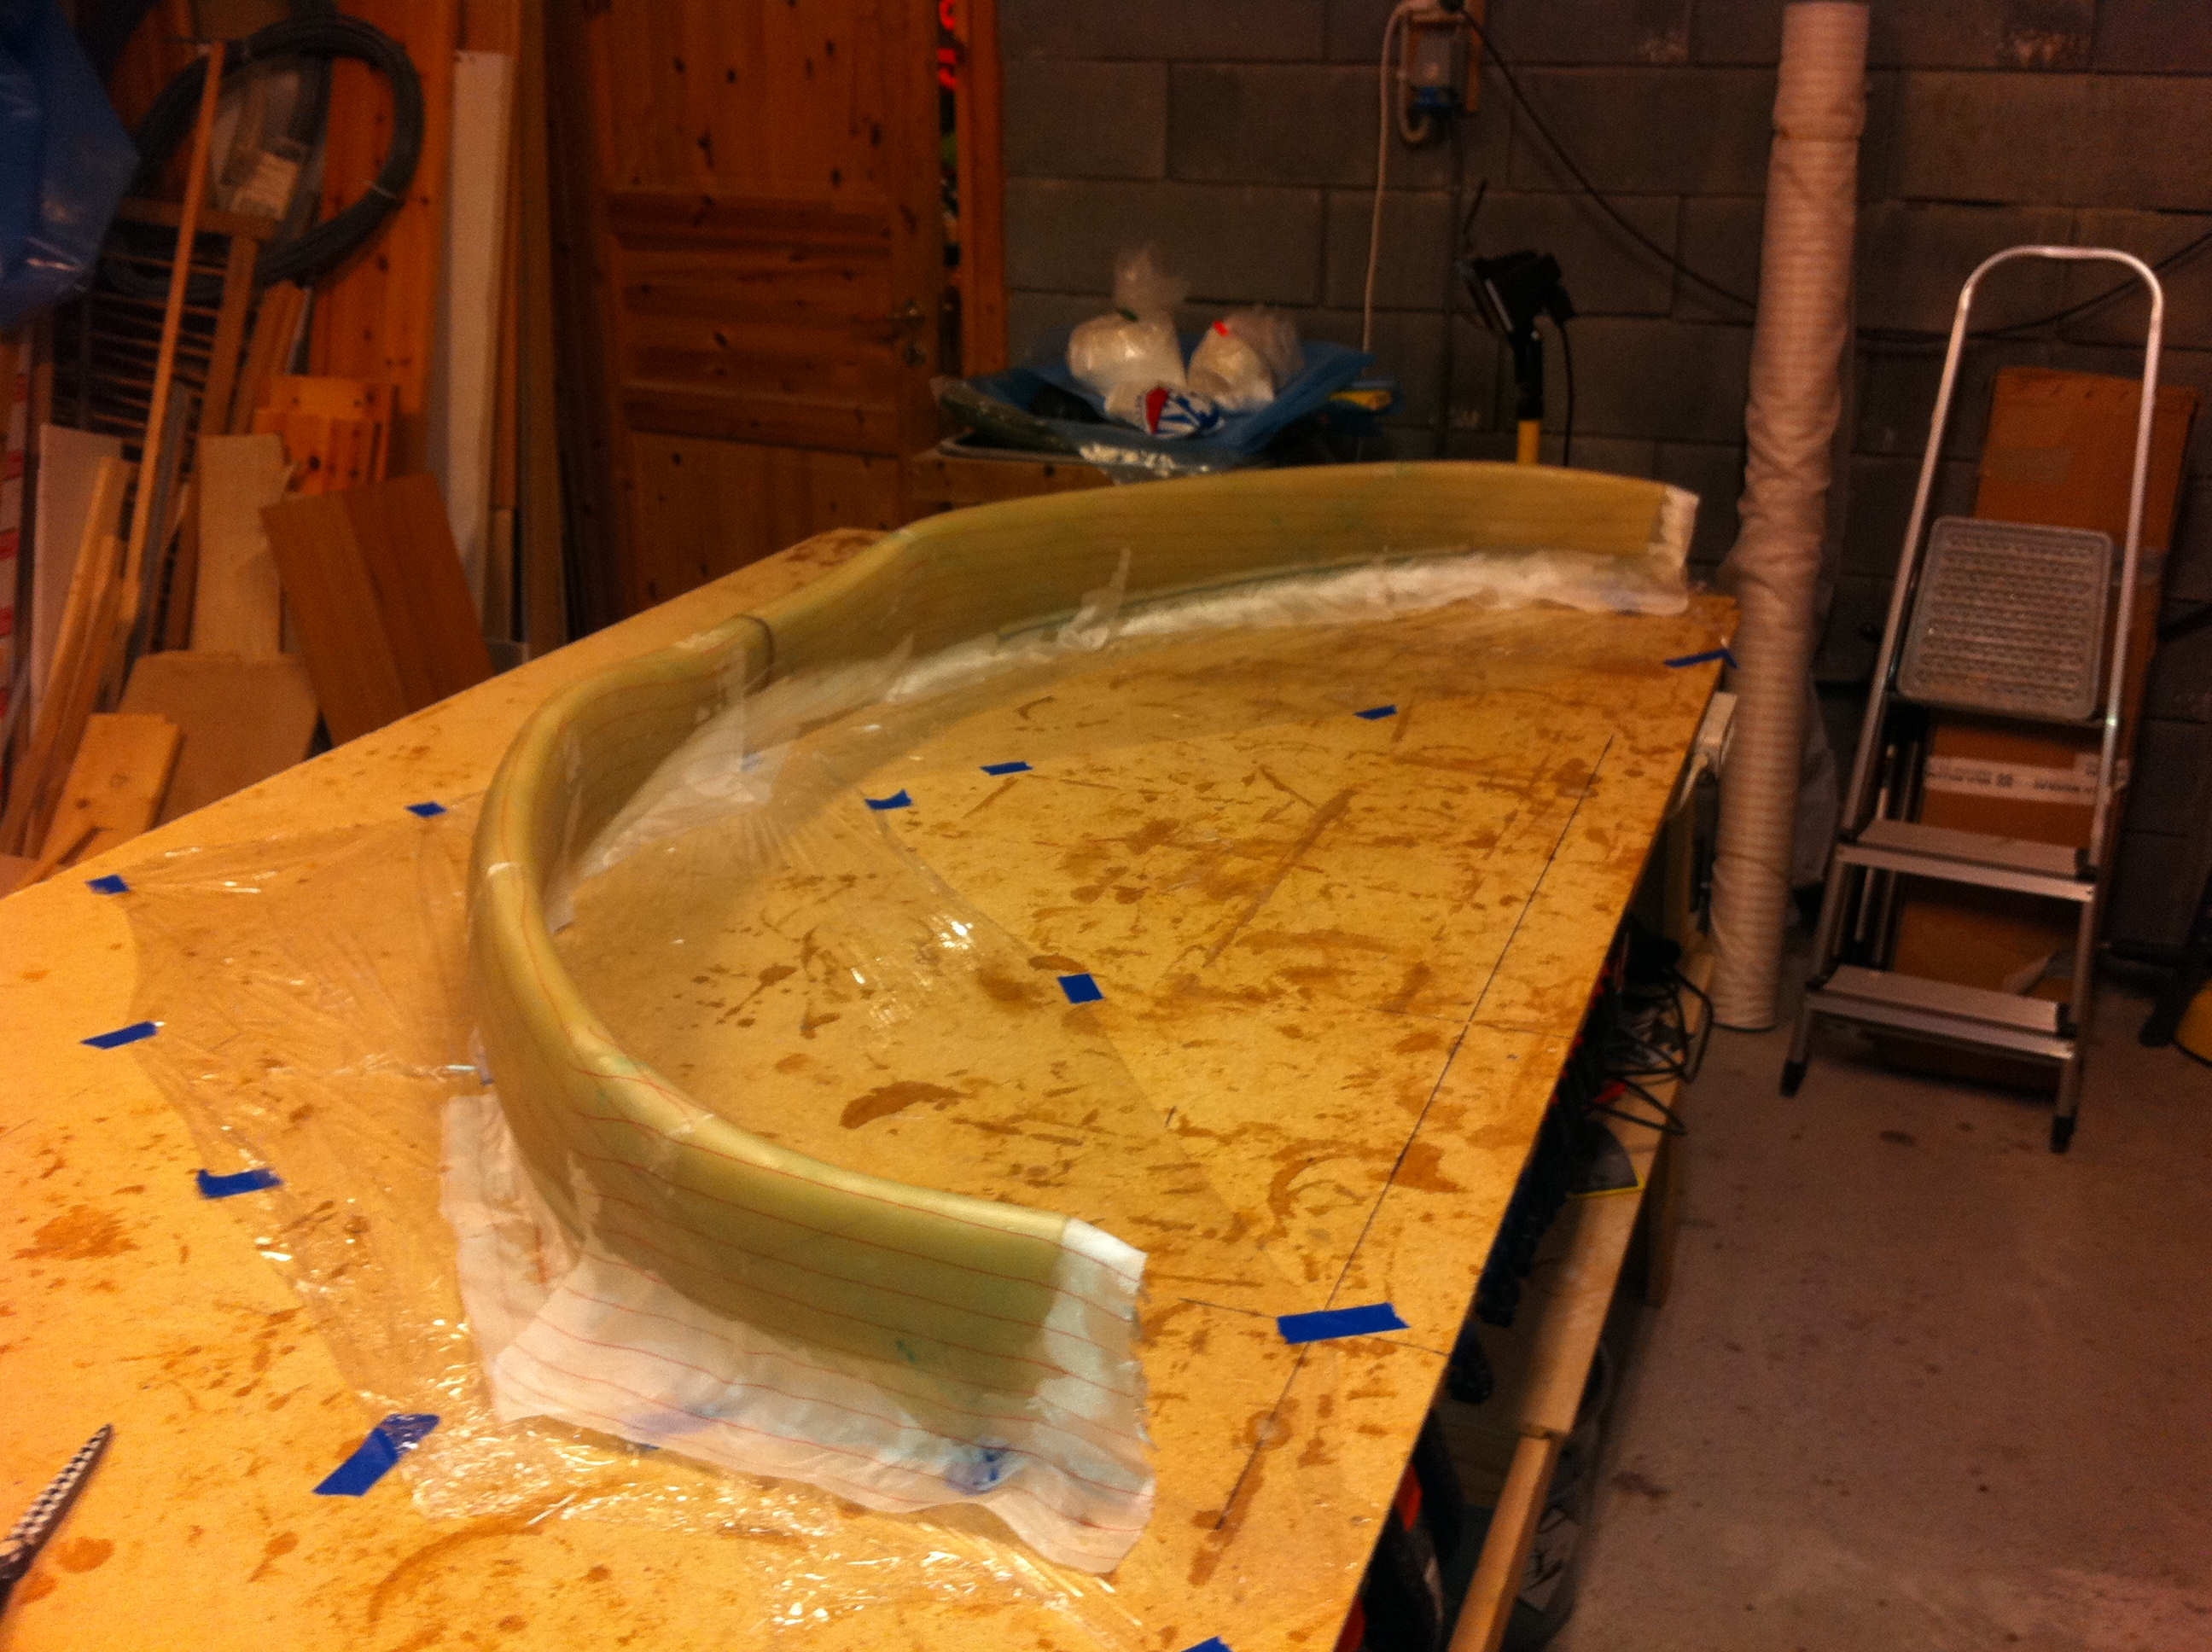
2010-10-23: The last step before glassing is to suspend the strut on top of three nails (actually I used three long screws). The strut is epoxied to the nail-heads with 5min-epoxy and flox. If you click on the picture you will see that I have marked a grid on the strut. The UNI is to be epoxied in a 35° angle to the strut. I therefore made some guide-lines to help me in this. The last thing I did this day was to cut 13 12″ wide strips of UNI at a 30° angle to the selvage. This was a much more tedious job then I anticipated. The strips shrinked at the moment I tried to lift them off the table. I then had to mark a 12″ wide strip on my work-table, place the UNI-strip here and reconstruct the 12″ wide UNI I first cut out. I then rolled the strips onto a cardboard-roll to make it maintain it’s proper width.

2010-11-13: The first four plies of UNI is glued onto the strut and peel-plied. This was a difficult layup since the UNI-strips are very fragile and tend to shrink everytime I touch them…
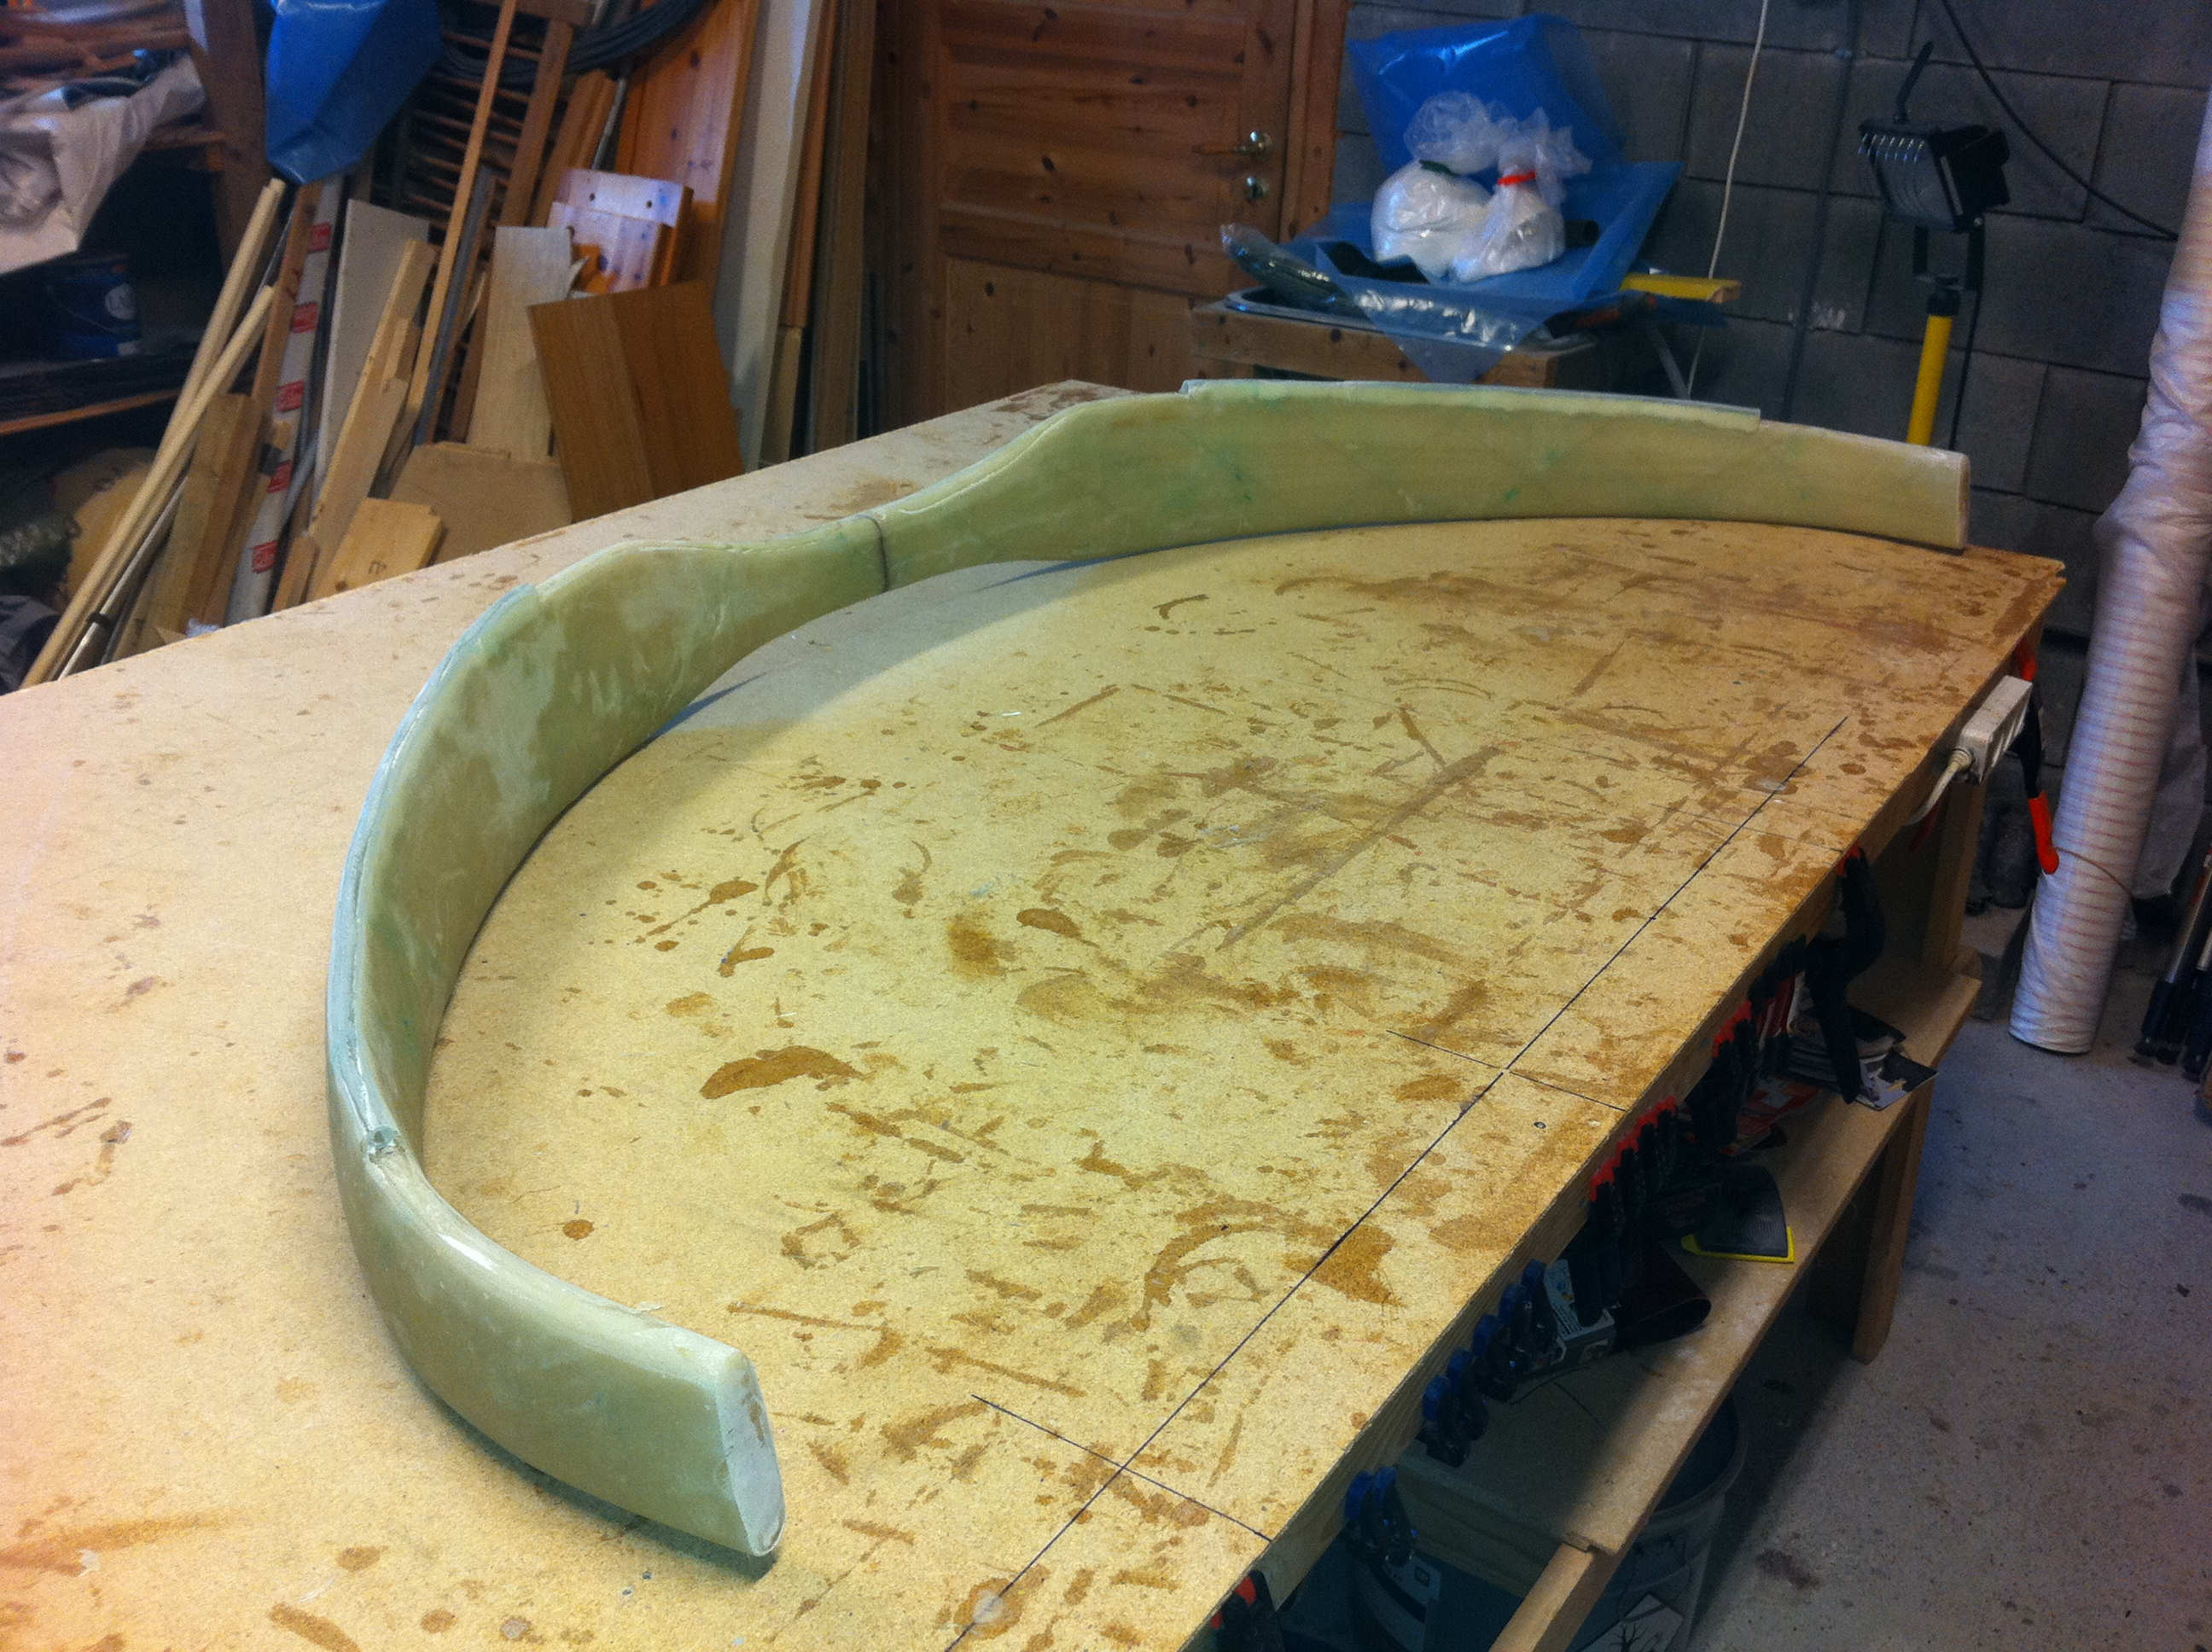
2011-01-30: A new year. Have’nt been doing anything on the plane the last two months due to cold weather and changing job. The strut is loosened from the screws. The next step is to remove the excess glass that was hanging down from the leading edge (now standing up since I have turned the strut upside down…).

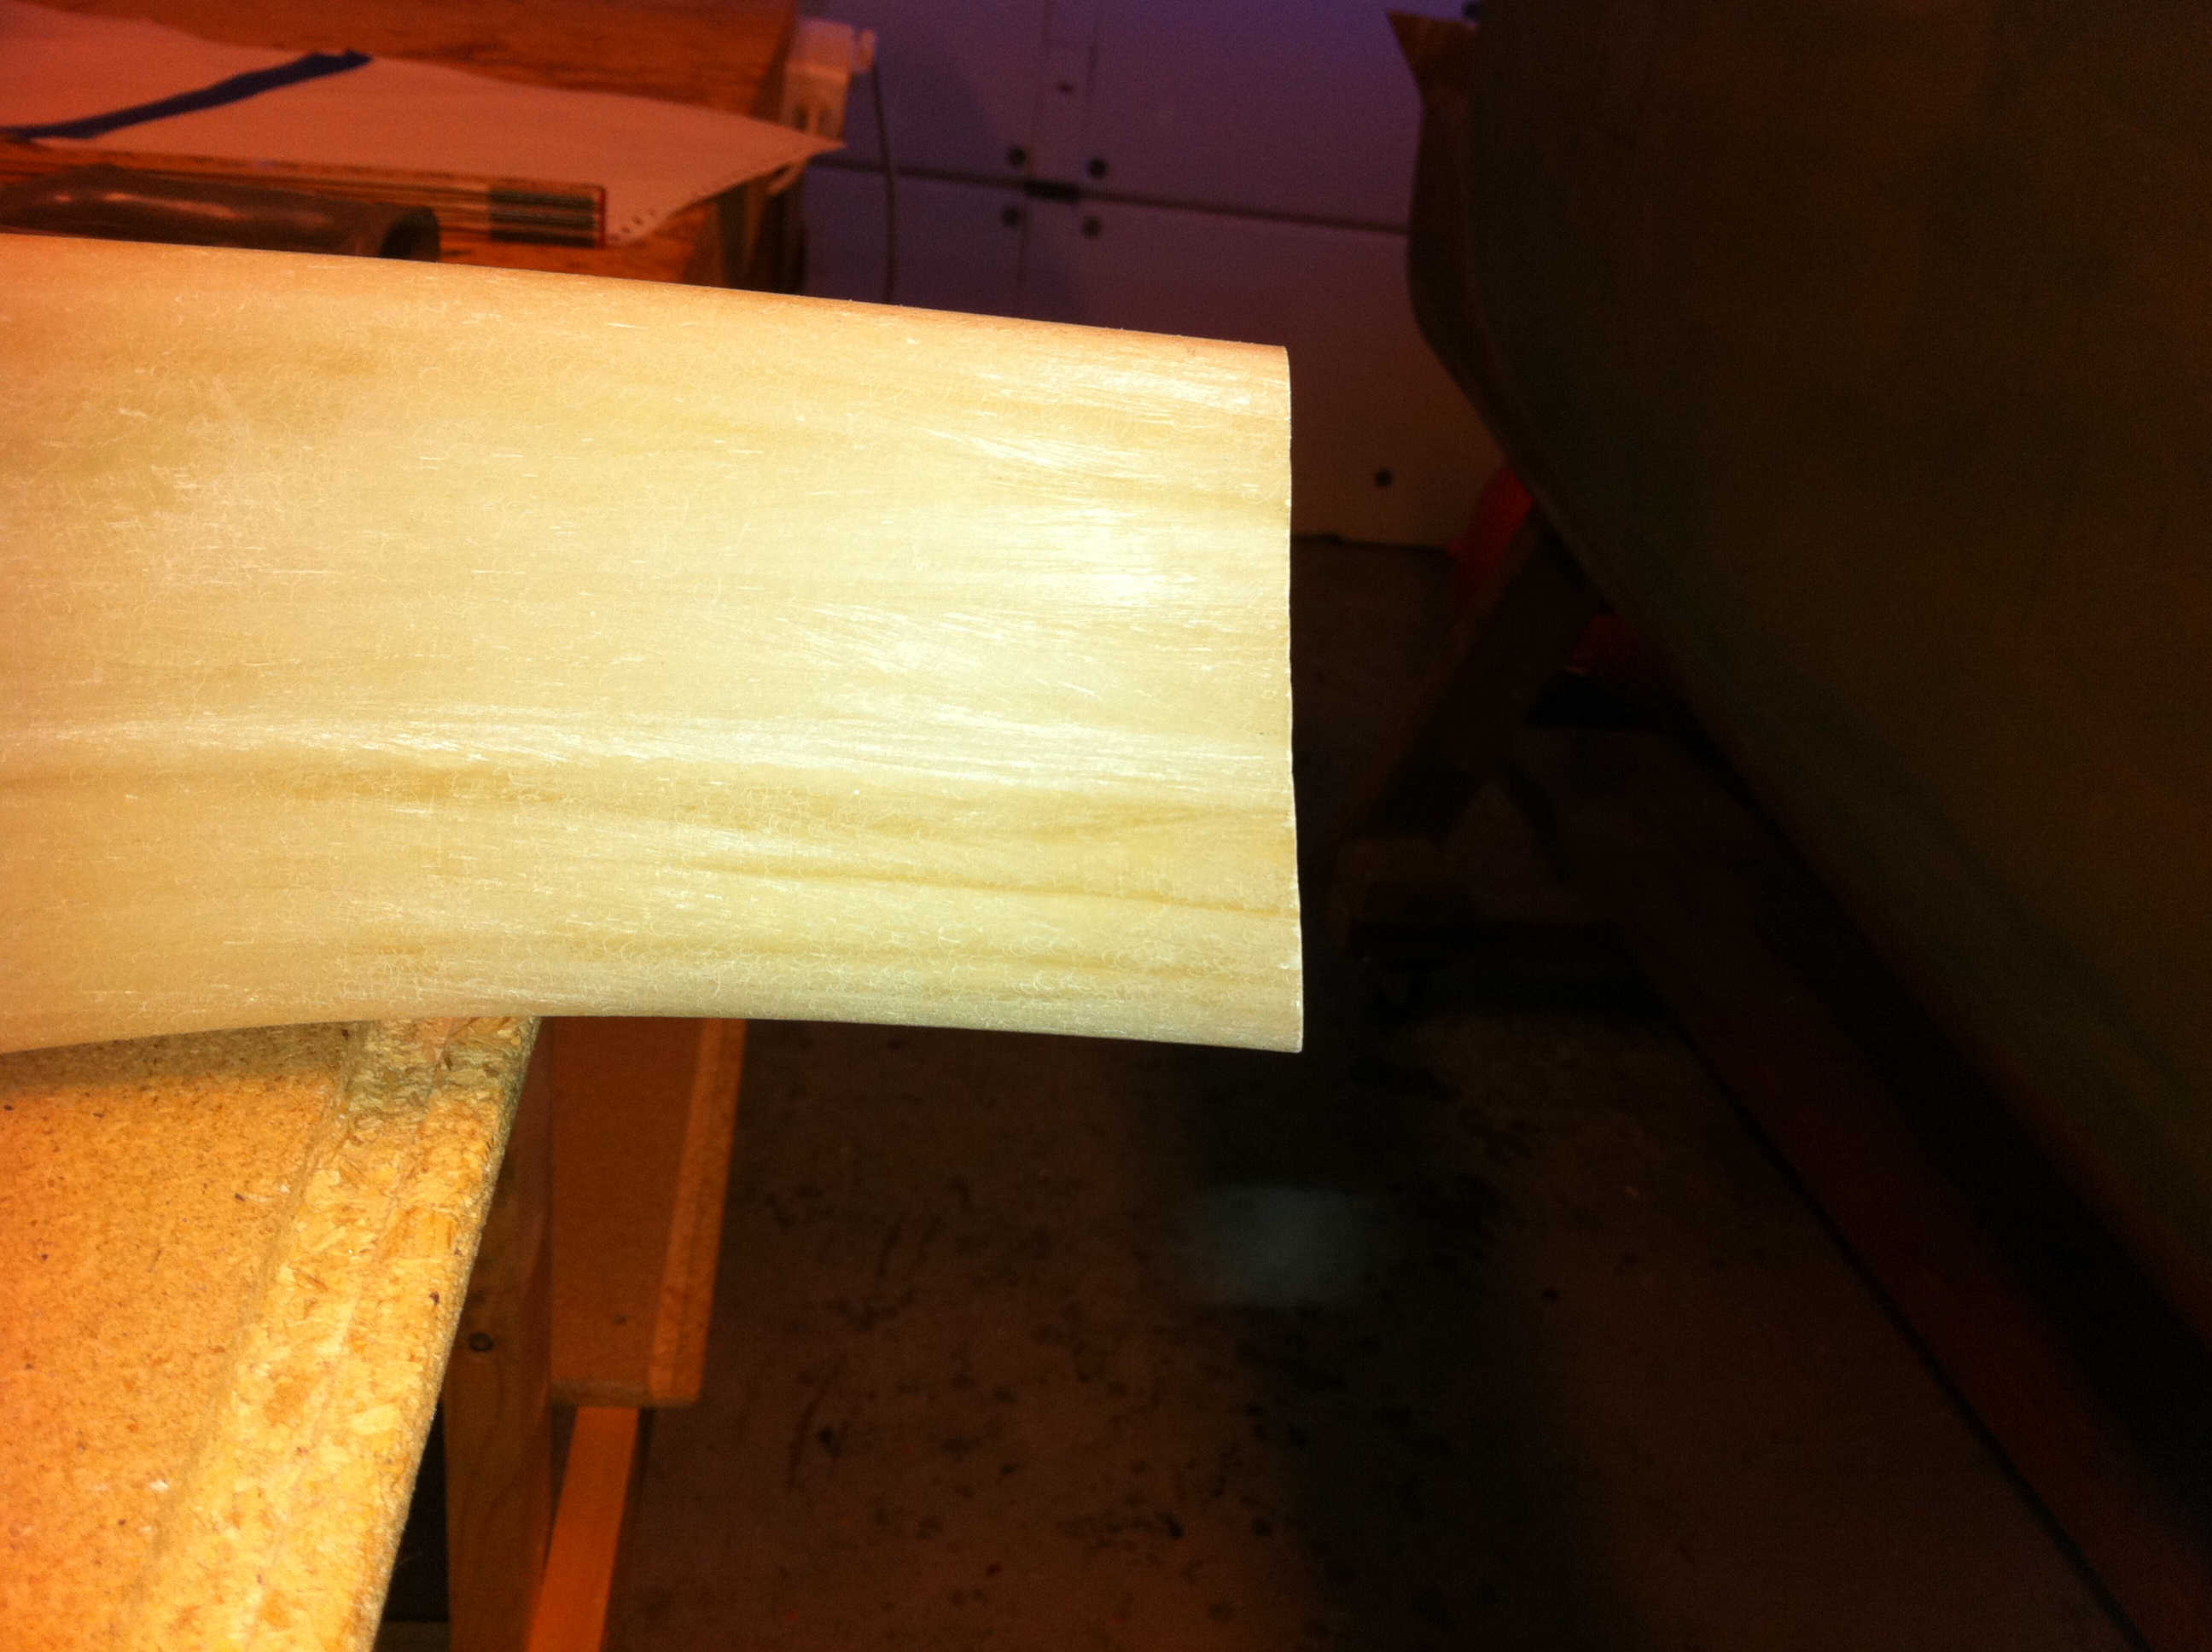
2011-01-30: Using the multitool and sanding-equipment I removed all the excess glass. The goal is to sand down to the original S-glass on the leading edge, and make a nice transition between the BID and the S-glass.
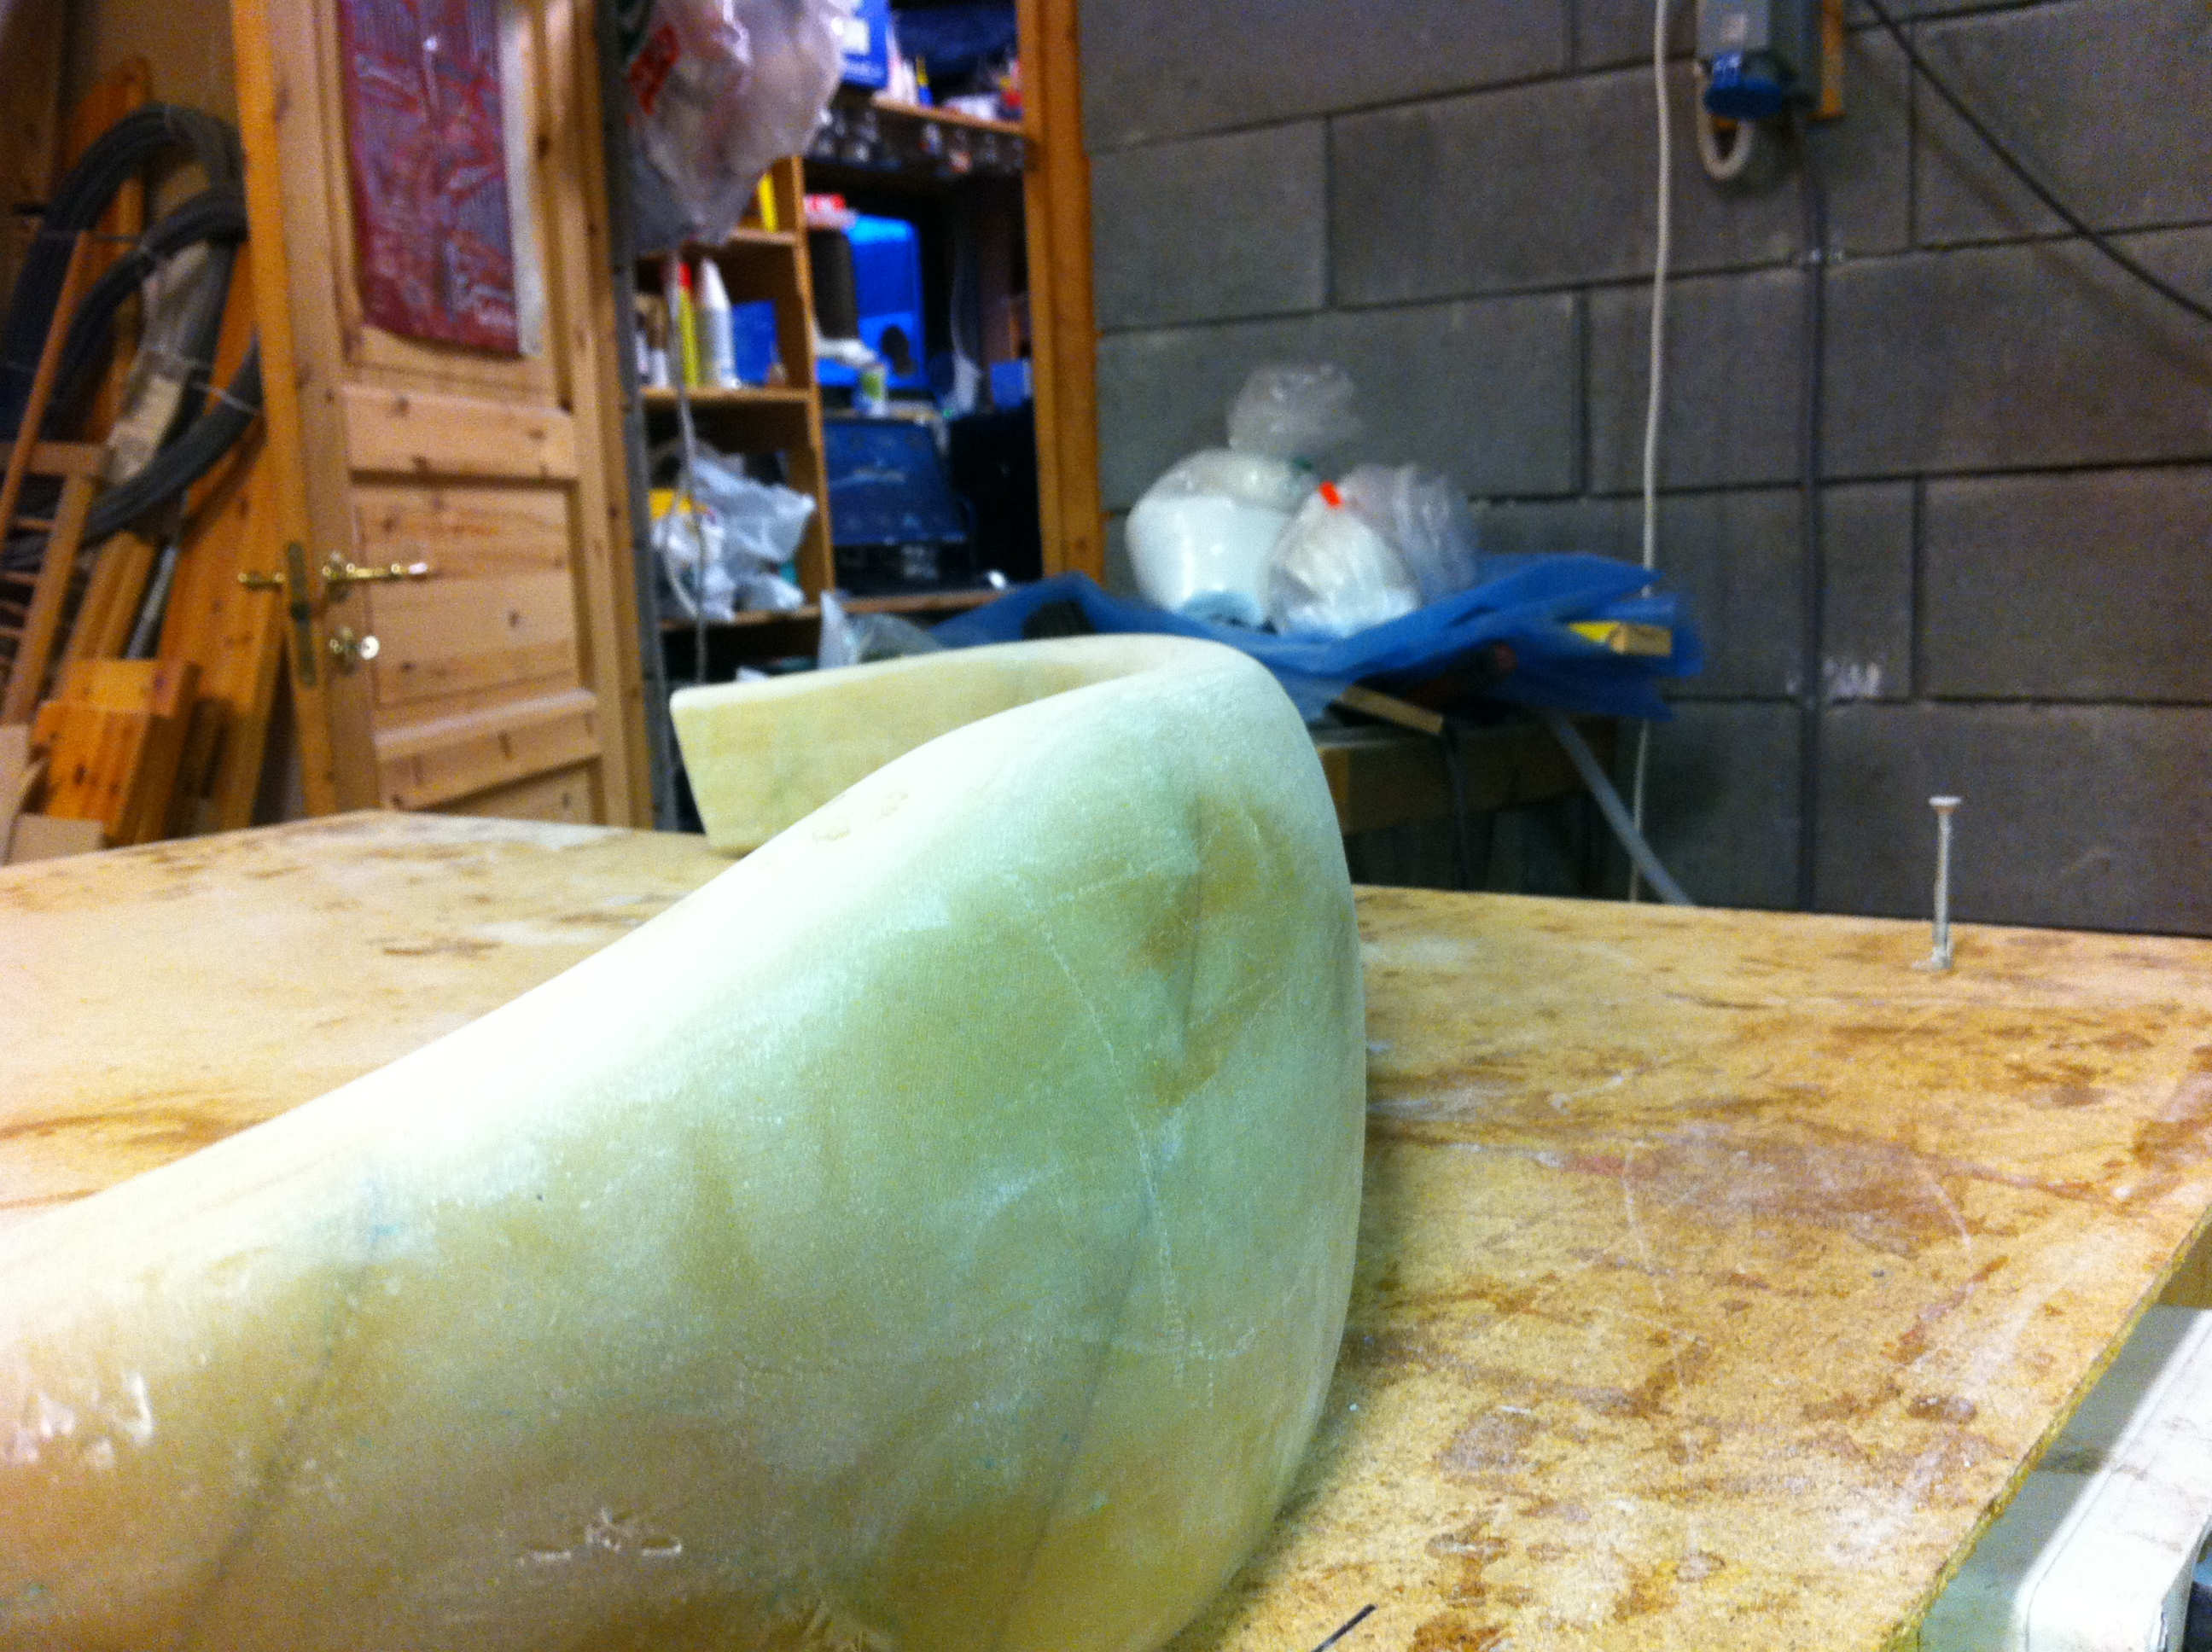
2011-01-30: As you can see, the leading edge is very smooth and ready for additional layers of BID.
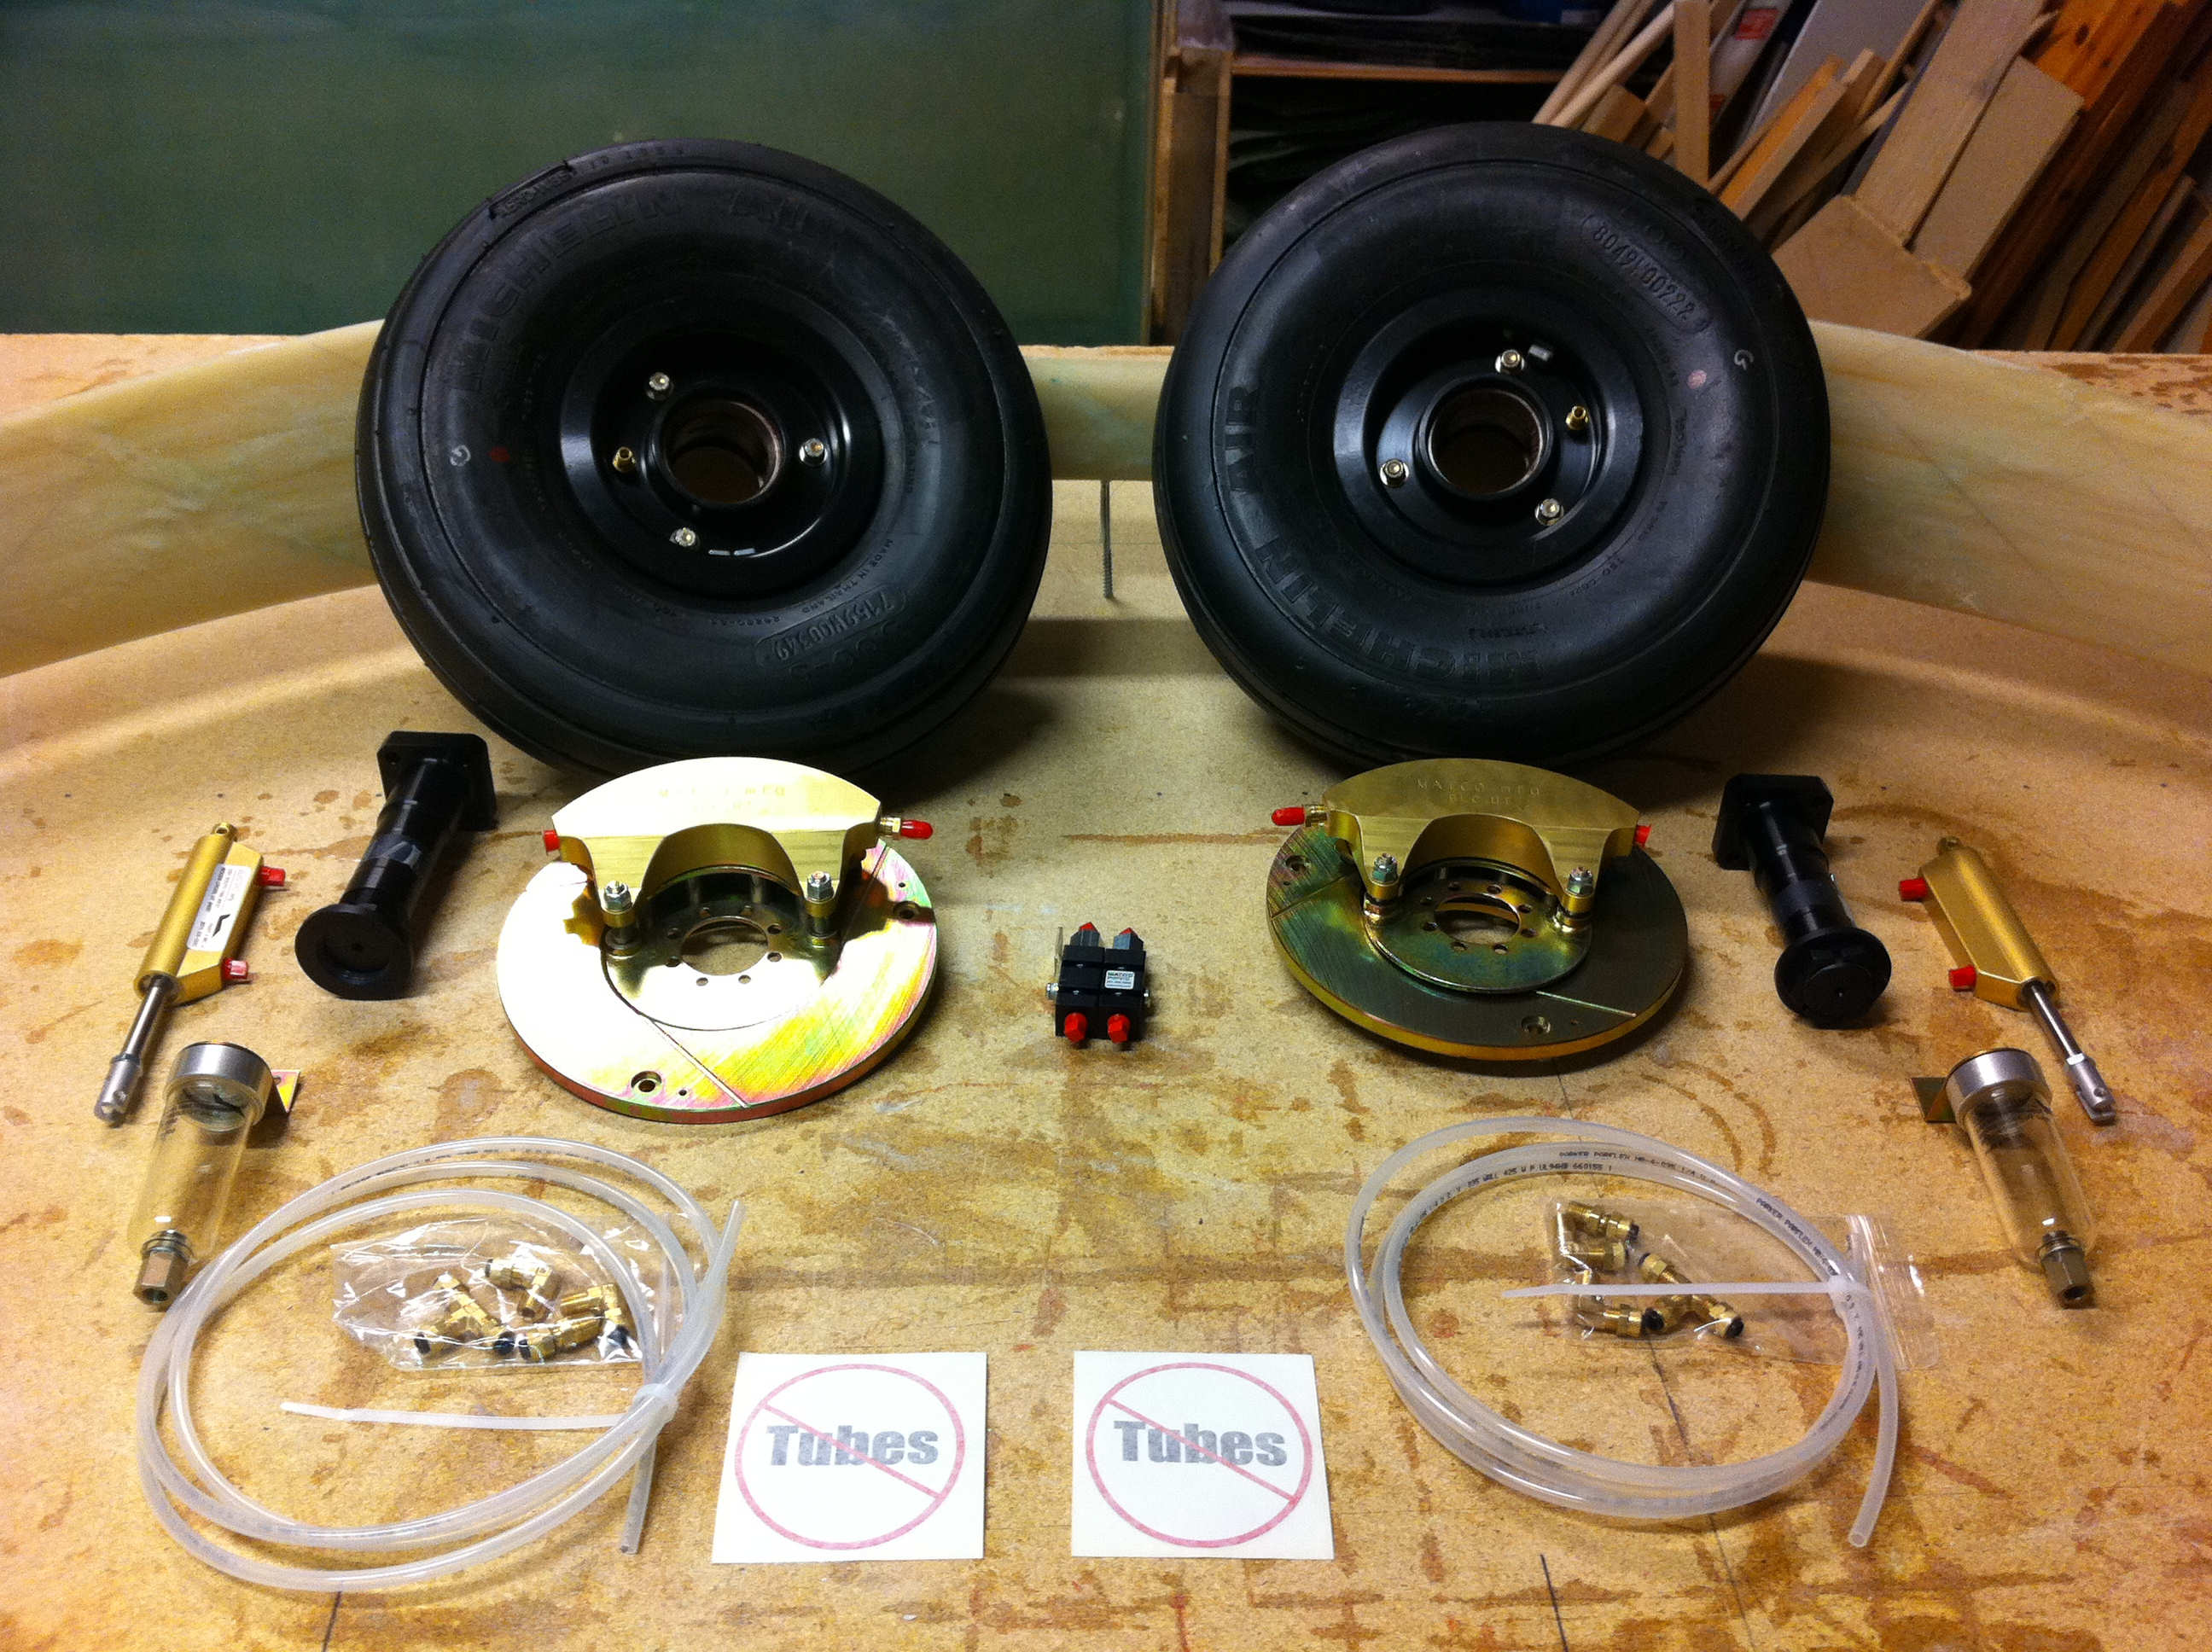
During the no-build-period I got both the brake-kit and the main wheels! I bought the triple-puck Matco brakes from Infinity Aerospace. The wheels where bought from Bob Hyman (“Dr. Bob”). This is tubeless wheels – quite a new concept in aviation I have learned and faced with some skepticism. “Never change a winning team” tends to be the mantra. Tests have showed that tubeless tires gives a rather big reduction in stop-length and are less prone to puncture compared to regularly tube-tires. The rims are specially built and pressure tested over several days before I got them. Very nice work!
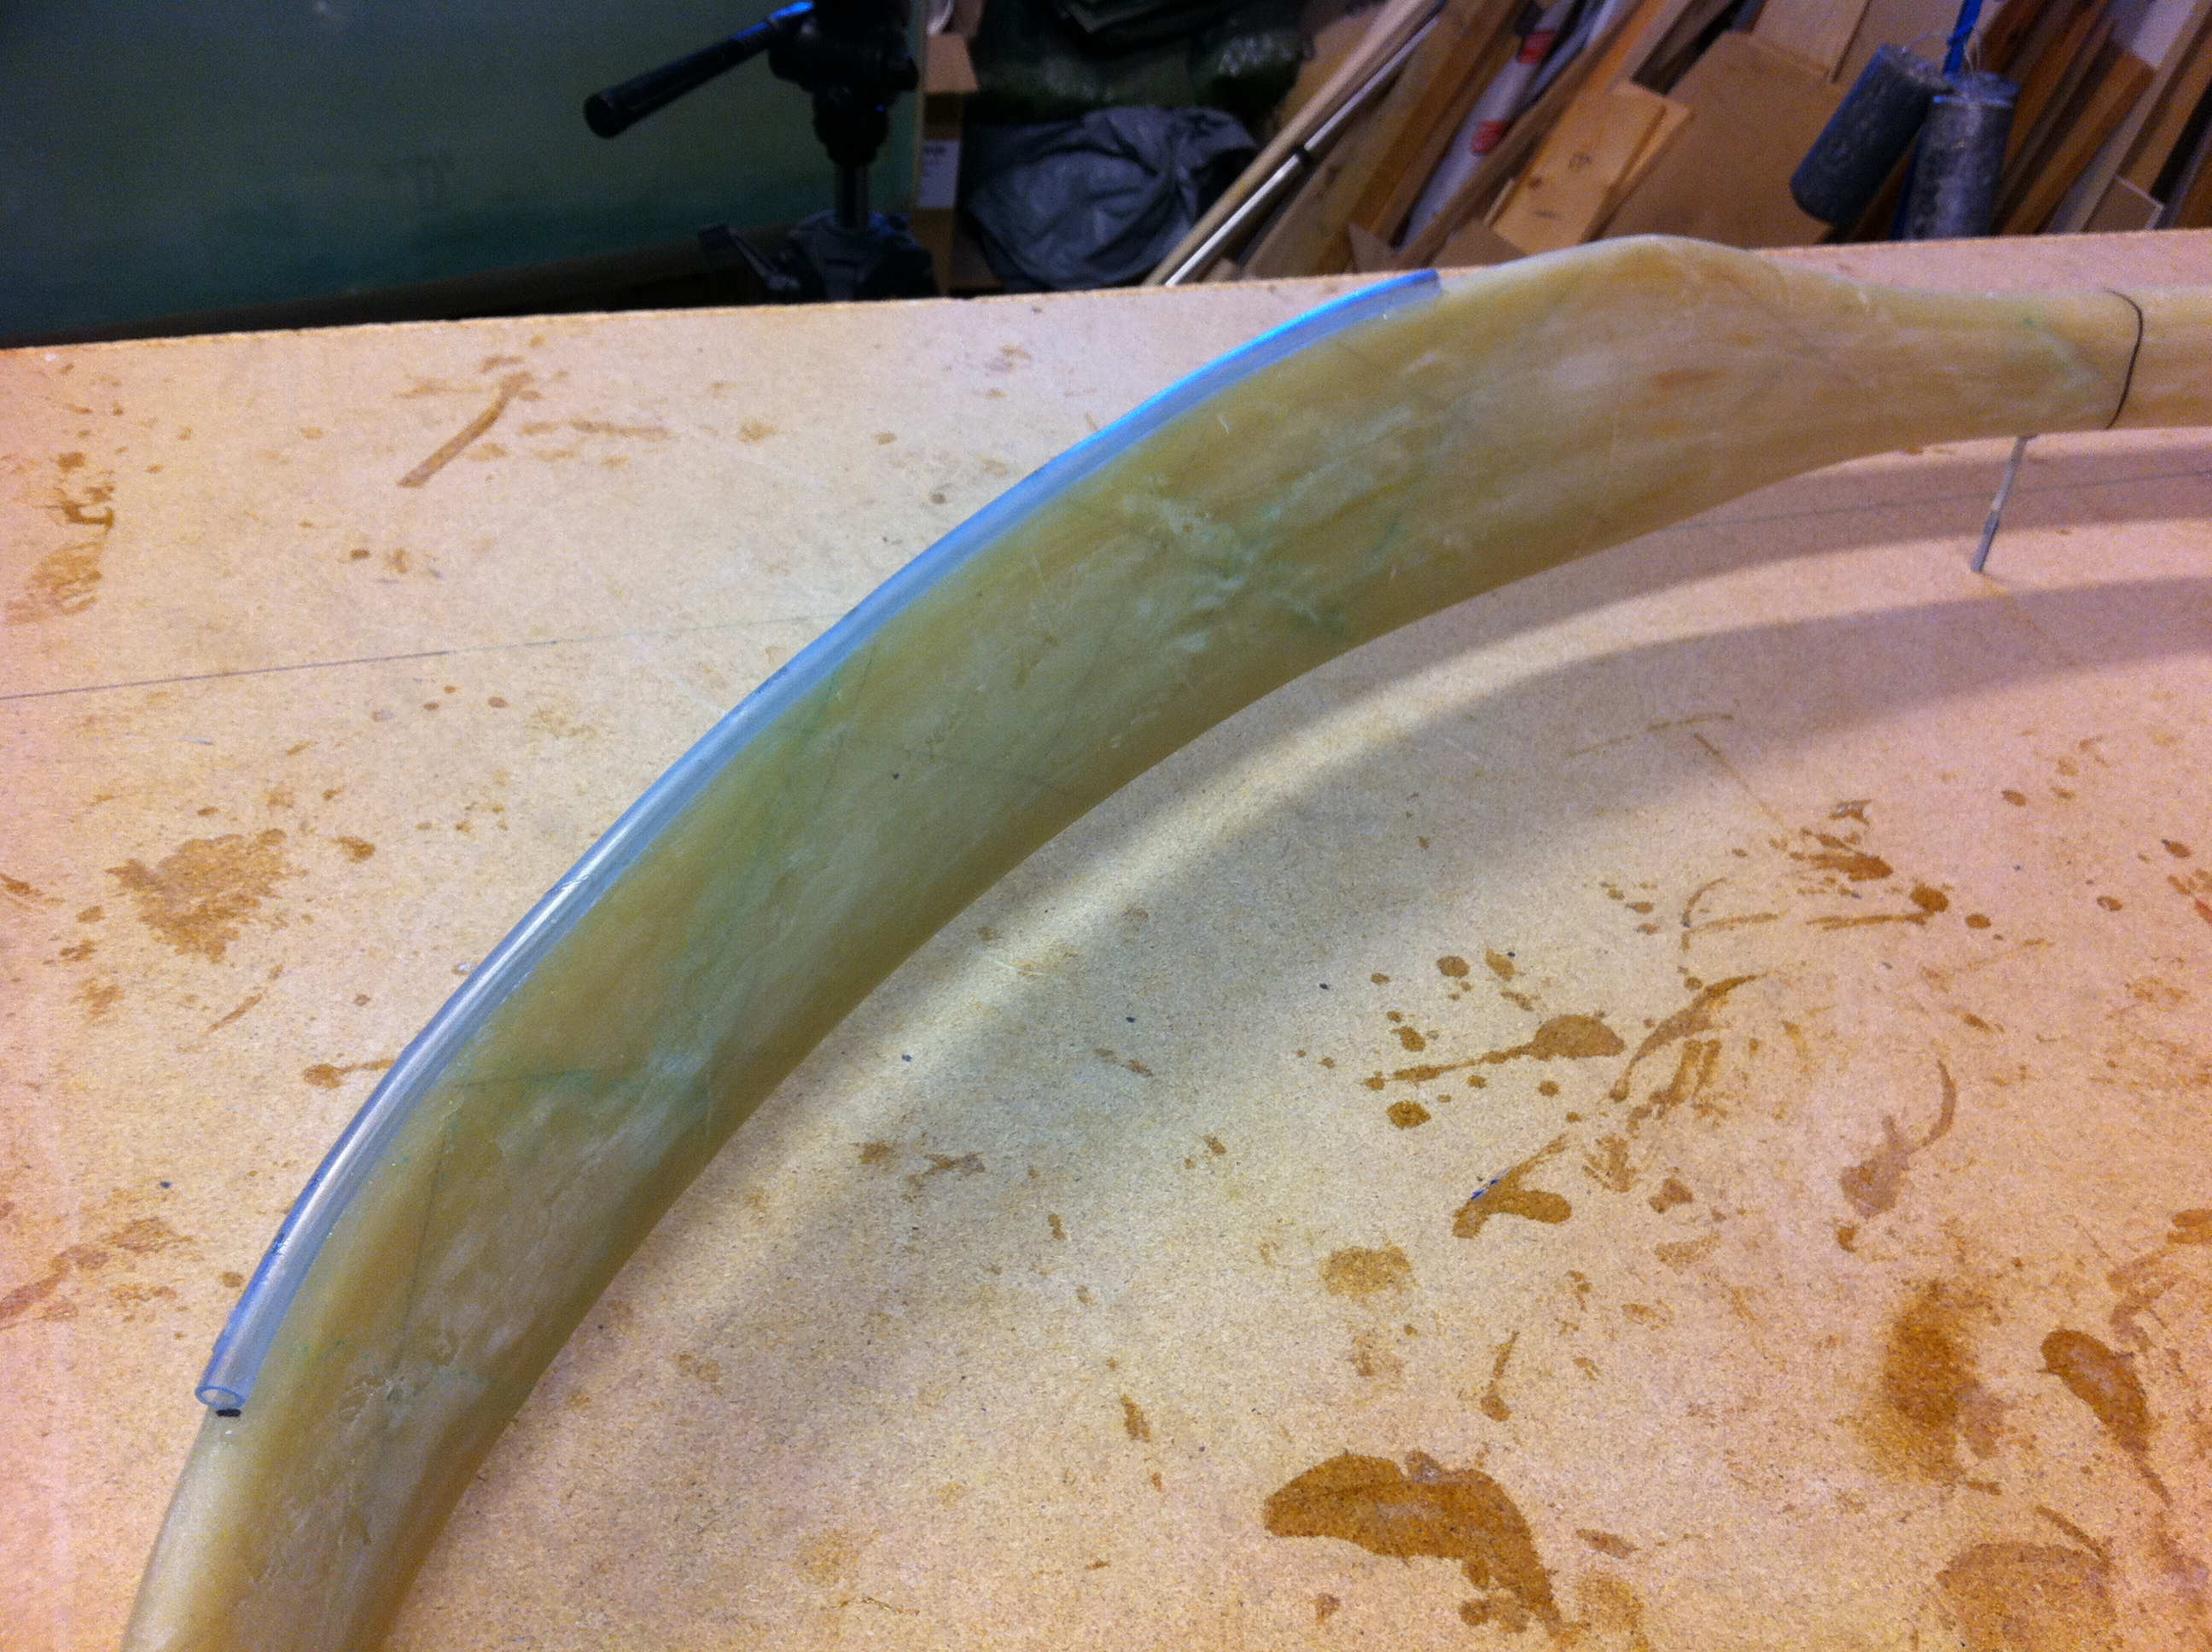
2011-02-27: The plans calls out for soda-straws to be used as a guide along the strut for the brake-tubing I will add later on. Instead I got some vinyl-tubing with a larger diameter. I got an advice to do this from an other builder just “in case”. The ID is 7mm here instead of approx. 5mm as called out in the plans. This was glued with 20min epoxy.
In the hindsight: I should have had even larger ID, since my brake-lines didn’t fit inside this tubing either. Go for 10mm if possible.

2011-03-07: The tubing is secured to the strut with 2 BID.
2011-03-12: The strut is placed with leading edge up – 4 plies UNI is glassed just like I did the other way.
2011-03-20: The strut is cleaned up and sanded smooth. Ready for the next step…