2017-01-09: I decided to use my router to remove most of the 0.7″ (1,8 cm) of foam to make the wing rib. Made a little “helper” of some scrap plywood to keep the router at the right angle and distance.
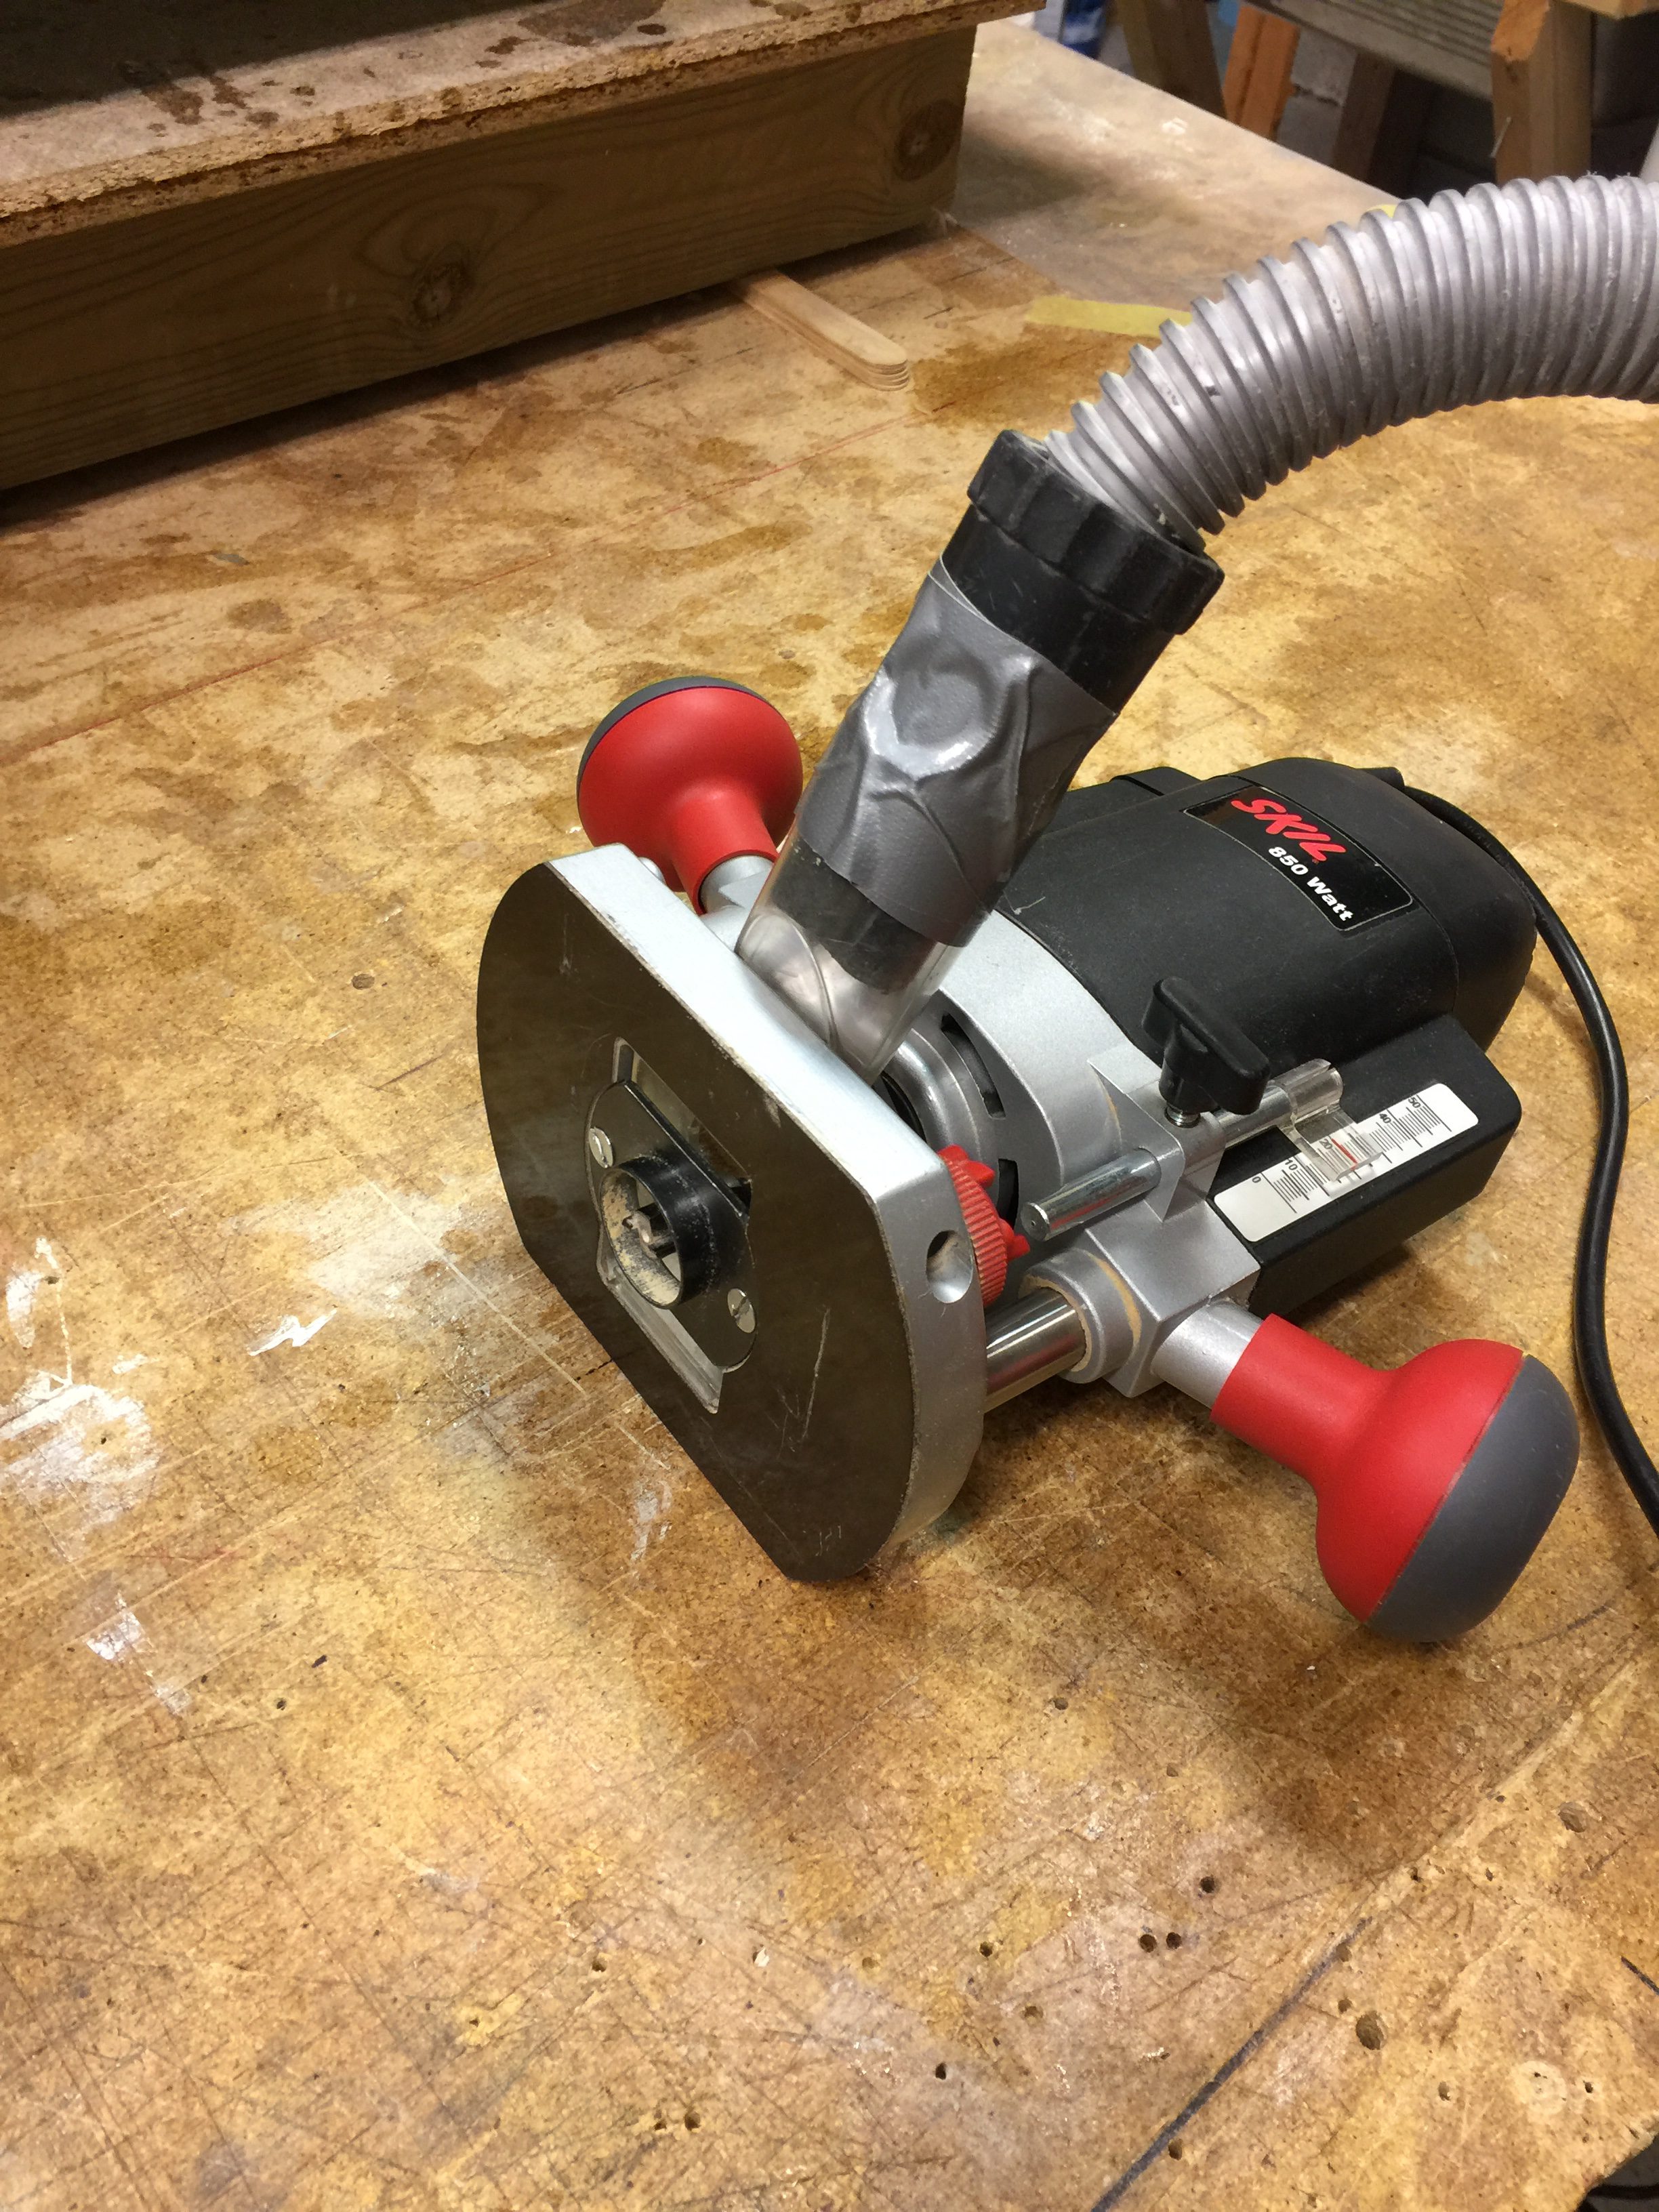
It’s great to have a vacuum cleaner attached to the router. It creates LOTS of dust!

The first cut looks promising.

This is how much I managed to remove with the router.
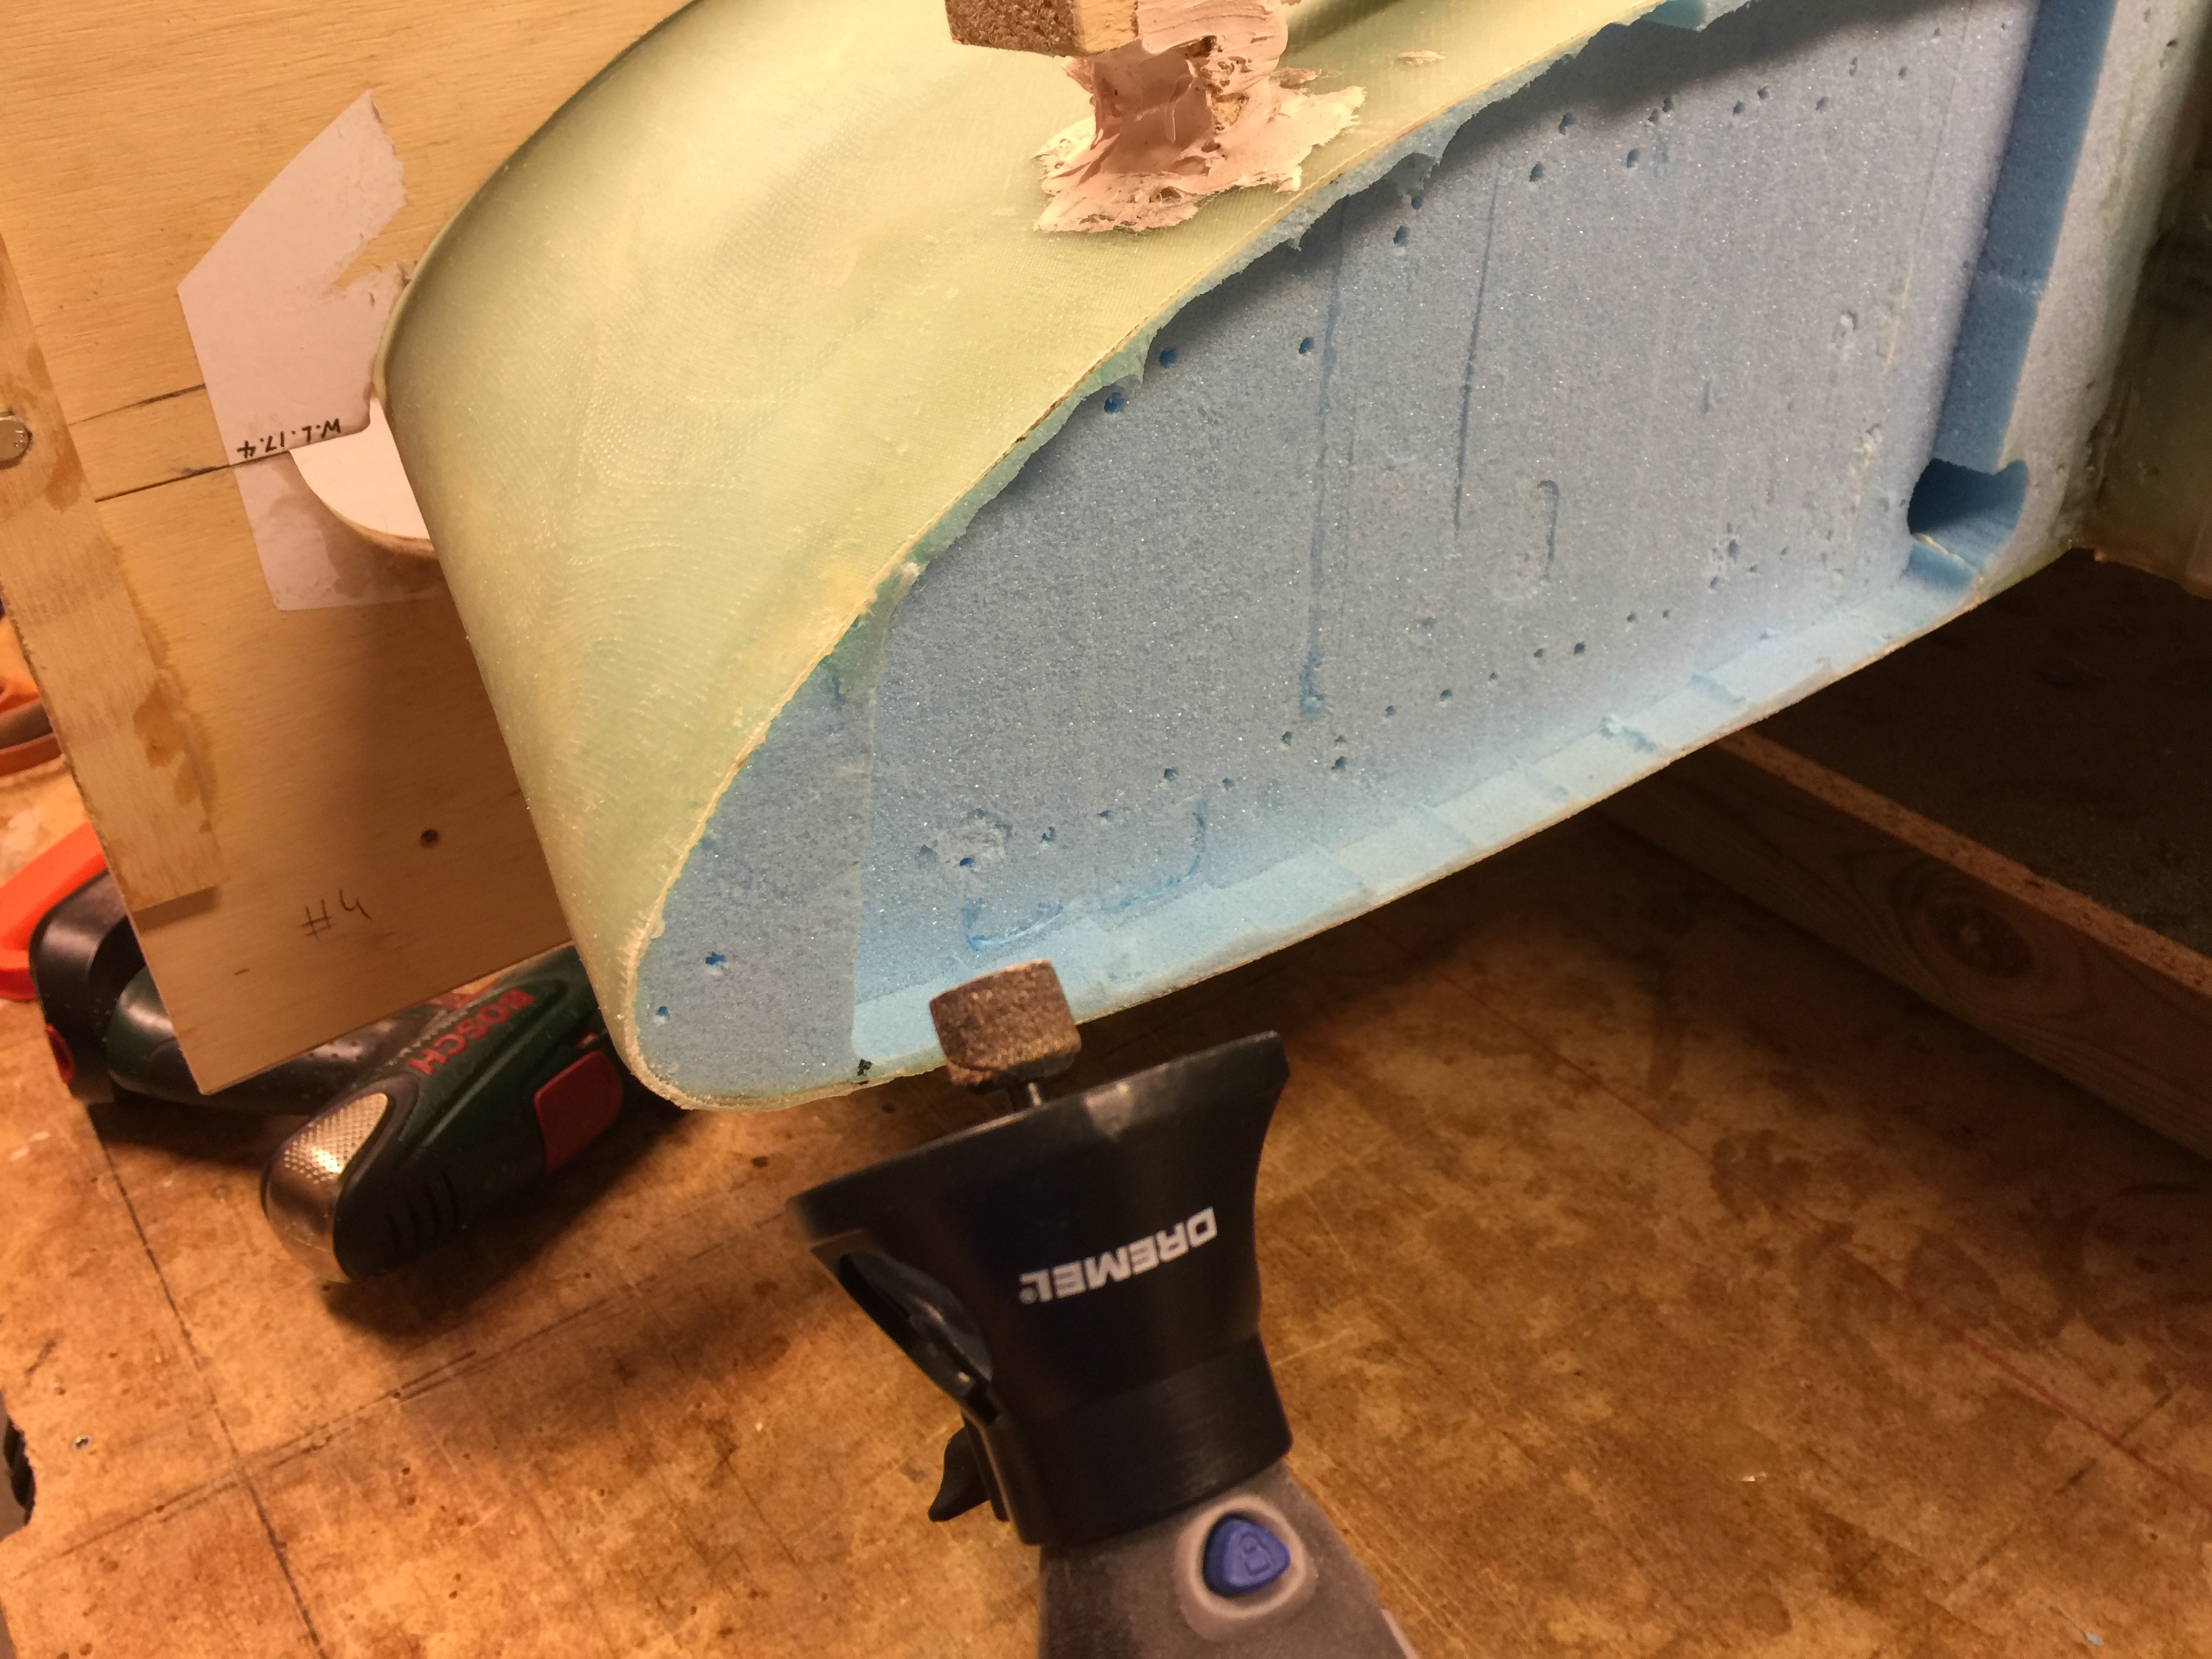
The rest will be removed with my Dremel and a sanding drum. Beware that if you run the Dremel at full speed it will melt the foam (ask me how I know). Set it on half speed and it will be all good. The sanding drum is also excellent to remove all foam and micro from the rim where there are to be glass to glass bonding.
Finished this little project with my delta sander. The final result looks good. It took almost 3 hours.

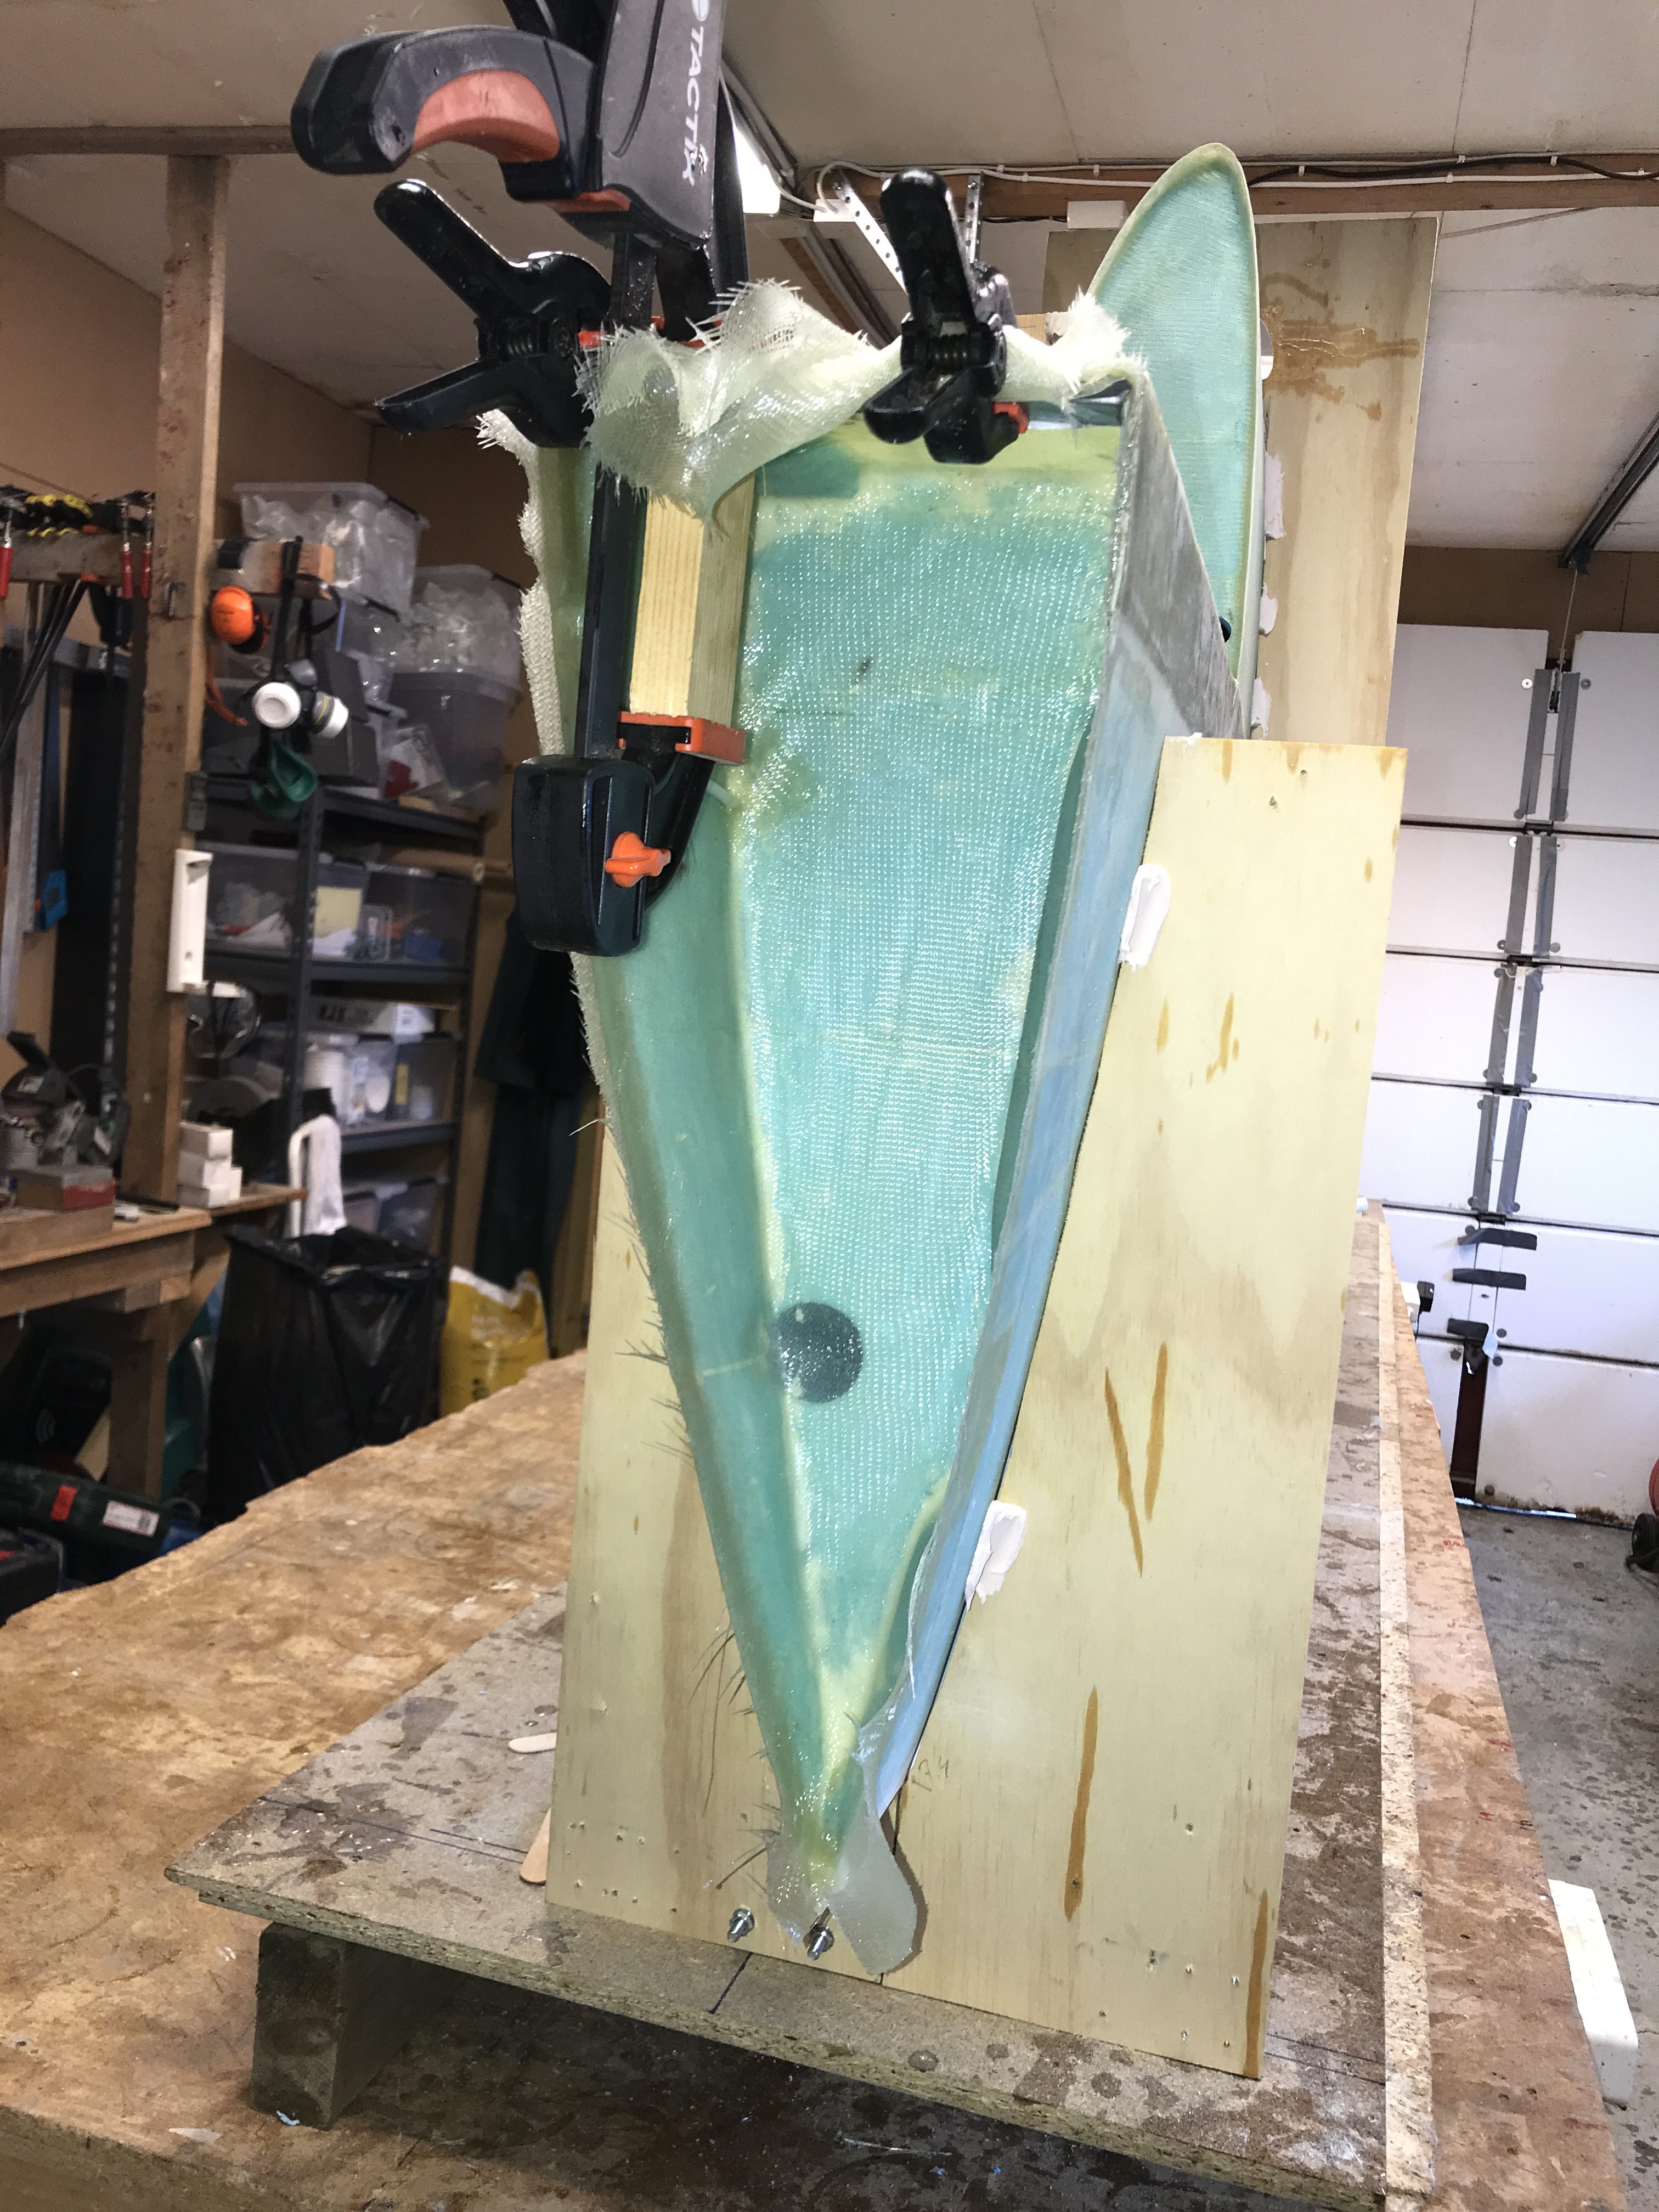
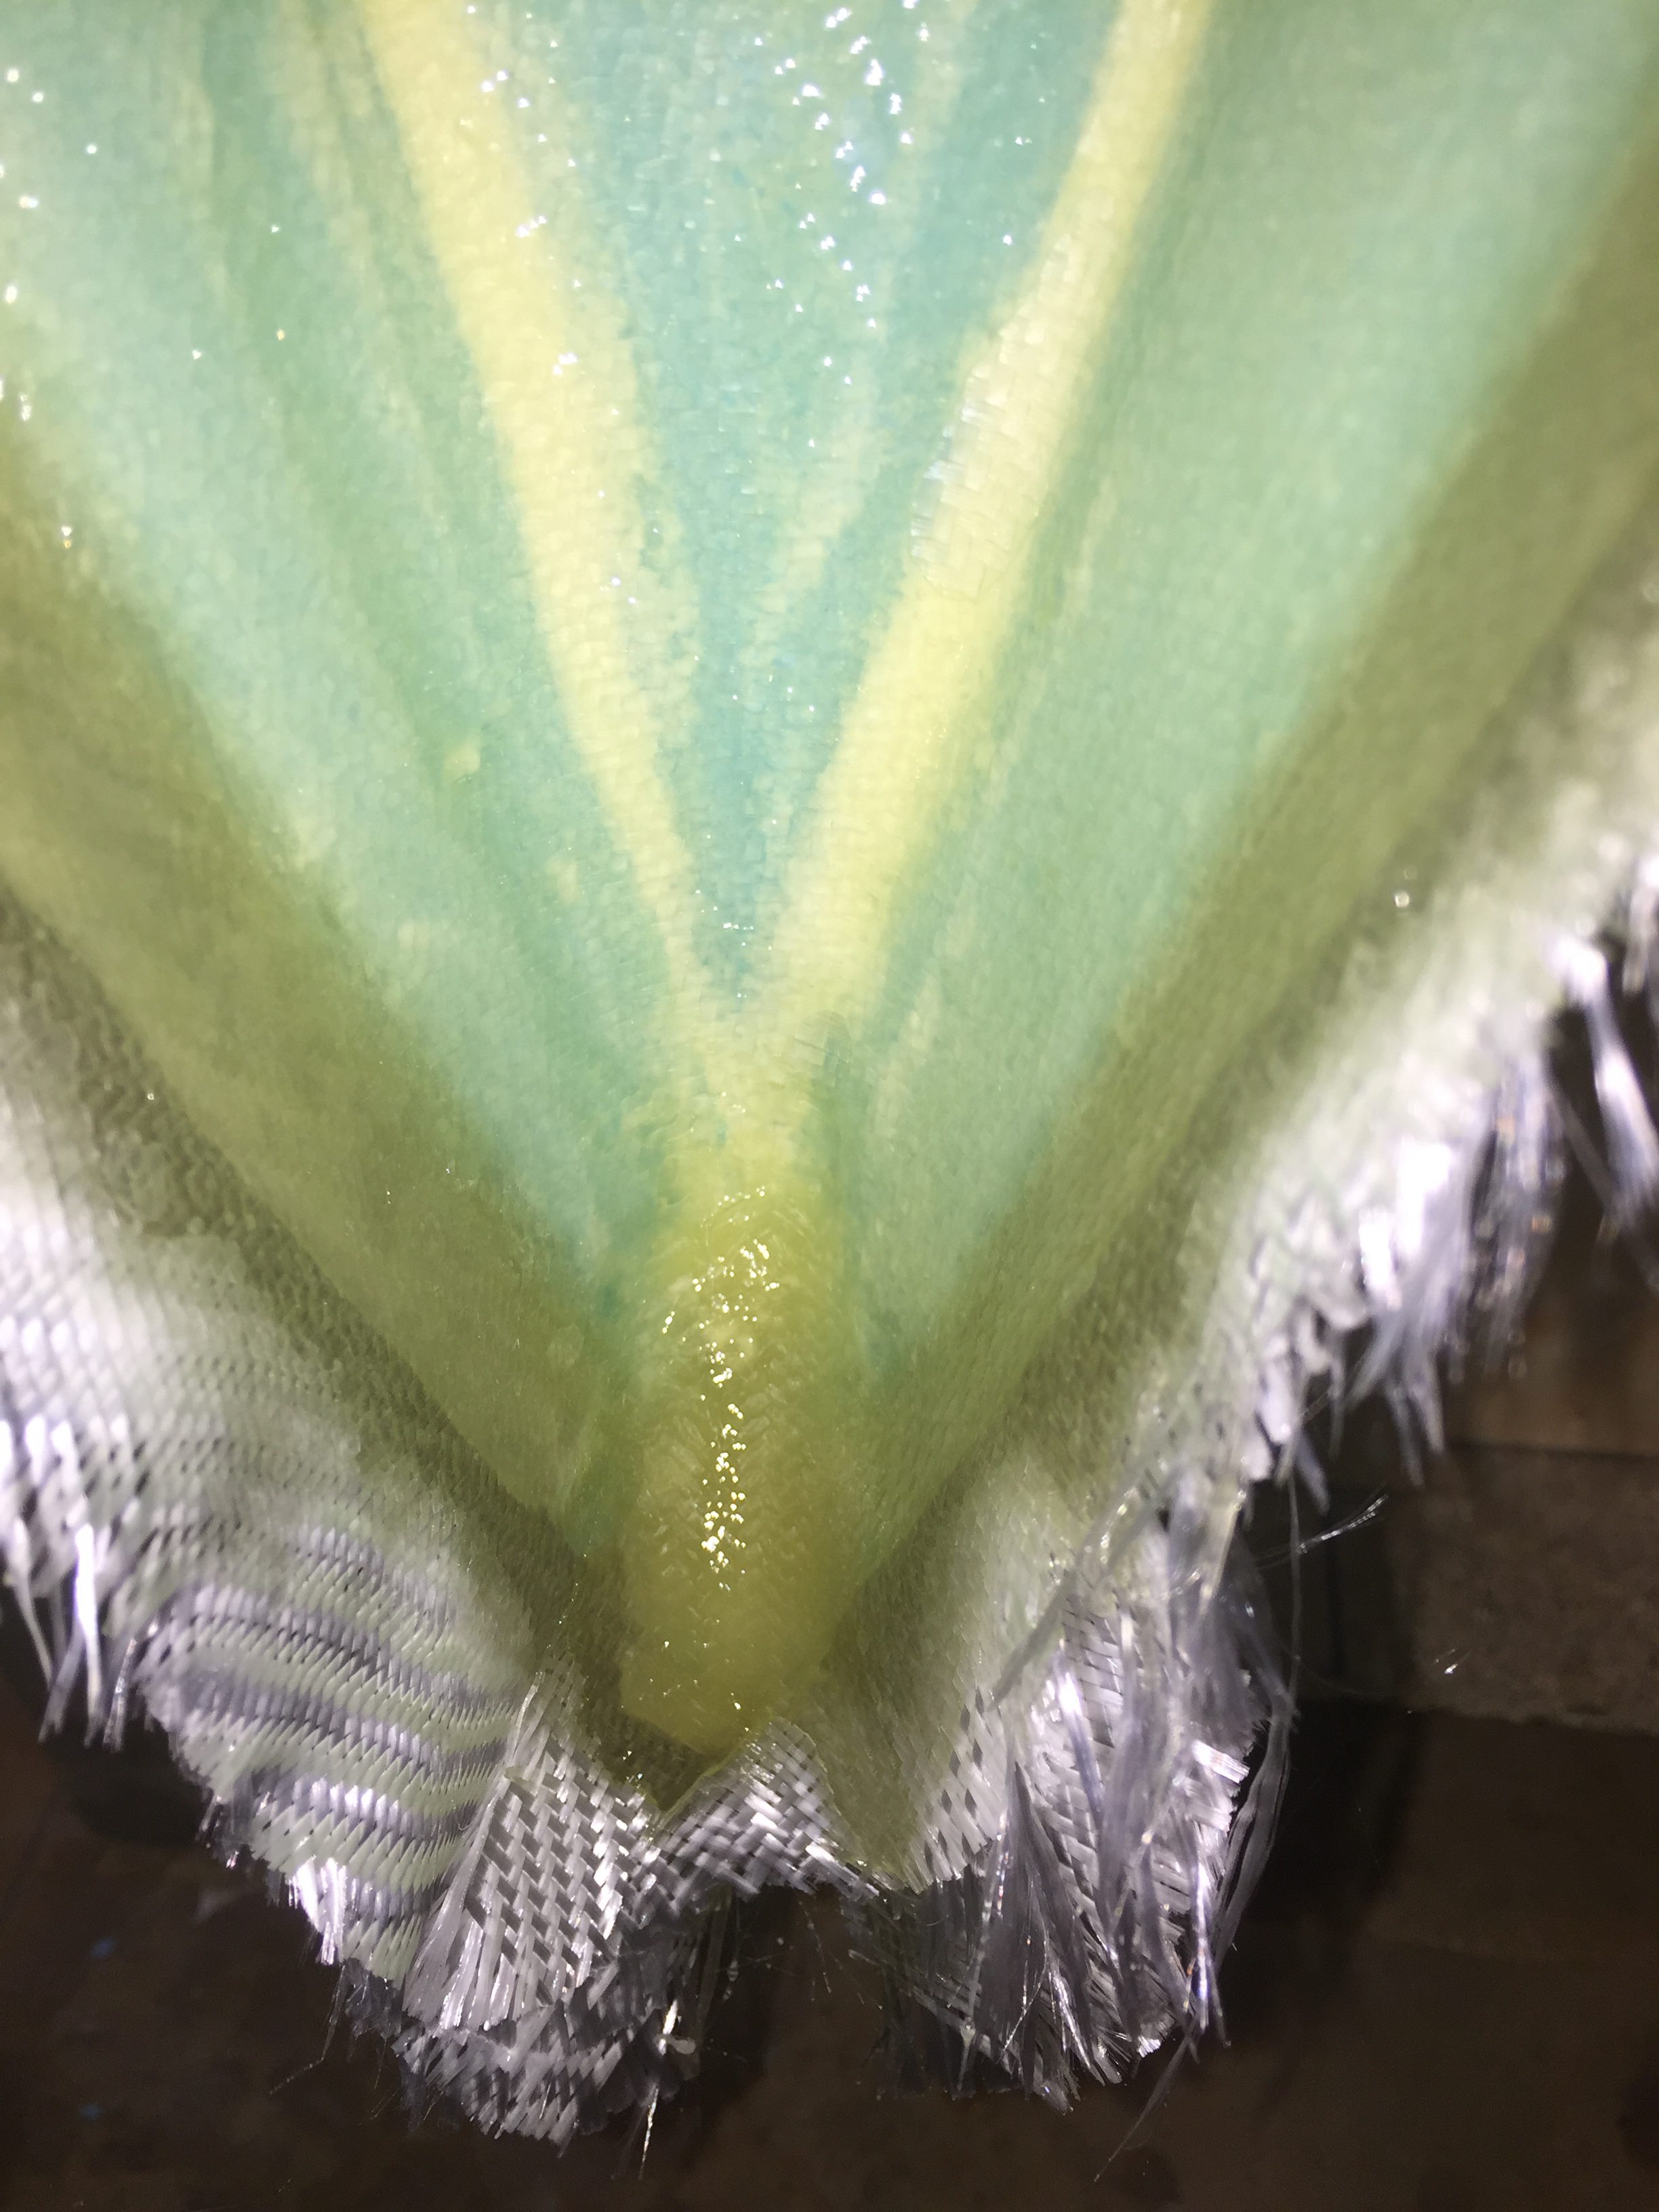
2017-01-11: Preparing for layup #6. I made a paper template for the 3 BID in the wing rib. Glassed all the 3 plies on saran wrap. Easy to transfer onto the wing. Before this I glassed the two 30″ x 3″ UNI strips as per plans. I struggled a bit with that, since the strips are to go at an angle on both sides of the shear web and perpendicular to the shear web. Look at the drawings and you will understand.

To “bend” UNI is not necessary very easy but it has to be done in this step. Another unclear thing here is how much of the attach depressions to cover in the front. The drawings are VERY inaccurate.
Well – after a couple of hours I got all the glass in place, peel plied the whole and set to cure.
2017-02-18:
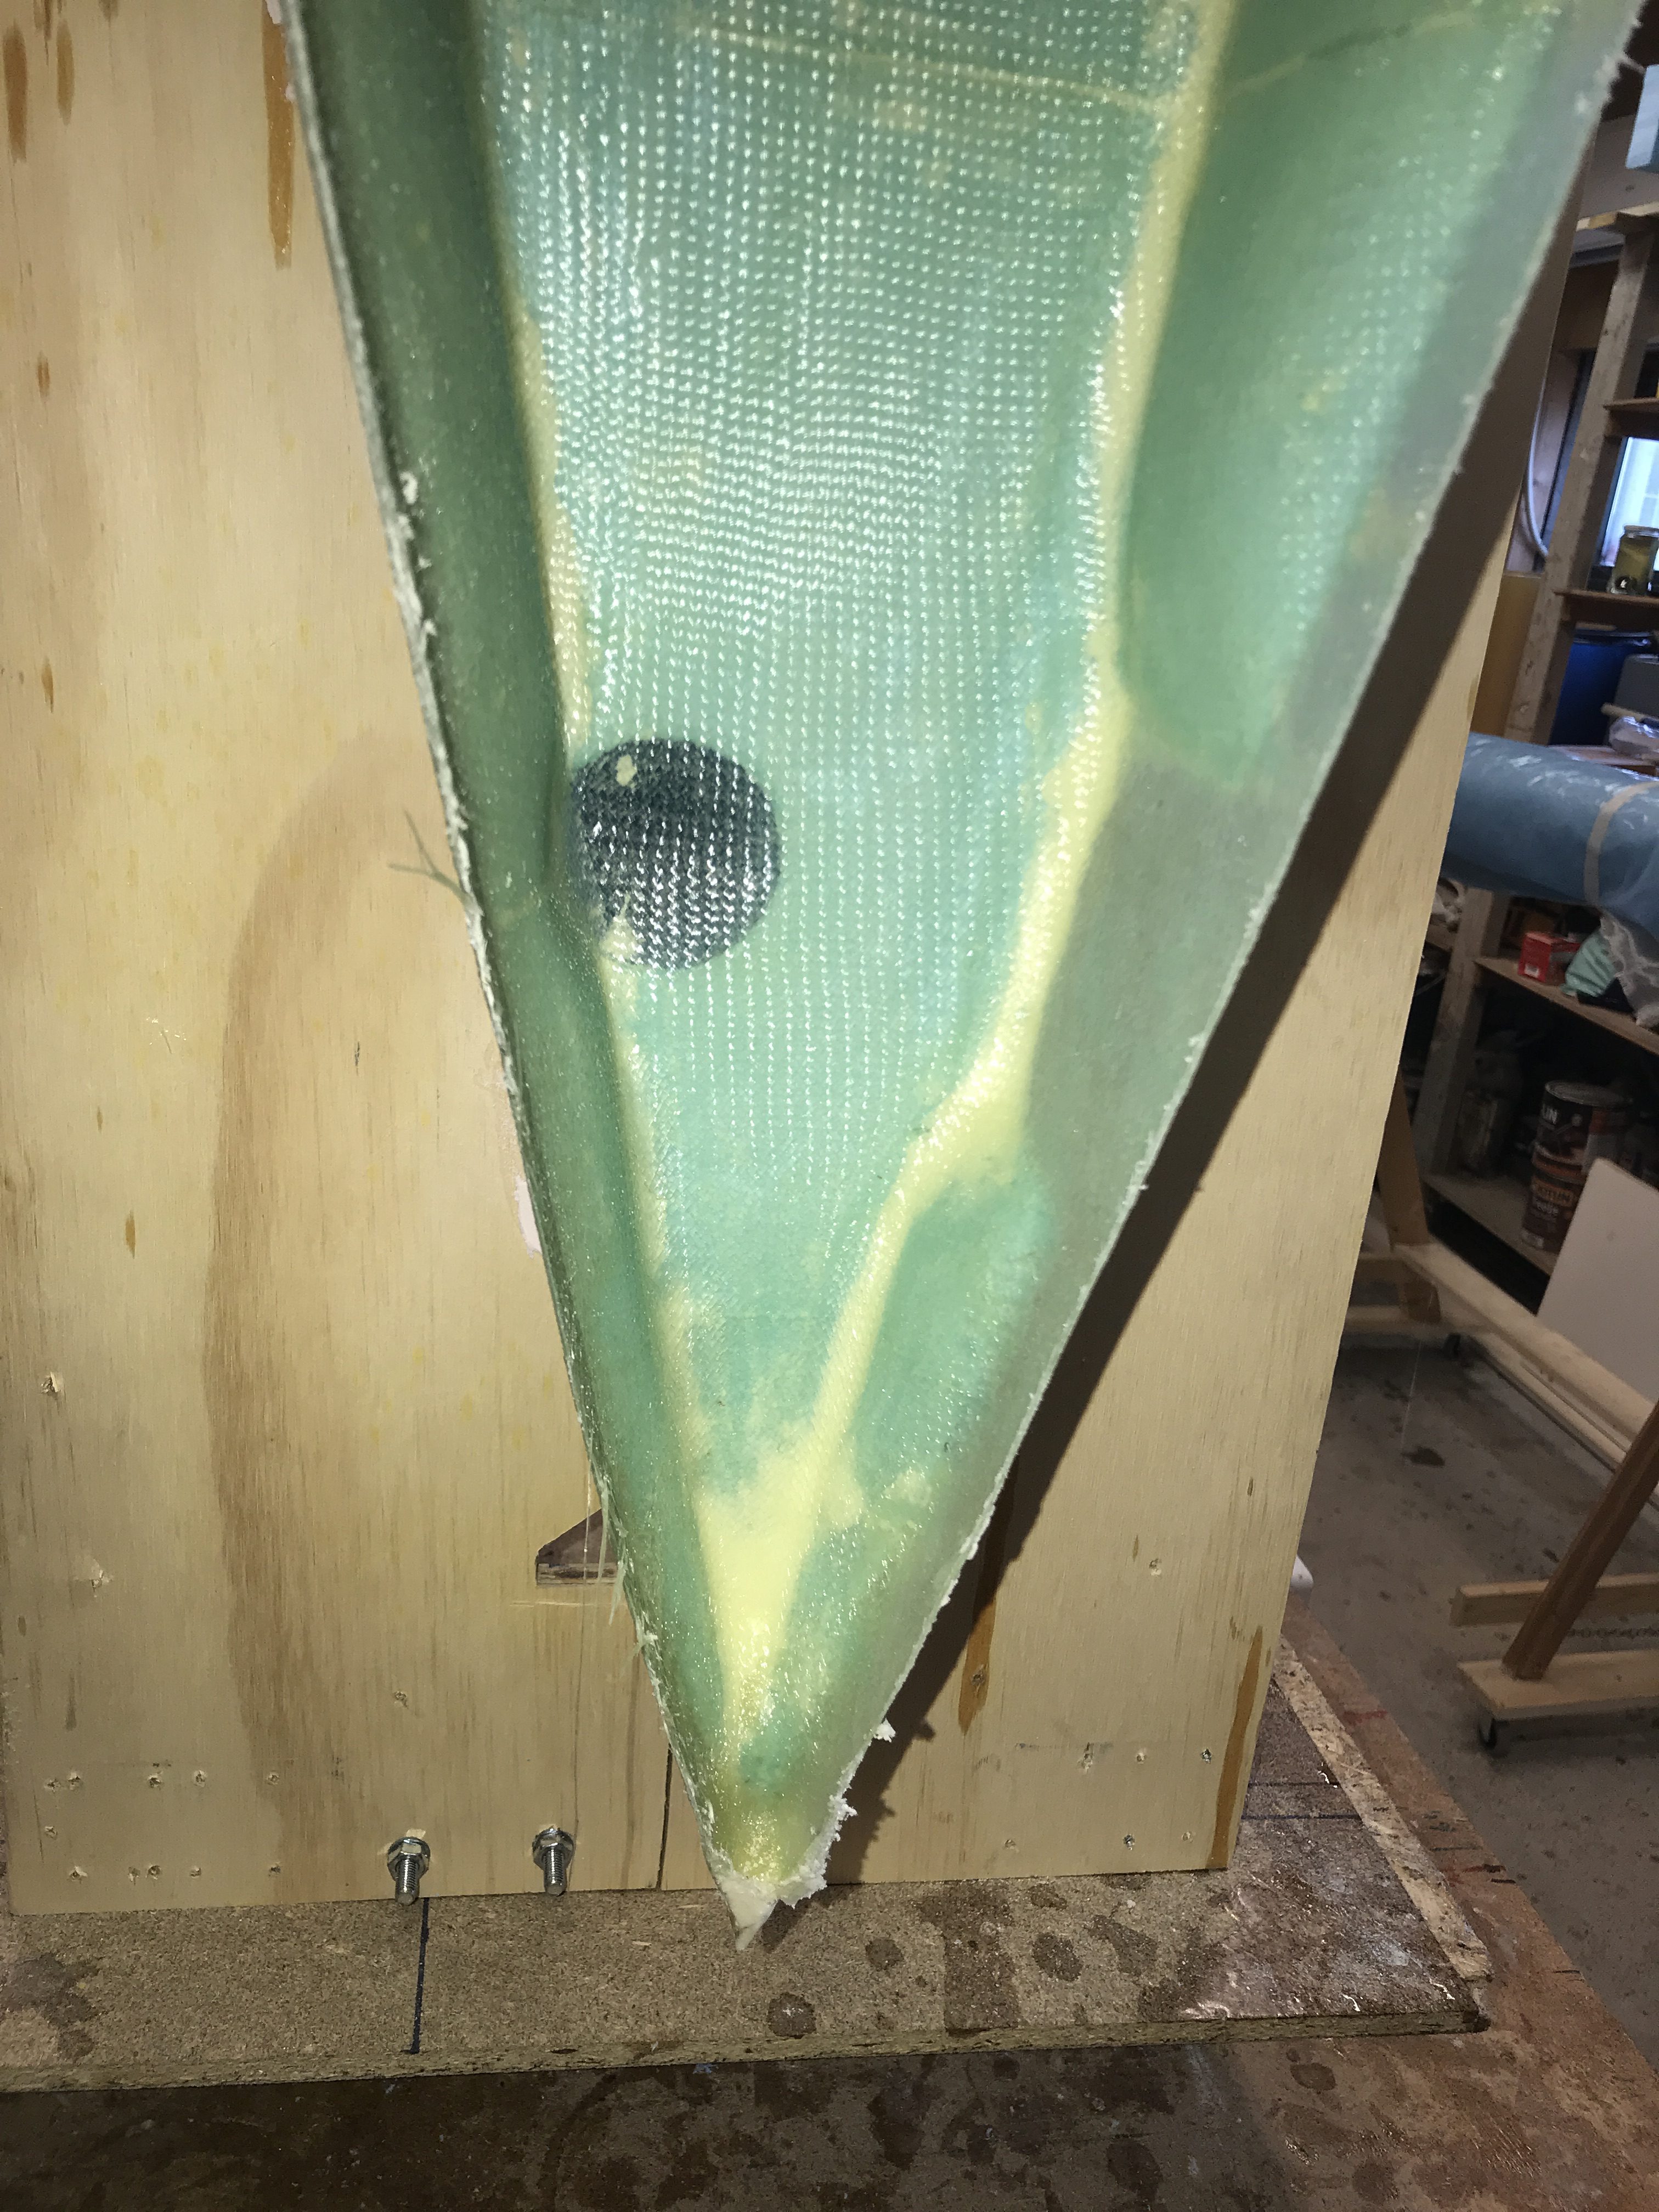
After the glass cured, I discovered an air bubble had developed! Time to do some repair.
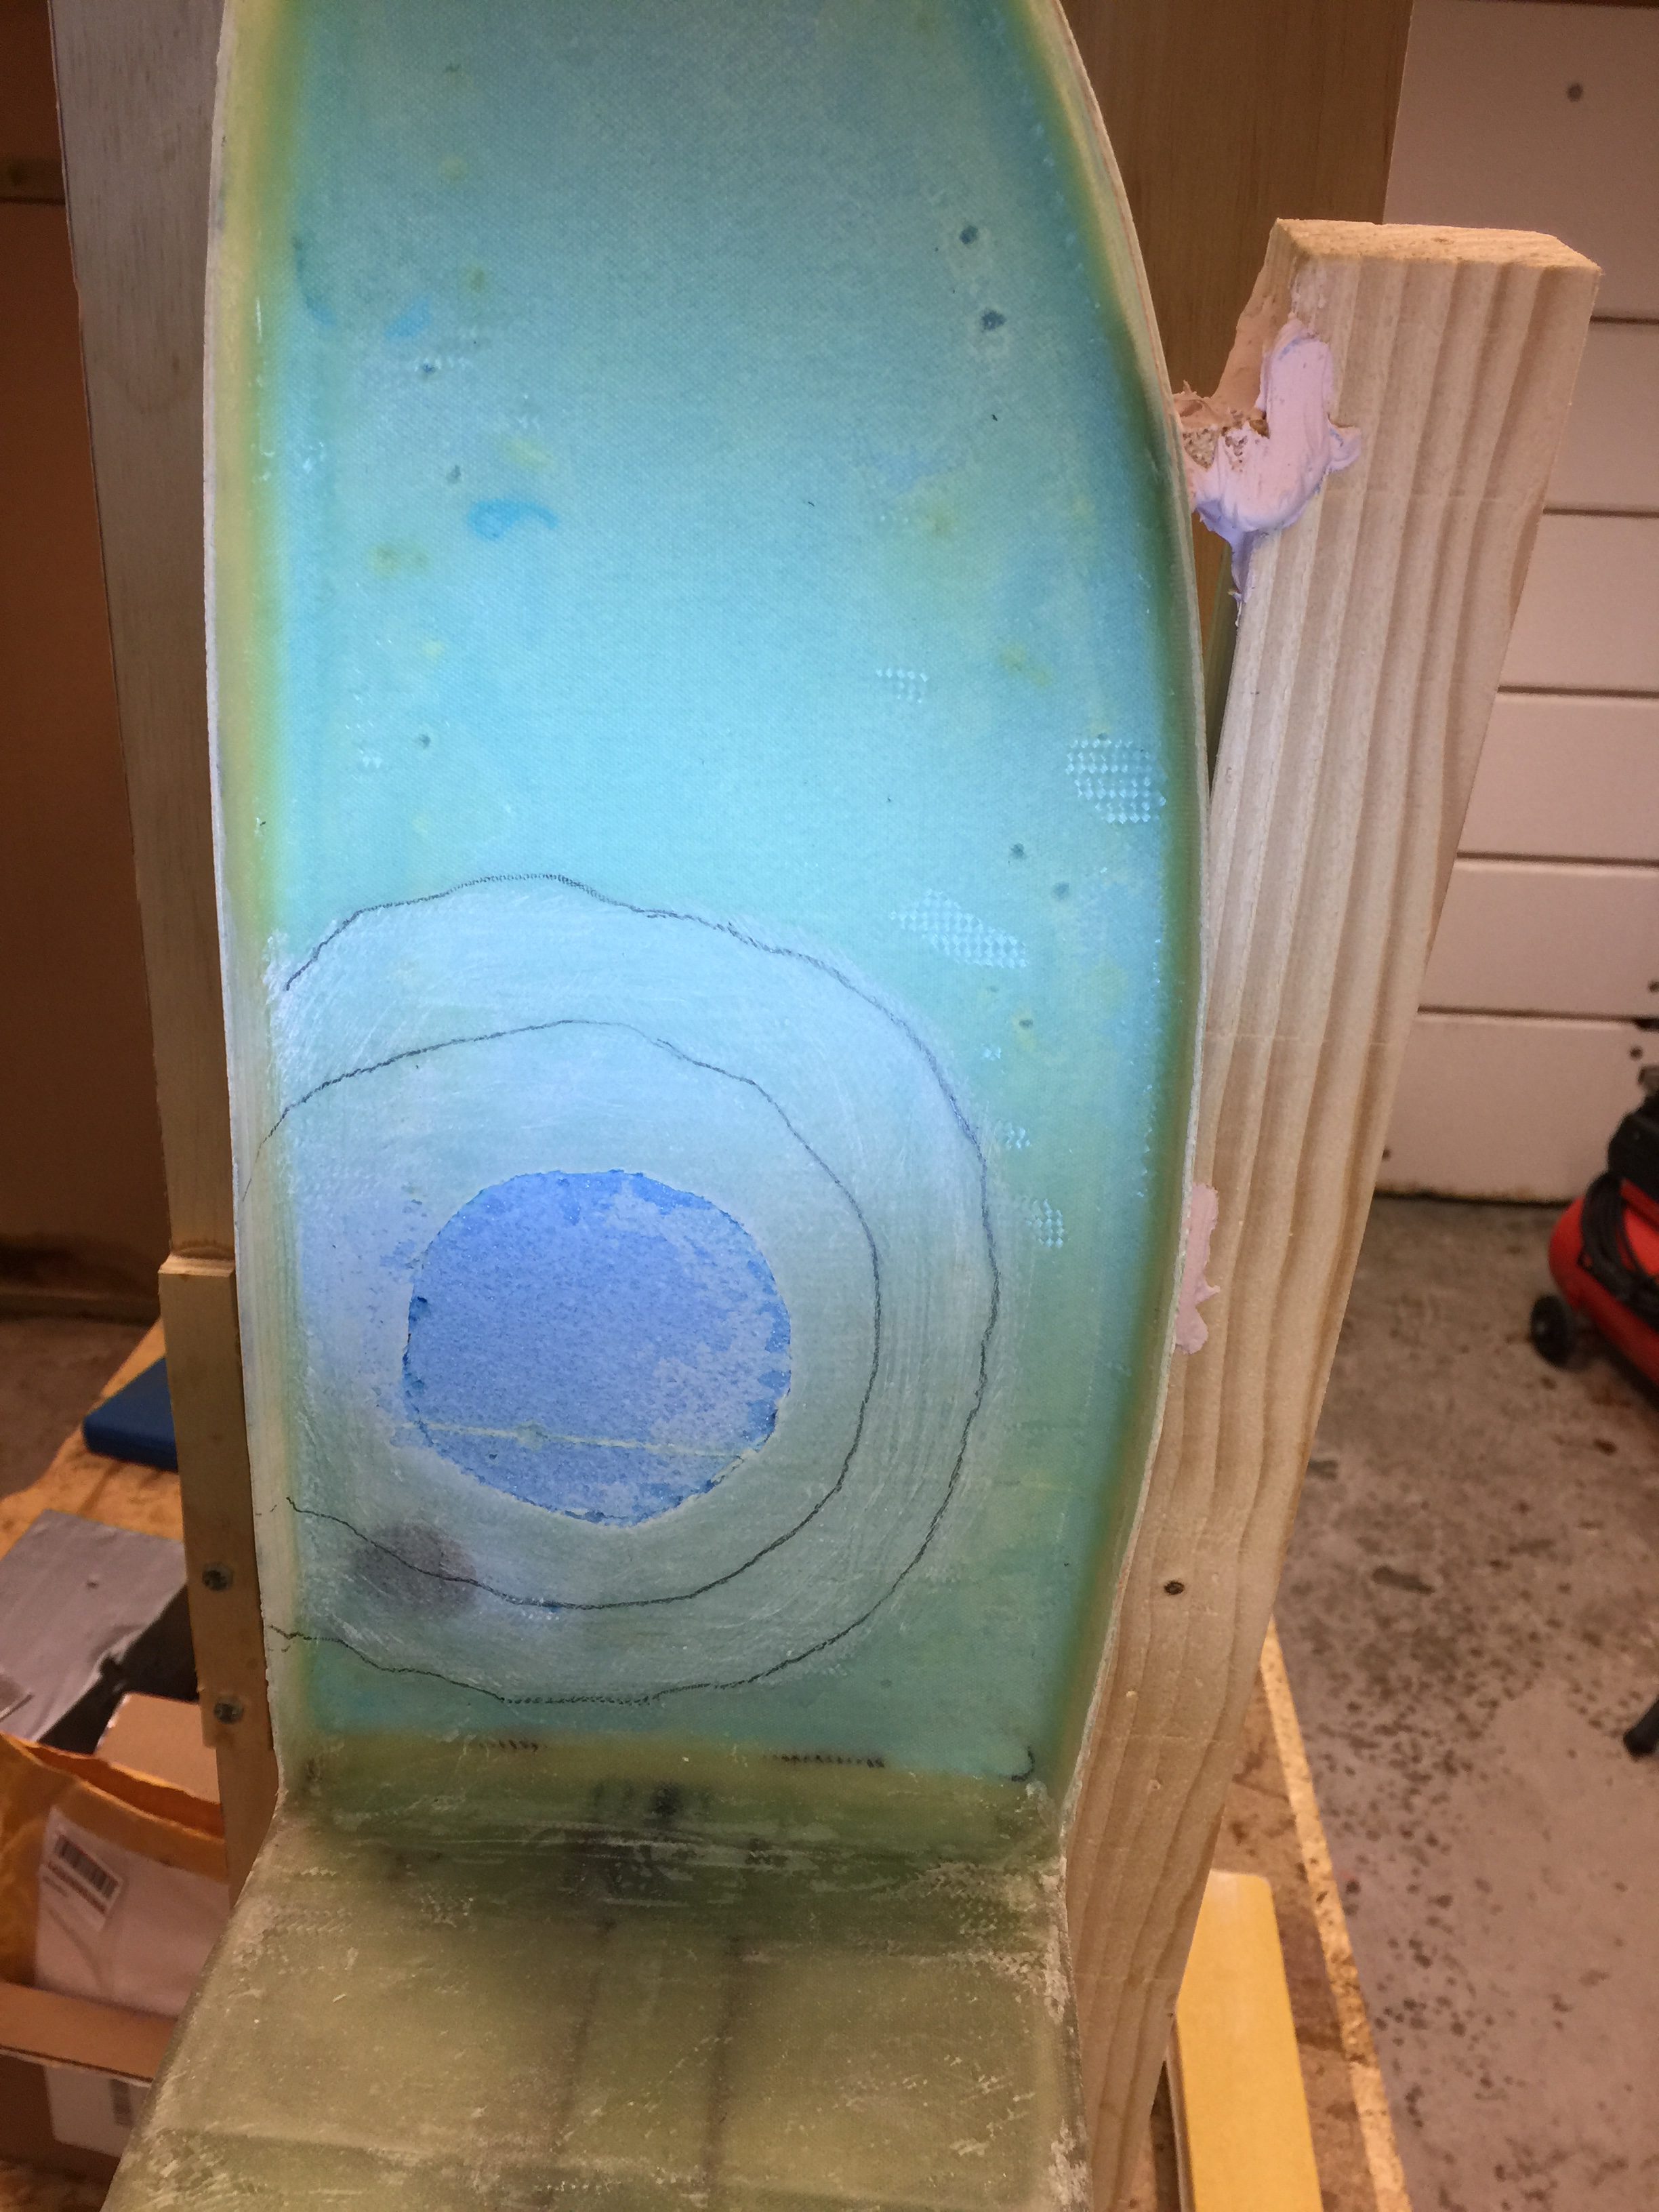
I sanded down in two steps and glassed over.
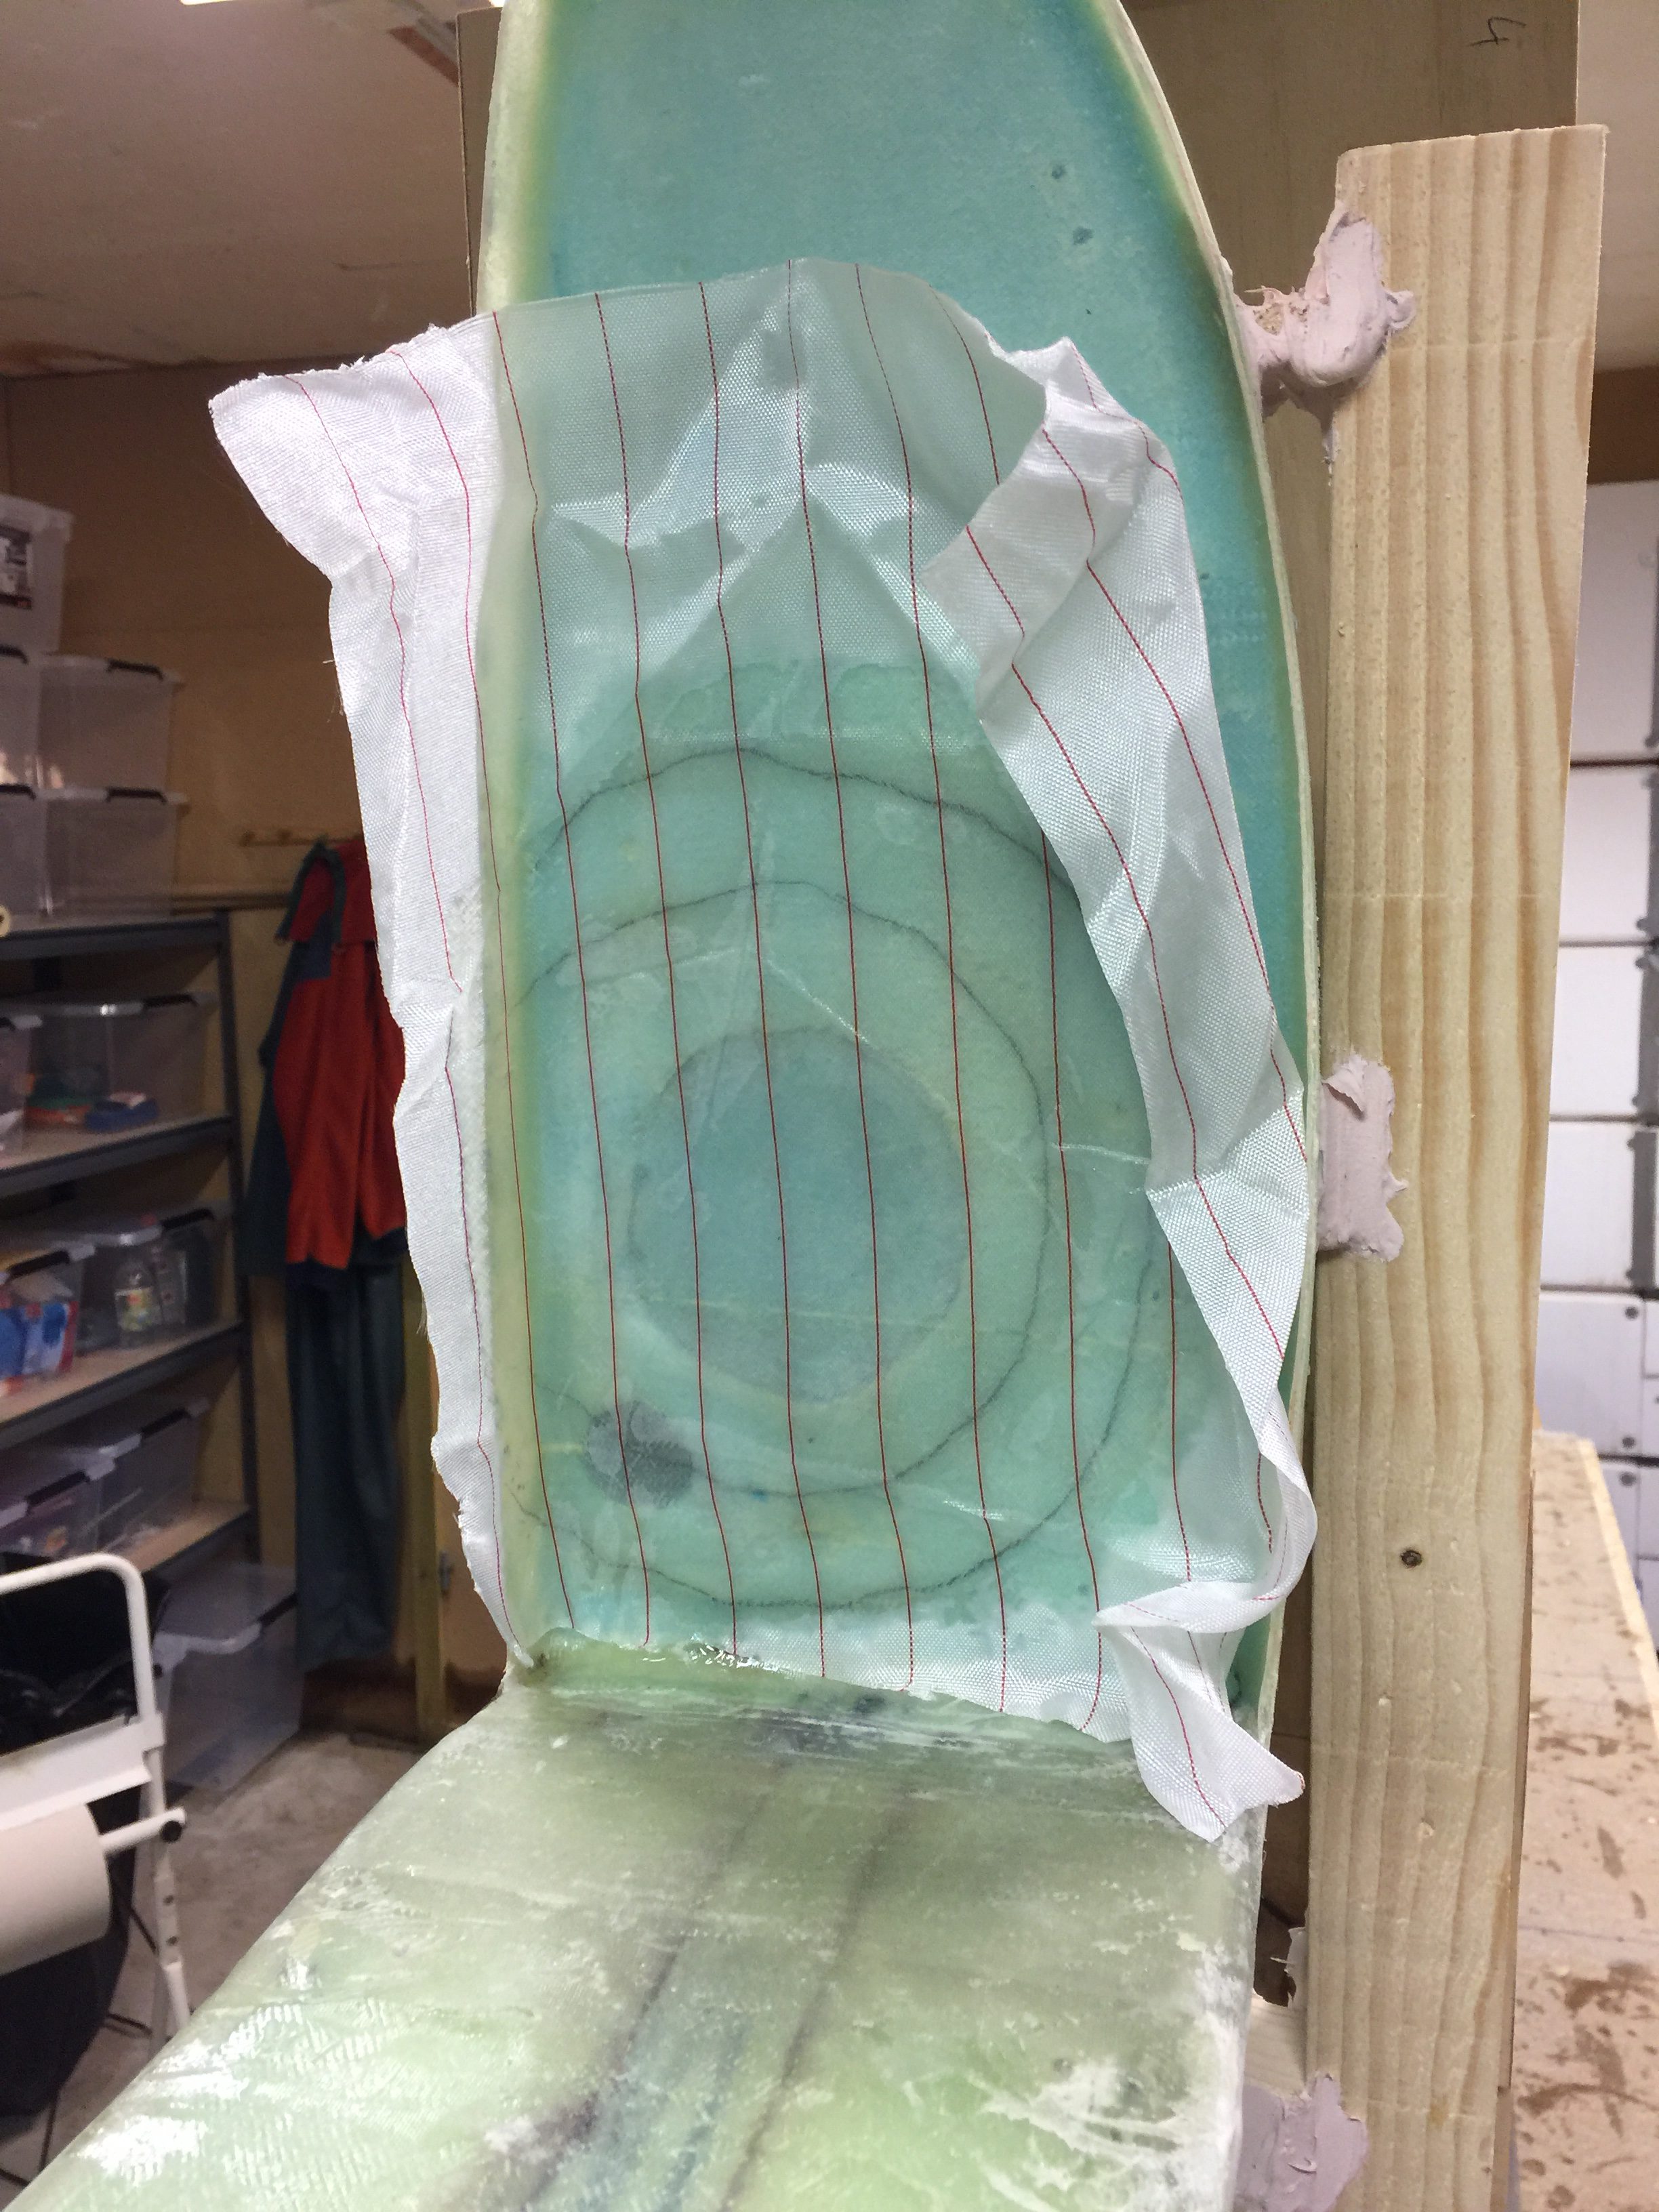
Peel plied. Discovered after a while that a new bubble started to appear. I then put a piece of wood over the circle and used some rubber to apply pressure on it. Hope it works.
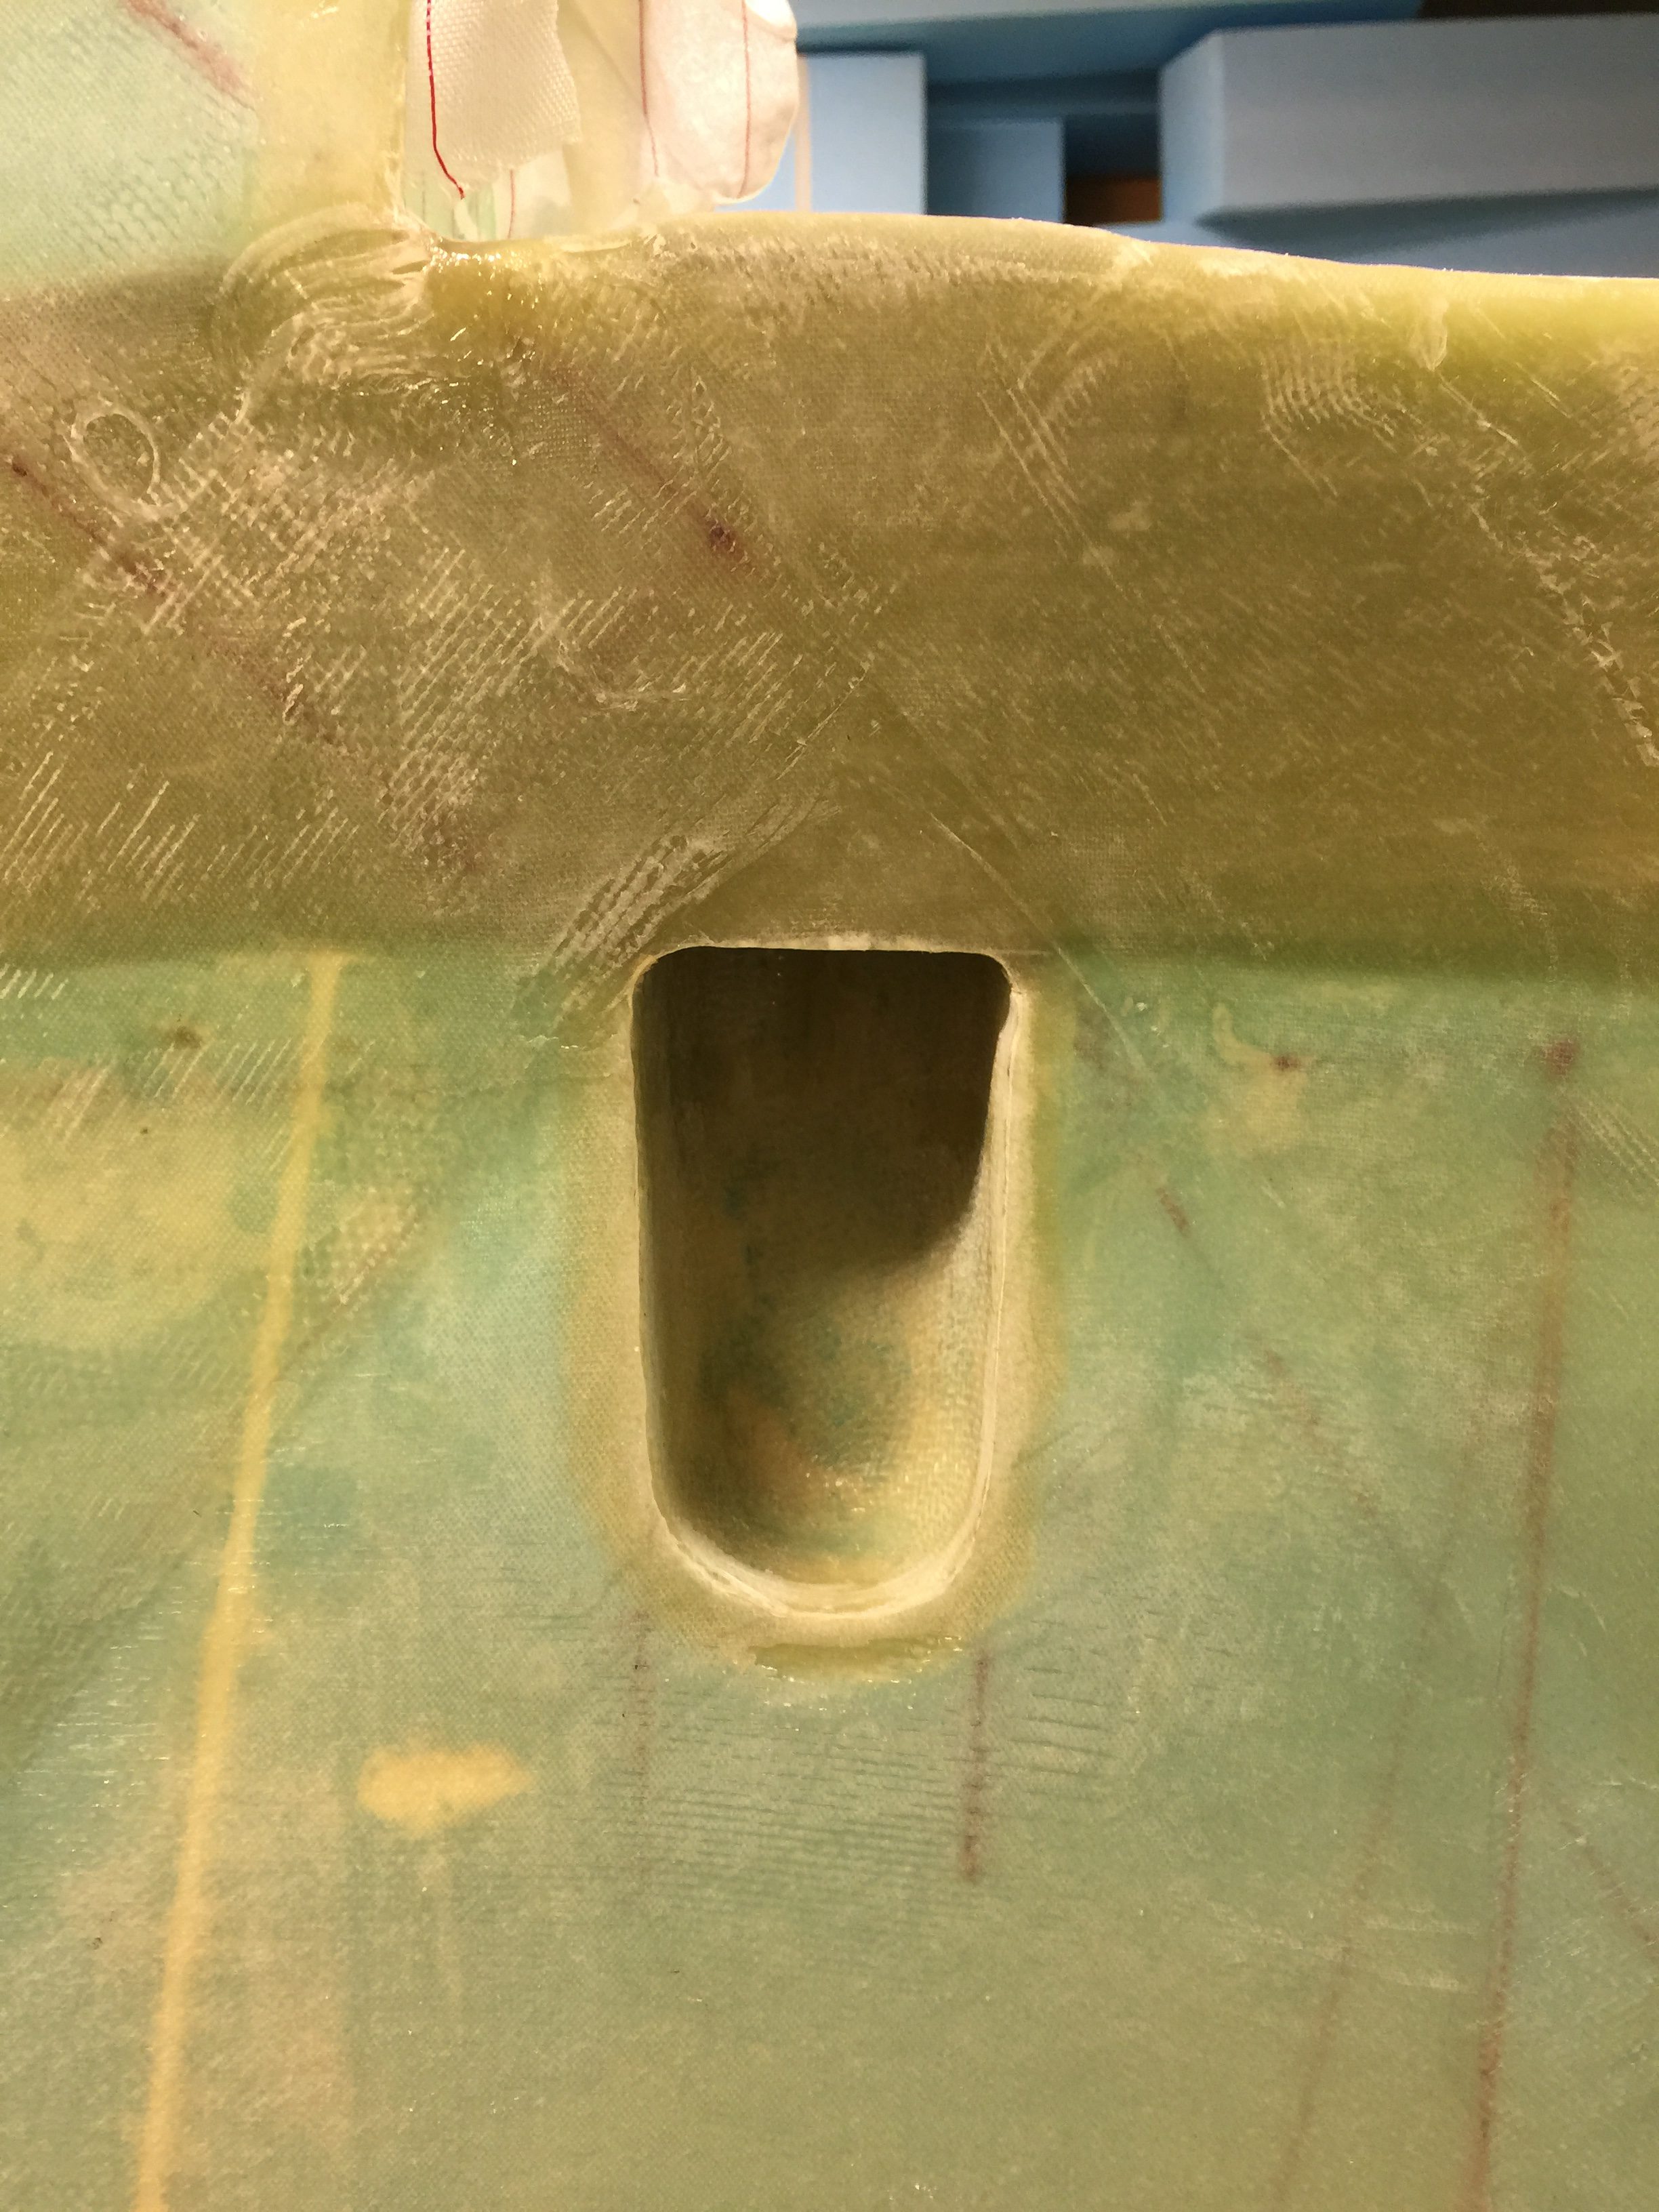
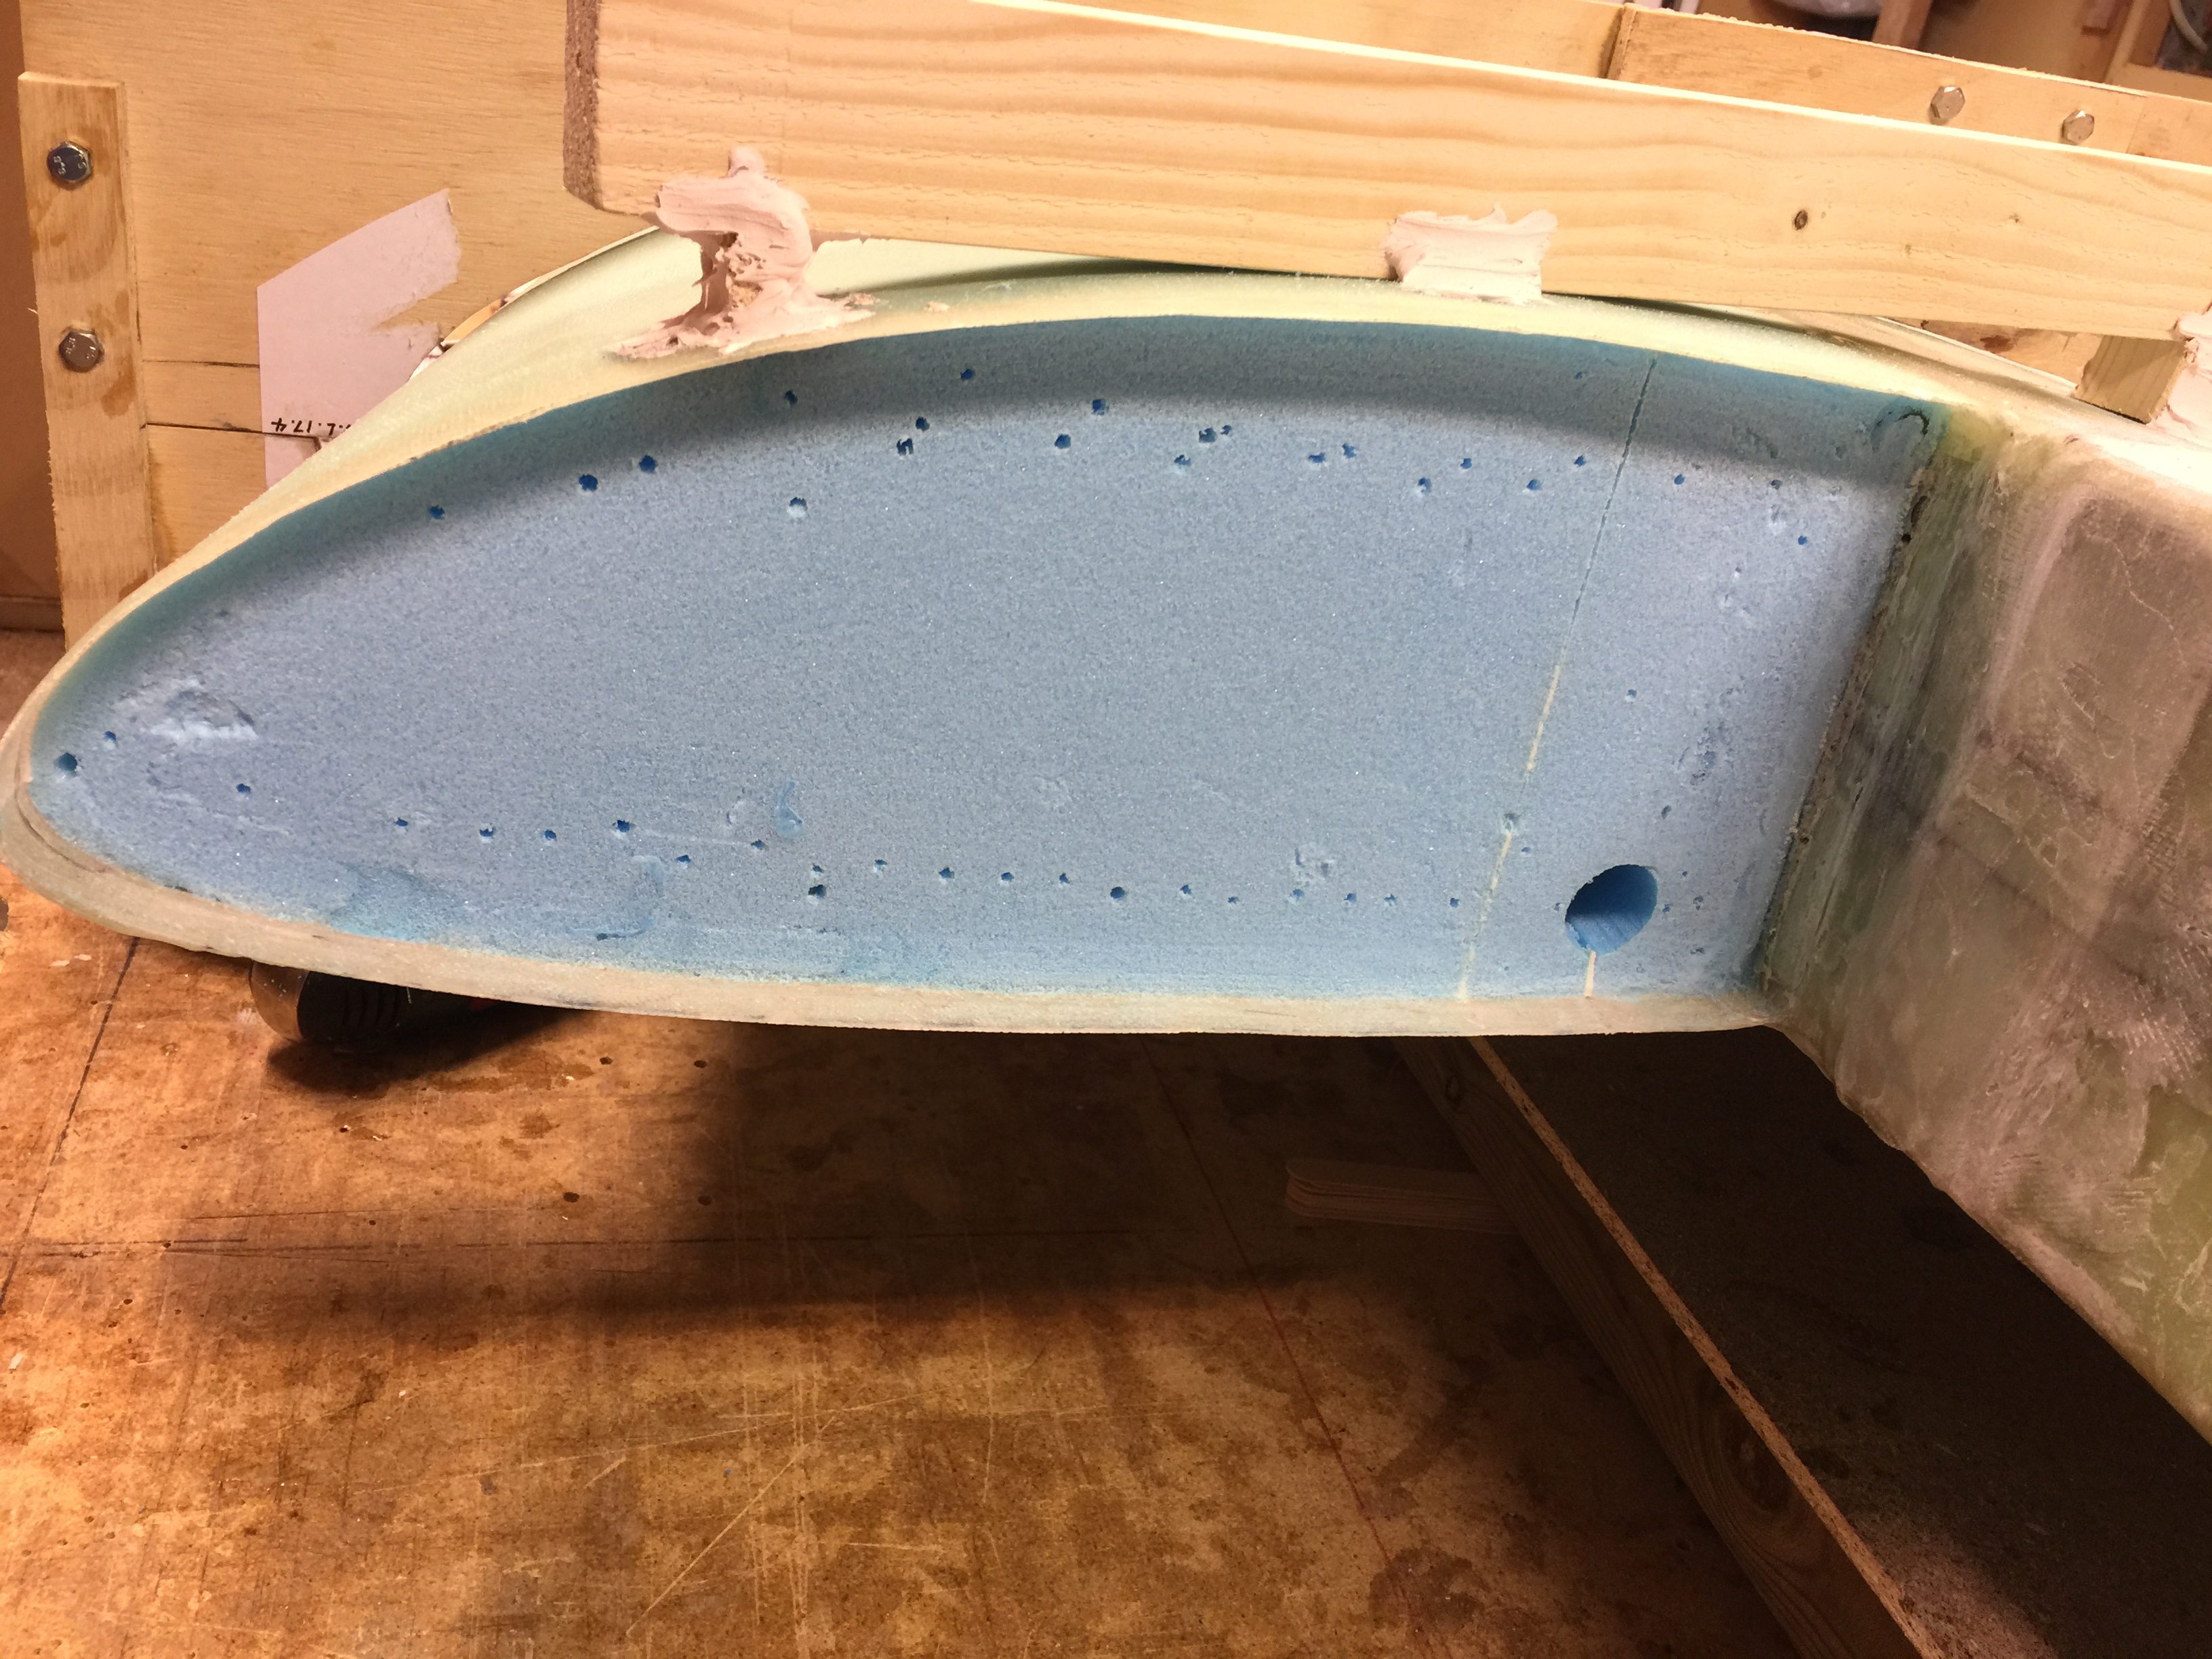
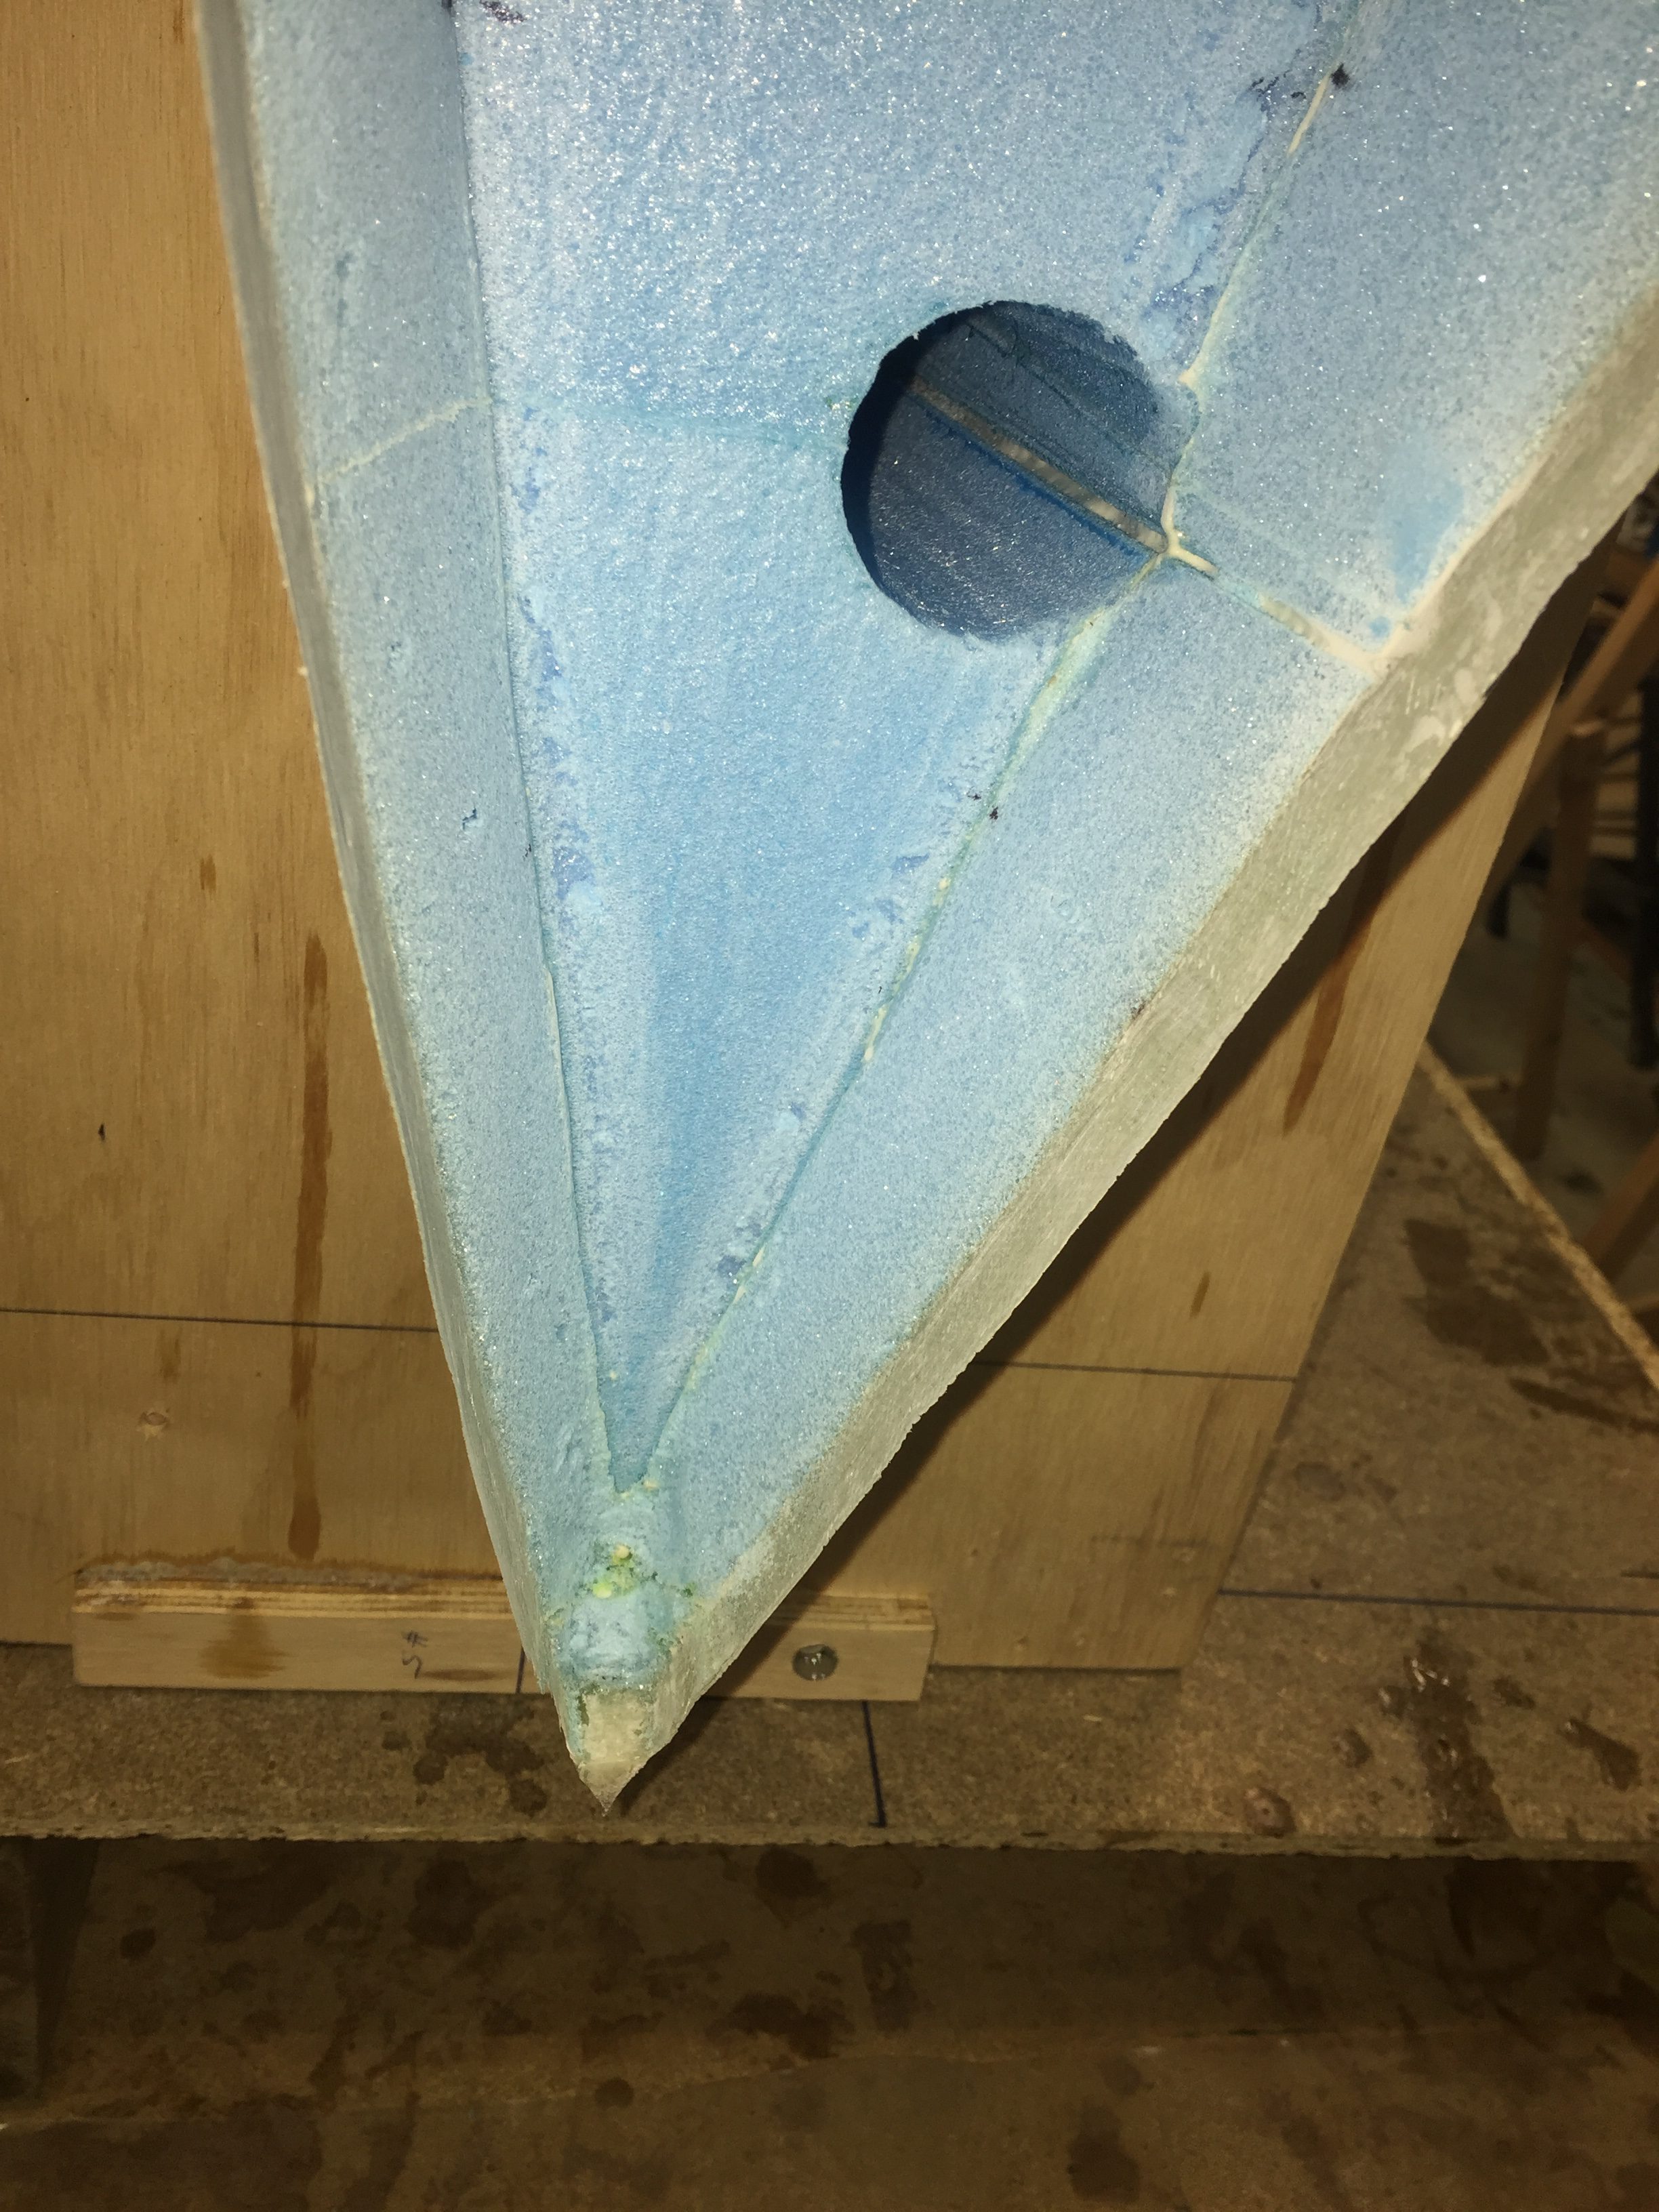
Cut out the holes for the wing bolts and sanded the edges smooth.
Started the tidious work to prepare the wing root for glassing. I was a bit confused as the plans and drawings are not quite easy to read regarding to how the foam is to be removed. Especially on the part facing forward (up on the picture). Had to read through some builders blogs to understand this.
Ready for glassing.
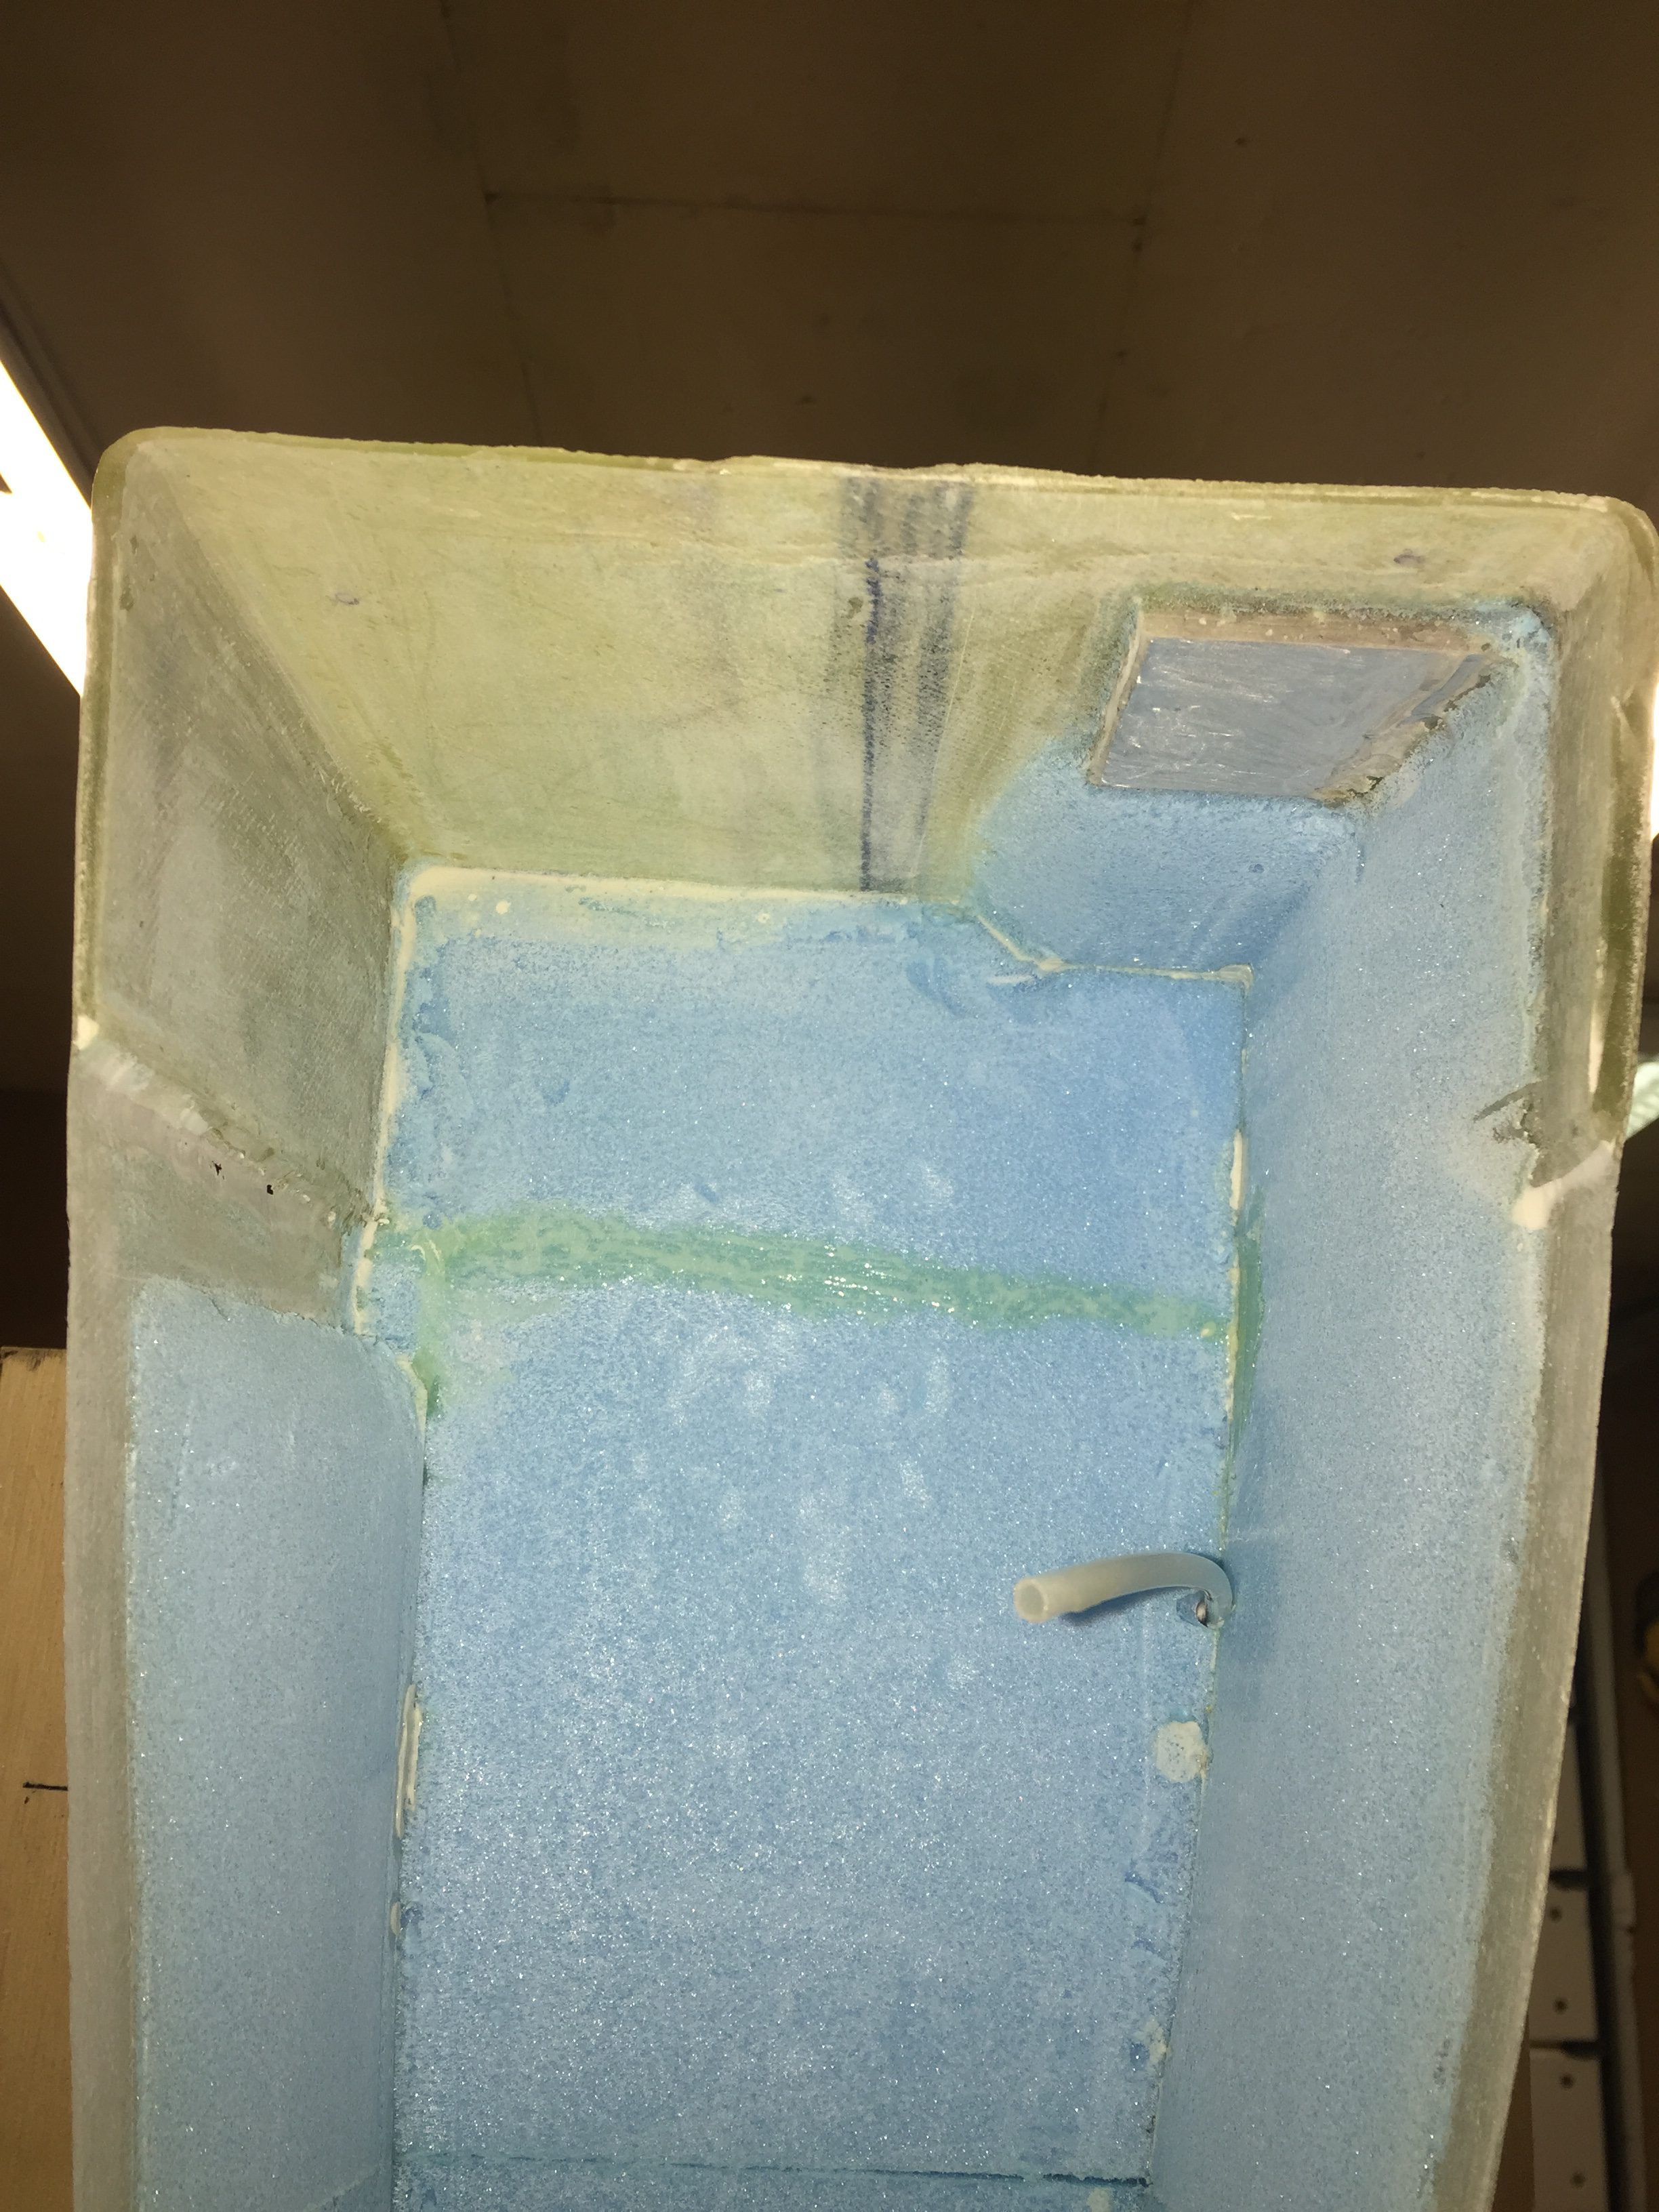
This is how the forward face will be. I have sanded down to the aluminum part LW6 that was embedded in the foam early in this chapter.
Hindsight: it turned out that I had to remove more foam for the control horn than I anticipated. This is a picture from step 11 that shows what I had to do – and what I should have done before glassing. Remember to remove foam all the way down to the skin to ensure enough clearance.

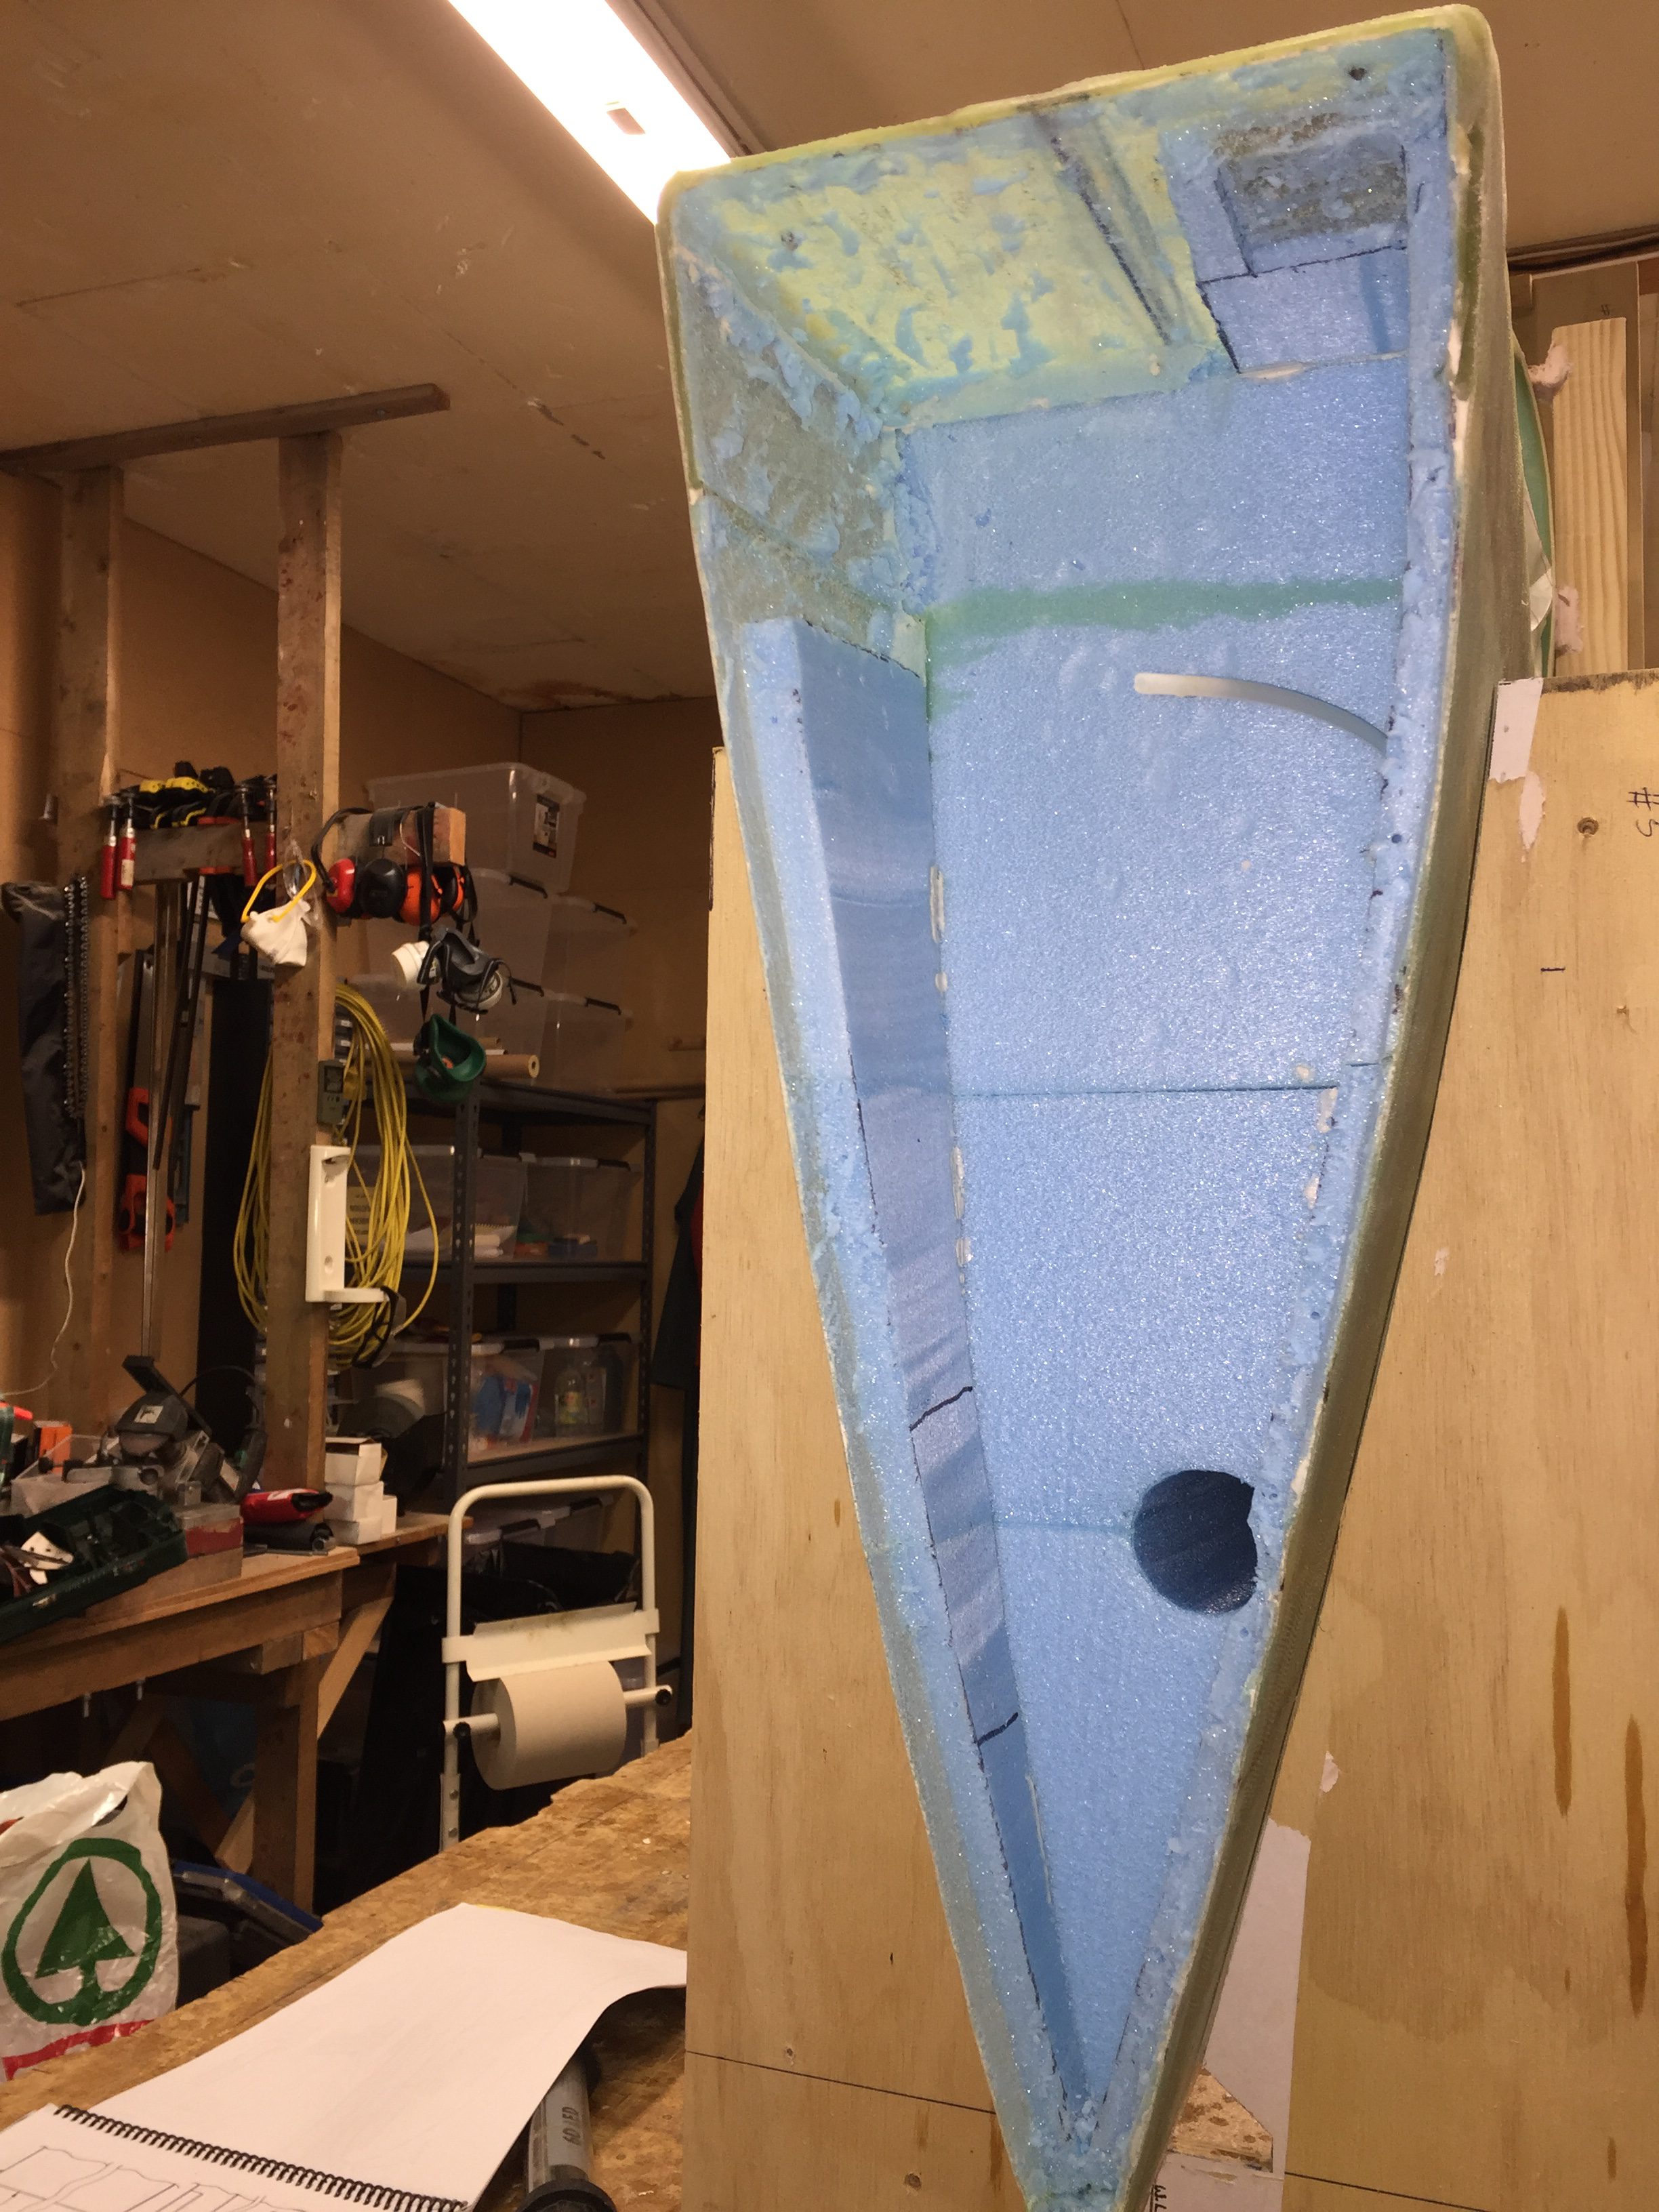
This part however was kind of tricky. I will fill the aft part here (facing down) with some dry flox before I glass over it.
2017-02-19:
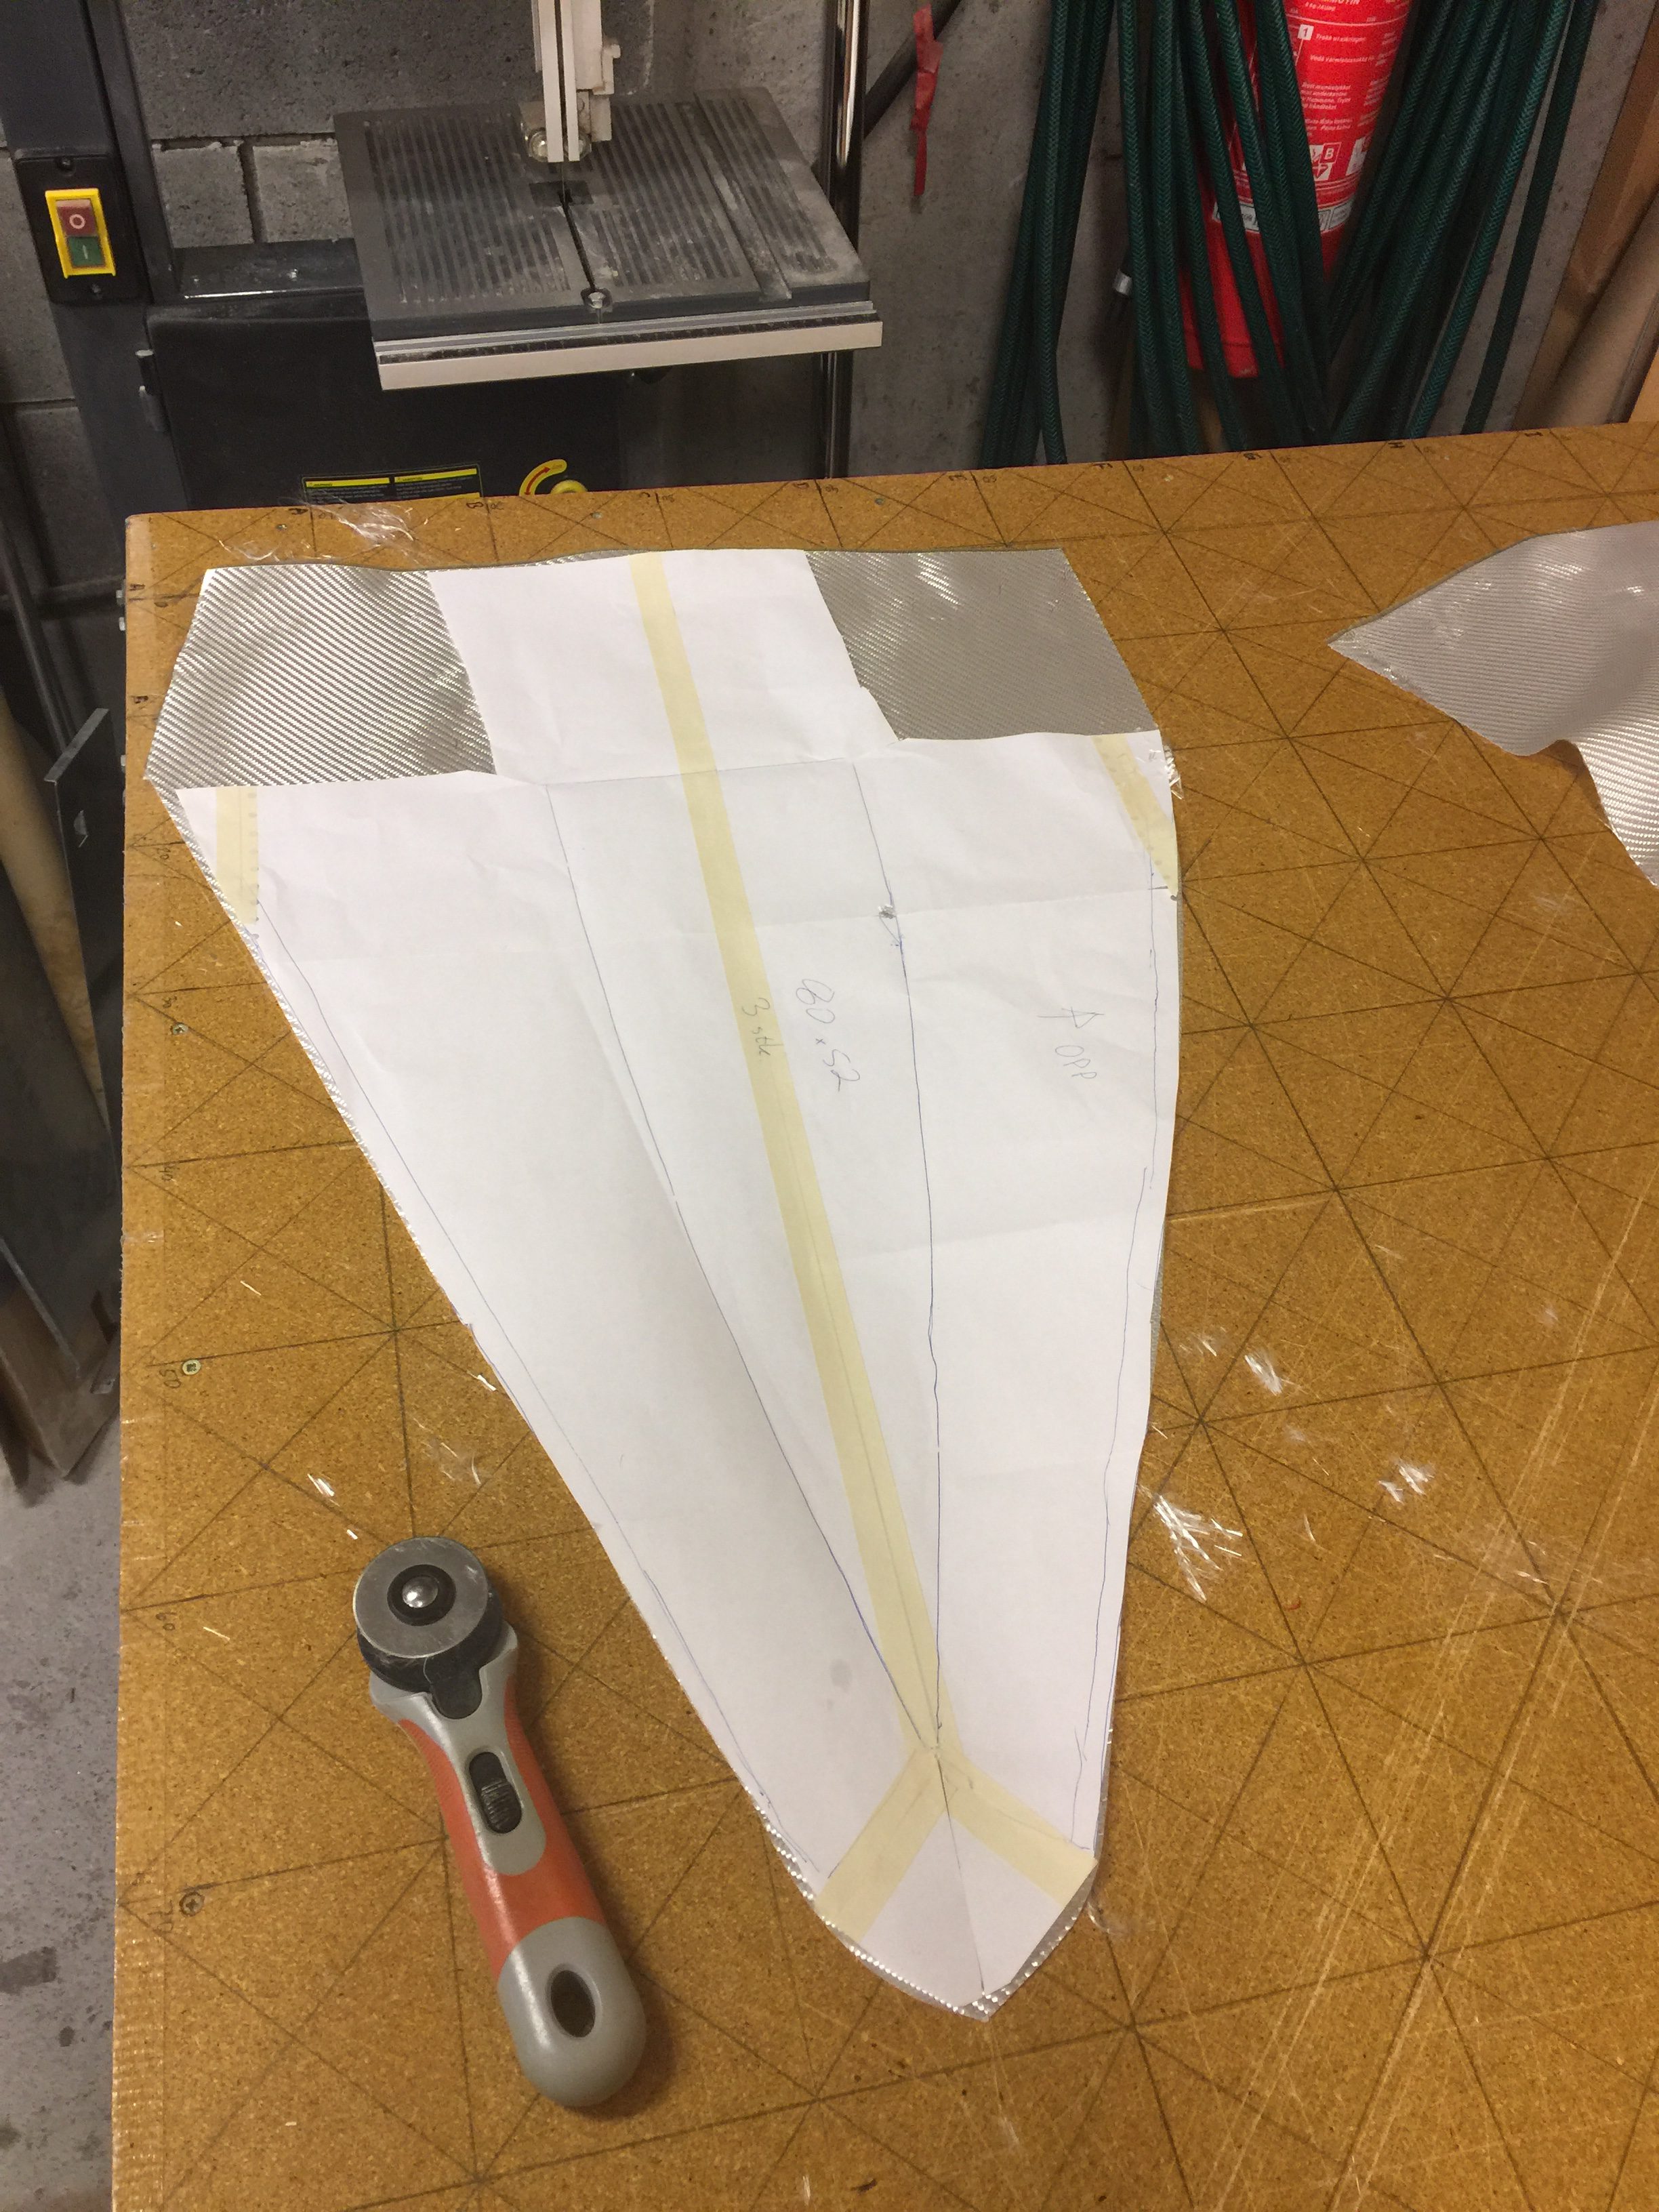
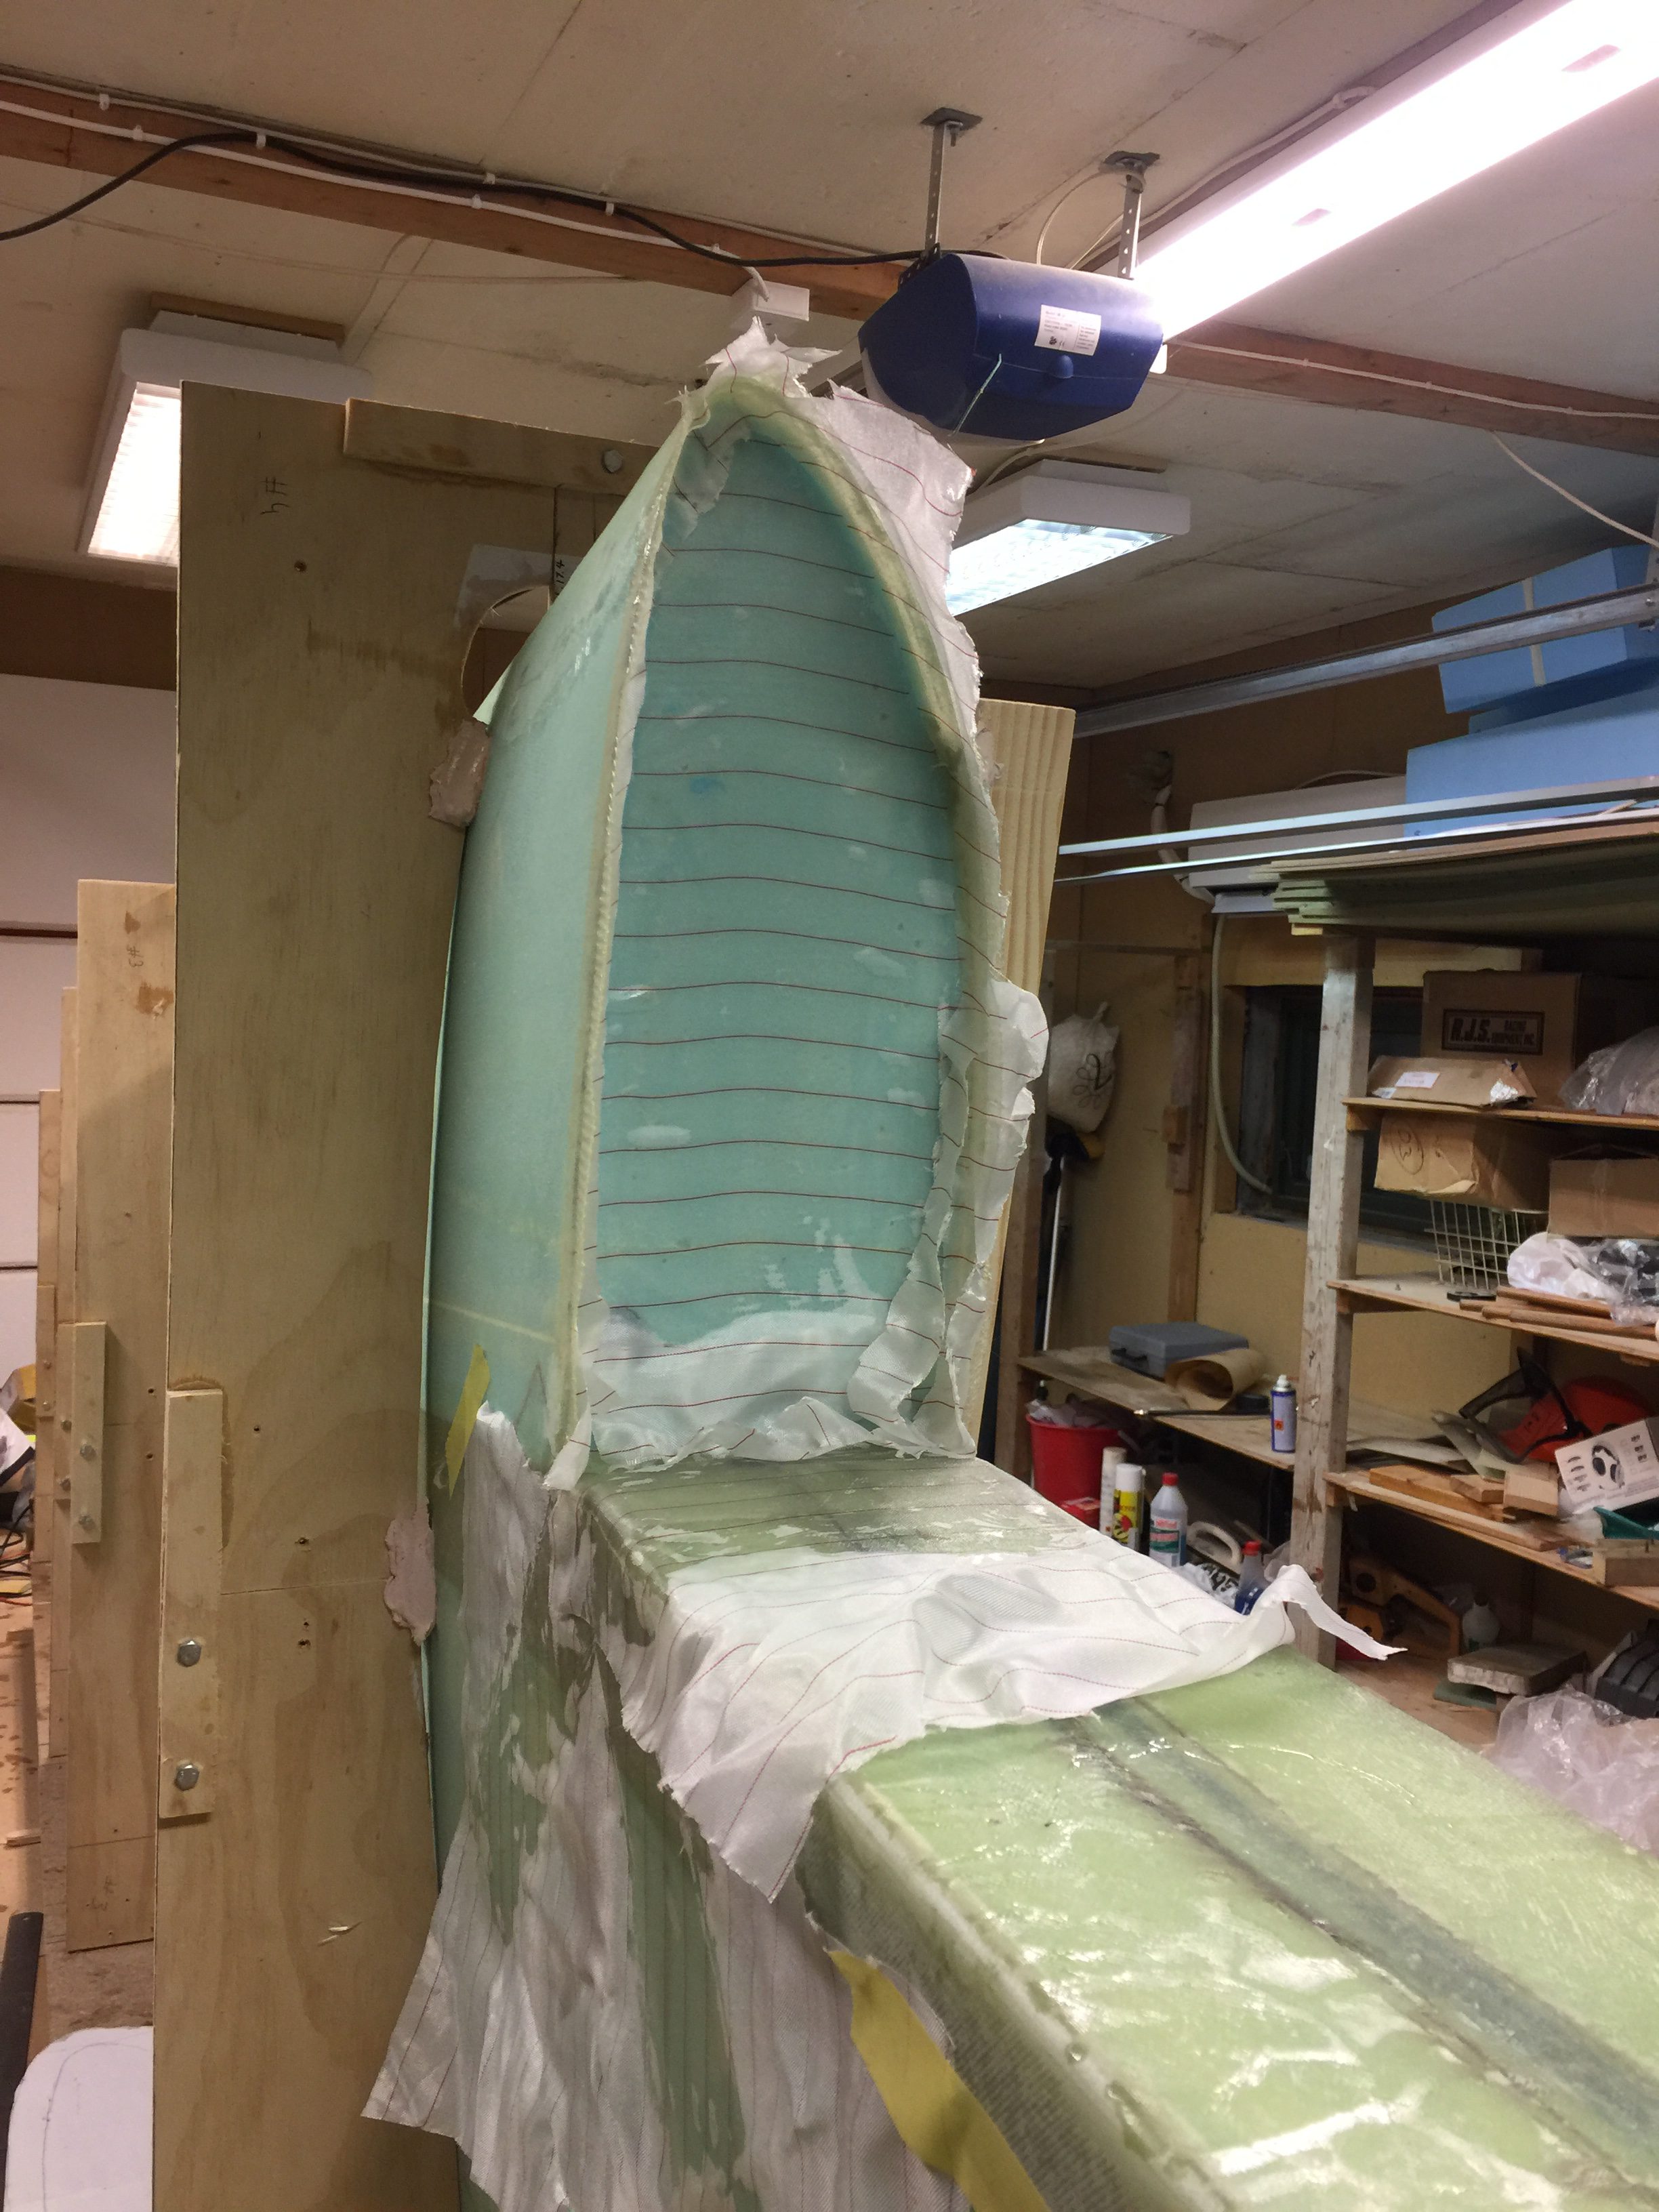
I made an oversize paper template for the 3 plies of BID for the wing root. Prepared the foam and bare glass as per usual before I covered it with the BID – one ply at the time.
I thought it would be tricky to apply the glass but it was actually an easy job. I used a brush to wet out the glass and stippled using a bit more epoxy than usual, just to be sure the glass was sticking to the surface. After each ply I carefully – with vinyl gloves – went over the whole surface with my hands and checked for air bubbled in all the various edges. I also used a light to help me.
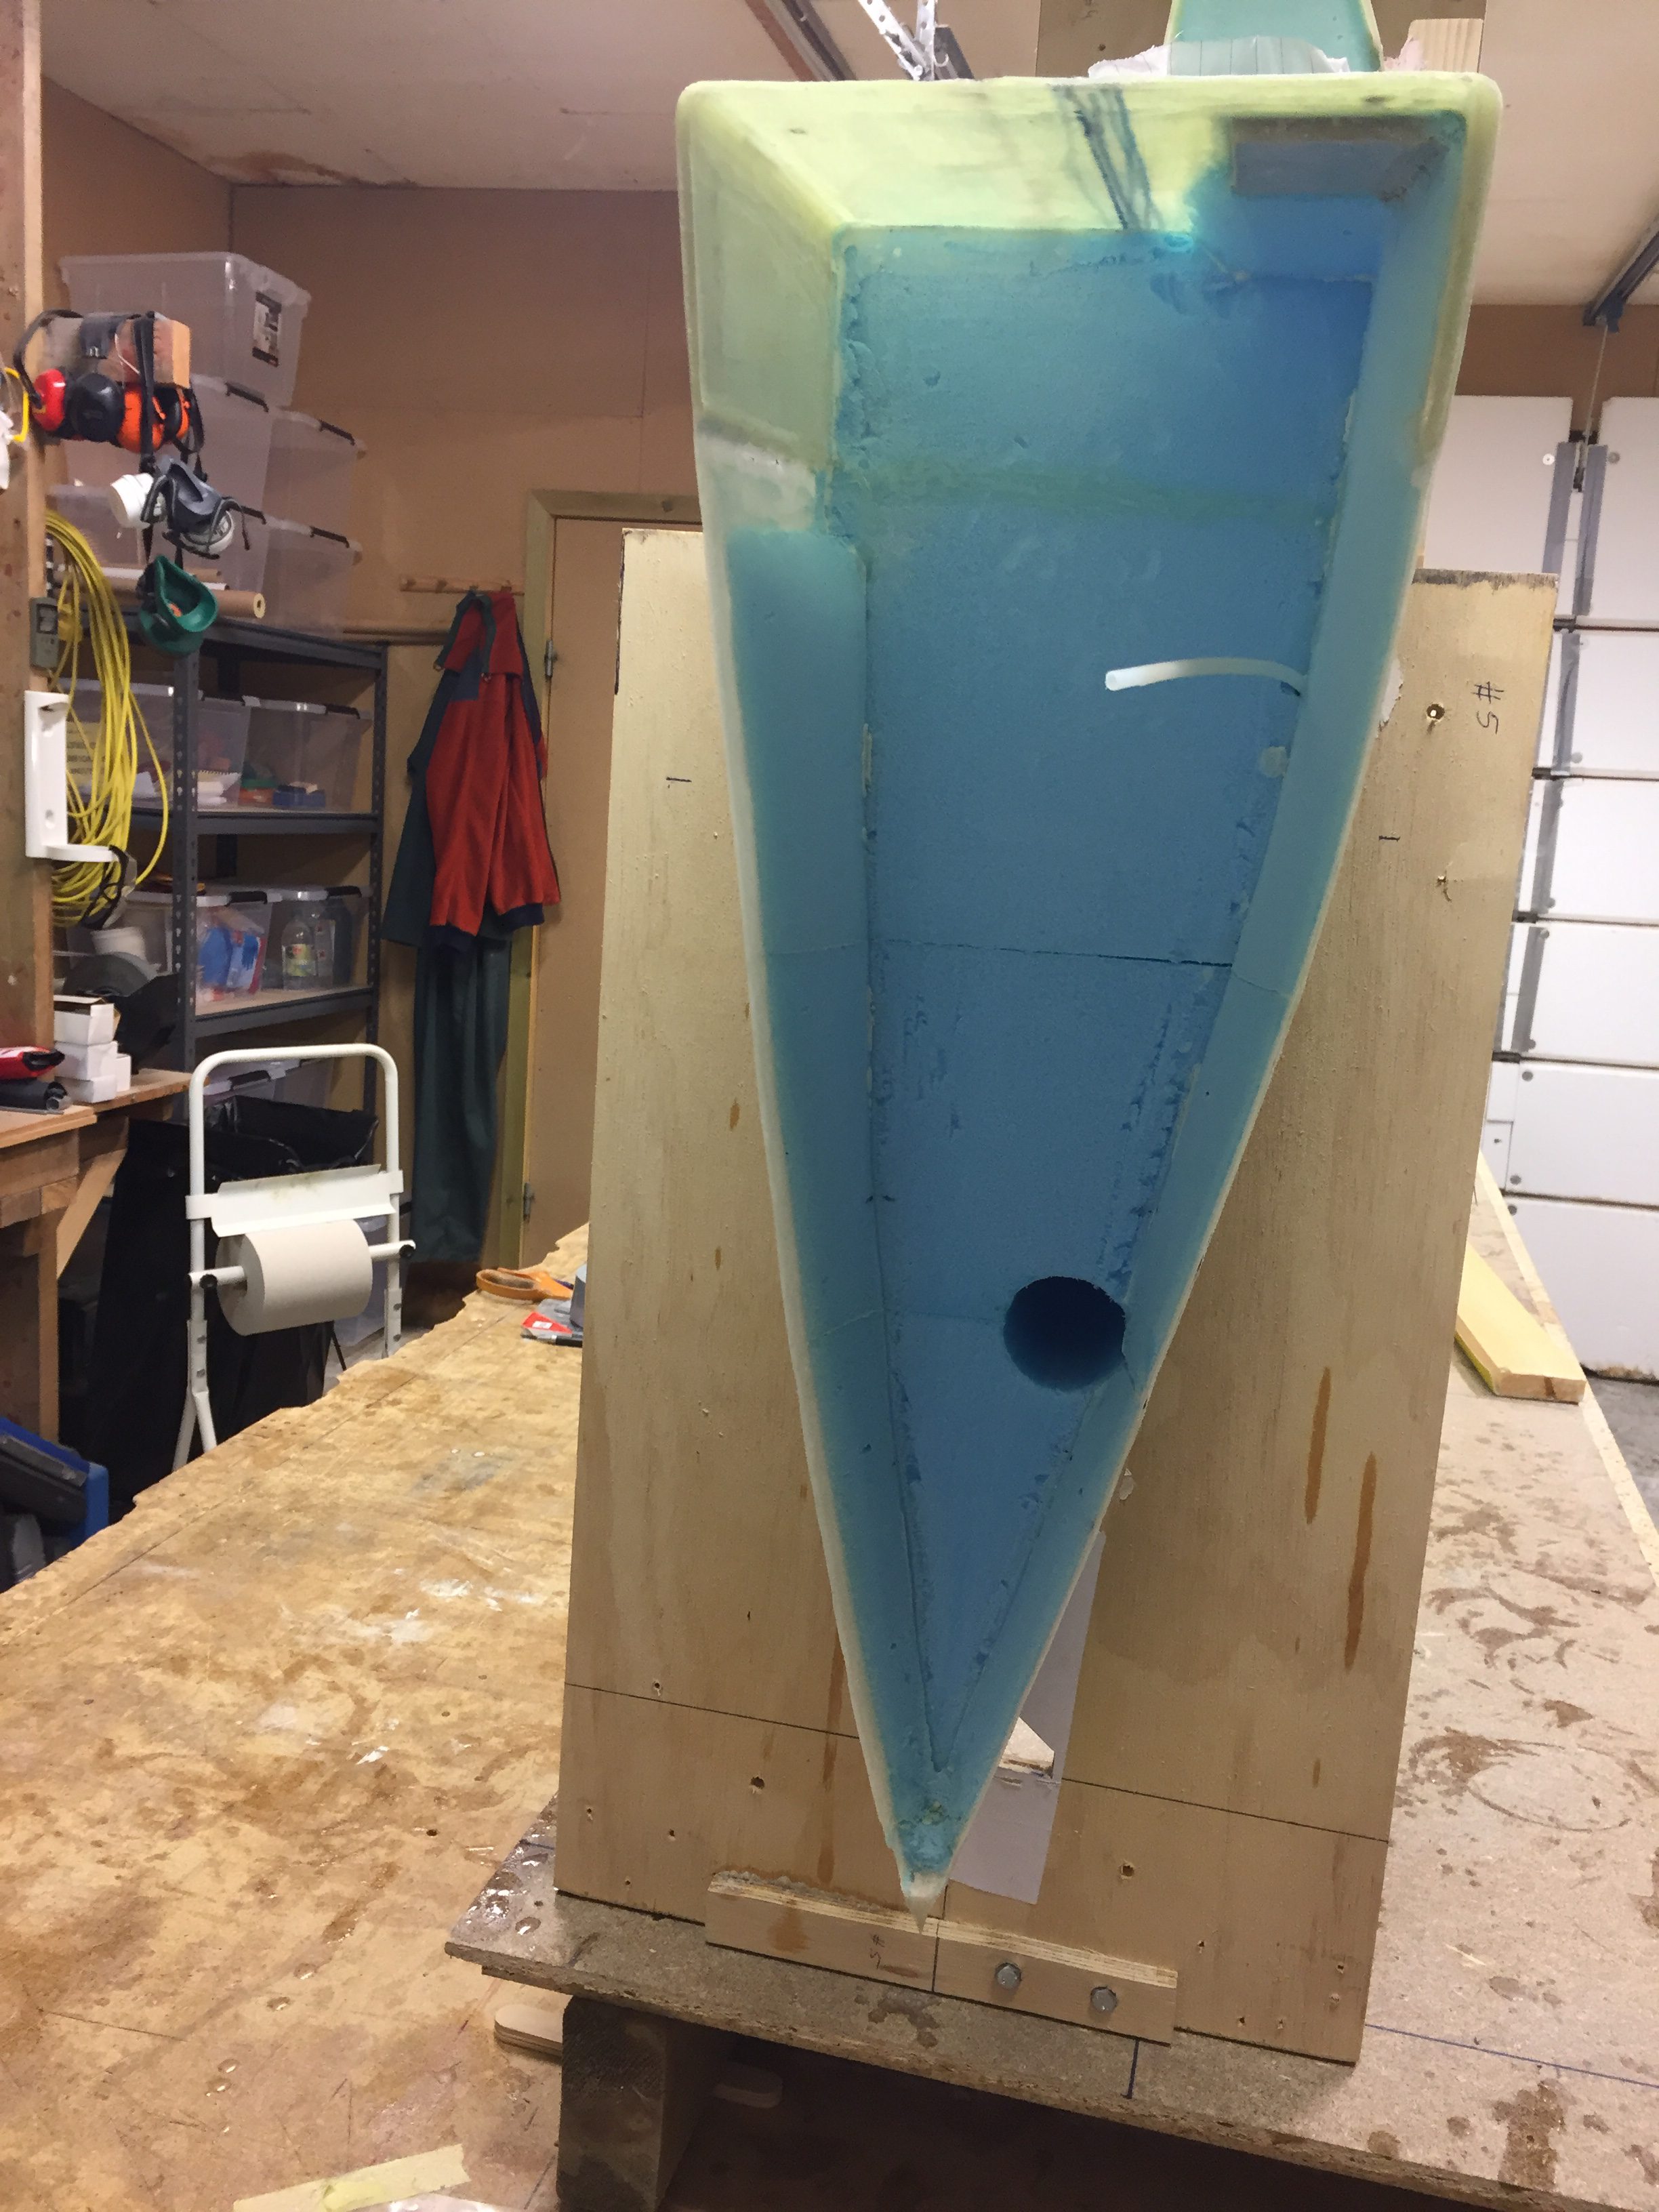
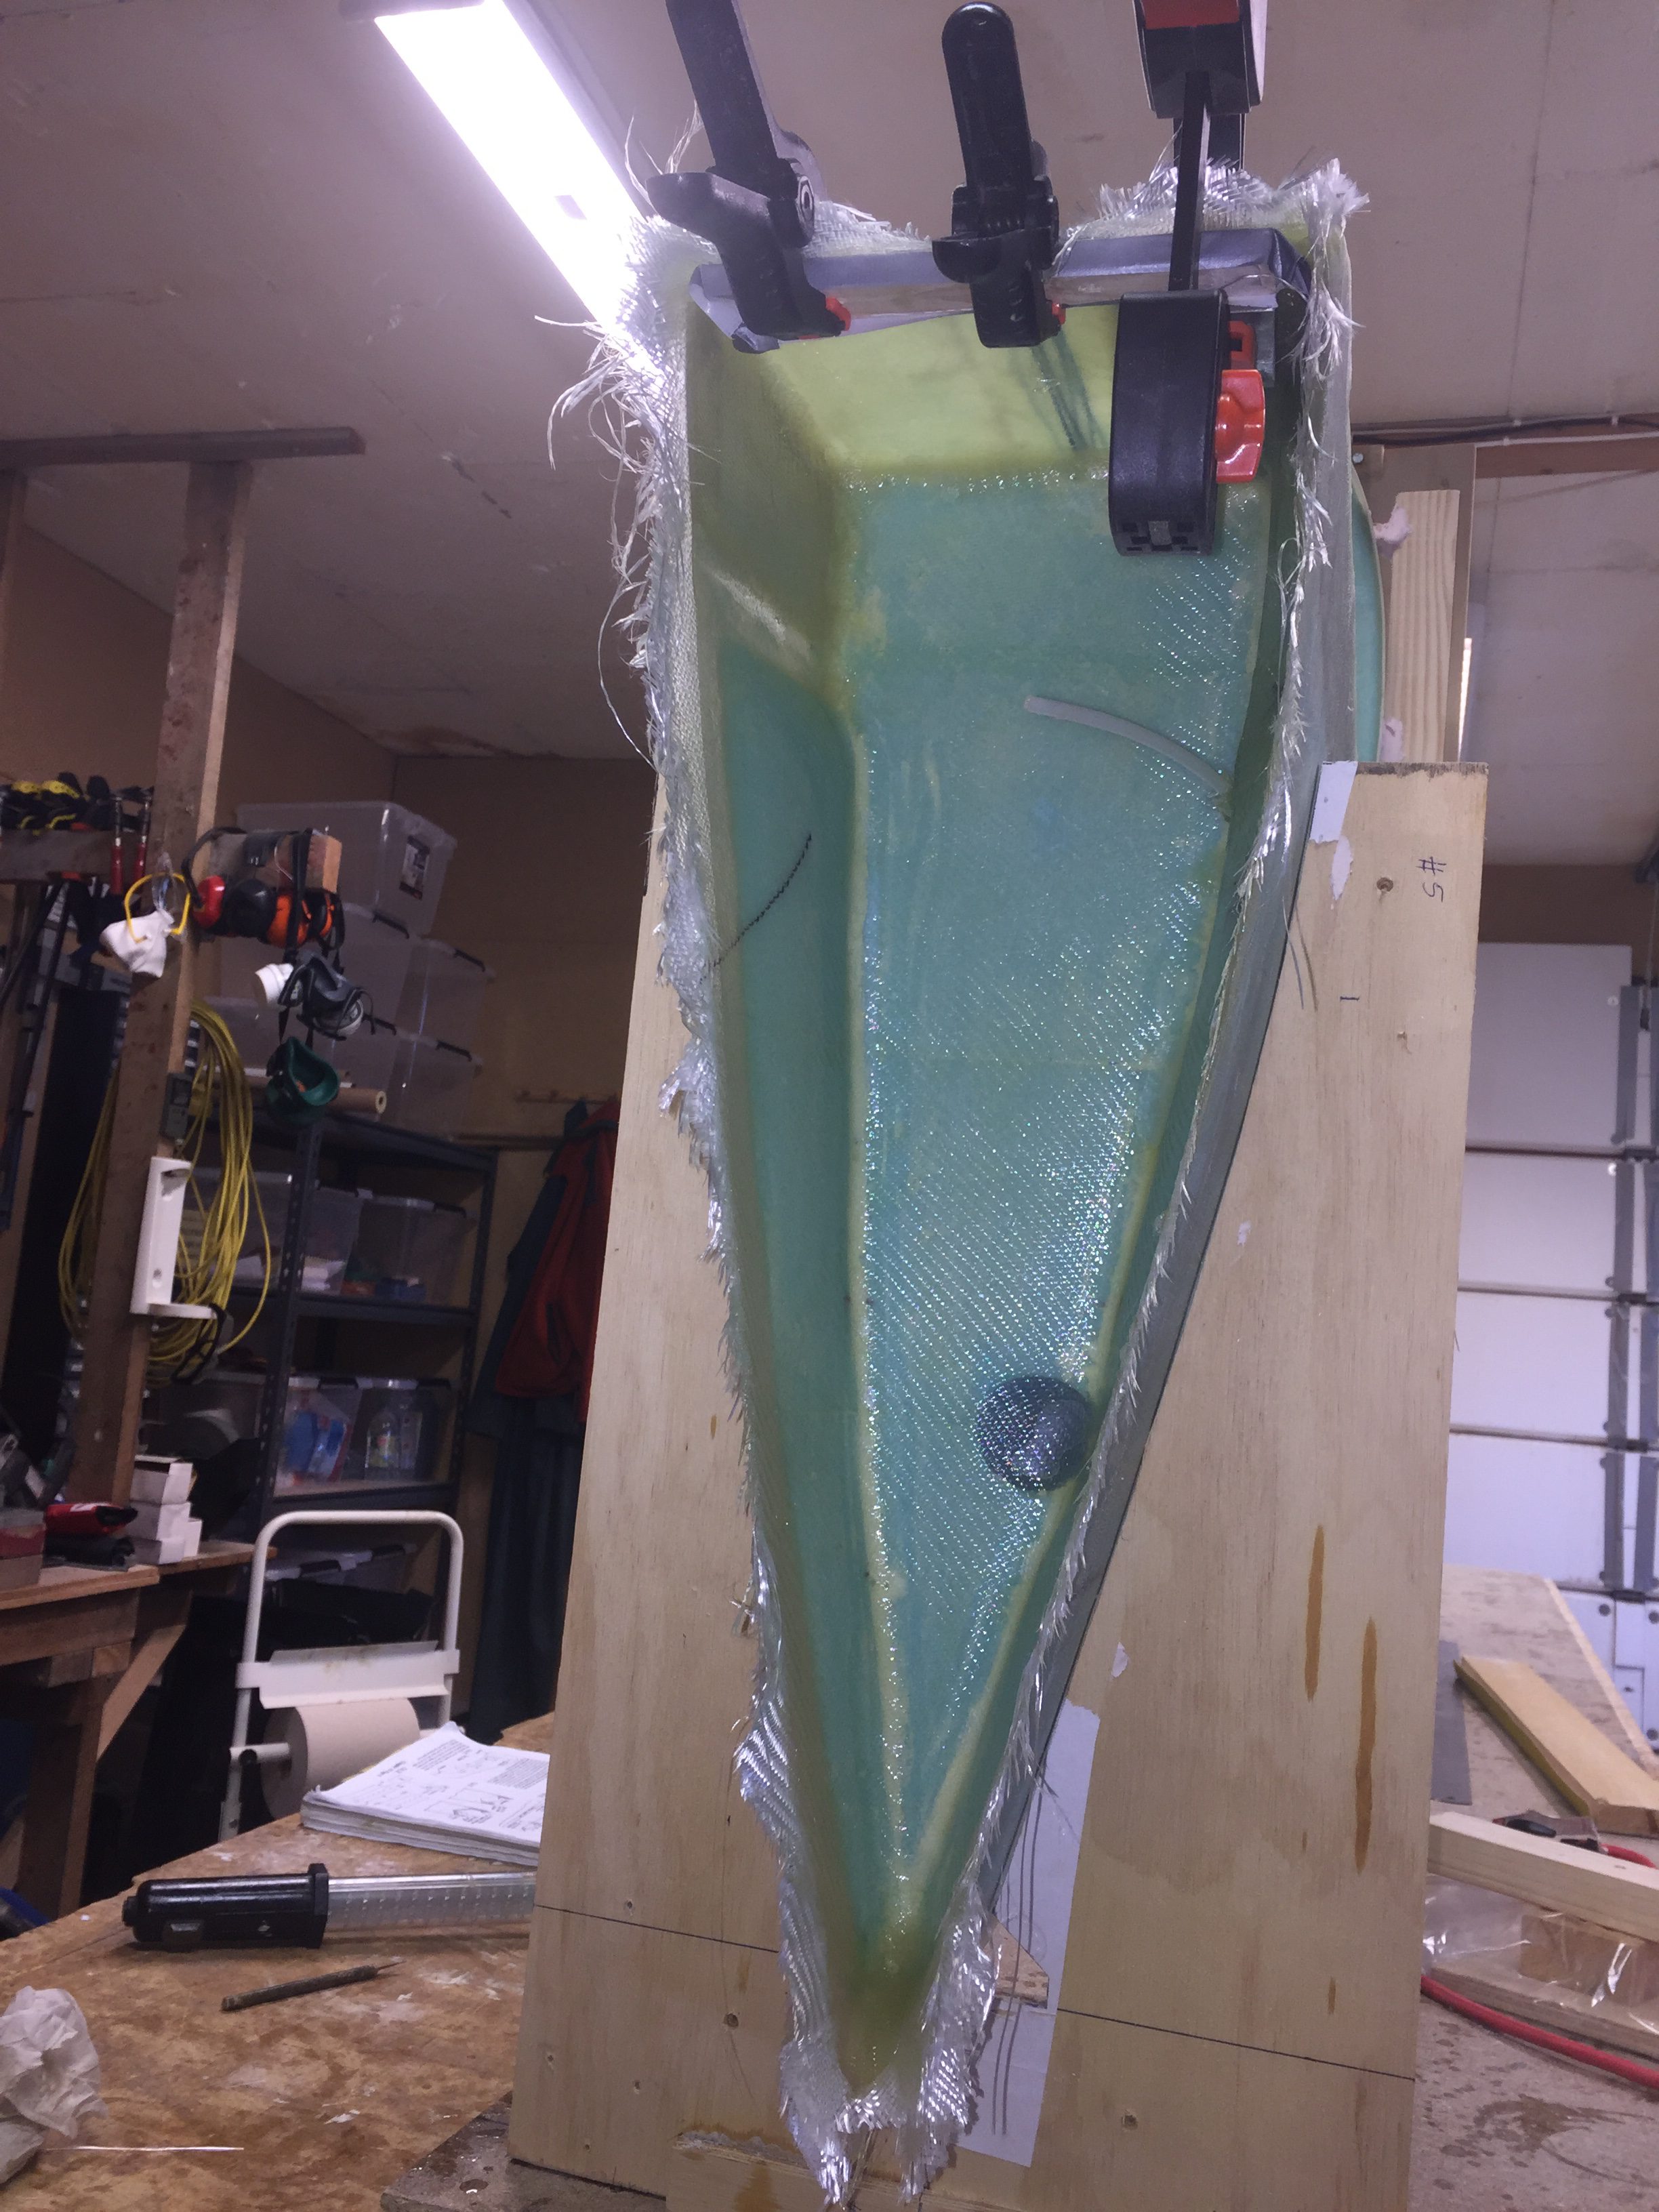
The corner of the trailing edge was semi filled with flox before glassing. Turned out to be rather ok.
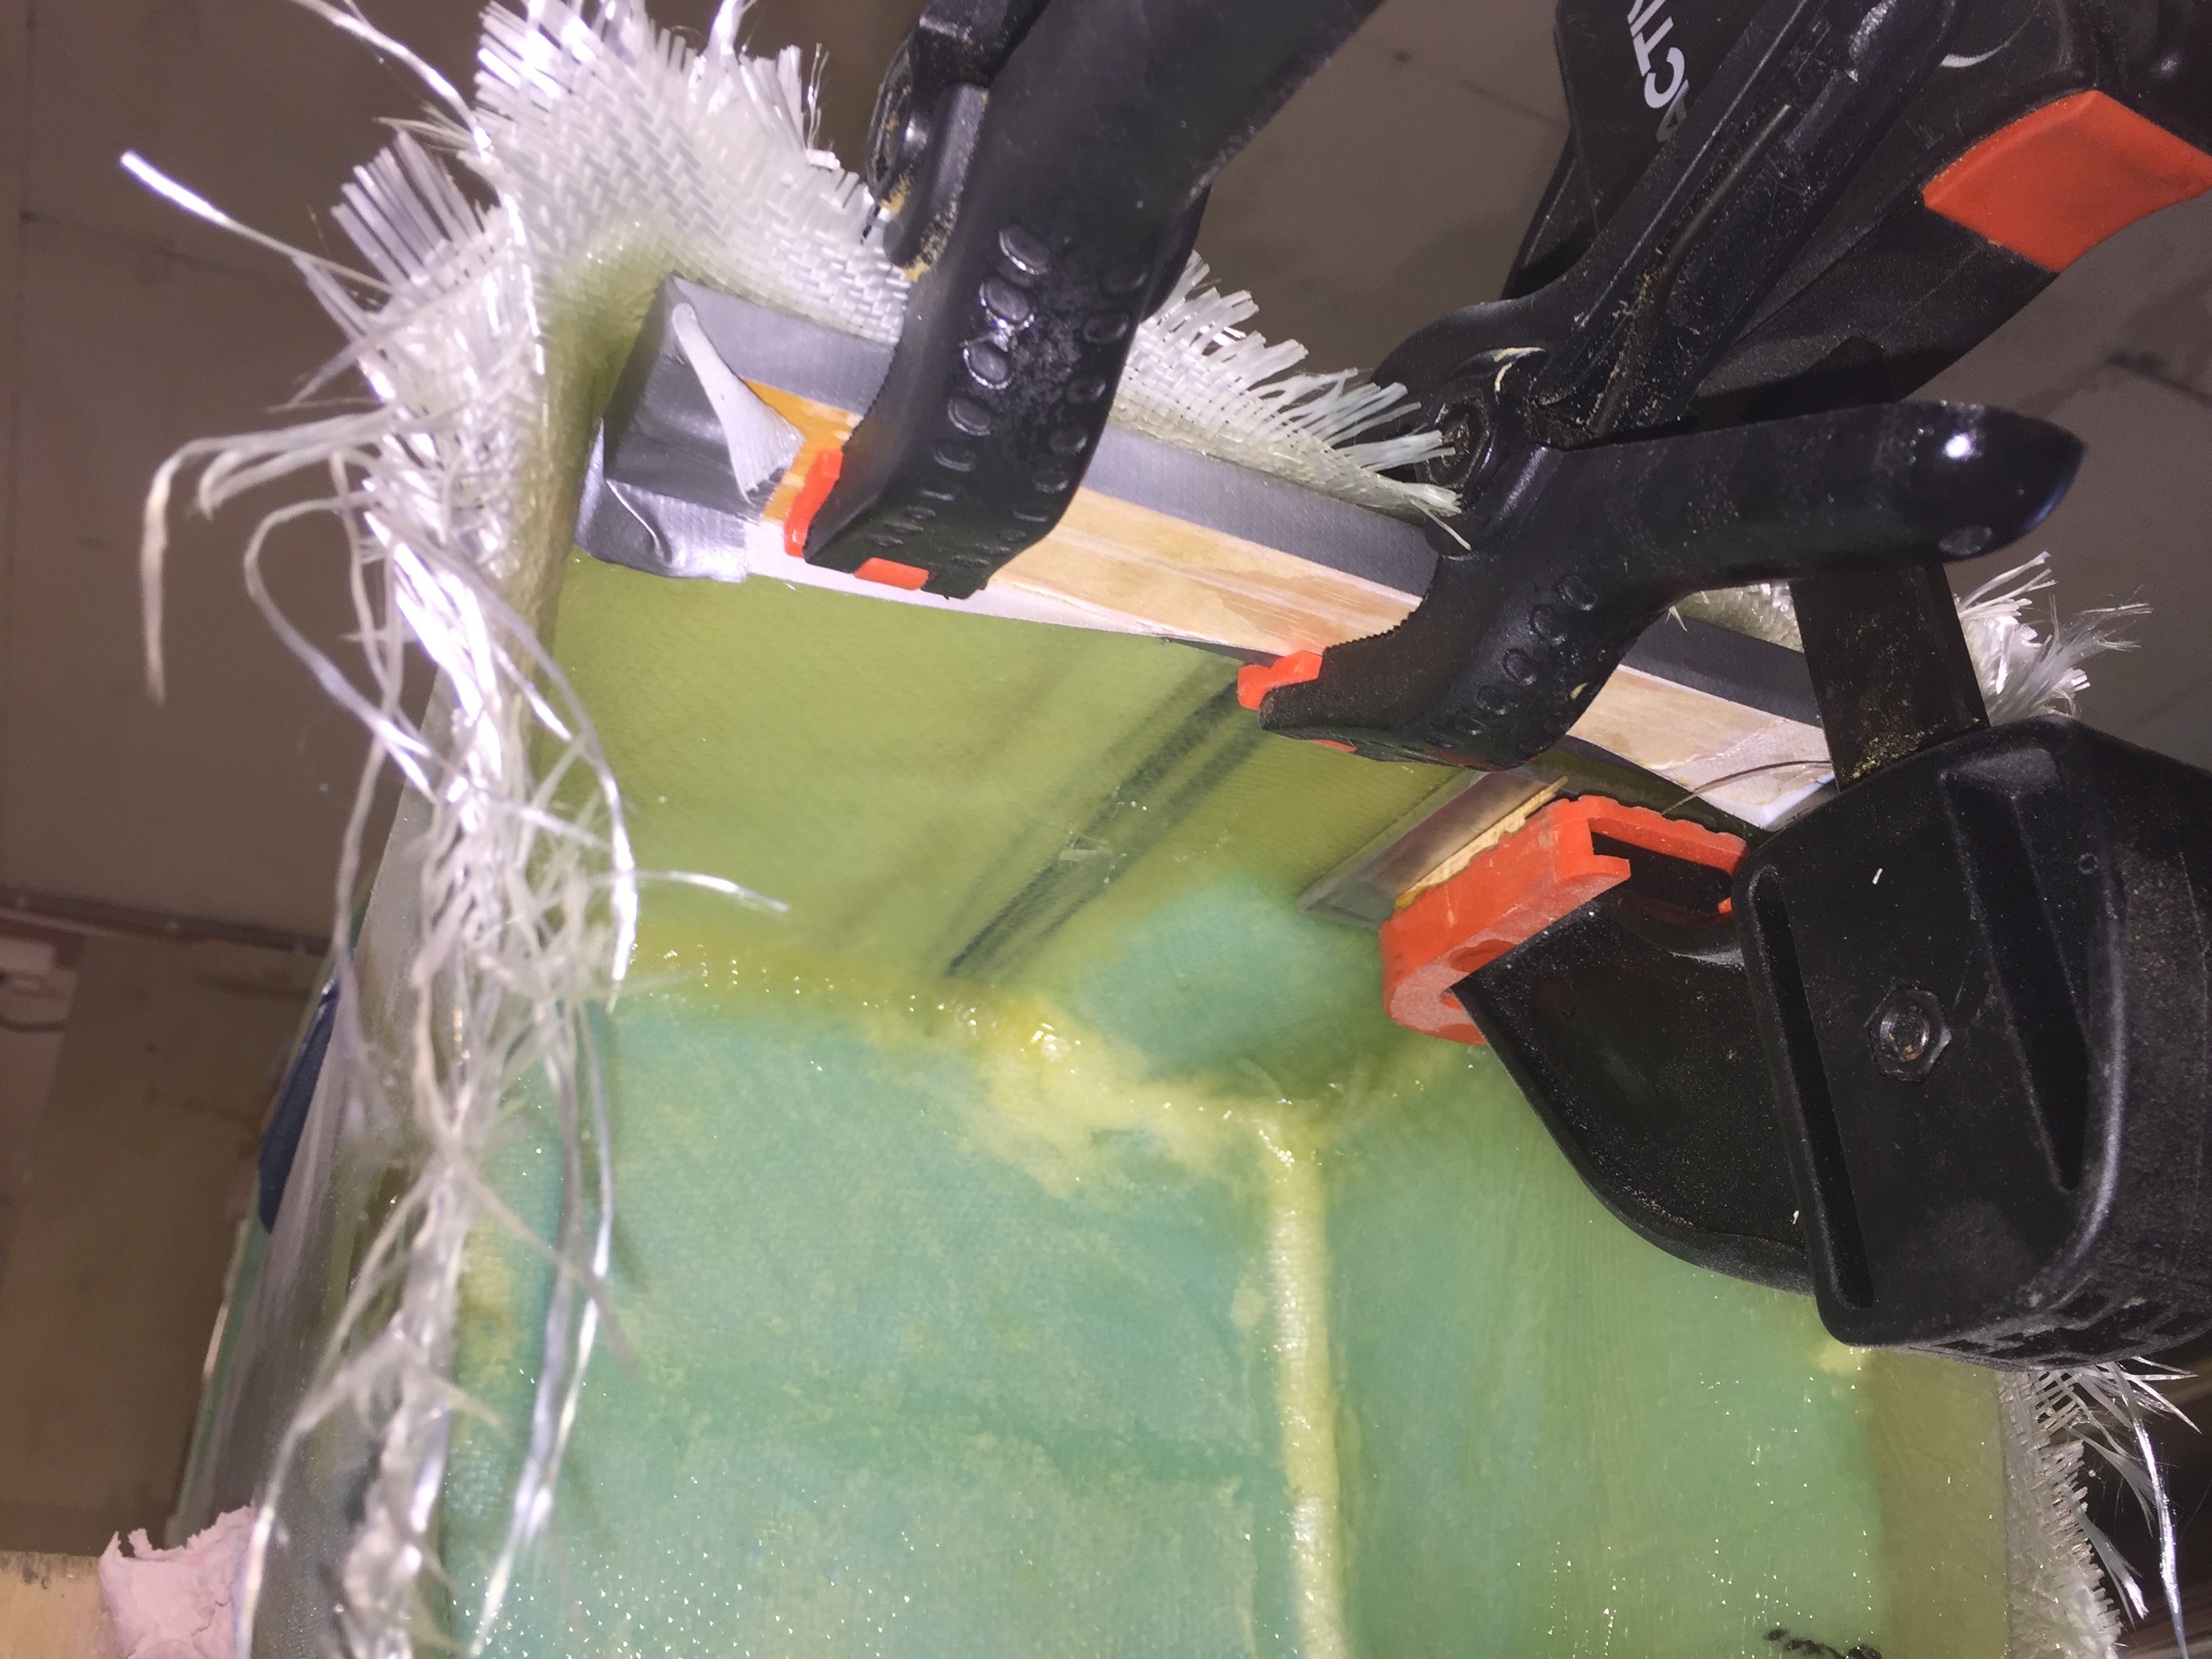
Finally – while the layup was still wet – I glued LW7 on top of LW6 (there are now 3 plies of BID + 3 plies of UNI between the two parts. Used a big clamp to press it tight to LW6. To avoid the glass to fall down due to gravity, I took a wooden stick with some duct tape on and clamped the wet glass edge towards the top here on the picture.
For once I did not use peel ply here as I believe it could actually disrupt the glass due to it’s extra weight. I believe it could pull the glass off the foam and thereby introducing air bubbles, just as on the wing rib above.
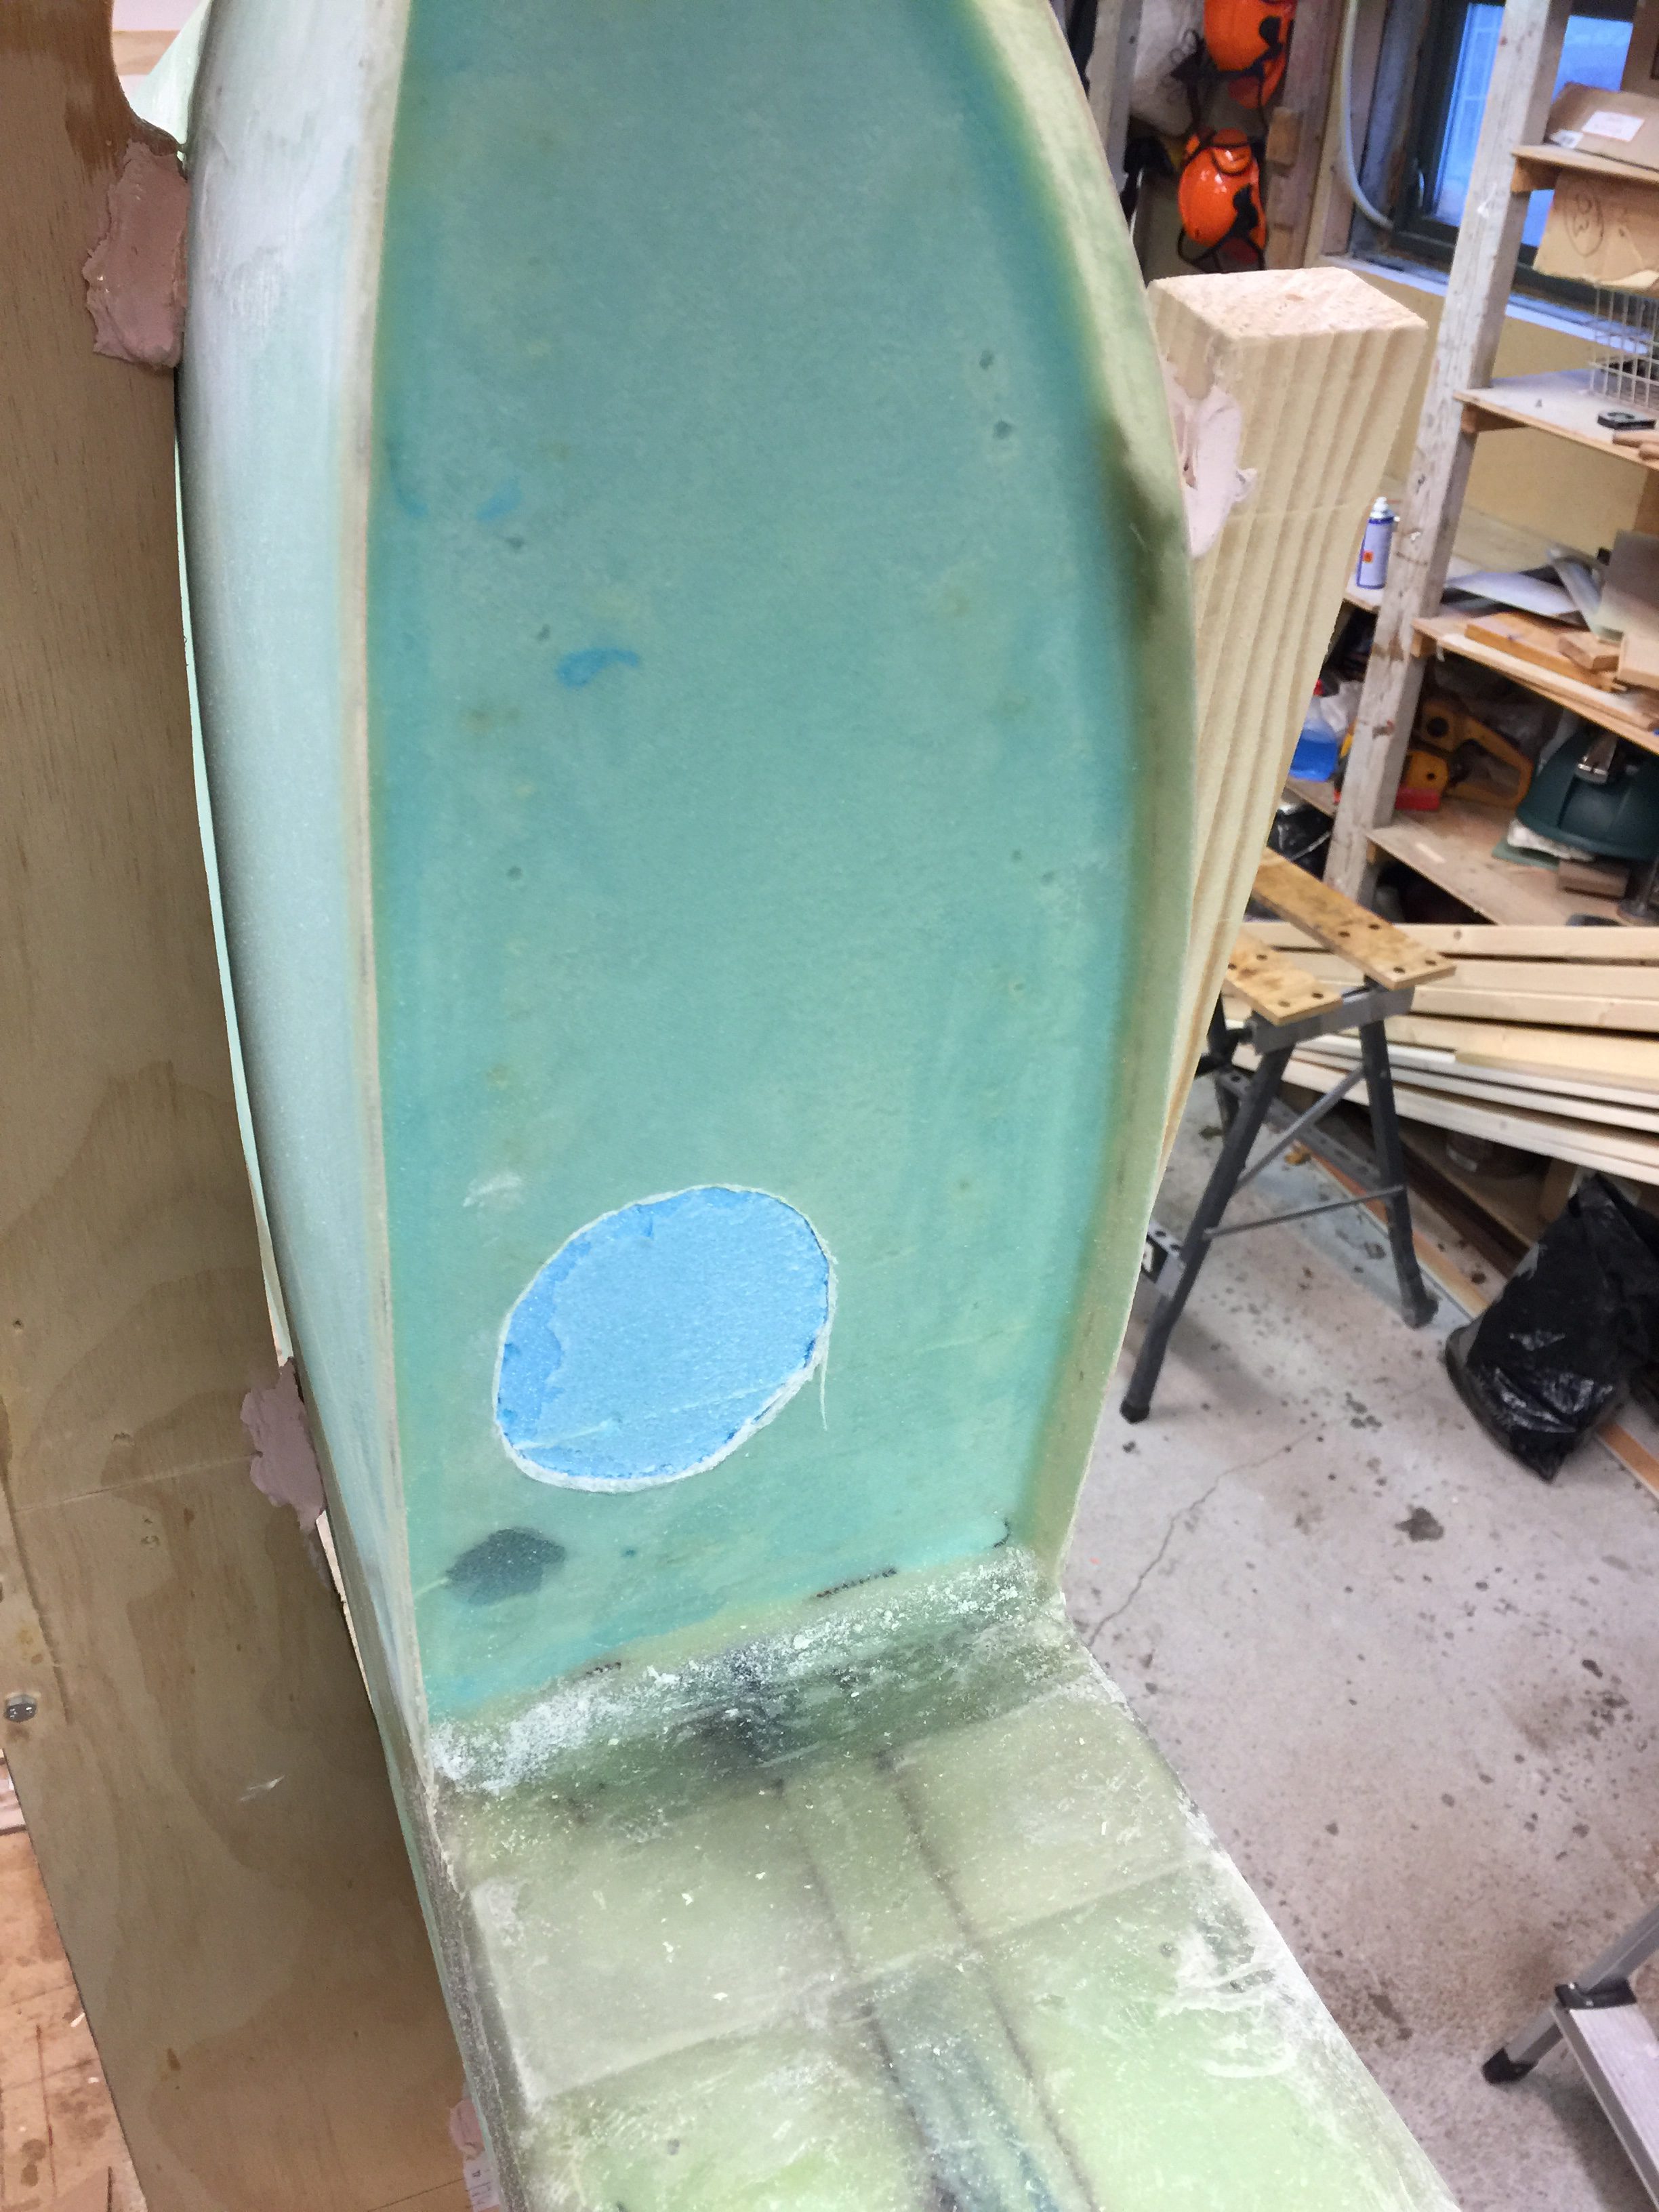
2017-02-21: The last step was to clean up and sand the edges after glassing the wing root. Then I glassed a 4″x4″ BID over LW7.
2019-03-16: Some pictures from the left wing root. Basically same procedure as the right wing, but this time I removed the foam for the control horn clearance before glassing.