
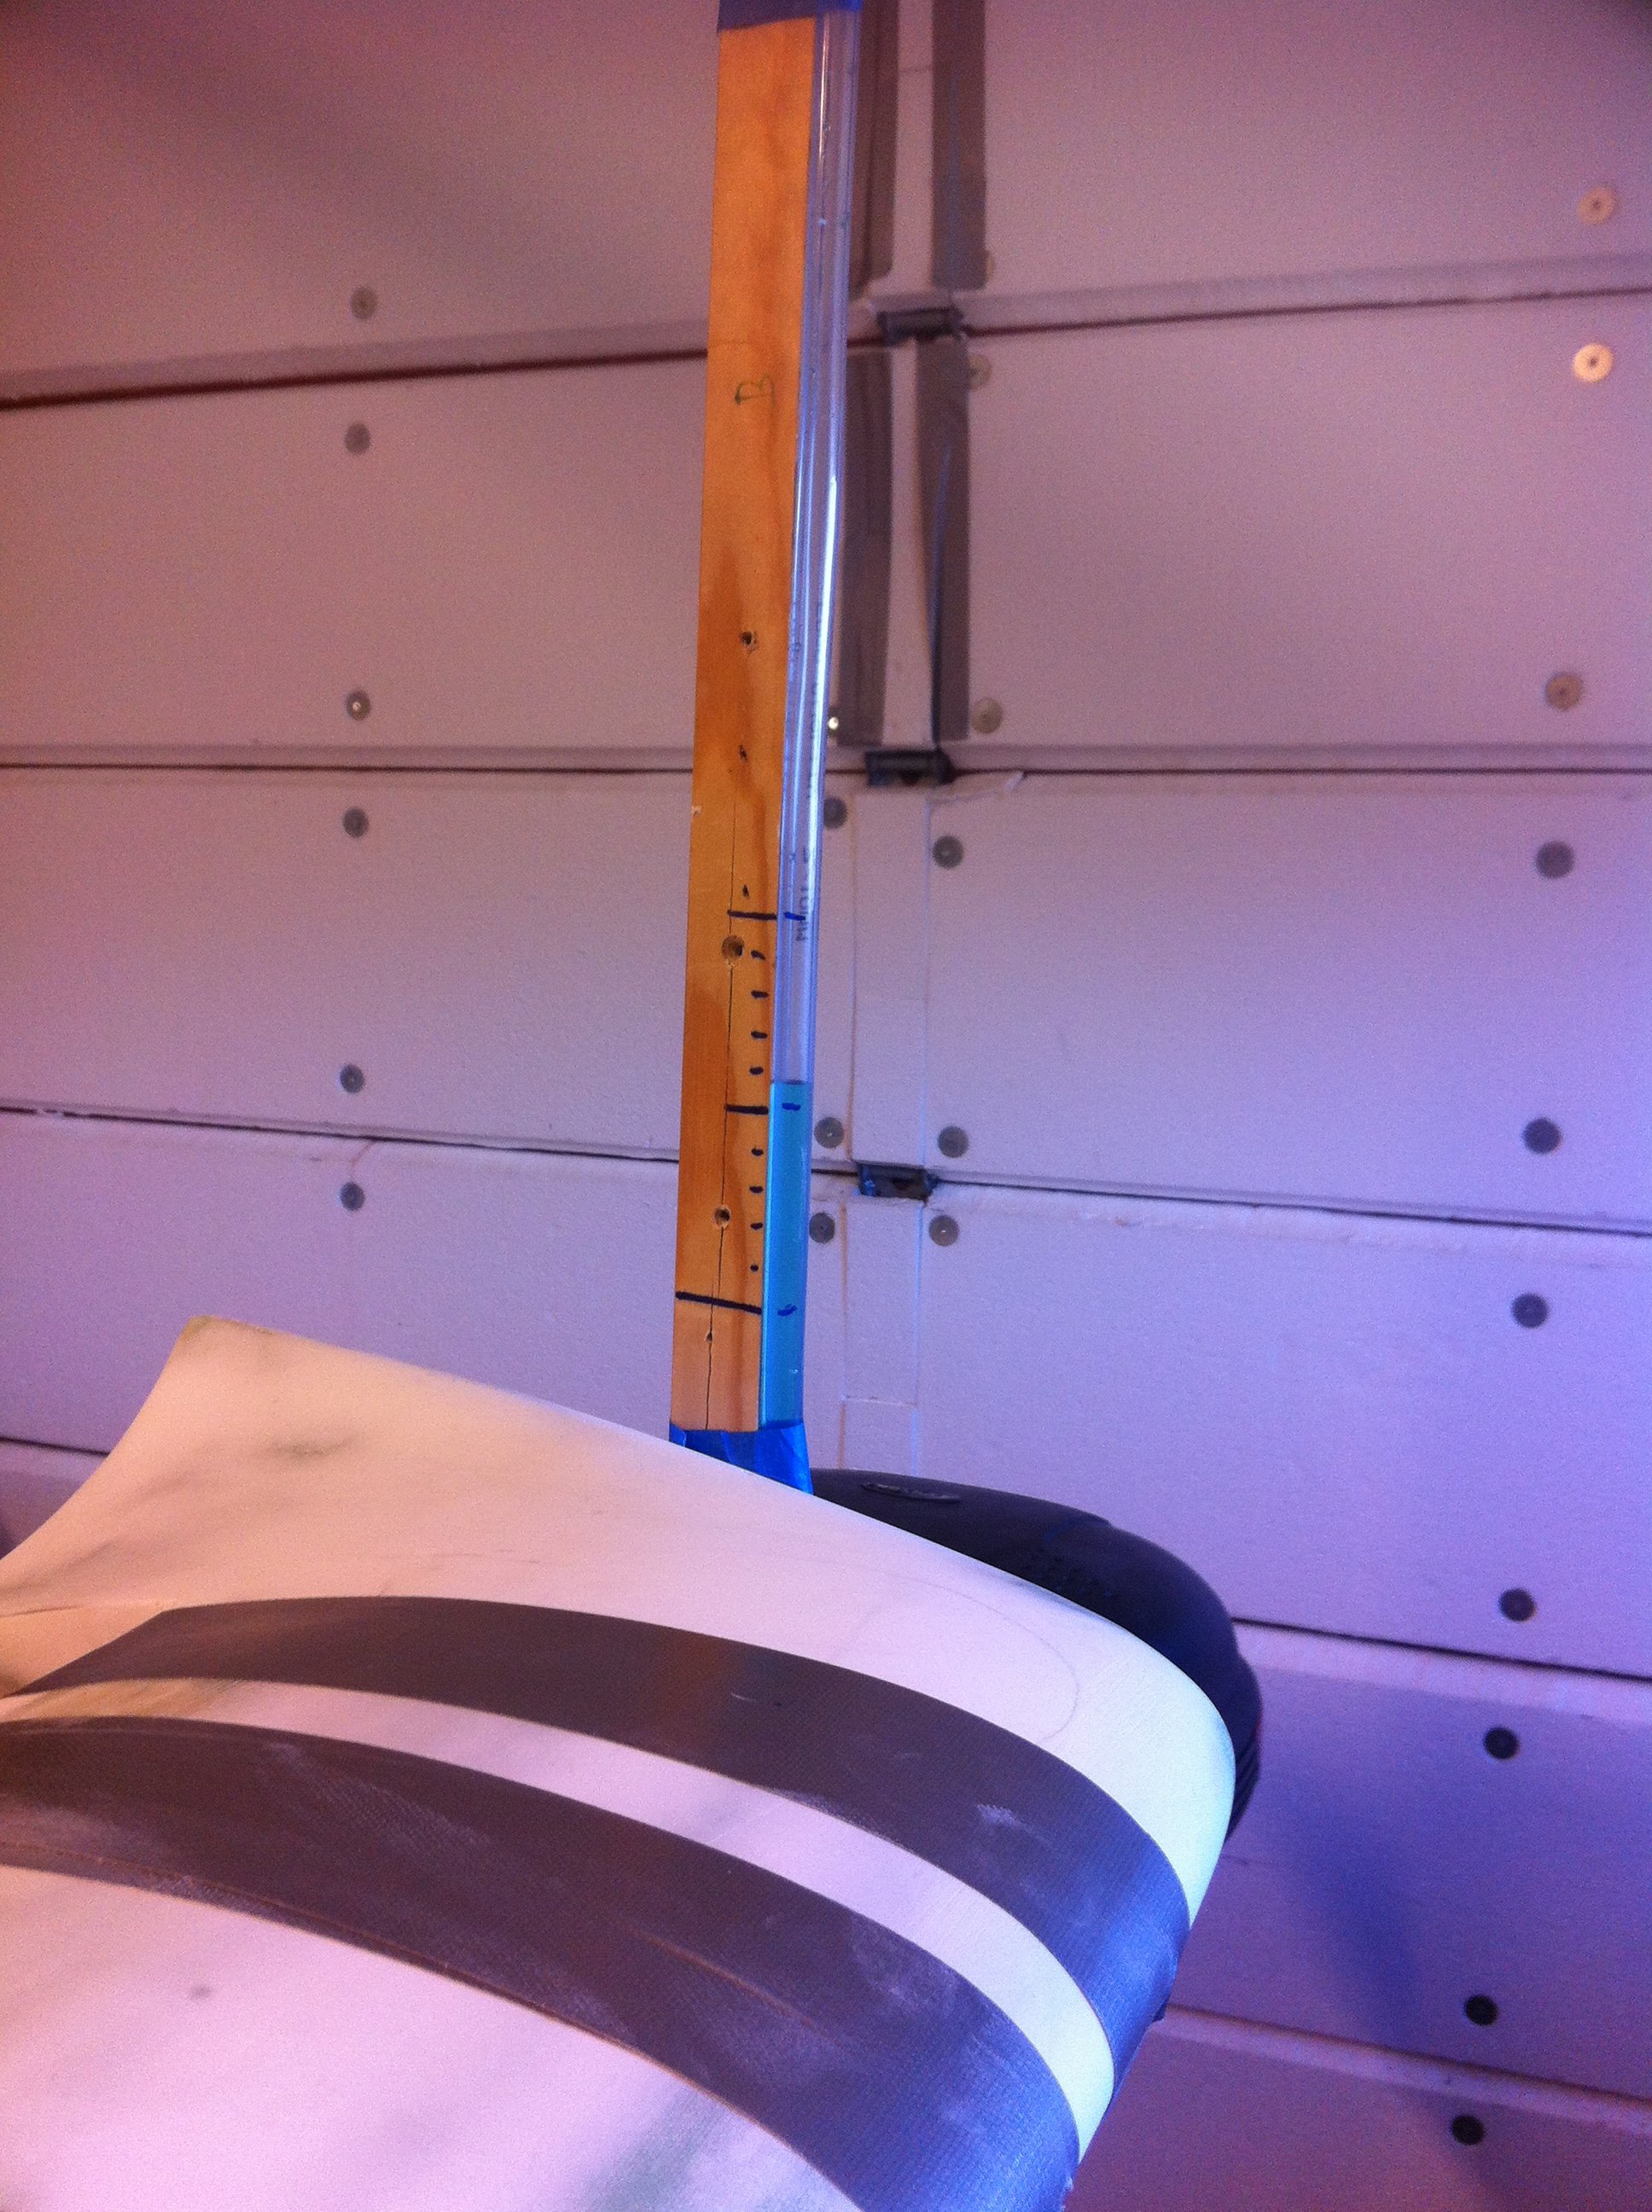
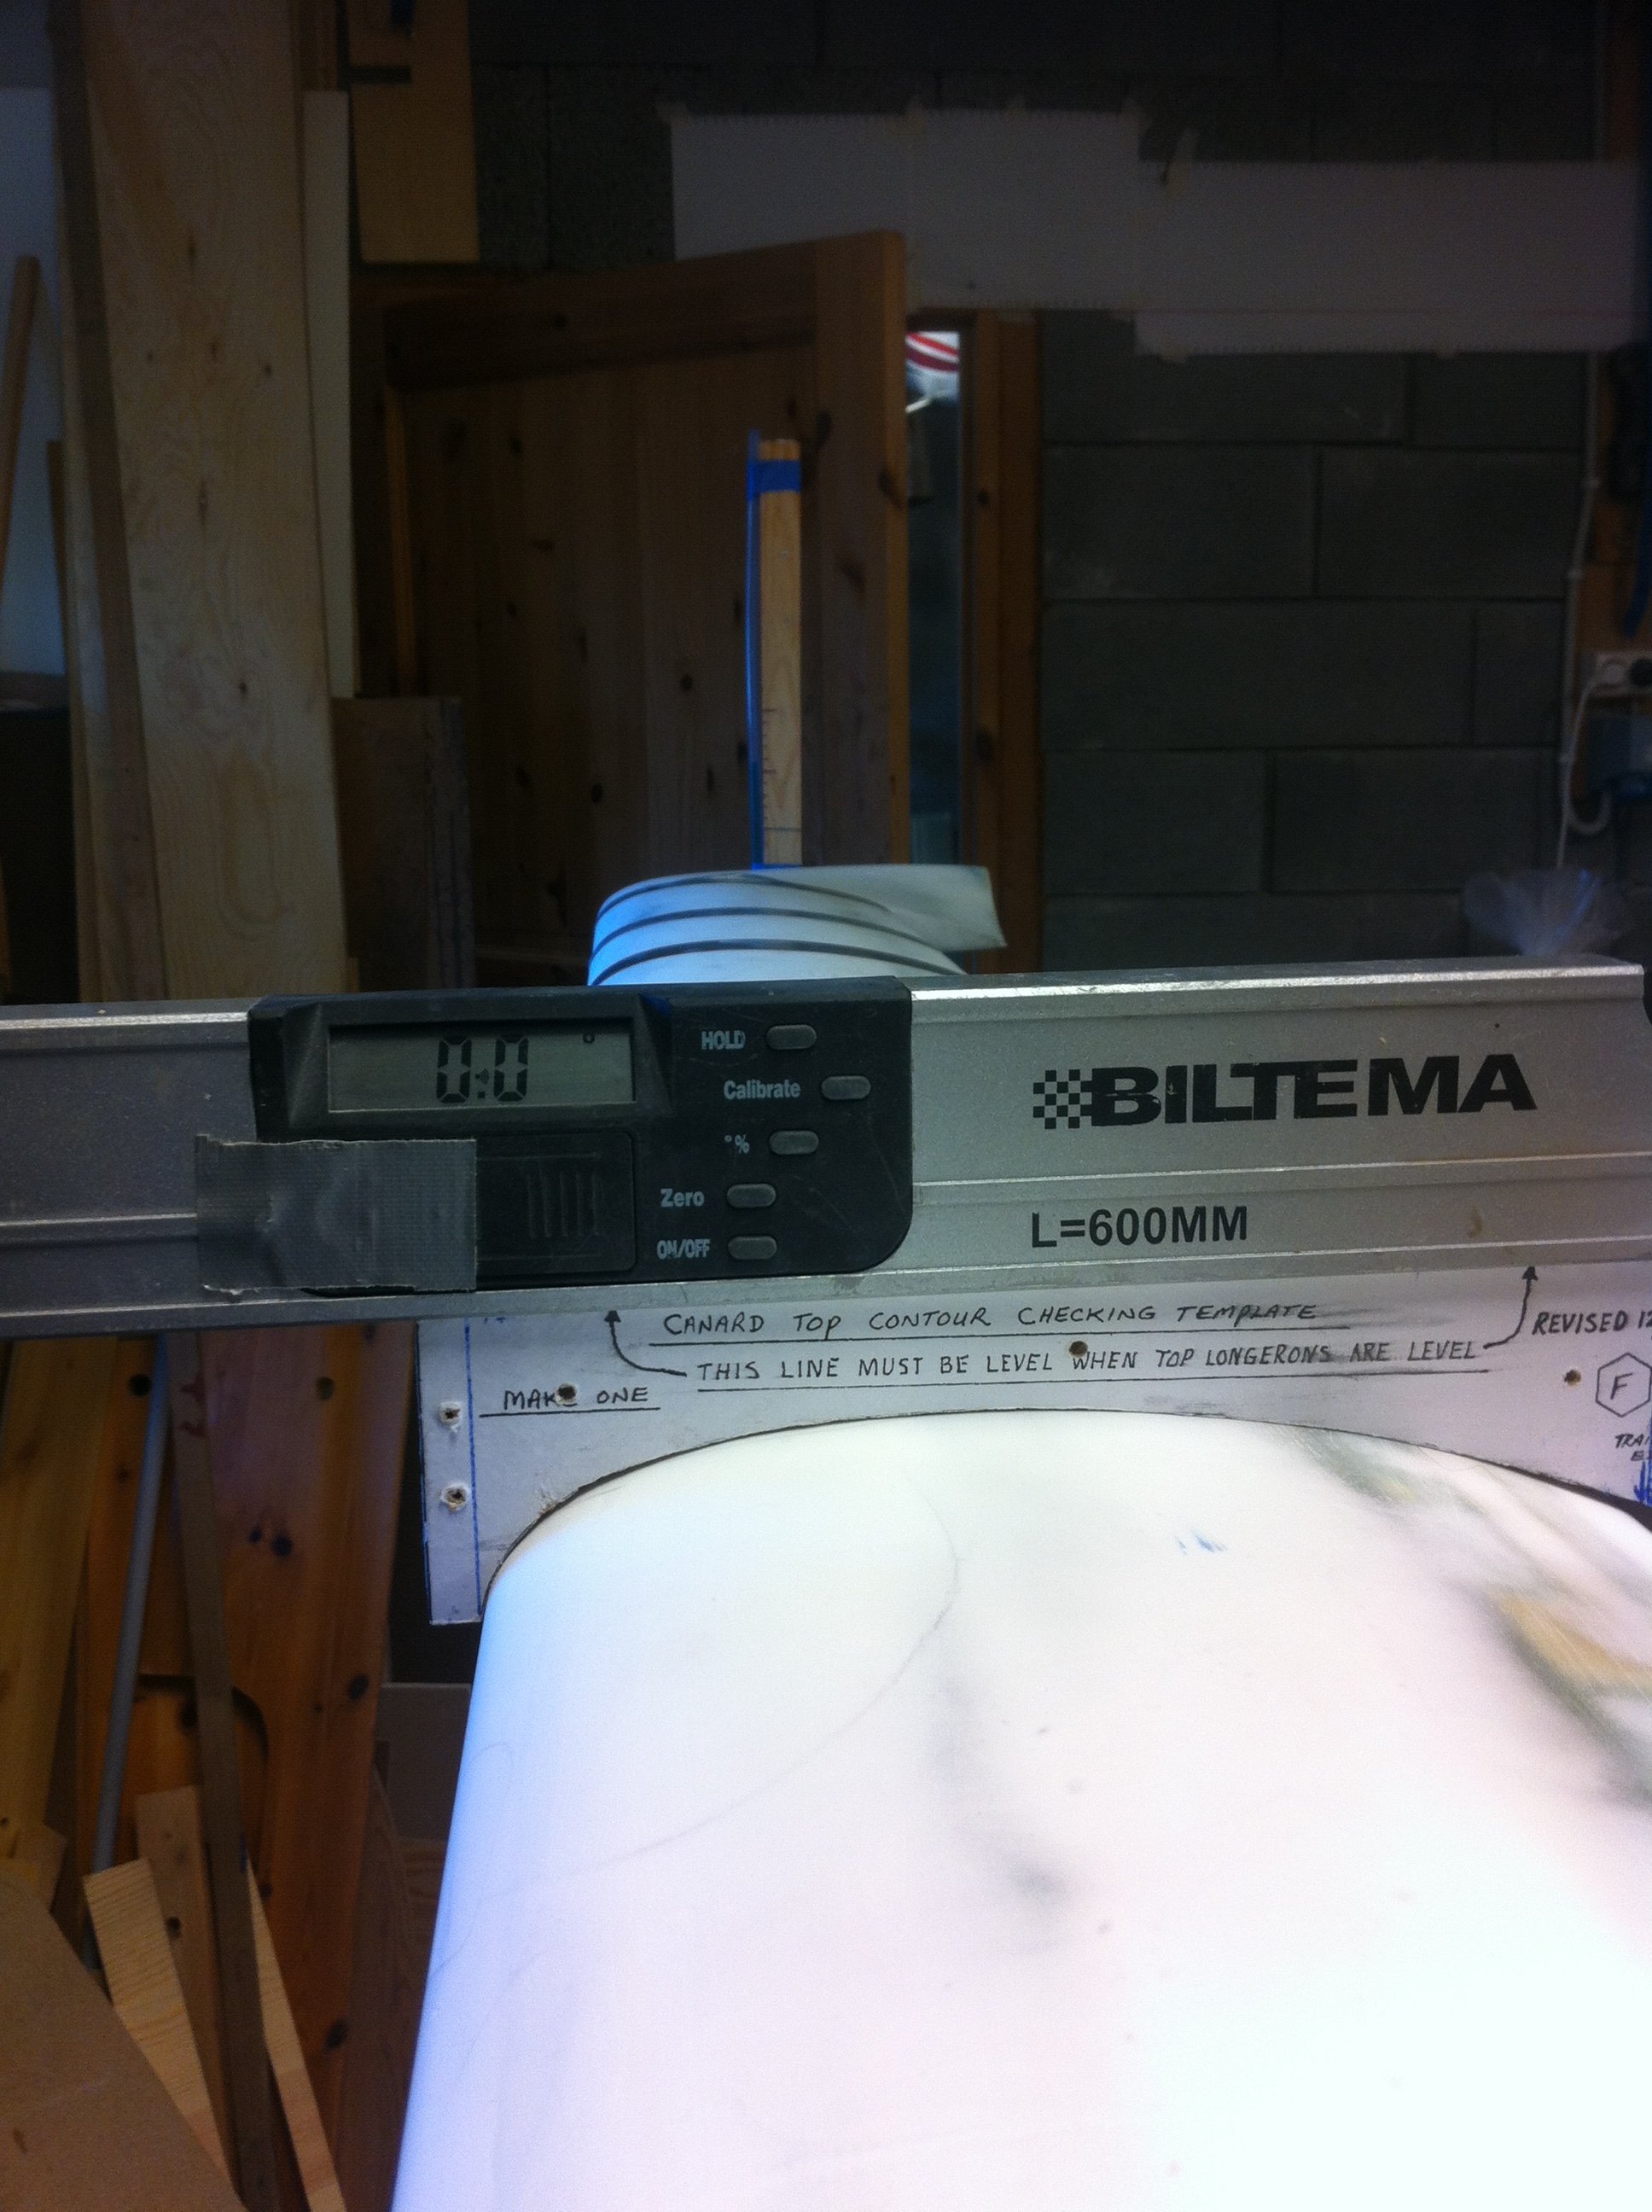
2013-03-23: Then the canard has to be level and perpendicular to the fuselage. To level off the canard I used a water leveler made of a clear hose filled with blue-tinted water to easier see the water in the hose.
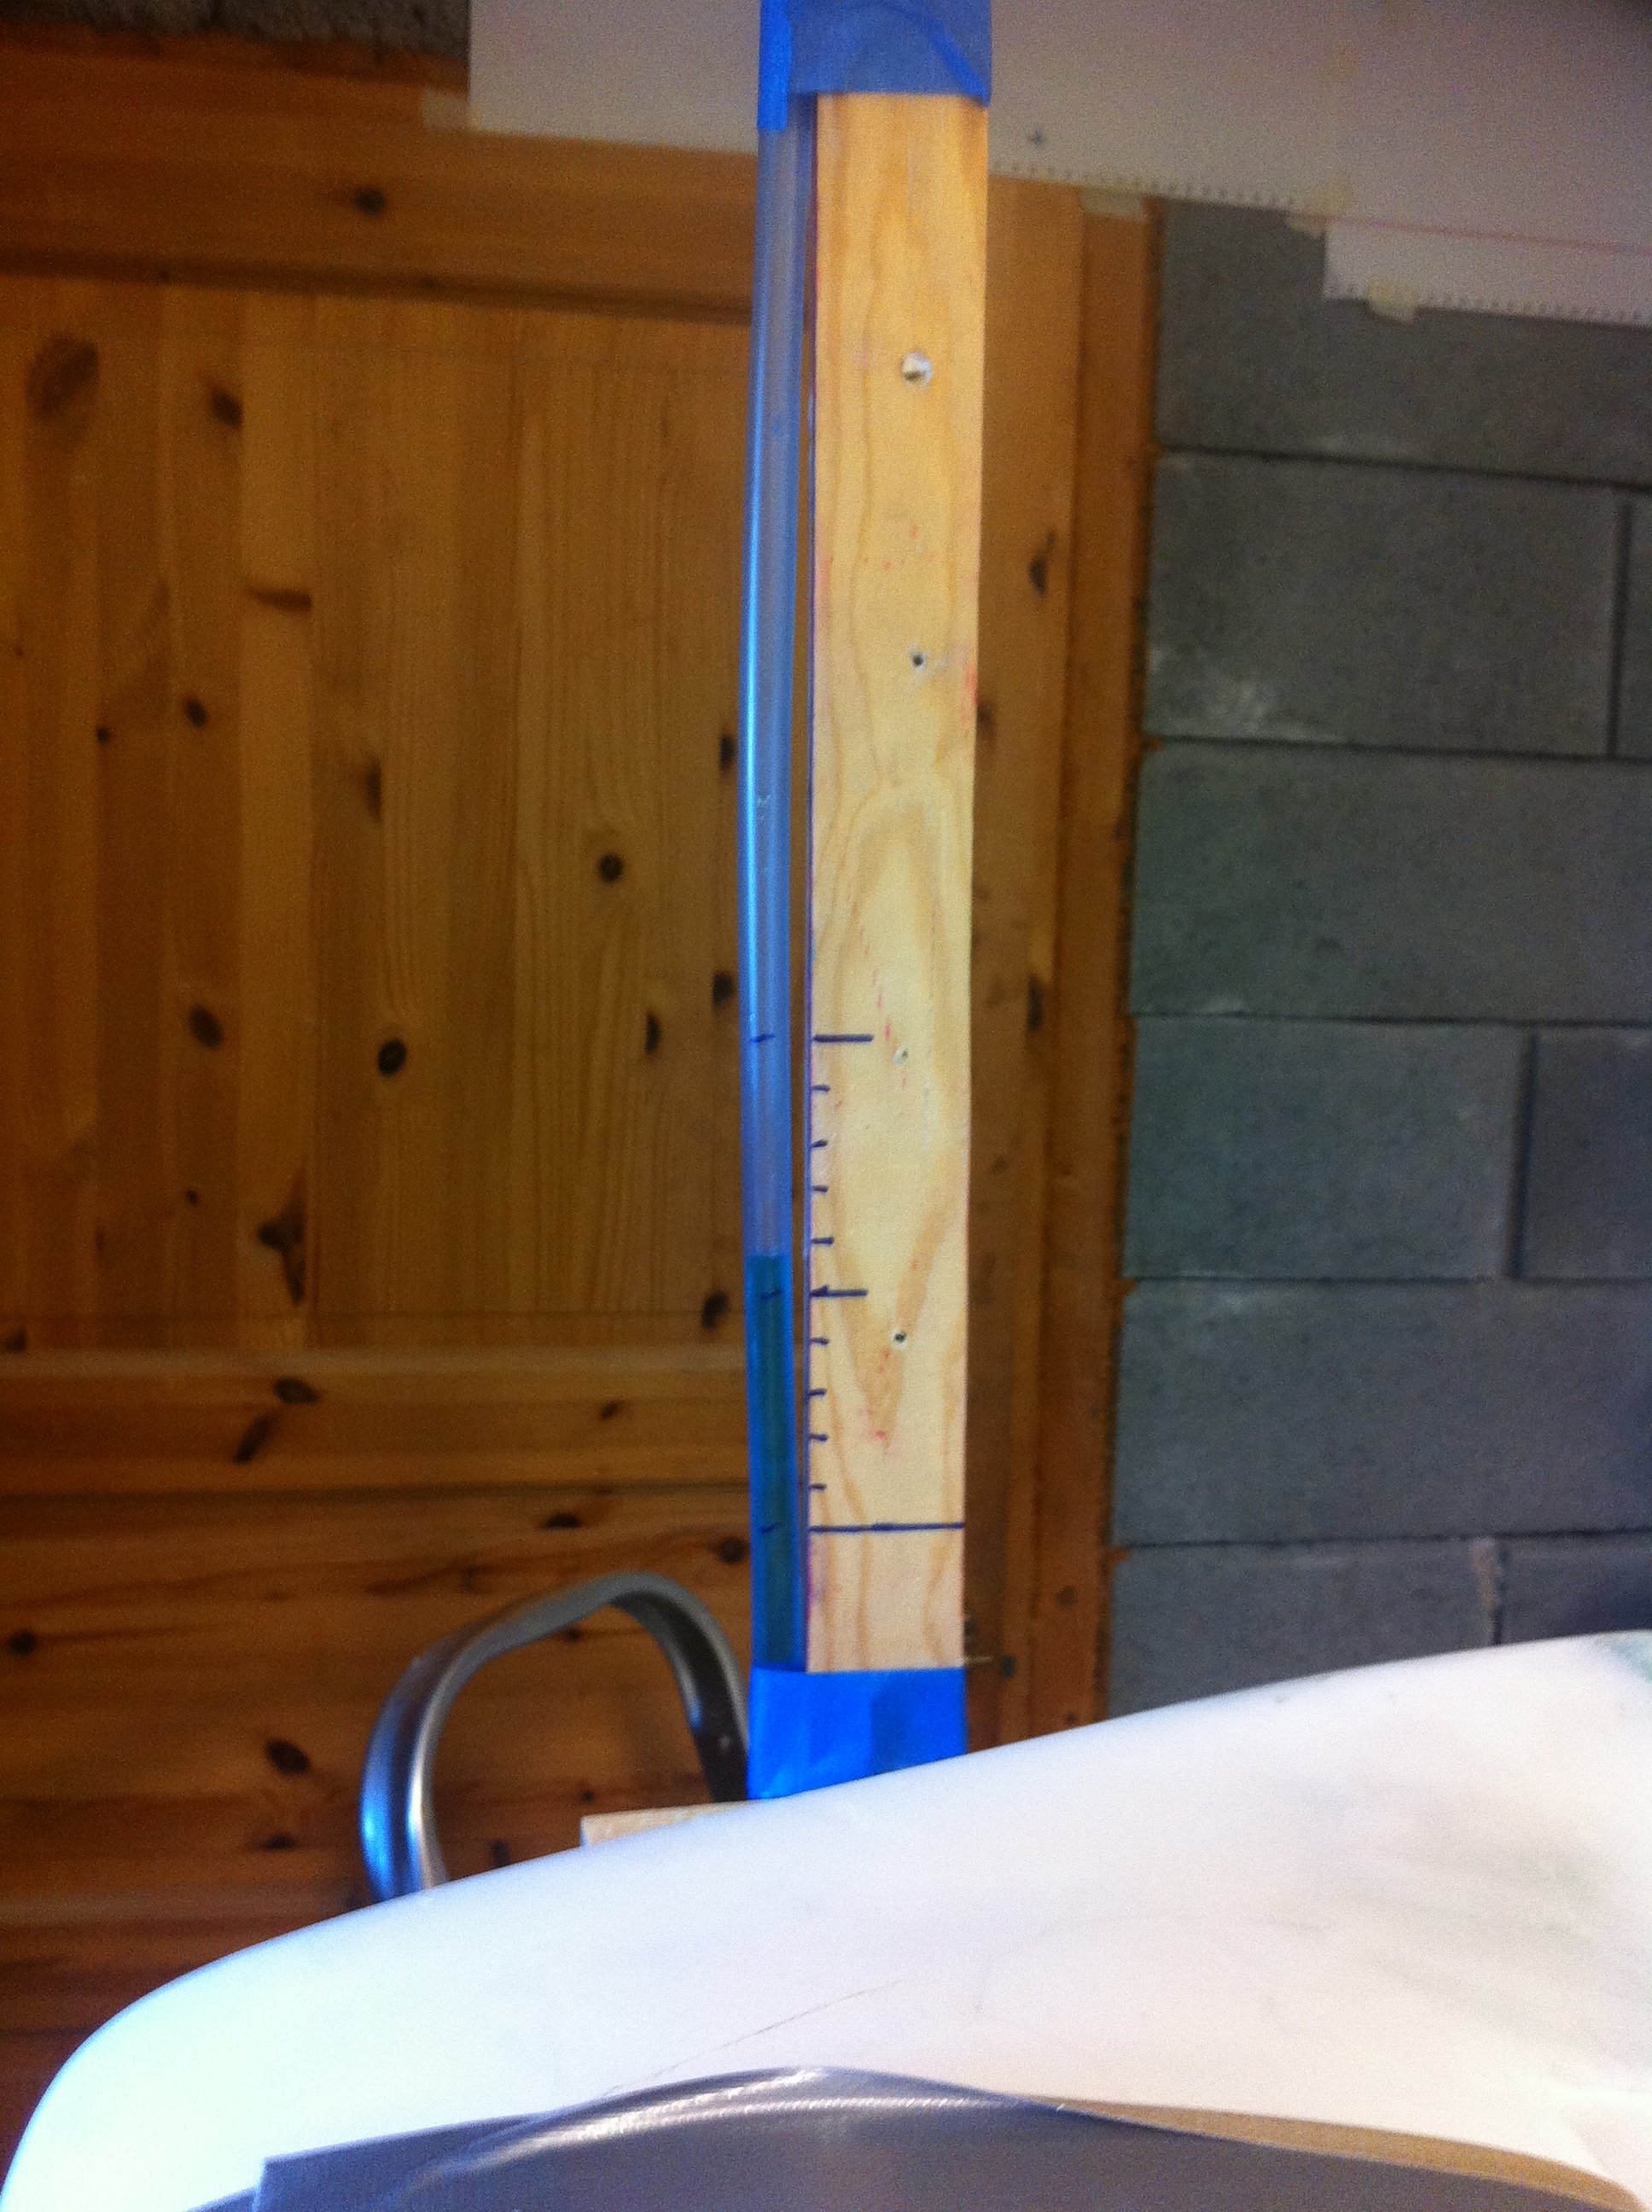
2013-03-23: A really easy way to level off, idiot-proof 🙂
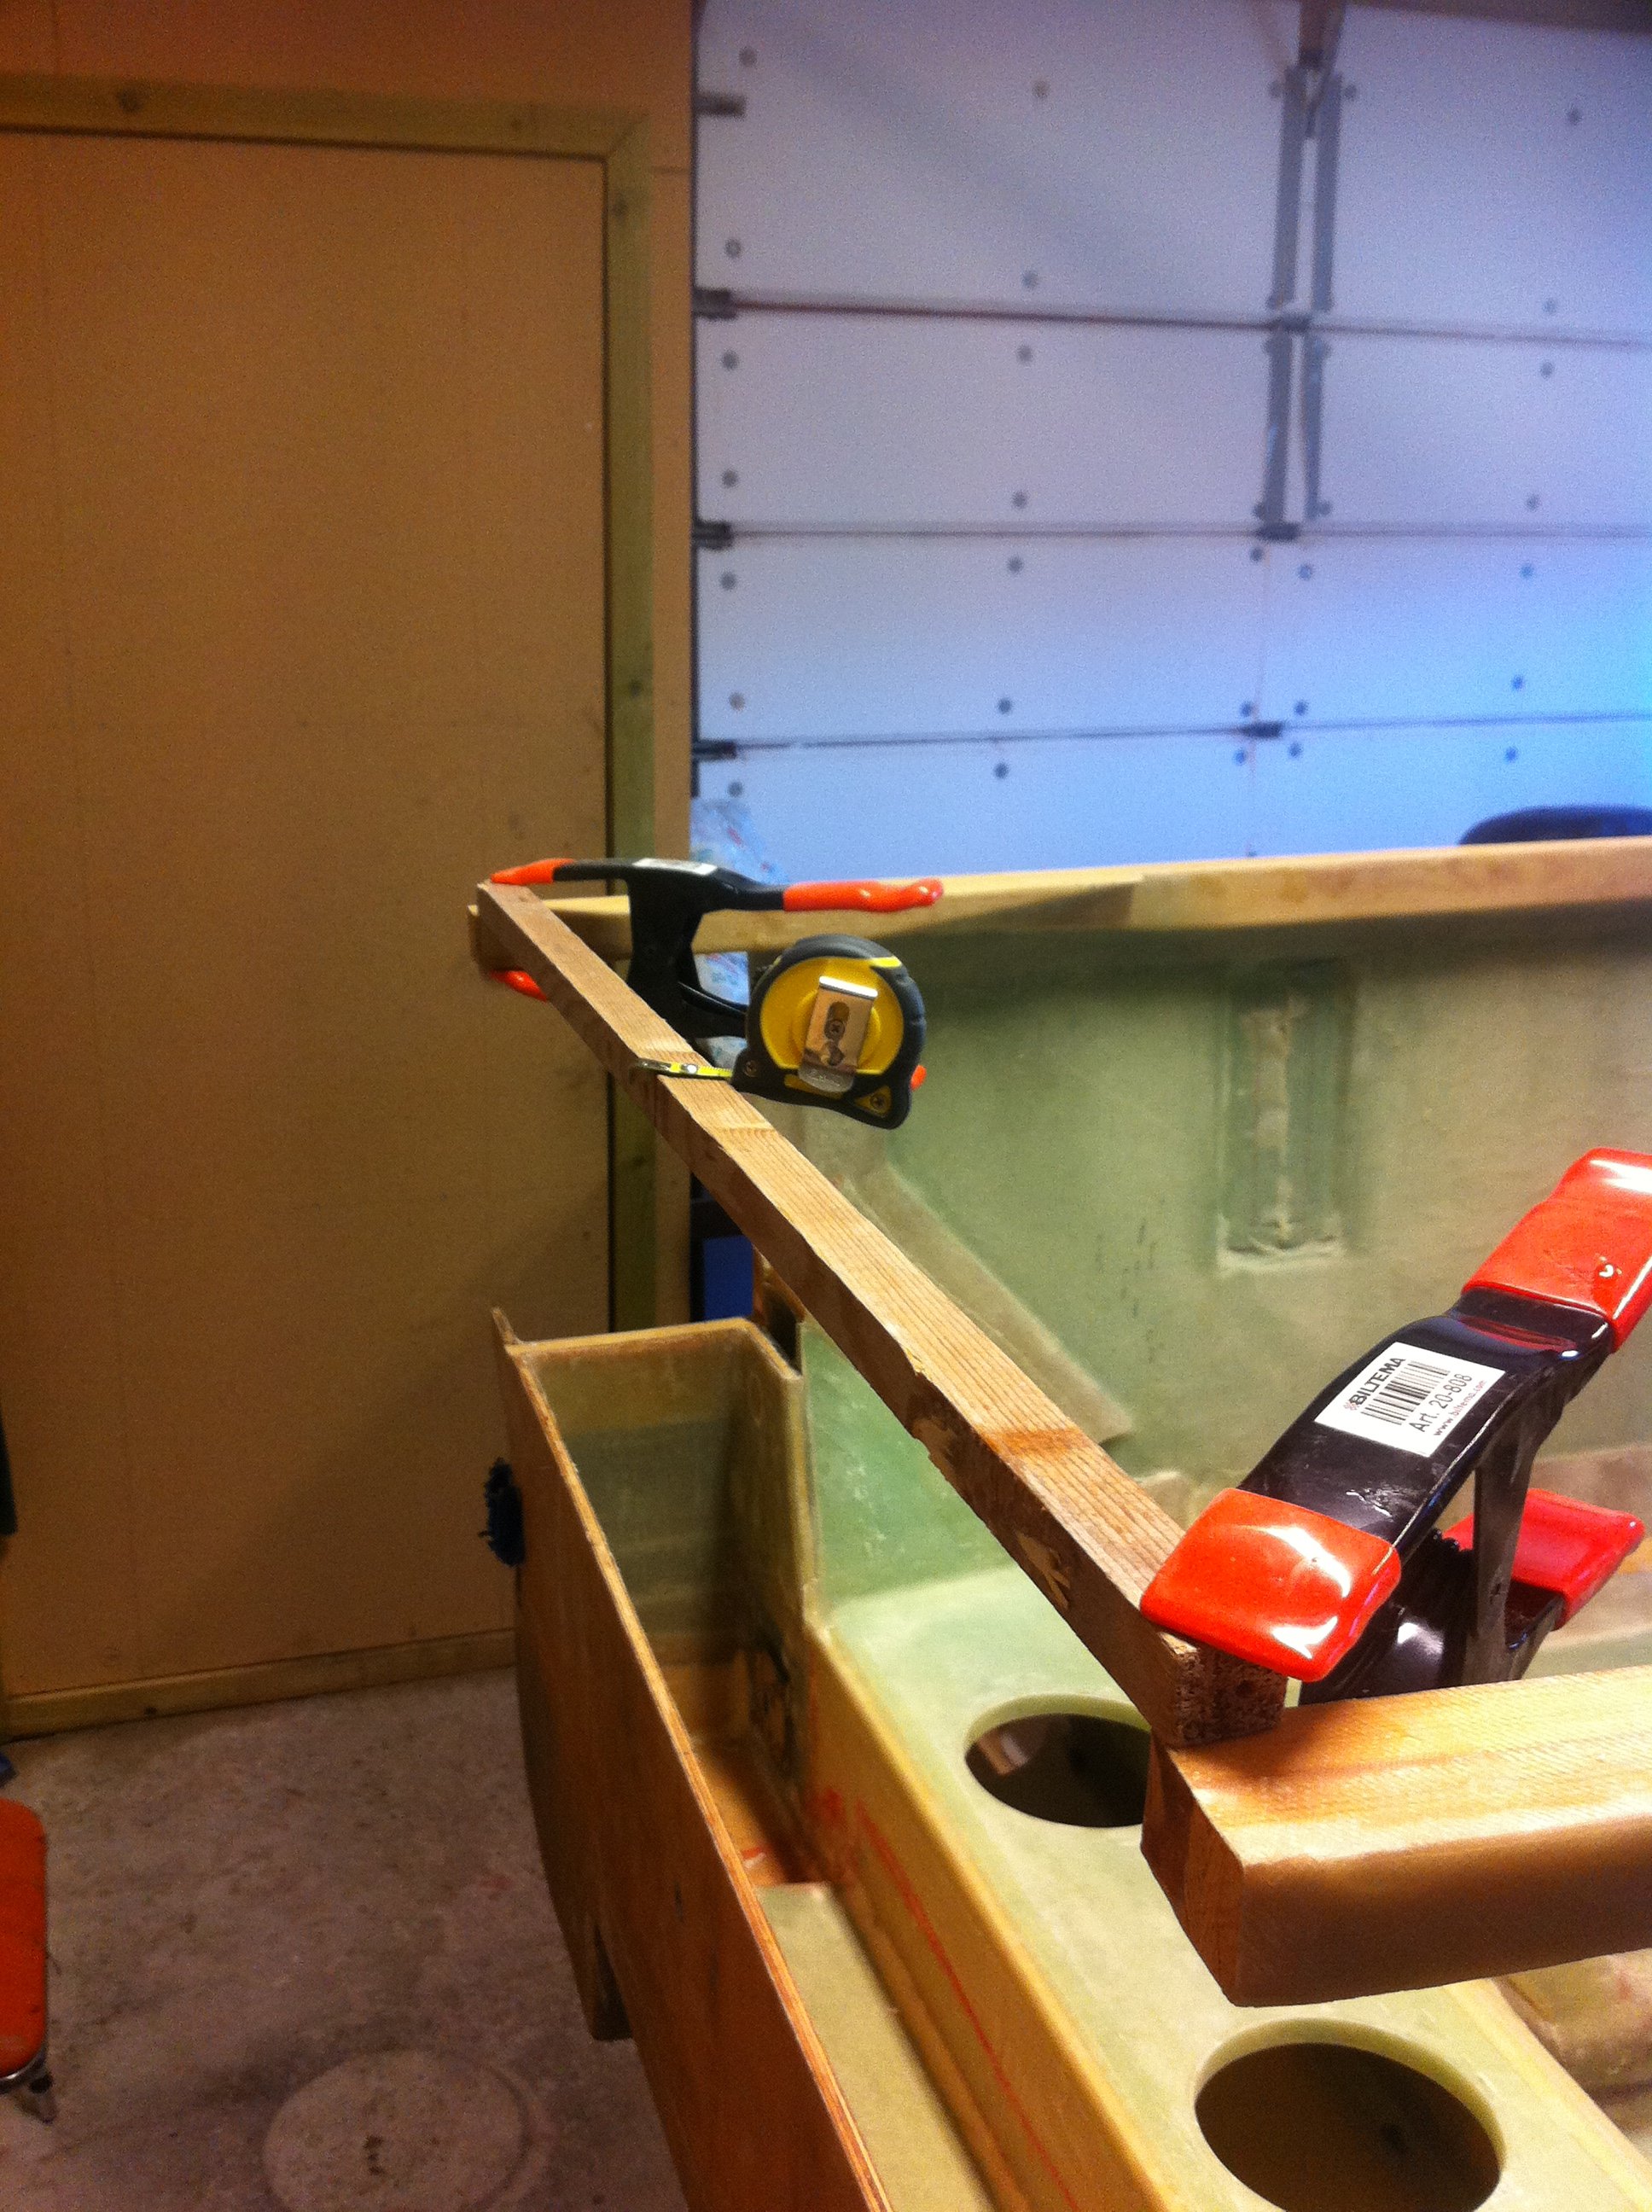
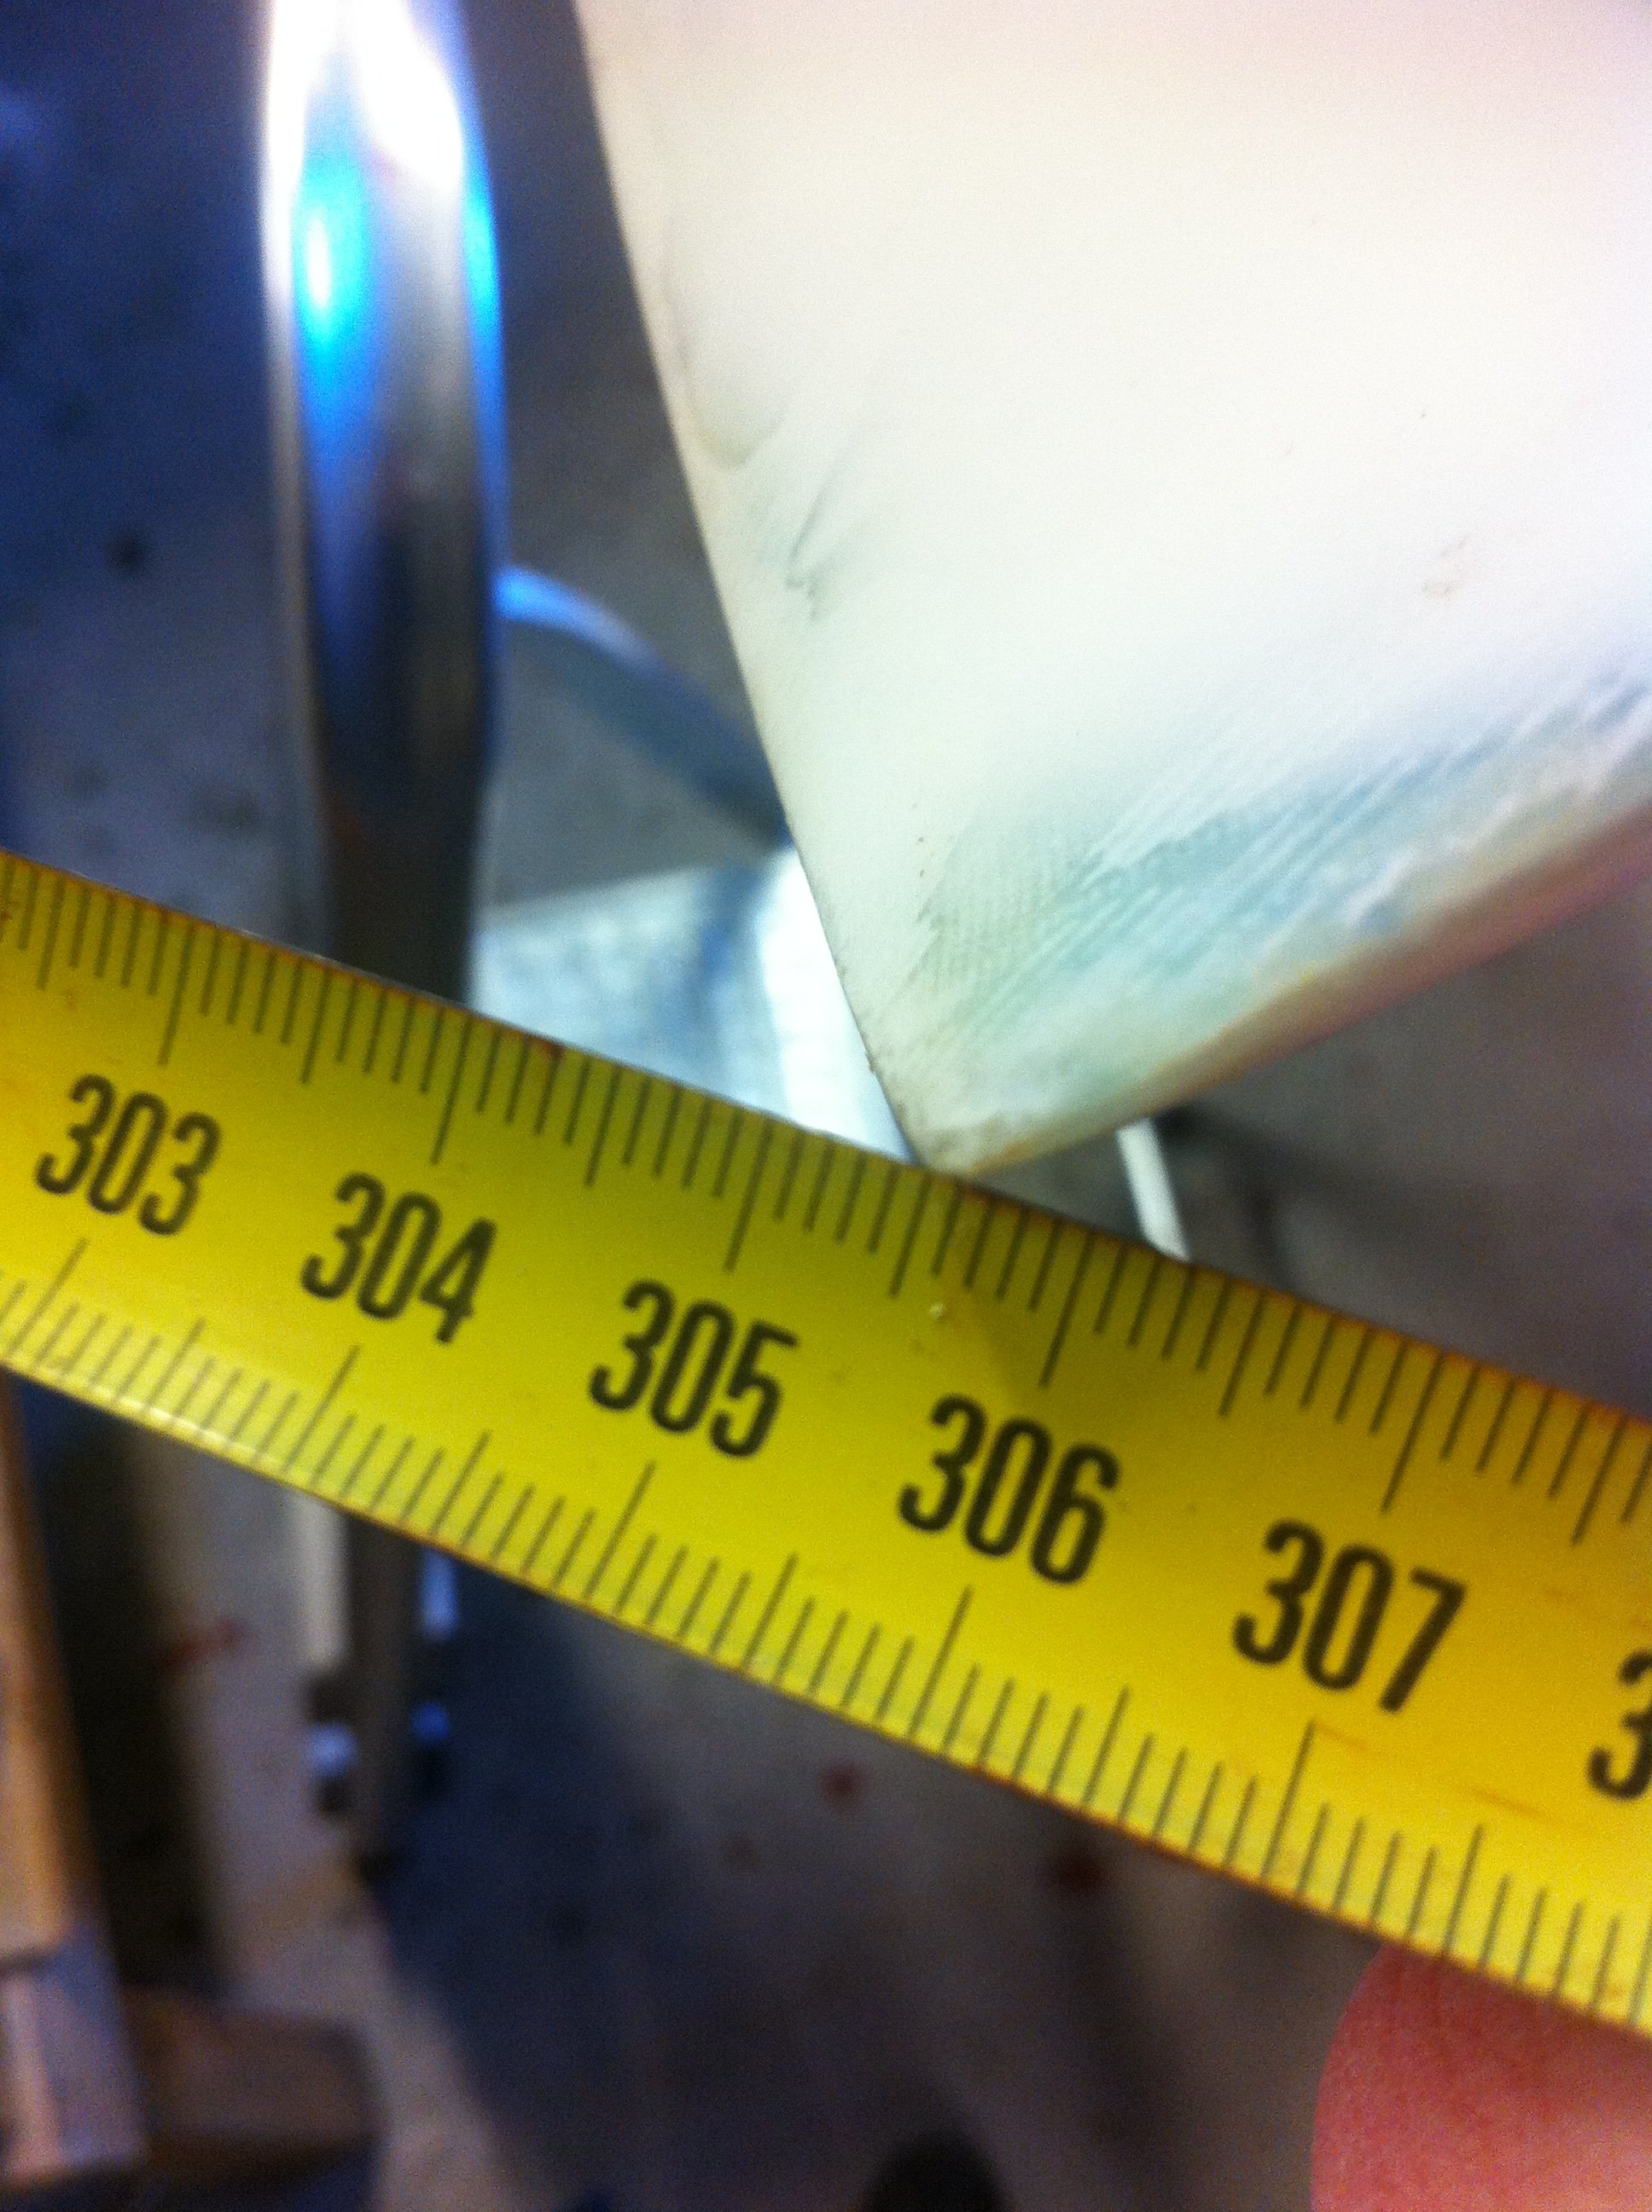
2013-03-23: Instead of temporarily mounting the upper firewall I just put a straight wood-stick between the longerons. I marked the center-point. This will be used to measure the distance from the canard-tips to the aft centerpoint to assure the canard is absolutely perpendicular to the fuselage.

2013-03-23: To make the measuring easier I drilled a hole in the measuring-tape and screwed the tape loosely to the stick making it easy to swivel.
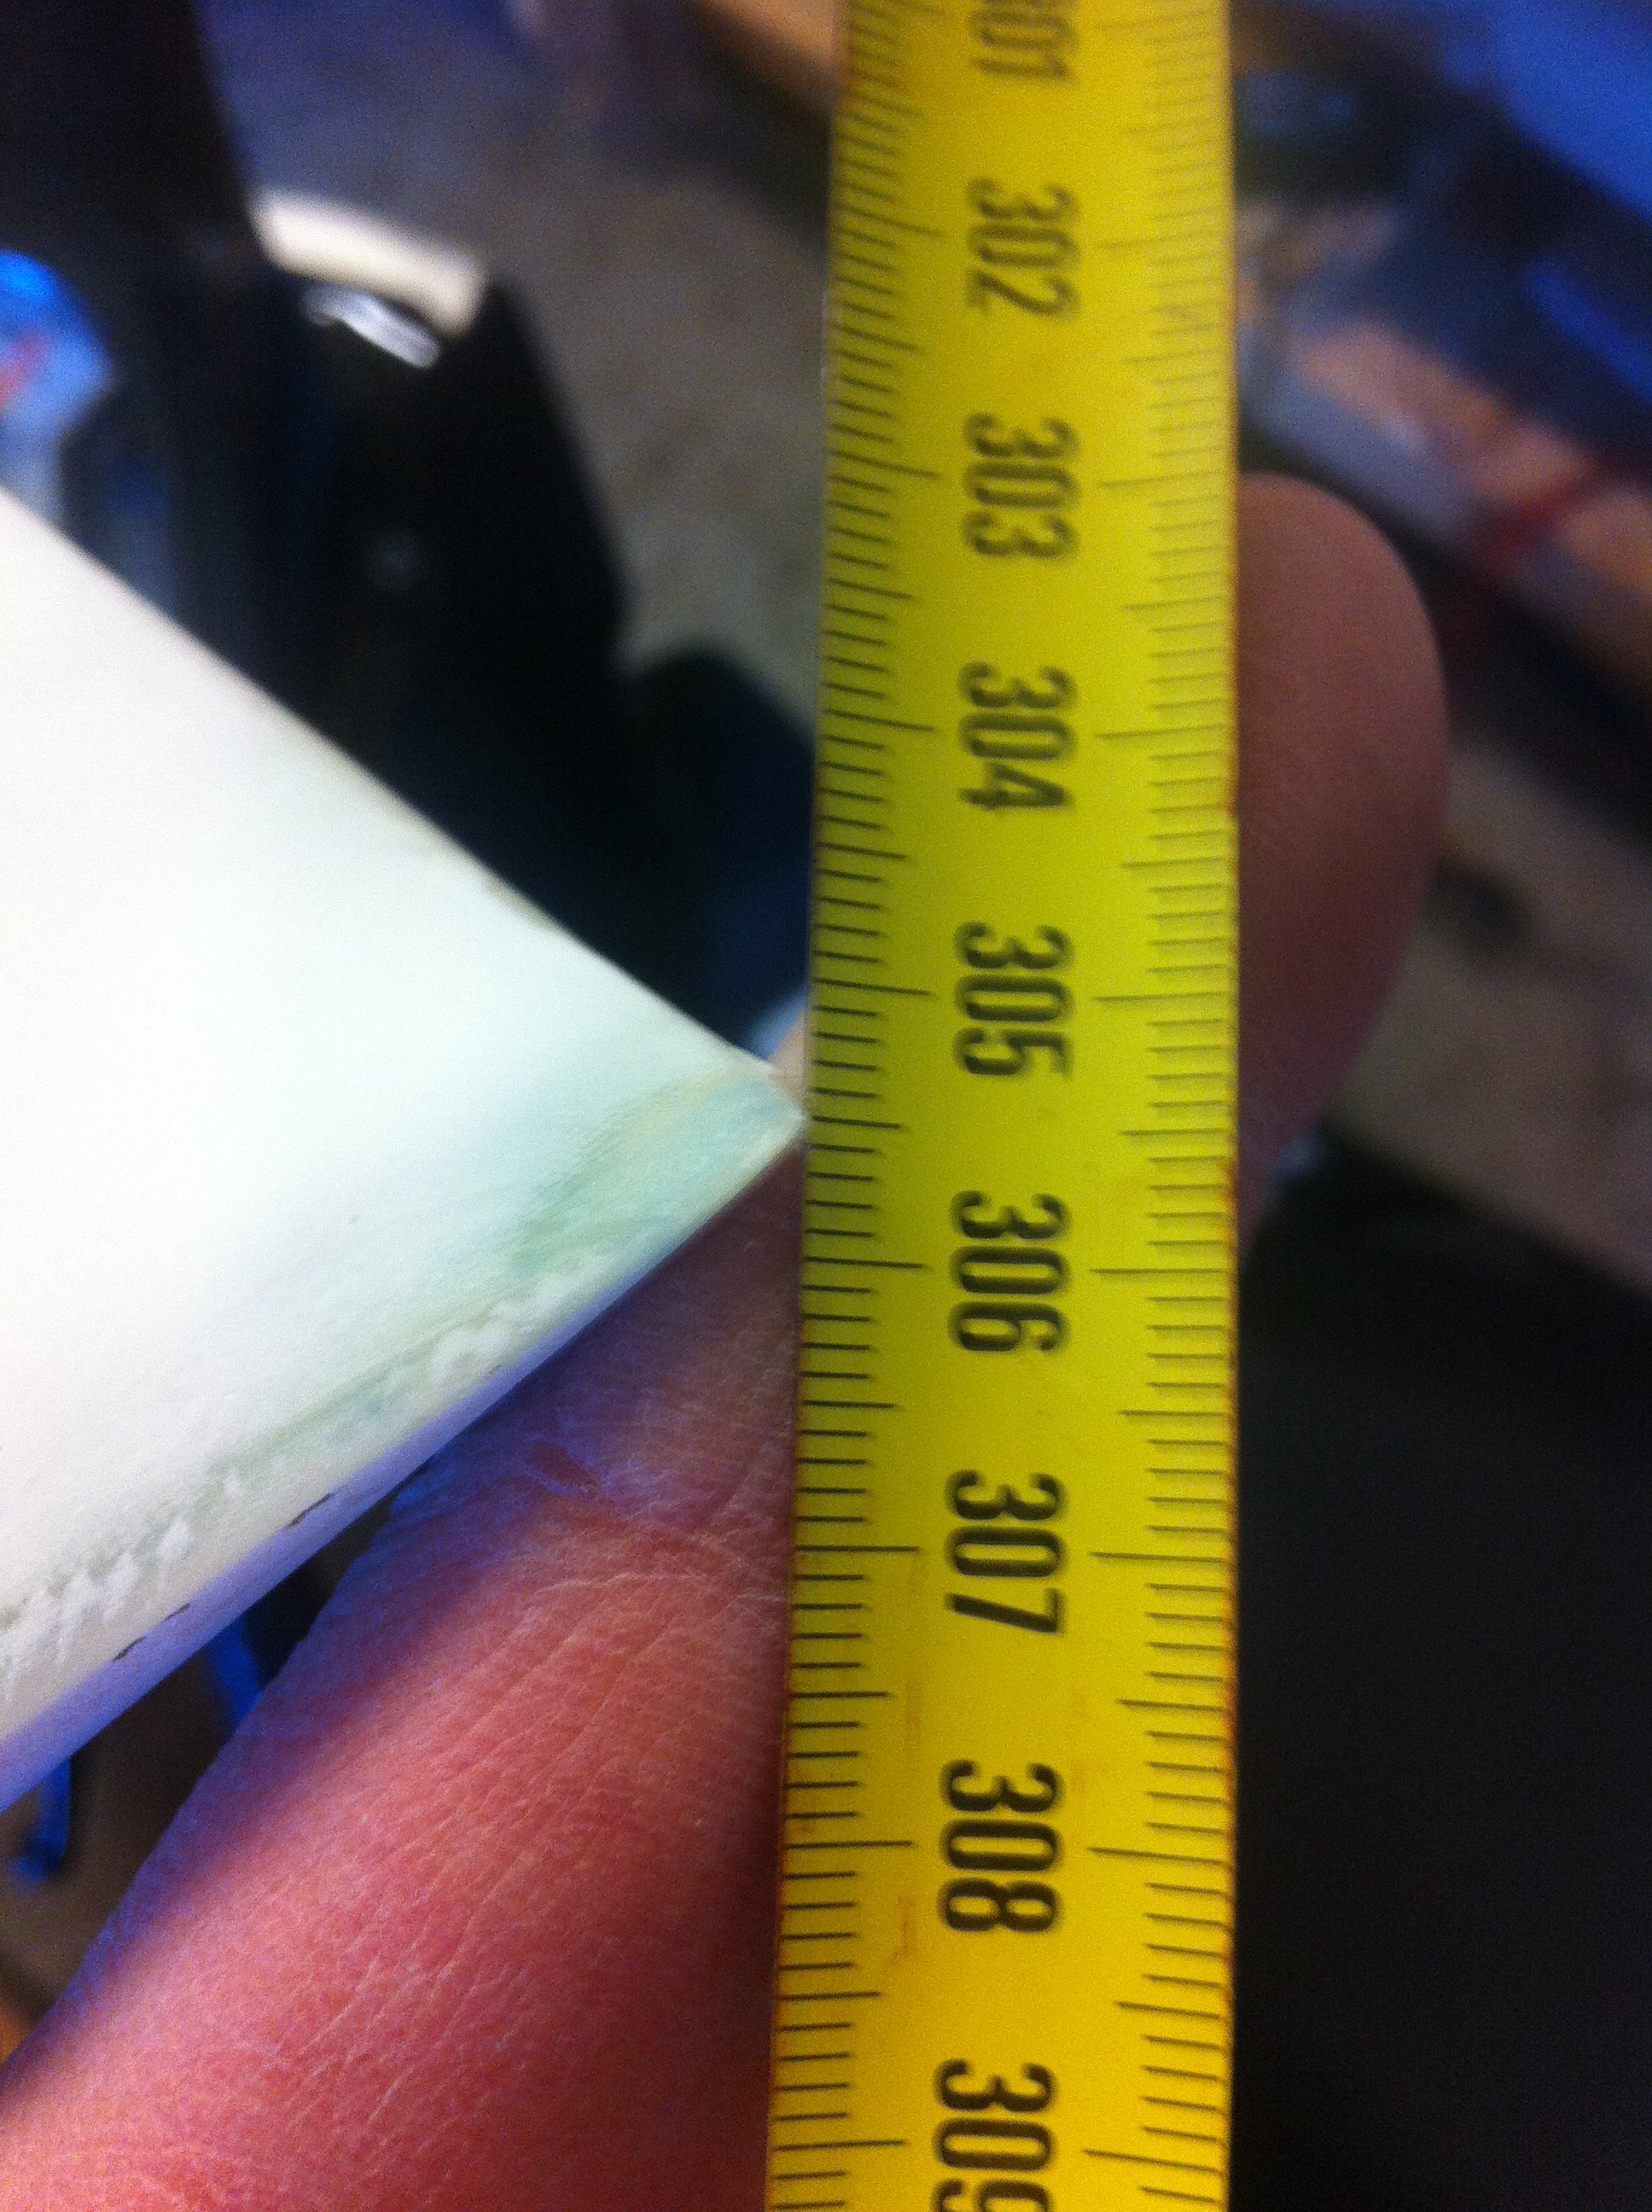
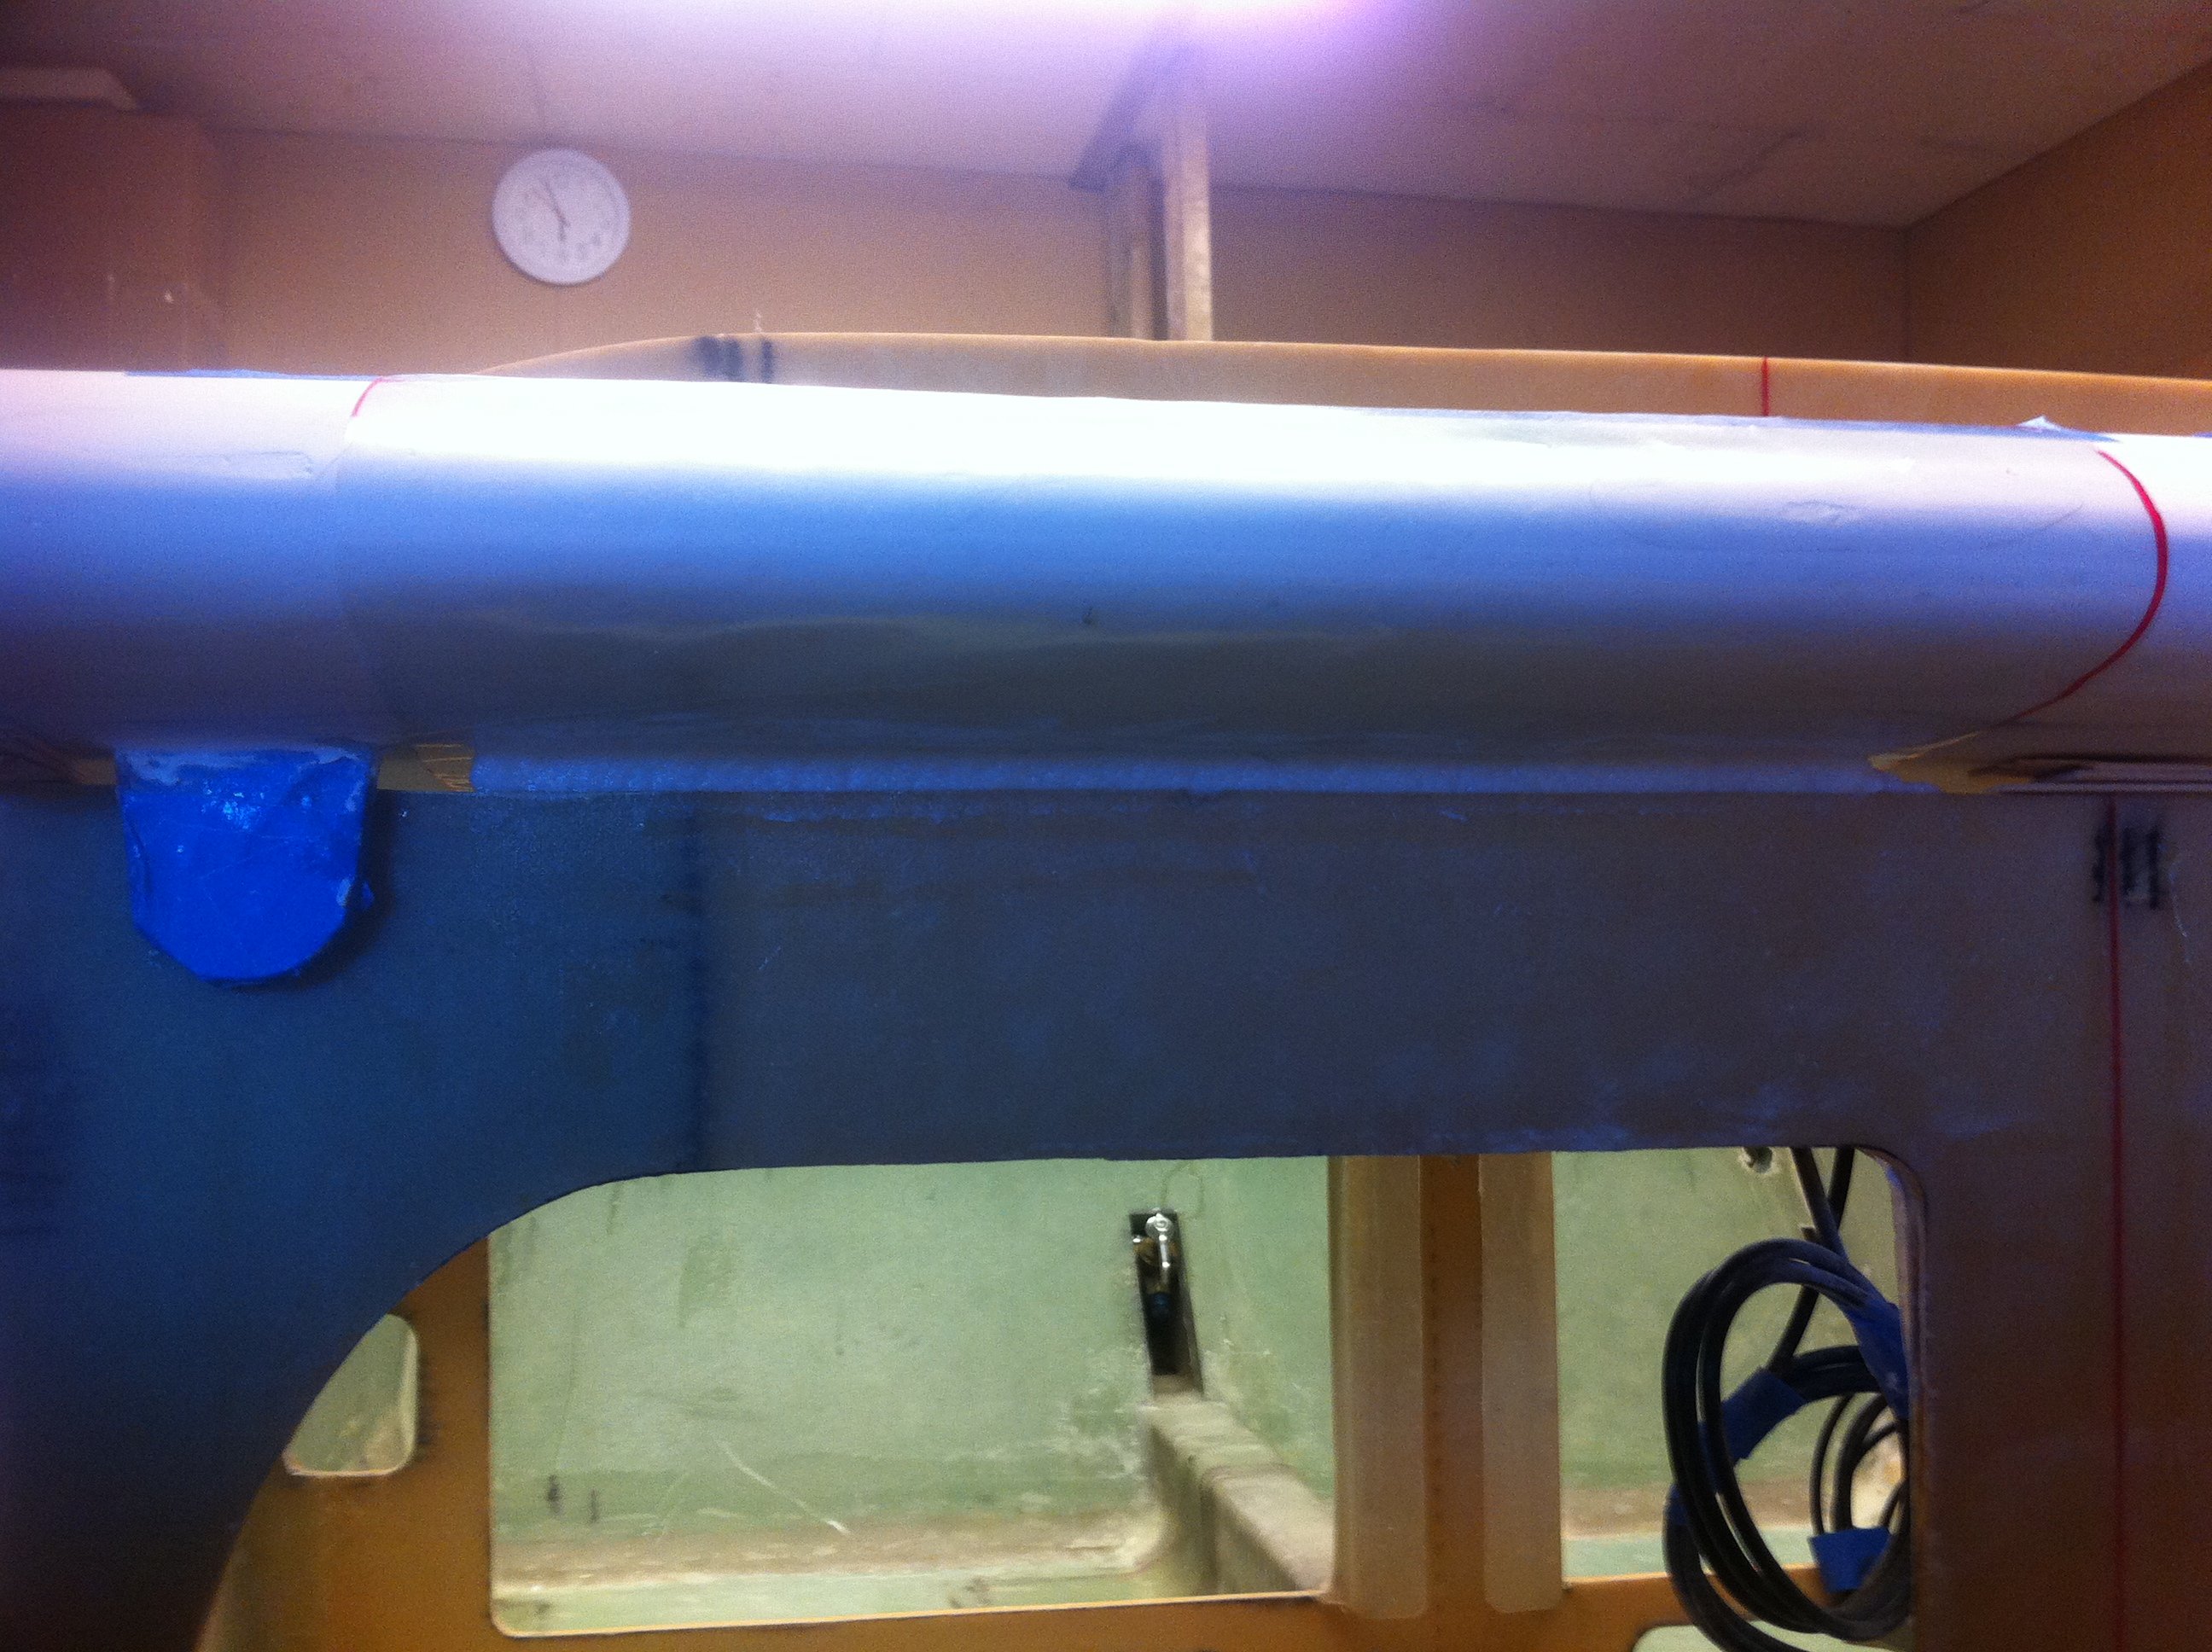
2013-03-23: Left canard-tip.
2013-03-23: Right canard-tip.

2013-03-23: Easy to measure this way. I recommend others to use this method.
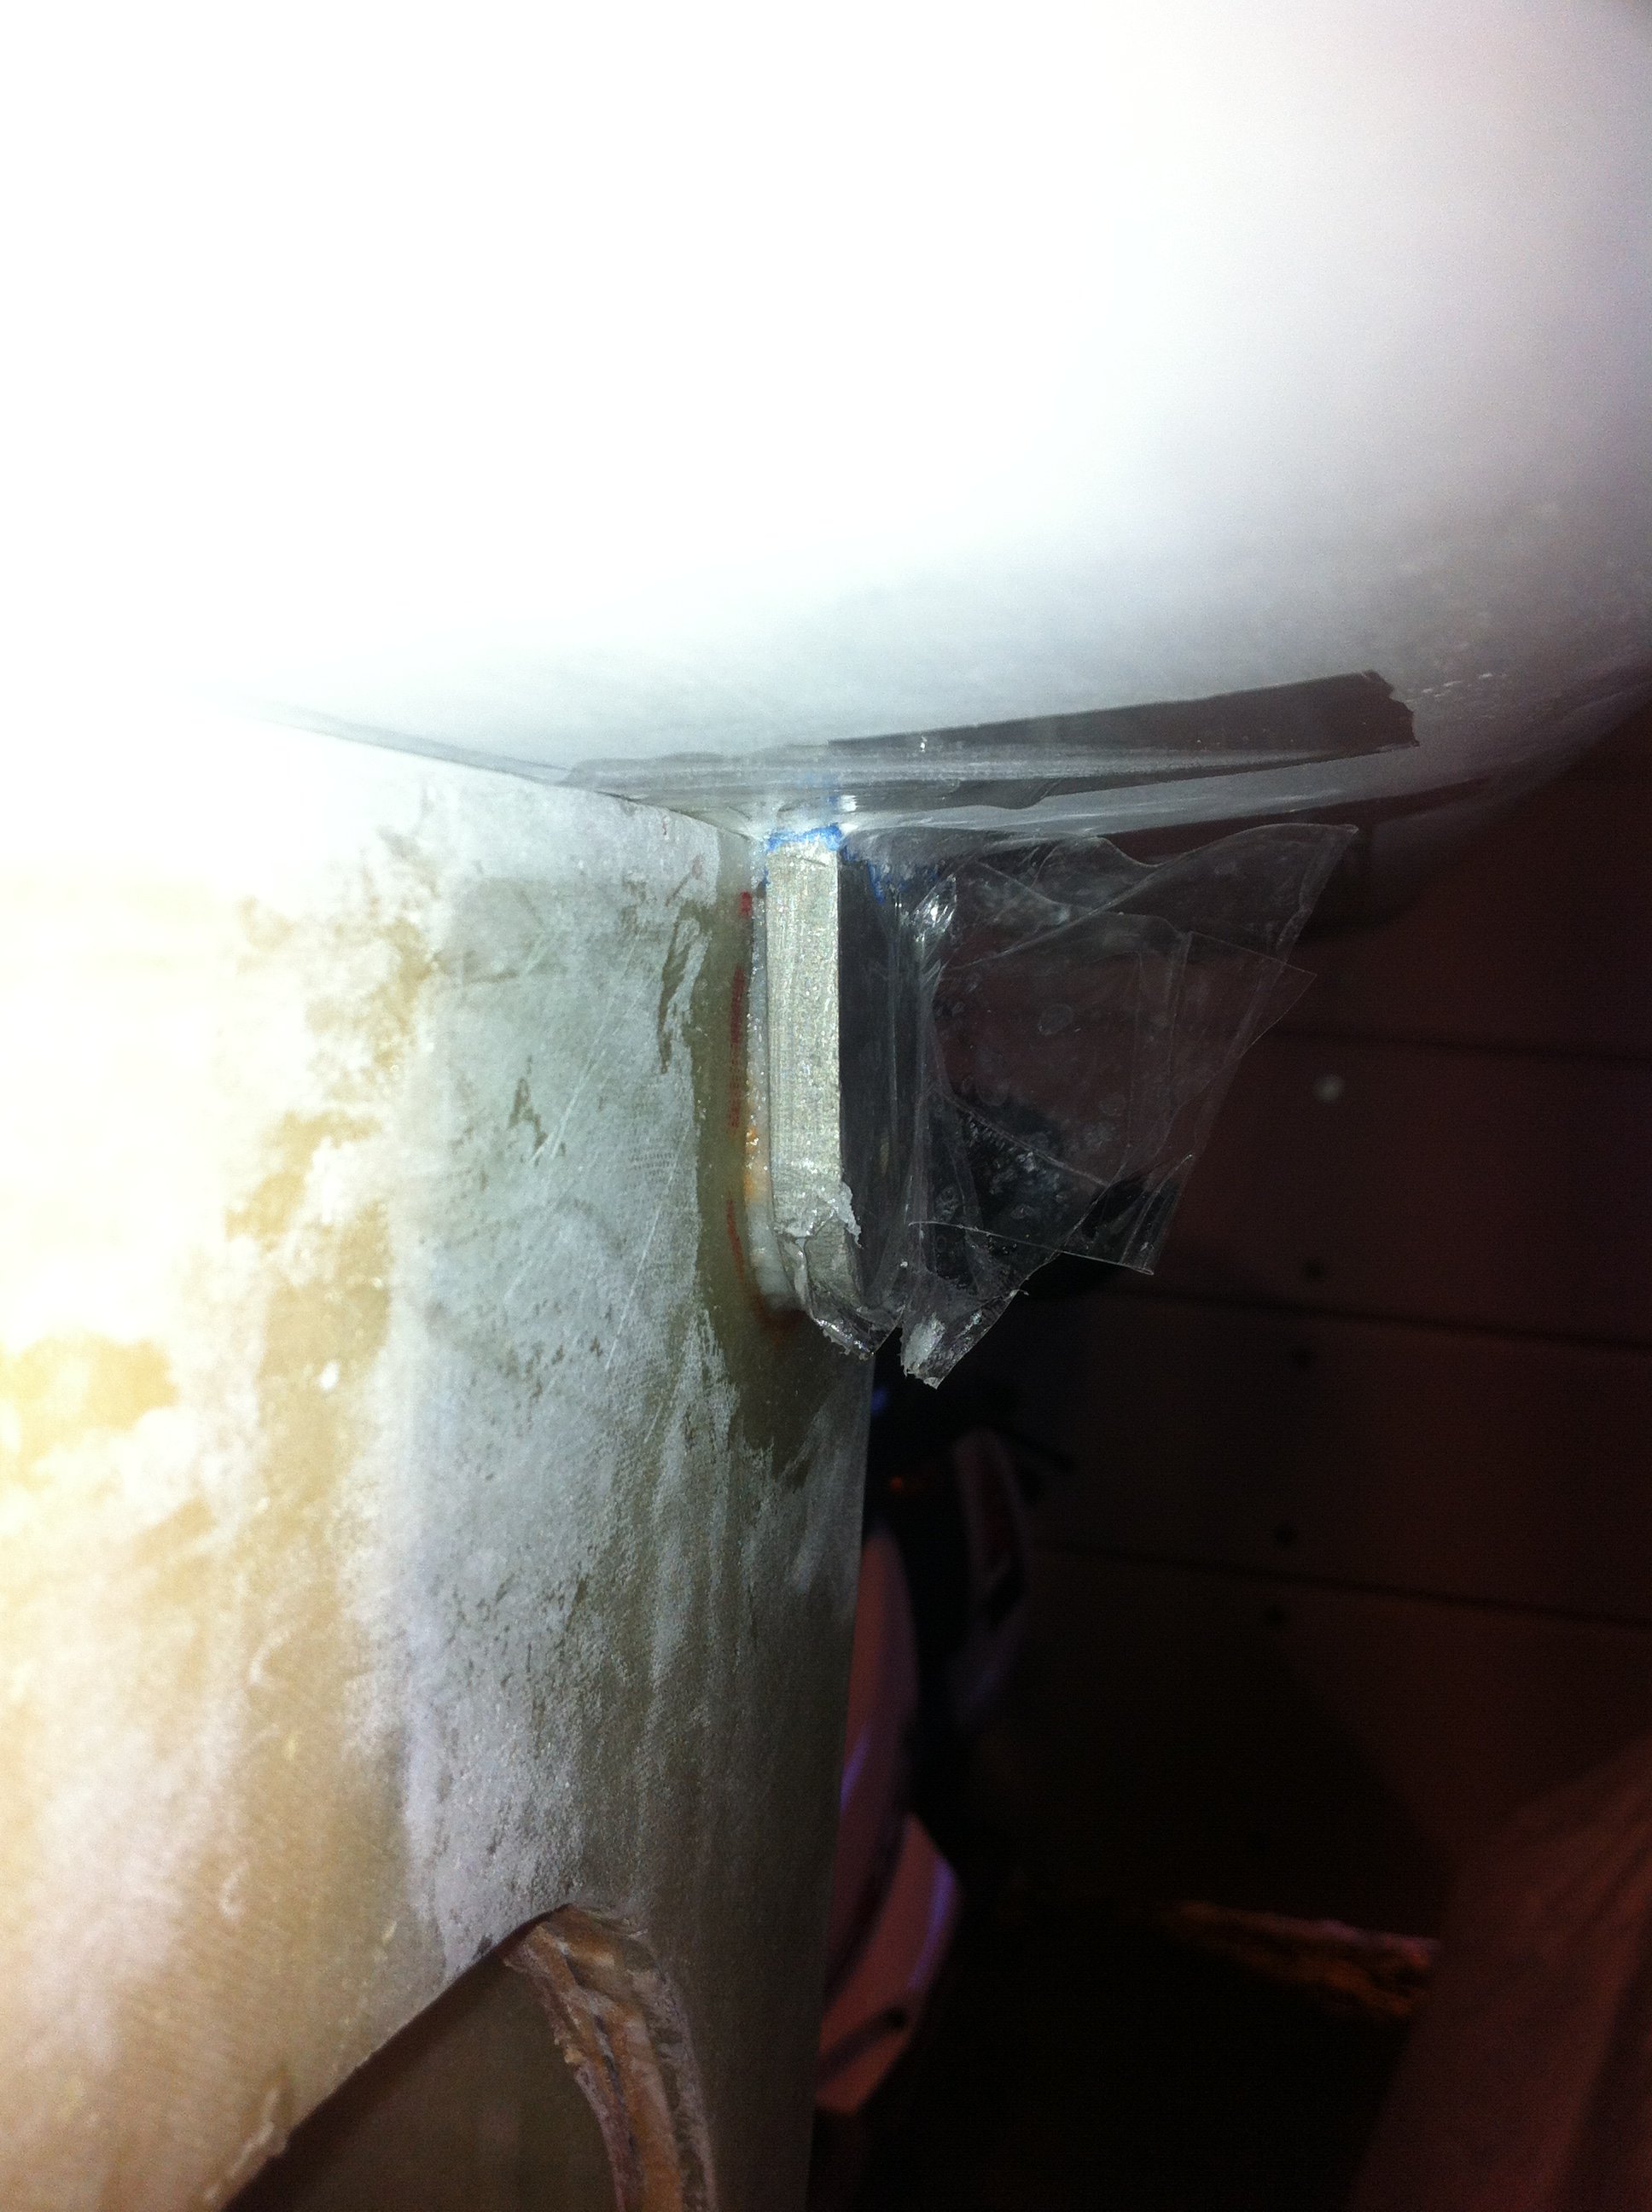
2013-03-23: The next step is to adjust the canard incidence using the revised F-template. I had to shim the leading edge quite a bit.
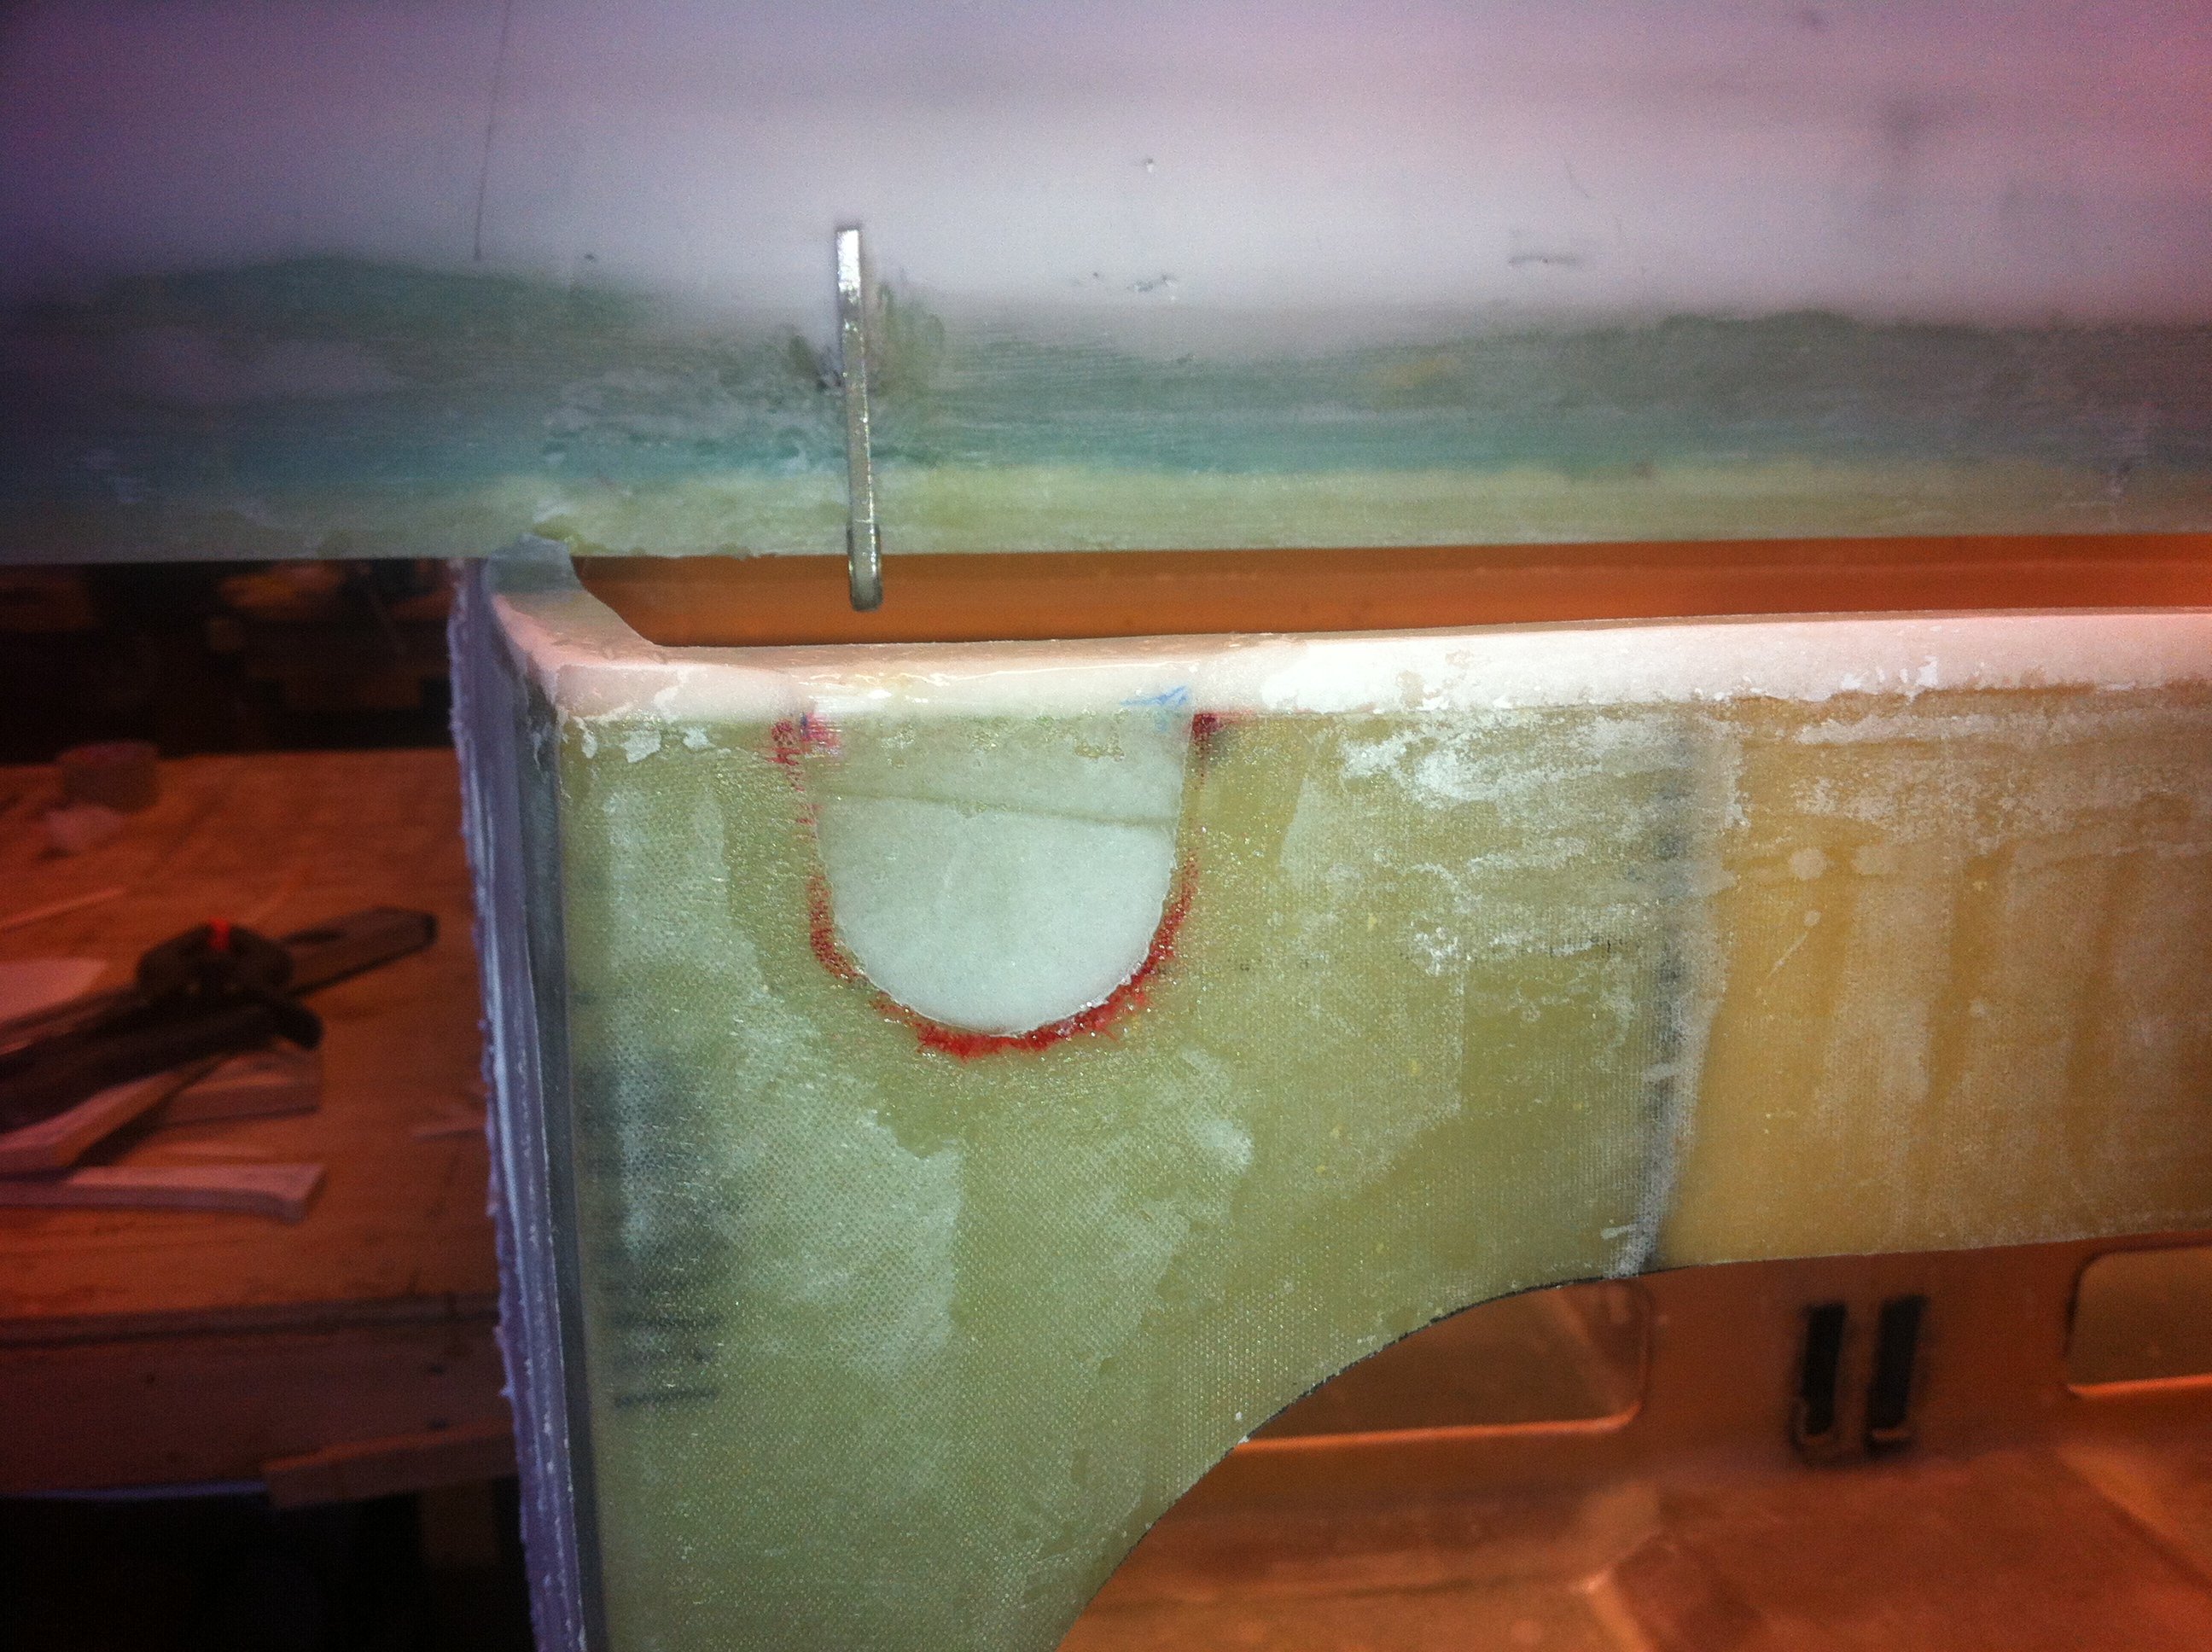
2013-03-23: The gap between F22 and the canard is filled with flox. I covered the canard with thin plastic before I filled the gap with flox. This will make an absolutely perfect junction between F22 and the canard.
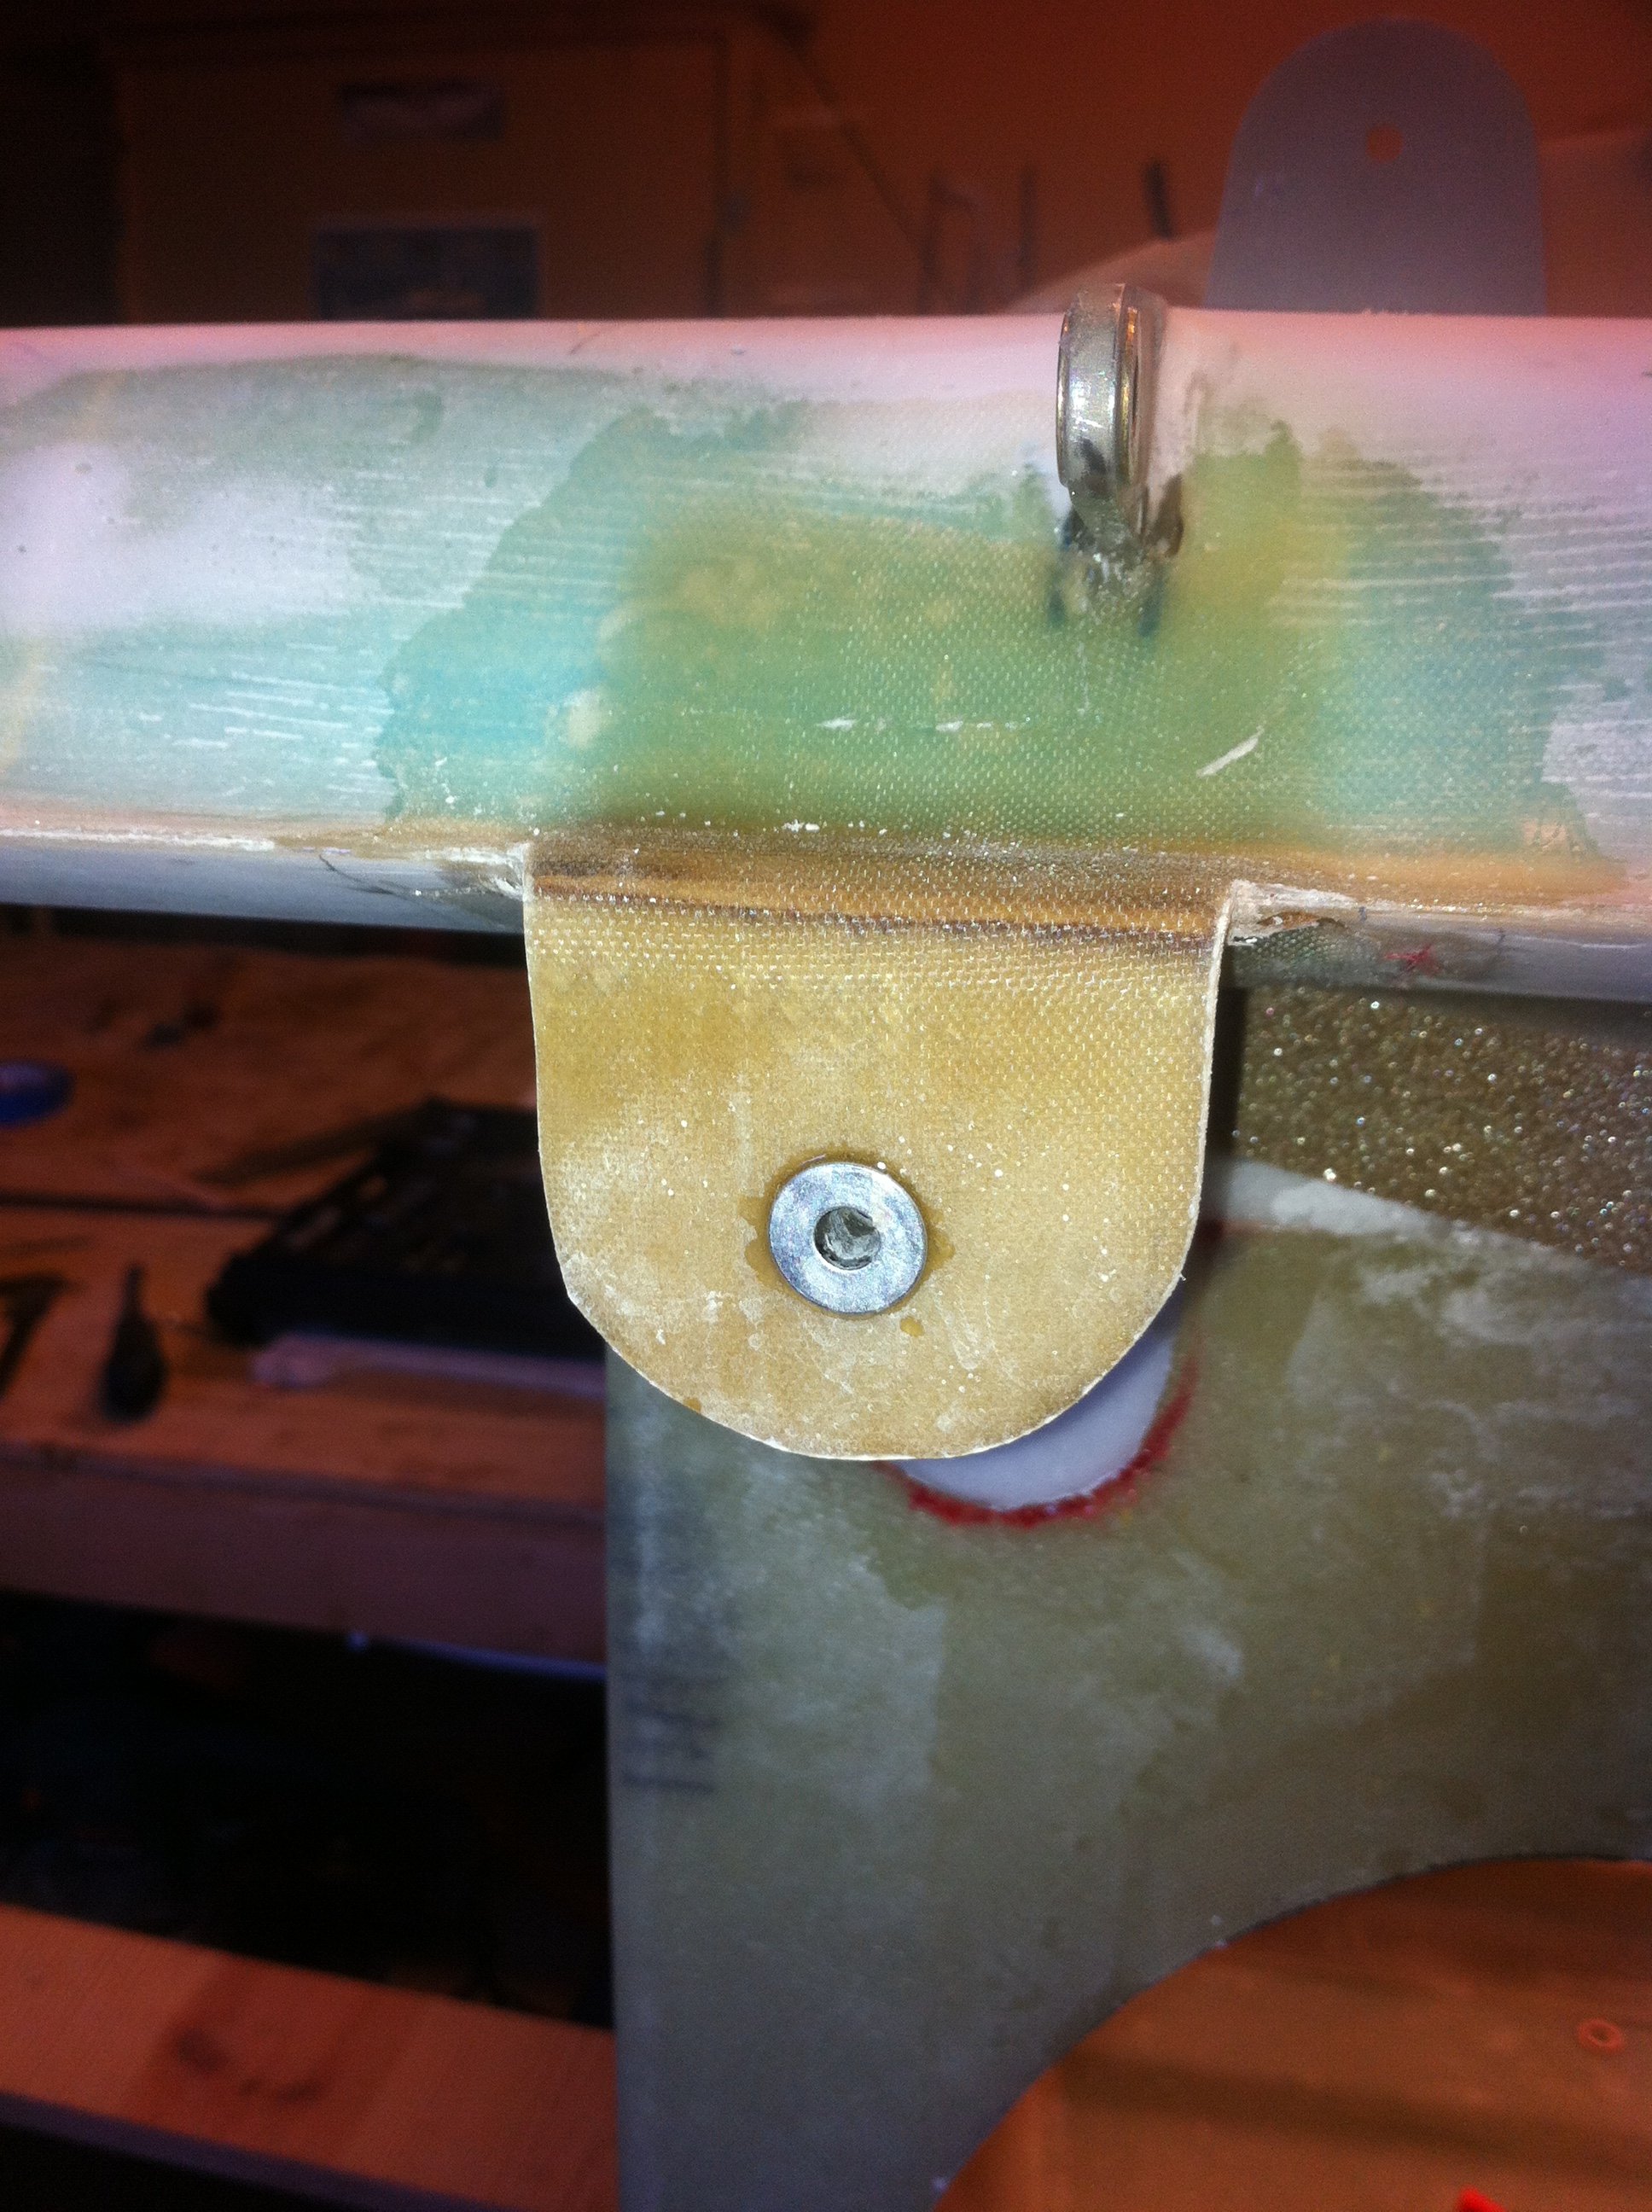
2013-03-25: When the flox between F22 and the canard is cured and sanded smooth, I put flox between the lift-tabs and F22 to fill the gap. First I covered the canard and lift-tab with clear packaging tape to avoid the flox to stick to either. I didn’t need to shim any of the lift-tabs. The flox between the lift-tab and F22 gives a very smooth base for the lift-tab.
2013-03-26: The flox made a smooth base for the lift-tabs.
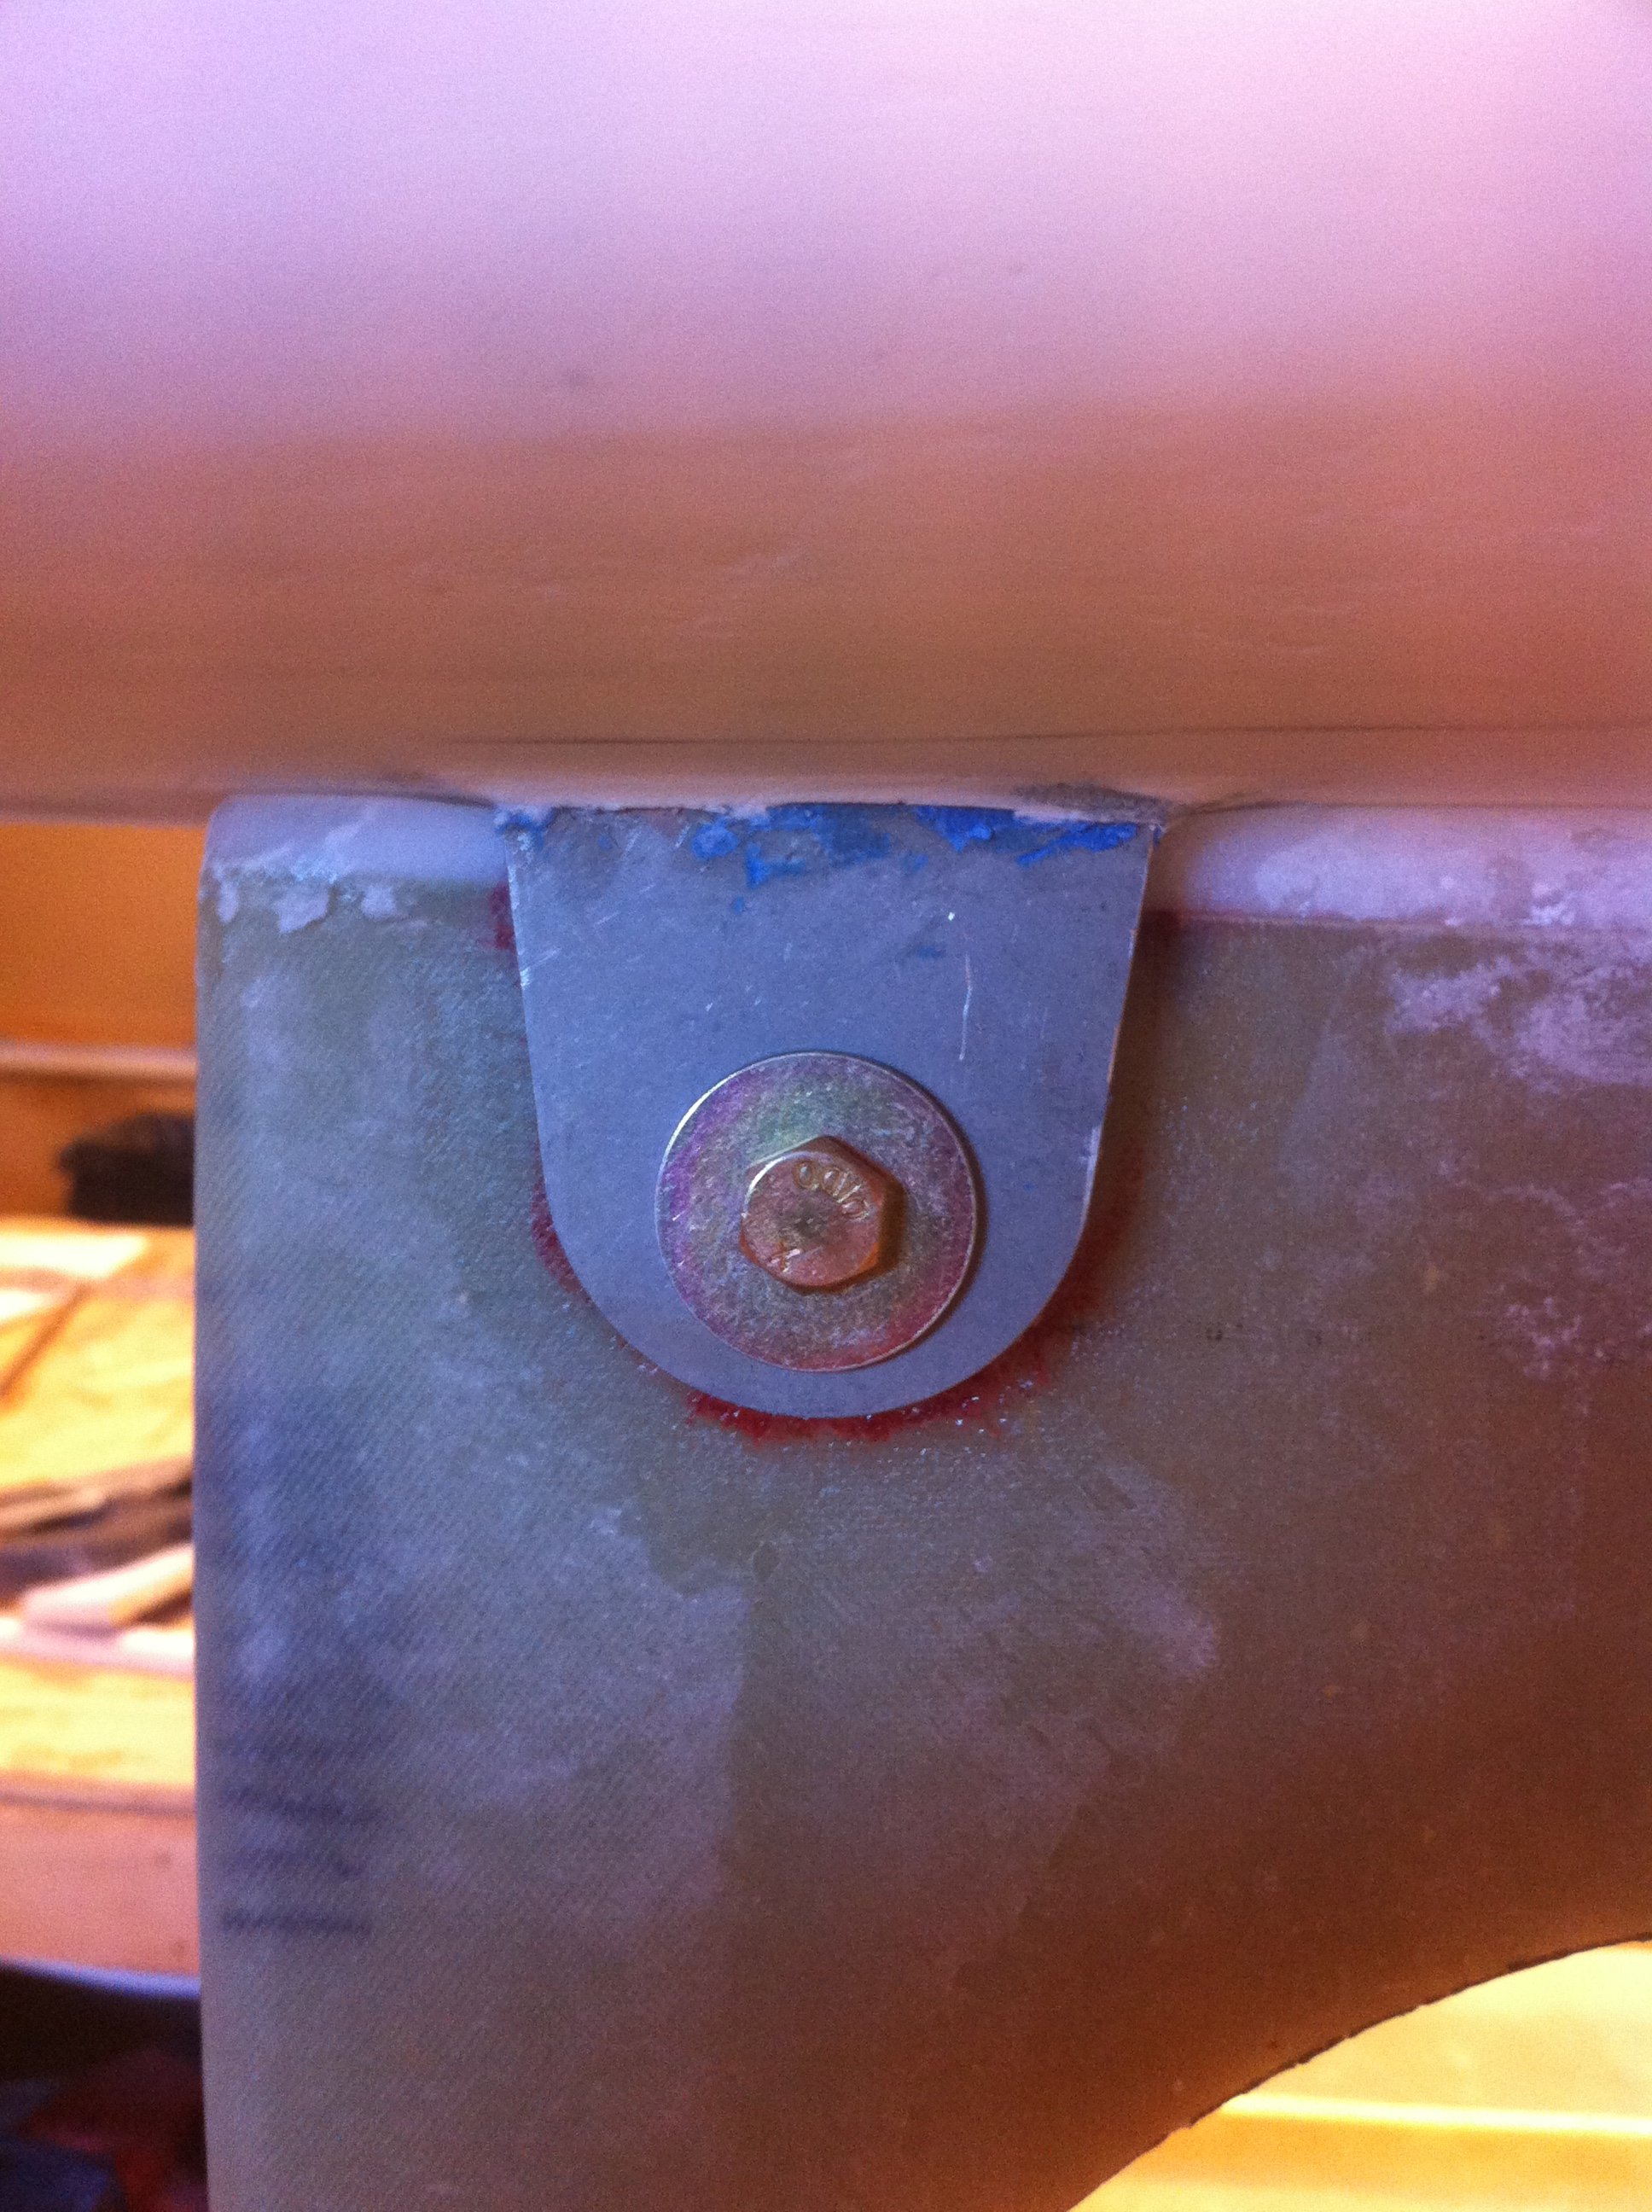
2013-03-26: Drilled a #10-hole through F22 and mounted the canard temporarily using a couple of AN3-bolts and large washers.

2013-03-26: Made the alignment-tabs out of 1/4″ plywood. Since I will use the alternate method to mount the alignment-pins as described in the FAQ I drilled a 3/8″ hole in the doubler (behind the alignment-tab) where the tube for the long AN3-bolt will be floxed. The alignment-tabs are glued to the canard with 30min epoxy.

2013-03-26: When the epoxy is cured the front side of the tab is glassed with 5 plies of BID.
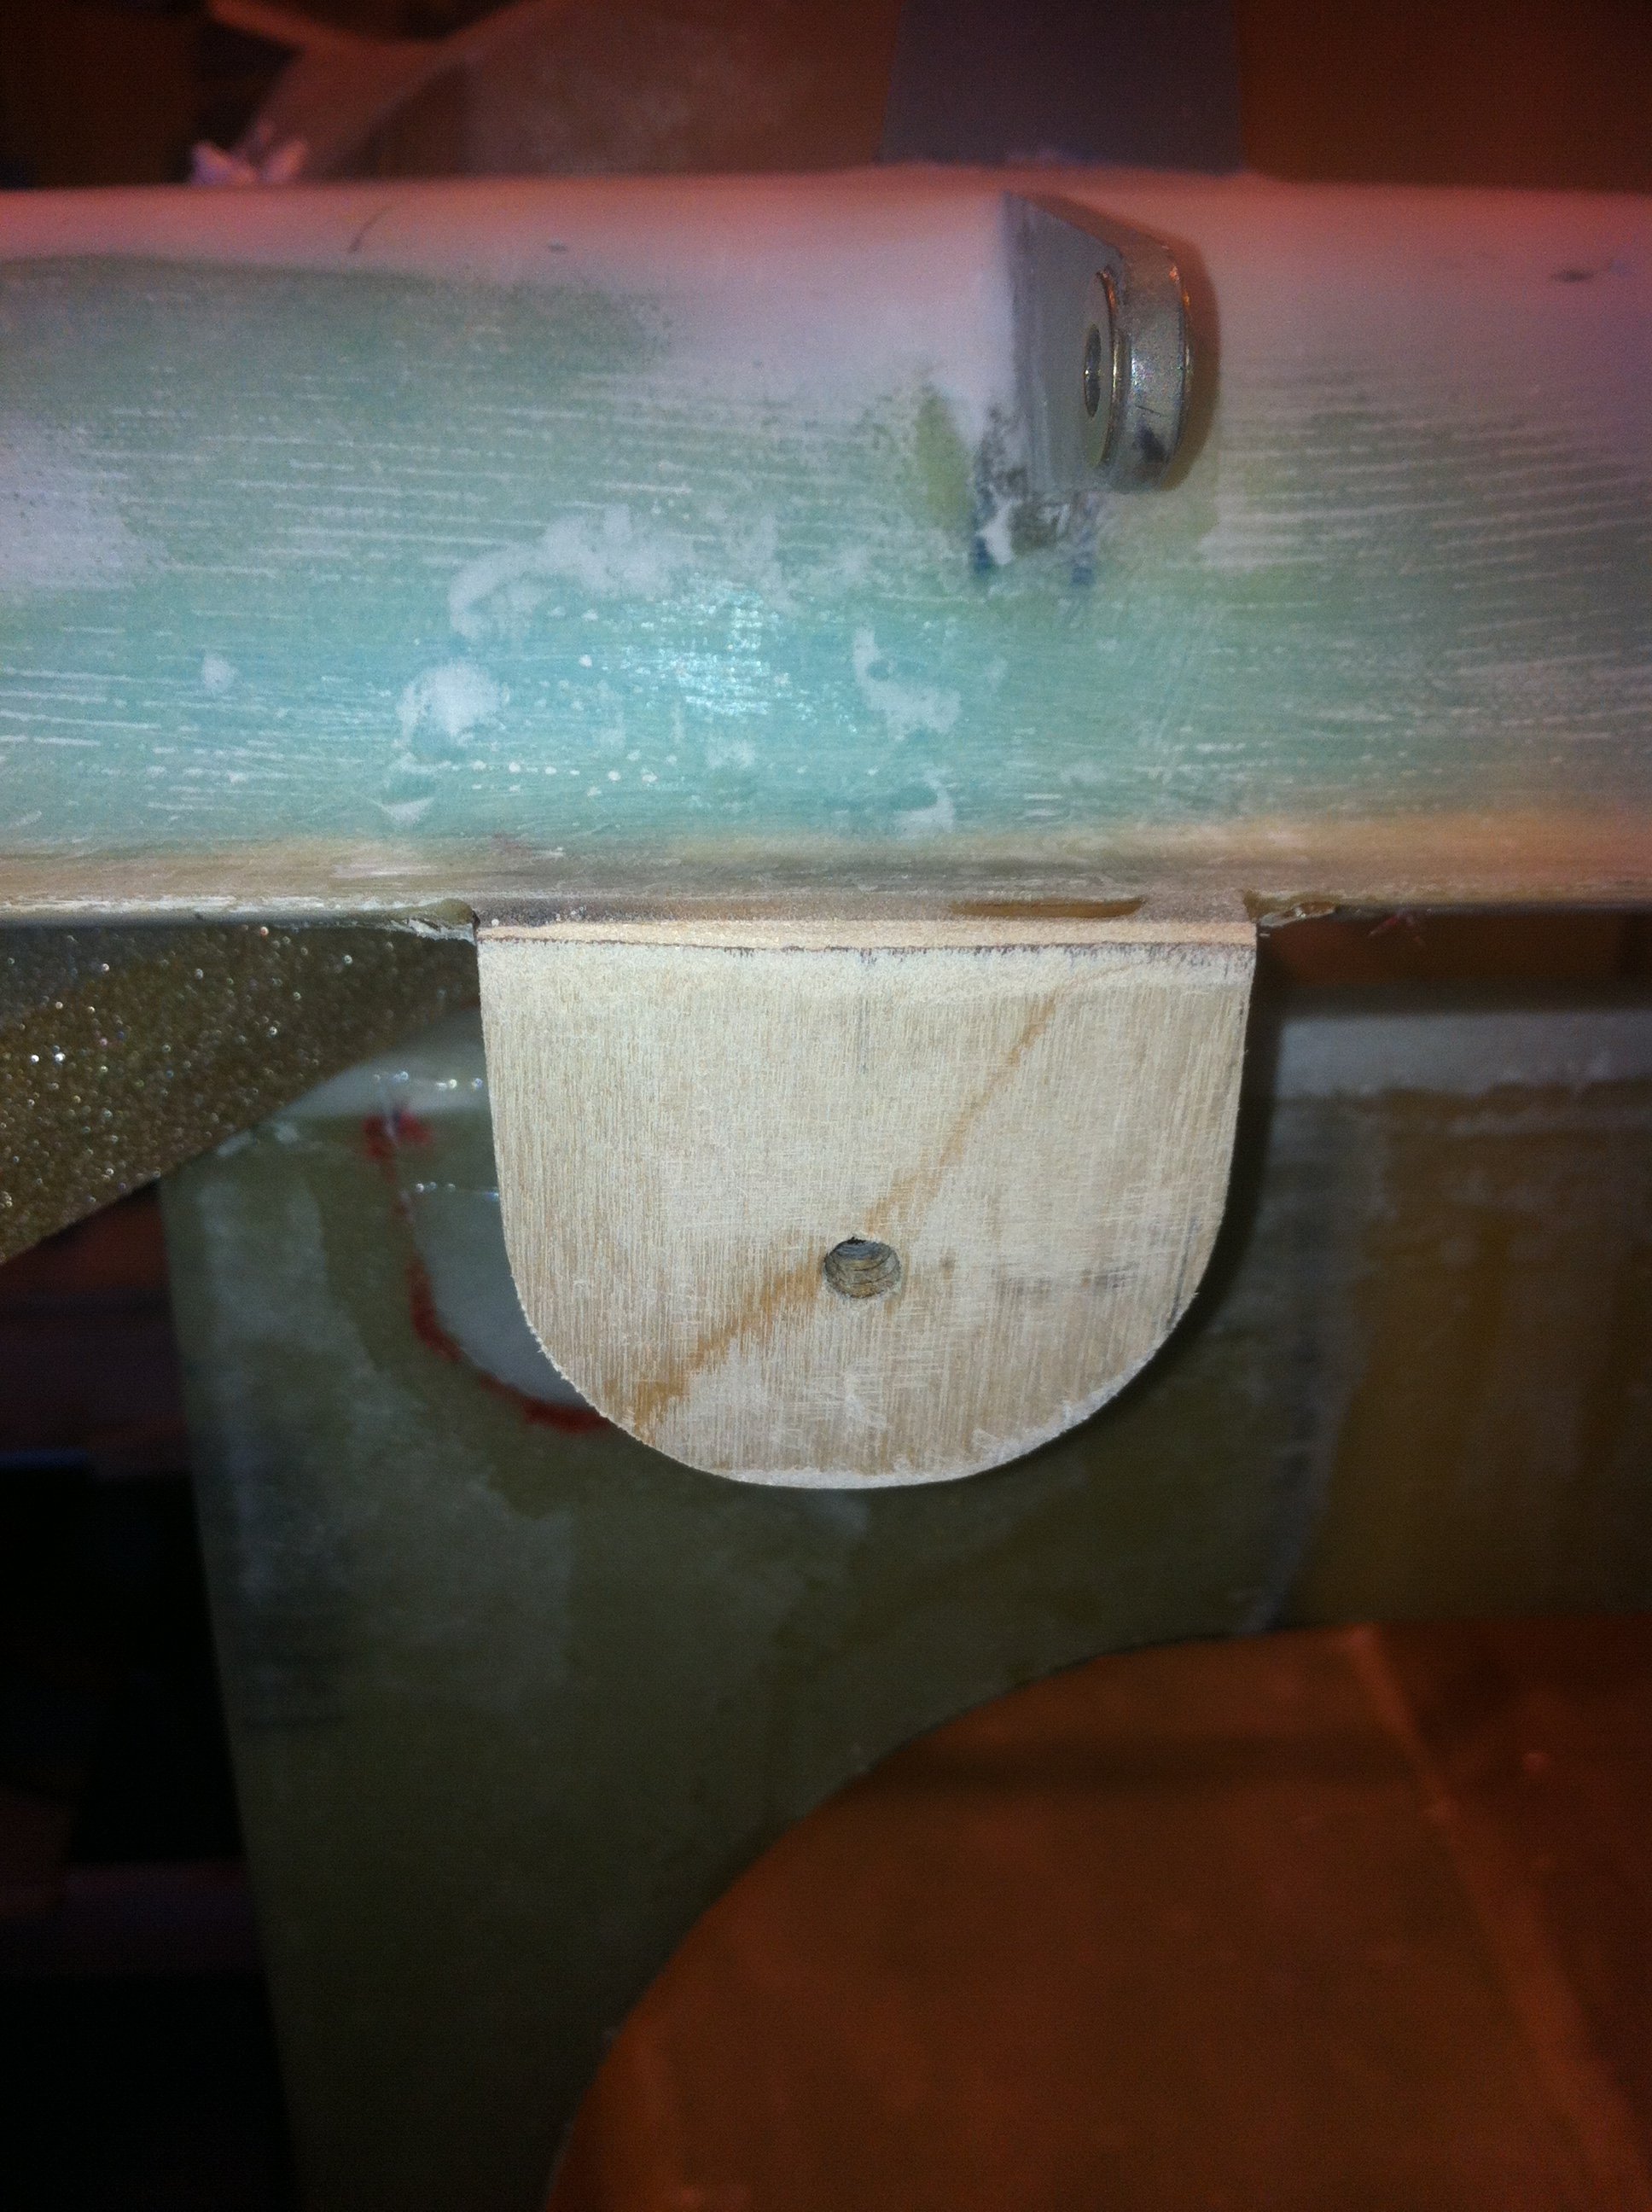
2013-03-27: The backside of the tab is prepared for glassing, rounding the edge etc. I also re-drilled the hole through the glass in this step.
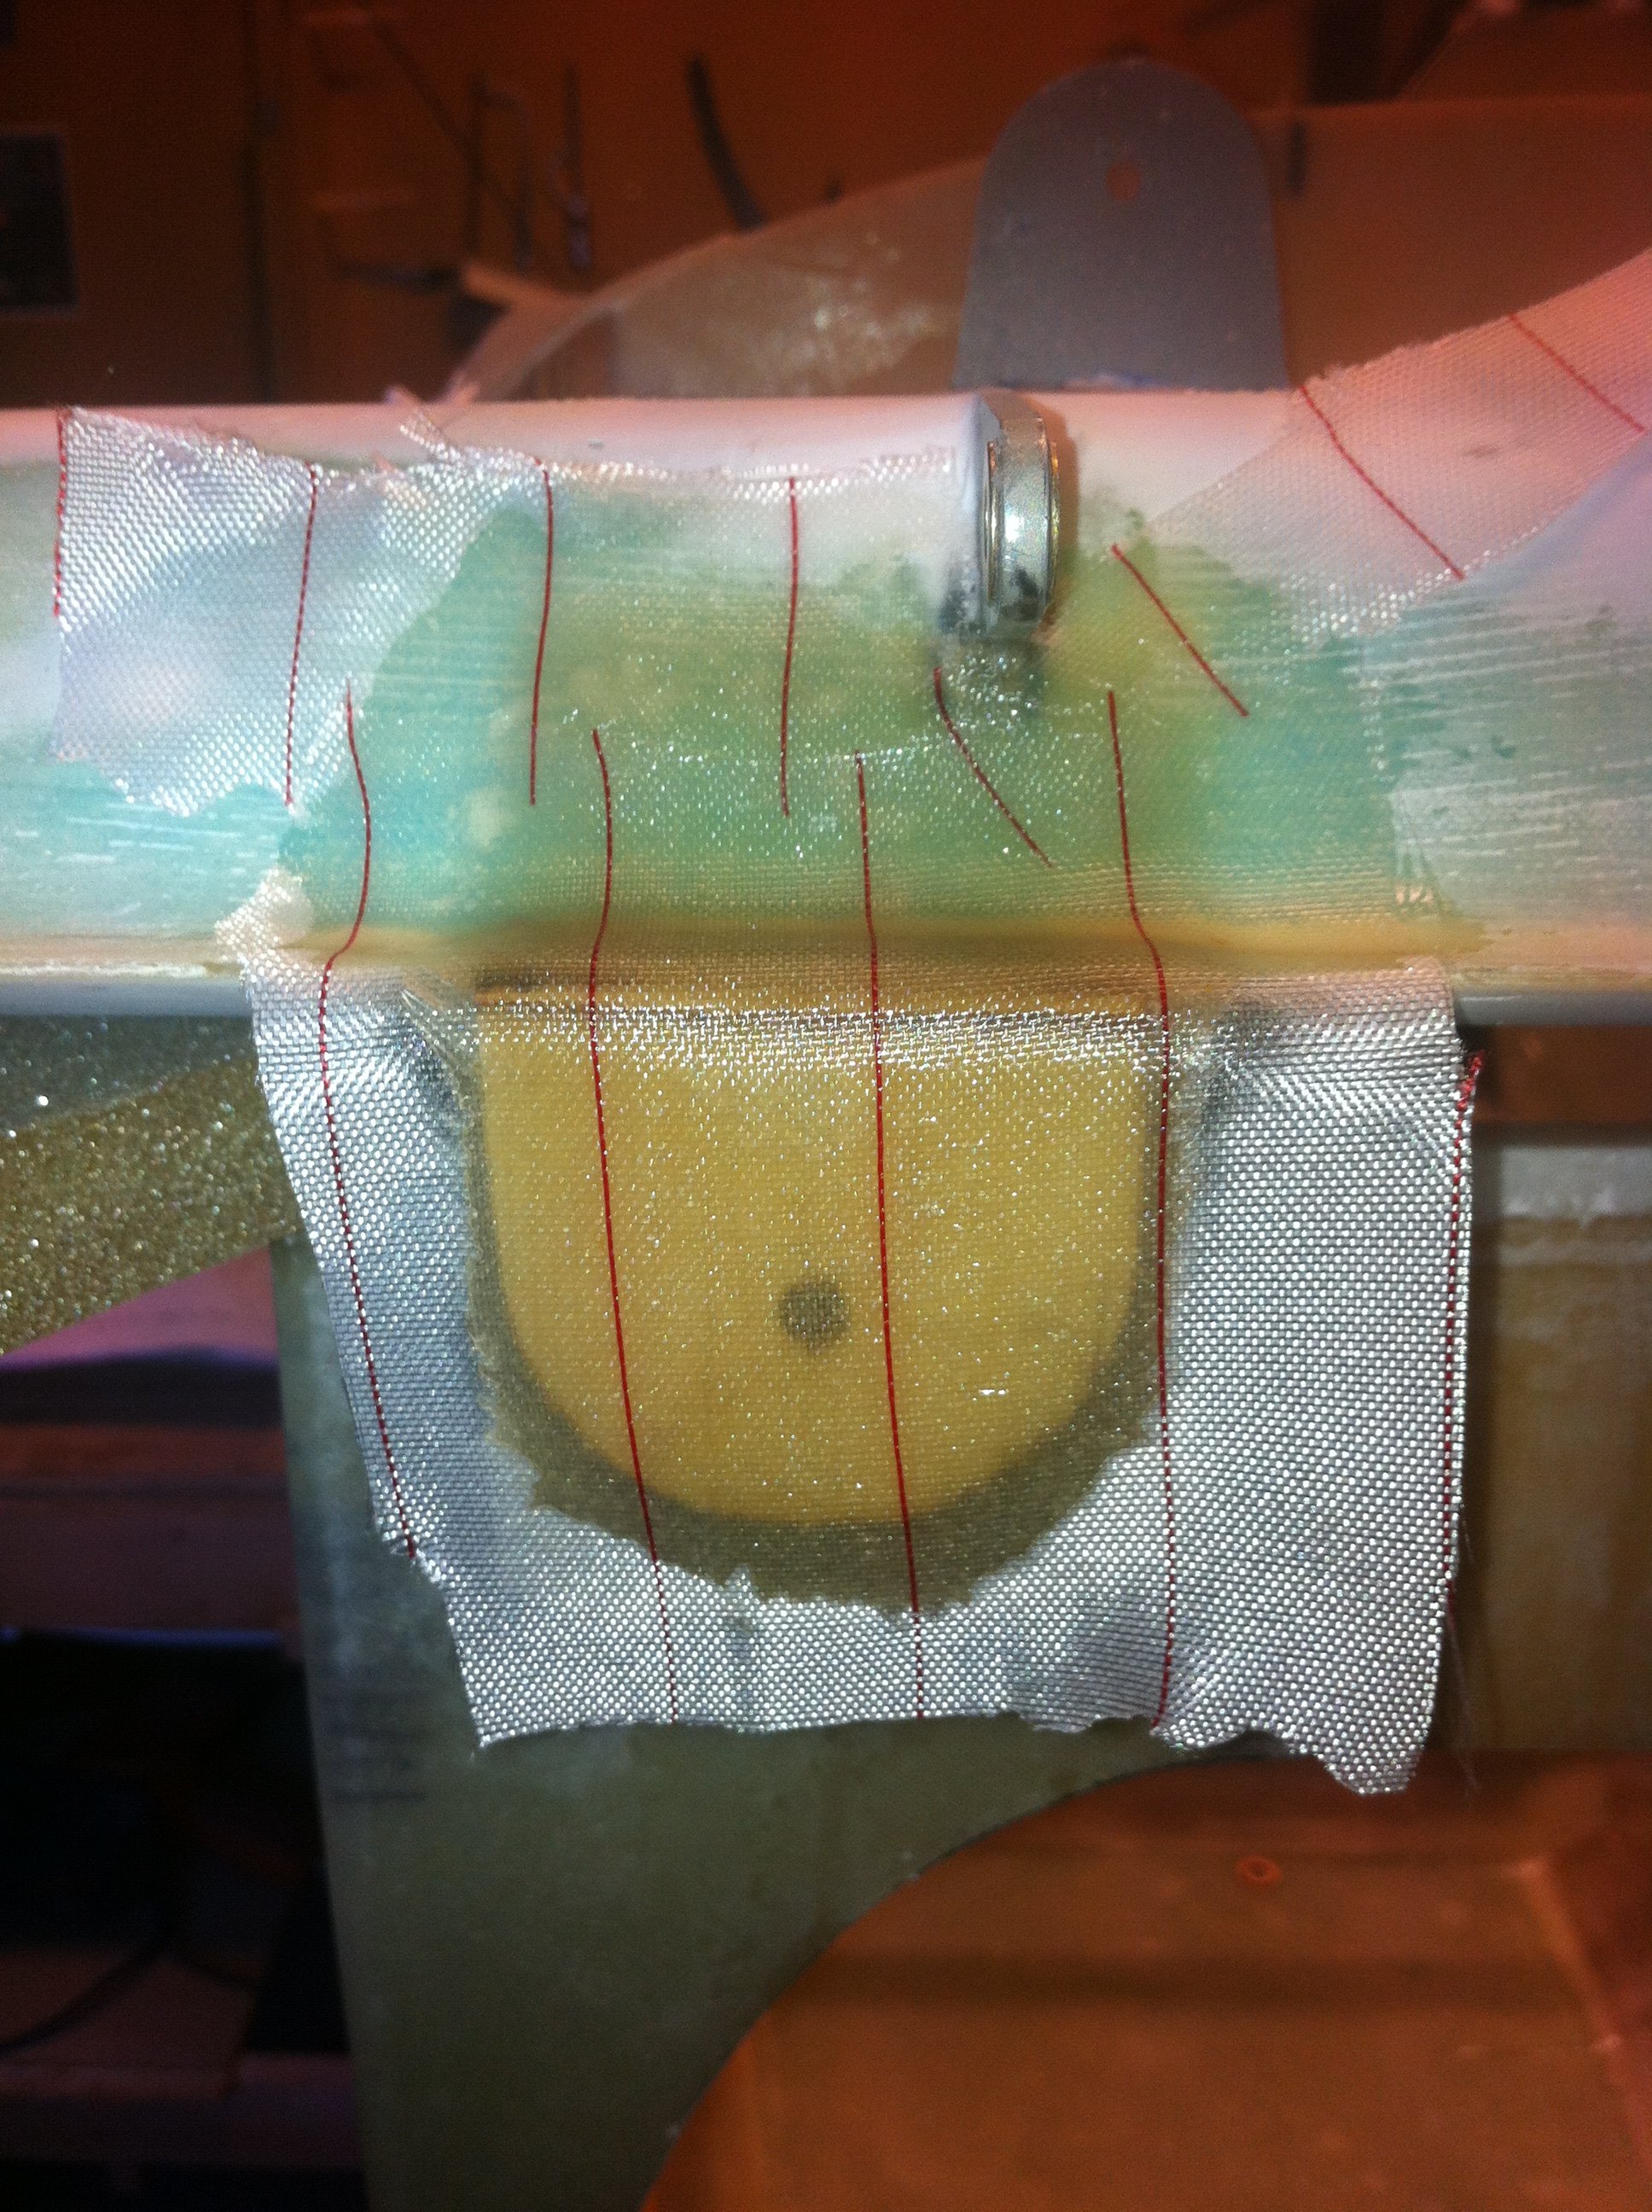
2013-03-27: Then the back-side of the tab is glassed with 4 plies of BID.
2013-03-28: The CS2-insert is epoxied to the alignment tabs.
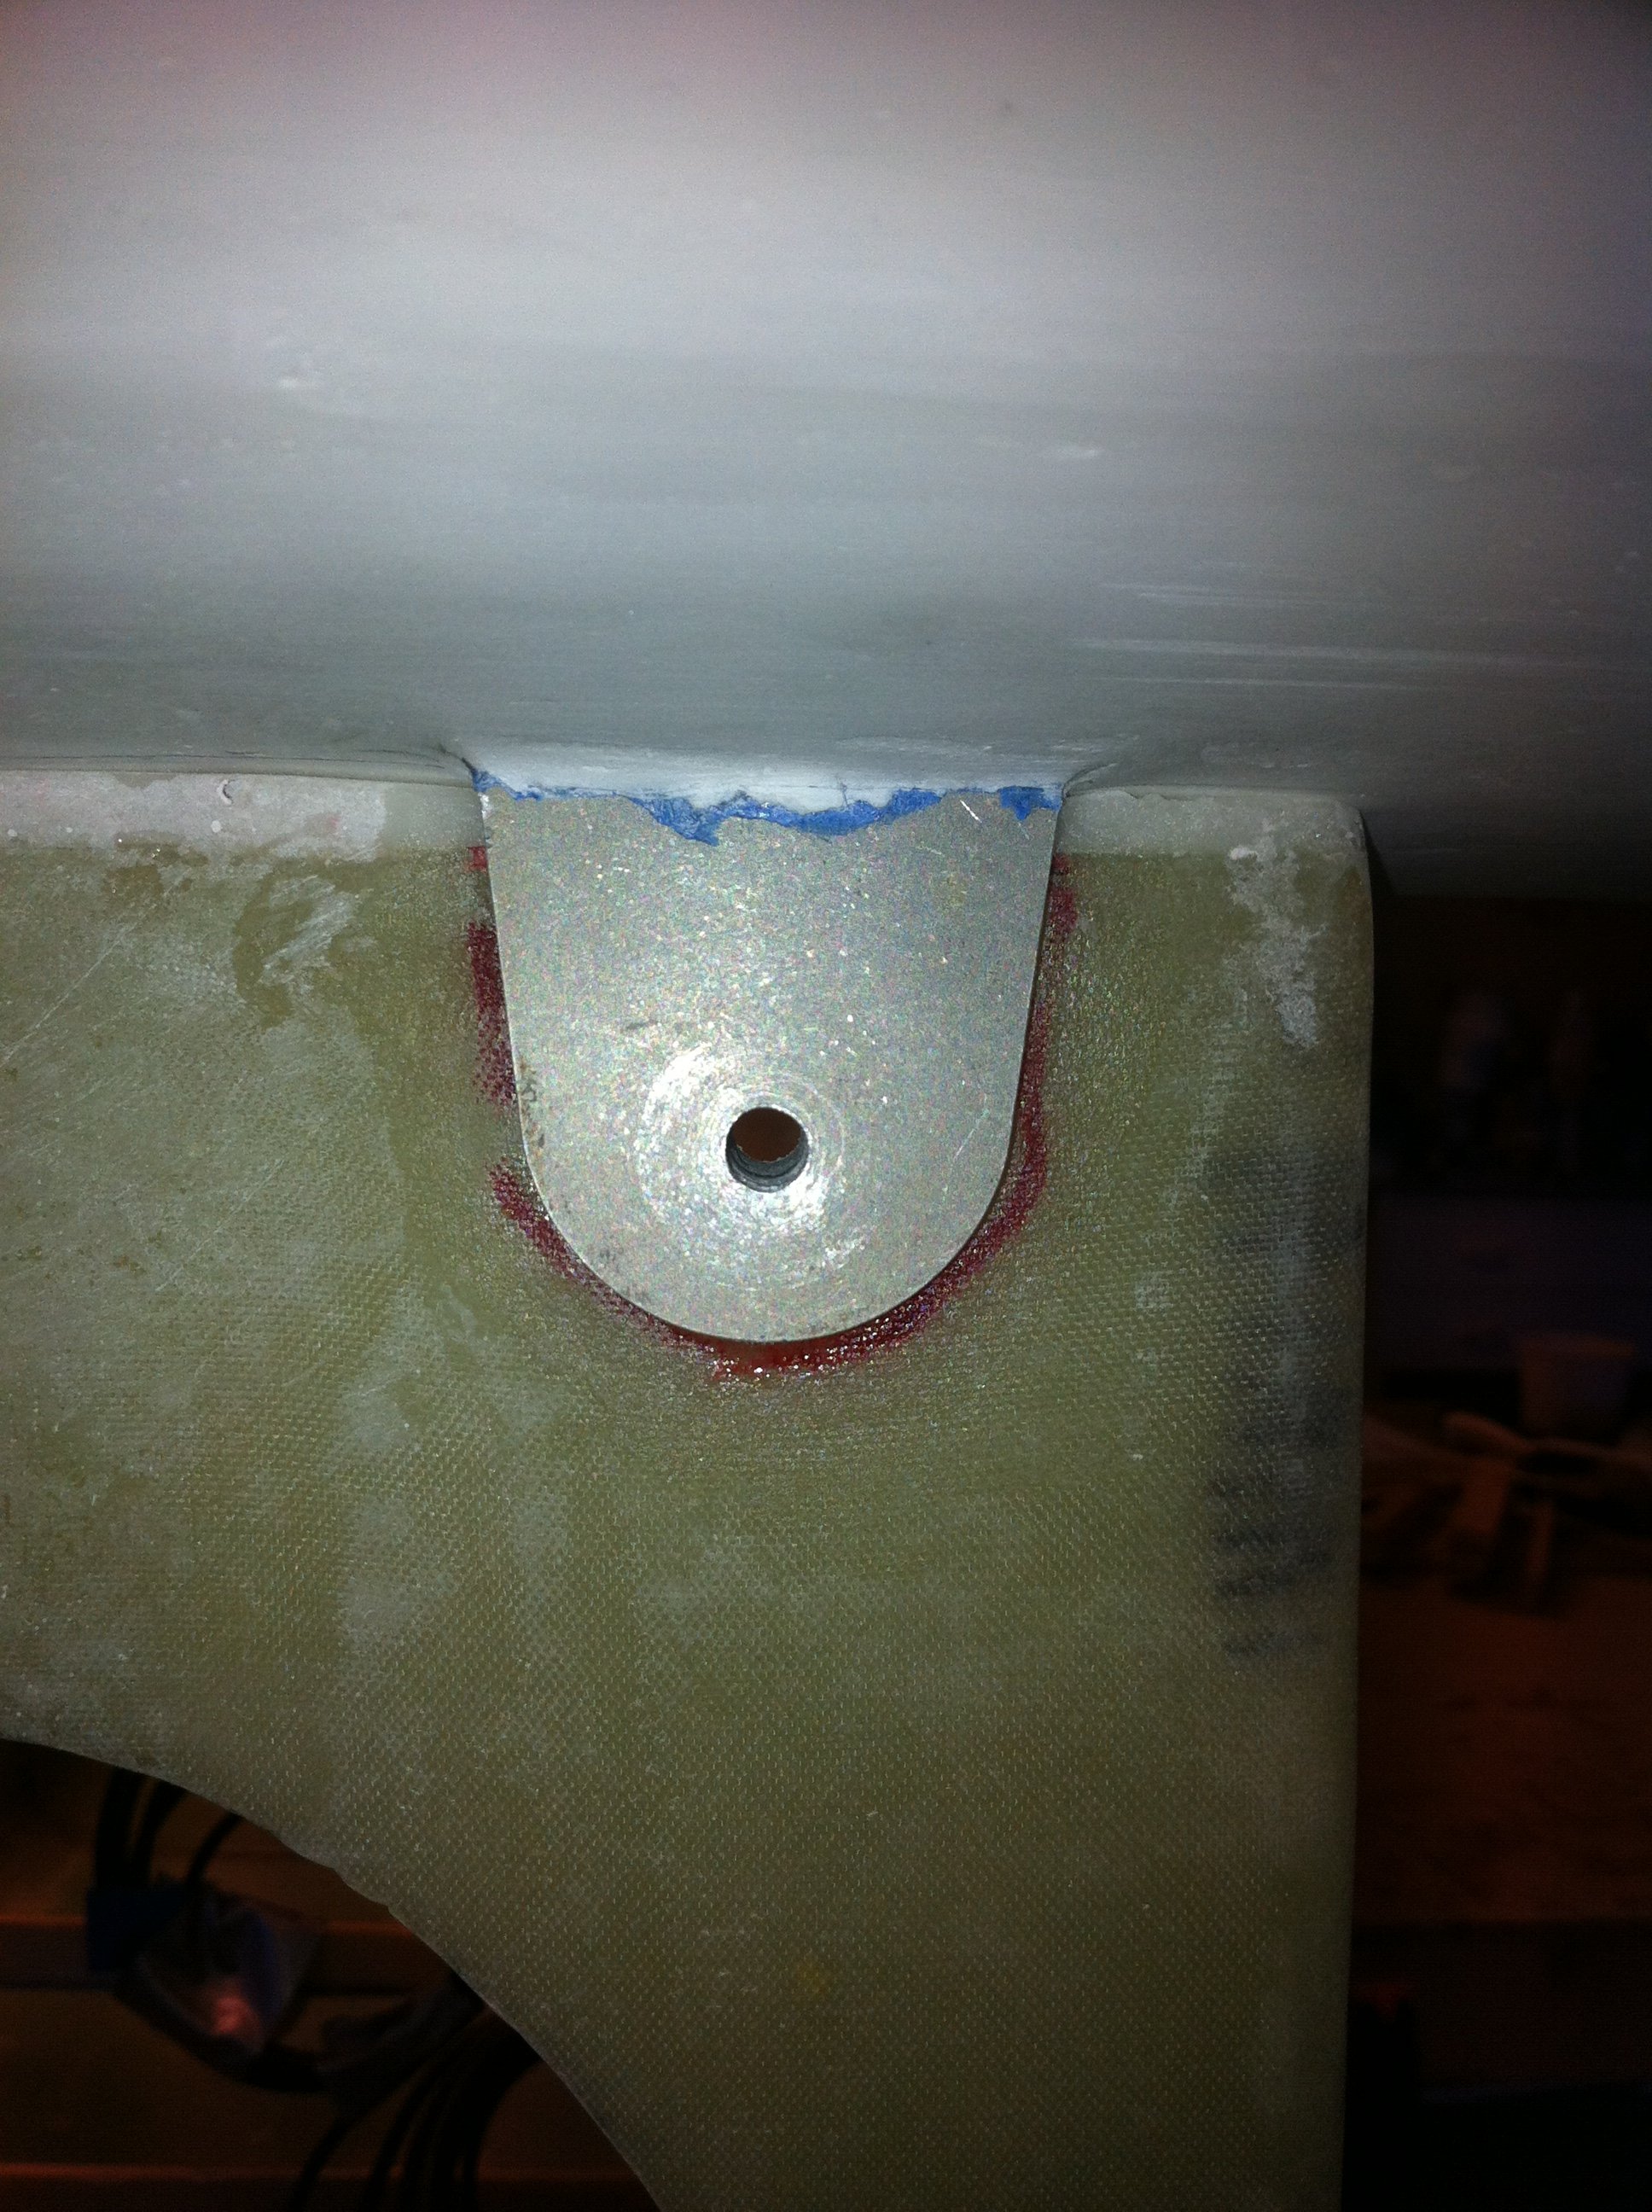
2013-03-28: The hole in the lift tab is opened up to 1/4 inch.
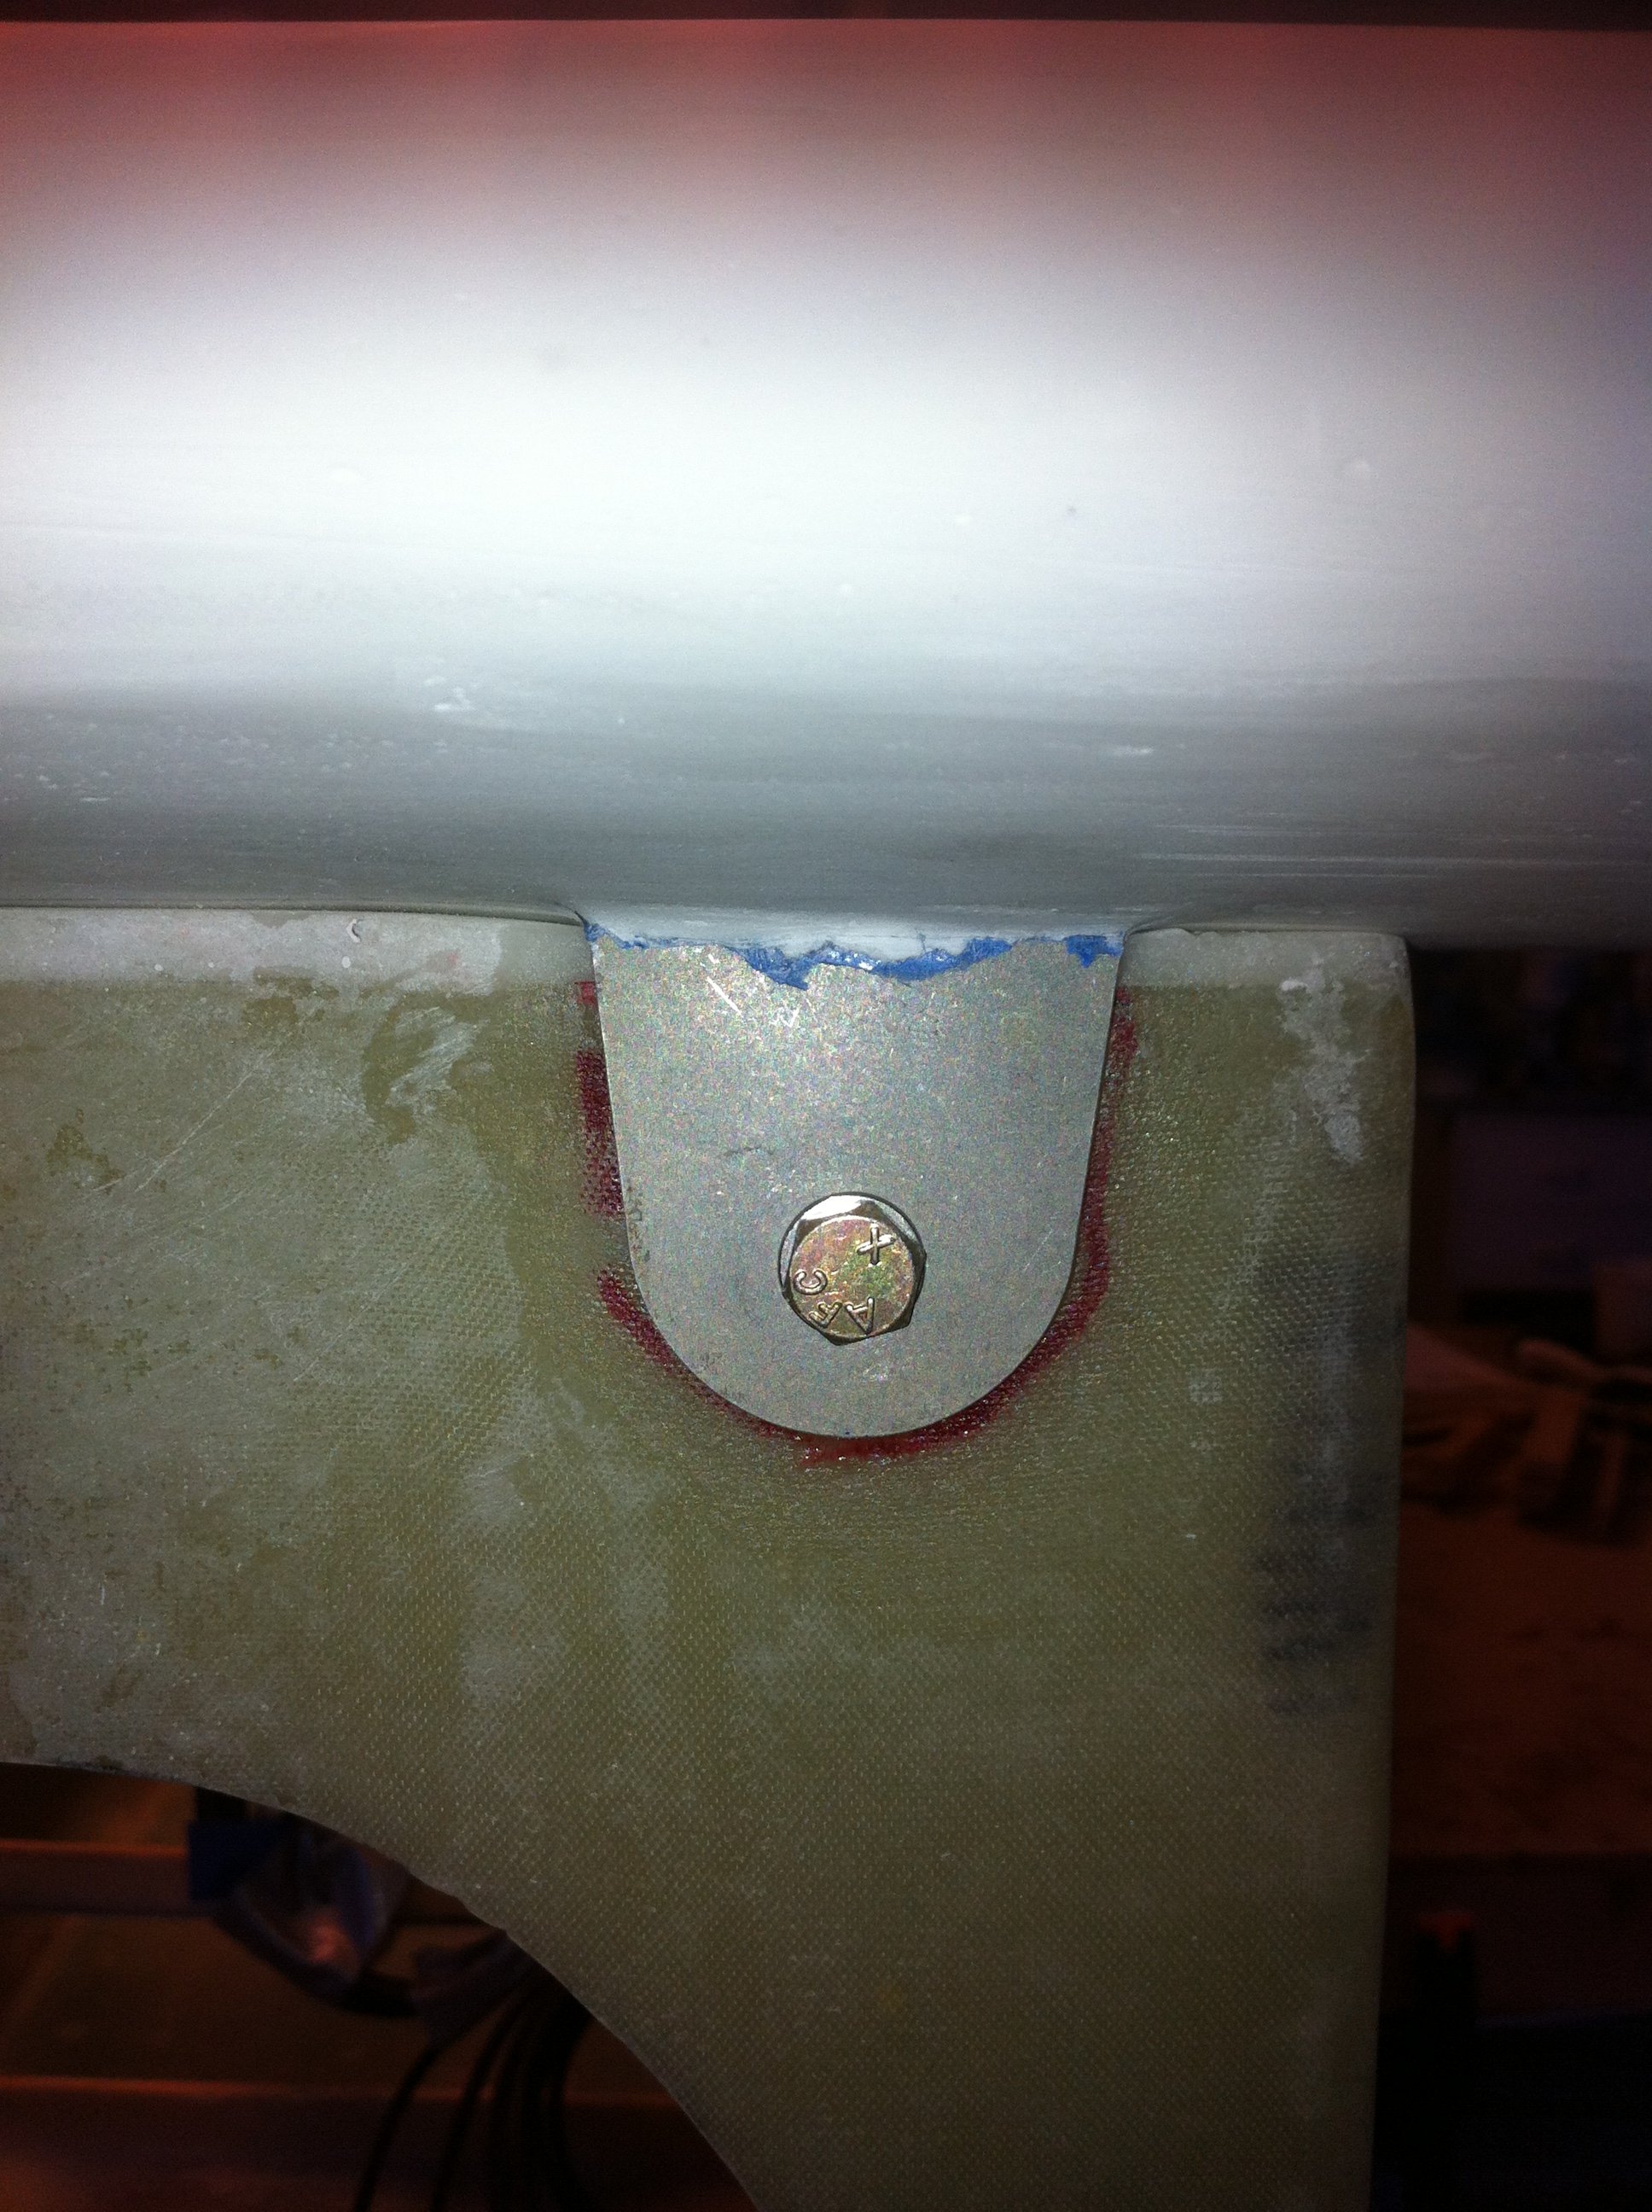
2013-03-28: The AN3-bolt is switched to an AN4-bolt.