

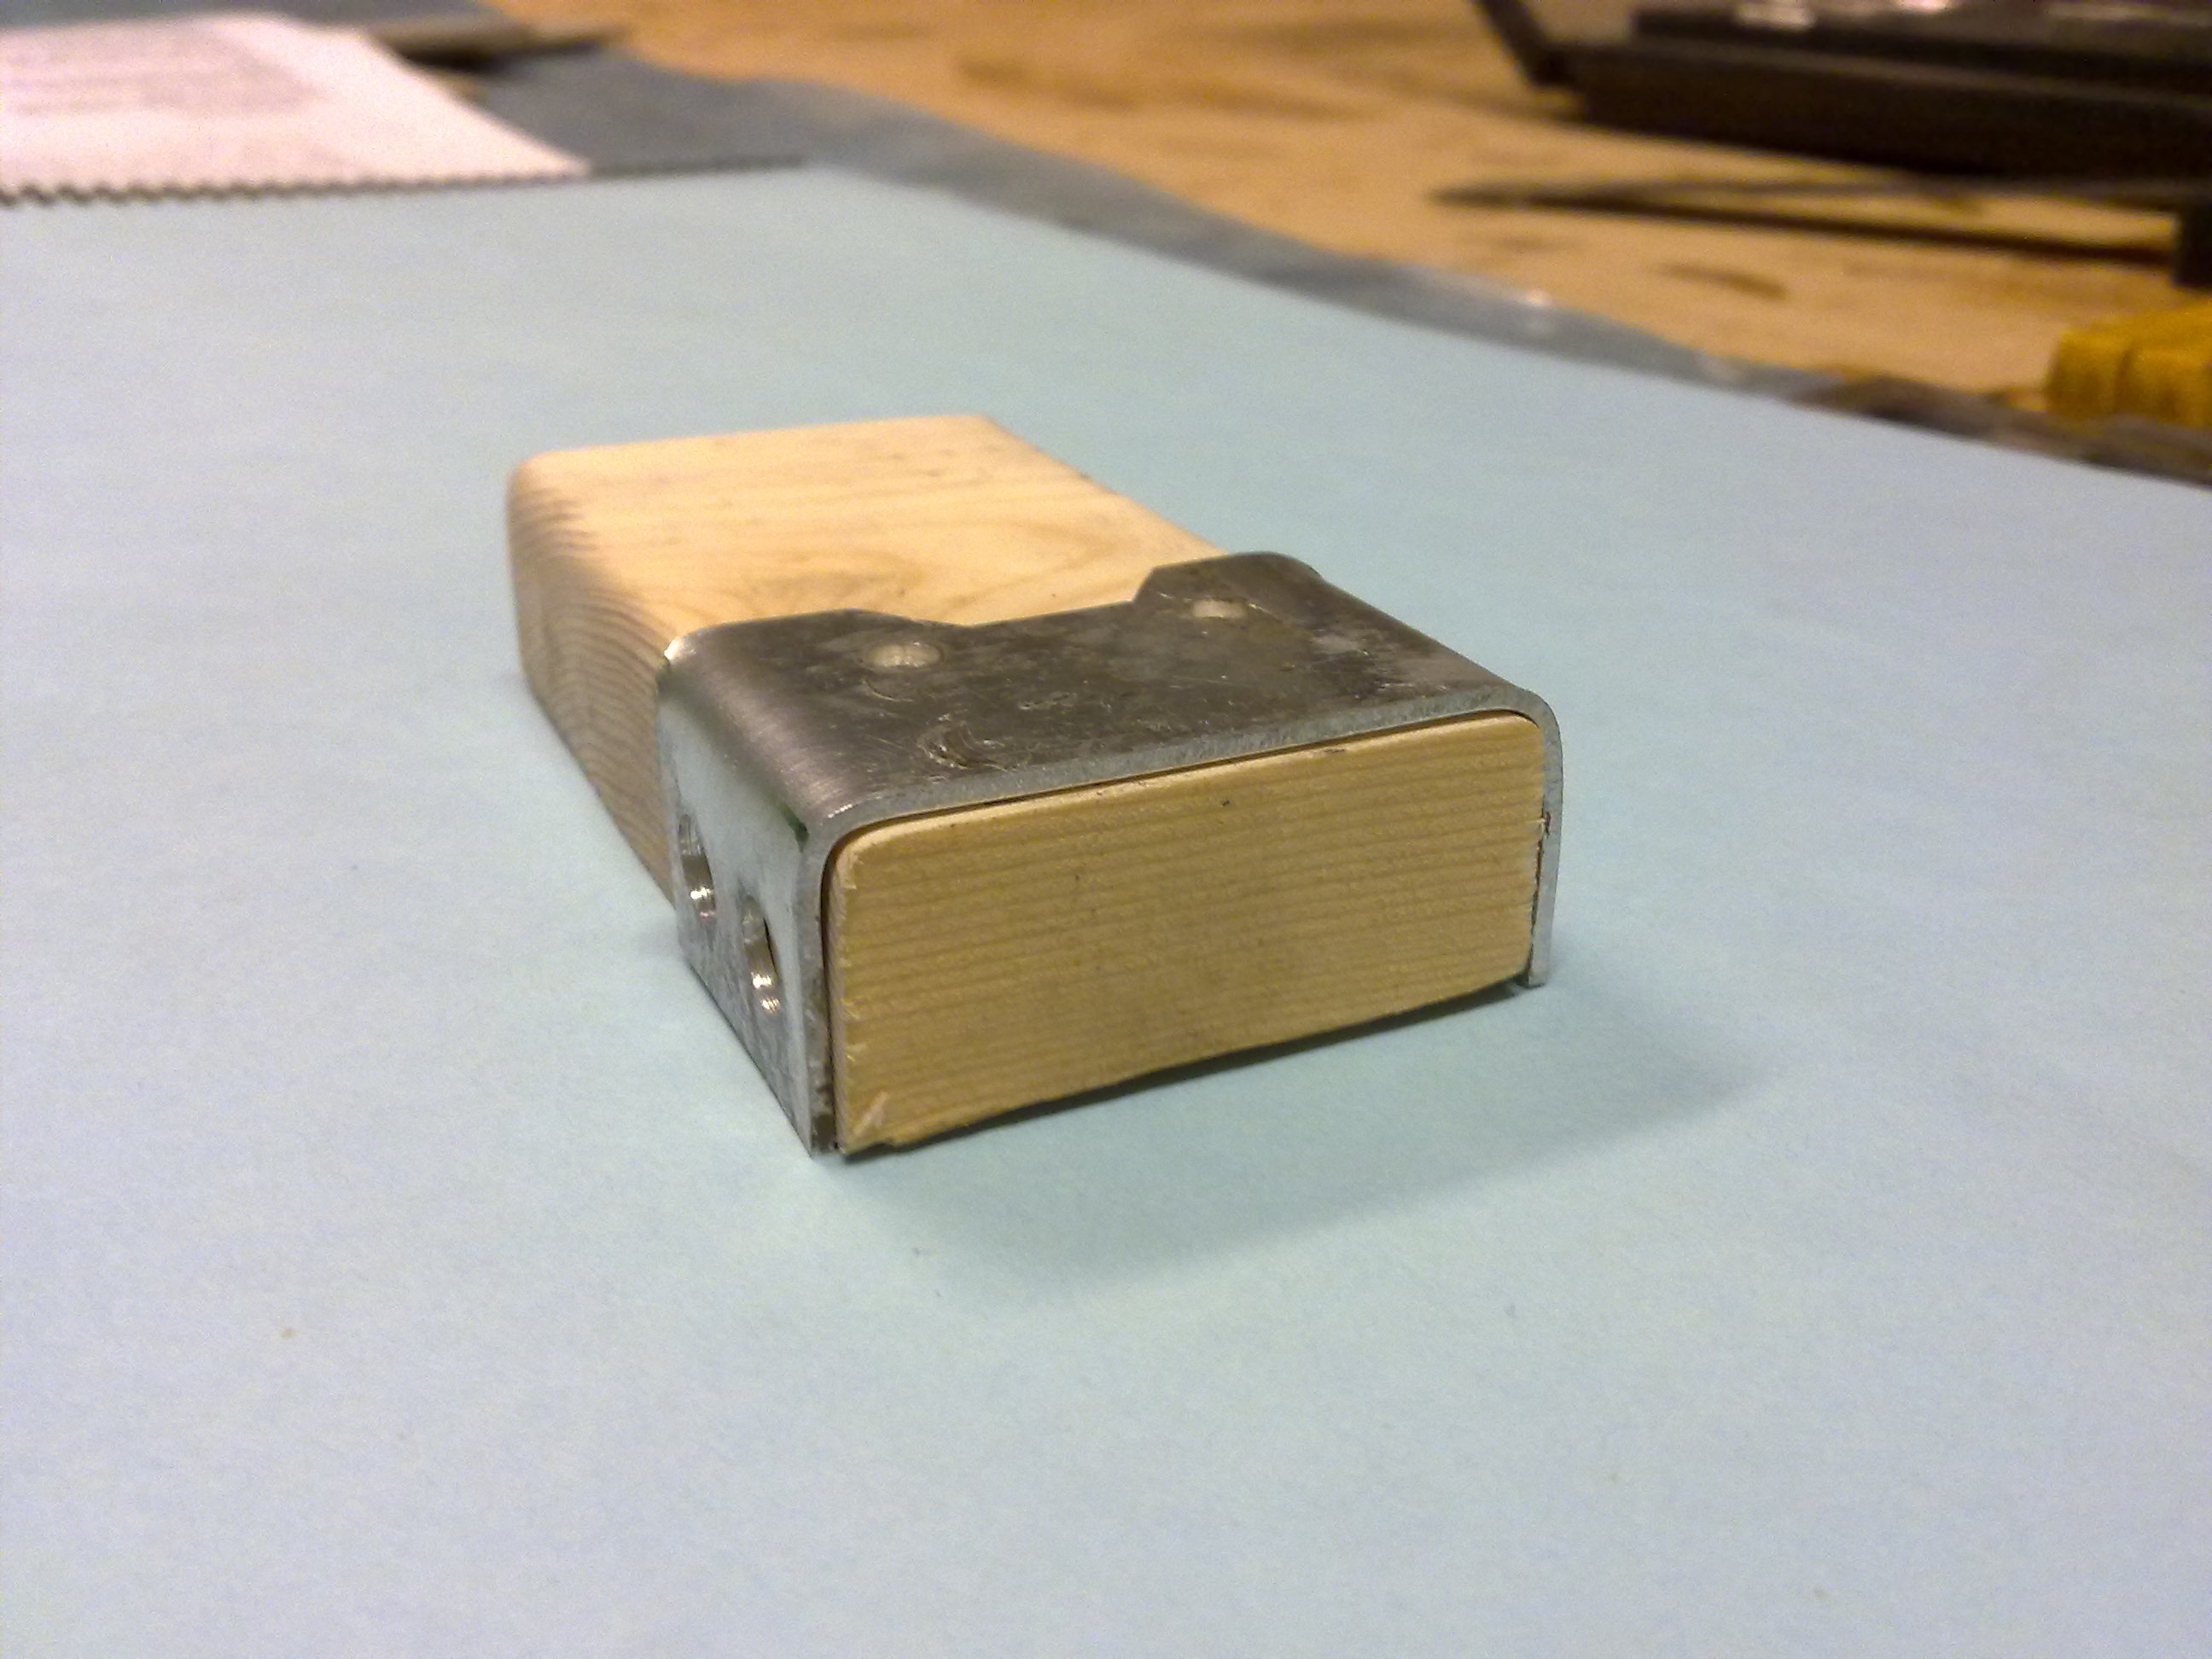
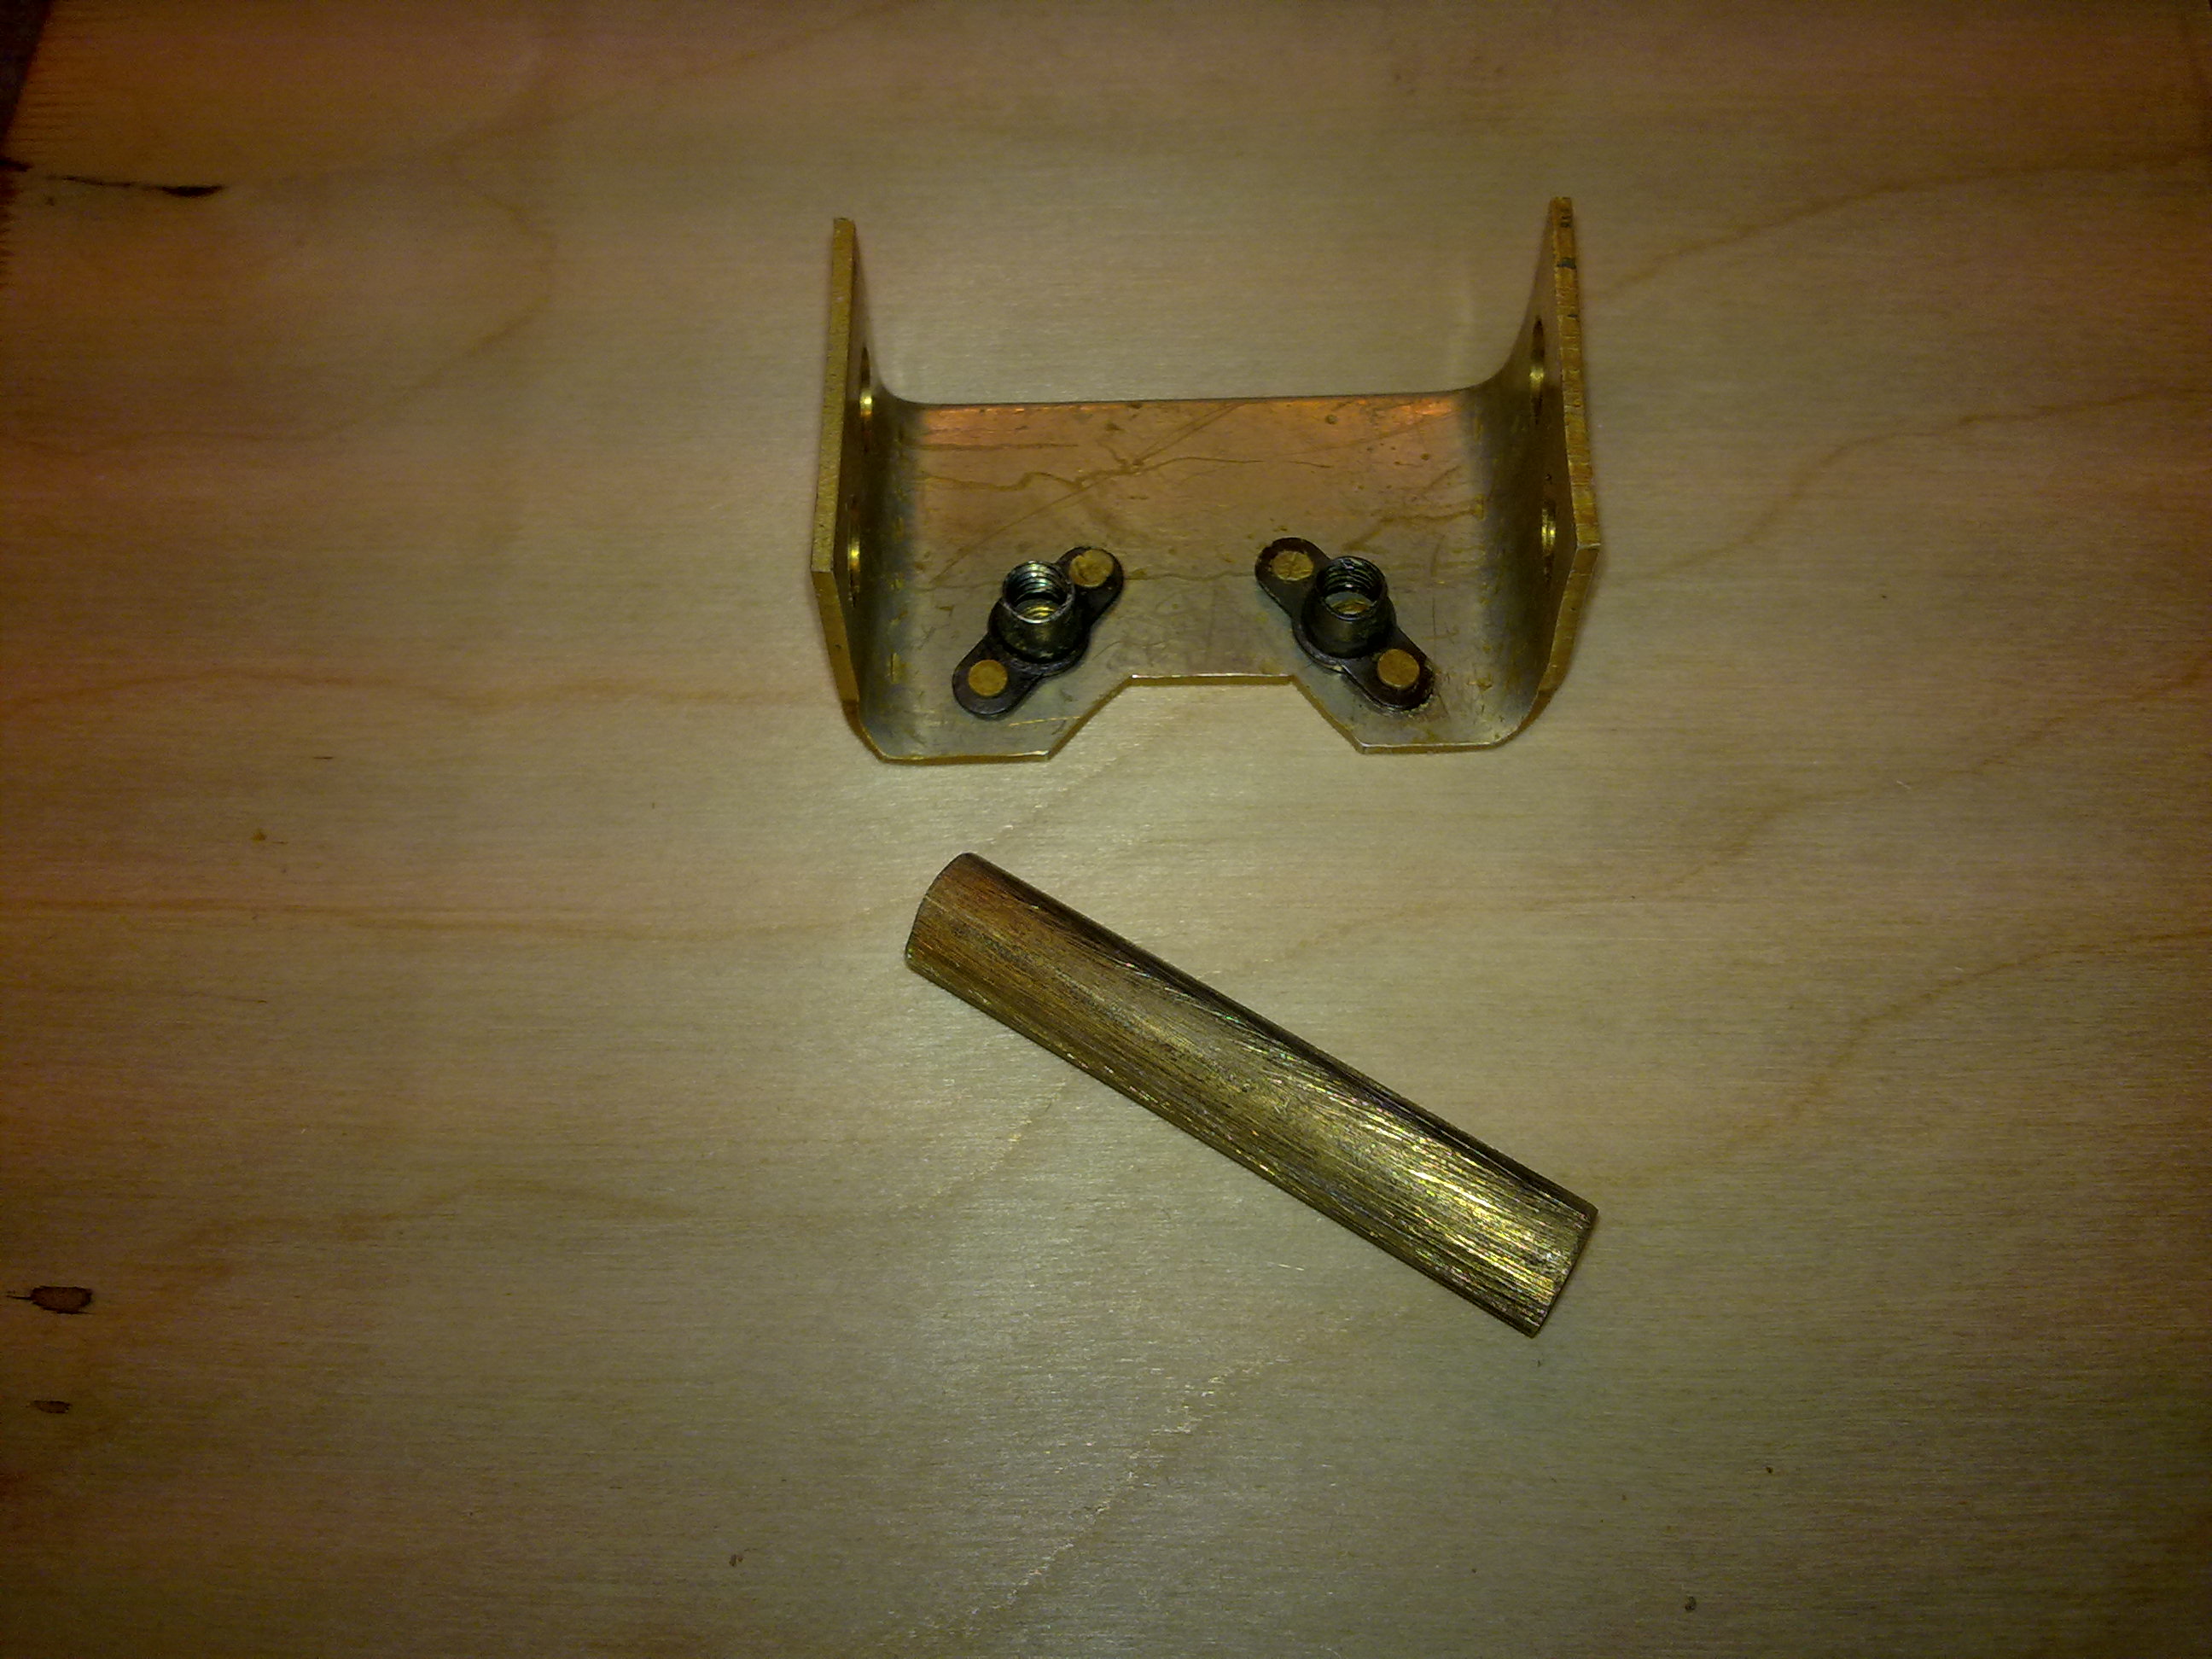
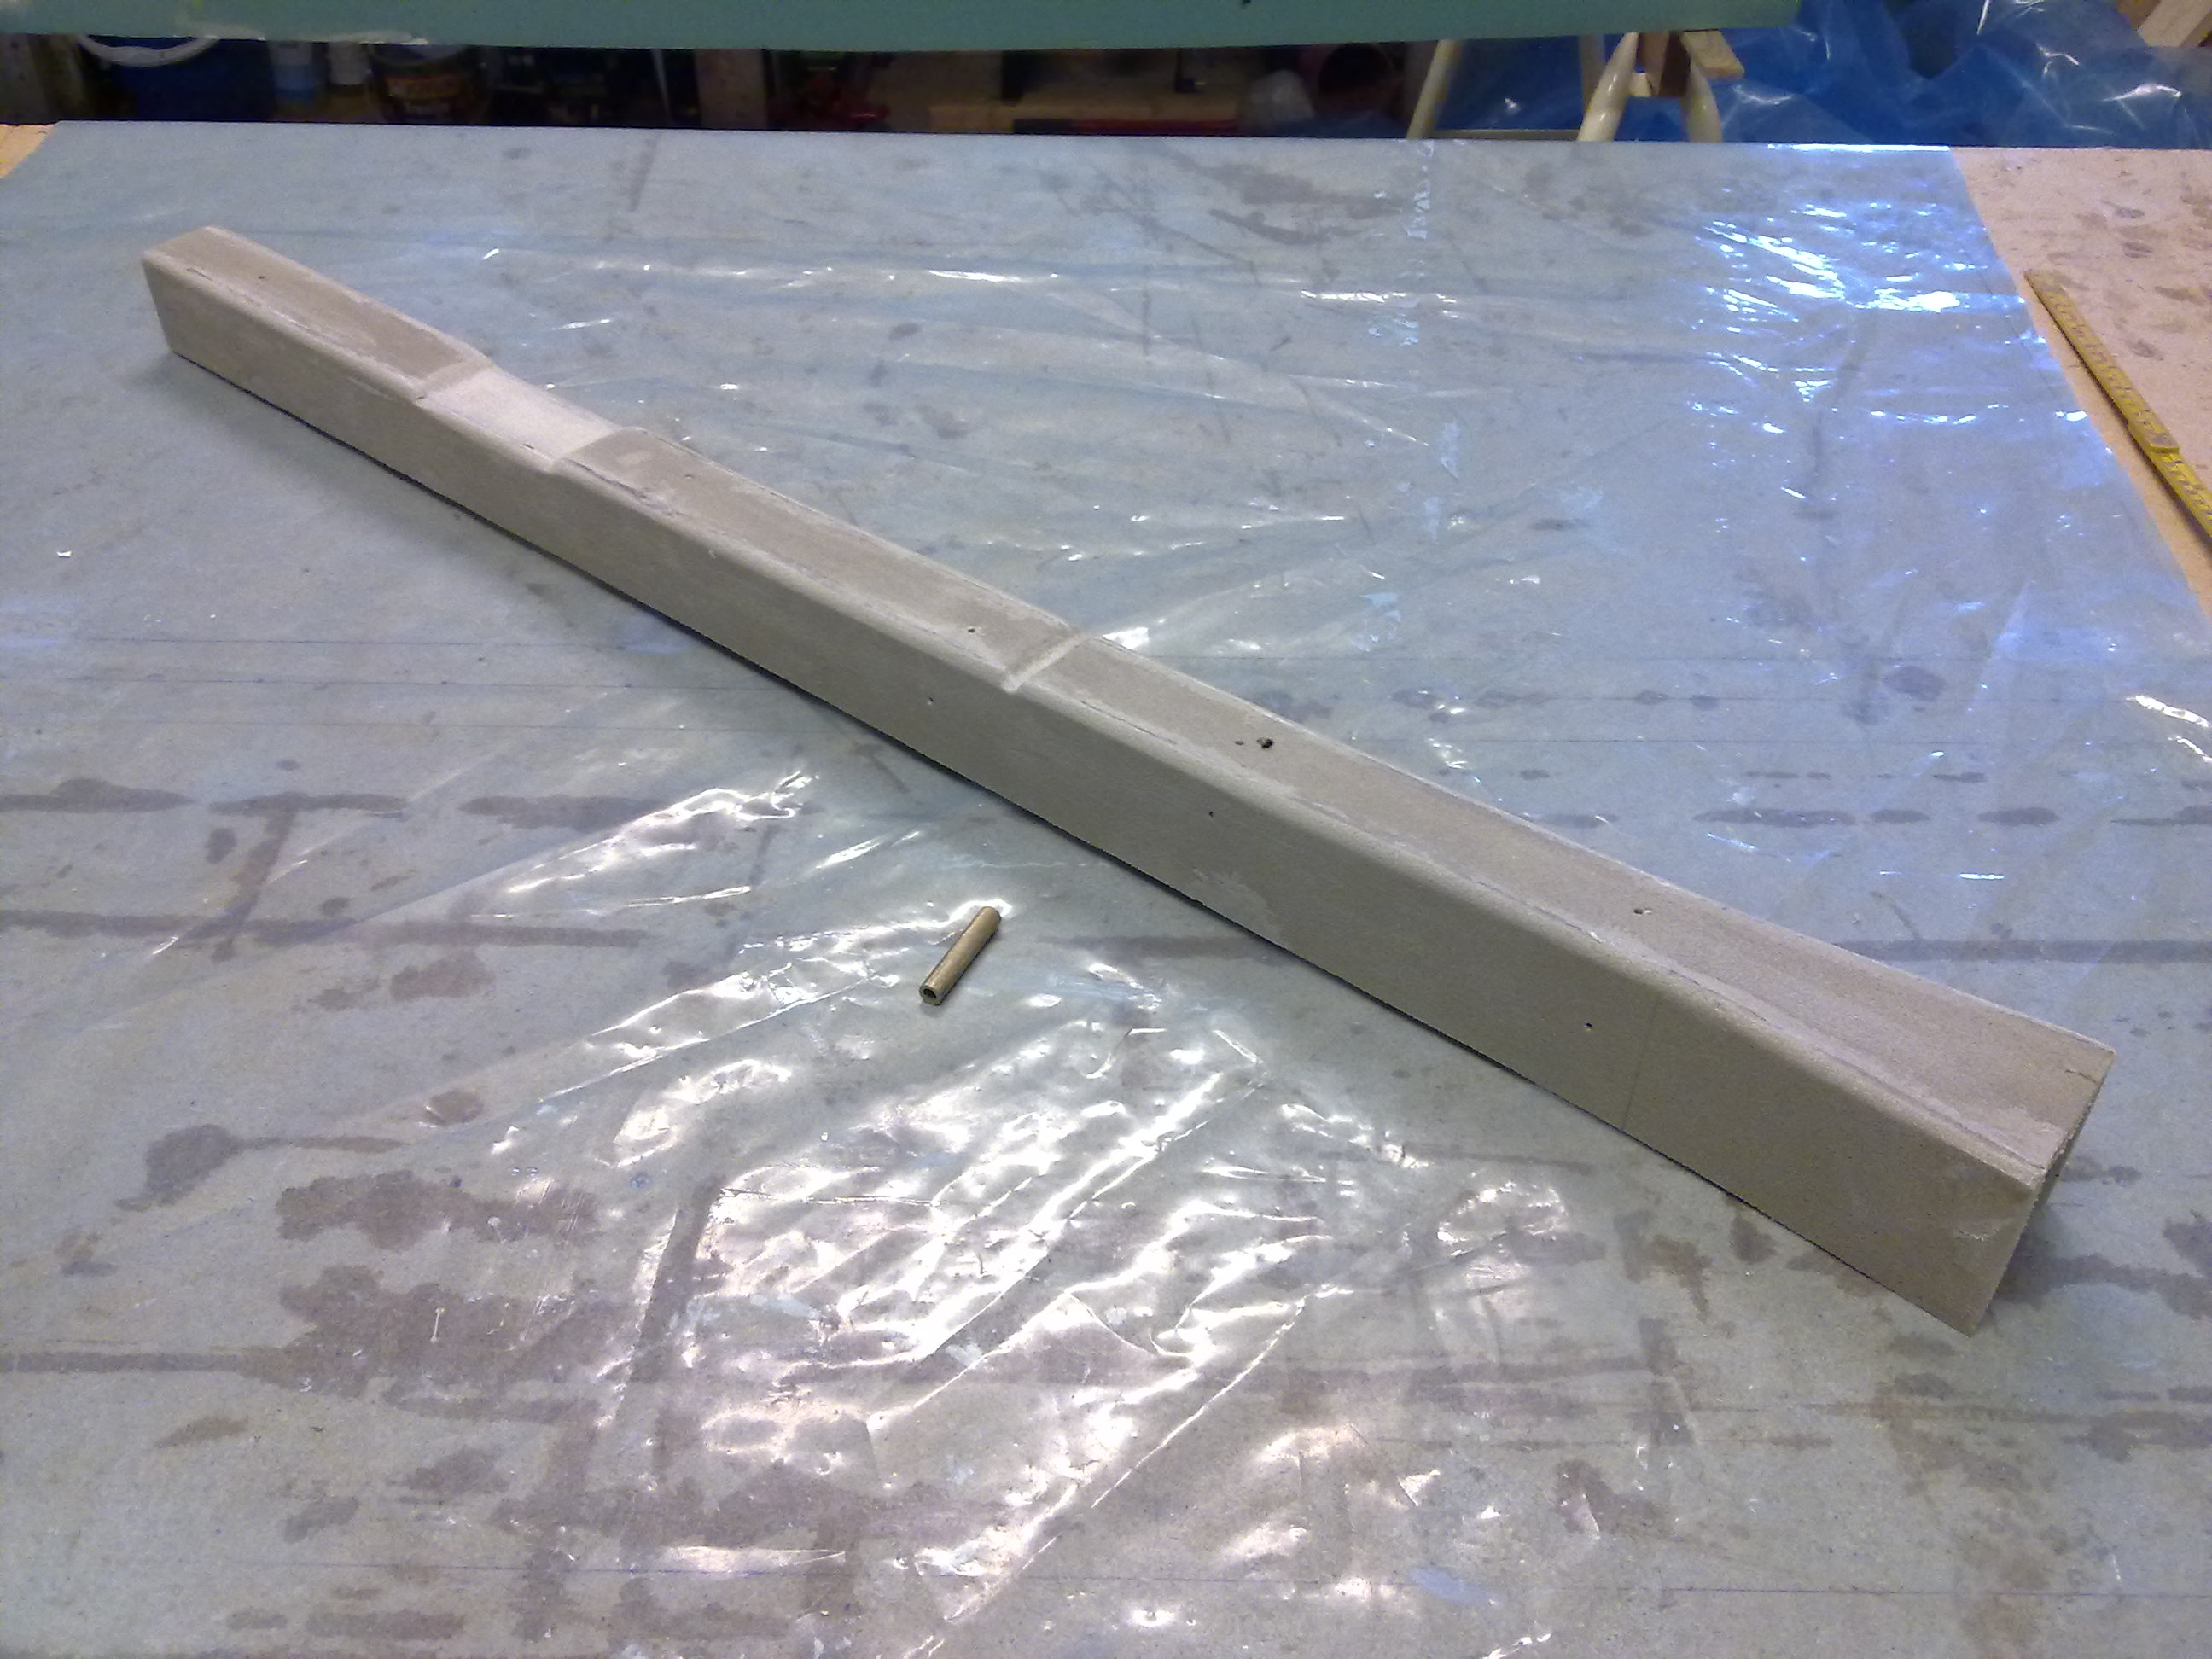
I need to fabricate the bracket for the fuel-selector. I bought the aluminum-piece from Aircraft Spruce – but I had to cut it out according to the template in the plans. After carefully measuring and drilling the holes, I have to bend the piece making to 90 degreees bends. Many people have had problems here with the aluminum breaking in the bends. The first thing to observe is to bend across the grains in the aluminum. The next thing is not to make a sharp bend, but make a radius. To help me I cut a piece of wood 2″ wide that matches the inside of the bracket. Then I sanded the corners making a gentle radius for the bracket.

I then fastened the aluminum and the wood-template in my vice and with a hammer I carefully bent the piece to the proper shape.
(Btw. isn’t “hammer” and “carefully” a contradiction?)
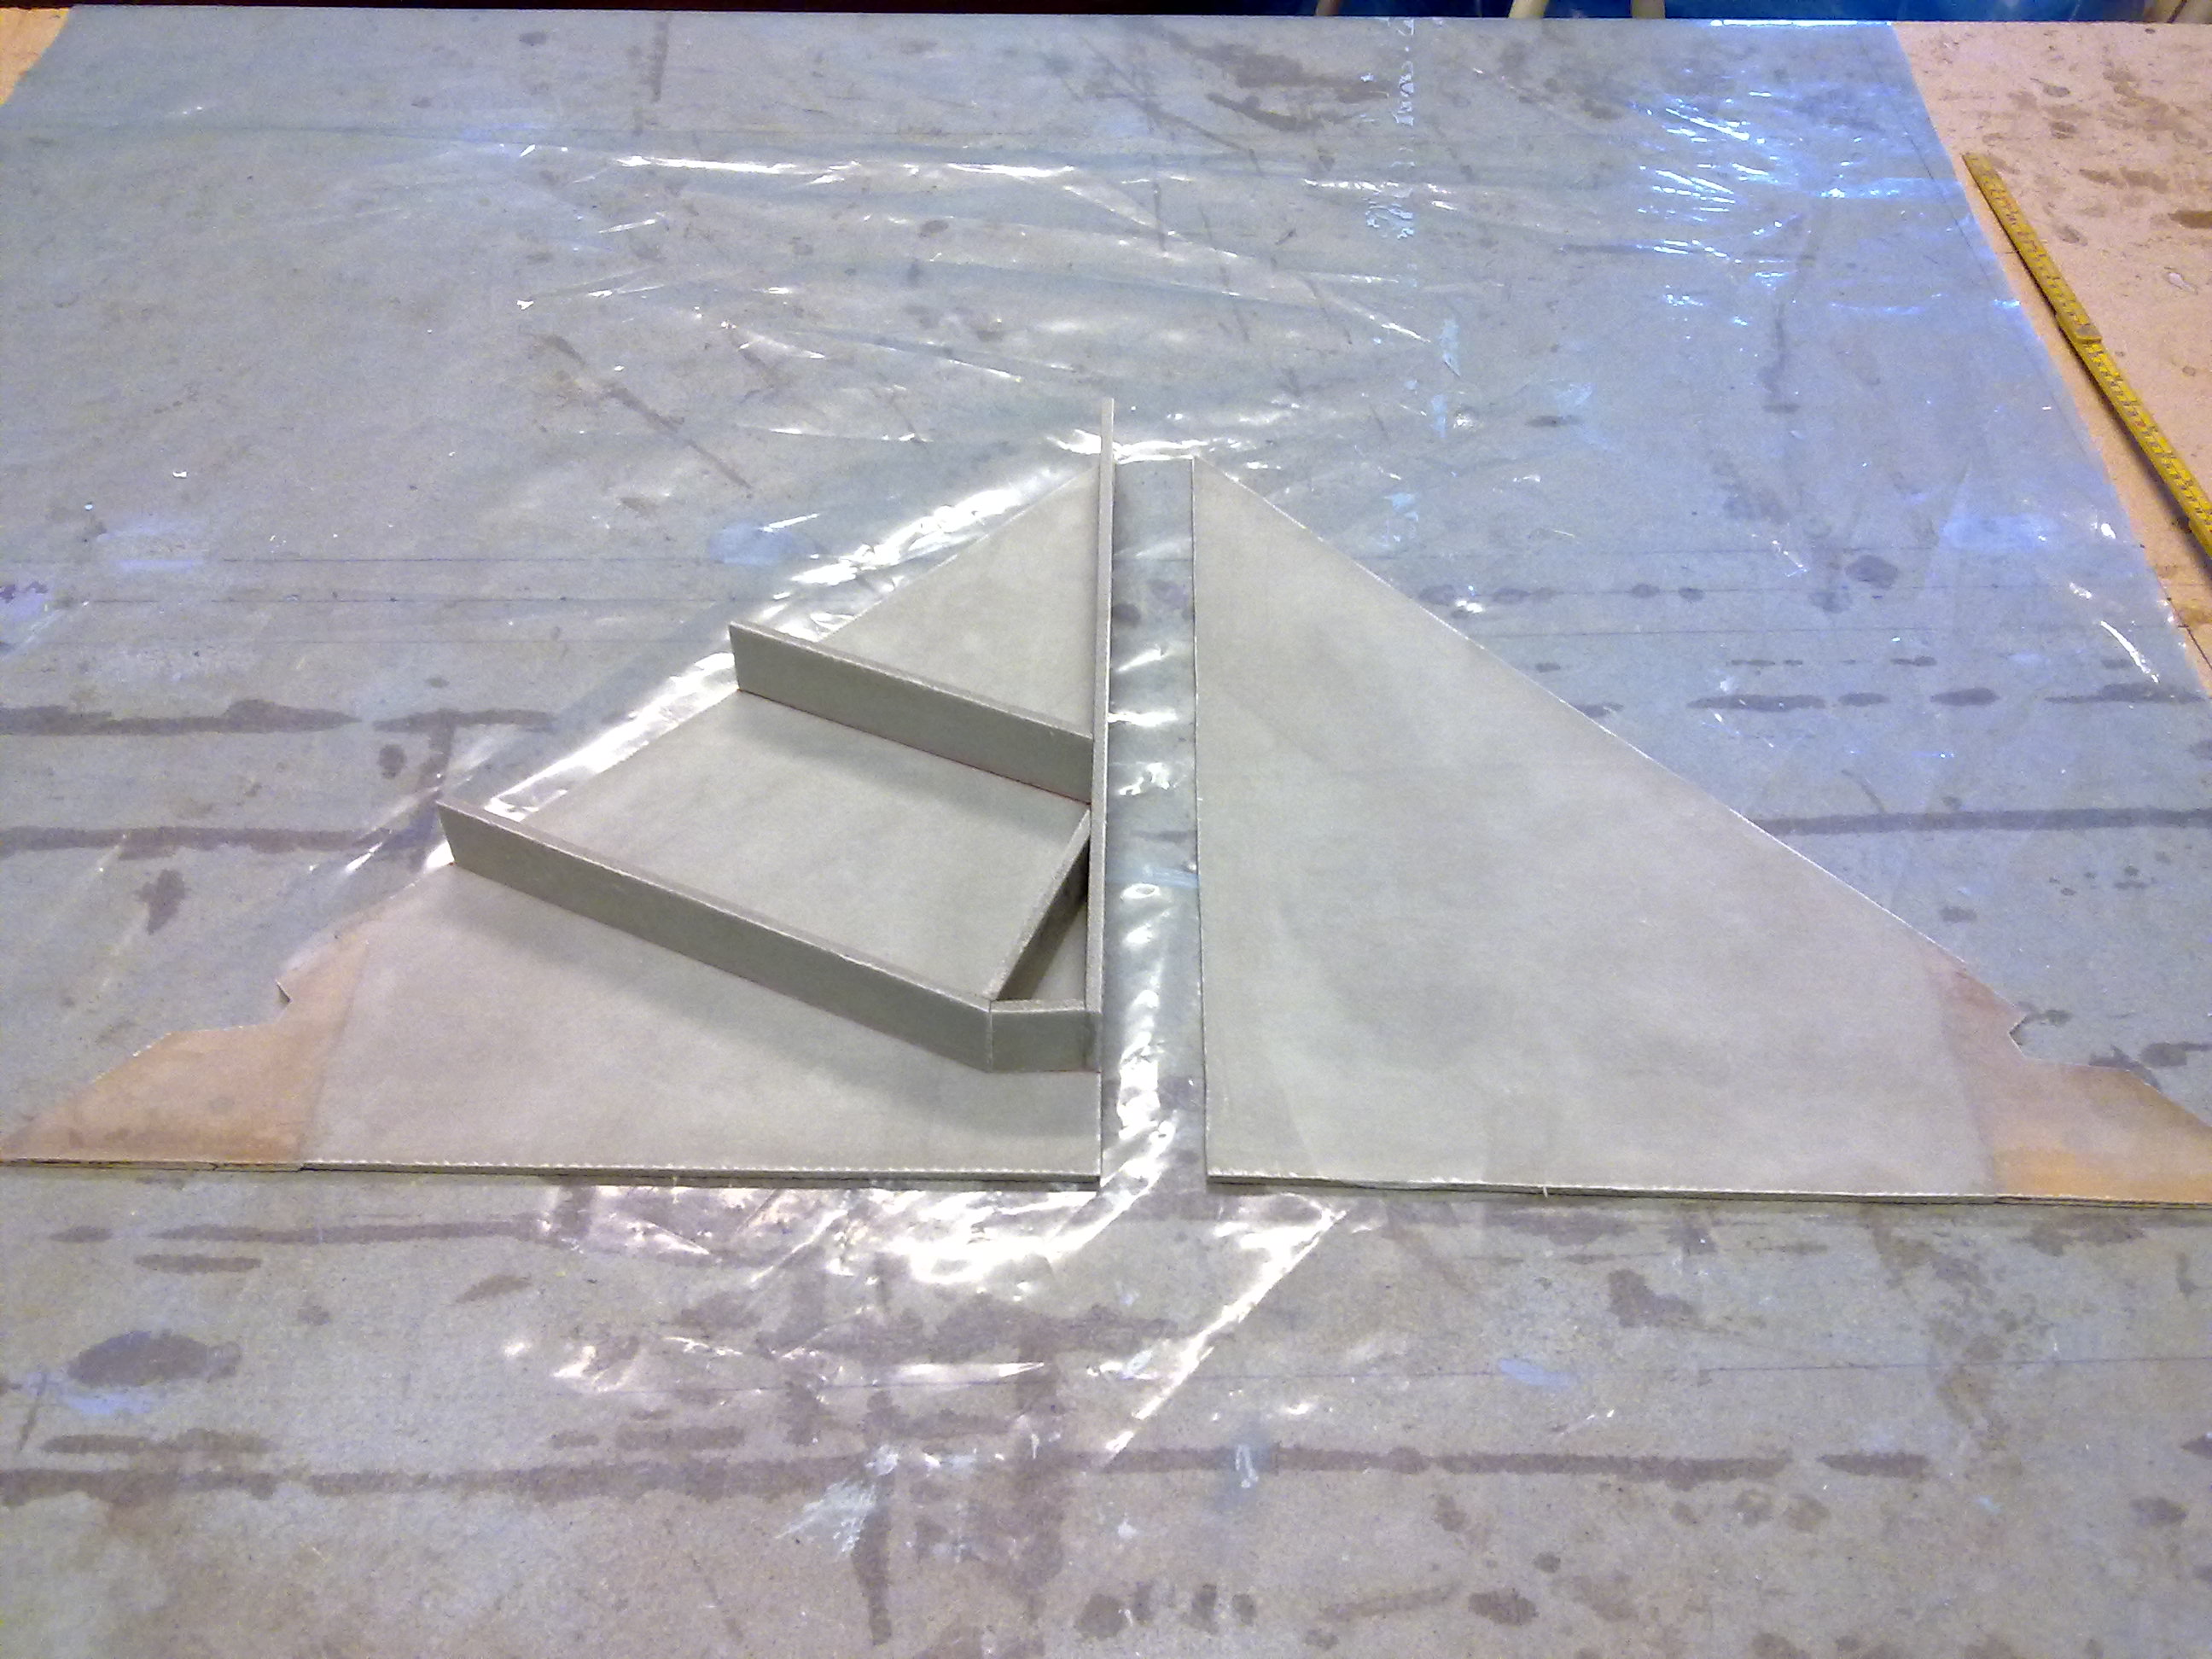
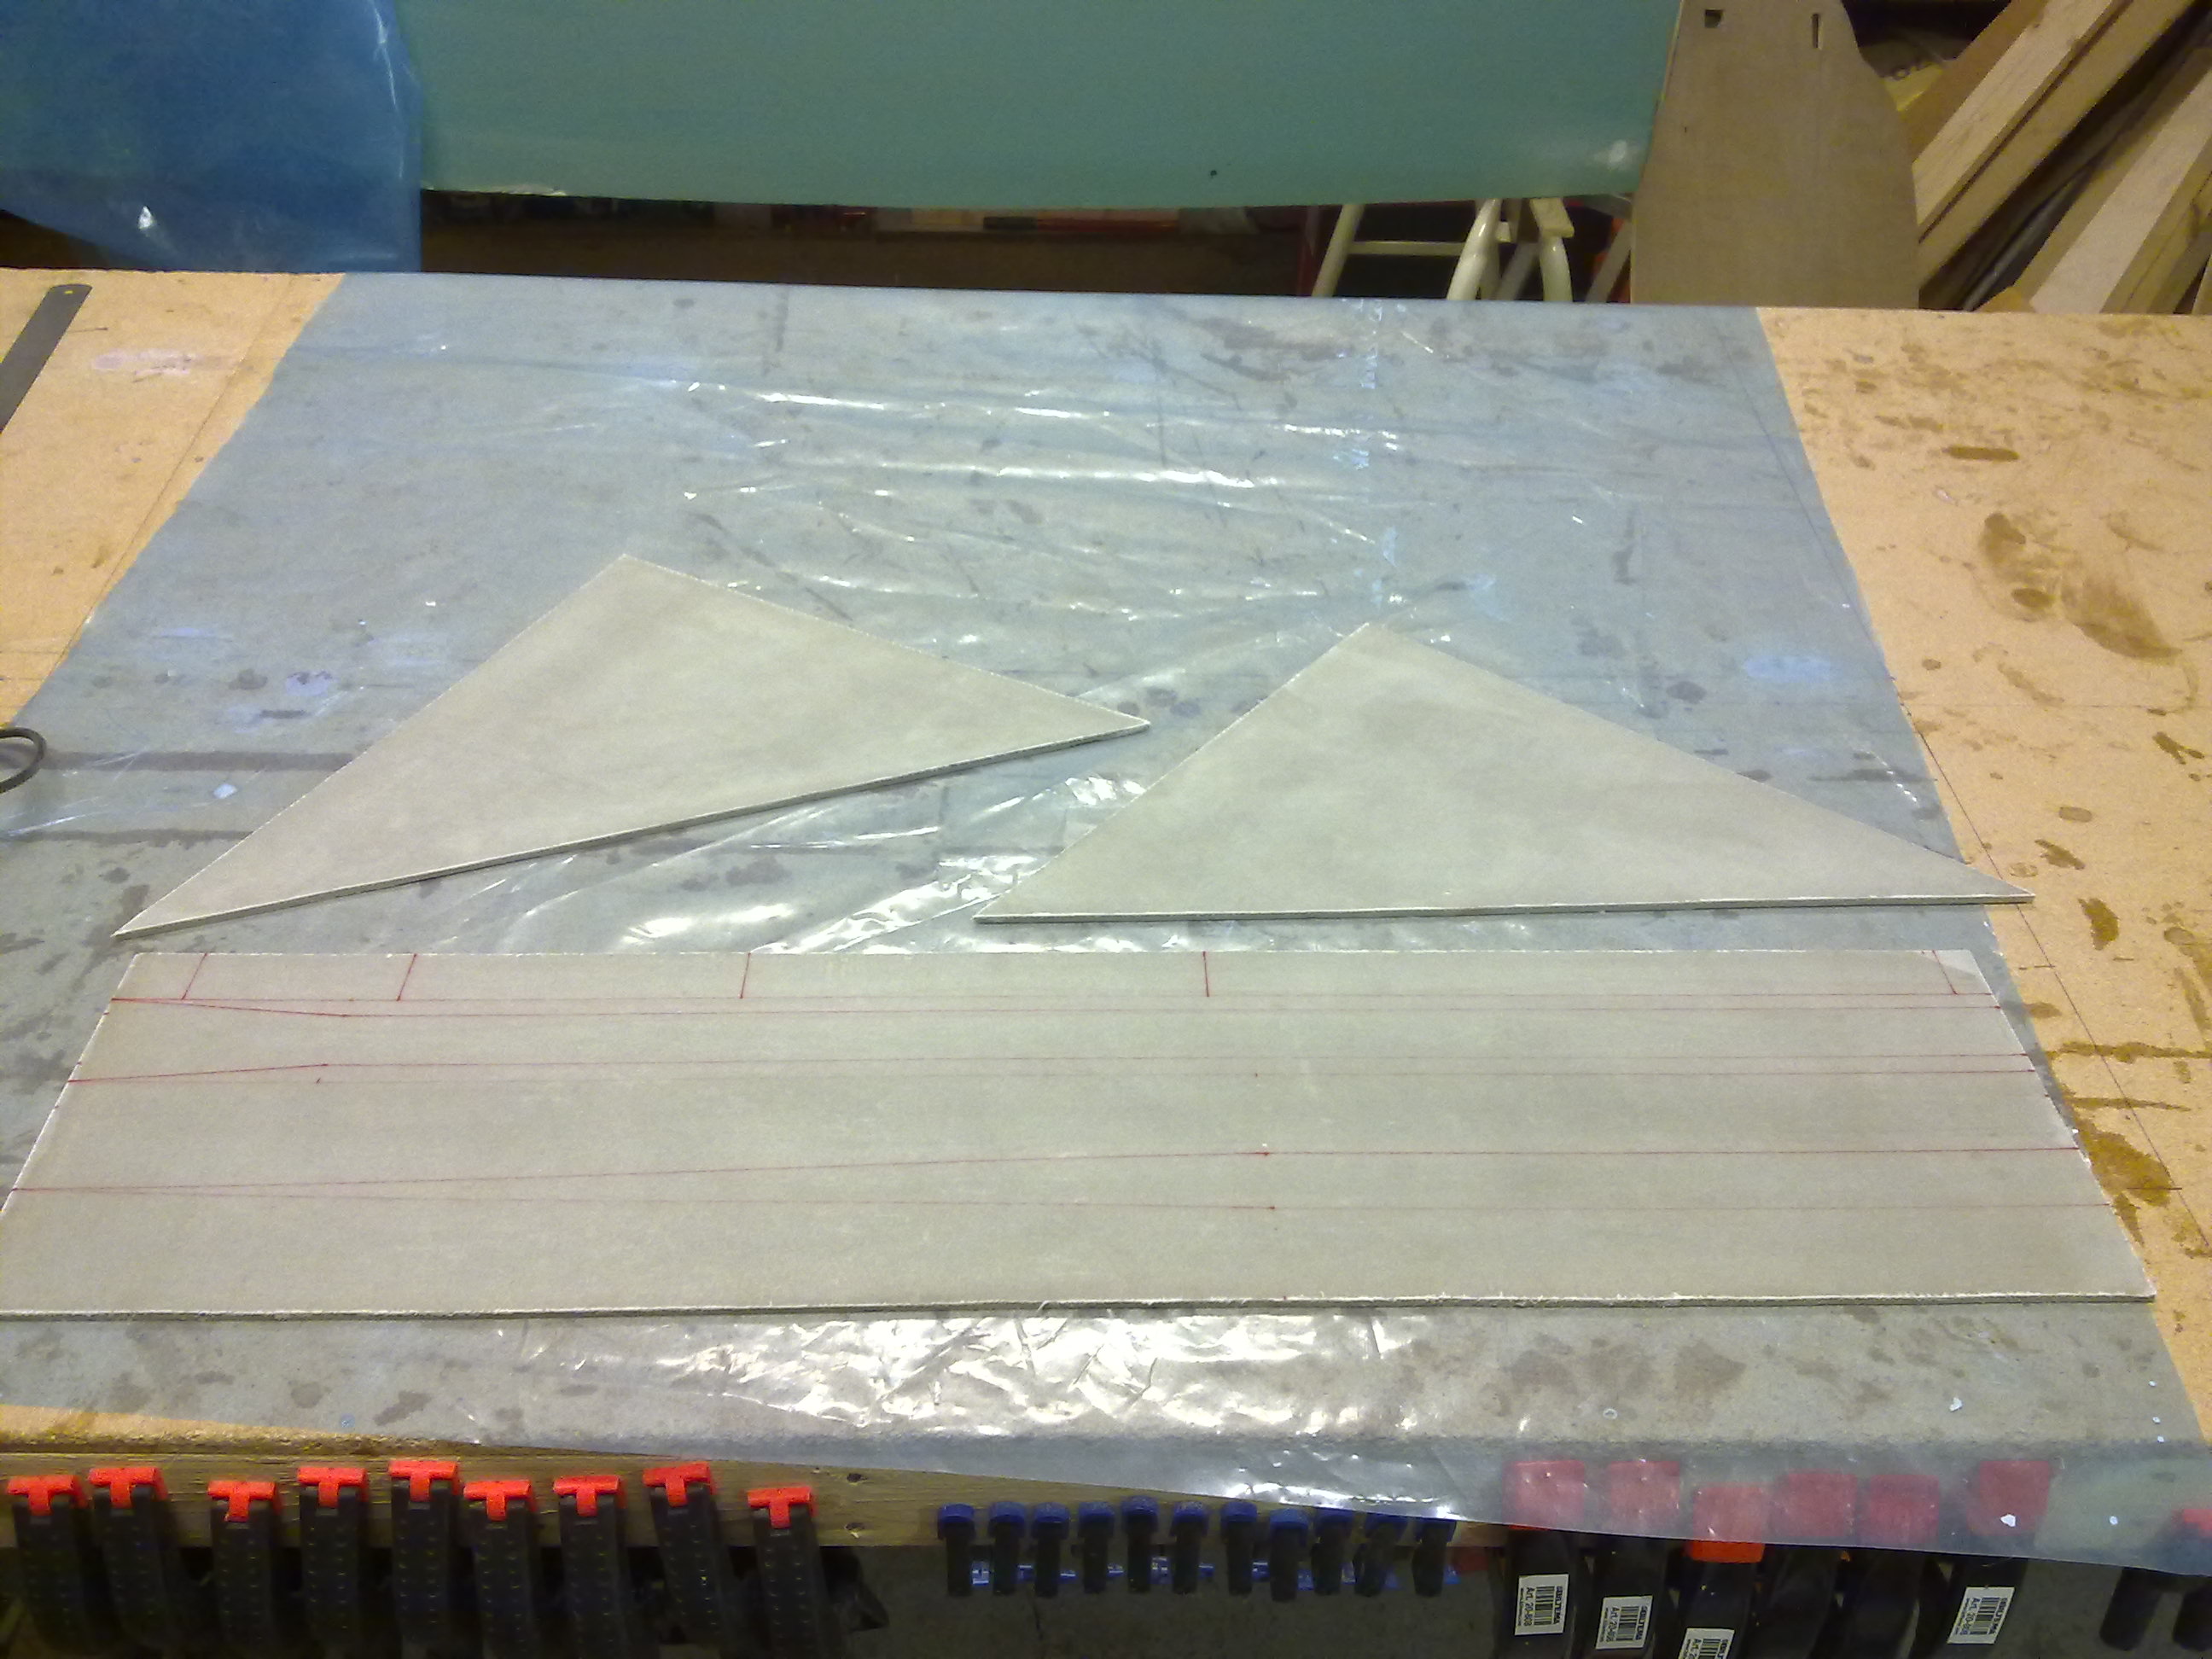
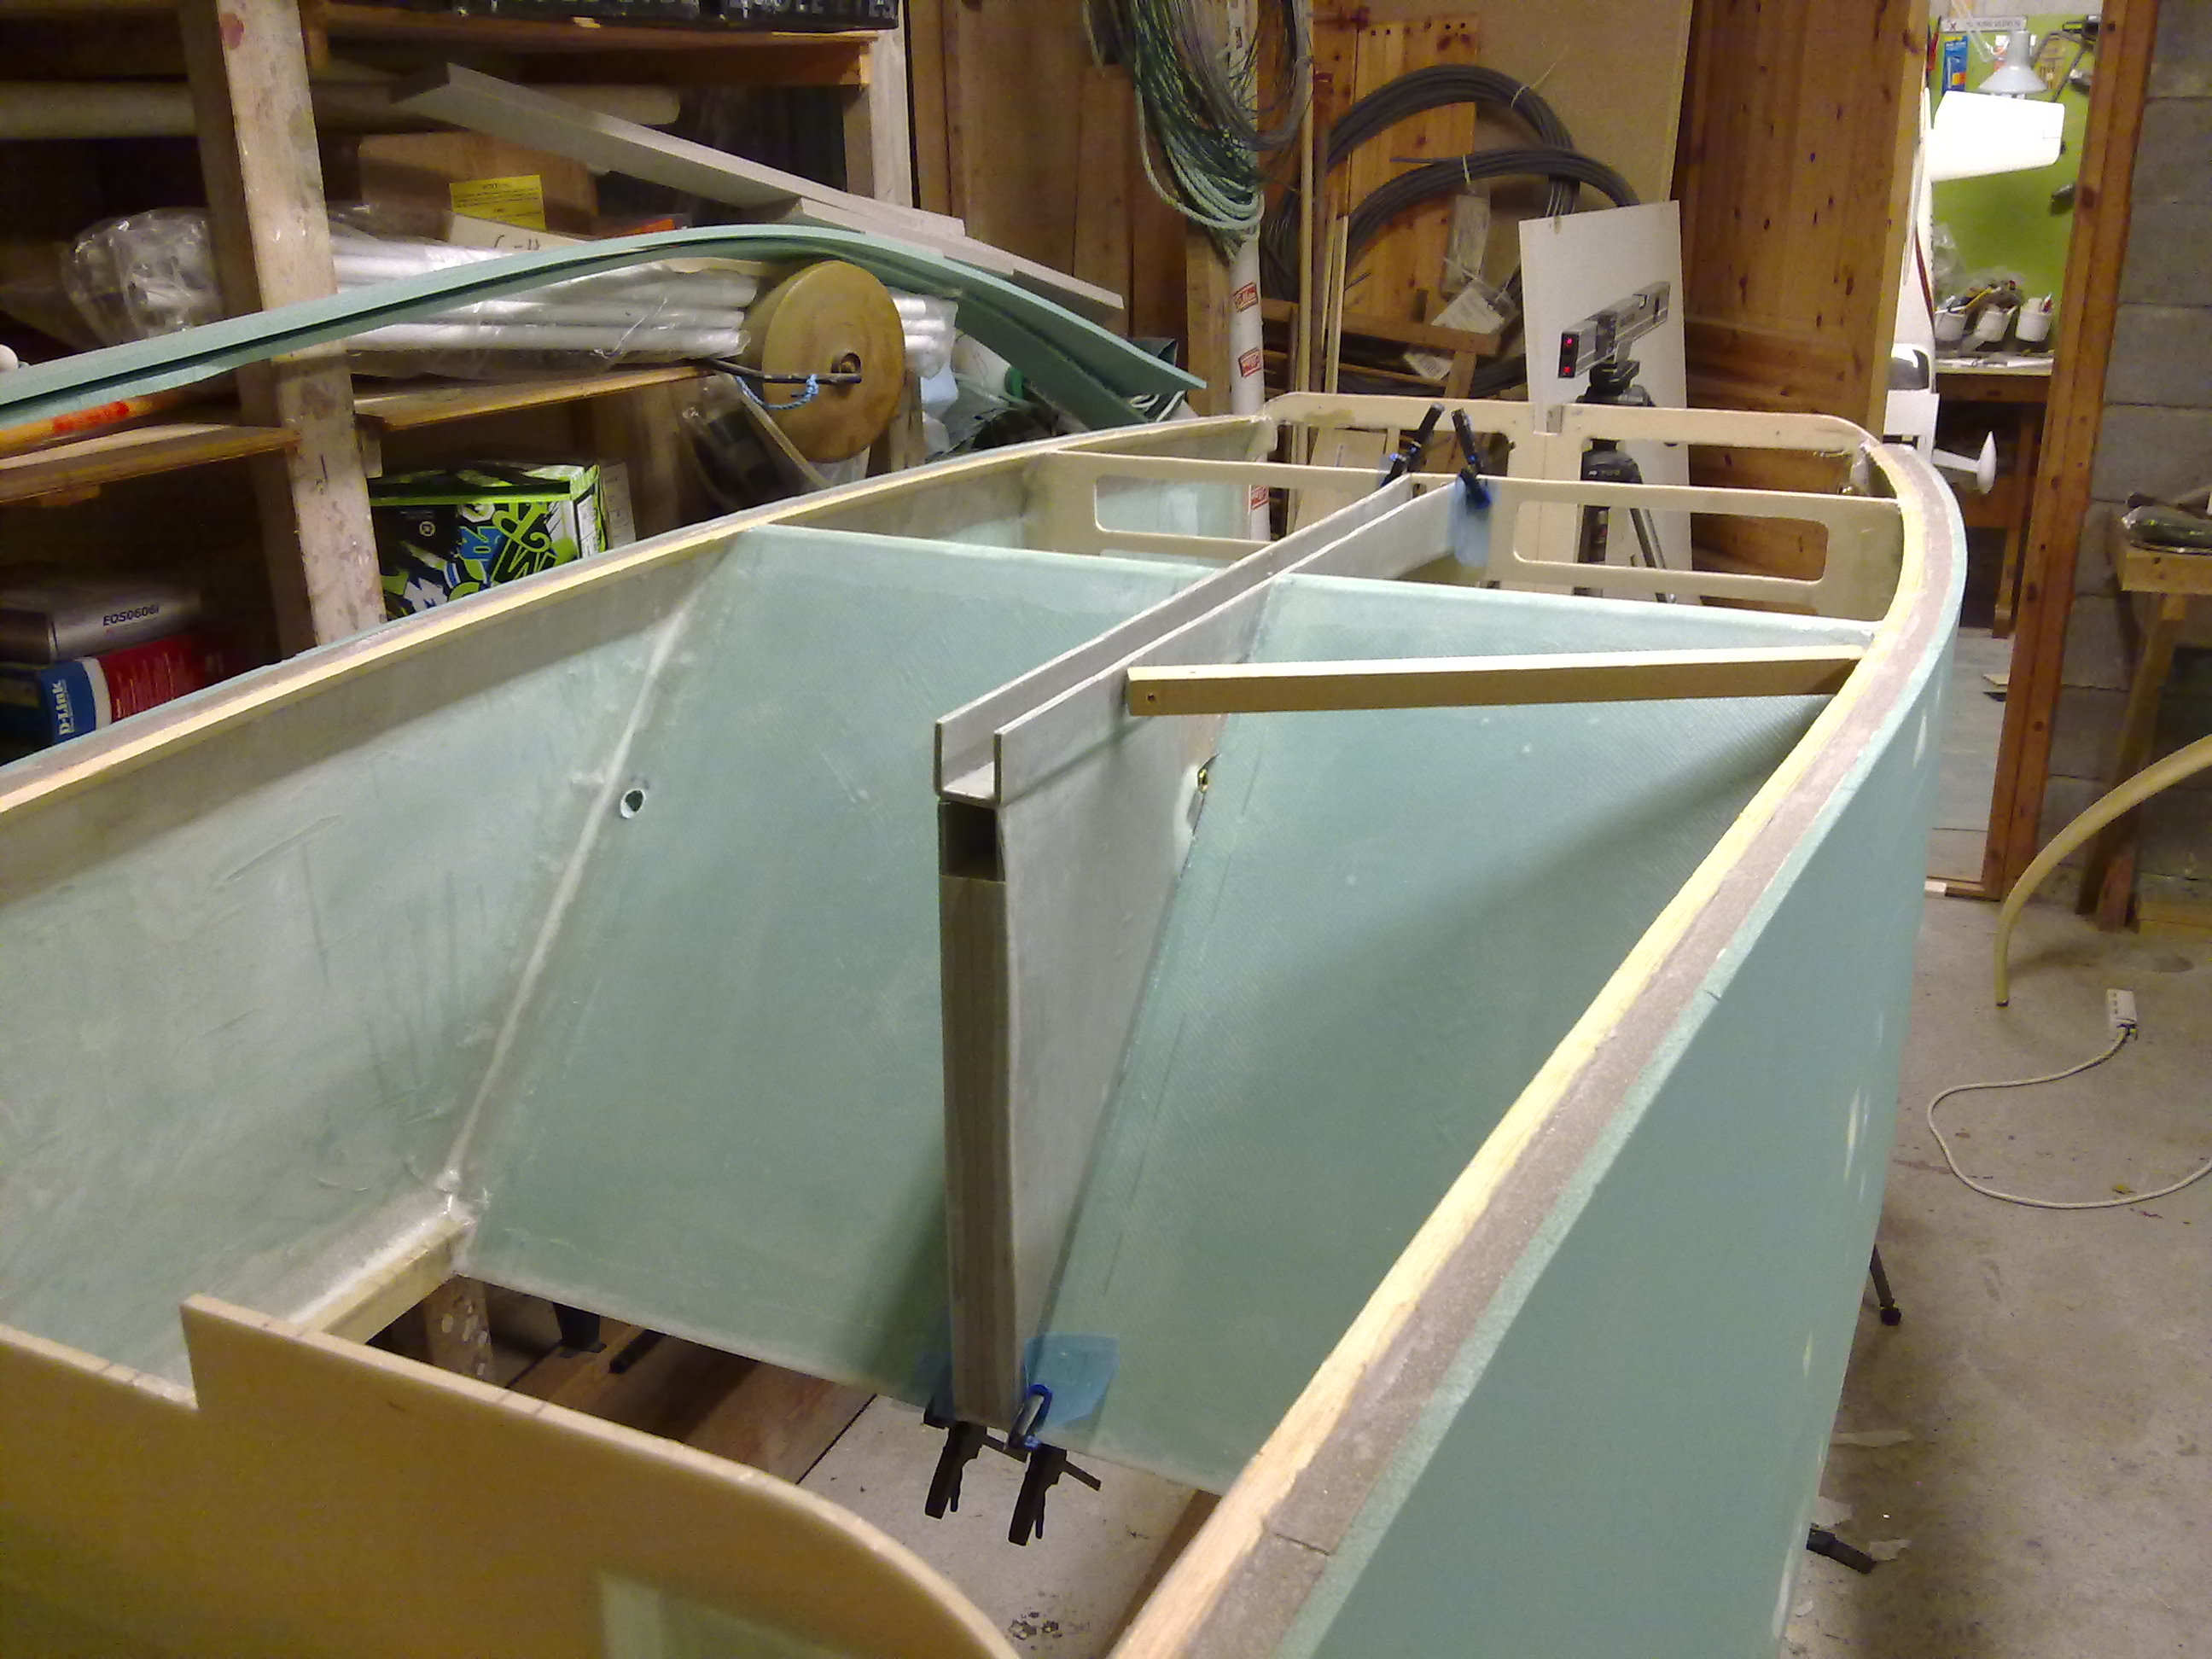
Here is the seatback-brace wich contains the map-pocket and the fuel-selector. I have made two plywood-inserts as pr plans where the fuel-selector-bracket is to be floxed in place. I have also floxed in place the spacers inside the brace and covered the unglassed sides with 1 ply of BID. Next step is to flox the upper triangle ontop of the construction and flox the fuel-selector-bracket in place.
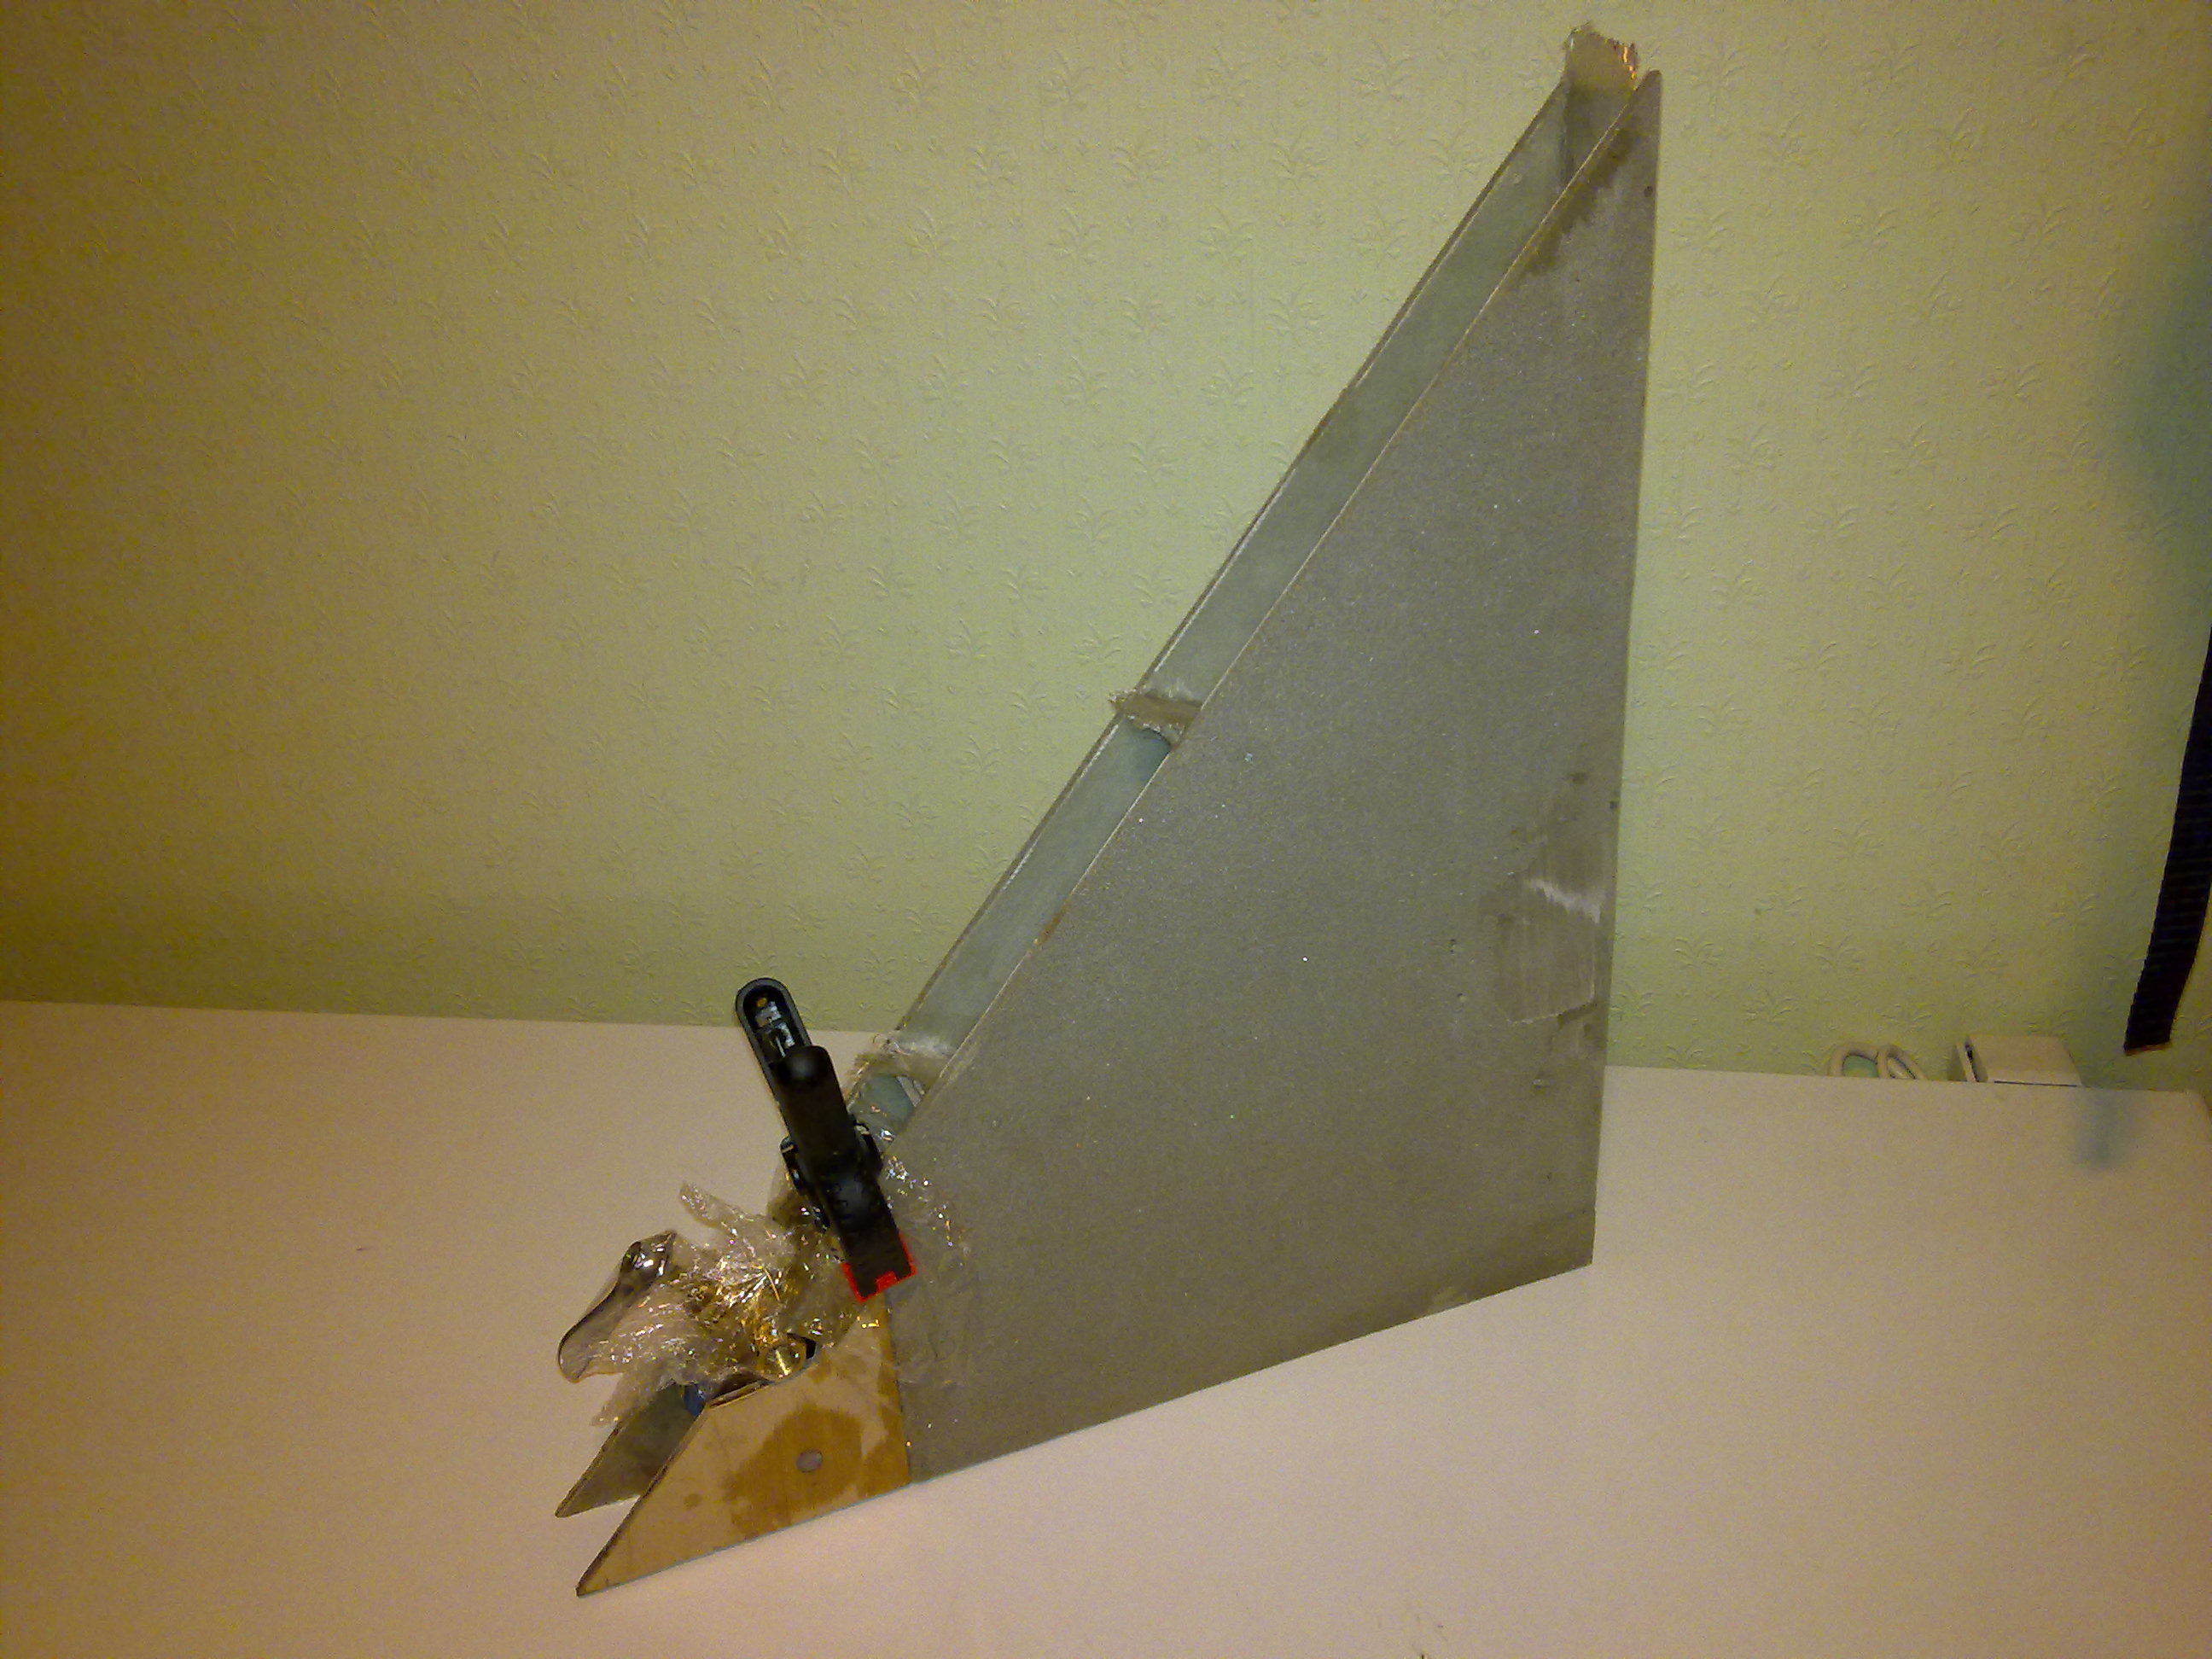
The whole assembly is now curing. When cured I will glass the outside with two plies of BID.
Here is my first deviation from the plans. I was to install a aluminum-tube through a hole in the plywood for the landing-brake-mechanism. Since I am going to use an electric actuator instead, I don’t need this tube. I didn’t realize this until after I drilled the holes. I just filled the holes with flox – no big deal.
Actually I see now that I could have skipped the plywood-inserts completely
Center keel / heat duct
The heat-duct-parts are assembled with flox (glassed side facing in!) and I have removed foam two places – for the seatbelt-tube and for the fuel-tubes. I will then flox the seatbelt-tube to the heat-duct and cover it with 7 plies of UNI as pr. plans
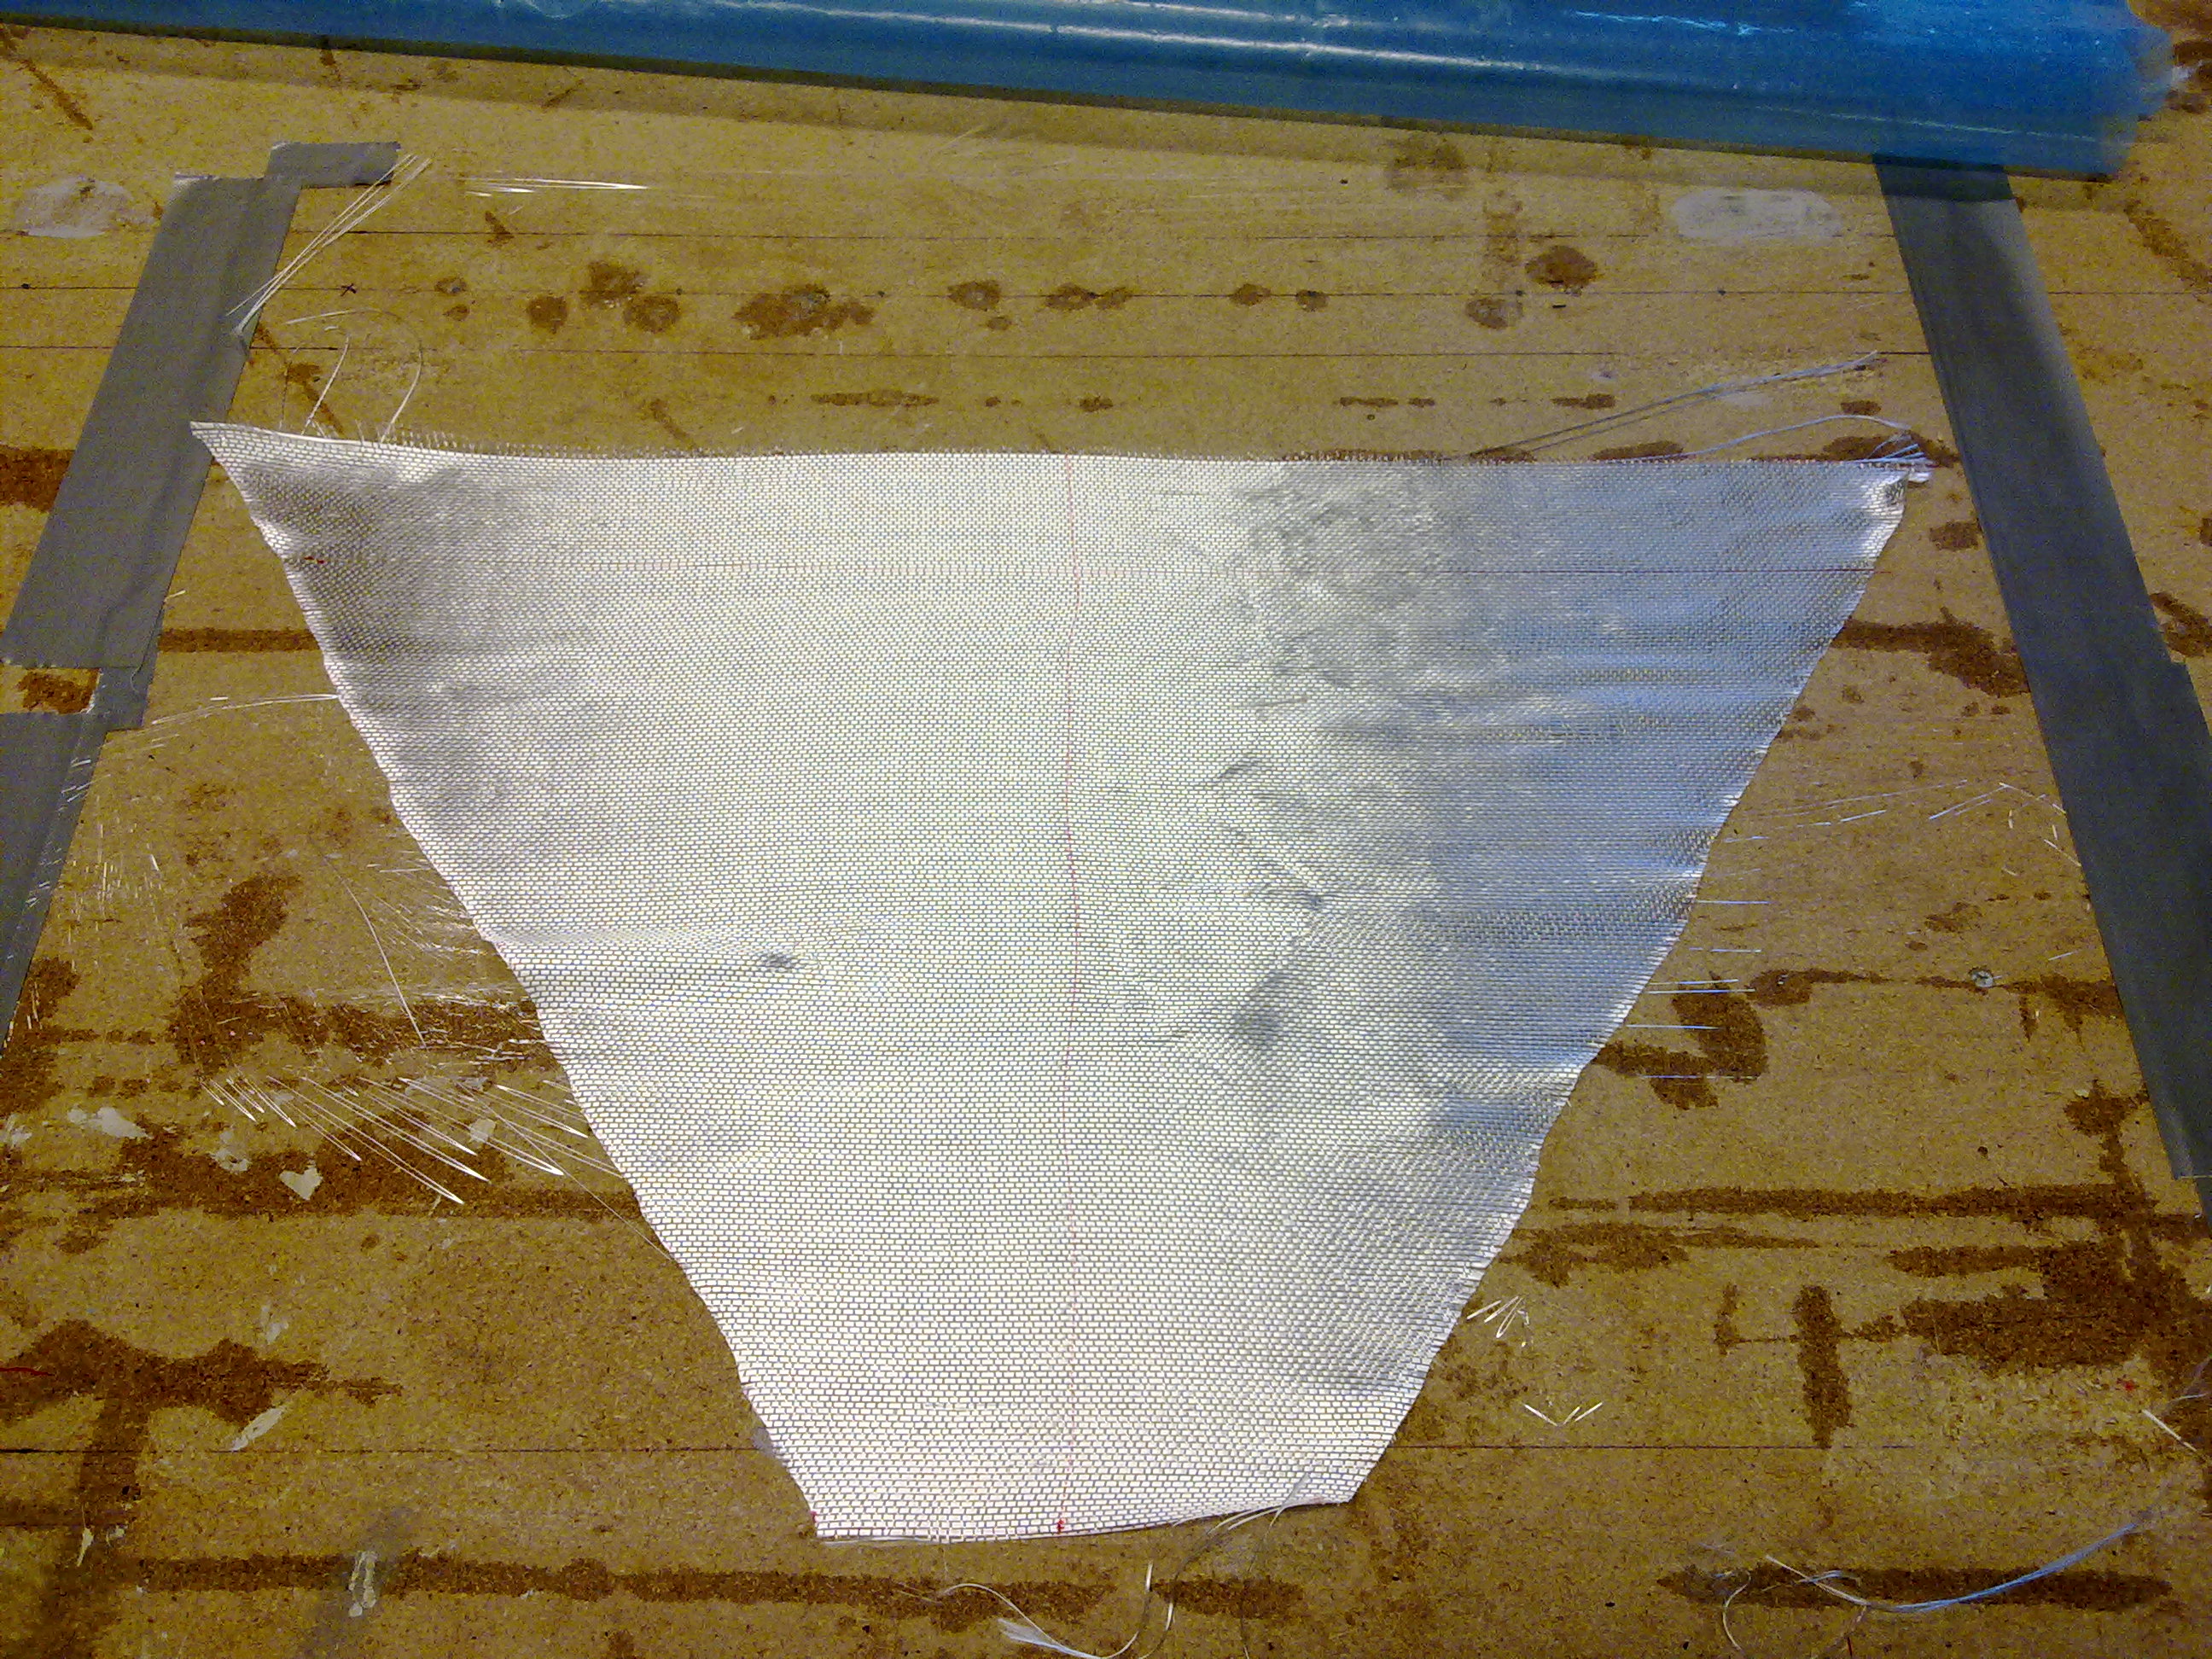
The UNI-layer (7 plies) are made as pr. plans. I wet out 2.5″ then fold the cloth over and cut the fold. I tried to use a scalpel but ended up using my scissors to avoid messing the fibers in the cloth. Had to rinse the scissors afterwards with acetone.
Not so easy to see but here the 7 plies are neatly stuck ontop of each other making a nice tapered edge with the thickest part at the center – right ontop of the seatbelt-tube.
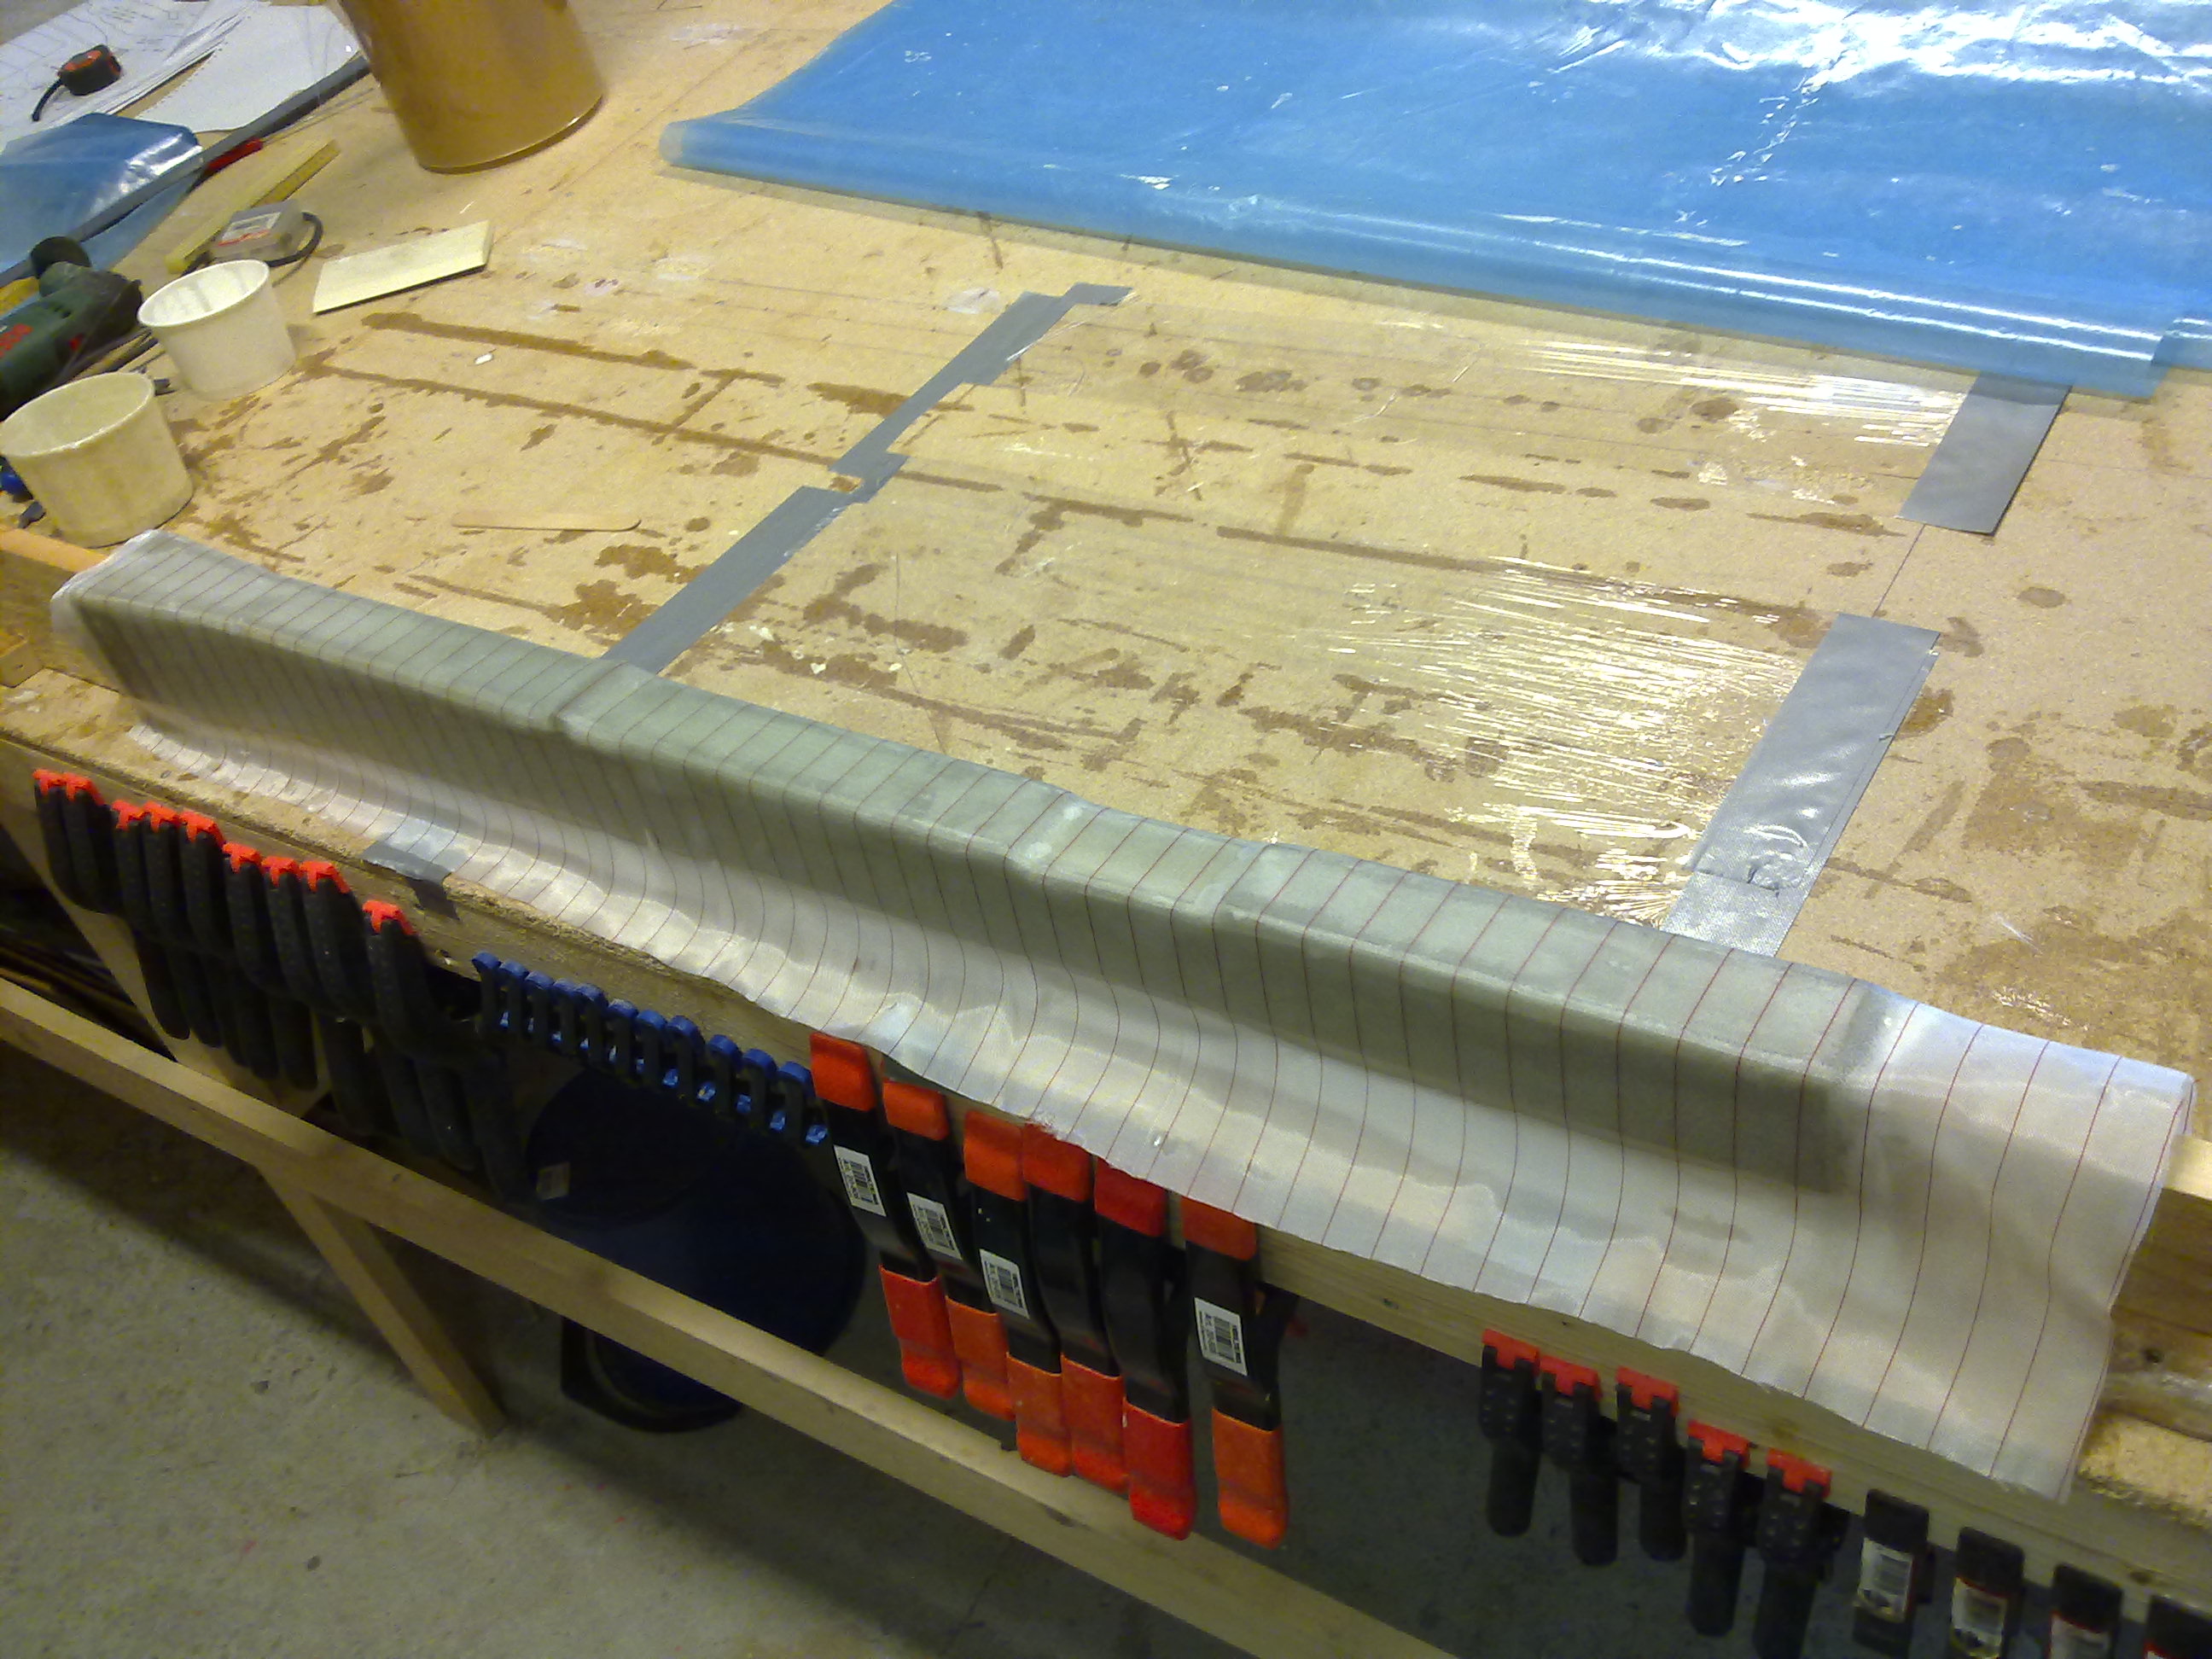
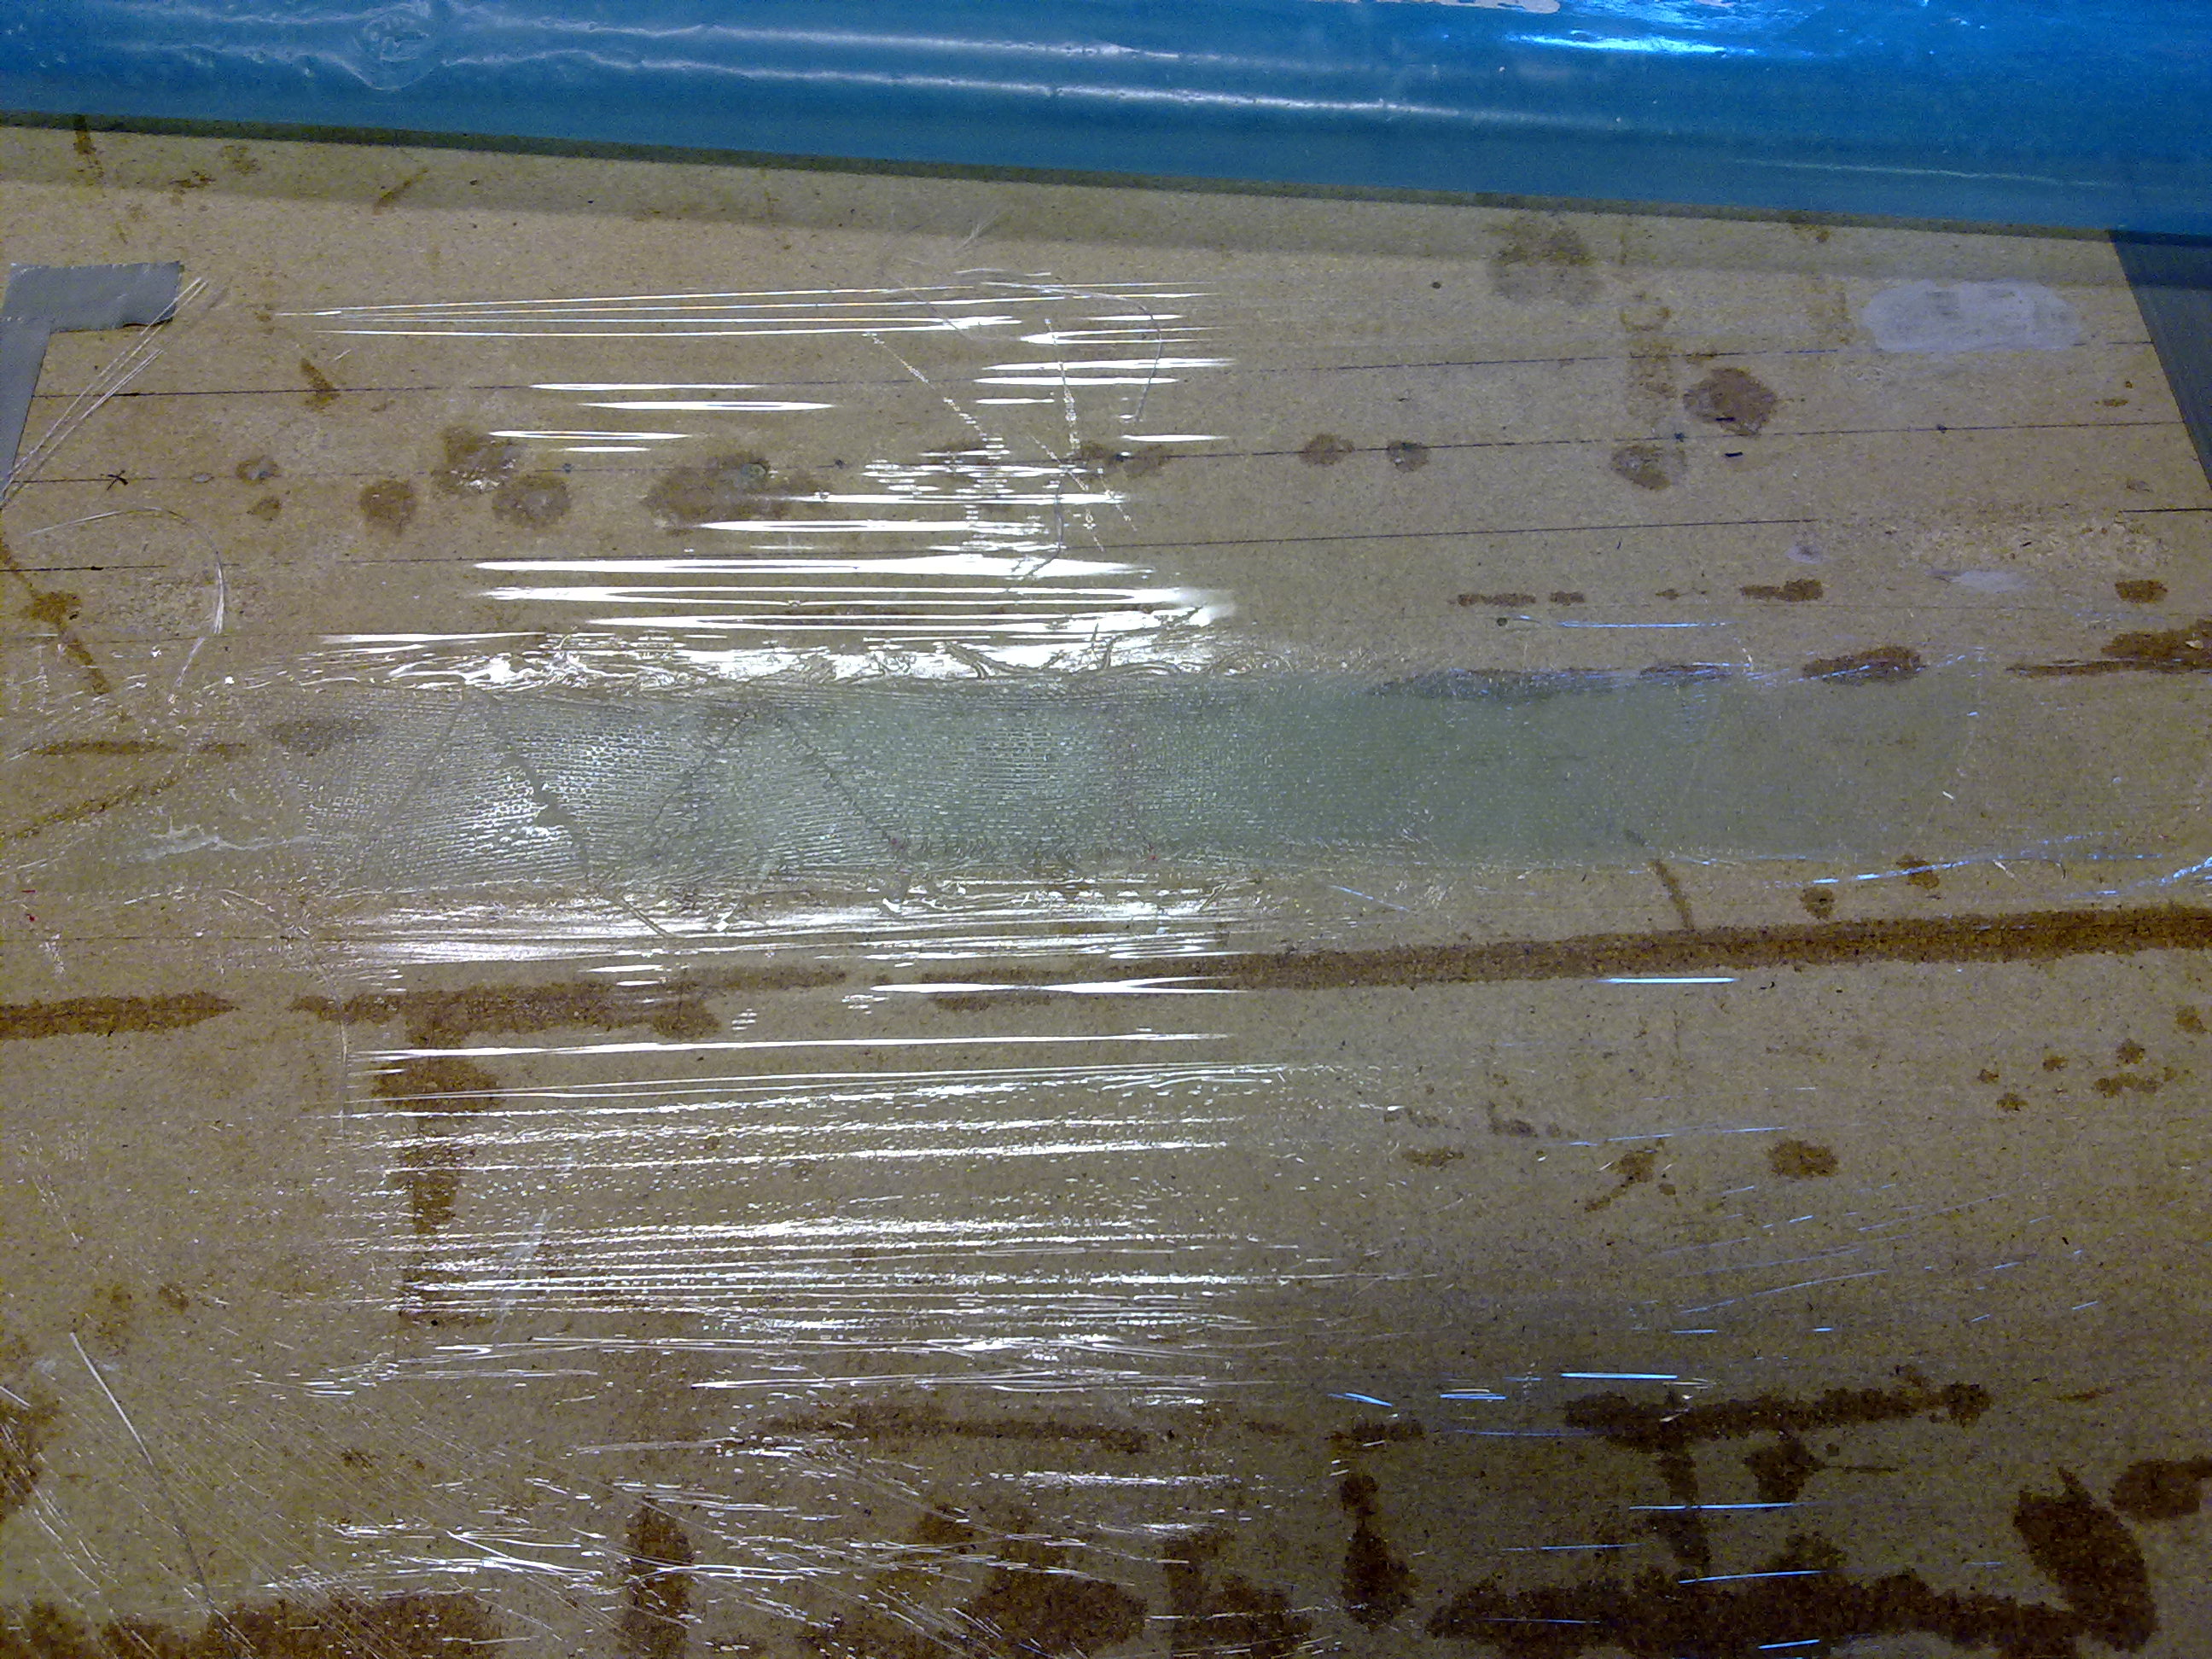
The heat-duct is placed ontop of a plank to raise it above the table a bit to allow the two plies of BID to hang down from the bottom edge. I then peel-plied the whole thing. The seatbelt-tube is visible to the left and the space for the fuel-tubes is the large low part to the right.
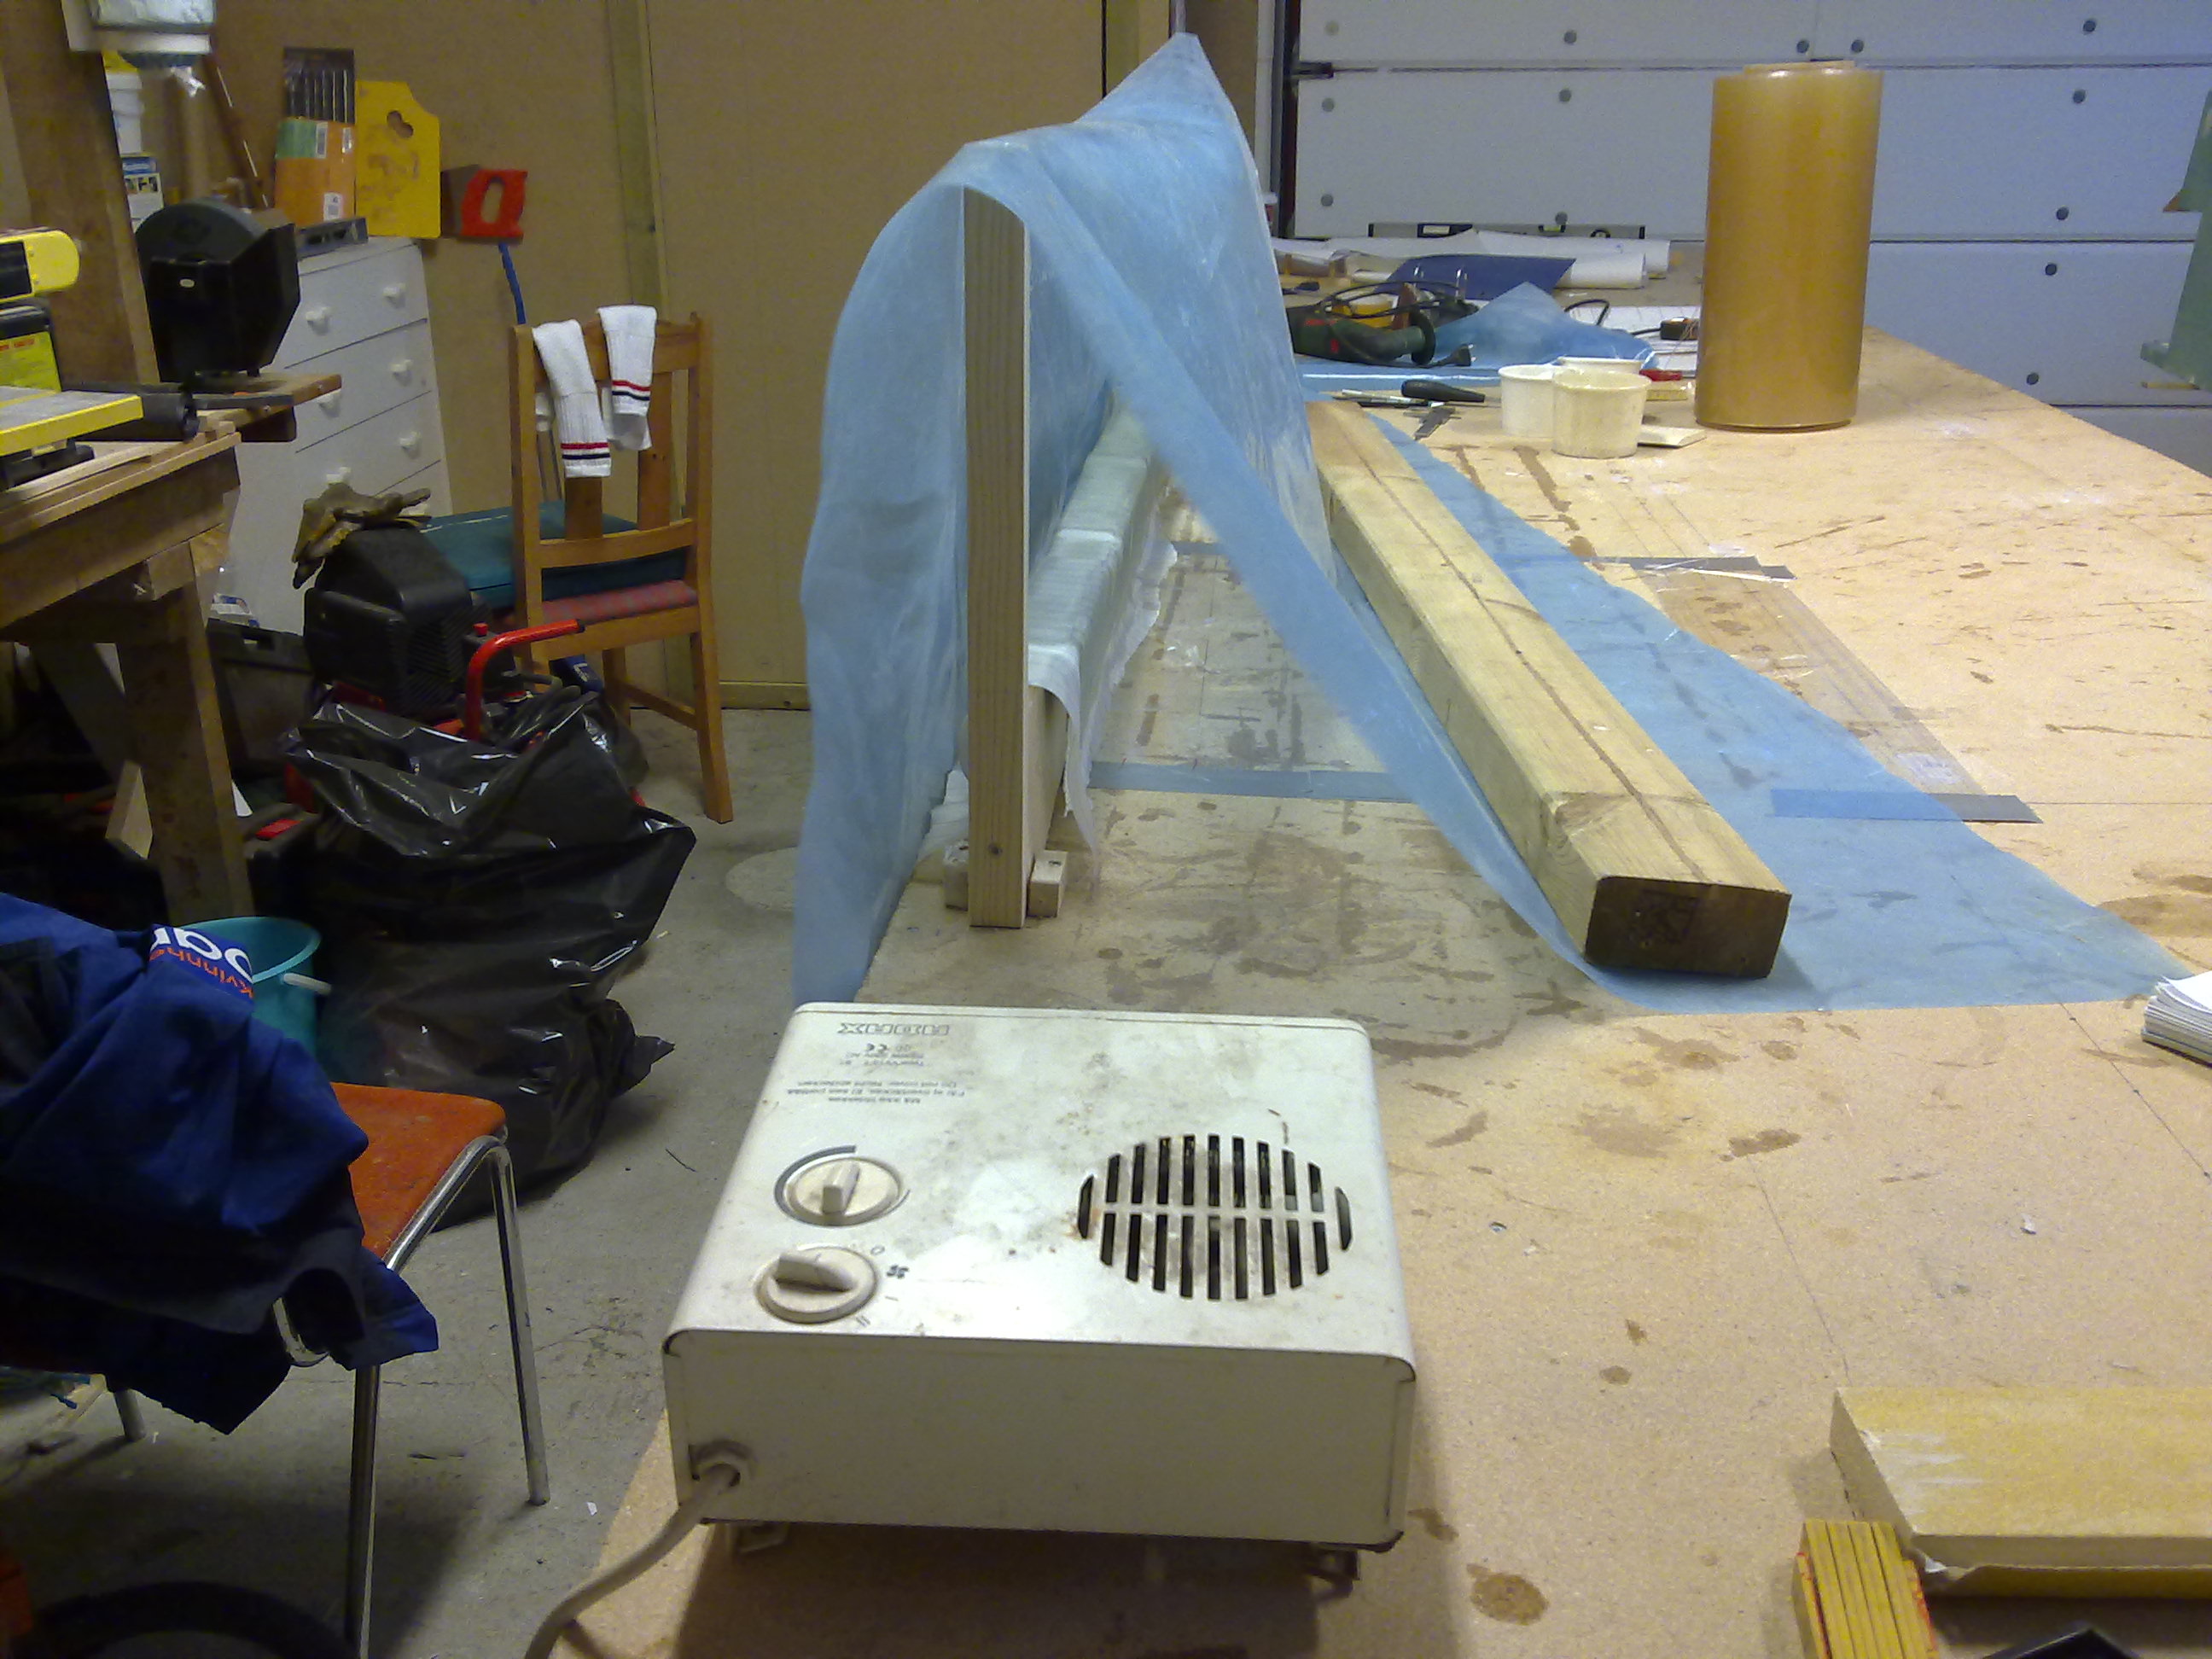
Since it’s -2 degrees celsius (26 Fahrenheit) outside I had to make a little heat-tent to raise the temperature around the heat-duct so it will cure. Works like a dream. I have a thermometer at the other side of the tent showing 30 degrees celsius (86F).

Glassed the outside of the seatbrace with 2 plies BID. I made a stand to mount the seatbrace on so I could glass both sides at once. Put the plastic-sheet around as I did with the heat-duct and put the heater on.
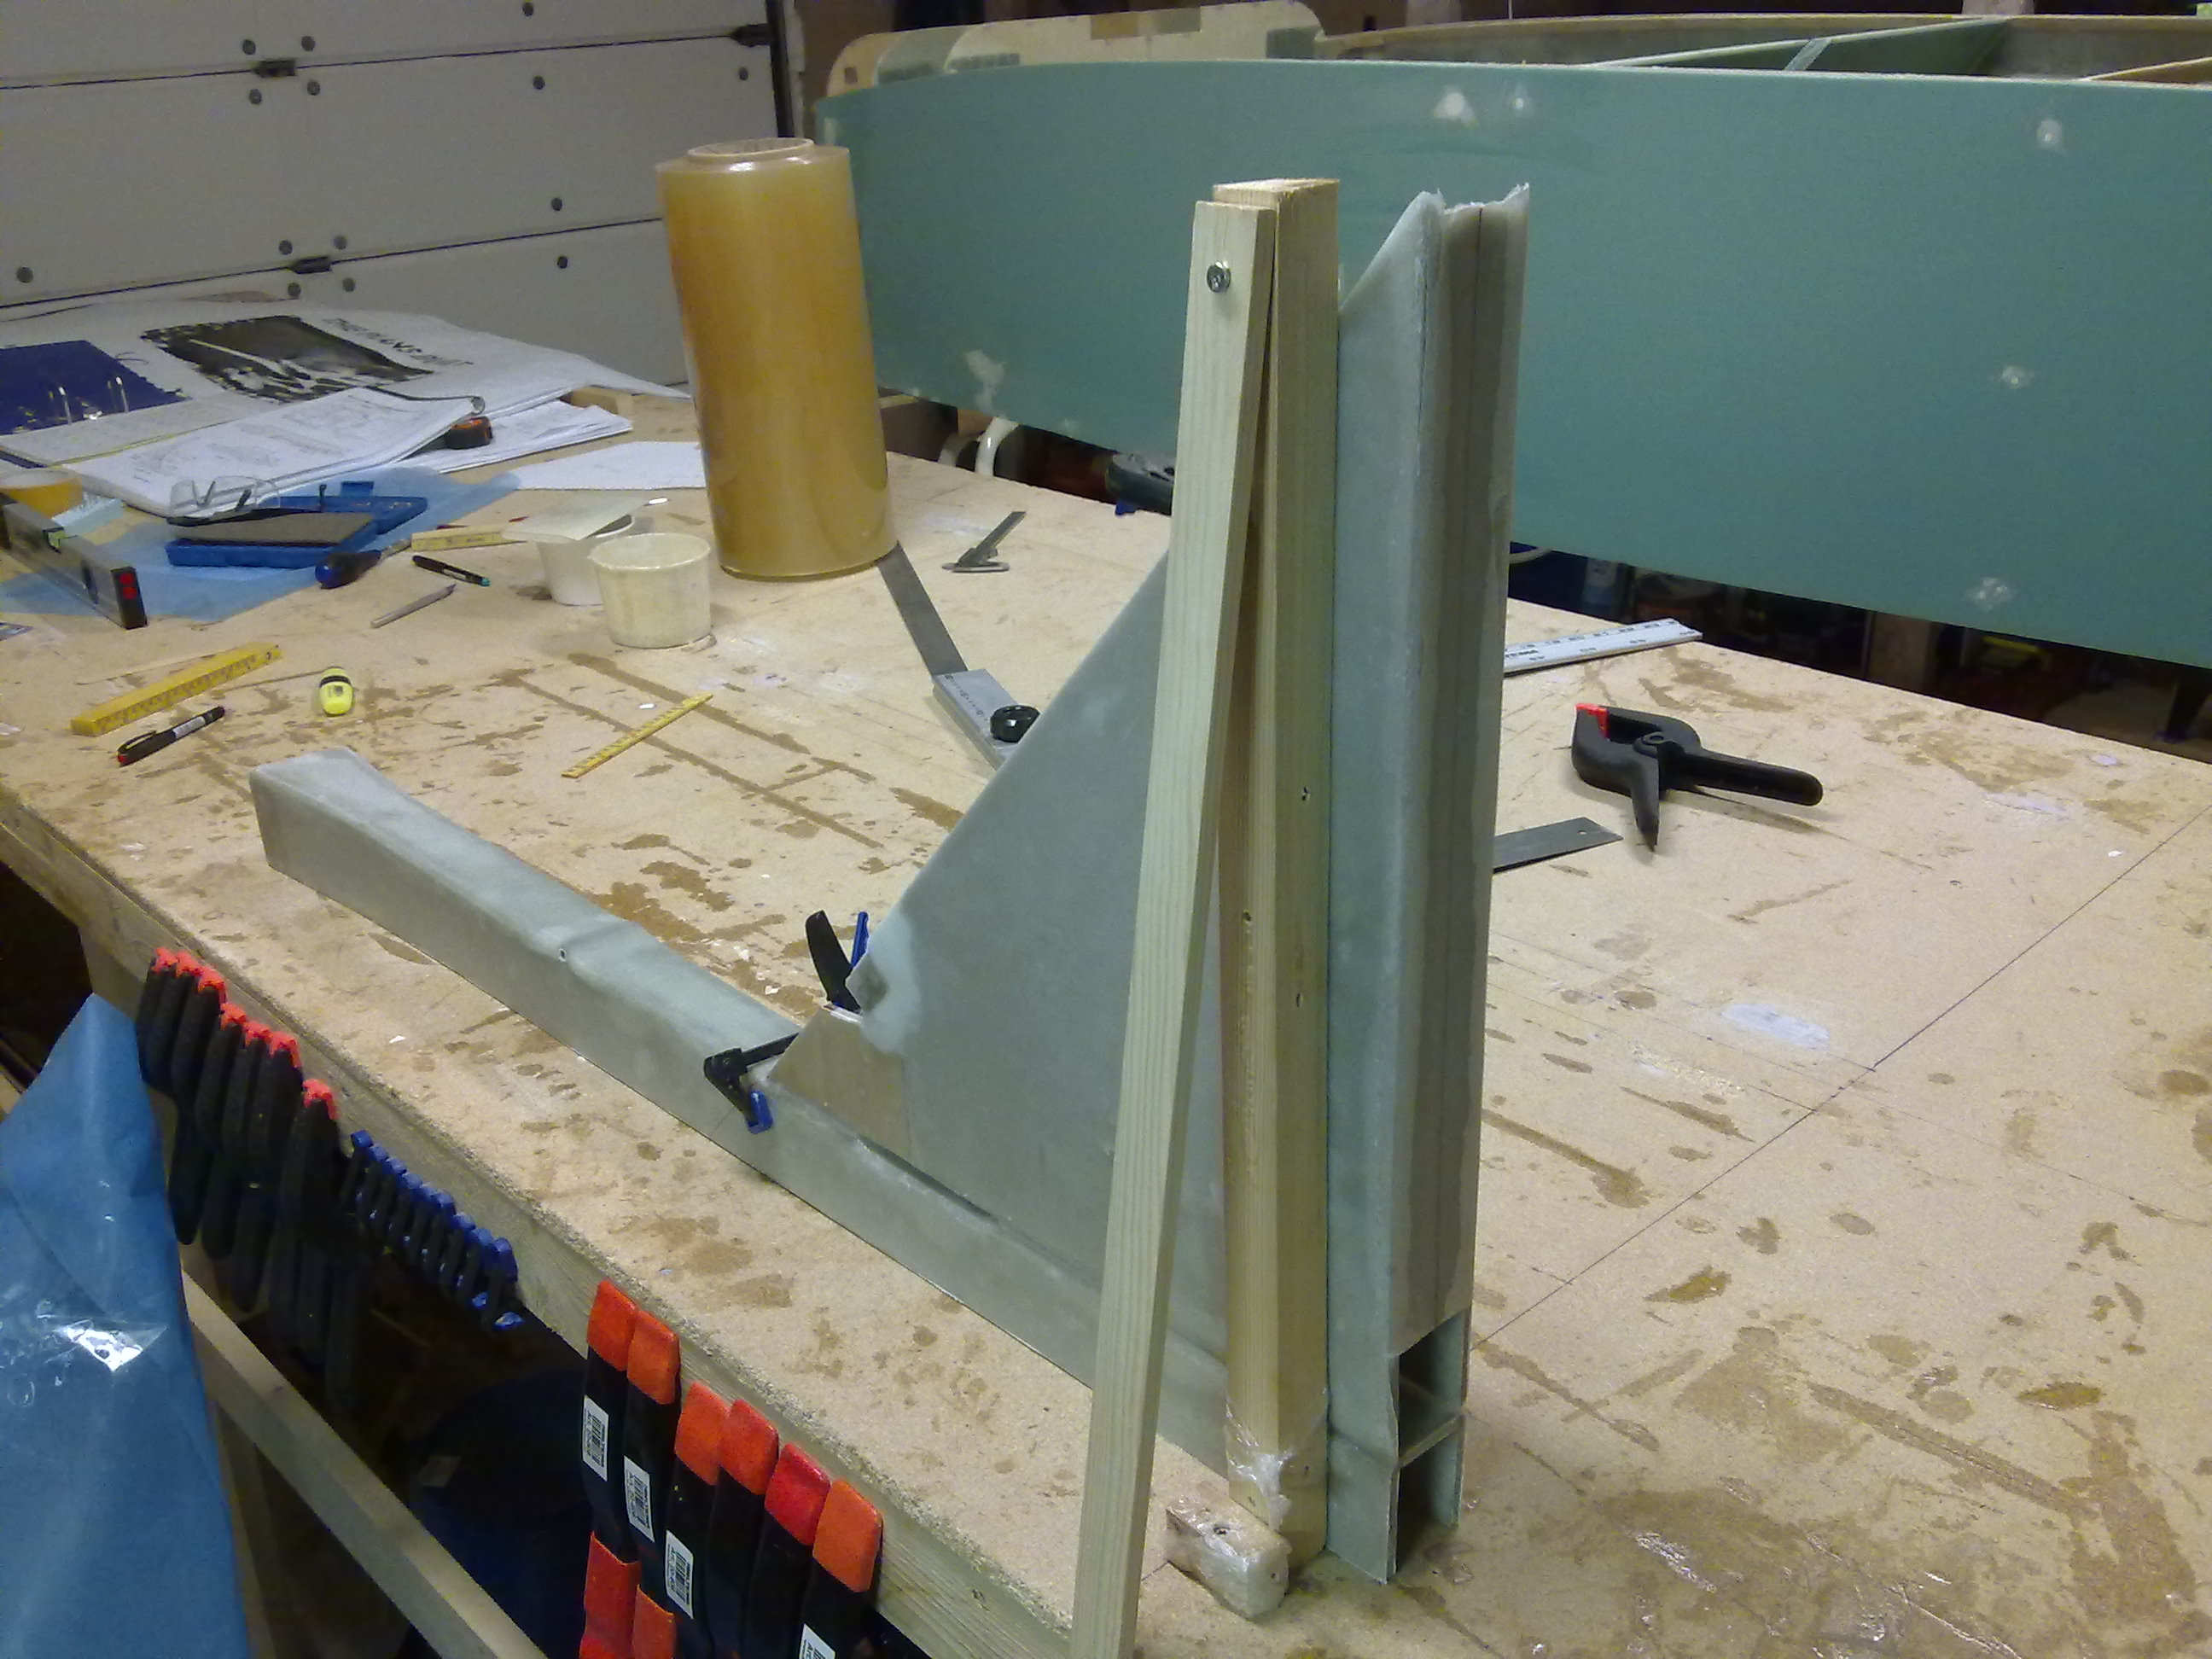
Floxed the seatback-brace to the heat-duct. Later I will add BID-tape to secure the joints. To be sure the seatbrace is vertical I made a jig that I leveled up and used a clamp to hold the brace against the jig while curing.
Floxed the assembled brace/heat-duct to the tub.
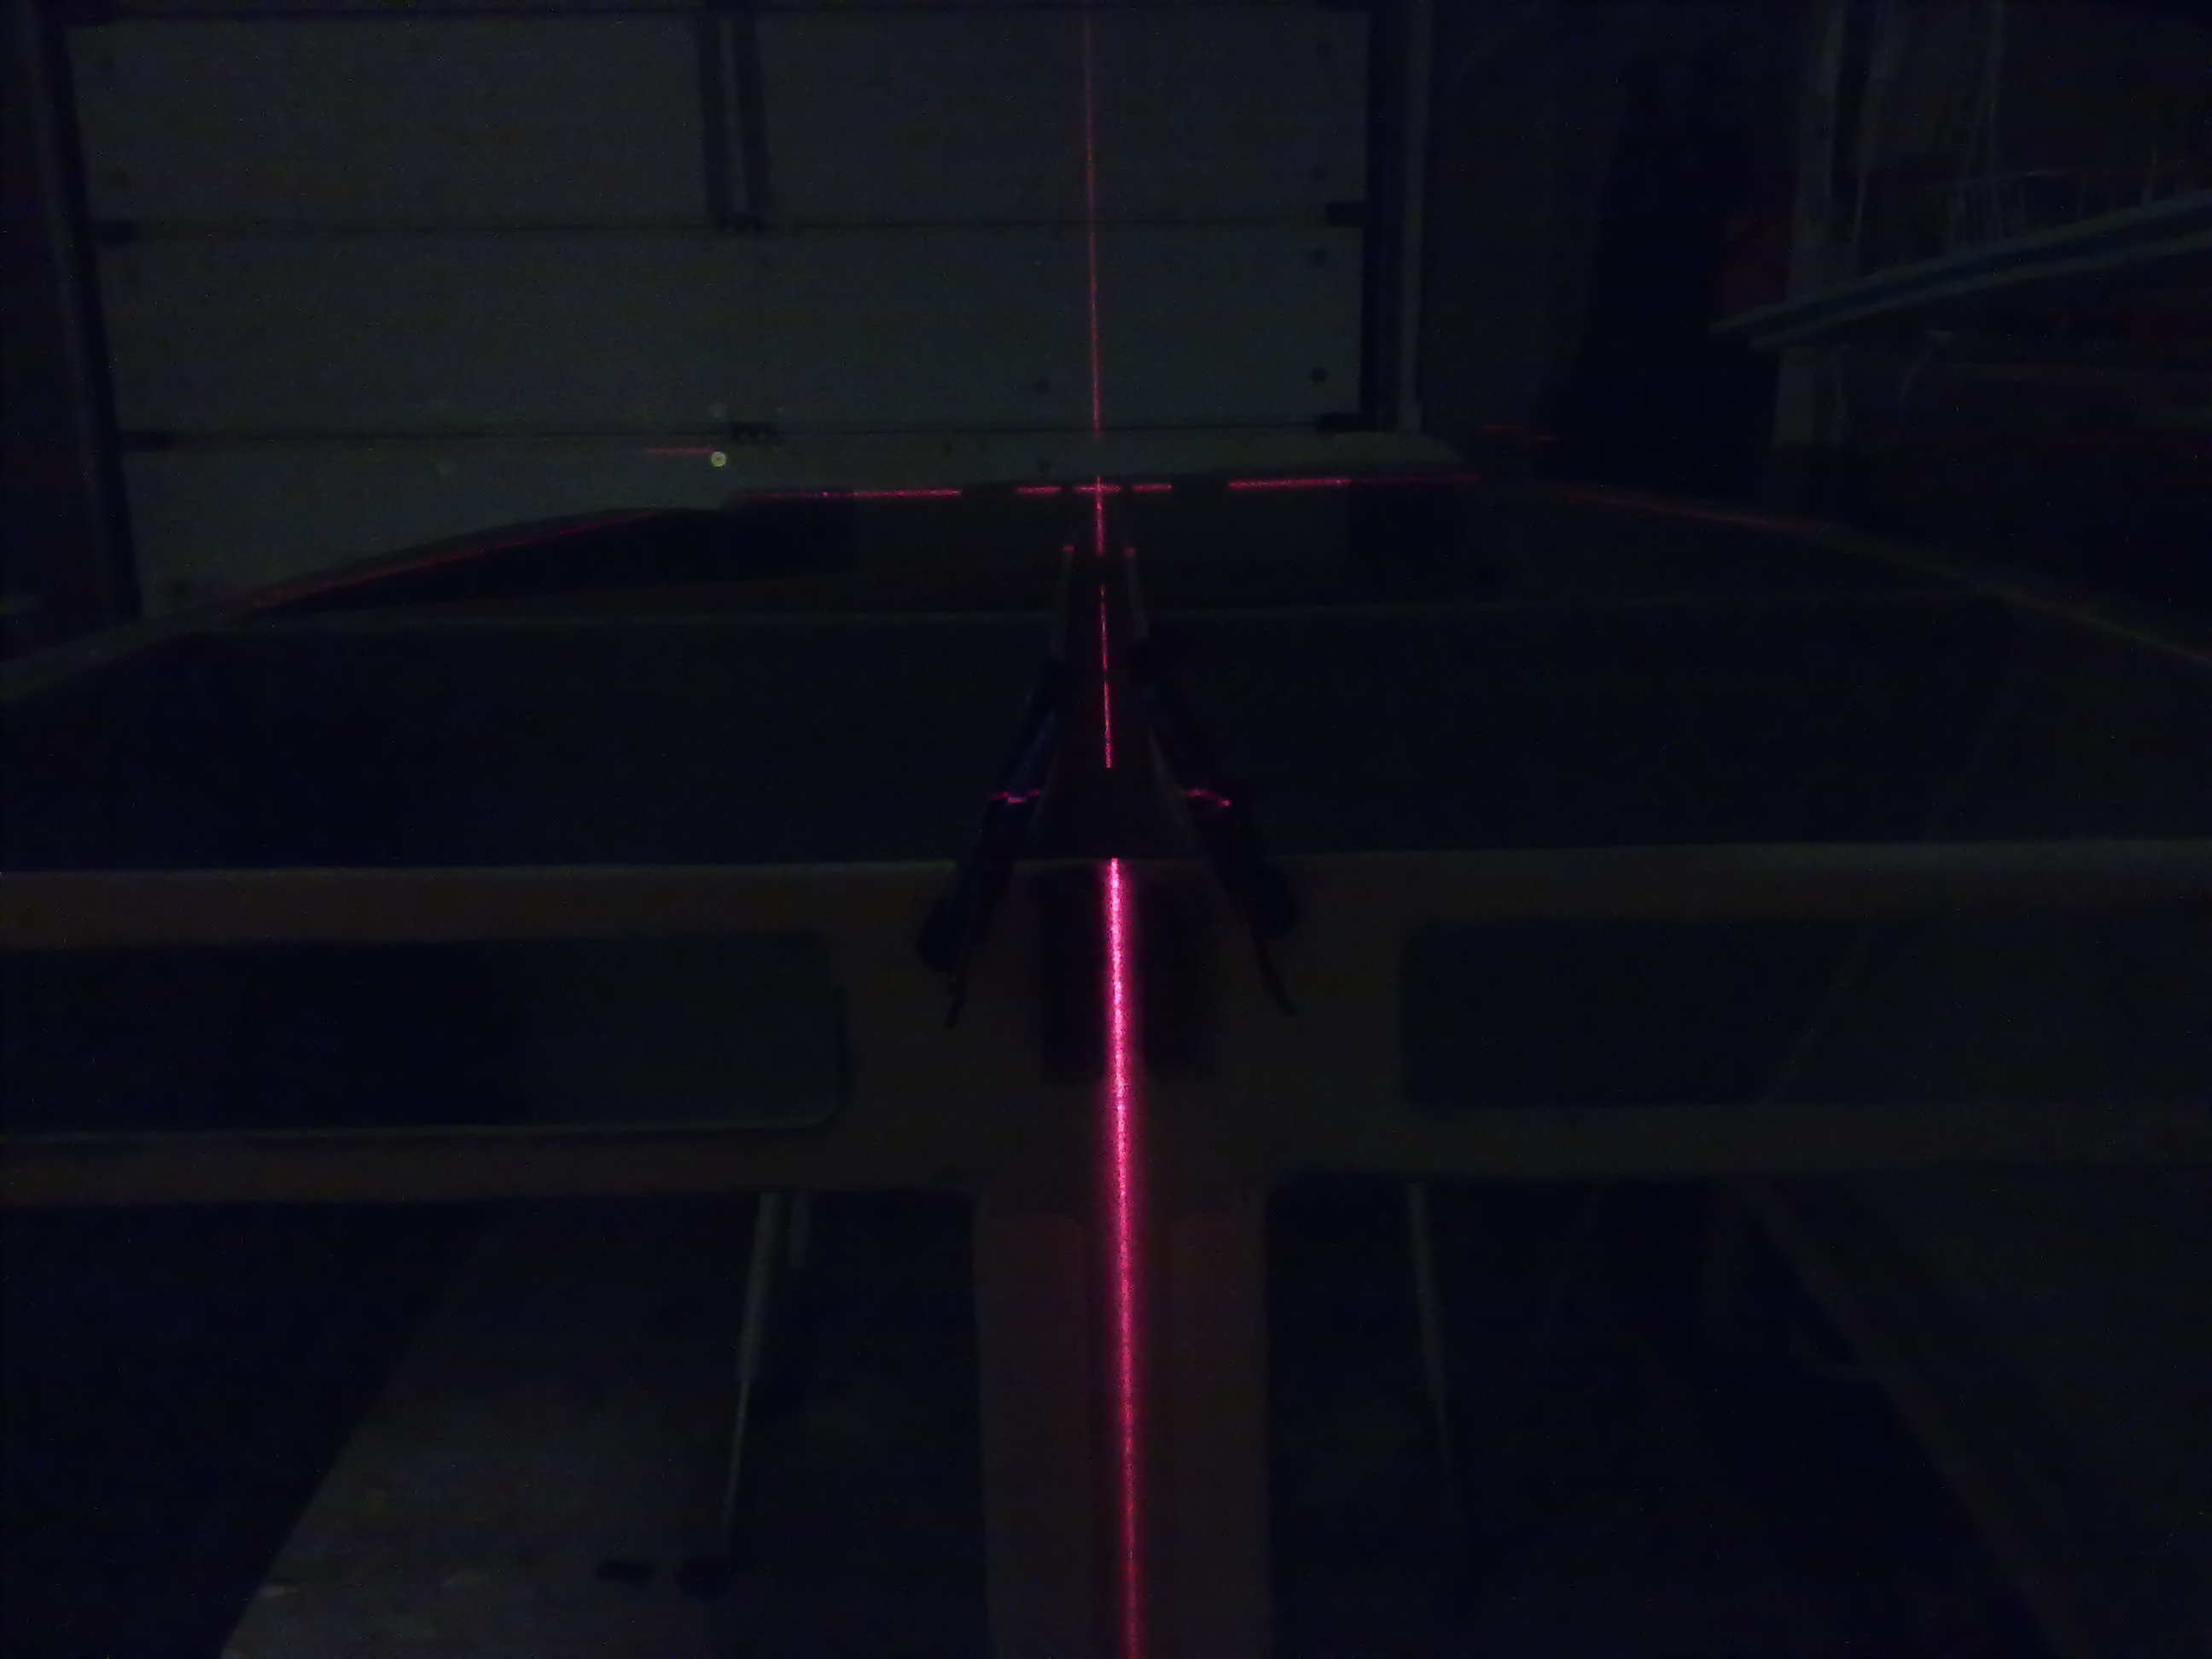
Used a laser to be sure that the assembly is dead center. Could as well used a thread but a laser is much cooler… 🙂