
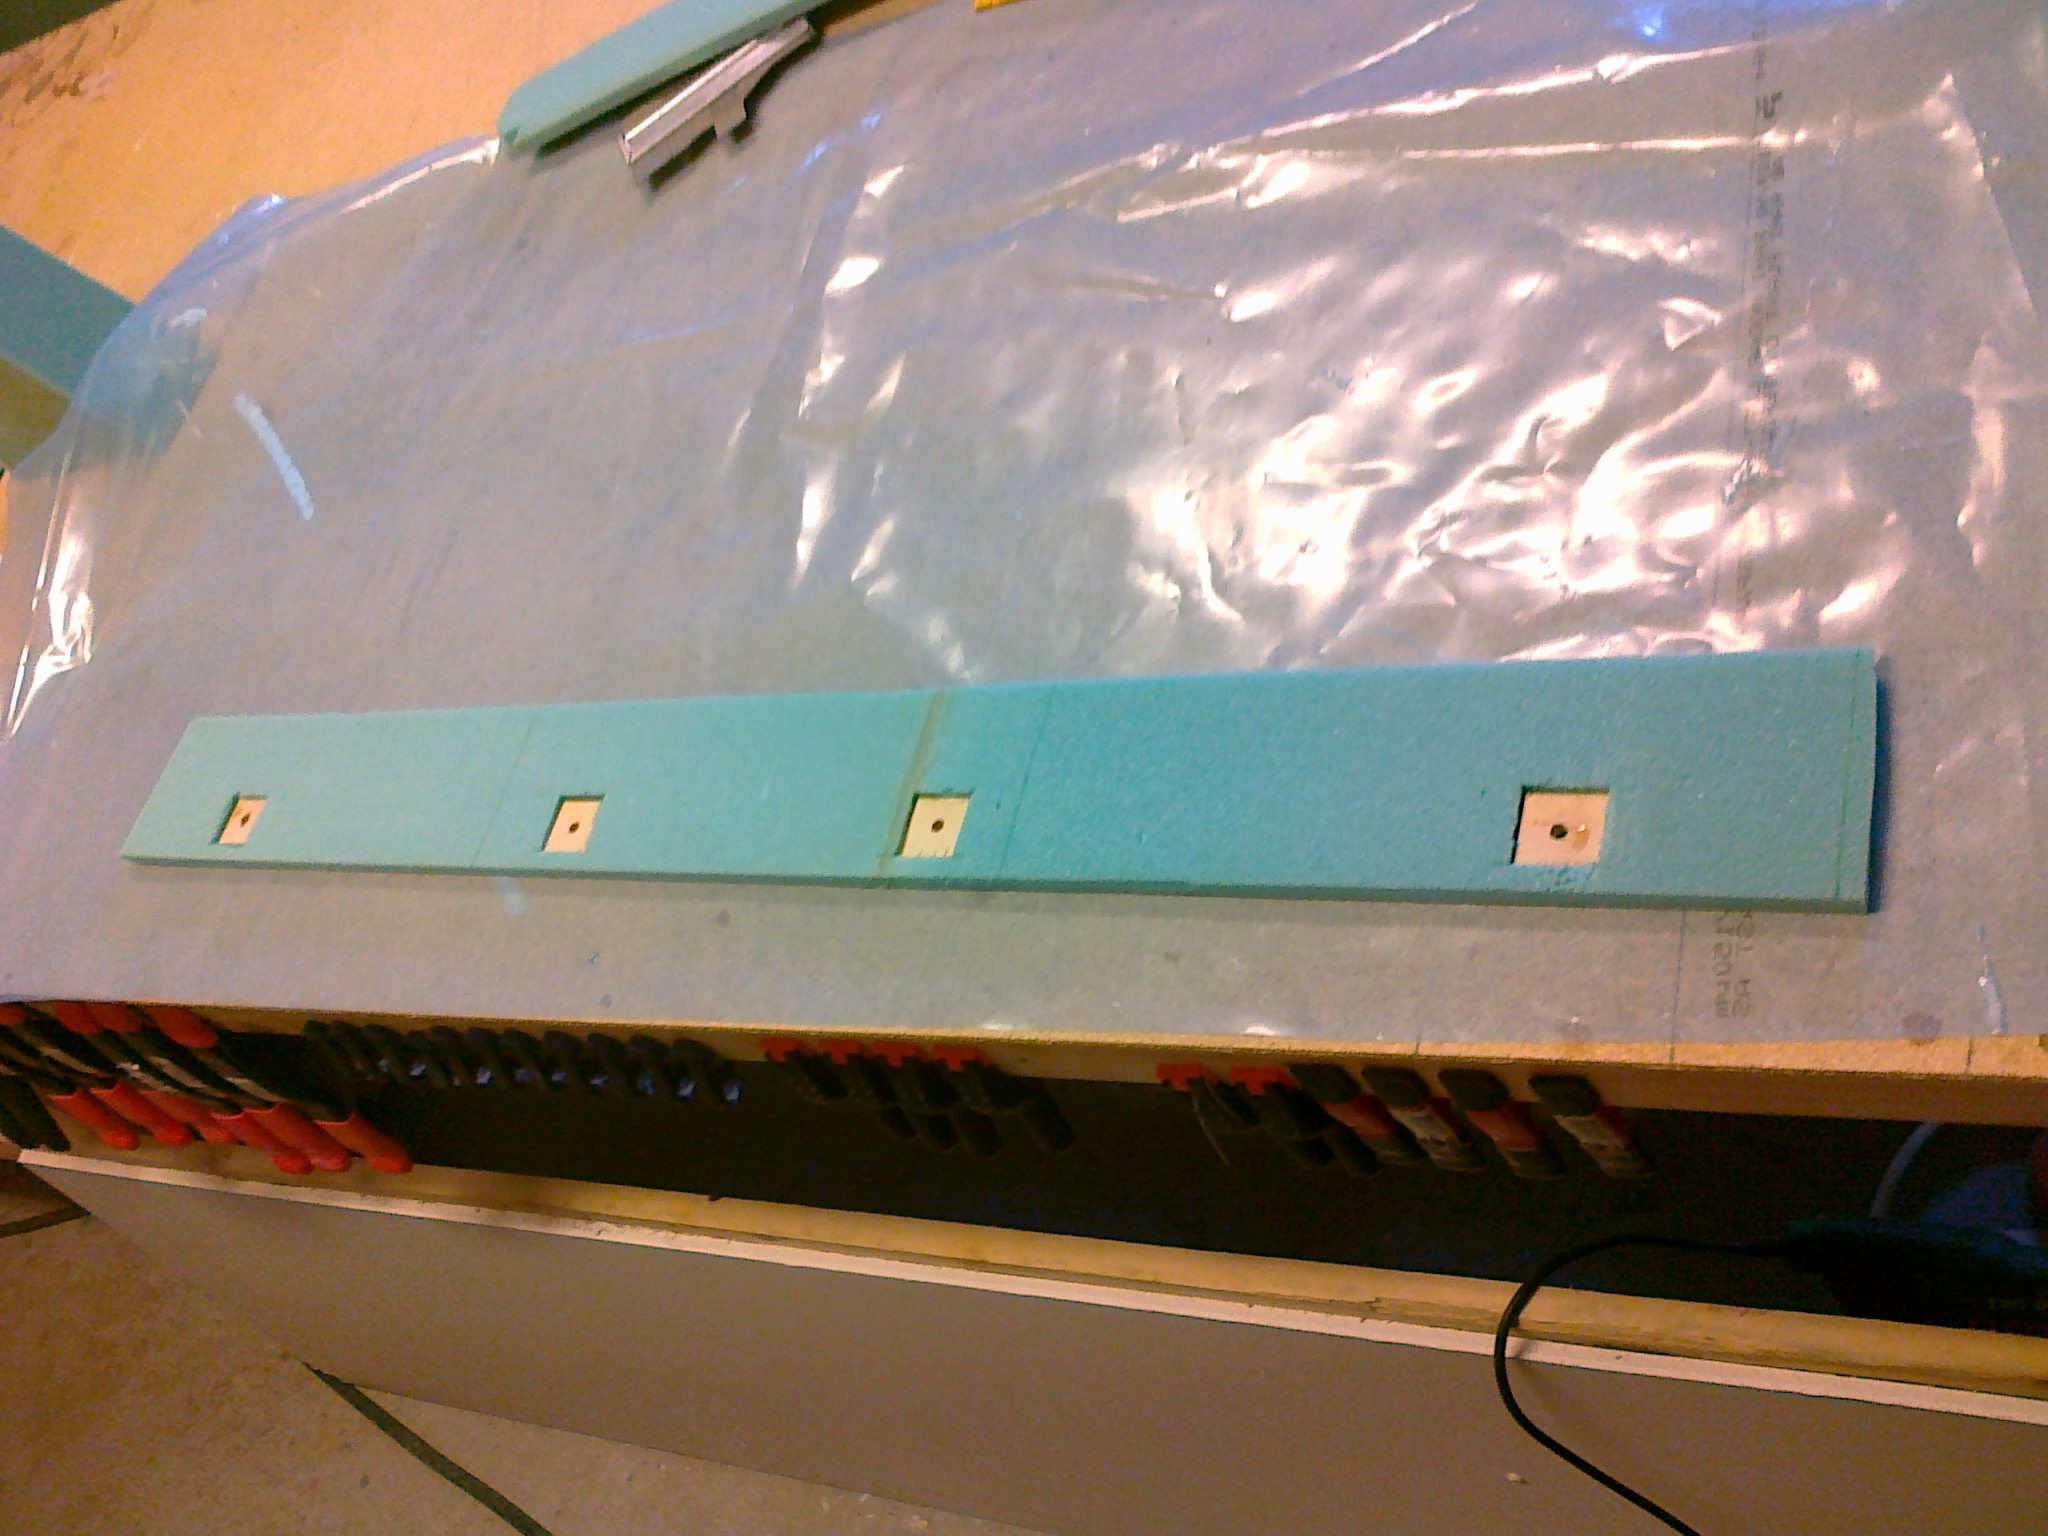
The shoulder-support is made as pr. plans except for the seatbelt-hardpoints. After advices from other builders I expanded the spacing between the hardpoints to 11″. Doing this I avoid making notches in the head-rests and I also avoid to have the seat-belts lying into my neck. With my belts it’s no danger that I will slip out of them in a crash. In this picture I have epoxyed the plywood.

I made the glass-fills that goes ontop of the plywood as per plans. Wetted out three plies of BID 5″ x 5″ and cut them up in smaller 1.25″ x 1.25″ pieces. Using saran-wrap ontop and under this is no problem.
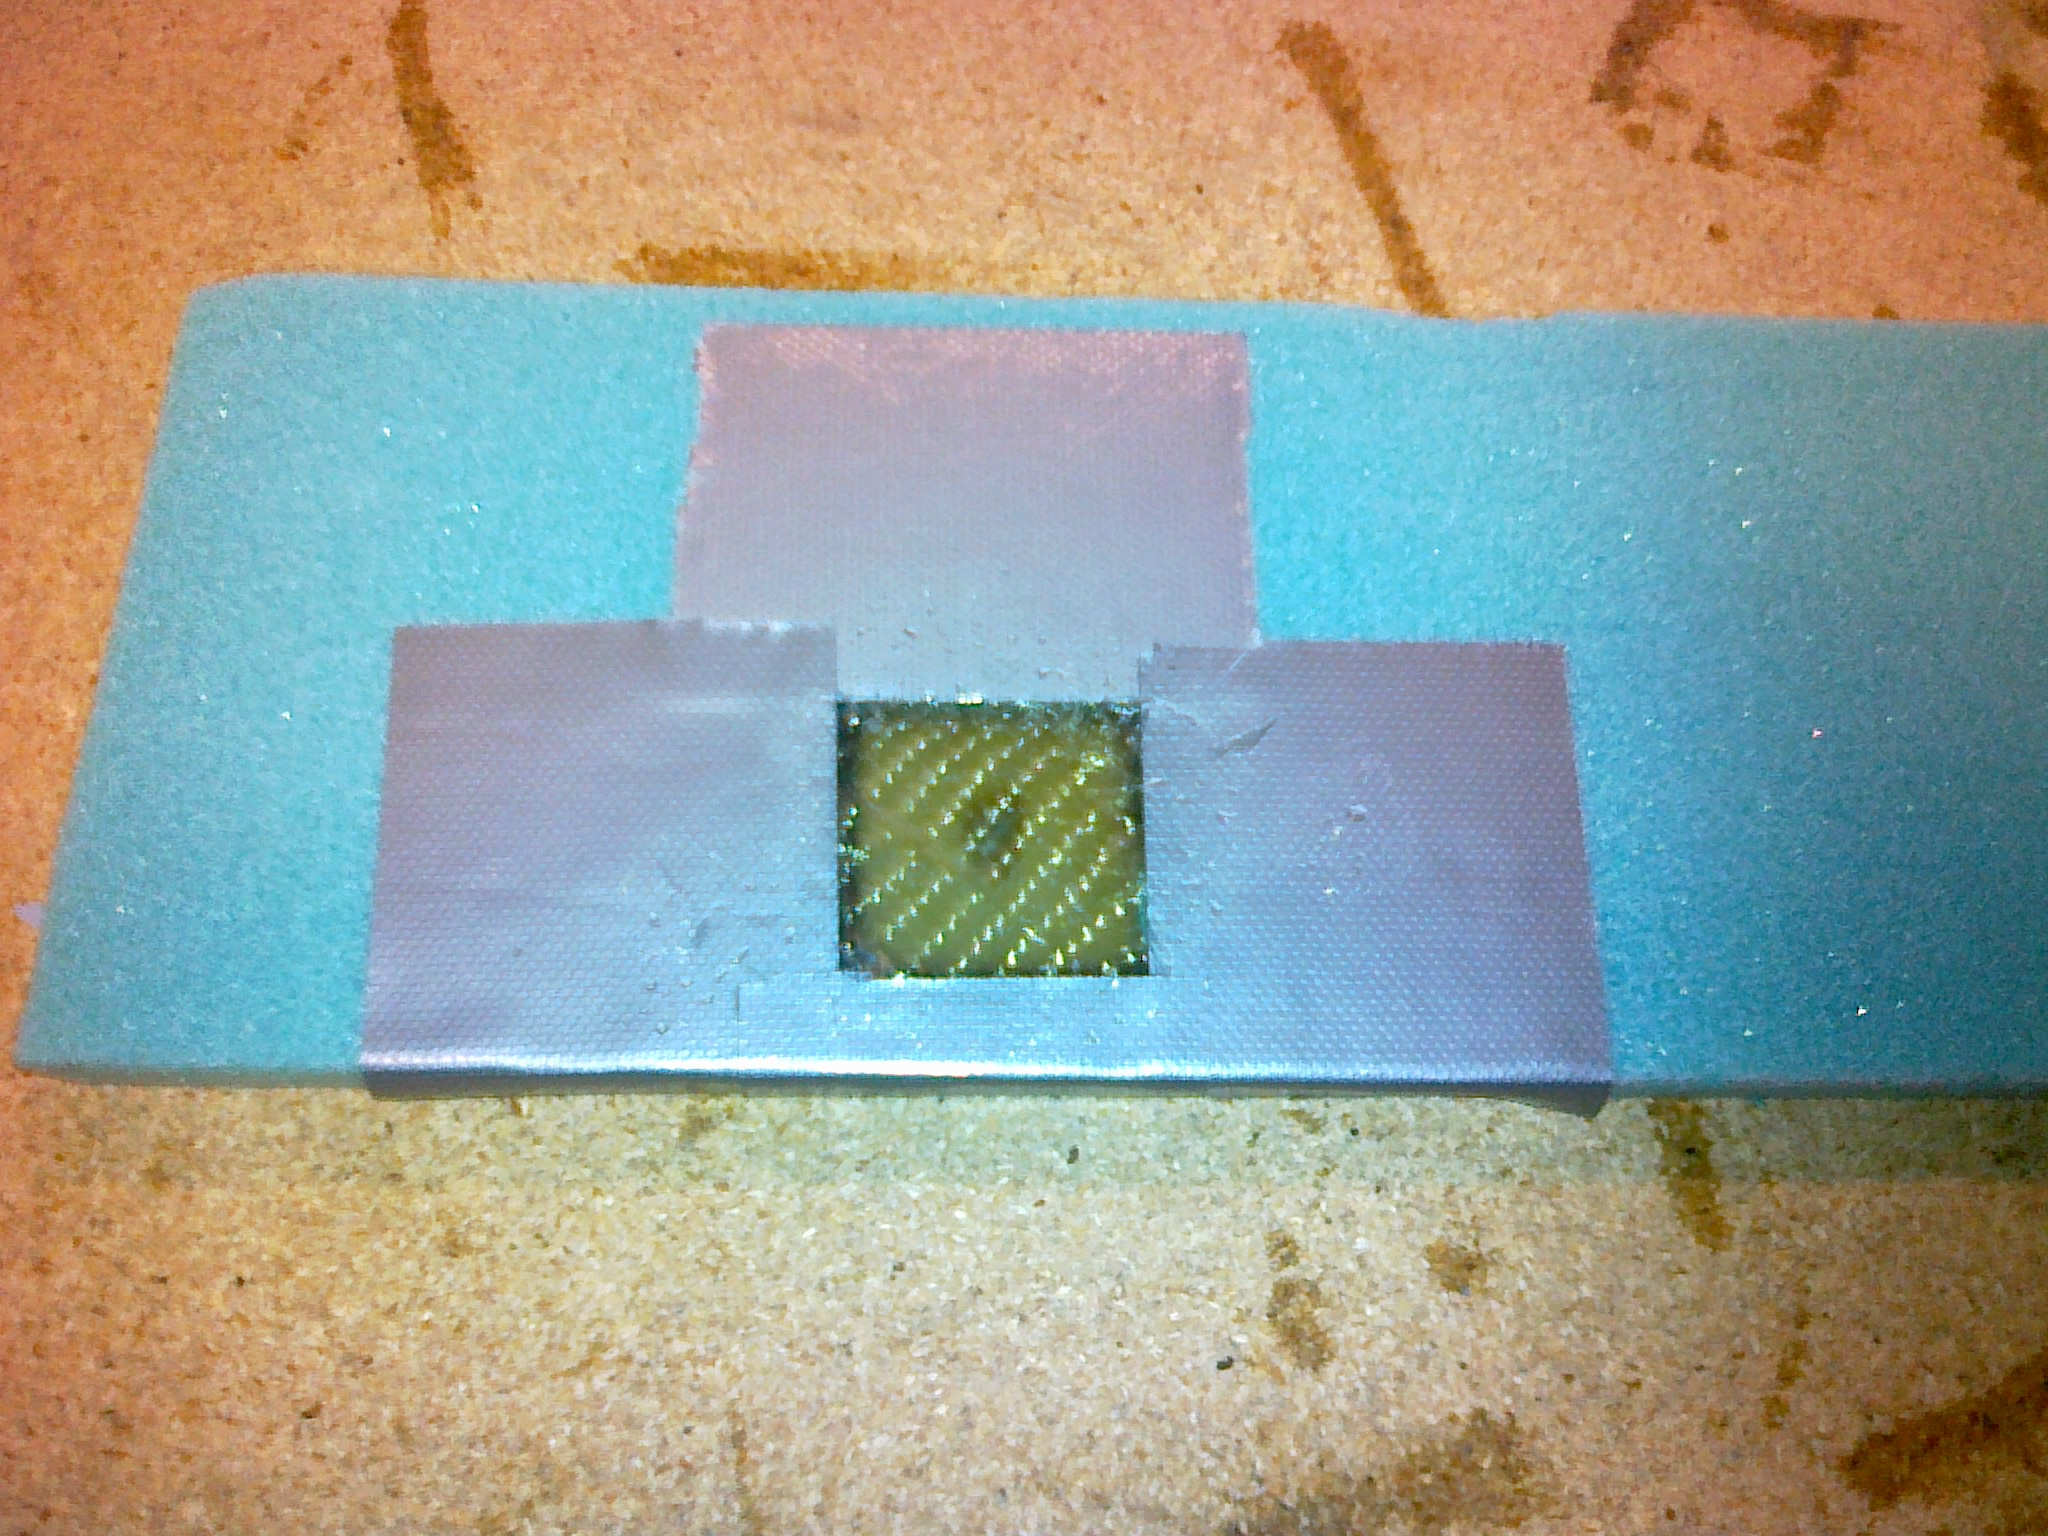
I masked the foam to avoid spilling epoxy when I placed the BID-fillers on the plywood.
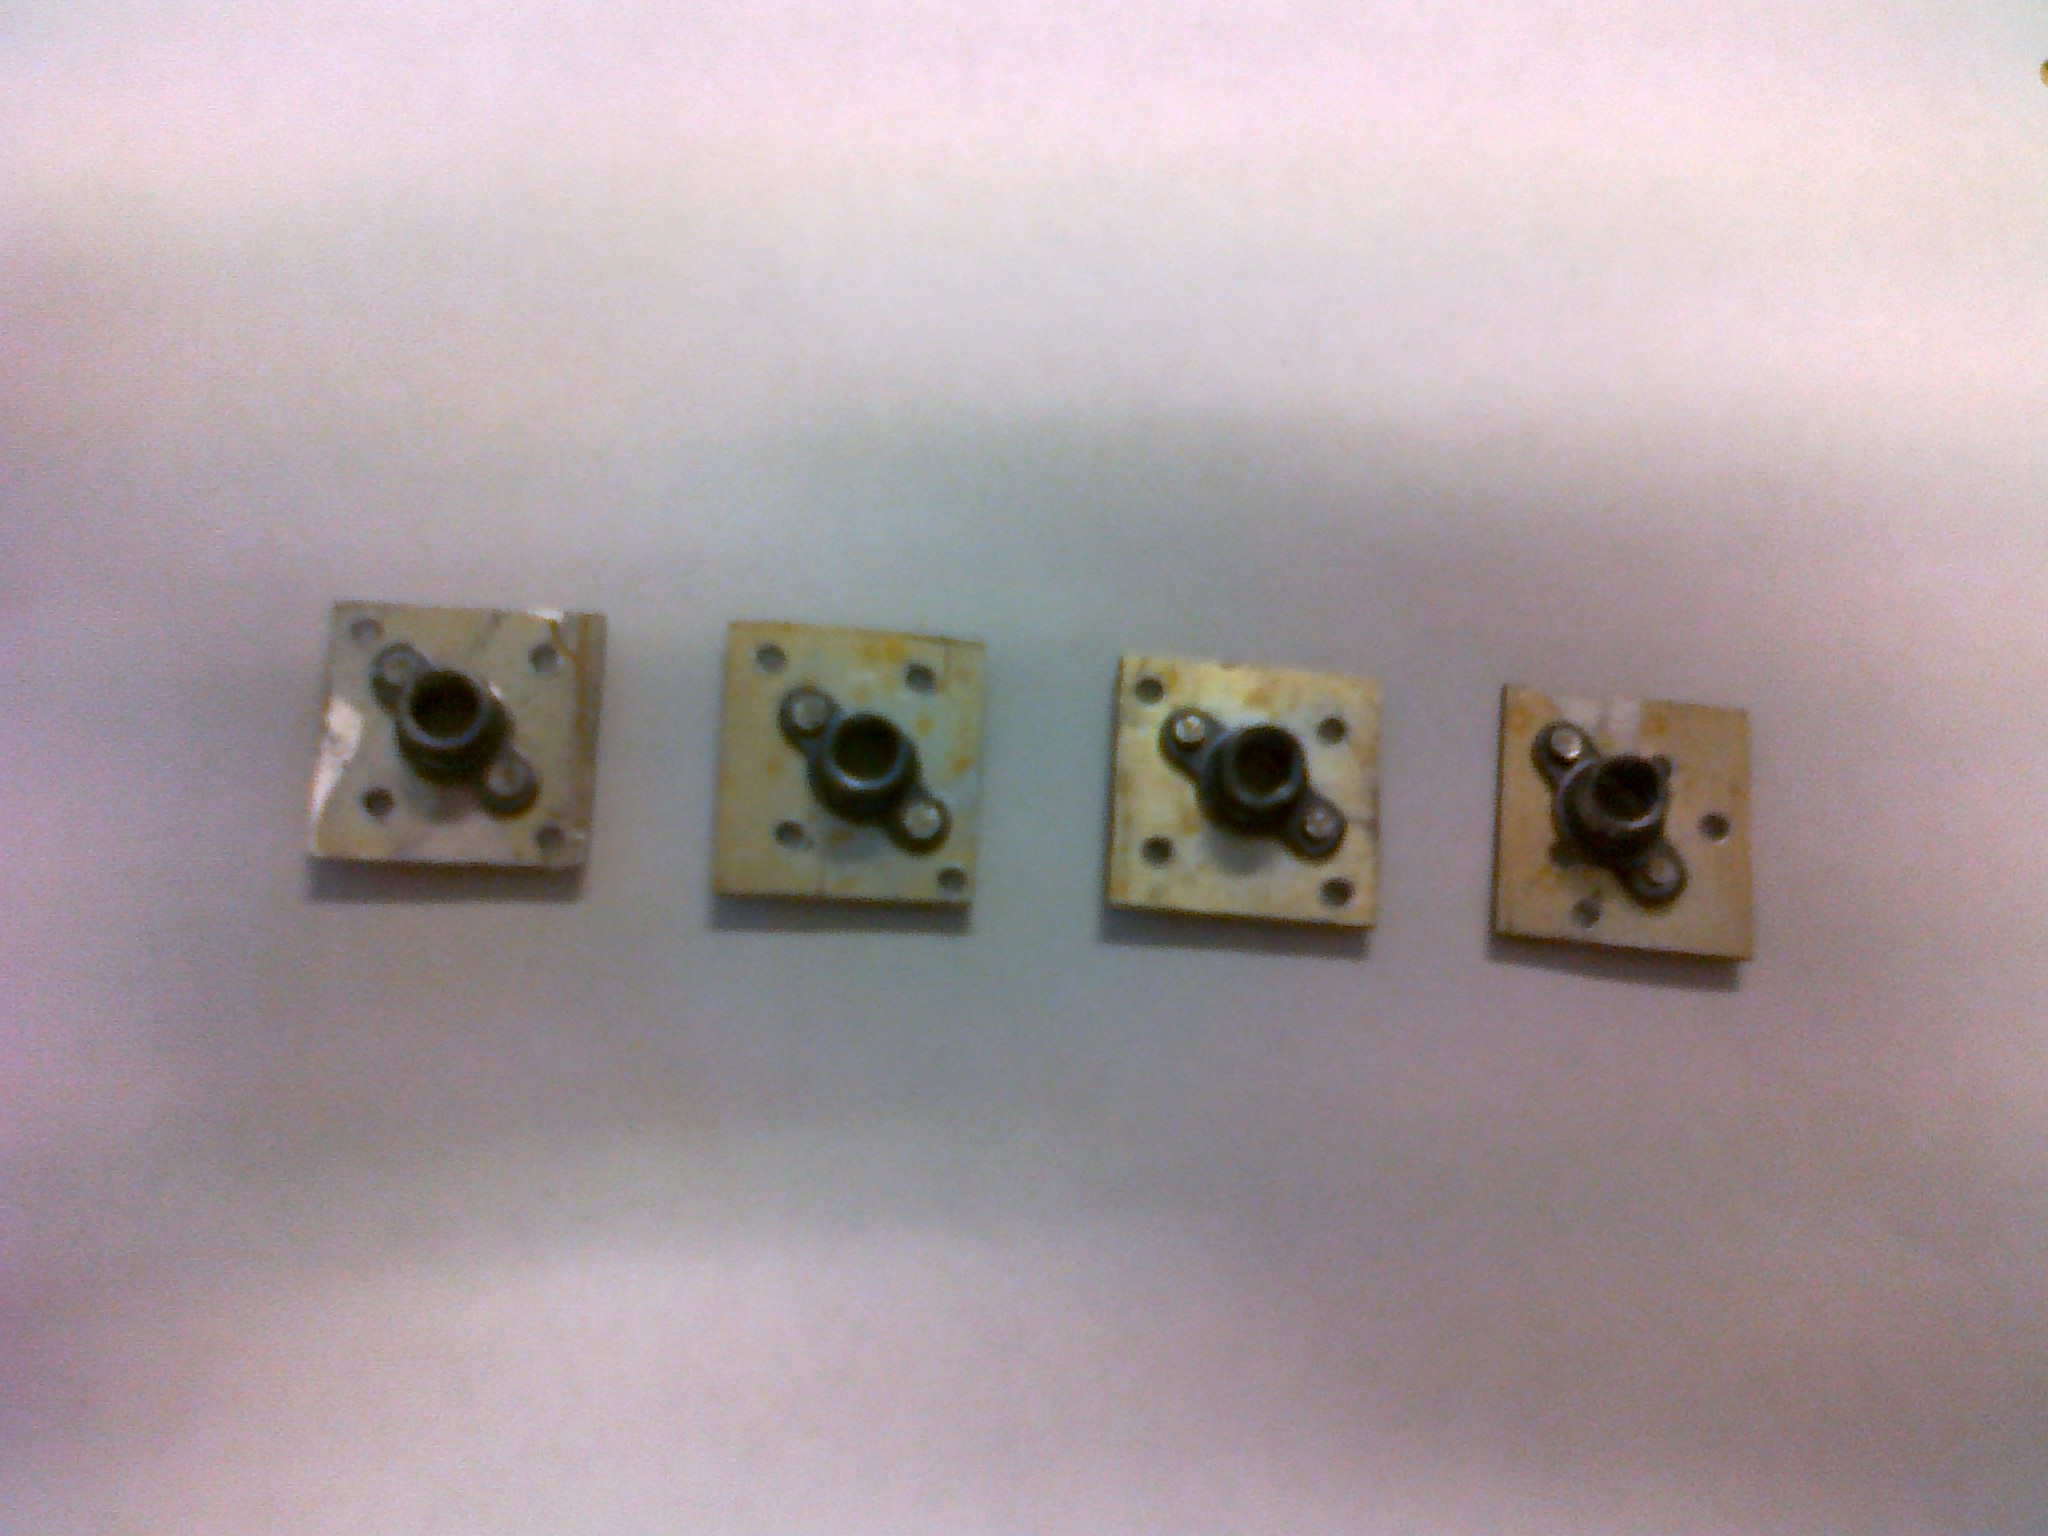
The nut-plates are riveted to pieces of thin aluminum. I alodined the aluminum and drilled some extra holes in the plates to make the flox grip better to the plates. I will flox these to the underside of the plywood before I flox the shoulder-brace to the seat-back later.
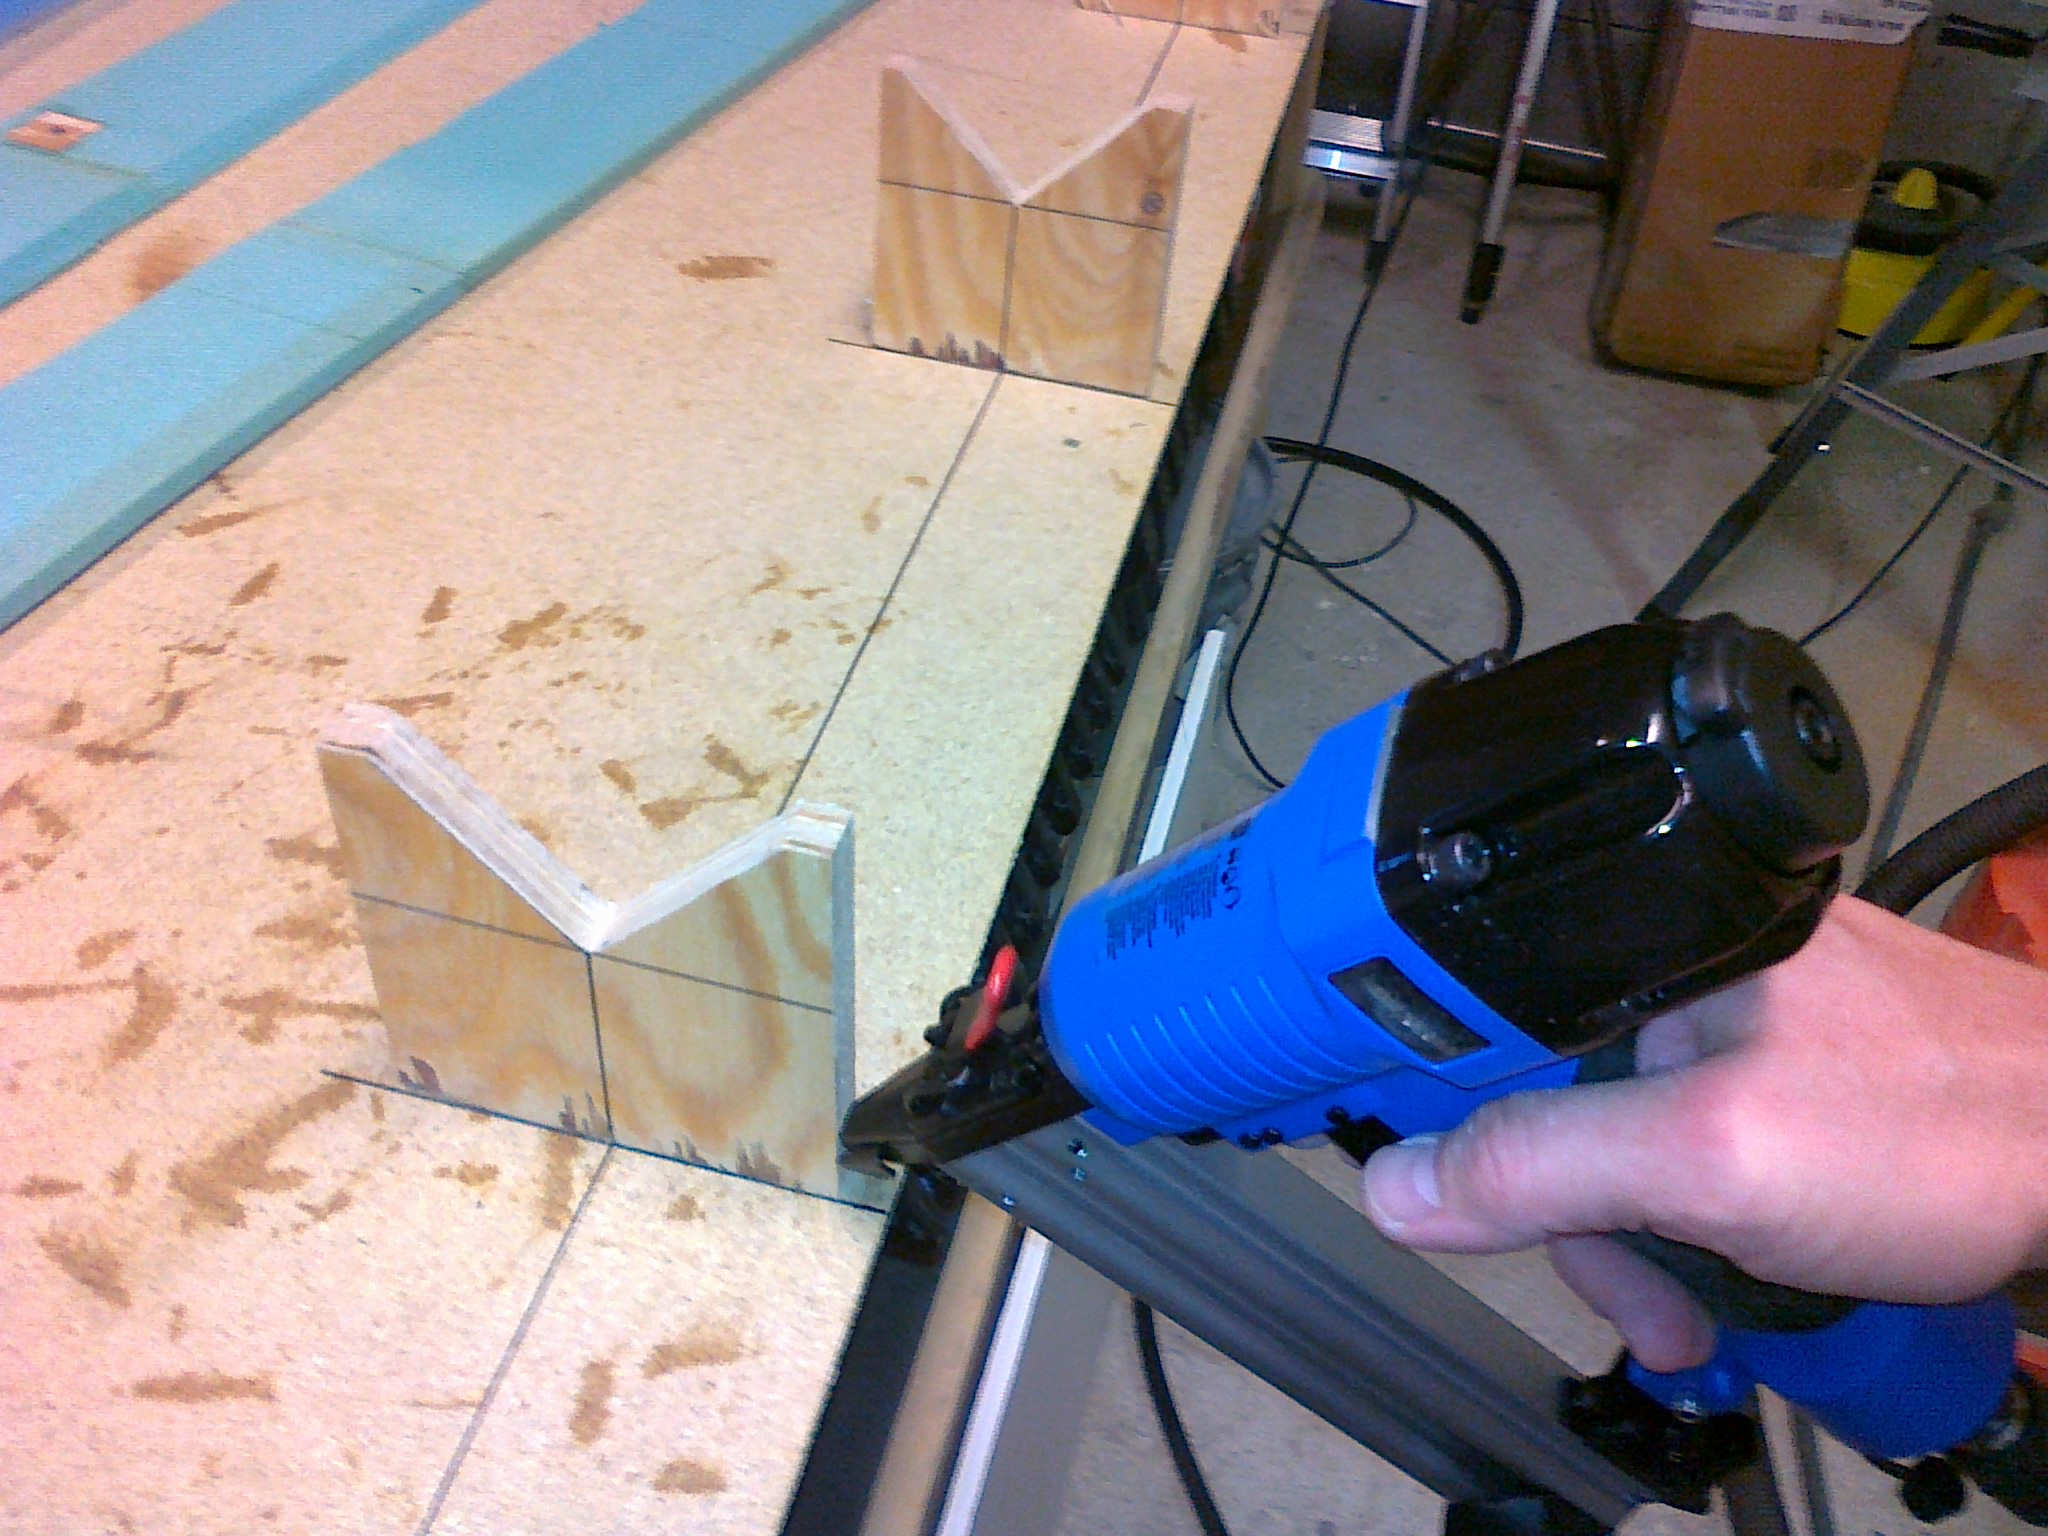
The jig to hold the shoulder-brace in place while glassing is temporarily fastened using a nail-gun. Very handy to use to fasten things in a hurry.
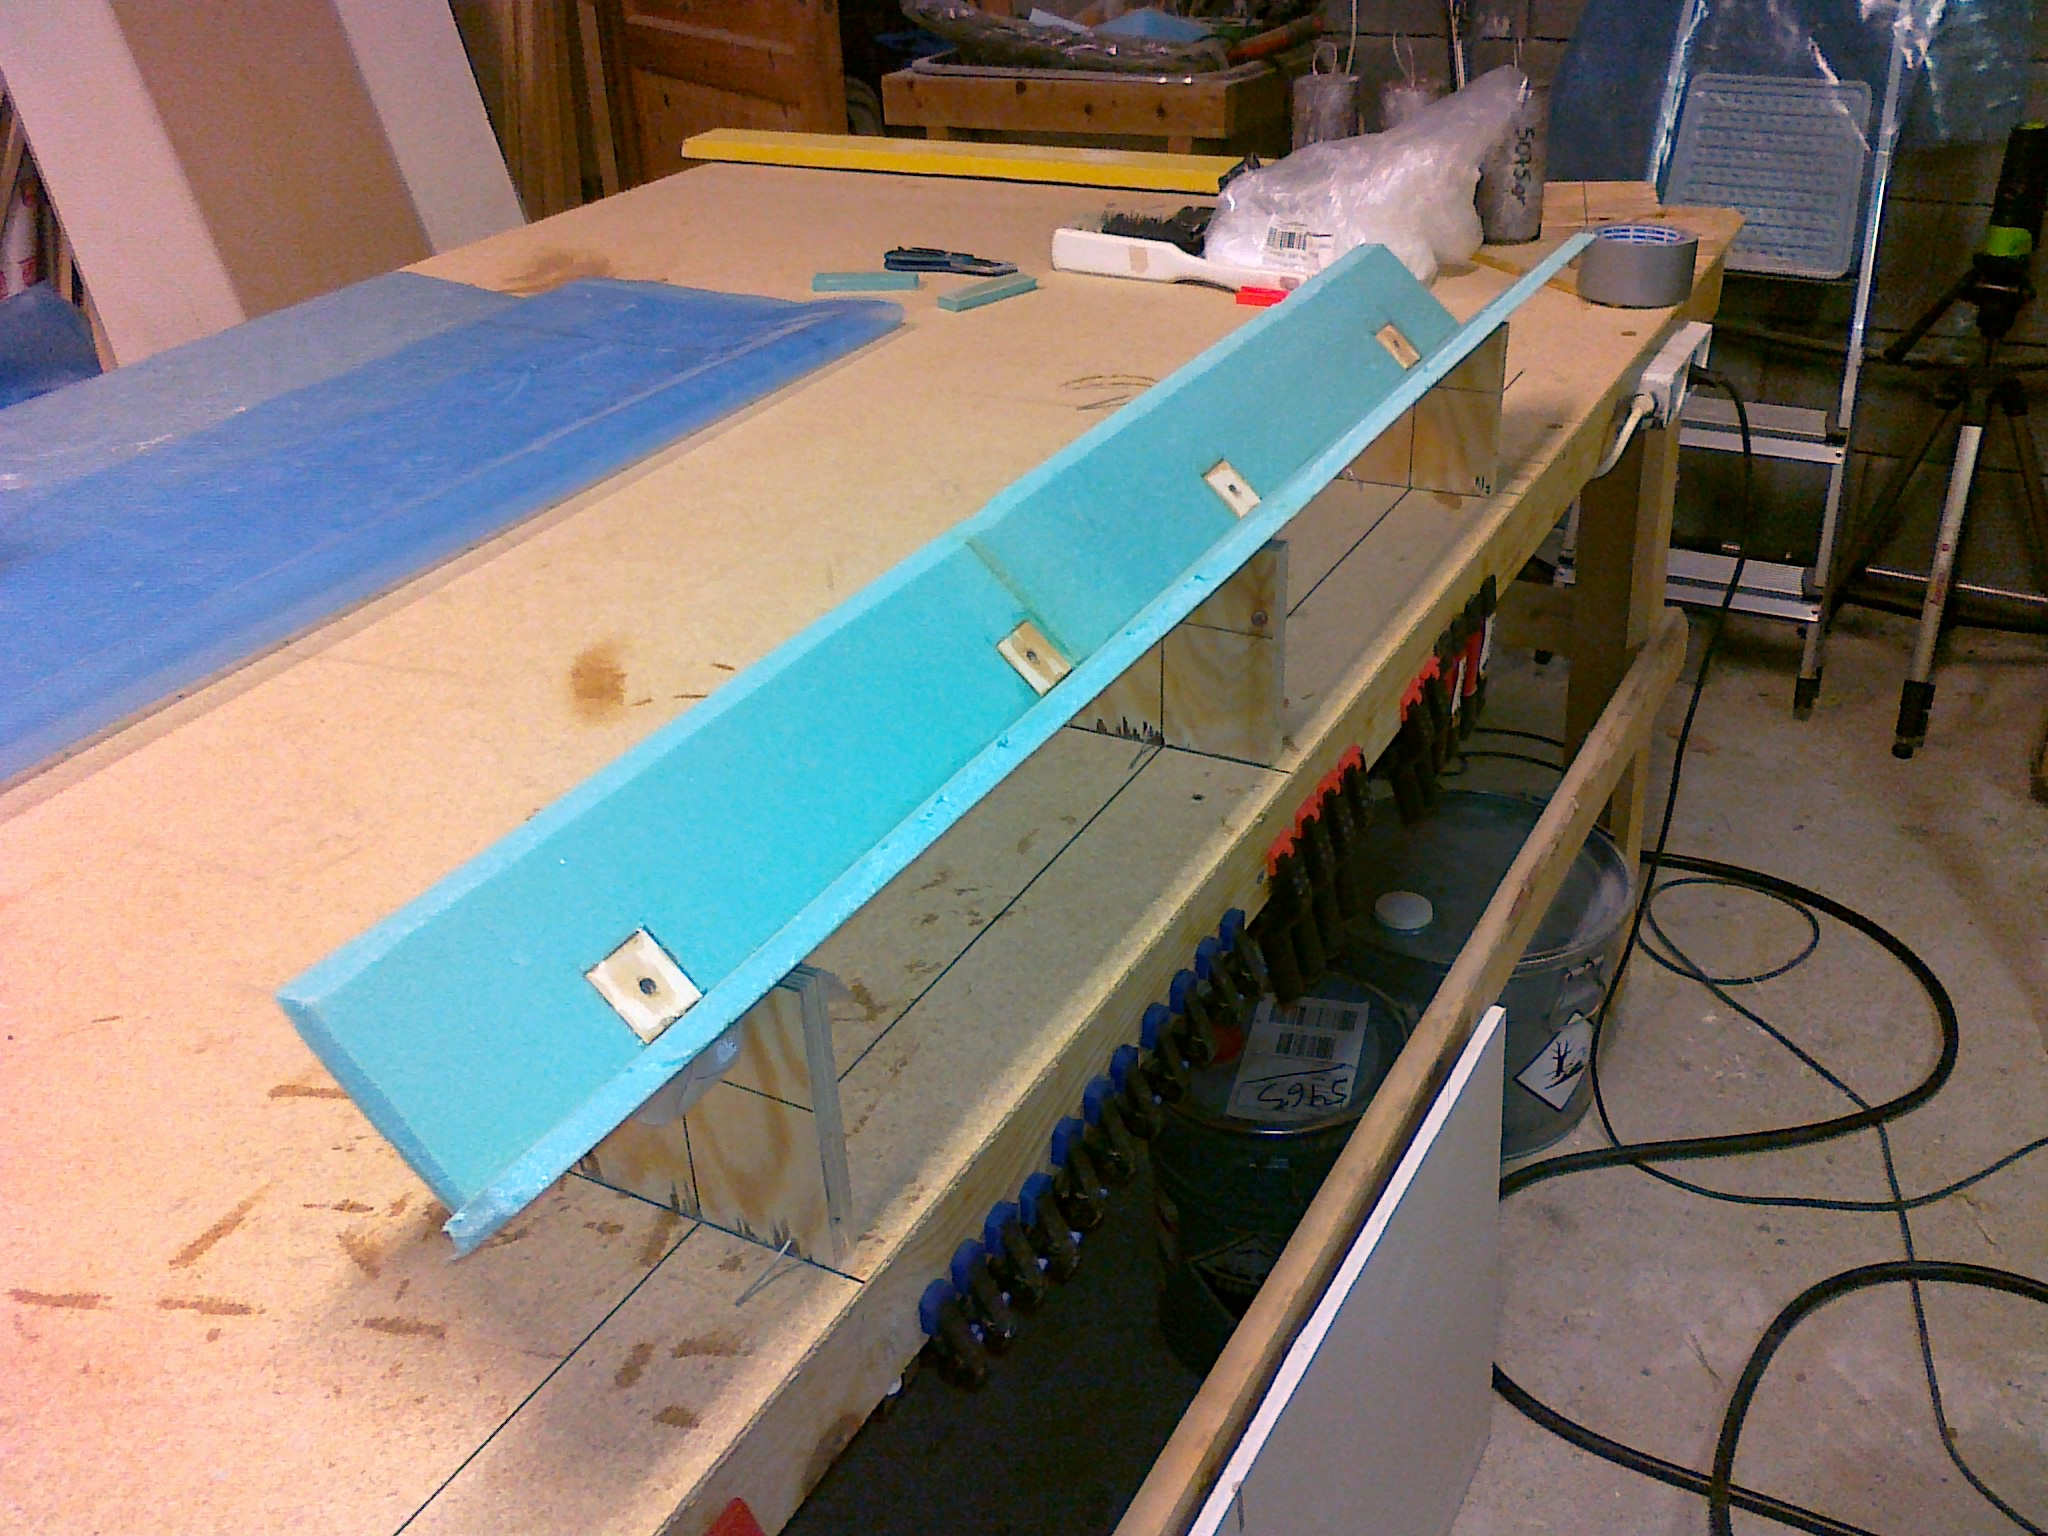
The shoulder-brace is 5-min epoxyed and curing. Before glassing I will test-fit it to the seat-back and make the final adjustments before I glass the inside.