
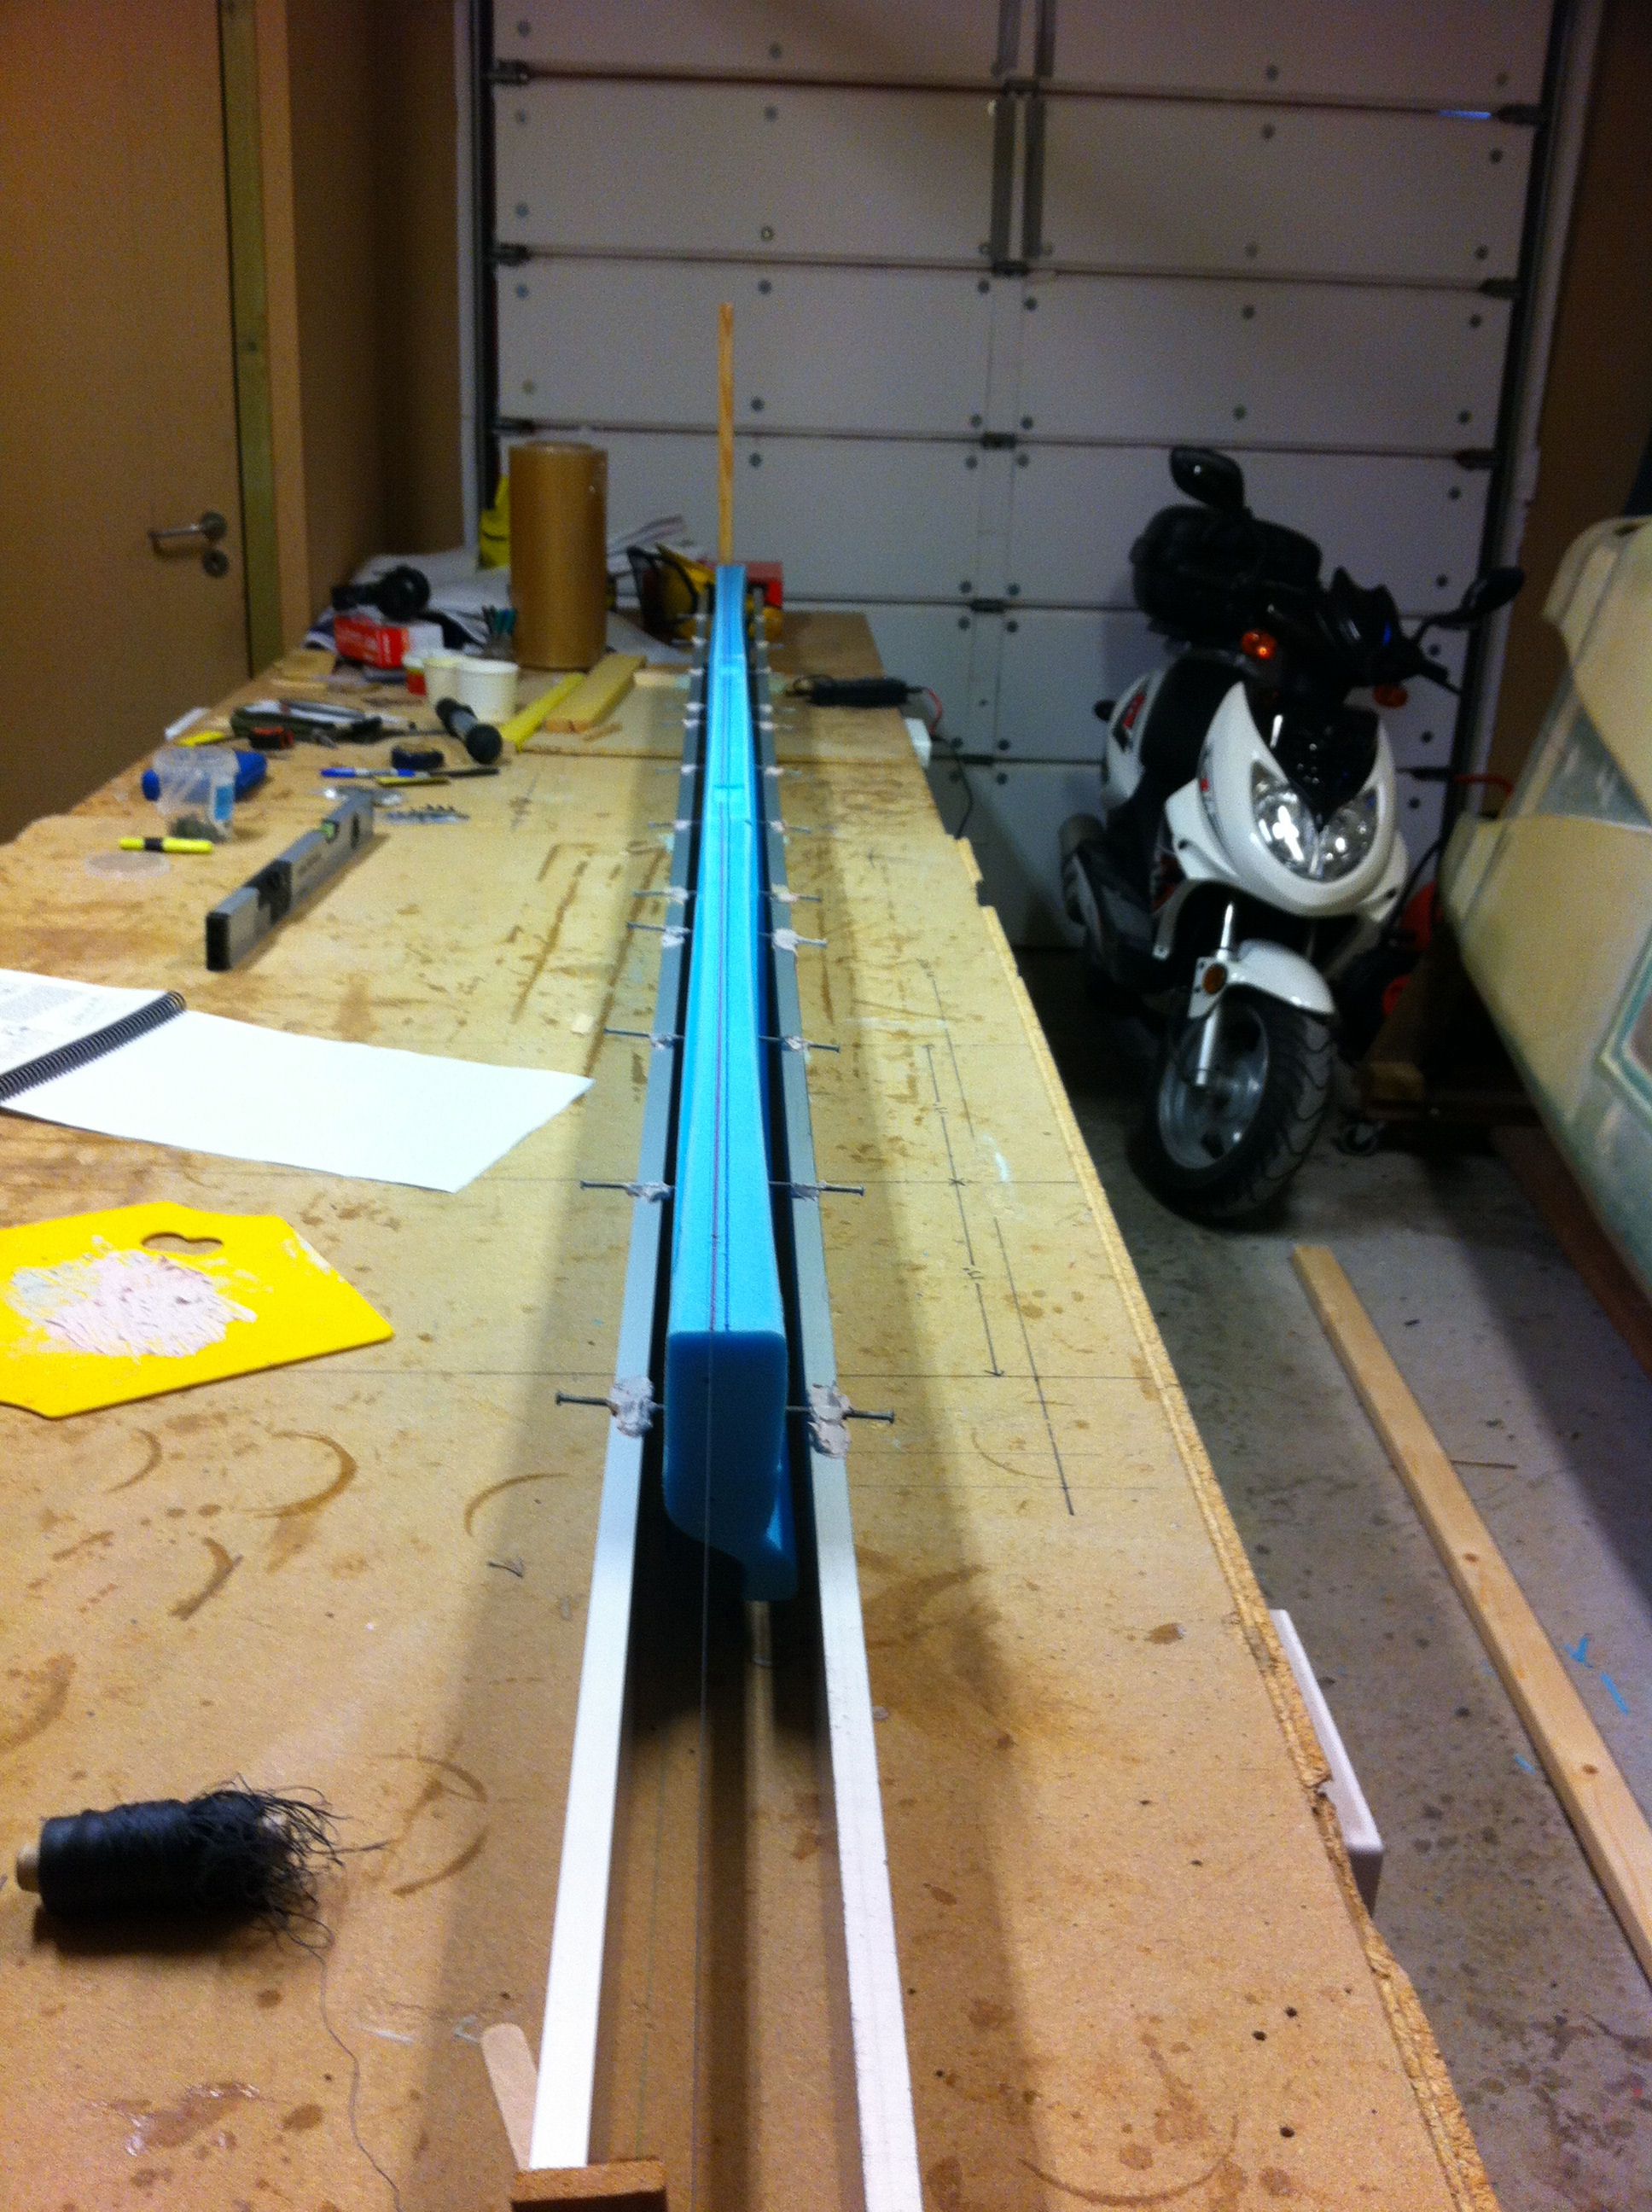
2012-04-04: I bought the lift-tabs and inserts from CG Products (Cozy Girrrls). To align the cores I used two aluminum straightedges leveled off in all ways. Bondoed the straightedges to the working-table, then I glued the cores together and bondoed the foam-cores to the straightedges. I used a laser to align the shearweb-face of each core. I also used a string over the centerline to ensure that the height of all the cores is equal over the whole span. I discovered that the cores must have had some internal tension, as they all are somewhat warped. I will correct this when they are cured by shimming them sideways to ensure that they are straight all over when I start with the shear-web.
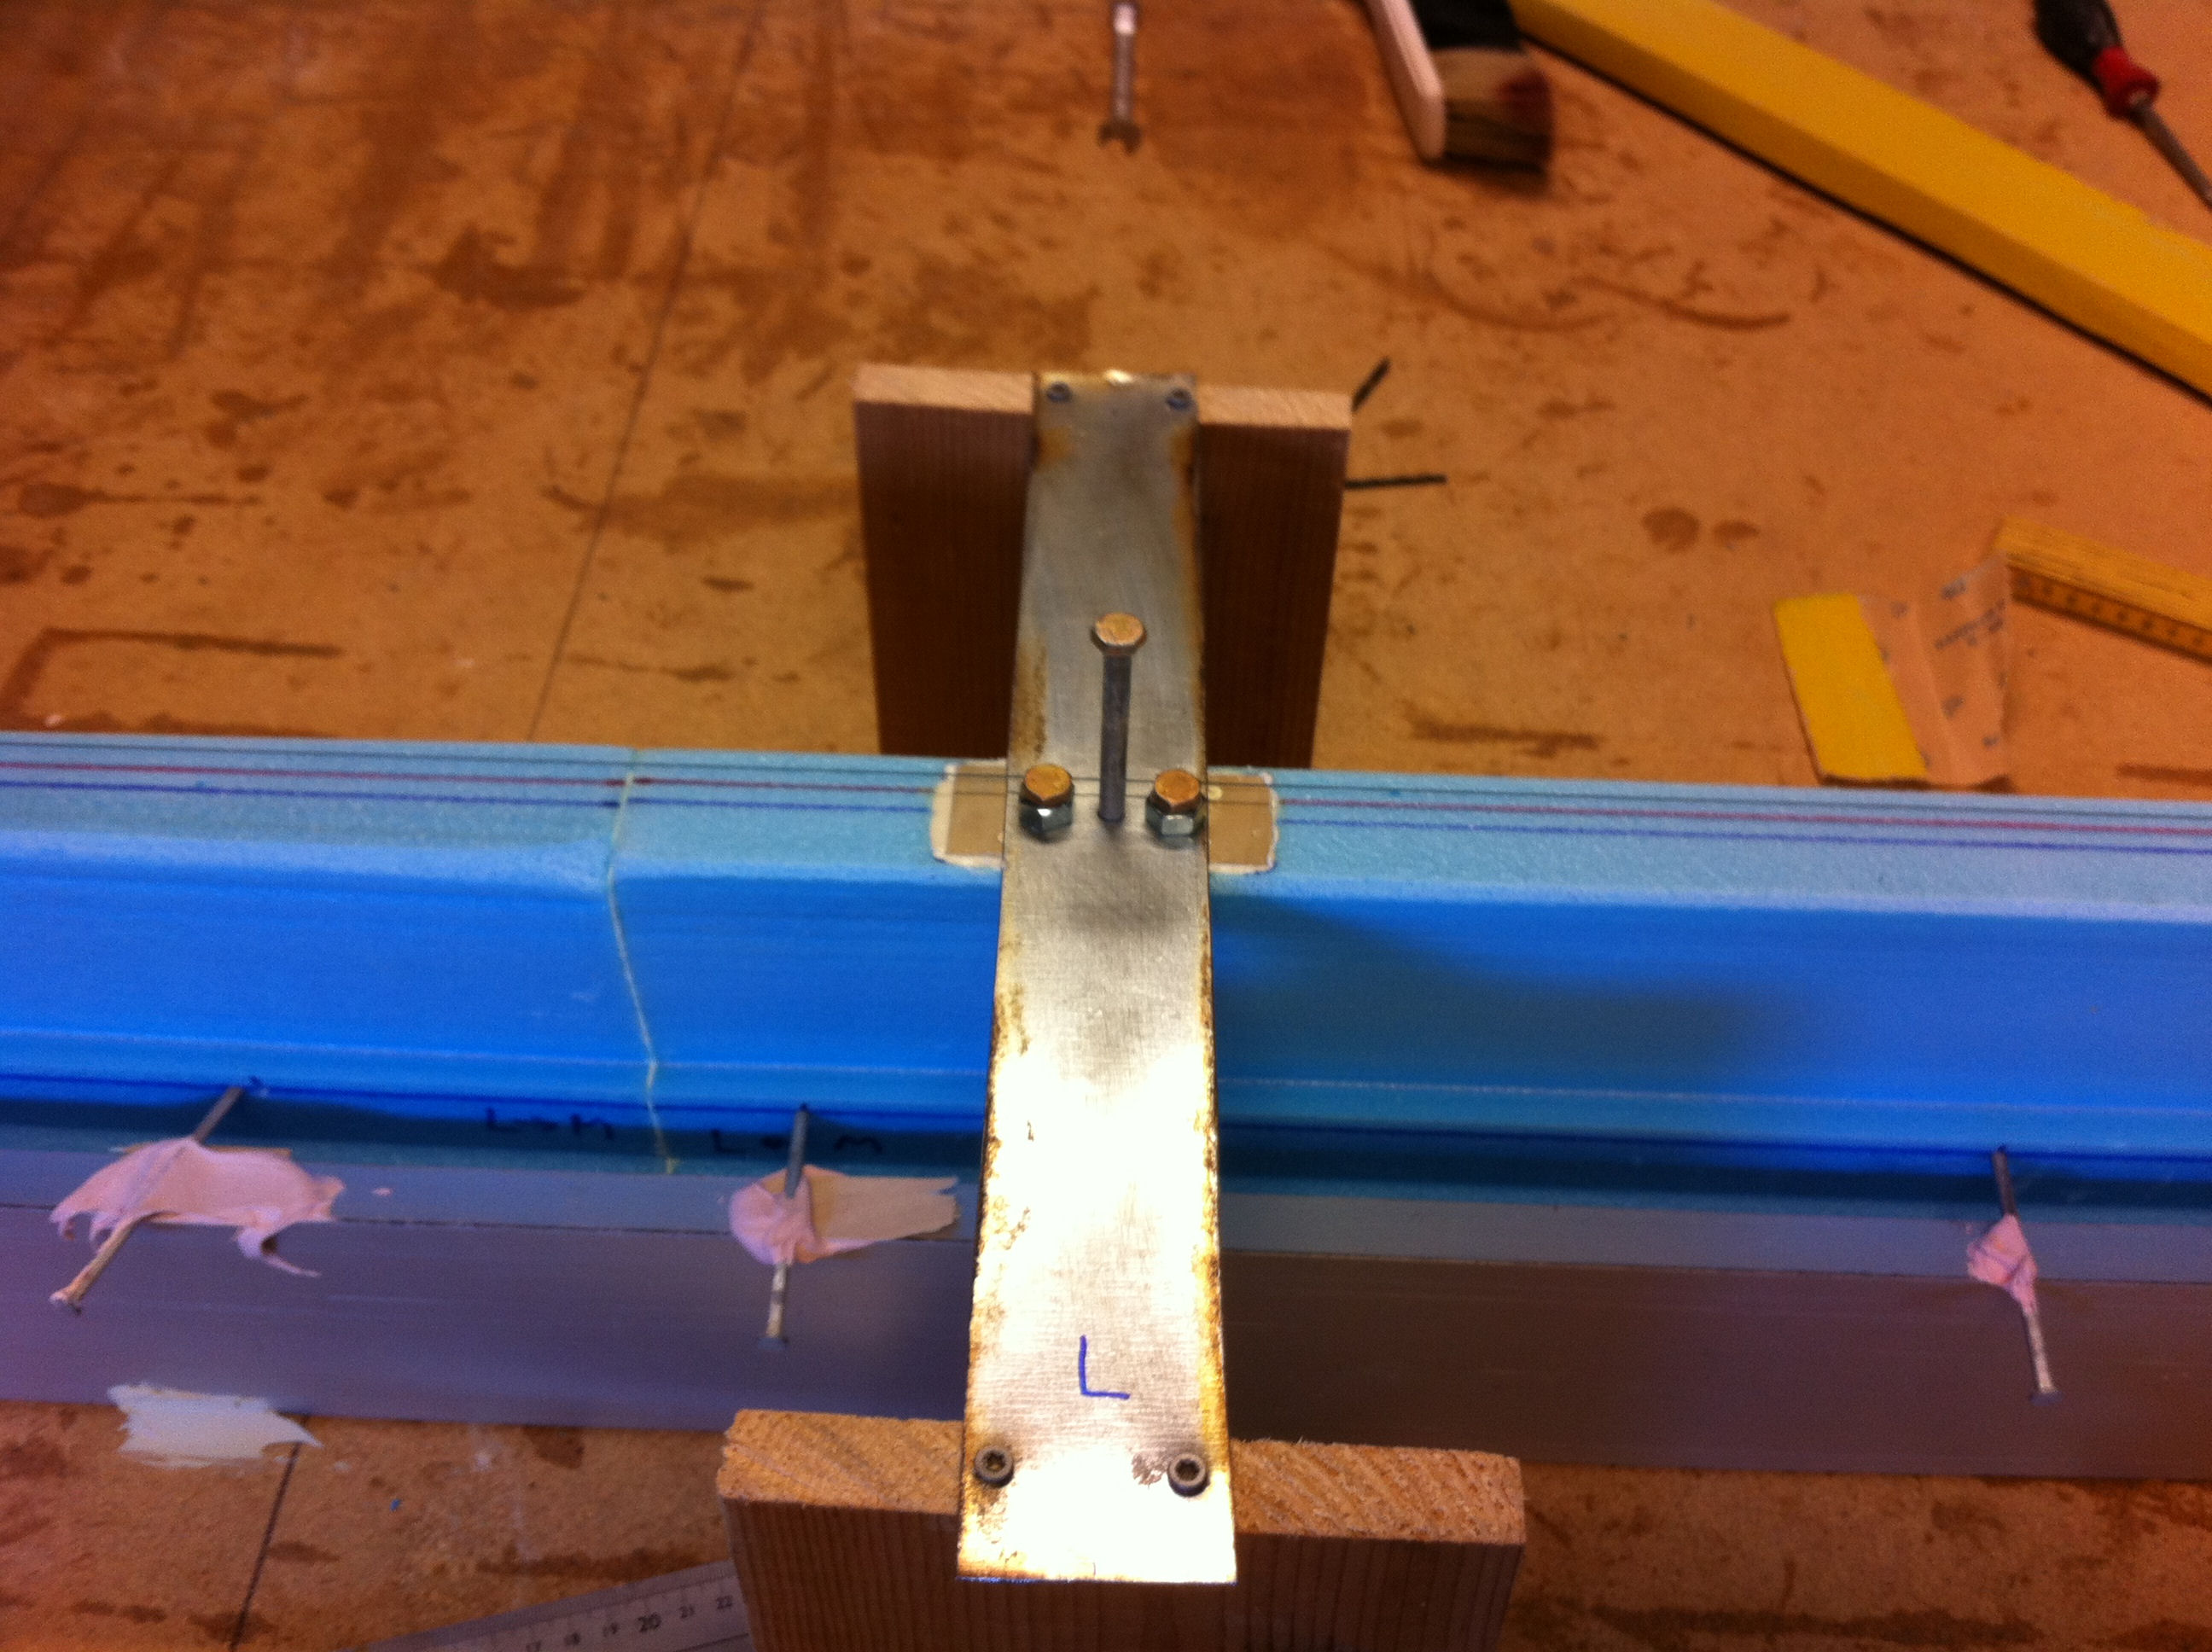
2012-04-06: I recessed the foam where the inserts for the lift-tabs are placed. I followed the plans and used some scrap metal and bolted the inserts to this. Had to use some random bolts as you can see… 🙂 Used dry micro under the inserts and let the whole thing cure. Meanwhile I cut the glass for the shear-web.
2012-04-08: After cutting all the glass to the shear-web I started to think, and came to the conclusion that it must be easier to lay up all the glass on plastic, trim it and then lay it onto the foam directly in one piece, instead of laying up the layers one after one on the foam. Doing it this way makes it easier to handle the loose strands of glass from the UNI.
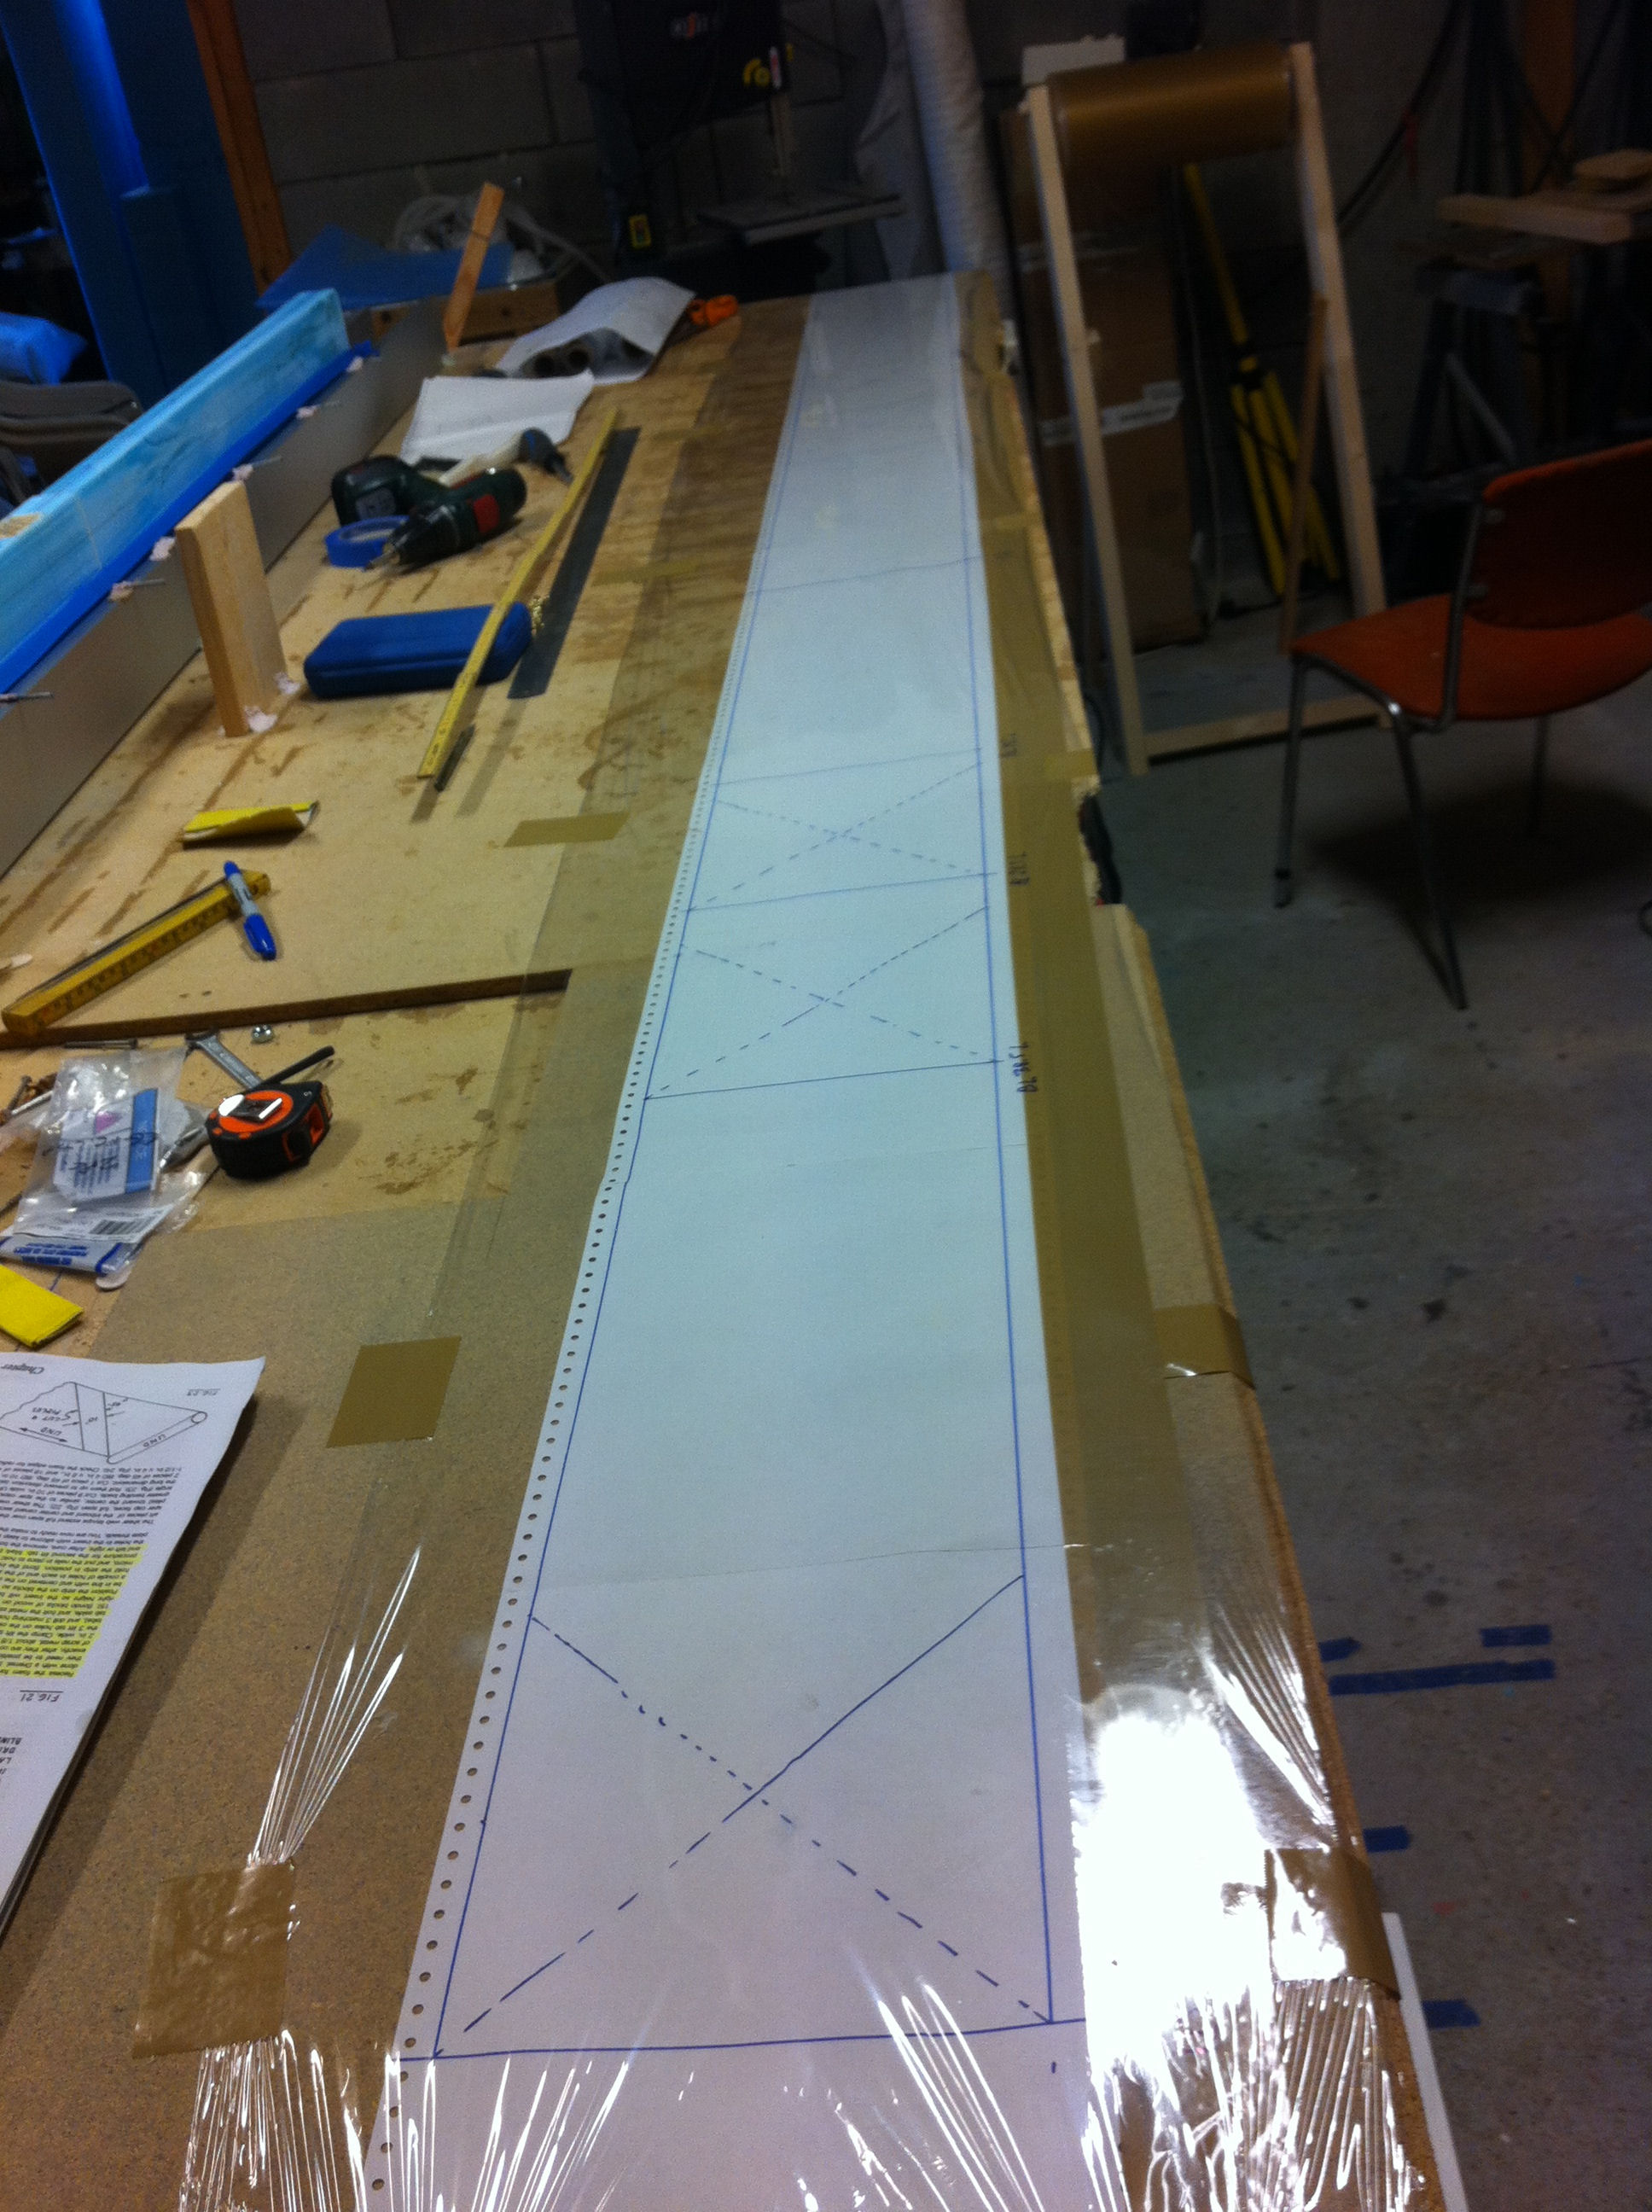
I layed a long piece of paper on the table and marked all the edges for the various layers of the glass. I then covered it with saran-wrap, glassed all the UNI plus the long BID-ply. Then I covered it all with a new layer of saran-wrap and trimmed the edges.
At last I managed to move all the glass in one piece onto the micro-slurried foam and made it lay down very nicely. If I have to make another canard, I would definitely do it the same way again.

2012-04-08: When the shear-web glass was layed down and squeeged, I glassed the 9 small bid-pieces over the aluminium-inserts and covered it with a larger ply of BID, then peel-plied everything and set to cure.
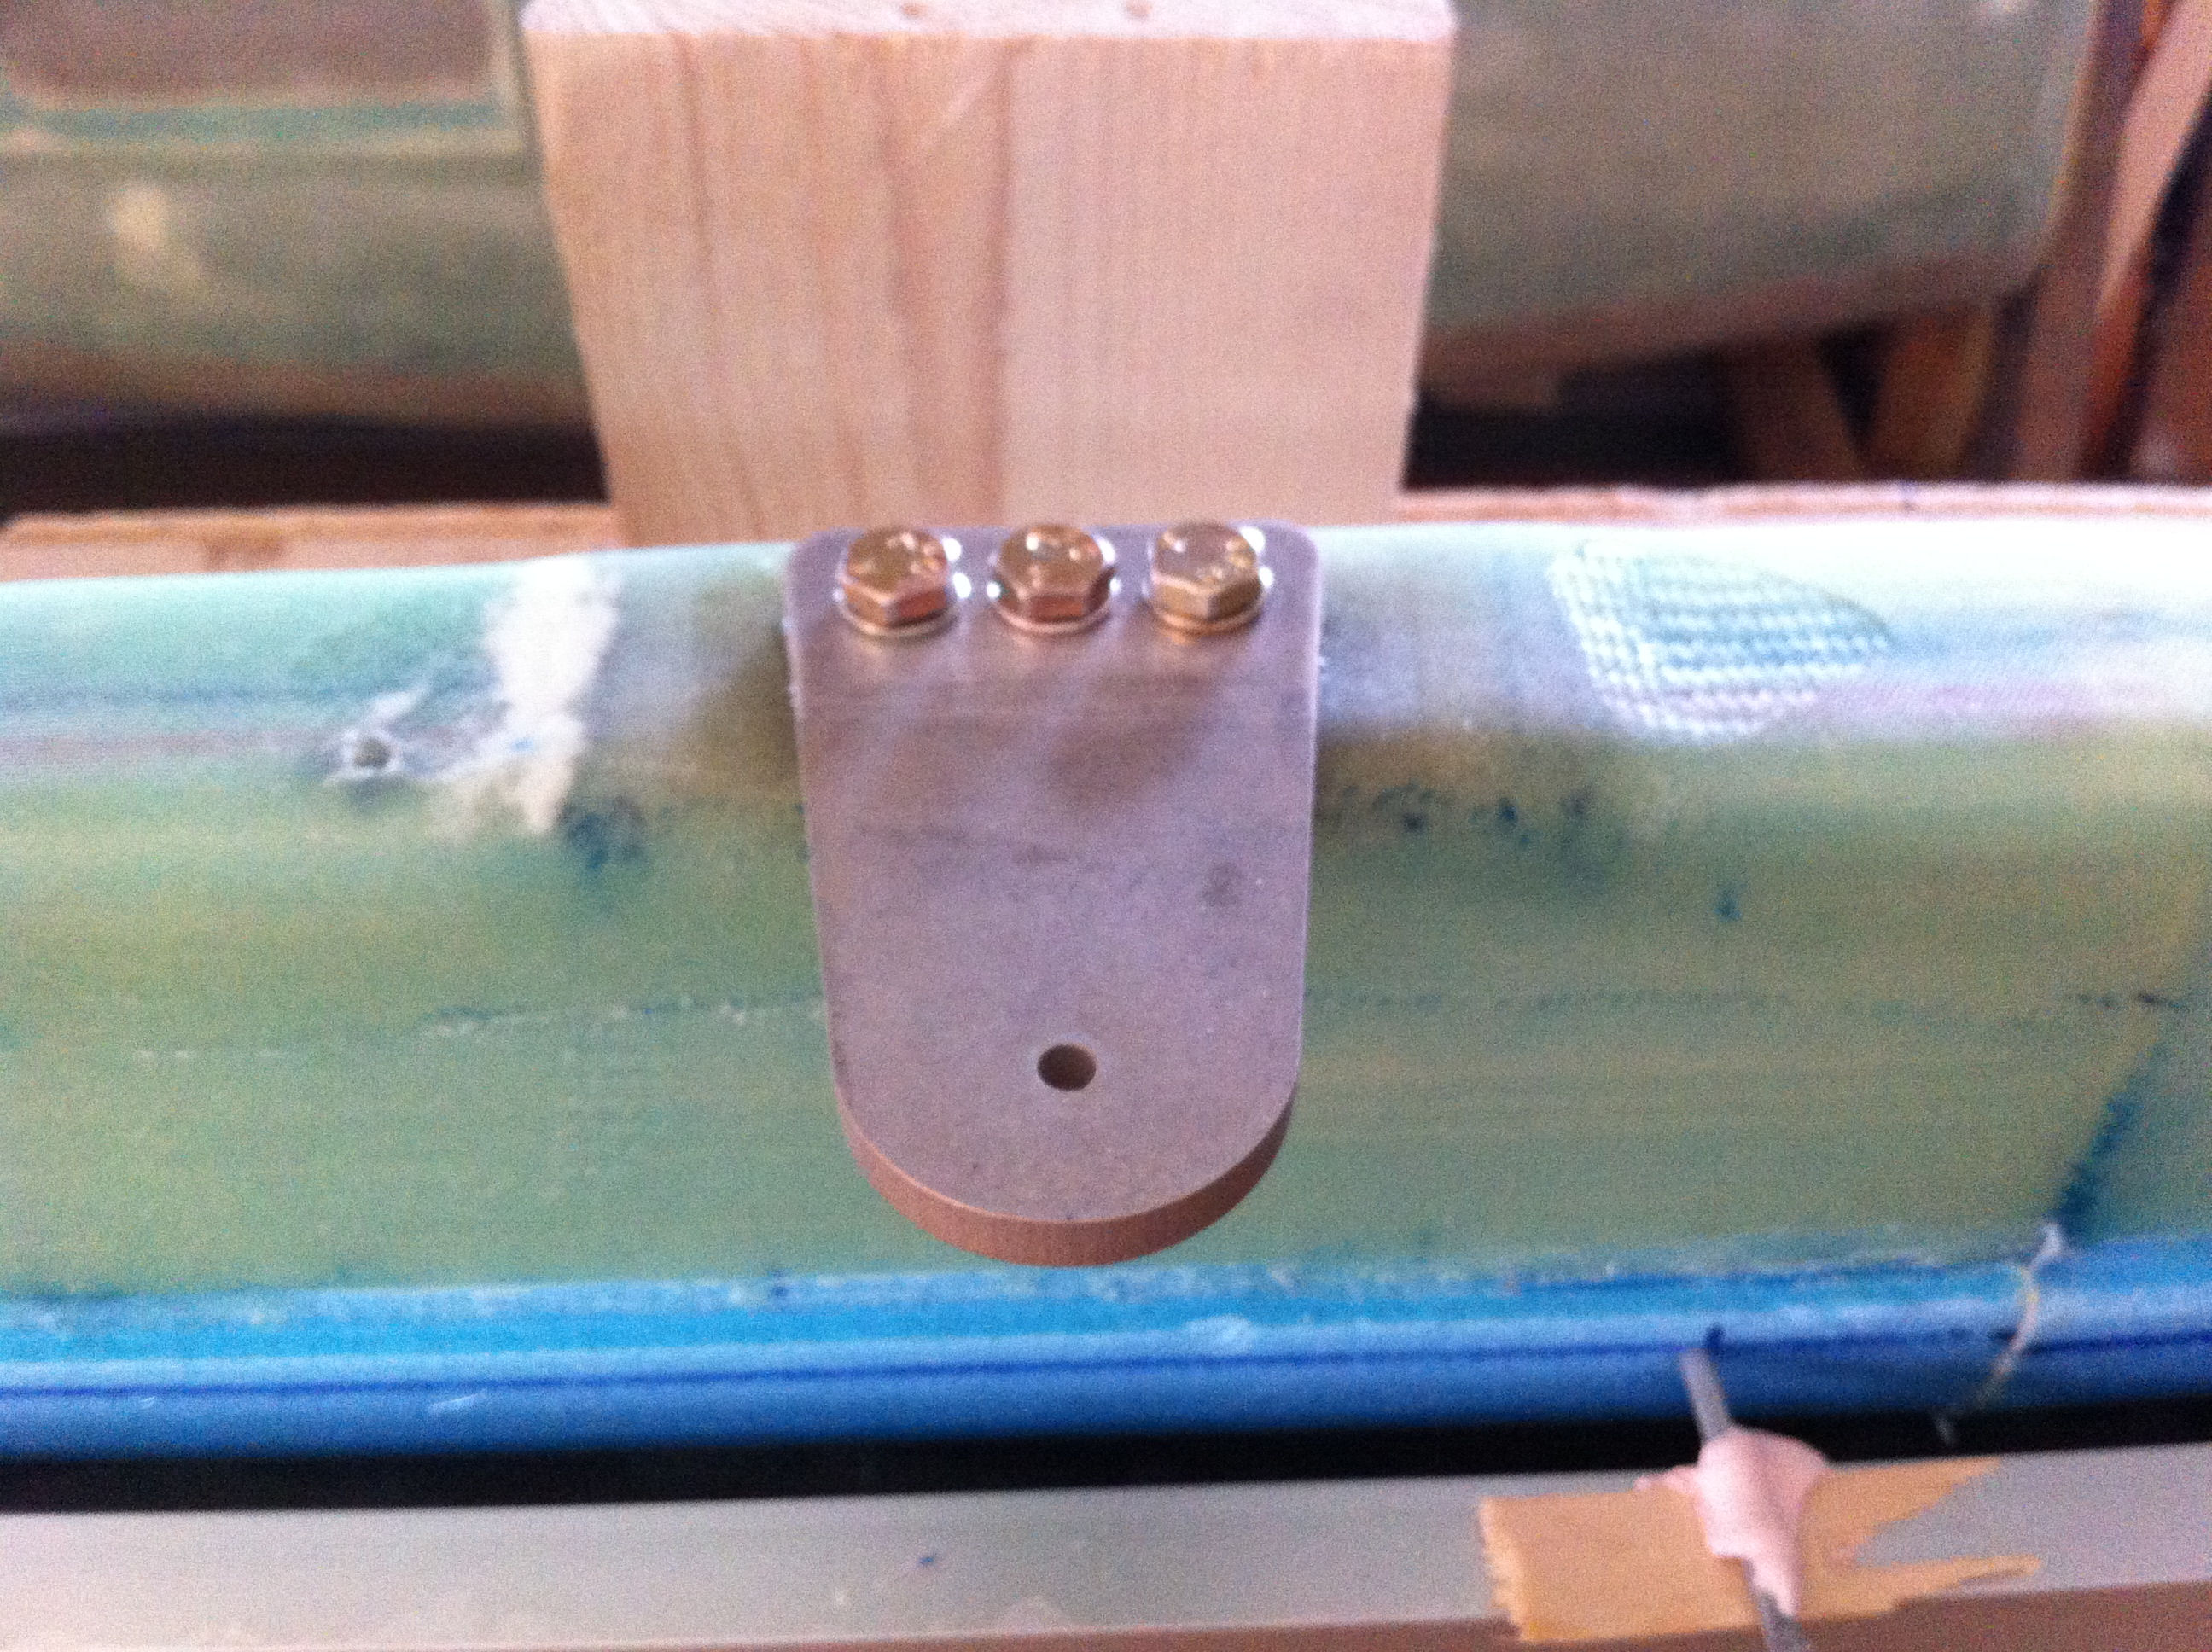
2012-04-15: The lift-tabs are in place, fastened with three bolts as per plan. This will be the last time I touch these as they will be buried inside the canard for the rest of the lifetime hopefully.
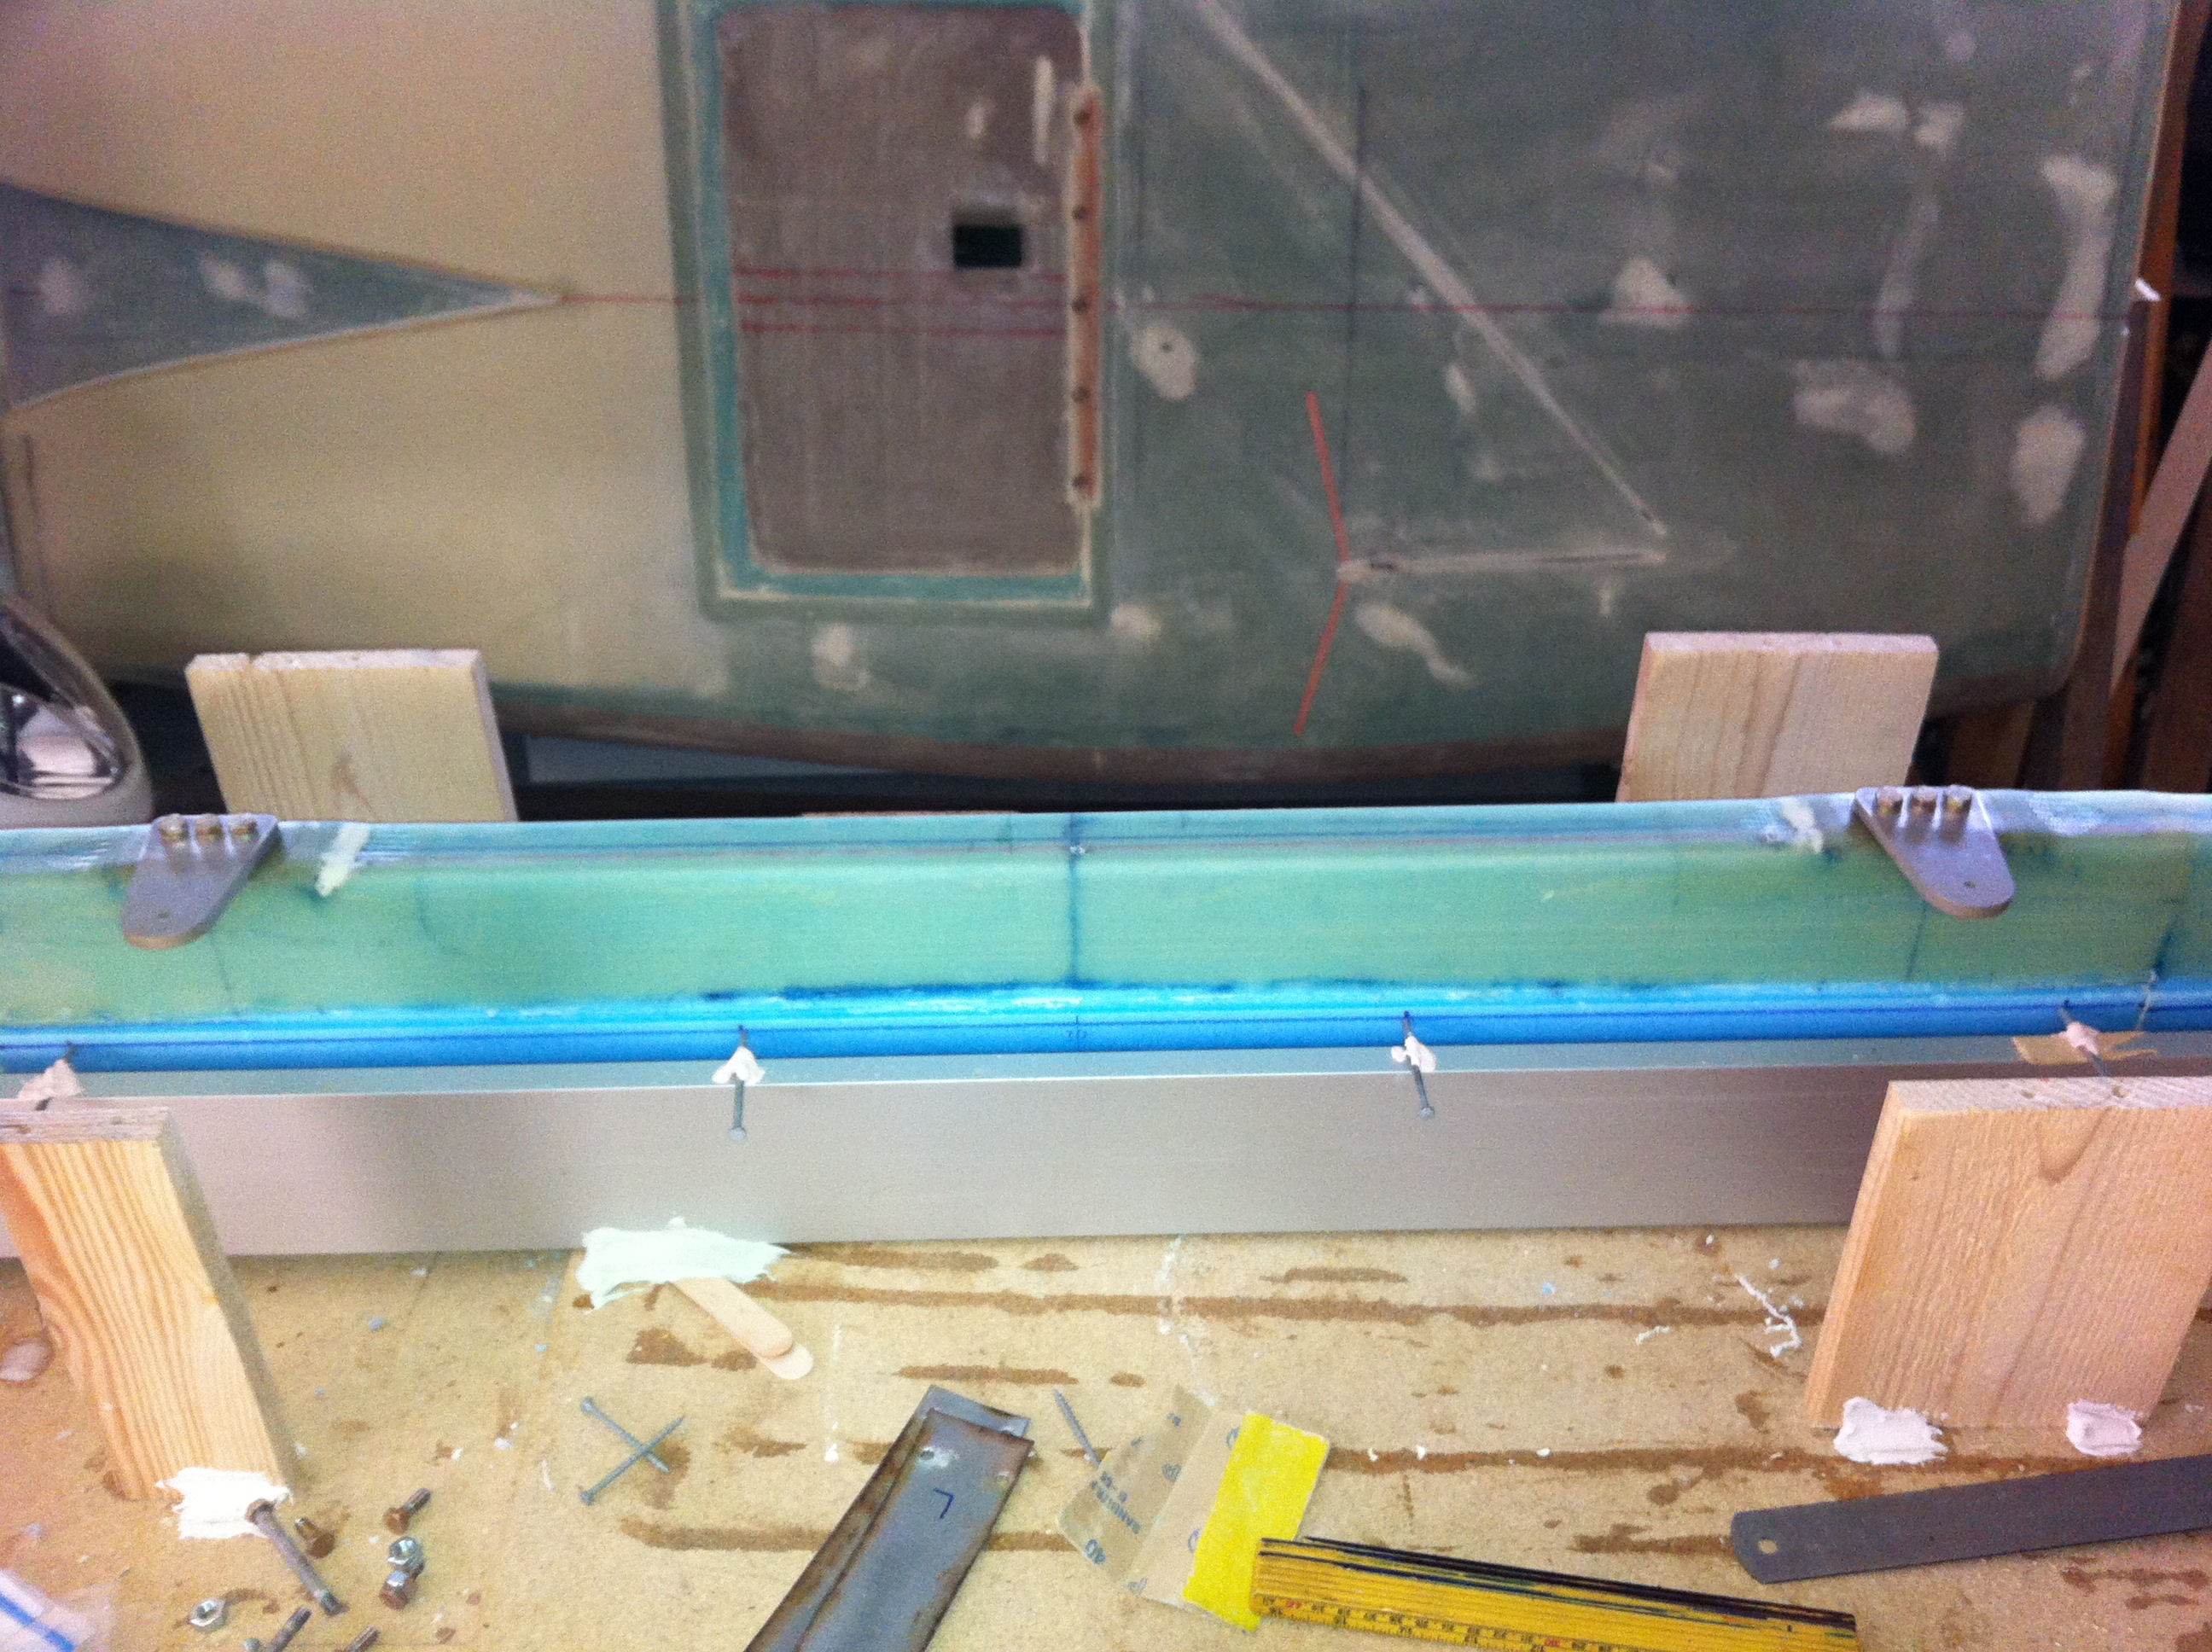
2012-04-15: Both lift-tabs in place.