
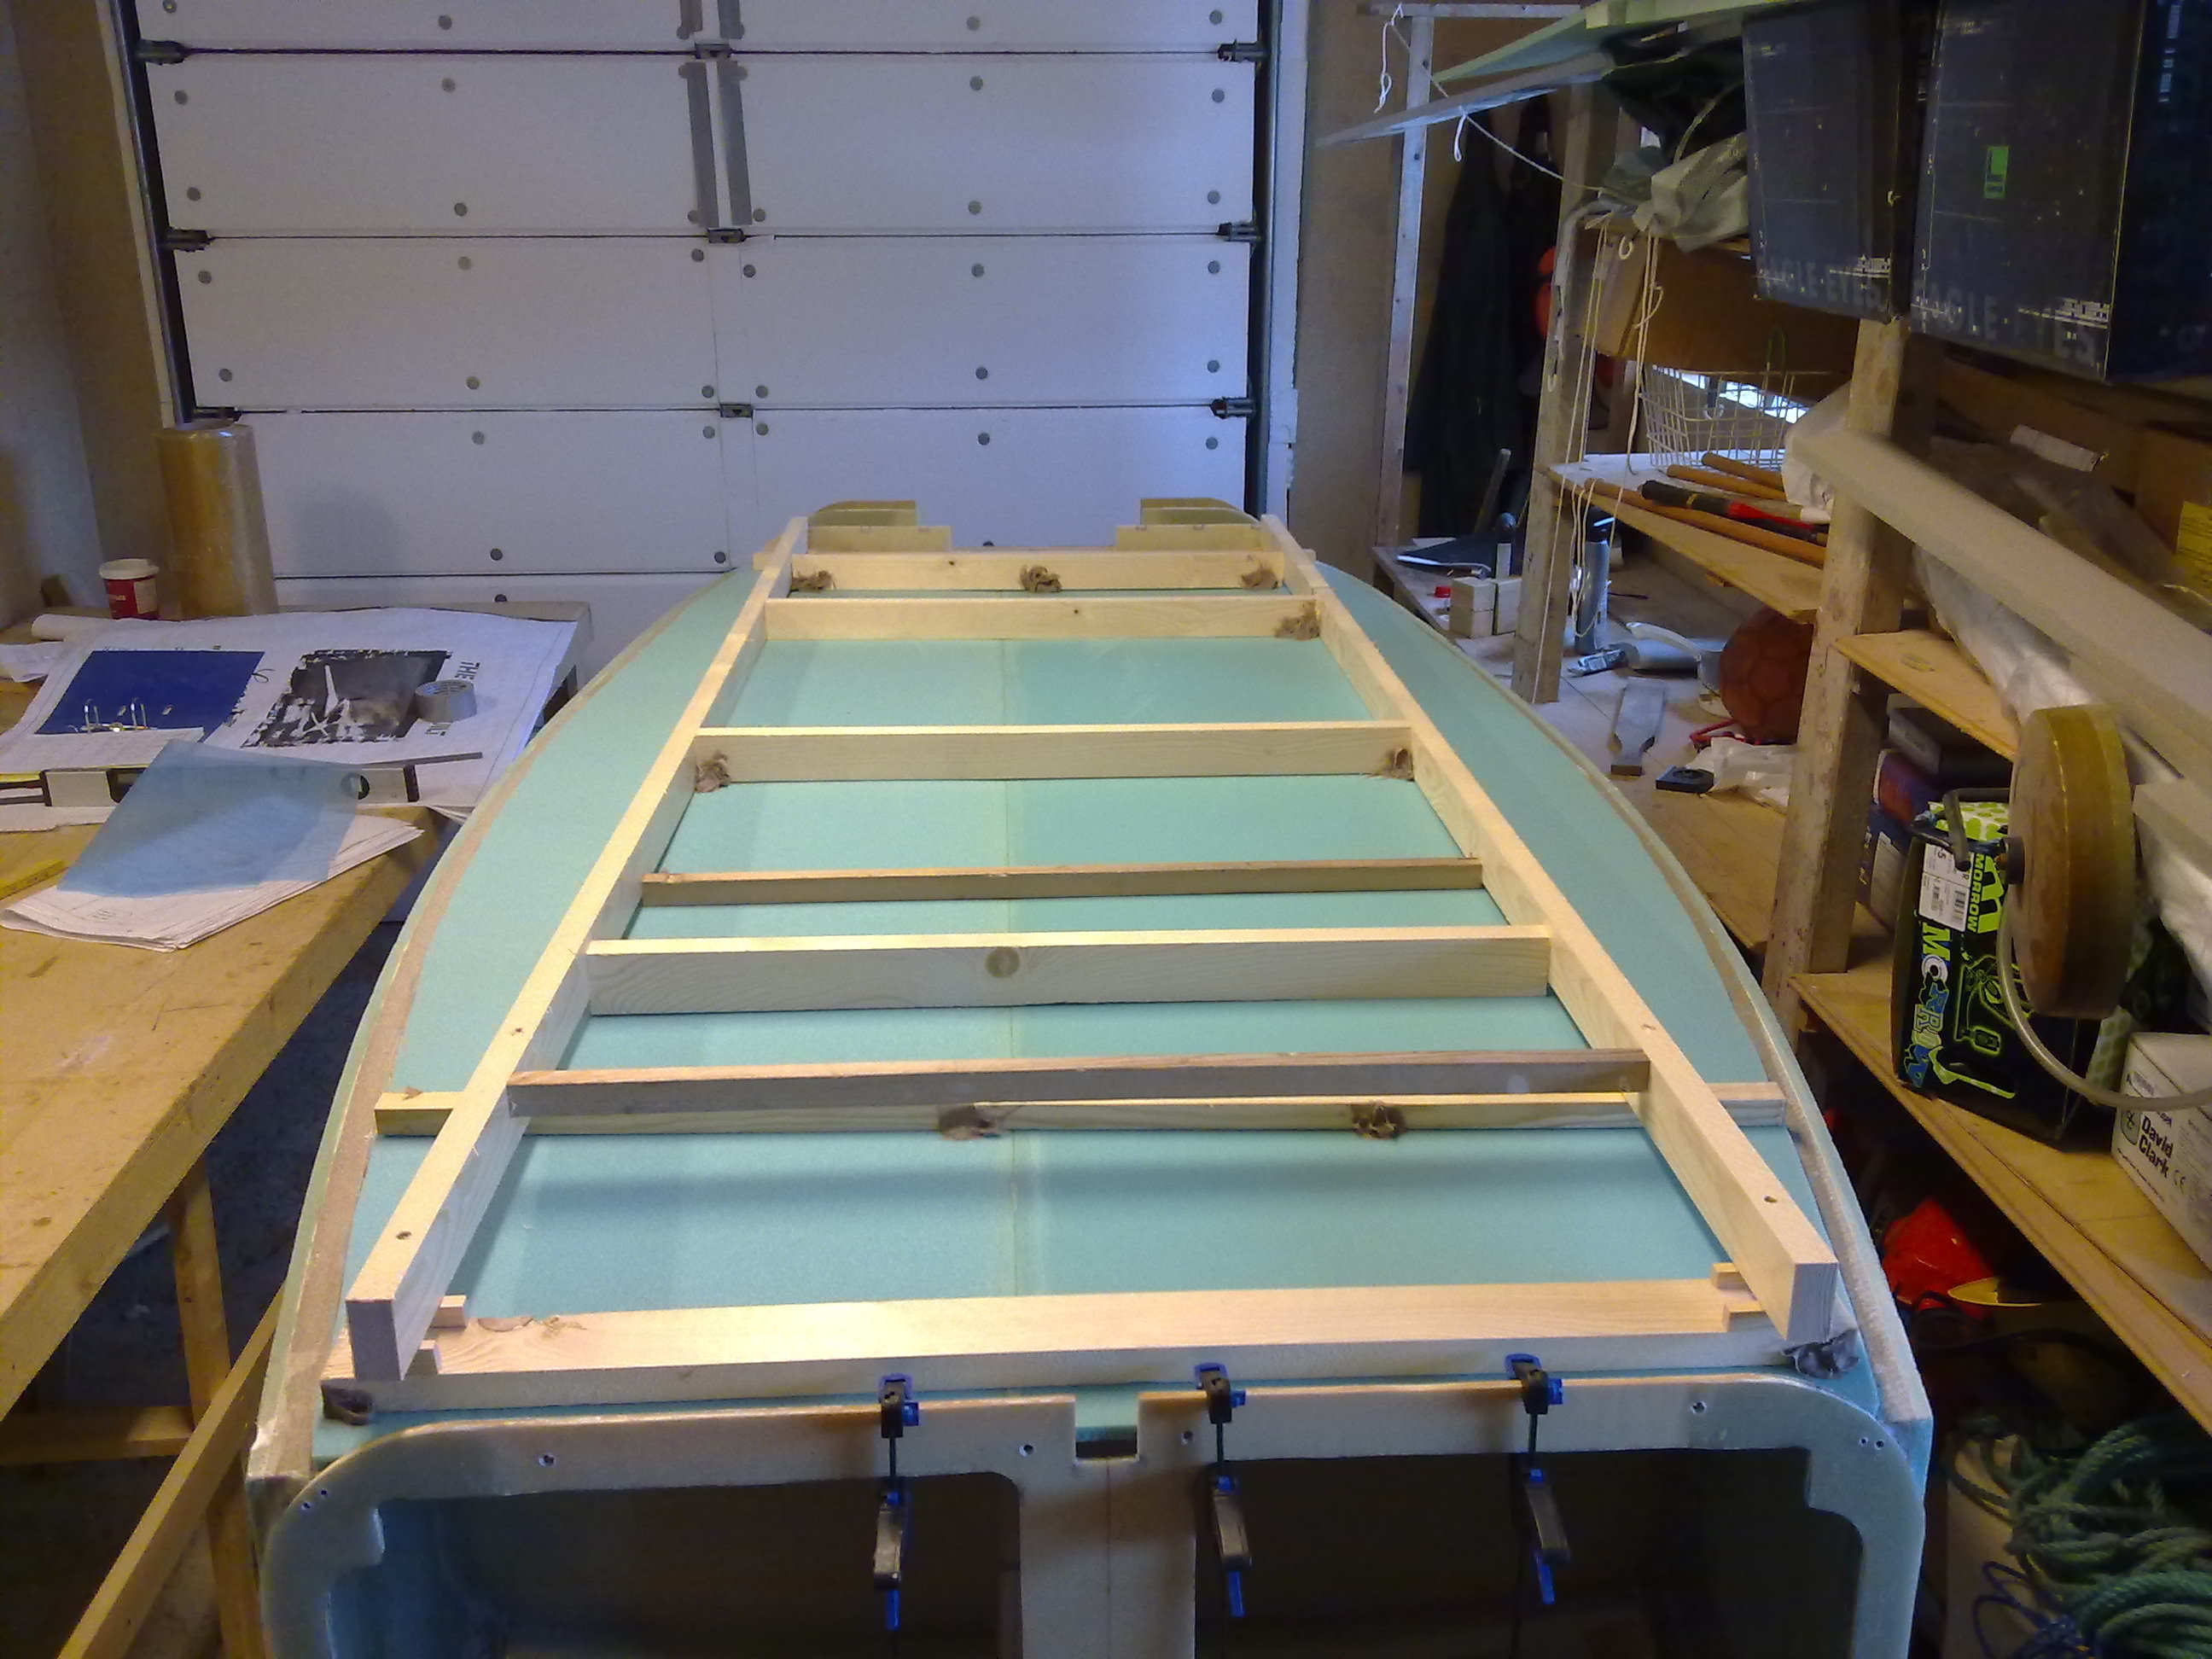

The floor is here lying on the frame. I have cut out spacers and just fastened them with nails. Next step is to taper the edges to make a smooth transition between the floor and the spacers

Showing in this picture is the cutout for the landing-break. I followed others advice here and made the hinge-line at full width, not the 10″ suggested in the drawings

When I tapered the spacers in the fuselage sides (chapter 5) I used a manual hack-saw, quite a job that required much sanding afterwards. This time I decided to use my jigsaw. I have quite often used it as a table-saw by fasten it upside-down in a workbench. I developed this concept further and made a solid base of 15mm plywood where i routed a depression to fit the base of the jigsaw. This plywood-base is then just fastened in my workbench when I need it. It’s easy to slide the jigsaw in and out of the base when I need to use it elsewhere.
To make the 30° cut required I had to make a jig since the maximum angle I can tilt the jigsaw is 45°. To get the geometry correct I actually have to tilt the blade 60° to make a 30° angle if I was to use the jigsaw without any aiding-tools. The above picture show how the jig was made out of some plywood-pieces I had. The jig is fastened to the base with a couple of screws so it sits firm. As seen on the full-size picture the cut is clean and requires no additional sanding.
Beware your fingers if you try this method! Since the blade goes both up and down the foam may jump right out of your hand and possible your fingers may slide into the blade! Happend to me a couple of times, luckily I managed to avoid my fingers getting hurt. It’s very important to hold the foam steady with a firm grip while passing it slowly through the saw. I also used a wood-stick in front to push the last inch through the blade as an extra insurance.
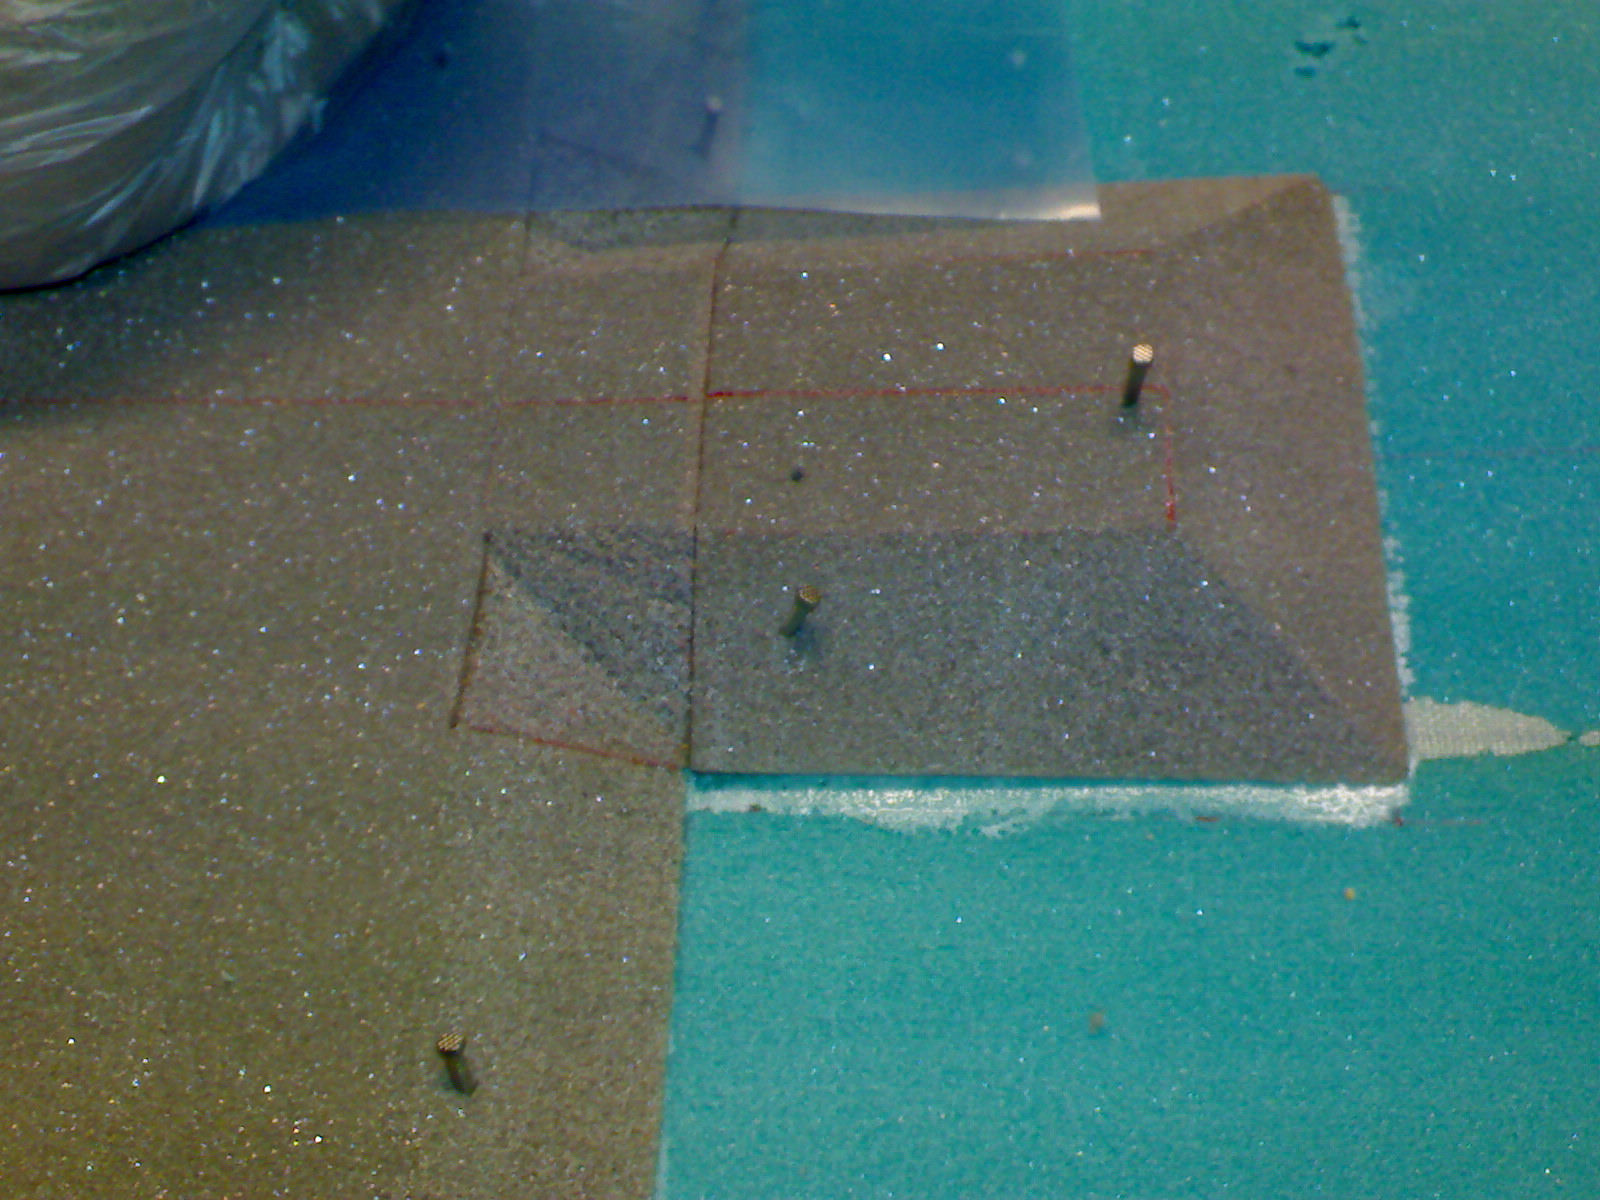
The corners was cut out manually using a hack-saw and glued back in place with 5-min epoxy. After the spacers are microed to the bottom and cured, I will sand them to a smooth finish and prepare them for glassing.

Now the spacers are sanded and prepared for glassing. I put the floor on place on the tub to check that everyting fits, and it looked all very well. Spent an hour and a half afterwards cutting the glass and peel-ply. I can’t glass the floor before I know I have an uninterupted room of hours ahead of me, so I guess I’ll wait until Sunday. The family demands my attention also 🙂
Btw – I am not using Last-A-Foam for the spacers, but Divinycell H80 since LAF is not available in Norway. H80 is a better quality foam, but also more expensive. Still – it’s cheaper for me than paying freight for the foam across the Atlantic. Since LAf is urethane-based I guess it’s a bit easier to sand and form than H80, but with good tools sanding H80 is no problem at all.

The next thing to do after the floor was glassed was to flox it onto the tub and weigh it down while curing. The plans tells us to glass the floor, wait 12 hours, then flox the floor and BID-tape it right after. Many builders choose to do this is three steps since the workload is rather high during these steps. I choose the same thing. So I glassed the floor, allowed it to cure, then floxed the floor to the tub and allowed it to cure again. The last step in this chapter was to BID-tape the floor to the sides. According to the plans I should do this while the tub was upside down (since the floor was curing). Luckily I now could turn the tub sideways and do the BID-tapes a lot more easy. The last picture here is the BID-tapes with peel-ply, curing.
There was lot of work in this chapter, including some time-consuming parts. I look forward to the next chapter where the fuselage will be formed and glassed! Need to buy some more epoxy now. I have almost used the first batch of 25kg!