
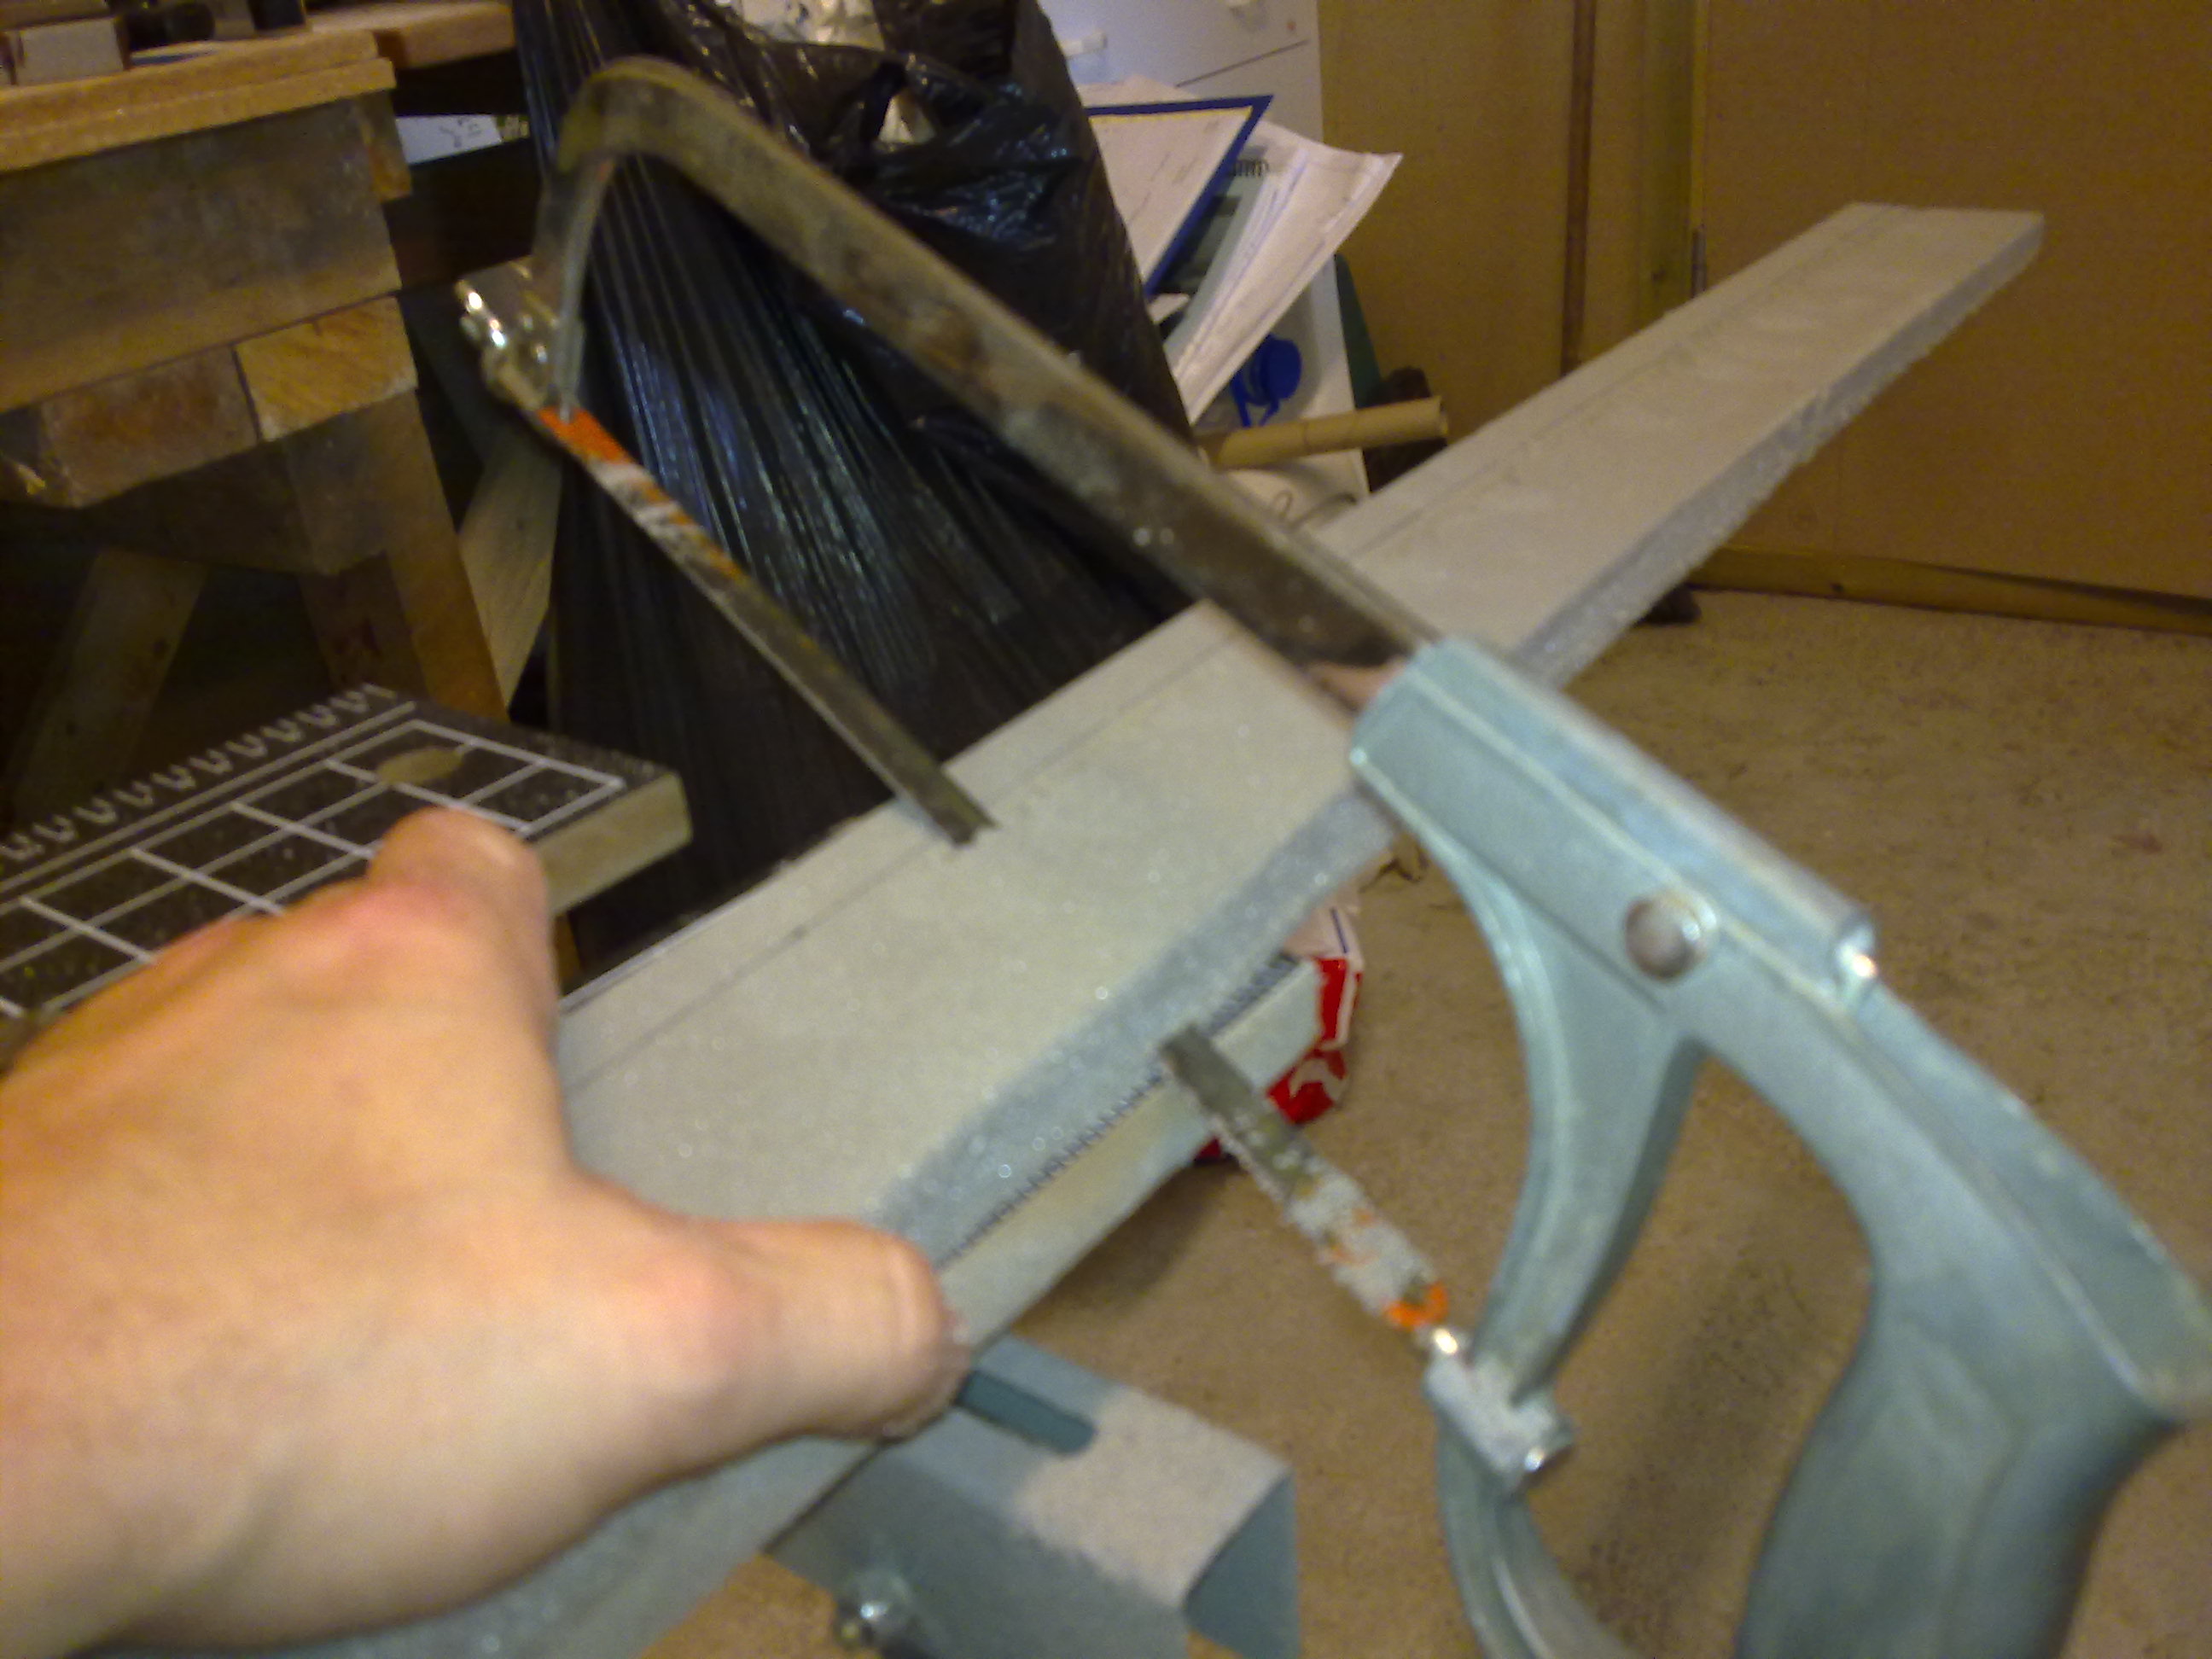
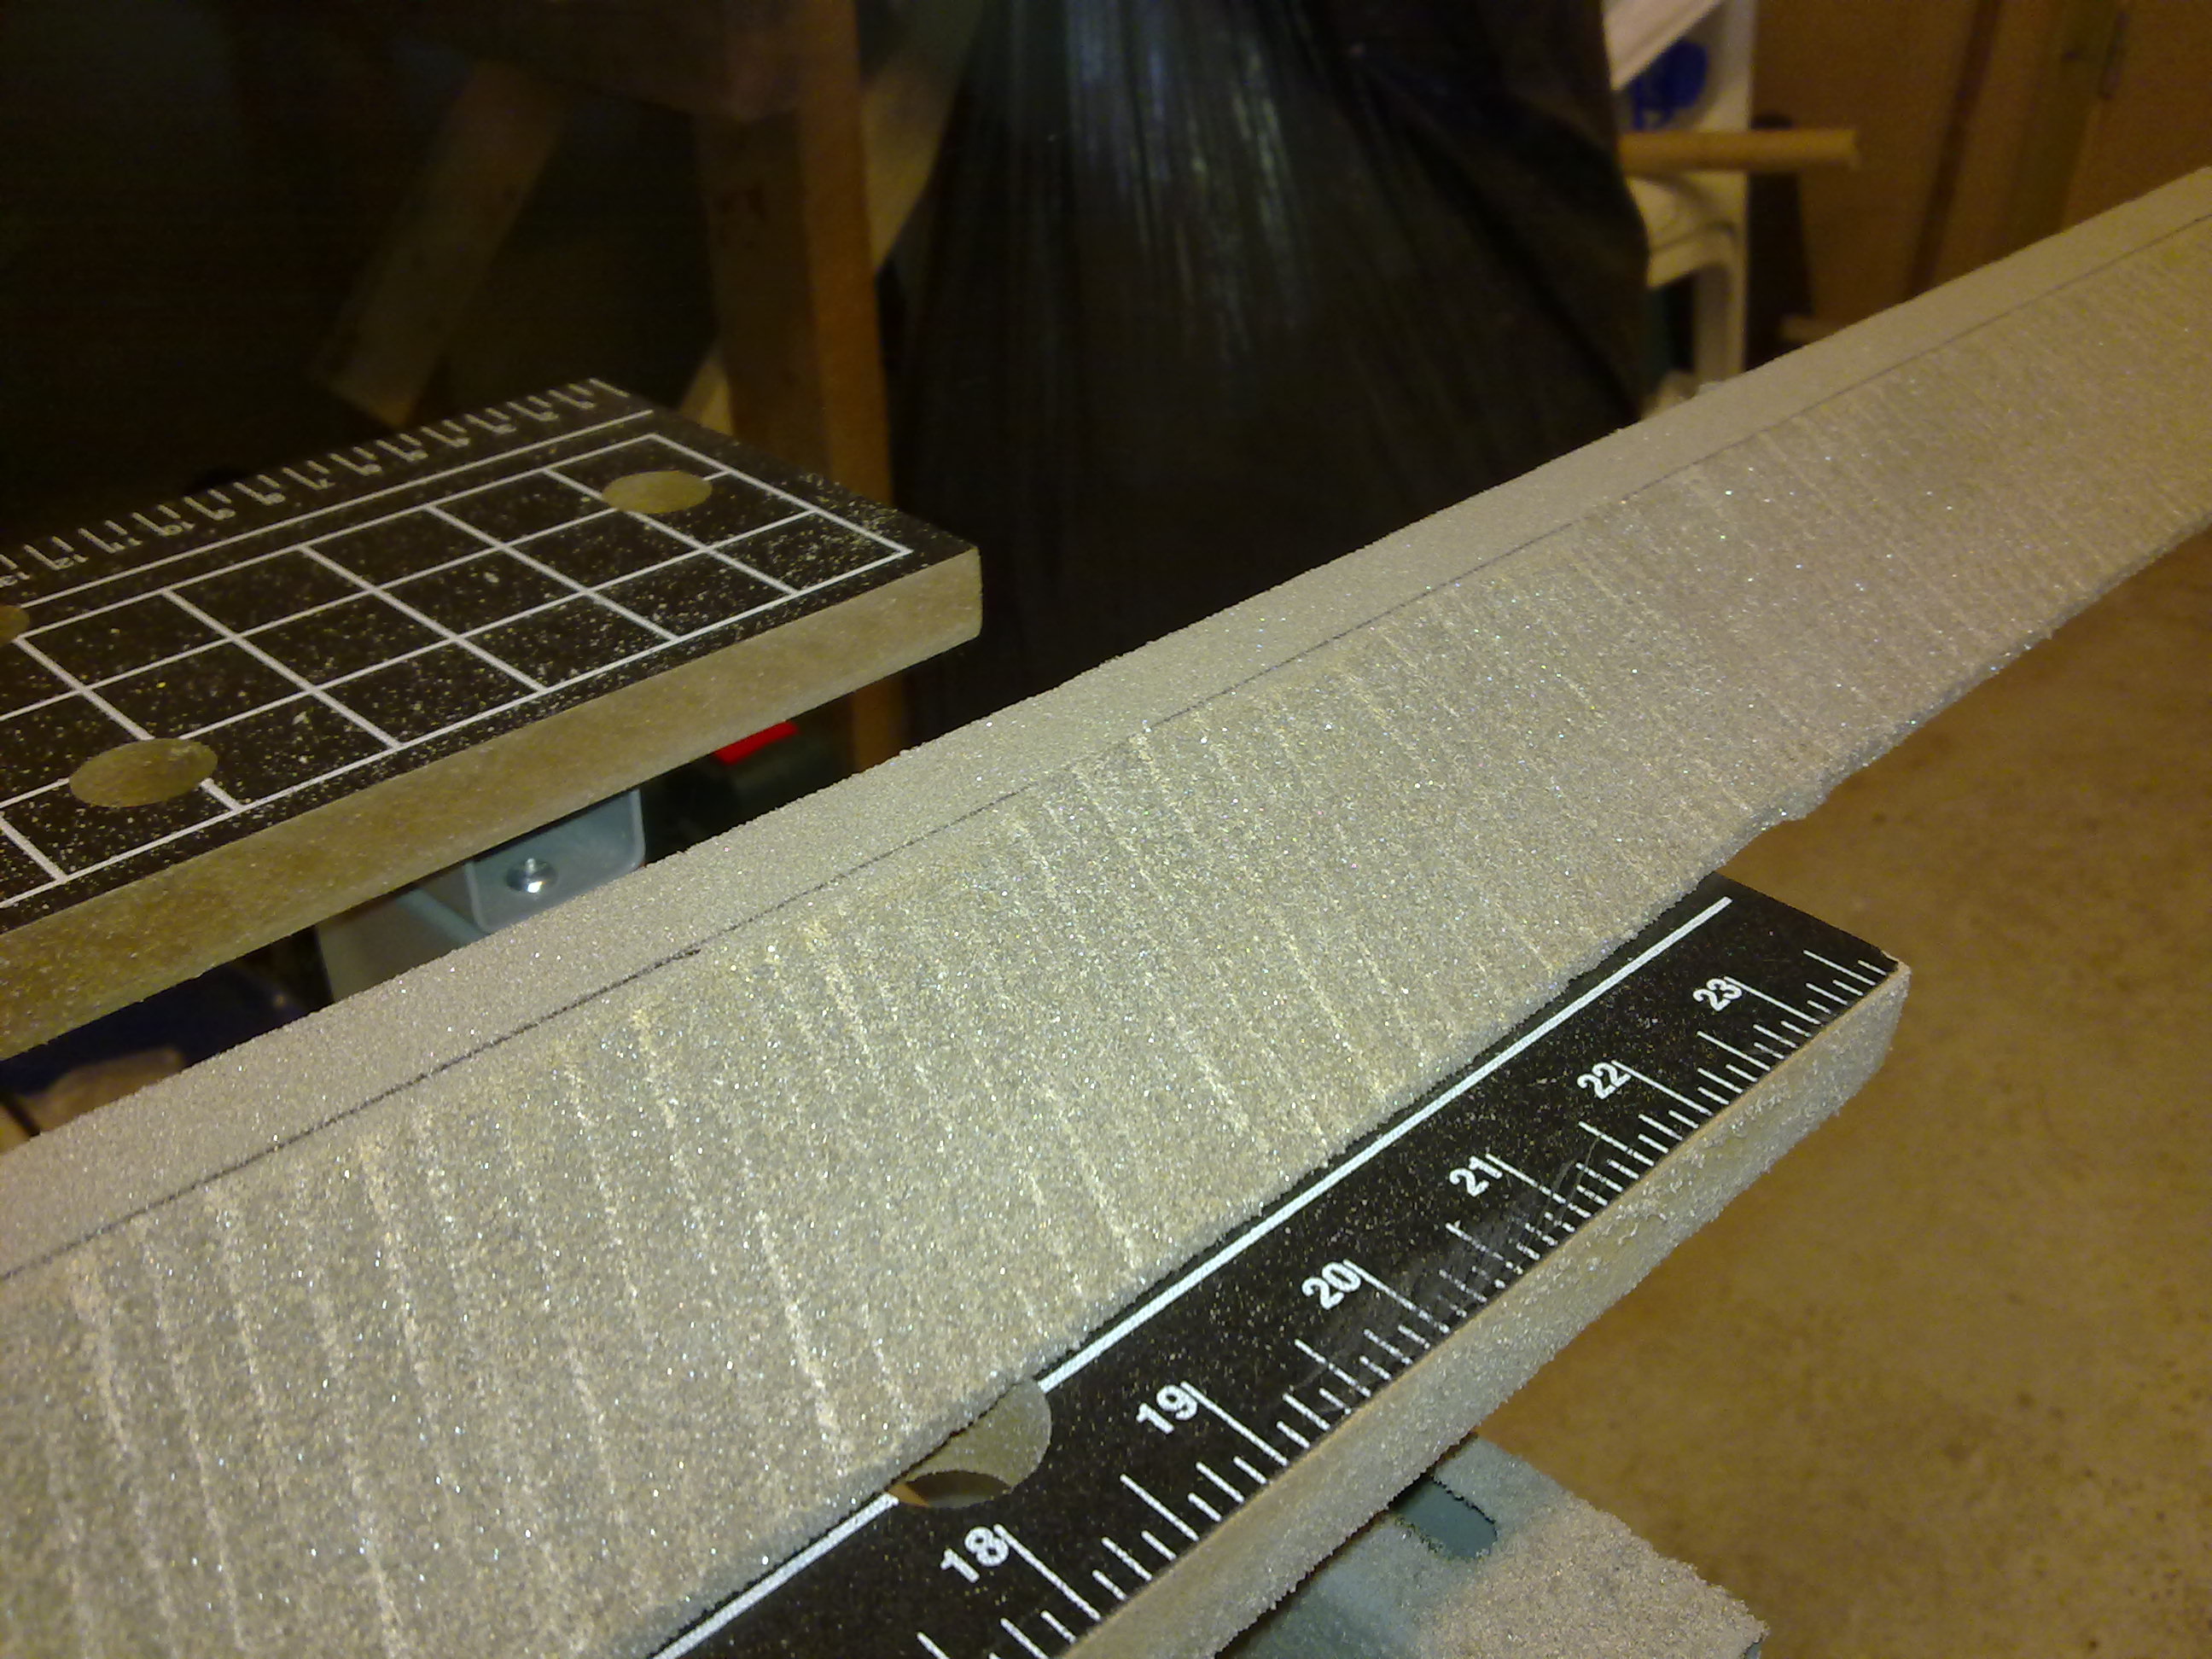
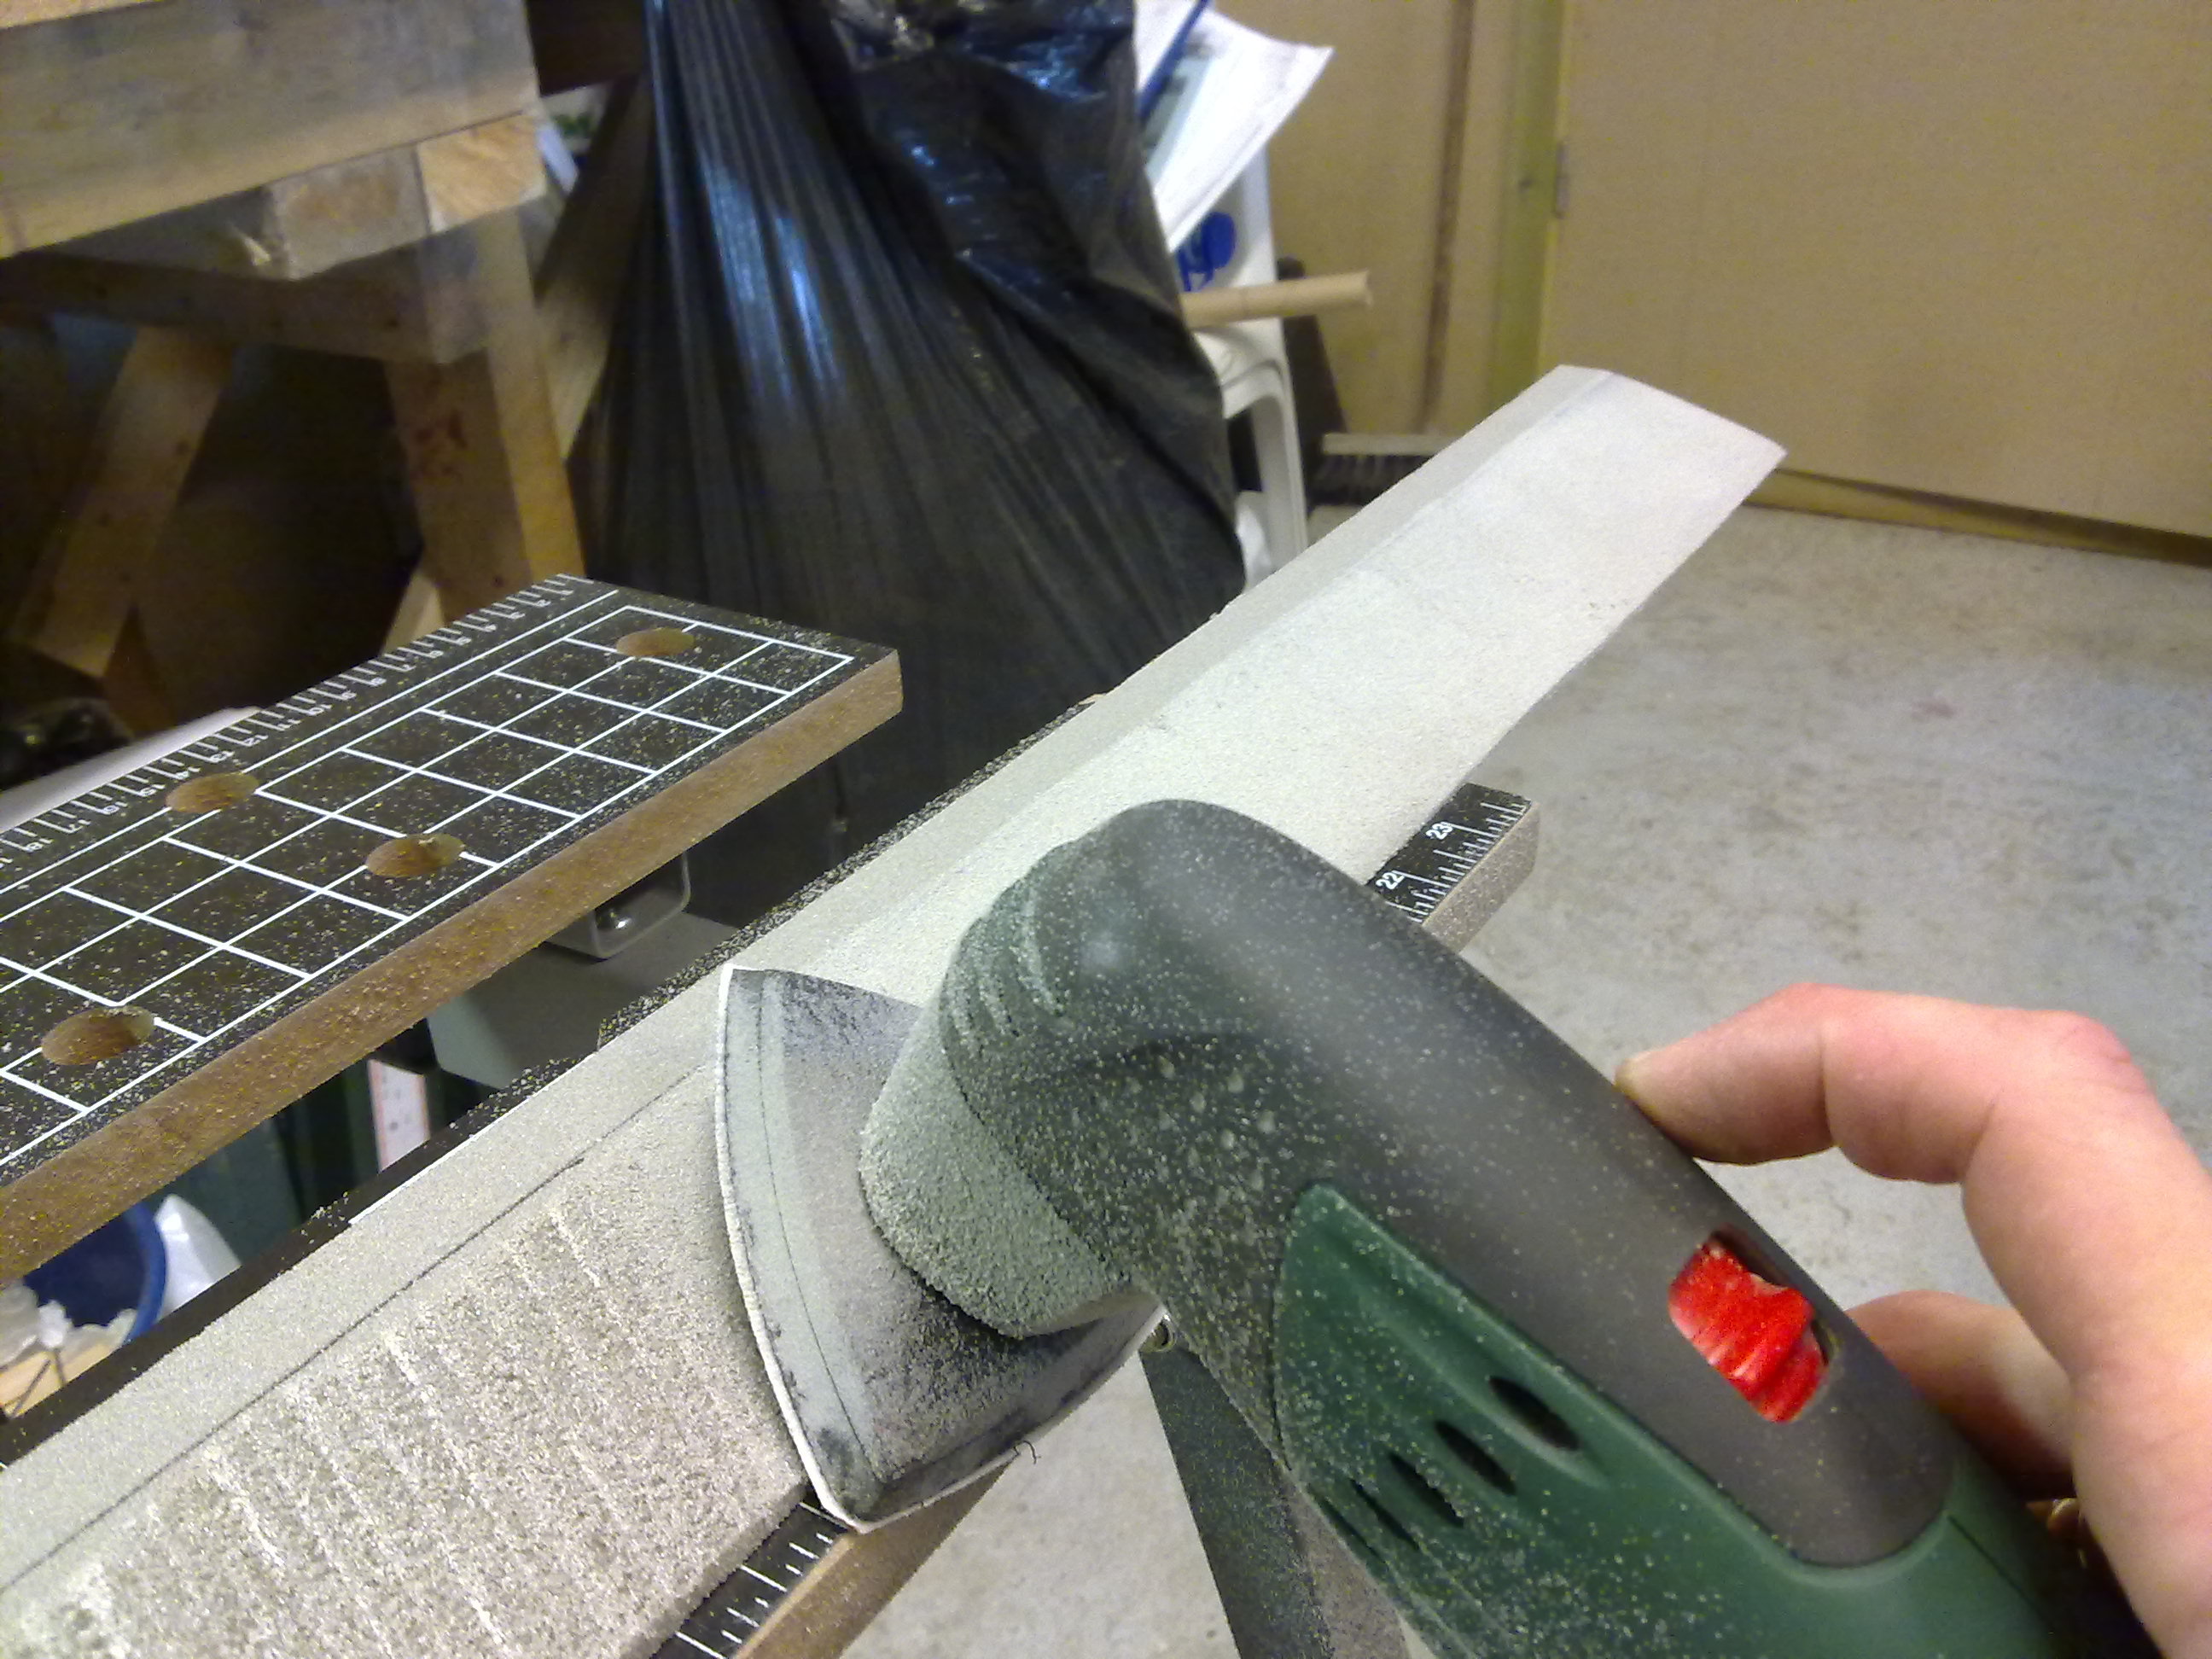
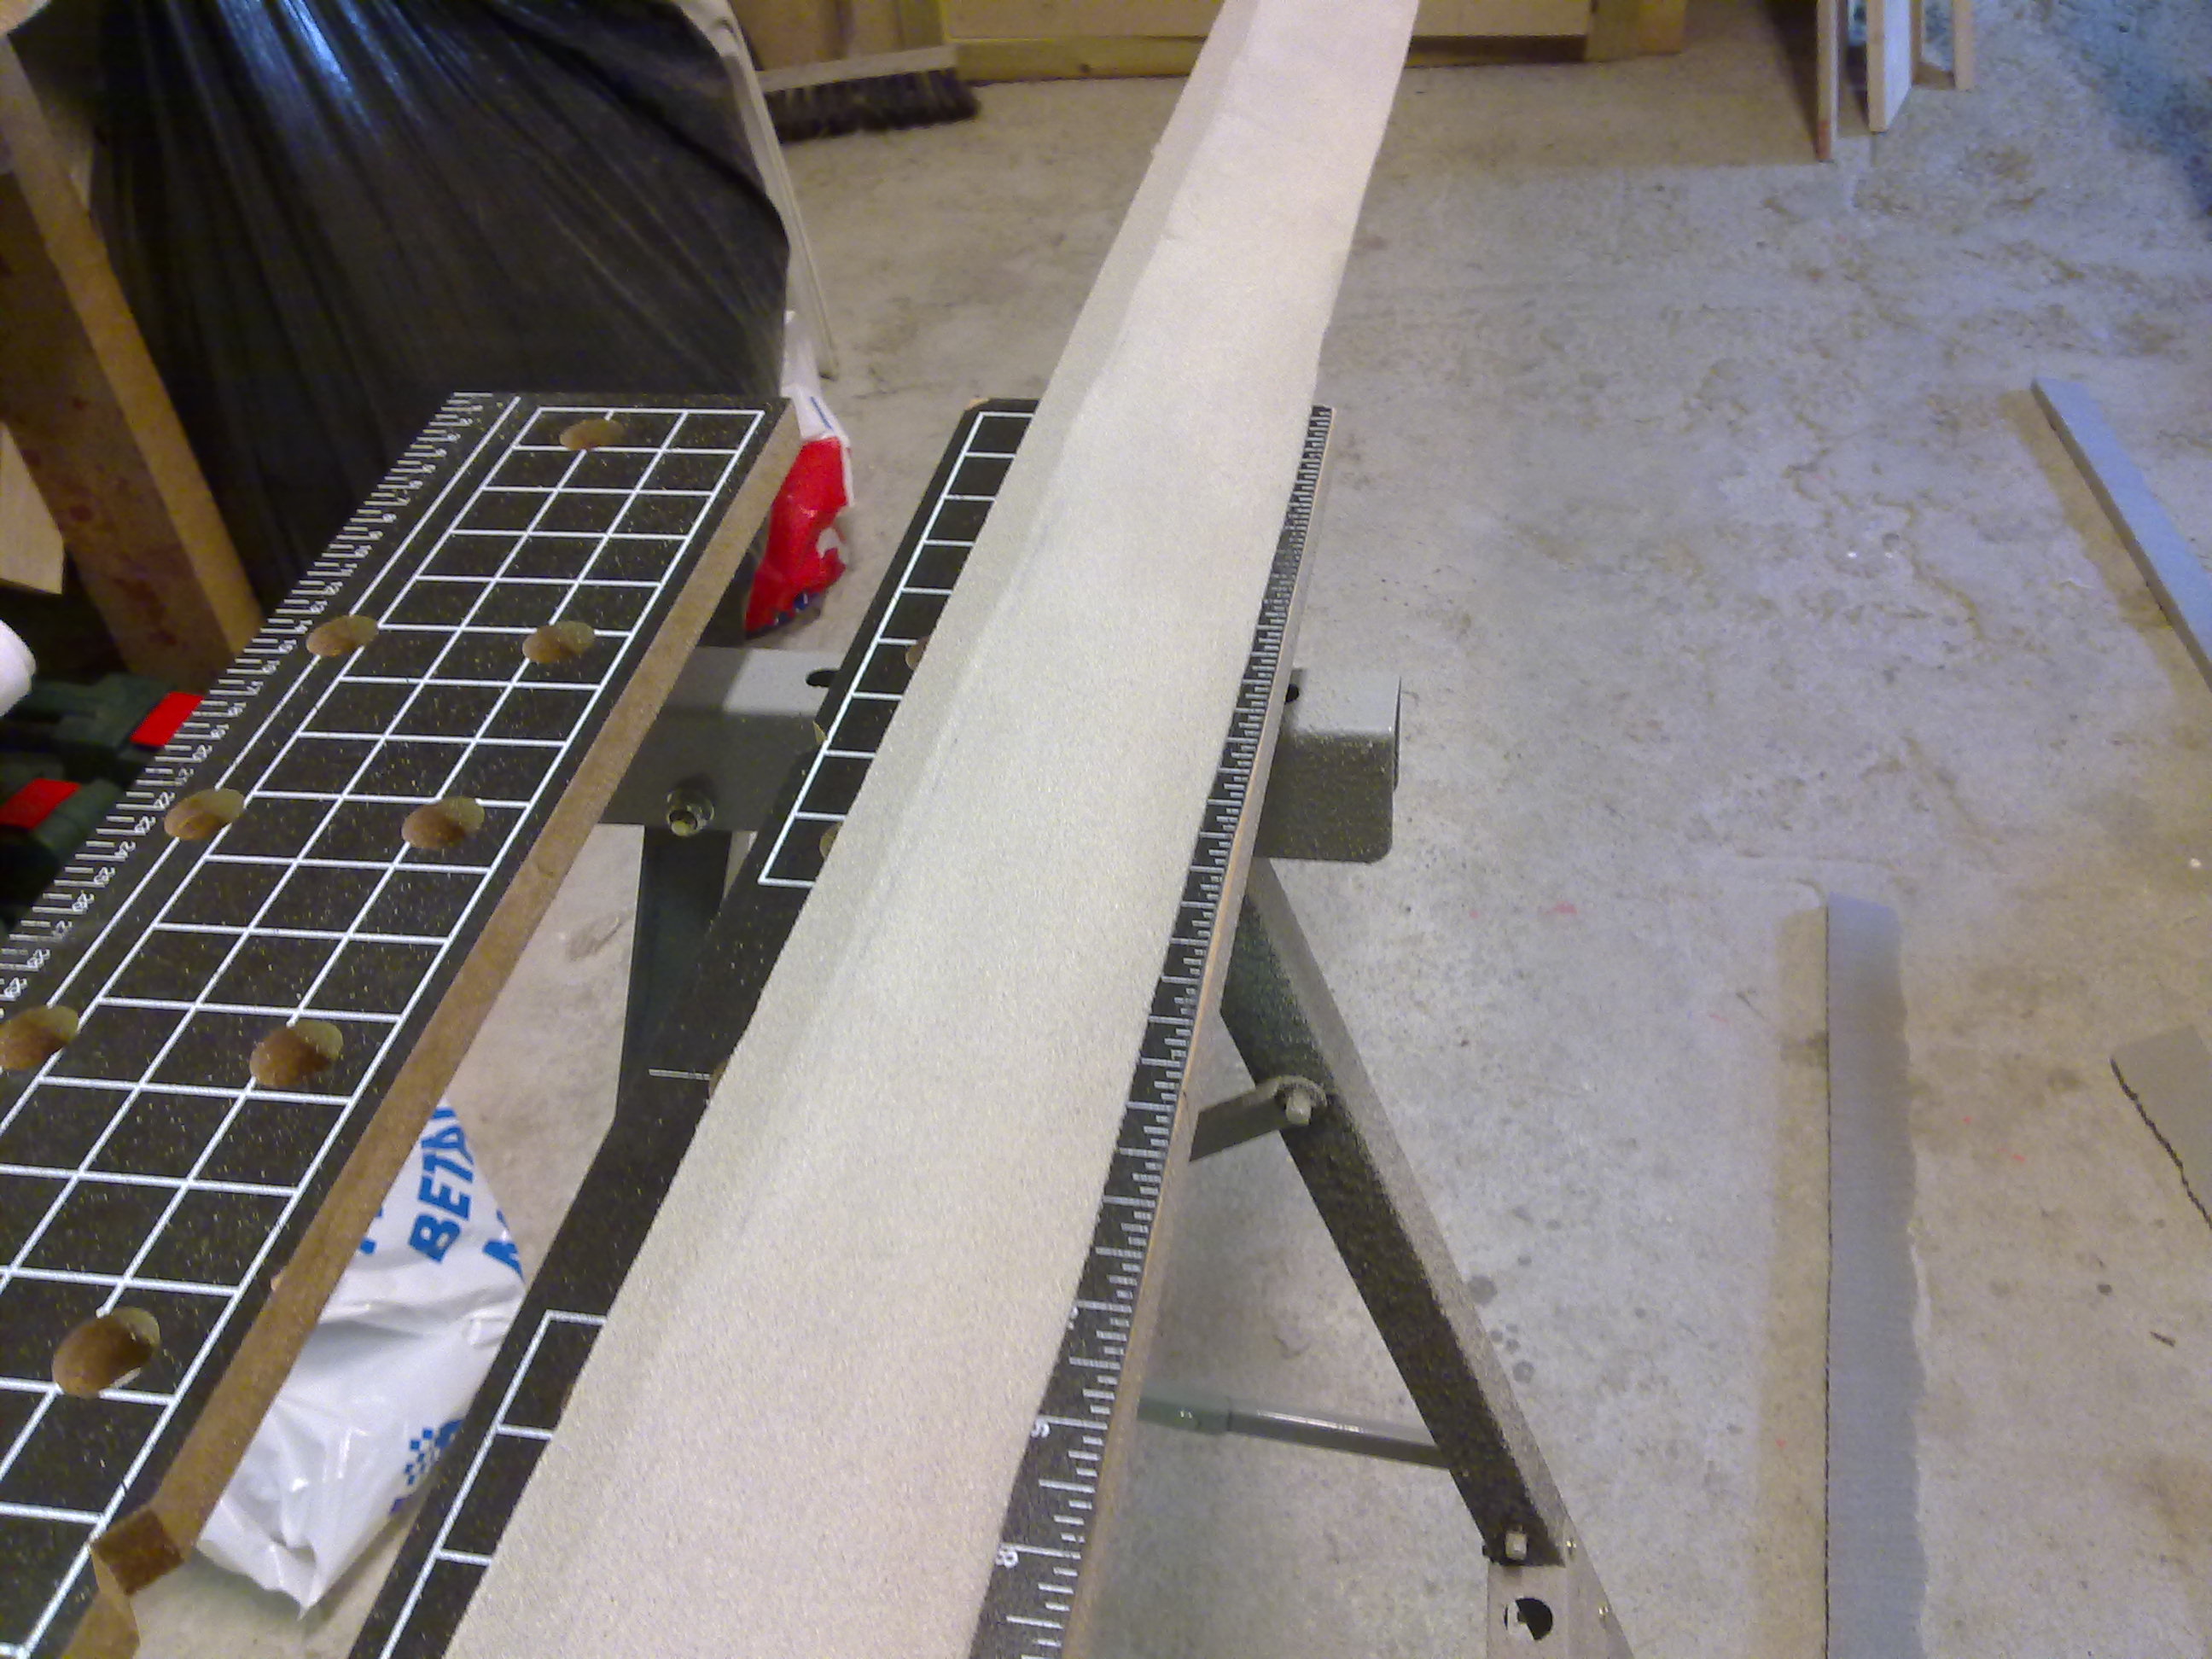
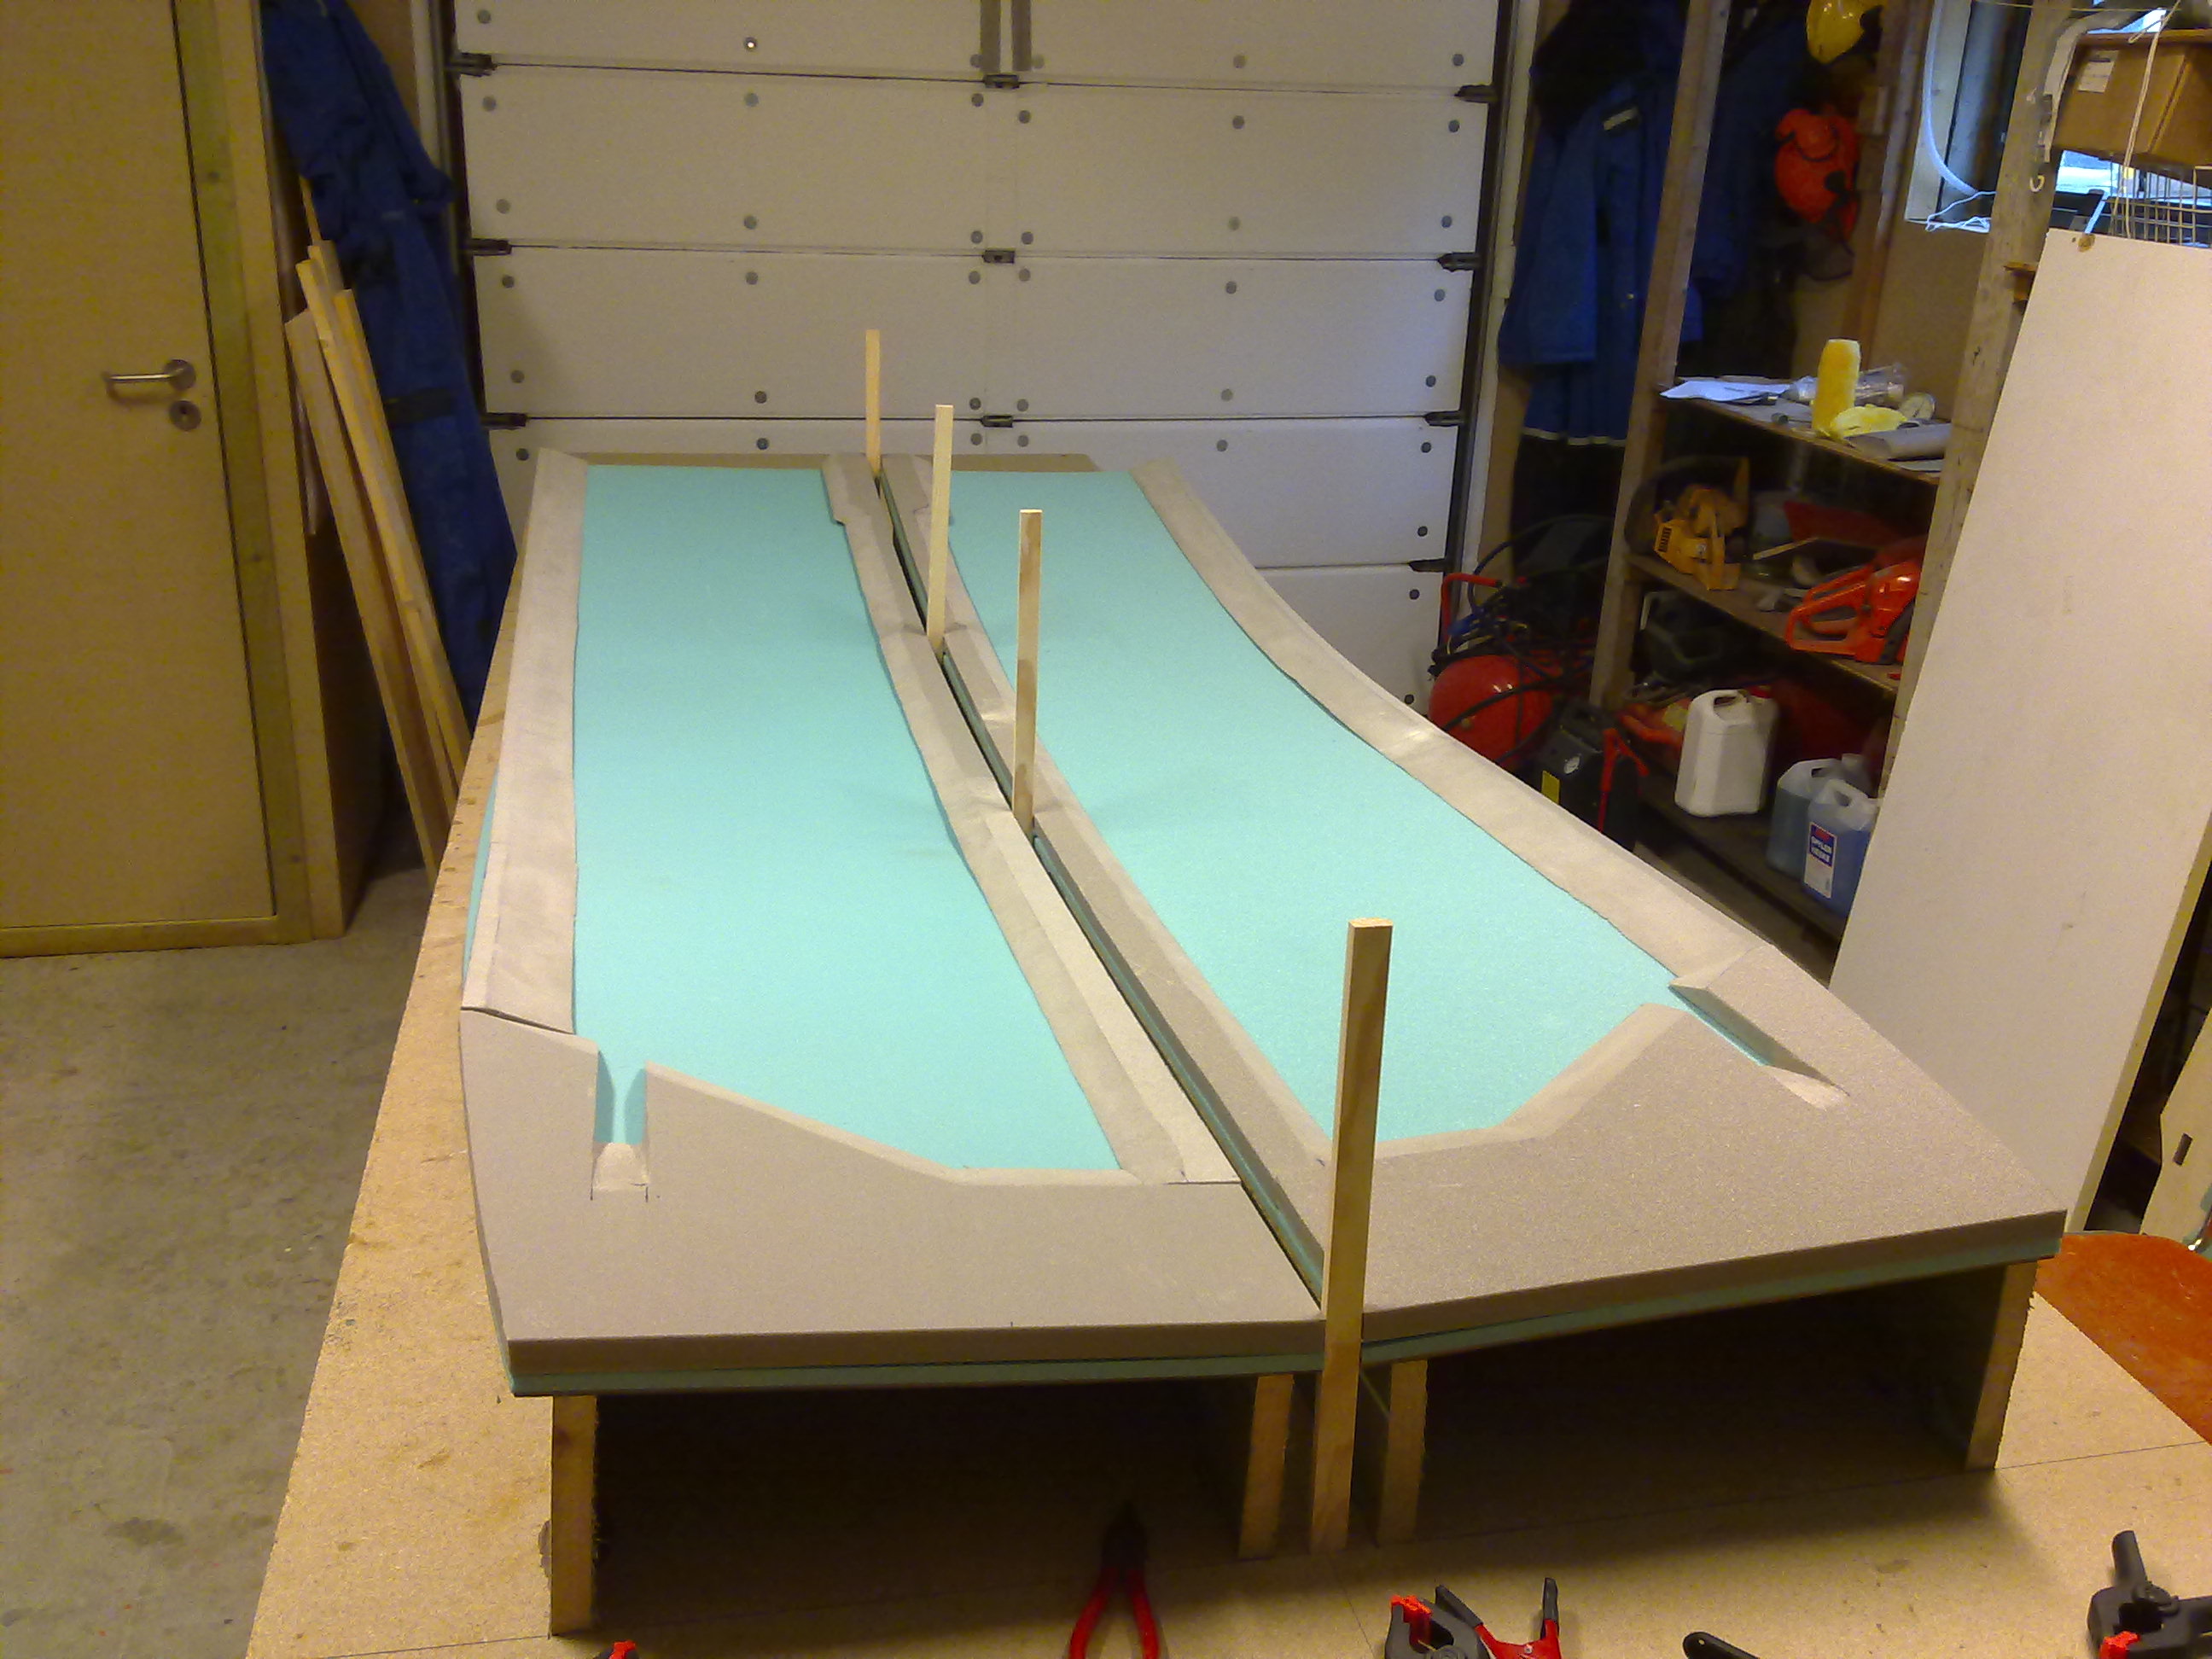
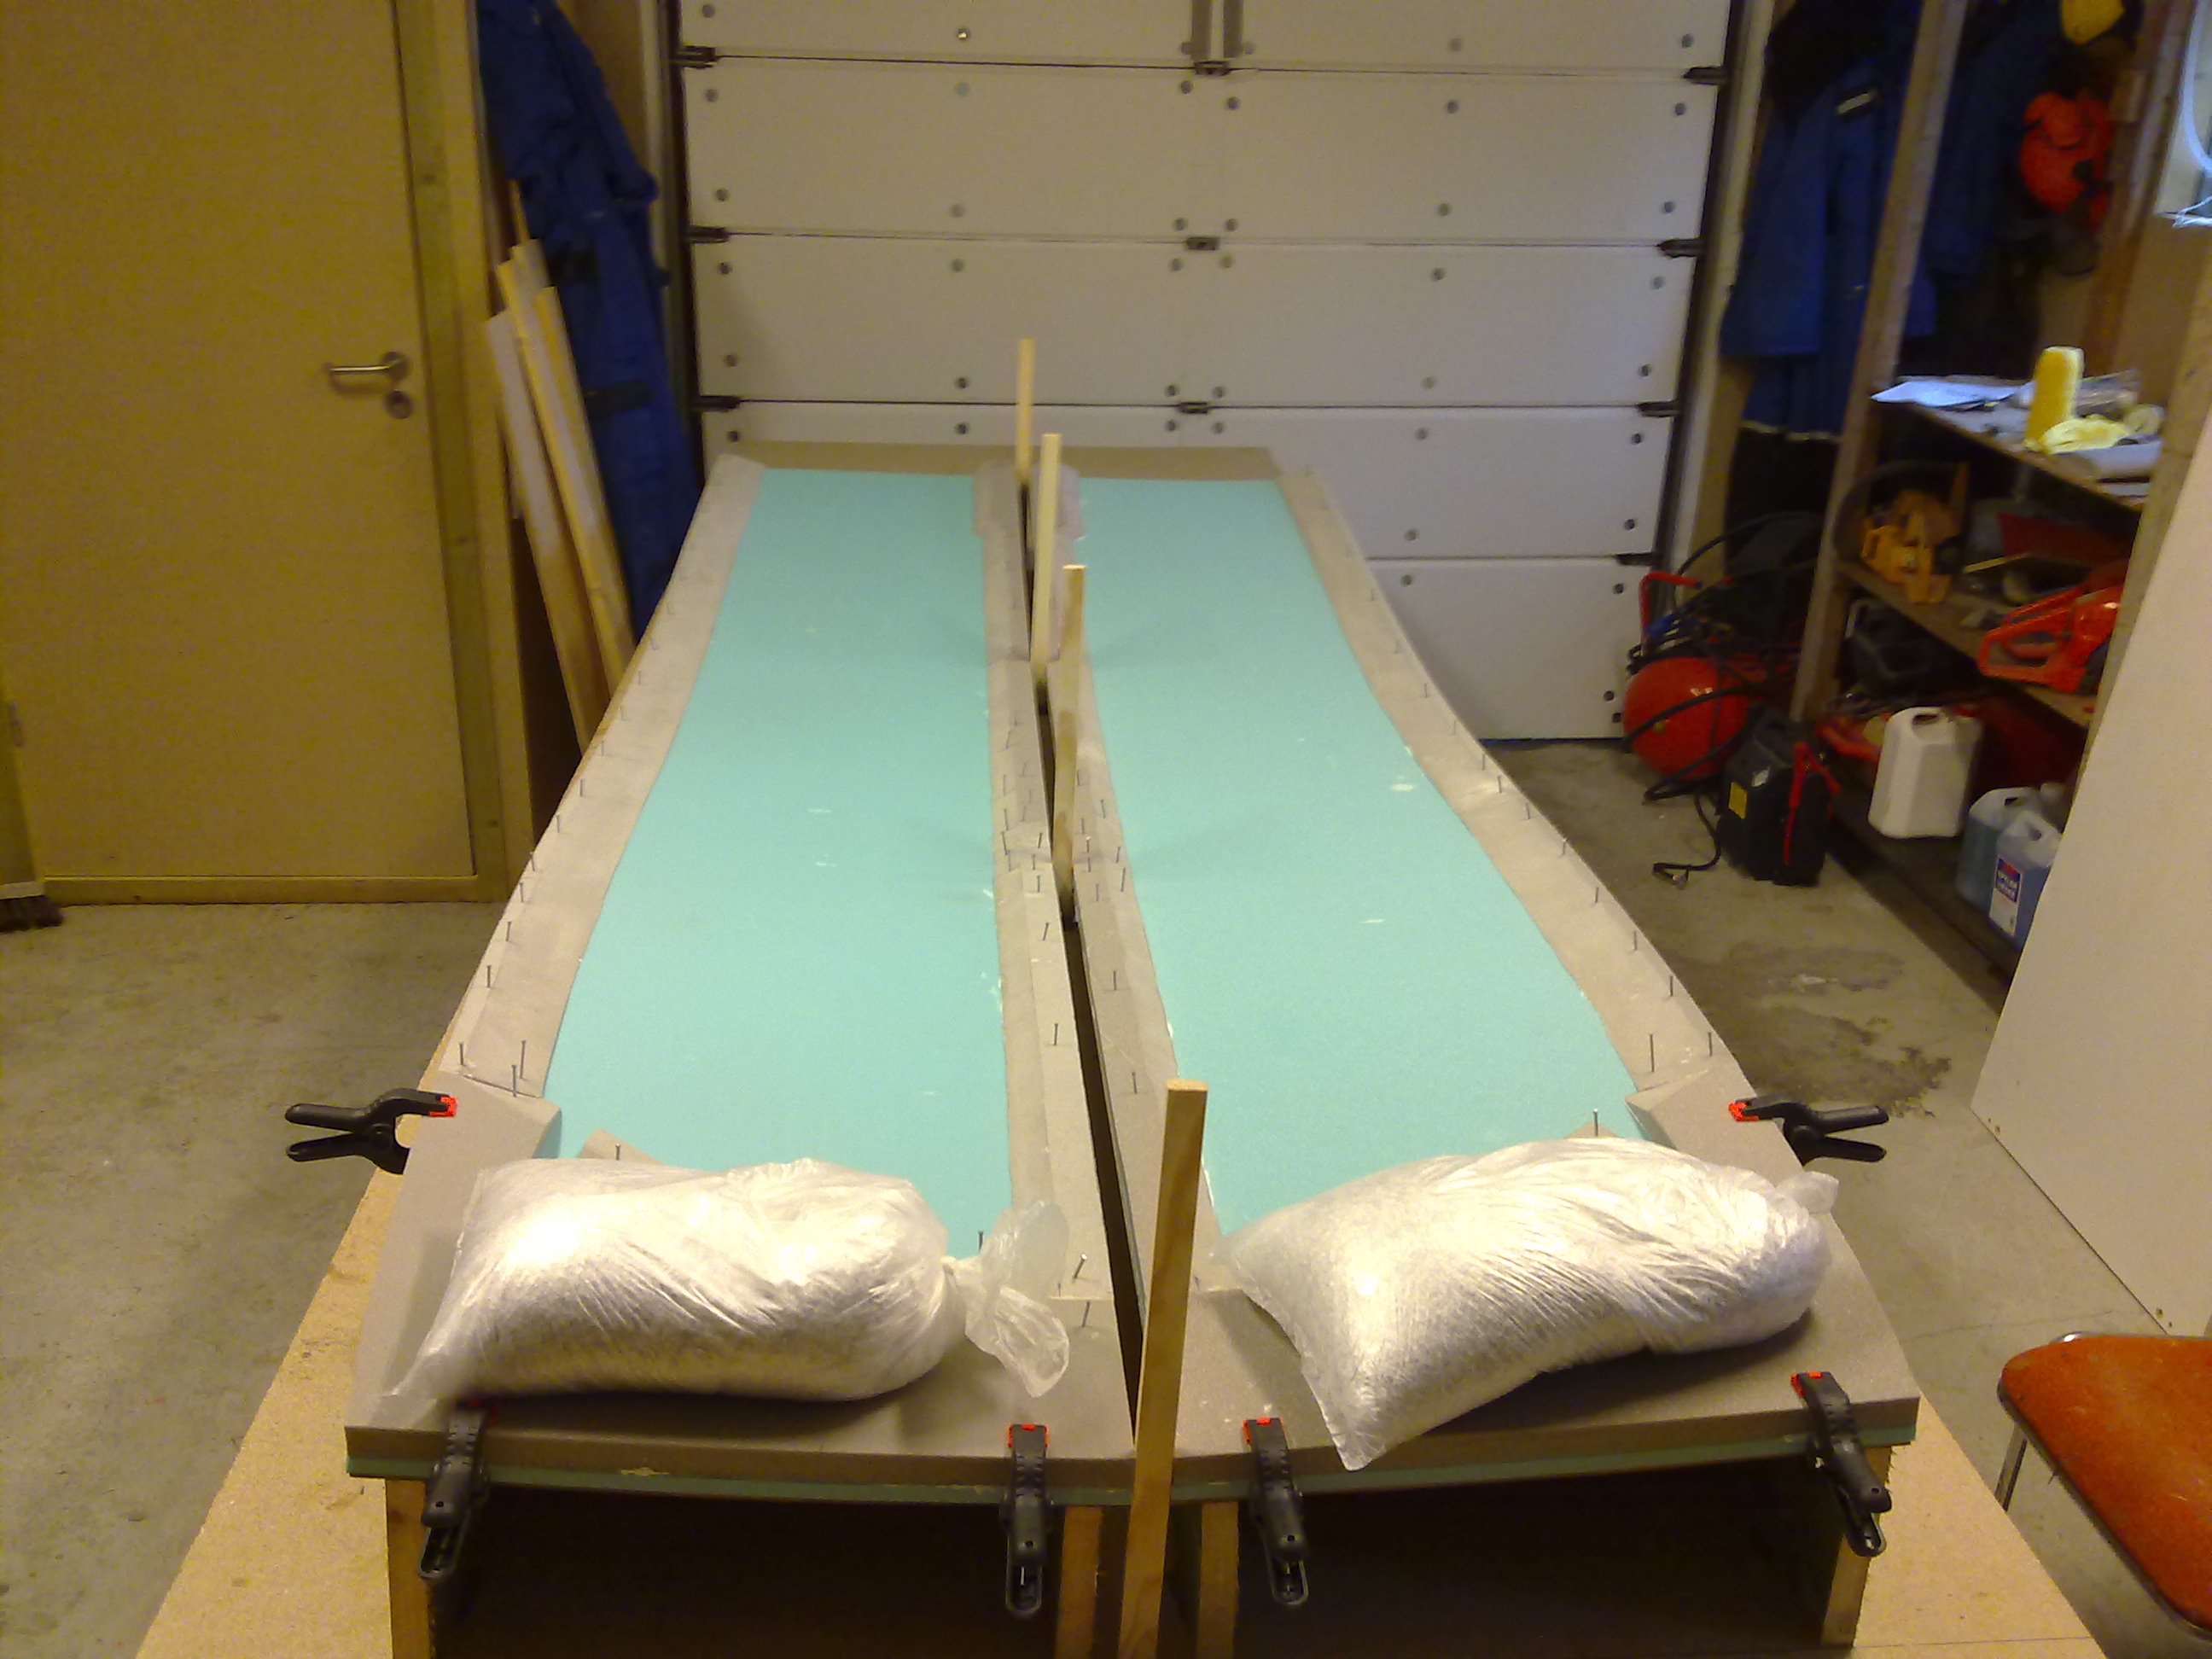
The sides are to have a hollowed-out shape inside. This is achieved by making spacers gluing them around the edge of the sides. Per plan I was to use Clark Foam or Last-a-foam (LAF). I have substituted all this foam with Divinycell H80 since LAF is unavailable in Norway. I have also read some builder-logs that say that LAF is very brittle like urethane-foam and they would rather switch to Divinycell if they were to build over. Well – I used Divinycell and made the spacers as per plans. The hardest part was to make the angle on the spacers. Divinycell is rather stiff and tough to work with. After spending an hour testing out different ways to cut the angles – without success – I ended up using my hack-saw after I angled the blade 90 degrees. Then it was very easy to make the correct angle. I sawed them almost to the correct angle and used my Bosch multimaster with the delta-sander attached. Using a 60-grit-paper it was easy and quick to sand the spacers to the right shape. The last thing to do was to glue them to the sides using rather thick micro. The plans says just to “micro them in place” without saying what kind of micro to use. I made the micro so thick that it was still flowing, but just flowing slow. The spacers was secured to the foam with thin nails. To be able to follow the curvature I just used some more nails where I had to bend the spacers. No big deal at all.
Fuel-gauges
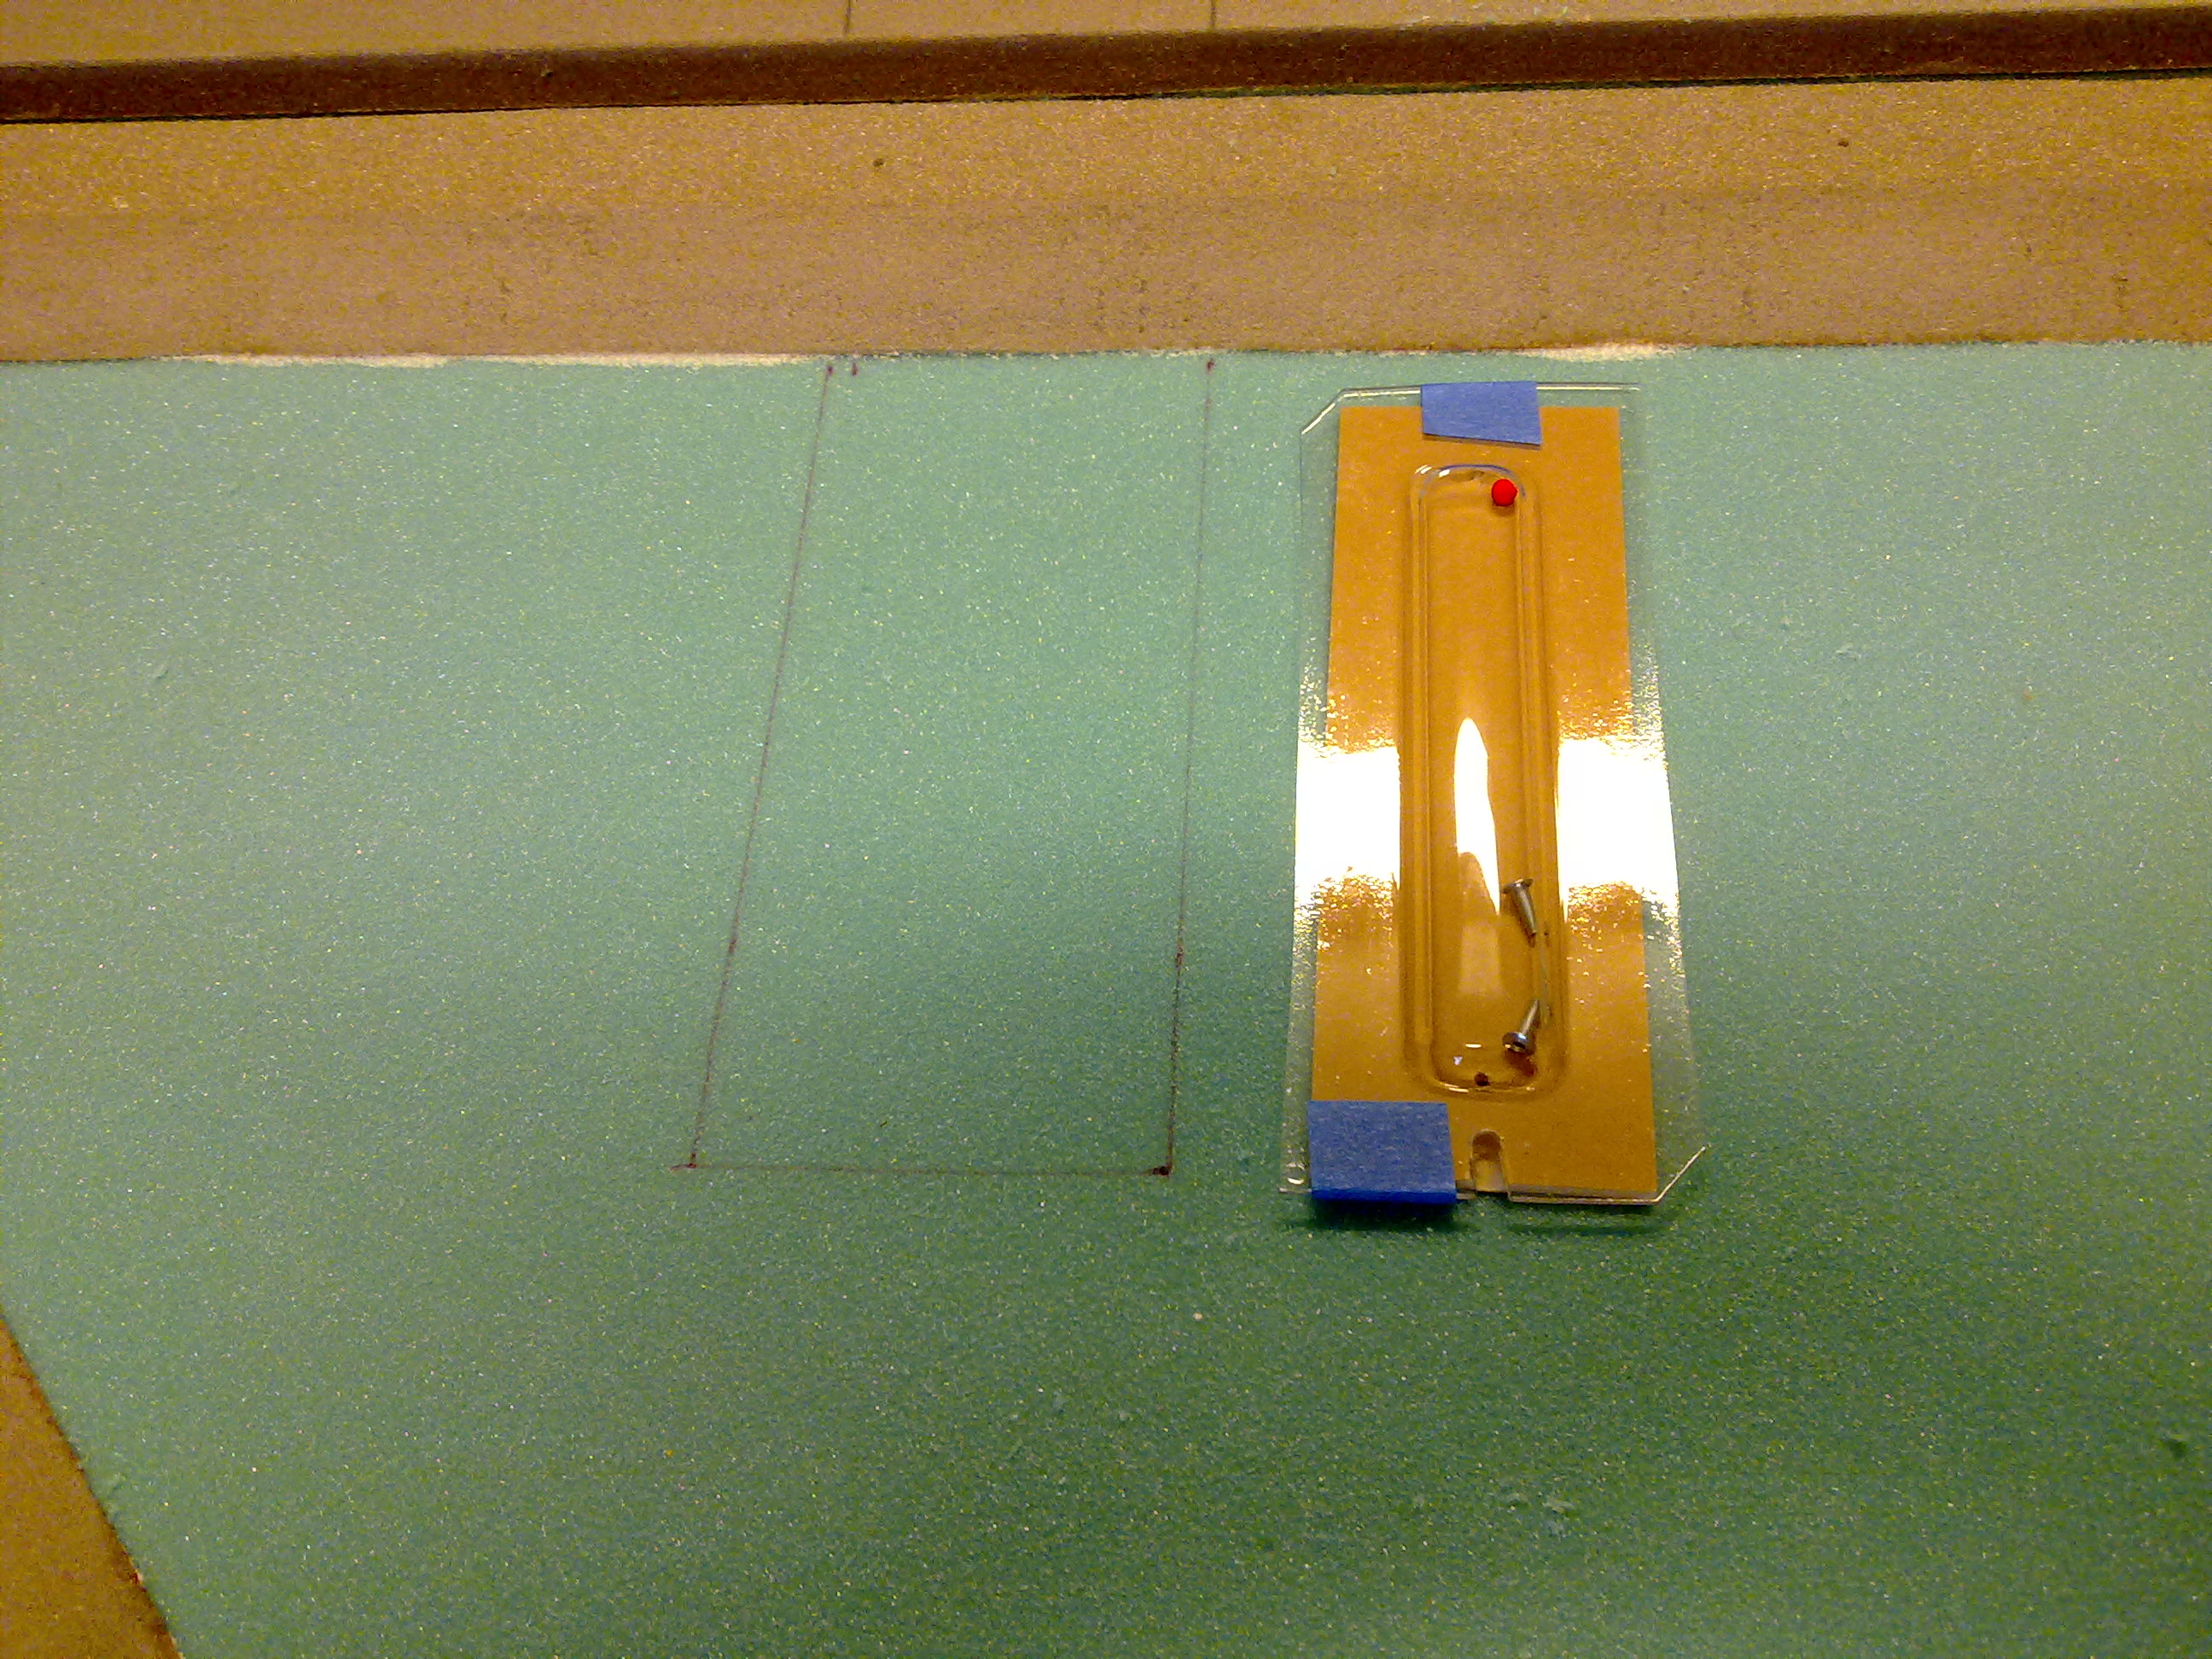
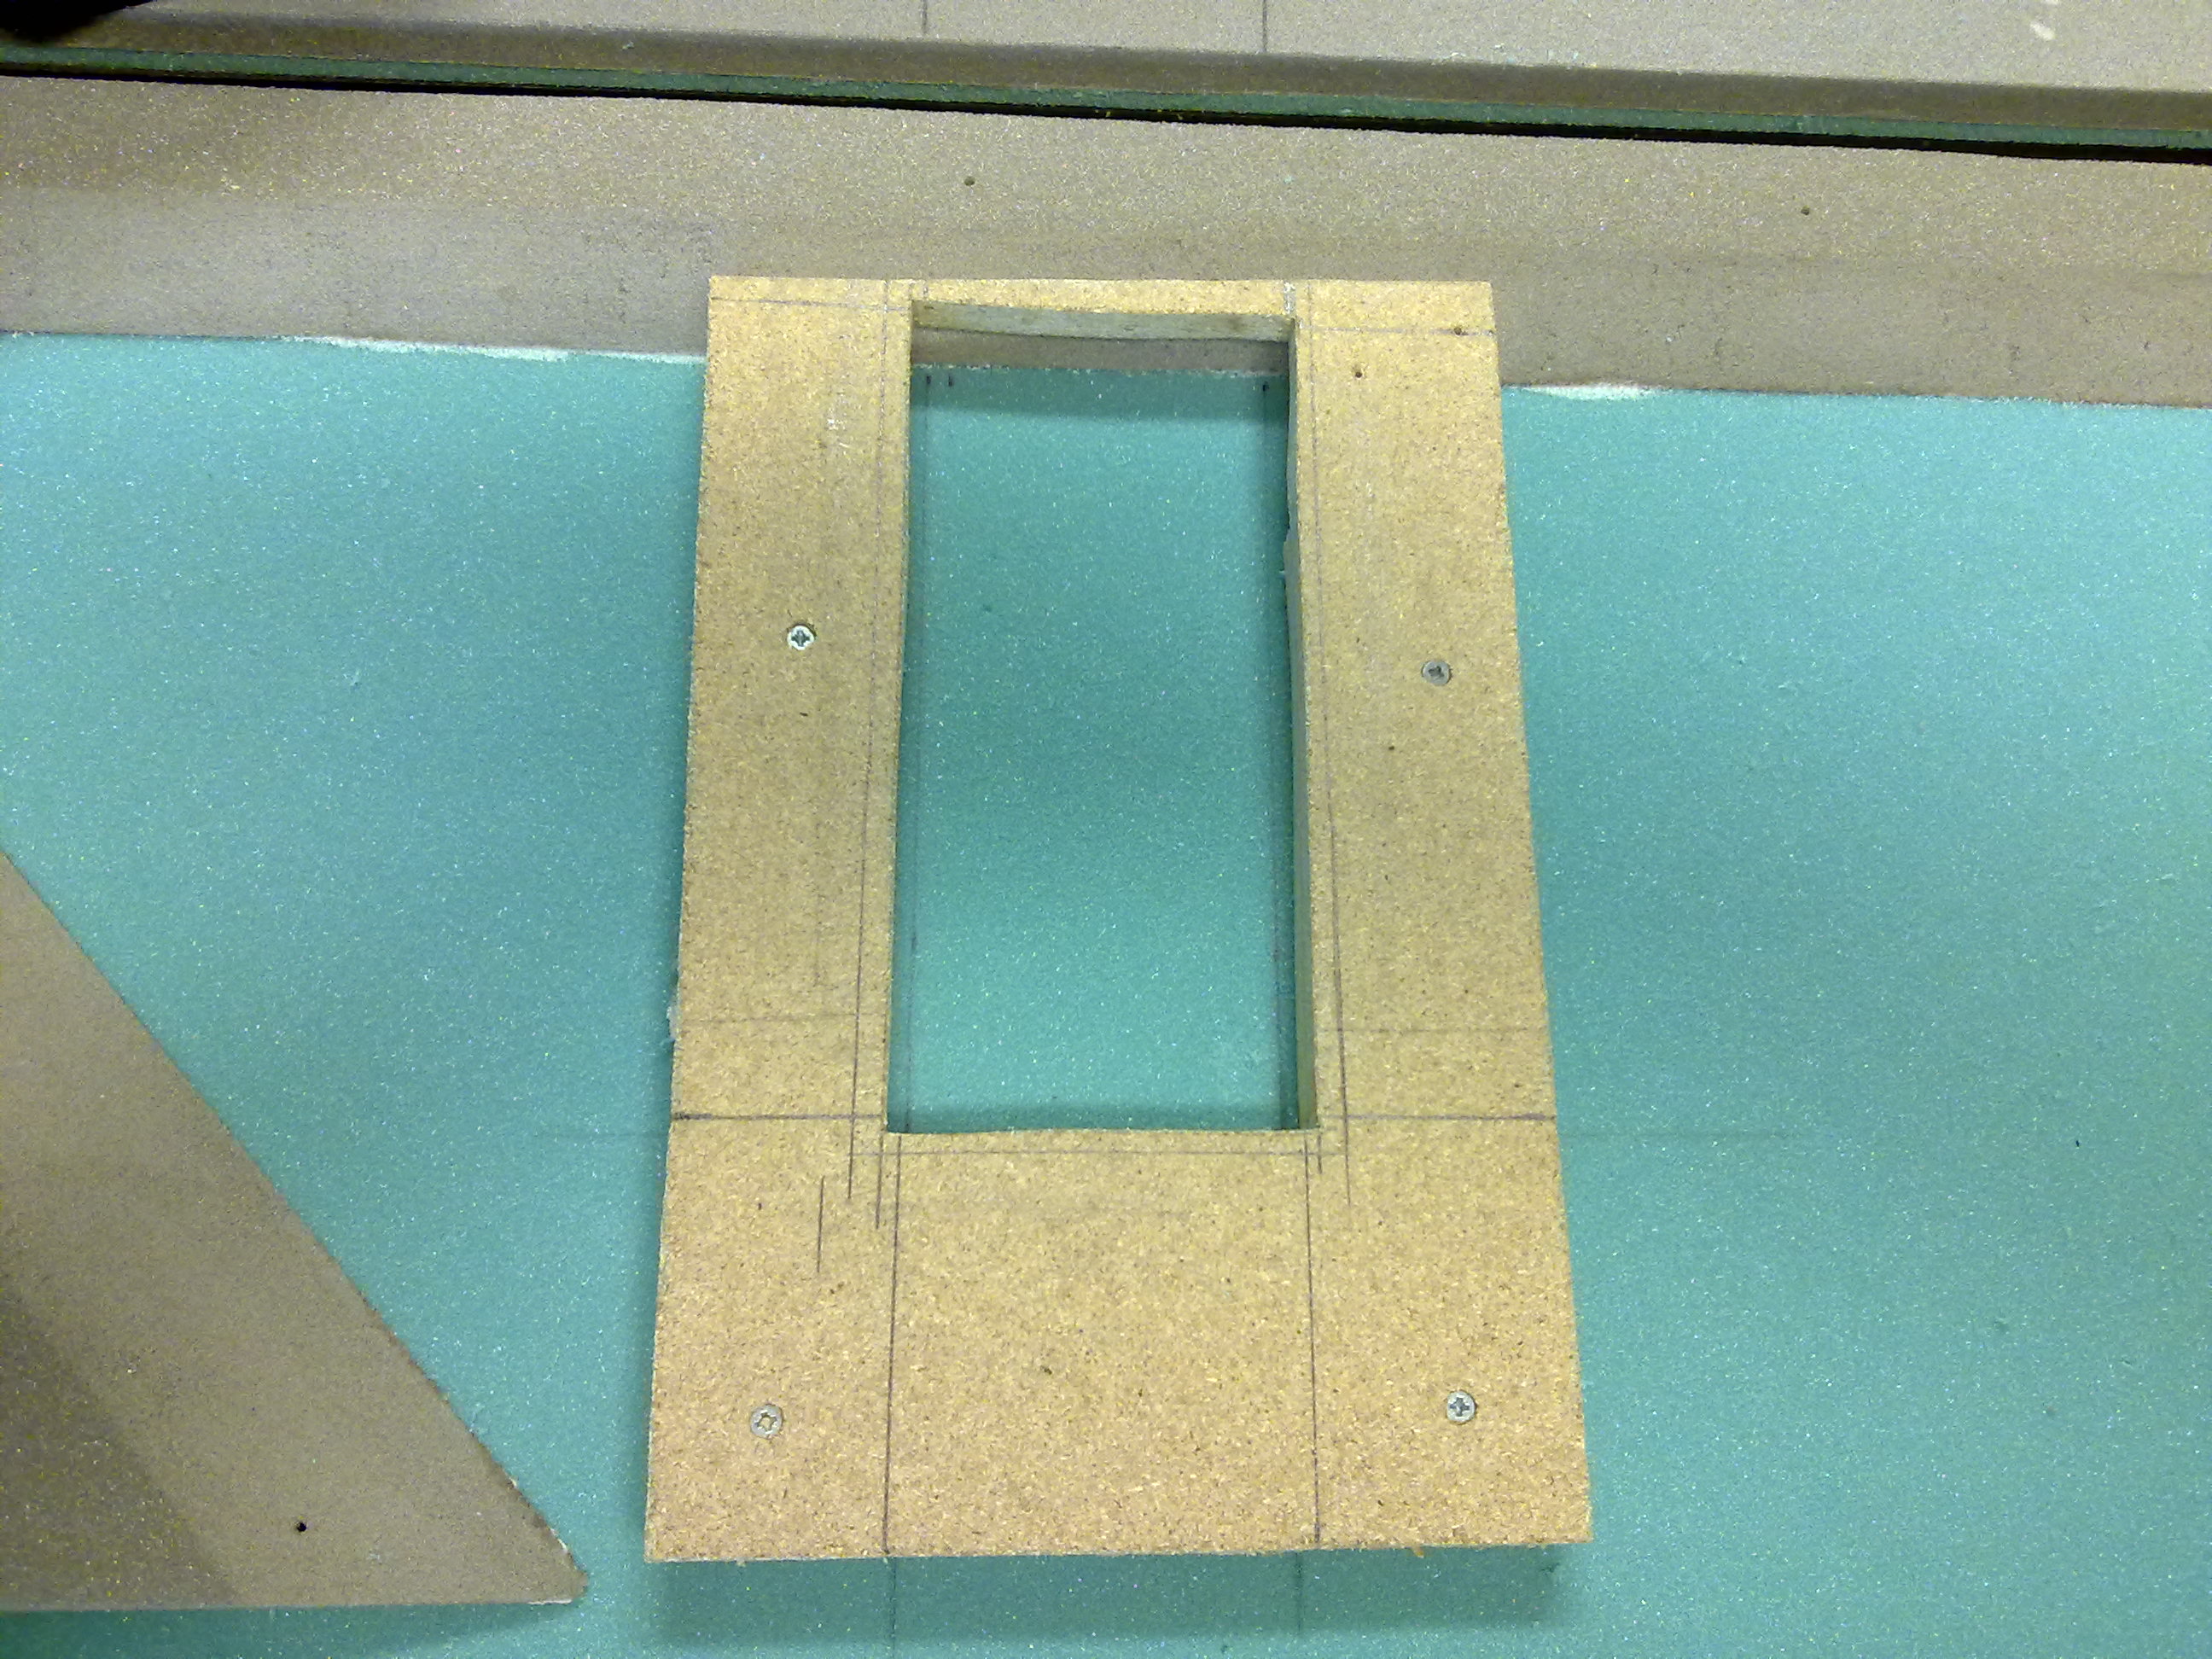
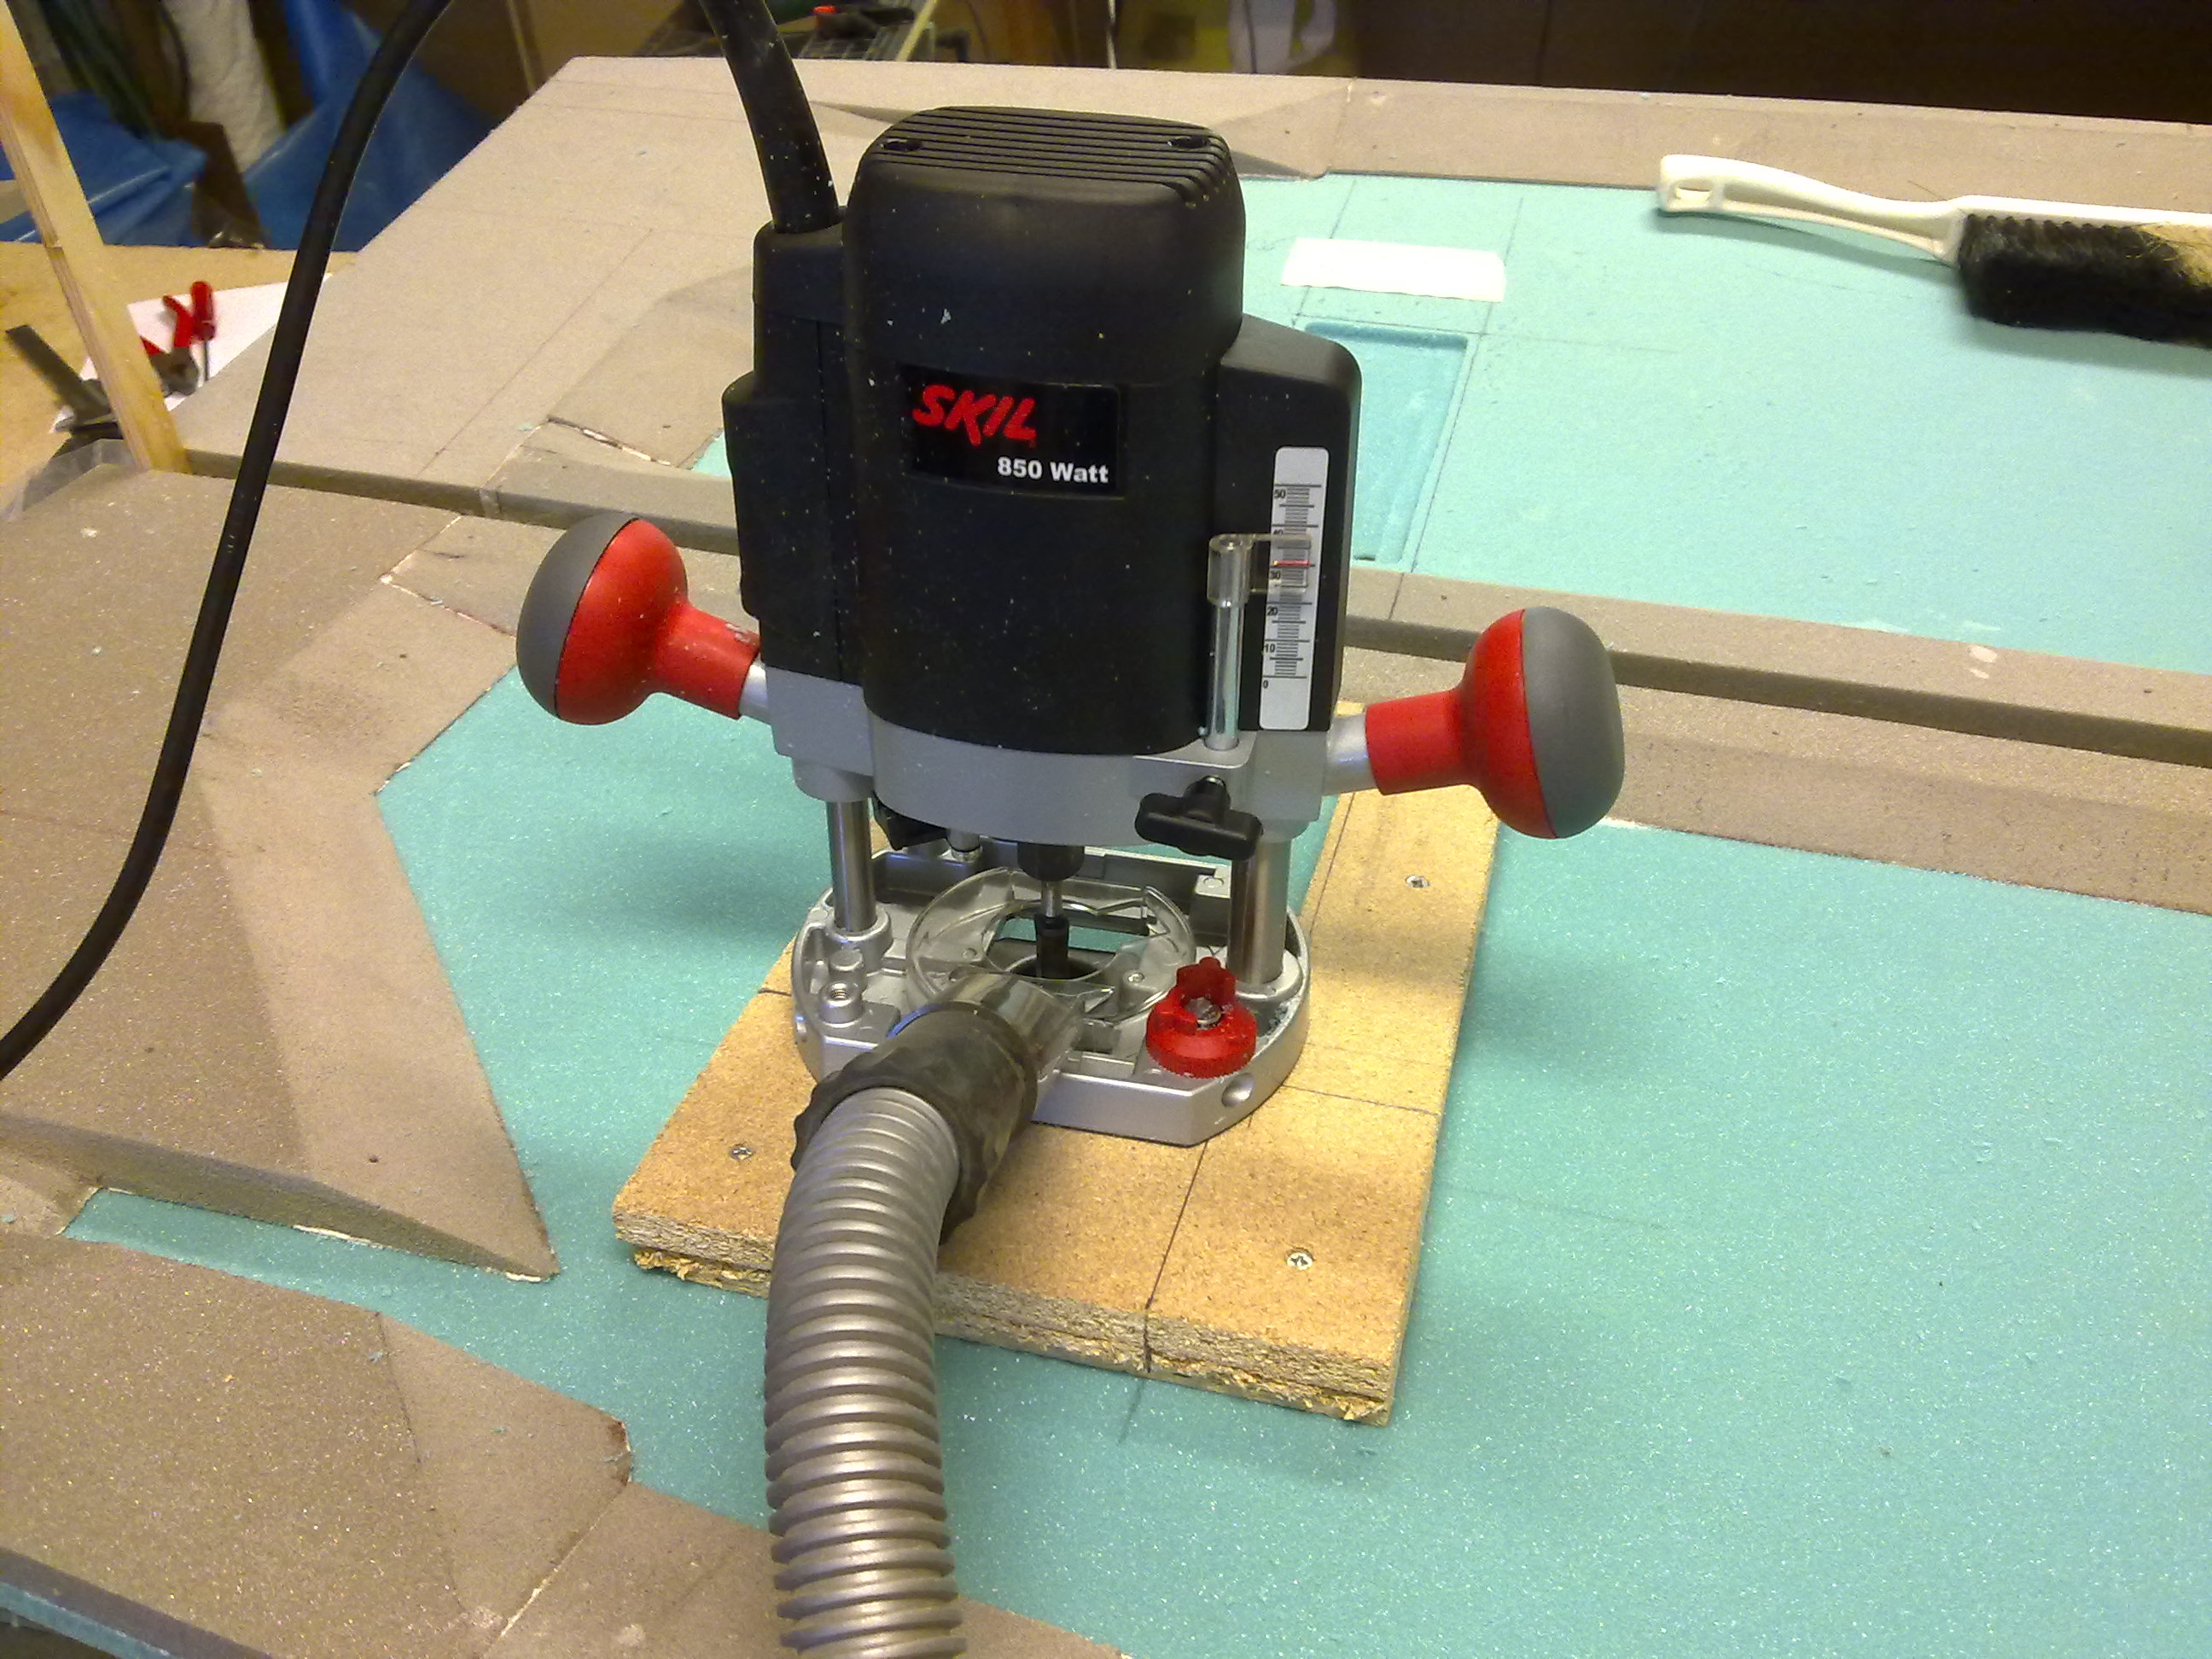
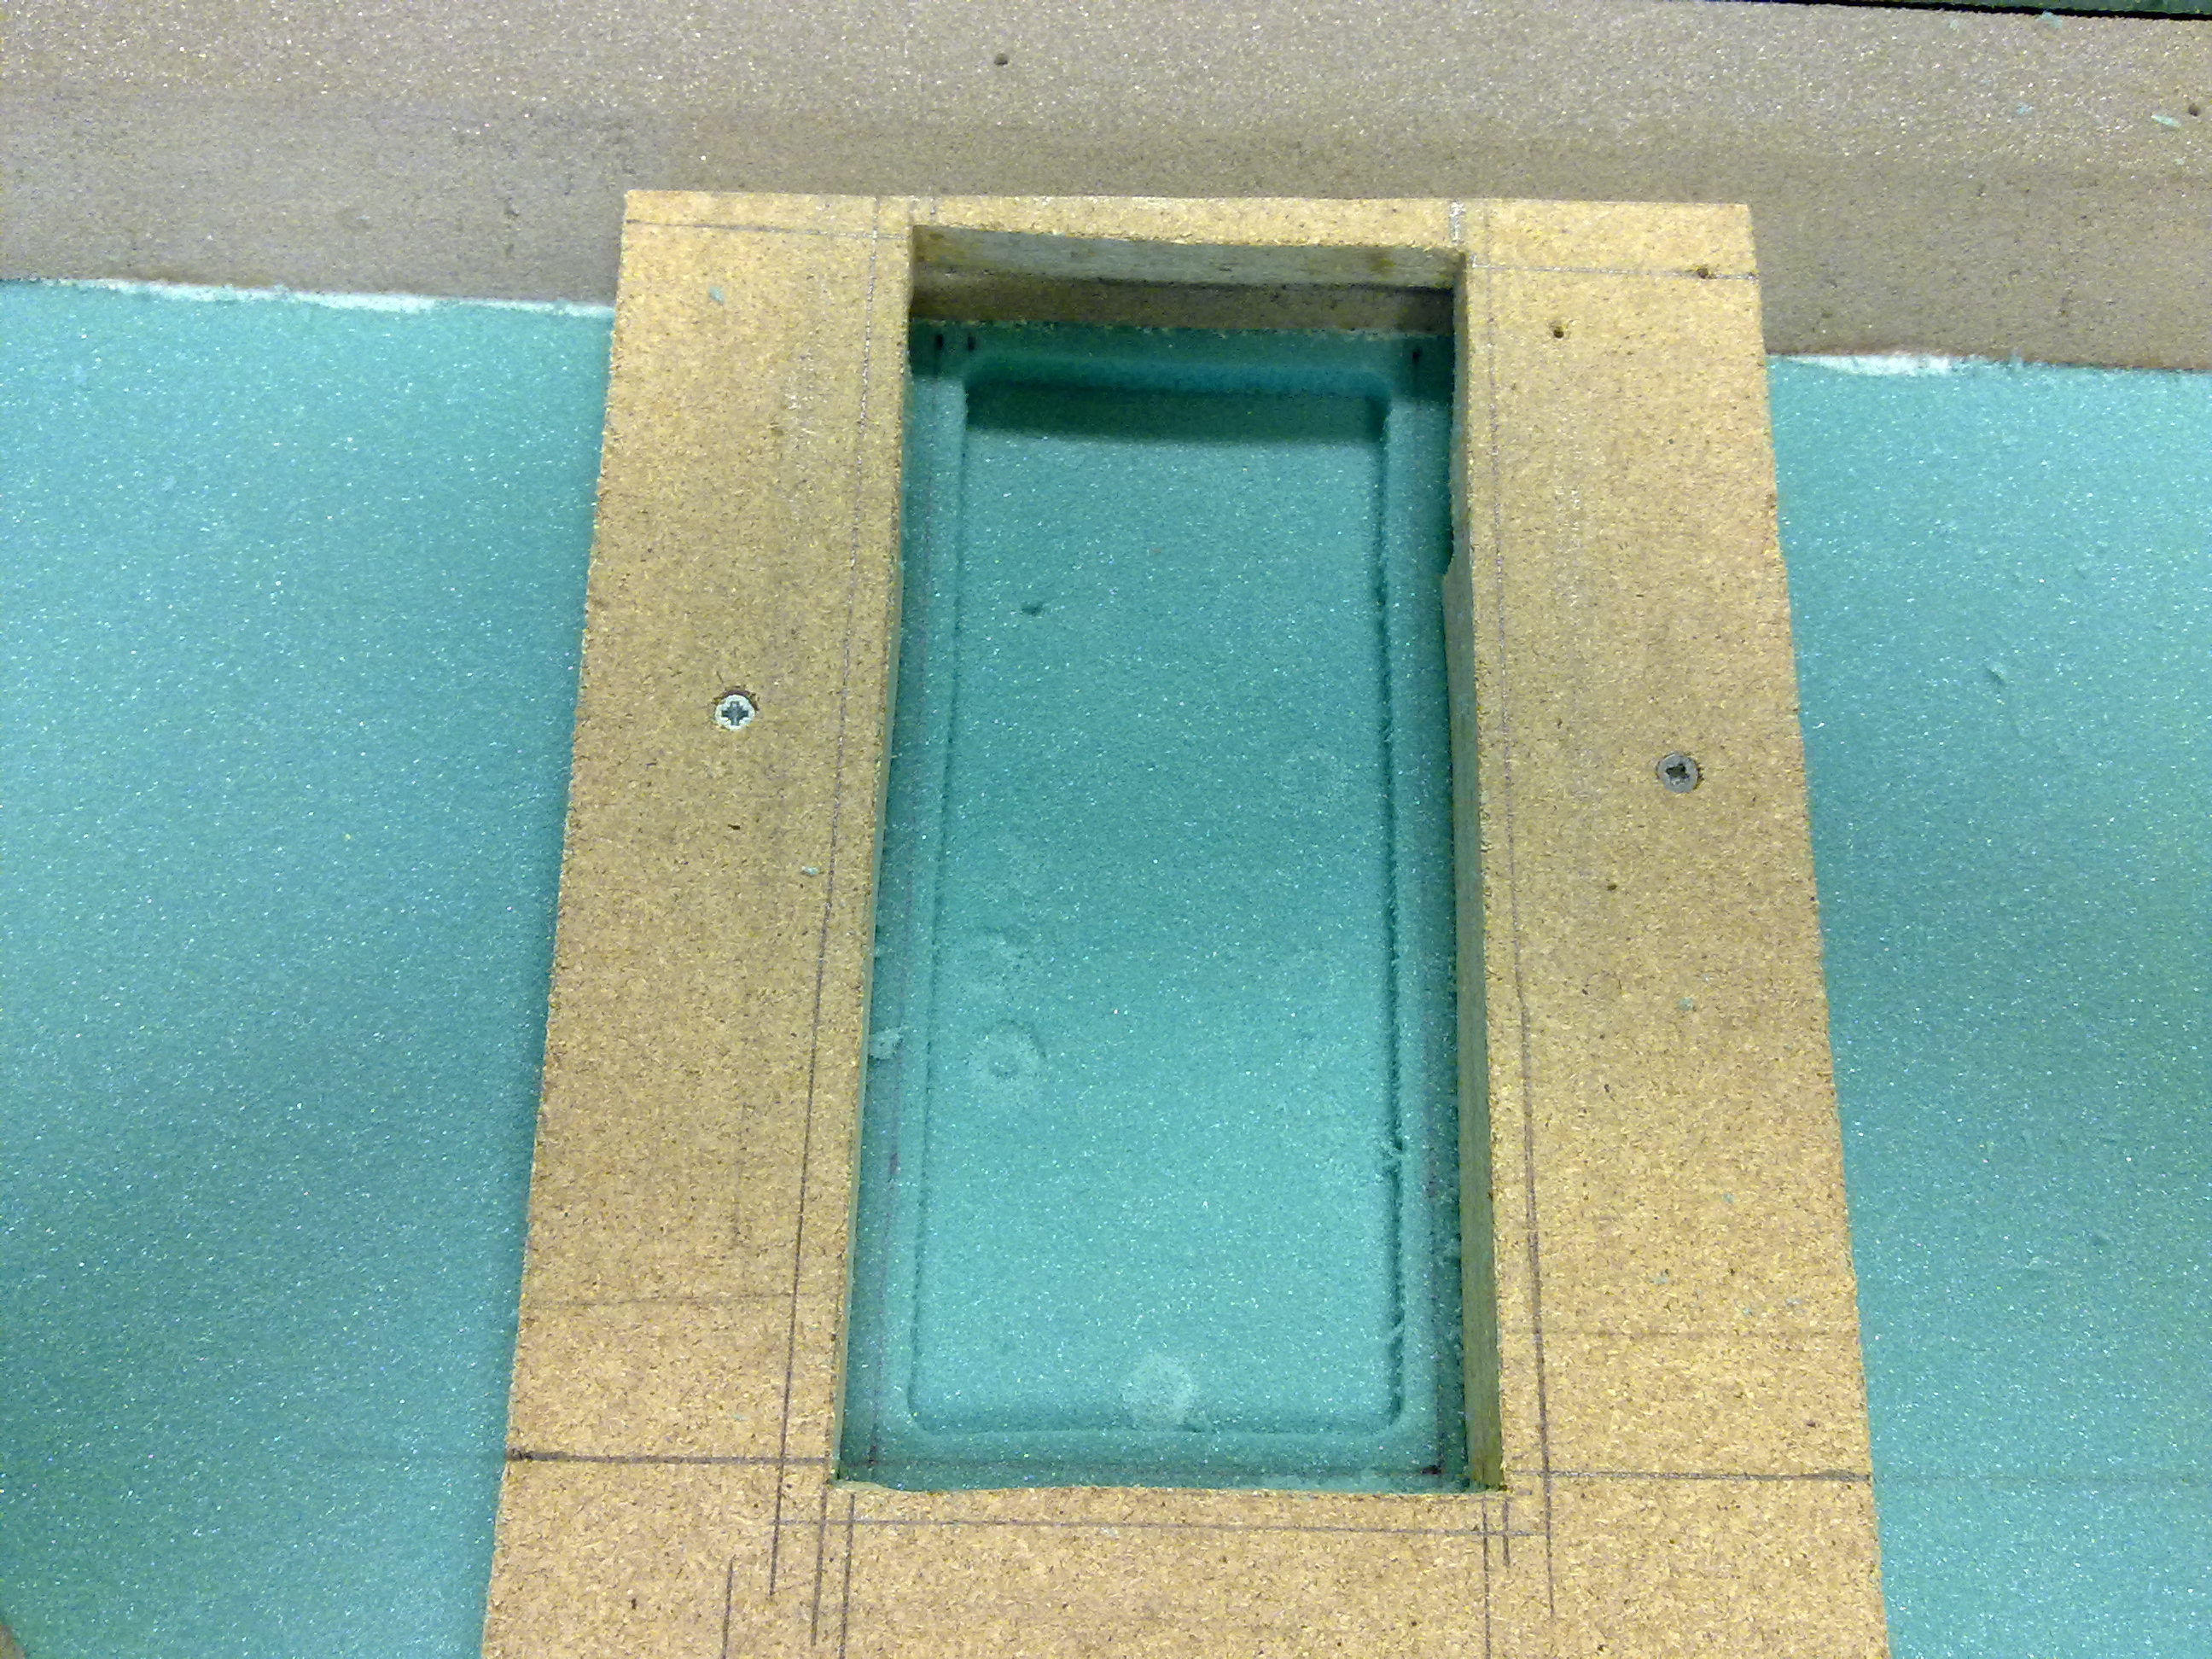
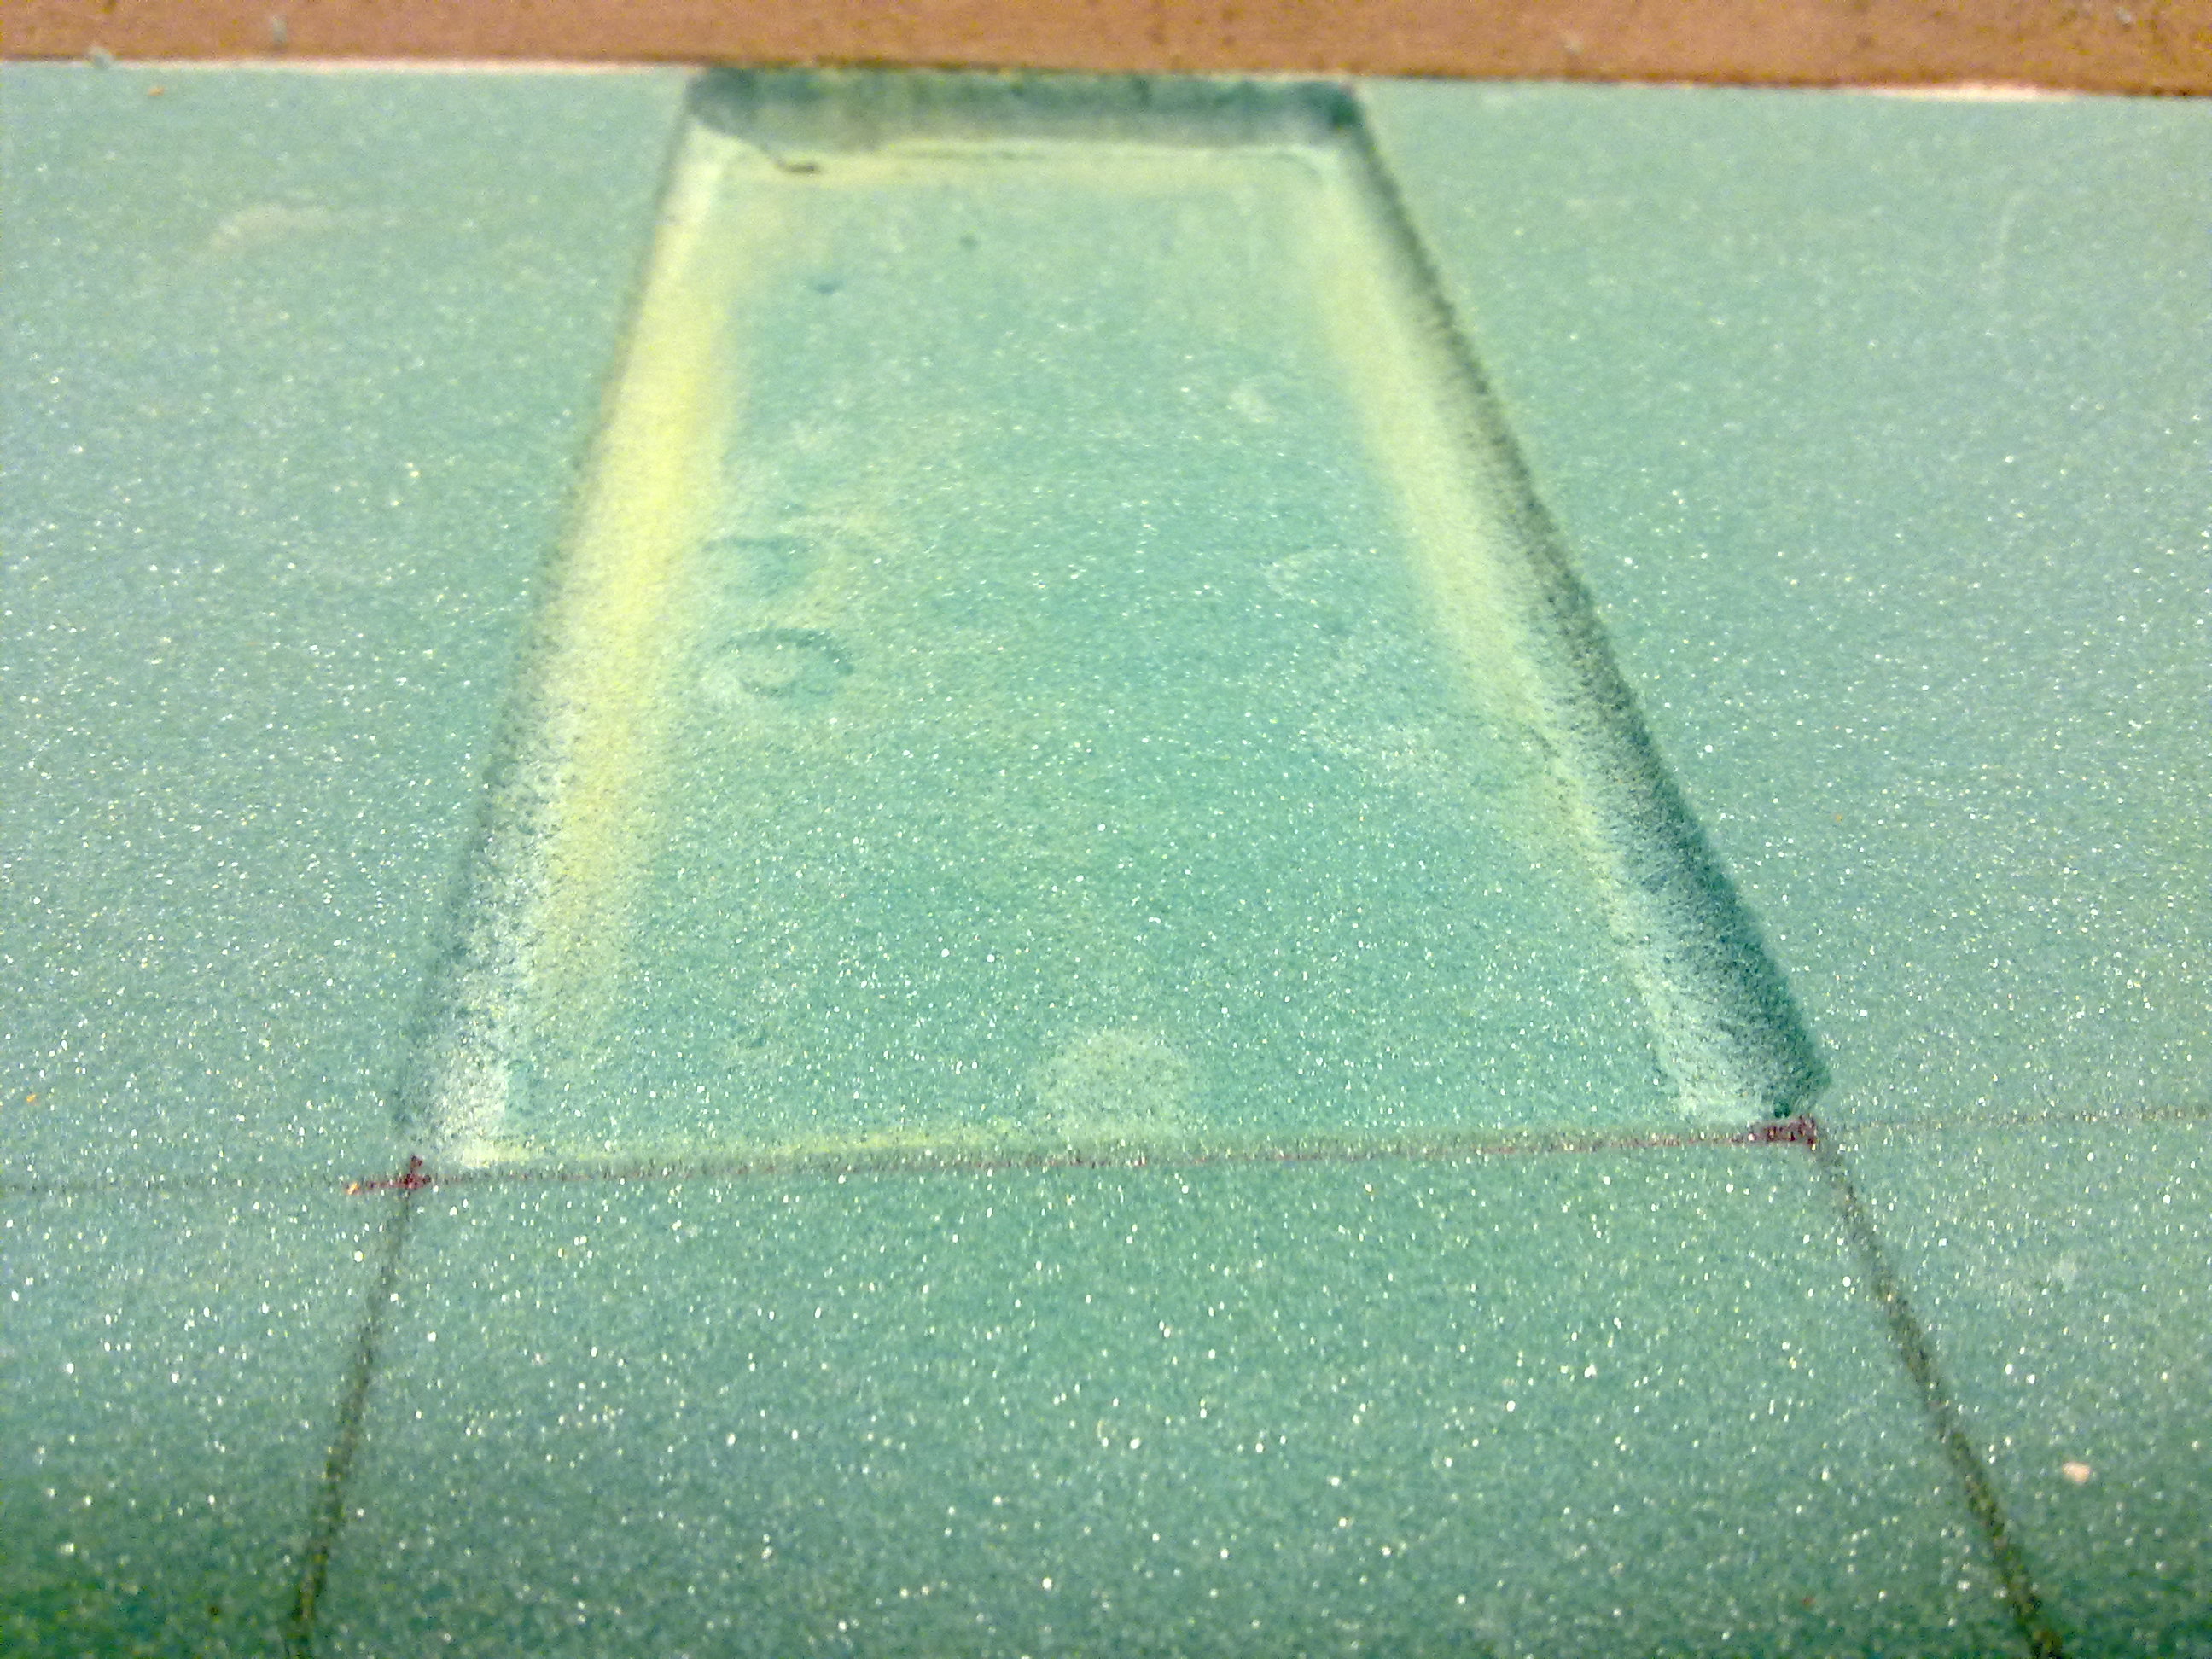
According to the plans I have to make two depressions in each side. One to make more room for the hand that moves the control-stick, and one depression to fit the manual fuel-gauges (sight-glasses). I have decided to make a modification to the strakes (CozyGirrrls-strakes). That mod gives the control-stick-hand much more room so a depression here is not neccessary. I am going to use electronic gauges connected to the EFIS, but decided to have these as backups. I ordered them from Vance Atkinson. I didn’t quite understand how to mount these so I had to study several builder-sites as well as I was in contact with a fellow Cozy-builder (and Cozy-flyer!) in South Africa by the name of Chris Van Hoof. The plans called out for sanding the depression, but I decided to use my router to make the depressions. The plans says that if I use these gauges the depression should be flat in the bottom, and .2″ / 5mm foam left. The plans are somewhat unclear in this process, but after talking to the guys I will make the depressions, then use peel-ply in the bottom before I glass over. The gauges will not be mounted until chapter 21 (strakes) to ensure that the position is absolutely correct. This approach makes working with the tub a bit easier as well since I don’t need to pay attention to these gauges and possibly break them. Here are some pictures of the process:

Jump to chapter 21 to see how the gauge is mounted – i.e. when I’ve done with chapter 21 in a “couple” of years… 🙂