
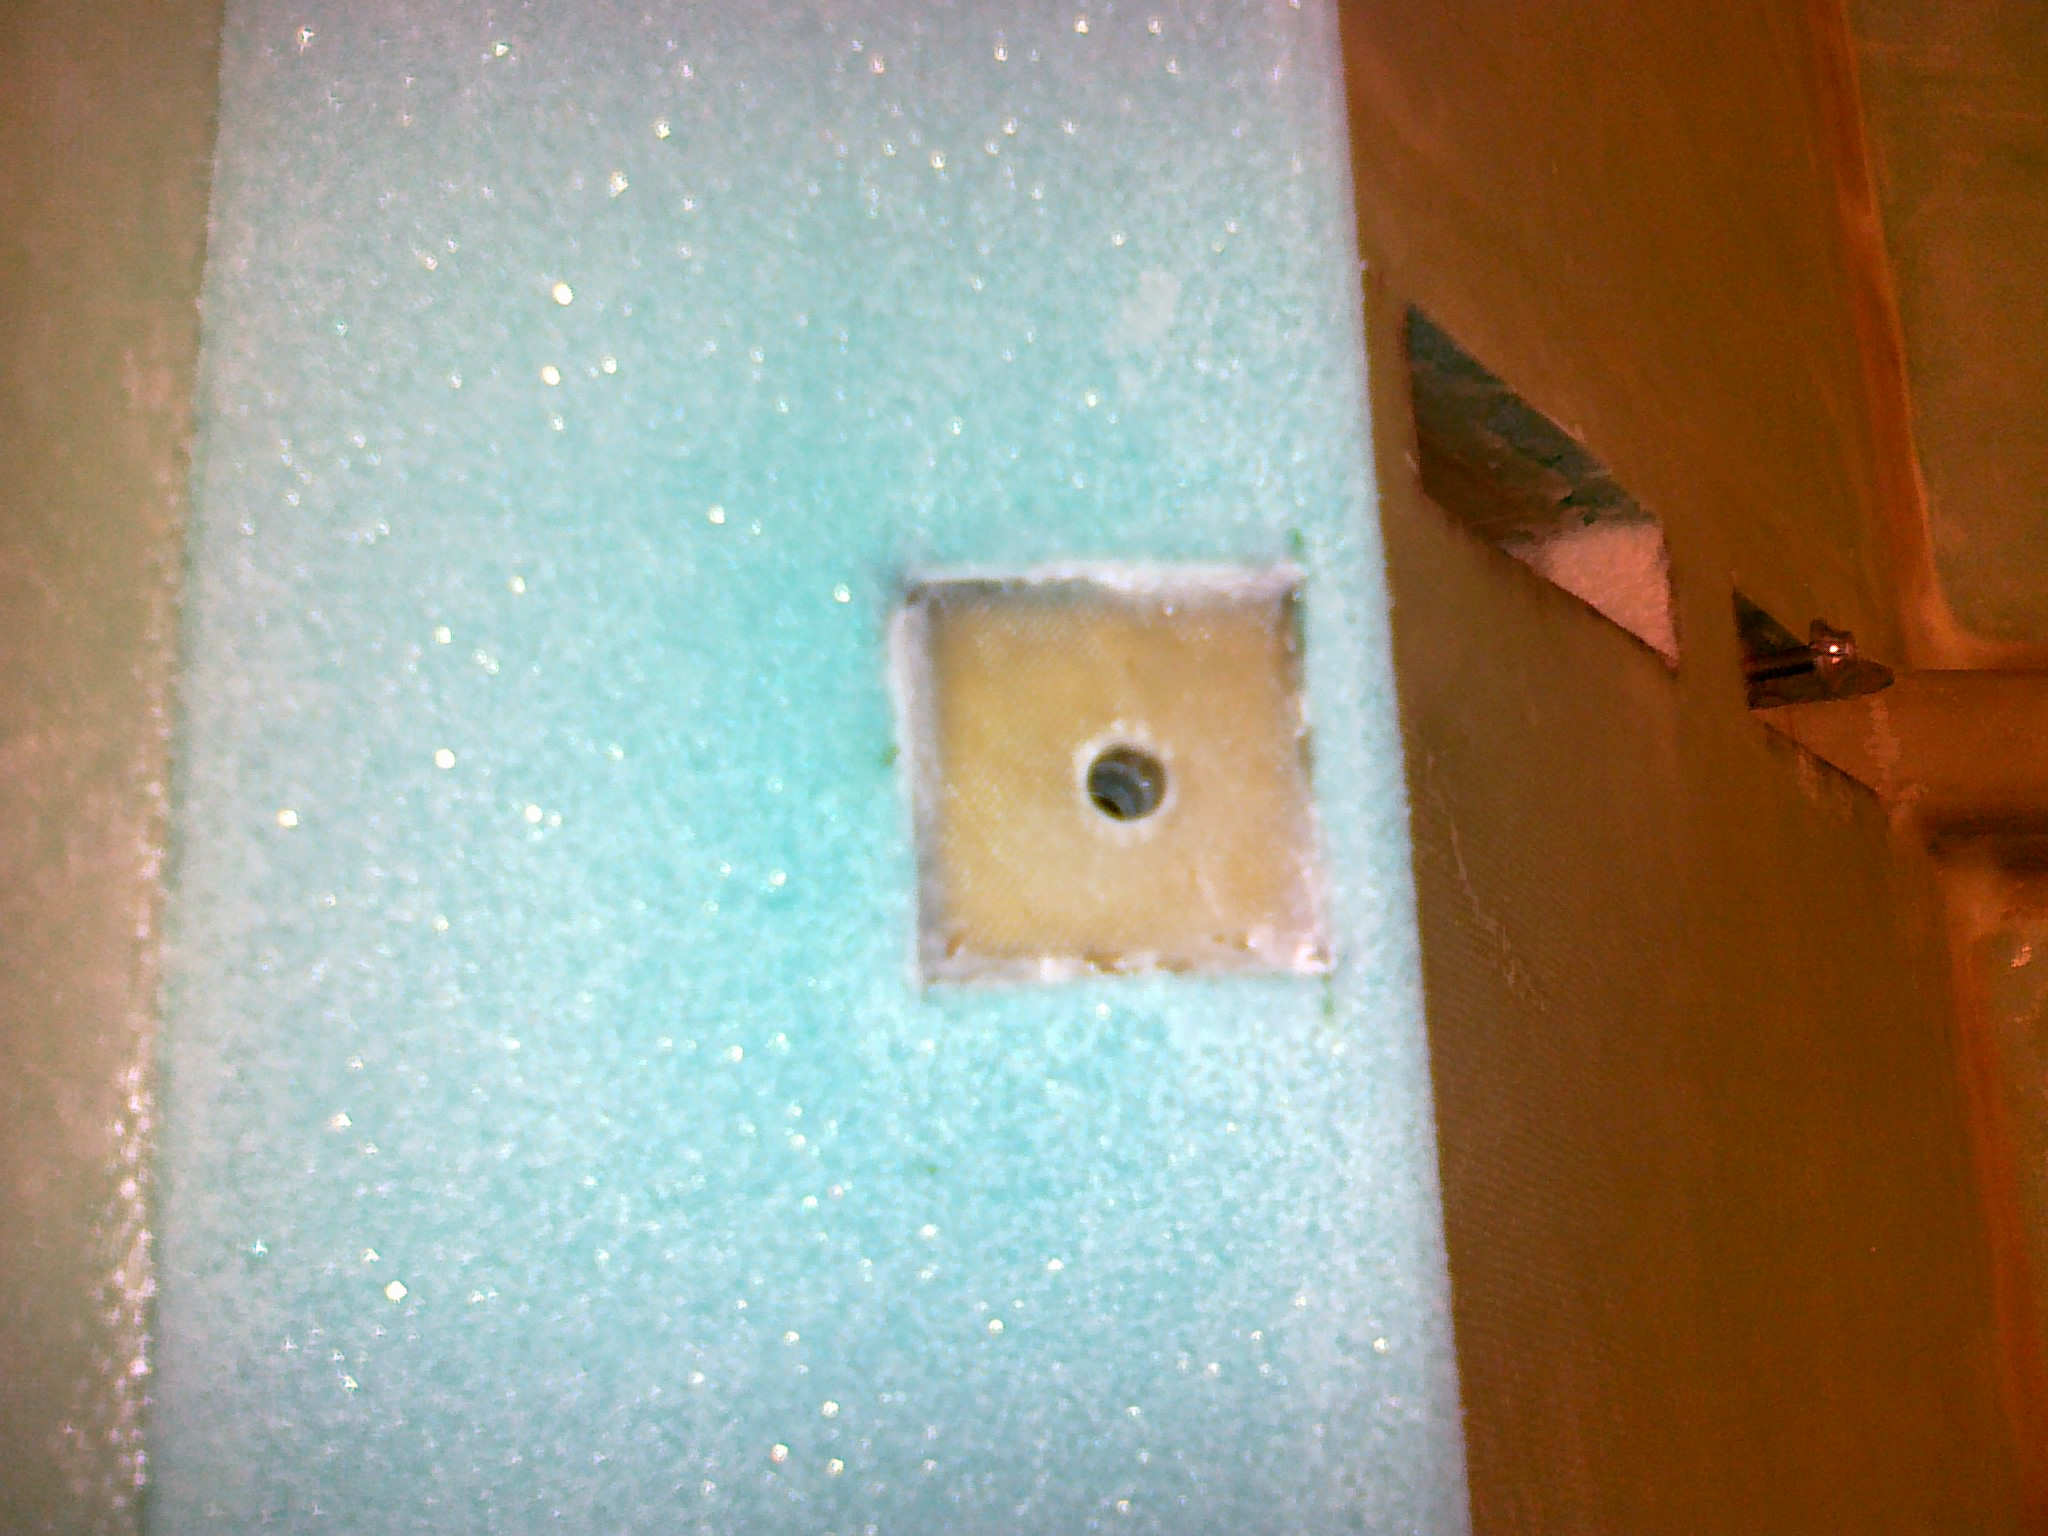
Before glassing over the seatbelt-hardpoints I need to fill them with candle-wax to avoid epoxy in the holes. The candle-wax can later be melted after I open the holes in the glass.

Before dripping candle-wax I put a little paper-ball inside to stop the candle-wax to drip through the hole. I also masked the area around the hole to avoid the glass to be contaminated by wax prior to glassing.
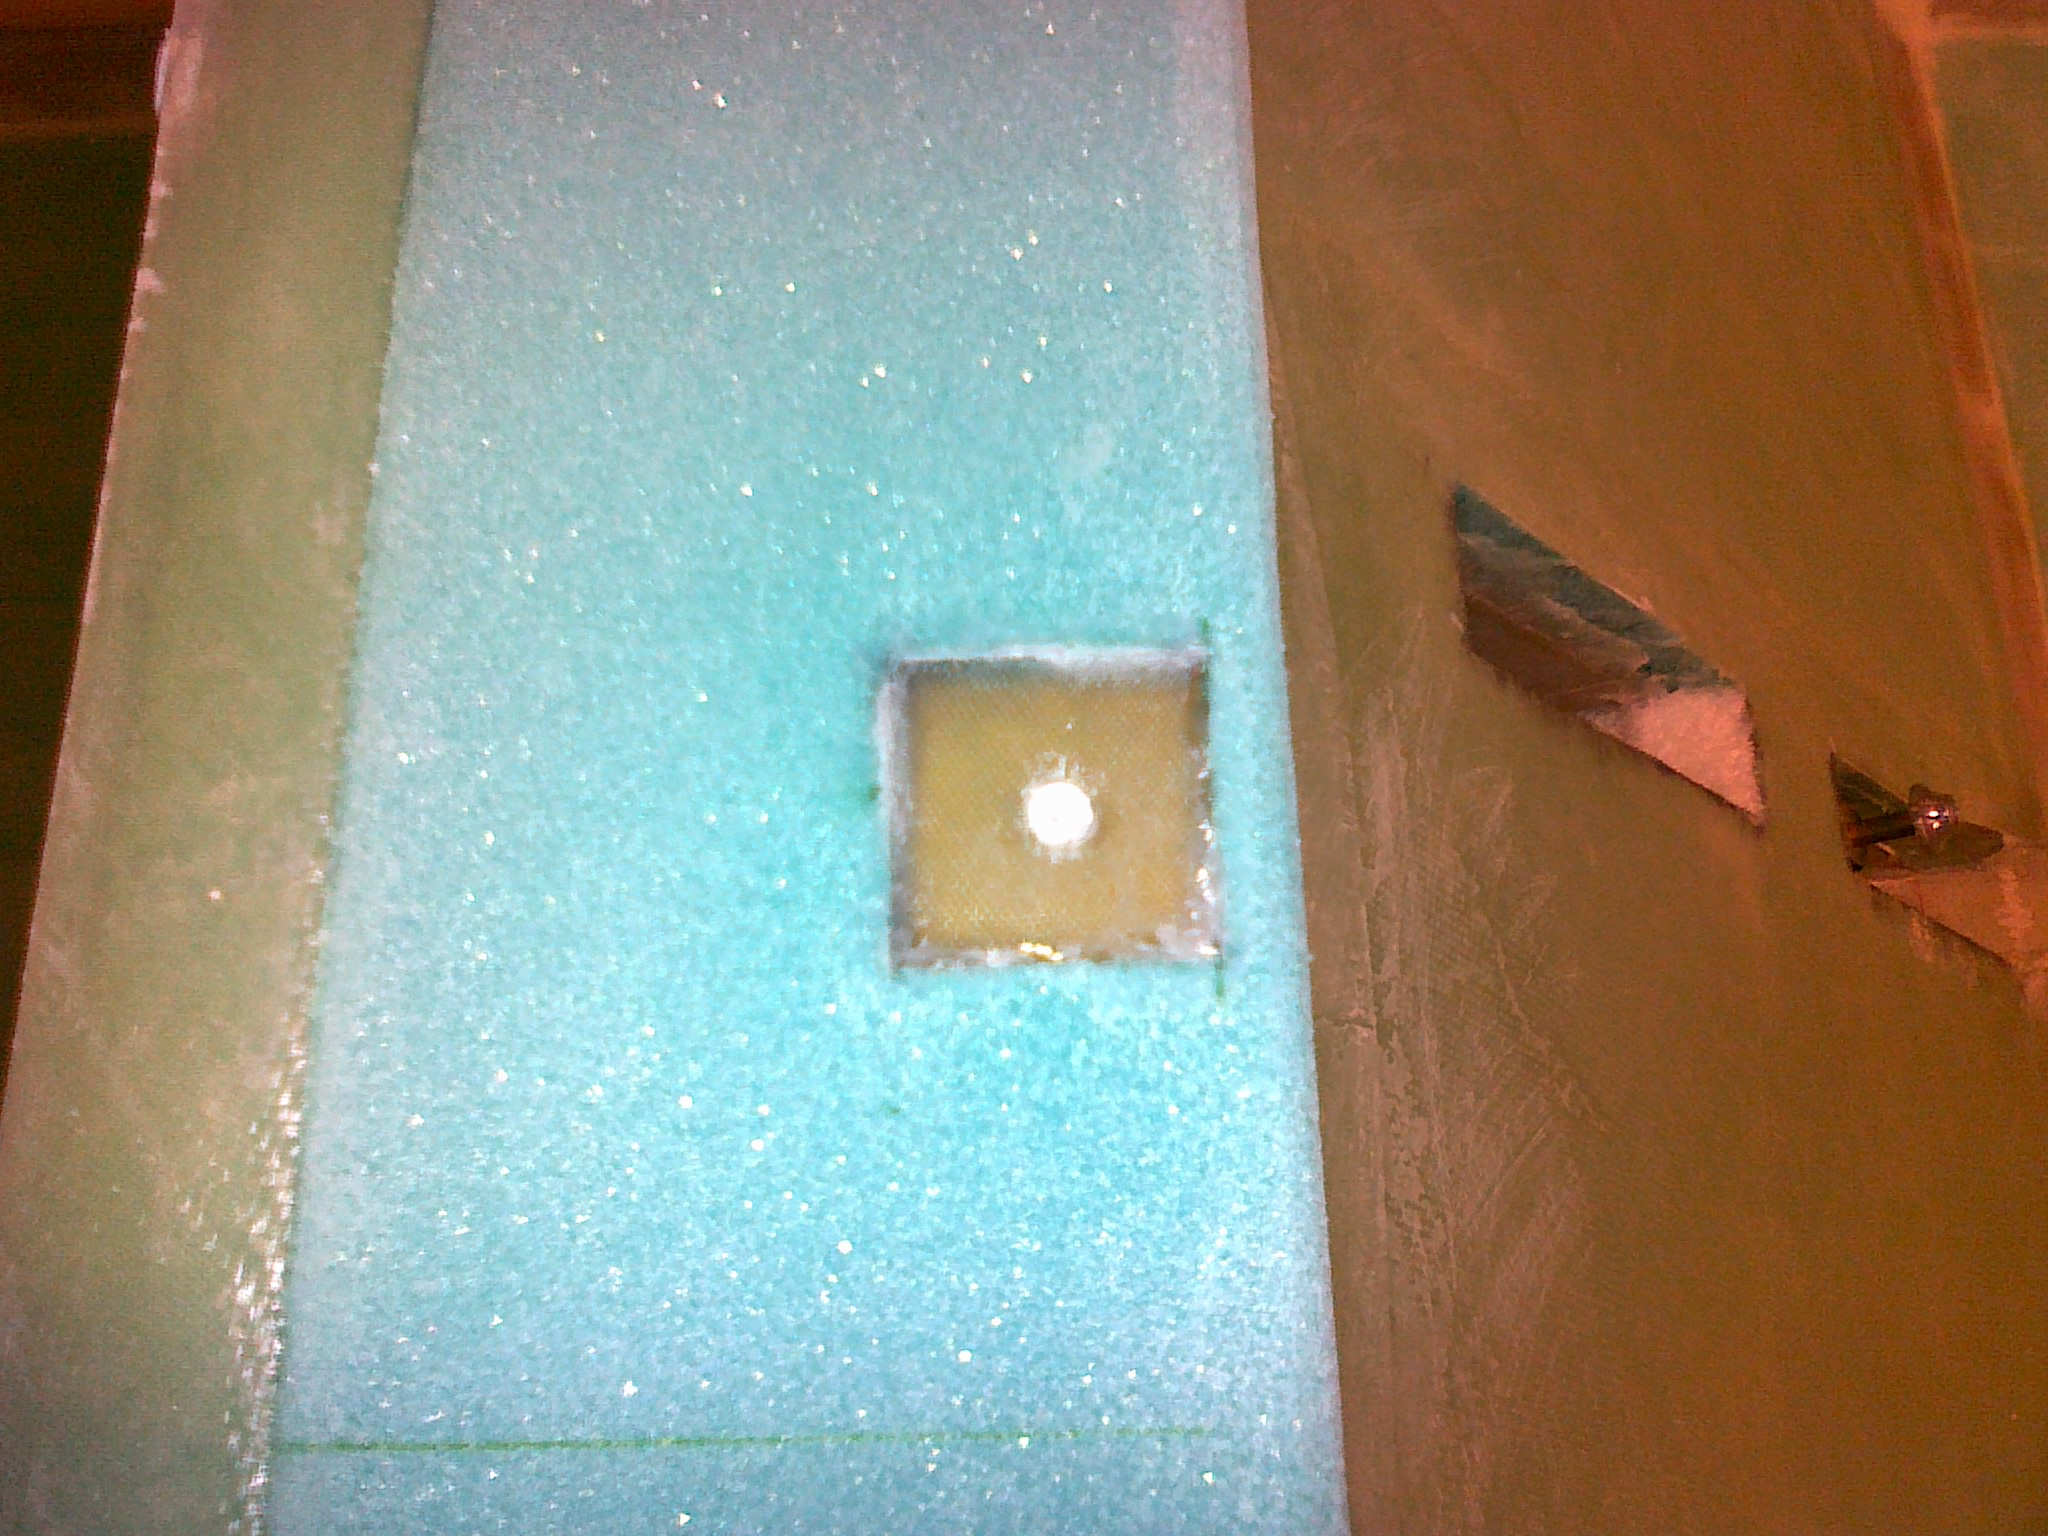
After removing the masking-tape the hole is filled with wax and hopefully it will be easy to remove the wax and the hole will be free of epoxy… time will show 🙂
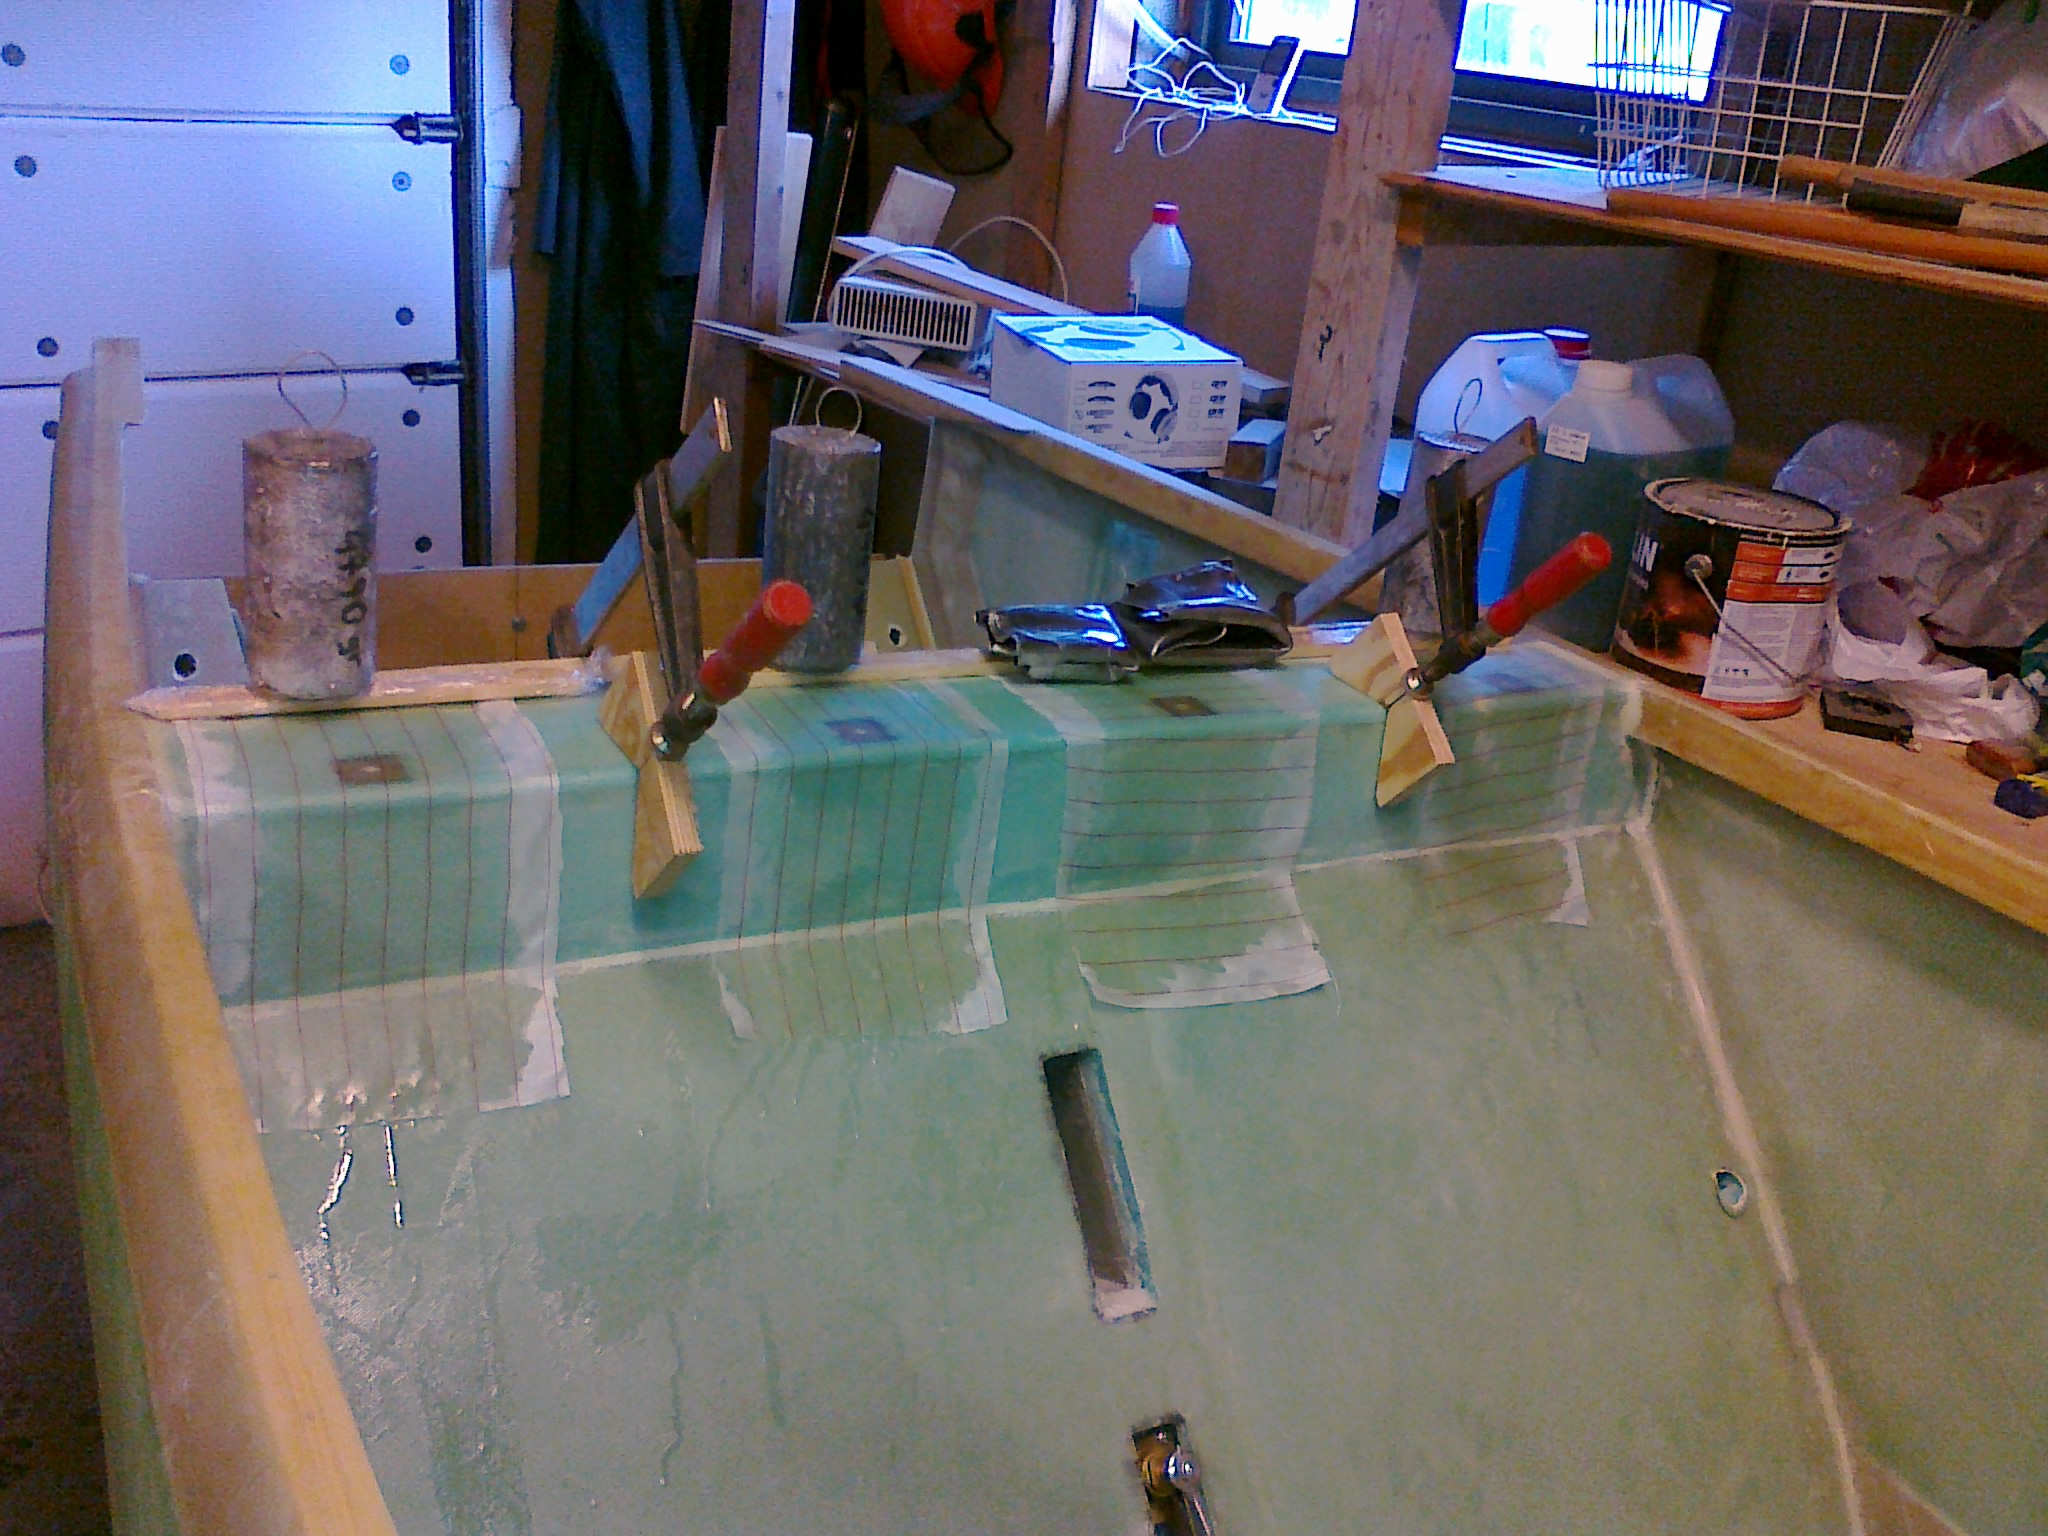
The shoulder-brace is glassed and cured. The final step is to add 3 reinforcing UNI-plies over each hardpoint for the seatbelts. This is a step not mentioned in the plans, but found in the FAQ and recommended to add strength since the forces here will be quite strong if an accident happens. It’s a bit tricky to get the UNI to stick when bendt around the seatback and down behind. I clamped a particle-board to the back after covering it with saran-wrap, and weighed down some saran-wrapped wood-sticks on top. I got away with just a few air-pockets which I will fill with epoxy later.