
2013-04-12: I sanded the inside of MKNG6 with coarse sanding-paper to clean it up, then I floxed NG1 to MKNG6, clamped them together, centered NG1 between NG30 and set it to cure in the heat-tent.

2013-04-20: I made the NG5 backing-plate as pr plans. Alodined the part. Drilled the mounting-holes through MKNG6 using my drill-press. The holes did not drift. Drilled the holes in NG5 and recessed them. Floxed NG5 to the strut and bolted (screwed) NG5 to NG6. Set to cure.
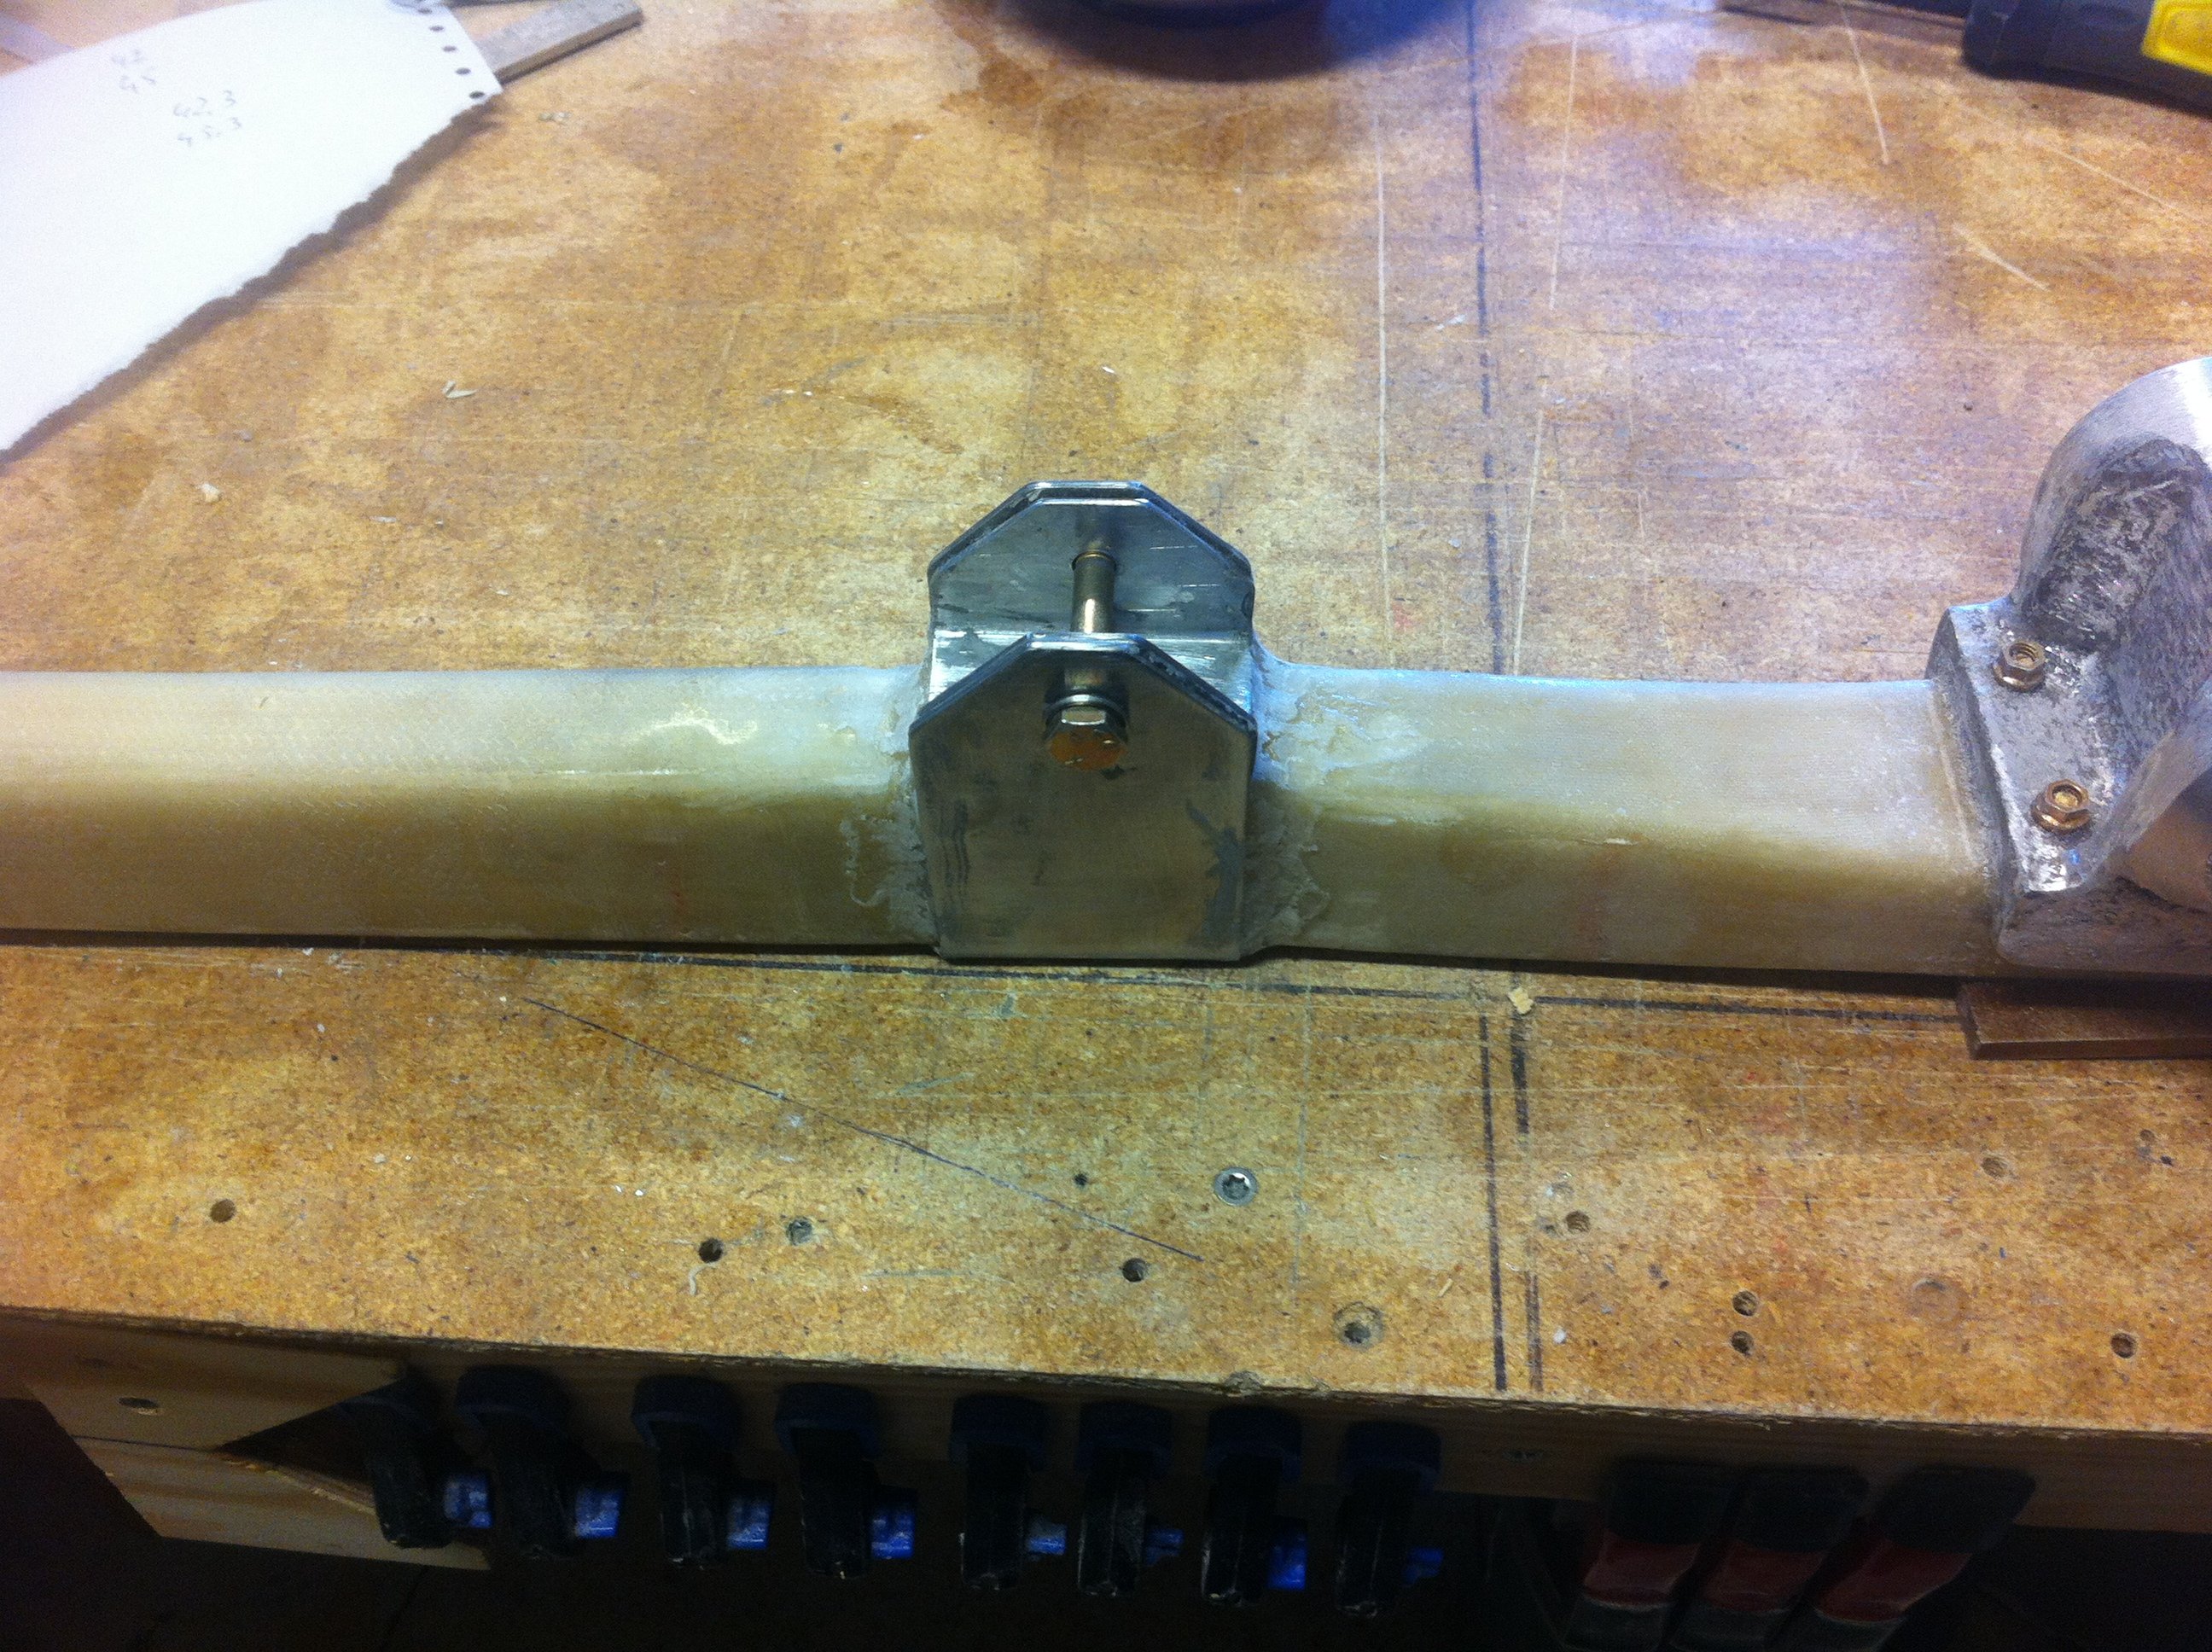
2013-04-20: Mounted the NG3/NG4 with flox. Lots of flox. I let some flox squeeze out on the edges to make an edge to prevent NG3/4 to slide along the strut. I measured the distance between the center of the bolt on MKNG6 and a bolt I placed in the hole in NG3/4 to 17.25cm. This is as pr the Wilhelmson Noselift plans.
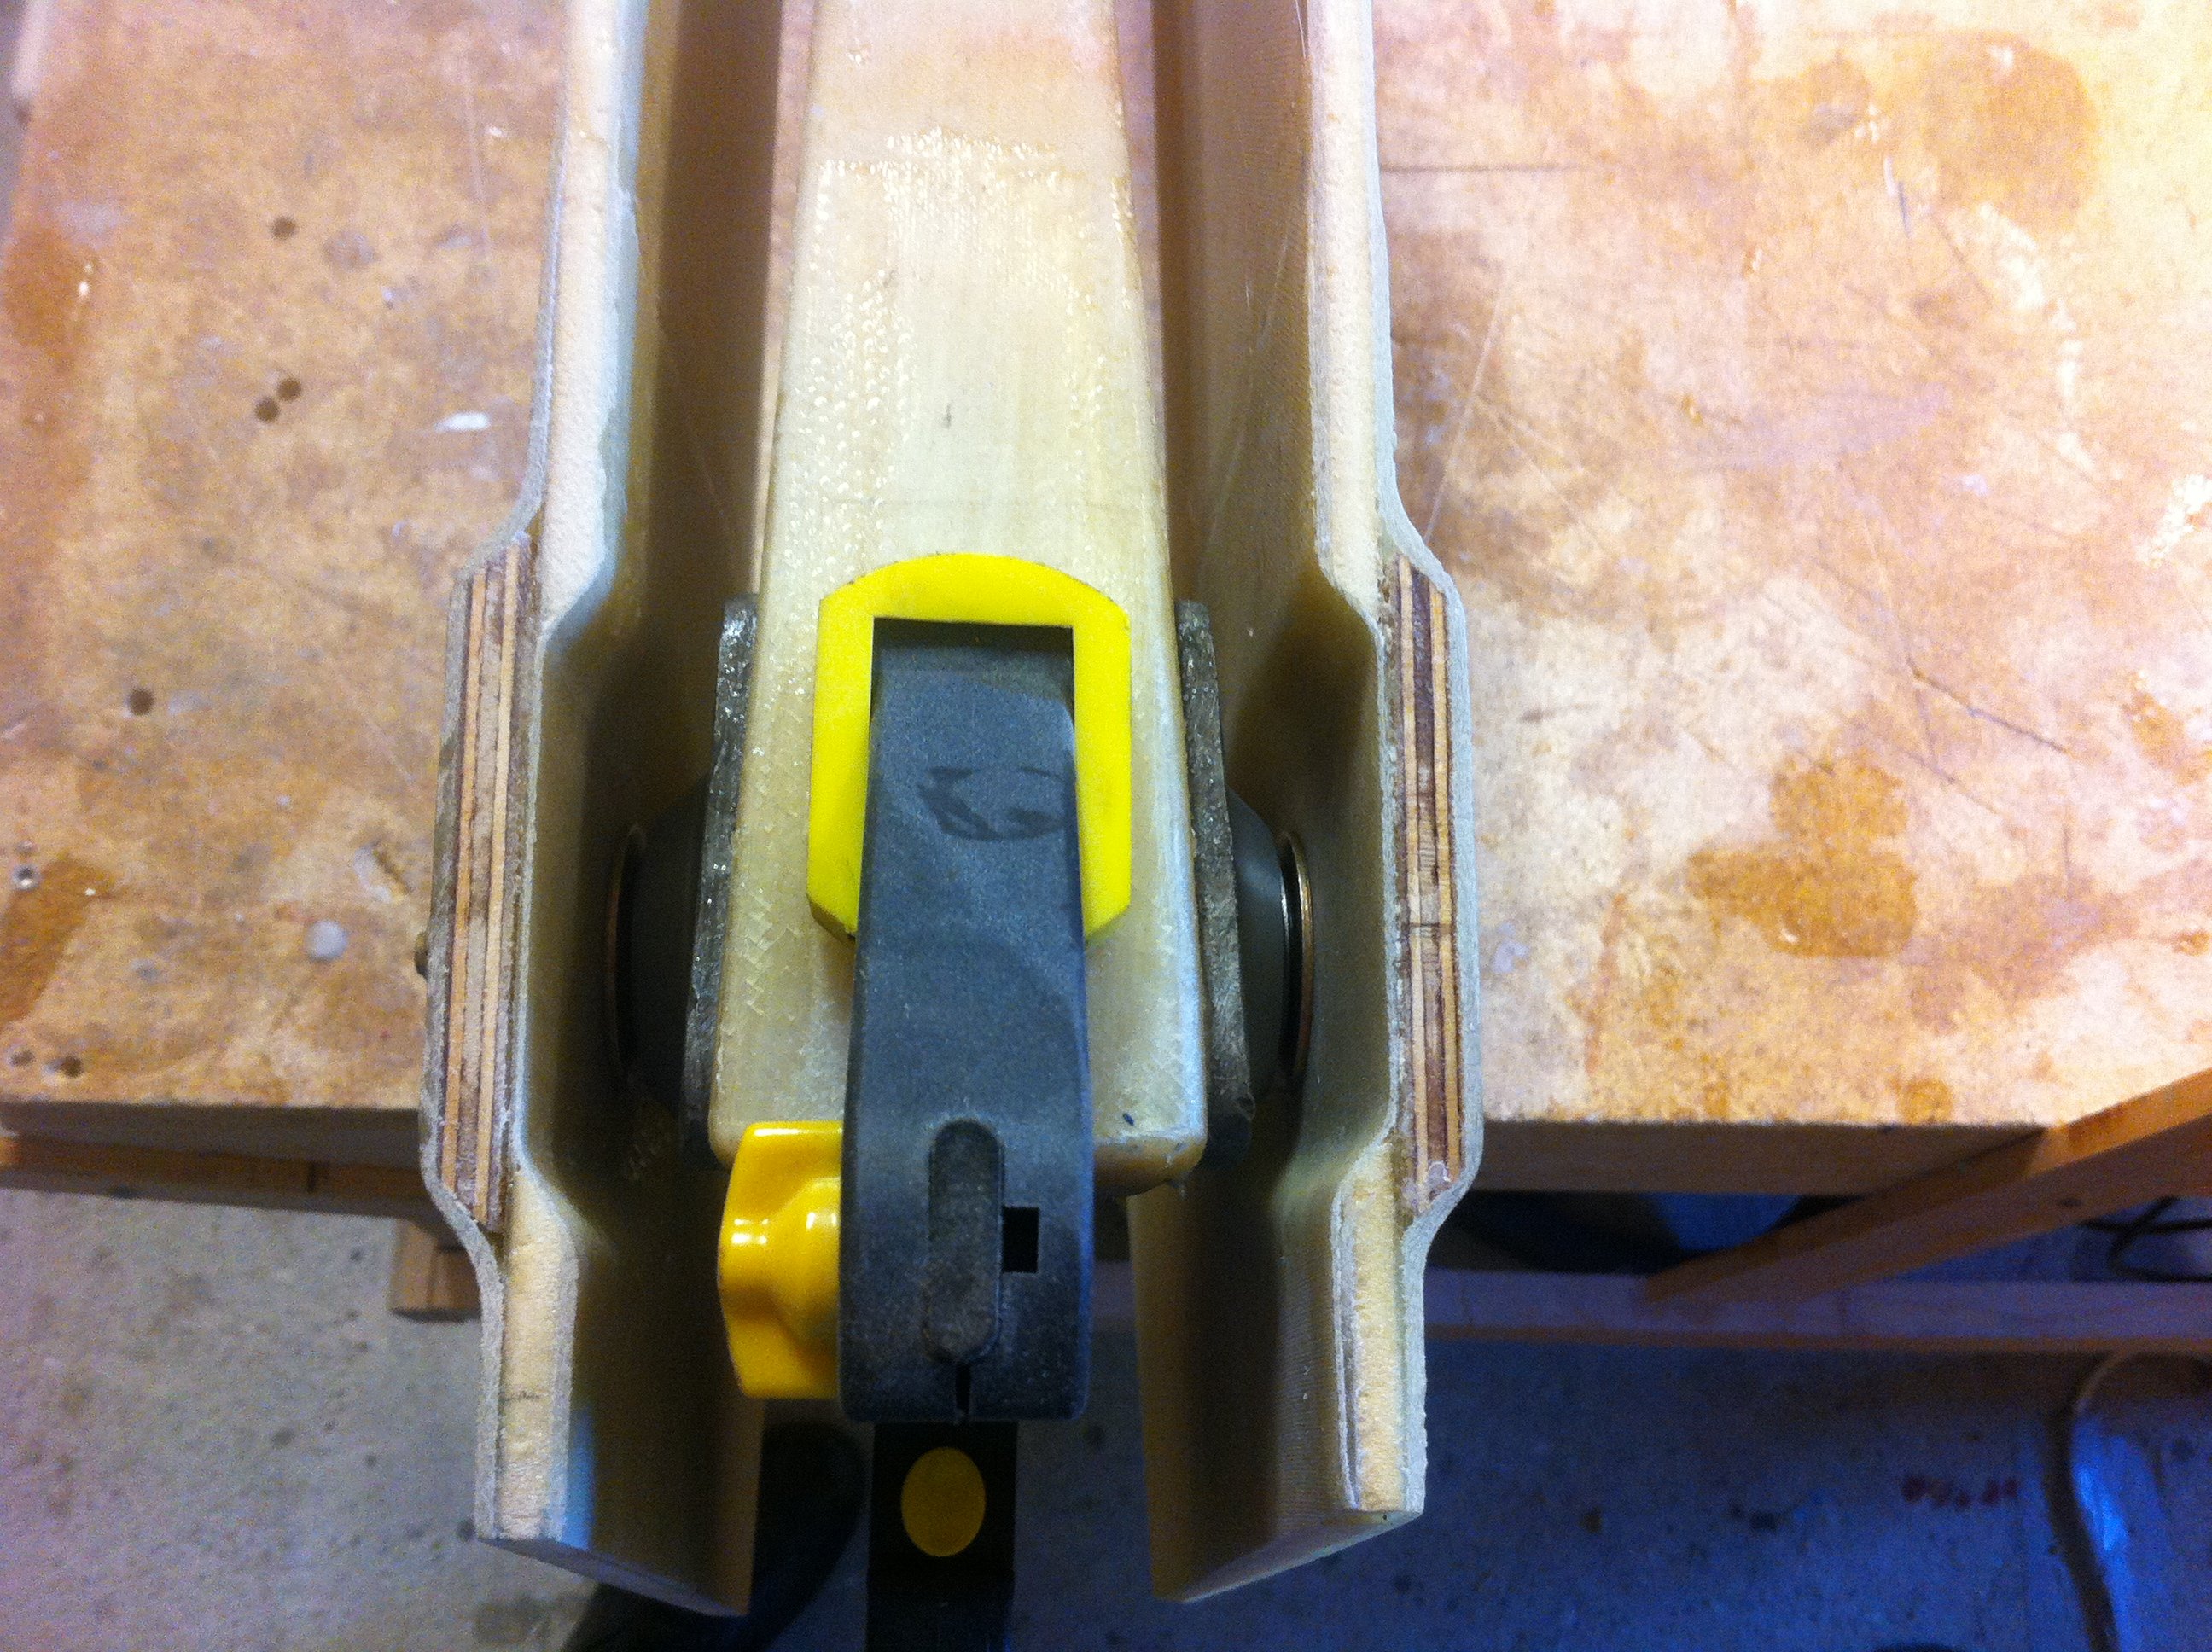
As seen on this picture I have to change the S70-screws on MKNG6 to S72, since S70 was a bit to short. I need at least two threads to show over the nut when it’s fastened. S72 is 5mm longer than S70 and will do the trick.
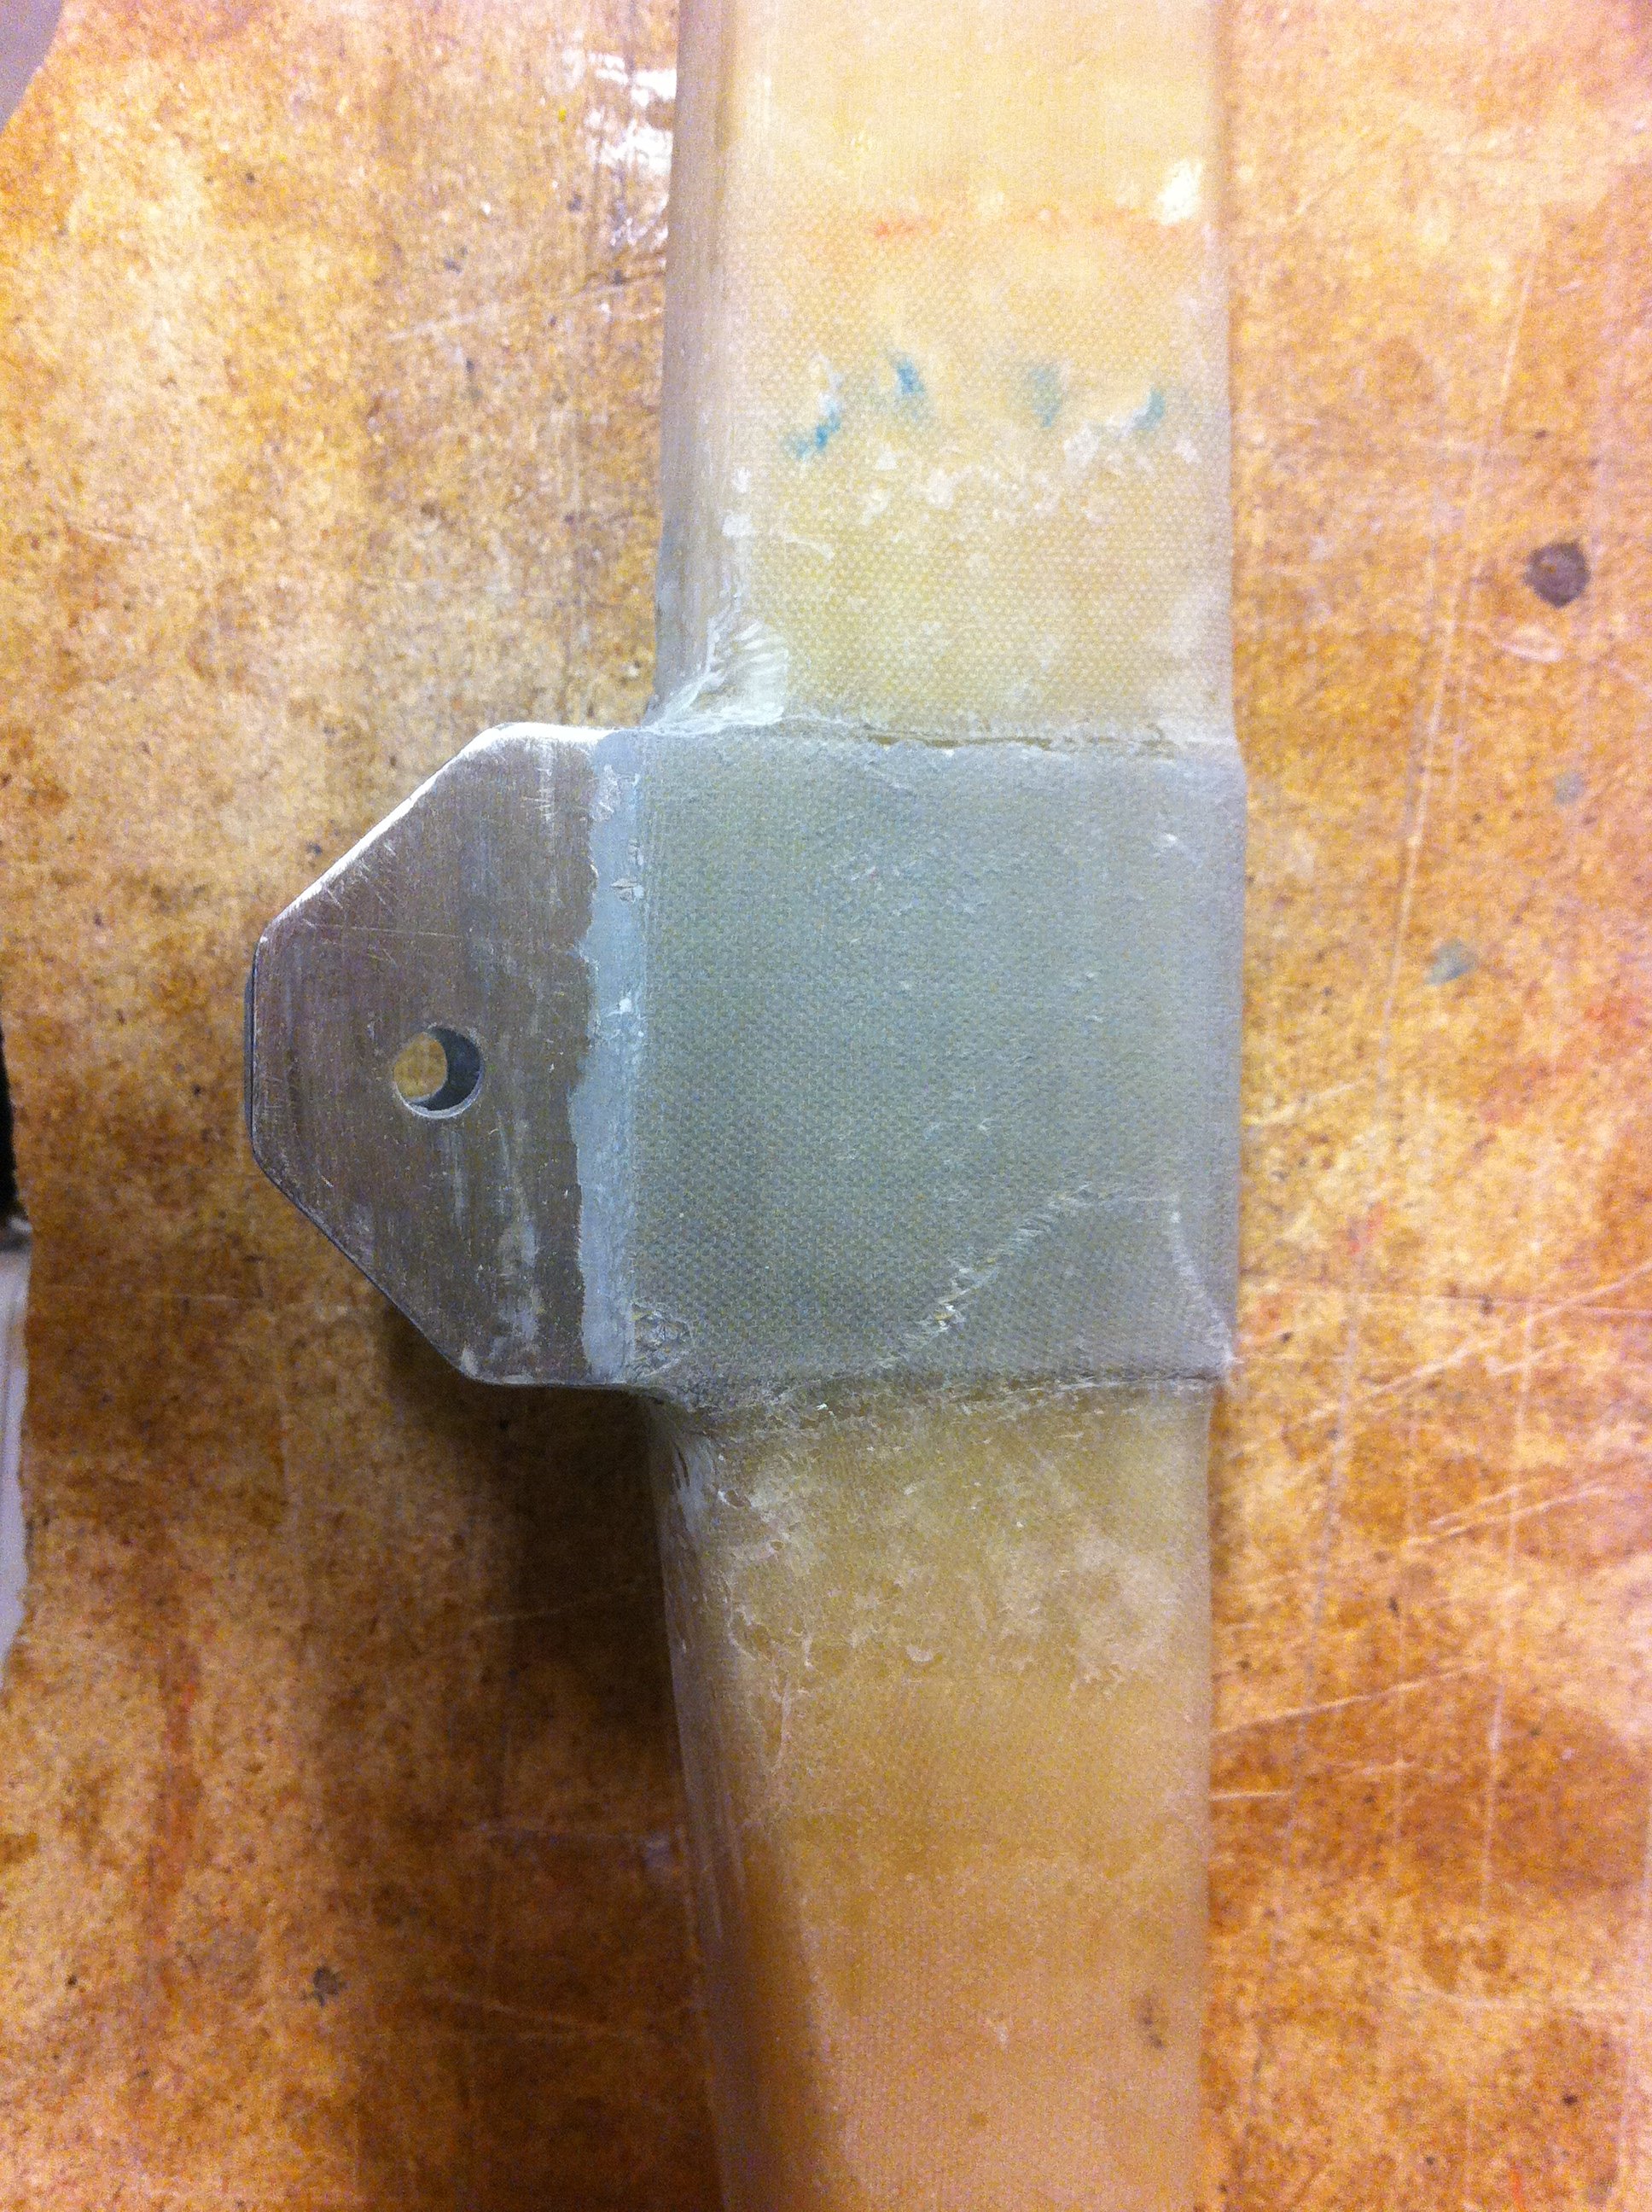
2013-04-21: As a last precaution to avoid NG3/4 to slide on the strut I covered it with 2 BID extending 1.5″ on both sides of the strut.
Started: 2013-04-12
Ended: 2013-04-21