
This step is time-consuming, and the instructions are not so stright forward as usual. I had to read and reread several times, taking notes and make som drawings until I felt I understood it all. It also helped to browse through some builder logs.

2015-04-01: I started by making all the aluminum parts. I used my jigsaw which I have made a mount for so that I can use it upside down in a jig, fastened in my work bench. Using a special blade for aluminum and oiling up the parts makes it very easy to cut the pieces. I used my belt-sander to make the radius on the edge, and then dulled the faces with another sanding-tool (180 grit). This step took 2 hours.
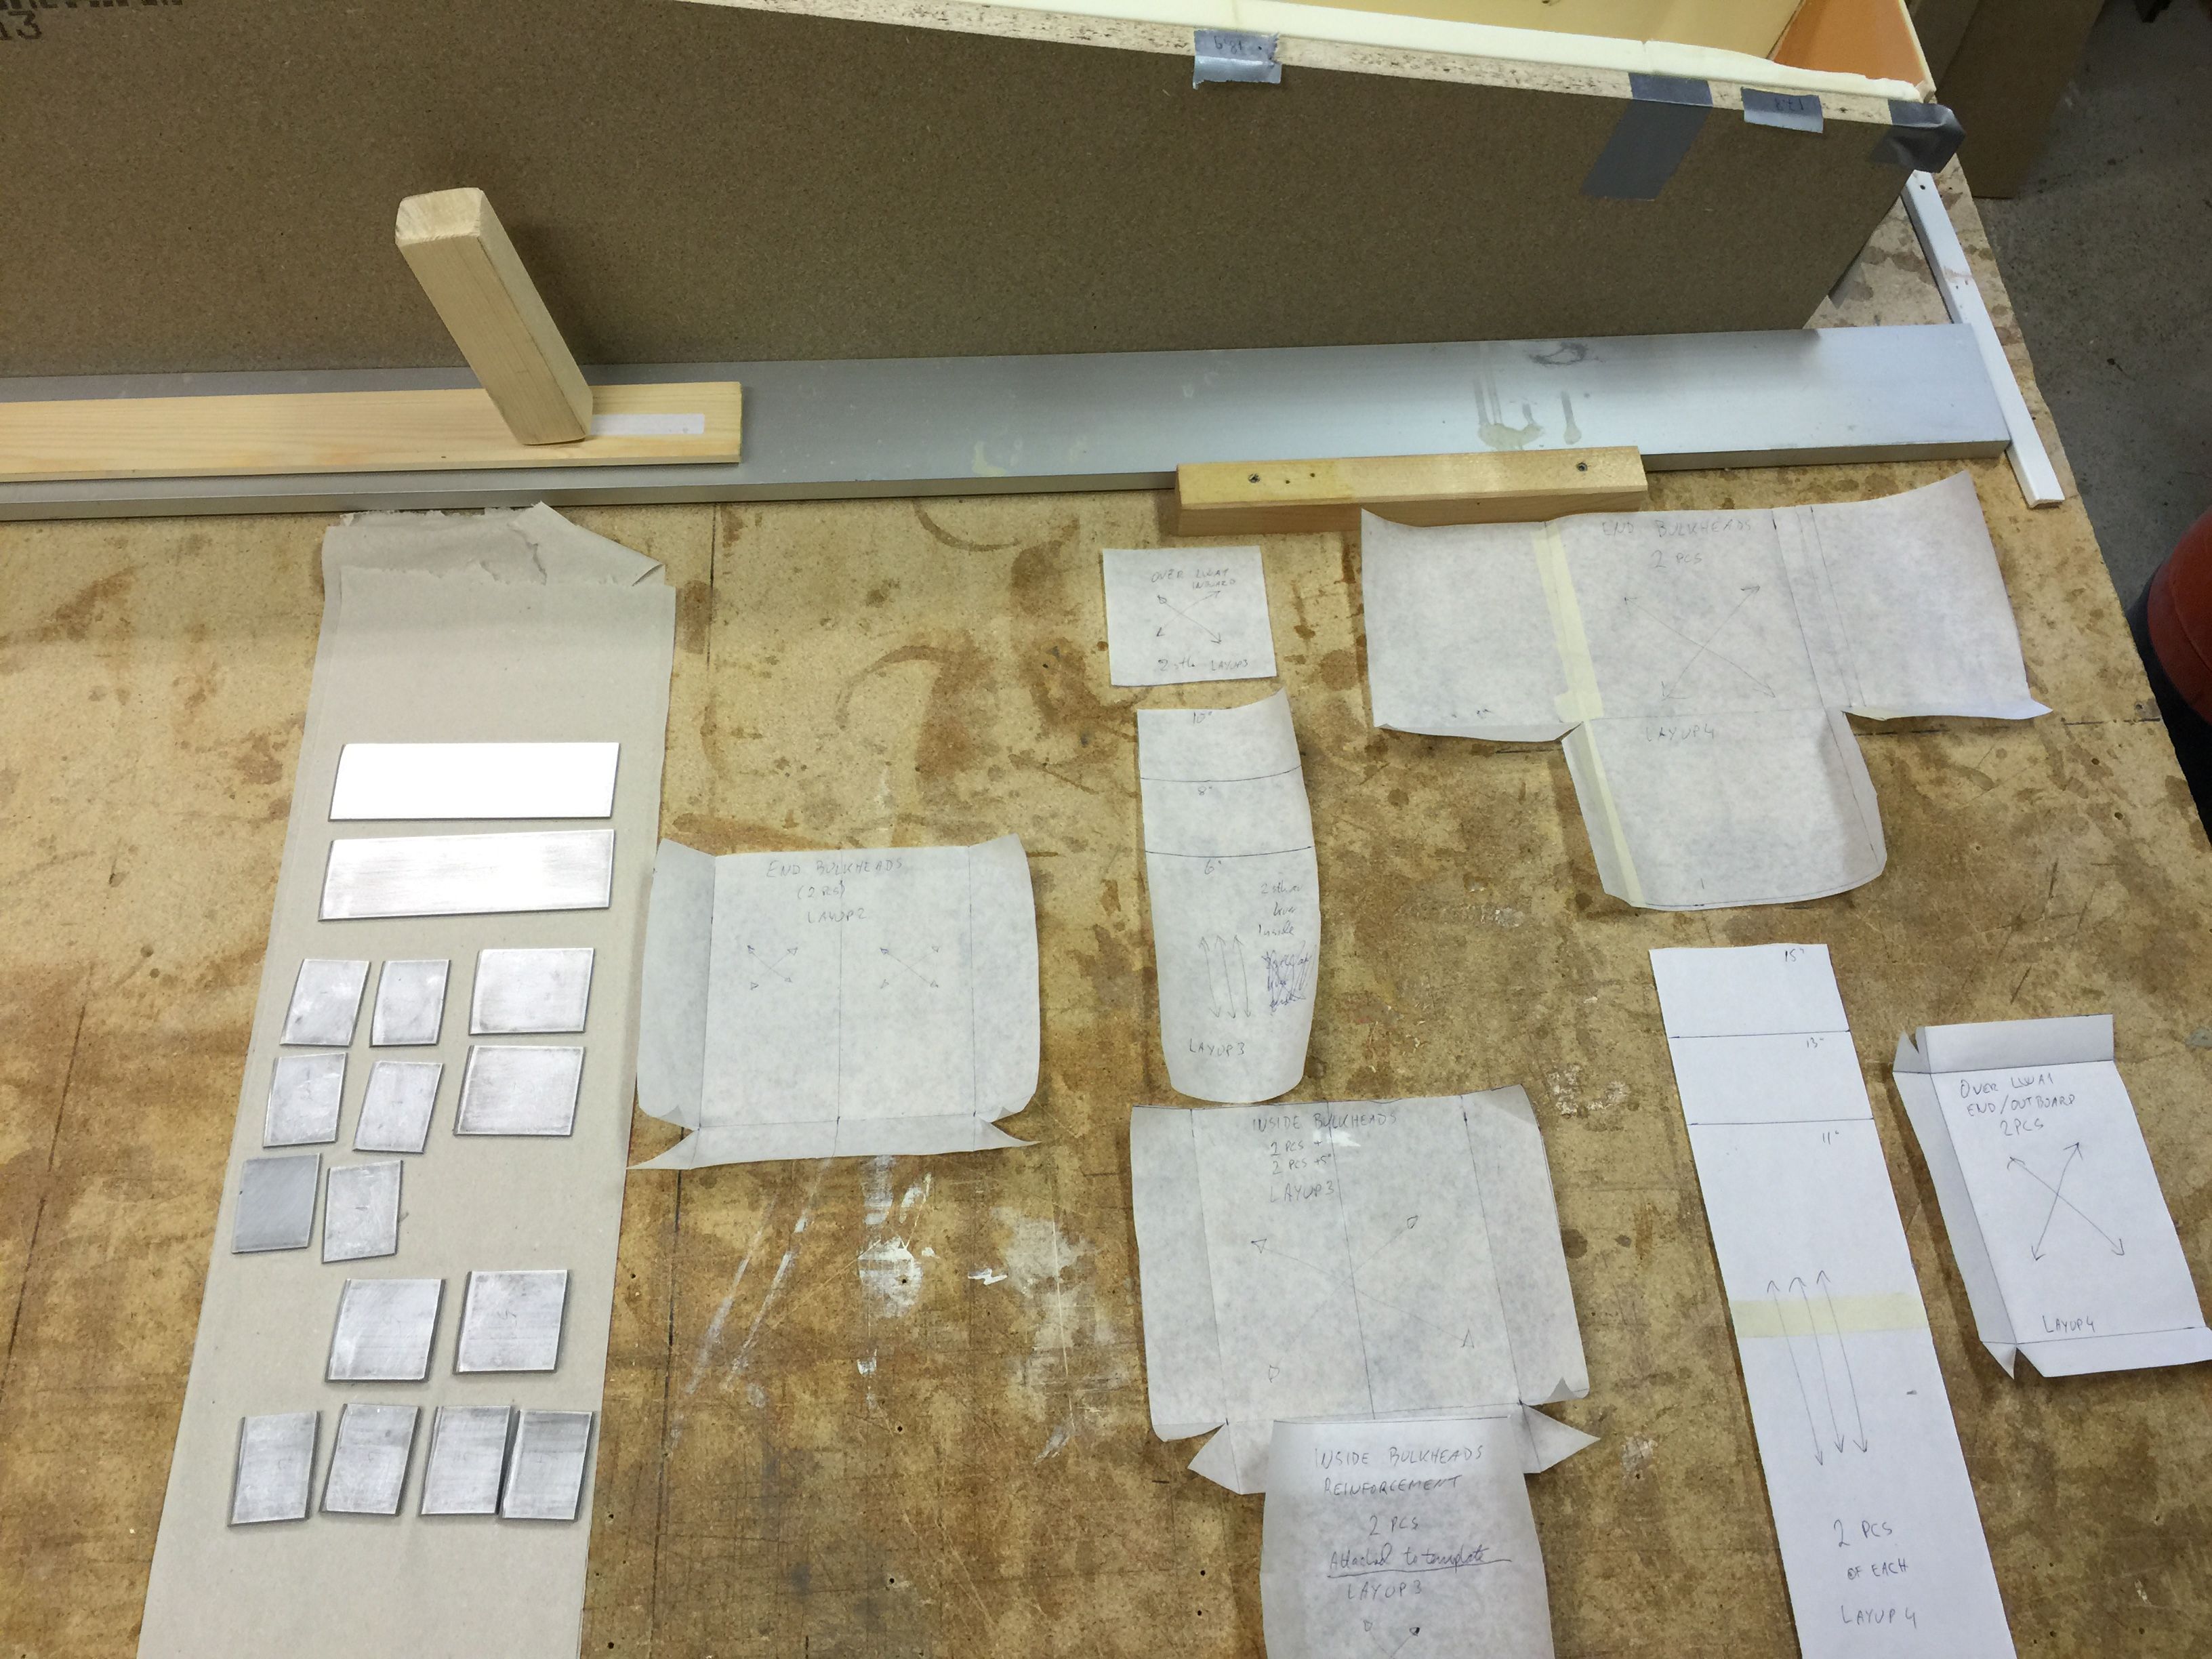
2015-04-01: I made several paper templates to make it easier to cut the glass. By doing this I also had to think through and understand all the layups in this step.

2015-04-01: As the last step in the preparations I cut all the glass. I will wet all glass on plastic to make it easier to transfer onto the spar.
The preparations alone took 6:30 hours.
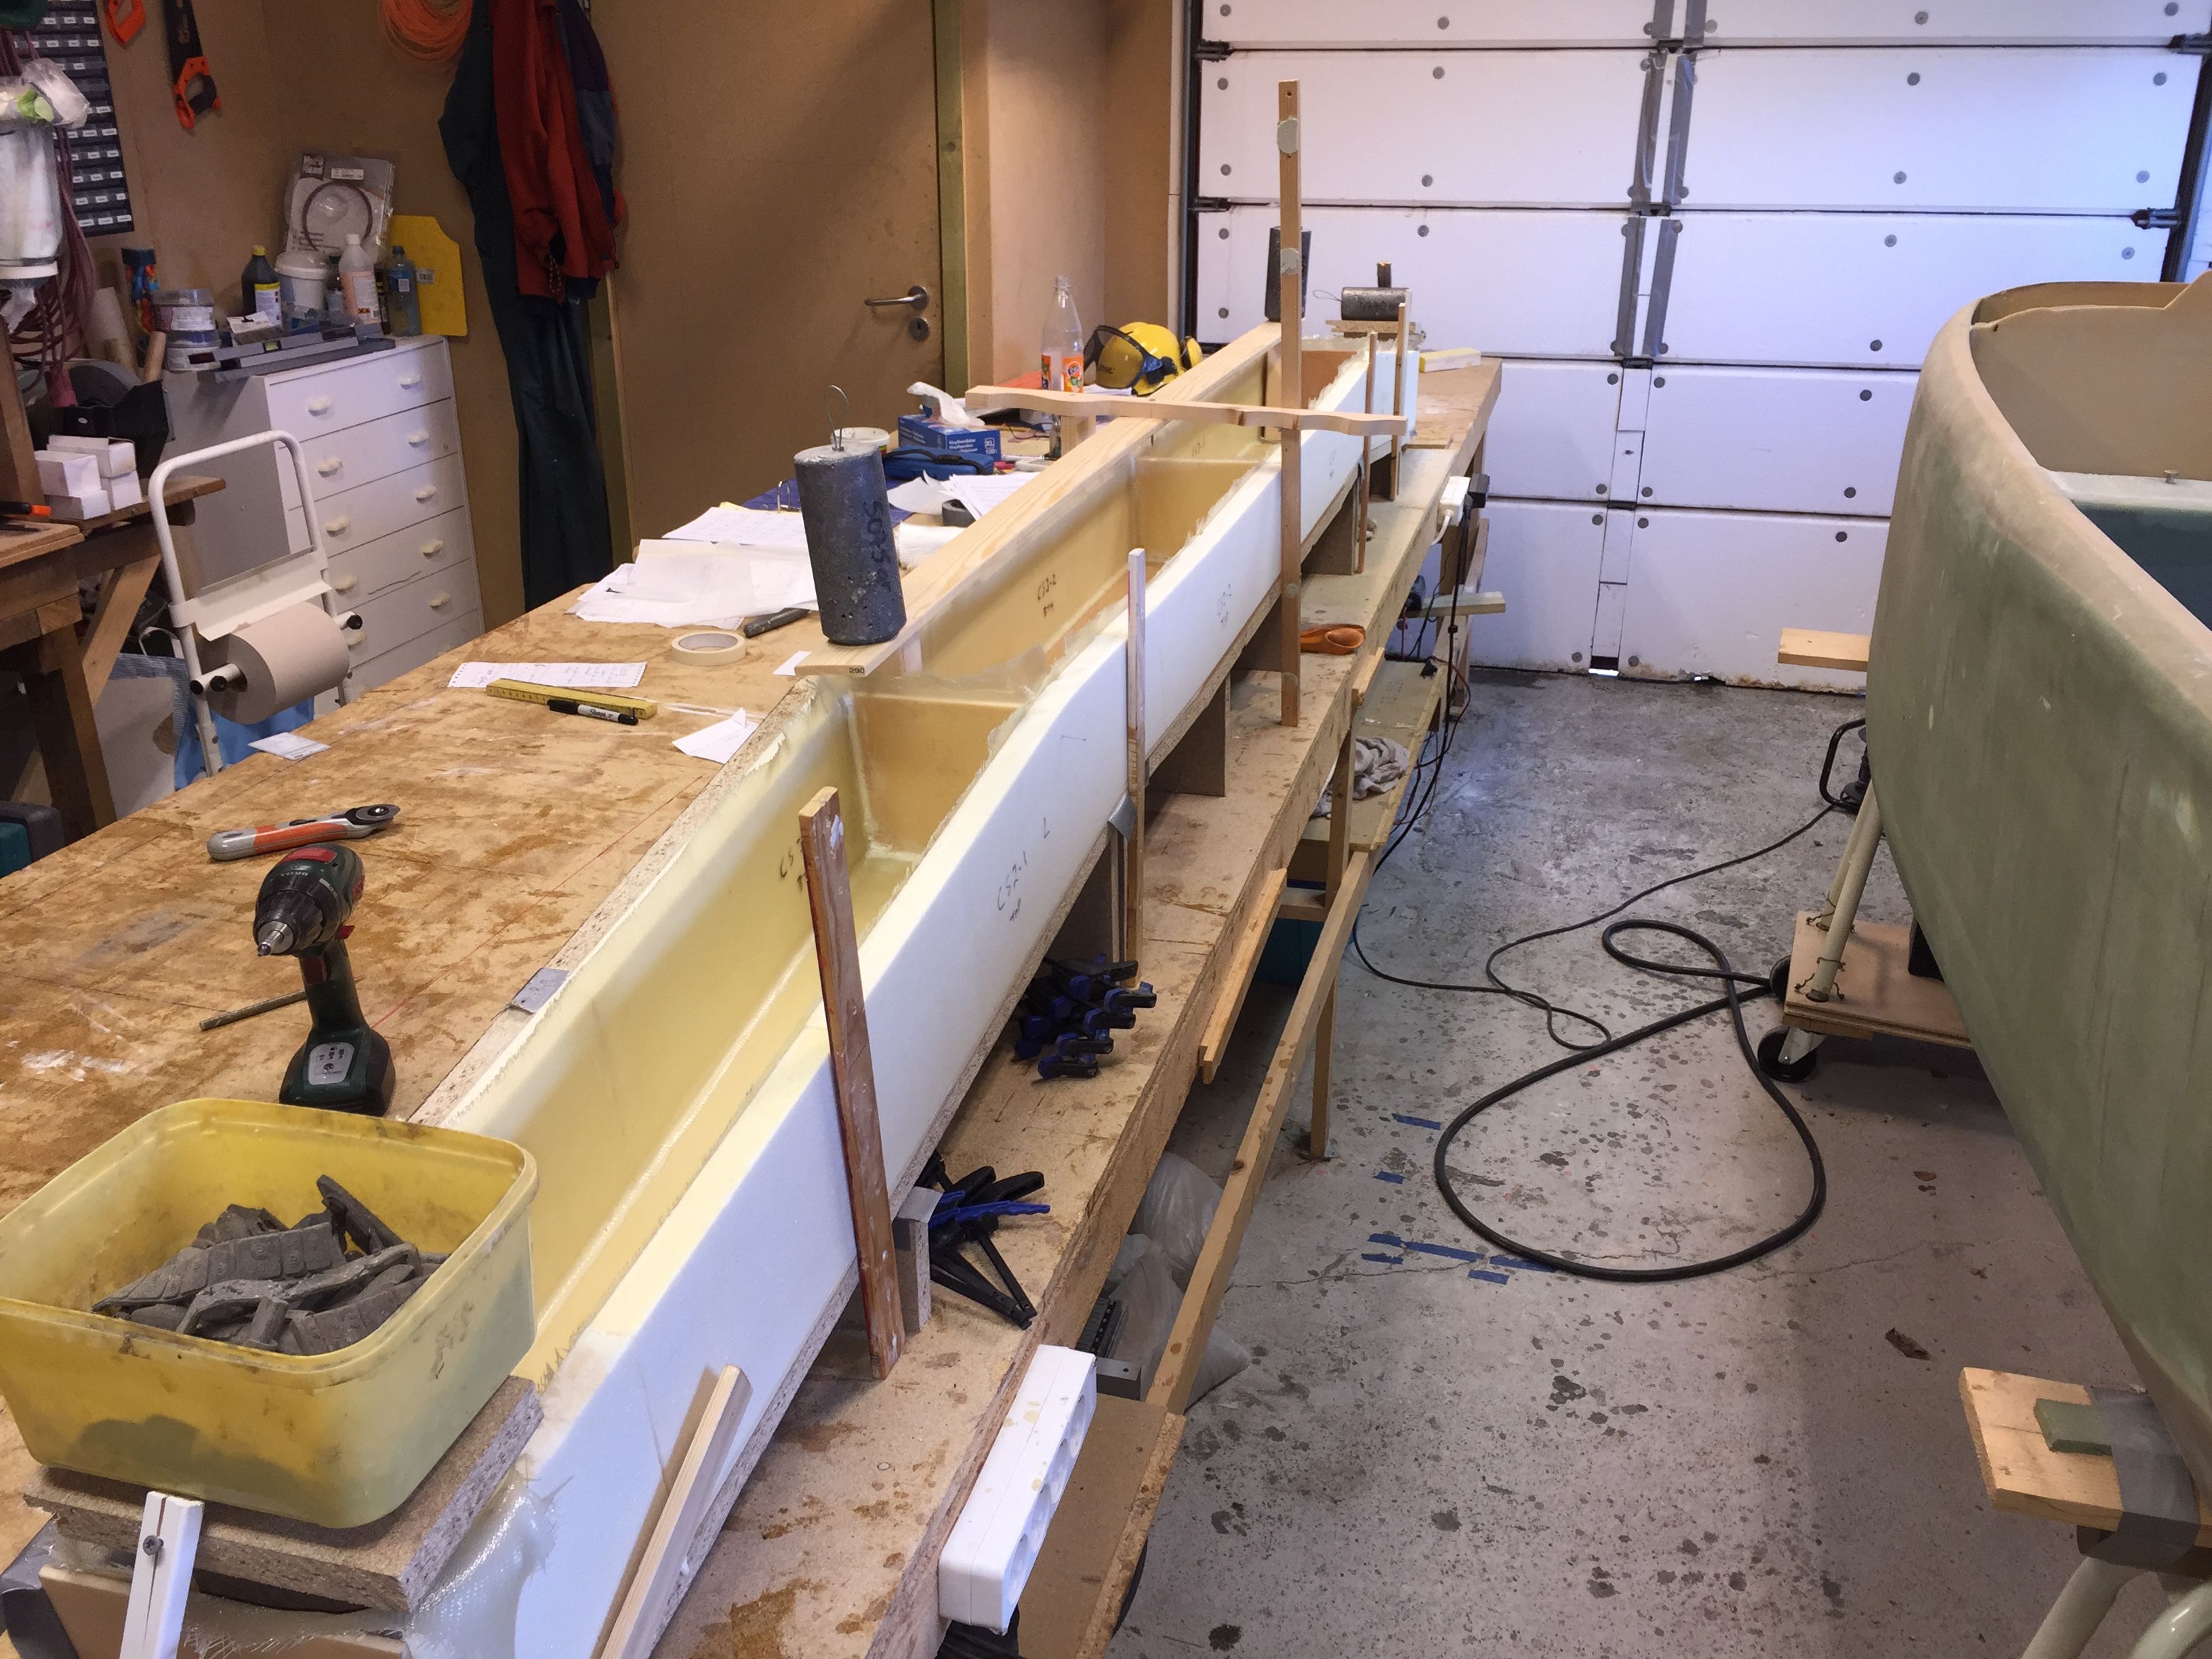
2015-04-02: Glassed the inside. I made all the glass-layups on saran-wrap before I transfered it to the spar. On the edges and in the center you can see the fixtures I made for the hardpoint weights. Since the hardpoints are in a place that slopes down I had to think of a way to mount the pressure points so that they put a pressure perpendicular to the hardpoints, and so that I can place a weight upon them without the weight falling off.
After cure I made a 1.5″ wide hole in the center of the three inner bulkheads for cables etc.
This step took 5:30 hours.