
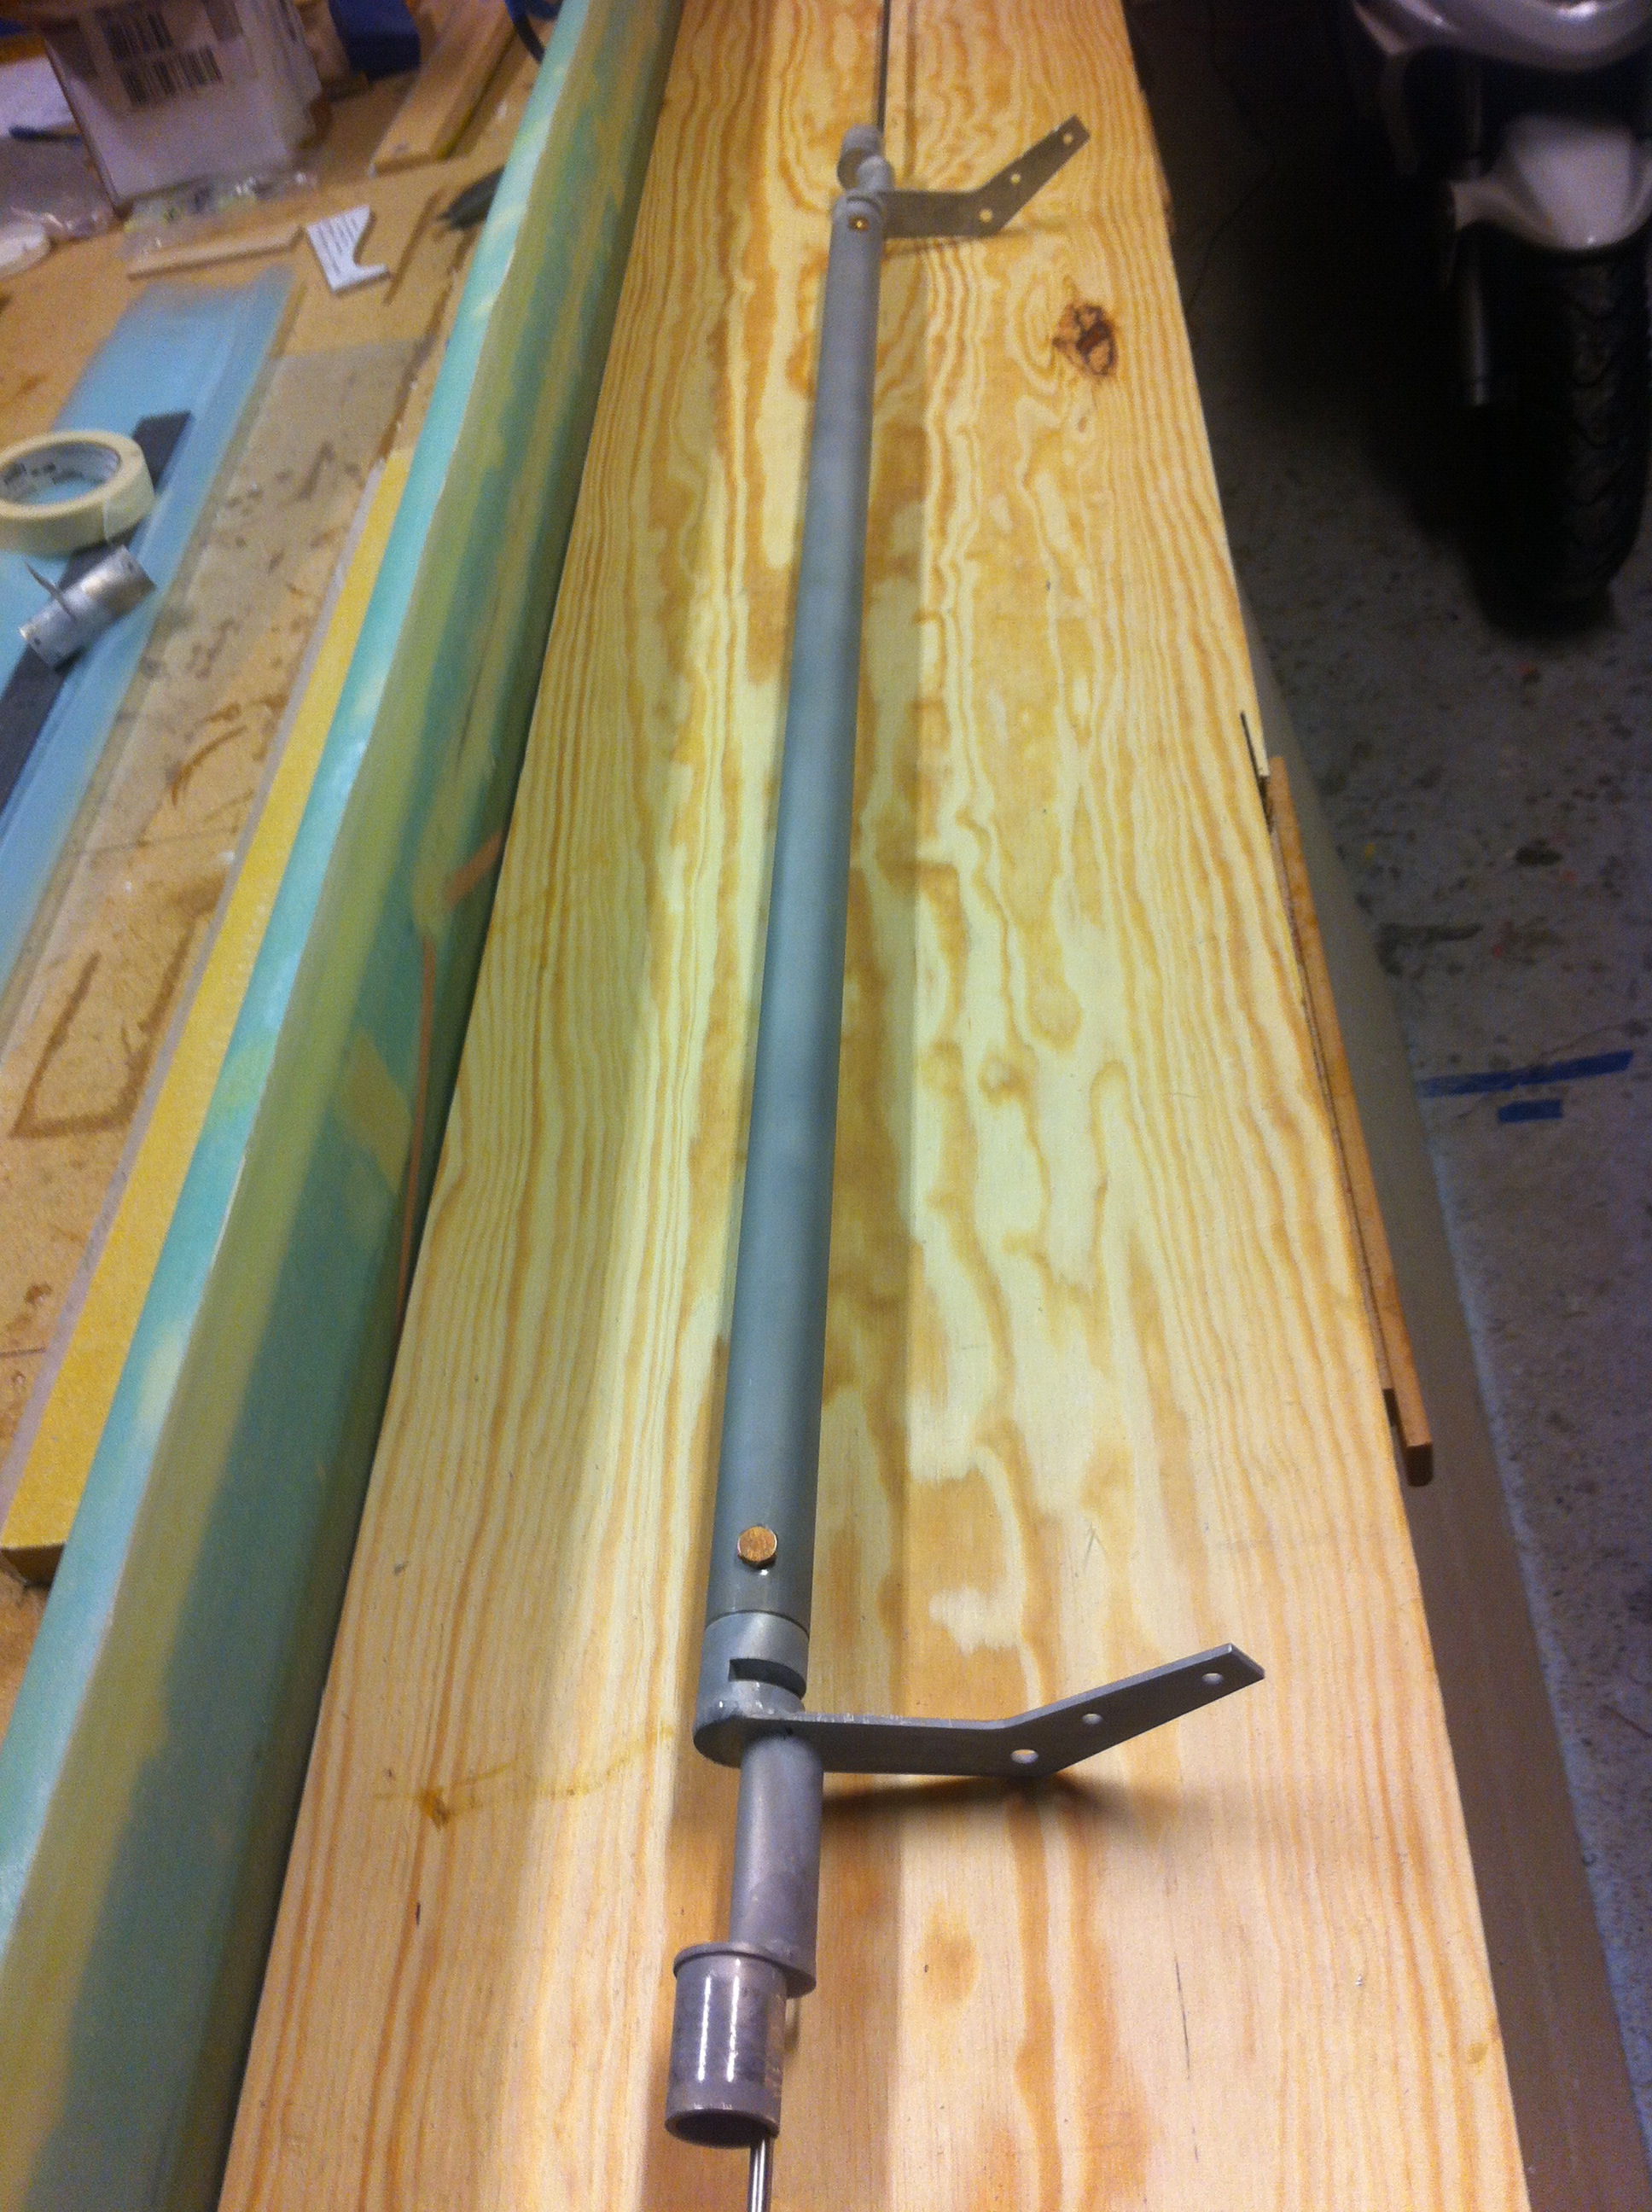
2012-10-12: The spool-piece is attached to the two torque-tube offsets with two bolts. The pre-drilled holes in the torque-tube offsets were a bit narrow so the hinge pin didn’t slide through. I simply drilled through the holes with a 5mm drill-bit.
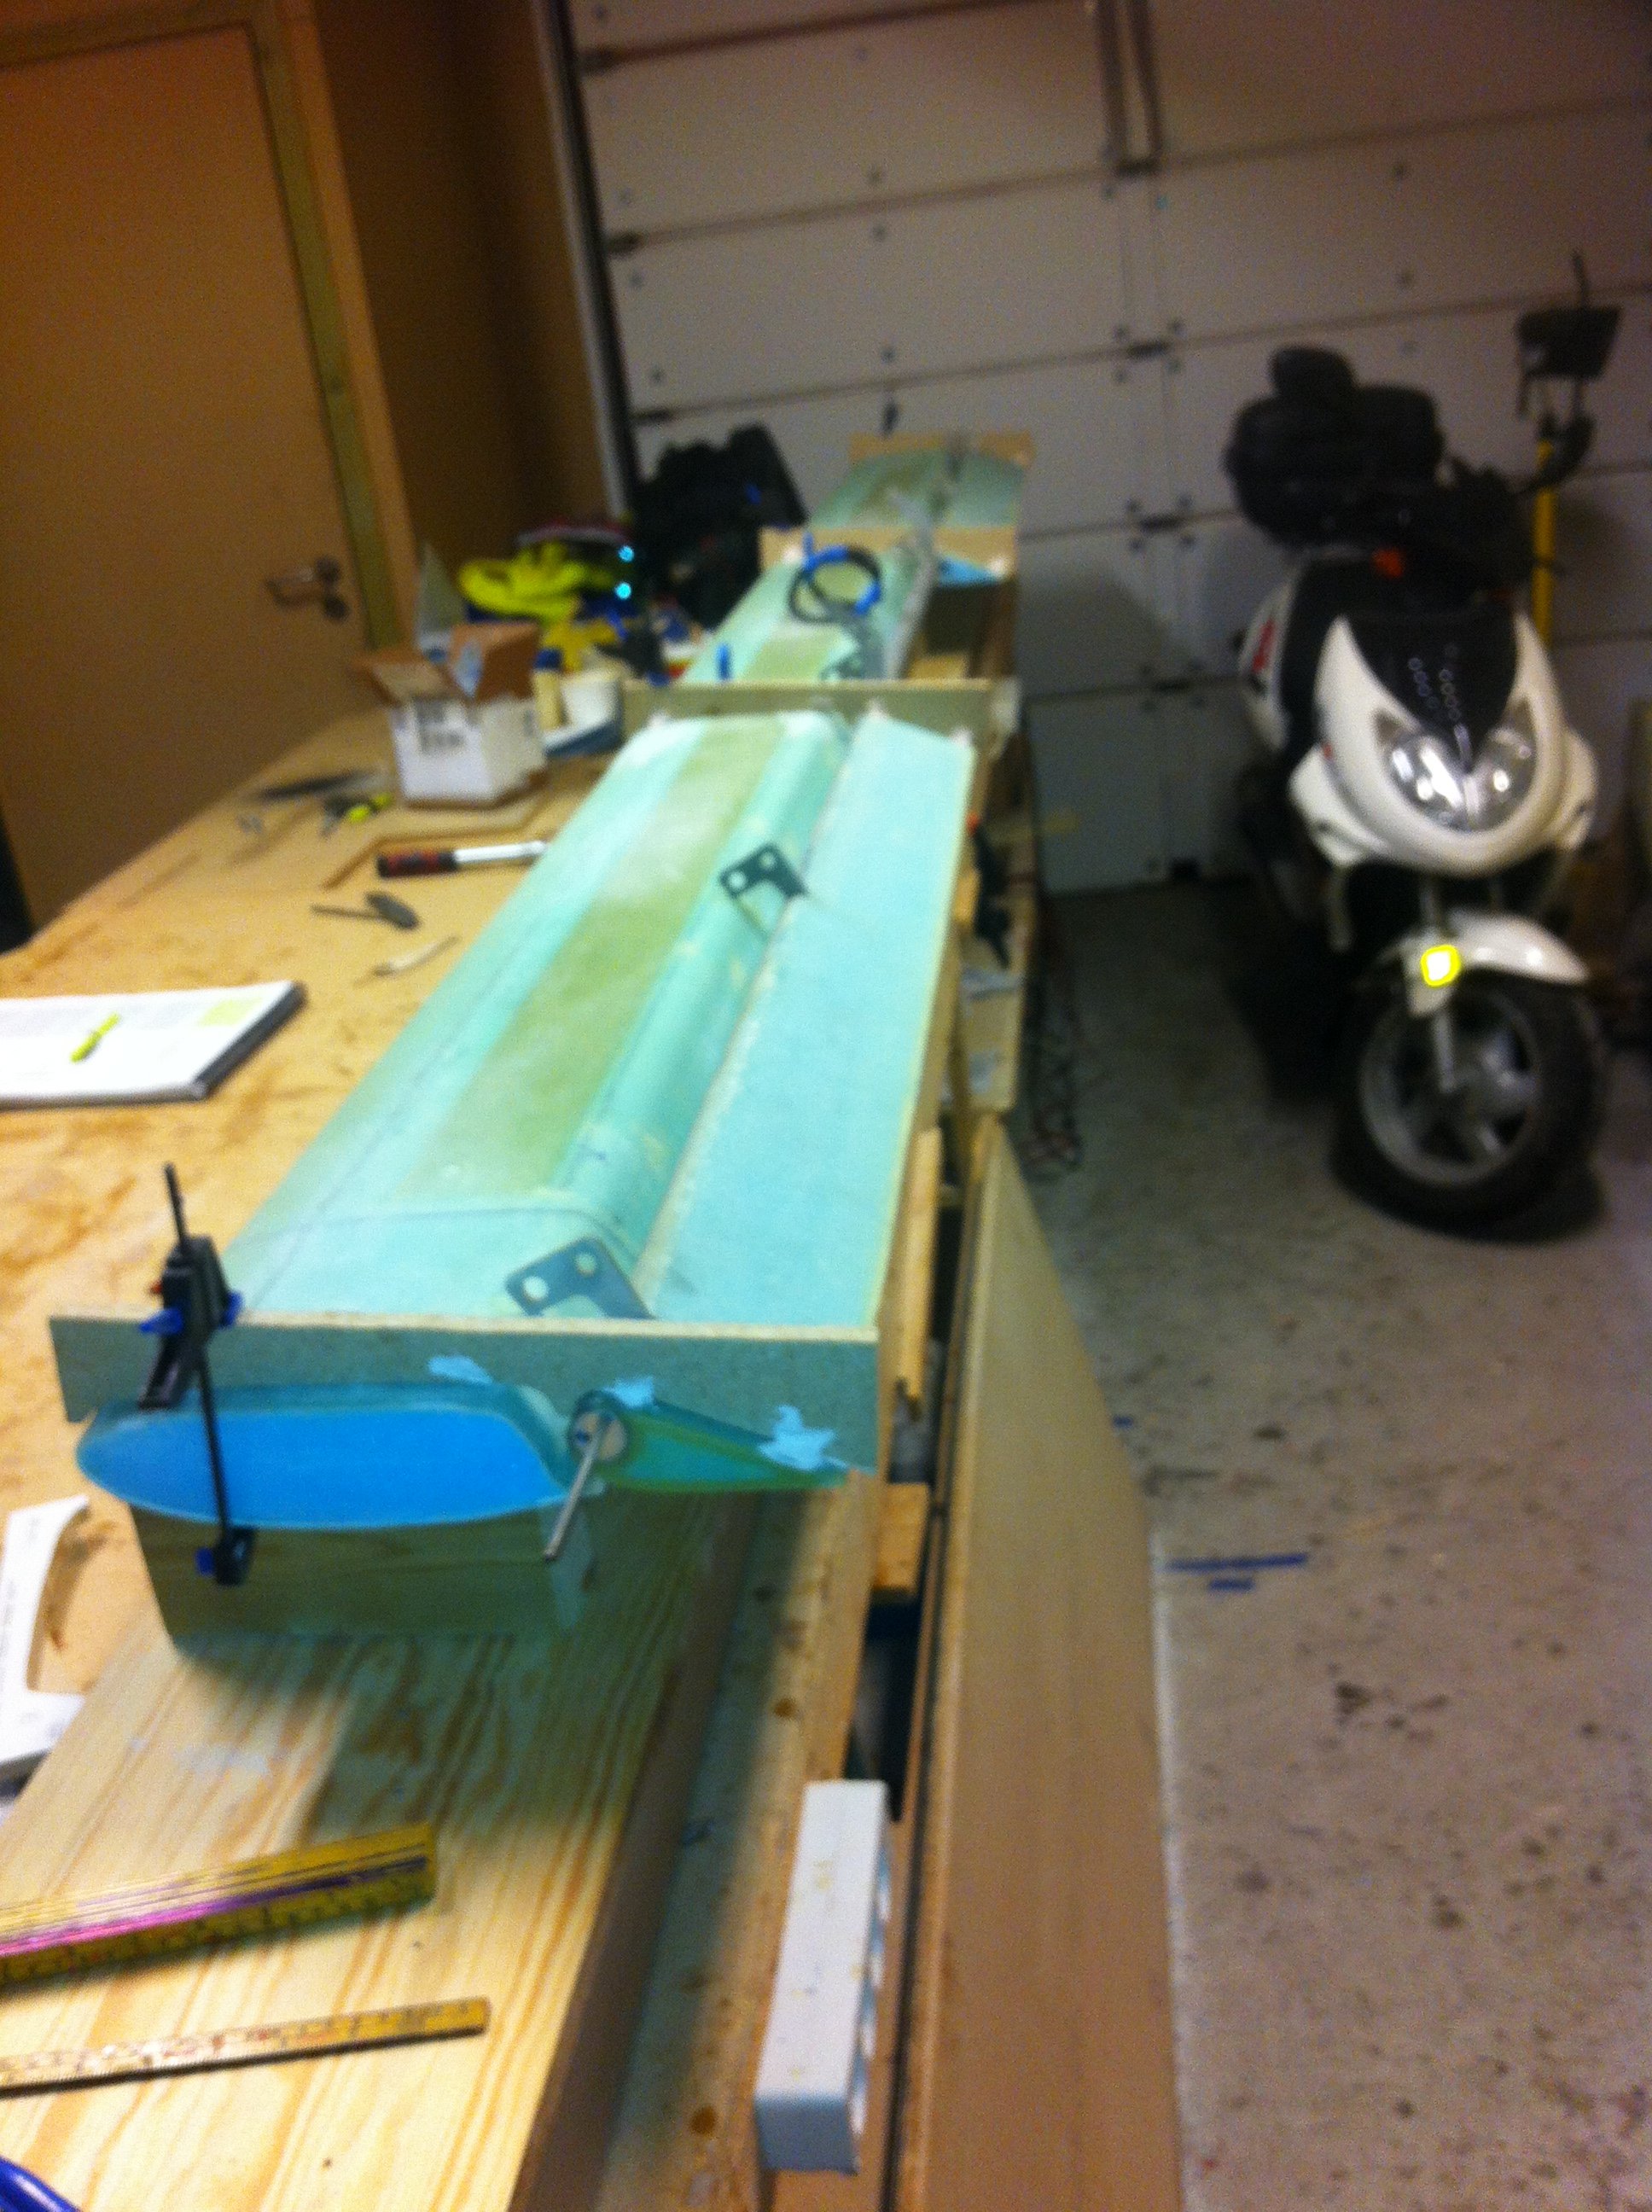
2012-11-02: The canard and elevator are aligned using the jigs. To make this work I had to attach the jigs to the elevator with bondo, before attaching it to the canard. As many before me I had problems with the space between the canard and elevator to allow for full deflection. I had to shorten the glass-to-glass trailing edge of the canard a bit, approx 8 mm. I still have 1/2 inch left of the glass-to-glass edge.
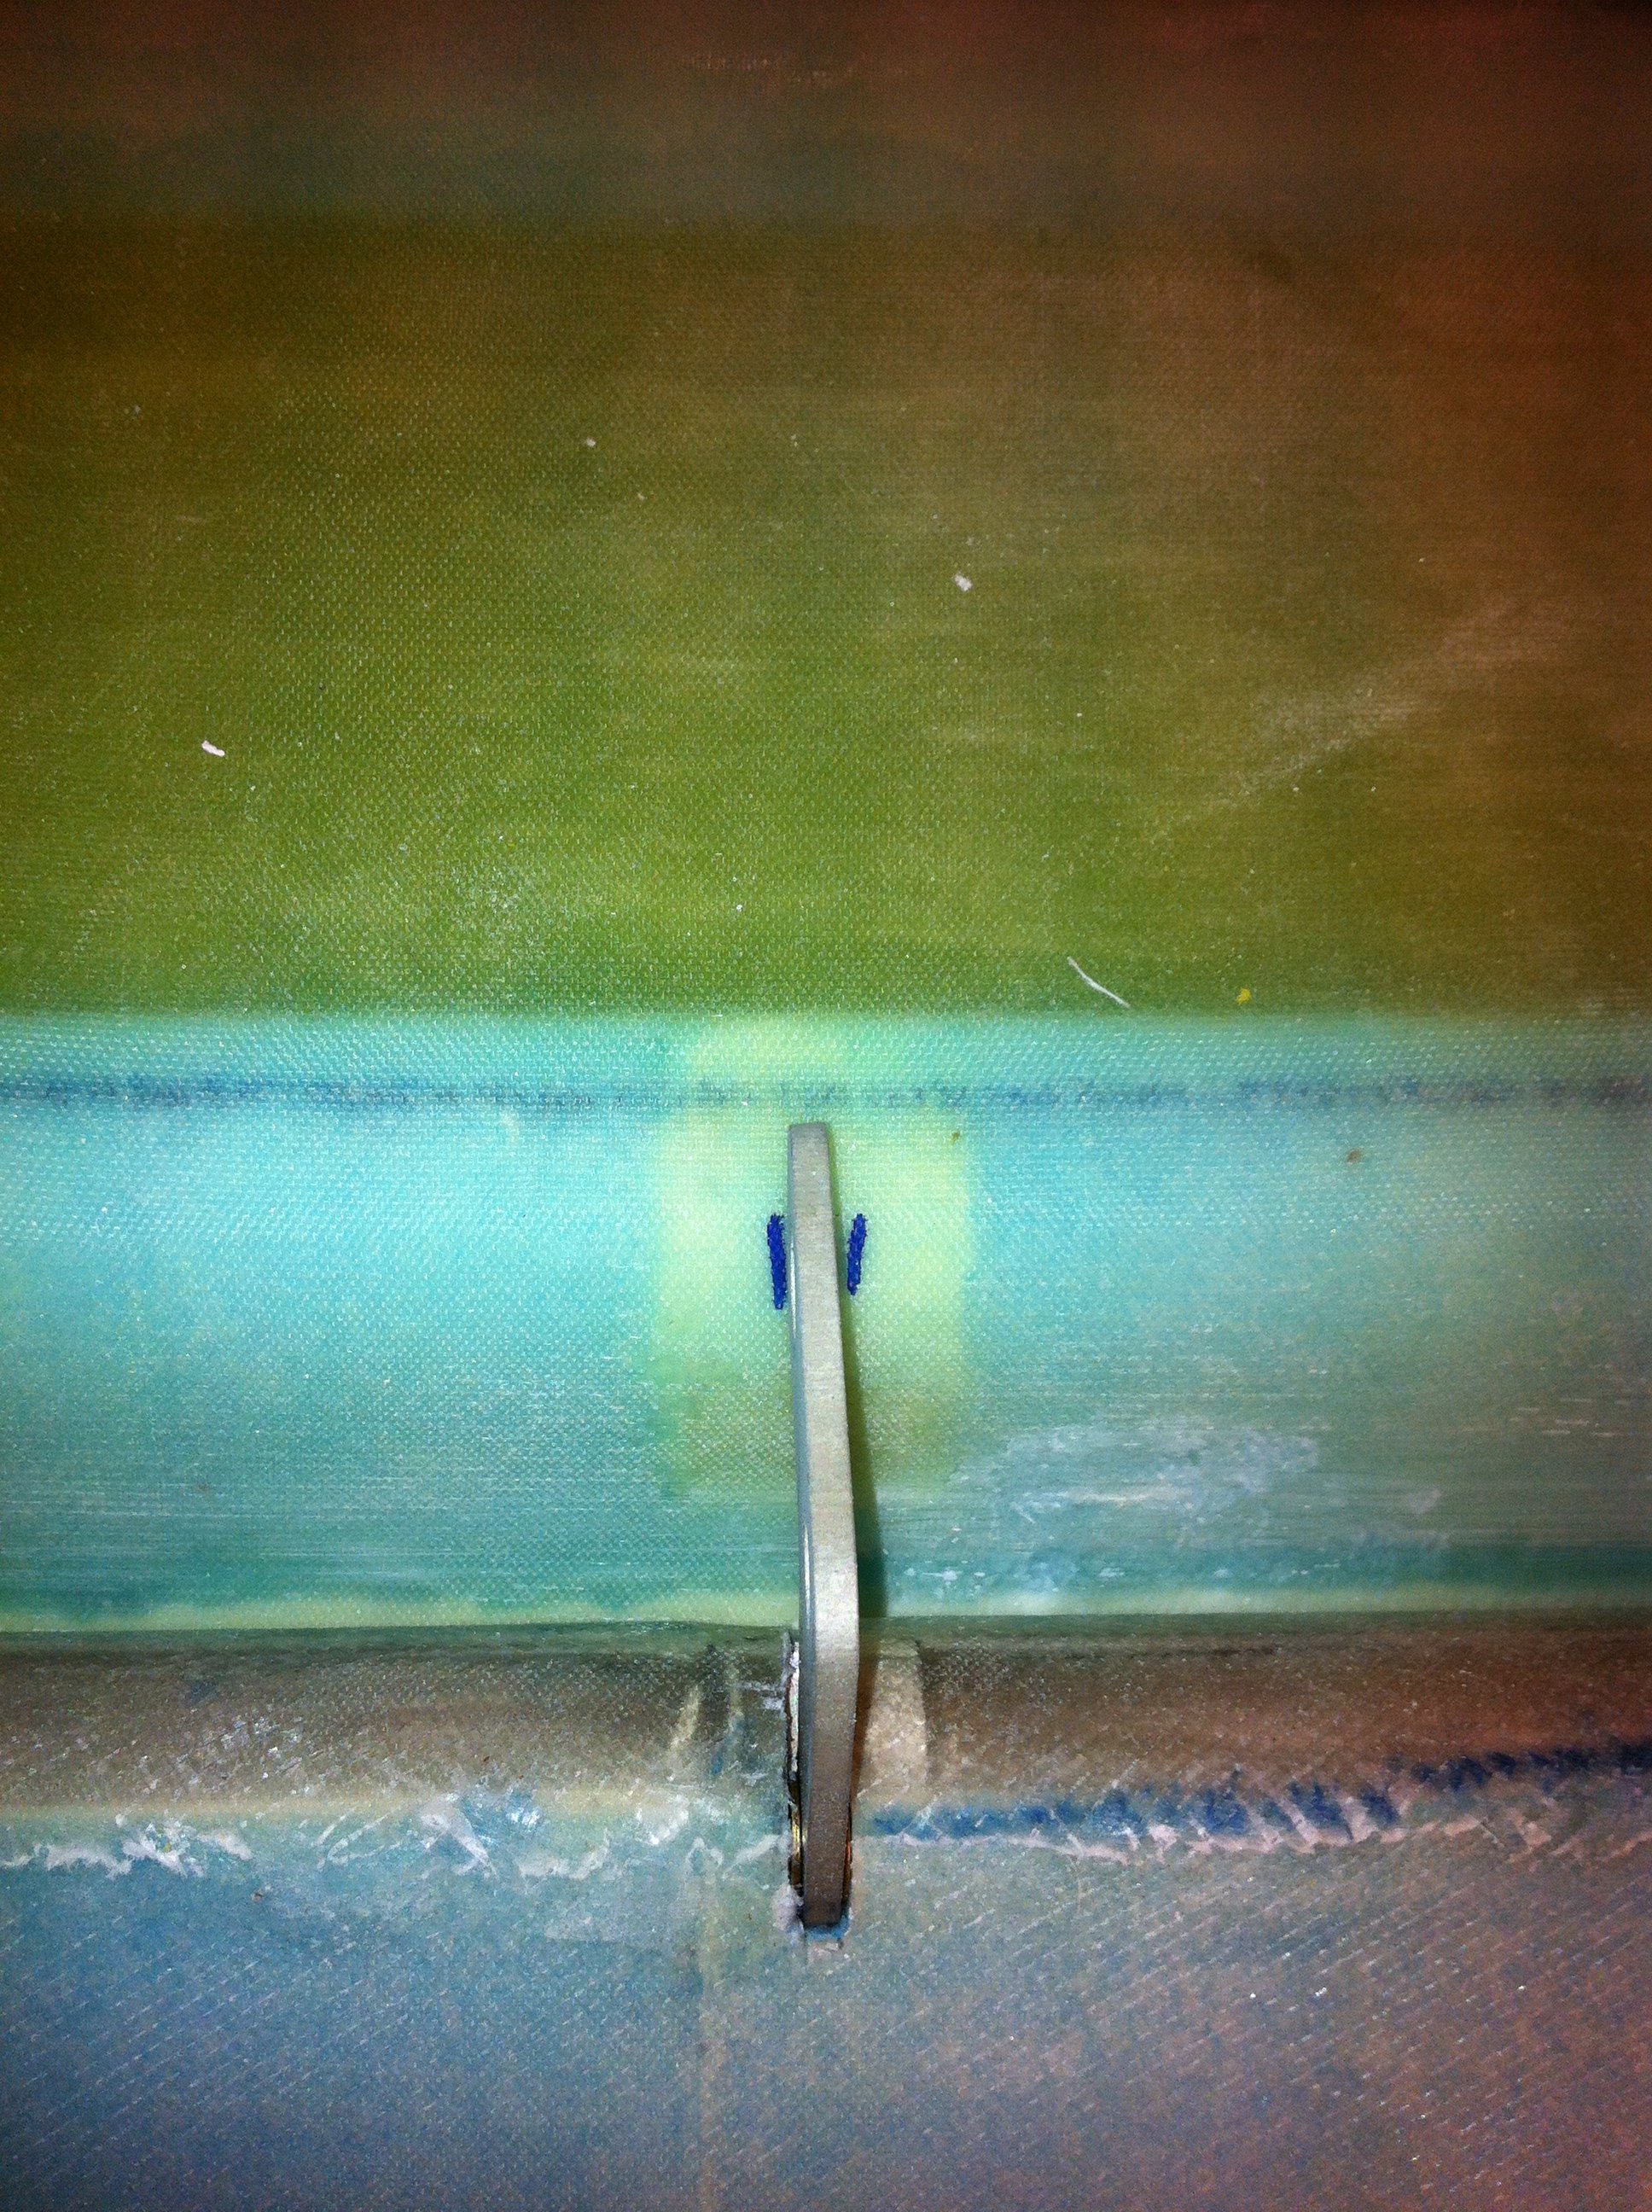
2012-11-02: I marked the point where the hinge touches the canard.
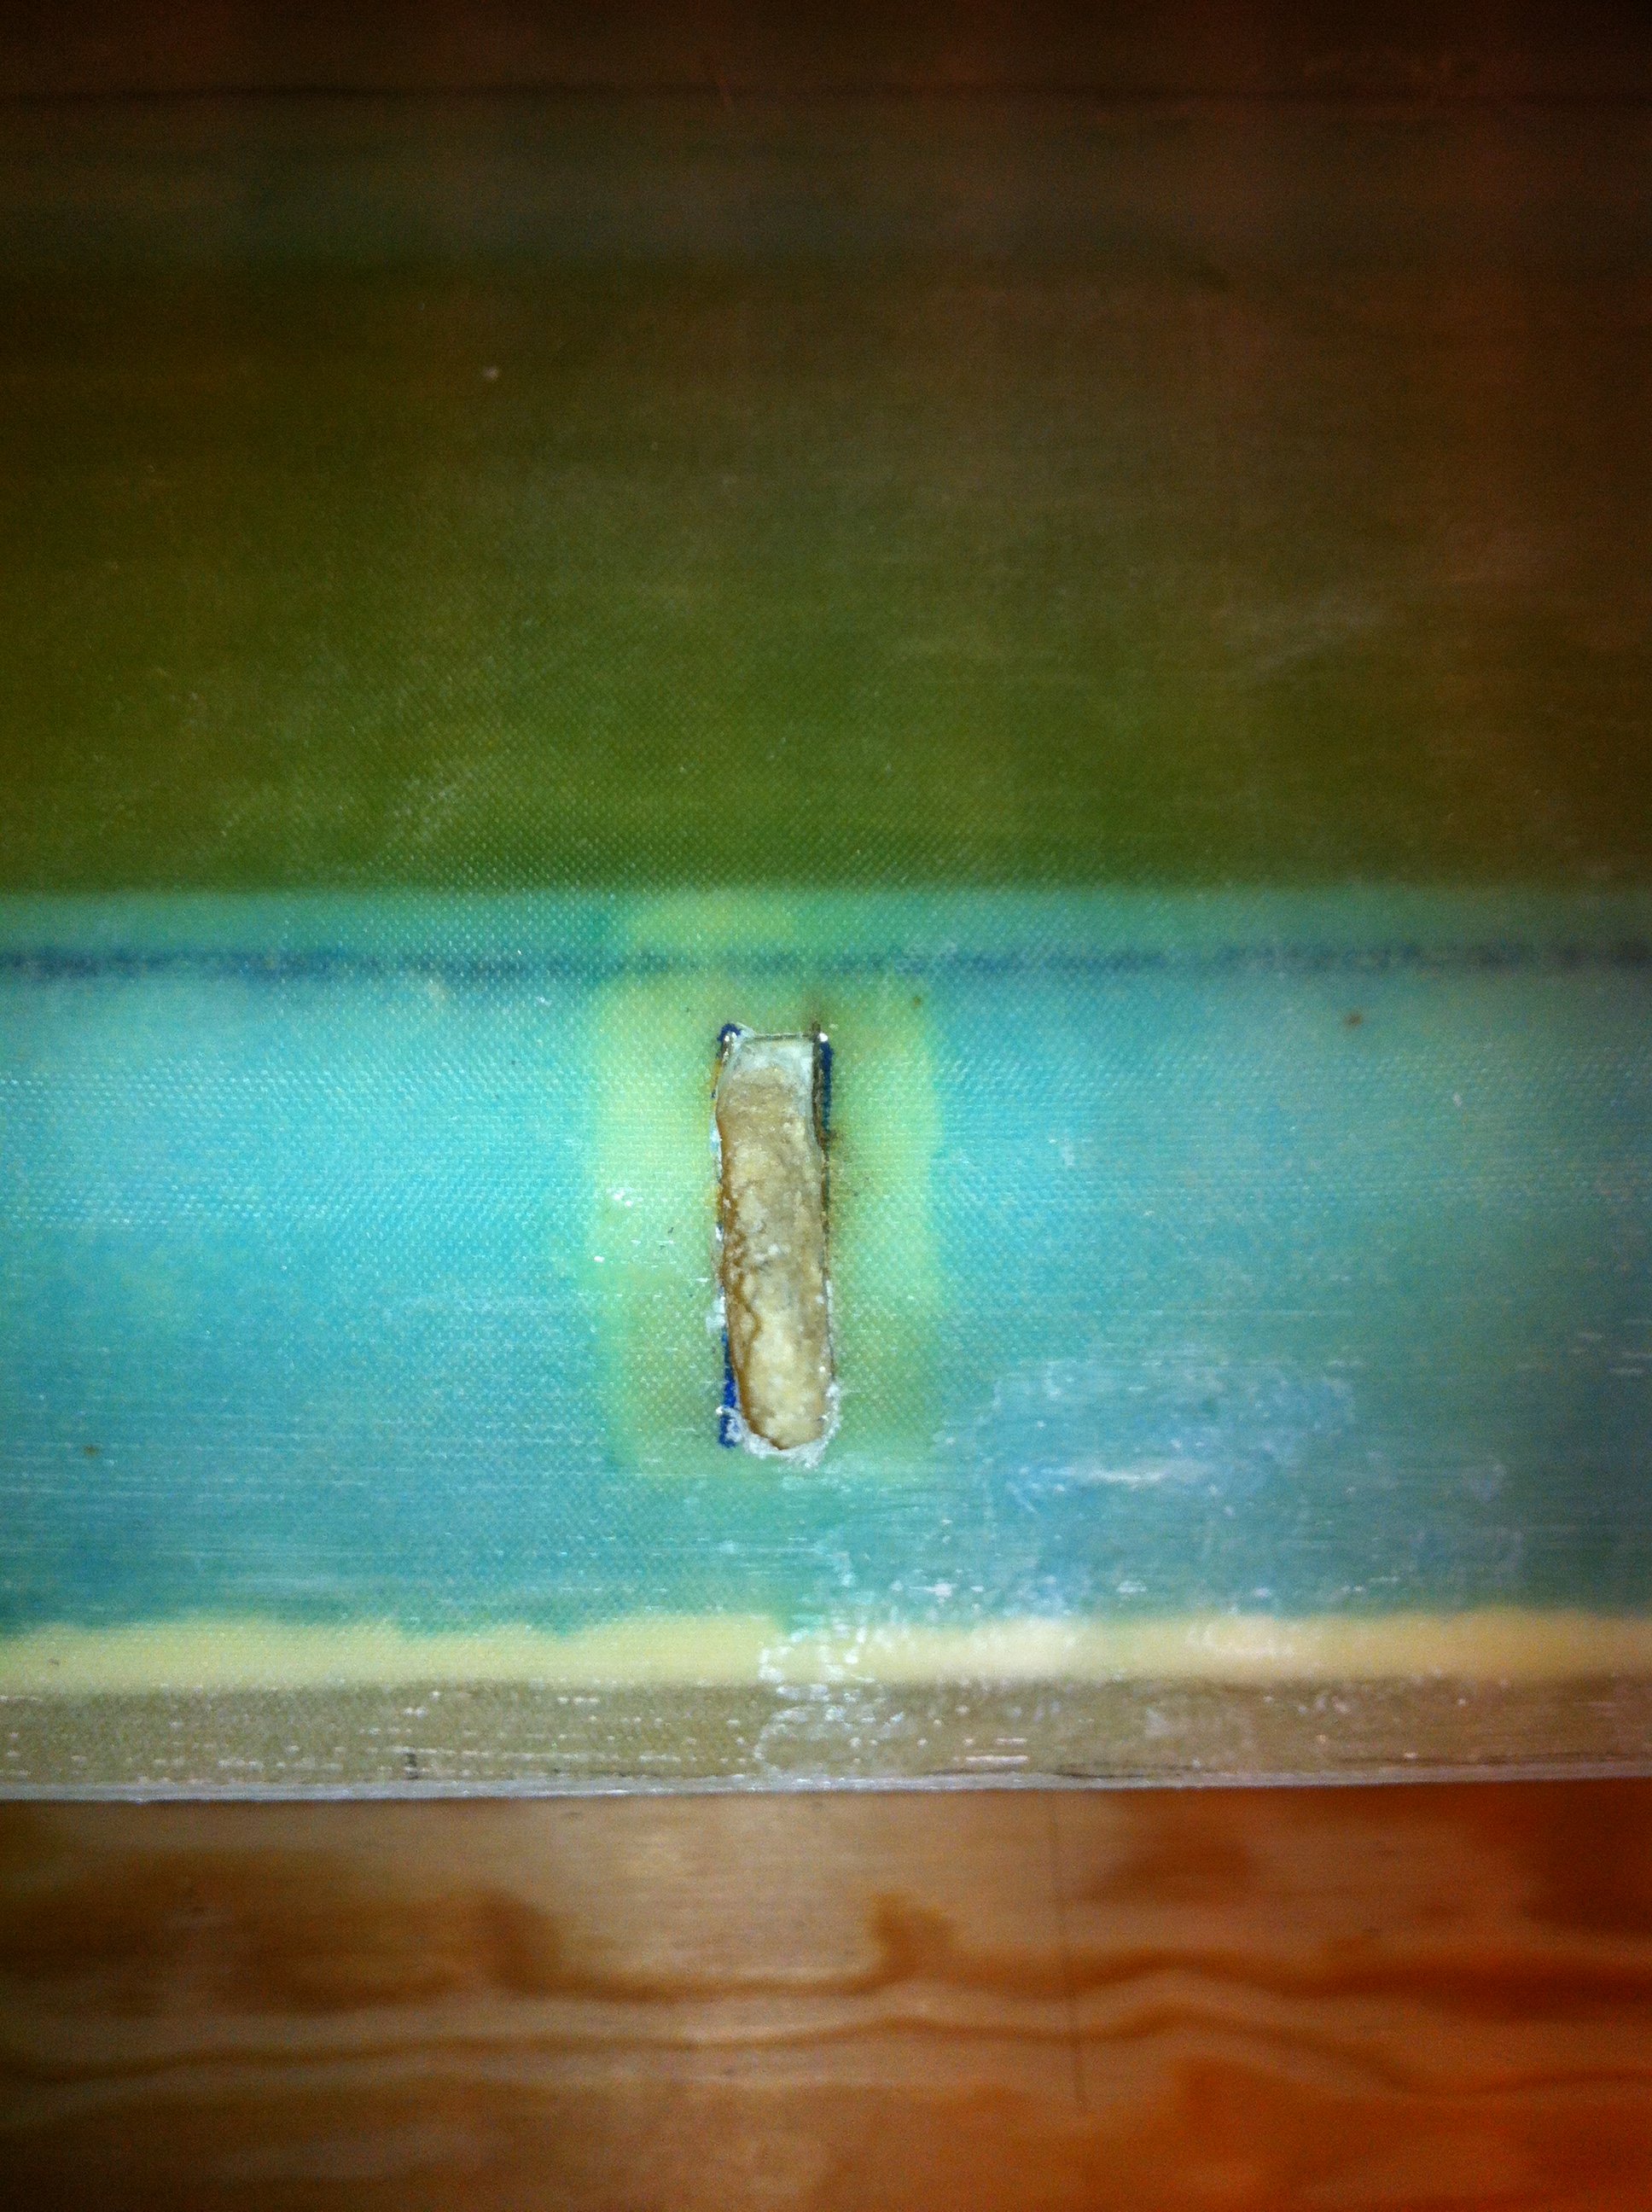
2012-11-02: I routed out slots in the canard for the hinges using the Dremel and a drill-bit. Filled the slot with wet flox, attached the elevator again with the hinges in the slots. I did not bondo the jig to the elevator, instead I used clamps. Worked like a charm. Used a syringe to fill the slots with wet flox.
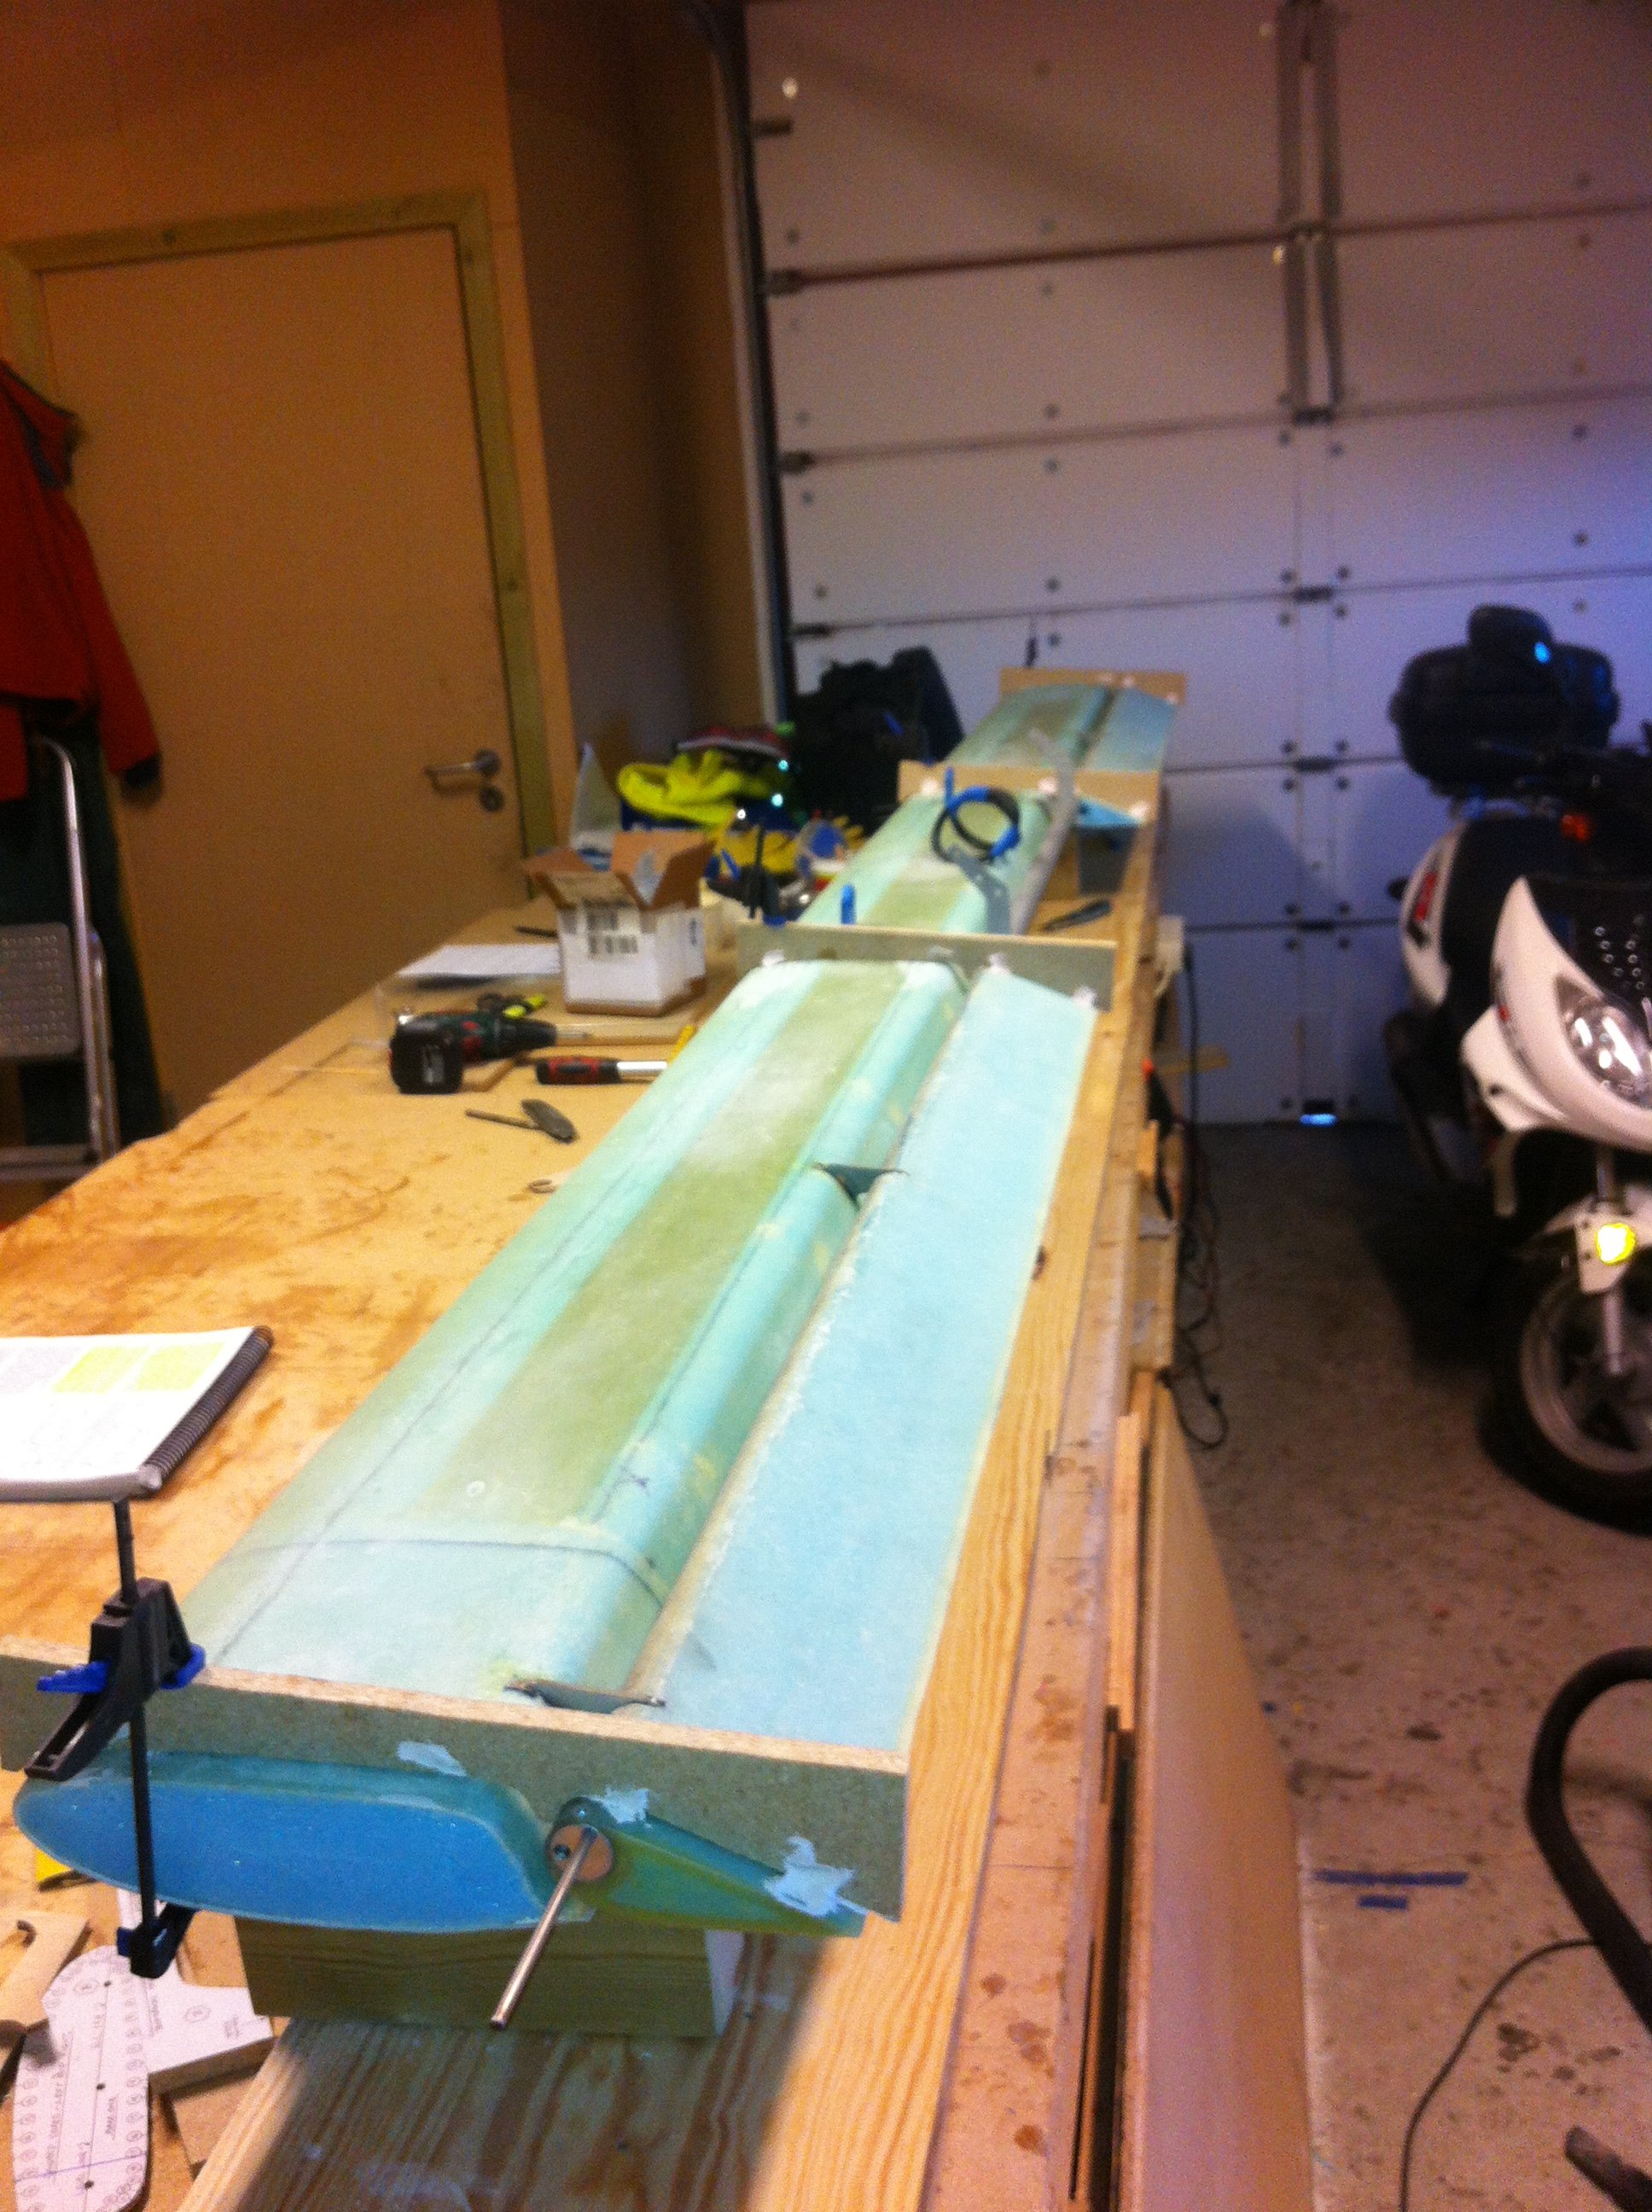
2012-11-02: The hinges are floxed and the construction is set to cure over night.