2016-07-10: Started this step by moving the wing from the floor and on top of the table. Then I flipped the wing with the jigs still fastened so that the bottom face of the wing are facing upwards. Finally I rechecked the jigs for accuracy, being certain they are absolutely straight and level before I fastened the jigs to the table. Removed the upper parts of the jigs making the wing ready for the bottom spar cap.
2016-07-11: Made a dam of some 6mm plywood. Covered with duct tape as a release agent. I bondoed this to the spar, but also used some drywall screws to tighten it a bit more. Finally I sealed the tiny gap between the dam and the shear web with semi dry flox to avoid epoxy from the spar cap to run between the dam and the shear web.
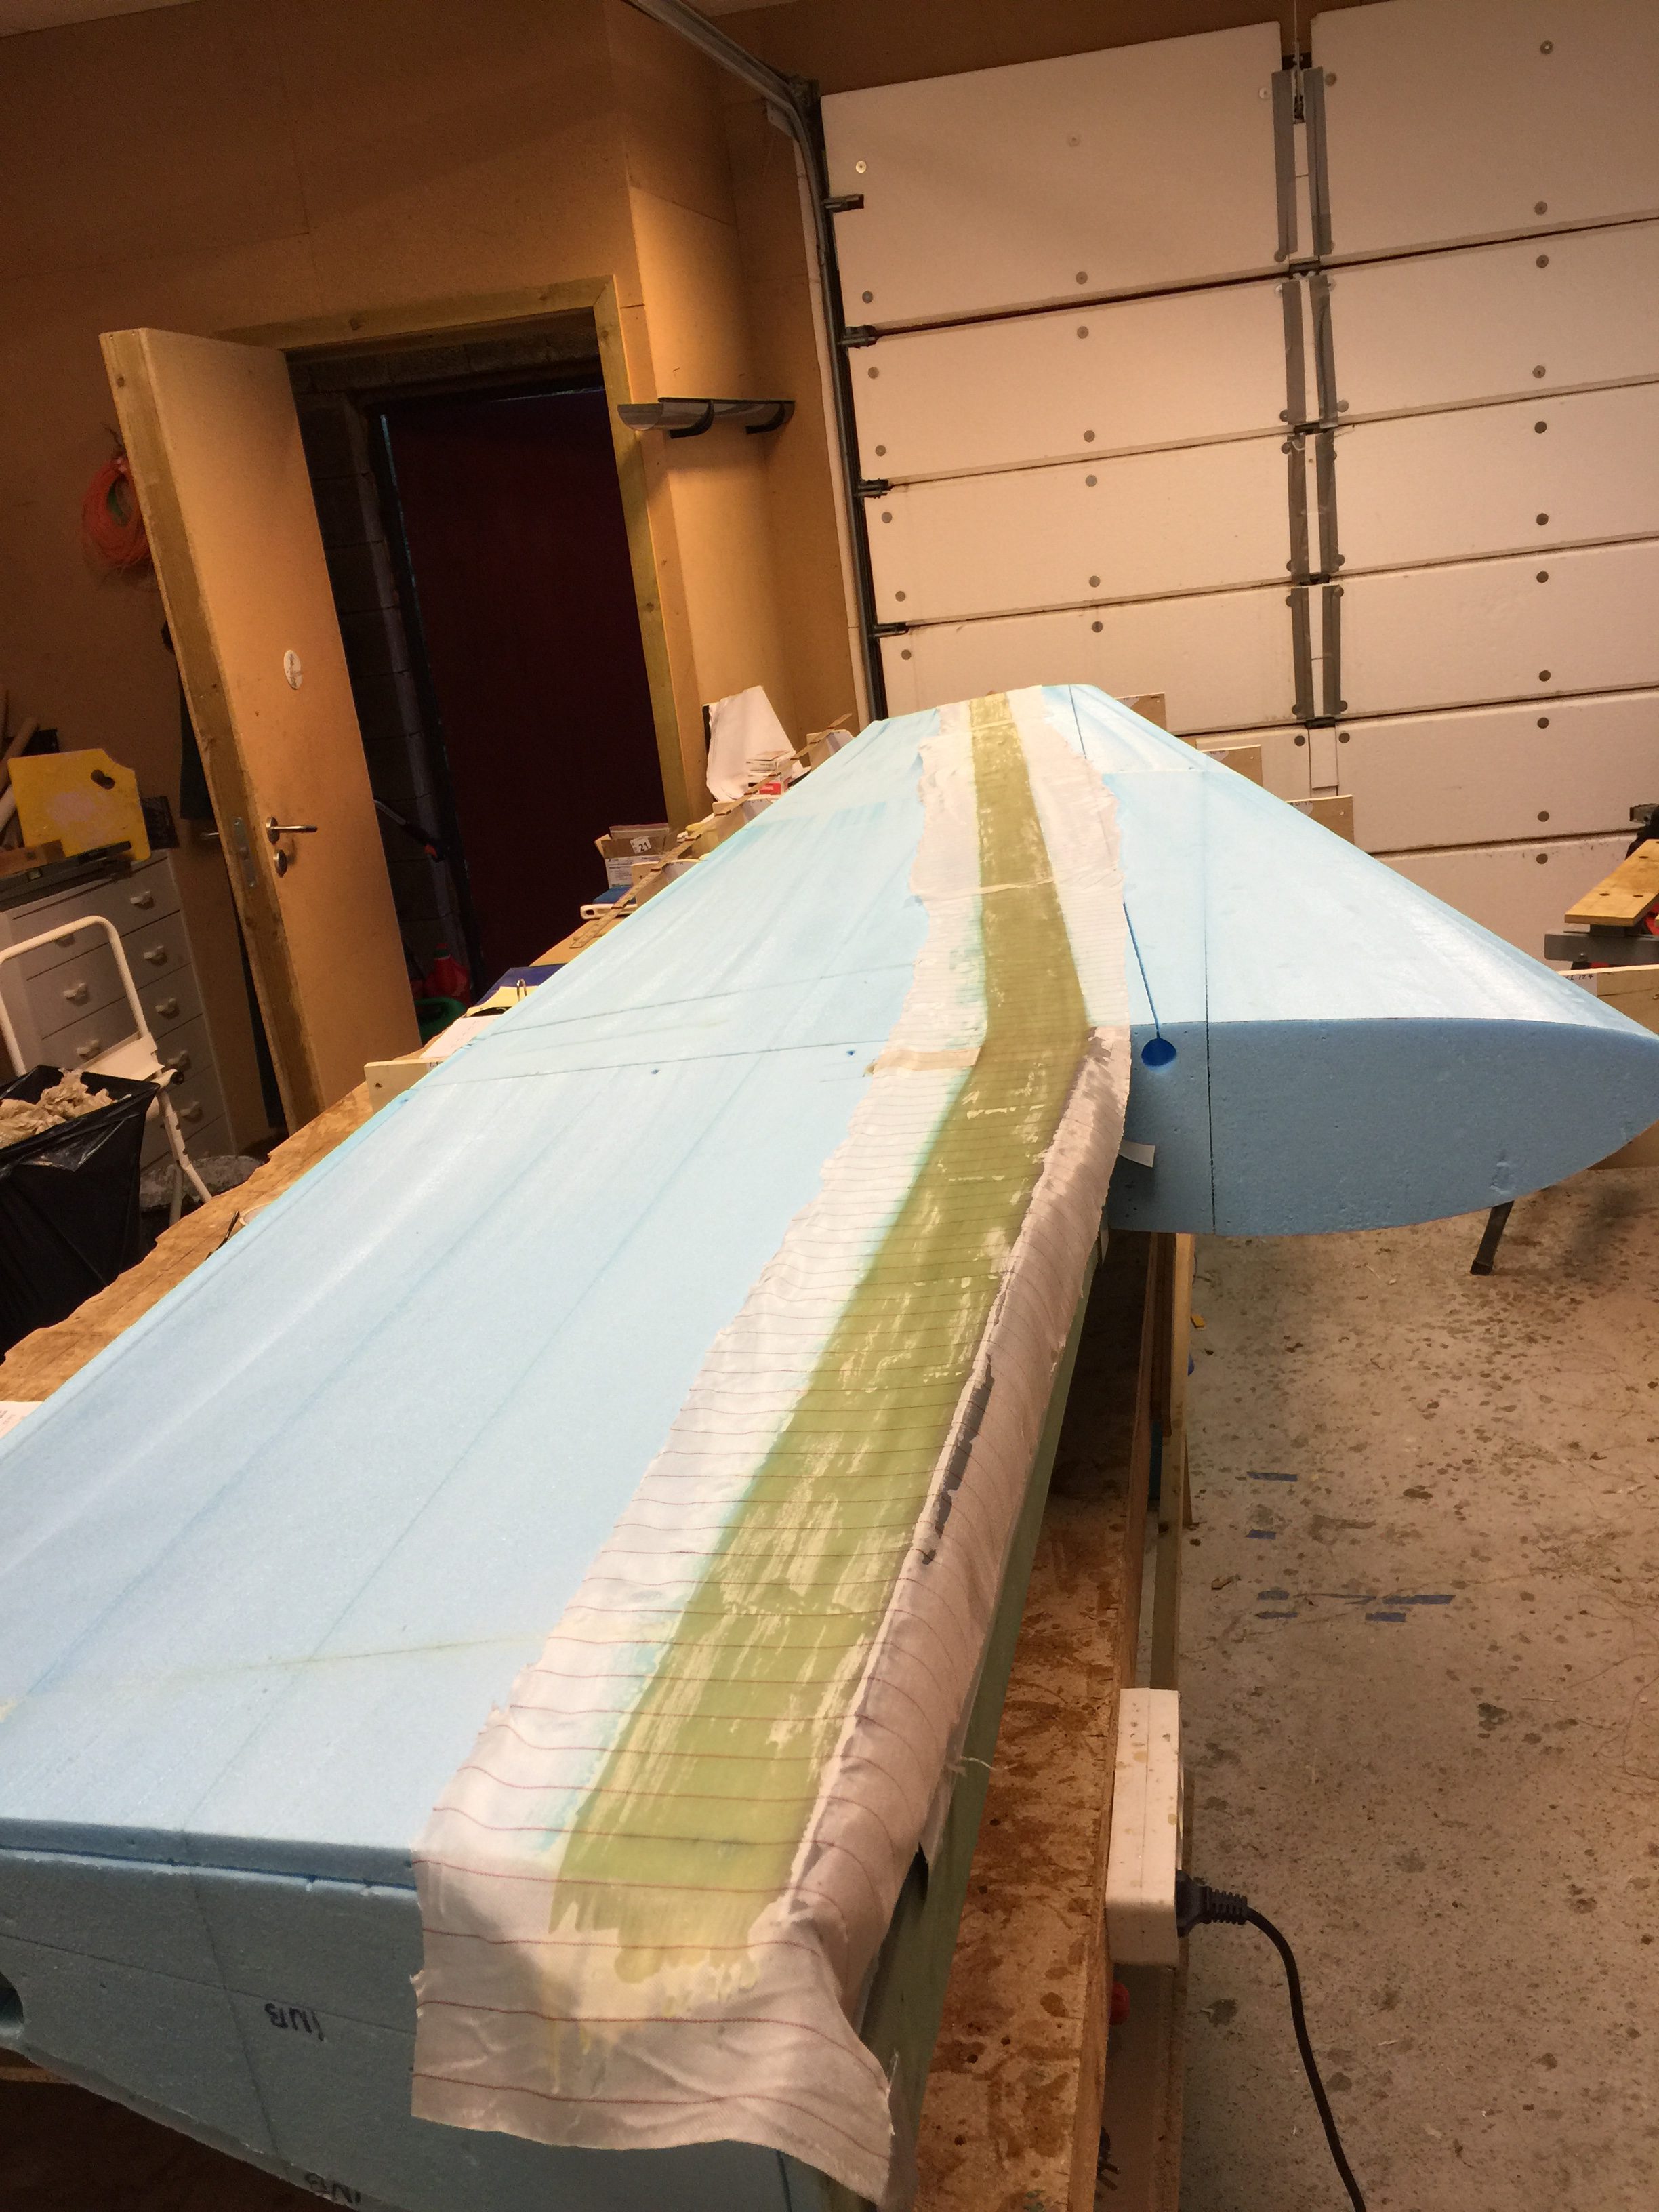
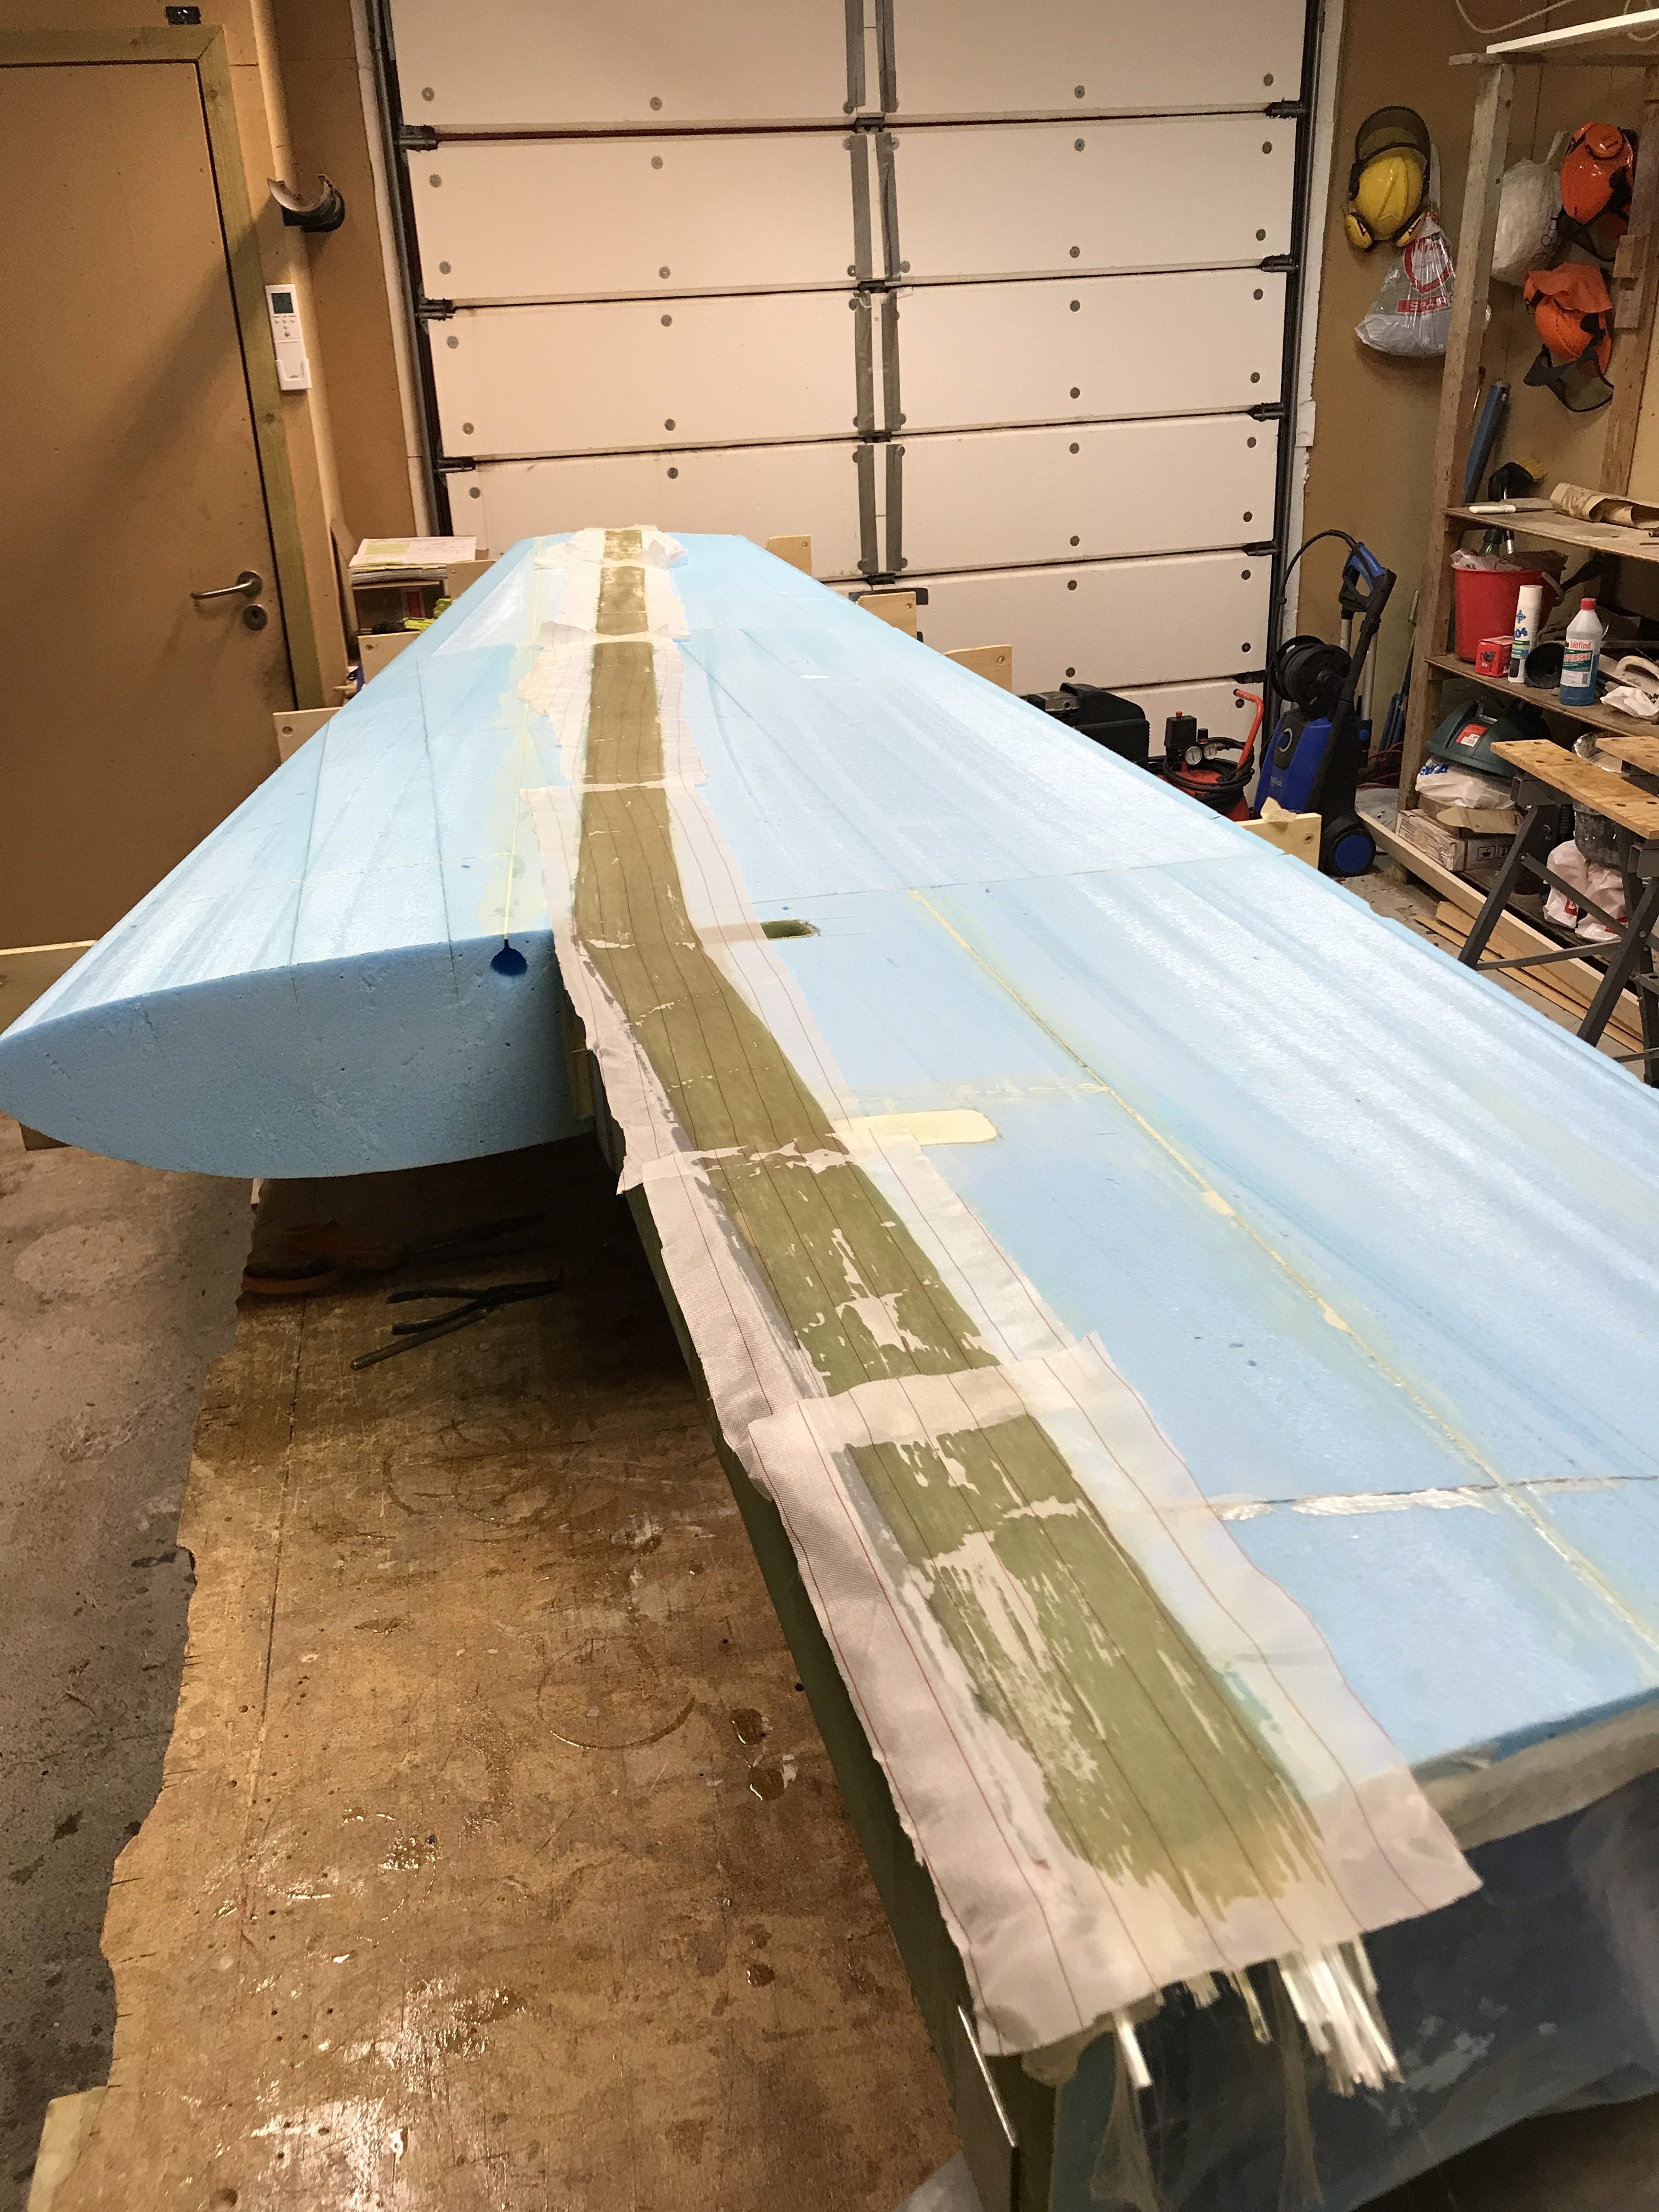
2016-07-13: Glassed the bottom spar cap.
The plans says that the spar cap trough is 142″ long, ie. the three bottom plies should be 142″ long. When measuring on my wing the trough is almost 144″ long, 2″ longer. I have measured the wing in all dimensions and everything is according to the plans. I simply added a couple of inches to each ply to compensate for this.
I was doing the bottom spar cap layup on the wing, everything was prepared and ready. Put on the first ply of tape, started to roll of the next feet of tape for the second ply when I realized that I was maybe short of spar cap tape! I was SURE I had ordered a new roll of tape, so I didn’t bother to check before I started. What to do? Can I stop in the middle of a spar cap layup and continue after it has cured? It felt like bad idea – the voices in my head said: “Don’t do it!”I immediately went on my computer started to search for terms that matched my problem, but nothing, nada.Am I the only one facing this? Well – I decided to stop and remove the first ply while it was still wet, wipe off the epoxy from the shear web and order more tape before I started over again.Just for the fun of it I decided to measure the rest of the tape roll I had to see how long it actually was. Remember I had already removed the first ply of 144″ of tape. When all nine plies (!) was cut to length, I had 20″ of tape still left on the roll! So – if I had done what I normally do (cut all plies before I start to glass) – would had almost 170″ left. Well – I lost one hour goofing around on this. I went on and started over again and finished the spar cap layup in 3,5 hours.I write this with a purpose, to get an answer on if I assumed that stopping in the middle of the spar cap is a bad idea if you run out of tape. Then – the answer will be archived for future builders if anyone comes in the same situation.The best advice is however: Measure twice, cut once. Always be certain you have enough material BEFORE you start the job.
A couple of comments on spar cap layups:
- Firstly, the 9 plies of spar cap material for the COZY MKIV bottom wing spar cap is the MINIMUM required. If you’ve cut your cap trough correctly, the plans explicitly state that you should fill the trough completely, even if you need to use more plies of cap material than the “theoretical” number. So even if you had known that you had 9 plies ready, you might still have run out – you should always have one or two full length plies extra just in case. Same with all the spar cap layups in the main spar and wings – fill the trough, even if it takes more plies than “theoretical”. The plans are clear on this.
- Secondly, yes – it is preferred and better to do the whole spar cap layup at one time. However, if someone runs out of tape 1/2 way through (and I agree, measure twice, cut once, and make sure you have all the materials you need for a layup before you start it), it would be acceptable to peel ply the top surface of the spar cap material and then finish the layup when you get the rest of the tape. Why? The interface between layers of spar cap tape are only taking shear stress, same as the interface between the spar cap and the shear web. Since it’s acceptable to peel ply the shear web and then layup the spar cap in a secondary bond layup (and that’s also only transmitting shear stress), it should be acceptably strong to do the same thing between spar cap plies. Not preferable – not recommended – but acceptable. The plans do not explicitly say to do all the cap plies in one layup, although it is implied; but it does not prohibit multiple layups.My $0.02.

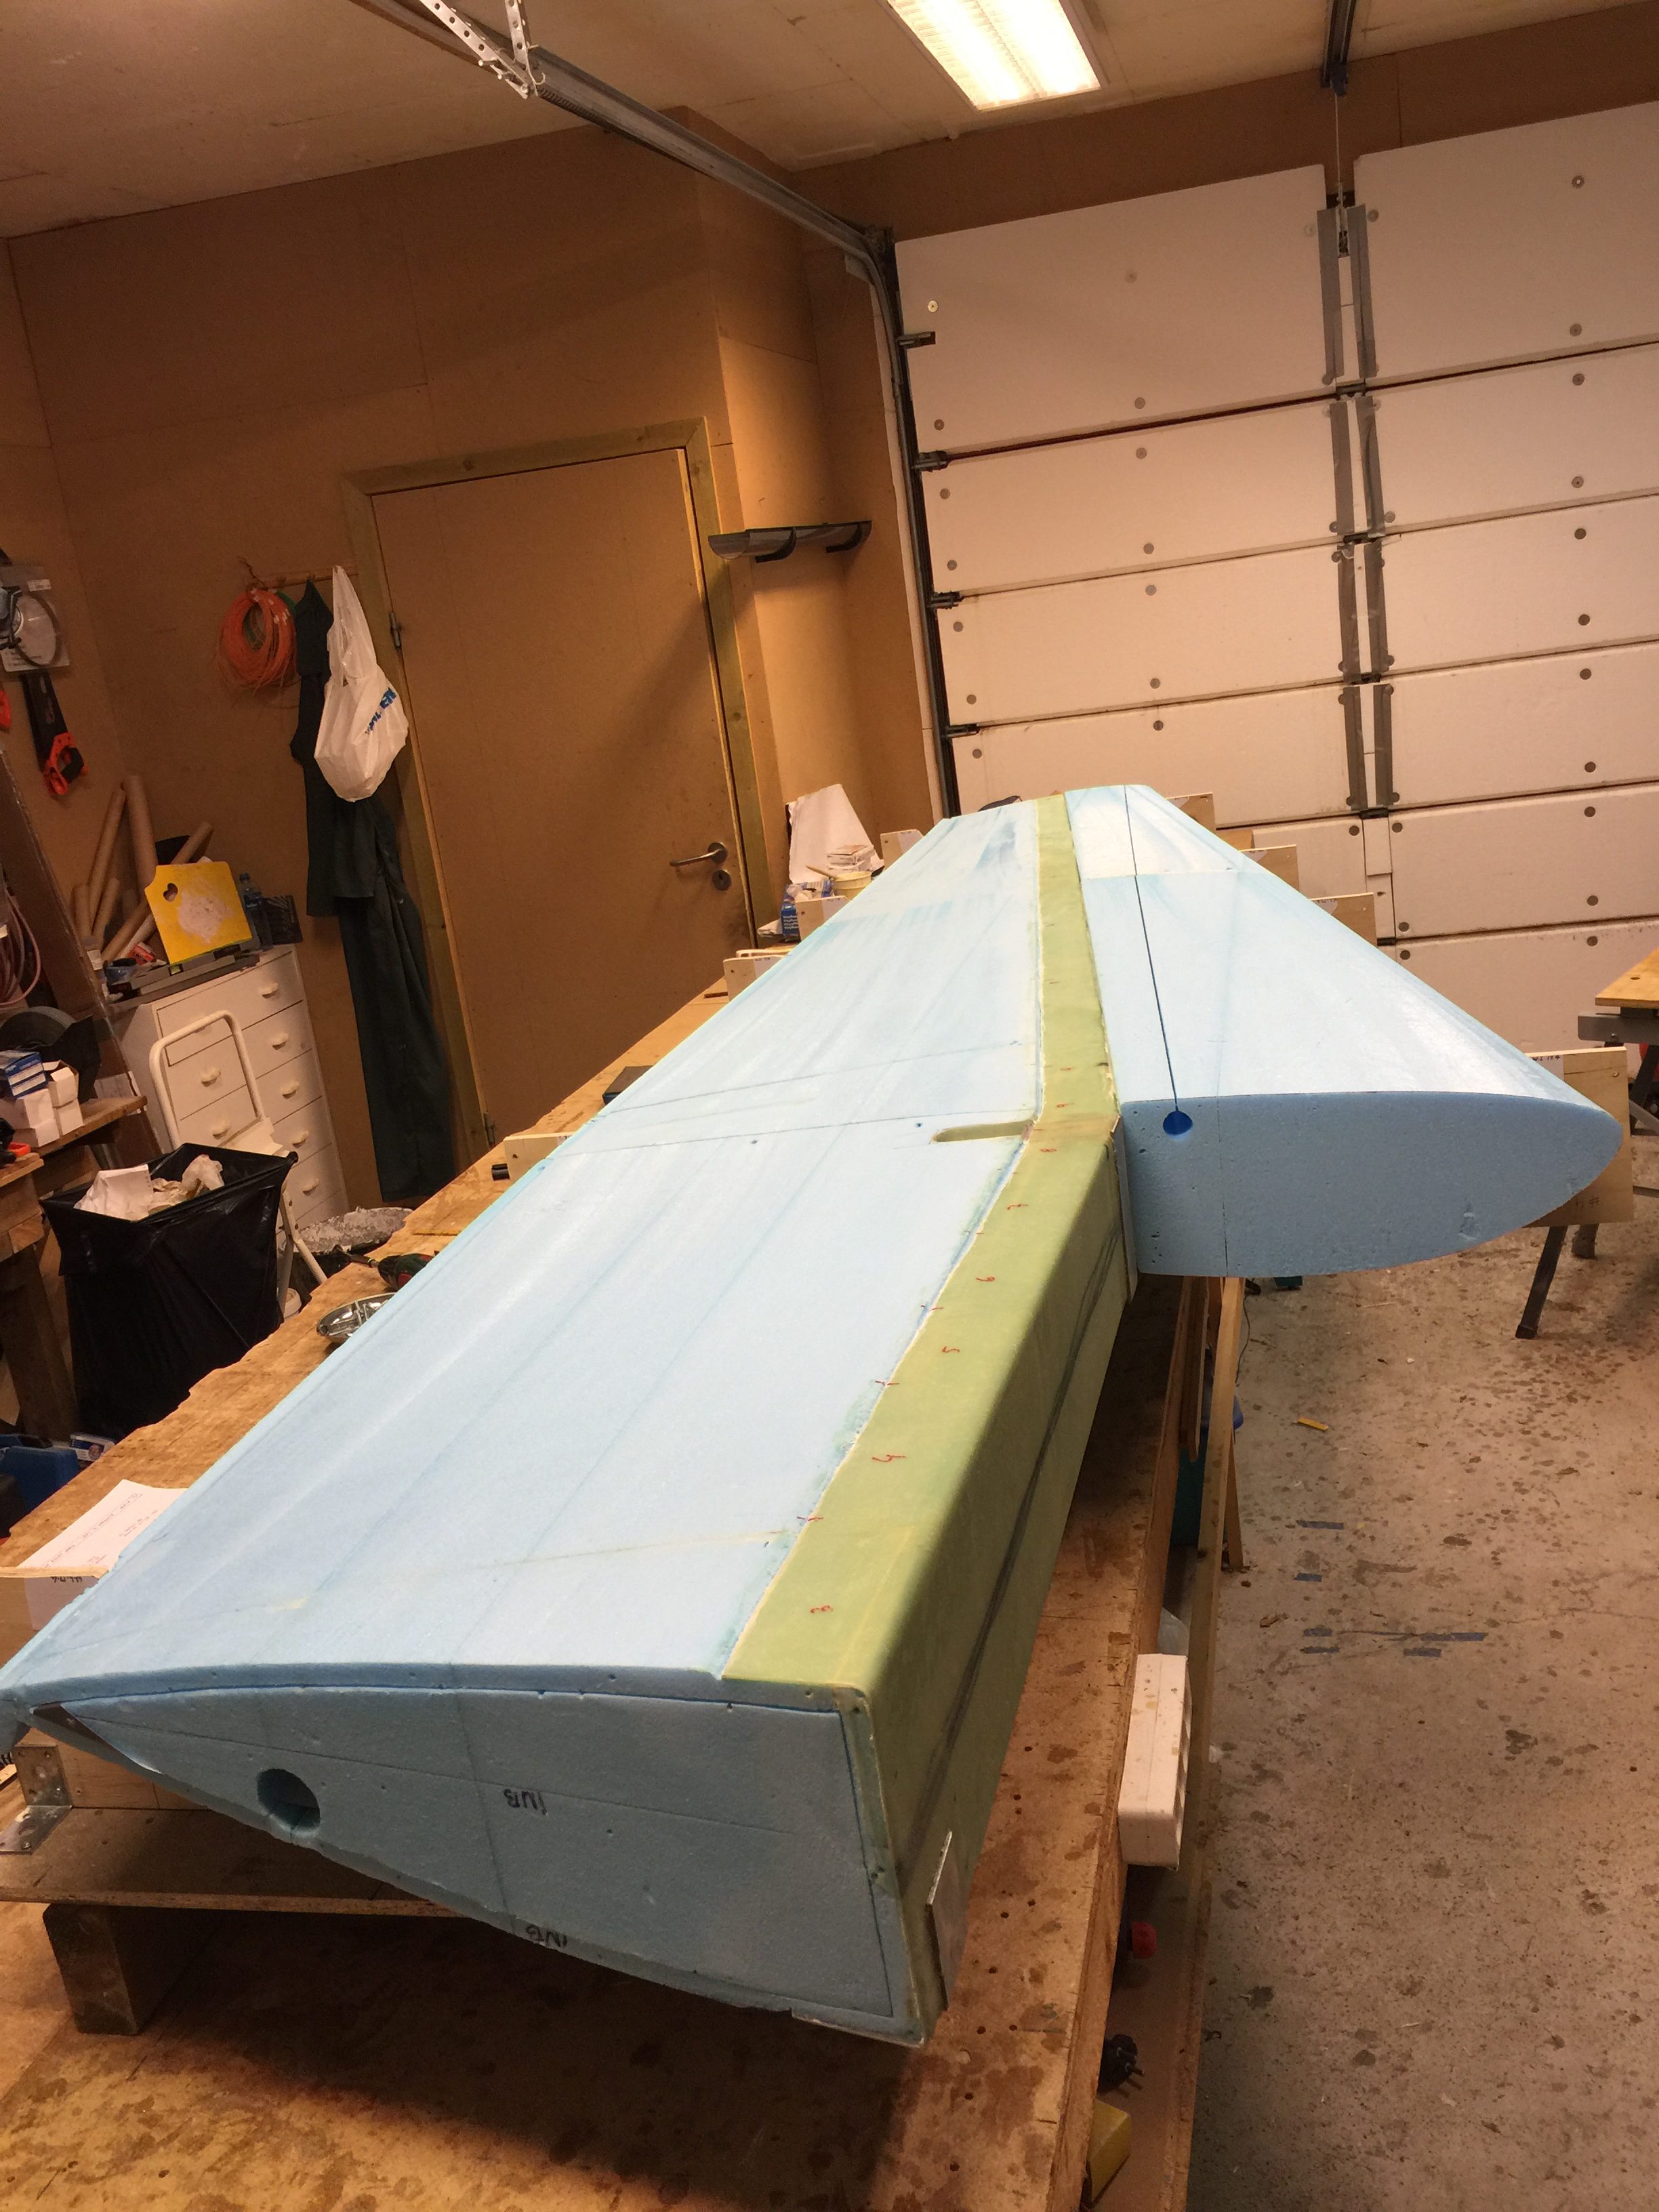
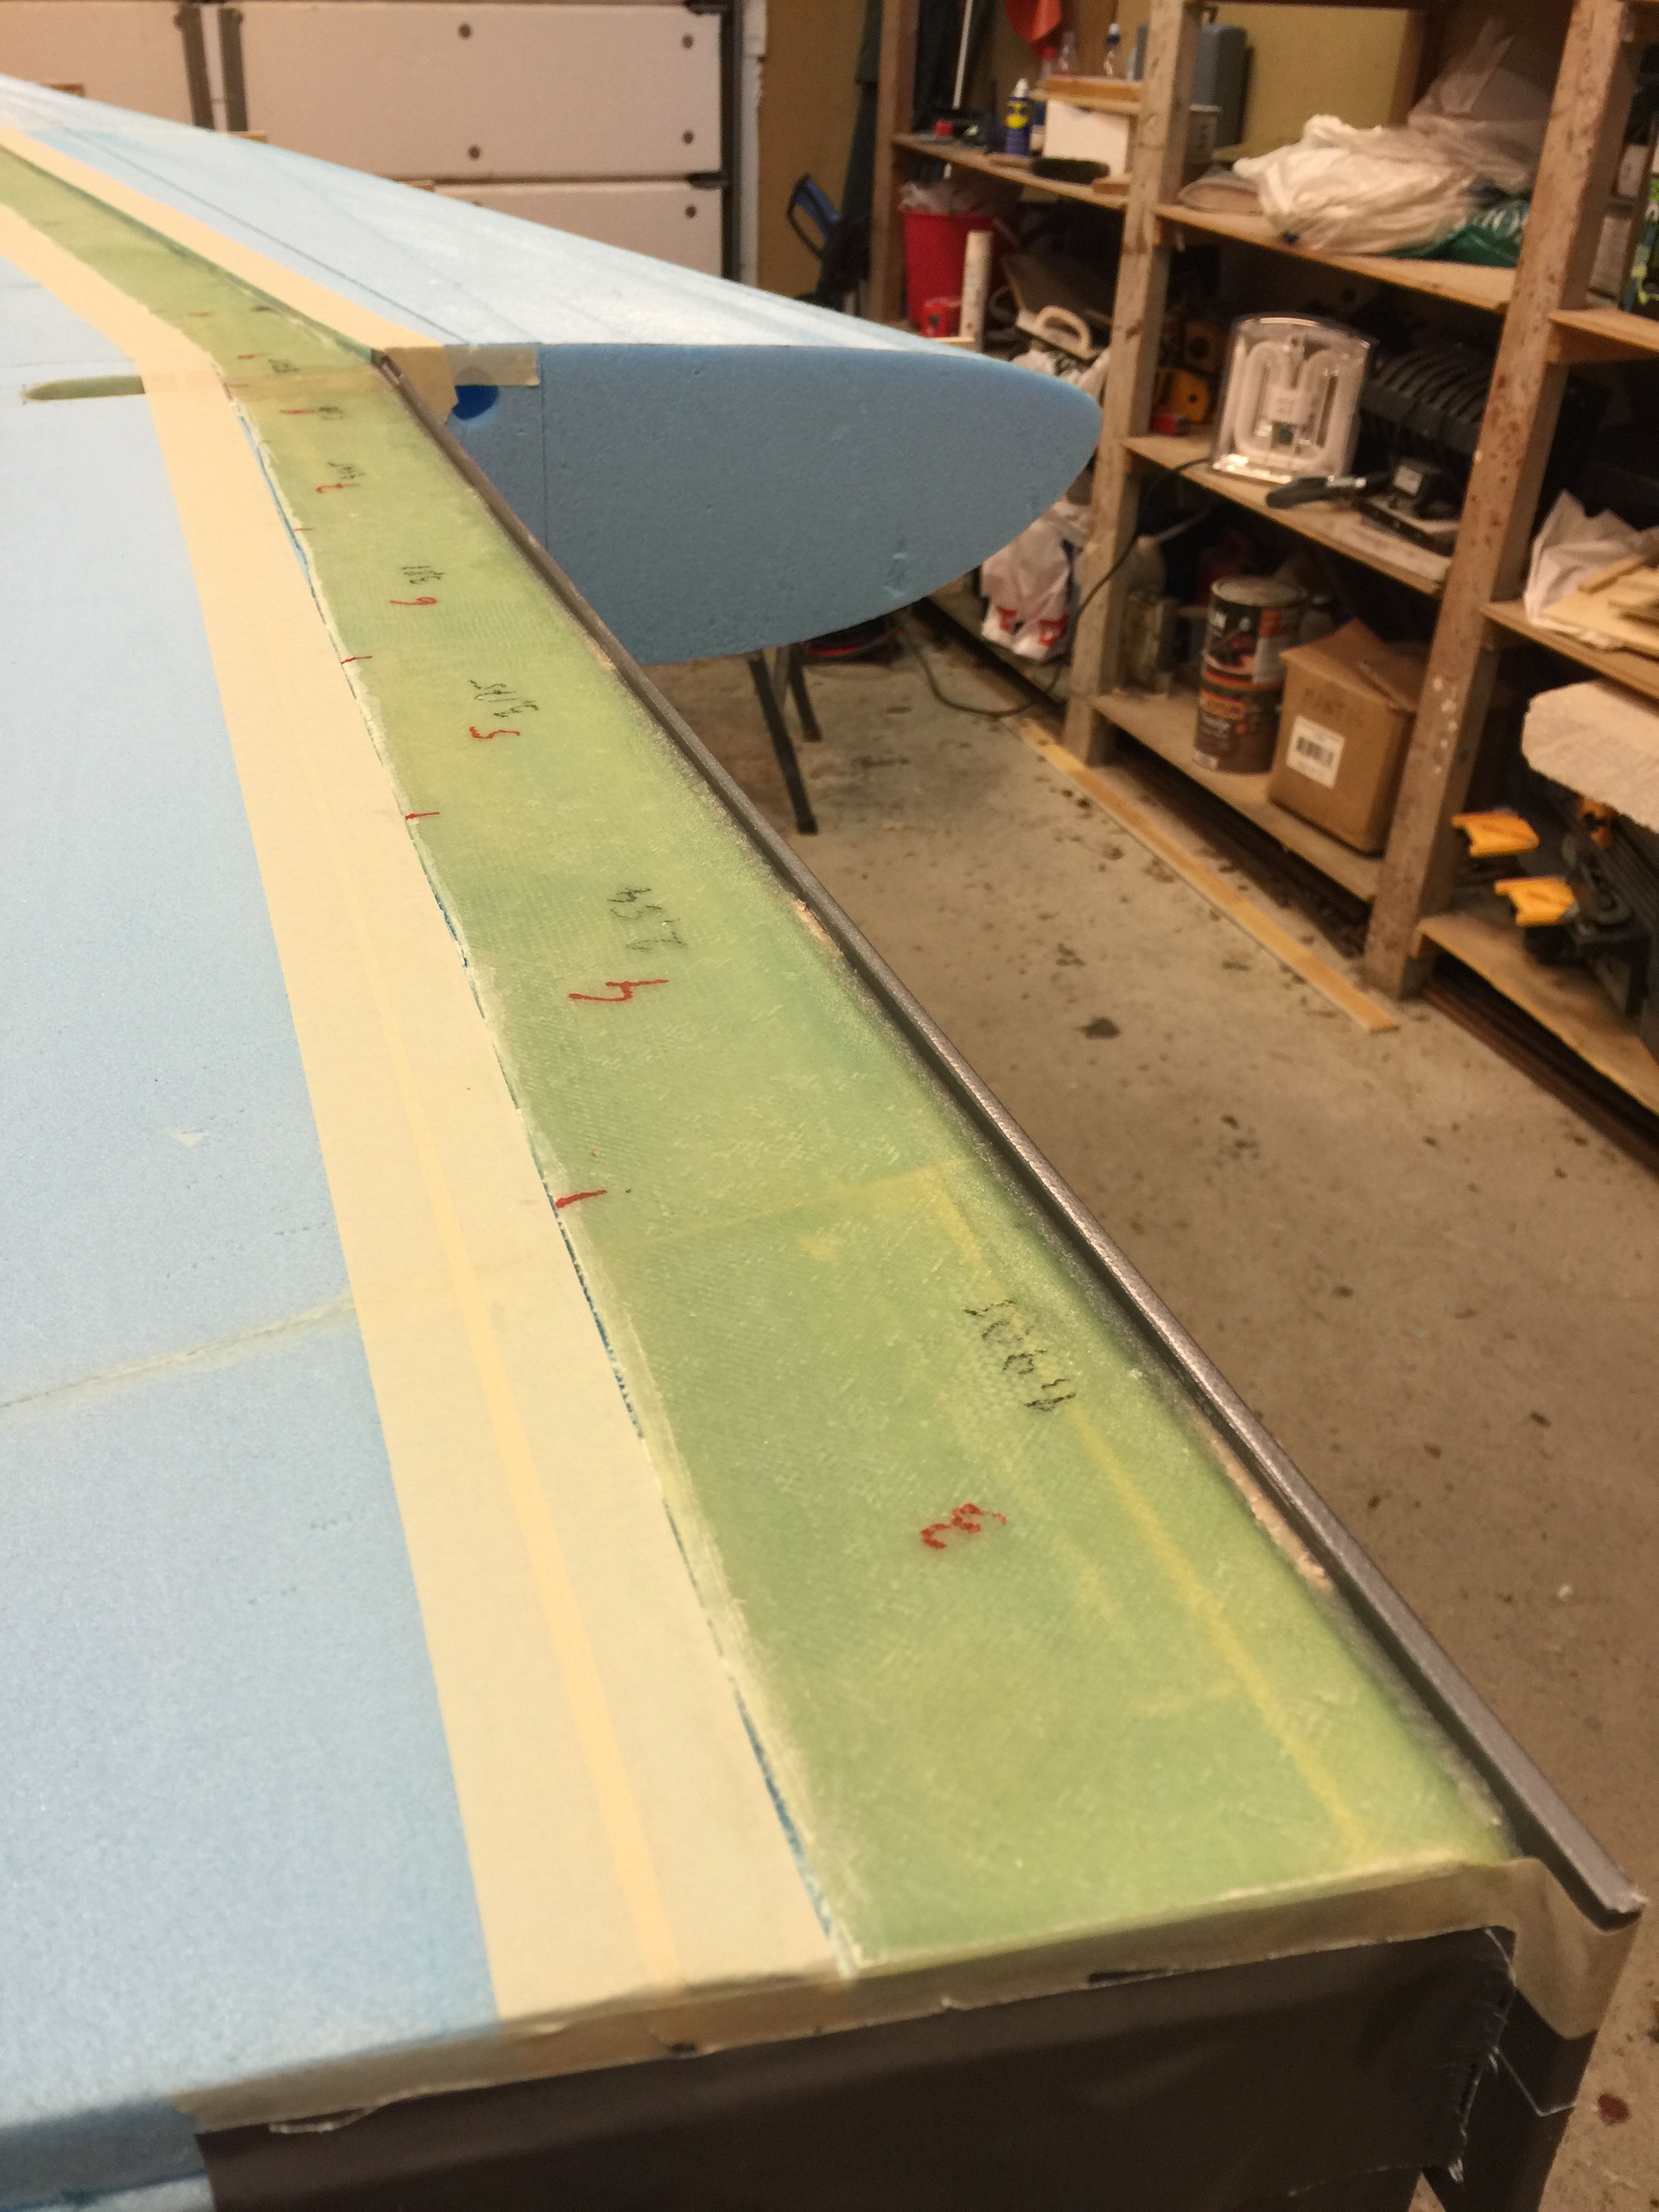
2016-07-14: Removed the dam and sanded the bondo away. Sanded a round edge on the spar cap area on the inboard part. The wing skin will go over here and down on the shear web so it’s important to have a round edge here.
2018-11-15: Left wing done: