

2013-05-04: The nose floor and sides are made of urethane. I have seen several builders that hates this stuff and have used wing-foam instead of urethane. I actually like working with urethane, it’s very easy to sand and shape, although I have to be careful with the foam to avoid dings.
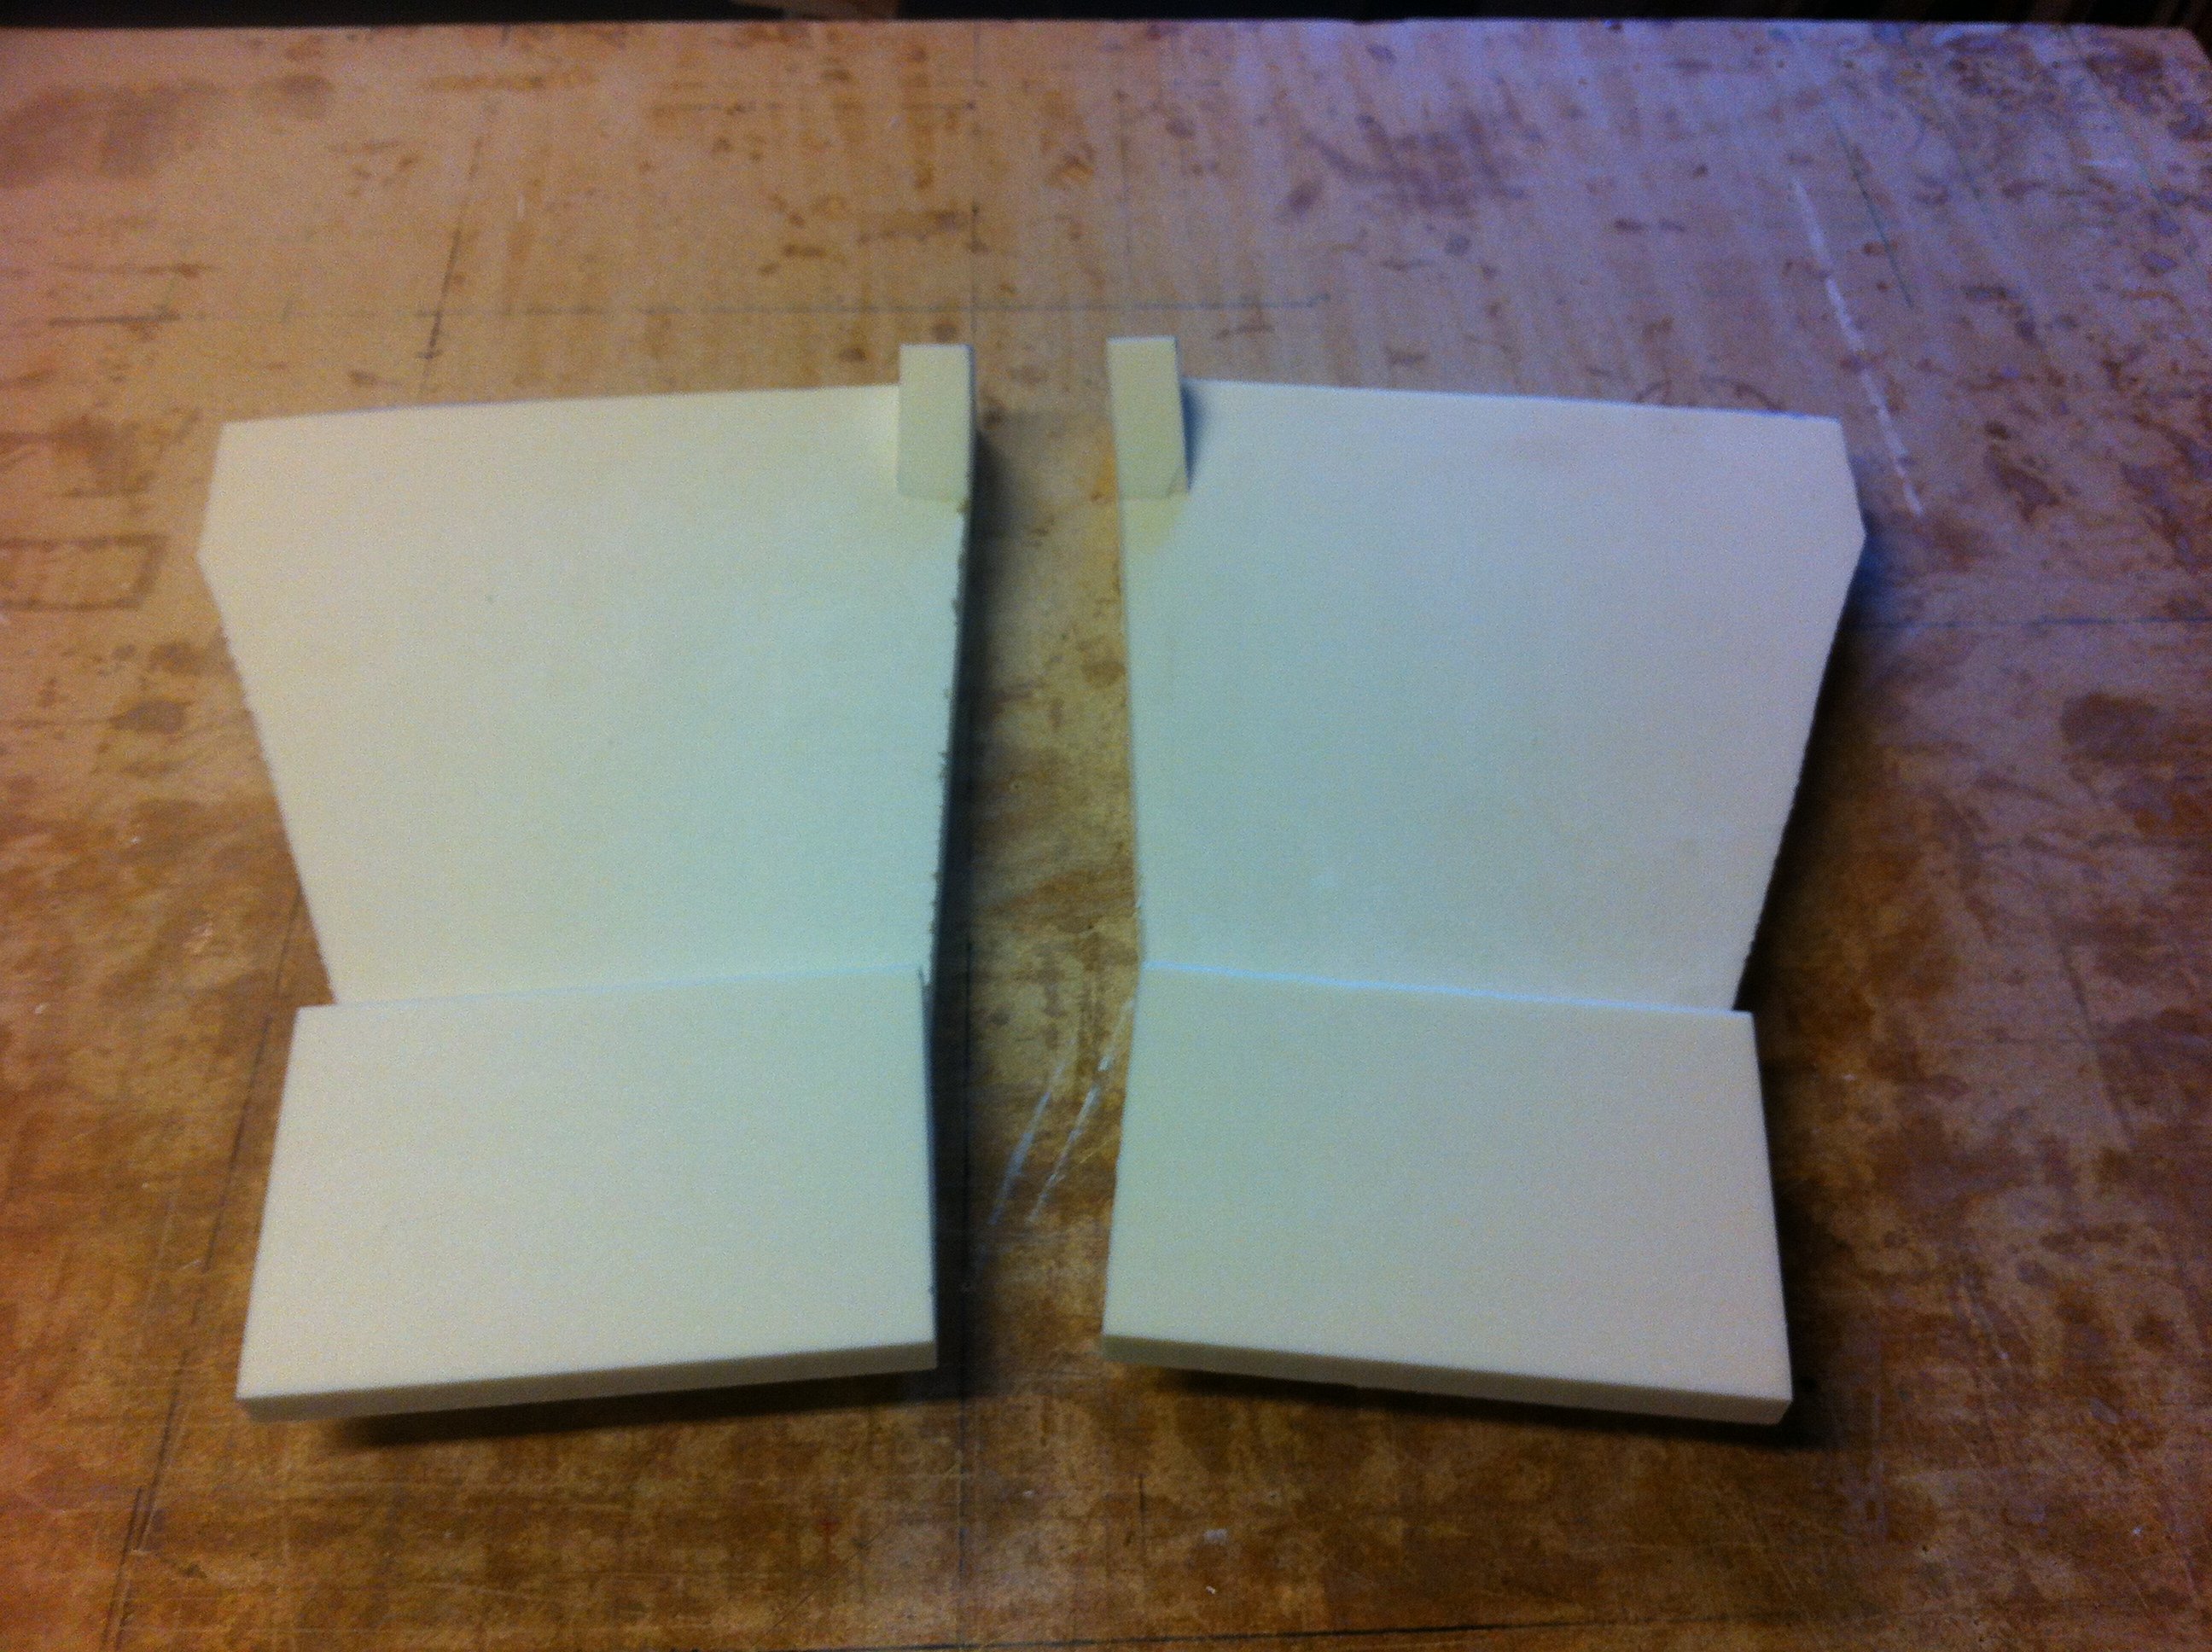
Started with cutting the two pieces that forms the floor. They go between F22 and F0.
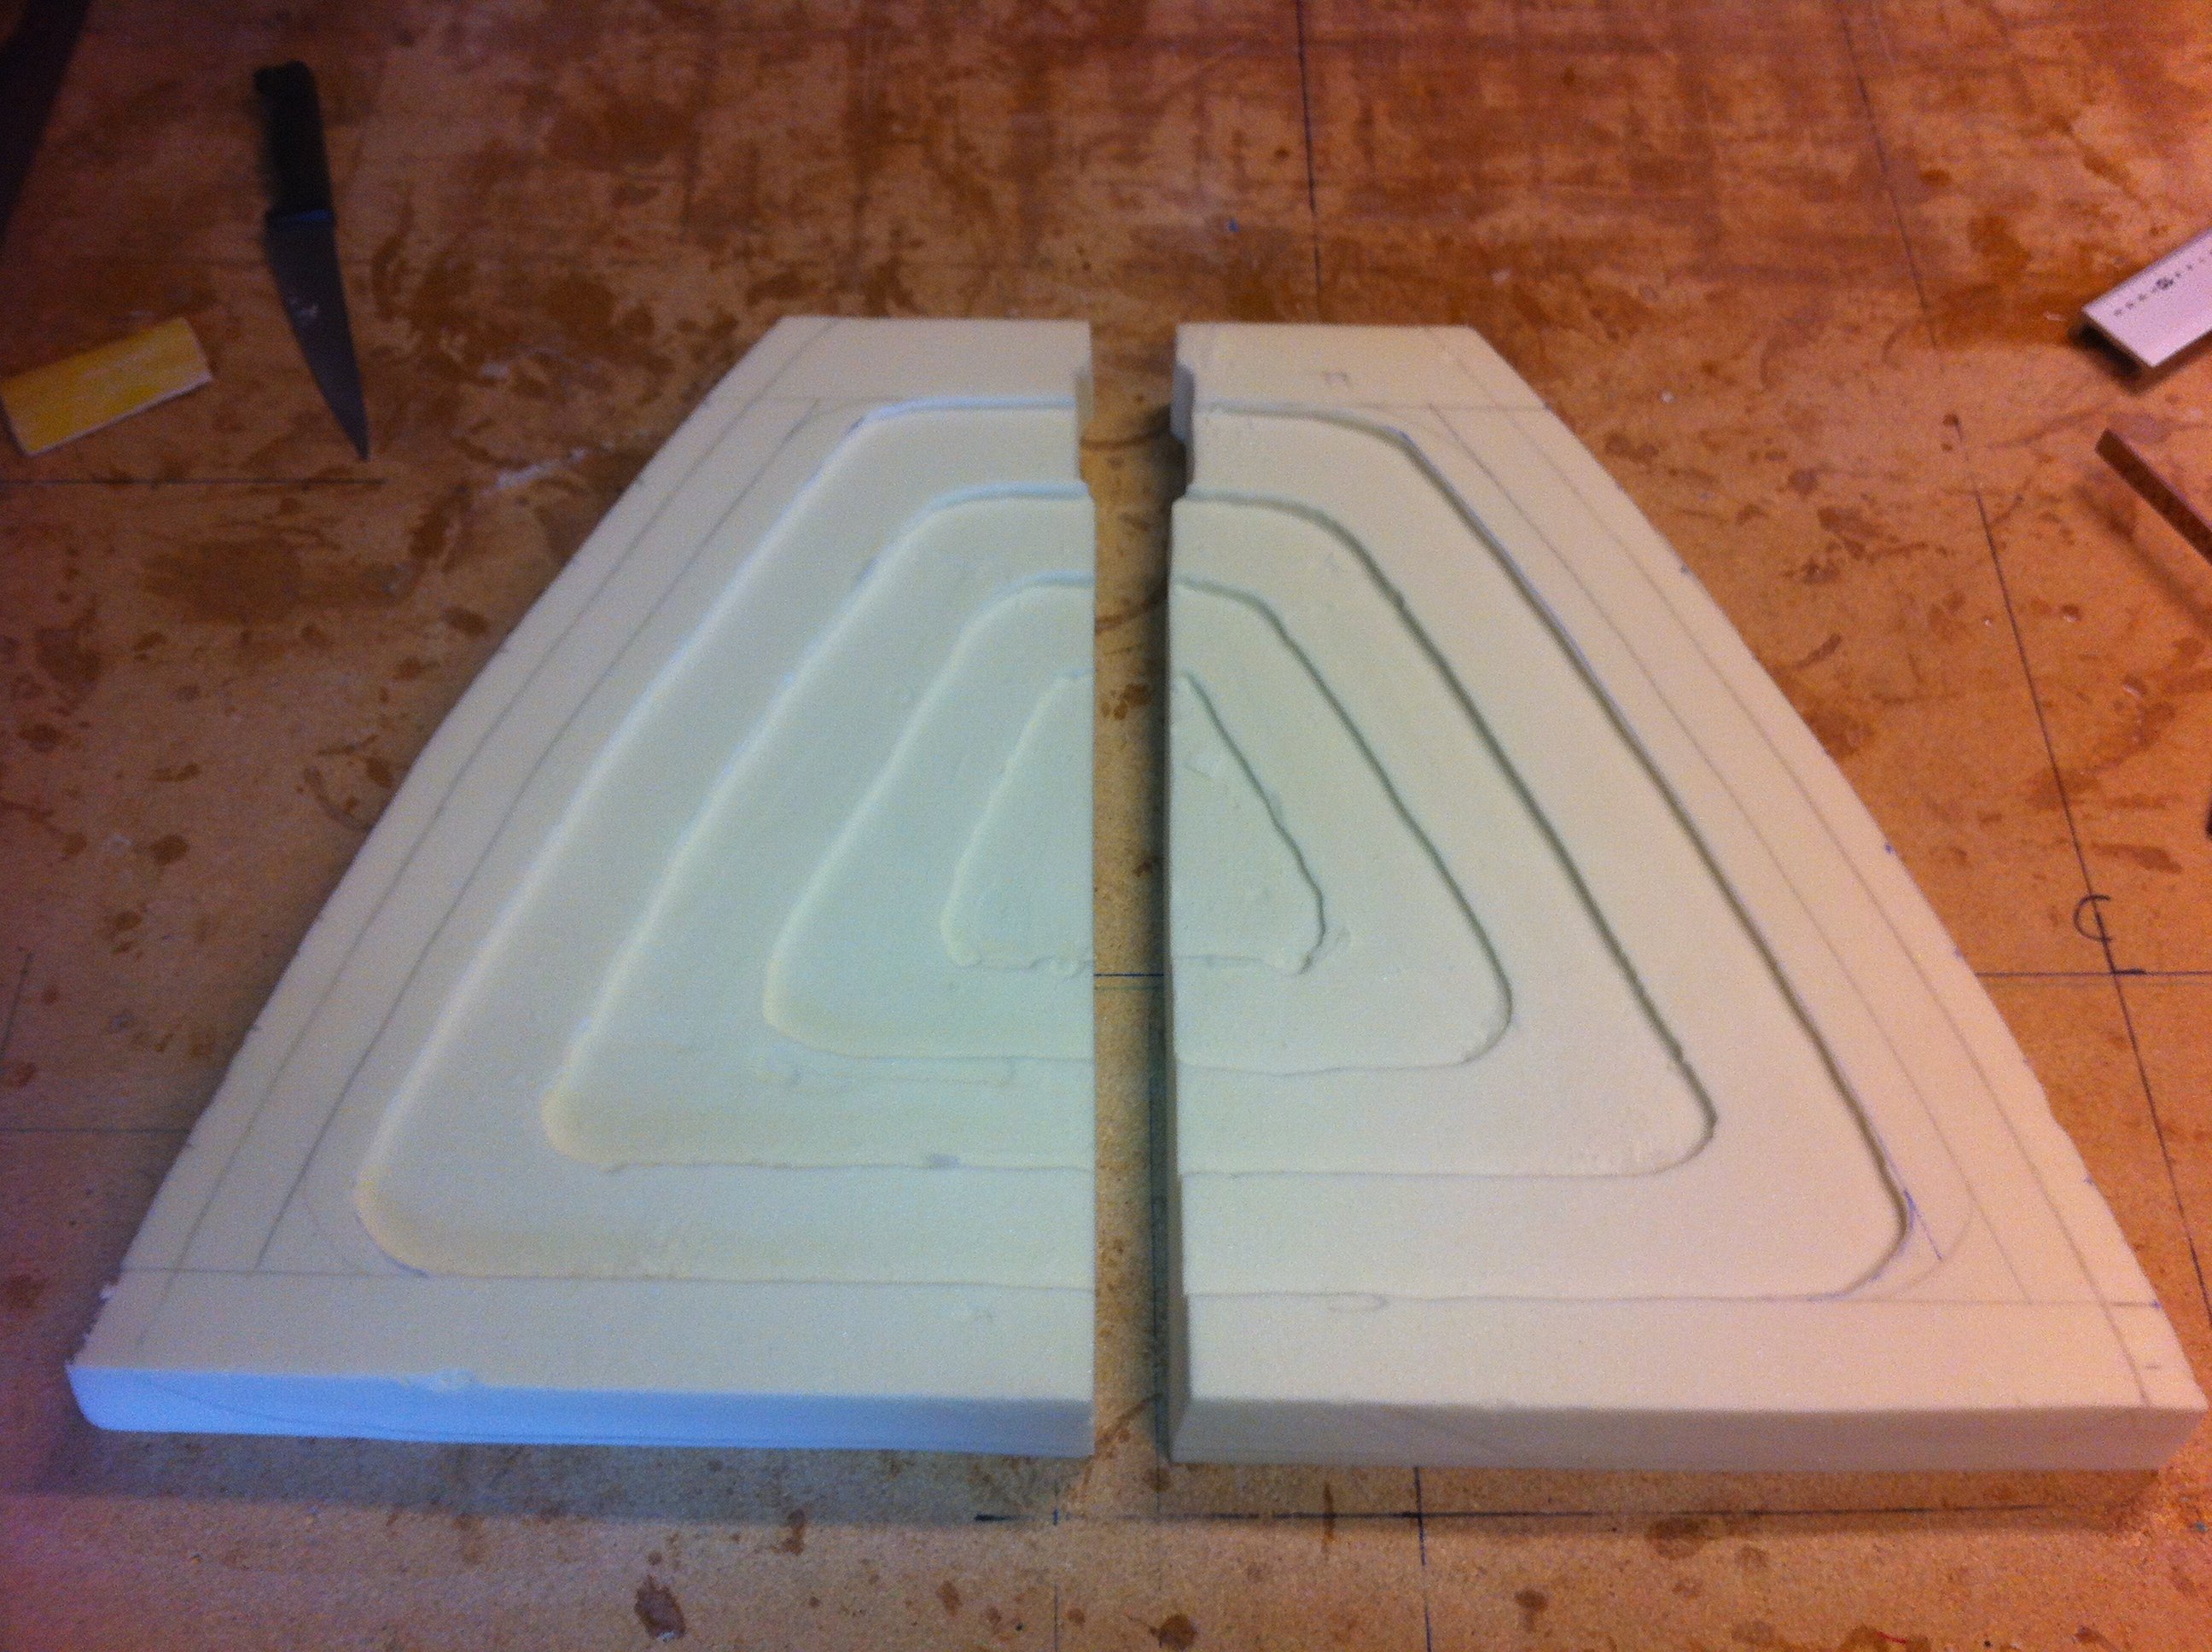
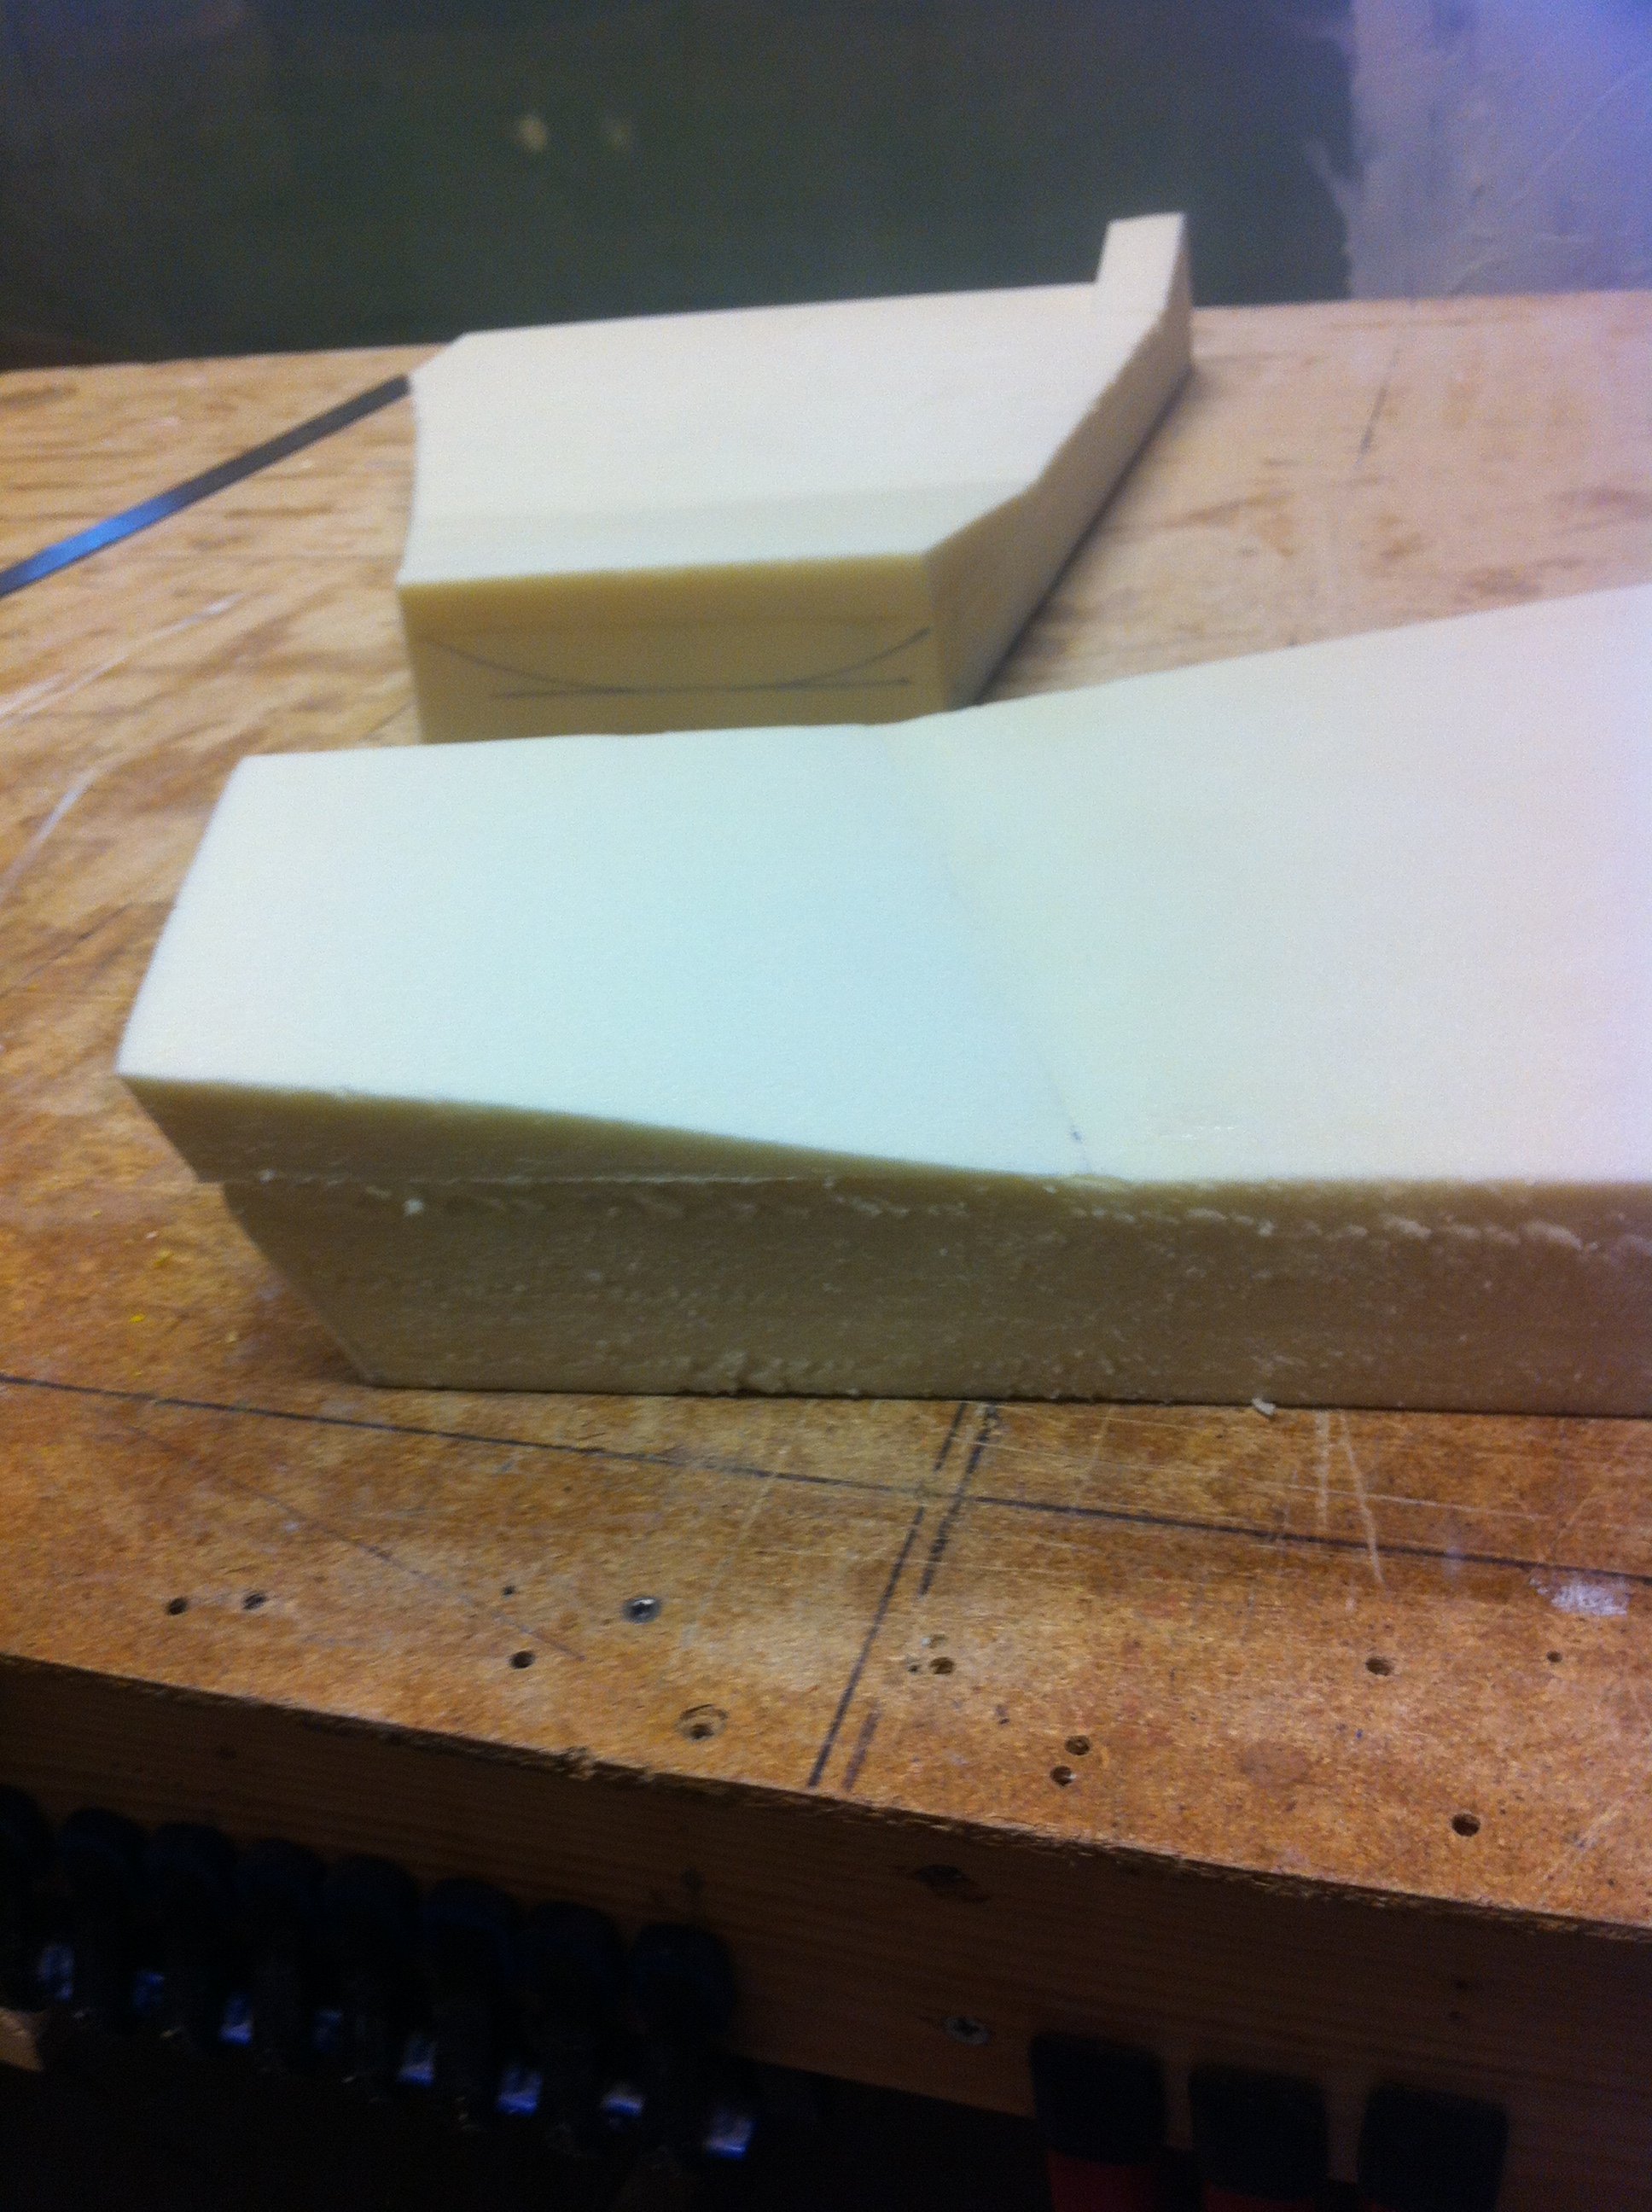
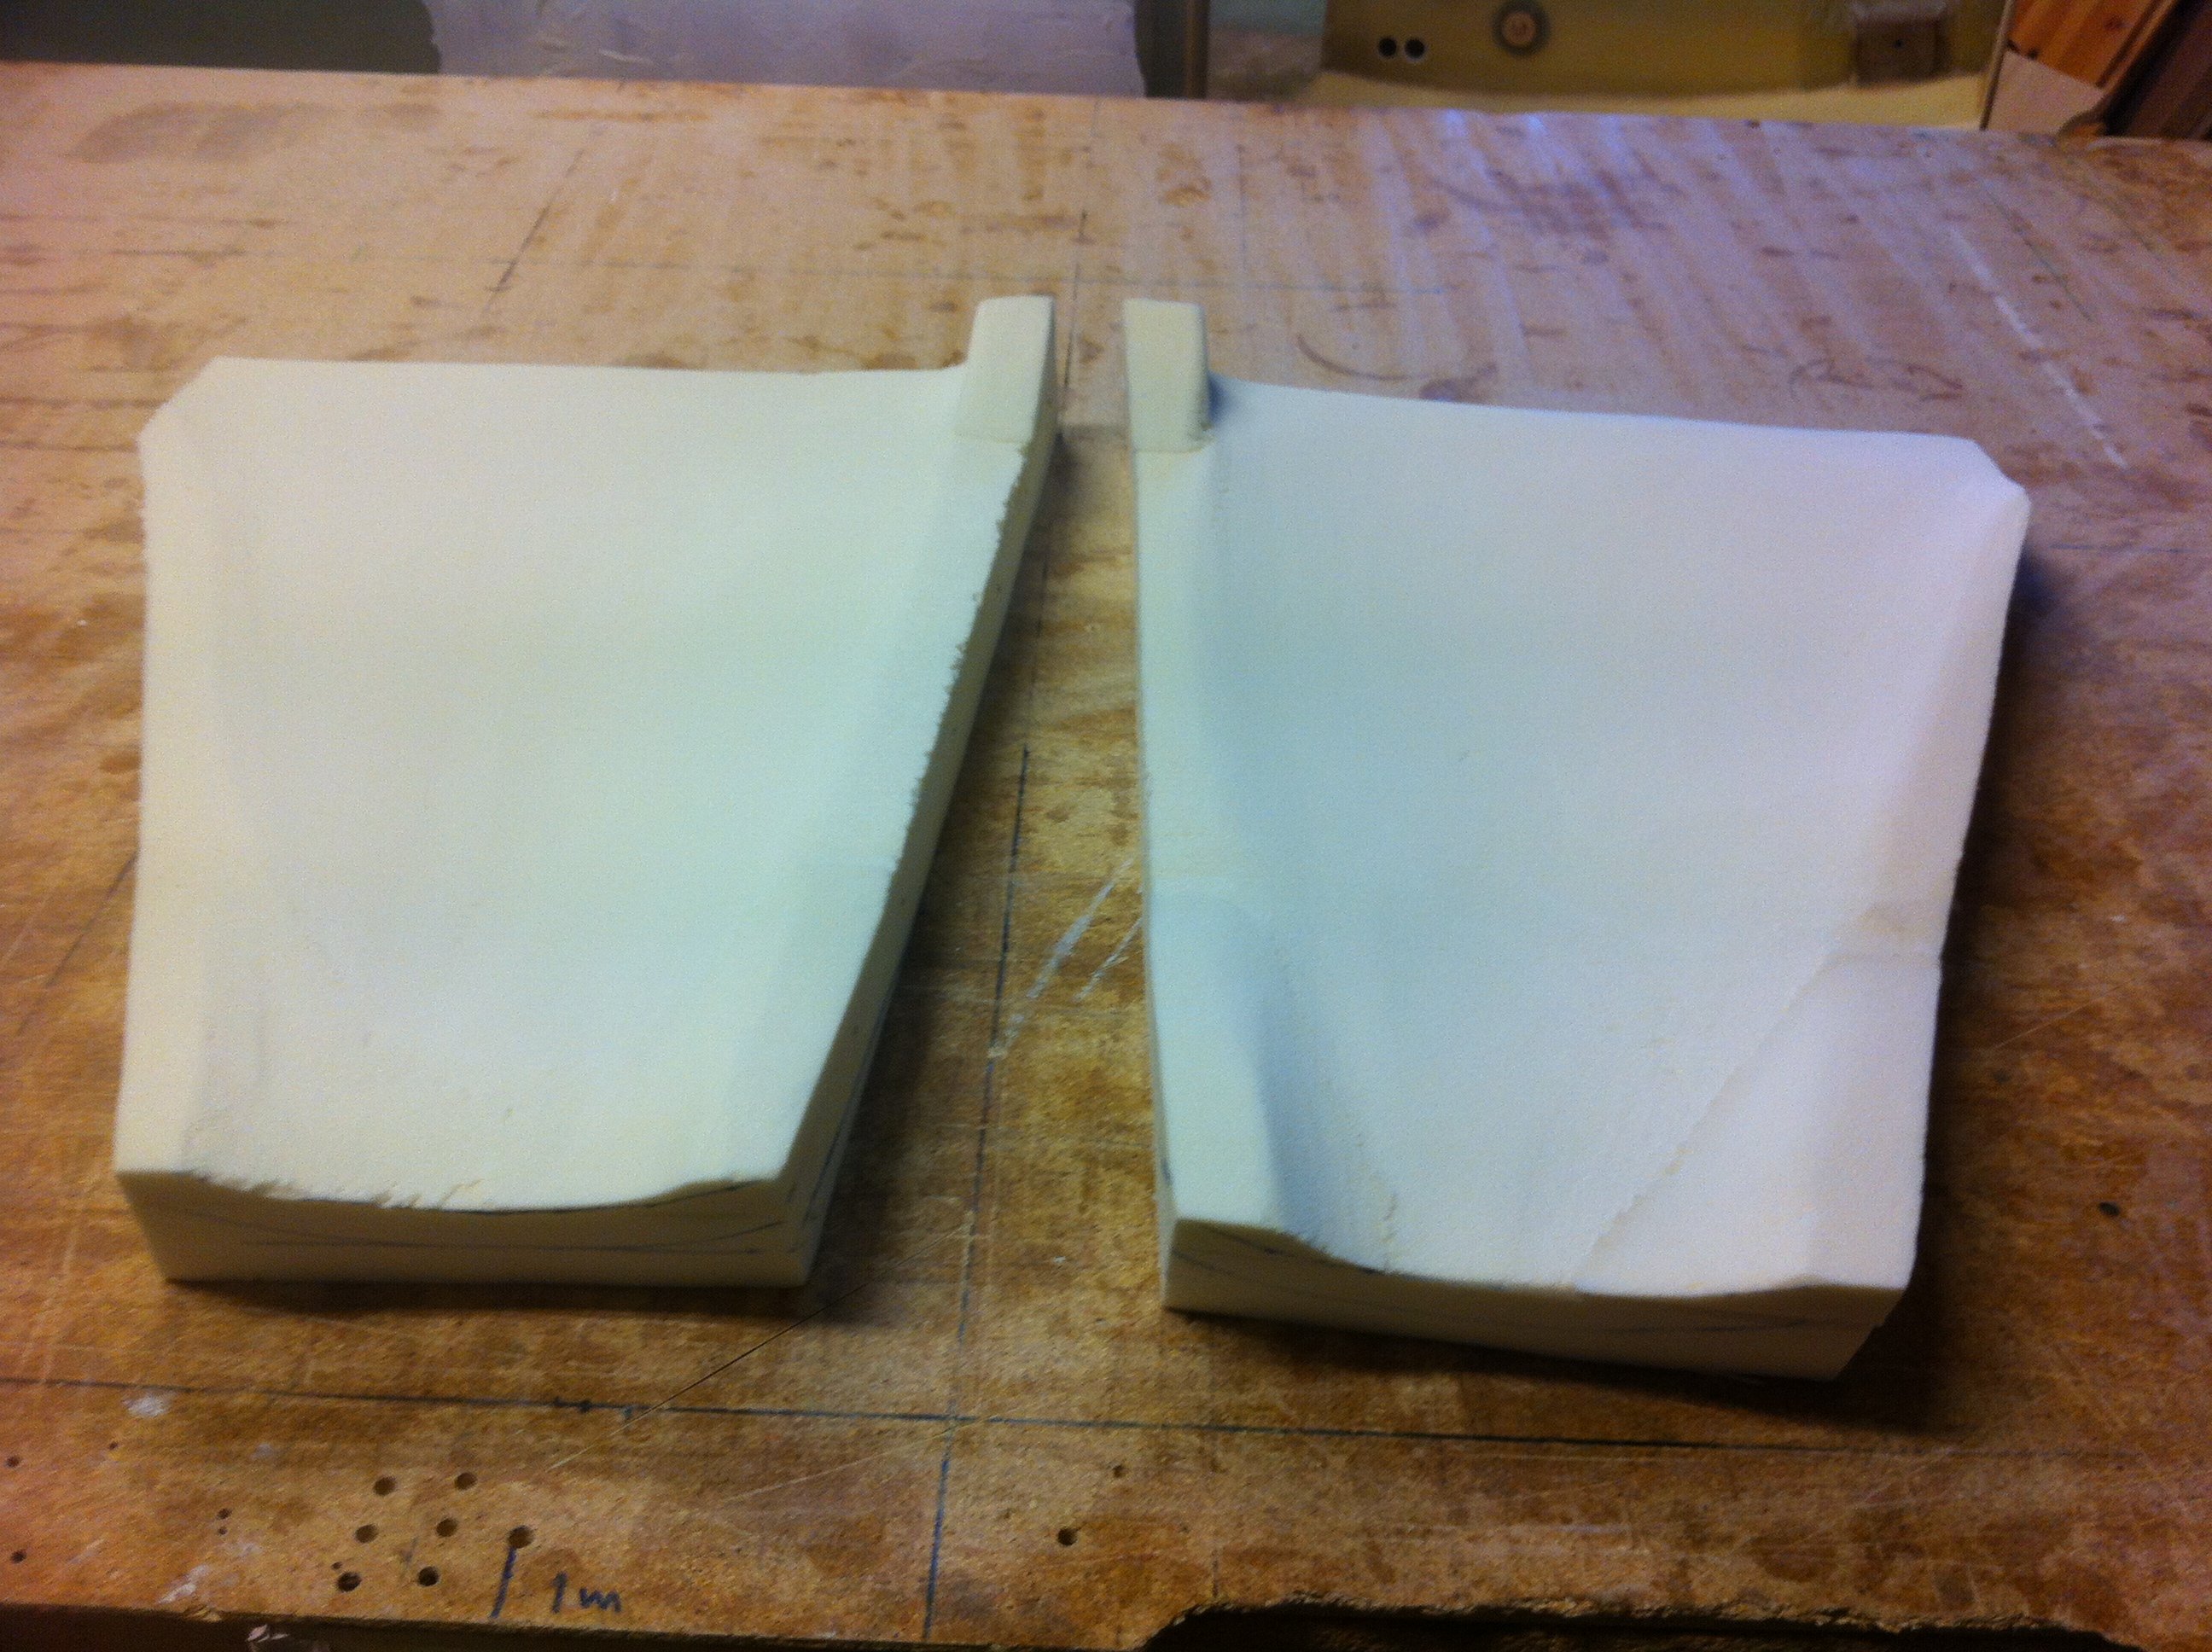
2013-05-04: The inside of the floor has a 3D shape, so I have to hollow it. The plans show a pattern to use which I draw on the foam. Then I used my router to remove most of the foam. I have it connected to a vacuum-cleaner, so the dust is reduced to a minimum.
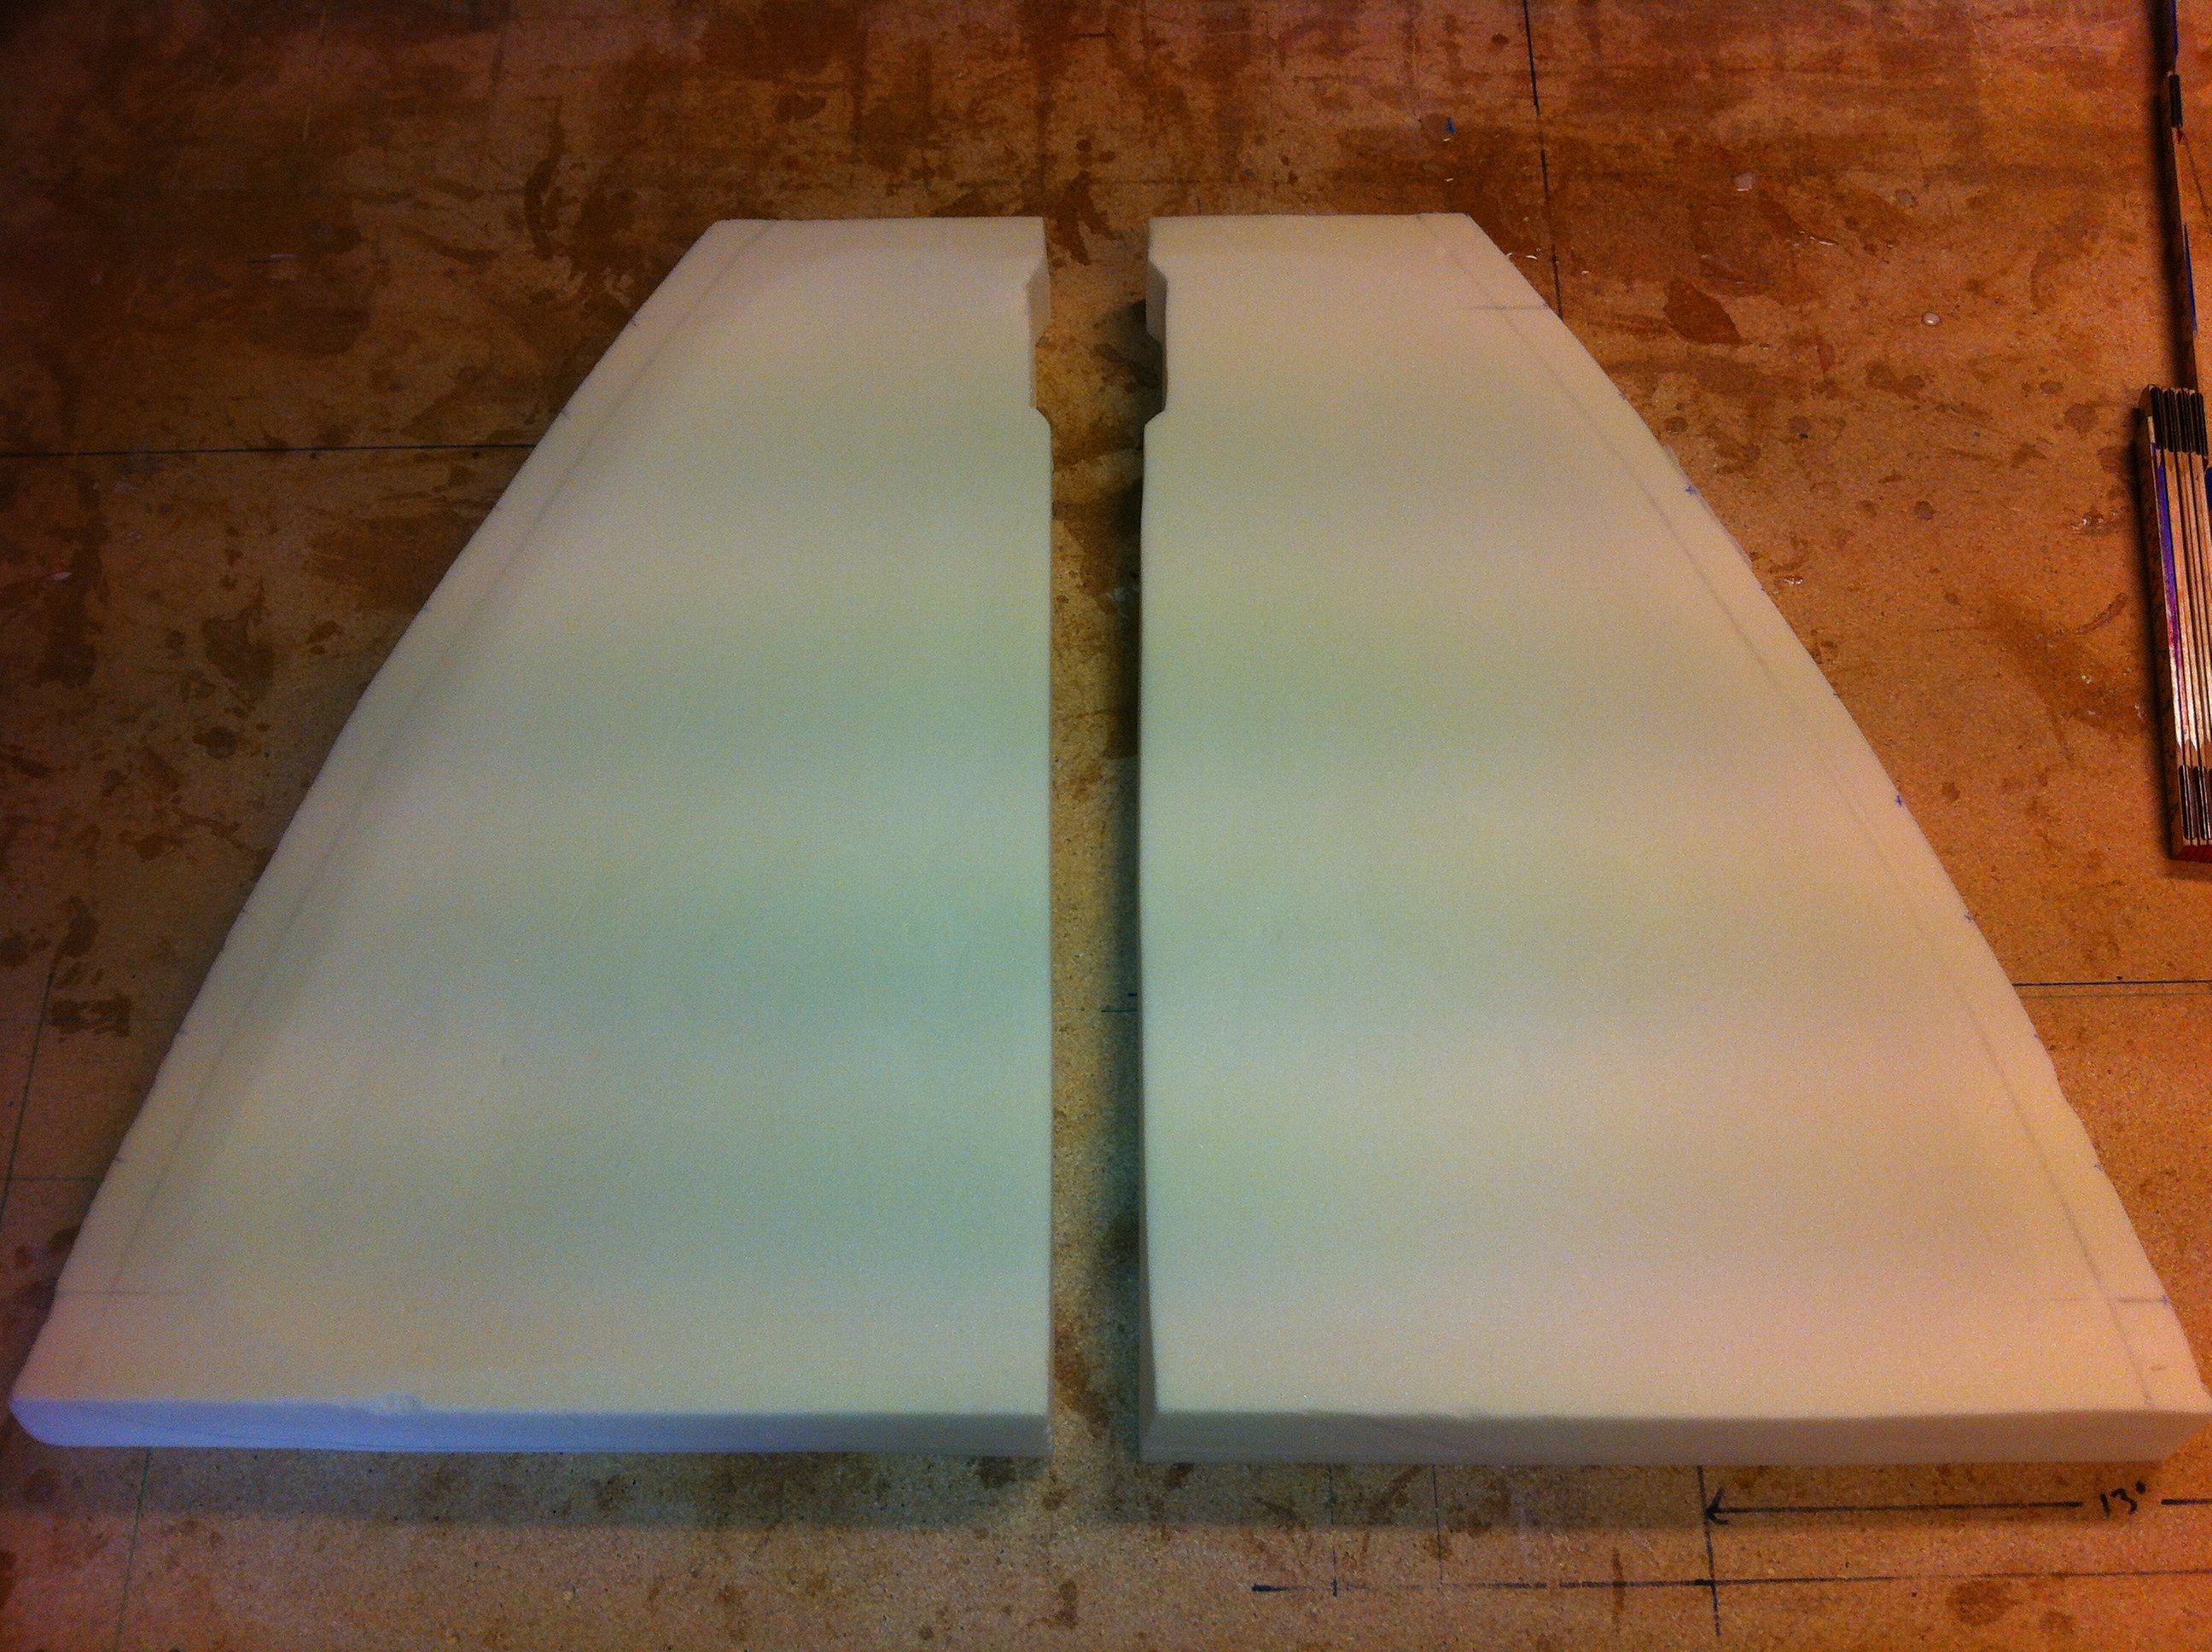
2013-05-04: The final sanding is done with 36grit paper, then I smoothed the foam with a piece of urethane that I used as a sanding-block. Worked very well and gave a nice smooth finish.

2013-05-04: The blocks are then glued to the fuselage using wet micro and set to cure.
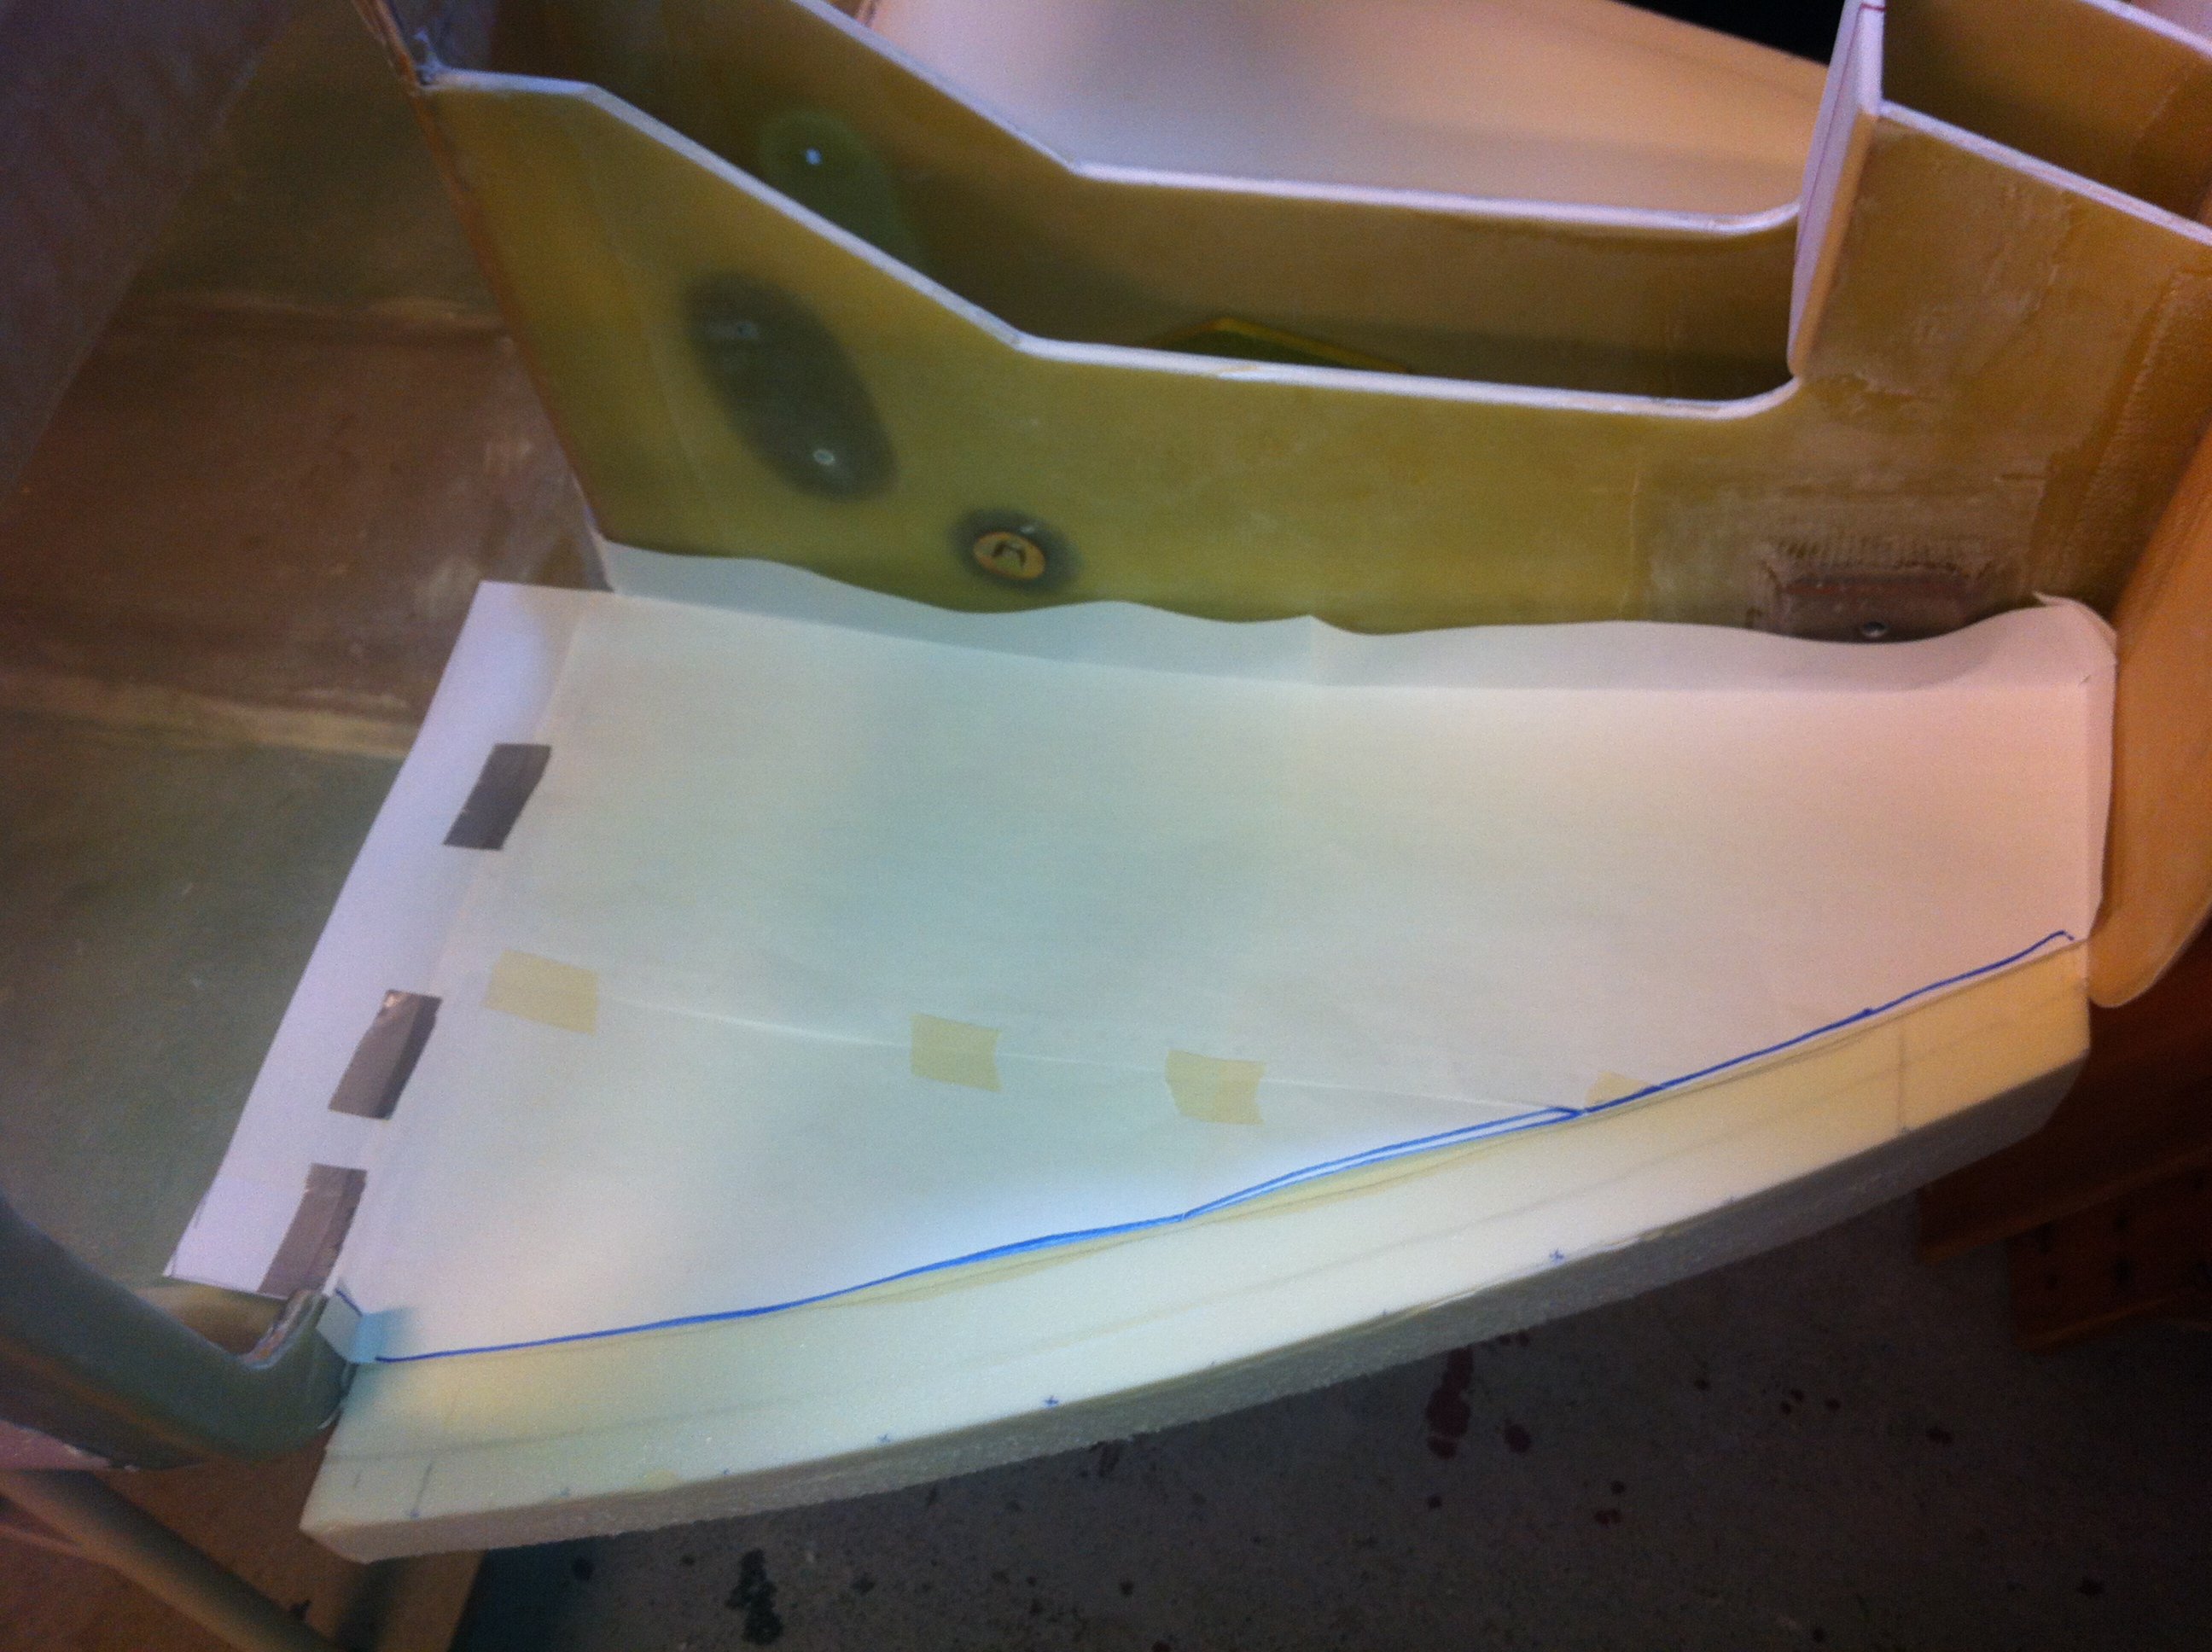
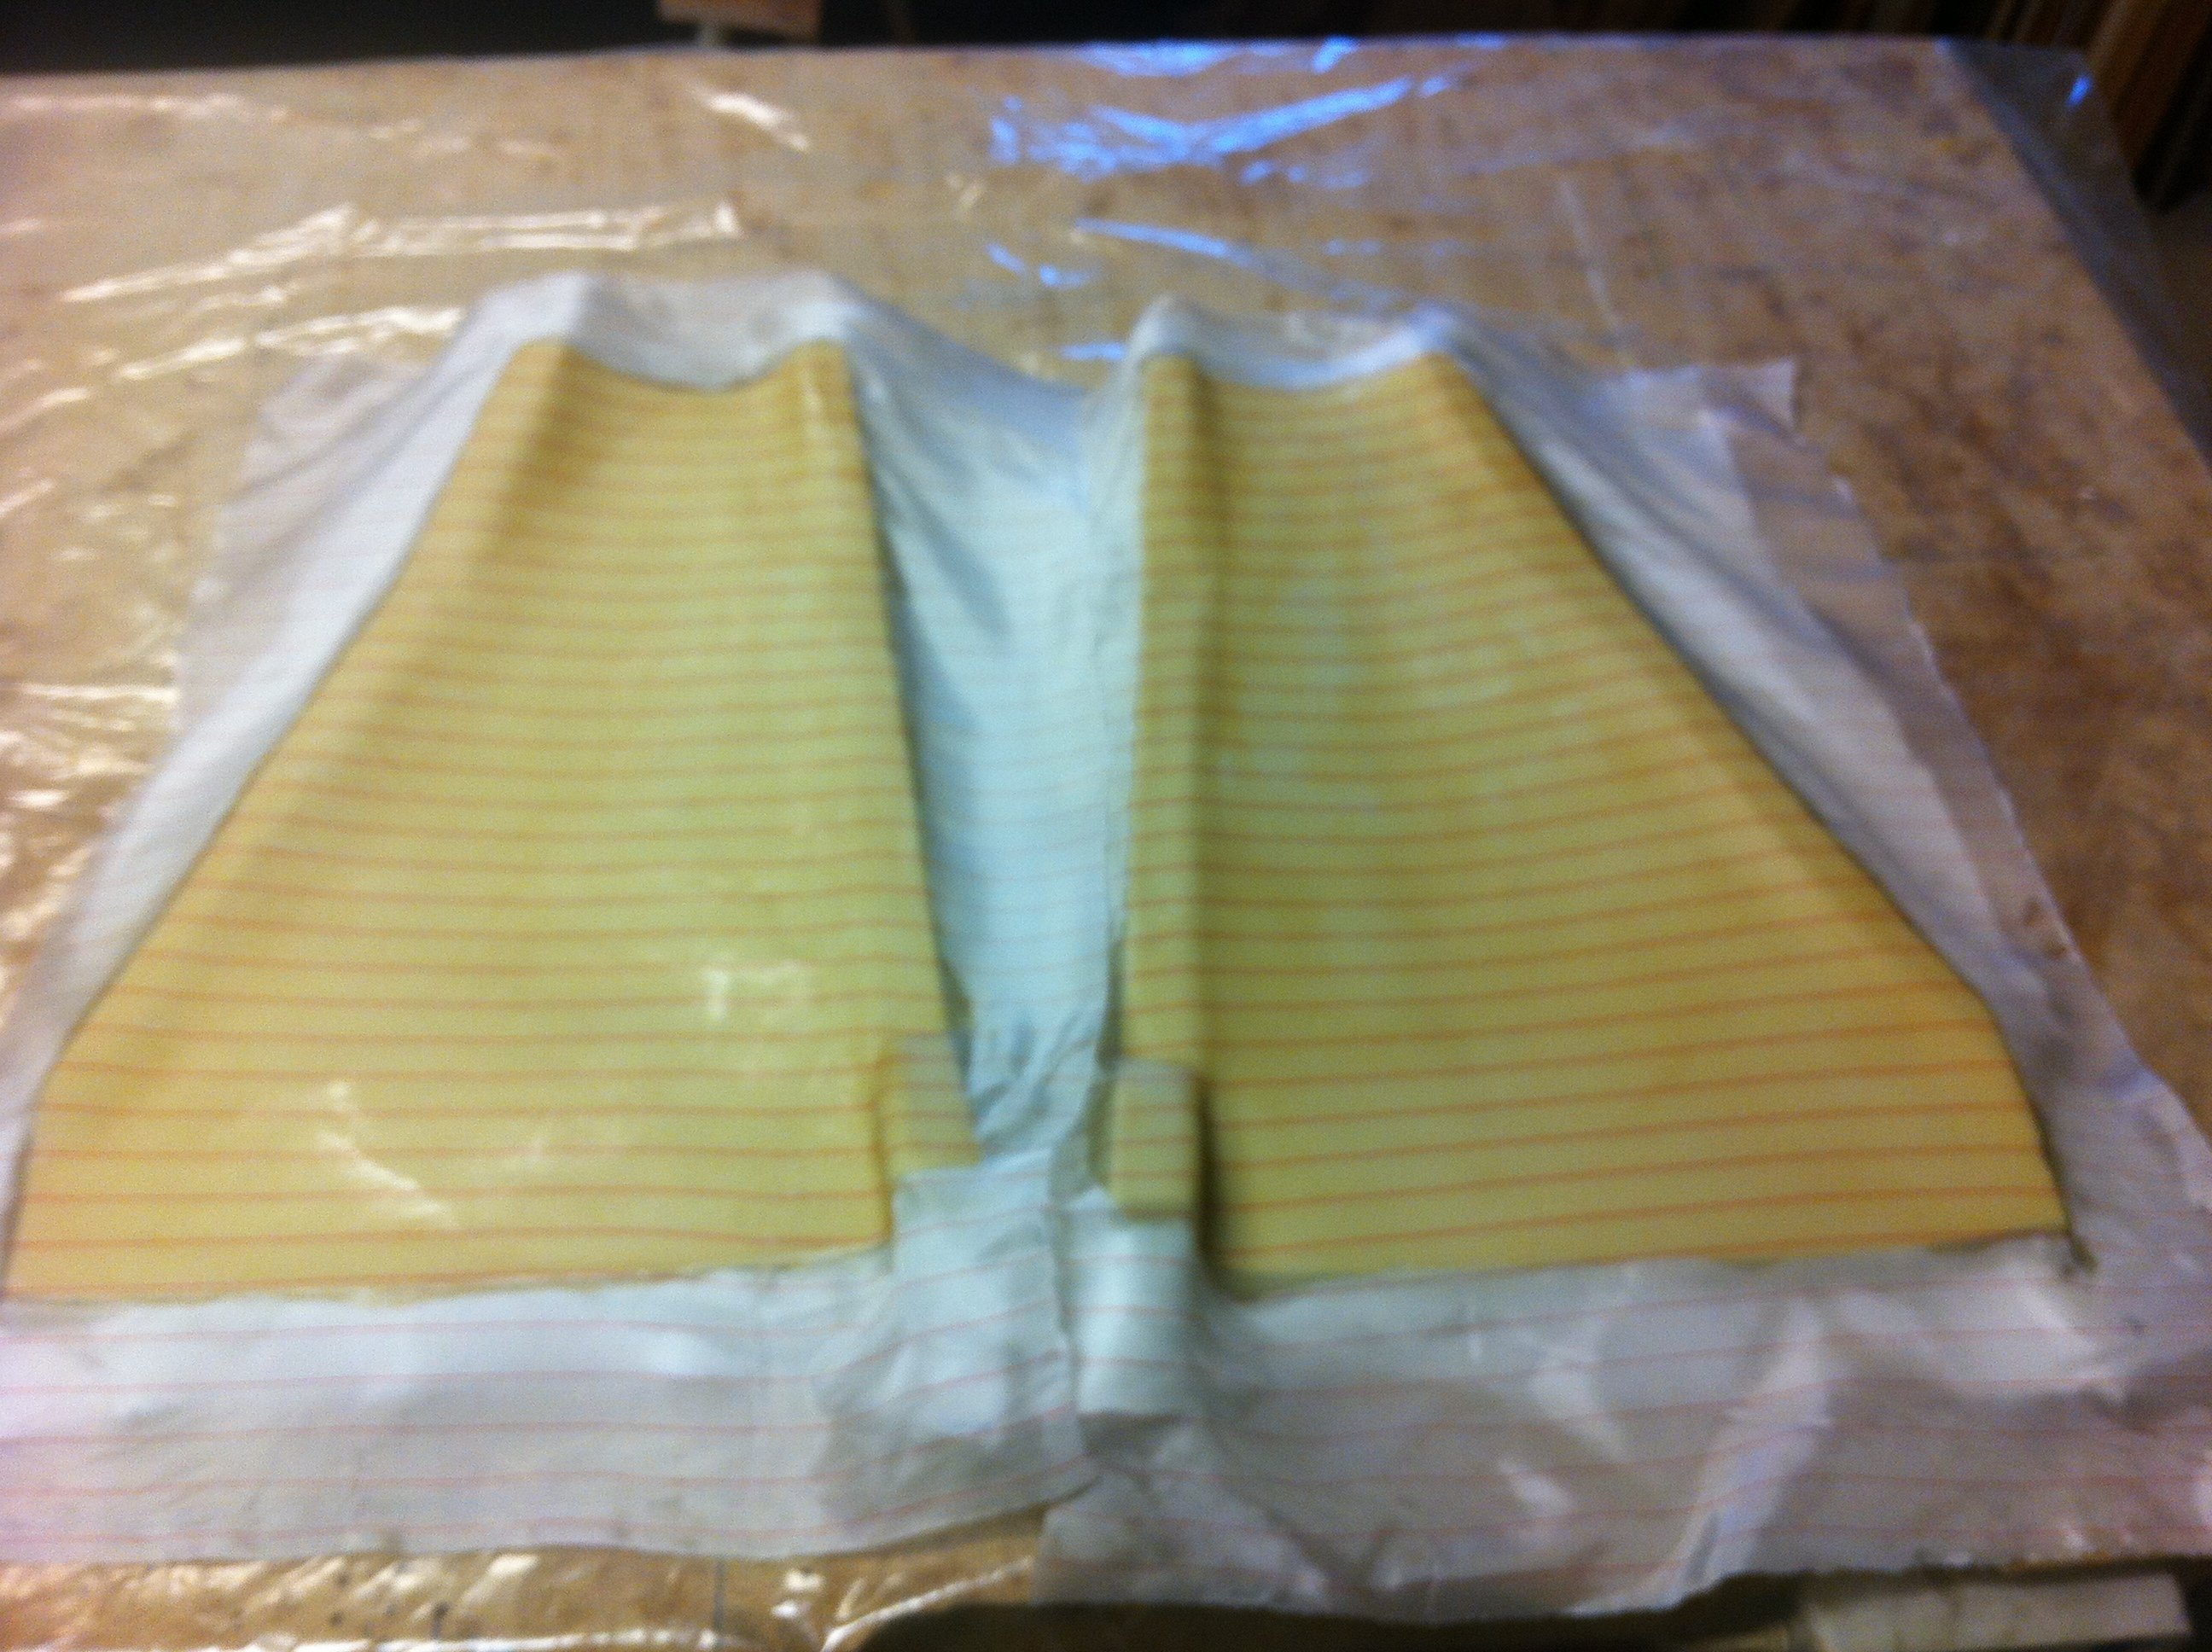
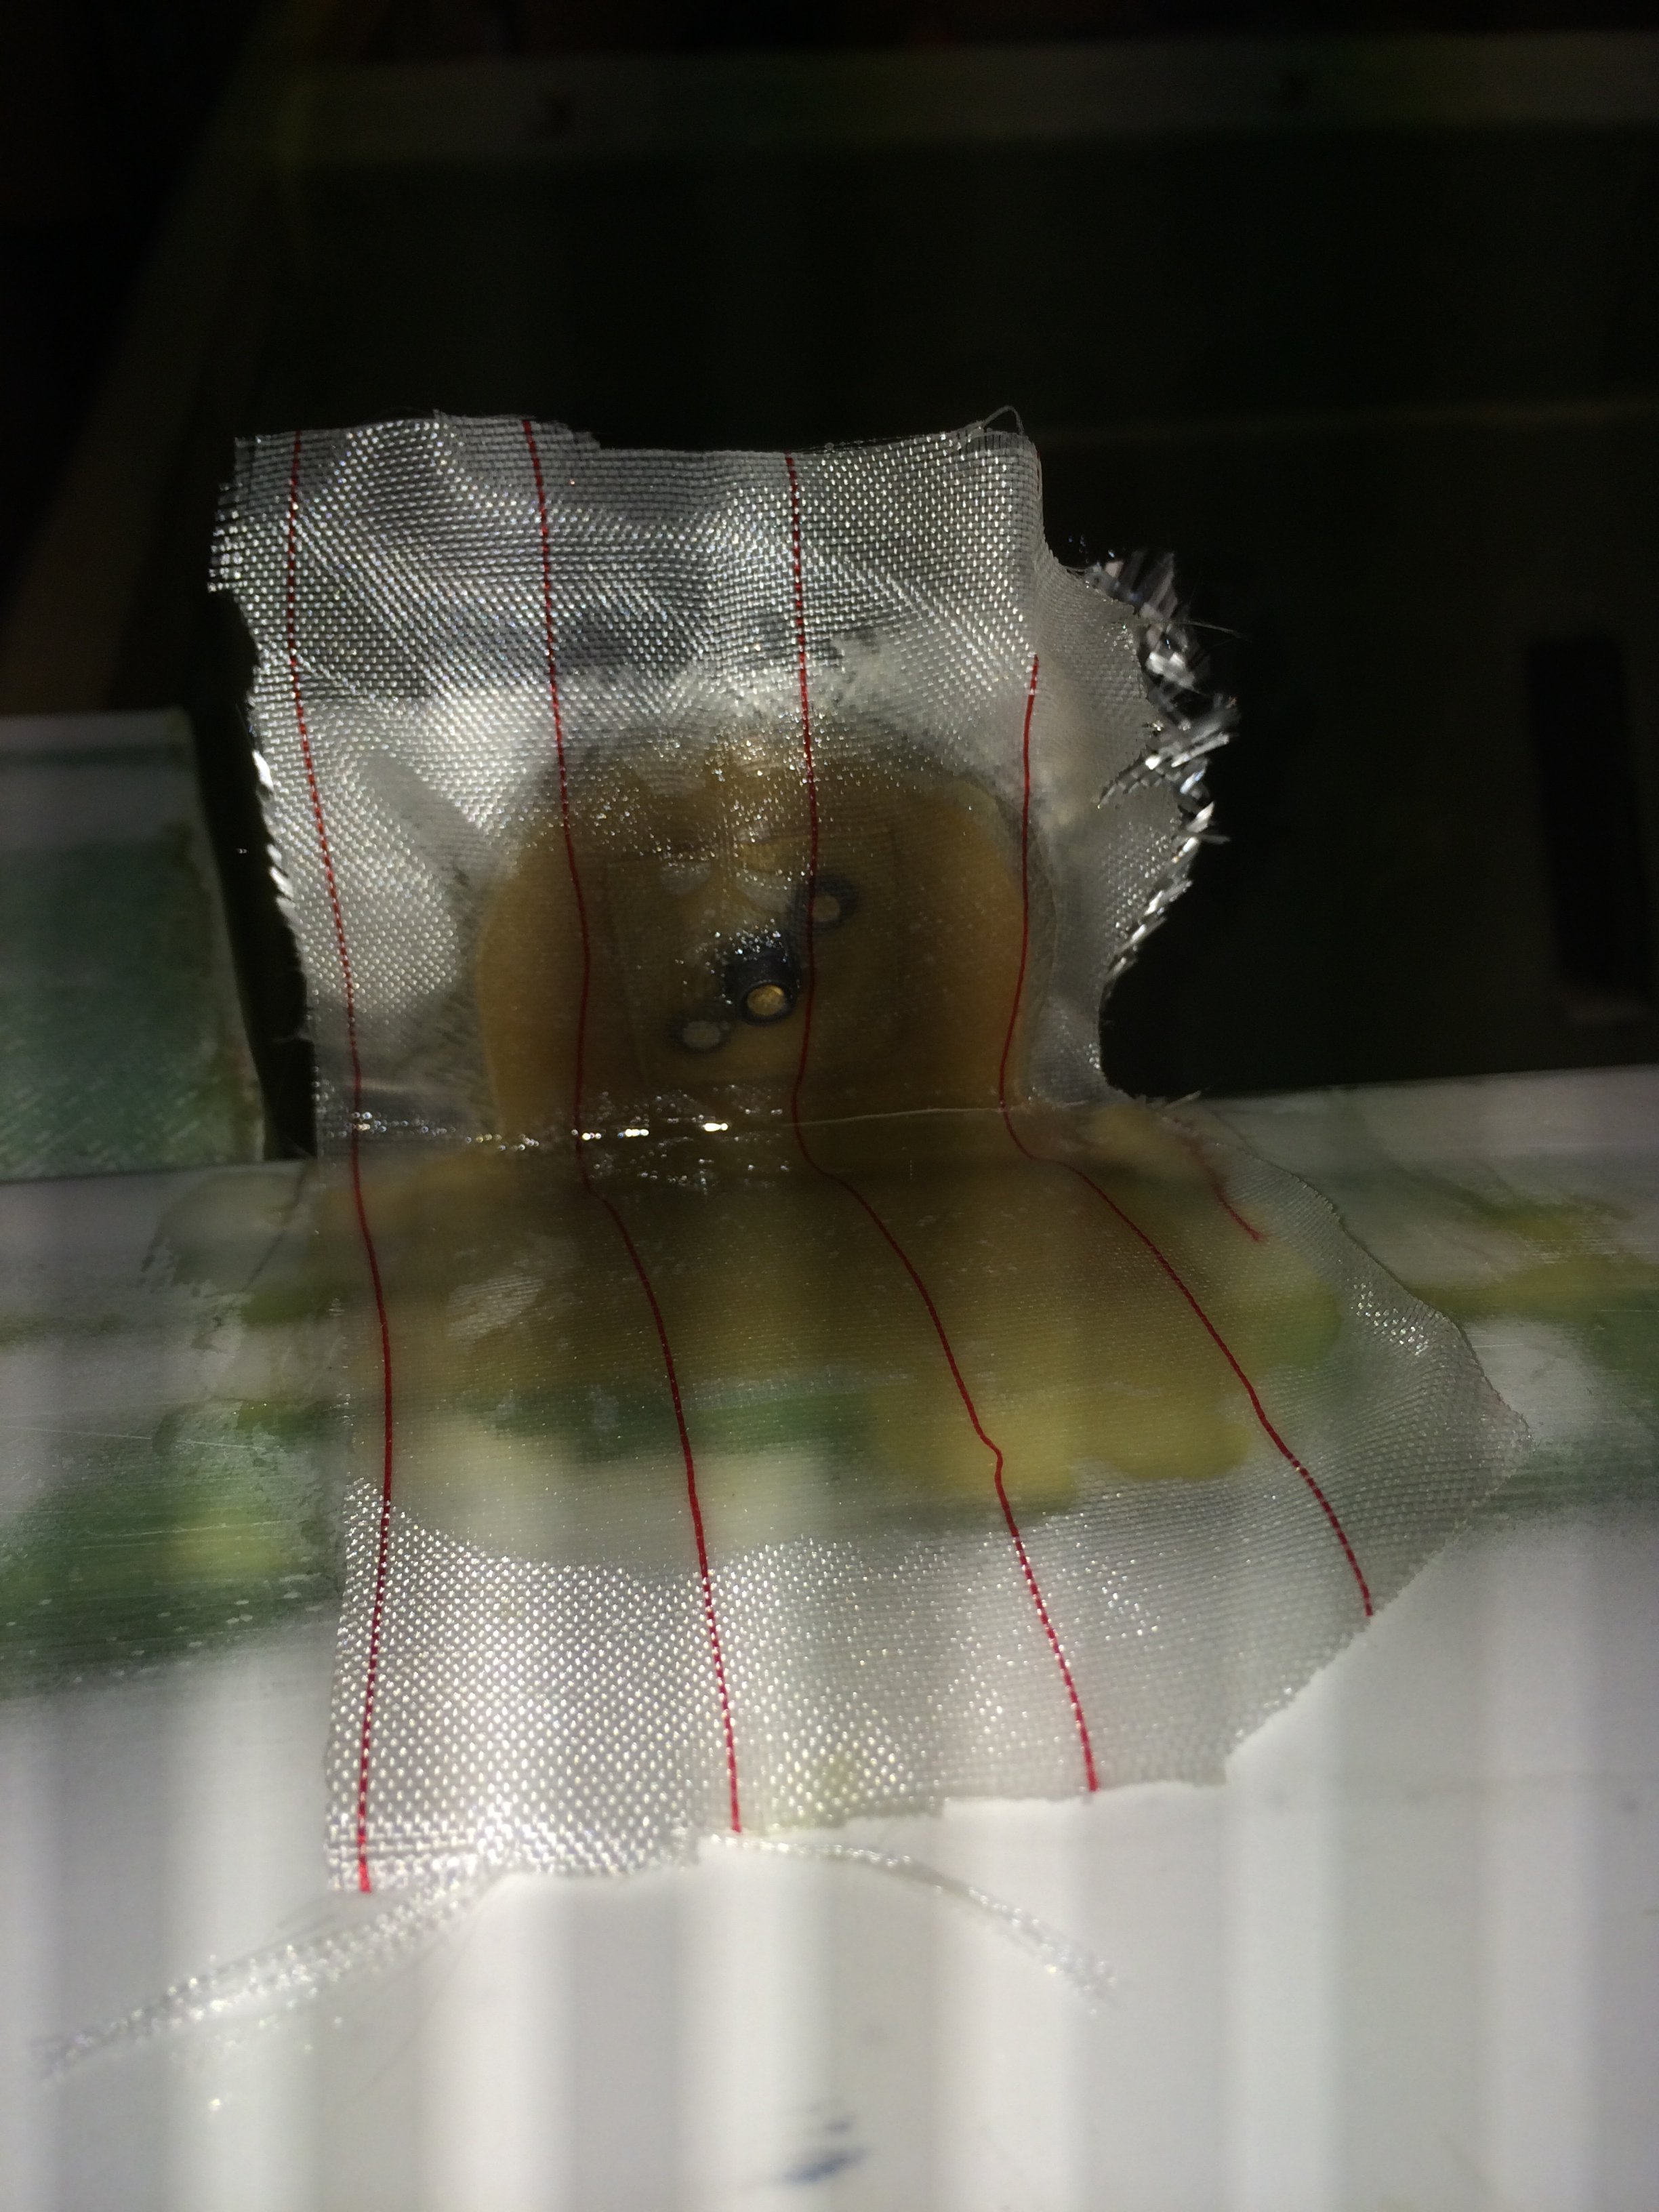
2013-05-05: I made a paper-template to shape the glass. I glassed on the table on plastic as usual. I put the extra 3 inch BID that goes 3 inch over F22 and aft the floor between the two BID-plies.
2013-05-05: Peel-plied and set to cure.
2013-09-28: Long, long break. Been busy doing other stuff, have even met great canard-guys both in Texas and had people visitng me from US and Germany!
Back to work. Started to make the sides of the nose using 2″ urethane. This is built up with additional blocks of urethane aft and fore since this is to be sanded to a hollow shape later.
2013-09-28: The front part is sanded down. Ready to sand some more.
2013-09-28: Here the hollow shape is showing. This will be the inside of the nose.
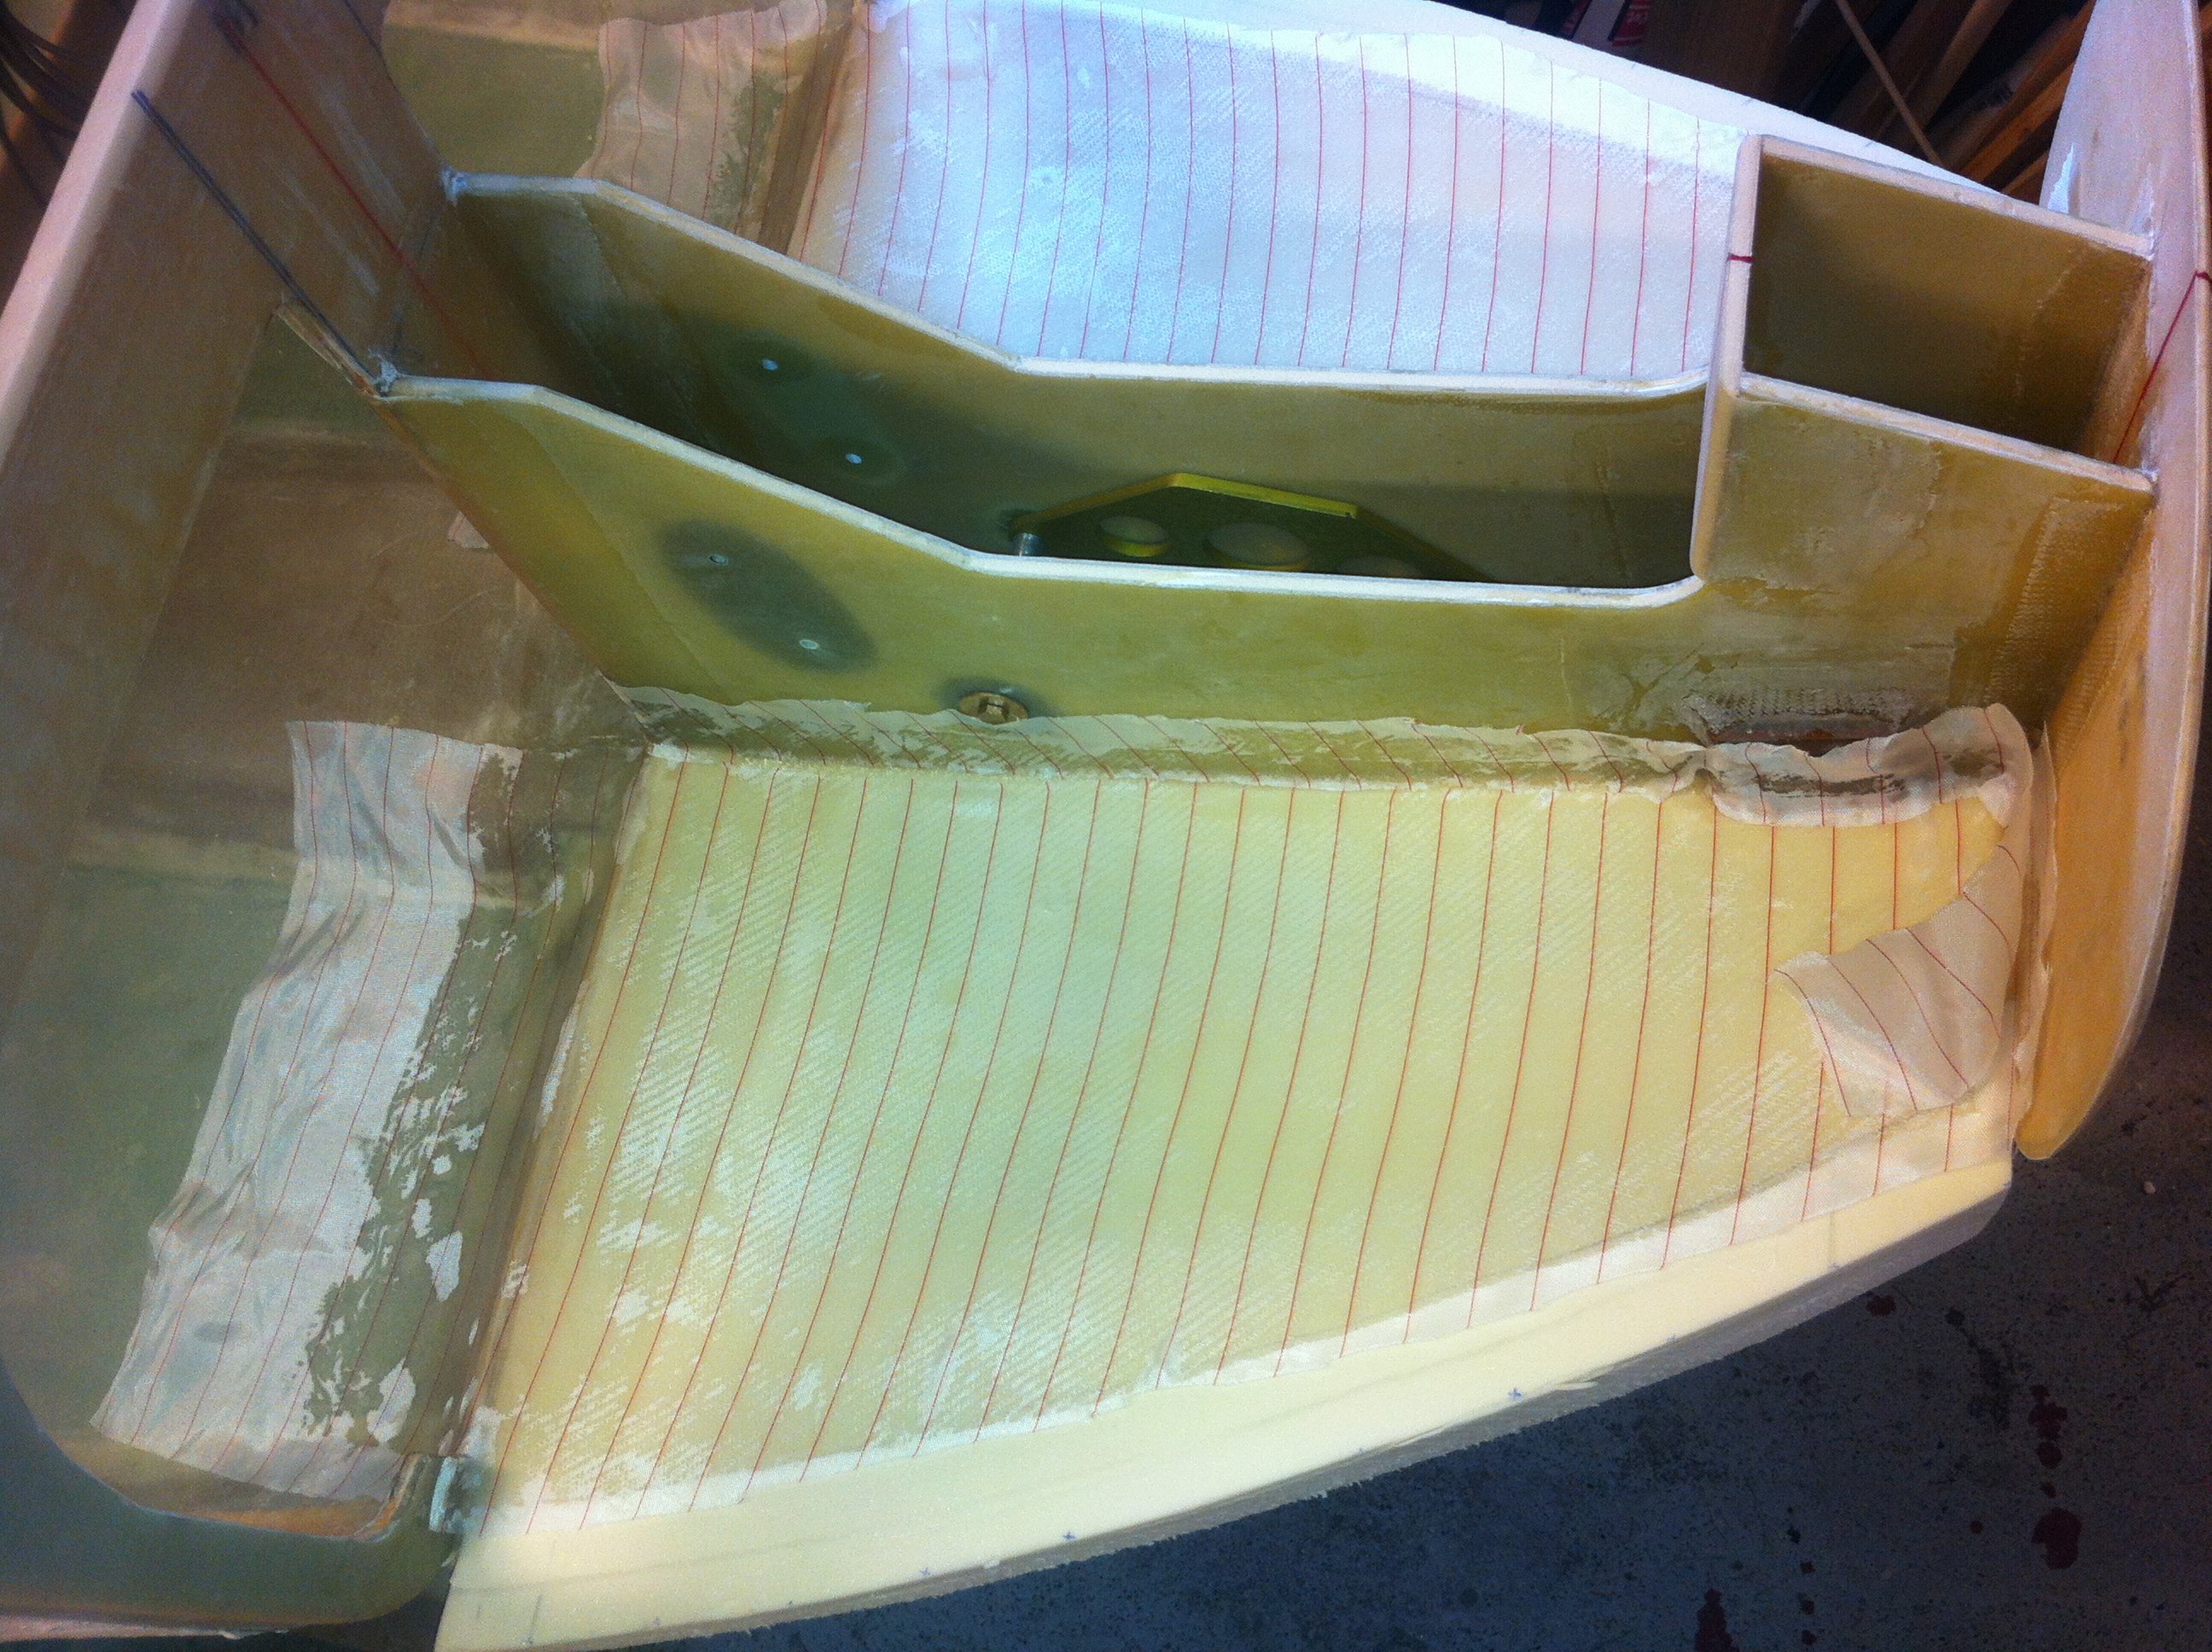
2013-09-28: The sides is glassed and peel-plied. The plans say that the sides should cure for a couple of hours, then mounted in the nose while still tacky. I prefer to let the parts cure and instead BID-tape them. I feel I have better control this way.

2013-09-29: After cure I floxed the sides to the fuselage and BID-taped them fore, aft and bottom. I also made a 3BID tape between the canard-lift-tab-holes in F22 and the nose-side (as per plans).
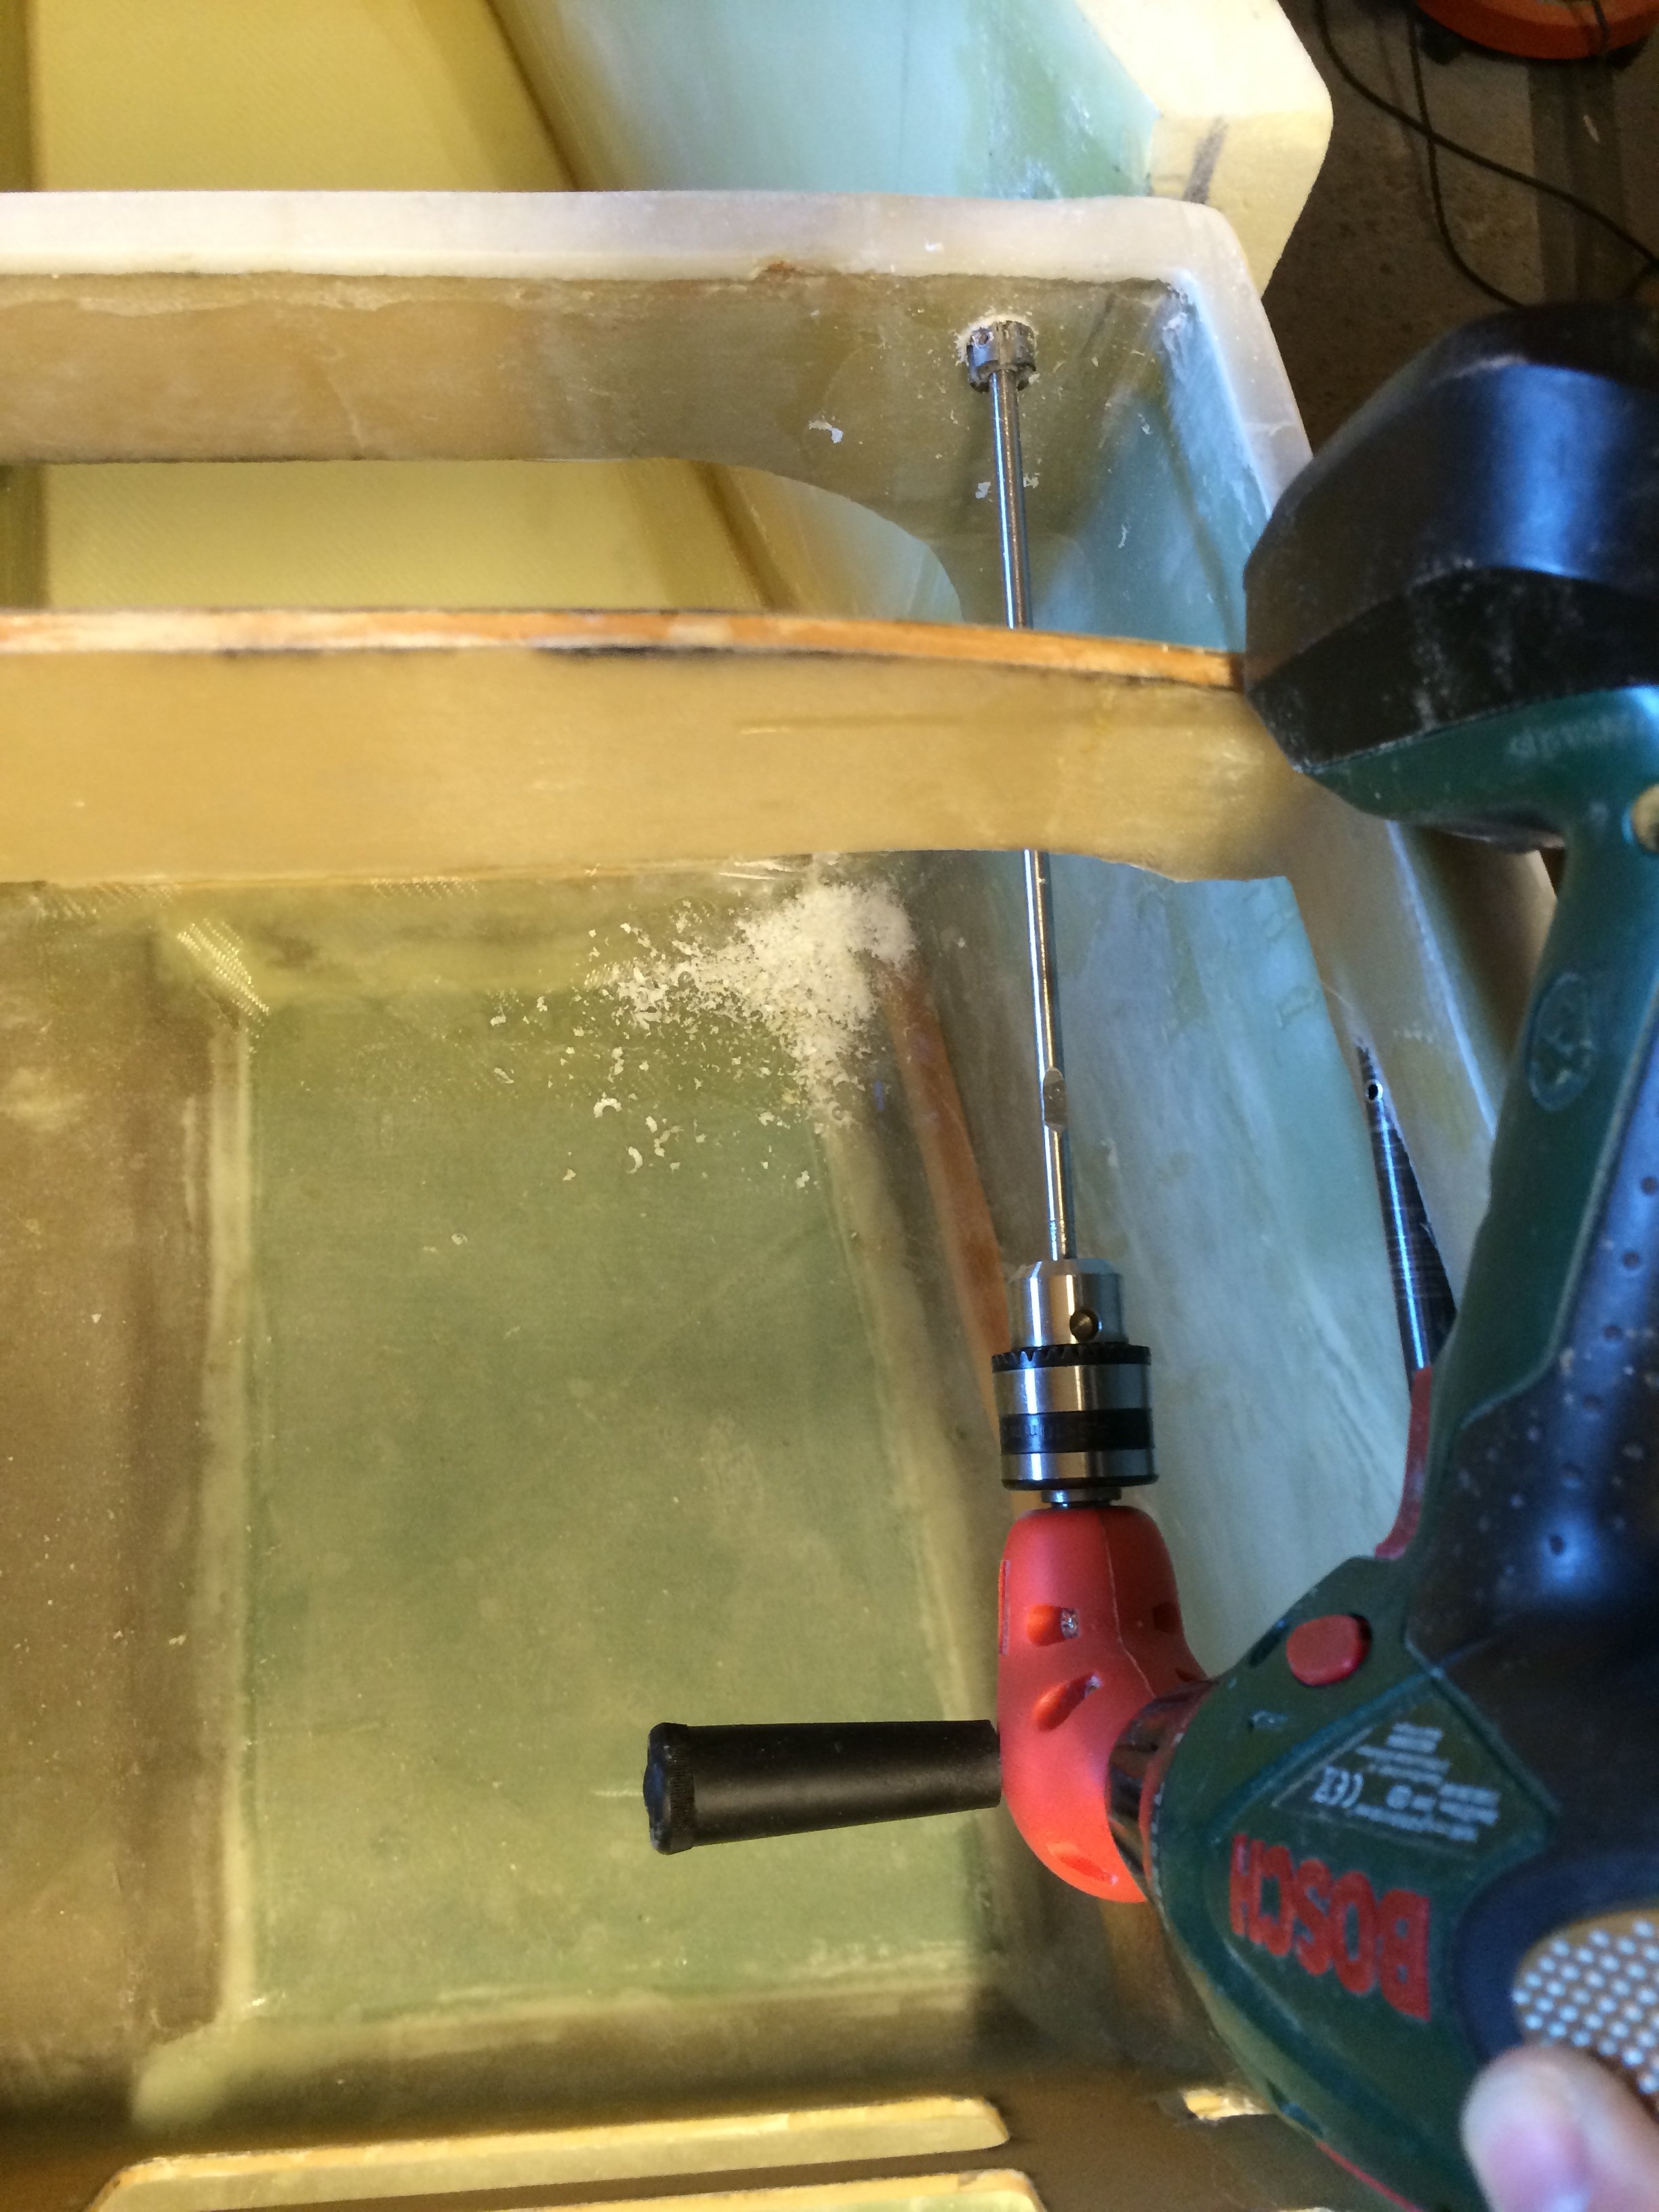
2013-10-11: Opening up the hole for lift-tab in F22 with the 5/8″ spot-facing tool.
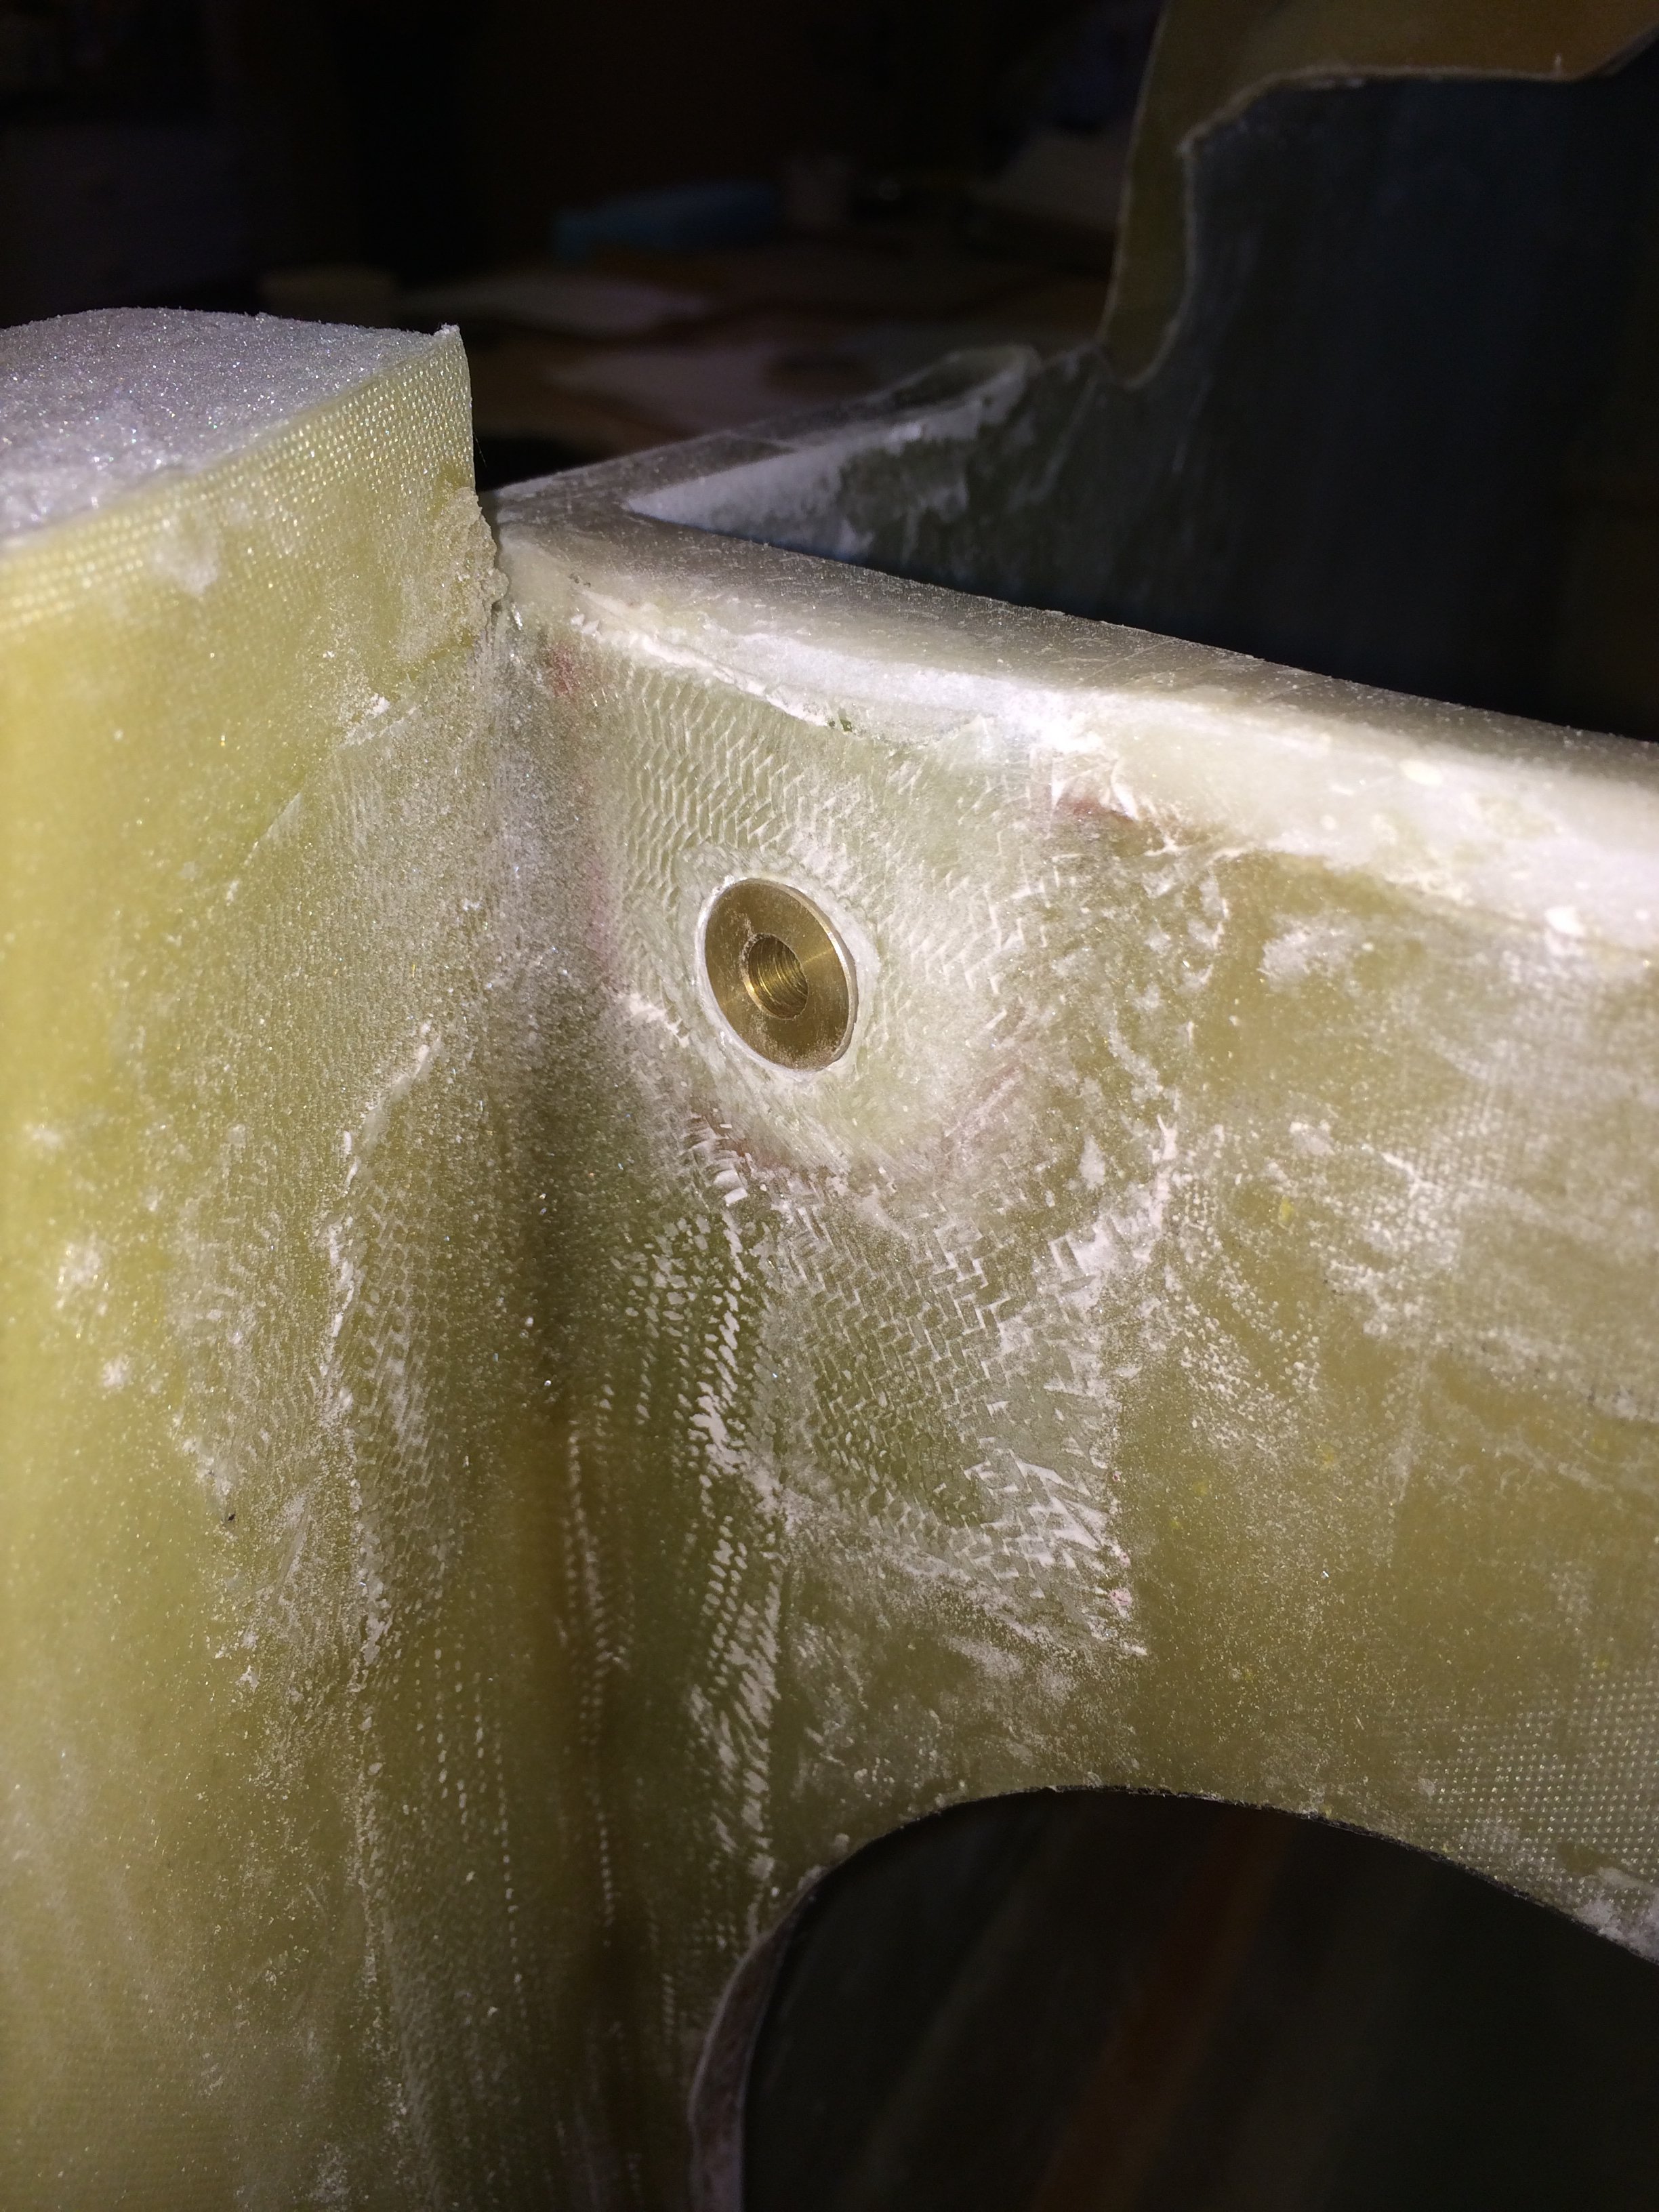
2013-10-11: The CNL-bushing is floxed in place.
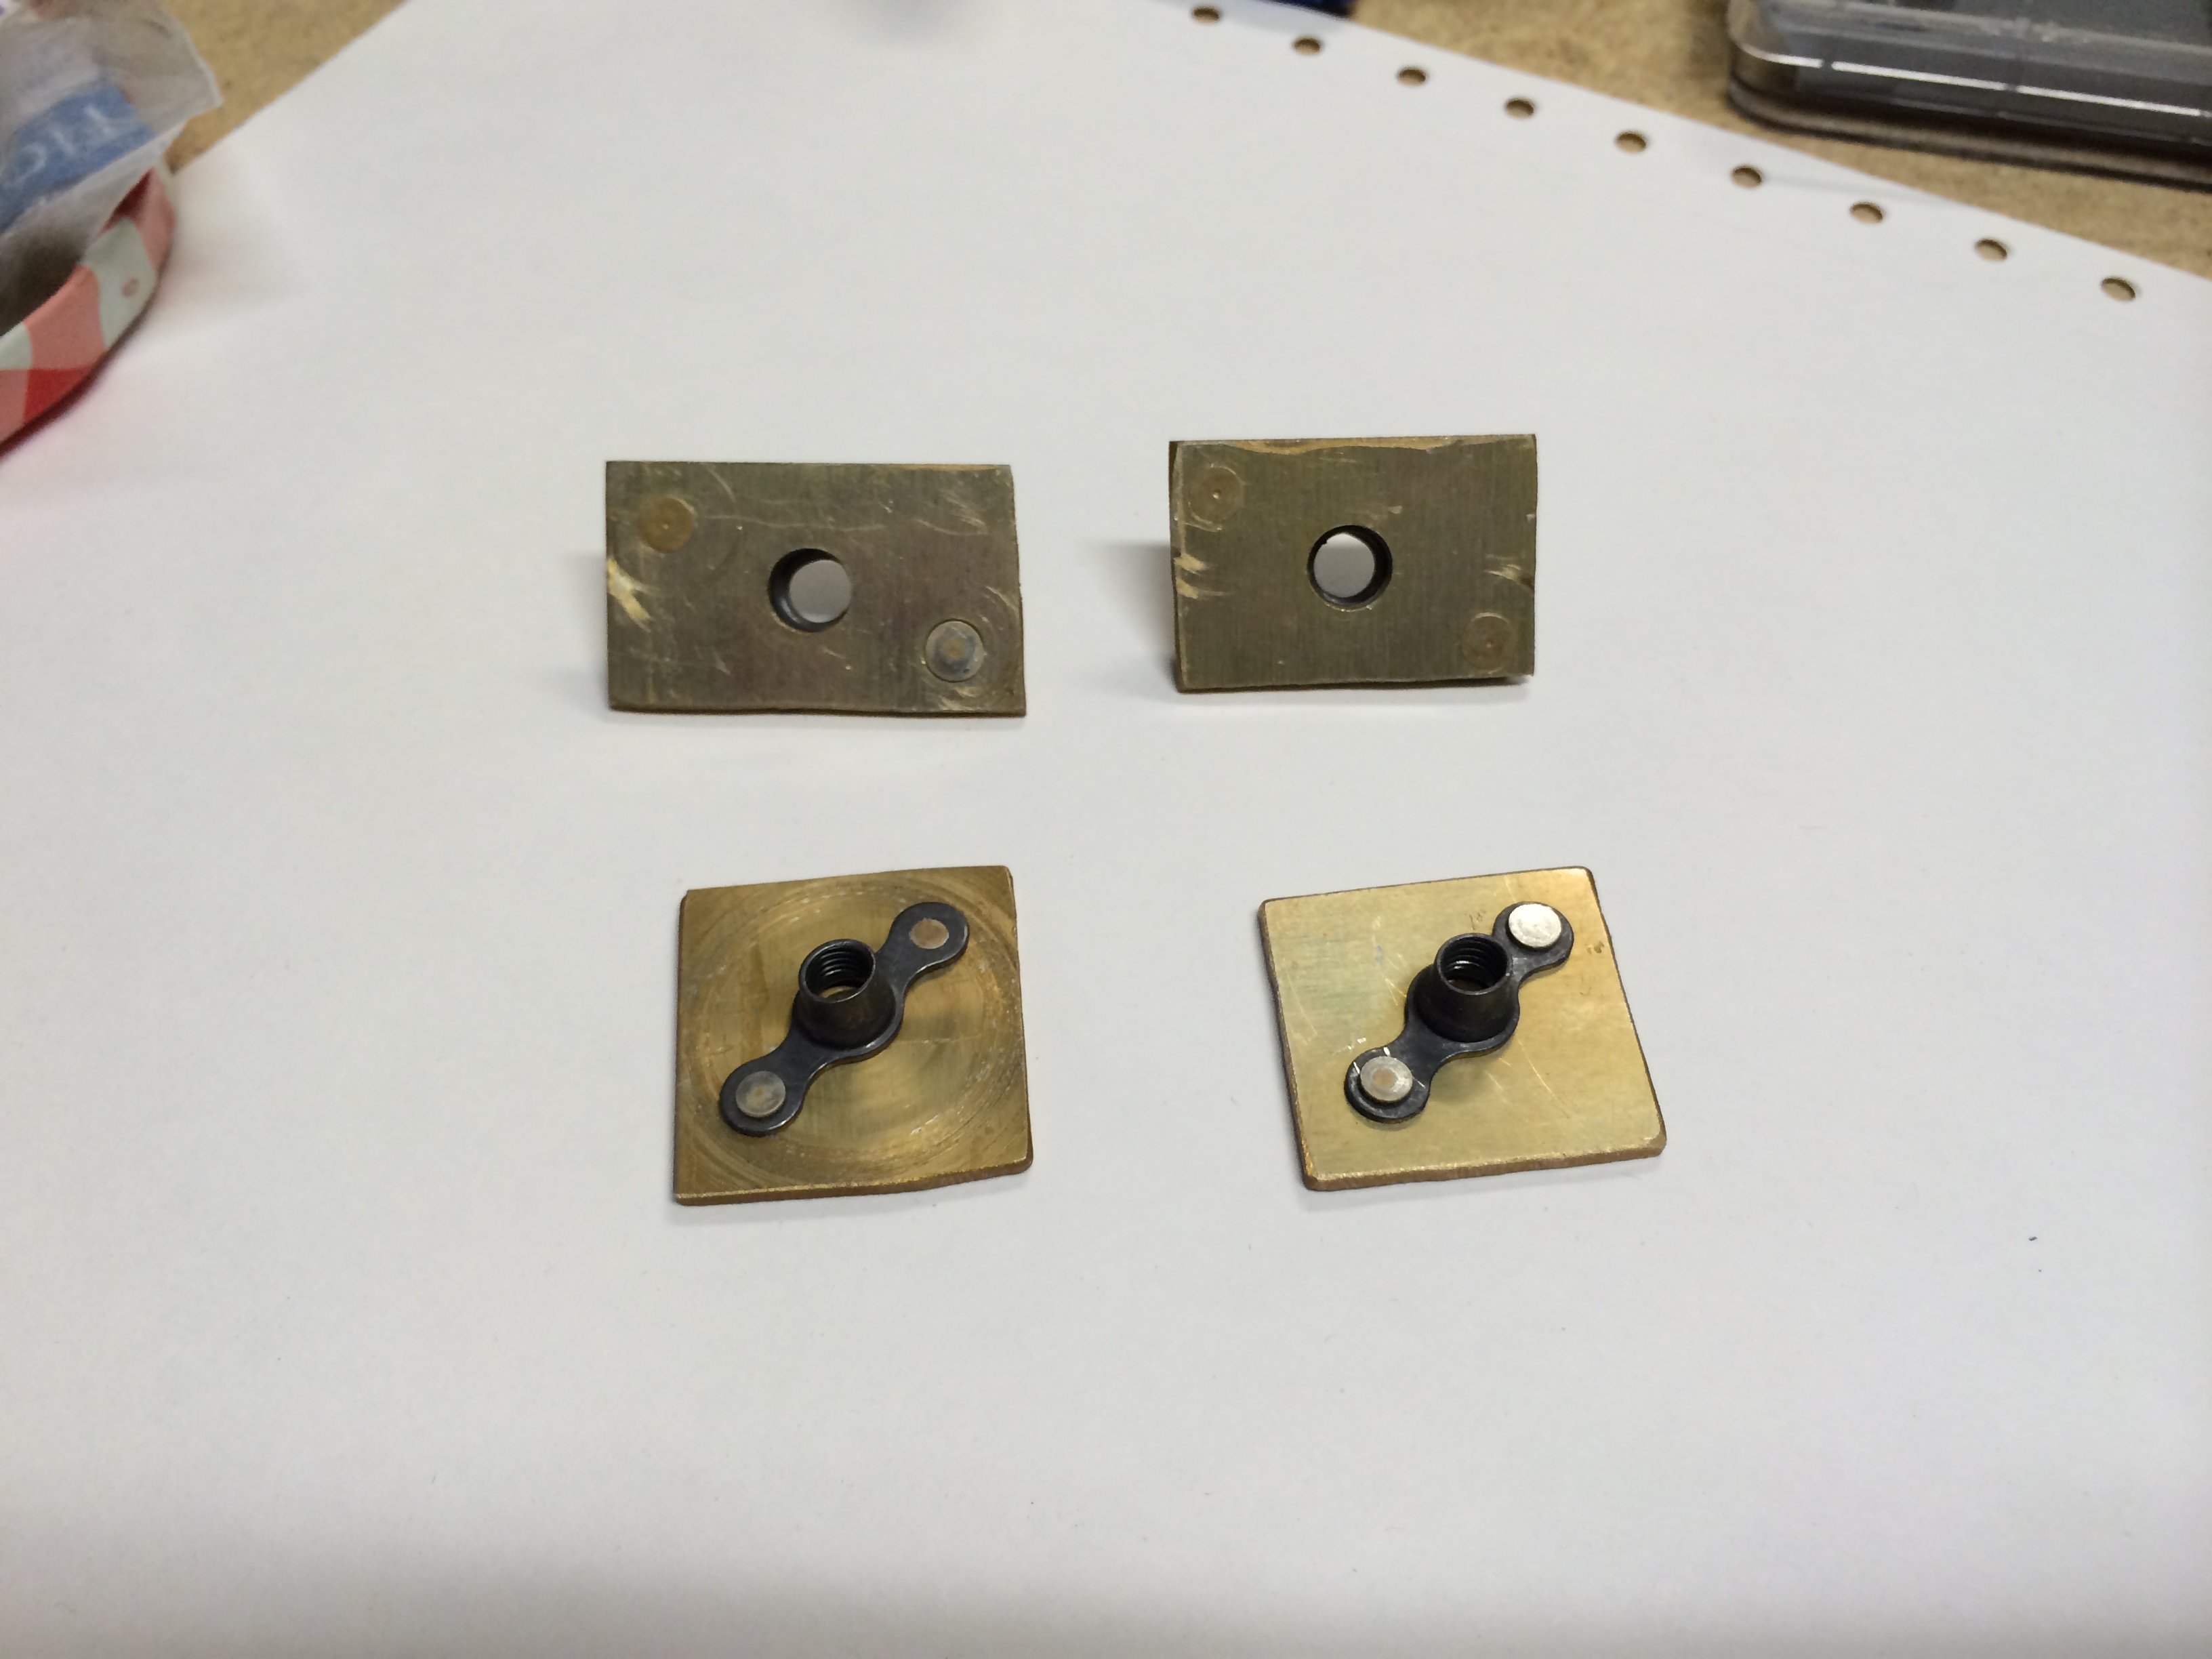
2013-10-11: Riveted nut-plates to alodined aluminum-plates.
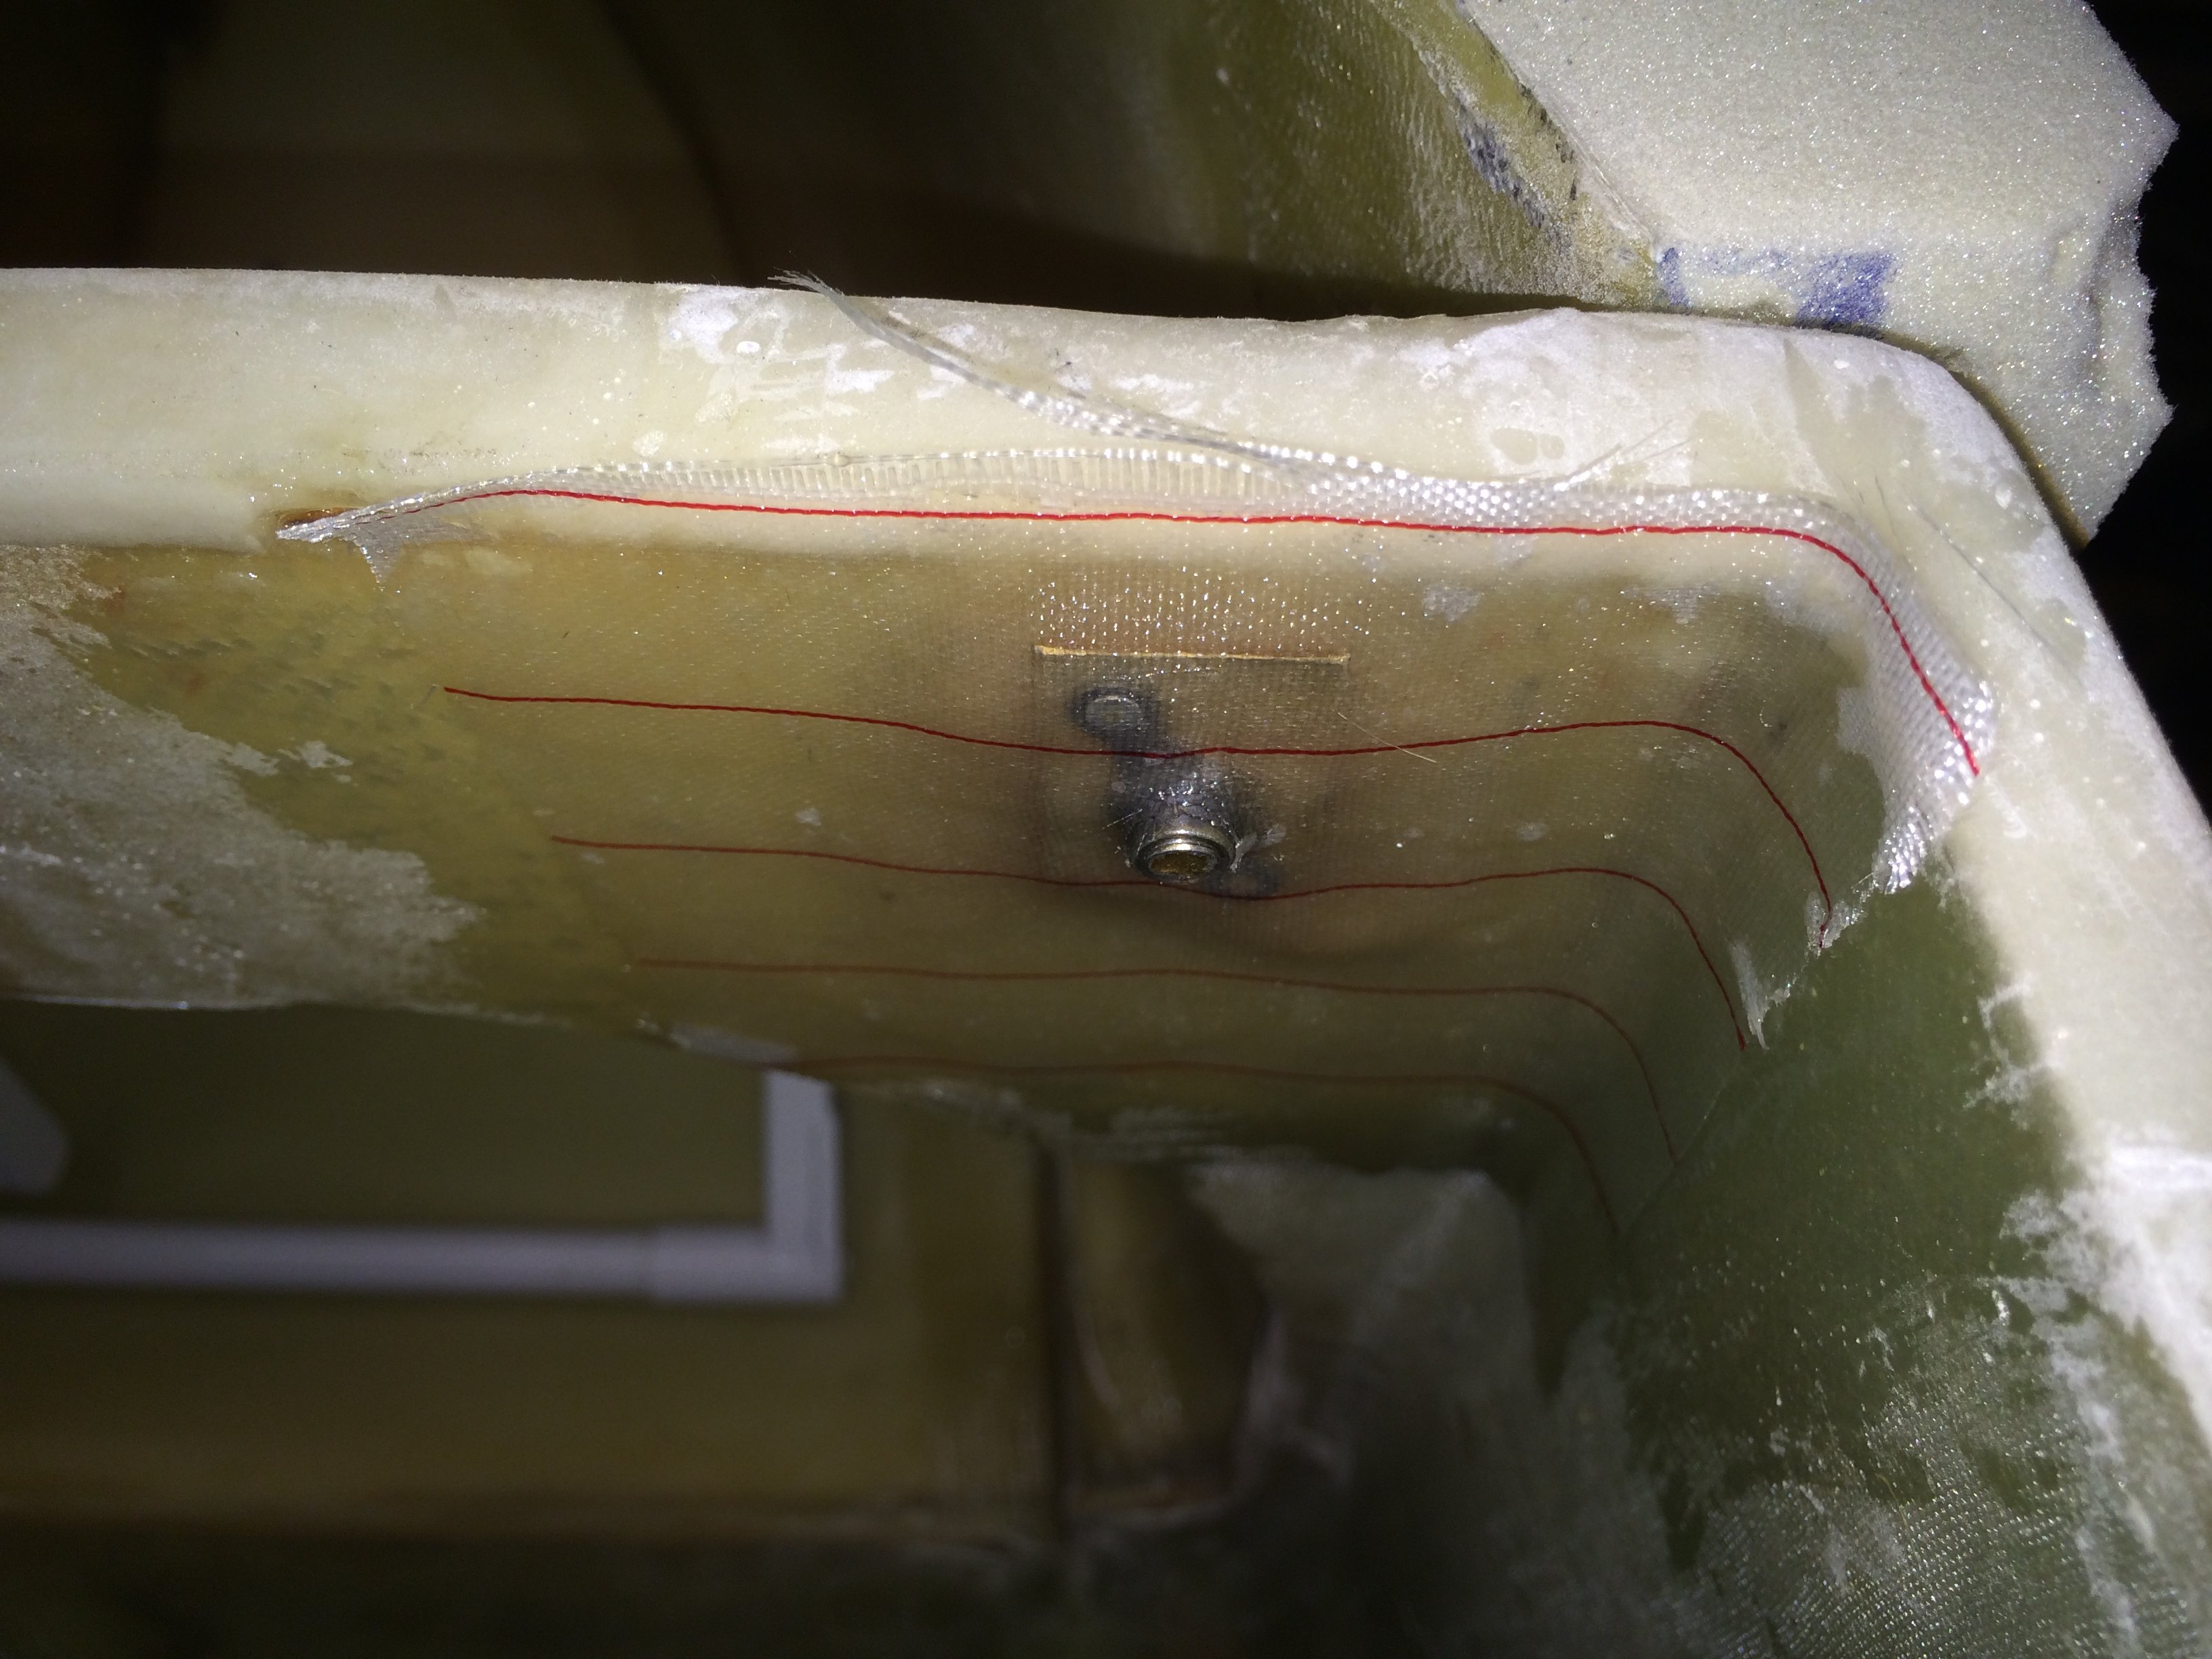
2013-10-13: A bolt is used to tighten the aluminum-plate with the nutplate to the aft side of F22. Floxed the aluminum-plate and covered with 1 BID.
2013-10-13: A bolt is used to tighten the aluminum-plate with the nutplate to the front side of the alignment tab. Floxed the aluminum-plate and covered with 1 BID.
Started: 2013-05-04
Ended: 2013-10-13