
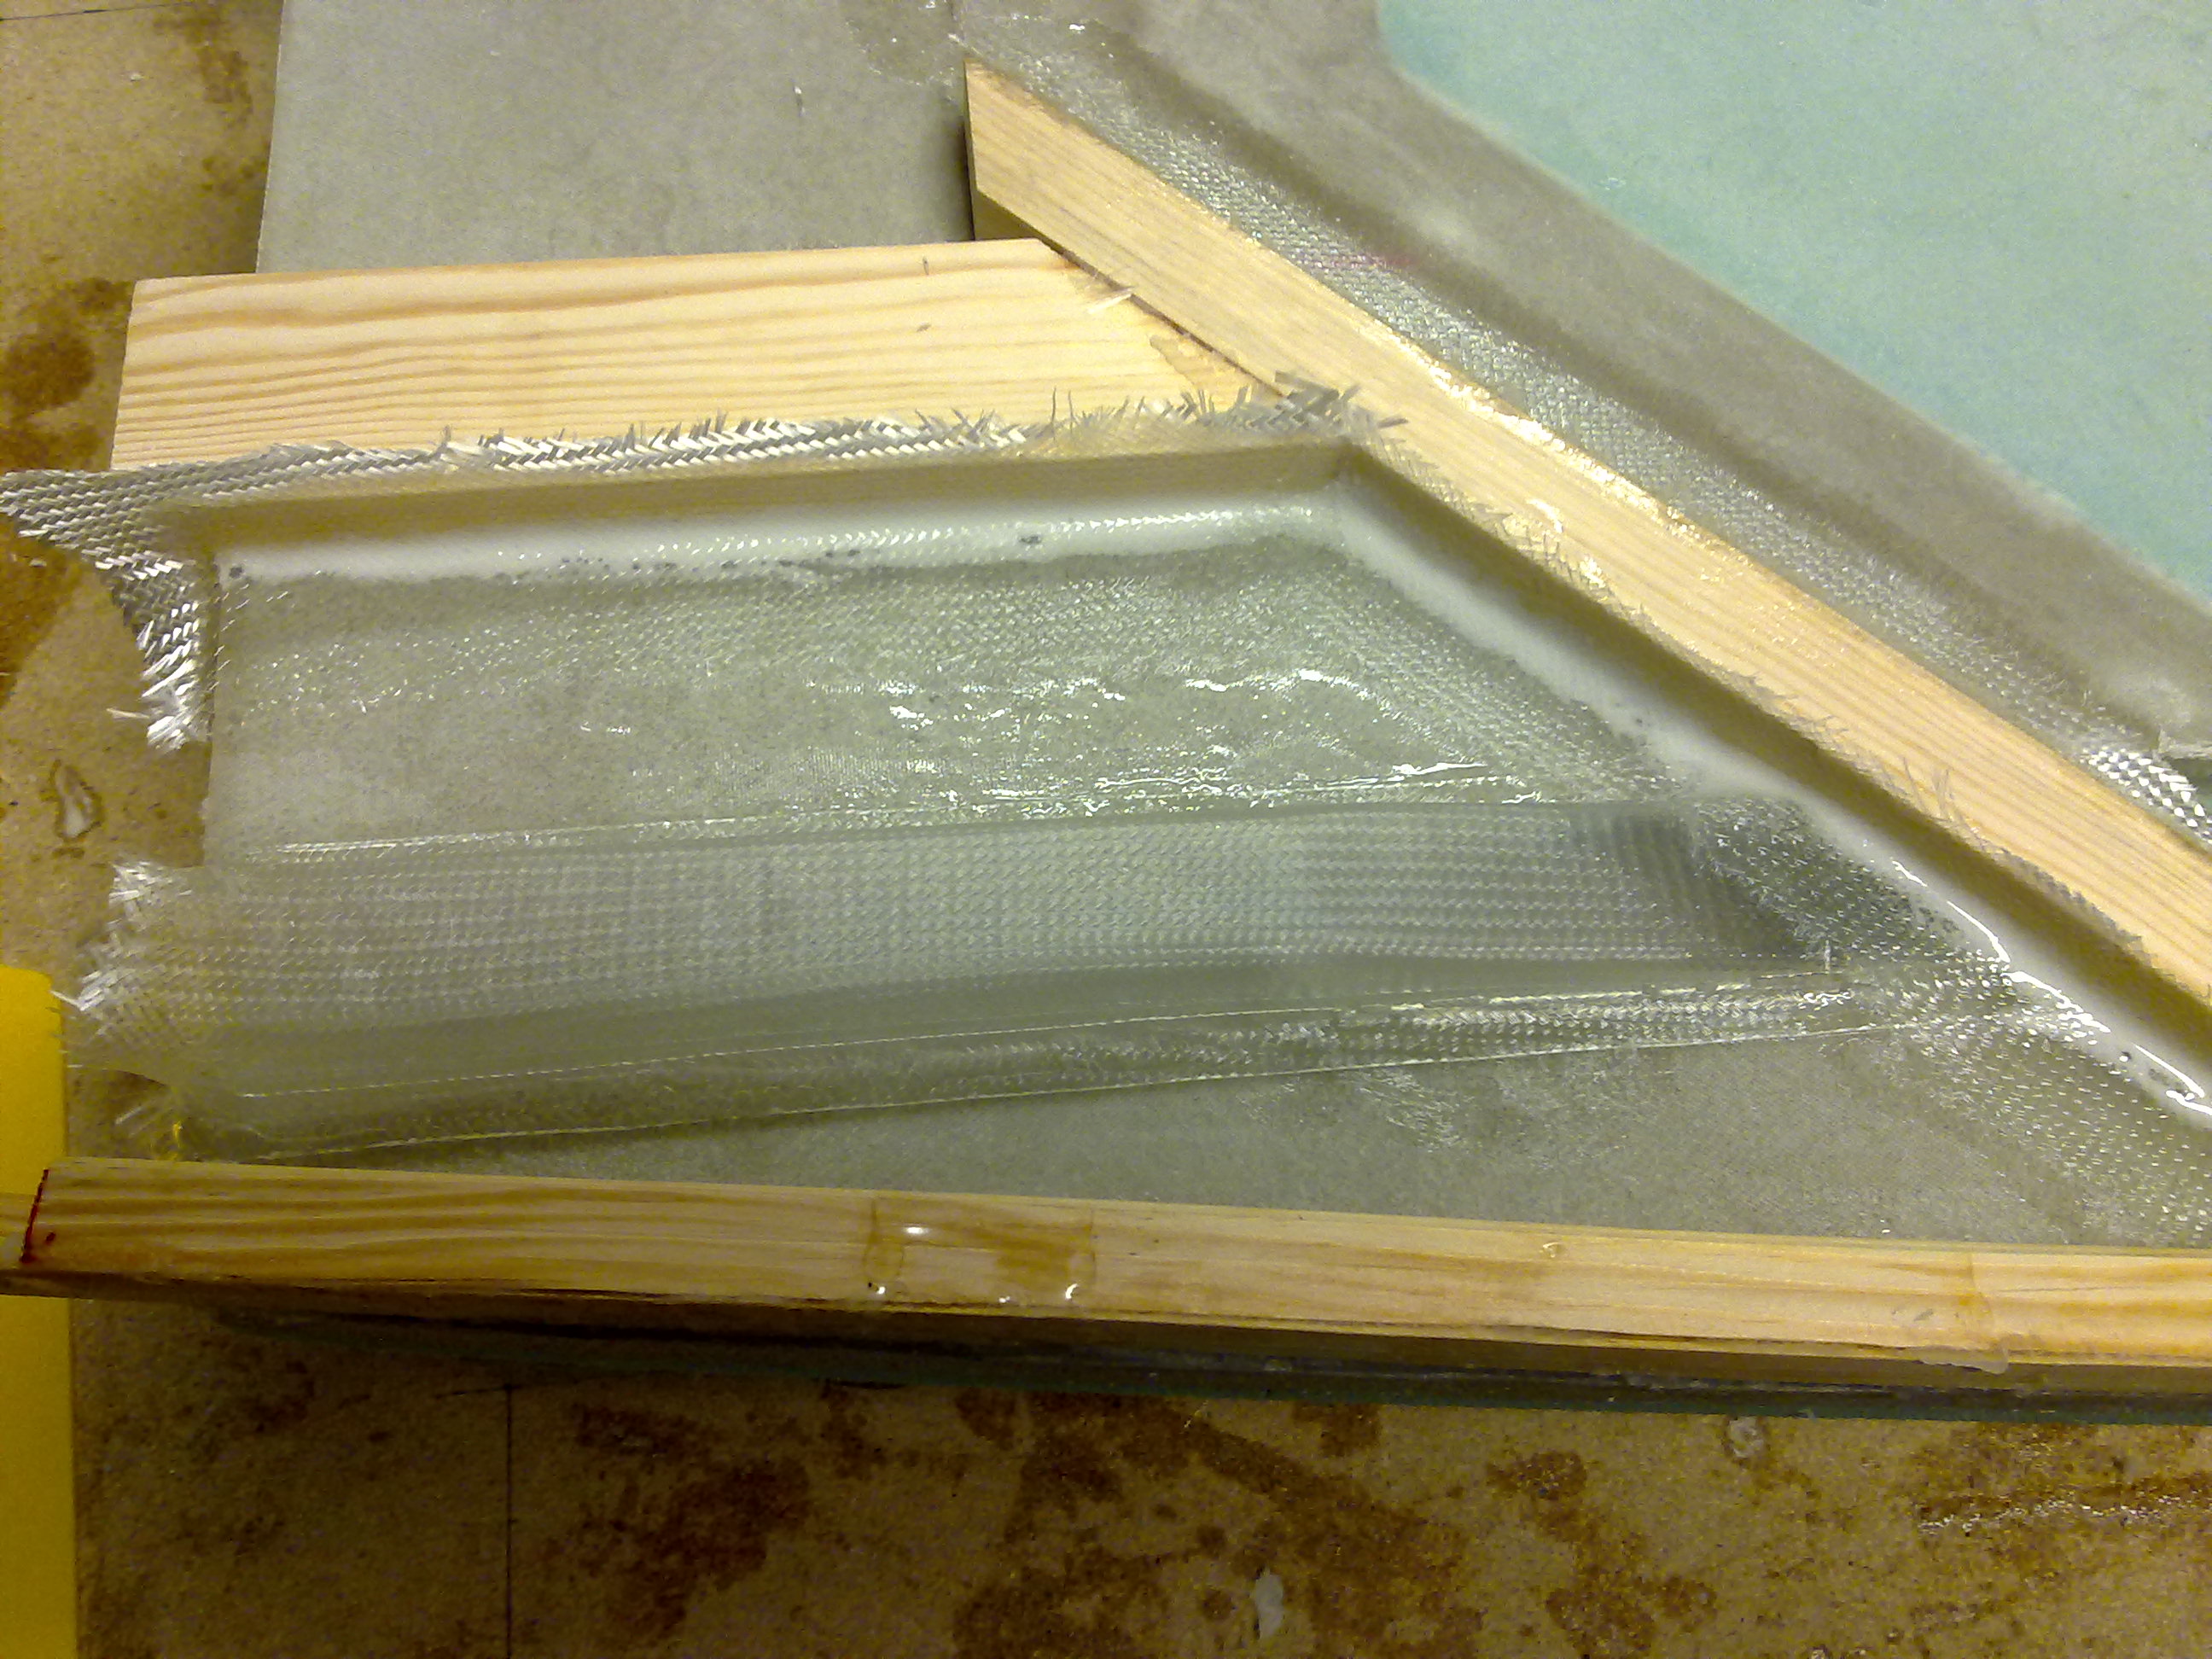
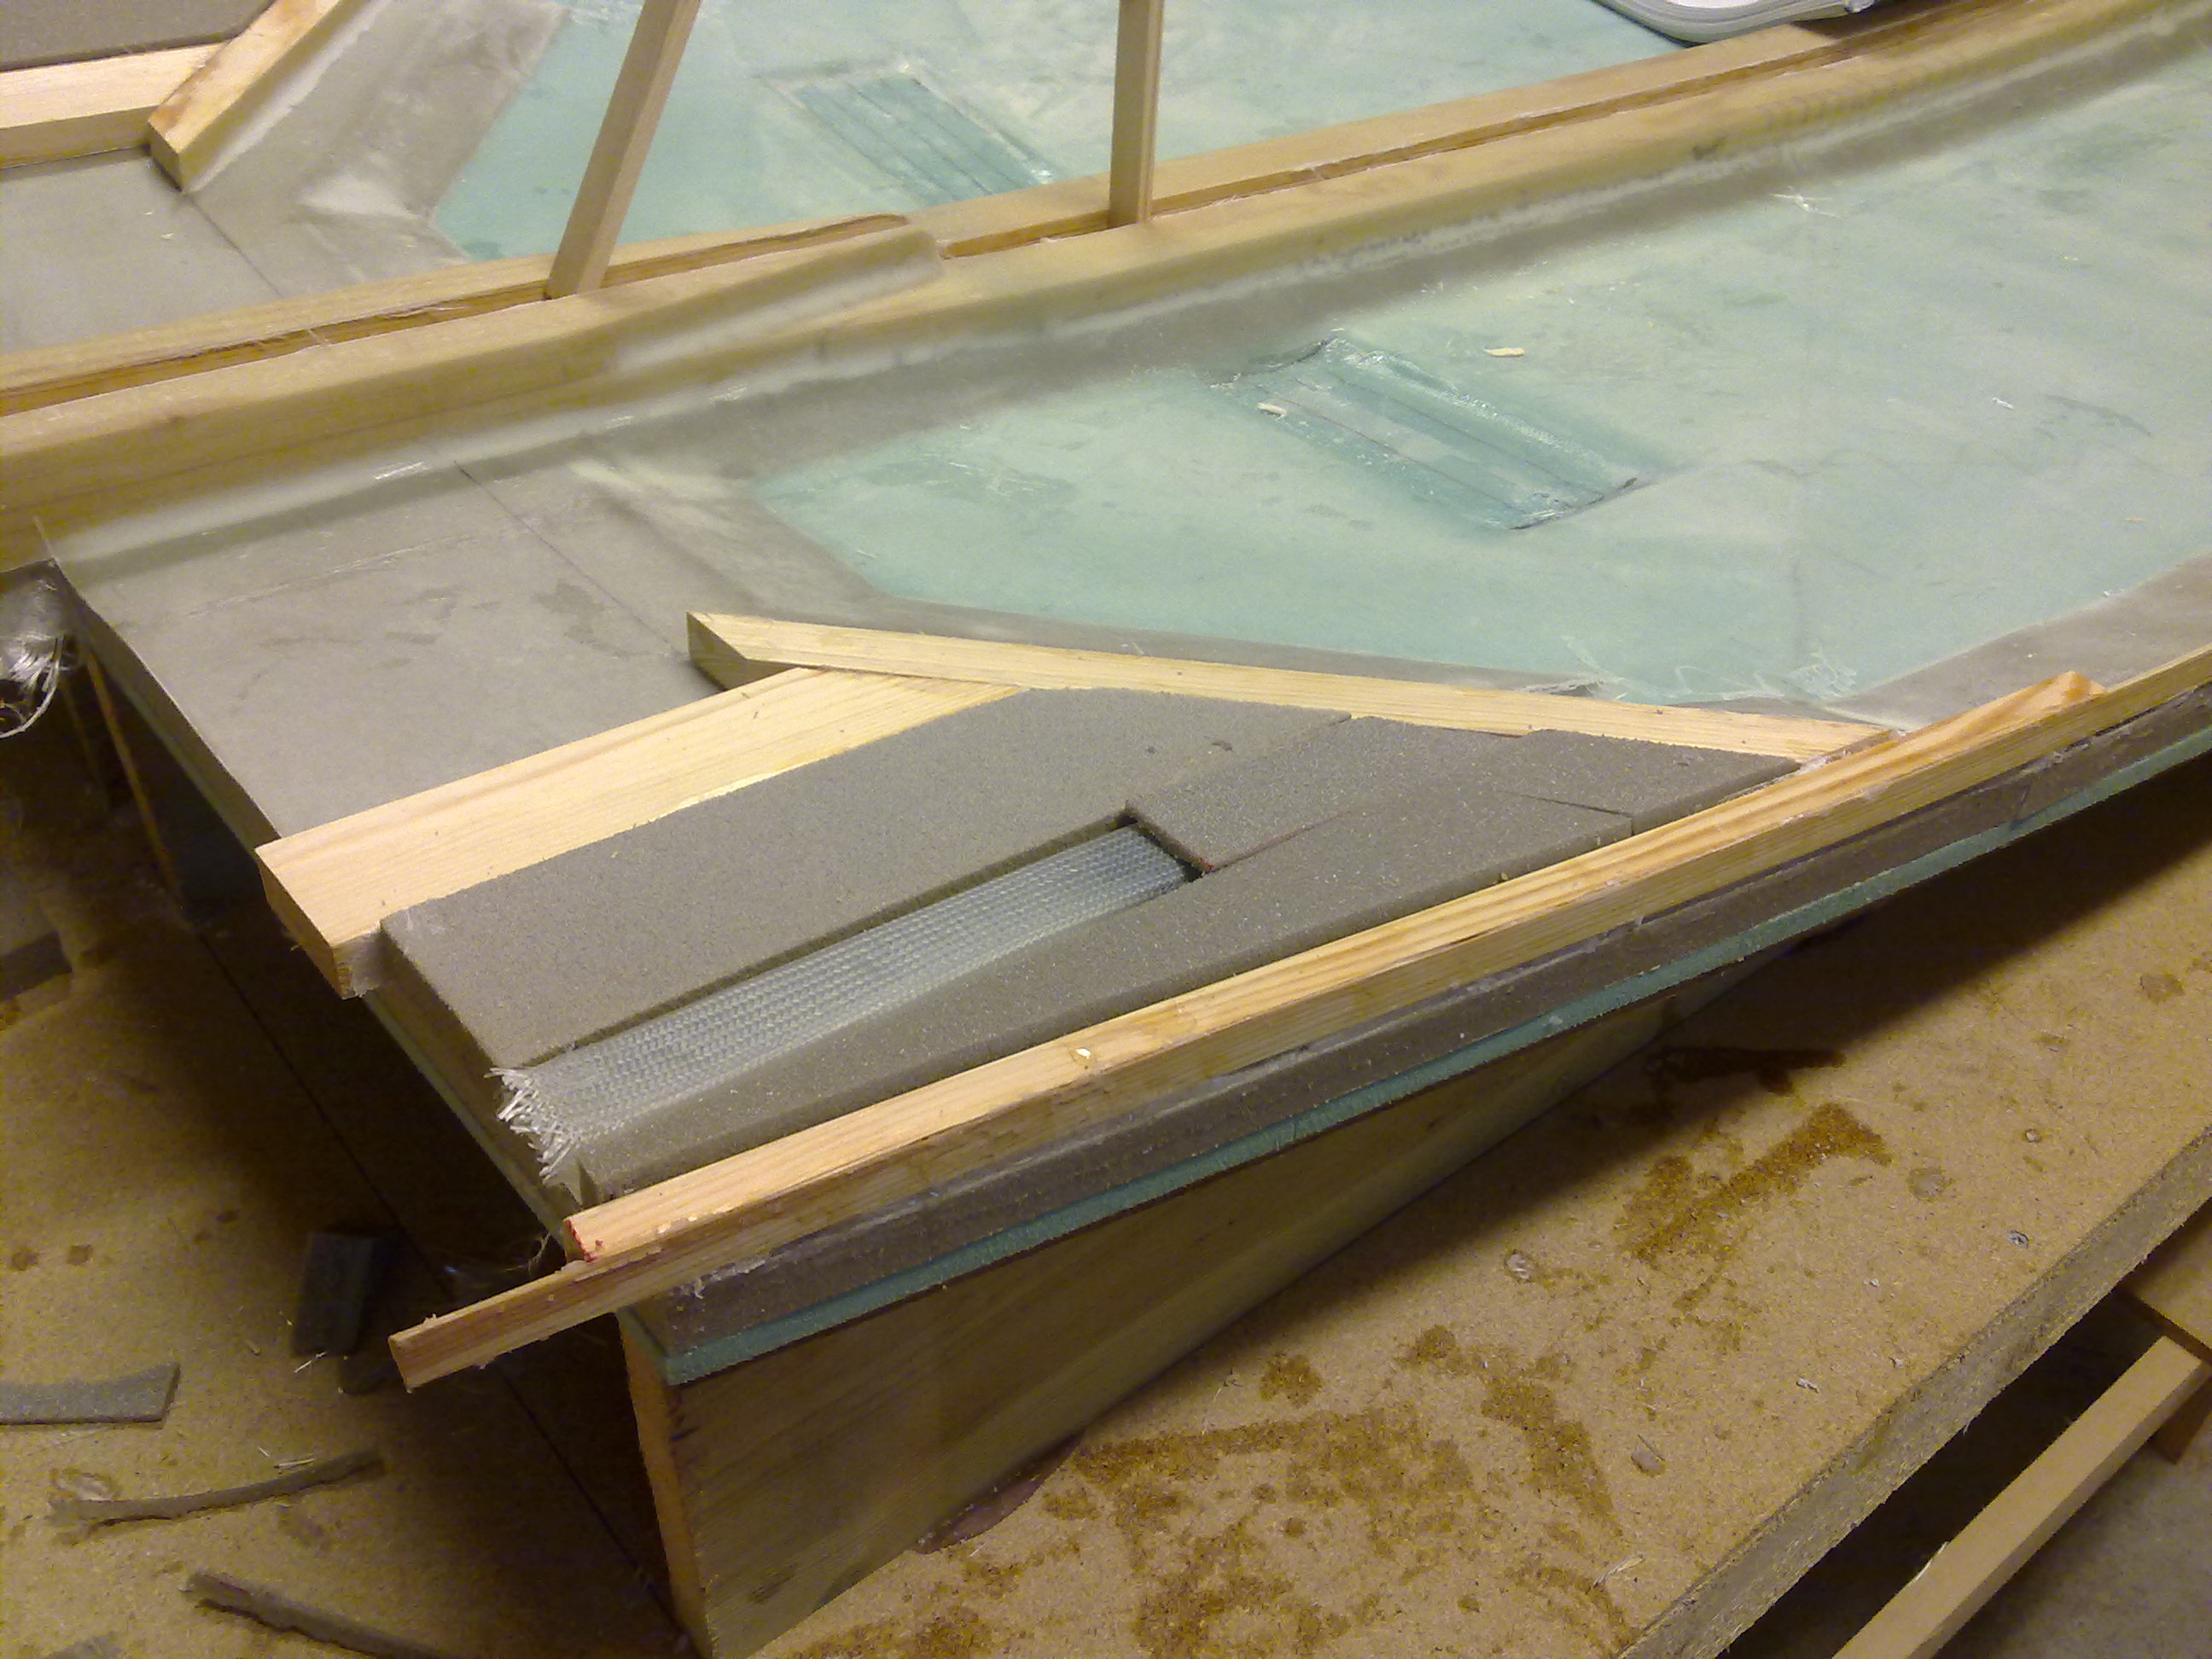
An extra triangular stiffener (20″ long) is floxed ontop of the triangular longeron to make a square longeron aft. This is done because this part will be filled with foam later, and then glassed. As pr plans I made the electrical duct by making a plug from urethane and cover it with 1 ply of BID. This is glued ontop of the carved-out channel. The stringers LWX and LWY are floxed in place. Some strips with BID is then epoxyed to them to secure them I guess. As the plans says – this chapter consists of many small tasks that have to cure in between.


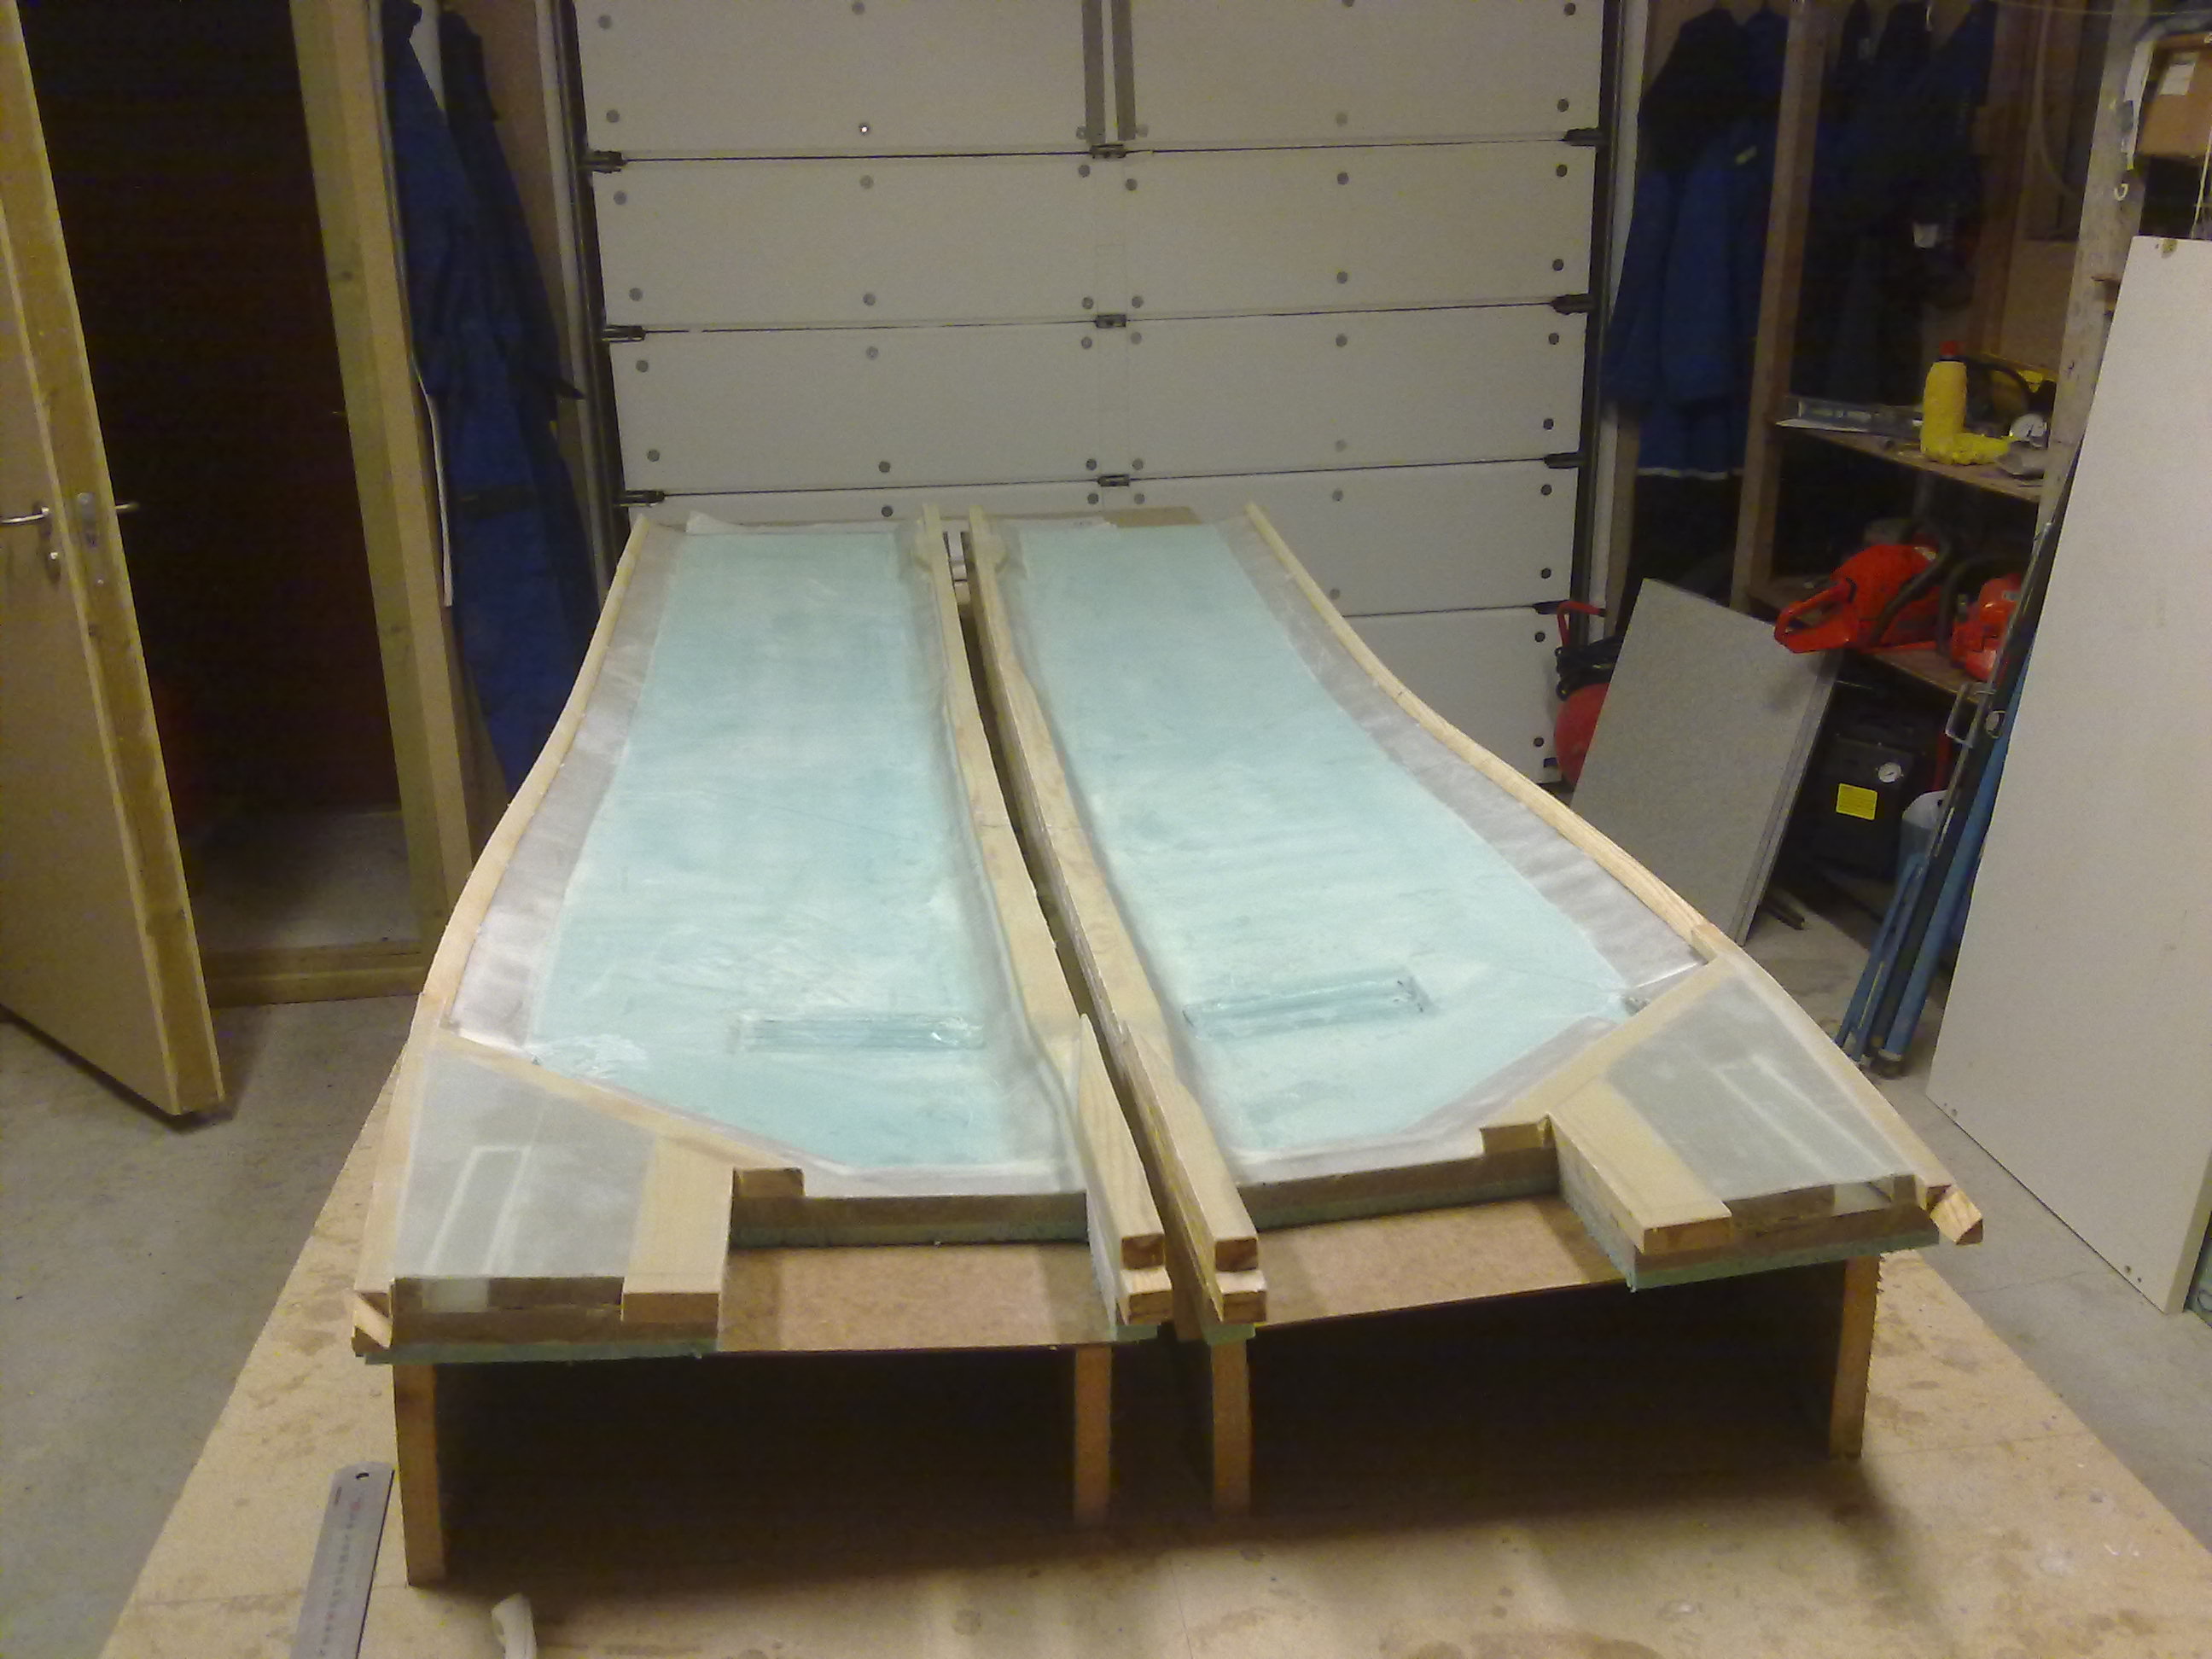
Now I could pop the sides loose from the jig. It resulted in some dents and holes in the foams backside due to the blobs of epoxy used to glue the foam to the masonite. I just filled all the dents with dry micro, let it cure and then sanded them flush with the foam. No big deal.
Then I trimmed off the front part perpendicular to the upper longeron, and measured 101.75″ to the back using a long stick. It’s important not to follow the curvature when measuring, but measure the straight line. And before you cut the front part – measure to assure that you actually have 101.75″ to the back. I nearly goofed up here!
The last thing to do was to cut out the space for the center-spar.
That was the end of chapter 5. Didn’t take so much time really, but it was as stated in the plans many small jobs with lots of waiting in between for the epoxy to dry.