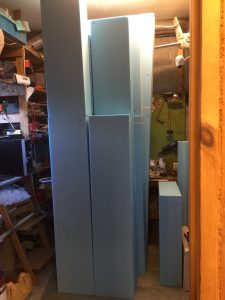
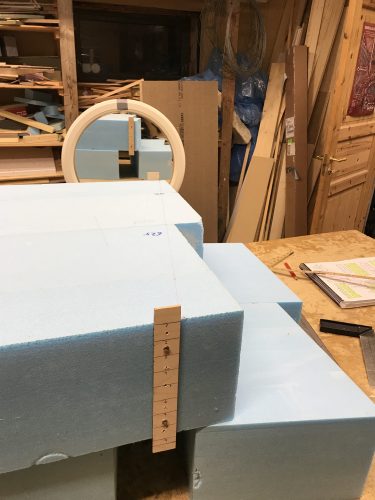
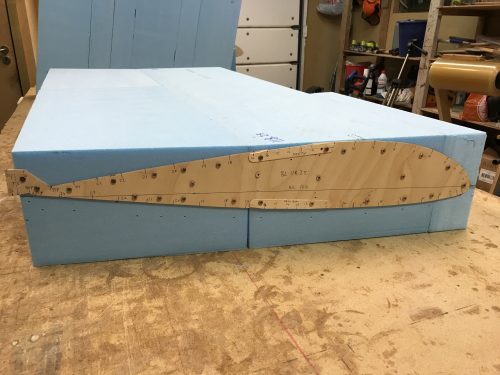
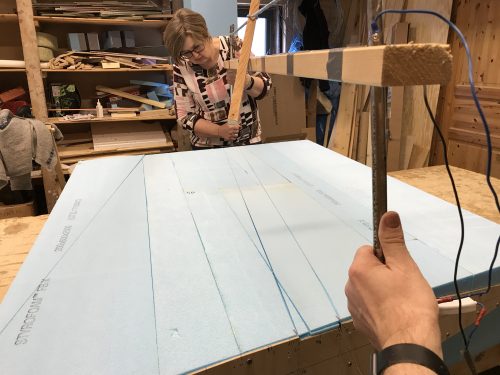
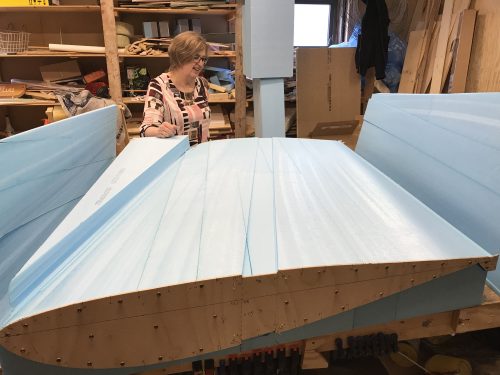
2016-02-13: I spent some time figuring out how to best utilize my big foam blocks. I made some drawings on paper placing the different foam cores so that I didn’t run out of blocks! It took me 8 hours to do all the preparations and cut all the core blocks for both my wings. Now I have a big pile of core blocks ready to be hotwired to real wings 🙂
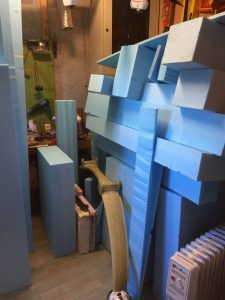
2016-02-13: I did get a lot of foam left. I wonder where I should store this? After some weeks of moving this pile of scraps forth and back I eventually capitulated and got rid of most of the scrap, just keeping the big blocks that I could use later on. It hurts to discard it but a man’s gotta do what a man’s gotta do… At least I managed to store the rest of the foam away so I could use this room as intended 🙂
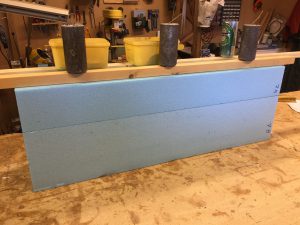
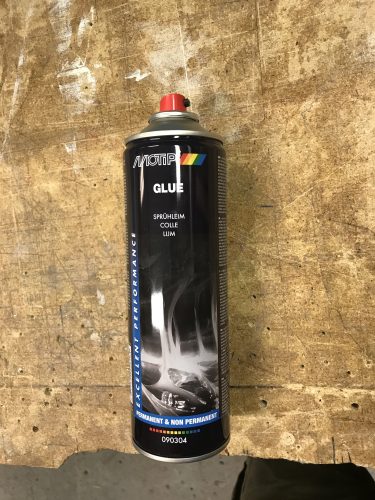
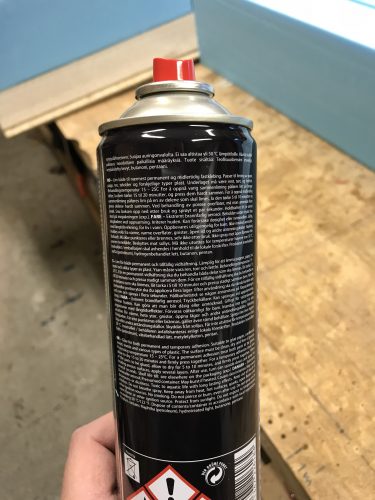
2016-02-13: To use the most of the big blocks I had to split the final blocks in pieces. I then use some spray glue to get them back into bigger blocks again. The glue I use is of course foam-safe. Important to test this on a scrap piece to see if it dissolves the styrofoam or not.
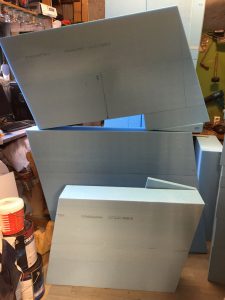
2016-02-21: All the three pieces for the right wing is cut to correct planform and stored back in my other room in the garage.
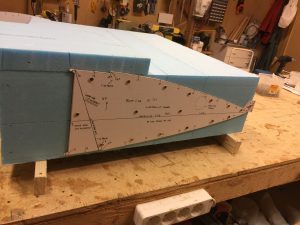
2016-02-22: Ready for cutting the inboard core.
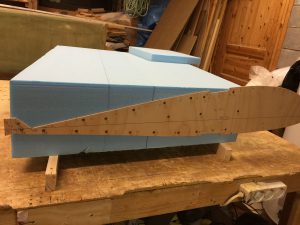
2016-02-22: The opposite side.
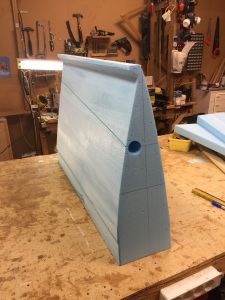
2016-02-23: The inboard core hotwired with good assistance from my wife!
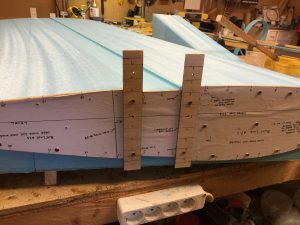
2016-03-06: Lesson learned: It’s difficult to get a good clean cut down the groove for the spar cap if one try to cut the groove in the same phase as you cut the profile. Because the wire lags a bit, the groove gets a bit curved in my experience. I had to sand the groove using a long 3″ sanding board on the outboard core to straighten it. On the center core I simply made a “bridge” over the cutout in the template using a couple of mixing sticks. In this way the wire slides over this bridge and leaves a good and straight profile. The next cut is then done after mounting some vertical straight templates and cut the groove as a separate job.
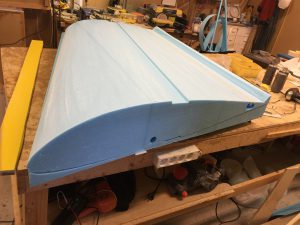
2016-03-06: The center core was almost perfect cut. I need to build another hotwire-bow for the next wing (and the winglets), with a better way to tighten the thread then the one I have used until now.
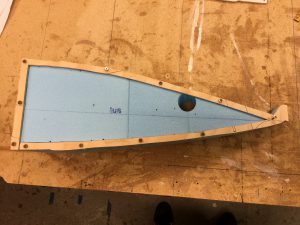
2016-03-13: Cut off the wedge of the FC1 block. My bandsaw can’t cut 6″ high, so I chose to hotwire the part. First I cut it off using the hotwire, then I made templates for the inboard and outboard edge as shown here, and hotwired the core. The result was very good.
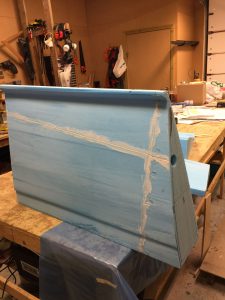
2016-03-21: Microed the wedge back on to FC1. As one can see the inner piece of the wedge (scrap) is placed back in the wedge to stabilize it until it is glassed on the inside later on. I covered the scrap piece with duct tape to prevent it from beein glued to the wing in this step.
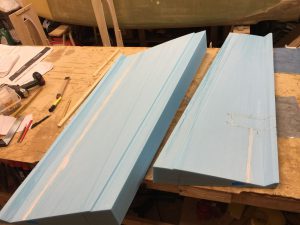
2016-03-21: I also filled all the gaps from the hotwiring of the various channels in the cores with dry micro.
2018-01-01: Finally started to build the LEFT wing. The biggest problem is that the drawings only shows the right wing so I have to mirror all the drawings to get the left wing correct. Forgot to mention that instead of using wet micro to glue the foam cores together, I used foam-safe spray glue.
2018-01-03: Cutting the cores for the left wing. Working alone with the hot wire saw I just placed a mirror on the opposite side to ensure that I cut in the same pace on both sides.
Learning from the right wing, I have made a “bridge” over the spar cap cutout so that the first profile cut doesn’t lag while passing over the spar cap.
2018-03-11: Got help from my wife to do the hot wiring.
The cores came out just perfect! Much better then the cores for the right wing. Learning by doing… 🙂

